
Do you dream about bargaining your soul in exchange for dark power from the warp? Do you blink in and out of realspace with the ebbs and flows of the warp? Do you think that most kill teams have too many rules and/or models? Well then step right up, because Chaos Daemons kill teams might be the faction of choice for you! Originally introduced in White Dwarf in July 2019 and then reprinted in the 2019 Kill Team Annual, Chaos Daemons Kill Teams finally give Daemons players a way to get in on the action. They’re a bit half-baked still, missing anything resembling an elites or Commanders option, and they have fewer tactics than most other Kill Team factions, but they do have some very nasty tricks and are appropriately costed.
Faction Overview
Chaos Daemon kill teams were first introduced in White Dwarf a few months ago and overall they’re an interesting faction, albeit one that doesn’t quite feel fully fleshed out. They consist of the four basic troop daemons – Bloodletters, Horrors, Plaguebeaerers, and Daemonettes, though you can take champions, banners, and instruments for each as well.
Strengths
- Holding Objectives. Thanks to Pink Horrors and to a lesser extent, Plaguebearers, there may not be another faction in the game that is better at holding objectives in the face of enemy fire. Being able to sit on objectives laughing at your enemy as they fire in futility at a group of horrors splitting into more and more models is a wonderful experience.
- Horde. Daemons favor a horde approach, particularly because they don’t have many updates to spend points on anyways. They specialize at going wide with melee threats, clogging up and controlling doorways, and holding objectives, but a have a few particularly deadly options for melee combat.
- Melee Combat. Chaos Daemons have some very strong melee options, with Bloodletters acting as the bruisers/elite killers and Daemonettes acting as swift killers able to dash into combat quickly. Plaguebearers are no slouches, either.
- Psychic Powers. They don’t have a ton of variety – they only know the Psybolt power – but every Horror model is a PSYKER and can attempt to deny one power per Psychic phase. that means you have a lot of options to throw mind bullets out during a game, and even more after your Pink Horrors die.
Weaknesses
- Shooting. Daemons don’t really “do” shooting attacks, with only Pink Horrors having one to begin with. If you’re killing things, chances are it’s either gonna be with Psybolt or melee combat.
- Tactics. Daemons have some good tactics but you aren’t going to forget that they only have 6 of them. Compared to other factions, you don’t have nearly as many options.
- Commanders. Daemons don’t have a Commander option at all, so they’re completely out on missions that require one.
- Elites. Daemons have nothing you’d consider an “elite” unit – you get the four basic model options and that’s it.
- Armour. Daemons have some good tricks for avoiding damage and sticking around, but they’re also relatively fragile, with most having T3 and either a 4+ or 5+ invulnerable save. It’s not bad, but it’s not a strength, either.
Competitive Rating
Strong. Chaos Daemons don’t look like much, but they can be incredibly difficult to deal with, and do several things well enough to hold their own against most other Kill Teams. They are very good with board control.
Special Rules
Chaos Daemons don’t really have faction special rules and they lack subfactions, but there are a few different rules that they all have in common.
Daemonic
All Chaos Daemons have an invulnerable save. Usually this is 5+, but for Pink Horrors it’s improved to 4+. These saves aren’t amazing, but it is nice to know that you’ll always have a save, even against weapons with a higher AP.
Icons
Each model type in a Chaos Daemons can take an Icon that grants special abilities to models within 6″. These vary from outstanding (Icon of Khorne) to merely decent (Icon of Nurgle).
Instruments
Similar to Icons, each model type can take an Instrument, which gives +1 to Advance and Charge rolls made for Daemons of that type within 6″. This is very, very useful for Bloodletters and Daemonettes, potentially useful for Plaguebearers, and mostly a waste for Horrors. All Instrument Bearers can take the Comms specialism, which is mostly worthless for Daemons since you don’t really want to be shooting with them and the Rousing Transmission Tactic is useful but very situational.
ITC LVO Subfactions
If you’re playing with the ITC Rules from the 2020 Las Vegas Open, Chaos Daemons get access to four subfaction bonuses but unlike other Kill Team subfactions, these have a major restriction – you only get the bonus if every model in your kill team is a daemon of the same god. These aren’t really good enough to make up for not being able to take multiple daemon types, but they do help if you only want to run Bloodletters or something. The Khorne and Nurgle bonuses are the best of the bunch.
- Khorne – Locus of Rage: Add 1 to your team’s Charge rolls. This is pretty useful, especially when stacked with the bonus from a banner or instrument, and helps you do the one thing your Bloodletter kill team wants to do.
- Tzeentch – Locus of Trickery: Models in your kill team get +1 Ld. Having Ld 8 isn’t bad but your models don’t actually suffer flesh wounds so this one’s kinda wasted.
- Nurgle – Locus of Virulence: Gives enemy models within 3″ -1 Ld. A helpful way of making your Plaguebearers even nastier when it comes to trying to dislodge them from objectives.
- Slaanesh – Locus of Swiftness: Add 1 to Advance rolls for your team. You’re already plenty fast with Daemonettes so this isn’t bringing a ton to the table and truth be told you’d rather have the Khorne bonus.
Units
Each of the Daemons you can choose from is specialized and competent at a role, and there’s no incentive or reason to go mono-god so unless you’re really set on only buying one box of models you’ll be taking mixed teams. All Daemons have a 5+ invulnerable save, which makes them reasonably tough for the cost, and they can take an Instrument (+1 to charge or advance for same god Daemons within 6” of the icon) and an Icon (unique for every god). The Instruments and icon bearers give you access to four different options for a Comms specialist.
Bloodletters
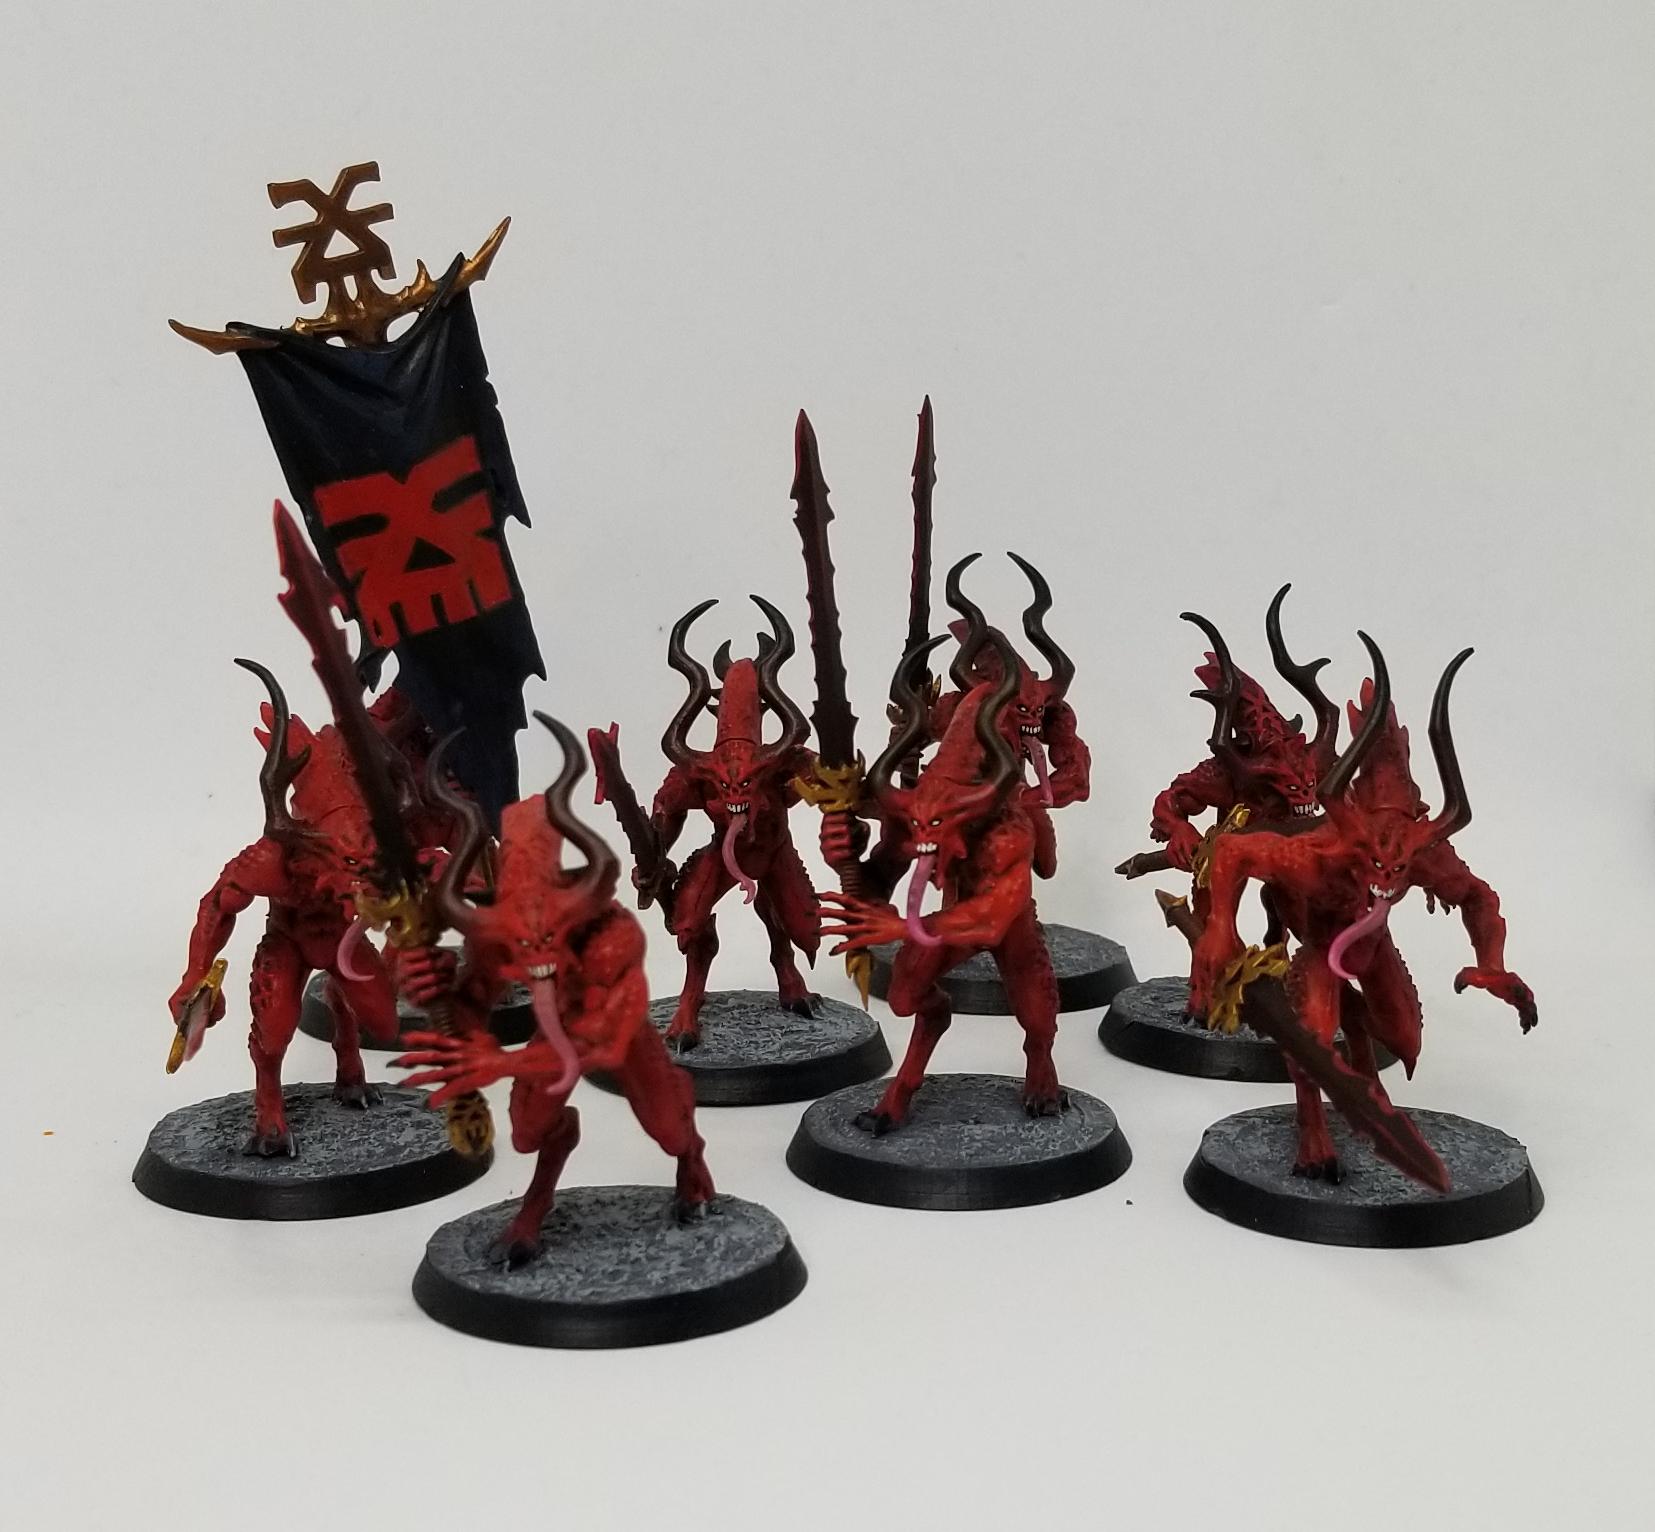
The close combat killer daemons. They’re T3 with no special defensive or ranged abilities, so you need to do the work to set up charges, but they are blenders in melee. They come with power swords that do 2 damage whenever you roll a 6 to wound and if they charge they get +1 Strength and +1Attack thanks to the Unstoppable Ferocity rule. They fight like a melee-equipped veteran Marine for half the points, making them a great deal and a model more than capable of taking out elite models, particularly if you’re using the Cleaving Blow Tactic to boost their damage output. Bloodletters can have either the Combat or Veteran specialisms, and of these, Combat is a no-brainer. Veteran is also an interesting choice, where the ability to make a free move at the start of the game is very useful for putting your Bloodletter in position to make an early charge
Their Bloodletter icon lets Bloodletters within 6″ re-roll charges, making it essentially an auto-include if you’re bringing Bloodletters. The Bloodreaper is the champion option, and while it can have Leader, you are better off taking one with the Combat specialism to have a 3-attack melee monster. The Instrument is also a must-take for Bloodletters thanks to the charge bonus but the Comms specialist does nothing for them so you can skip that one.
Horrors
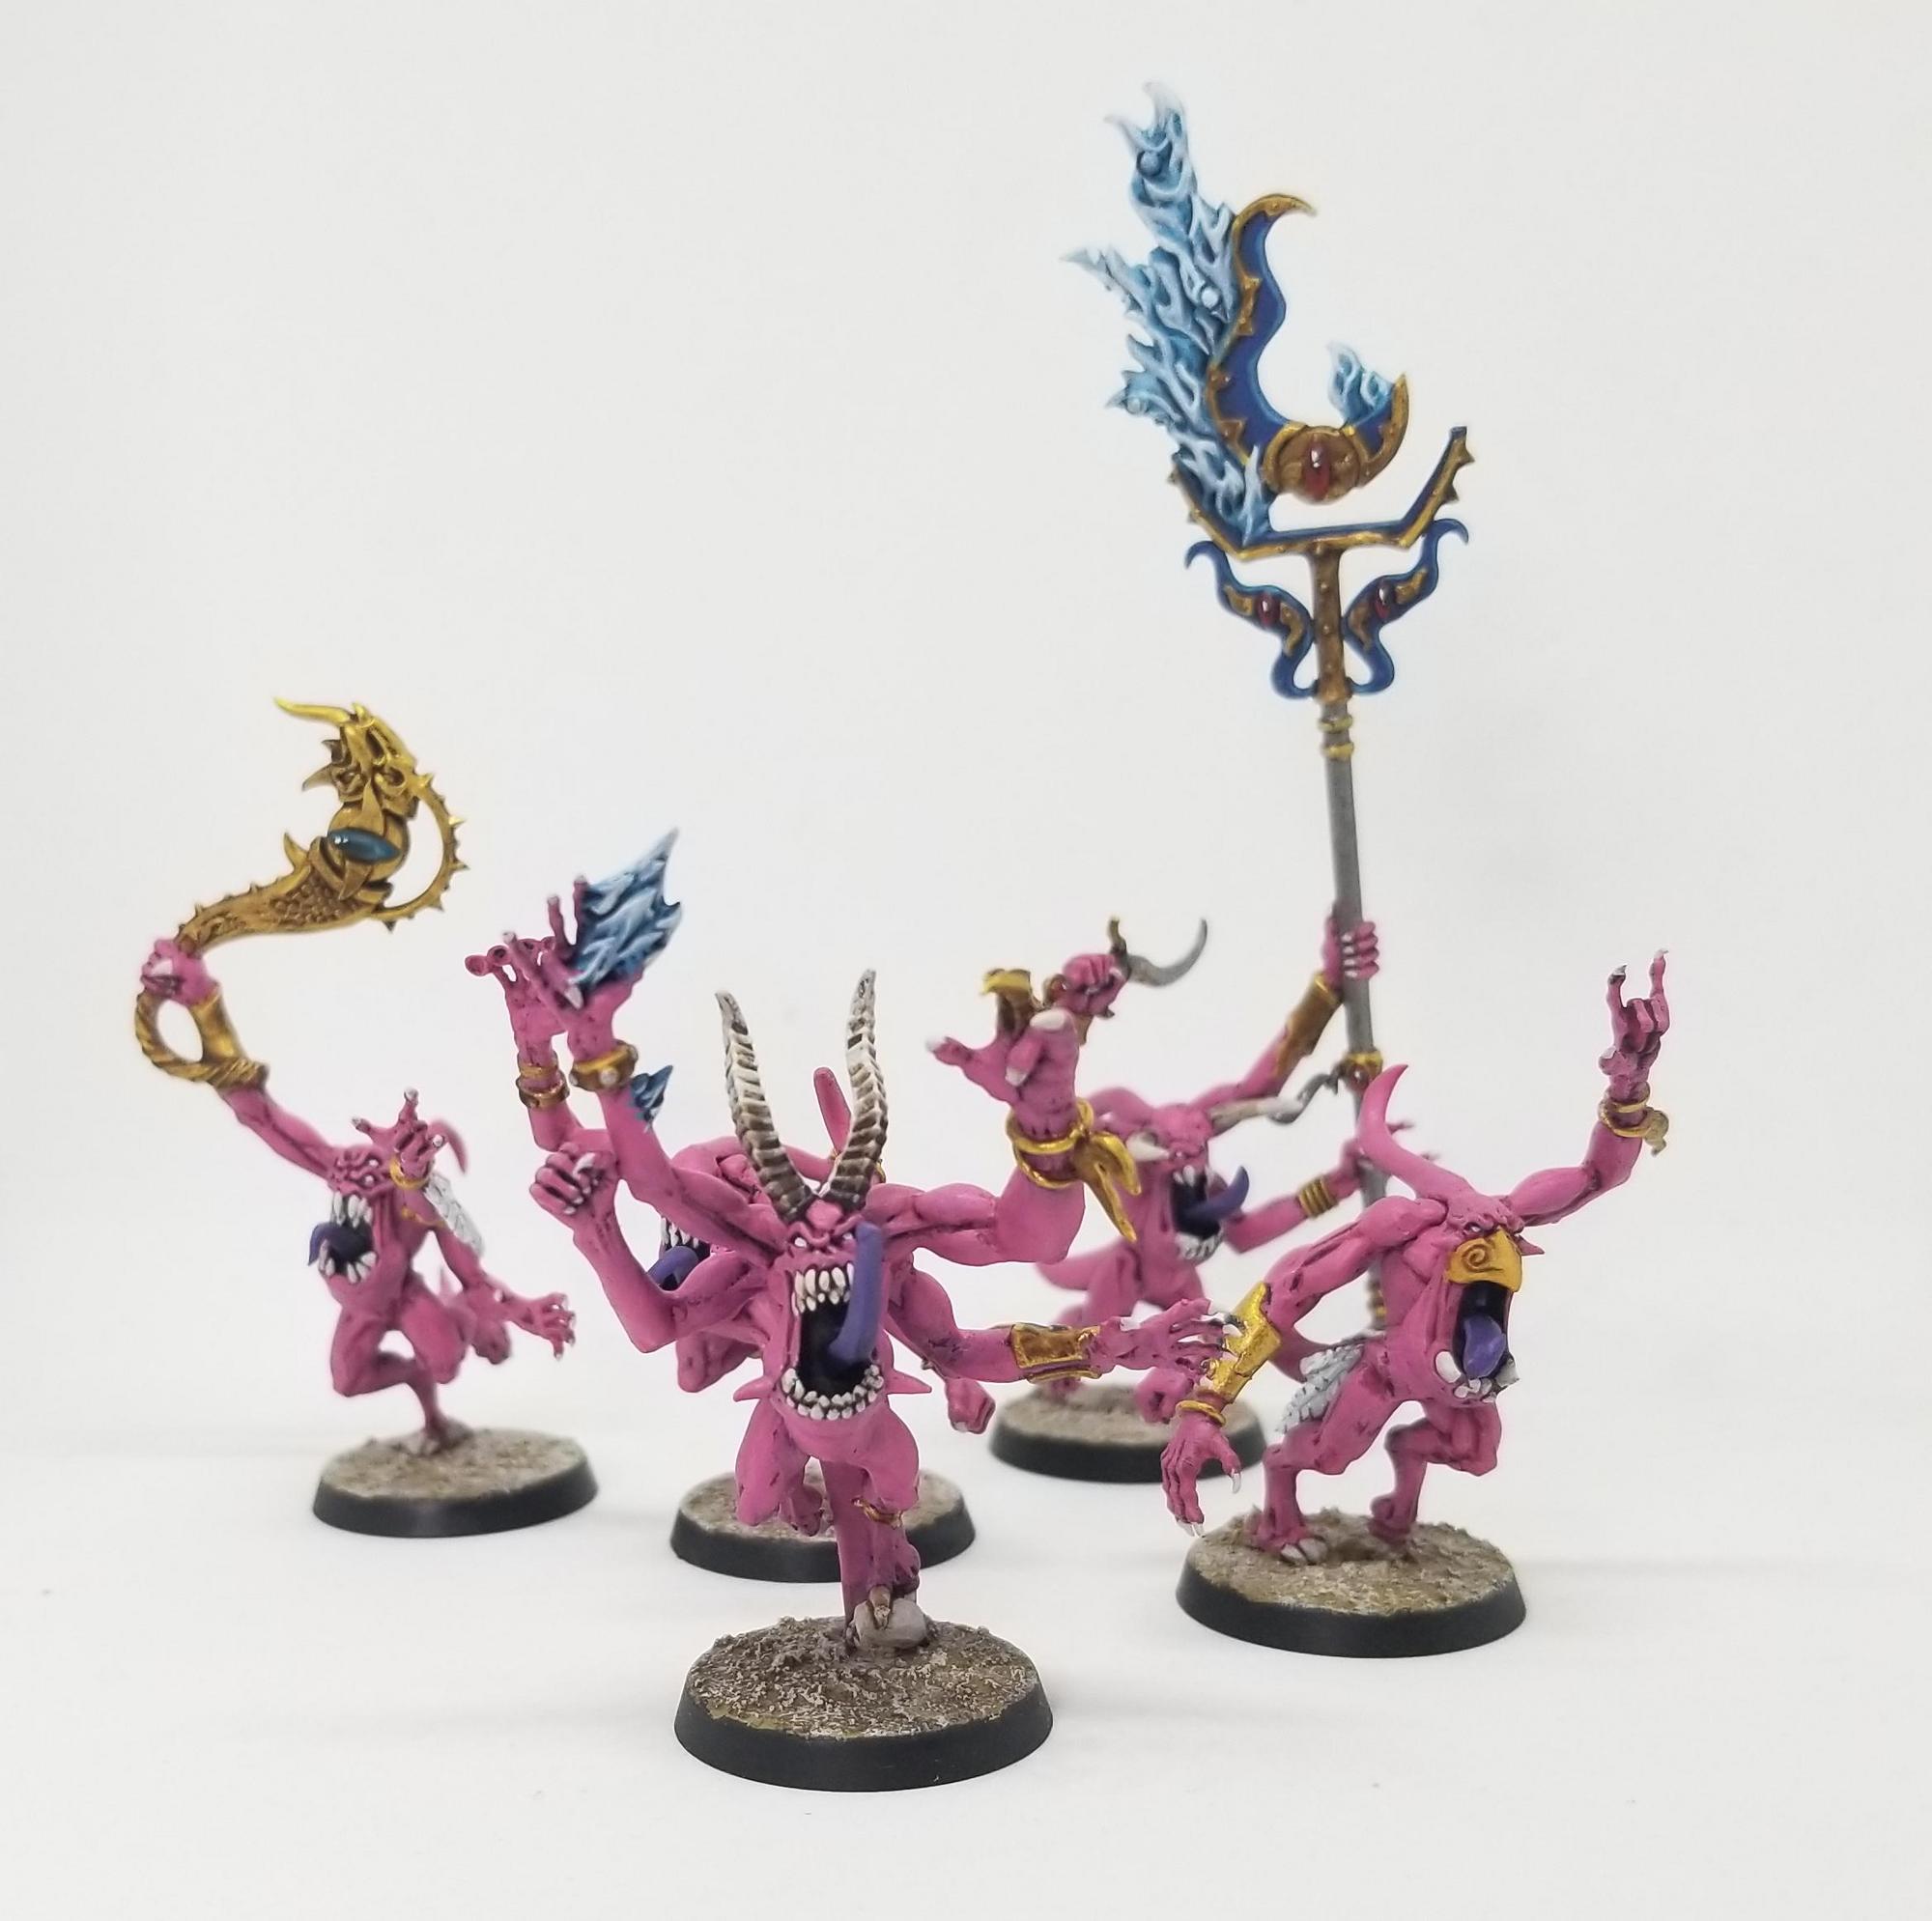
Probably the most unique Daemon and likely the most powerful/annoying of the bunch. While Horrors lack a powerful melee attack, they more than make up for it by having a 4+ invulnerable save, being Psykers (with the Psybolt power) and having the faction’s only shooting attack – an 18” S3, Assault 2 shot that’s not great but is something. Horrors’ primary gimmick is that when a Pink Horror is reduced to 0 wounds it doesn’t take an injury roll, it’s just removed from play and replaced with two Blue Horrors, and when a Blue Horror dies it’s just replaced with a Pair of Brimstone Horrors (this is only one model, but it packs 2 attacks). This is bonkers. Functionally this means that in order to fully clear a Pink Horror out you need to kill 5 models, with a total of 7 wounds. This is difficult to deal with even if the new models become progressively more and more useless, and the increase in model count can make them a nightmare to deal with when they’re holding an objective. Incidentally, you want Pink Horrors on your team so they can hold objectives and generally be an absolute chore to deal with. Regardless of splits, every Horror is also a PSYKER that knows the Psybolt power, making them incredibly potent and dangerous models even in their barest form.
Iridescent Horrors are the squad leaders for Pink Horrors and capable of being Leader specialists. They’re your most expensive leader option but they’re fine to have sitting back and shooting/popping off psychic powers if you need.
Blue Horrors lose a point of Strength and the shooting attacks that Pink Horrors have but are just as tough (T3) and have a 5+ invulnerable save. Note that once a Specialist Pink Horror splits, neither of the blue horrors retains a specialism so if your Horror leader splits, you lose the CP bonus.
Brimstone Horrors are the last link in your chain of splits, with only a 6+ invulnerable save (still T3 though), but they sport 2 attacks to make the extra annoying as they dance on an objective and throw rocks at your opponents, mocking them. They have garbage-tier stats but remember that they’re still Psykers and can drop out a mortal wound or three.
Horror Icon Bearers have a chance to do a mortal wound to a nearby enemy at the start of each Psychic phase – roll a D6 and on a 6, do 1 mortal wound to the closest enemy unit within 12″. This isn’t reliable enough to make it worth taking, making it potentially the worst of the Icon options. Horror Instruments are perhaps the least useful, but the Comms specialist at least has some value to them as they have shooting attacks. Still, there’s not enough value there to really consider them on your kill team over other options – Horror shooting is a nice add-on and not something you want to depend on or build around.
Pink Horrors have access to the Demolitions and Veterans specialisms. Veterans is useful for pushing Horrors into position on an objective early with the extra move Tactic. Demolitions on the other hand allows you to turn one of your Horrors into an actual effective ranged threat, where getting +1 or +2 to wound depending on the situation will manage to make 2 S3 shots into something more valuable.
Daemonettes
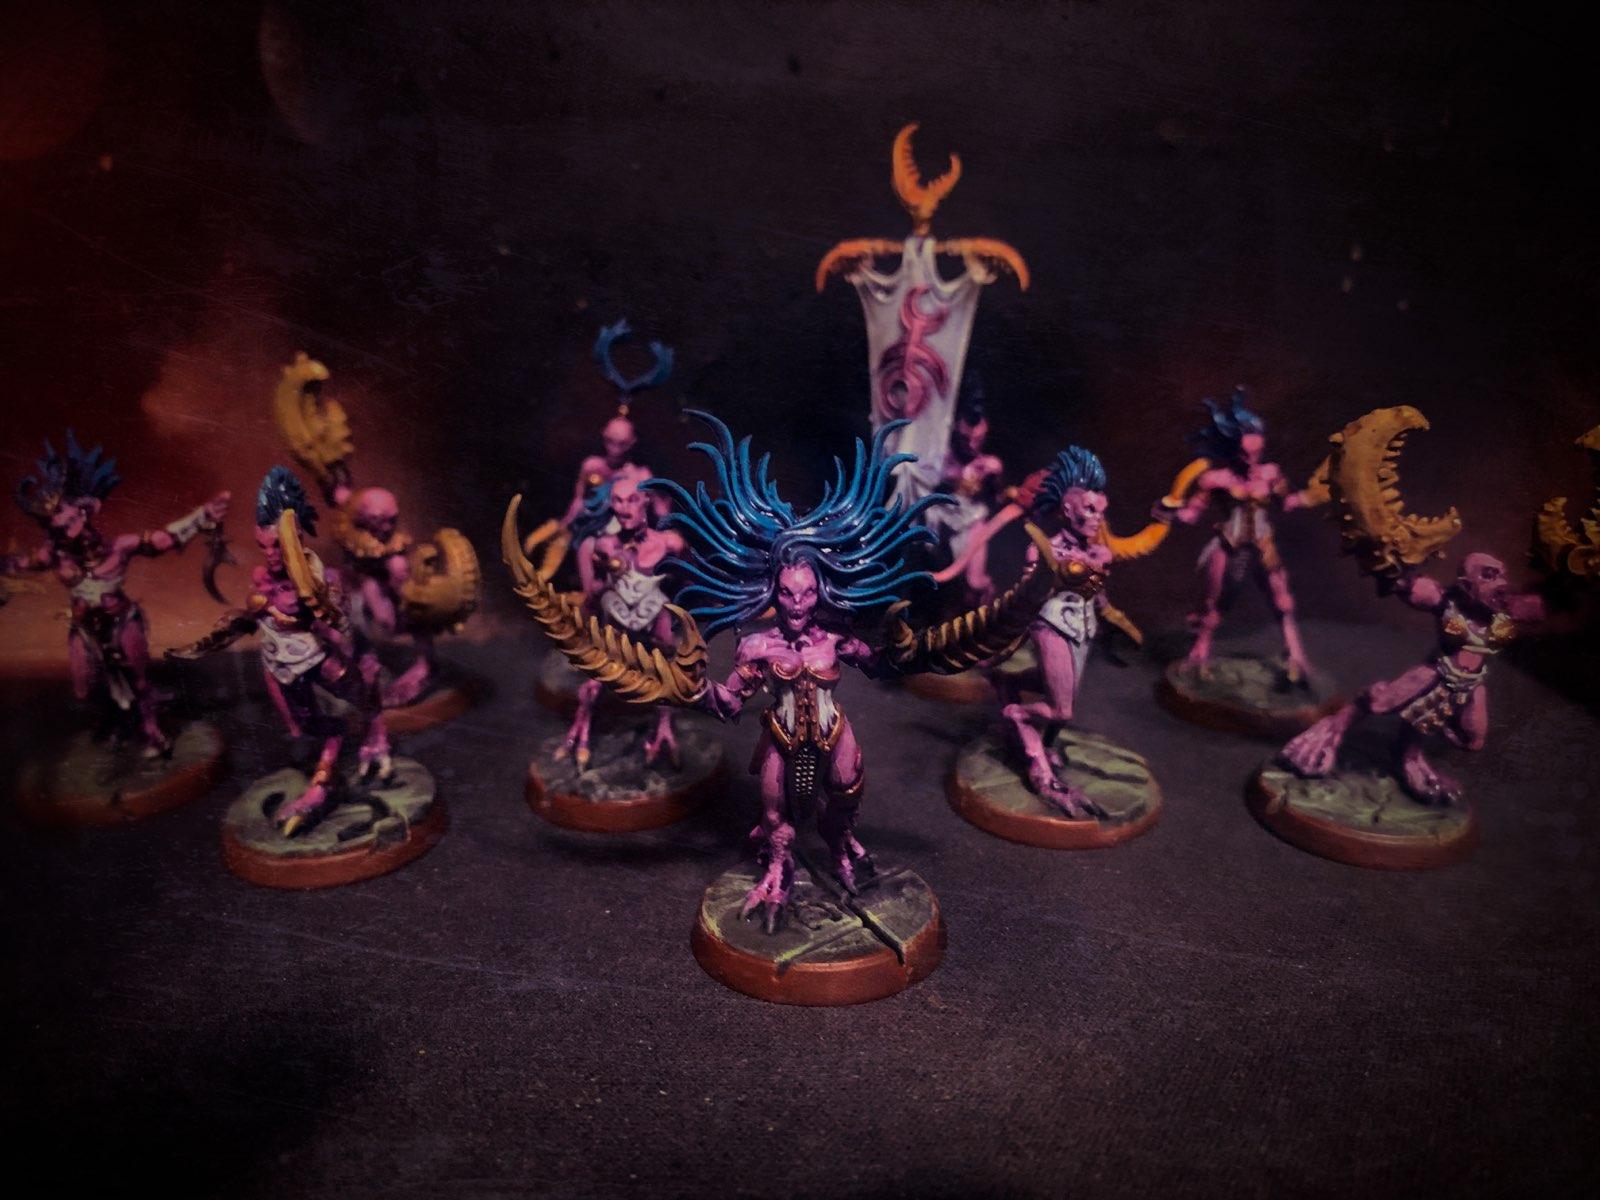
Daemonettes are the faster, more agile melee unit in the Chaos Daemons Kill Team. They’re weaker than Bloodletters in melee but they have an additional attack and an extra inch of movement, plus they always fight as if they charged. They can be good against some of the kill teams where Bloodletters are overkill or you can’t guarantee a charge, like when you’re going up against Harlequins or Orks. Fighting as if they charged changes a lot of combat math against aggressive teams and can make Daemonettes a real pain to fight. Daemonettes can have the Combat, Veteran, and Scout specialisms. An Alluress with the Combat specialism is a potent force indeed, capable of making some nasty charges and making 4 attacks at AP -1 that upgrade to -4 each time it rolls a 6+ to wound. Veteran is also a very smart option for Daemonettes, where the ability to make an extra free move before the game giving them 7″ prior to an 10.5″ charge gives them insane T1 reach. There isn’t a lot of reason to take Scout on a Daemonette, though having 9″ Movement is pretty funny – Deadly Dance is going to be how you close the gap with these models when you need the distance.
The Daemonette Icon gives friendly Daemonettes within 6″ the ability to inflict extra mortal wounds each time they roll a 6 to wound in addition to any other damage. It’s a helpful boost and likely to matter given that they have 2 attacks base. It’s neat but not something you need all the time. On the other hand, the Instrument is worth it, since it all but guarantees you’ll be making it into combat immediately and when combined with Deadly Dance gives Daemonettes hilarious reach on their charges.
Plaguebearers
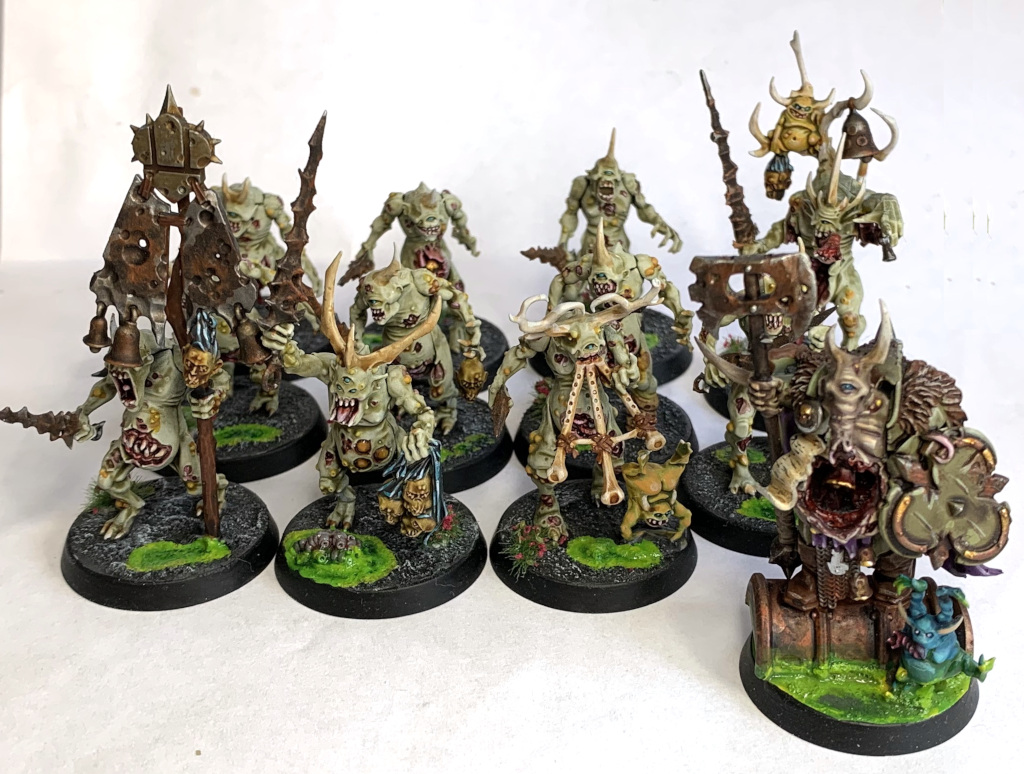
These Nurgley Bois are the tanks of the Daemon army. They’re only mediocre in melee, with a single S4 attack that re-rolls 1s to wound, but they’re 3 points less than a Marine scout and at T4 with a 5+ invulnerable save and a 5+ Disgustingly Resilient roll they’re quite a bit tougher. They can tarpit a lot of armies and help you play the objective game and the ability to use Pestilential Aura to make themselves even harder to hit can put them close to Pink Horrors in terms of being difficult to dislodge. That’s good, because they’re pretty slow, with only a 5″ Movement, so you’ll want to keep them back and potentially support them with an Instrument to give them +1 to Advance and Charge rolls so they can more easily get into position on objectives. Plaguebearers can take the Combat or Veteran specialisms, and you’ll probably want to use them on other models that’ll be better-suited to early charges but the extra move from Veteran can be helpful for getting onto a midtable objective early on. Save Combat for a Bloodletter or Daemonette, though. As with the other models, Plaguebearer instruments can take Comms but as with the others, this does very little for you.
The Plagueridden is the champion option for Plaguebearers, and makes a solid choice for Leader given his extra resilience compared to the other options. As a model that can sit back and generate CP, this is the clear favorite choice. The Plaguebearers Icon Bearer reduces the leadership of enemy models within 6″ by 1, and can be helpful for forcing some failed Nerve tests, but the challenge will be getting him into position – he’s better as a deterrent for enemy chargers, who may find themselves cut off from other friendly models and suddenly surrounded by scary daemons and in danger of failing a Nerve test.
Tactics
Being new, Chaos Daemons get the short end of the stick with regard to Tactics. They have six in total; four are specific to one of the faction units and the other two are more generic.
- Reality Blinks (3 CP) – When a non-Horror Daemon is taken out of action roll a dice. On a 4+ that model is restored to 1 wound. They don’t take a flesh wound or go out of action, but 3 CP is a lot to spend on a 50/50, even with a very high upside. This will be most useful when it’s used to keep your Leader around, and having a 4+++++ on a Plagubearer Leader is hilariously nasty. B-
- Pestilential Aura (1 CP) – Use at the start of the battle round and pick a Plaguebearer. For the rest of the battle round, if that model is obscured, enemy attacks get an additional -1 to hit. This fits in well with what Plaguebearers do and is reasonably priced, making it a good way to keep one around on an objective. A
- Deadly Dance (1 CP) – Use before making a Charge roll for a Daemonette in your kill team. They roll 3d6 to charge. First, this is a huge boost, giving you an average charge distance of 10.5″ (instead of 7″), and second, because of the timing, happens after your opponent decides whether to Fall Back or fire Overwatch, giving you tons of flexibility to decide how to best spend the CP. And it’s enough of a boost that it may still be worth charging targets relatively far away in order to get the extra movement from a failed charge. A
- Mutating Fire (1 CP) – A Horror’s shooting attack becomes AP-3. The attack’s strength isn’t high enough to make great use of it but for 1 CP it’s a reasonable effect and the only buff you have to the only shooting you have. B
- Cleaving Blow (1 CP) – A Bloodletter’s melee weapon gains an additional point of damage until the end of the Fight Phase. Multi-damage weapons are gold in Kill Team, being much more likely to take enemies out of action and a combat-specc’d Blood Reaper with this active can threaten elite models. It’s a powerful boost to have and one you can easily make use of multiple times per game. A
- Warp-spawned Terror (2 CP) – Add 1 to Nerve tests for enemy models within 3” of any Daemons from your Kill Team. This is conditional but if you have injured enemies in melee range it can help you chain-rout the enemy team. C
Psychic Powers
Although Horrors are Psykers, they only have access to the Psybolt power. Chaos Daemons don’t have a discipline of their own yet.
Sample Kill Team
With so few choices, you really don’t have to overthink things much here. Give yourself a mix of Plaguebearers and Horrors to hold objectives and pick one of Bloodletters or Daemonettes to be your forward melee operatives. I’m generally of the mind that Bloodletters are better than Daemonettes, as the AP-3 and extra damage potential outweigh the benefits of making it into combat faster.
Specialists
Iridescent Horror – Leader
Plagueridden – Leader
Pink Horror – Veteran
Pink Horror Instrument – Comms
Pink Horror – Demolitions
Bloodreaper – Combat
Bloodletter – Veteran
Other Models
Pink Horror
Pink Horror
Pink Horror
Pink Horror
Pink Horror
Pink Horror
Bloodletter Icon
Bloodletter Instrument
Bloodletter
Bloodletter
Plaguebearer
Plaguebearer
Plaguebearer
In this list we have a core of Pink Horrors go gum up objectives with Bloodletters acting as our forward melee threats. The list can pivot between either an Iridescent Horror supported by a Demo Horror and a Comms Instrument if it’s up against armies with less shooting or more fragile targets where the Coruscating flames will be valuable, or it can swap out the Iridescent Horror for a Plaguebearer Leader who sits back and generates CP if it’s up against nastier shooting threats that can make having a Pink Horror leader too risky.
Playing with Chaos Daemons
Remember that your big strength is board control – that’s where you excel. You can manipulate objectives using Pinks, that end up splitting and continuing to hold them, even with enemy pressure. Or you can sit Plaguebearers on objectives and watch them shrug off shots. If you’re playing with Pink Horrors remember to position yourself with splits in mind – you both need the space to place models before you remove the splitting one (so don’t let the opponent trap you), and you can do things like place split horrors directly into combat, allowing them to fight in the Fight phase and tie up models.
Against an enemy melee team, Daemonettes offer a good source of control if you have the initative. Push them forward and watch as your opponent charges them, and then fights after the Daemonette.
There’s no upside to mono-god teams in most games (and even with LVO 2020 rules it’s not worth it to build monogod teams), so build with a mix of objective holders (Horrors, Plaguebearers) and melee fighters (Bloodletters, Daemonettes) and split your efforts.
Playing Against Chaos Daemons
Don’t let Pinks splitting mess with your plans, since when they split they can manipulate their position, such as placing them directly into combat. They also have to be placed within 1/2″ of the original model before it’s removed, so in tight quarters like Arena horde teams can manipulate positioning to prevent splits – if the models can’t be placed, they simply aren’t.
Collecting Chaos Daemons
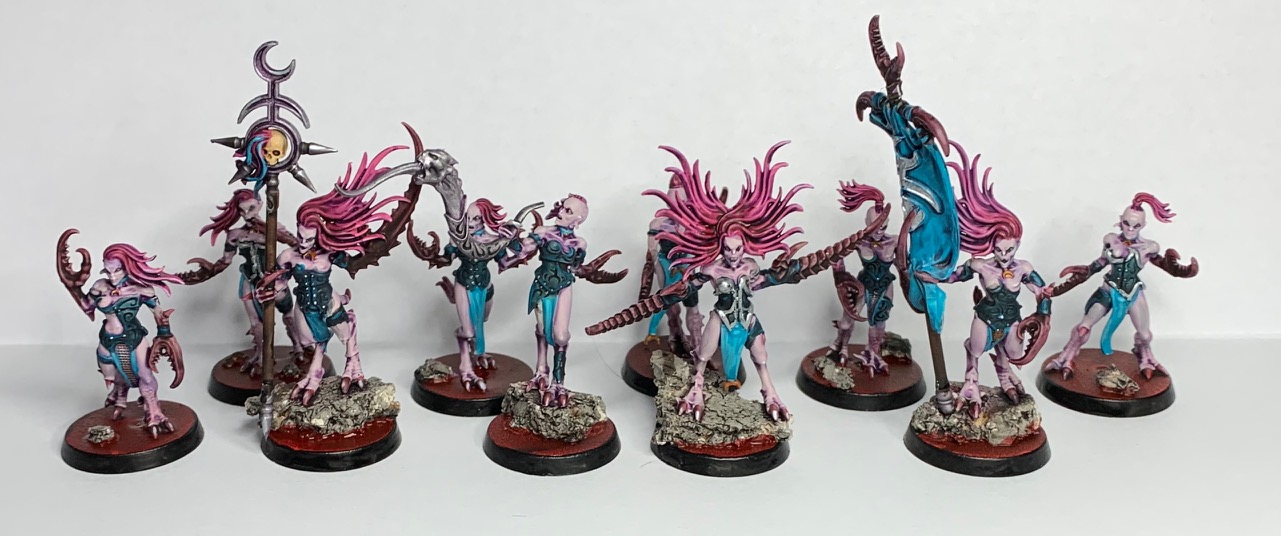
Collecting Chaos Daemons is pretty simple – just buy a box of the relevant unit you want to include. Each box of Plaguebearers, Bloodletters, and Daemonettes contains an entire squad, with instrument and banner options. Horrors are a bit trickier – you’ll need one box each of Pink, Blue, and Brimstone Horrors to cover a squad, but you can also get by just buying Pinks and picking up a few spare blues and brimstones if you want to keep things light/cheap from a cost standpoint.
Glory to the Dark Gods
That wraps up our look at Chaos Daemons Kill Teams – not particularly complicated, but by no means weak. As always, if you have any feedback or questions, or want to show off your own Daemon Kill Teams, drop us a note in the Comments below or feel free to email us at contact@goonhammer.com.
