Listbuilding in Song presents some interesting challenges and pressures that might not be obvious at first. While there’s not the same need to list tailor to a specific scenario as there is in games like Infinity, alternating activations create complex pressures that are best addressed at the listbuilding stage.
So here are some things to consider as you build your list, and how to approach each of those challenges.
Terrain
In Song, Terrain is straight up part of your list design. You can just place it reactively but it’s never as good as when you’ve got a plan for it.
The default terrain piece is corpse piles/wyrdwood trees, depending on if you’re up against morale shock or not. After that then think about the following:
- If you have Taunt or Pathfinder in your list, you benefit greatly from Stakes
- If you are House Targaryen, default to using swamps. You have huge access to rerolls from a wide variety of sources and the speed impact hurts you proportionately less than other factions.
- If you are running a superheavy infantry line (4 units or so) consider placing a Palisade in midfield along your outer flank. It can jam up charges and prevent an enemy’s superior numbers from coming into effect for a turn.
- If you plan to refuse a flank, consider placing a palisade over an objective you do not plan to contest. It can force an opponent to spend an action tearing it down before they can claim it, which is as close to a free victory point as it gets.
Initiative
Initiative is a hidden but extremely important resource: when you activate each unit. If you activate a unit late in the turn you’ll be activating it after your opponent has had the chance to put a lot of damage on it, if you activate a unit early in the turn you disincentivize your opponent from attacking it because it’s already done its damage this turn. And so a unit is ‘high initiative’ or ‘low initiative’ depending on how capable it is of taking a hit.
As an example, House Targaryen has a really sharp divide; on one end you’ve got light cavalry dothraki, on the other end you’ve got the anvil of unsullied pikes. If you’ve got too many Unsullied then there will come a point where you have to charge with them or forfeit their activation – and if you’re charging with the Unsullied you’re wasting your ability to Set for Charge. So the Unsullied are a low initiative unit – the later in the round you activate them the better. On the other hand if you’ve got a unit of Dothraki Screamers who you’re not charging with your opponent will countercharge them if at all possible, severely cutting down their offensive potential.
As such the list benefits enormously from having both. In general you want to have a clear idea of a unit that will usually activate first – usually something fragile and offensively oriented – and something that will activate last – something as tough as possible, or something that gains power from being attacked.
Activation Advantage
Some players put a premium on activation advantage – having more turns in a round than your opponent. Seven activations, combat units or NCUs, is the baseline – any less than that and you potentially give your opponent 2-3 unopposed actions each turn.
Going to eight activations gives you an elegant and sometimes decisive advantage in the early turns, able to stall for longer than your opponent and force them to make the first move. Going to nine is where things start to get fragile – your line tends to be extremely brittle at this level. What this gets you is the ability to focus damage on a key unit without your opponent being able to respond, or force them to commit their forces while you have countercharges lined up. This advantage tends to drop away in later turns as more fragile units die at a faster pace than heavy ones. Increase your activation count if you’re looking to overwhelm an opponent quickly in the early game.
Ranged Pressure
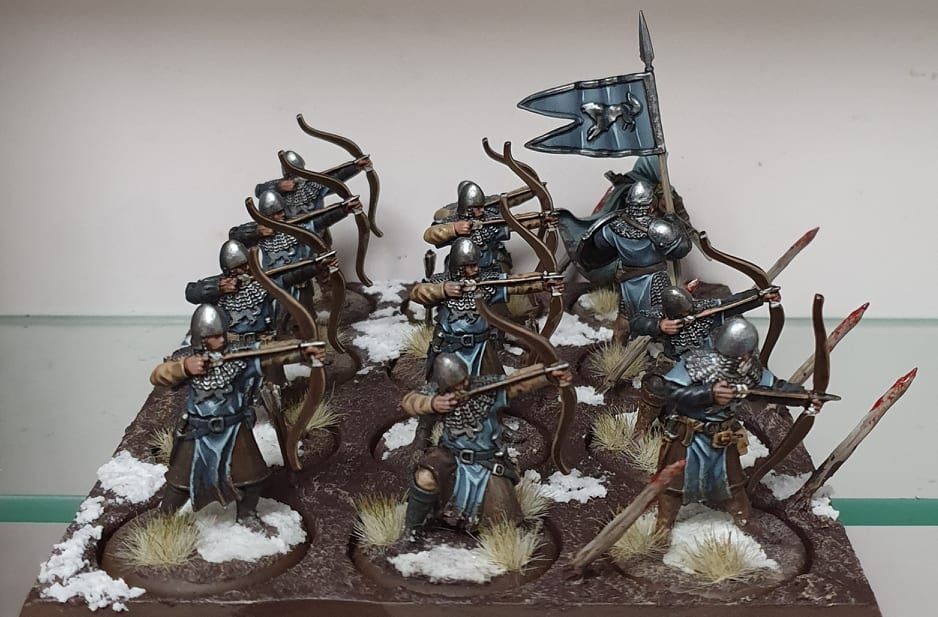
It’s a simple maxim: whoever has better ranged presence is winning if their opponent doesn’t do anything about it. Not every list needs archers, but every list needs a plan of what to do if it is on the wrong end of a unit of archers.
There are three paths to dealing with ranged pressure: ranged pressure, solid defenses, and speed. Ranged pressure of your own is the most reliable – you can push your own archers forward into range of theirs and force an archery duel. With archers usually shooting at full effect on 2 ranks this means that archery duels are often perfectly symmetrical violence, and nothing was ever solved with perfectly symmetrical violence. With one side claiming the swords, the other the purse, the exchange will often not be particularly decisive until the lines clash.
The second choice, solid defenses, needs careful consideration. You stand to potentially be shot three times by a unit of archers every turn (Dothraki Outriders with a Fortune Seeker can attack off the purse and the swords, for example) and that’ll rip through lightly armoured and poorly motivated troops like Greyjoy Raiders. You need something like 3+ saves, Lannister Supremacy or its equivalents, the Battle Scars ability, or exceptional healing power to endure a sustained archery barrage and not feel like you’ve lost the game before the lines clash.
The third option, speed, is profoundly unreliable and you should not count on it. There are a lot of positioning games that archers can play – hidden behind stakes, friendly units, or line of sight blocking terrain in the case of House Starks. Committing into the archers early can mean setting yourself up for a countercharge. Sometimes the enemy line is sufficiently wide that you can’t easily wrap around it. You need to have spooky mobility – the kind available to Free Folk, Targaryens, or very occasionally the Outflank ability – in order to credibly threaten ranged troops by locking them in close combat. Even then they might always retreat off the Horse zone and continue their fire unabated.
It is almost never worth placing a second ranged unit in your list. The power that ranged units bring is highly tied to the tactics board – having a unit that can productively claim the Swords before the lines have met is a big deal. It can force your opponent to claim the swords pre-emptively and waste an NCU activation just to avoid taking a bonus volley. Two ranged units represent diminishing returns and renders the rest of your line extremely brittle.
Cavalry
Cavalry comes in two flavours: Shock cavalry and Mobile Reserve. There are extremely different use cases for both.
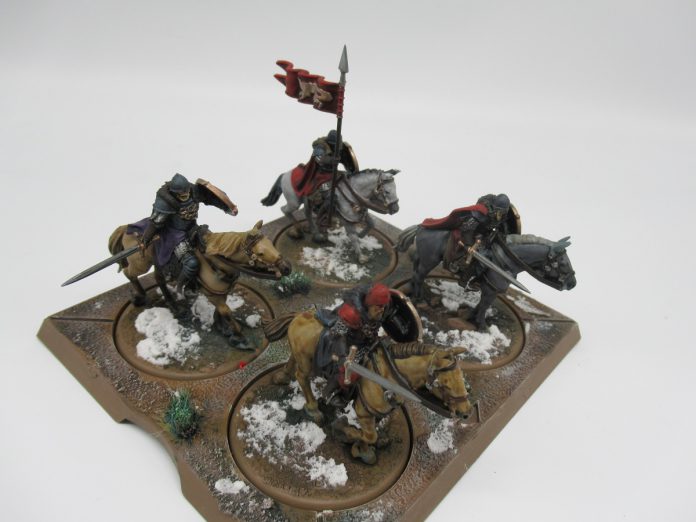
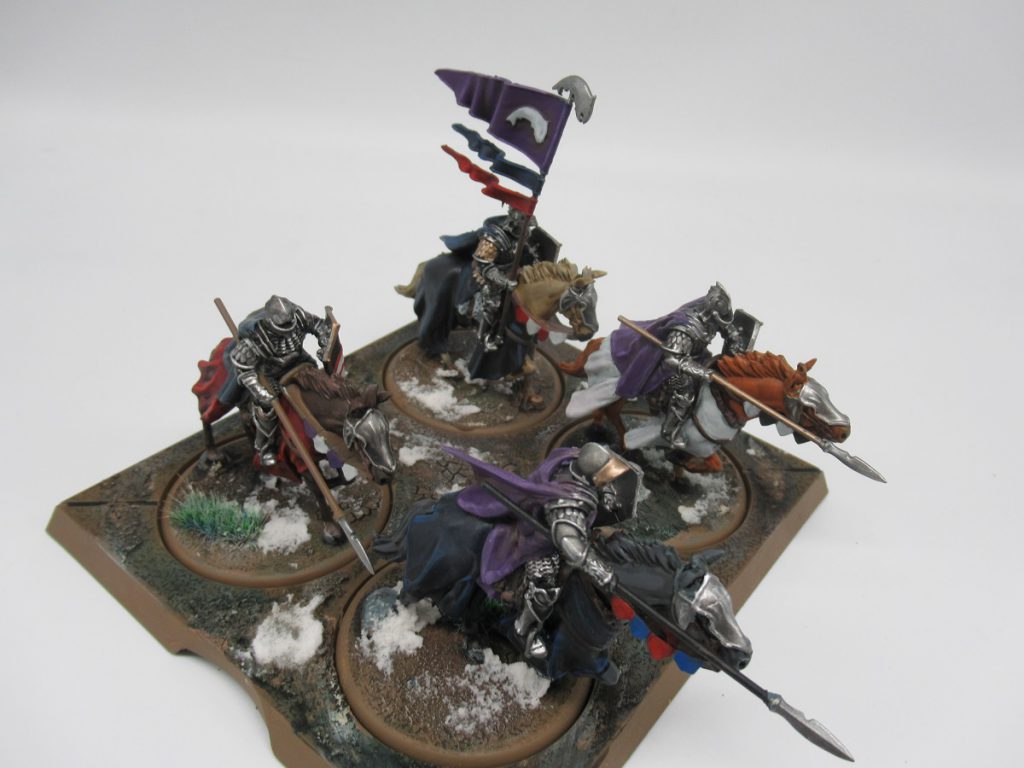
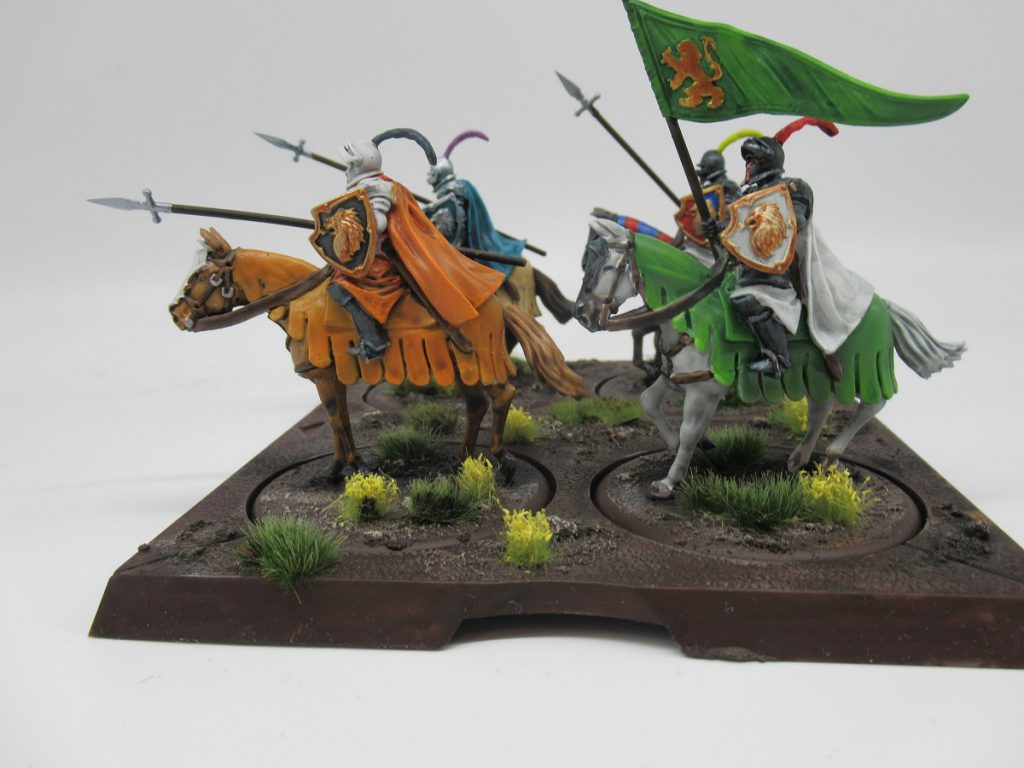
Shock Cavalry is much as you imagine it: fragile fast units that concentrate force on a vulnerable part of the enemy line and try to crack it. Dothraki Screamers and Riders of Highgarden are very clearly in this role. If they’re not charging they’re probably getting wrecked. Note that things like monsters and chariots are deceptively good in this role due to the flexibility offered by their narrow base size, letting them concentrate pressure into a crowded flank.
Mobile Reserve is a very different beast and not as intuitive as lances into the flank. It’s less about the sheer speed of horses and more about the possibilities presented by that free maneuver. A mobile reserve can wheel about to countercharge a flanking cavalry force, or change positions rapidly to shore up a hole in the battleline. Things like Champions of the Stag, Bolton Flayed Men and The Mountain that Rides fit into this concept space. A Mobile Reserve piece is a fantastic asset for an otherwise infantry heavy formation and is often all that stands between you and your opponent moving unexpectedly to roll up a flank.
Infantry
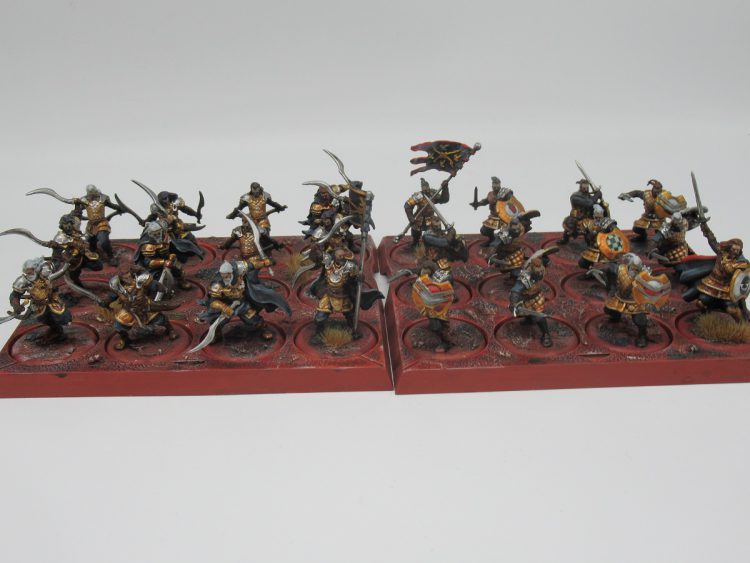
Infantry fits into two boxes: Offensive or defensive. Defensive infantry has a massive premium over offensive infantry in my mind: I’d prefer at least 50% of my infantry picks to be defensively oriented, possibly going up to 100% if I’m relying on shock cav to do the killing. Offensive infantry often pairs fragility with slowness and stands at risk of being shredded by archers, stalled out and flank charged by shock cav, or otherwise being given a really hard time making their way to the front line. Any infantry with a 4+/5+ save and 7+ morale cannot be relied upon to make their way to the front lines and do effective work, you either need Free Folk numbers or some specific delivery mechanism (including giving them your highest initiative slot) to get effective use out of them.
Utility Pieces
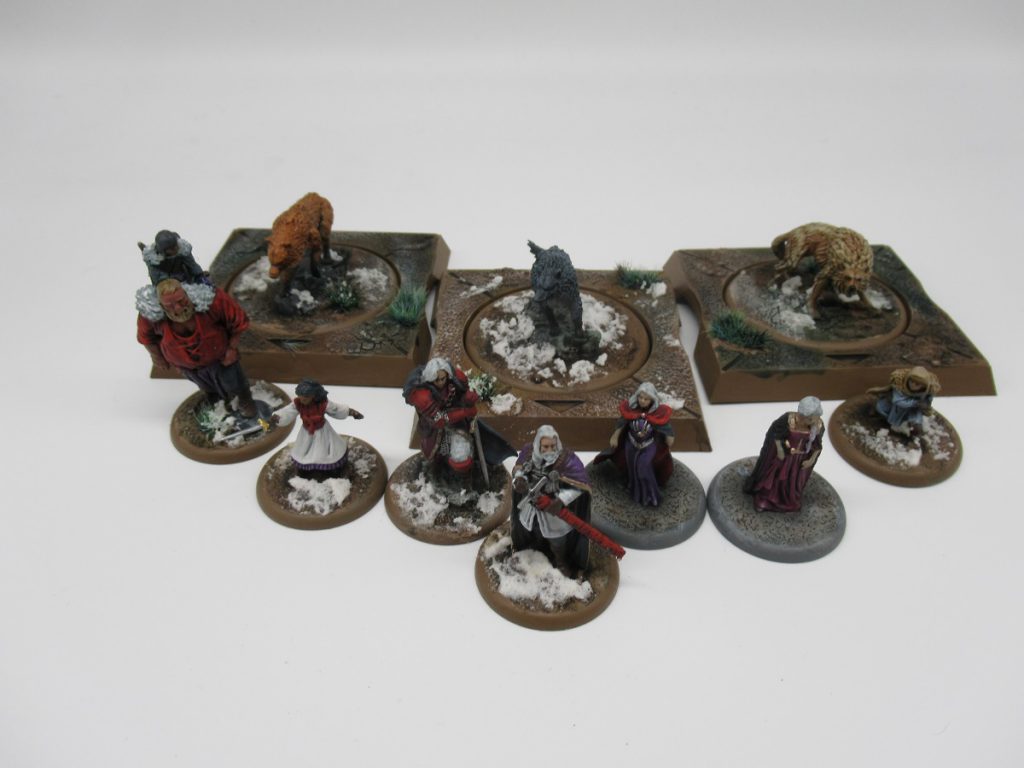
A utility piece is something like Jorah Mormont, Drowned Men, a Dire Wolf, or Coldhands – a cheap piece that can perform a variety of functions, not least of which is ‘has an activation’. They make fantastic objective holders, unexpected countercharge pieces, vectors for tactics cards, and sometimes the greatest service they can offer is to die so that Blood of the Dragon switches on. The only downside to a utility piece is it giving out VP when it dies. They generally compete directly with a third NCU and, in my opinion, almost always win out.
NCUs
Many players swear by three NCUs. I think for some factions and situations three NCUs is an extremely good choice – but that’s a product of certain NCUs or synergies, not something inherent to the third NCU. For instance, House Baratheon has such a high demand for certain tactics zones that having a third NCU is enormously beneficial to them, and House Greyjoy has access to the amazing Wendamyr who can transform even a mediocre zone into an amazing banked effect.
But if you don’t have a specific reason for three, though, take two and use the excess points to shore up your battleline or add a support unit. A third NCU without a plan risks just being a low-impact panic check each round, or worse, no activation at all if the tactics board is crowded out by the competition.
List Templates
My basic Song of Ice and Fire lists fit into this general framework: 3 Infantry, one cavalry or ranged piece, one utility piece, two NCUs. It’s a very reliable seven activation setup and that’s what I’d consider to be a normal list.
- An Infantry Heavy list is something like 4 Infantry units and one mobile reserve. Do not try this without the mobile reserve, without it shock cav will ride right past your flank and there’s nothing you can do about it.
- An Elites list is 3-4 superheavy infantry units, 0-1 archers and three NCUs – very popular with the House Baratheon, Greyjoy or Nights Watch factions. This configuration specifically needs to have a unit that can anchor a flank even if it gets charged in the flank/rear by shock cavalry, if you can’t put a unit like that together you can’t run this configuration.
- Cavalry Heavy is 1 shock cav, 1 mobile reserve, +1 ranged cavalry if you’re Targaryens, two units of defensive infantry and maybe a support piece. I’ve experimented going heavy on the shock cav and it’s hard to emphasize what a disaster it can be if you get countercharged unexpectedly. That risk increases the more cavalry you bring: hammer and anvil tactics need the anvil as well as the hammer.
- A Swarm list is something with 6 full combat units. These are pretty rare outside of Free Folk, who can often jump to Swarm status off The Endless Horde, and pad with Raiders who don’t give up VP. Listbuilding a Swarm list needs, overwhelmingly, to be about managing mobility. Without it then your units risk trickling in one at a time as they jam up each others movement and get destroyed piecemeal, and then you’ll have given up twice as many victory points as your opponent through lost units.
Wrapping Up
That wraps up our look at the basics of list building in A Song of Ice and Fire – you should have everything you know to go out there and build your own lists and start your conquest of Westeros. As always, if you have any questions or feedback, drop us a note in the comments below or email us at contact@goonhammer.com.
