
I’m not a big fan of the subtle power sword effect favored by ‘Eavy Metal, I don’t feel it’s super visible from the tabletop and I want my opponent to be able to easily make out weapon options that aren’t standard. The lit up, lightsaber look is better to me, but models that have motion look weird if there’s no blur. Even moderate light will blur in motion. So I have devised a method that allows models to show a bit of that, and I’m sharing it today.
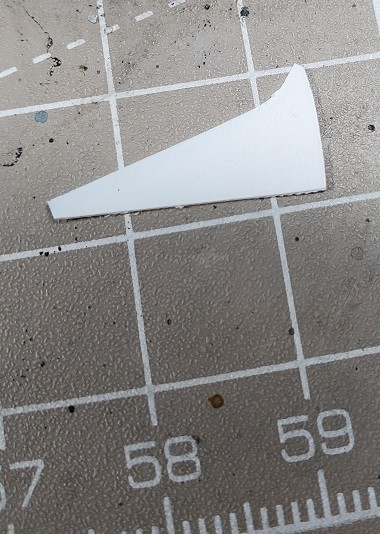
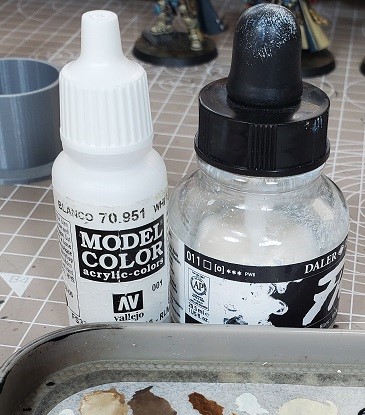
In addition to common hobby tools and paint all you really need is very thin plasticard. I believe the one I’m using is one or 2mm thick at most. Let’s take a deeper look at how to get this result.
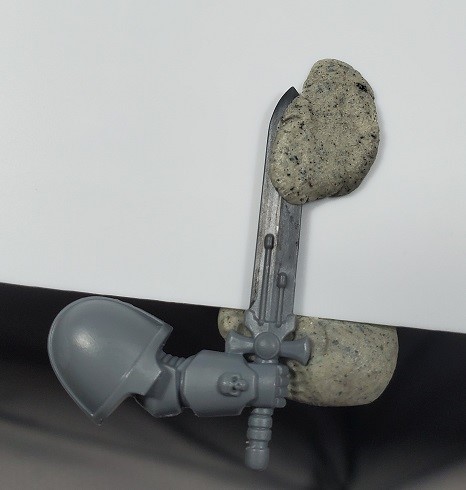
Step 1. First you are going to want to secure your part to the plasticard with the trailing edge against the card. You want this as secure and close as you can get it.
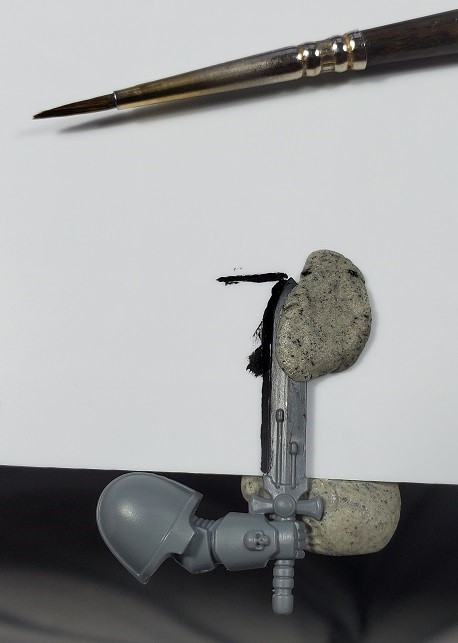
Step 2. Take a paint brush or a pencil and trace the trailing edge of the weapon. I also draw a guide line for the tip of the weapon.
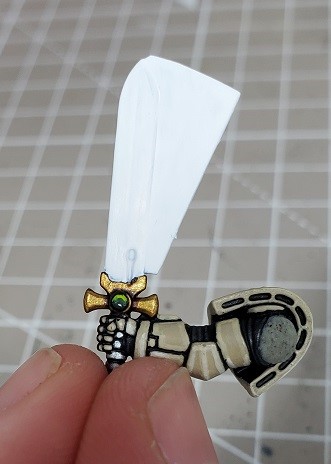
Step 3. Carefully cut out the trailing edge of the plasticard, and the wider shape of the plasticard. DON’T cut it to size yet. It’s almost impossible to make the cut flush with the model on the first pass. You are going to want to continuously whittle the edge until it is perfectly flush with the model. Leaving space allows you to keep on whittling until you get it where you need it and is easier to handle.
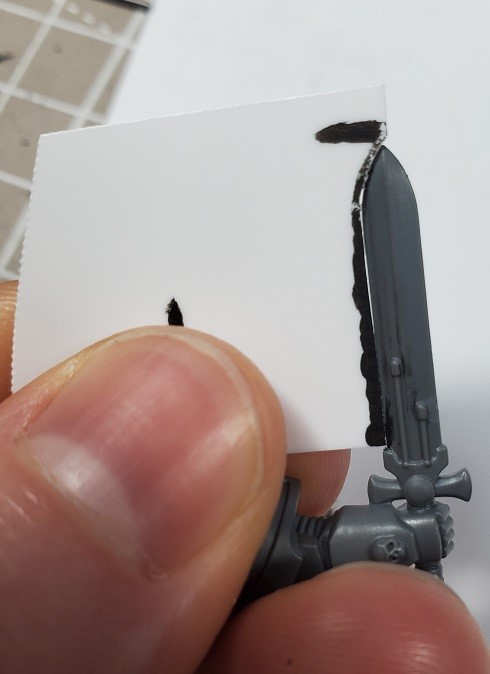
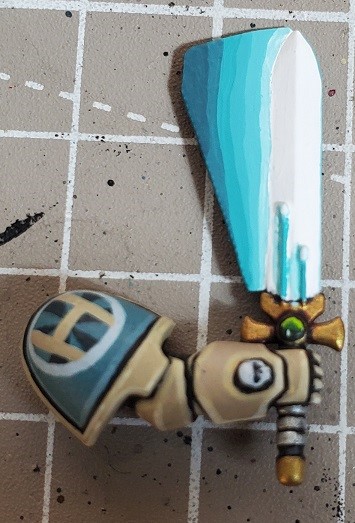
This photo is from near the end of the process, there is just a tiny, tiny sliver towards the base of the sword. The next pass likely finished it and made it flush.
If this cut is not perfectly flush you could hypothetically fill it with some greenstuff or something, but you really want to weld it with plastic glue, and the more contact the better. It’ll pop right off very easily if you don’t have a solid contact point. If it does pop off there will be a crack that will basically be visible until you re-paint it.
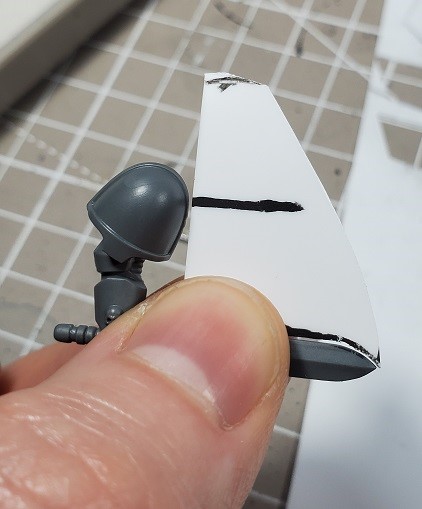
Step 4. Cut the curve of the swing as close to the point of the sword as possible. I recommend posing like the model and waving a stick around until you’re comfortable with how it should look. I likely took off that tiny bit of overhang over the point of the sword right after this photo. It looks real bad if you leave it, but you will almost certainly produce one as you perfect your weld with the sword.
Step 5. Trim the trailing side to be roughly where you’d expect the blade to have been a half second ago. I would likely have made this smaller if I was not doing a tutorial and wanted more surface area. Leave extra surface area here. You can always trim later if you are careful.
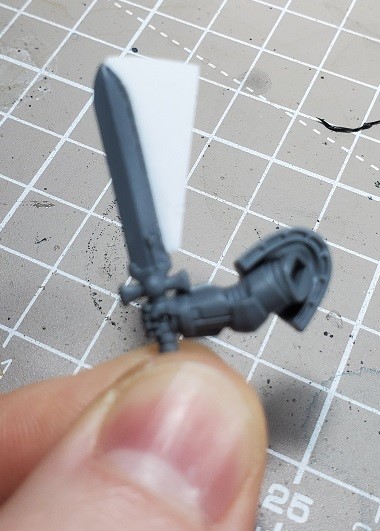
Step 6. Plastic glue. PLASTIC GLUE. You really don’t want to super glue this. It will pop off. The width of this piece is a perfect fulcrum and the contact point is tiny. You’ll want to be careful here to make sure it welds straight. It looks bad if it is tilted towards one side or another.
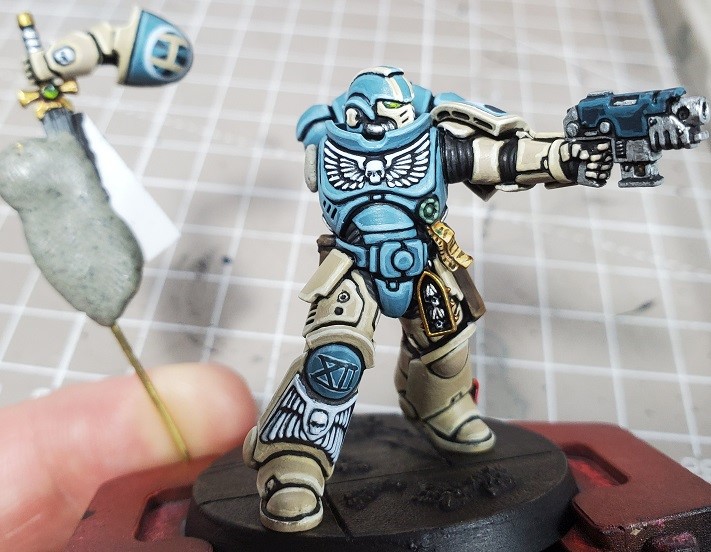
Step 7. Draw a couple circles, a couple connecting lines, and finish the space marine holding the sword. If for some reason you’d like a more tedious tutorial you can find it at: https://www.goonhammer.com/painting-them-tan-and-blue-boys-blacklined-power-armor/
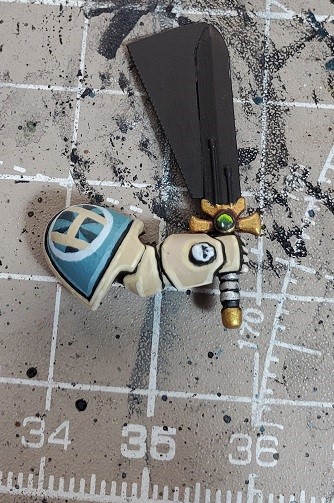
Step 6. Prime the sword blade if you haven’t. In this case I didn’t while I was working on the marine. I didn’t have a good location to secure the arm to a pin while working on it.
“Eifert Posting, why are you priming this sword blade black?”

My bottle of Gesso I bought in 2008 is still full to where my finger is pointing. I’m excited to try “Stylenz” or whatever that primer everyone likes is called in 2023.
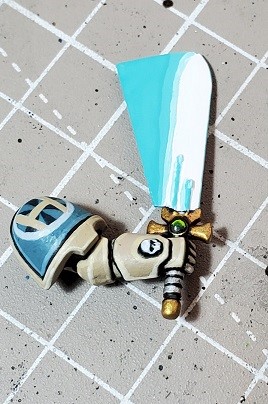
Step 8. Painting. We’re starting with the white to keep these colors popping. Even if you primed white you are gonna want to mix this and put a layer on to keep the colors consistent as you mix the coming layers. I use a ~75/25 paint/ink when I paint white as it will cover a lot better.
Six layers later. I recommend stealing a loved one’s hair dryer. Just in general.
THE SECRET TO GOOD RESULTS IS EVEN COVERAGE! Don’t cut corners.
Now, this is the bones of the effect. I believe a layered, striated effect that is deliberately not straight and perfect is the secret to nailing this look. I can do basic wet blending, but what we expect to see is closer to what a camera would show, shutter speed results in a striated effect. If you are comfortable with airbrushed blends or wet blending you can do your thing, but I think you may not be as happy with the result.
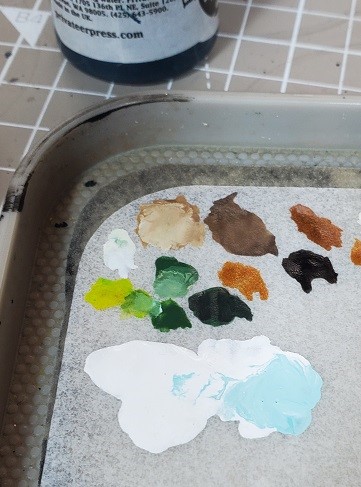
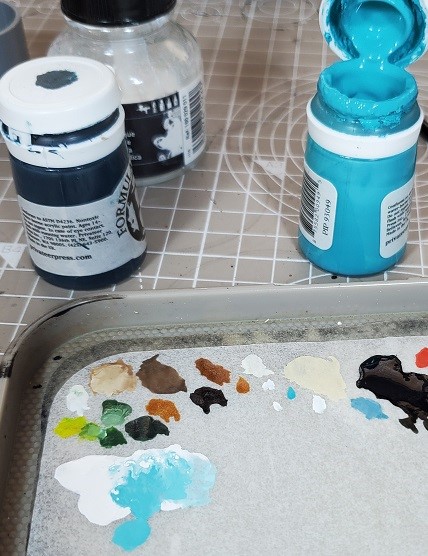
Pick a bright, neon color and a dark, near black color of the same tone. I am using P3’s Arcane blue and Coal black. You want to have 3-5 intermediate shades between your natural white and your neon color out of the pot.
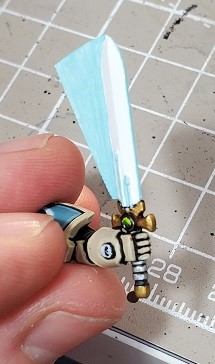
Initial color. You want to hit the leading edge of the sword (as it’s in motion it would not have as much light as the body), any raised detail, the trailing edge behind that detail, and the entirety of the plasticard. Use common sense, You’re basically reversing the effect behind any raised surfaces that don’t give light. On the plastic card the light will grow dimmer as it flows away from the sword, but behind raised texture it will grow brighter.
Next layer. You want to hit the tip of the top of the sword here as it’s traveling faster than the hilt.
Next layer, Go for a wavy look, light doesn’t really do straight lines
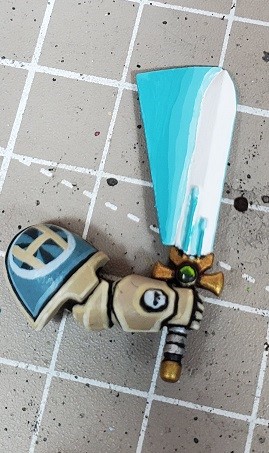
I’m up to straight arcane blue.

This is about 1/5 coal black to arcane blue. You don’t want to get to 1/1 here, it will stop looking like a light effect. I realized that I would need to either widen my lines or pass that 1/1 threshold, so I trimmed the plasticard down here:
Don’t be married to the shape you start with, it’s better to trim to fit the painted effect you have than to try and re-do the effect. I actually wish I had been more aggressive here. It looks fine in person, but this cut looks awkward in this photo. I would have carried it down further on the blade in retrospect. Now that it’s mounted that will be a P.I.T.A.

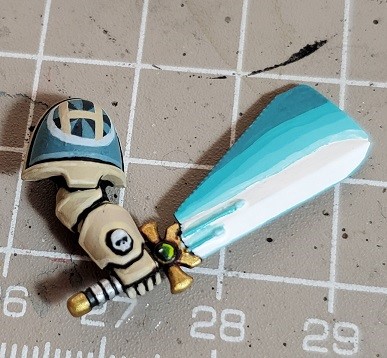
Fin. This is just below a 1/1 of arcane blue and coal black.
I finish the little power nodes in pure white. I go back and forth on this. They are a raised surface, but they are also supposed to be the source of the power. Eh, as you like.
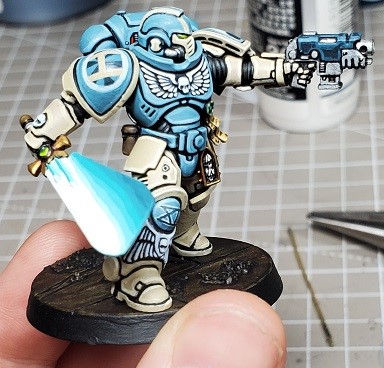
Mounted product. I believe this effect would work equally well in a number of colors (if it wouldn’t clash with my scheme I’d love to see orange.) I could also see a black blade work well to show the absence of light for some dark elf or chaos nonsense. I will tend to finish mine with a semi-gloss varnish.
The final advice I would give it to take care transporting a model with this effect. If any kind of weight is put on it you run the risk of it popping off and that will cause a crack no matter how well you re-attach it. Because of the bright colors that crack will be very visible.
This is not a time-intensive process. Total paint time for me (including the white thanks to my wife’s hair dryer) was about 20 minutes and assembly was roughly the same. If you give it a shot please feel free to contact me with any questions and please post your results! Happy painting.
Go Make Some Rad Lightsabers of Your Own
There you have it! If you have any questions or feedback, or just want to show off your own attempts, feel free to drop us a note in the comments below, or email us at contact@goonhammer.com.
