
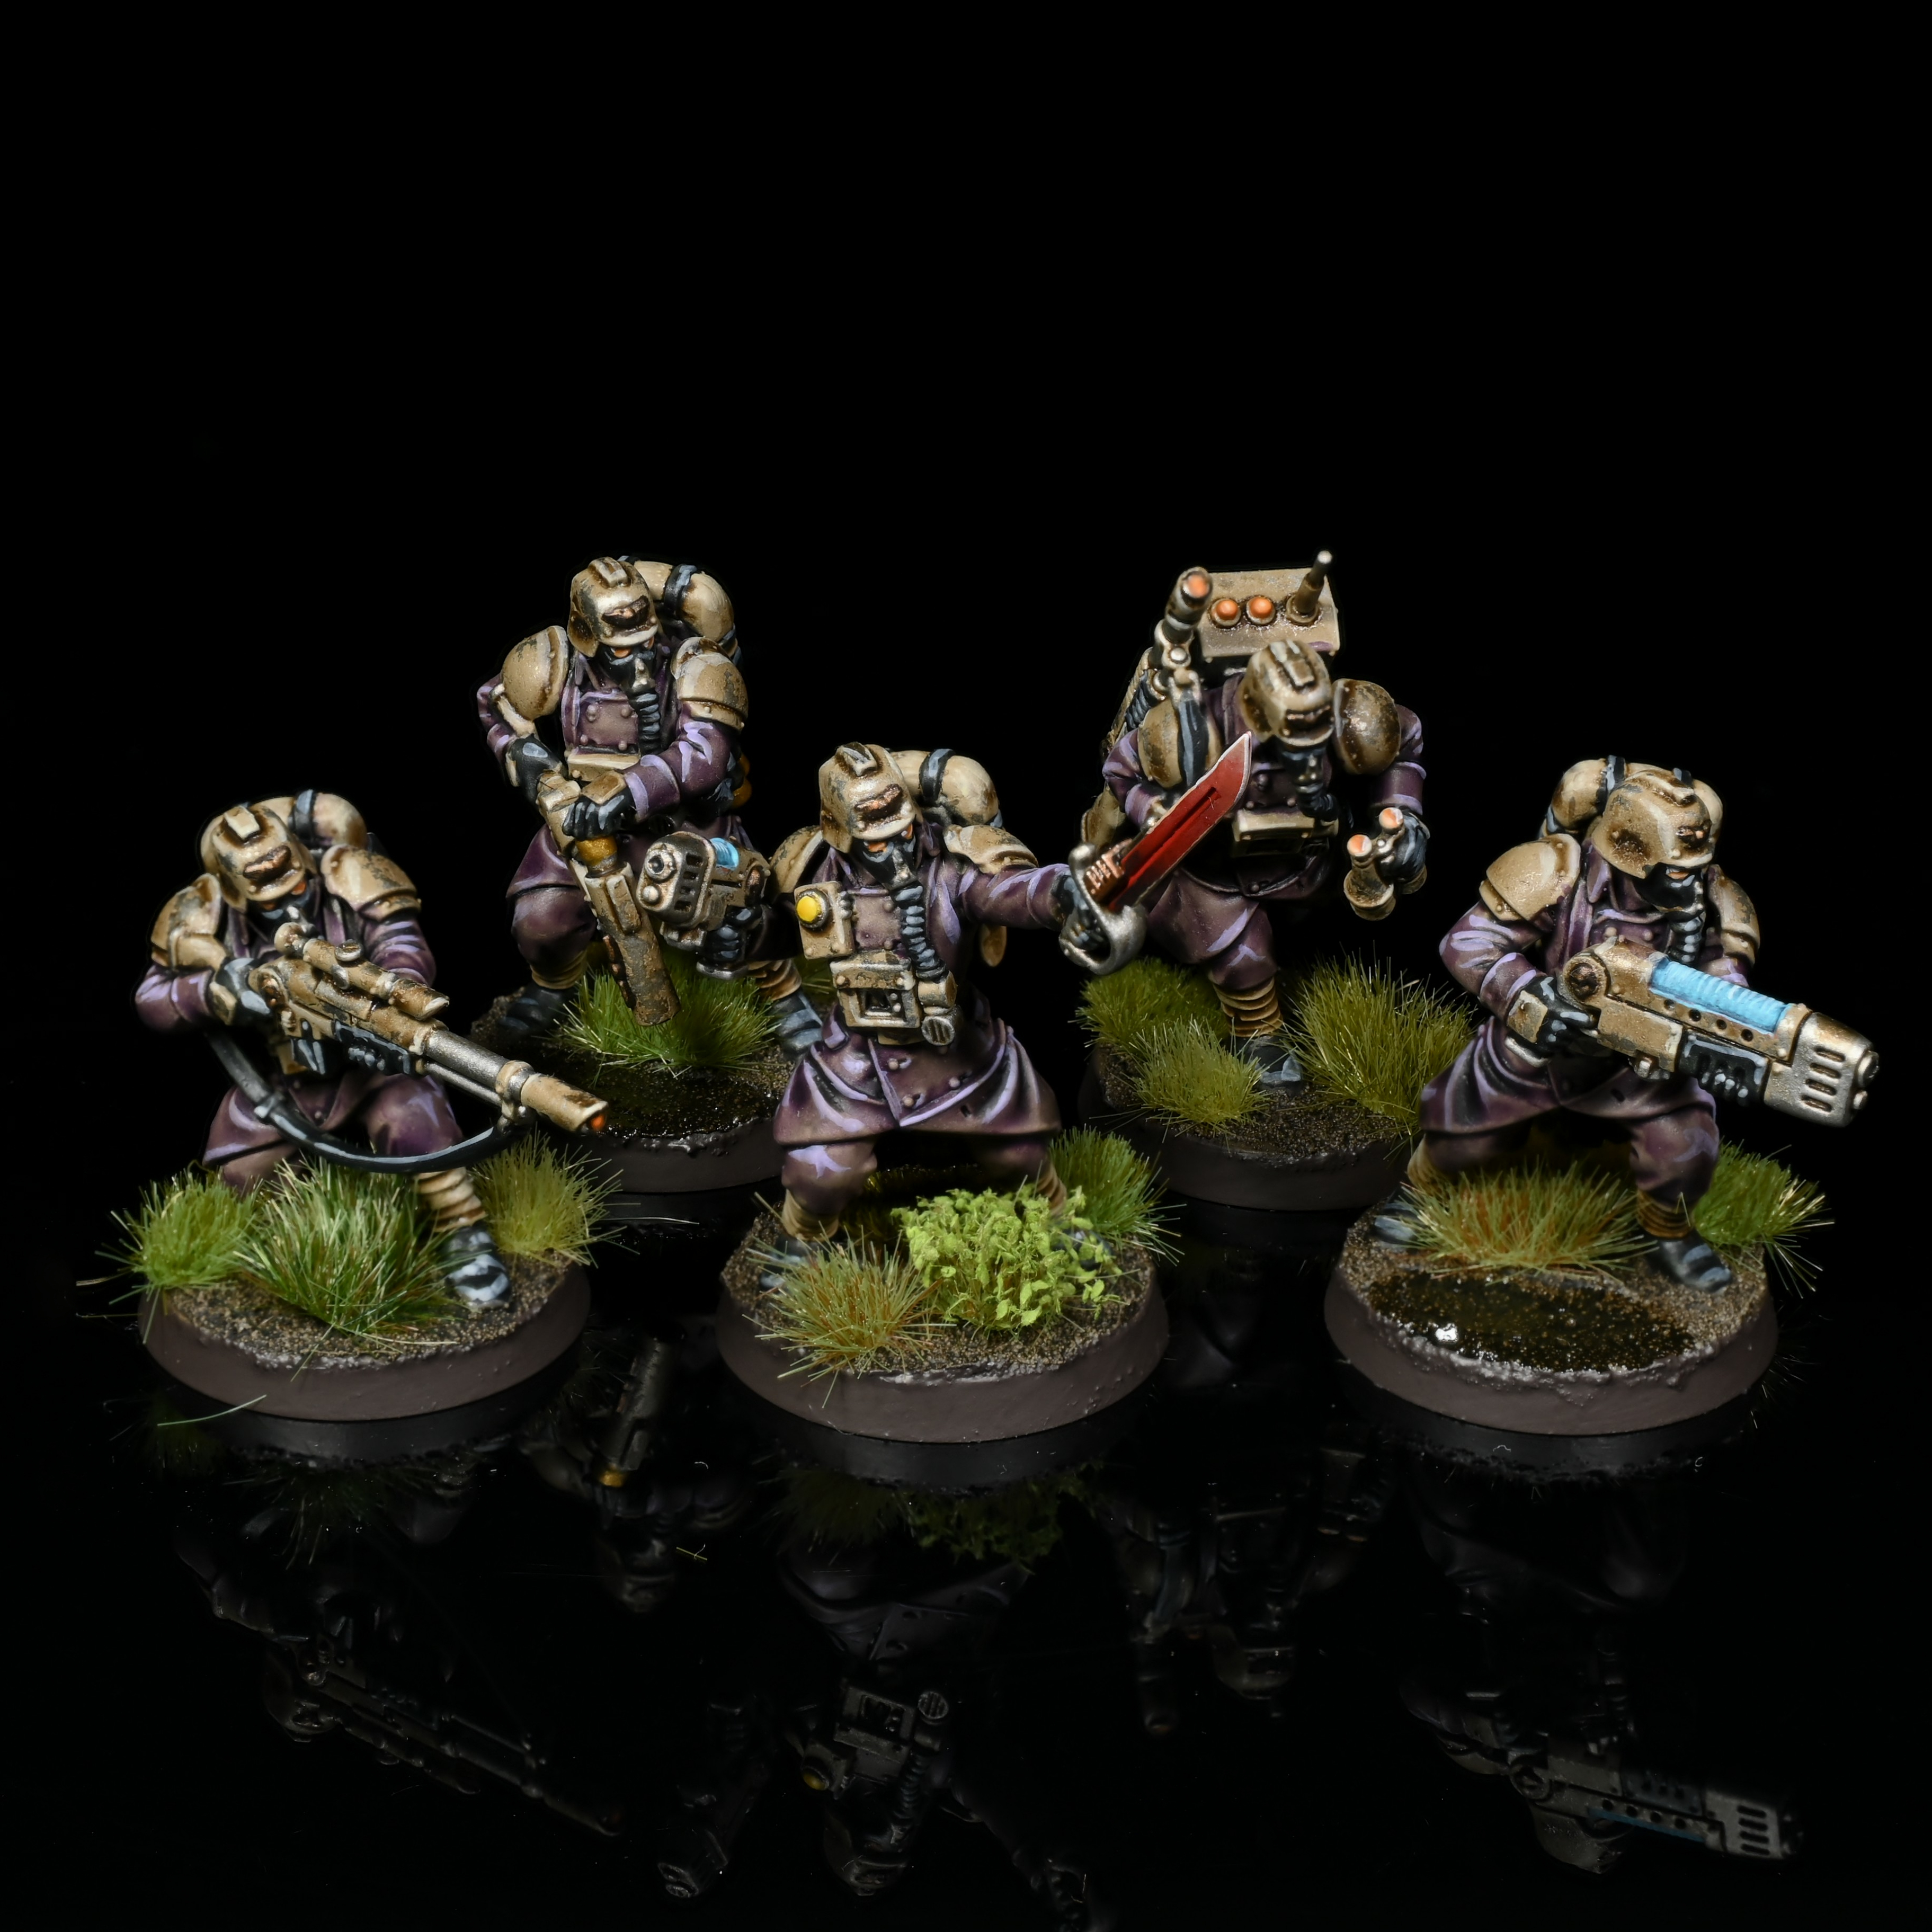
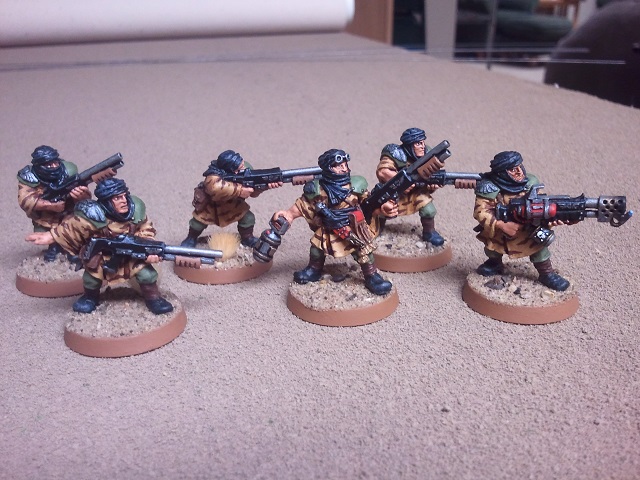
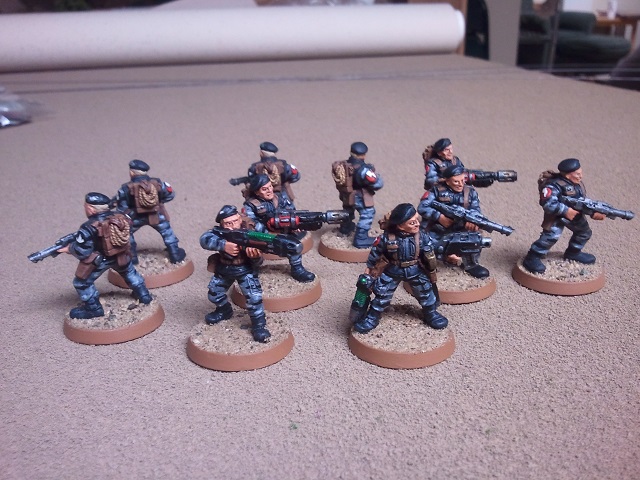
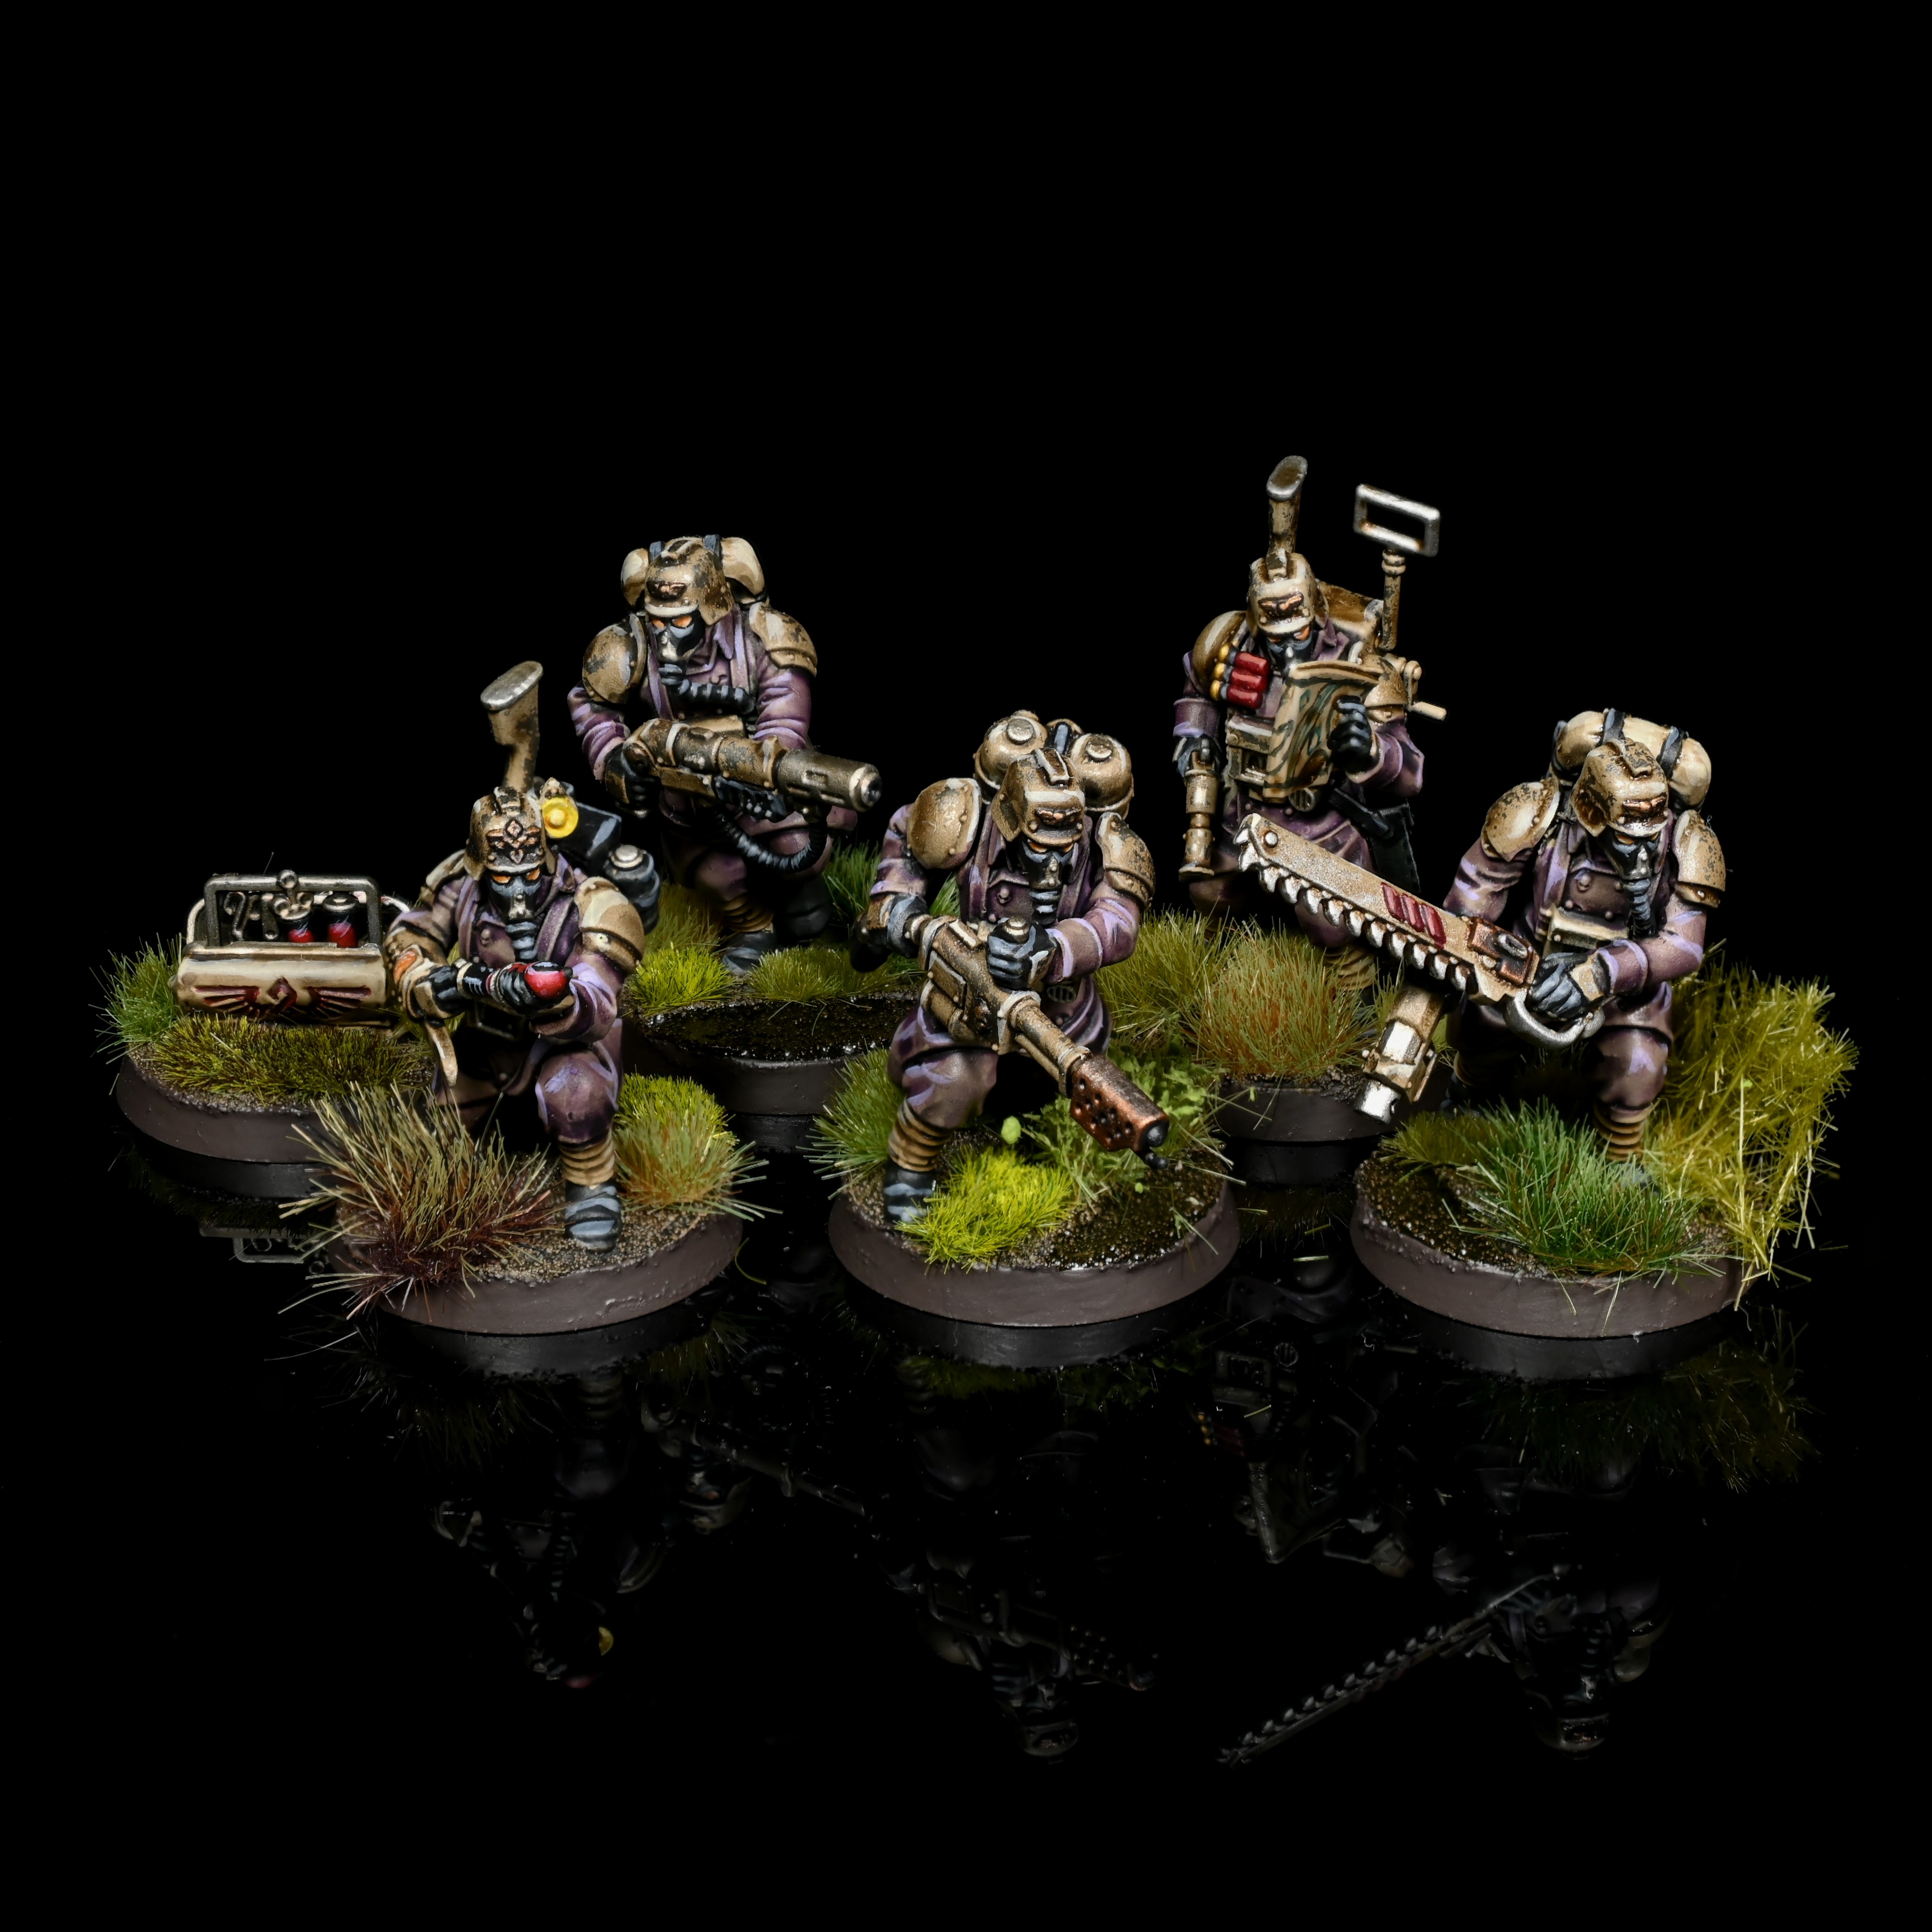
The Veteran Guardsmen (which are now largely being represented by the new Death Korps of Krieg kit) are one of the two new Kill Team factions added in the Octarius book. They represent some of the toughest operatives that the Astra Militarum can muster, veterans of dozens of battles who refuse to shirk from a challenge. Similar to Kommando teams, they have a large variety of tricks and builds they can bring to the table. They tend to be a little more interesting (and stronger) than standard Guard teams.
Strengths
- Tactical Flexibility – Veteran Guardsmen can build a bunch of different ways, building a team of 10 operatives from a list of 14 options, plus one Ancillary Support option that gives you additional support, either in the form of more bodies or additional firepower.
- Numbers – A team of Veteran Guardsmen contains between 10 and 14 models, giving you the option to play a board control game.
- Tactical Assets – Tactical Assets help your team make up for a lack of heavier ranged weapons by giving you guided missiles and air strikes, which can crack tougher targets and really help you break up hordes of enemy units clustered together. That can be particularly good against Chaos teams that need to huddle around a banner.
- Orders – Veteran Guardsmen get the same Orders as standard Guard Kill Teams, but they also get Strategic Ploys on top of those. Orders are pretty decent, and can really help you get the most out of your operatives.
Weaknesses
- Flak Armor – Your team’s armor is essentially the 40k equivalent of “long coats,” meaning that you’ll be depending on 5+ saves, which is to say, not saving incoming damage often.
- Ranged Firepower – There isn’t a ton here in the way of weapons that can crack heavier targets at range, and the options you do get are limited to one operative. Otherwise you’re going to be depending a lot on lasguns, your sniper, and your once-per-game Tactical Asset choices.
- Reliance on the Leader – If you want to give orders to your Veteran Guardsmen they need to be close to the leader, or you need to have a Comms Operative shadowing them. This means that someone shooting them and messing up your ability to relay orders is a risk. Clustering your models together with their low saves is just asking for blast weapons to hit multiple models at a time.
Veteran Guardsmen Kill Teams
Veteran Guardsmen teams are composed of 1 Sergeant Veteran and 9 additional Veteran Guardsmen operatives, plus one Ancillary Support option. There are thirteen specialists, a leader and standard troopers available, giving you a wide range to choose from in constructing your force, plus your Ancillary Support option can give you another four Trooper Veterans or be traded in for two Tactical Assets.
Operatives
You’ve got ten slots in the roster, so there’ll be some decisions to be made about what to include of leave out, and you can go for a melee heavy list for close range fighting if you want (I think you’d do well against poor melee lists and bounce off hard against lists with decent melee though), or a more traditional shooty/swarmy guard.

Table of Contents
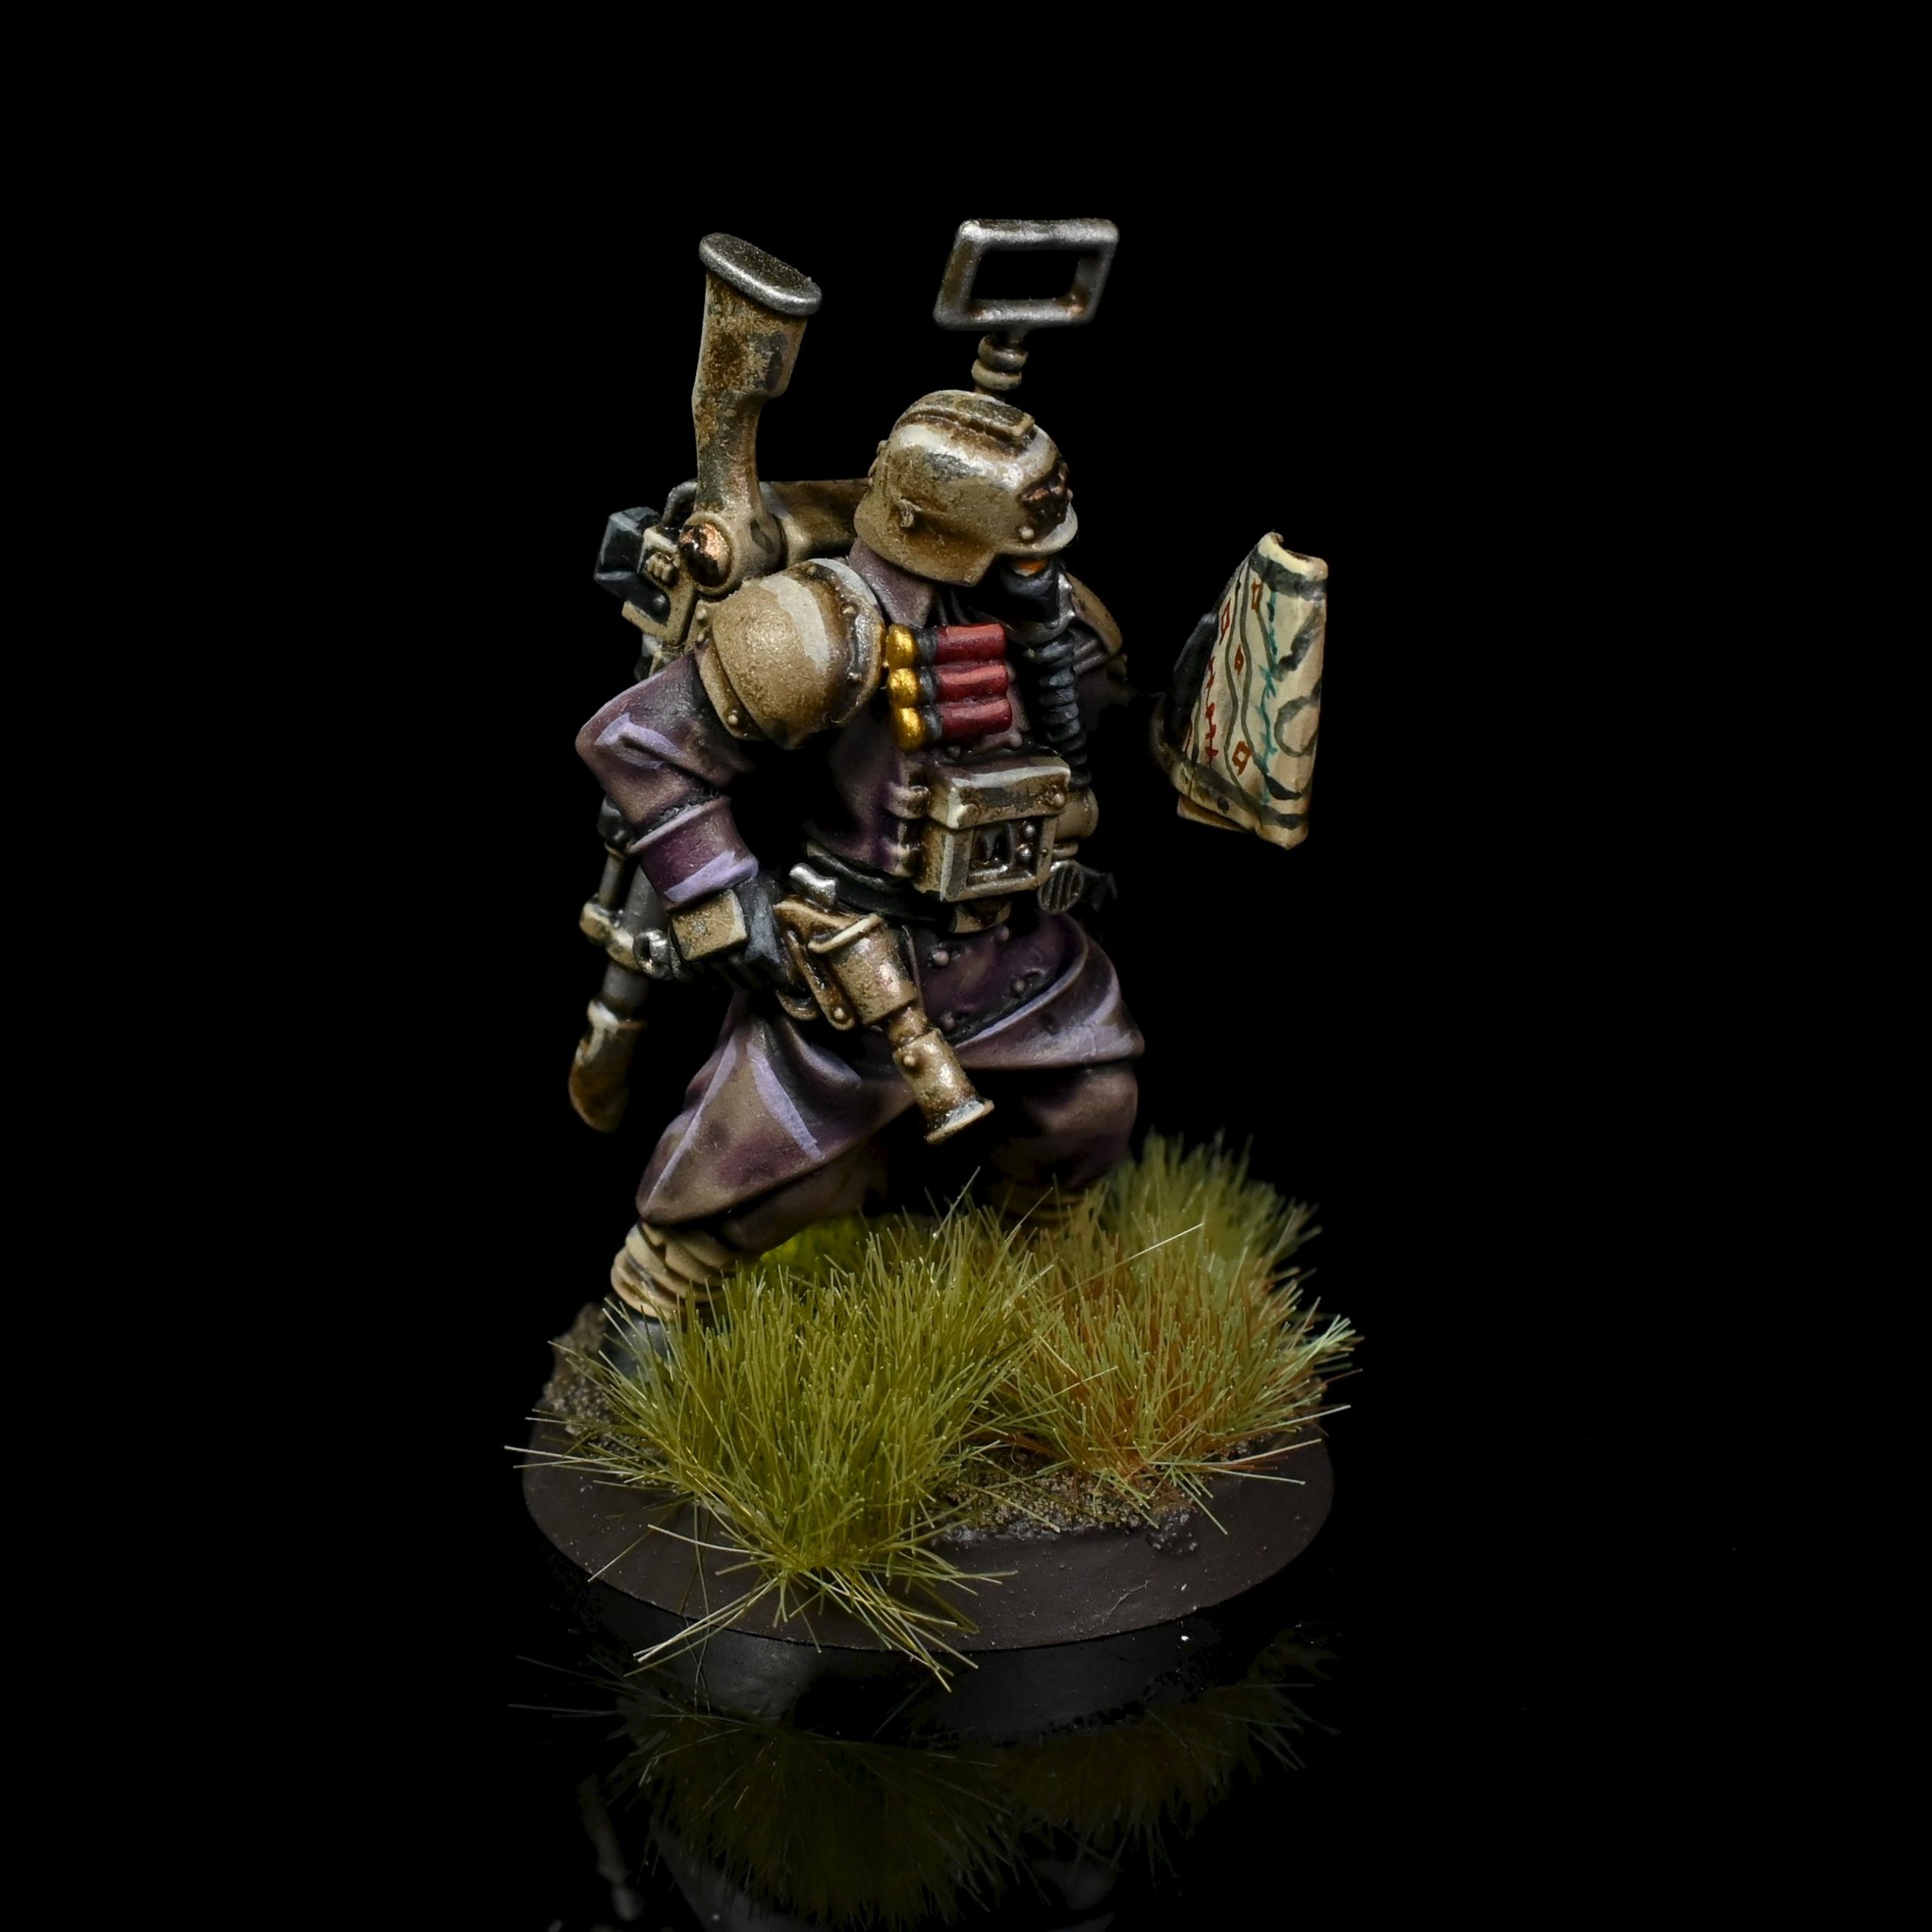
Sergeant Veteran
Sergeant Veterans are the team leaders and give you a variety of ranged and melee options, though I’ll immediately say plasma pistol and power sword is the preferred loadout for this model, giving it serious close range bite and melee threat. This lets you use it to guard other models who only have bayonets against any melee breakthroughs that could murder them.
In order to benefit from the Guardsmen Orders rules you need this model to be alive, and ideally within 6” of a Comms Veteran. Guardsmen Orders are a big force multiplier for the faction, and everyone within 6” of this model is affected by them.
Having said that, it’s still a fairly fragile model that you may want to use to threaten a counter attack with from out of line of sight (to deter things from getting too close and getting a powersword/plasma pistol in the face) rather than lead from the front and catch bullets with. Your sergeant is a little tougher than a normal veteran, but that’s still a 5+ save and 8 wounds, meaning bolter or pulse carbine fire is not your friend.

Confidant Veteran
Your emergency backup sergeant, this model can’t take a plasma pistol or power sword, but can take a bolt pistol/chainsword or bolter. This lets you choose it to be a melee threat if you are selecting the Bruiser and Hardened Veteran as well (so you’ve got three melee focussed models, possibly backed up by a flamer & melta gunner) or equipped with a bolter and hanging out with your long range firepower.
The model has the Directive ability, meaning you can activate it, and then activate another friendly model within 6” and Visible. This is great for activating the Confidant, shooting something with your bolter and then following it up with a gunner firing as well. Getting through your activations quicker leads to either you getting more Overwatch or your opponent getting less, so use this ability every turn.
Zealot Veteran
A straightforward choice to include if you have space. This model is a normal Veteran Guardsman except for its The Emperor Protects ability, which allows it to reroll any or all defence dice (thus staying alive for longer) and it’s Uplifting Primer action.
Uplifting Primer costs one AP, but gives friendly models within 3” the ability to retain one dice that rolled a 5+ as a critical hit. This means that basically one 5 becomes a critical, and imagine how useful an extra critical is for a Sniper Veteran or Melta Gunner. This bubble also works in melee, where crits are the key to winning, and hence possibly not dying with wound 7 models.
Medic Veteran
This is a standard Guard Veteran with the Medic! Abiliity and Medi-kit Special Action.
Medic! means that the first time a model is incapacitated within 3” in each turning point it can be kept on the battlefield with one wound and may make a free dash action as long as it ends up within 1” of the Medic. Both models subtract 1 from their APL for the turn. The medic also has a healing special action for 1AP, healing 2D3 damage, but cannot perform this on a model saved by the Medic! Ability.
This means the medic is a solid support model for a gunner firebase, helping to keep them alive and firepower to keep pouring into the enemy.
Comms Veteran
Another specialist with an ability and a unique action. Relay Orders means that if a Leader gives a Guardsman order within 6”, you can, at the cost of subtracting one from the models APL, relay that order to all guardsman models. Note that orders are issued in the strategy phase, so the model will only have 1AP to spend later in the turn.
The unique action Signal gives another model within 6” and visible an additional APL, perfect for setting up grenade or mine runs (Move, Dash, Shoot) or otherwise giving a model 3APL to play with.
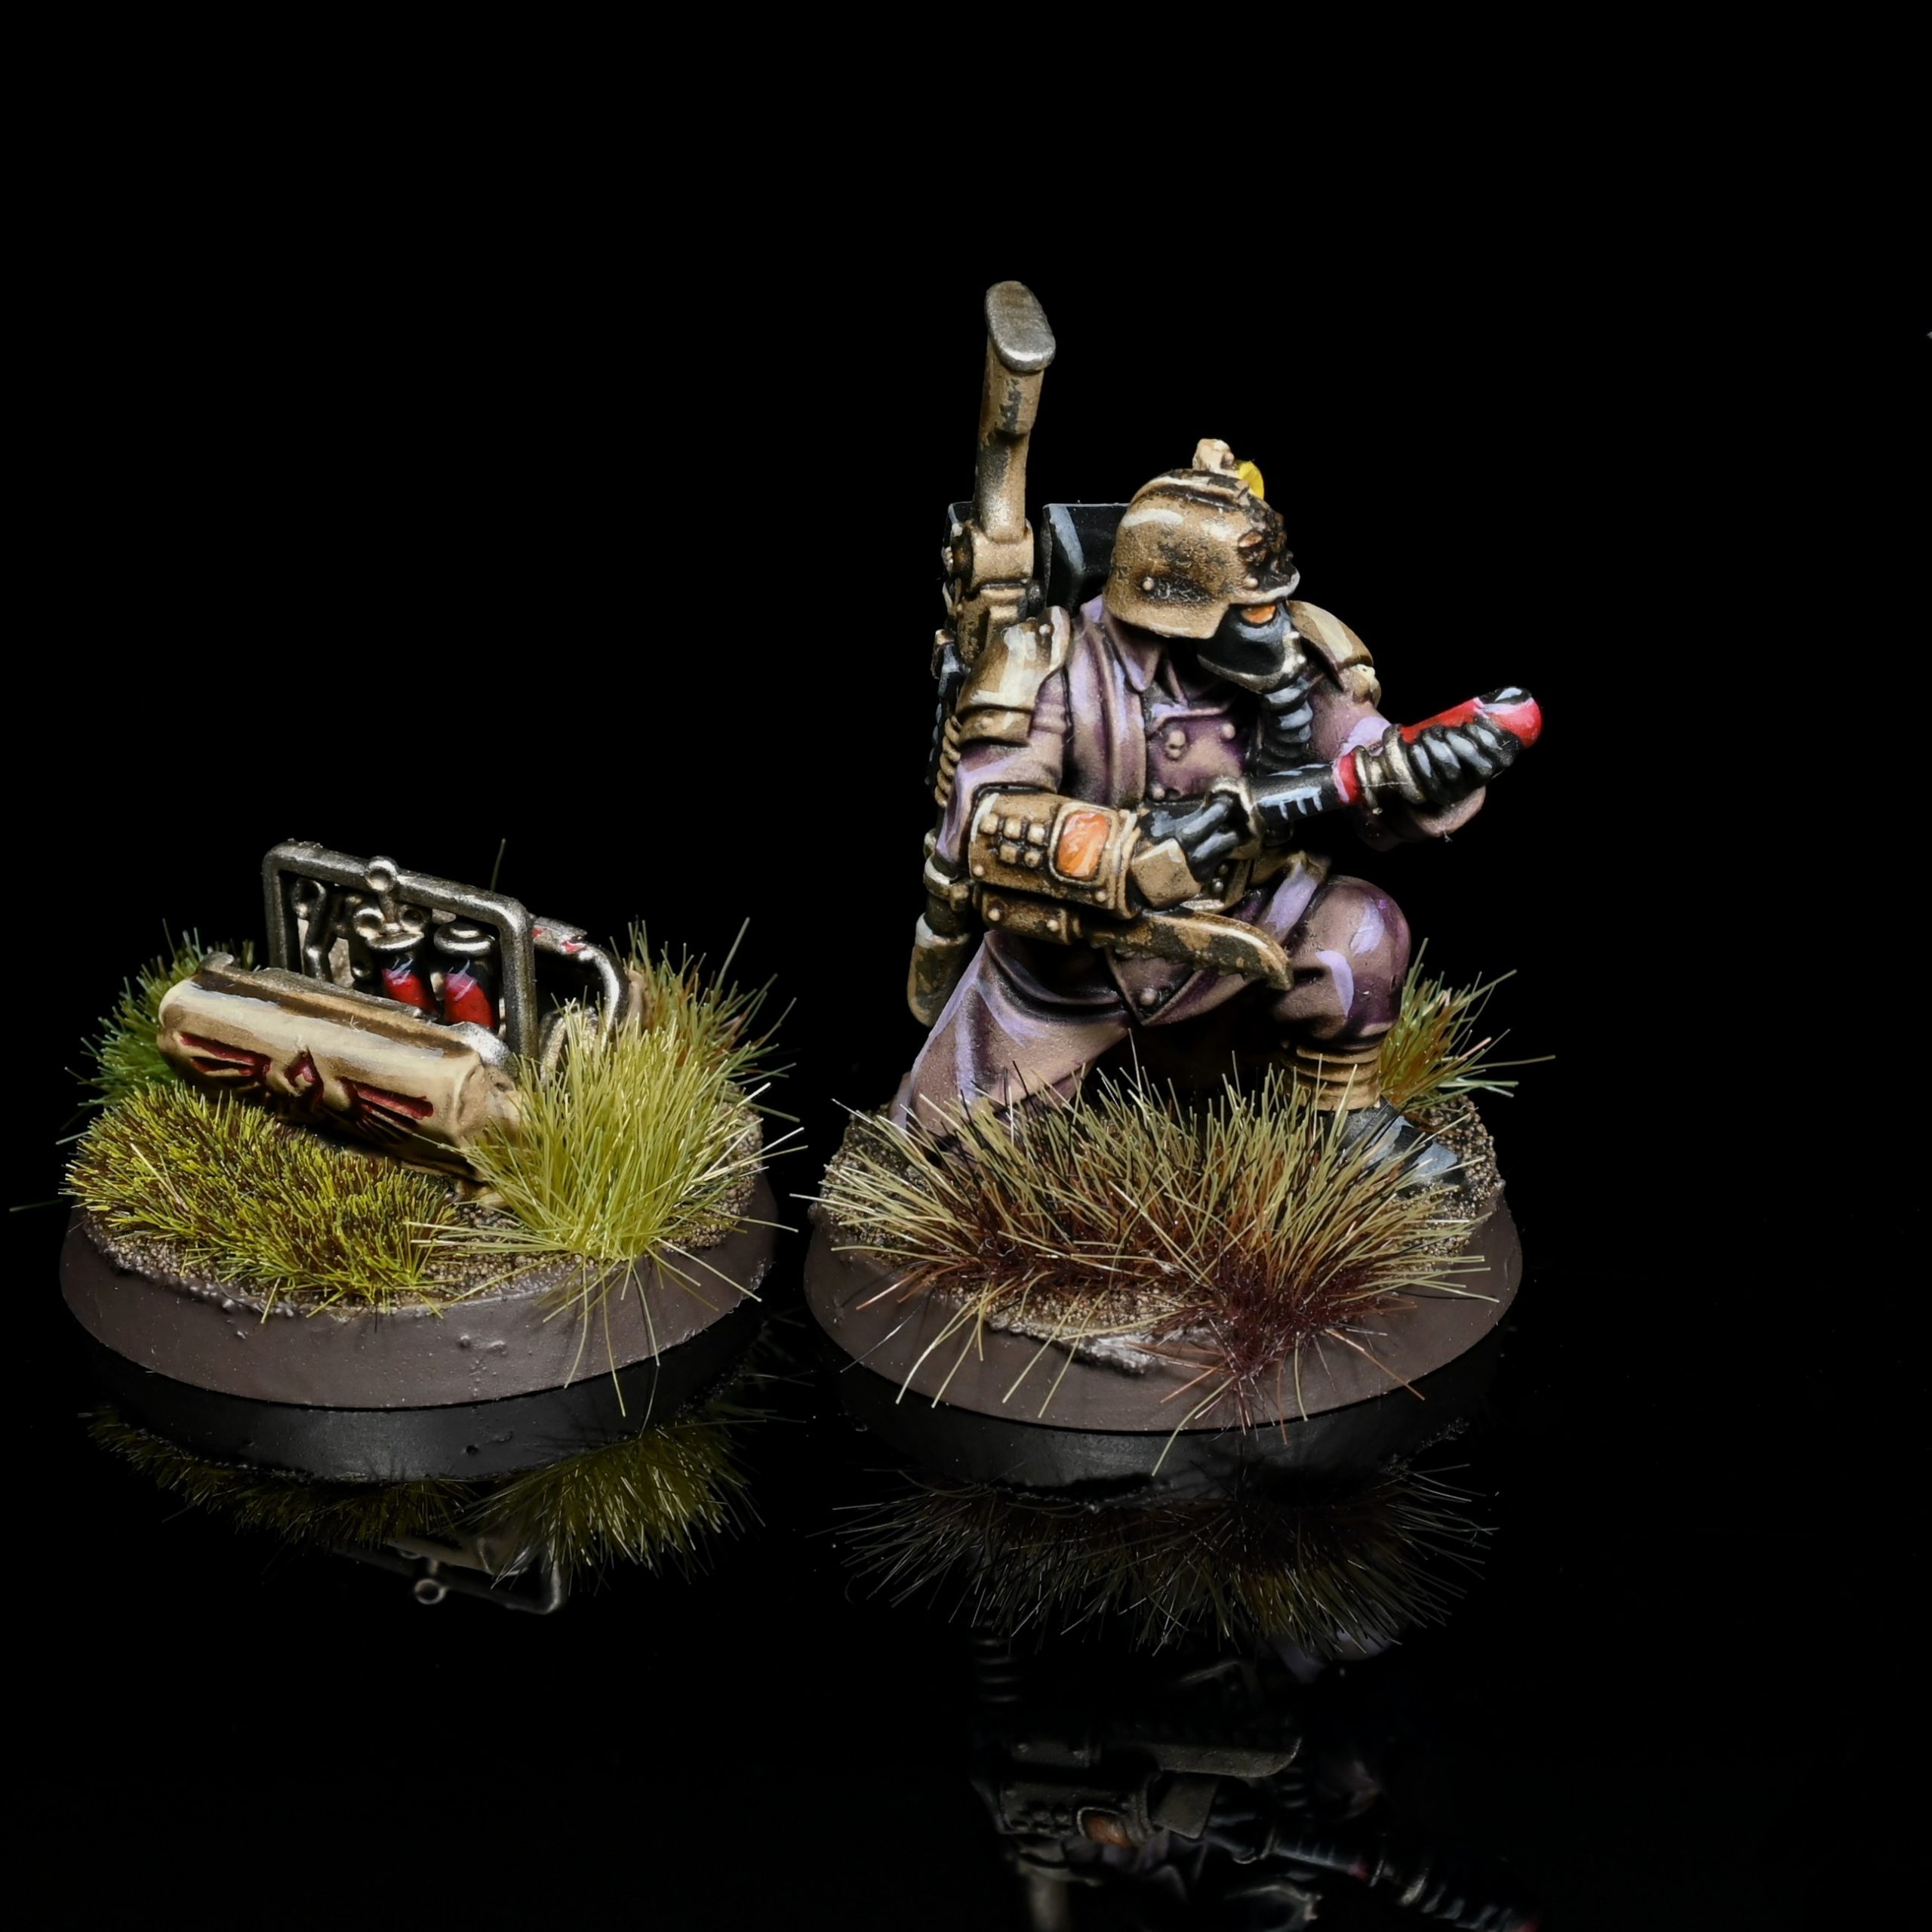
Demolition Veteran
This model has a great ability that is tricky to use, and really benefits from the Signal action from the Comms Veteran giving it an extra AP.
You have the Remote mine with 4 dice, 2+, 5/6, APL1 and Silent, but you have to use your special Action to Detonate the mine after planting it. As a Silent weapon you can do all of this using the Conceal order, and with 3 APL you can move, Plant Mine, Free Dash and Shoot to Detonate it. The mine affects models within 3” of the mine counter, so it is devastating against multiple targets, but you have to be careful about how you place the mine and use your free Dash, because otherwise you’ll get caught in the blast, and very likely to do.
It’s tricky to pull off, and you’re very likely to catch a bolter shell to the bonce trying to do this, but it’s going to be fun as hell to do.
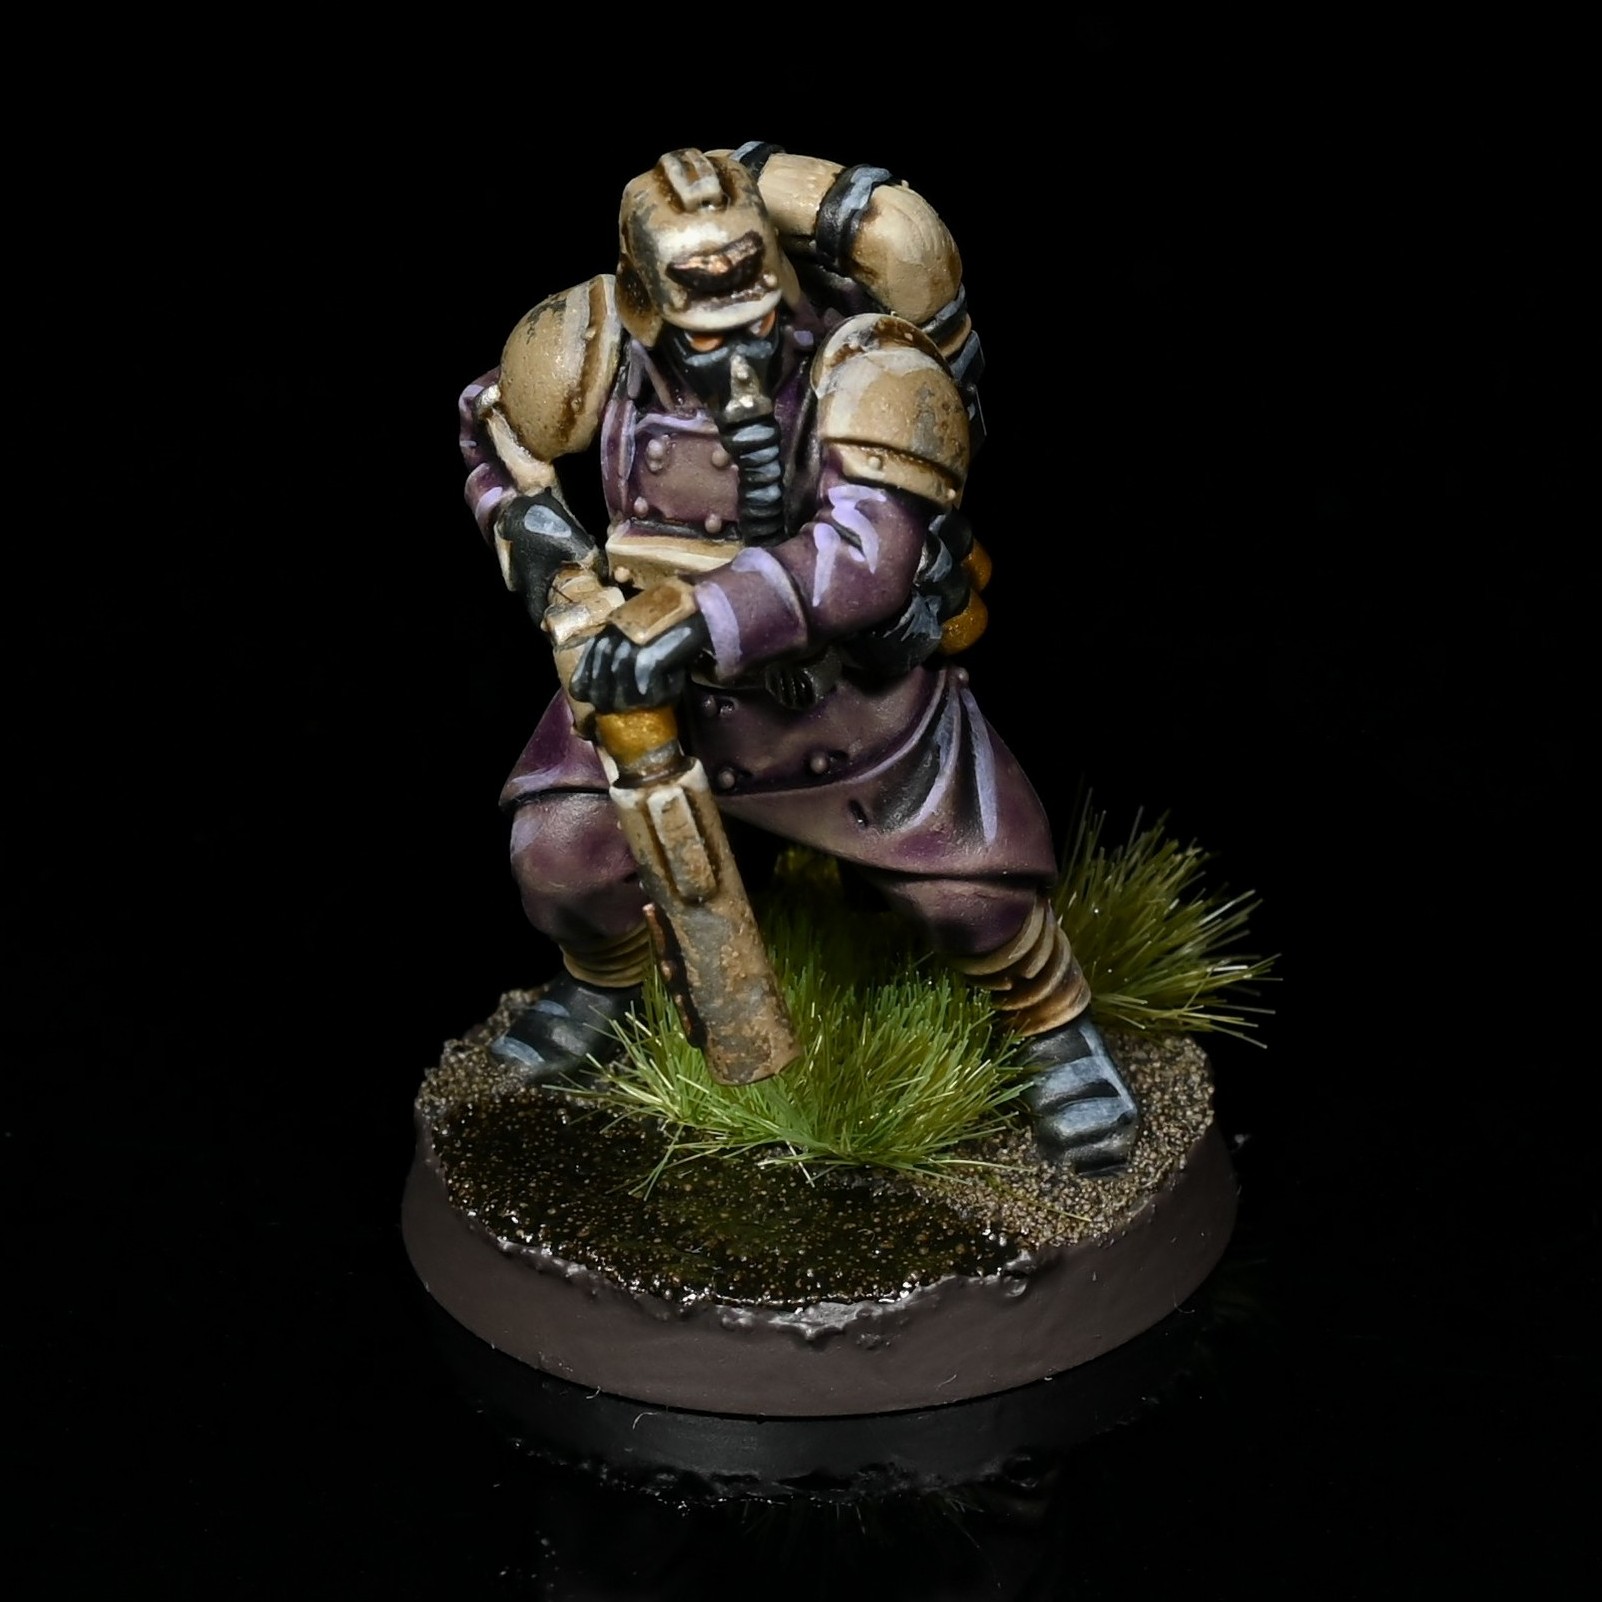
Bruiser Veteran
A guardsman with better melee abilities, able to ignore the damage of a single normal hit, and with a Trench Club (3 dice, 3+, 3/3, Stun) that lets you bop your opponent and nullify another normal hit. As with all 7 wound models, you can’t soak much damage, and there are plenty of things that one hit kill you with a critical, but the ability to ignore the first normal damage dice lets you tie up non-melee specialist models, particularly those with only three melee dice themselves, and chip away at them. I wouldn’t pick this model over those with more firepower or melee punch, but the ability to mess with Fight resolution is at least interesting.
Hardened Veteran
Another better melee Guardsman, this model has a 5+ roll to ignore each damage point taken and a 3 dice, 4+, 4/5 bionic arm for punching things. Better than a standard guardsman, and competition for the Bruiser Veteran for a slot on the team.
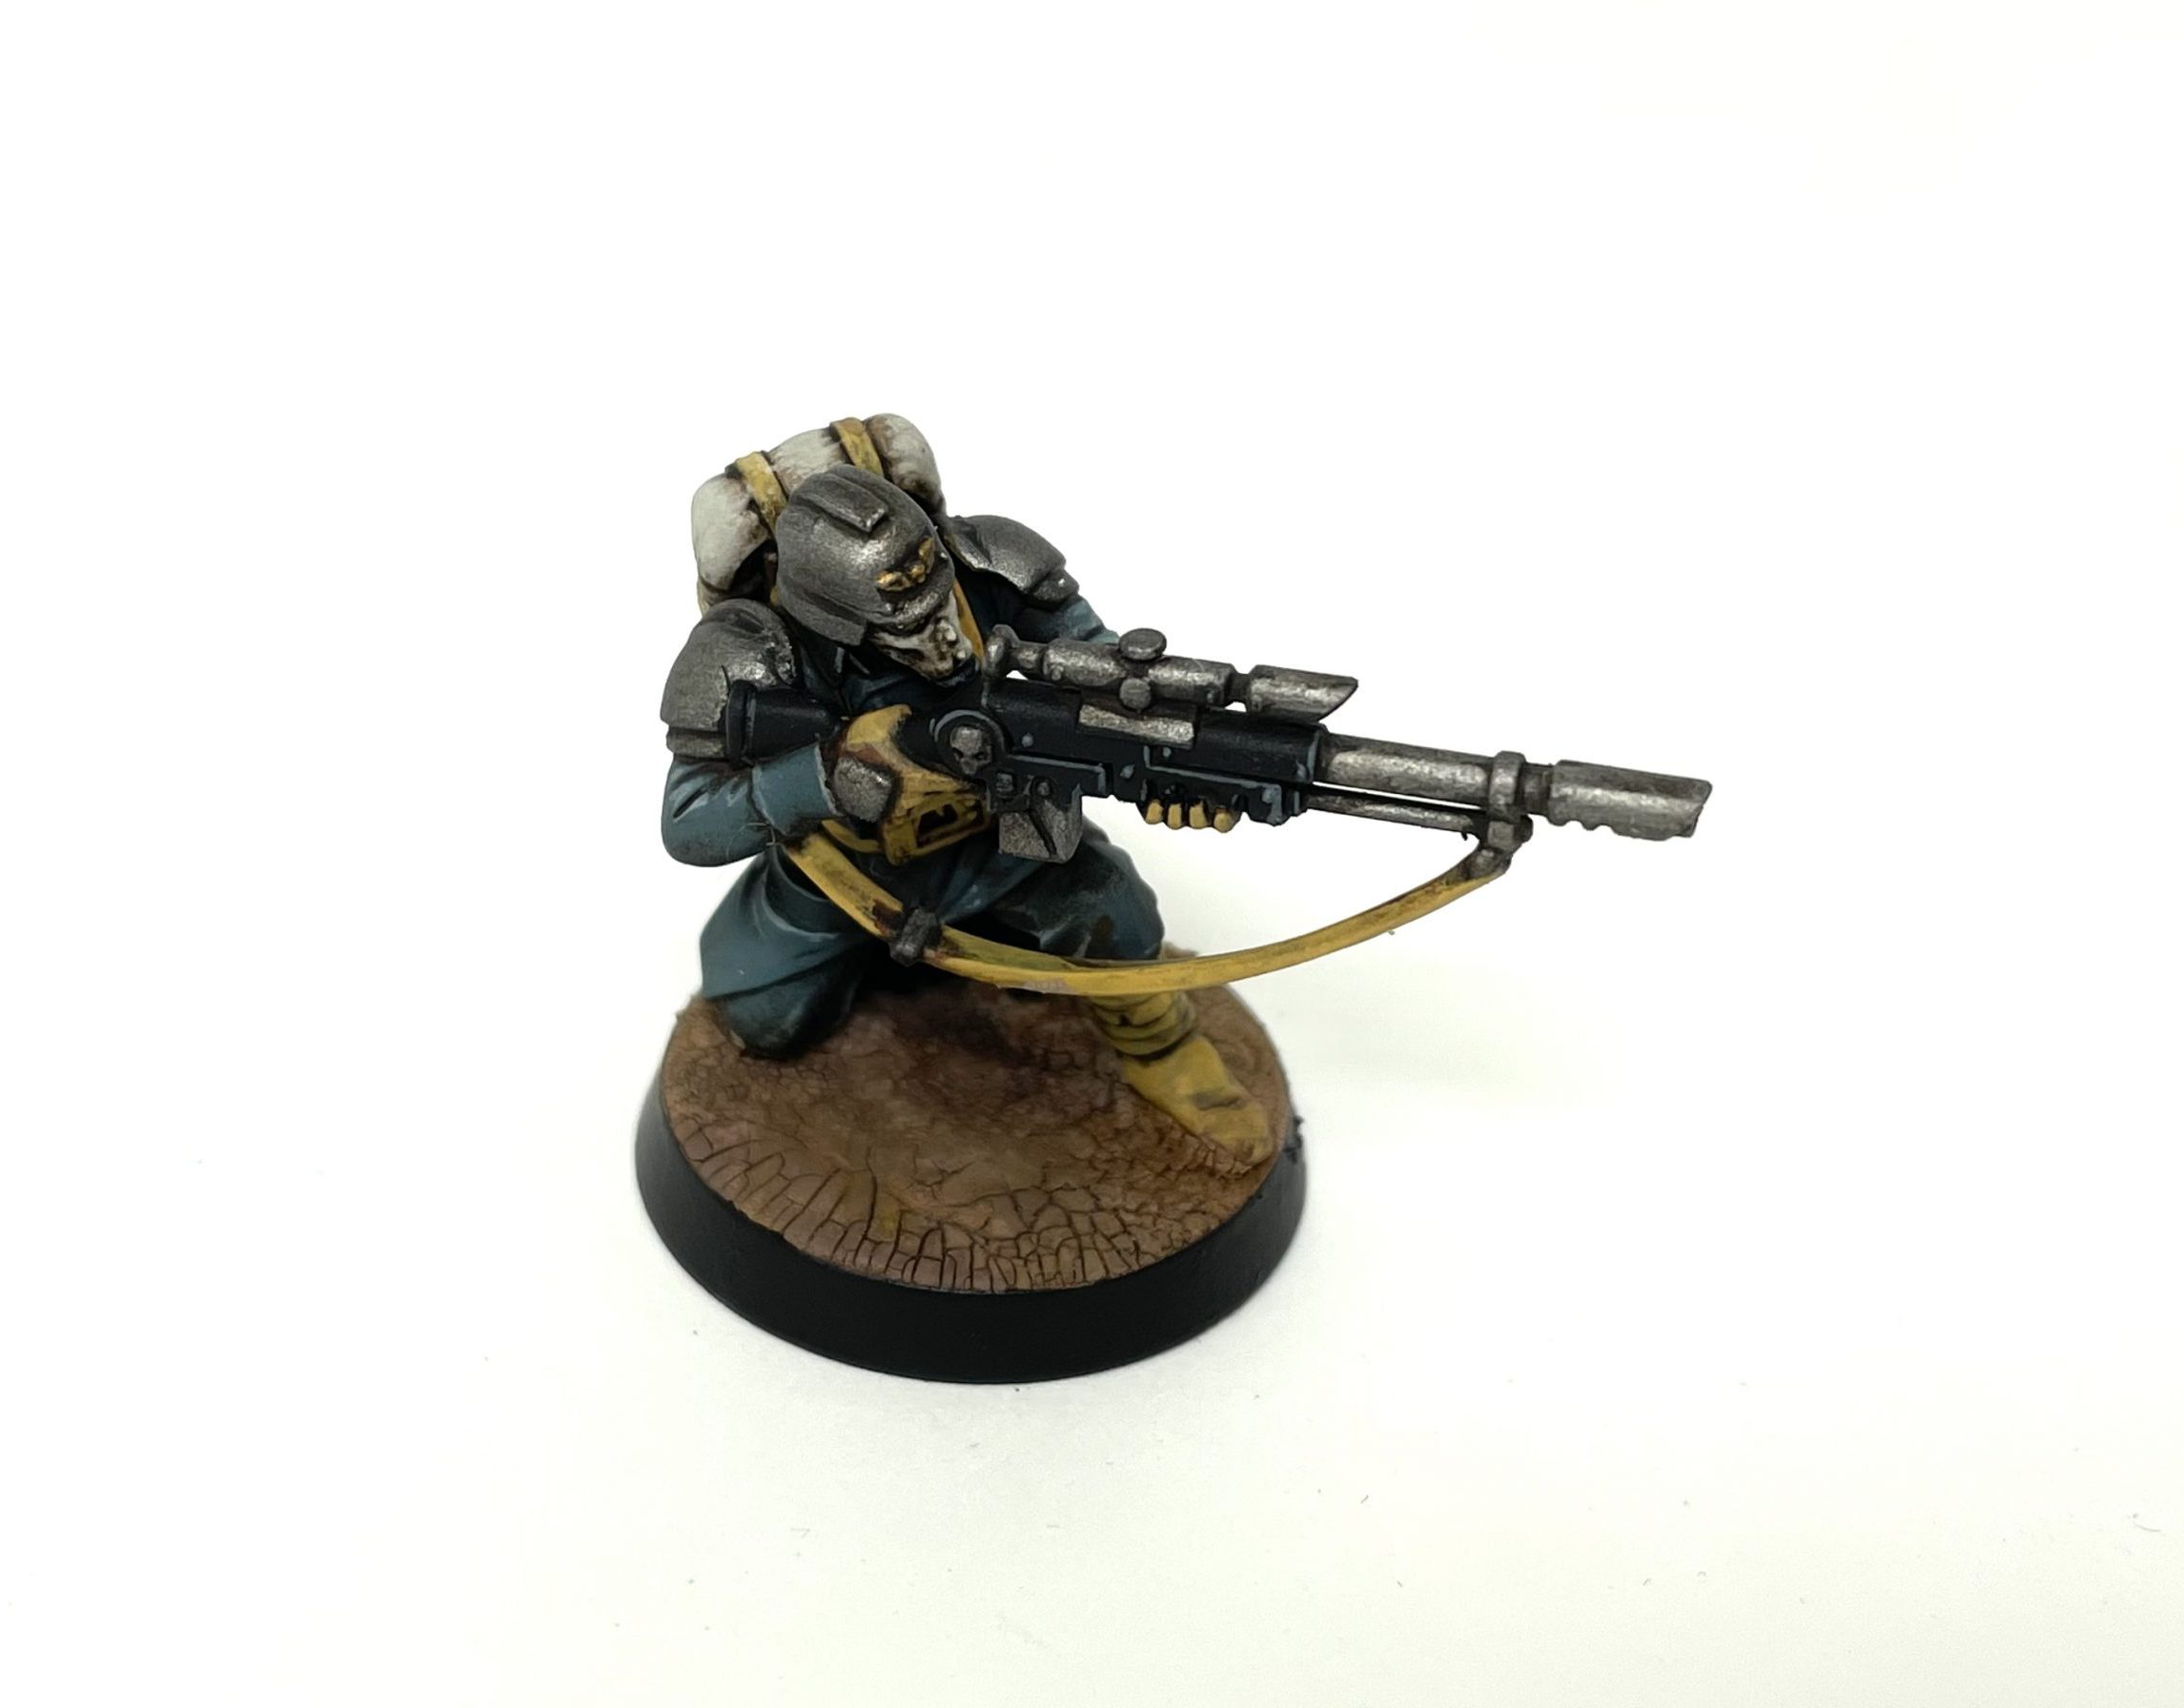
Sniper Veteran
Another compulsory inclusion in the team, and when you get this model up on Vantage point, you can fire the Long Las (4 dice, 2+ to hit, 3/3, MW3) with the Silent if you don’t move more than a Dash.
You’re likely to get 3 or 4 hits, and a Critical in there means you’re likely to pop anything less tough than a marine.
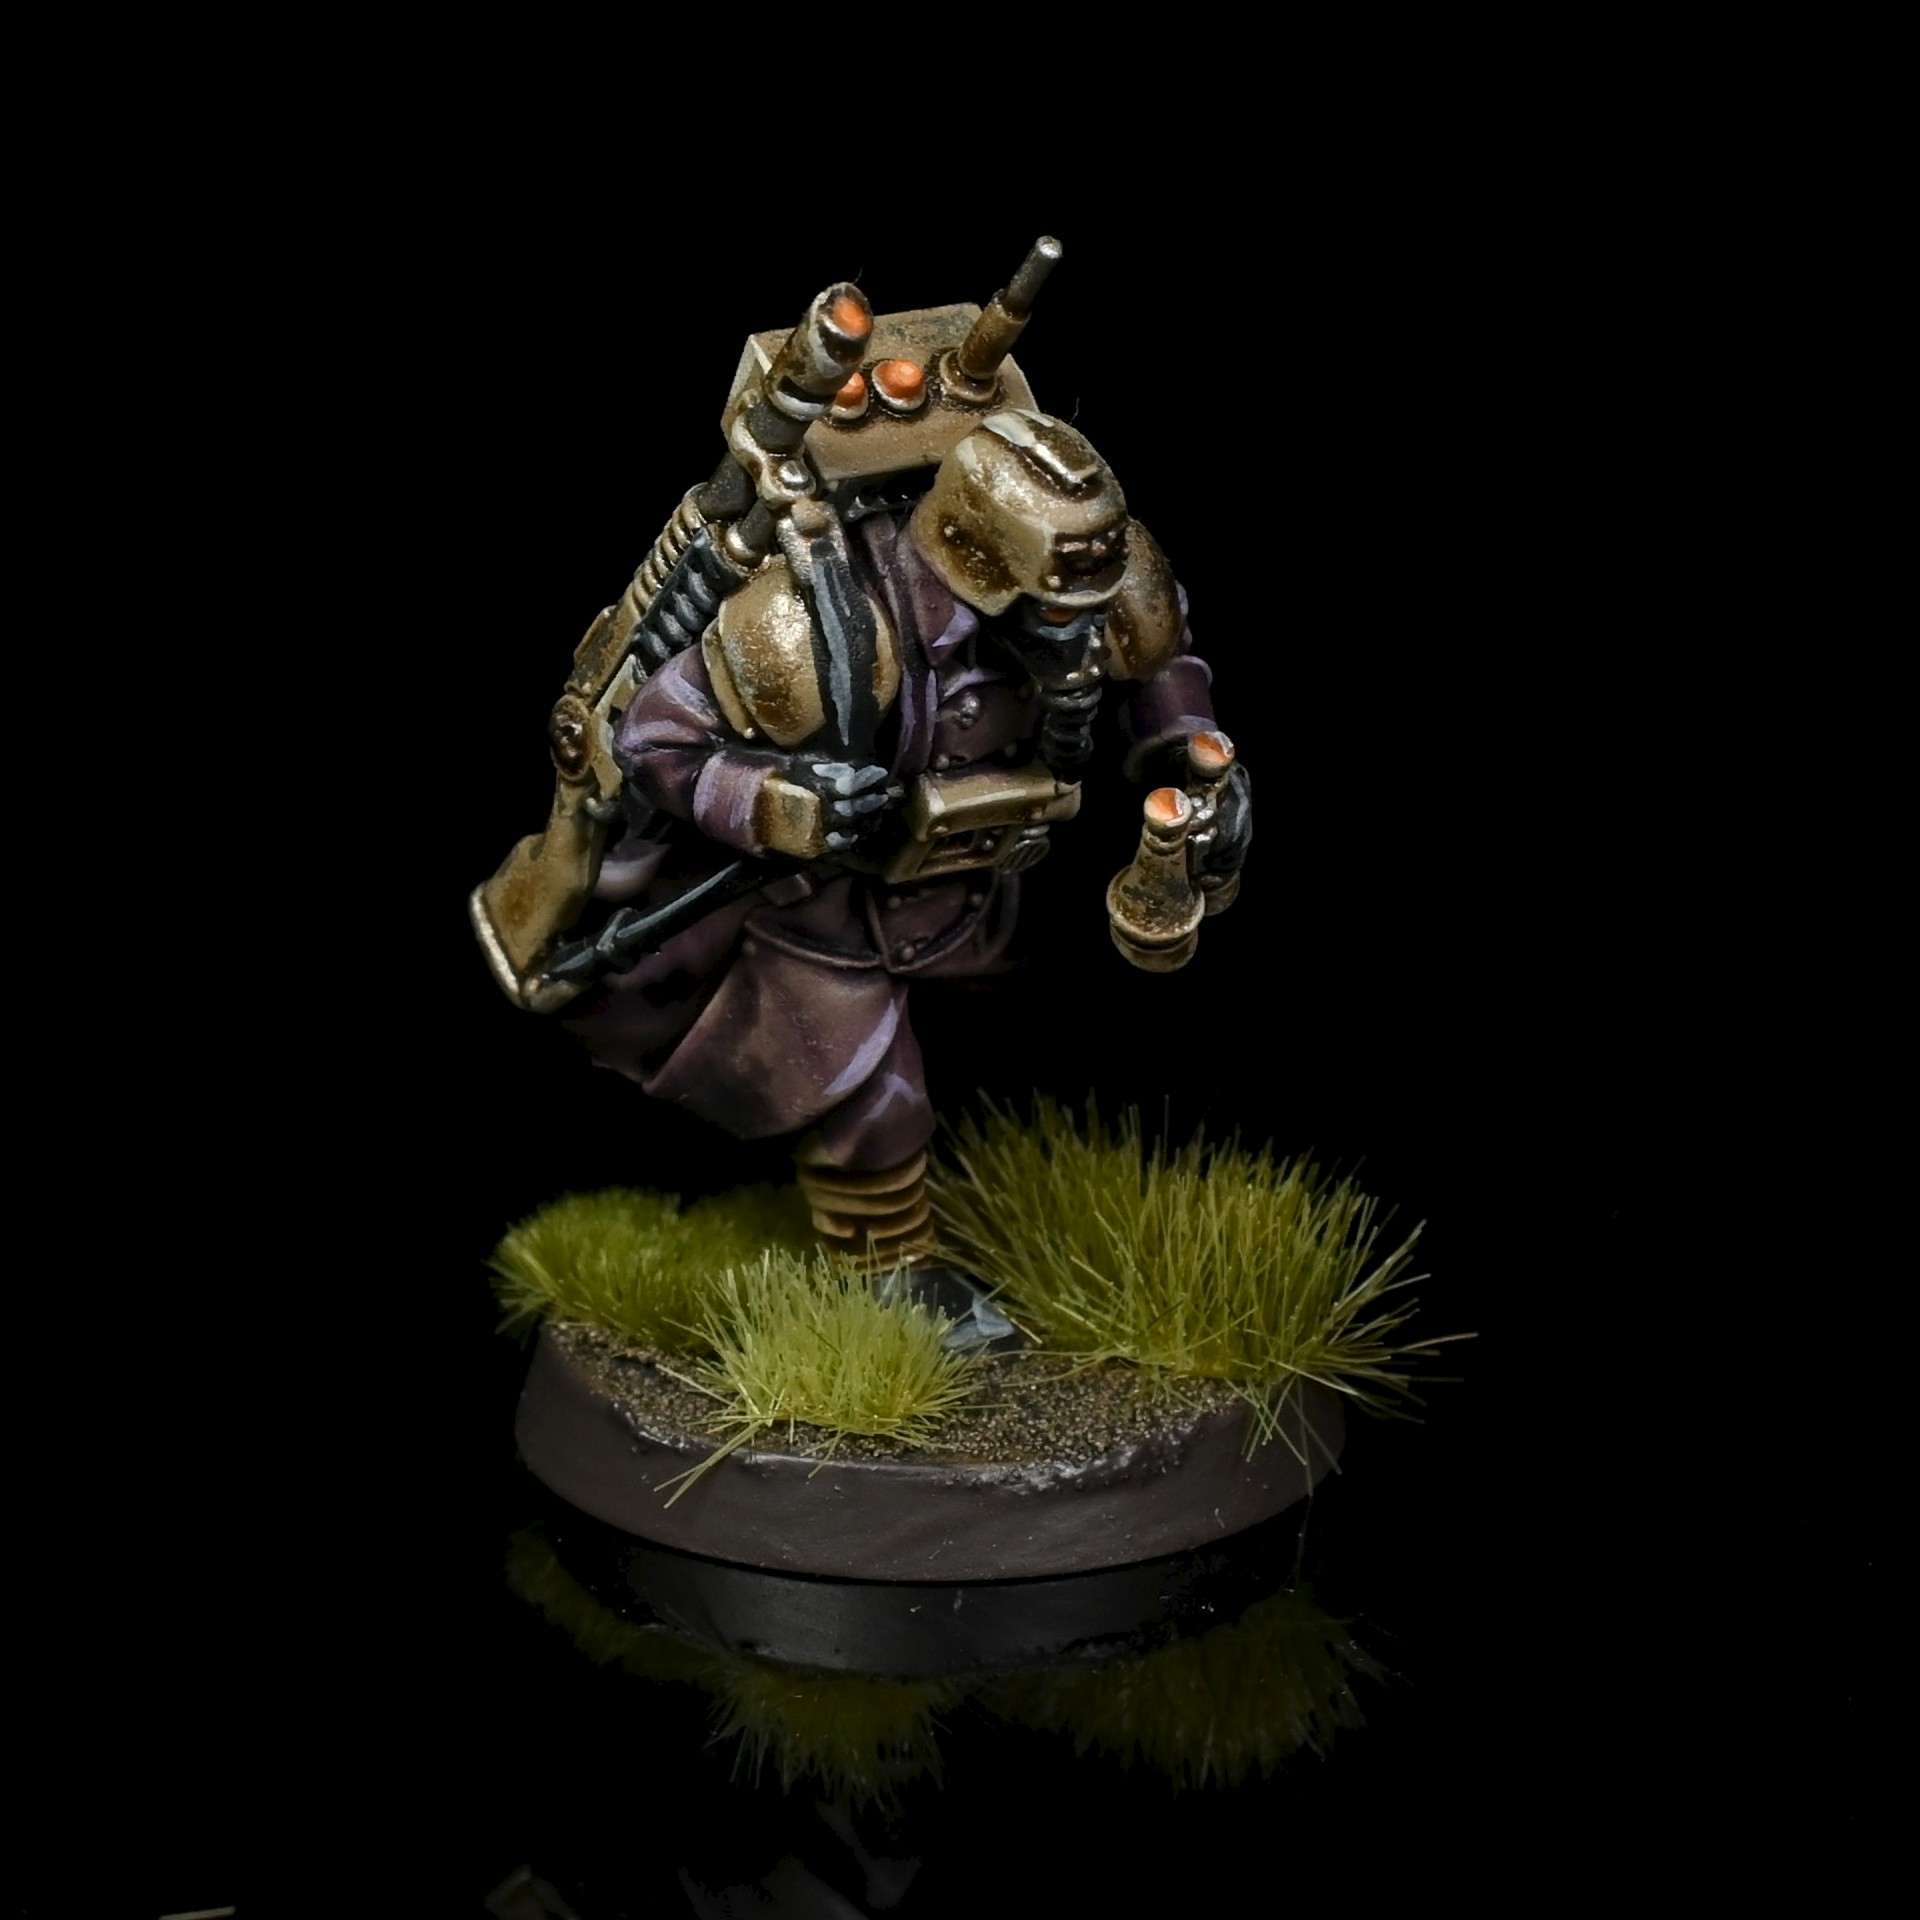
Spotter Veteran
Another sniper model, because the Mortar Barrage (5 dice, 4+, 2/3, Barrage, Unwieldy, Silent) lets you sit there with the Conceal order in cover or on a Vantage point and drop Mortar Barrages on your opponent. Not as good as a Sniper, but still useful.
The Spotter action (2AP) lets you pick a friendly operative within 2” and activate them after the Spotter, and lets you pick an enemy model you can see and treat it as if it has the Engage order for the purposes of the friendly operative you picked shooting at it. Obvious uses would be using a Grenade Launcher Gunner to hit multiple concealed models with a Blast by being able to treat one of the as having the Engage order.
This model is useful, though not as clearly useful as Gunners or the Sniper.
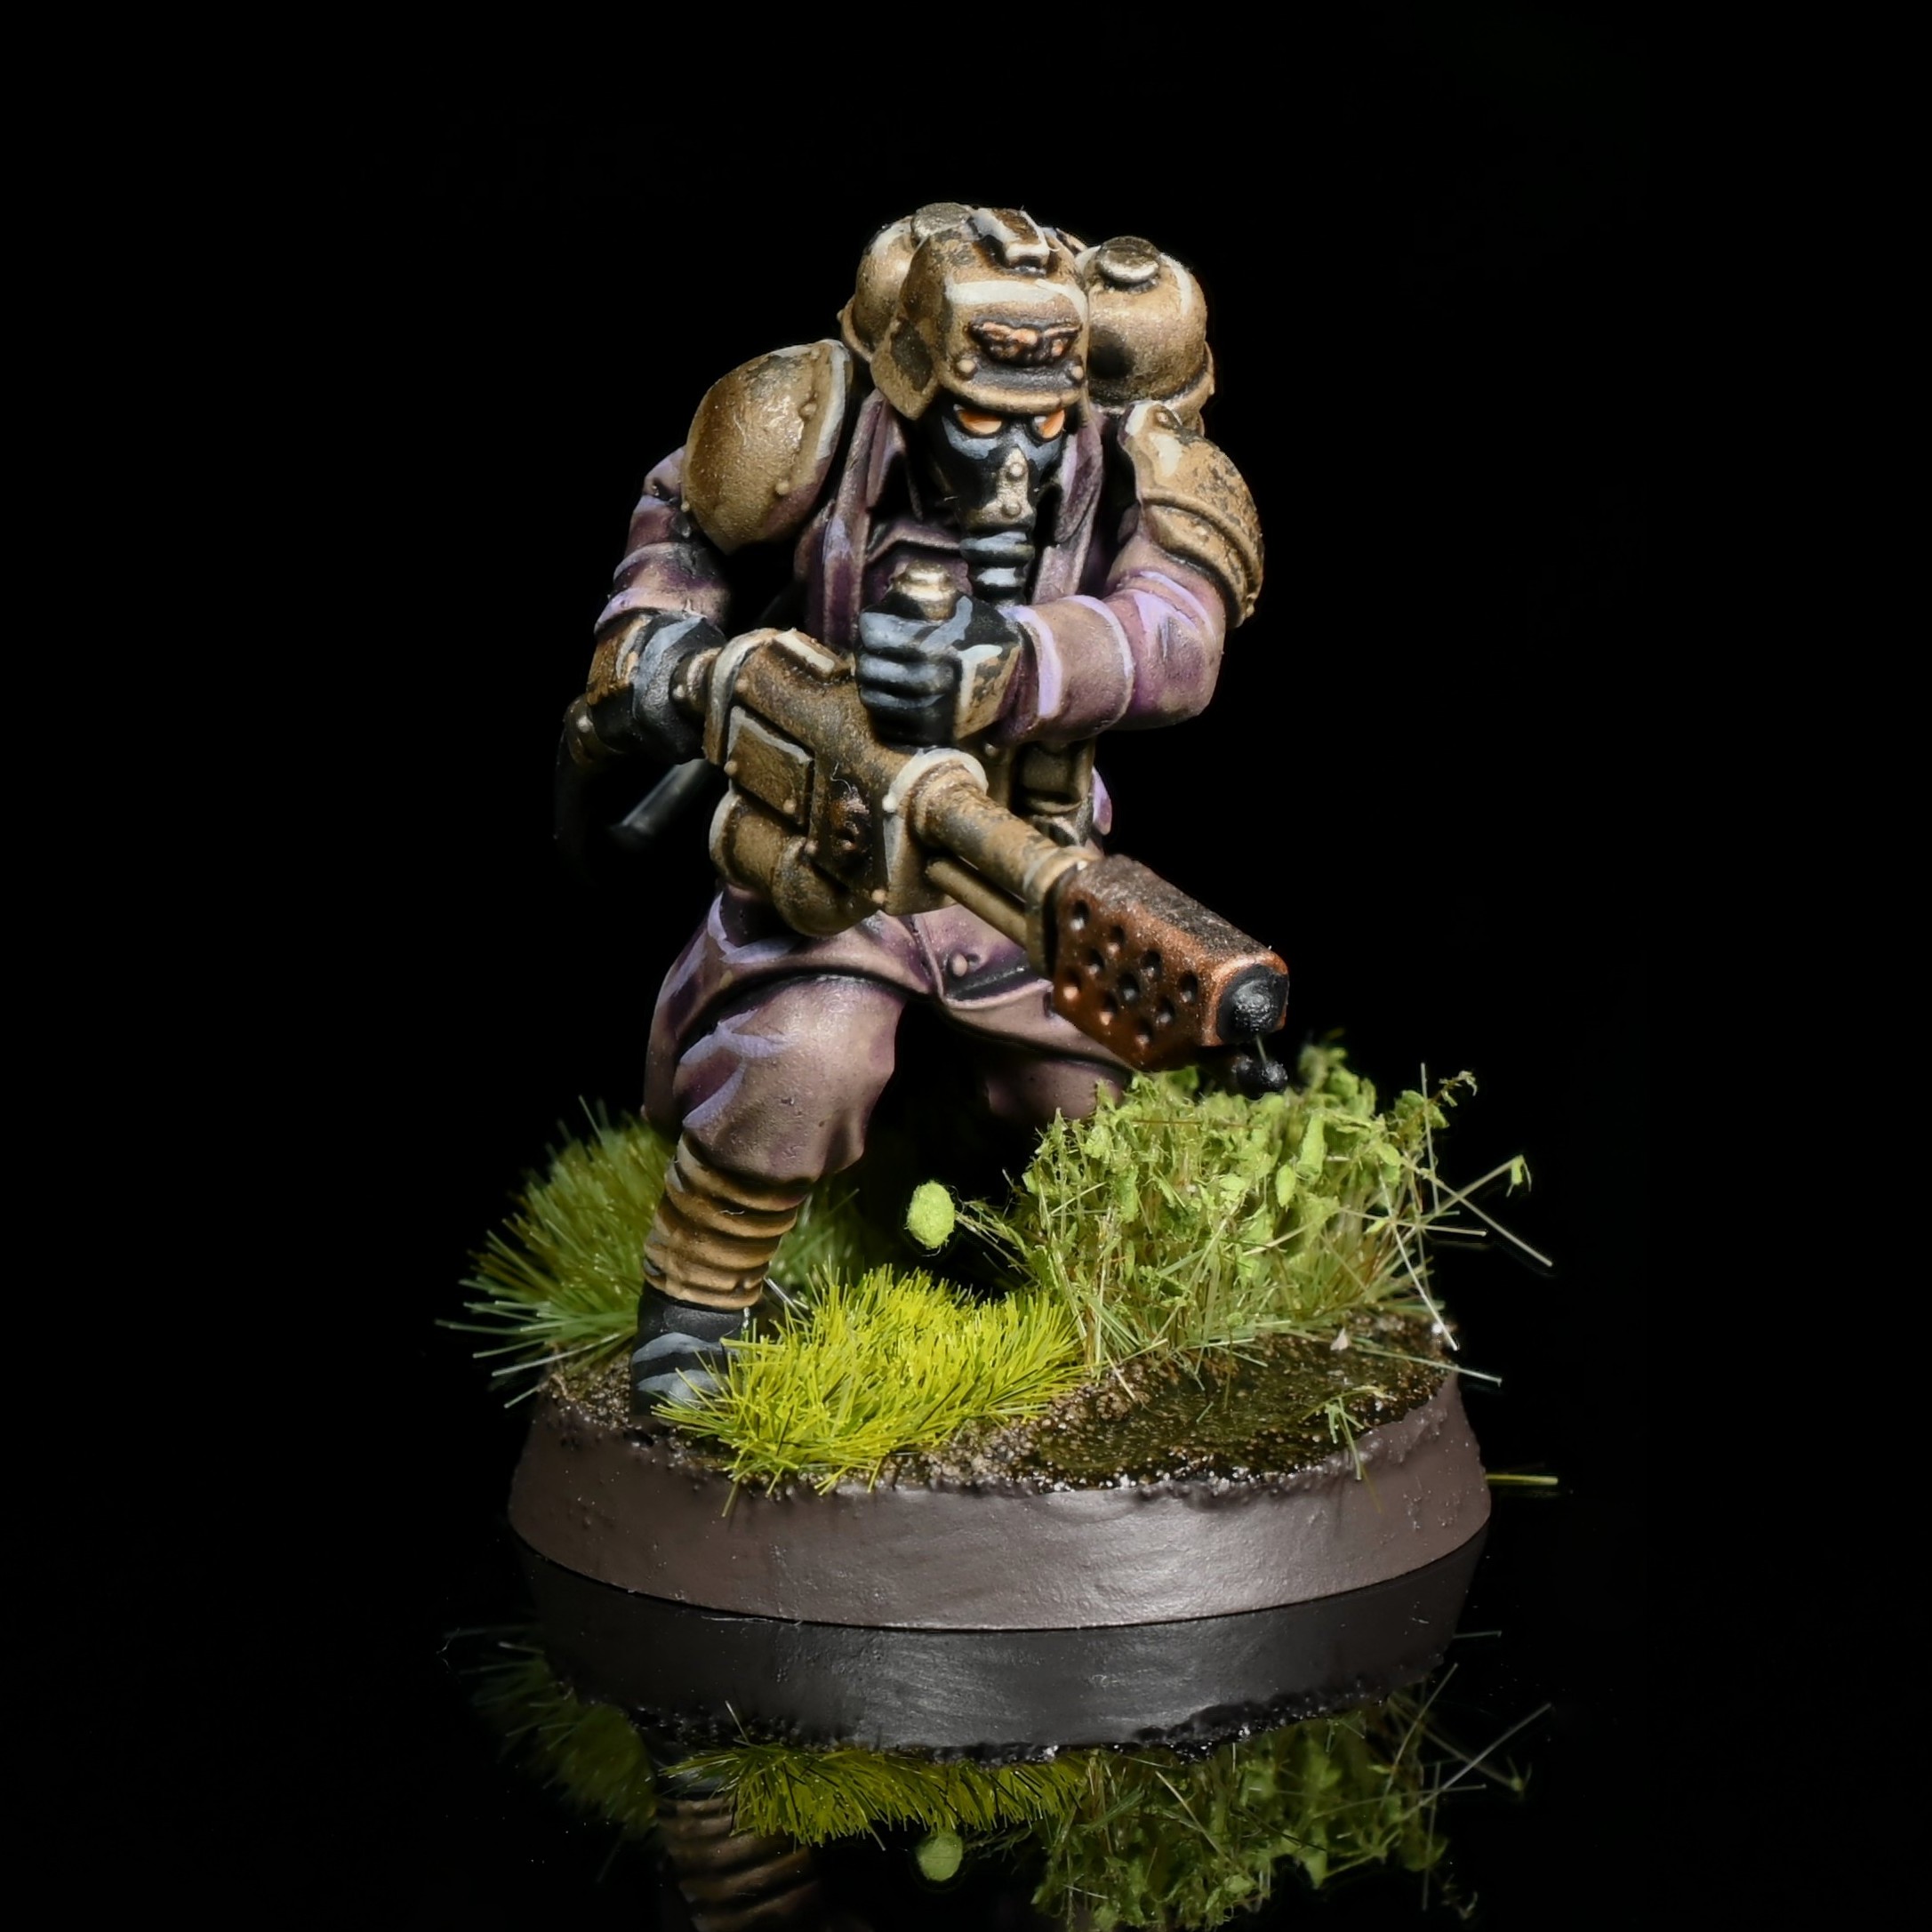
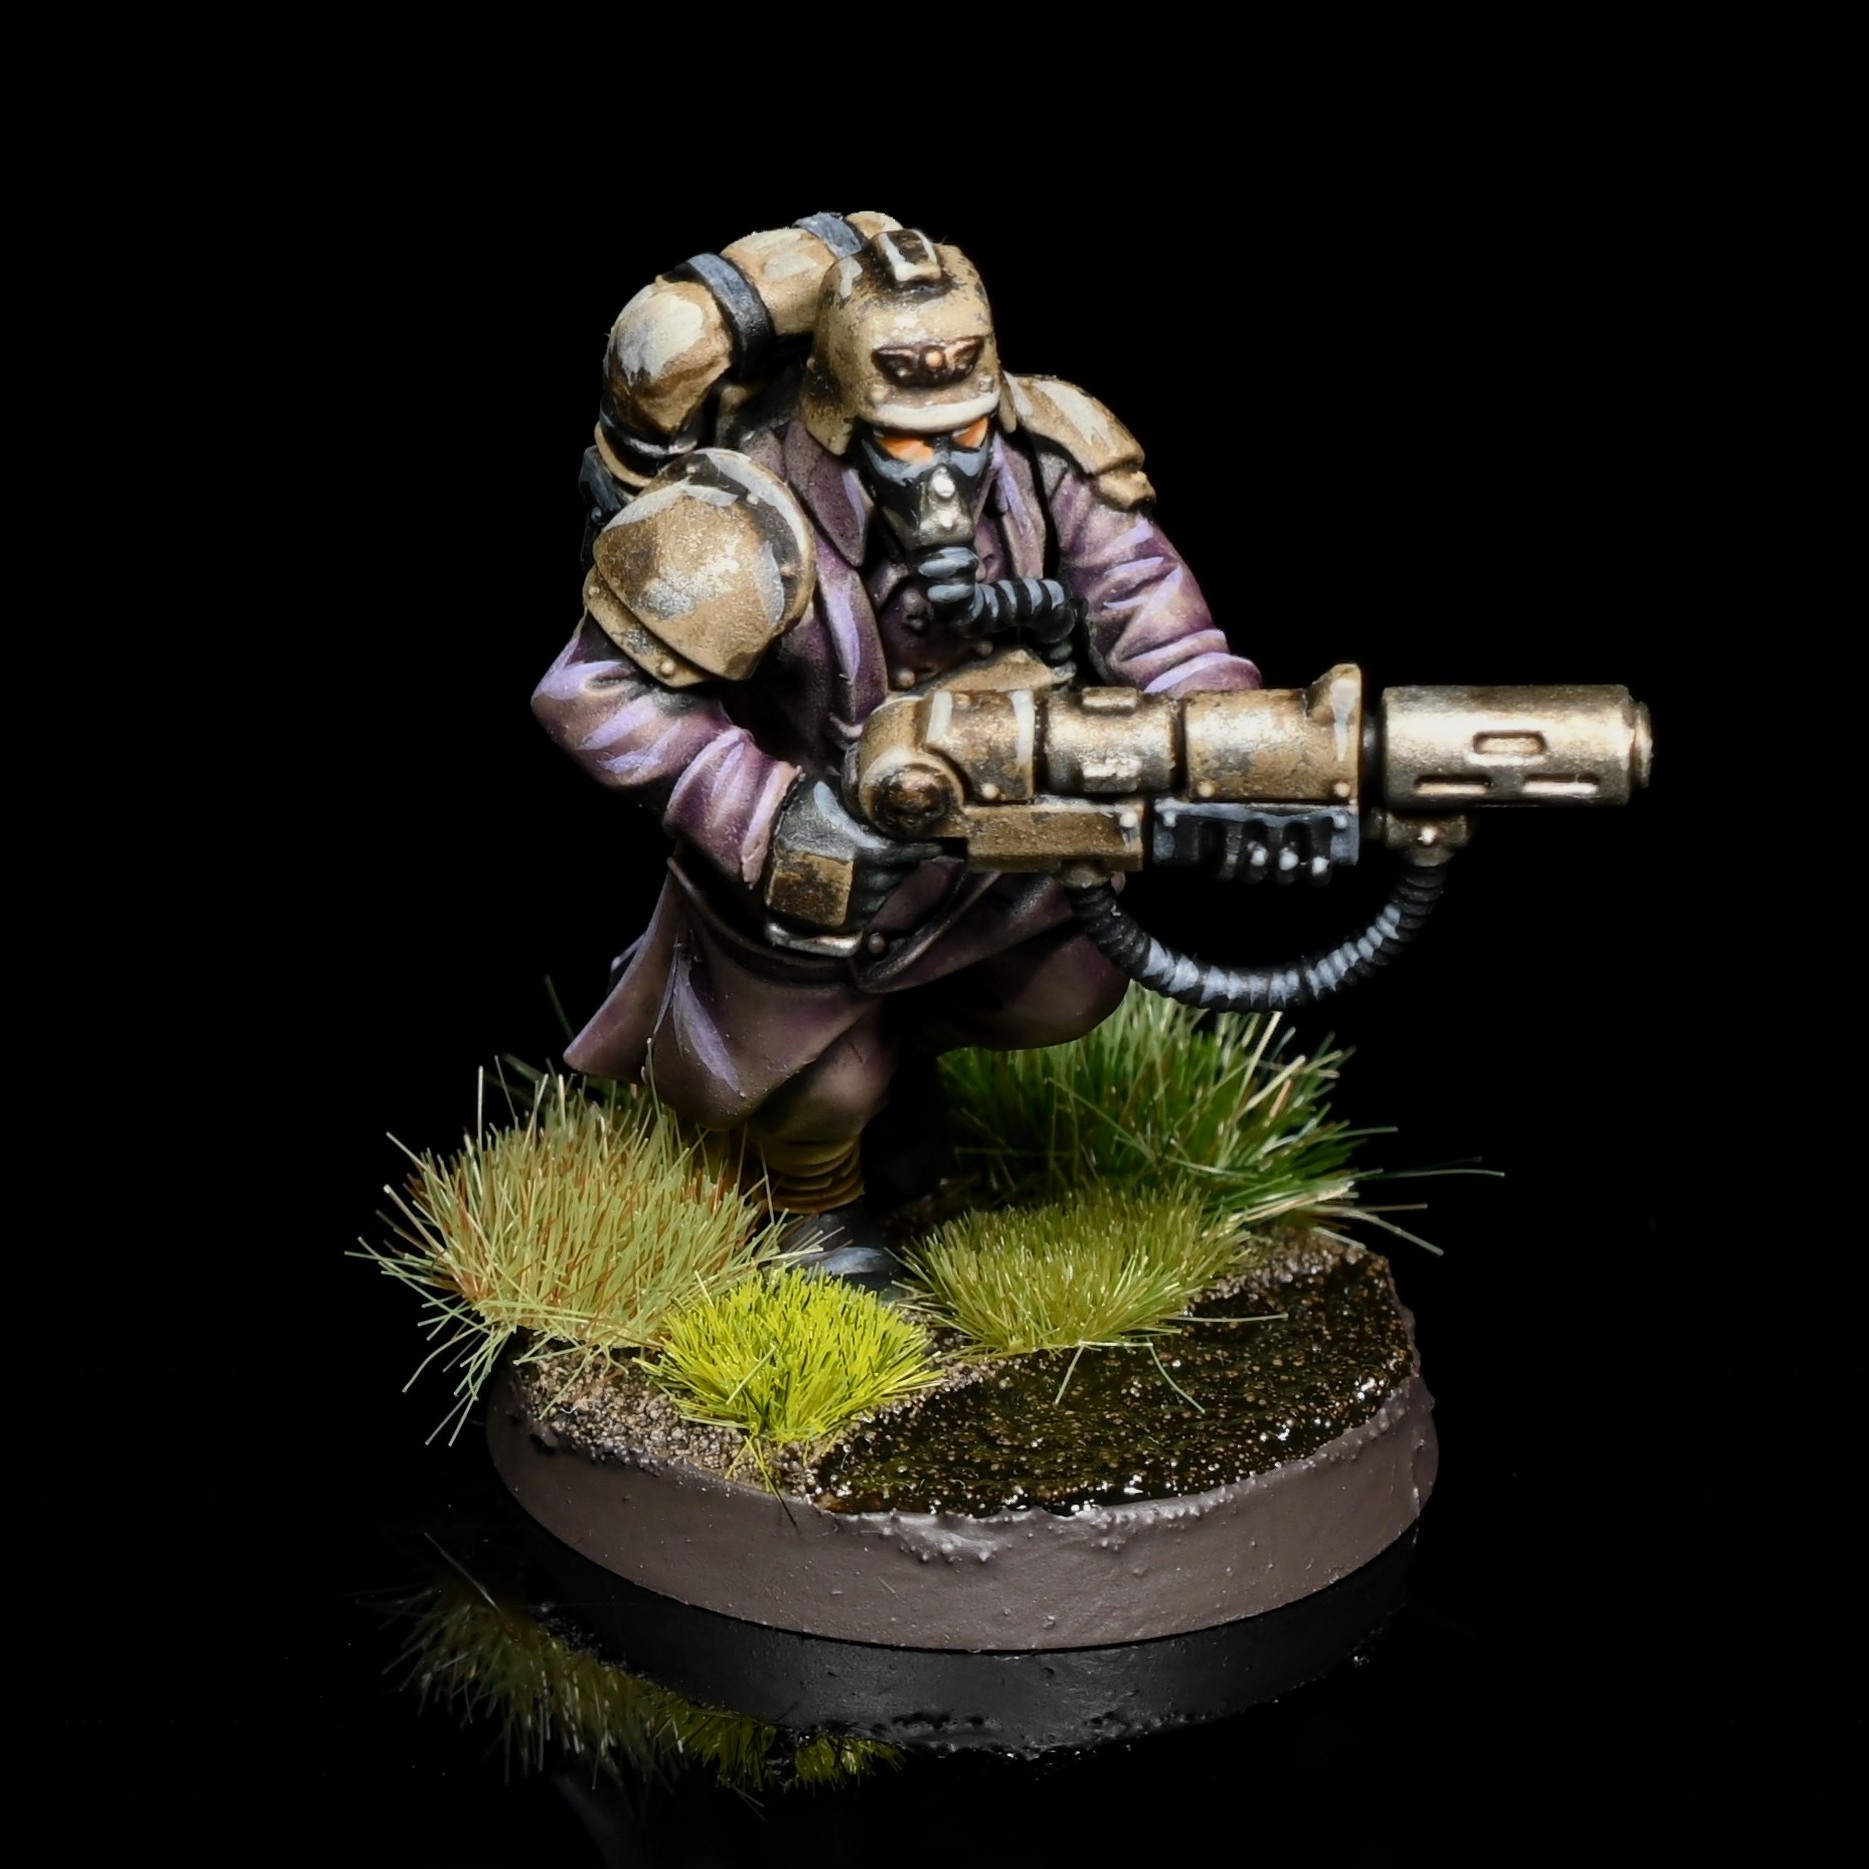
Gunner Veteran
With the options to take Gunners with Grenade Launchers, Flamers, Plasma Guns or Melta Guns, you can take a lot of firepower. Plasma, Melta and Krak Grenades are good for getting through armour, and Flamers are great for dealing with Hordes, or hitting models grouped up with Torrent.
You’ll very likely take all the Gunners, they’re absolutely worth it.
Trooper Veteran
You very likely won’t choose a single one of these models as part of your ten man roster, but one Ancillary Support choice gives you four of these. With lasguns and bayonets, you might get some chip damage on tougher models, and they can benefit from ploys or equipment to improve their damage output.
Or you can make use of the warm bodies they provide to push buttons and hold objectives, and leave killing things to Gunners, Snipers and other specialist operatives.
The ability to field 14 operatives gives you a lot of ability to control the board and complete mission actions and TacOps and you should use it to win you games. Remember that you don’t necessarily win by killing the enemy, you have to score points as well and having four more warm 2APL bodies helps you do that.
Ancillary Support
In addition to your ten Operatives, you get one Ancillary Support option. Here you can choose between two options:
- Trooper Veterans, which gives you FOUR additional Trooper Veterans (and probably the only reason you’d have Trooper Veteran in your team), or
- Two different Tactical Assets, which are all type of air or artillery strike.
Trooper Veterans
This basically gives you four more GA:2 bodies, raising your activations at the start of the game to 12, but it’s also four more bodies to hold objectives and push buttons.
Tactical Assets
There are four different types of airstrikes, suitable for different sorts of targets, to choose from for your two Tactical Assets. Each can be used once per game, you can only use a Tactical Asset once per Turning Point, and you can only pick each option once. The average damage of these against different armour types is given below.
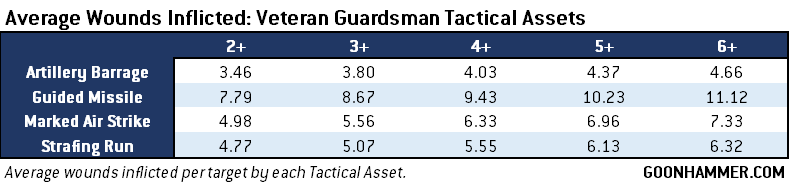
When choosing which Tactical Assets to use I would advise thinking carefully about who you are fighting. Also bear in mind that you can use one Tactical Asset per turn, and that using a Tactical Asset counts as an activation.
Artillery Barrage is Indirect, and so if your opponent has hidden in cover under Conceal orders in the first Turning Point you can still target them. Artillery Barrage may have the lowest damage output, but catching a couple of Harlequins in it’s blast will, with average rolls, injure them, making them vulnerable to being finished off by lasgun fire and making your opponent more cautious when time comes to commit them to combat.
Guided Missile is best left for the second Turning Point, and used to hit a key enemy model (leader/gunner/model with extremely useful ability) in order to kill them. Fighting Kommandos the Boss Nob for example, against Harlequins the Leader or a Gunner, against Marines the heavy bolter Gunner, etc etc. Being AP1 makes this all the sweeter.
Marked Air Strike is another Barrage, so cover only applies if it is over the target, and while it isn’t indirect, it does have a higher average damage output.
Strafing Run seems the most fun to me, as you nominate a target and draw a line across the table from there, potentially hitting many more targets than the Blast Tactical Assets and being able to treat targets as having the Engage order.
If I were picking Tactical Assets I would pick Strafing Run and Guided Missile, but I think in terms of high level competitive play, you would select the 4 Veteran Troopers.
Guardsmen Orders
In the Strategy phase your Leader can issue a Guardsman Order. This is a very useful ability for getting re-rolls, and a big reason to keep your Leader alive (or take a Confidant as well if you are bad at that). Models must be within 6” of your Leader to benefit from this, or you have to have a Comms operative within 6” to use the Relay Orders ability to affect the whole table.
Move! Move! Move!
Add 1” to the movement characteristic of Guardsmen that receive this order. With move and dash they have a 10” movement, so this is a useful ability for first turn moves to get on top of Vantage Points or onto objectives.
Take Aim!
Reroll 1s during Shoot actions (Mine Detonations, Mortar Barrages and Tactical Assets don’t count). Very useful when you’ve maxed out on Gunners.
Hold Position!
Models in Cover reroll defence dice results of 1, but cannot Dash or Charge. Useful for protecting your firebase, or models moving up the board and hugging cover.
Fix Bayonets!
Reroll attack dice results of 1. This makes the melee potential of your models slightly better, given a lot of 4+ to hit on 3 dice across the team.
Strategic Ploys
In addition to Orders, Veteran Guardsmen teams have four Strategic Ploys and two Tactical Ploys to choose from during a game.
Overcharge Lasguns (1 CP)
This lets you choose to fire your Lasguns on overcharged mode, giving them the AP1 and Hot rules. This is best combined with the Take Aim! Order and Hot-Shot Capacitors.
Take Cover (1 CP)
Veteran Guardsmen in cover improve their save by 1 against shooting attacks. Made better by the Hold Position! Order.
Into the Breach (1 CP)
Each friendly Veteran Guardsman in your Drop Zone can perform a free Dash move, but must end their move closer to the enemy’s drop zone. This is great because it happens in the Strategy phase, not during model’s activation, meaning in the first Turning Point you could Dash in the Strategy phase, and Move and Dash in the model’s activation. This lets you really rush forward at the beginning of the game, and could be used to Free Dash, Move, Shoot/Mission action and get in position and start laying down fire.
Clear the Line (1 CP)
Whenever a Guard model fights, you can retain one dice as a normal success without rolling it. Useful if you go with a more melee-focused build, or know you’ll be in a lot of melee during the Turning Point.
Tactical Ploys
Inspirational Leadership
A Leader model can issue another Order during their activation. Note that this order must be different to the Order issued in the Strategy phase, and that the Comms Veteran can only use the Relay Orders ability once per turn. Take Aim and Hold Position are a good combination with the Take Cover Strategic ploy, for example.
In Death, Atonement
This is basically Only in Death Does Duty end, but for Guard. It’s been slightly FAQ’d already, but they haven’t removed the wording that makes your model unkillable in melee that they changed with the Marine version. Expect that to happen soon.
As a ploy, this is great for keeping a Gunner alive to shoot back, or a model with a Grenade doing an emergency grenade suicide run.
Combined Arms
If the target of your Shoot action was targeted by another friendly model in the Turning Point, you can reroll any or all attack dice. Obvious use is firing a lasgun at a big tough model early in the turn, and then using this ploy when it’s time to use the melta or plasma gun.
Equipment
Veteran Guard have some great equipment options, and some so-so equipment options.
Hot-Shot Capacitor [2EP]
+1 damage to lasguns and laspistols the operative has, turning the humble flashlight into a bolter equivalent. With low guard BS on the lasgun armed models without special weapons or special weapon-like abilities (like Remote Mine or Mortar Barrage) and their tendency to have special actions or abilities that use AP up, then the models to put these on are your standard Veteran Guard, if you want to spend the EPs.
Rosary [2EP]
Once per battle, ignore the damage from one attack dice. Great for putting on a model, like your leader, that you need to keep alive. You can only select this once though.
Hand Axe [2EP]
Give a model a Hand Axe, a 3 dice, 4+ to hit, 3/5 melee weapon. It’s better than a bayonet, but you are still only rolling three dice with 4+ to hit.
Trench Shovel [2EP]
For an operative wholly within your Drop Zone, if they are shot at by an enemy more than 2” away, they count as being in Light Cover as long as they don’t move. It’s really useful if there’s something in your dropzone you need to sit on, or perform mission actions on, but the restrictions mean you give up mobility to benefit from it in a game that is all about mobility.
Frag Grenade [2EP]
Great for dropping in the laps of targets without a great save clustered together (Cultists, Kroot, Guard, etc) and worth giving to a Veteran Guardsman for doing a grenade run.
Krak Grenade [3EP]
With AP1 and 4/5 damage, this is great for throwing at marine level targets.
Chronometer [3EP]
Once per battle you can reroll your initiative dice. This is good because initiative can be the difference between victory and defeat, and you know the score you have to beat with your reroll when you choose whether to use it or not.
Topographical Chart [3EP]
After resolving your chosen option in the Scouting step, you can choose and resolve a different option. Great for getting an extra scouting option.
Tac Ops
With the Security archetype, you’ve got a pretty solid set of TacOps to choose from before you put in the Veteran Guard specific ones.
Boots on the Ground
If at the end of a Turning point, there are more friendly models within 6” of your Dropzone, and 6” of the enemy Dropzone, score a VP. Score a second VP if this is the case at the end of another Turning Point. This is the hardest of the three Veteran Guard Tac Ops to score, as you’ve got to essentially control the whole board.
Stand Fast
Reveal at the end of any Turning Point. If you control two or more objectives and your opponent controls less, score a VP. Score another VP if this is the case at the end of another Turning Point. If you are playing objectives and winning, this is basically free VPs.
Glory in Death
Reveal at the end of the game. If you scored more mission objective victory points than your opponent, but more friendly operatives were incapacitated, then score 2VPs. This is pretty easy to score if you are playing objectives and your opponent is fairly elite (Harlequin/Custodes) and trying to get kills due to Seek and Destroy objectives. If you’re playing Tau or Orks or Genestealer Cult, it gets a lot riskier.
Assembling your Kill Team
I’ve seen this question come up a lot in Kill Team groups, as people wonder how to build their Veteran Guardsmen Kill Teams, which is how you build the models for the team to ensure you have all of your options covered. The simplest thing to go is get a second set of ten and then you can build every option and have a pile of Veteran Troopers at the end. This will be the preferred option for those building a team for competitive play, as it allows you to have one of every specialist, four veteran guardsmen and different Sergeant and Confidant loadouts.
If you only have one set of Krieg (which will be the status quo for many people until the Krieg set gets a separate box release) then you’re going to need to pick. I’ve done a short table below breaking down the options for each body. I think conversions on some bodies are entirely possible, particularly where you have arms not crossing the body like the Hardened Veteran or Sergeant. As always dry fit where possible.
| Model | Options | My Recommendation |
| 1 | Sergeant, Confidant, Veteran Trooper | Sergeant |
| 2 | Sniper, Demolition, Veteran Trooper | Sniper |
| 3 | Spotter, Medic | Spotter |
| 4 | Flamer Gunner, Veteran Trooper | Flamer Gunner |
| 5 | Medic, Veteran Trooper | Medic |
| 6 | Plasma or Melta Gunner, Comms Veteran, Veteran Trooper | Plasma Gunner |
| 7 | Grenade Launcher Gunner, Zealot Veteran, Veteran Trooper | Grenade Launcher Gunner |
| 8 | Plasma or Melta Gunner, Bruiser Veteran, Veteran Trooper | Melta Gunner |
| 9 | Hardened Veteran, Veteran Trooper (could convert to Comms, Bruiser, Confidant or Zealot) | Comms Veteran |
| 10 | Veteran Trooper (could convert to Comms, Bruiser, Confidant or Zealot) | Confidant |
The suggested build I have given strongly favours firepower over close combat ability. This is because 7 wound models in melee are very squishy, and even Ork fists are 3/4 damage and a hit and critical kills a guardsmen, let alone powerfists or klaws which turn guard into a pink mist on a critical. I strongly believe low wound models with damage outputs of 3 per hit max have no business charging anything that couldn’t be finished off with a couple of lasgun shots instead. Harlequins are different, because they can all take very strong CC weapons to offset their squishiness, but Veteran Guard can’t get anything better than a power sword (4/6) or bionic arm (4/5).
Given that bias you will find 5 special weapons and the spotter (who can call in artillery strikes) in the team. This may drastically limit the usefulness of the overcharge lasguns order, but just having high damage and/or AP weapons instead is just flat better.
Competitive Roster
For competitive events I would recommend the following roster, which will require two sets of Krieg sprues:
| Operative | Weapons |
| Veteran Sergeant | Plasma Pistol & Power Sword |
| Veteran Sergeant | Bolter and Bayonet |
| Confidant | Bolt Pistol and Chainsword |
| Confidant | Bolter and Bayonet |
| Veteran Gunner | Melta Gun |
| Veteran Gunner | Plasma Gun |
| Veteran Gunner | Grenade Launcher |
| Veteran Gunner | Flamer |
| Sniper | Long Las |
| Hardened Veteran | |
| Zealot Veteran | |
| Demolitions Veteran | |
| Bruiser Veteran | |
| Medic Veteran | |
| Comms Veteran | |
| Spotter Veteran | |
| Trooper Veteran | |
| Trooper Veteran | |
| Trooper Veteran | |
| Trooper Veteran |
This is a full roster of 20 models and gives all options available for the Kill Team with the exception of laspistol sergeants and confidants, which I would not select. This allows you to choose whether or not to take the Ancillary Support options.
Example Kill Teams
This is a very simple team focused around Gunners.
| Model | Operative |
| 1 | Sergeant |
| 2 | Sniper |
| 3 | Spotter |
| 4 | Flamer Gunner |
| 5 | Medic |
| 6 | Plasma Gunner |
| 7 | Grenade Launcher Gunner |
| 8 | Melta Gunner |
| 9 | Comms Veteran |
| 10 | Confidant |
| 11 | Veteran Trooper |
| 12 | Veteran Trooper |
| 13 | Veteran Trooper |
| 14 | Veteran Trooper |
No Tactical Assets, purely for positional play. Confidant, Flamer, Melta and Veteran Troopers move to hold middle objectives, other Gunners and Sergeant form a firebase and occupy Vantage Points, Spotter takes away cover for the Plasma Gunners targets.
Final Thoughts
Krieg are so much better than standard guard, though you still have a lot of 5+ save seven wound models so bolters are your natural predator.
They are not a top tier competitive faction like Kommandos or Pathfinders, but they are only just below them and there is a lot of potential there, especially when people take full rosters and the extra Veteran Troopers. Veteran Guard are fully capable of top tier competitive play, though I feel that the positional play style hasn’t been fully realised by most players because we’re all just so happy that Kill Team involves actually killing things again and we’re still a bit giddy from that.
I think we’ll see some good players playing a more positional style taking tournament wins with Veteran Guard, and it’ll lead to further meta developments beyond Pulse Carbines go brrrrt and Kommandos can do everything and are tough.
Have any questions or feedback? Drop us a note in the comments below or email us at contact@goonhammer.com.
