
A new edition of Warhammer 40K is always a great time to get into the game, or get back into it after a long break. Many of Goonhammer’s writing team (including myself) started playing the game either fresh of after a long break in 8th, and we’re thrilled that this time around we’re in a position to help out anyone who is taking their first steps in 9th Edition.
If that sounds like you, and you’ve had a look at the core rules and are now anxiously waiting to order your Indomitus box this weekend, you might be wondering how to put all of that together and play your first game. 9th Edition’s volume of rules is a bit more hefty than in 8th as well, and if you’ve been following discussions online you’re probably curious about how much you need to know to play your very first game. A lot of experienced players (including us) are digging deep into all changes and updates from 8th, drawing the focus away from the basics. In addition, as we looked at in our unboxing, Indomitus has a slightly different focus than previous starter sets, with less guidance for newer players. Rumours abound that some more conventional introductory products will appear at some point, but for now if you want to take the big leap and pick up your first models at the same time, Indomitus is the main option.
The good news is that going from what’s in the box to your first game doesn’t need to be too complicated, and we’re here to help. In this article, we’ll talk through what you need for your first game, where to look in the book for the rules you actually need to get going, and how to use them step by step.
Step 1 – What You Need
The following things are what we would recommend having access to for your very first game
The Rules
The Core Rules for 40K are available for free, but in order to play most types of game you need access to details of army building and mission rules. All of that is in the Core Book that comes in Indomitus. We’d recommend that you and your planned opponent familiarise yourselves with the Core Rules now, and then we’ll take you through which bits from the book you need to look at on top of that.
You also need the rules for your models. We’re going to play using the units in the box, who all have rules in the Edge of Silence booklet that comes inside (and you can see some previews of what these look like on Warhammer Community).
Some Models and Basic Tools
Indomitus comes with models from two factions, and the good news for getting onto the table with them quickly is that they can be push-fit together, including shaped plugs to attach them to their bases. You’ll need some clippers and a craft knife to get the models off the sprues and cleaned up, and having some plastic glue around for a few of the joins won’t hurt, but following the instructions in the box and getting the models assembled and on their bases is pretty quick. If you’ve never built any models before, there’s a good guide to the basics from YouTube channel 2+ Tough here.

For the game we’re going to play, you need the following models:
Space Marines
- Primaris Captain
- Primaris Lieutenant
- All 10 Assault Intercessors
- Bladeguard Veterans
- Outrider Bikes
Necrons
- Overlord
- Royal Warden
- Skorpekh Destroyers with Plasmacyte
- All 20 Necron Warriors
- All 6 Scarab Swarms
Gaming Tools
During the game, you’ll need:
- A tape measure
- Some 6-sided dice (ideally at least 20)
- A pen and paper to track details (or access to a digital equivalent)
A Space to Play
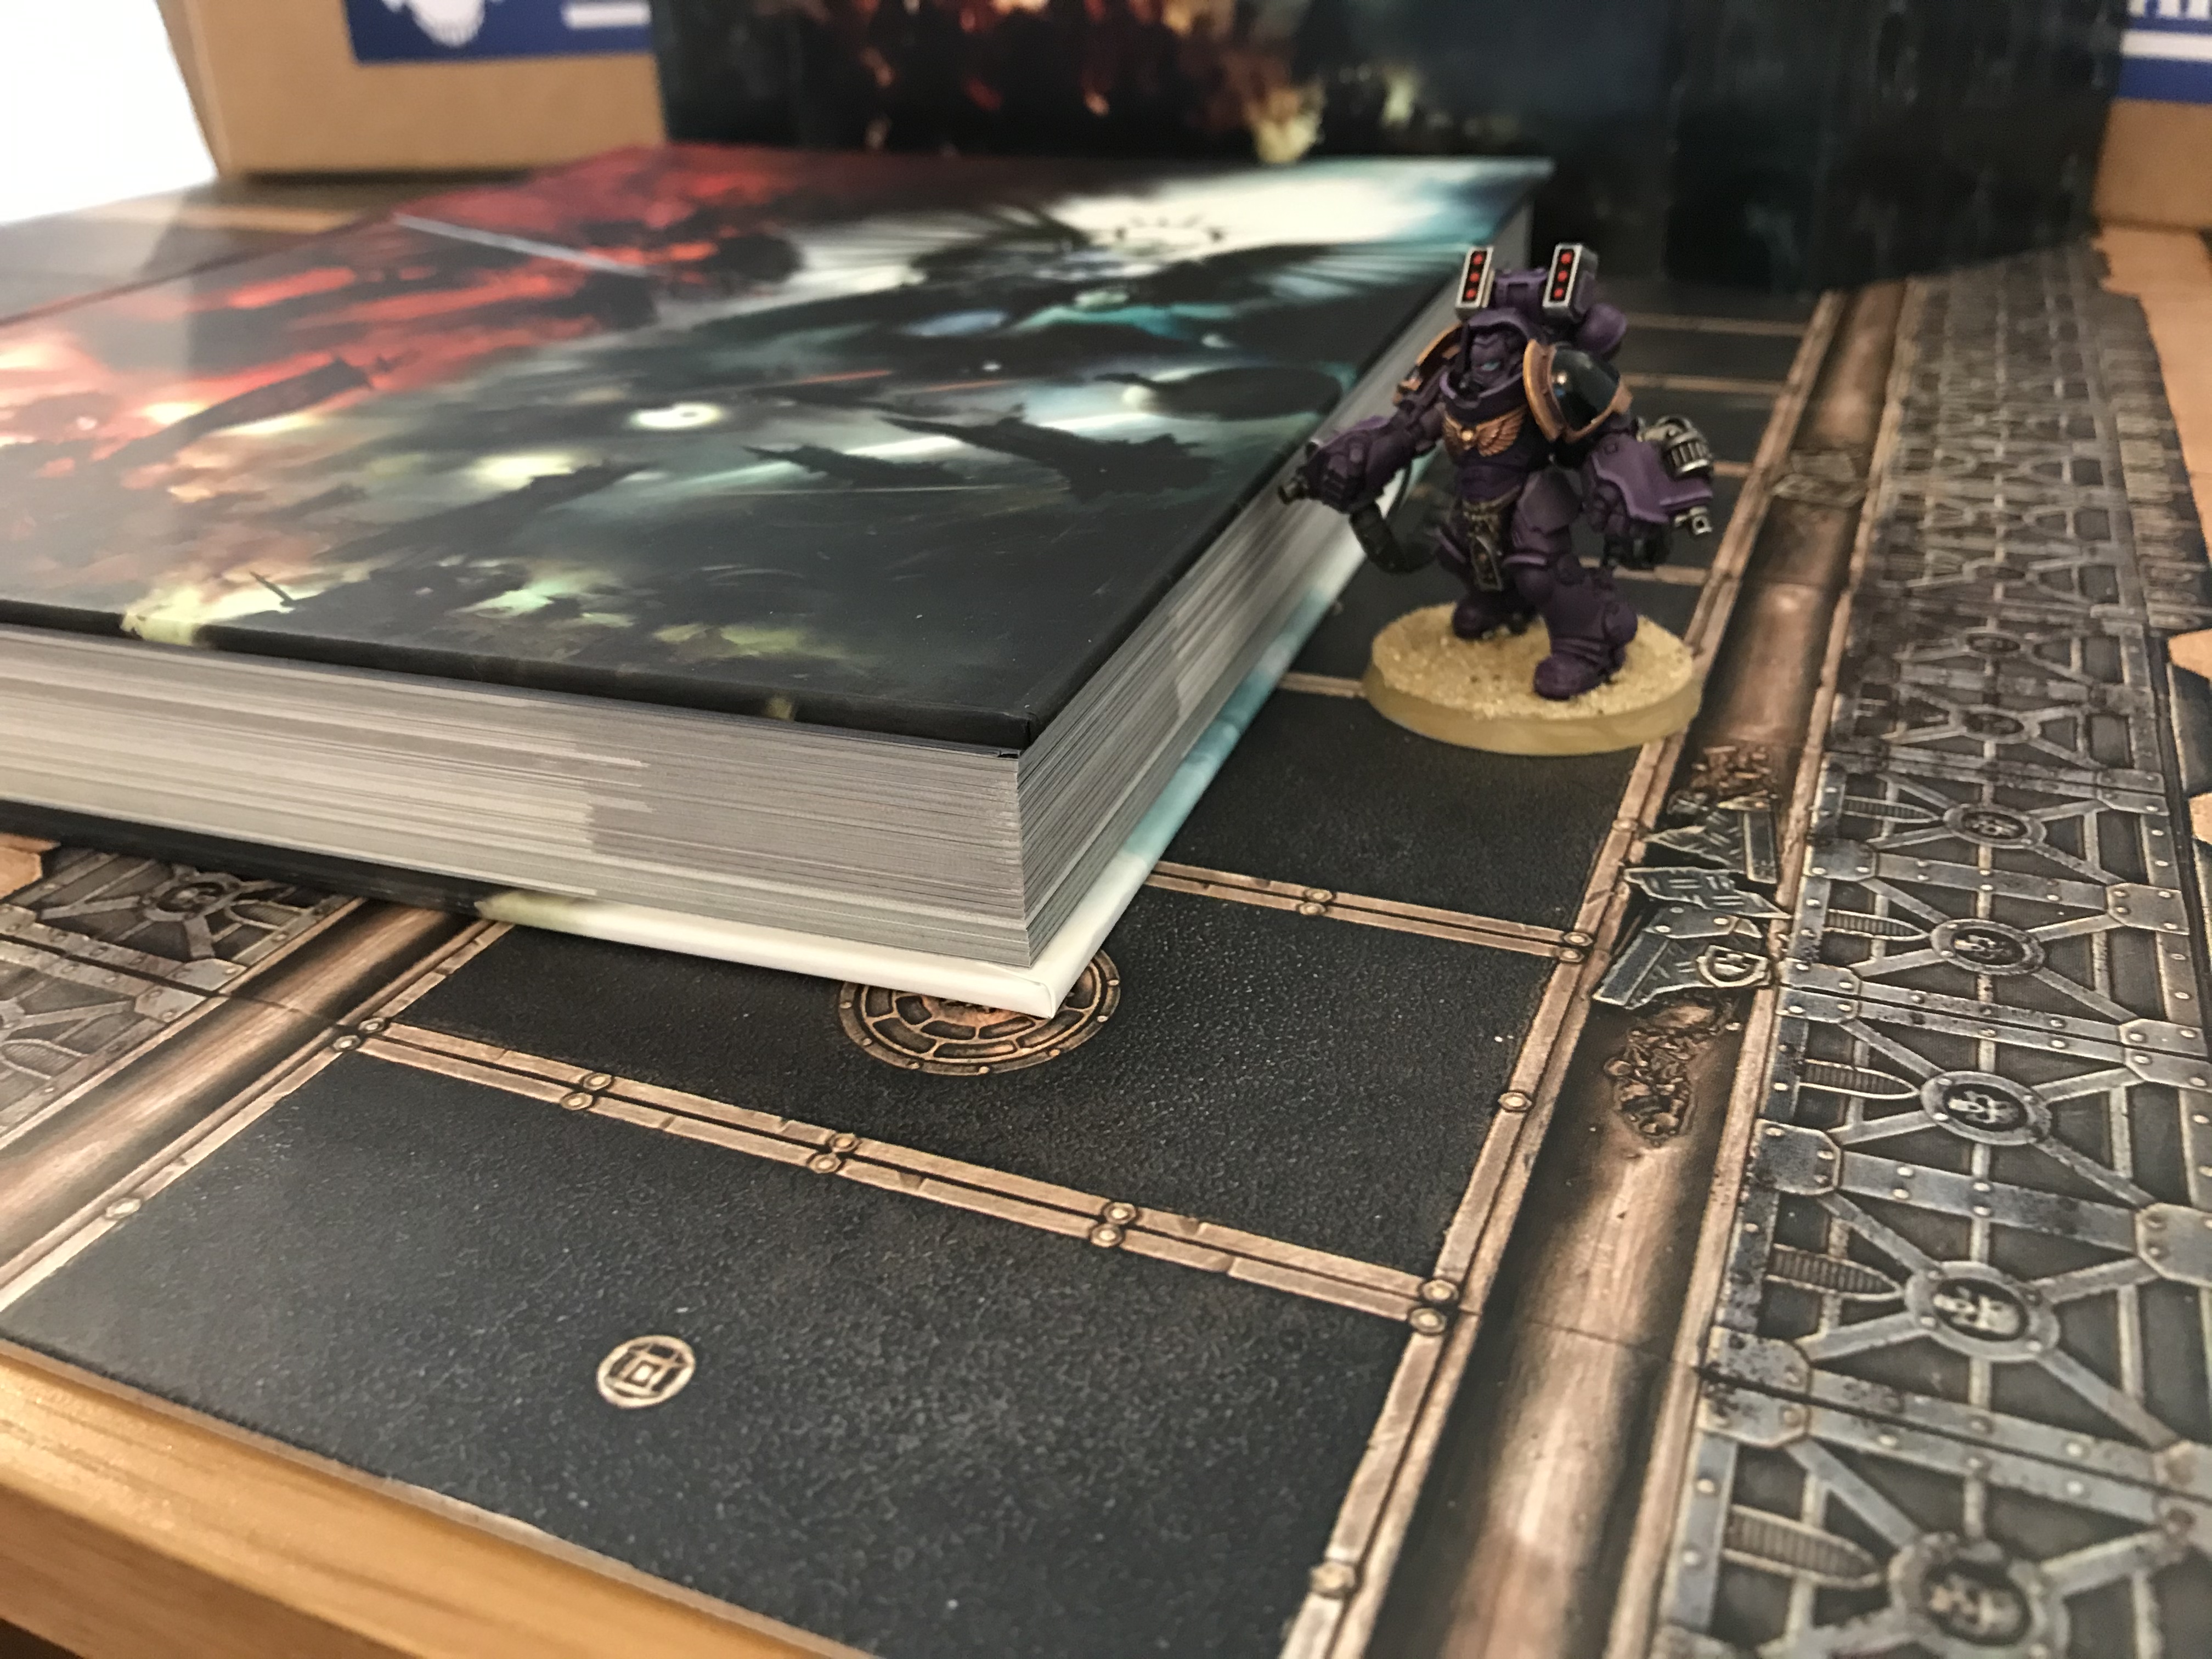
All games of Warhammer 40K take place on a battlefield, which is a space with defined boundaries where the action happens. How big should this be? If we open the rules and take a look at the introductory mission, Only War (Rulebook p. 238, Core Rules p.25) you’ll see that there are some recommended sizes for this. In our case, we’re going to play the smallest game type, Combat Patrol, so the suggested size is 30″x44″. This should fit on most kitchen tables, but if it’s a bit of a squeeze don’t worry about getting it perfect – a few inches either way won’t make a huge difference.
If you’re a Kill Team or Warcry player, you can use two of the boards from those games side by side (along their long edges) to form a battlefield of the correct dimentions, and a dedicated mat for this size of games is going on sale alongside Indomitus. You don’t need this though – you can easily mark out the space with some masking tape or just by putting down some books or the lid of your box to show where the battlefield ends.
Some Terrain
Flat, empty battlefields aren’t great for creating dynamic, strategic games. With that in mind, you want to add some to your table before you play your game.
An enormous amount of options exist for getting hold of this. Games Workshop make plenty of lovely kits, various MDF manufacturers produce some cost efficient options, and if you feel like splashing out you can get some great pre-painted resin pieces as well. If you are coming to 40K from another game you probably have some of this kicking around, and if you are a member of a wargaming club or have more experienced friends there’s probably some you can borrow.
If you’ve got no access to any of it though, you can still very quickly improvise enough to get a flavour for how it impacts on your first few games. Find the following:
- A stack of paperback books.
- Two pieces of A4 paper.
- A pencil
- Some scissors.
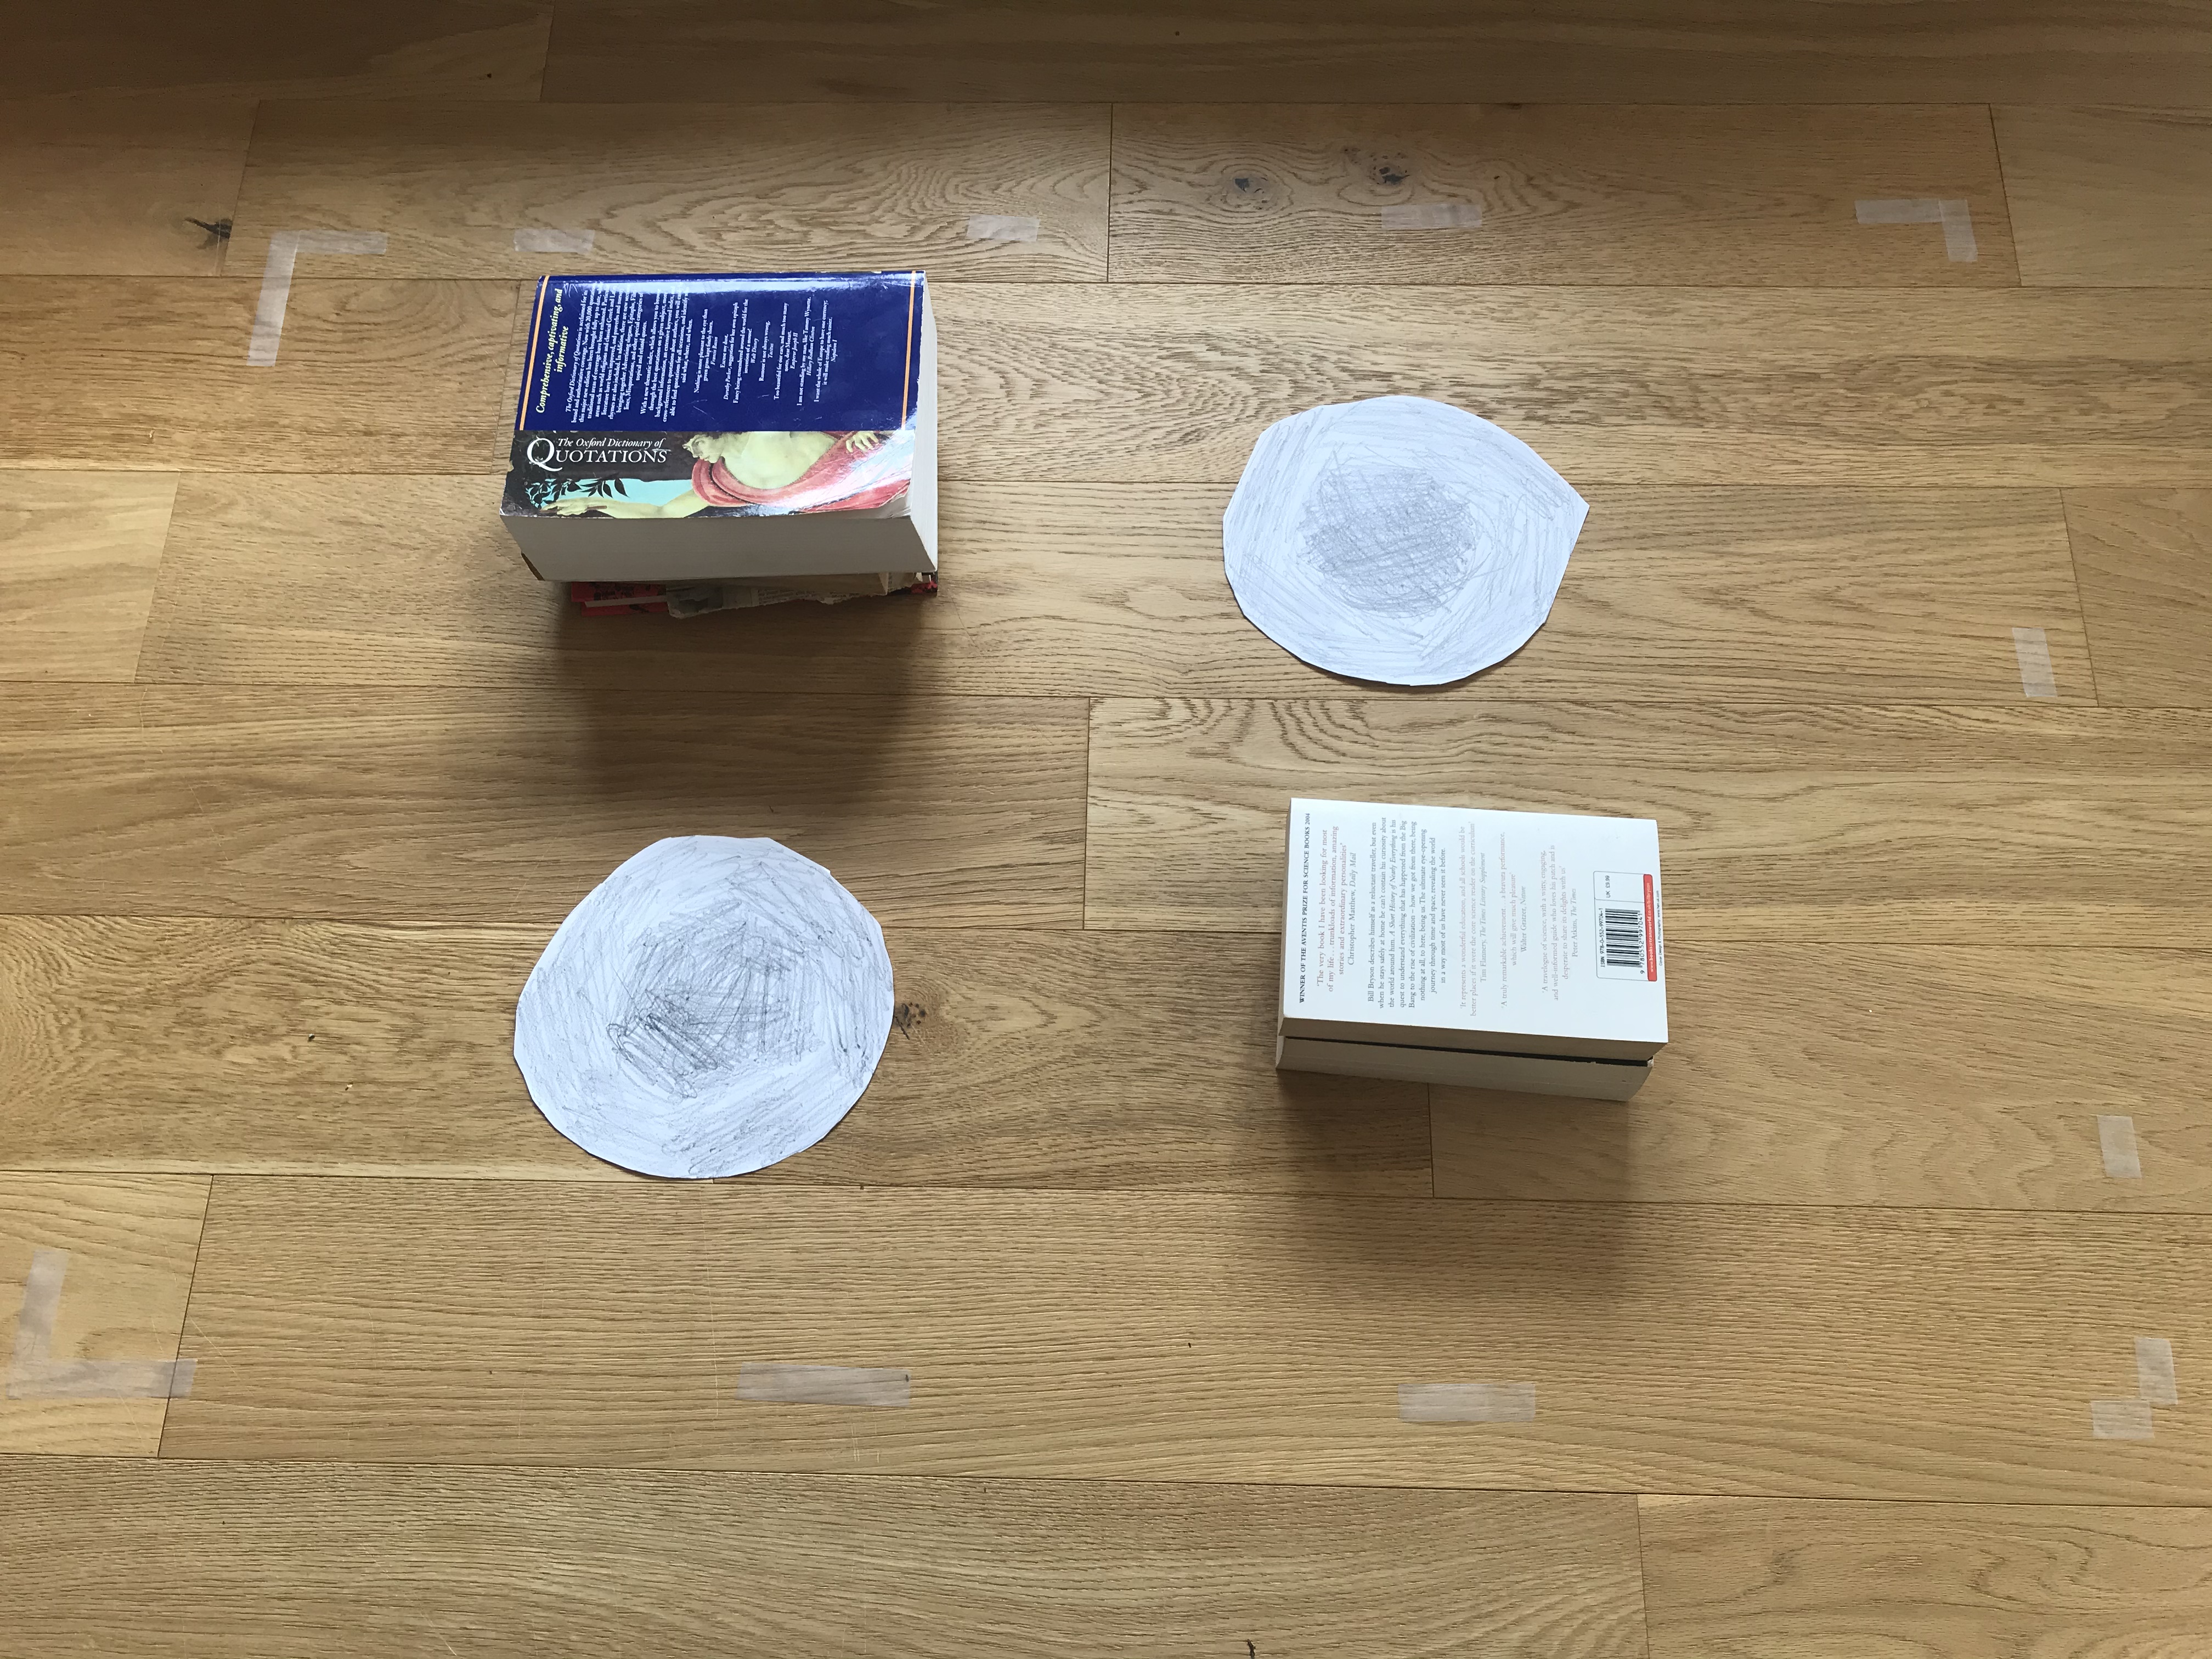
With your two pieces of paper, draw a couple of circles about 8″ in diameter and cut them out. Then, shade around the edges with a pencil, and shade more deeply in the middle to make it darker. Then set up your table like this (the tape is the “table” boundary):
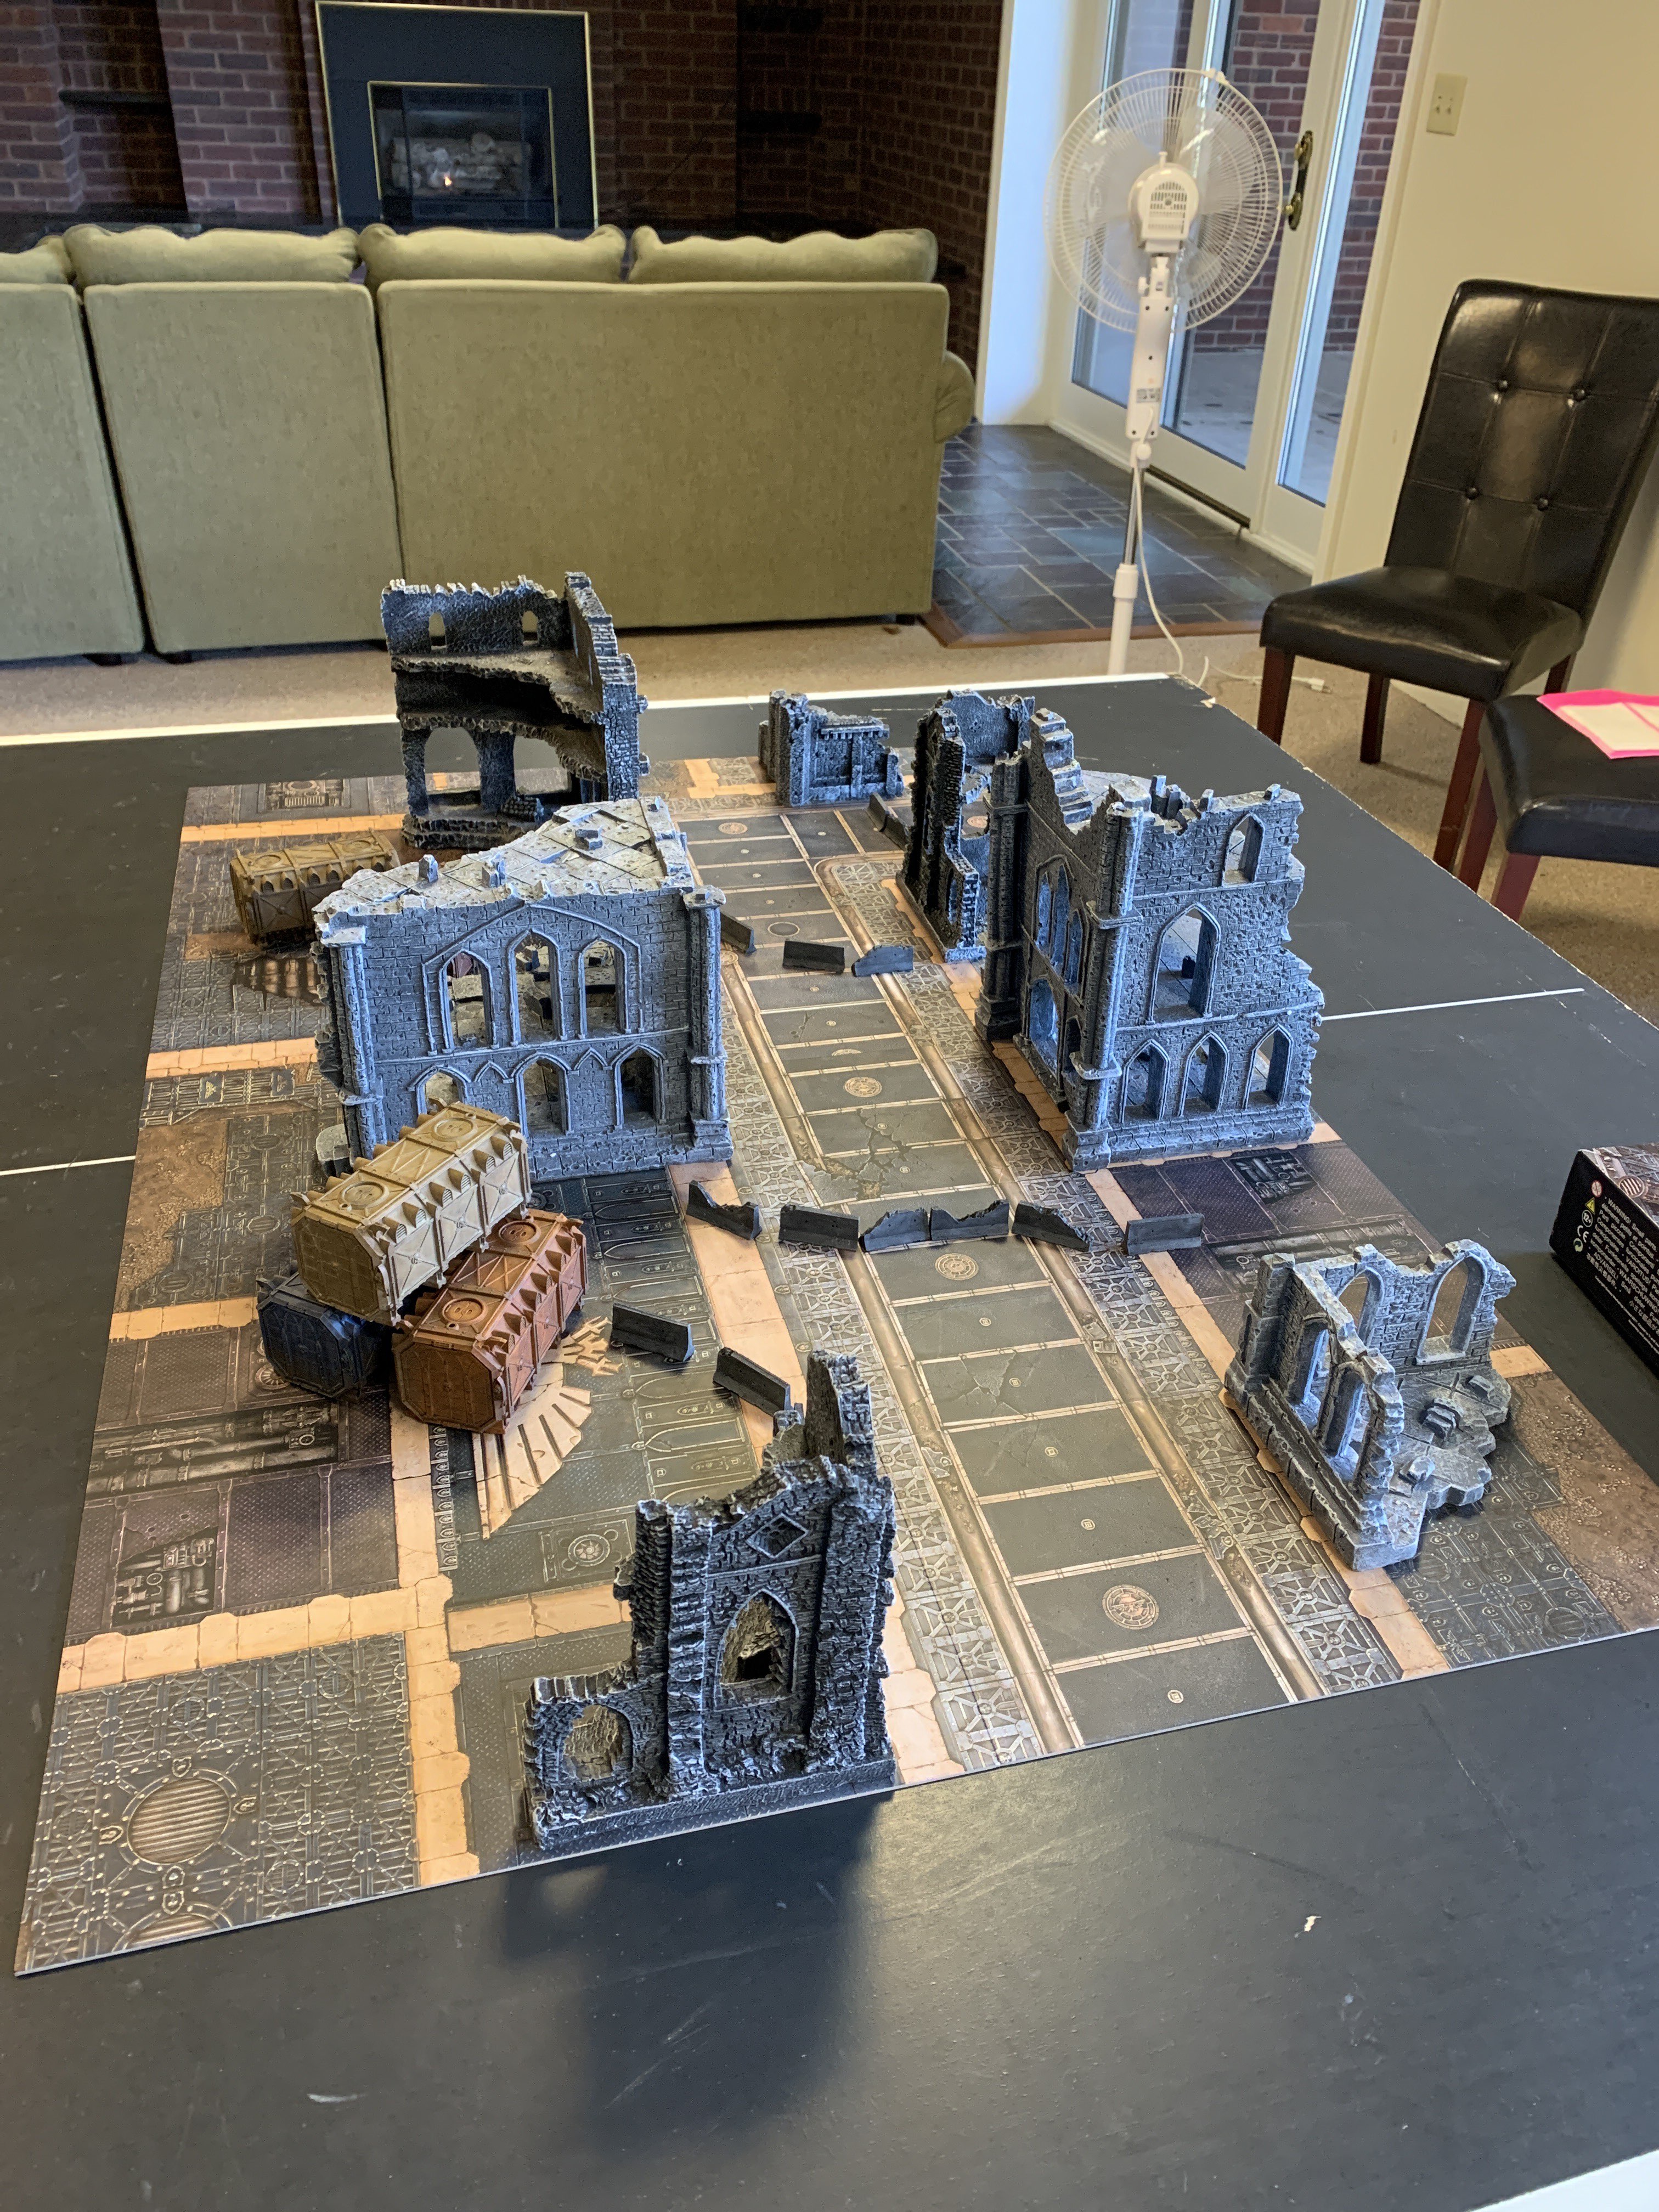
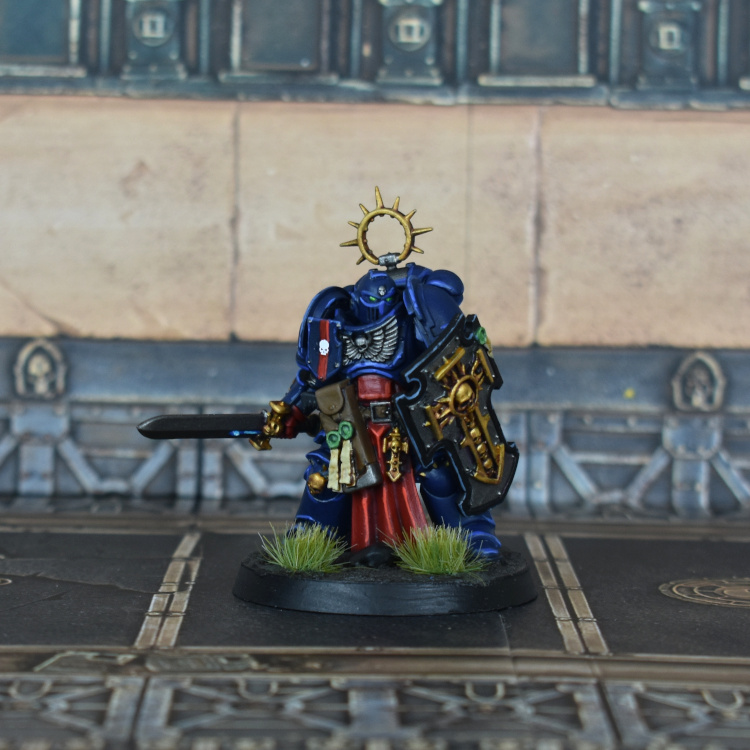
We’ll come back to the rules for this a bit later. While this is a bit more sparse than you’d aim for once you’ve built out your table (see Alfredo’s above for a good goal), it’s enough for the basics, especially with two forces that are tilted towards melee – in general, it’s more important to have good terrain coverage with very shooty armies, and with the forces we’ll look at in a second, the above will be enough to get a game in with.
Step 2 – Read the Core Rules
Make sure you and your opponent have familiarised yourself with either the Core Rules section of the rulebook, or the Core Rules PDF. GW have helpfully flagged some sections of the rules as “Advanced”, which means they won’t come up in every game. Quite a few of these won’t come up in your first game – you can skip over:
- Transports
- Aircraft
- Blast Weapons
In addition, we won’t be using any Psykers, so you can skip the Psychic phase.
If you’re coming to 9th from 8th, or want some visual representations of some of the concepts in the game, Ruleshammer is doing a phase-by-phase rundown of the changes in this edition, which you can find linked from our landing page.
Step 3 – Assemble Your Armies
This is where we’re going to take a look at some of the rules beyond the core. In the core book, the rules for constructing armies run from page 240-251. That’s obviously quite a lot – and we once again don’t need all of it for an introductory game.
What You Need to Know For Your First Game
Power Ratings and Power Level (p.240)
- Units have a basic cost called a “Power Rating”. This is listed in the top right of their datasheet, and sometimes increases if you add more models – this will be explained on the datasheet.
- The total Power Level of your army is the sum of the Power Ratings of your units
- For a balanced game, you and your opponent should choose armies with the same total Power Level.
- Most players select an agreed Power Level limit before building their armies.
Battle-Forged Armies (p.244)
- Battle-Forged armies have their units arranged into detachments (p.246).
- You start with a pool of command points that you can spend to buy detachments. Your first Patrol, Battalion or Brigade is usually free.
- Games Workshop’s recommendation for a game of the size we’re playing is that each player use a single Patrol detachment.
- Every unit has a battlefield role (shown next to their datasheet), and each detachment provides you a certain number of slots you must fill with certain battlefield role, and additional optional ones you can fill.
- Any CP you have left over after buying detachments can be used in the game to activate stratagems.
- The game overwhelmingly assumes you will build a Battle-Forged army, and almost all online coverage of 40K assumes this too!
What That Means For You
- You and your opponent should build battle-forged armies to an agreed Power Level limit.
- For your first game, you should aim to fill a single Patrol detachment.
- When learning to build bigger armies, your goal is to use the cheapest arrangement of detachments possible to fit the units you want, and you should usually start with a Patrol or Battalion.
What We Can Gloss Over For Now
- Factions – both sides of the Indomitus box meet all the rules here without any further consideration
- Dedicated Transports – we don’t have any
- Detachment Abilities – these come from codexes.
- The more complicated detachments on page 250 aimed at supporting specific kinds of units.
- Points – this is a more granular way of costing units, usually used for more competitive Matched Play games. The models in Indomitus don’t have point costs yet.
Building Our Two Armies
The upshot of the above is that we need to look at the models in Indomitus and work out how we can build a Patrol for each side to have a game with. A patrol detachment looks as follows:
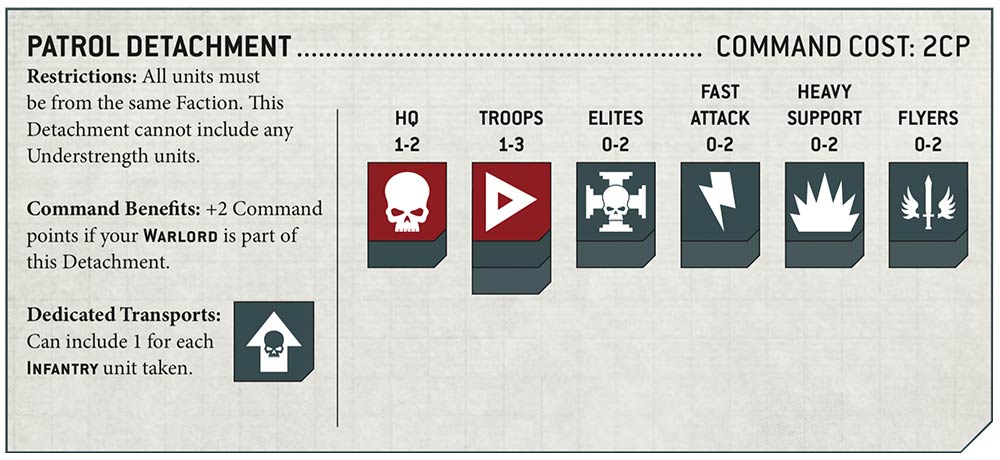
The total Power Rating of each side of Indomitus is 48, but not all of the models from each side will fit into a single patrol, mostly because there are too many Characters on each side. What do we cut, and where do we set out limit?
Here I’m going to have to channel some classic “here’s one I prepared earlier” energy. I’ve taken a look at the units available and I think the following two 30 Power Level armies should give you a good game.
Space Marines
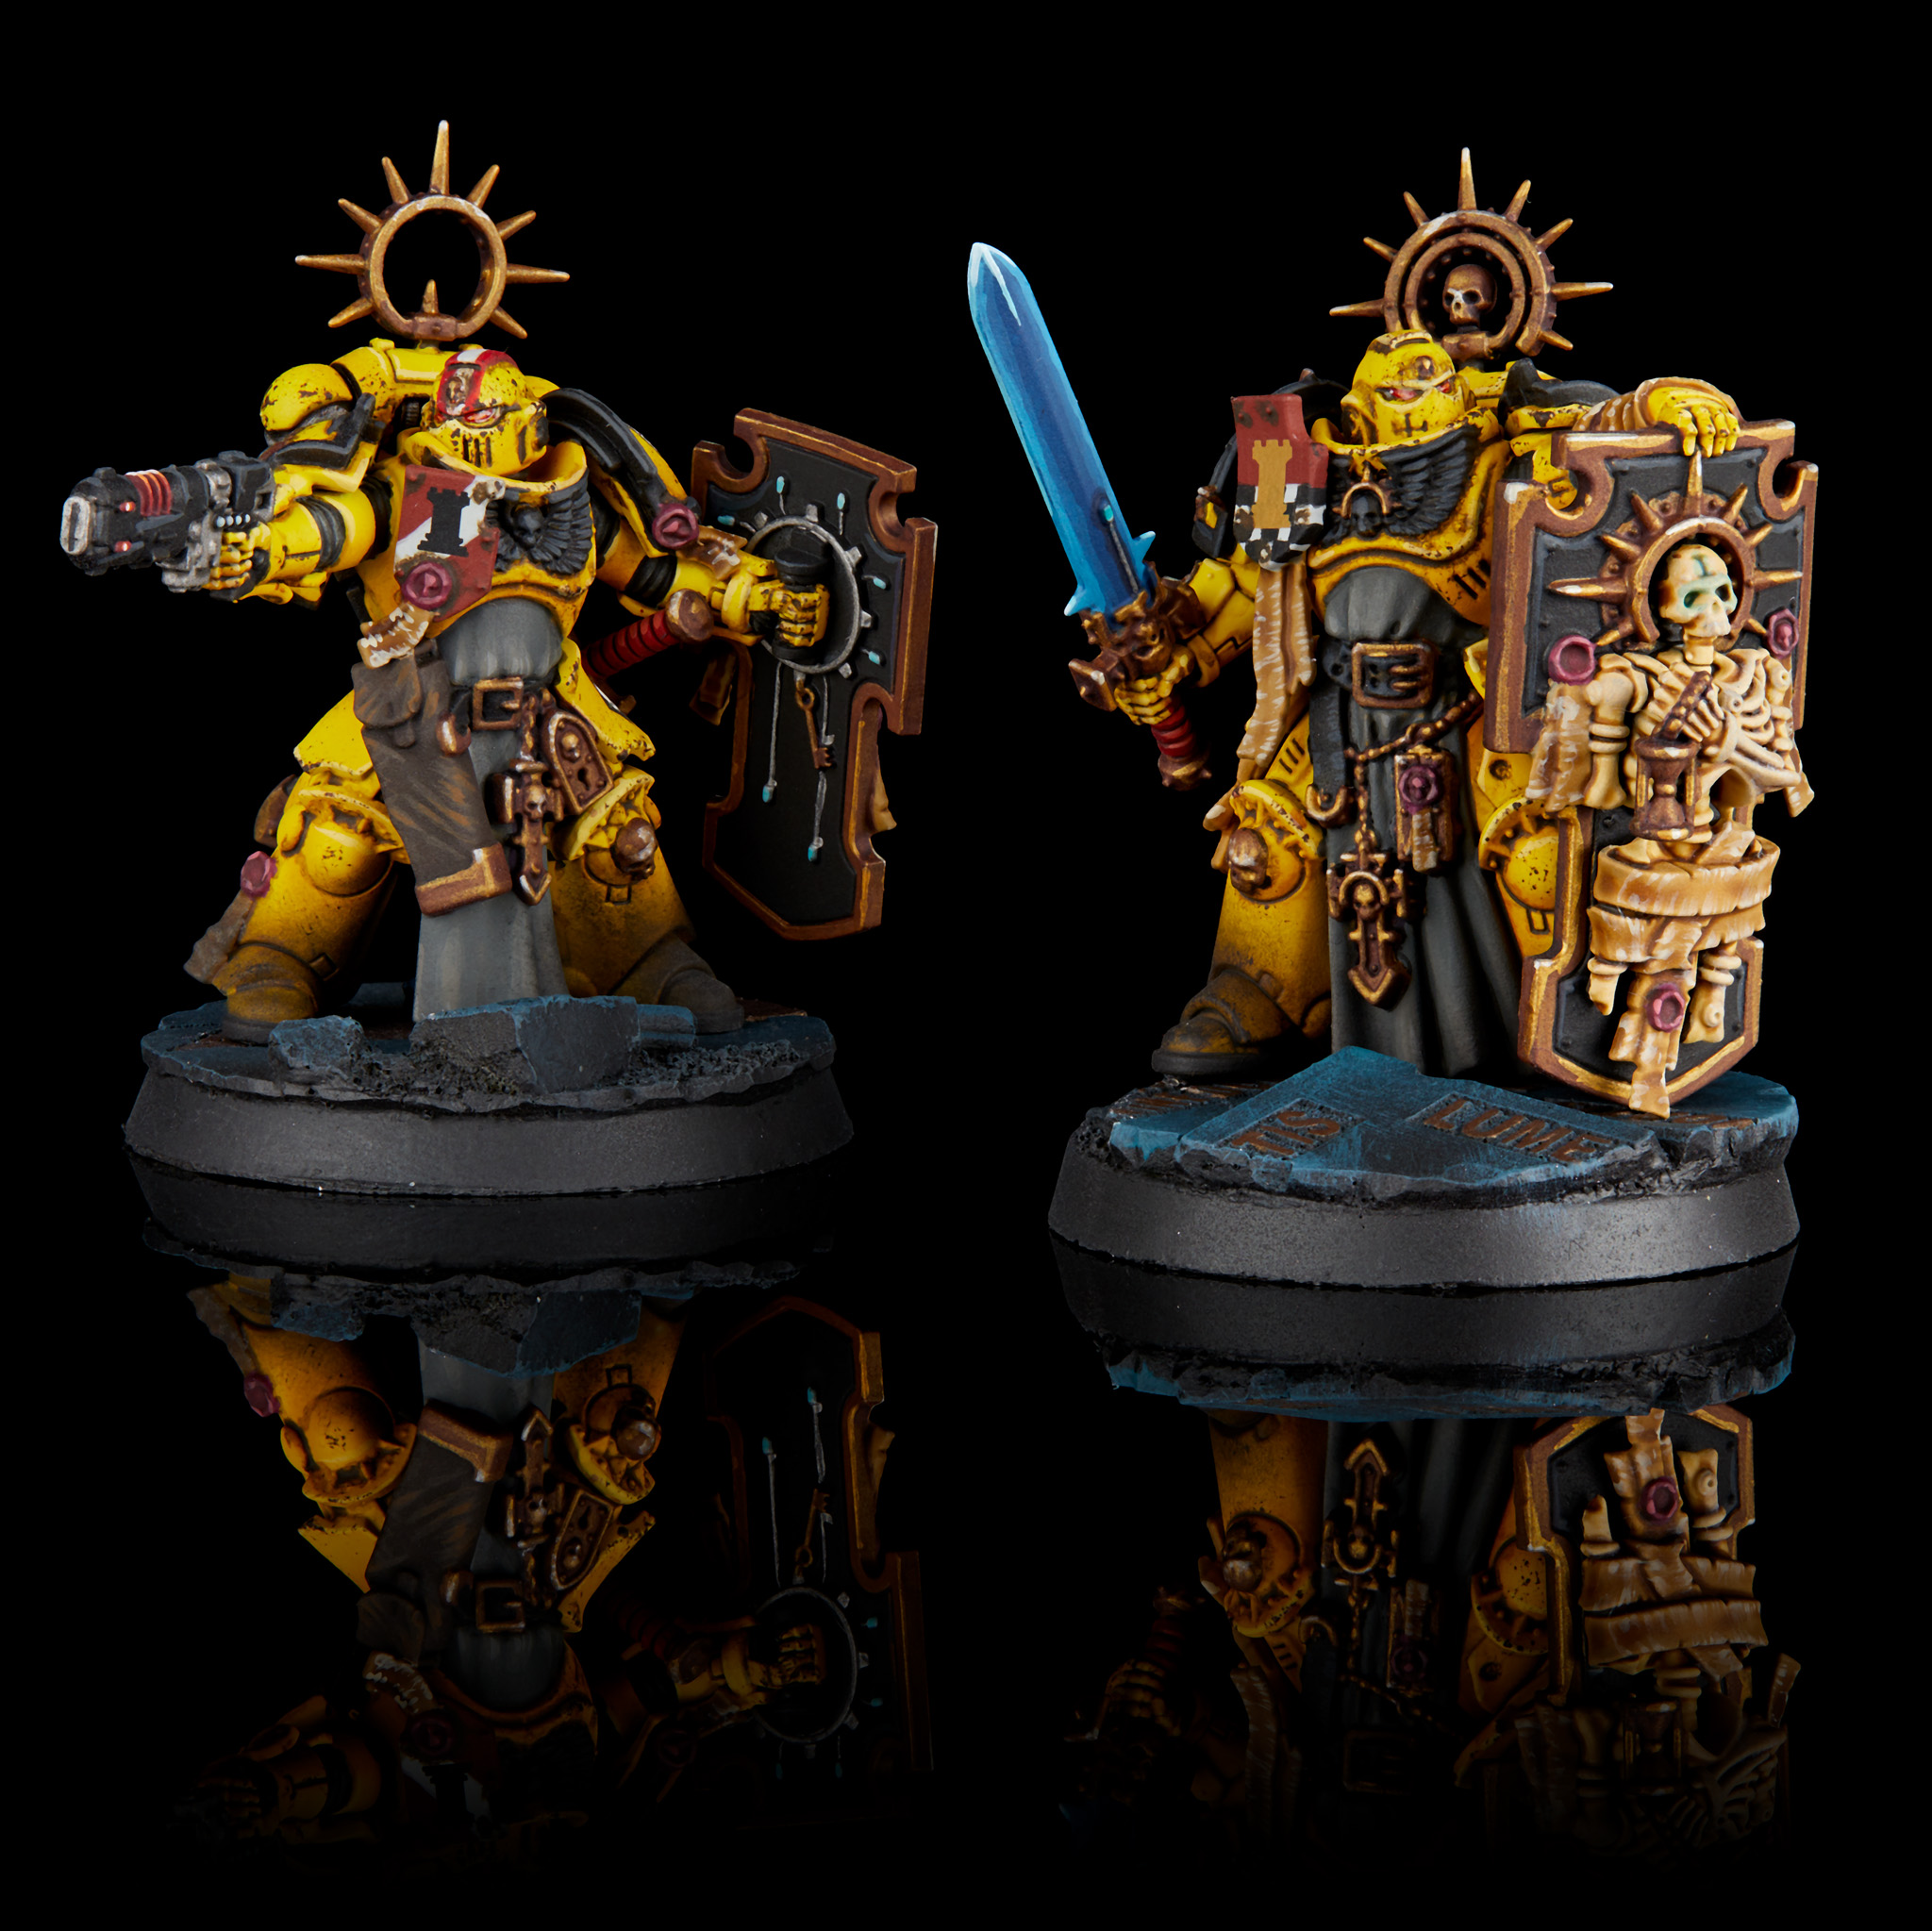
- HQ – Primaris Captain – 5 Power
- HQ – Primaris Lieutenant – 4 Power
- Troops – Assault Intercessor Squad (5 models) – 5 Power
- Troops – Assault Intercessor Squad (5 models) – 5 Power
- Elites – Bladeguard Veteran Squad – 5 Power
- Fast Attack – Outrider Squad – 6 Power
This is an agressive melee force that wants to get into combat with the enemy, using the Outriders to flank and threaten to pick off stragglers.
Necrons
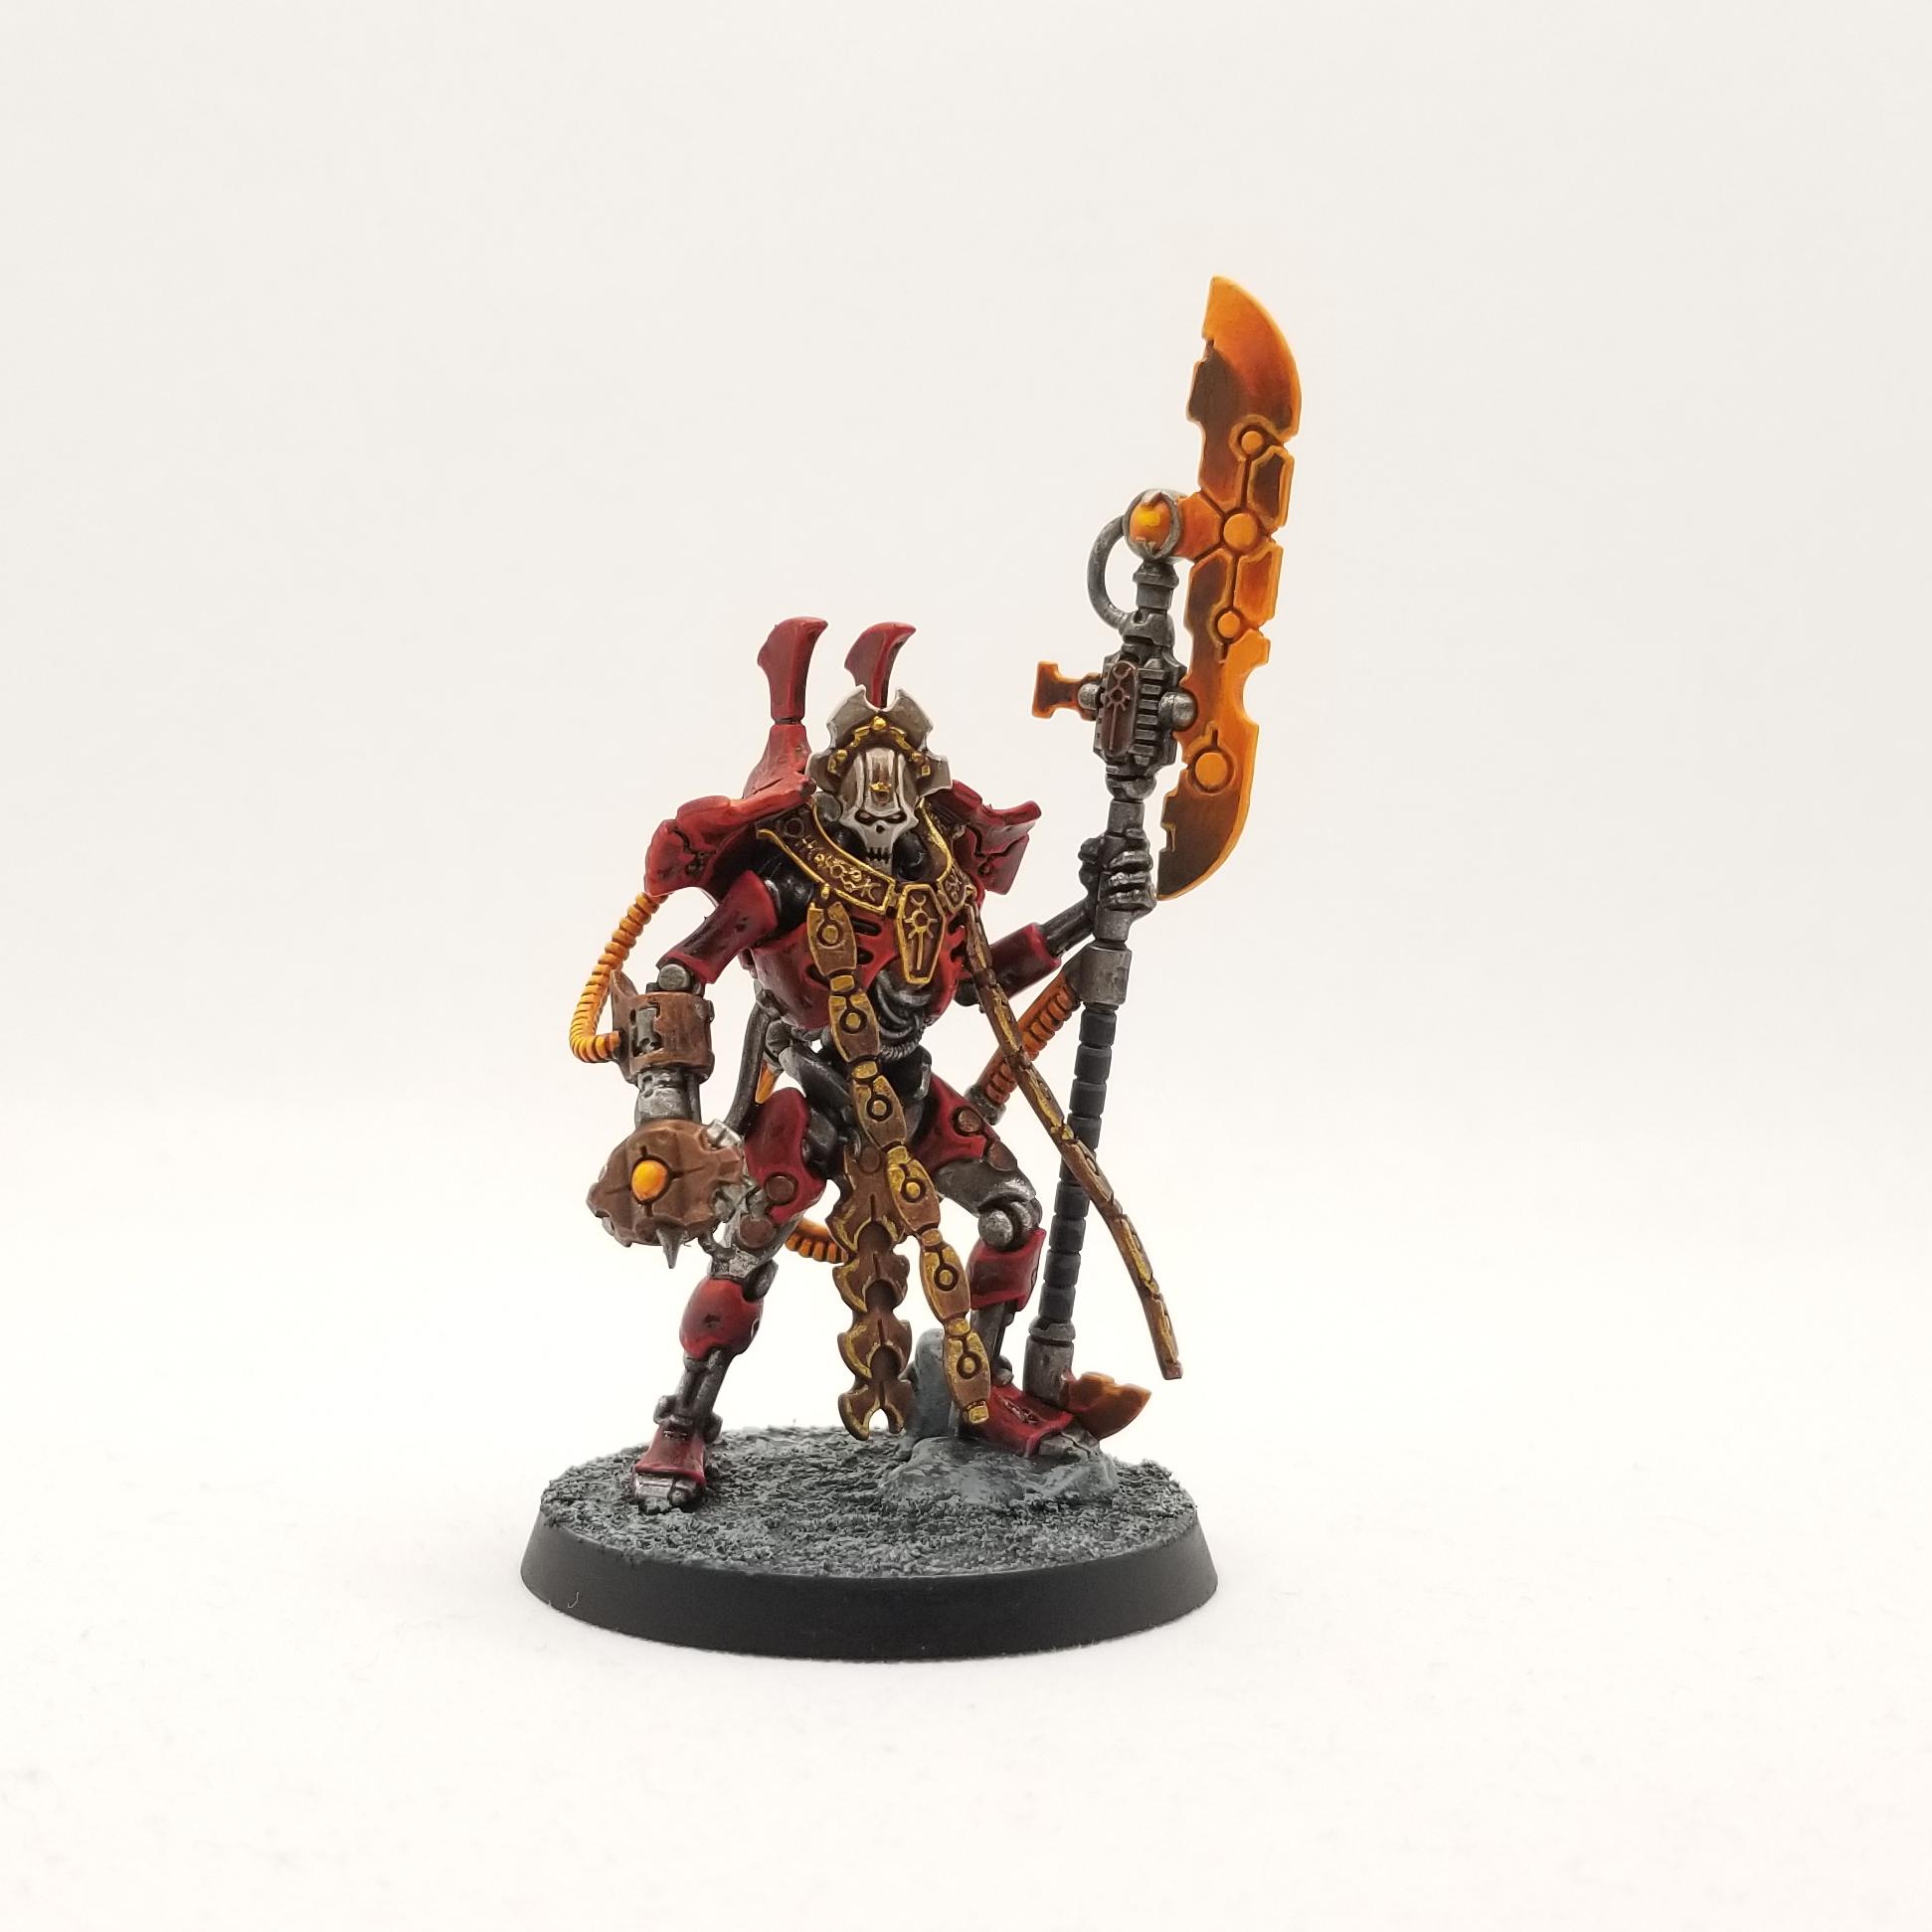
- HQ – Overlord – 5 Power
- HQ – Royal Warden – 4 Power
- Troops – Necron Warriors (20 models) – 10 Power
- Elites – Skorpekh Destroyers with Plasmacyte – 7 Power
- Fast Attack – Scarab Swarms (3 models) – 2 Power
- Fast Attack – Scarab Swarms (3 models) – 2 Power
This force wants to use the Necron Warriors as an anvil and shooting threat to force the enemy to engage, then counterattack with the deadly Skorpekh Destroyers.
You might be wondering why I’ve put all 20 Necron Warriors in a single squad where I split the Assault Intercessors up. This is because the abilities on Space Marine characters affect all friendly units within range, while the abilities on the two Necron Characters target a single squad each turn. Having a single large squad thus lets you get more of a benefit from them.
Special Rules (Optional)
The datasheets in Indomitus refer to some rules in the Codex for each army. Codexes provide the full rules for an army, and if you want to build up a proper force of a given faction you will want to obtain them.
You have two options here:
- Play without these rules. Both sides lose some of their tricks without them.
- Play with the simplified versions below.
The following are reasonable shorthands for how the referenced rules play in 9th.
Space Marines – Angels of Death
All Space Marine units in the armies have this ability.
- If this unit fails a morale test, you can re-roll it.
- If this unit makes a successful charge, is the target of a successful charge, or performs a heroic intervention, add 1 to its attacks characteristic for the rest of the turn.
- In the second battle round only, improve the AP of the Bolt Rifles of the bike by 1.
- From the third battle round onwards, improve the AP of all melee weapons and pistols by 1.
Necrons – Reanimation Protocols
The Skorpekh Destroyers and Necron Warriors have this ability.
- In your command phase, roll a dice for every model in this unit that has been destroyed since the start of the battle. On a roll of 5+, set it back up on full wounds within coherency of the unit.
Necrons – Living Metal
The Overlord and Royal Warden have this ability.
- In your command phase, this model regains a single lost wound.
Step 4 – Look at Stratagems
Stratagems are abilities that can be activated using any command points your army has. Both of our forces start with three command points, and because they’re Battle-Forged will gain an additional command point at the start of their command phase, so what can we spend these on.
Pages 254 and 255 have the rules for stratagems, and some core stratagems available to all armies. Of these, the players might want to consider using the following:
- Command Re-roll – 1CP: The most commonly used stratagem in the game, letting you re-roll various types of dice roll if you don’t like the result. A good time to use this is if one of your characters has failed a save against a dangerous weapon, such as if the Primaris Captain is hit by a hyperphase reap-blade.
- Counter Offensive – 2CP: This lets a unit “interrupt” the normal flow of combat and attack immediately. if multiple Necron units charge the Bladeguard, they might choose to use this to fight back before their numbers are too heavily depleted.
- Fire Overwatch – 1CP: This lets a unit fire Overwatch (p.227) against a unit charging them. As the unit with the most shots, the Necron Warriors could benefit from using this to try and hurt a Space Marine unit that’s charging them.
- Insane Bravery – 2CP: This lets a unit automatically pass a morale test once per game. One of the weaknesses of large units (like 20 Necron Warriors) is that they can take a lot of damage from a failed morale check. Using Insane Bravery on a key turn can keep them in the game that much longer.
Step 5 – Read the Mission
The Core Rules contain an introductory mission called “Open War”, which is what we’re going to play. This is on page 238 of the rulebook or 25 of the PDF. All missions in 9th edition give you a very clear step by step guide for how to play them, and you should read through this carefully the first time you use them.
As you start reading Open War, you’ll see that we’ve already done most of step 1 – we’ve mustered our armies, so all we have to do there is pick a Warlord from among the models in our army that are CHARACTERS.
On both sides there’s a clear leader, so lets select them – the Primaris Captain and Overlord become the Warlords for each side. They gain an additional ability called a Warlord Trait, which here is an Aura that grants +1 Leadership to nearby units.
Next, we look at the mission briefing – this tells us how to win. Our goals here are to destroy our opponent’s warlord (never a bad plan anyway) and to take control of objective markers. These get set up in the during the next step, which is creating a Battlefield. Have a quick read of the rest of the mission details, then we’ll talk about the table itself.
Step 6 – Decide on Terrain Rules
We already did some preparatory work for this by cobbling together some terrain earlier, but now we need to work out what it actually does on the table.
On pages 260-263 of the rulebook, you’ll find the terrain rules. These are quite in-depth (being an area substantially expanded in 9th), but we don’t need to use all of them to get a flavour for it. When using a piece of terrain, you need to assign it a Terrain Category, which generally determines who it affects, and Terrain Traits, which determine what it does.
We’re going to imagine that what we’ve put on our table here are:
- Two craters (the paper circles)
- Two buildings (the book stacks)
Both of these clearly occupy a set area of space on the battlefield, so from the list of Terrain Categories we’re going to say they’re Area Terrain.
In terms of traits, we should work out roughly what we want the affect of this terrain on our game to be.
The book stack buildings are there to give units something to hide behind, and are also an abstract representation of towering edifices that we don’t quite have the tools to represent visually. With that in mind, we’ll choose to make them Obscuring (and stack a few extra books on top so they’re 5″ tall as the rule requires) and Unstable Positions.
That means:
- Any line of sight that crosses the footprint of the book stacks is blocked, even if there’s a little gap or something.
- Models can’t climb up on top of them.
The craters are there to give you some choices on the battlefield, and provide a position you can defensively fortify. With that in mind, let’s follow the recommendation on page 264 and give them Light Cover and Difficult Ground. That means:
- Any model other than the Outriders (because they are BIKERS and thus don’t benefit) that has any part of its base on the terrain gets +1 to its armour saving throws (but not invulnerable saves).
- If any unit other than the Scarabs (because they FLY) makes a Normal Move, Advance, Fall Back or Charge where any of their bases touch the terrain, you have to subtract 2″ from the maximum distance every model in the unit can move.
This gives us a battlefield that does something – there are parts of it that provide some extra safety in exchange for slowing you down, and things you can hide behind.
Step 7 – Play The Game
Once you’ve chosen the rules for terrain, the rest of the steps in the Open War mission make up what many players would broadly consider “playing a game of 40K”, starting with placing objectives in the second part of the “Create the Battlefield” step. Many players are used to playing at stores, clubs or events, where arriving at the table and finding terrain already set up can be pretty common, so the steps up till now are already done, but from here on in you’re into playing 40K proper.
Open War provides very clear guidelines on what to do from here, so follow through that and let battle commence! For your first games, always remember to stay relaxed about everything and refer back to the rules when needed – the bullet pointed summaries at the end of each section can provide helpful reminders on a lot of points.
Step 8 – Play More Games!
Was that fun? I hope so – 40K is one of the games I’ve enjoyed most in many, many years of gaming, and I firmly hope your first game was a blast.
Even with just what you’ve got in Indomitus, you’ve got a few things you can do to mix it up and introduce more elements. Both sides have units that I left on the bench from the initial lists, and swapping some of those in or increasing the size of the armies can let you try out some new things. If you want to try out some additional missions then the Open Hostility mission set (pages 272-276) gives you some more easy-to-learn missions that give you some alternative victory conditions, and introduce new concepts like Strategic Reserves. If you’ve got lots of keen friends, you might want to look at Crusade, or if you have a local competitive scene then it might be worth trying out some smaller Matched Play games. 9th provides you with a tonne of ways to play, and the good news is that compared to the previous editions the experience between them will be much more similar. you’ve got a lot of fun ahead of you.
Wrap Up
If you’re curious about any aspect of 9th Edition not covered in here, you should definitely keep checking back on our landing page – we’re aiming to fill it with valuable content for you. If you have any questions, do feel free to reach out either via email at contact@goonhammer.com or via our Facebook page – we’re always happy to help with new player queries, and have a team with plenty of experience in every aspect of the game.
