
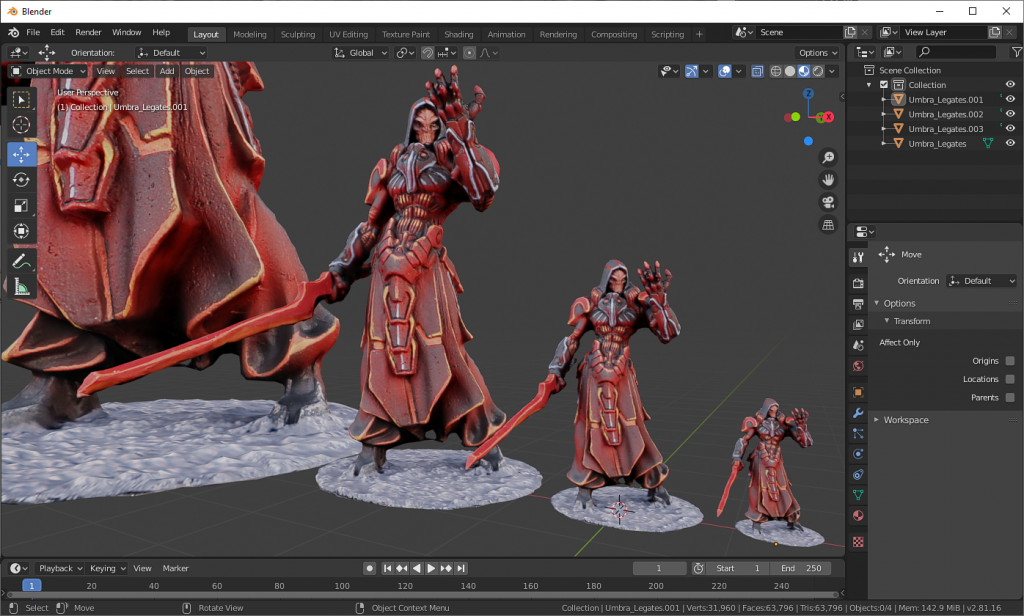
Turn your physical models into digital 3D models in this guide to photogrammetry. This fourth article covers polishing your 3D model in Blender.
We’ve been through a lot of stuff together. We took our photos and cleaned them in Photoshop. We used 3DF Zephyr to convert those pictures into a 3D model. But there are some final tweaks we need to do before we call the model done. This fourth article on photogrammetry is about using Blender to put the finishing touches on your 3D model.
If you want to start from the beginning, head back to the first article and go from there. Don’t worry, I’ll be here when you get back. Just be sure to buckle up as we turn your physical models into 3D models and import them into Tabletop Simulator.
Table of Contents
Blender
Blender is a free piece of software that can do basically anything you can think of with 3D objects. You can use it to sculpt, animate, slice, dice, and make julienne fries. I understand maybe one percent of it, and that’s padding my number by a couple percent.
Simply put, this is software that is above my pay grade, but I’ll do my best walking you through some of the steps I’ve stumbled into that help me turn the raw output of 3DF Zephyr into a nice clean model, ready for Tabletop Simulator.
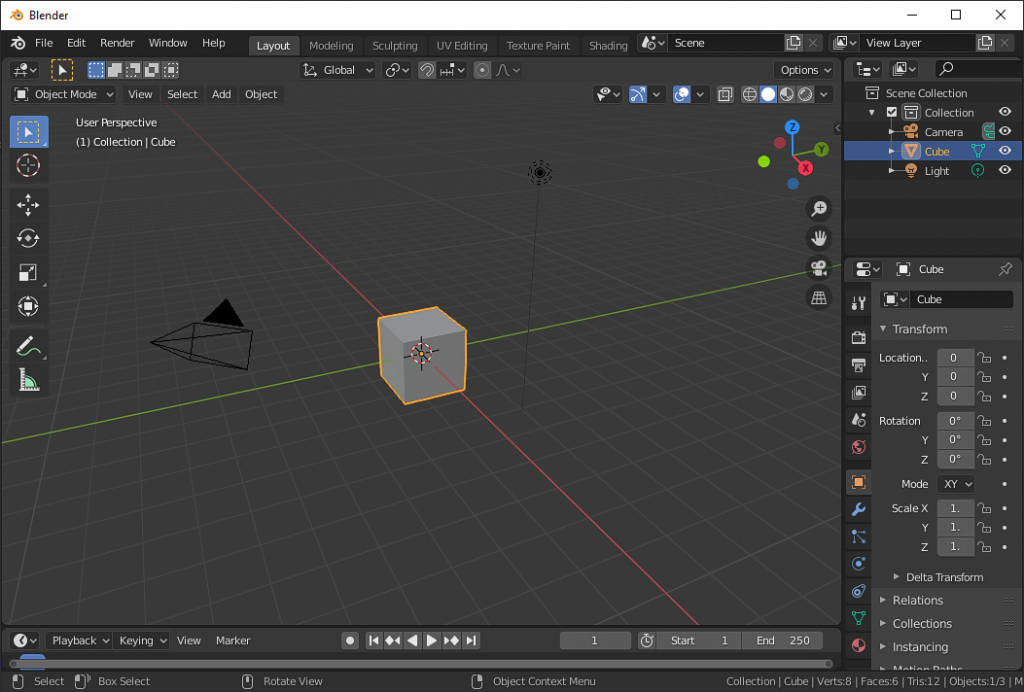
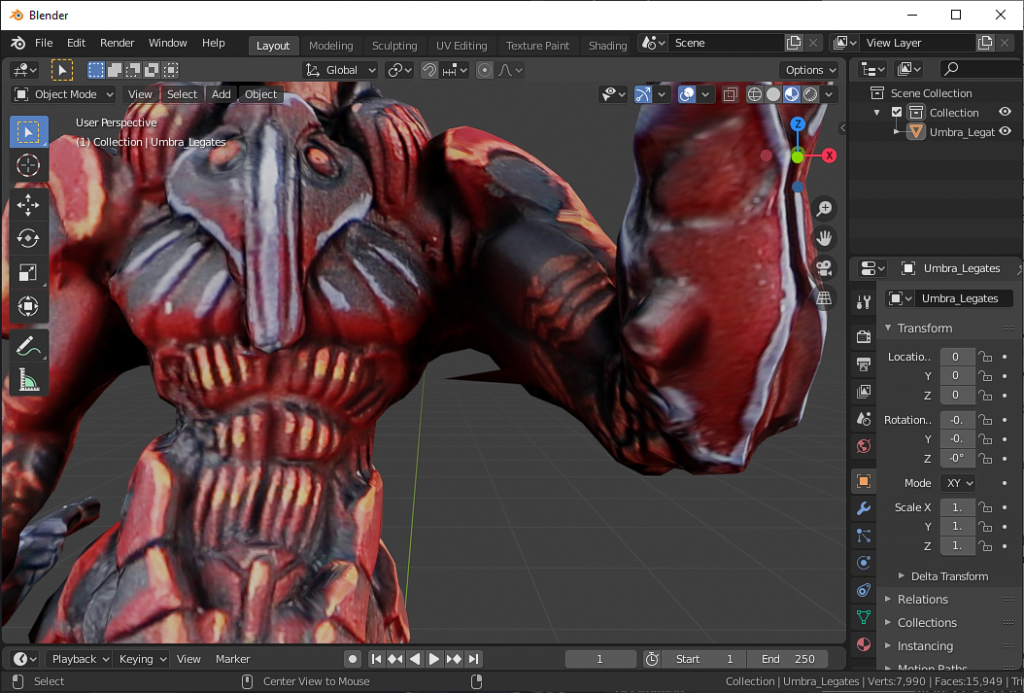
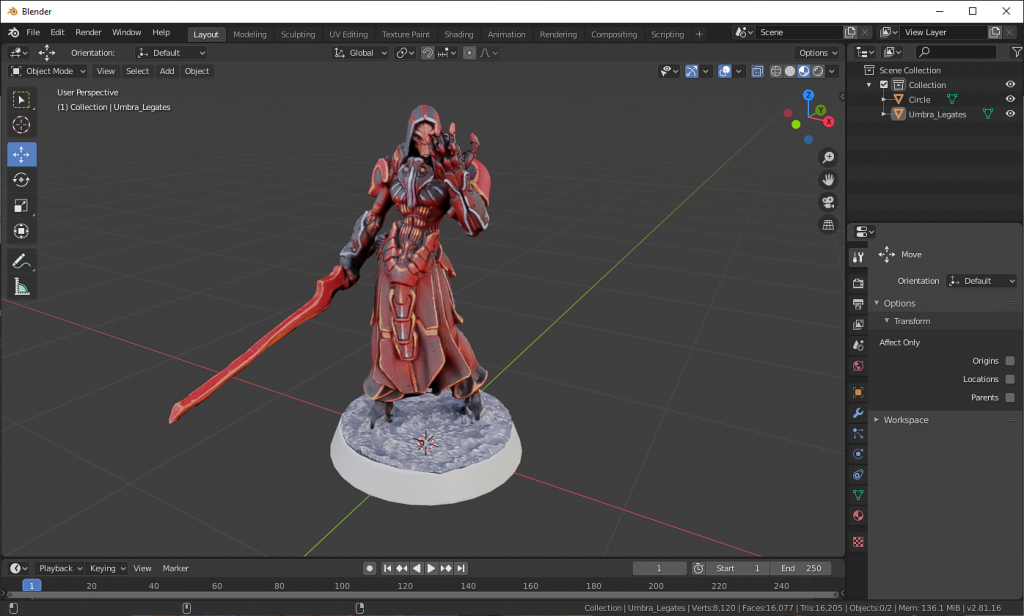
When you launch Blender you are given a trio of objects in your scene: a camera, a cube, and a light. We don’t want any of this, so in the Scene Collection in the top-right corner, right click each and press Delete.
Import Obj and Basic Controls
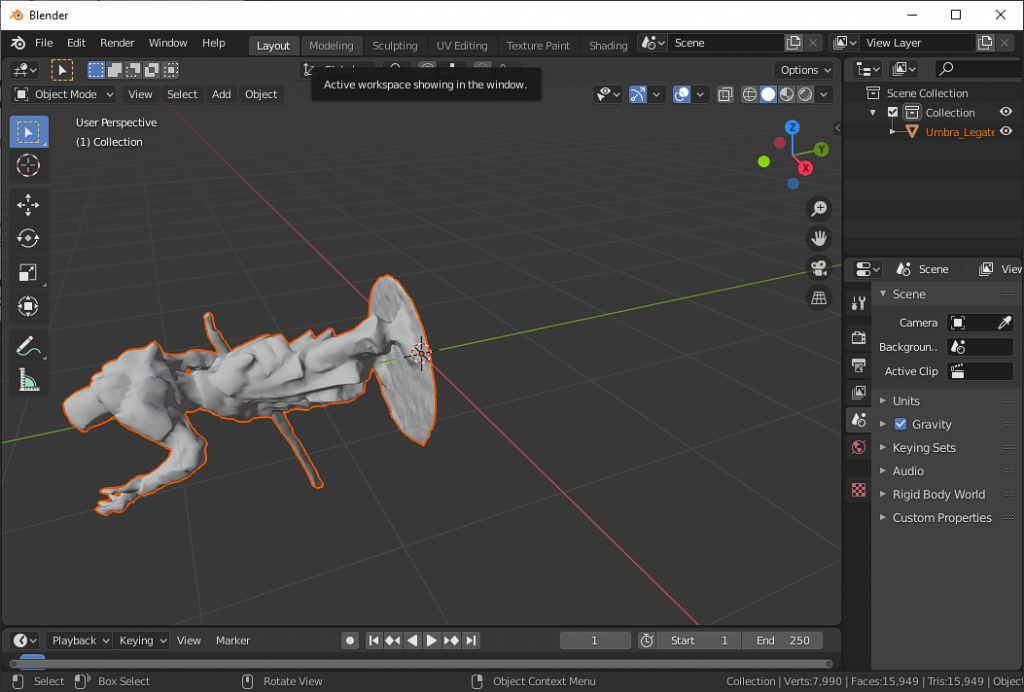
First things first, let’s import the OBJ file that we created with 3DF Zephyr. Click File > Import > Wavefront (.obj), then scroll to your project folder, select the obj file, and press Import OBJ.
Now that we have something to look at, let’s talk about some basic controls.
- Left click: Select something (left click’s behavior is changed by selecting a different tool on the left hand side of the screen)
- Middle click and drag: Rotate the camera around a point
- Shift+middle click and drag: Pan the camera around
- Scroll wheel: Zoom in and out.
And before you forget, go ahead and go to File > Save and save the .blend file in your project directory. You’ll want to periodically save as you’re working on it. Blender is fairly stable, but it’s not worth the risk of losing unsaved work.
You might notice that it’s a bit sideways. There’s probably a setting to correct this, but let’s do it by hand because we’ll likely need to tweak the precise orientation anyway. First though, we need to cover some initial steps and a couple more important controls.
Brush Mirroring and Viewport Shading
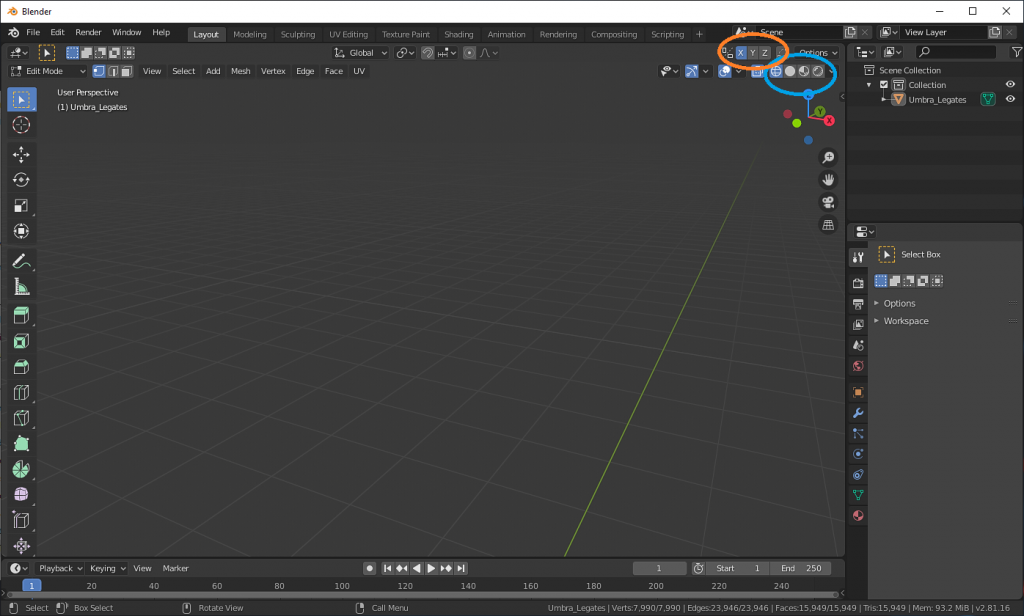
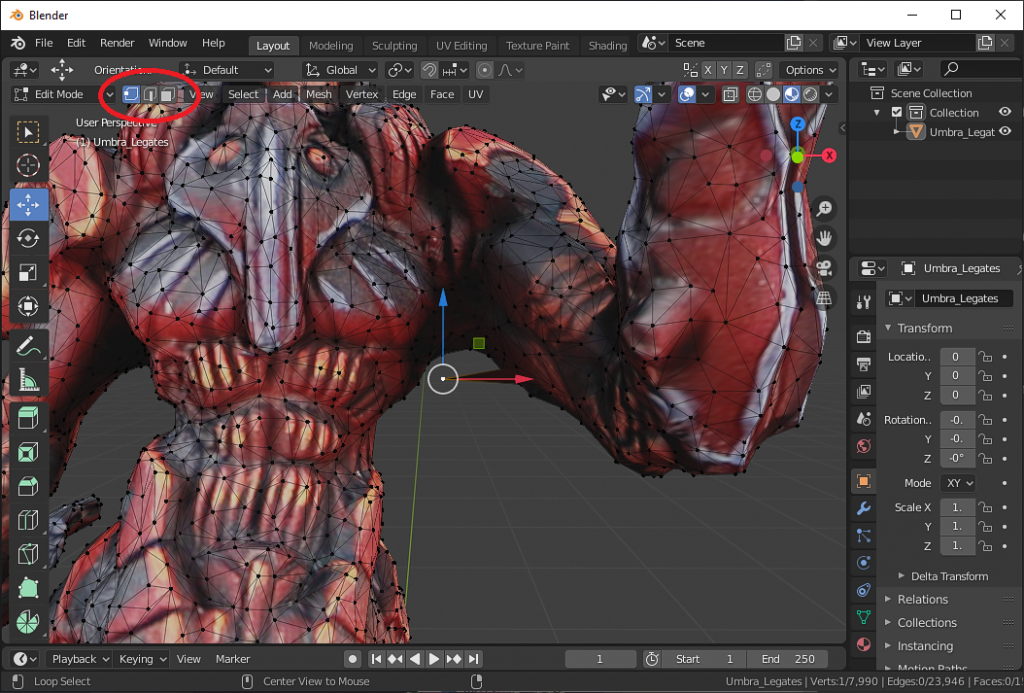
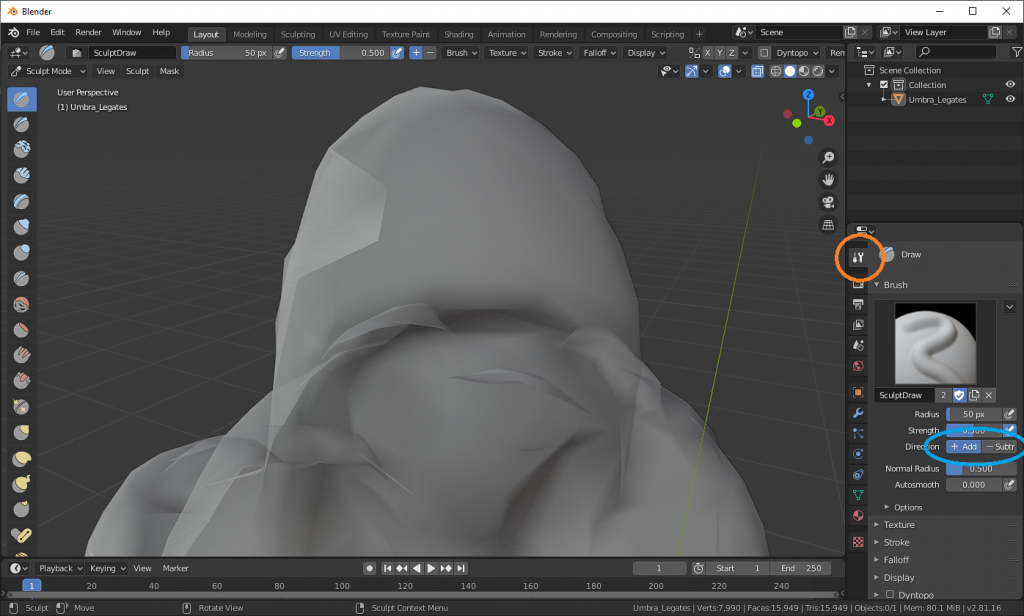
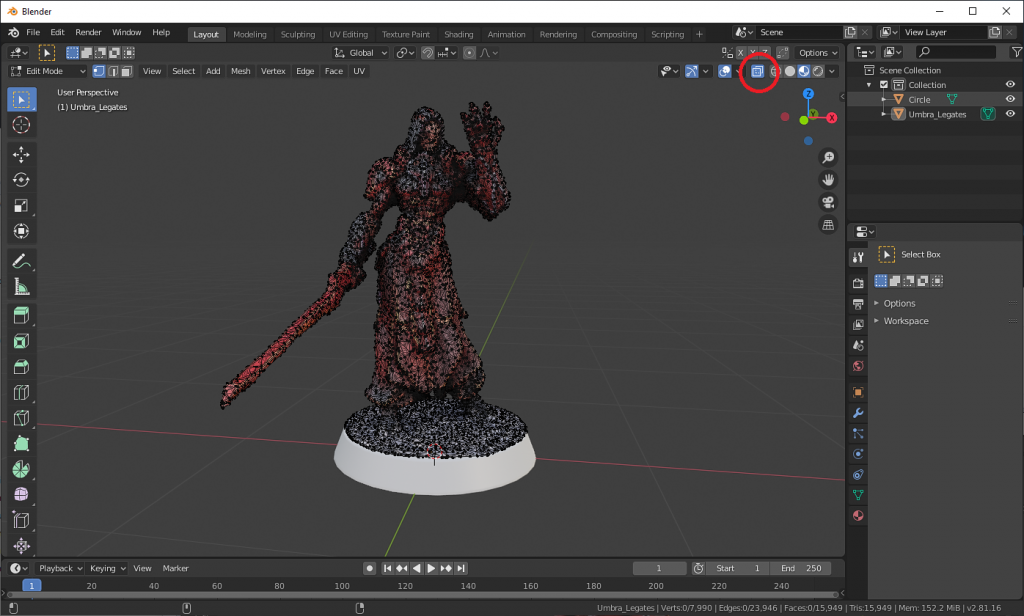
Two small things here, but they’re good to know right off the bat. By default, Blender mirrors brush strokes along the X axis. I guess they want to make it easy to make symmetrical models, but we don’t want that on. To turn this off, change the mode in the top-left from Object Mode to Edit Mode, and then untoggle the little X in the top right, circled in orange below.
The buttons circled in blue control the viewport shading. The first three are all useful in different situations, and the fourth won’t really be useful for this project. The first mode gives you a wireframe of the model and the second a textureless version. The third viewport shading option shows you a textured version of the model. Toggle between them and get used to how each mode looks, as all three are handy.
Camera Projection
To correctly orient the model, we’ll need to use a couple different camera projections to make this easier, and that brings us to perspective vs orthographic. Here are the hotkeys, followed by an explanation of what they mean.
Camera Projection – Orthographic
- Numpad 1: Front orthographic projection
- Numpad 3: Right orthographic projection
- Numpad 7: Top orthographic projection
- Numpad 9: Bottom orthographic projection
- Numpad 5: Toggle between orthographic and perspective projections
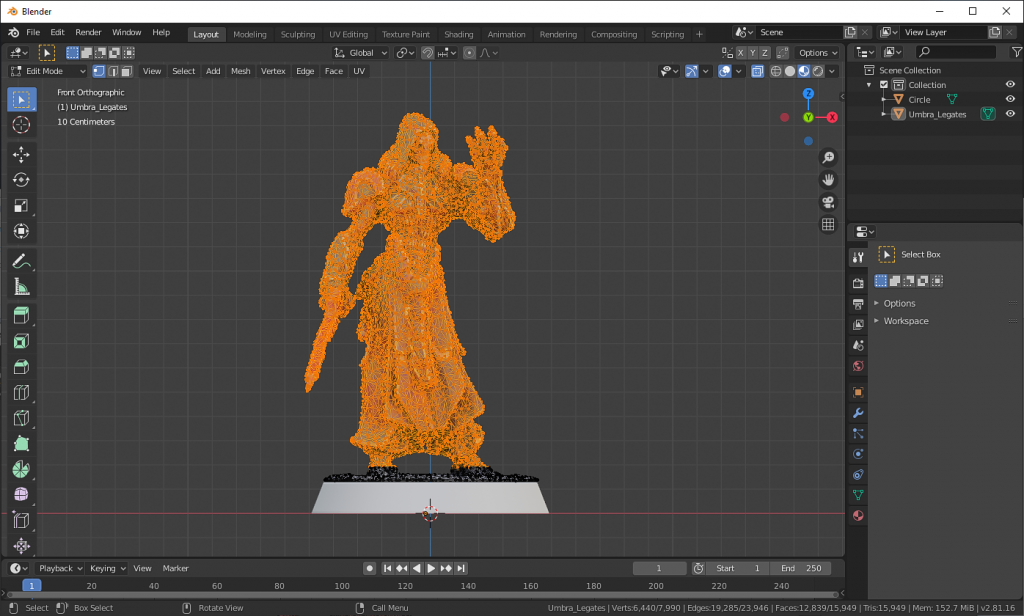
Orthographic projection, above, is a camera system where everything has been flattened. Objects that are further away are not smaller than objects that close; if two objects are the same size, then they take up an equal amount of space on your screen regardless of how far away from the camera they are.
Setting the camera to this projection is extremely useful, because it allows you to manipulate the model with respect to two dimensions, while keeping it locked with respect to the third. For example, in top orthographic projection, you could slide your model forward, backward, to the left, and to the right. But you wouldn’t be able to sink the model through the table, nor raise it into the air.
Numpads 1, 3, 7, and 9 are your primary shortcuts for othographic projections. Protip to remember them: think of your numpad as directions facing a house. Numpad 1 is front-on, looking looking at the house from the street. Numpad 3 is physically to the right of numpad 1 on your keyboard, and so you’re looking at the right side of the house. Similarly, numpad 7 is directly above numpad 1, which makes it a top down view. Numpad 9 doesn’t have a good mental analogy, which is fine cause you probably won’t use it much in this process.
Camera Projection – Perspective
- Numpad 2: Perspective projection and downward rotation
- Numpad 4: Perspective projection and left rotation
- Numpad 6: Perspective projection and right rotation
- Numpad 8: Perspective projection and upward rotation
- Numpad 5: Toggle between orthographic and perspective projections
Perspective is an aptly named camera projection, because it’s the perspective our eyes see with; things that are far away appear smaller than things that are closer. Tabletop Simulator’s camera is perspective, although there is apparently an option to switch to orthographic which I only discovered when I Googled it after starting to write this sentence, pausing, and letting my curiosity get the better of me. The more you know!
Both orthographic and perspective are useful for different things, so get accustomed to the hotkeys above for toggling between them.
Model Orientation
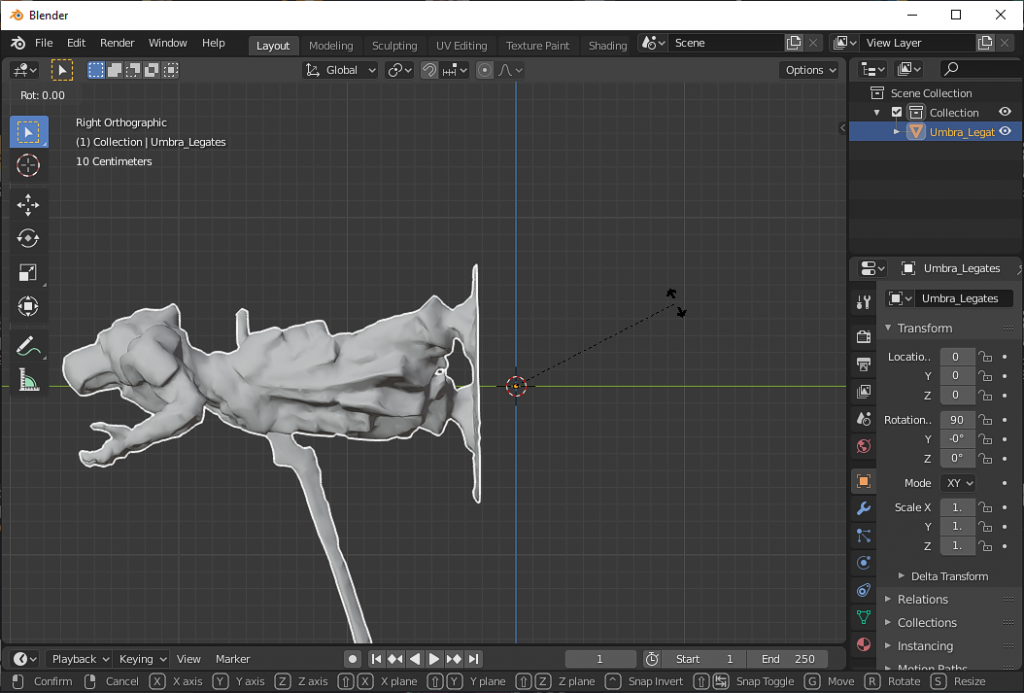
Now that we know some camera controls, let’s stand the model up. Depending on how 3DF Zephyr oriented the model, you might have to cycle between a couple different orthographic projections. In my example, I’m on right orthographic projection (numpad 3).
To rotate the model, first make you sure are in object mode (in the top-left) and not edit mode. Then left-click the model and then press rotate (r) to begin rotating it by moving your mouse. The goal is to have the base of the model stand perfectly flat against the ground. You’ll probably need to zoom in (mouse scroll) and pan the camera (shift+middle click and drag) to make some precise adjustments.
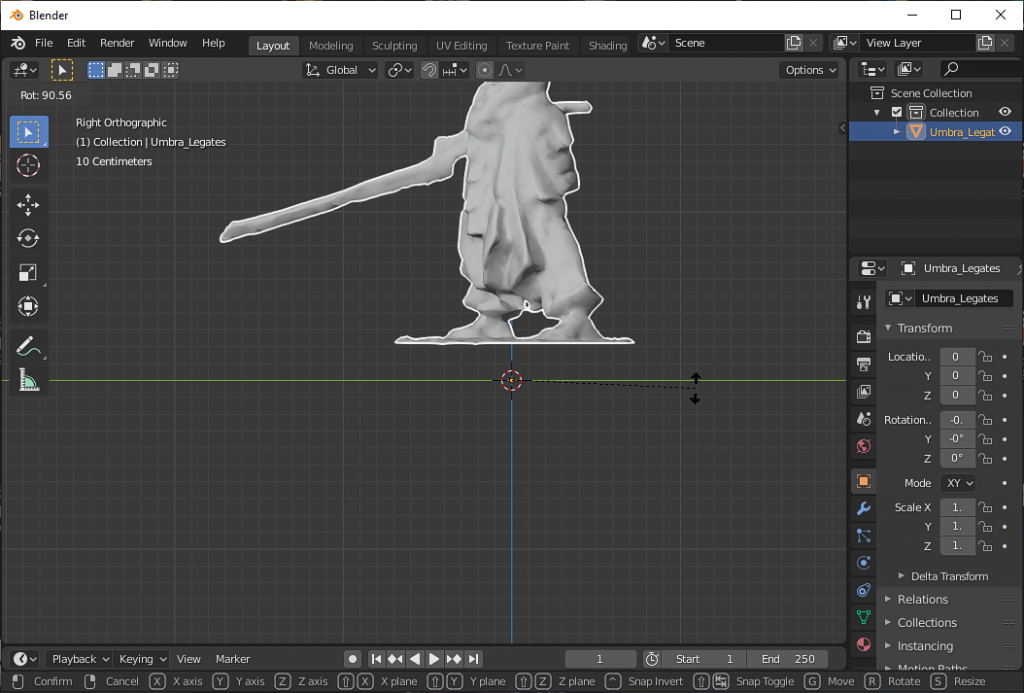
When you have it flat with respect to the right orthographic projection repeat this for the front orthographic projection (numpad 1). Hopefully you won’t have to make too many adjustments here, but it’s worth zooming in and ensuring the model is laying flat in both front and right projections.
Cleanup
Once we have the model in the correct orientation, it’s time to go over it with a fine tooth comb and fix any mistakes. Spotting these mistakes can sometimes be easier by changing the viewport shading from solid to material preview.
Unfortunately, this model didn’t have any notable imperfections during the scanning process. This is pretty atypical, as you usually wind up with some spikes and weird divots. So I’m going to pull some infomercial magic and prepare some errors ahead of time.
Cleanup – Spikes
As you are looking over your model, you might find these weird little spikes. These might be spikes you were unable to clean up inside 3DF Zephyr, or ones you just didn’t notice. There are tons of ways of cleaning these up, but let’s start with the most brute-force way.
In the top left corner, change the object interaction mode from Object Mode to Edit Mode. In edit mode, you have direct control over each individual vertex, edge, and face on the model. You should be able to see exactly which vertices are sticking out and forming the spike, and we want to just smoosh them into place.
Click a vertex (or shift+click multiple vertices) and select the Move tool on the left. This allows you to manually adjust the location of the selected vertices. By moving the camera around, and dragging the arrows next to the vertices, you can position them to be exactly where you want them to be.
A handy tip for this is to try switching between vertex select, edge select, and face select (circled in red above). This allows you to grab and move different different parts of the model.
Keep in mind what your final goal is. If you’re creating these models to use them in Tabletop Simulator, then the camera is never going to get this close to your model. Most of the time if you can tuck a spike in under an armpit or cloak, it’ll be functionally invisible when the model is in-game. So only spend significant amounts of time on corrections if they are going to be in highly visible areas. For small errors in out of the way locations, tuck those spikes away and just move on.
Cleanup – Divots
Another common error I’ve seen is that a convex surface is instead modeled as if it was concave. This makes it look like there’s a rather large dent in your model in really odd places (circled in red below).
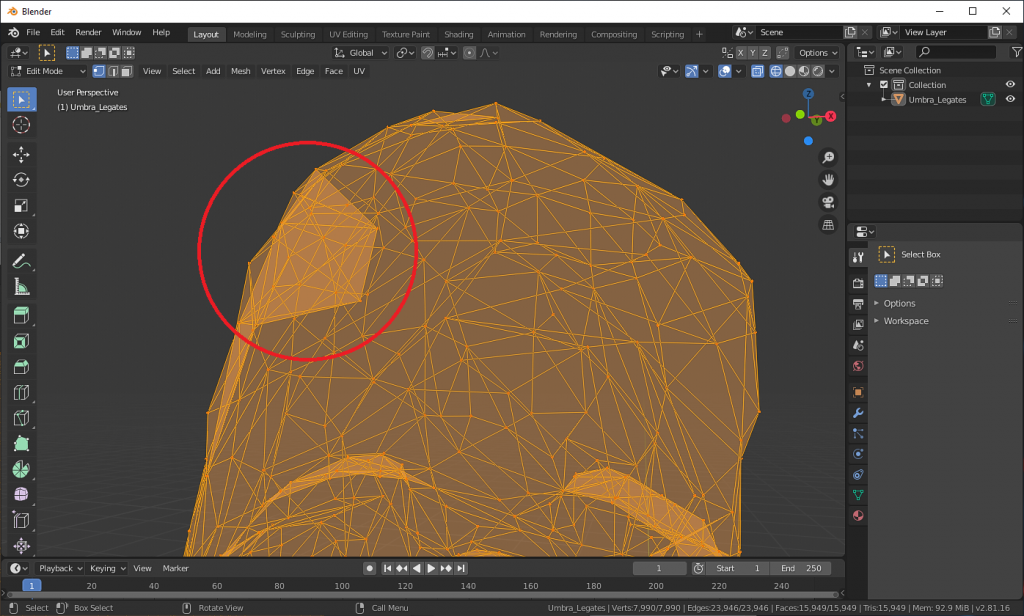
This is pretty hard to take a picture of, and it’s also pretty easy to miss when staring at your own models. If you do happen to spot this happening, there are a couple tools you can use to fix it.
As with fixing spikes, the Move tool can be handy for making manual corrects. However, chances are you won’t be able to get a natural looking smooth surface without spending a lot of time on it. That’s where Sculpt Mode comes in. As before, in the top left corner, change the object interaction mode from Edit Mode to Sculpt Mode.
On the left of the screen there are a bunch of tools you can use to sculpt your model, as if it was made of clay.
An exhaustive list of these tools, and what they do, is well outside the scope of this article. It’s also something I just plain don’t know. Blender’s complex. However, here are a couple handy tools I make frequent use of when filling divots:
- Draw: This is the simplest tool, it simply adds matter to the surface you click. If you want to instead remove matter, then switch the tool’s direction. In the screenshot of this tool, directly above, first click the Active Tool Properties (circled in orange) and then toggle from “+ Add” to “- Subtract” (circled in blue). Most other tools have similar properties that you can change to alter how the tool works.
- Inflate: This acts like inflating or deflating a balloon, and can be helpful for filling in gaps.
- Smooth: After sculpting an area, it can be useful to go over it with a quick smoothing to even stuff out. However, when using this tool, use the “Material Preview” viewport shading. While the surface might have improved topology, it tends to wreck the texture alignment, which makes things look worse overall. So just be careful with it.
- Fill: For small divots, the fill tool can be everything you need. Just increase the tool’s radius to cover the outside of the divot, and fill in the gap.
Despite this section being notionally about gap filling, these tools can be used with just about any other errors that can crop up all in model. Regardless of which tool you are using or what error you are fixing, adjust the camera’s zoom level and the radius of the tool. Using the right size of tool makes any job easier.
Model Sizing
Now comes the seemingly easiest, but also one of the most complicated steps: getting the model to be the correct size.
You’d think this would be easy. Just measure a part of your physical model with calipers, then adjust the scale of the model in Blender until that part measures the same size. Well, unfortunately to this day I still don’t understand how model scaling in Blender works. Everything is either 100 times too large, 100 times too small, some combination of the two, in centimeters when I want inches, or the other way around. I genuinely don’t understand it, and if someone can send help, please send help. I’m not kidding. Send help. If someone can make me understand this, I will update this article with easier steps.
However, until then I’m going to show you my hacky workaround!
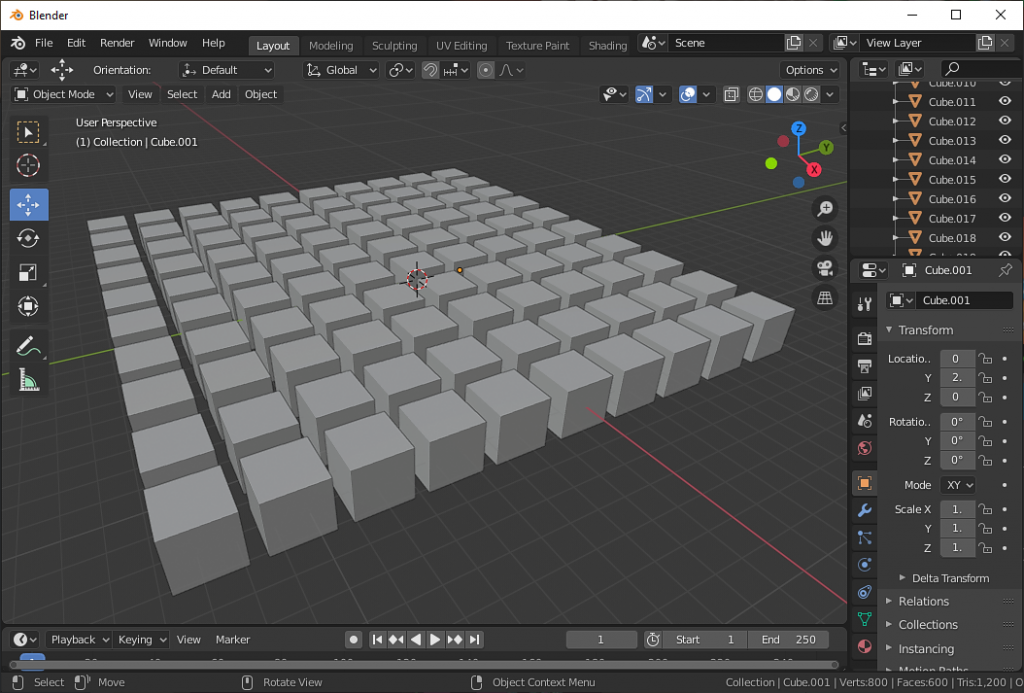
First, find a 3D model for a base of the same size as your model’s base. For example, if your model has a 25mm base, just find the 3D file for a 25mm base. You can find 3D files for simple objects like this all over the internet, or you can browse the Steam Workshop for Tabletop Simulator and just search for something like “round base models“.
If you find a good one on Steam Workshop, it’s pretty easy to extract the 3D file. Subscribe to it, then launch Tabletop Simulator. Click Create > Single Player > Workshop > the mod you subscribed to > Load.
Then right click the base you want, click Custom, and copy the text in the Model/Mesh textbox. Paste that into your internet browser of choice. You should get a download prompt for an OBJ file (there are actually multiple different file formats for 3D models, but I’m just going to assume it’s an OBJ file here). Assuming it’s a 25mm base, name it something like “25mm base.obj”, and save it to your project directory.
Then in Blender, click File > Import > Wavefront (.obj).
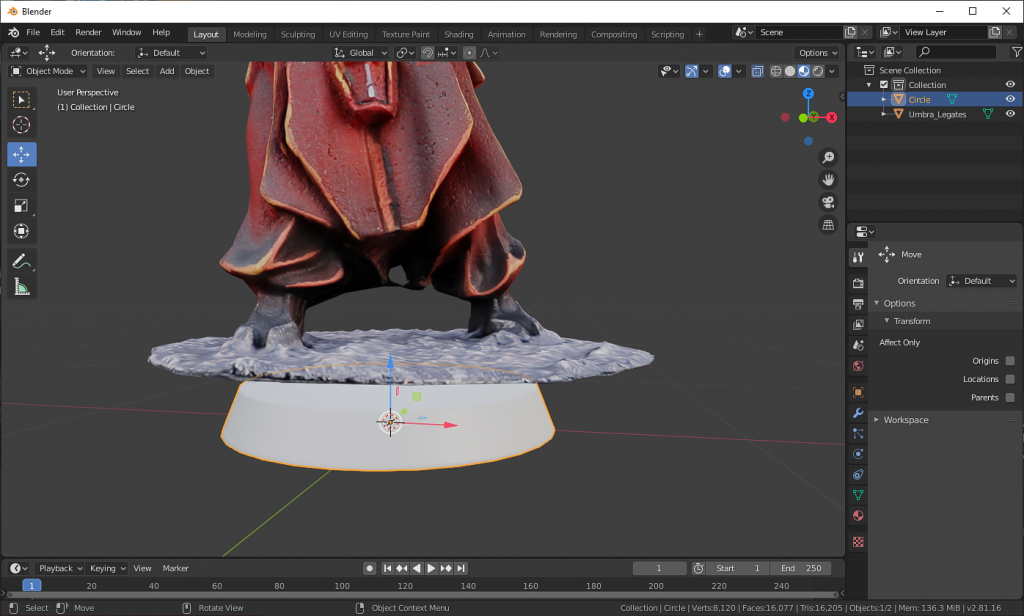
Comparing the size of the base to the footprint of the model, you can see that my model is significantly larger than it should be. No problem! This is where we go back to the ol’ staple, top orthographic projection (numpad 7), scale tool (s), and move tool (g). Use the move tool to align the model with the base, and the scale tool to make your model’s footprint line up with the top of the base.
This might be a bit tricky, as the edges of the footprint can be kind of rough. Don’t worry about that, though. We’ll be cleaning that up shortly.
Footprint Cleanup – Hide the Model
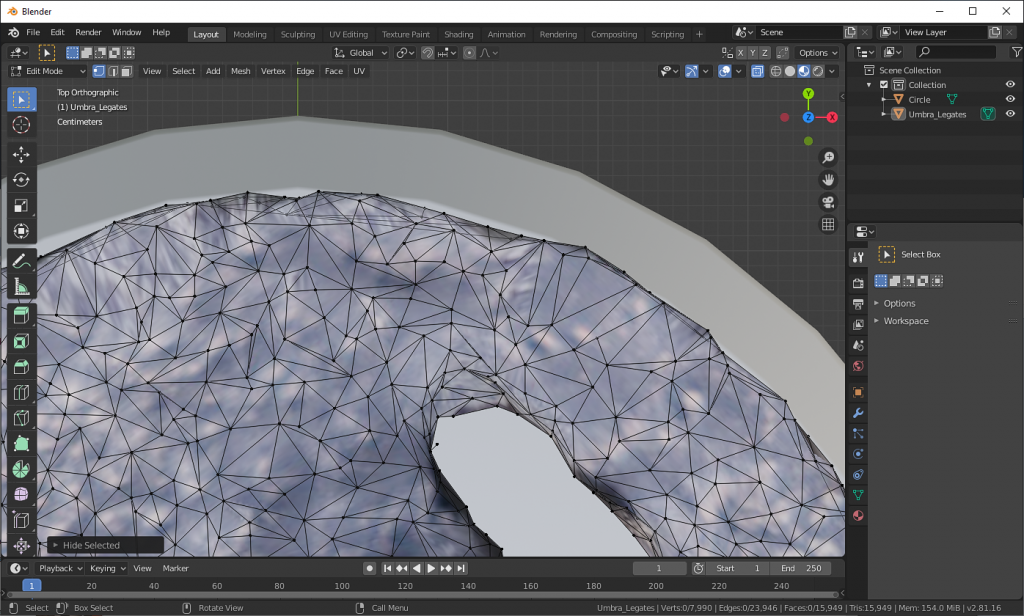
Last step is to make the model’s footprint as circular as possible, and then we’re in the home stretch. Which is only fitting, cause we’re going to make good use of the elastic deform tool. First however, let’s make the footprint a bit easier to work with by hiding the stuff we don’t need right now.
Go into edit mode, and toggle x-ray. The button for this is in the top right corner (circled in red). X-ray lets you select stuff behind other stuff. Vertices behind vertices, edges behind edges, whatever. Next, use front orthographic projection (numpad 1) and right orthographic projection (number 3) and the select tool to select everything on the model that is above the ankles. Be sure that you don’t have any parts of the model’s base footprint selected.
Once you have these selected, press hide selected (h) and watch all that disappear. Don’t worry! Everything that just disappeared is only hidden, it’s not deleted. If you want to be sure, then press unhide selection (alt+h).

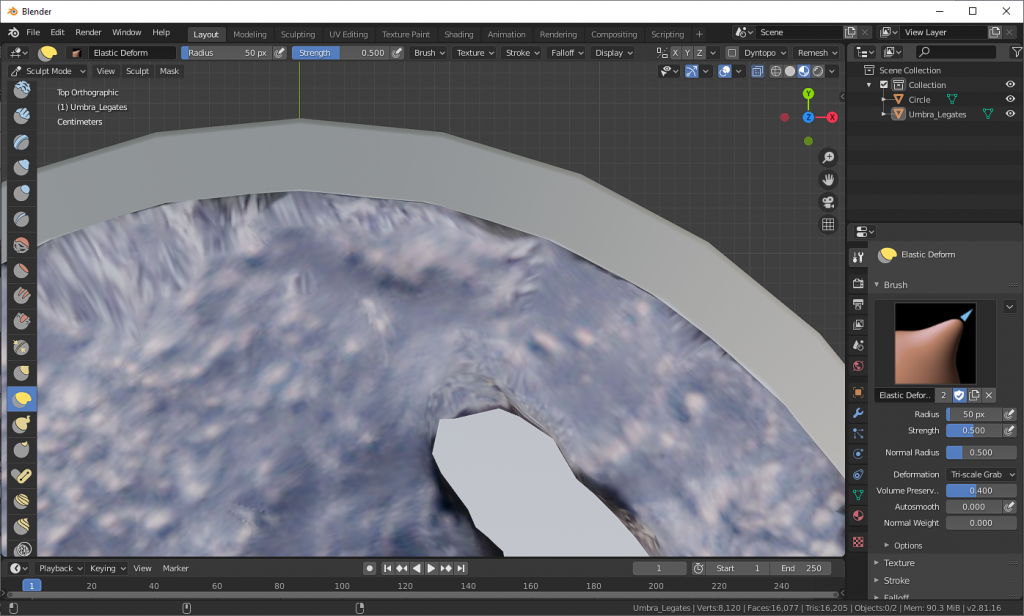
Footprint Cleanup – Making Rounds Rounder
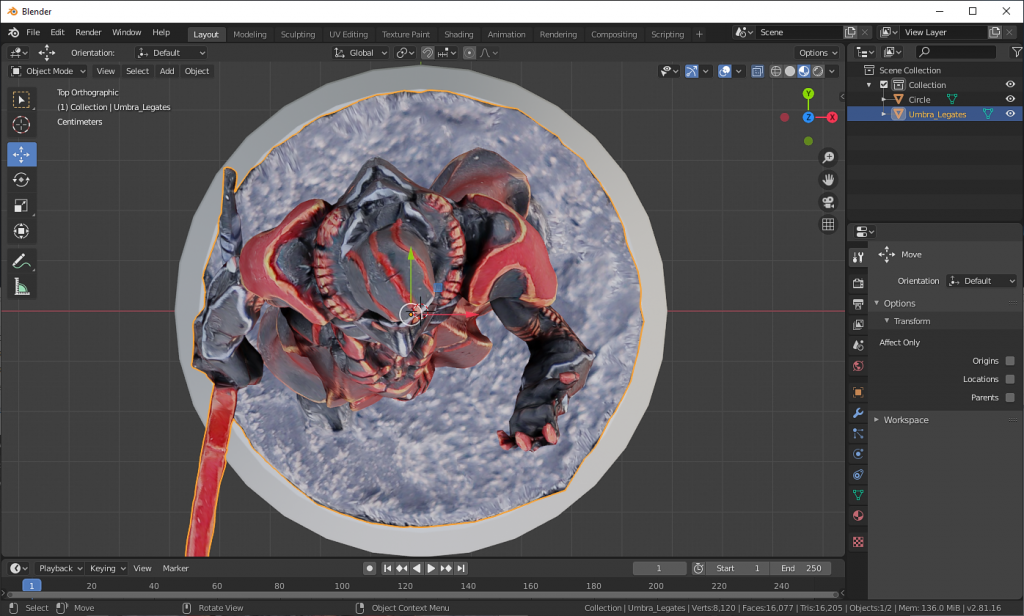
Next up enter top orthographic projection (numpad 7), zoom in to the perimeter of your model’s footprint. Depending on how things have gone so far, the circular edge of your model might not be so circular.
Notice how rough this is? Ideally your model’s footprint should be a perfect circle, but that’s not the case here. Most imperfections in the model won’t be noticeable in Tabletop Simulator, but this rough edge will be. There are a couple ways you can fix this. The slow and awful way is to select a vertex, then use the move tool to drag it to align to the base. Then repeat for every single vertex on the edge of the base. This is an awful approach, don’t do it. I only mention it, because that’s what I did my first time, and I want you to know my pain.
That being said, it can also be a handy approach for a single annoying vertex you just want to move somewhere.
The better approach is to go into Sculpt Mode and use the Elastic Deform tool. This tool is almost tailor-made for this situation. It stretches the model, as if it was made of rubber, spreading out the transformation across a wide area. This means you don’t wind up with hard texture lines like you do when you move an individual vertex. Go around the perimeter of the footprint, and just smoosh it so that it’s not only a nice circle, but also so that it lines up with the top of the base.
Once you’re happy with the result, press unhide selection (alt+h) to show the rest of the model.
Settle the Model
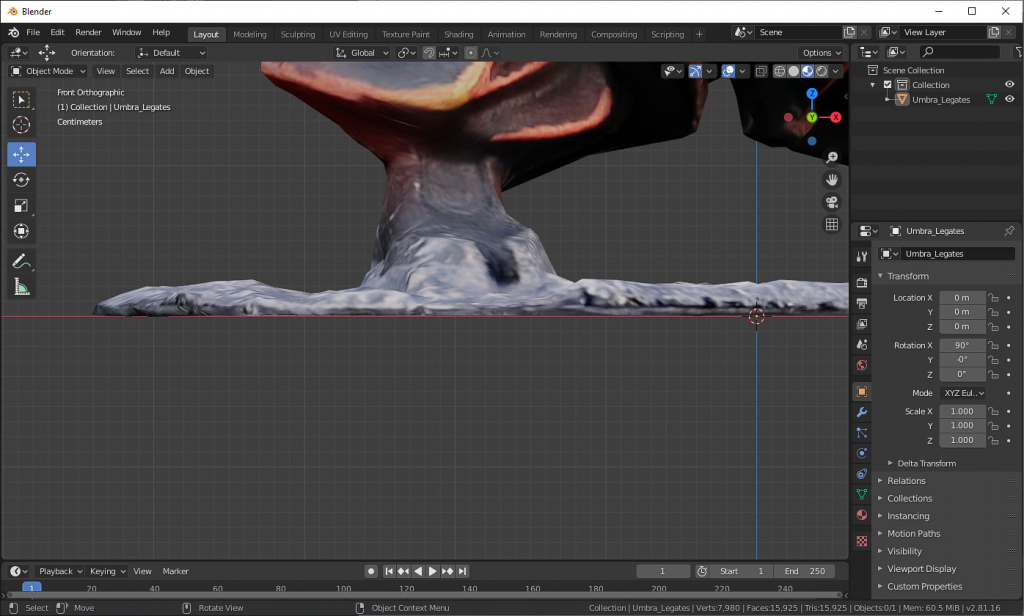
Press Ctrl+S to save your progress. You’ve been doing that periodically, right? Right? Good. Now that progress has been saved, we can remove the model’s base and align it with the XY plane. In Object Mode, select the base and press delete (or right-click it in the Scene Collection on the top right, and select Delete).
We want the model to be sitting on top of the XY axis. So go into front orthographic projection (numpad 1) and right orthographic projection (number 3), then use the move tool to lower the model until it’s even with the z-axis. just the smallest bit above the z-axis. Again there’s probably some shortcut for this, but heck if I can figure it out.
You’ll want to zoom in to align it well, but don’t worry if there are some bits that are slightly lower or above the z-axis. It’s fine. Tabletop Simulator only briefly uses the z-axis height of your model when you first import it, so it’s not super important.
And with that, hit Ctrl+S to save the .blend file once again.
Export the Obj
Last step in Blender is to export the model in a format that Tabletop Simulator understands. Click File > Export > Wavefront (.obj). Give it a name like “<your model>-final.obj” so it’s easy to find later, and save it to your project directory.
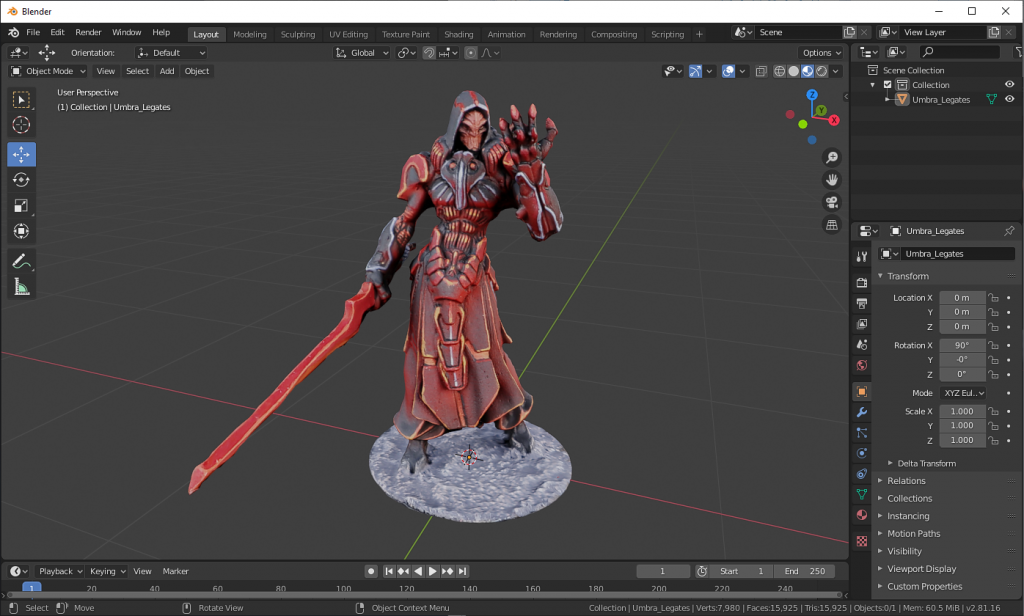
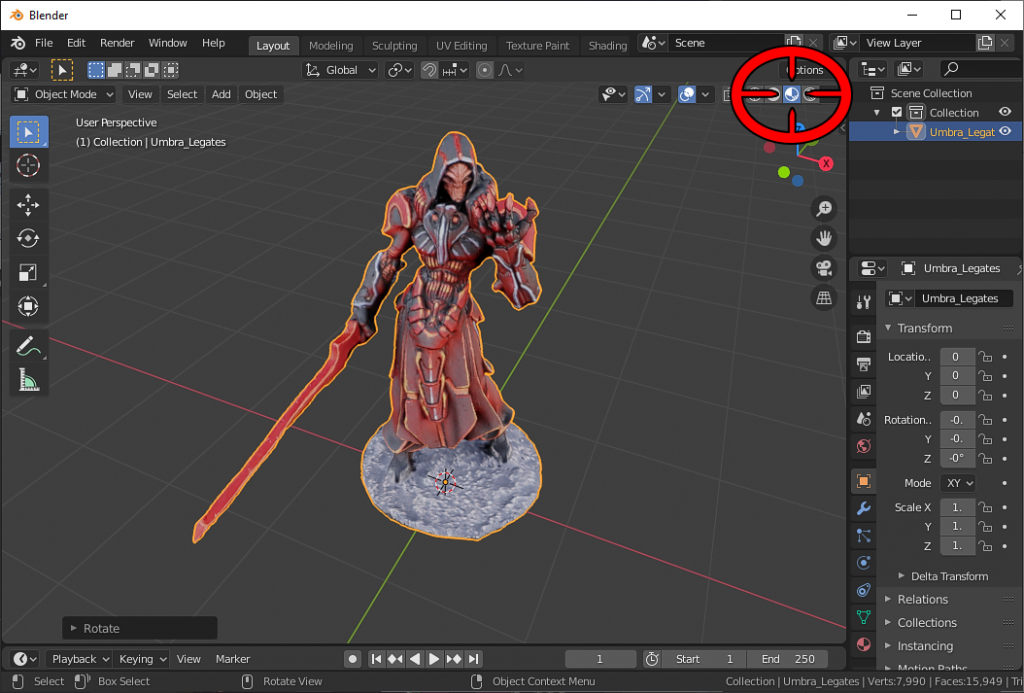
And with that, the 3D model is officially done. I know it was hard, but pat yourself on the back. You made it and you’ve got a model that’s ready for Tabletop Simulator. There are a couple steps to go through in Tabletop Simulator, and we’ll be wrapping it up shortly.
Next Time
Only one step left, the final import into Tabletop Simulator. This includes setting up the objects properties, importing the texture, aligning and linking the base, getting labels set up, and saving the object to use in online games. If that sounds fairly easy, it’s because it is. The hard parts are all over, and we’re heading towards our victory lap.
Have any questions or feedback? Drop us a note in the comments below or email us at contact@goonhammer.com.
