
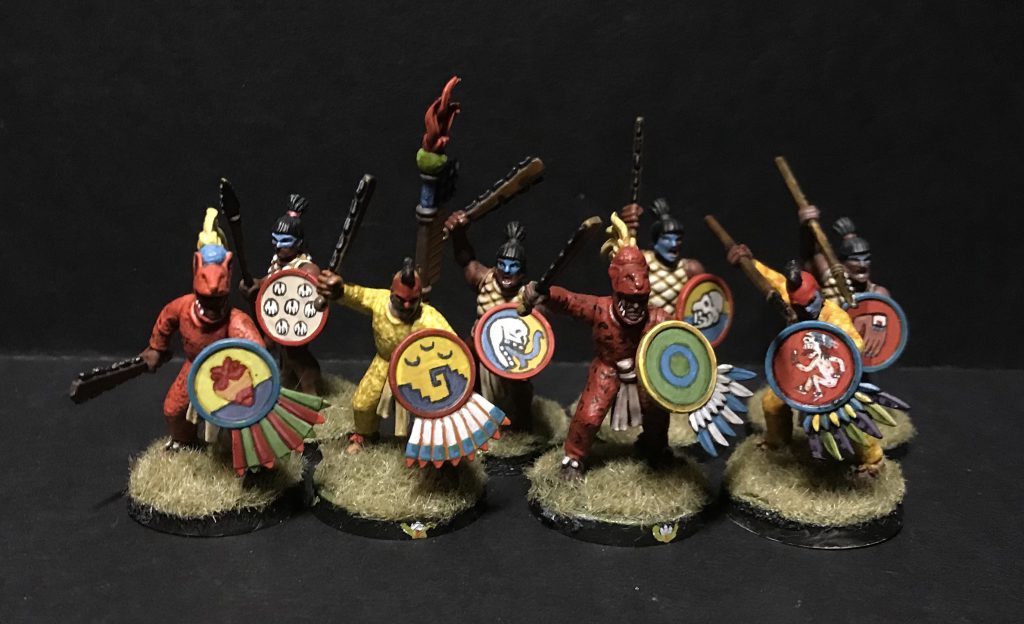
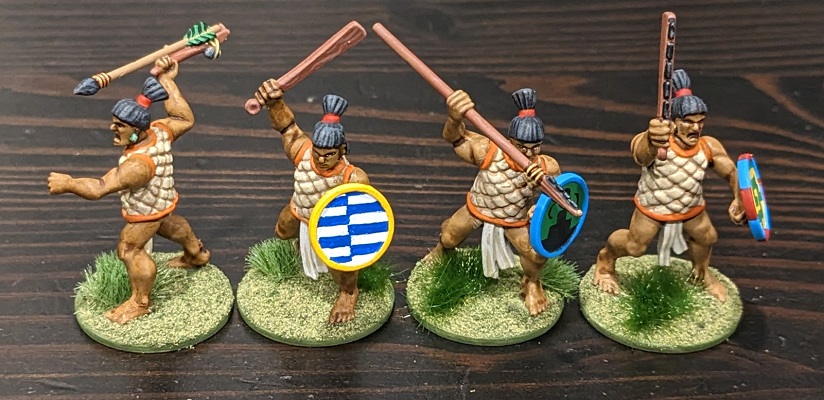
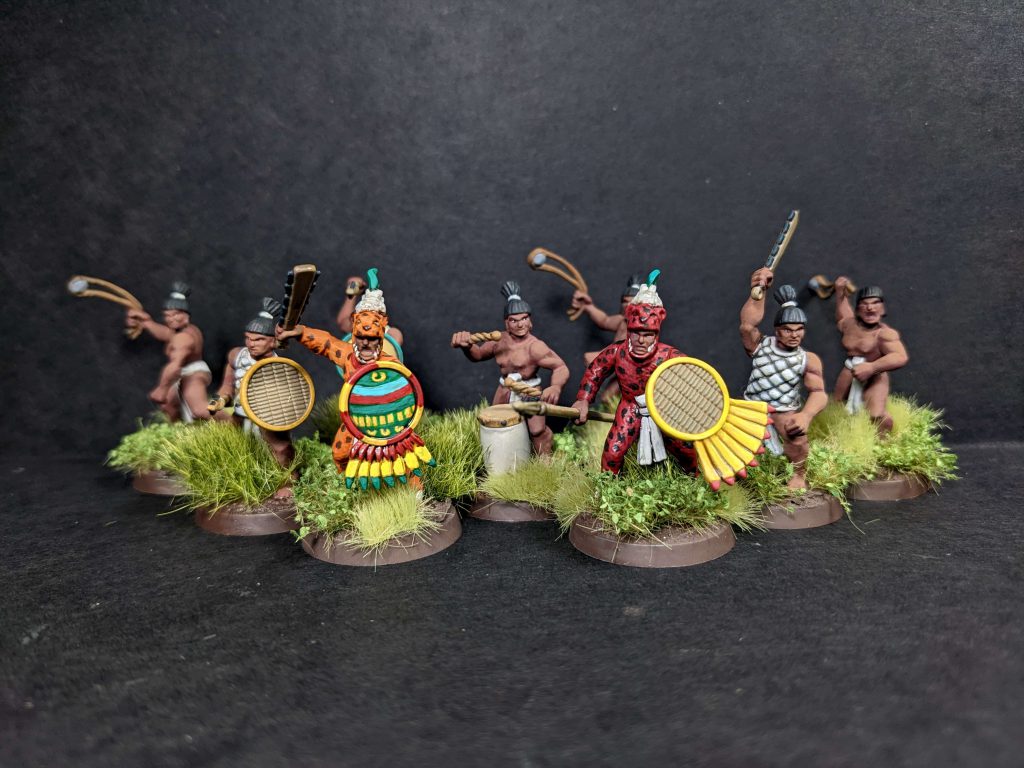
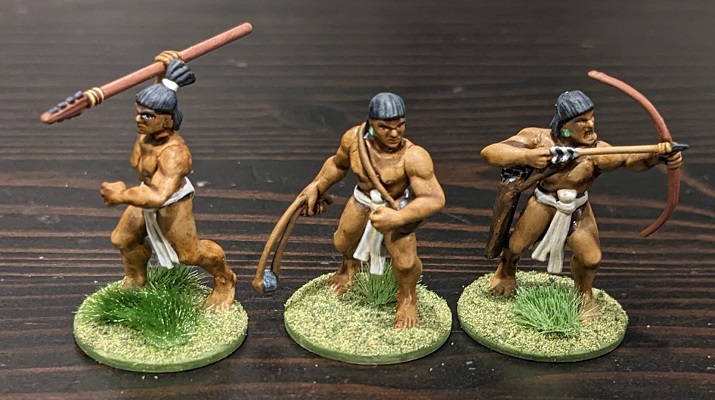
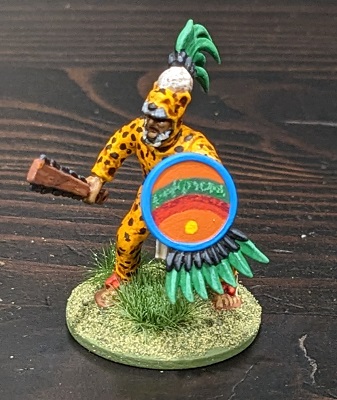
Welcome to the the ongoing series following the Goonhammer Historicals project where we develop a skirmish miniatures game set during the Flower Wars, the pre-Columbian semi-ritualised warfare between the Mexica peoples.
Last time I wrote about the game design side of the project, we talked about initial design and did a little overview of how that had gone and where we were with the project. Originally I was going to jump to development, but after some chats in the halls of the Goonhammer Star Fort I decided to instead circle around and talk about this stage in a little more details.
In the next few updates, then, we’re going to be zooming in a little bit and taking one aspect of the game as it comes together, looking at a particular element of the mechanics and talking about why it ended up like this, how it works, and also what might change across development. It’s really important to remember that right now the game is barely functioning and so it’s entirely possible these mechanics will change before we get anywhere close to release. However by giving you a peek behind the scenes as we work on them, hopefully you’ll get some insight into how games are made more generally and also why things look the way they do in the final product.
Today we’re going to zoom in on combat – the actual nuts and bolts of hitting each other and capturing (or killing, if you’re a bad ‘un) your foes.
Liar’s Dice
In the initial design article we referenced liar’s dice, which is a family of games all of which rest upon bluffing. This aspect, of bluffing and bluster, seemed immediately to us to fit the feel of combat that we were trying to recreate. This isn’t a technical mechanistic clash of two forces, but rather a back and forth between two individuals. Though it’s possible for a bunch of combats to be going on at once in Flower Wars all combats are one versus one – duels between warriors. That has a certain feel and flair to it, and so we wanted to make sure that the mechanics reflected that.
Mechanically that meant that we wanted something which:
- Had an element of player decision making during rolling or in resolution of the roll
- Was directly opposed (the players are rolling dice at each other)
- Has some component of bluff and trying to guess your opponent’s intentions
You can probably see why we were immediately drawn to liar’s dice as a touchstone reference. But the game as it exists already isn’t something fit for purpose as a resolution mechanic in a wargame, so it was more inspiration than direct reference.
What do Dice Mean?
One of the key things when you’re designing a dice mechanic (or any mechanic that relies on a random number generator, whether that’s dice or cards or something else) is determining the probability space of your random generator. A six-sided die, intrinsically, has six possible outcomes (actually seven – you do not roll the die – but for our purposes that one is less interesting) but that doesn’t mean you have to stick with them. For example you could create a mechanic where a 4+ on the die is a hit and a 6 is a critical hit. What does a “hit” do? Depends on the rest of your mechanics, but the point is you’ve reduced the probability space of the die from 6 outcomes (1, 2, 3, 4, 5, and 6) to 3 (miss, hit, crit).
I mention six-sided dice and the assumption we were working from pretty early on is that six-sided dice were what we were going to use. The reasons for this are basically that they’re ubiquitous (everyone has some), they’re familiar (everyone has a sense of what results to expect), they’re easy to read (they fall flat on the table with the result clear), and they’re easy to modify (you can print face stickers for unique results or reference and stick them on).
But do we want six numerical outcomes from the dice? We agreed quickly we probably didn’t – the probabilities of those outcomes are easier to manipulate if you don’t stick with a flat distribution (if each result has a 1/6 chance of coming up then no results are more likely than others and that makes you work trying to create a smoother probability curve elsewhere – this conundrum is why so many roleplaying games end up with higher level characters having absurd modifiers).
It took some wrangling but we ended up with a way of interpreting the results of the dice that wasn’t too complex but let us have a nice number of outputs:
- 1-2 indicates an opportunity. For many models this actually doesn’t do anything at all, but some particular weapons or ability let you use opportunities as other results or to kick off extra benefits
- 3-4 indicates a defence result. This is what protects you against enemy hits in combat and against consequences generally
- 4-5 indicates a hit result. This is what you use to do stuff – hit people, achieve things.
- 6 indicates a critical result. This counts as hit but in some situations counts as something more or slightly different – it’s an uncontrolled, direct strike in combat that you might accidentally hurt someone with.
You probably noticed that 4 gets used for defence and hit results there, and that’s right – a 4 is both a hit and a defence making it very valuable. It’s possible that we’ll get some dice made for this at some point, and we’ll definitely make some symbols for you to print and paste onto dice, but ultimately we also wanted it to be relatively easy to remember and interpret from a normal six-sided die.
The Process of Fighting
All game mechanics are, at the end of the day, a process that you follow to resolve a situation. The process of fighting in Flower Wars therefore needed sketching out, and we went back and forth on this a decent amount. We discussed what kind of fighting should be happening, if combatants should be “stuck together”, how a combat can end and so on. Earlier versions had combatants automatically cycling in and out from groups nearby, but in the end we really focused it down to that core dueling concept. So here’s the rough process of how a fight is intended to go:
- A model challenges another model and they wave weapons at each other and shout, or throw something at the other person, and maybe the model being challenged backs down
- If the model doesn’t back down, both models run towards each other and meet at the midpoint between them in combat, with one model getting the initiative to position the fight a little further one way or the other if they want
- The two models fight gaining benefit from supporting friendly models nearby
- If one model kills or captures the other then the combat ends
- Otherwise the combat moves, with the pair maneuvering around the battlefield, with the combatant that did better getting the advantage as to where
This process can actually be split into two main parts – one that happens once and one that can happen again and again. We split these into two actions – Challenge (where the models face off and then meet in combat) and Fight (which happens automatically after a successful challenge but then might keep happening).
Challenges then follow this process:
- A model uses the challenge action and chooses an enemy they can see and can get to in a straight line and declares a challenge
- The enemy can then either meet it or back down. If they back down the challenger gains something or the challenged model loses something to reflect the dishonour, and the challenge is over
- If they meet it then they both roll some dice and then move to a midpoint between the models so they’re in base contact – the winner of the “some dice” roll gets to move that midpoint towards or away from their starting position, so they’re picking the place the fight actually happens
The models are now engaged and ready to fight:
- Both players roll some dice in secret and then distribute them to two pools: the strike and the push
- The strike happens – the strike pools are revealed and resolved, and maybe the models hurt each other or even kill or capture. Defences counter hits so you can protect yourself. We made a decision early on that there would be no “wounds” hanging around, so if no one is killed or captured the strike is over without outcome
- Then the push happens – the push pools are revealed and resolved, and the winner gets to push the fight around the board, making a move with both of the combatants to put themselves in an advantageous position
This gives us a rough process of how fighting works, so now we can dive into the specifics.
Very Challenging
Let’s look at challenges since it’s first on the list and try and fill in some of the blanks.
We’re going to skip past the whole line of sight and movement questions here because that needs its own article – movement in this game works pretty differently than in many games, and it’s going to need a deep dive.
Backing down then – we’ve indicated there needs to be an outcome for this, but what should it be? Well, you need some way to win a game and flower wars themselves were very performative – it was the way you won and what you did in terms of personal prowess that really determined the outcome. So we’re going to use a placeholder term of Prestige for our victory points – both warbands are coming into the flower war to win prestige. Therefore we’re going to very simply say that backing down from a challenge awards your opponent a prestige. A serious cost for the coward’s path.
Next thing to look at is the mechanical resolution. Right now the resolution here is “roll some dice” – well we have some dice with results we know about, because we decided that already. But we also need to know how many of those we’re going to roll. We’ll invent a placeholder stat for their combat prowess we’ll call Bravery. This might get modified or split up into several stats later on, but for now we just need a stat. How high your bravery is will depend on your status or rank, but for now we’ll just say probably it’s about six dice for decently competent people and it can vary up and down from there. Why six dice? Well for this roll it doesn’t matter because for ease we’re just going to say to count up hits (counting crits as 2) and whoever has the most wins, but later it’s going to matter how many you have, and I’m cheating a bit by knowing the future of how that will work out.
Well, ok it does matter. Even on a simple comparison of number of hits it’s worth thinking about how many results you’ll get on each die – about half the dice will be hits and if we say crits count as two then 1/3 of the time you get 1 hit and 1/6 of the time you get 2. The average number of hits on each die is 0.66 recurring so six dice gives us an average of 4 hits – that’s enough that there can easily be meaningful differences between two rolls. The issue if we, say, rolled off a single die for each person then the variance is very low – they’ll get 0, 1 or 2 hits. A huge proportion of the results will be draws. We want to reduce the number of draws as much as possible, and have a nice distribution of results so that mostly they’re relatively close together (but it’s not probable they’ll draw) but more extreme variance is possible. The maximum possible difference between two combatants rolling six dice is 12 (no hits for one, all crits for the other) – and a foot of the table is a huge amount of wiggle room, but one you might plausibly use all of on a 3’x3′ table.
You might be wondering why I’m not using the basic concept of defence cancelling hits on this roll and the reason is that facing dice (one of your dice cancelling the result of one of their dice) only works when there is player choice as to where the die applies. In a simple roll off, there is no advantage to it – you simply reduce the number of hits generated for no benefit. In addition, I see this particular test as one that is a direct comparison of aptitude, not something you can interfere with. Both fighters are putting on their displays and the best one wins – no one is undoing their opponent’s display. Therefore facing dice doesn’t feel thematically right.
With the roll off done we move our fighters together, adjusting their position depending on who won (to take advantage of supports, something we’ll be discussing in a future article) and it’s time for an immediate fight action.
Ready… Fight!
When we first had the concept of liar’s dice we knew what we meant – something where you’d conceal the values of the dice you’d rolled and make decisions trying to anticipate your opponent. We tried many different variations of this but the fundamental issues boiled down to:
- Bluffing shouldn’t be completely blind, and some incomplete information needs to be shared as part of the bluff
- Players should be able to make meaningful decisions based on that incomplete information
- It should be quick enough to resolve that you can have half a dozen or more fight actions resolved quickly one after another and it not bog things down
This was honestly a very difficult nut to crack. Any variation we came up with that was interesting and played with decision making around incomplete information was too long and complex to resolve quickly and easily. The issue was that all the incomplete information we were looking at was based around knowing the results of some of the dice. We tried having some dice rolled openly on the table and some hidden. We tried having a shared pool of dice rolled players matched to. But these solutions all lacked something and it wasn’t until we came up with the idea of dividing the outcome of the fight into two parts that it clicked into place.
We knew that we wanted fights to be a fluid thing with lots of movement – combatants should move back and forth, running around to try and find the advantage. Part of this is just a cool factor, but the other thing was we knew we wanted supporting models to be a key thing and positioning generally to be very important. Therefore a player getting to choose where a fight happened would be very important. The challenge step set that for the first time the combatants met, but what about after that? This issue resulted in us dividing the outcome of the combat into the strike and the push.
This gives us a mechanism to provide limited information to players before they take actions, making their decisions more meaningful. The information available to them is as follows:
- Both players know their opponent’s Bravery score and therefore they know how many dice they can potentially allocate to each pool. They also know what supports are available to them, and what that will add and to which pool (supports are specific to the strike or push outcome).
- Both players know the probability of what outcomes a die will produce – roughly how much chance there is of a hit, a defence and a crit. Even if they don’t know exactly they’ll have the feel for it instinctively. They’ll also know what they and their opponent are equipped with and how that might change those numbers
- The player with the highest Bravery allocates dice, keeping their values hidden, first, and so their opponent (reacting with the disadvantage of fewer overall dice) knows how many have been allocated to each pool.
This is just enough information to keep the decisions interesting without removing the gamble of action. Yes your opponent has only applied three dice to the strike, but maybe they’re all criticals, or all opportunities with no effect.
So what do these two different pools really do?
Striking is a Right
To win a combat you want to capture your opponent if at all possible. That’s the “good” outcome of a fight – your opponent’s model is defeated and captured, winning you prestige. The less good but still fine outcome if wounding them – reducing their efficacy for future fight actions. However this has to come with some degree of risk, and there needs to be a penalty for pushing too hard and getting one of the bad outcomes – killing your opponent. The other bad outcome is, of course, being captured, injured or killed yourself. The neutral outcome is “no effect” on either side.
In this instance, where you need to hit an exact target, it’s actually beneficial to keep the numbers small, but not too small. If the overall probability space is 100, for example, and you need to hit a specific result within that, you either need to give the player a lot of ways to alter the result to get there or it’s going to feel extremely tiring and irritating trying to hit it. If the probability space is only 2, however, then you’re going to have too good a chance of hitting it just by luck. You want a rough midground where the chances of hitting the target by luck are relatively low, but where you don’t need too much ability to nudge the result in order to affect that a lot.
For the fight then we want our target to be, roughly, three. Why? Well, in this section hits are going to add one to our target (we’ll call this “damage” from here on out) and crits are also going to add one (to allow for them counting as two to be an effect we can put on a weapon later). That means that average number of successes on a single roll is… 0.5. There’s a 50-50 chance of each die showing a hit. So if you roll your six dice statistically you should get three damage and that should, given no interference or unexpected outcomes or added bonuses be exactly enough to get our “good” result.
We need a stat to describe that baseline target though, so let’s invent one now: Cunning. How good are you at avoiding being hurt? That’s your Cunning, and the average is 3 with it varying up and down from there depending on skill and rank.
Of course, in reality, this is almost never going to happen! You are going to need to split your dice pool (at least one die in each) meaning 5 is the maximum number of dice in the strike for a 6 bravery warrior. And then you have your opponent’s defence results cancelling, you have support bonuses, equipment bonuses, etc. etc. – this all means our “good” result chances are declining, and that’s what we want because 50-50 chance to just win straight away is not ideal here. Two evenly matched competitors should need to carefully maneuver, match up against the right enemy with the right weapon, and get the advantage across several fight actions – otherwise every combat is just going to end right away and not be interesting.
We also want it to be a problem if you hit too hard and so we’re going to invent an injury table. You roll on this table if you do more damage than their cunning (not equal to) and add the number you were over to the result. Lower results are transitory, stripping dice form the push. Others are permanent, destroying equipment, suffering wounds, and eventually just being killed. These more serious ones, any that represent genuine injury and bloodshed, should have a cost for doing – you took your eye off the ball and now you’re being punished. So prestige can be lost by those responsible for this, ranging from a single point to a number depending on their rank, which might be a lot. This hopefully makes the players care more about not killing or seriously injuring important enemy models, which in a campaign setting is a great incentive, as it means your models can be retained from game to game more easily.
Seriously injuring or killing a model also spills blood, and that’s going to play into the escalation system we’ll cover in a future article.
It is possible, though unlikely, that the strike might involve both warriors being captured or dying. If they’re both captured then… well, that’s obviously not right. We’ll treat it as a null result for the fight – you’re equally matched. For the dying? Well, sometimes I guess you just both kill each other in the heat of combat, and that doesn’t seem unrealistic.
Pushing the Limits of What You Cover in a Single Article
With the strike done, one way or the other, we move onto the push… But not today.
To really understand the push, we need to understand movement and that’s a whole other topic. So join us in the next installment where we take a quick detour into movement, dashing and maneuvers, before circling back to the push and how movement is baked into combat.
