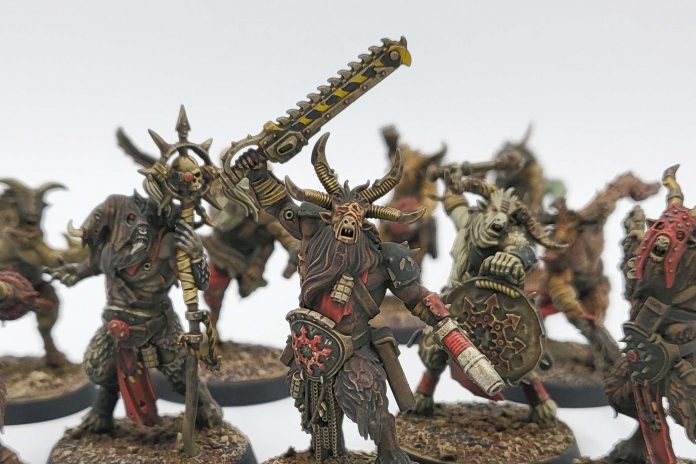
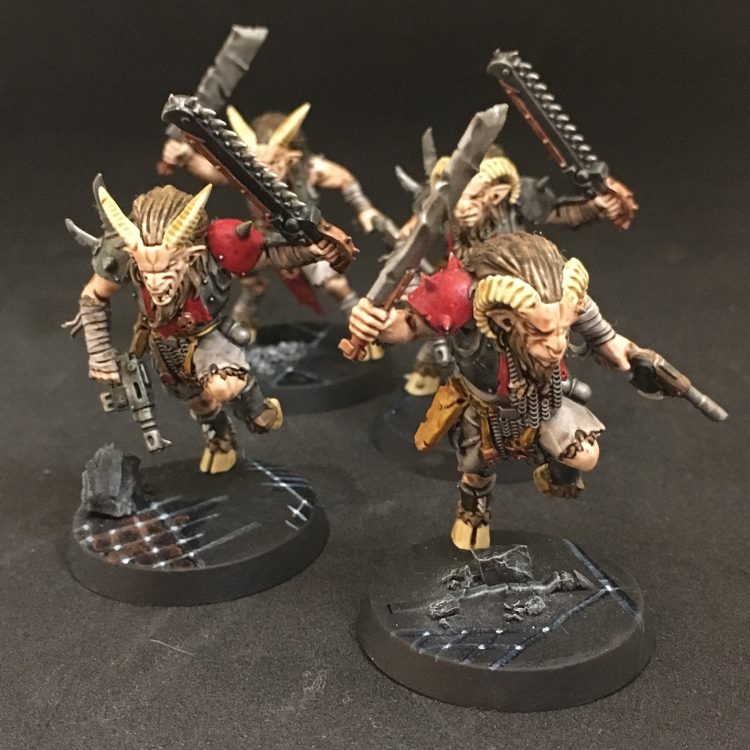
Gallowfall is the final release of the Gallowdark season for Kill Team, and in the boxed set we’re introduced to two new kill teams: Leagues of Votann and Fellgor Ravagers, a team comprised of savage beastmen. In this article, we’re joined by Ace, who is providing his review of the Fellgor Ravagers.
Ace: Attention troopers! Welcome back to the Black Company corner. Today we have a first look at THE SUPER GOATS. This new plastic team of fury incarnate brings with it some Chaos gifts and is sure to have some real staying power, as they have one of the most interest passive abilities in the game and a few tricks up their (hairy) sleeves. They’re worth looking at competitively, and as an added bonus, if you want to have all of the team’s options available (which you should for competitive play), you only need a single box (which is awesome).
Before we dive into the team, we’d like to thank Games Workshop for providing us with a preview copy of the upcoming box for review purposes.
Team Composition
The new Fellgor team gives you 10 operatives to work with, and you can fit all of your operatives’ options into your 20 slots. With only 10 unique operatives outside the warriors, you’ll likely only end up using your unique options.
A Fellgor team consists of:
One Leader:
- Ironhorn, with either a corrupted pistol and chainsword or a plasma pistol and bludgeon
9 Fellgor Ravagers, chosen from the following list:
- Deathknell
- Fluxbray
- Gnarlscar
- Gorehorn
- Herd-Goad
- Mangler
- Shaman
- Toxhorn
- Vandal
- Warrior
You can only pick each of the above operatives once, except for Warriors.
Archetypes
The Fellgor archetypes only allow them to play Recon or Seek and Destroy. Playstyle-wise, this fits them pretty well, especially Seek and destroy where you can forget about anything else outside of killing. This team wants to be aggressive and advance a lot and even in death they are gonna be dangerous in the battlefield. This is all thanks to the team’s faction ability.
Ability: Frenzy
Fellgors only have a single ability, and that ability is Frenzy: Each time a Fellgor Ravager operative becomes incapacitated, instead of removing him from the battlefield he gets a frenzy token instead. If that operative was fighting in combat, remove all remaining attack dice when this happens (even your opponent’s). If that operative had a Conceal Order, it switches to Engage.
While a Fellgor Ravager has a Frenzy Tokenk, they:
- Cannot have a Conceal order
- Are injured
- Cannot perform missions actions or the Pick Up action
- Are only incapacitated if:
- Their activation ends
- An enemy operative hits it with a critical hit in combat
- An enemy operative hits it for a second time with a normal hit in combat
- The battle ends
This essentially means there’s no safe way to charge these operatives, even if you manage to kill them before they can theoretically fight back. This could be a nightmare for shooty hordes that cannot secure a critical hit. The Fellgor can punish any shots from close range, giving them amazing counter-play. This ability is the reason to play this kill team, and will quickly help separate good and bad players of the faction – there’s a ton of potential here but it may be difficult to make good use of.
Operatives
On the table, beastmen look a lot like Kommandos, with 10 base wounds, a 5+ save, and 6″ movement. Their standard gear is a bludgeon (this is a 4A 3+ 4/4 brutal combat weapon!), and the standard autopistol which most of the time you won’t want to shoot. When it comes to building a team you’ll always be mustering the leader and 9 unique operatives, meaning there isn’t much to overthink here – just get right into the carnage.
Fellgor Ironhorn
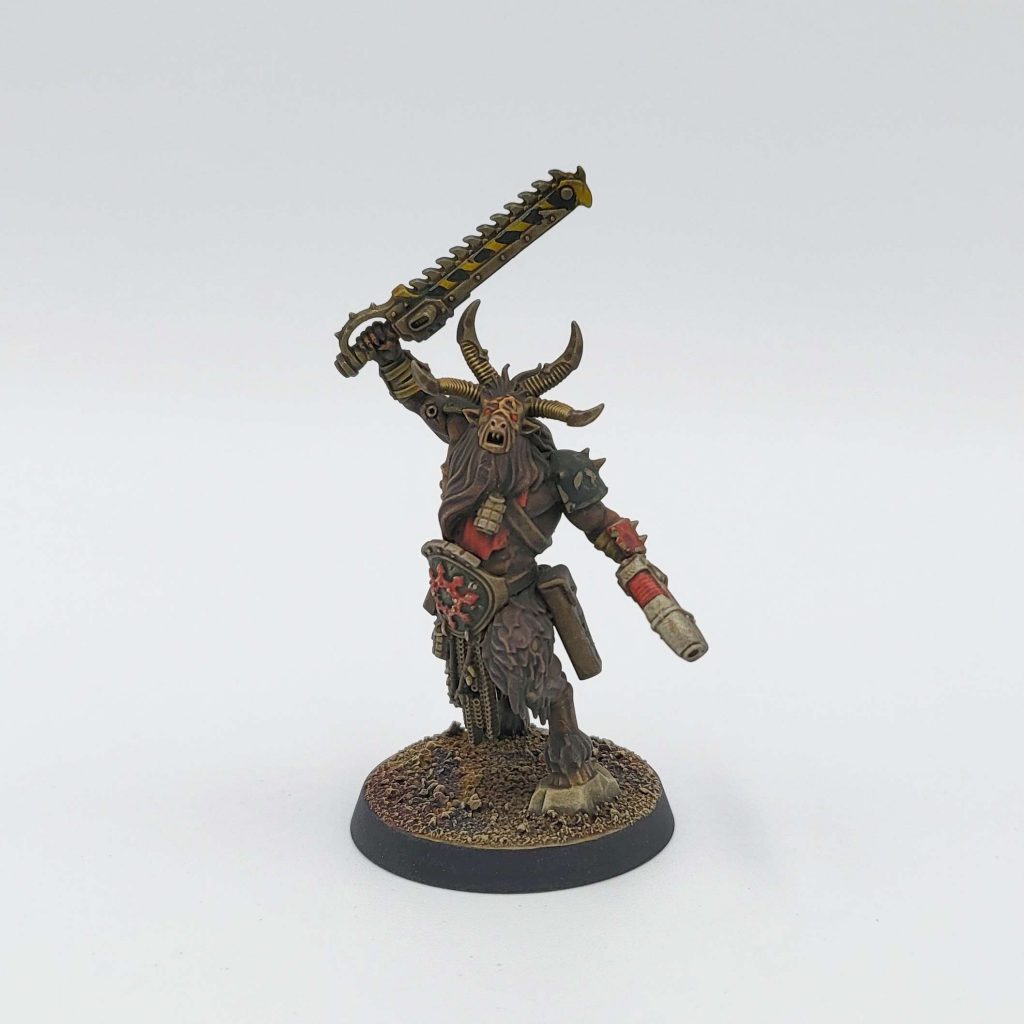
The team Leader gives you two possible loadouts. You will almost always want it equipped with the plasma gun and the bludgeon. Both formidable weapons and your only shooting “threat” in the Killteam. Plus it comes with an ability called:
Call the attack: in the strategy phase when it’s your turn, choose a visible allied operative, he and anyone else within 2″ can free dash.
This is wonderful, both for repositioning on the first turn and for threatening much more on any subsequent turn and getting in charges after TP2.
Fellgor Deathknell
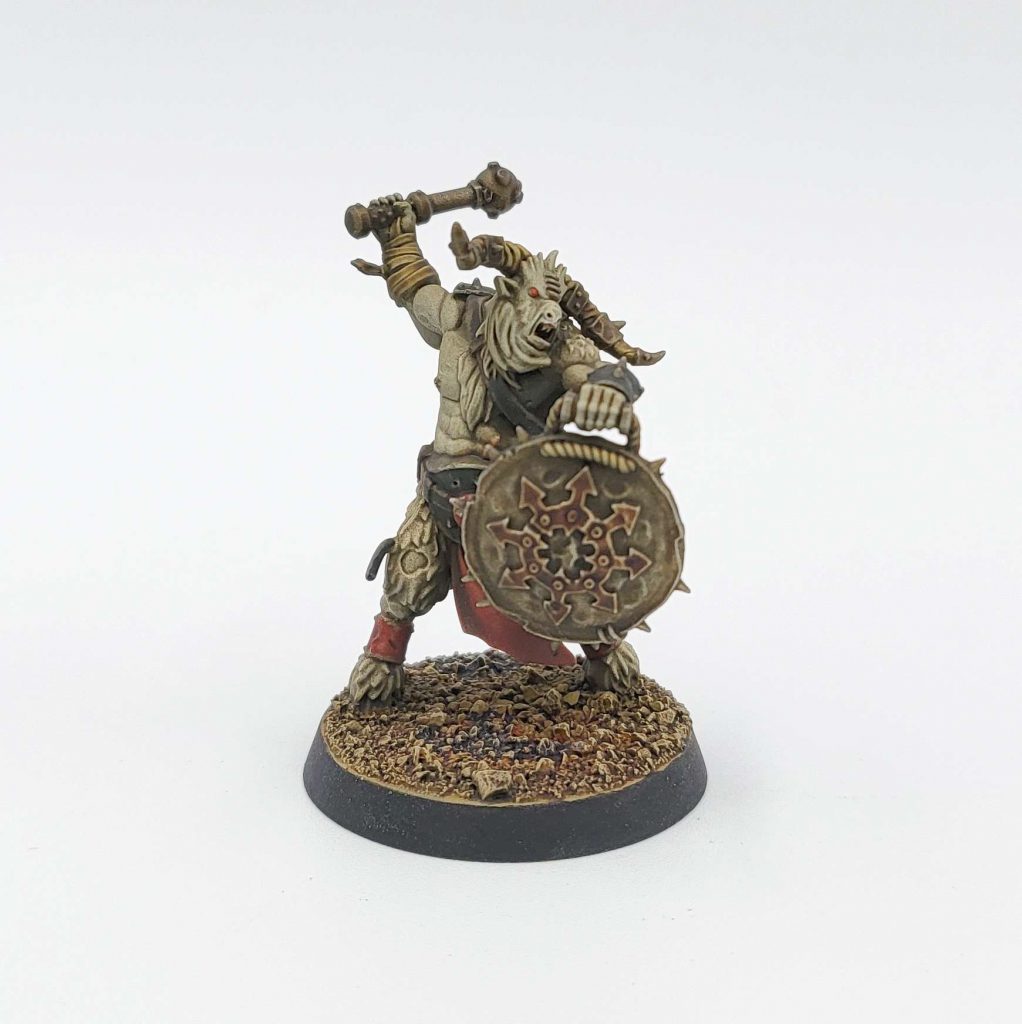
This is the team’s standard icon bearer. He’s more resistant than his brothers – saving on 4+, with the standard equipment of this Kill team and with three abilities at his disposal:
- Icon bearer: Standard +1APL when controlling
- War gong: The ability to deny critical damage profiles for friendlies within 3” of the Deathknell.
- Gong Knell (1AP): until the end of the turn this operative has an invulnerable save the 3+.
With all this this operative is your tank, he will be able to receive shots, control better than the rest and buffing his teammates. This makes him an exceptional control and support piece.
Fellgor Fluxbray
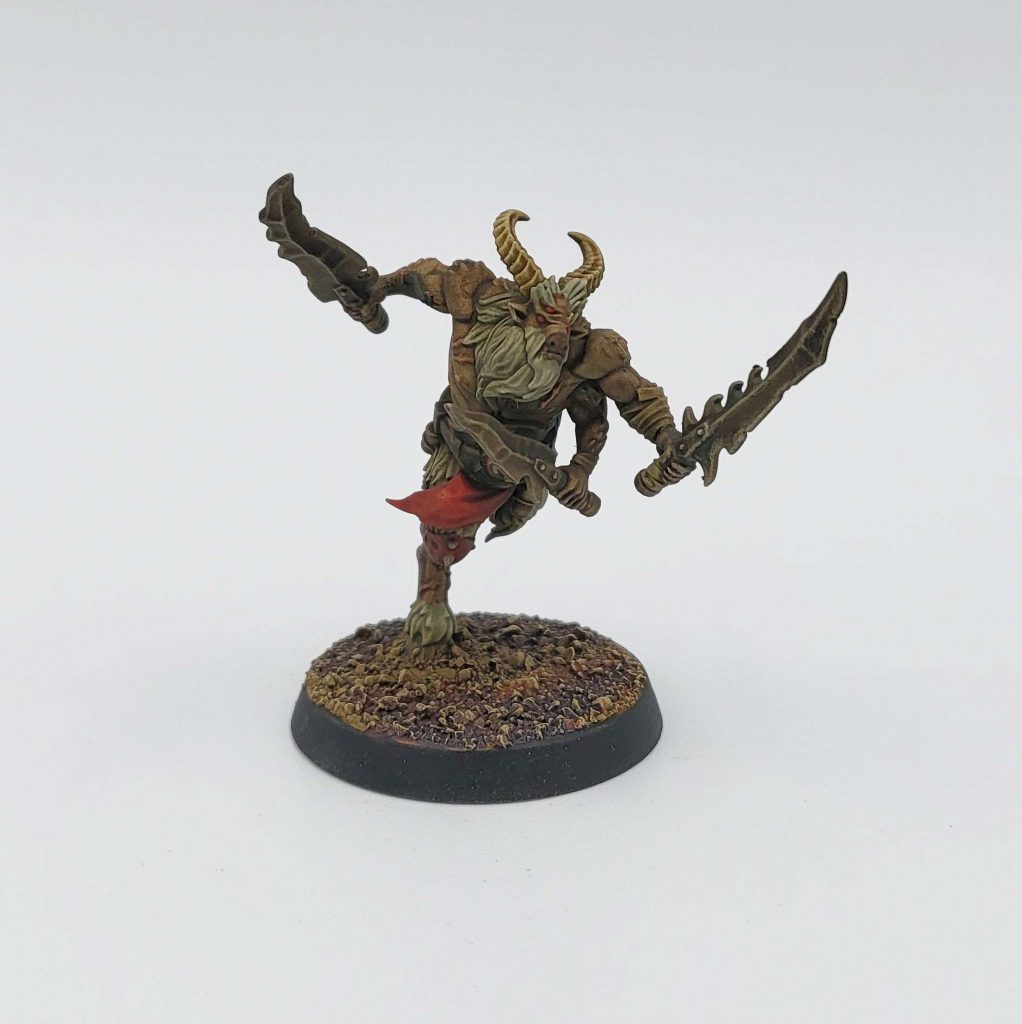
Equipped with triple cleavers (4A 3+ 4/5 damage), one for each of his arms, the Fluxbray also comes with an ability very similar to the Arbites’ subductor. A Fluxbray can switch between his offensive profile which has Relentless, or his defensive profile which gets Deflect. Deflect makes him a “dueller” so he can parry one hit before the combat starts.
This operative also has a unique ability:
- Cleaver Flurry (2AP): Performs a normal move action but can pass through enemy engagement range. For each enemy he passes through this way he performs d3+1 Mortal wounds. To perform this he must be engaged. This is a good skill to use against elites to chip some damage.
This is a good operative to hold enemy charges, and to position well so he can perform cleaver flurrying to chip damage to a multitude of enemies.
Fellgor Gnarlscar
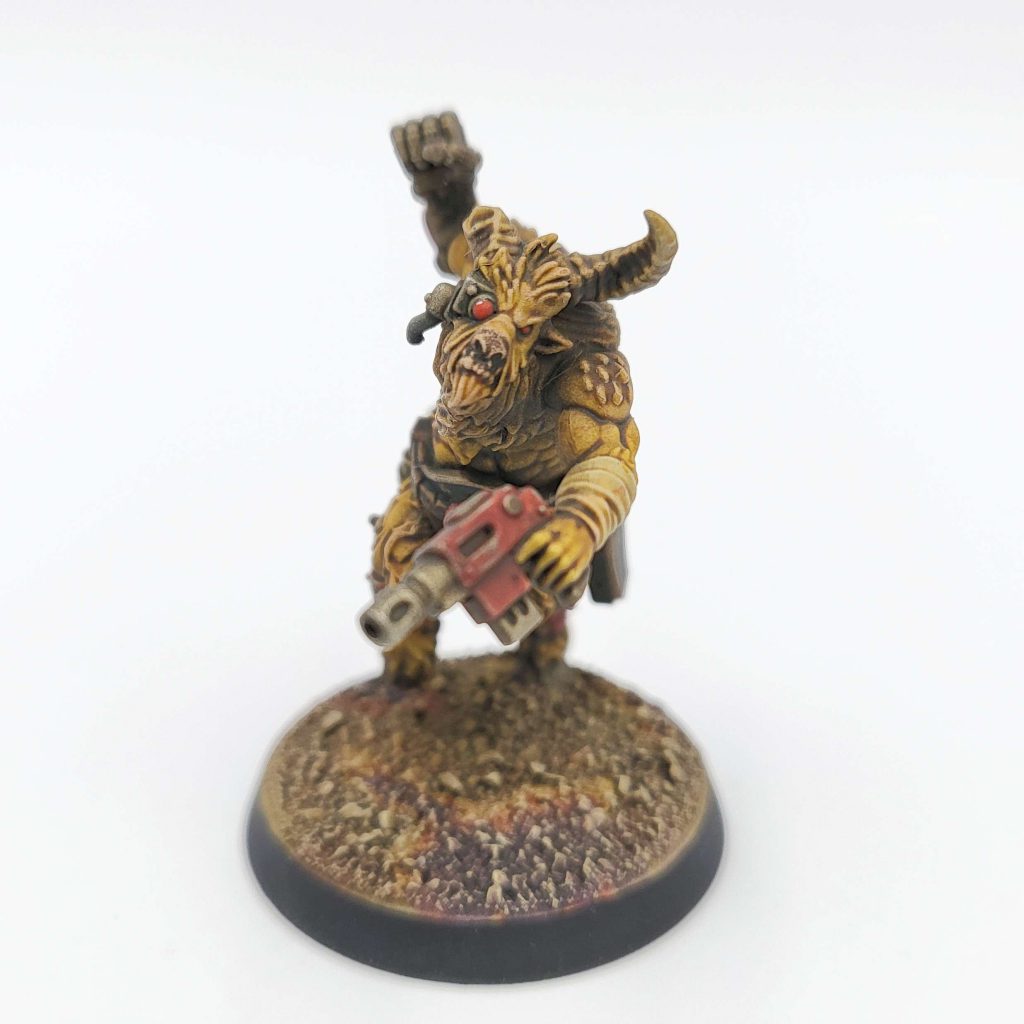
The Gnarlscar is interesting in that he gains a Brutal on his melee attacks thanks to his bionic fist, but the real value he brings to the table is in his two abilities:
- Cunning: This operative can change his order at the end of his activation.
- Uncompromising Attack (1AP): This operative can perform a Fight action and then a shoot (even if he is in combat, but if he is he has to shoot an operative within Engagement Range).
This operative is like a ninja – he can go back to Conceal even if he’s within Engagement range of an enemy, and he is asking to be equipped with a krak grenade to get even better stats on his free shooting. You can change his name to KrakScar if you want (I plan on doing this).
Fellgor Gorehorn
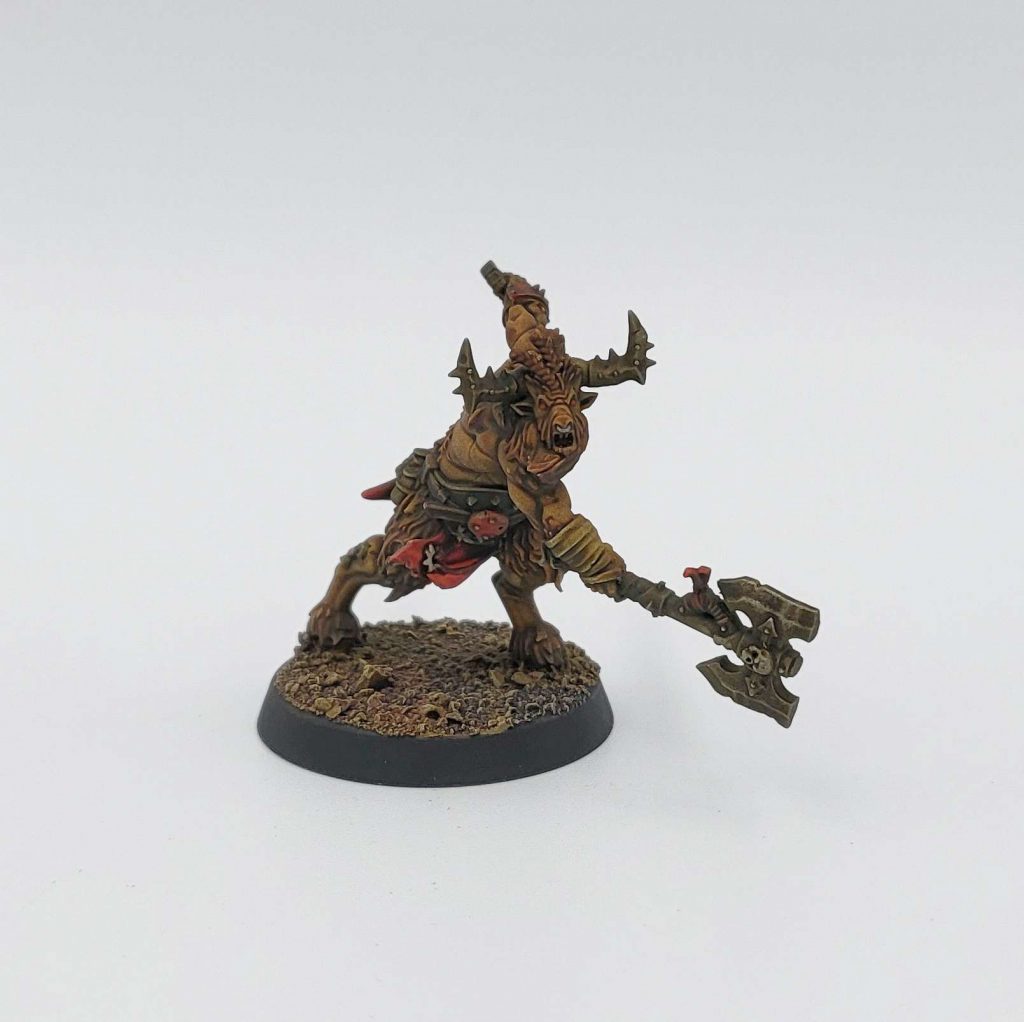
Your combat specialist (within a combat team, effectively), this operative is able to fight twice with a Skullcleaver, which has Lethal 5+. Thanks to his Headtaker ability, if he kills an enemy he regains 1d3 wounds and his critical damage increases up to a maximum of 8 (Yikes!).
An operative that is frenzied can kill a marine in one activation if he’s low on wounds, heal himself back up, and be able to kill another marine (8+4 damage) in the next one. This operative can be a real terror in the battlefield.
Fellgor Herd-goad
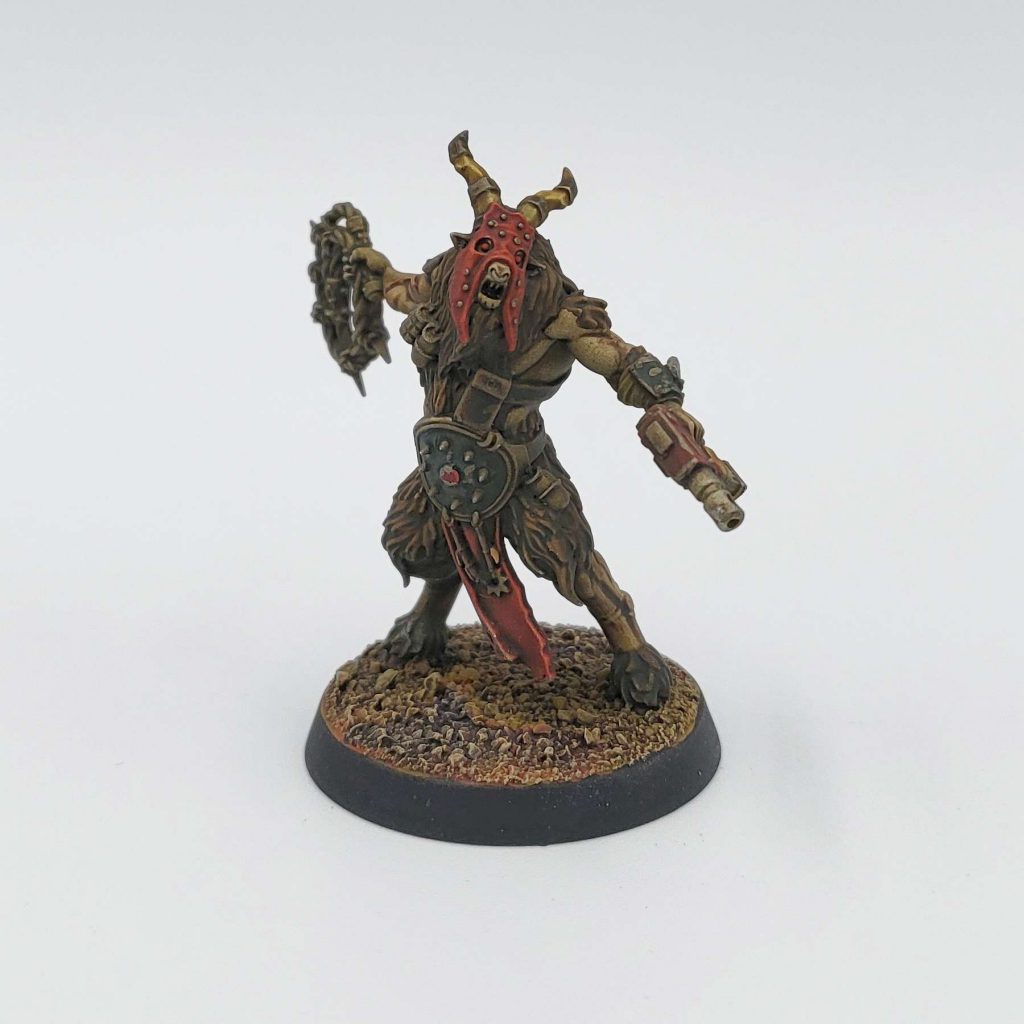
Equipped with a whip (which is a competent shooting weapon, especially for getting enemies stunned), this operative also has two interesting abilities:
- Whip control: It is performed against an operative at 3″ (our operative cannot be in engagement range) and takes away 1 attack from the enemy and that I need 1APL extra to make fallback.
- Incite Fury (1 AP) Pick a friendly Fellgor operative (except for a Shaman or Ironhorn) within 3″ and add 1 to its APL. Basically lets the Herd-goad act as our Comms specialist.
Your standard “comms” with an extra ability to make enemies less lethal. This is a perfect ability but hard to master, and compared to other comms models we get a shorter-ranged APL buff (though the same as the one for the Novitates team), but with the upside of the operative also being a debuffer and a melee annoyer.
Fellgor Mangler
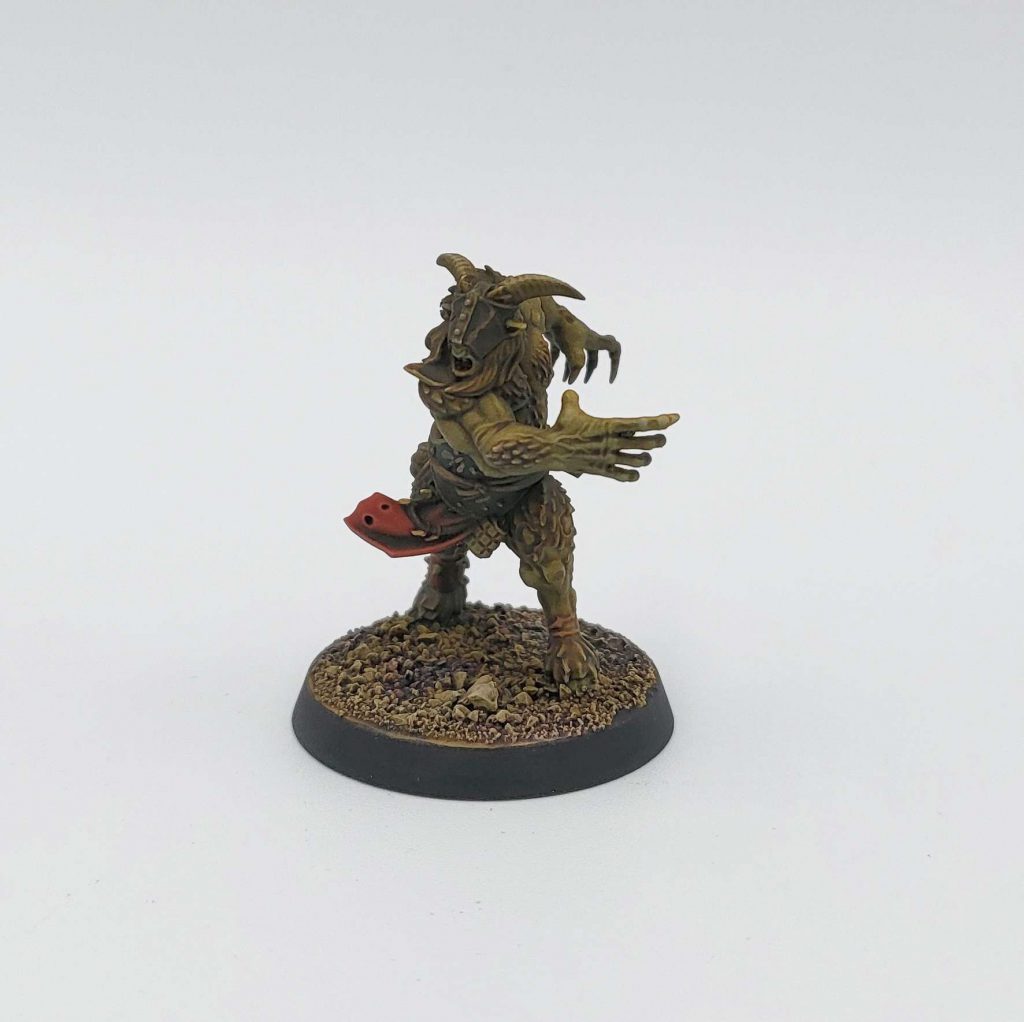
Comes equipped with vicious claws (4A 4+ 4/6 Relentless, Tactual Hunter on critical hits).
Tactual hunter: If you fight against an operative who is not ready and you hit him with a critical hit you can immediately hit him with another strike.
This operative has homicidal tendencies and as a good Berserker, mission actions (except operate hatch) cost him 1 AP extra and he can’t make Shooting attacks.
In addition you also get Savage assault to fight twice if you are still on engagement range after your first combat. This means that with tactual hunter you can sometimes kill a model without any damage back if you get that critical hit
Fellgor Shaman
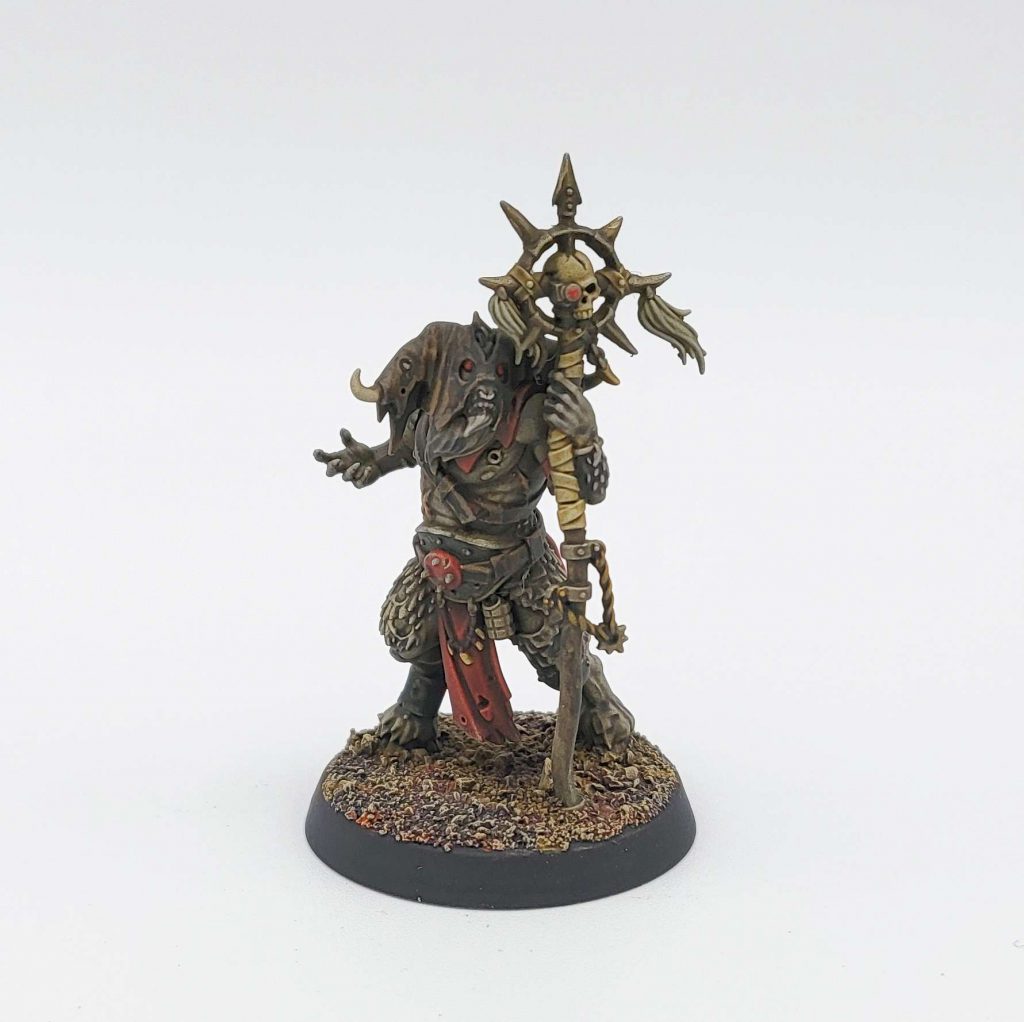
The team’s psychic muscle. For 1APL this operative will be able to manifest a power, and you can choose from three options:
- Mantle of darkness: All friendly operatives gain super concealment as long as they are within 3″ of this operative and the enemy is shooting from more than 6″ away. (they’re treated as having Conceal orders even if you’re firing from a Vantage point).
- Apoplectic rejuvenation: An allied operative within 6″ of the Shaman regains 2d3 wounds. If that operative has incapacitated any enemy operatives in the game he’ll instead regain 6 wounds. Curious note: the targeted operative can be in engagement range.
- Curse weapon: Select an enemy in line of sight the enemy weapon gains Hot, if it already had hot it will do an extra mortal wound.
The Shaman is a fantastic support operative to keep our goats alive and safe, very effective to leave him behind or to advance while he gives us support with his cloak of darkness.
Fellgor Toxhorn
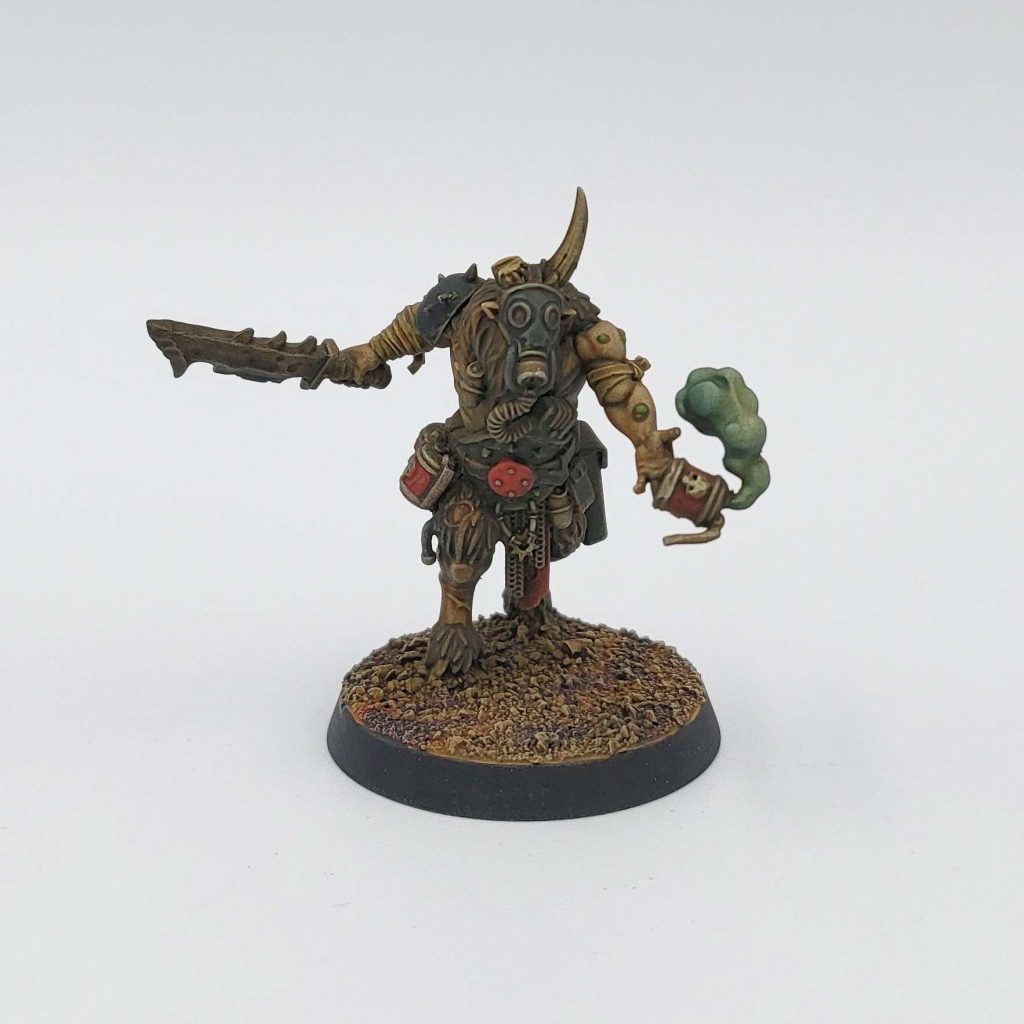
Equipped with a cleaver (4/5 damage), this operative is the endurance specialist as it is not affected by APL modifiers and has an FNP of 6+. He also carries a Pox bomb that for 1 APL he throws within 6″ of him and anything within 2 of that point to throw a die:
- With a 3+ Lose an APL
- With a 5+: Suffer 3 Mortal wounds
All this can be done in conceal.
It is a pseudo-grenadier that our enemy cannot ignore and makes him unable to stack his operatives easily, on a personal note I think he’ll be great at holding objectives with his 10-12* wounds, and ability to stun enemy models with his pox bomb. Enemies will need to be wary of his ability to to soak more damage than they expect. yada yada.
Fellgor Vandal
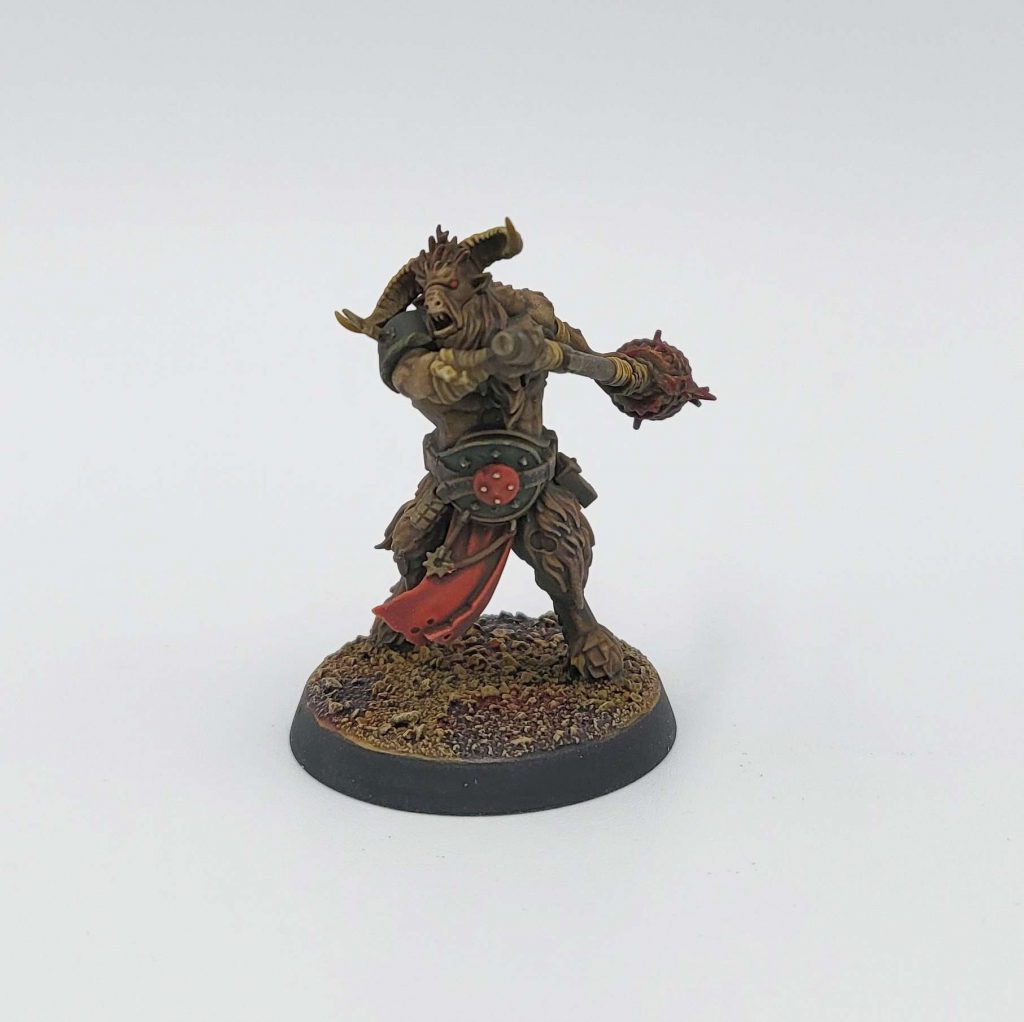
Equipped with a Mancrusher (4A 4+ 5/5 brutal Reap 2 weapon) this operative has vicious blows the same ability as his legionnaires companion where he gains relentless if he charges, or ceaseless if he is the attacker. In addition he can perform Sweeping blow(1ap) where he puts D3+1 wounds in an area of 2. This ability can be combined with a charge, and apl allowing him to potentially kill 8 wound models in one hit (With 3APL provided by the herd-goad for example).
Fellgor Warrior
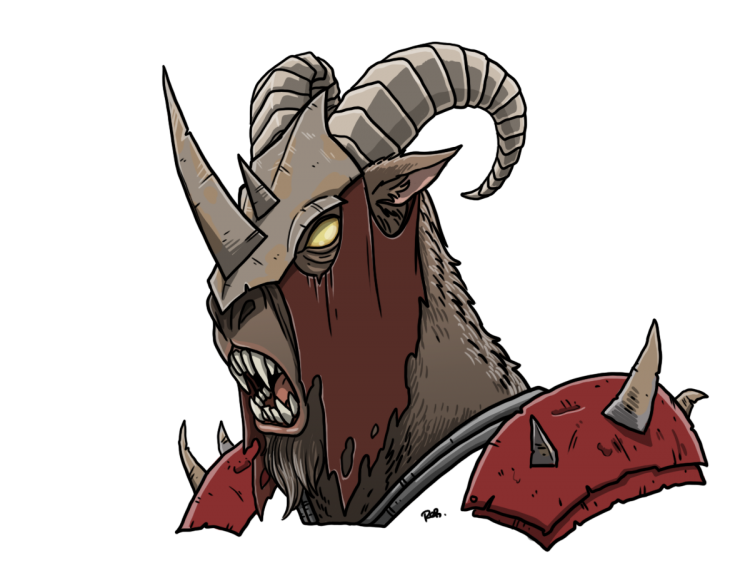
The Standard warrior, nothing special, no real reason to bring him because we only have 10 unique operatives
Strategic Ploys
Fellgor teams have some absolutely brilliant Strategic Ploys to work with.
- Violent temperament: You get not-quite-Relentless for your team (we say “not quite” because you need to re-roll all your dice). This is an amazing ploy to have some nice RR under your sleeve, even if you have to do it on all your dice. It’s especially powerful when frenzied as you’ll be injured so landing 1 critical is great.
- Ambush: When you change from Conceal to engage for that activation you can retain a normal hit as a Critical Hit. An incredible ploy that can make for a very bloody TP2.
- Pelting Firepower: Each time you shoot to an enemy it gets a token. After that, when you shoot that enemy again you can add 1 to Damage characteristic (to a maximum of 5/6, so it does not affect your plasma pistol). I don’t see much use for this; you are a combat Kill team after all, but I can see it on some matchups (Maybe Gellerpox?)
- Reckless Determination: If you get a shooting attack against a non-ready operative you can retain one die as a normal hit. This is a variation of the Kommandos ploy; a bit more situational than that one, but it gives us defense against shooting, something that a combat kill team always wants.
Tactical Ploys
- Ruthless Rampage: Use this tactical ploy when one of your operatives fights and ends up out of Engagement Range. You can perform a free charge of 3”. You have some operatives that can perform 2 fight actions… Do you see any use of this tactical ploy? I´m sure your gorehorn is gonna love it. On the other hand you can charge to an activated operative to be safe. An awesome tactical ploy.
- Wild Rage: You can add 1” to the movement characteristic of one operative. Really nice for setting up asymmetrical charges.
- Animalistic Fury: Use this in combat and you can inflict 1 additional damage with a critical strike. This is situational, but it can make you kill an operative without taking damage and helps reach damage breakpoints.
- Bloodsense: This is a tricky one – you can activate this after you kill an operative to chain activate another ready operative which is visible and within 3” of the killed operative.
Equipment
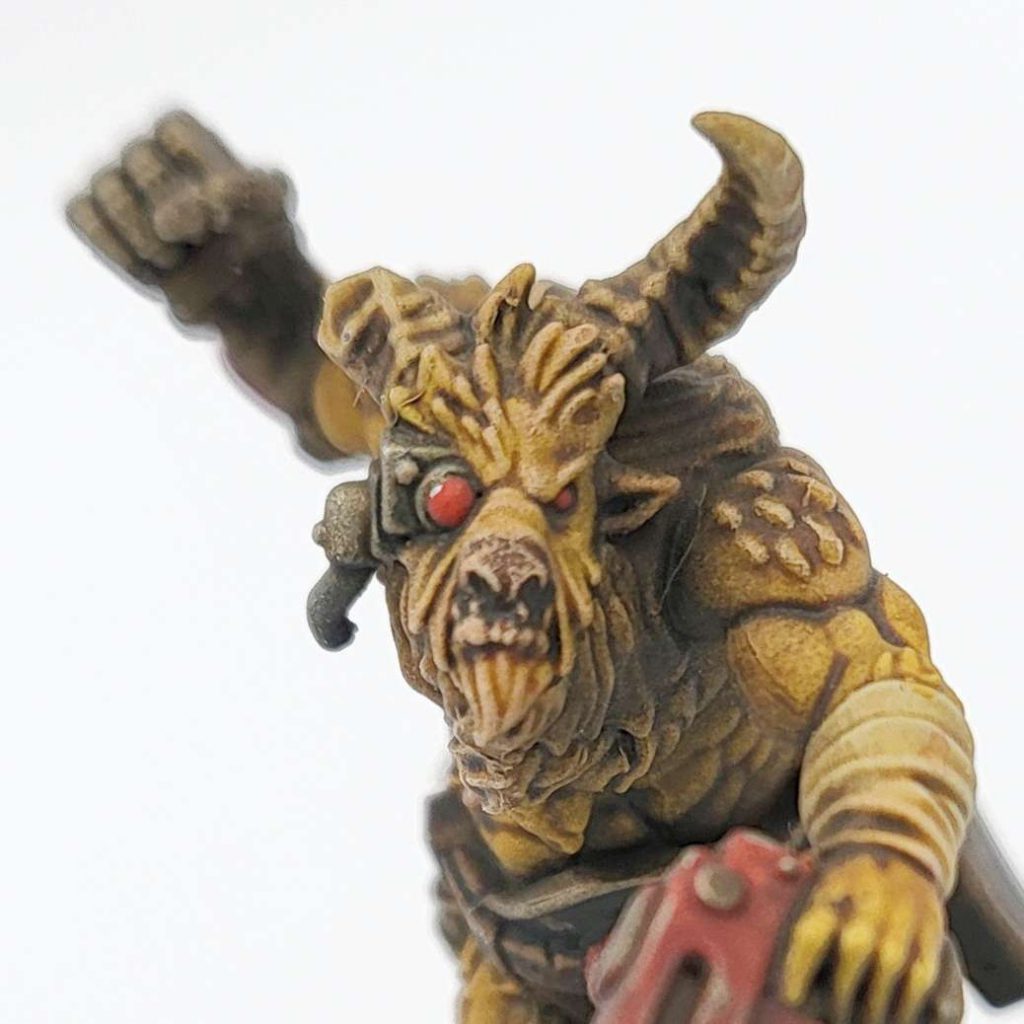
Fellgors have a rather limited equipment list, with two grenades and four non-grenade options, but War Paint and Corrupted Weapon are going to be your go-to picks after the grenades.
- Frag/Krak Grenade [2/3EP]: Standard equipment here; most of the time you will get both of them or at least the krak, put them on your krakscar and enjoy.
- Corrupted Rounds [1EP]: A pistol of yours get’s rending. You are not a shooting team. Pass.
- Corrupted Weapon [2EP] Rending on your melee weapons? YES! This can help a lot against 10 wounds models.
- Unholy Talisman [2EP]: An operative gets a 5++. I have mixed feeling with this, you may want to take it against hard shooting teams.
- War Paint[1EP]: This is awesome. You can ignore any or all modifiers to your movement and APL. Remember that you will get injured if you get frenzied? not anymore, at least for movement!
Tac Ops
Fellgors get the usual 3 tac-ops to work with, and they’re pretty solid:
Fellgor Champion: You can reveal this tac-op after your operative incapacitates an enemy. If that friendly Fellgor kills another enemy you score 1VP. If you do it again you score the 2nd VP.
VPs for Killing more people? YES! I LIKE THIS! Blood for the blood god!
Scorn Their Ways: A tricky tac-op, select an enemy operative with a weapon with better normal damage characteristic of 17 (So a big weapon, a plasma gun or something like that.)
-If that operative is killed by an operative within 6” of it, you score 1VP
-If you kill that operative within engagement range you score the 2nd one
This is a weird tac-op, you are still trying to kill one of the most dangerous operatives from the enemy, but your opponent can play around it, and there are gonna be situations where you are not going to achieve it at all, so be careful where you want to play it.
Relentless Aggression: You shall reveal this Tac-Op at the end of any T.P
-If you get 5 or more friendly operatives within 6” of the enemy or the opponents drop zone you score 1vp
-If you do it again you score the second one.
This is also achievable, you want to get close and personal with the enemy after all.
Building and Painting
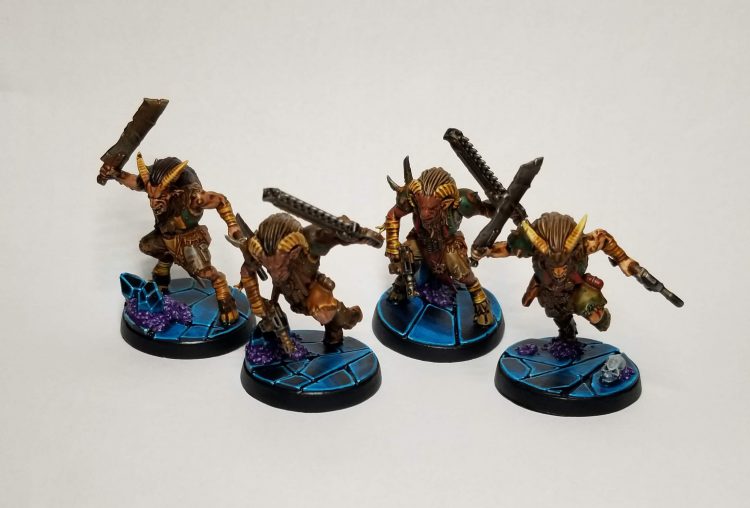
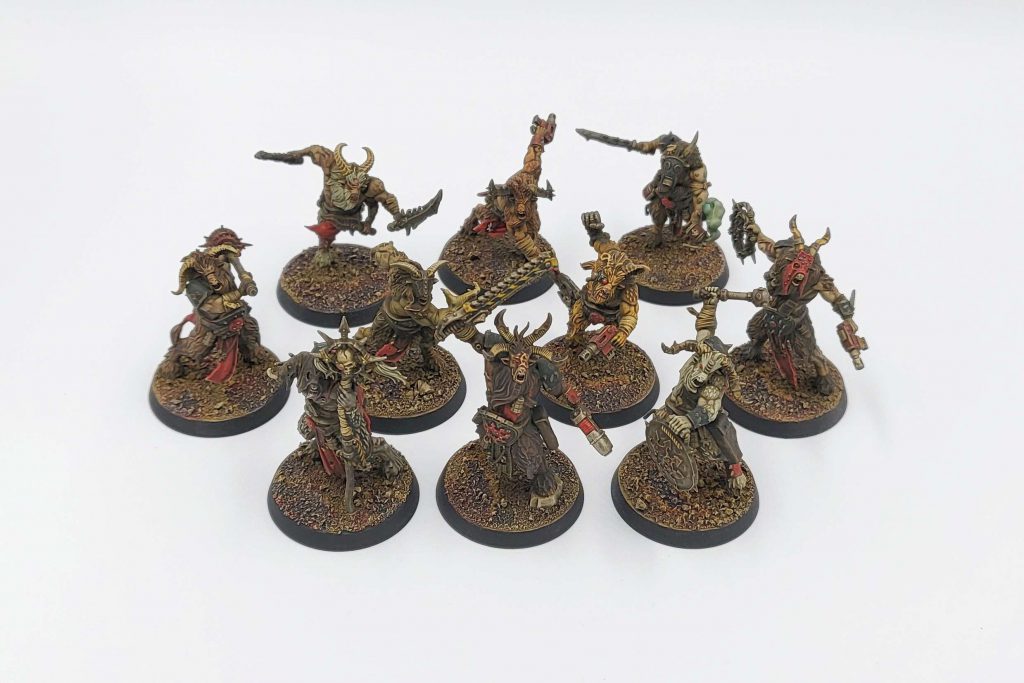
Fowler: Hi folks! I am stopping by to talk about working with the Fellgor models. First off – being able to build all of the specialists means no tough decisions to make between options! Modularity isn’t the kit’s strongest suit (arms are not flat joins at the torso), but every model has the the option of being built as a regular Fellgor Warrior or their specialist counterpart.
The models went together rather easily, and painted up fast. They are painted with my Traitor Guard scheme – with lots of red Blood Angels Red Contrast, Black Templar for armor, and a liberal dose of streaking grime after that. The basing is also the same as my traitor guard – a friend’s special mix of aggregate. Aggressive venithal prime, then basecoat Zandri Dust. Apply Aggaros Dune Contrast, drybrush Zandri, add red, yellow, purple, and brown inks randomly to simulate industrial waste, then finally drybrush Zandri Dust and then Screaming Skull. As noted elsewhere in the review rush – I am a sucker for Traitor Guard / Lost and the Damned, and I absolutely love this kit.
Final thoughts
Ace: The new Fellgors look super fun, and the new Frenzy mechanic is something we’ve never seen before. It will be super interesting to see what players can bring to the table with this team. It’s hard to figure how much frenzy is going to affect games until you play with it. I’ve had the fortune to have a few games under my belt and it’s a game changer, something that your opponent will need to have in his head at all times and something where your opponent might need to gamble a fight to try to stop it from happening.
I think our new chaotic friends are going to give a lot to talk about, not only because they are really fun to play with a lot of tricks, but I think they are going to be a force to be reckoned with in the competitive environment and I doubt it will be long before we see them in the top positions of the tournaments.
Have any questions or feedback? Drop us a note in the comments below or email us at contact@gmail.com.
