
The idea for this kitbash came from some joking around about what project I should start on next. An experimental cyber-skull to Necron Warrior interface as an Adeptus Mechanicus project sort of took on a life of it’s own. This creation would be attached to an Ordo Xenos Inquisitor.
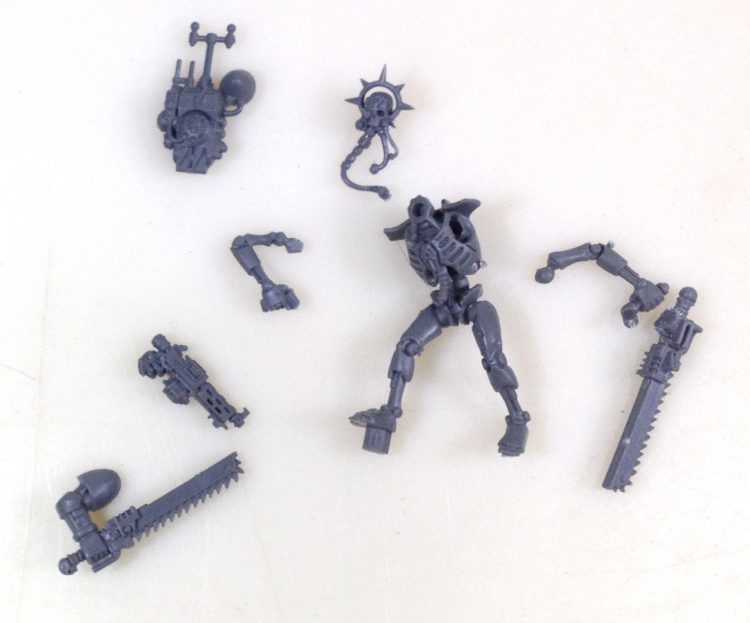
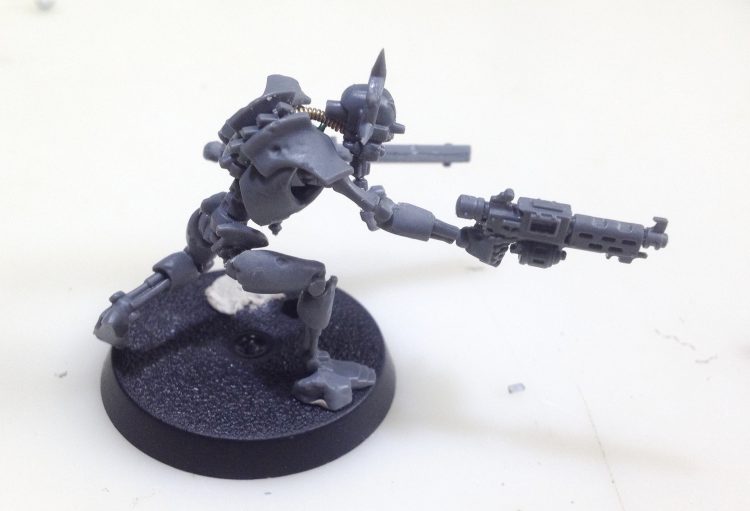
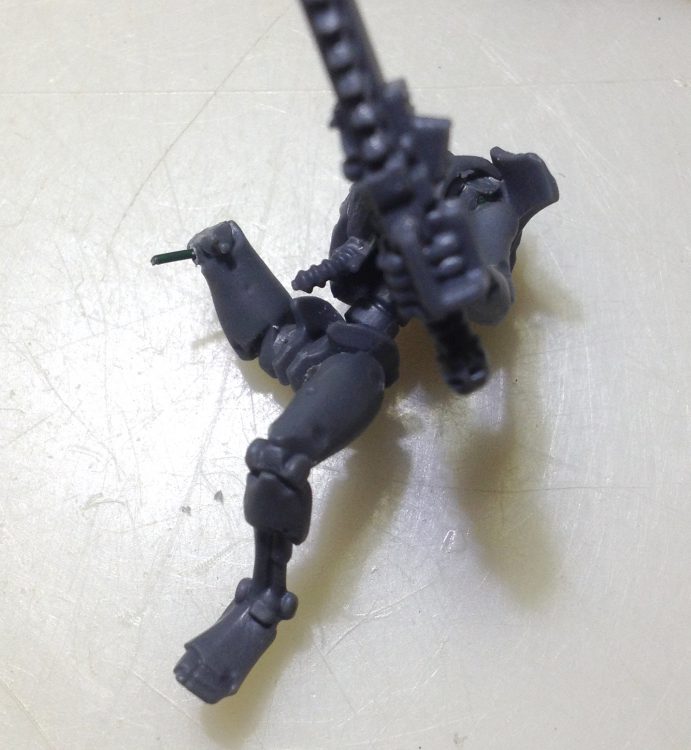
The plan here is to re-articulate the Warrior and give him a more dynamic pose. My thought was to have him in a low crouch, like he had just landed after a jump. Given the anatomy of the Necrons it will be fairly straight forward to cut at the joints and do minimal damage.
To begin with I took a jewelry saw to to the knees, hips, right elbow, and left hand. The cuts were made carefully between the round joint part and the armored bits around the ‘bones’. Then the pieces were pinned together using 24 gauge floral wire.
After the legs were sawn off from hips I drilled a hole straight through the pelvis, then drilled holes in top of the legs. The holes are only slightly larger than the wire. A bit of superglue went on the end of the wire and it was then fed through the pelvis. Then a bit of glue for the wire ends going into the legs.
The same process was done for the knee. Holes drilled, and a bit of wire superglued in to hold the leg in its new position.
Again for the shoulder, holes drilled and pinned, superglue to hold.
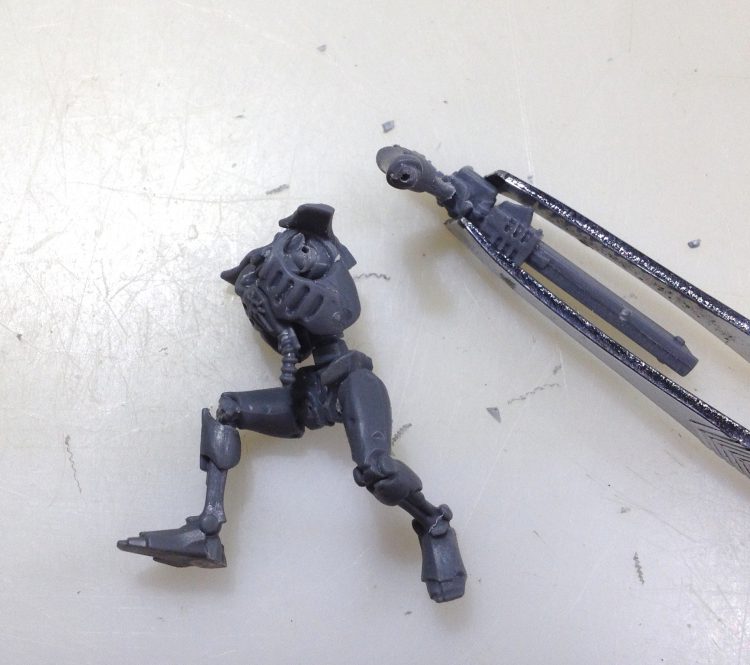
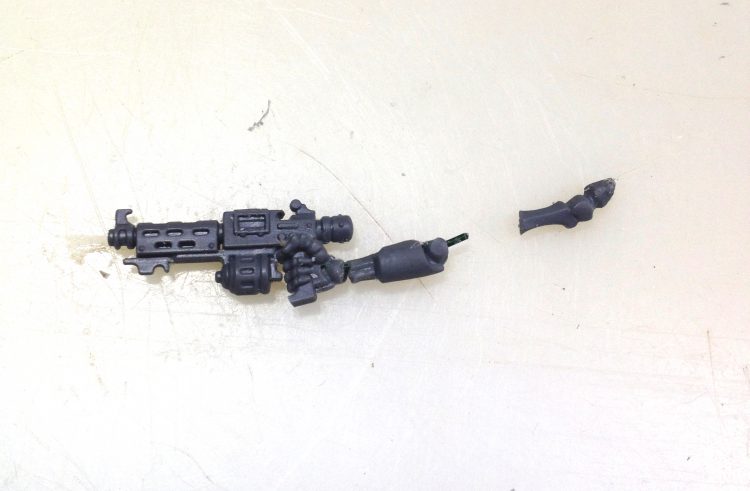
I went with a chainsword for this arm, using one that already had a bionic hand holding it. It fit very neatly with the Necron aesthetic.

The hand on this side was already holding the handle for a weapon. I carefully cut the hand off the stubcarbine with a the jewelers saw and shaved it down to fit the correct angle with an exacto knife. It was glued together with plastic cement. The elbow here had the drill/pin routine done to it.
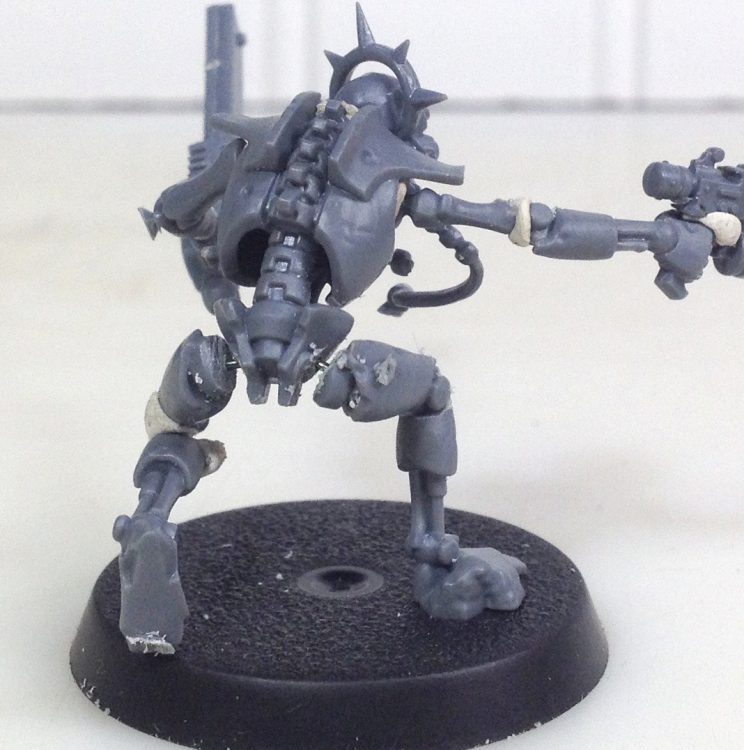
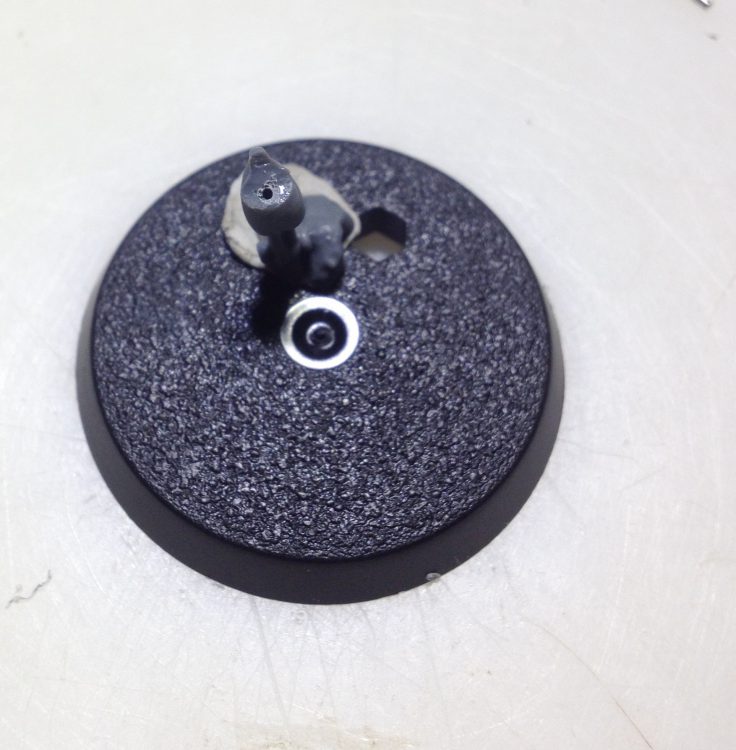
The trickiest part of this build was doing the wiring for the cyber skull. A piece of guitar wire was bent and cut to allow the skull to connect to the spinal column. I wanted the skull to be facing the direction of the stubcarbine and also to be slightly forward of where a head should be to give it a bit of a floaty feeling. The guitar wire is easier to bend to approximately the right shape before cutting it. Bending it around the shaft of a screwdriver or other metal rod allows it to bend in a more natural, smooth way. Trying to do all the bends with pliers can leave the curves looking too sharp. However some final adjustment was done with a pair of pliers. The smaller wire is the same floral wire I used for pinning. Both wire were superglued into holes drilled in the cyber skull.
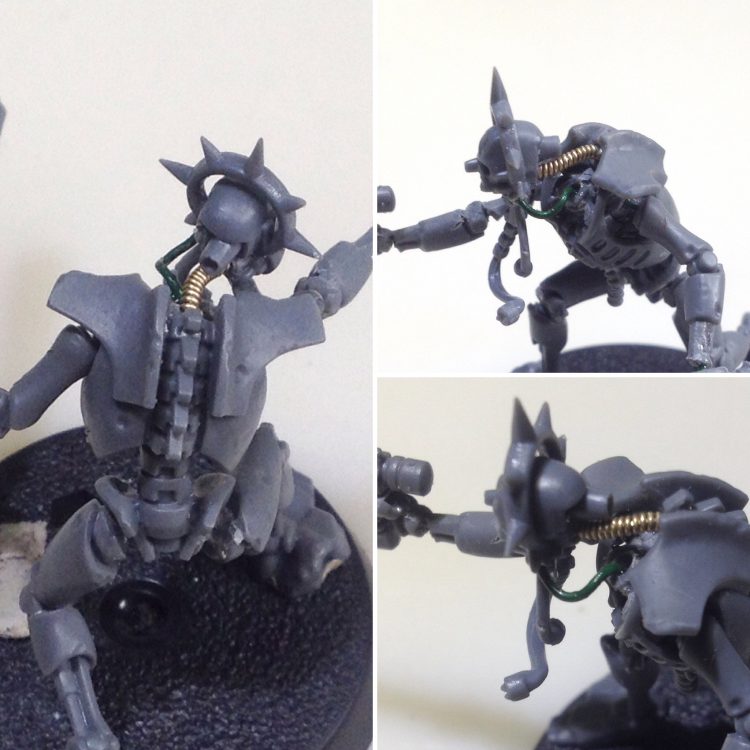
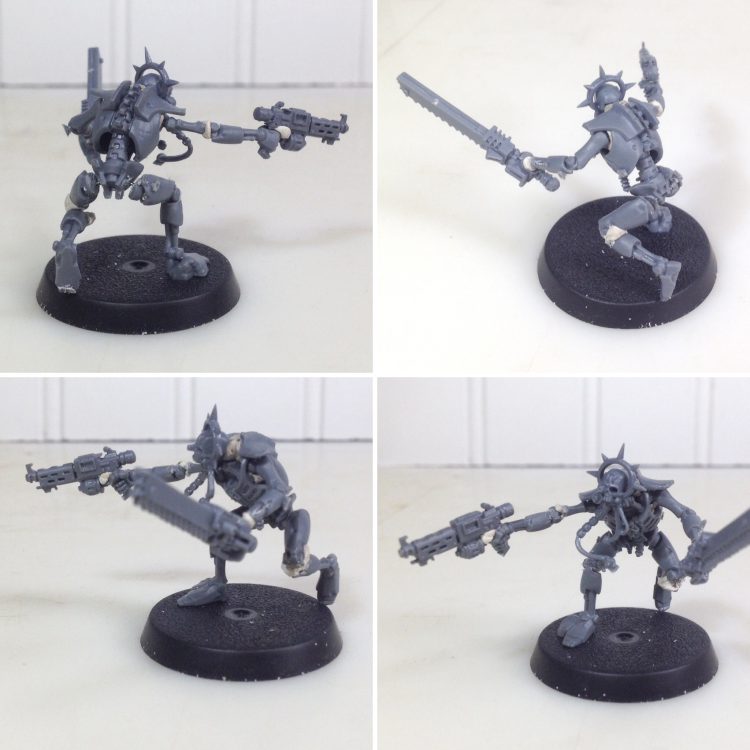
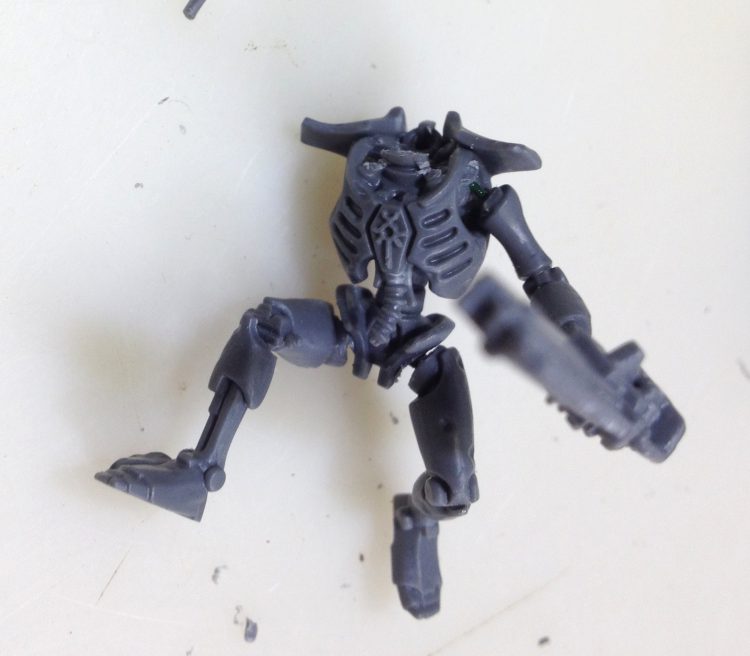
And here is the build with a final few additions. The joints were rebuilt with green stuff where the saw had cut some of the detail flat. A purity seal was added, this one was cut off of Pious Vorne from Blackstone Fortress. I liked its length. Finally I shaved off the Necron symbol from the chest. It will make a good spot to paint on an Inquisition symbol.
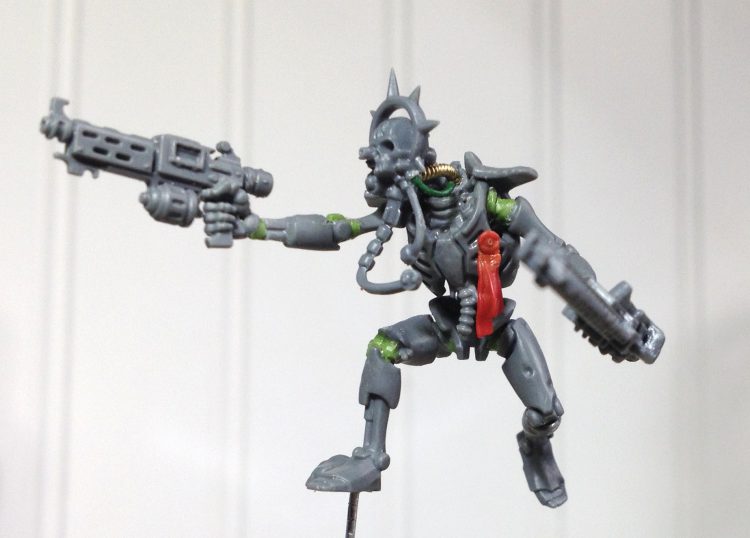
Part of what inspired this build was wondering how a more spindly model like this could be reposed and still be reasonably stable. Drilling and pinning with small wire works well for this as long holes are drilled carefully and straight as possible to avoid coming out of the sides of arms and legs. I have since had good results even on skeletons. When this guy gets painted you’ll be sure to see him here.
Have any questions or feedback? Drop us a note in the comments below or email us at contact@goonhammer.com.
