
Basing is a critical part of the painting process. Armies on the battlefields of the 41st Millennium or the Mortal Realms will find themselves fighting across a wide variety of terrain, from lush jungles to barren rockscapes, industrial wastelands to agrarian fields. Your basing helps tell the story of your army – where are they fighting and why? In the spin-off How to Base Everything series, we look at different methods for basing your miniatures, so that you can locate them in time and space. In this week’s How to Base Everything, we’re talking about how to do make bases that your army being partially submerged in water.
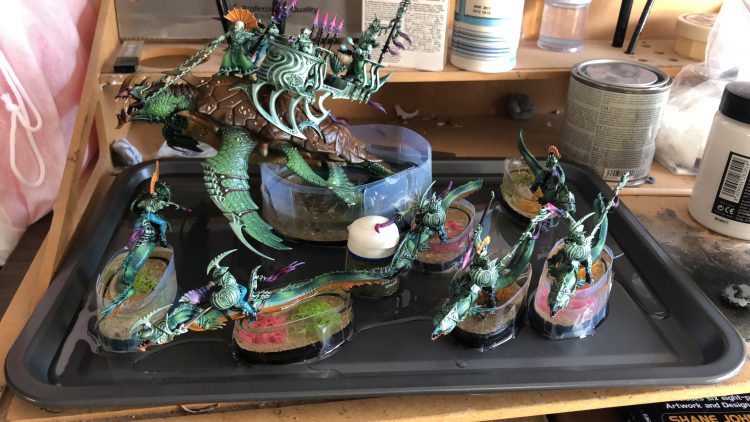
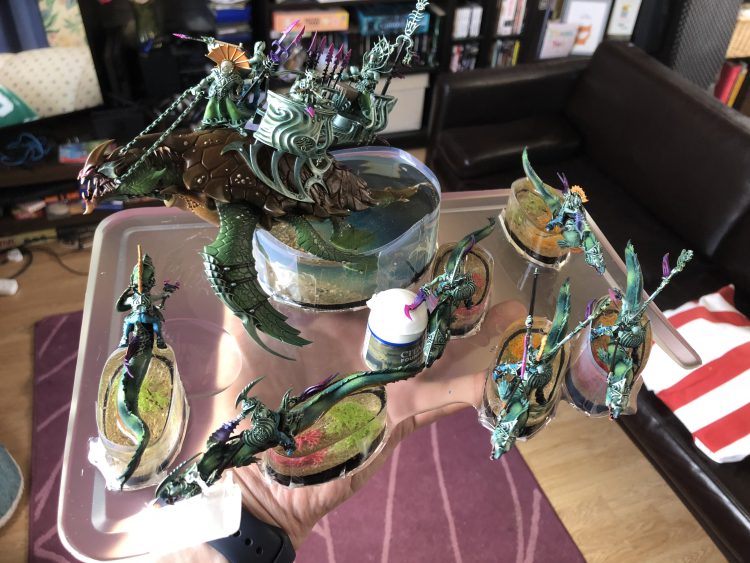
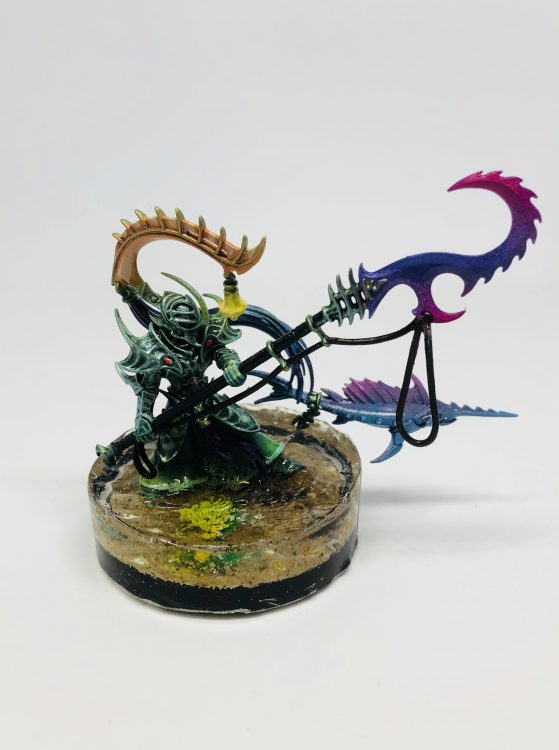
I developed this process to base my Idoneth Deepkin army. I wanted to have them look as though they were stepping out of the water to attack their enemies. After a lot of research I came up with the following method.
Silks’ Home-Made Mould Method
You will need:
- MDF Wooden Bases of the same size as those on your model. 2 per model you want to base
- PVA Glue
- Sellotape
- Overhead Projector Paper
- Clear Resin
- A non stick baking tray
- A hobby saw
- Vallejo Water Texture (clear)
- Plastic cups
The MDF Wooden Bases are so that you can create a mould of the correct size. These will be thrown away at the end of the process. MDF bases are perfect because their sides are at 90 degrees to the surface of the base, meaning you can create a vertical wall easily. Take two and glue them together using PVA Glue. I get MDF bases from eBay and they are incredibly cheap.
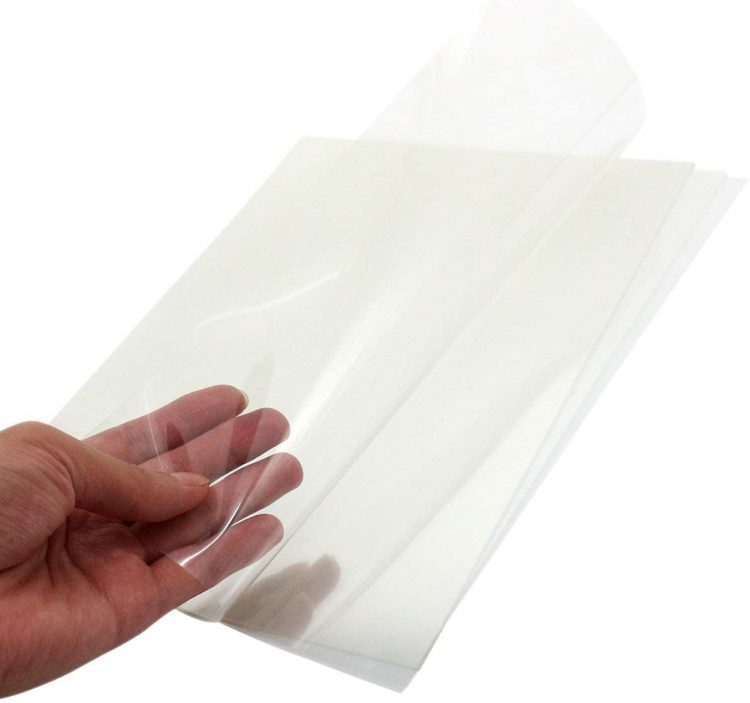
Now take your Transparency Paper. For those of you who are young enough not to remember this from school, it’s a see through sheet of plastic which is rigid enough to hold a shape but bendy enough to shape. Cut a strip of this that is at least over the height of your MDF bases and how high you want the water to go. Now, using lots of sellotape, form a ring around your MDF bases with this strip. If your bases are particularly big you may need to cut a second strip and stick it on using sellotape. Keep going until every inch of the strip is stuck to the wooden base, then do a bit more for luck (you want this to be water tight to avoid leakage). One of the best things about these bases is that you can throw your flight stands in the bin. Adjust the size of the mould you’ve created so your model sits nicely in place.
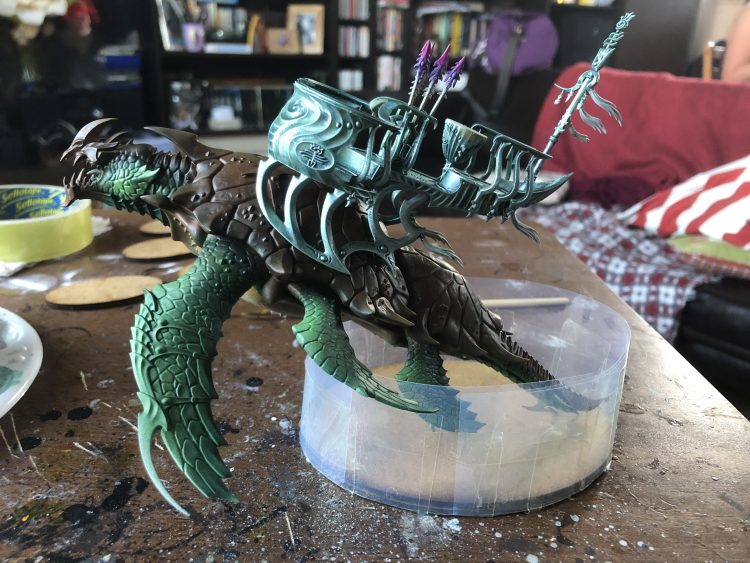
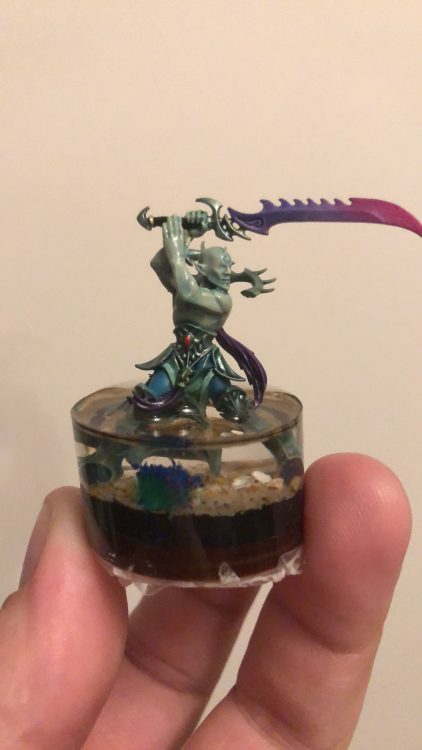
Now is the time when you want to have your model completely finished. This includes basing and varnishing (and painting the rim of the base!). Do a final check, as once you’ve gone further it will be very hard to fix! I like to use sand on my bases, with some bright coloured foliage and tufts to represent sea plants. For the really big turtle base I airbrushed a blue gradient up to the sand to give the impression of depth. Once you are happy that your model is finished (and everything, including varnish is completely dry) it’s time for the fun part.
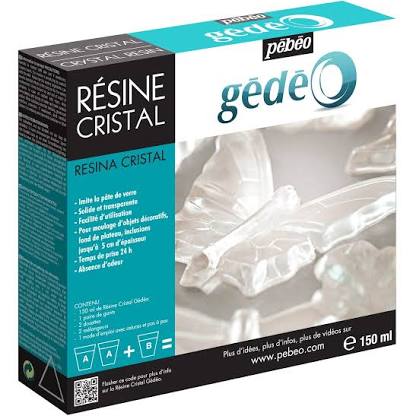
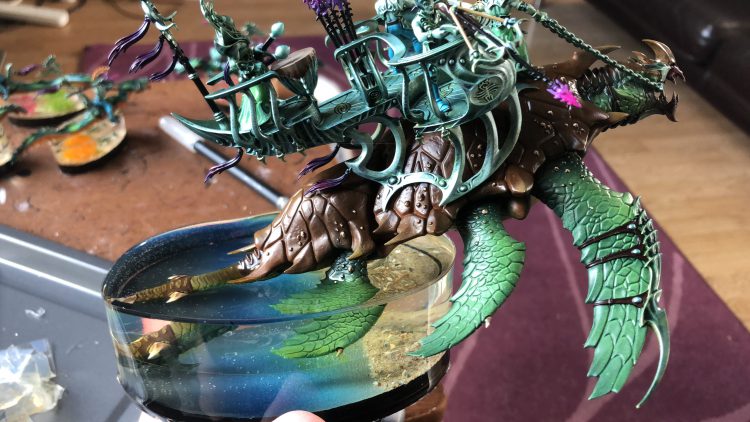
Push your model into its mould. I like to use a metal sculpting tool to push down on the base of the model to make sure it’s seated flat in the mould. If you don’t do this you could end up with the water at a funny angle. Now, mix up your resin. I use Gedeo Crystal Resin. It’s reliable and cheap from Amazon. This is an epoxy resin which needs mixing. It comes with a handy measuring cup, gloves and a stirring stick. You want to mix up enough of your resin to fill your bases without wasting too much. I find it’s best to do as many models at a time as possible as you’re less likely to waste resin. Mix up the resin in a plastic cup, you want to pour two cups of the A bottle (the larger of the two bottles) to every one cup of the B bottle. Repeat this until you have what you think is the right amount. I would do this inside an old cardboard box as if you spill anything it is permanent (you do not want to do this on your rented flat’s floor / your wife’s expensive dining room table (as I did the first time). Mix the resin using the wooden stirring stick, but do so gently as the more enthusiastic you are the more likely you are to get bubbles. Mix until the resin is completely clear.
Now, pour your resin into your moulds, using your non stick baking tray. The reason for your baking tray? In case you get leaks, like this.
If you do, it’s not the end of the world. Just wait for it to set, it will dry and fill up the leaks it came out of so you should be able to top it up and it remain watertight. I found this was most likely to happen on oval bases as it’s harder to get a tight seal. Wait for your resin to completely dry, this will be at least 24 hours but always err on the side of caution! The reason for the non stick baking tray should now be apparent, any leaking resin pulls away easily from the surface (maybe after a little encouragement).
Once your resin is completely set it’s time to remove the mould. You should be able to peel off the sellotape and pull away the projector sheet.
Now for the annoying bit. Most of my bases had a small gap in between the wooden bases and the plastic base that I could use to pry apart. Some of them were completely stuck though so I needed to use a hobby saw to separate them. Make sure you use a mask if you do this, resin dust is bad stuff.
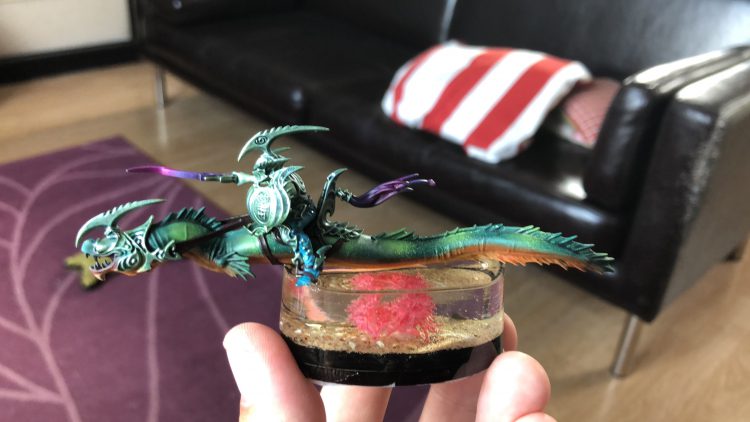
These bases look great for still water, however if you’re going for a sea like effect you’ll want to break out the Vallejo Water Texture. This stuff comes in multiple colours and hues but I find the transparent one works best with clear resin. Simply apply it to the top of the resin like you would a texture paint and let it dry.
The much easier method
Pretty much the day that I’d finished my Deepkin, Greenstuff World announced a range of silicon moulds for doing precisely this. Much, much easier, however there are some downsides
- They cost a fair bit for a pack, which comes with only one mould of each base size meaning doing 10 models would take 10 resin pours (and 10+ days of curing)
- Their height is set so you can’t have any particularly deep bases
- The silicon leaves the sides a little blurry, you will need to put a thin layer of gloss varnish on it to make it clear
- They only come in the standard troop / bike shapes and sizes. For any larger models you’ll still have to make your own
However, if you are just doing a small project these may be worth looking at as they do give a very consistent result for minimal effort. I bought multiple packs to enable me to make several bases of each size at once.

Have any questions or feedback? Want to show off your own water bases? Drop us a note in the comments below or email us at contact@goonhammer.com. Or head over to r/goonhammer to discuss.
