
In our How to Paint Everything series, we take a look at different armies of the Warhammer universe, examine their history and heraldry, and look at several different methods for painting them. With the release of Engine War, we’re taking a look at the towering mechanical warriors of the the fallen households, Chaos Knights.
Who Are the Questor Traitoris?
Also known as Chaos Knights, the Questor Traitoris are fallen households that have become corrupted and turned against the Imperium, aligning themselves with the dread powers of Chaos. The fallen nobles that govern these knightly houses turn traitor against the Imperium and begin amassing power for themselves, using their ancient war machines to conquer worlds for themselves. Pilots who turn traitor by themselves are referred to as Dreadblades, though it is not unheard of for entire households to fall. Among these fallen households are the Iconoclasts and the Infernals. Infernal Households are those that have fallen completely to Chaos, siding with the Dark Mechanicus and the traitor titan legions. They supplement their titans’ prowess with daemonic power and infernal pacts with the dark gods. Iconoclast households on the other hand may have a variety of allegiances, working with the traitor legions or just in it for themselves to build their own empires. Visually, Chaos Knights’ armor is a dark mockery of their Imperial counterparts. Some employ similar iconography and heraldry to their Imperial counterparts, showing off the regalia of their households, while others are twisted abominations of bone and sinew mixed with metal and flame. You can find examples of the heraldry of traitor houses in Codex: Chaos Knights.
Where to Read More
Chaos Knights are pretty new to the 40k setting and so haven’t had much written about them. However, if you want to read more, you can find them as the antagonists of the short story Apex Predator by Gavin G Smith, which follows Imperial Knight pilot Sethana going up against Chaos Knights.
Playing Chaos Knights
We’ve covered playing Chaos Knights in 40k in our Start Competing: Chaos Knights article.
Painting Chaos Knights
Painting Chaos Knights isn’t incredibly different from painting Imperial Knights; the models are the same size and scale with similar components. Chaos Knights will be a bit more complicated from a painting standpoint owing to having more infernal/chaos details on them, while Imperial Knights will require more flat surfaces. Chaos Knights will also require more conversion work, particularly if you’re painting and modeling War Dogs and Tyrants. More on those in a bit.
WhiteOutMouse’s Method
I painted this Chaos Knight back in 2018. I wanted a Chaos Knight that would work with any Chaos army, that is a basic renegade rather than a Knight painted to match a specific legion since I have at least two Chaos armies going at this point. I had a lot of fun matching the box art of the Death Guard when I painted that army so I figured I would try and find a “generic” renegade knight to paint by matching some box art.
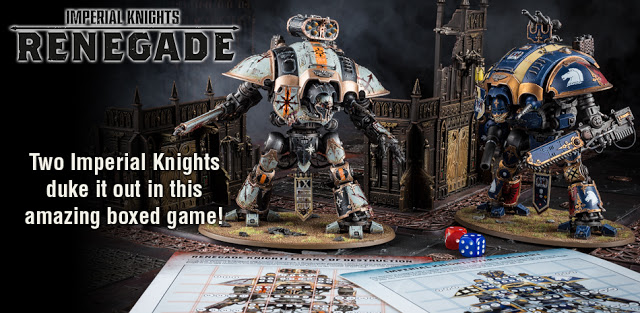
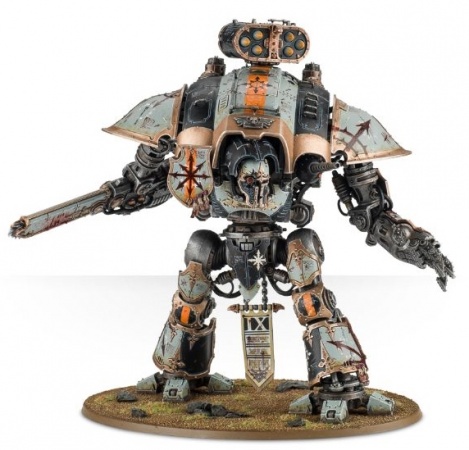
Oh, hey look a renegade knight is painted up in the “Renegade” box. Who’d a thunk? Looking up the knight gave me some basic lore – this is Litany of Destruction, a Freeblade Knight formerly known as Living Litany who betrayed the Imperium. If you check out the Lexicanum article on this knight you can find some more info, which goes into the fall with the typical pulpy flair. The conversion of the basic box model is mild, just cutting the face plate a bit and the majority of the chaos parts was just in the paint job, I wanted mine to be a lot more chaosy so I just kinda fast-forwarded the timeline a bit to give this “Litany of Destruction” time to get decked out in the Eye of Terror, Cicatrix Maledictum, or wherever everyone gets their chaos-bling these days.
Now, this was before we got those new juicy Chaos Knight kits so I had to do my own conversions. I always got a lot of inspiration for Chaos projects from the Eternal Hunt blog while also putting my own spin on things, cutting corners, and saving some money on bits. In this case, KrautScientist had already done some excellent conversion work on their own Chaos Knight.

I had an old WHFB Chaos Warshrine kit I got for cheap from some closeout sale somewhere because I always figured I would use the bits one day. This would provide some wonderful bits for my conversion and has the same bit that KrautScientist used for their Chaos Knight torso.

I combined this with piles of WHFB chaos knight shields (the horse-y kind of knights), 40k chaos upgrade sprue spikes/hooks/chains till it all looked good enough with it all tacked onto the body:
Again, I envy all the new chaos knight players who can just buy the new kits off the shelf and save a lot of work and get a better looking, more cohesive, model. As stated back in the intro I was on a box-art kick so I wanted to try and match the colors of the base model, lucky for me warhammer community had a full guide for their colors.
The Recipe Basics
Metal: Base Boltgun – wash nuln oil – drybrush necron compound Grey: Base Celestra grey – pinwash Agrax Earthshade – highlight Ulthuan Grey/White Black: Base Abaddon black – highlight dark reaper/administratum grey Orange Base Jokaero Orange – Layer Firedragon Bright – wash argax earthshade Technical parts: This model used some transfers which was new for me. Microsol/microset was a great tool and highly recommended. Painting blood on areas all I can say is work your way up in a few layers. “Blood for the Blood God” is a technical paint with a weird consistency and it’s way too easy to overdo it and make it look a lot worse.The community guide suggests using a pencil to plan the design before painting and it’s a good tip.
And the final shots:
Michael Bettle-Shaffer’s Method


For my knight, I wanted something fairly close to the box art, using paints I had readily available. I ended up painting the model in stages as it’s a fairly significant undertaking. I started by assembling the chassis and weapons, magnetising as I went and leaving the armour panels on the sprue. For the chassis, I started with an all over coat of Vallejo Metal Color Exhaust manifold, and then a zenithal of Vallejo Metal Color Duraluminum. This gave me some instant shading on the frame and the next step was adding some depth to bring out the details. After gloss varnishing the frame, I picked our the various bolts, rivets and recessed areas with AK Interactive Oil Brusher Starship Filth. Apply this to areas I felt would see grime build up, such as near pistons and joins, along with dabbing near the bolts. After leaving it to dry for a short time, I used white spirit to thin and move the oil paints around, pushing it to recesses and creating filters across the frame. A final coat of matte varnish was applied, followed by re-highlighting areas with a dry brush of Necron Compound. For the armour panels, I started by working from light to dark with the quartered scheme, applying the Vallejo Ivory, Prussian blue and finally German grey. To make airbrushing the quartering on easier, I used masking putty to cover the boarder and prevent over spray. It can be applied in vaguely the area you need, and then manipulated with your finger tips and soft tools, such as silicon sculpting tools, to conform to the area you need to mask. Once the panels were sprayed, I applied the masking putty to everything but the trim and airbrushed that with Vallejo Metal Color Gold. After a quick gloss varnish I repeated the panel lining process and then matte varnished to add a filter to the gold. I definitely went too hard with it, using Oil Brusher Rust as my orange filter, and it’s one of the reasons I now own a small number of oil paints to do custom dilutions with. With the panels painted it was time to add them to the frame, and once this was complete I moved on to decals. Micro set and Micro sol are absolute god sends for this, making the entire process much easier. One helps release the decal and allows it to move around on the model and the other softens the decal, dissolving it slightly so that it conforms better to the surface. Plain decals stick out like sore thumbs though, so once I was happy and they were dry, I went back and sponged on layers of German grey, brown and gunmetal to break up the decal and make the look worn in (it’s also a great way to cover up the decal if you tear it, as I learned). The final stage was adding weathering to the bottom using Abteilung 502 Desert Sand, which is a sand coloured pigment powder. I applied this in layers using a soft brush. It’s worth noting that if you varnish the model you’ll lose a lot of the weathering effect and will need to build up progressive, thicker layers.
Robert “TheChirurgeon” Jones’ Method
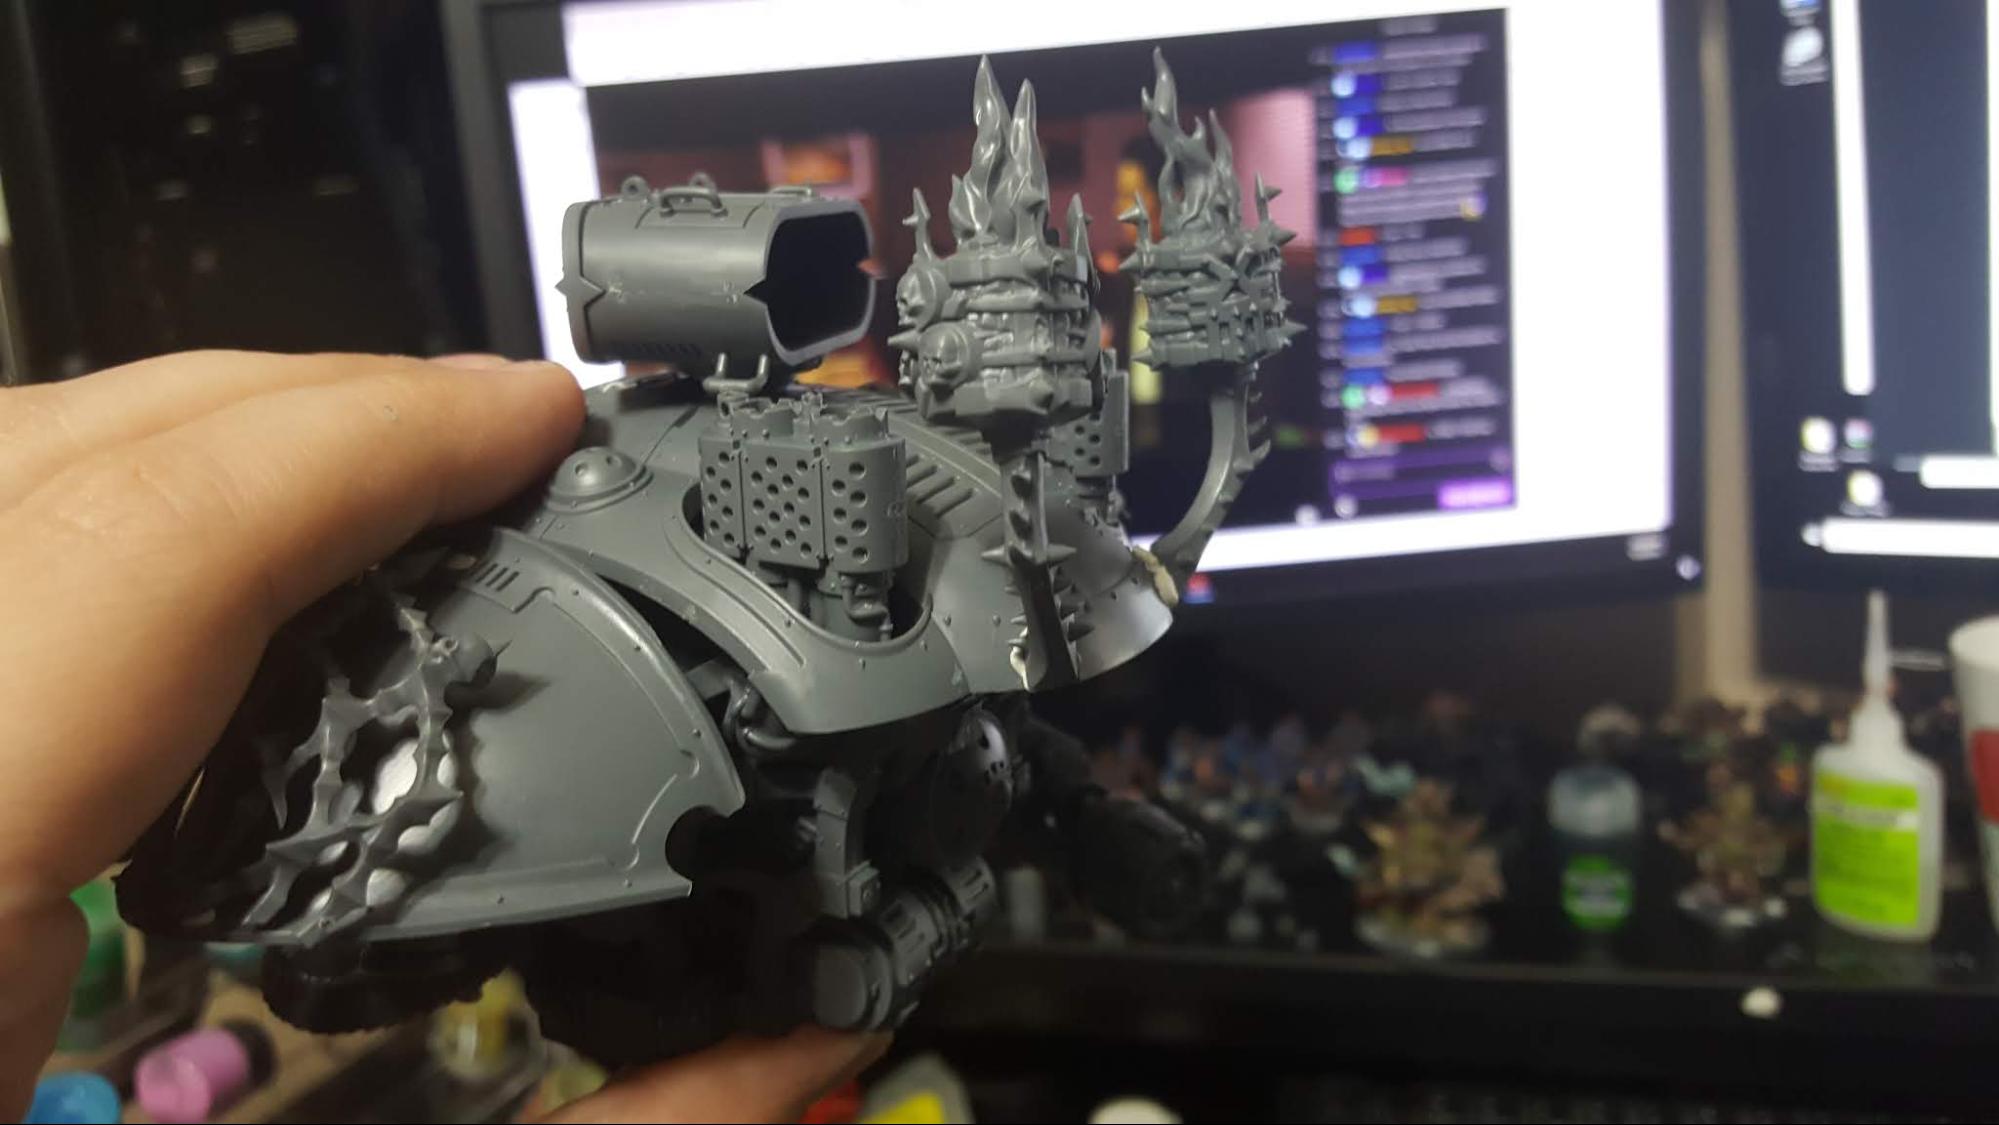
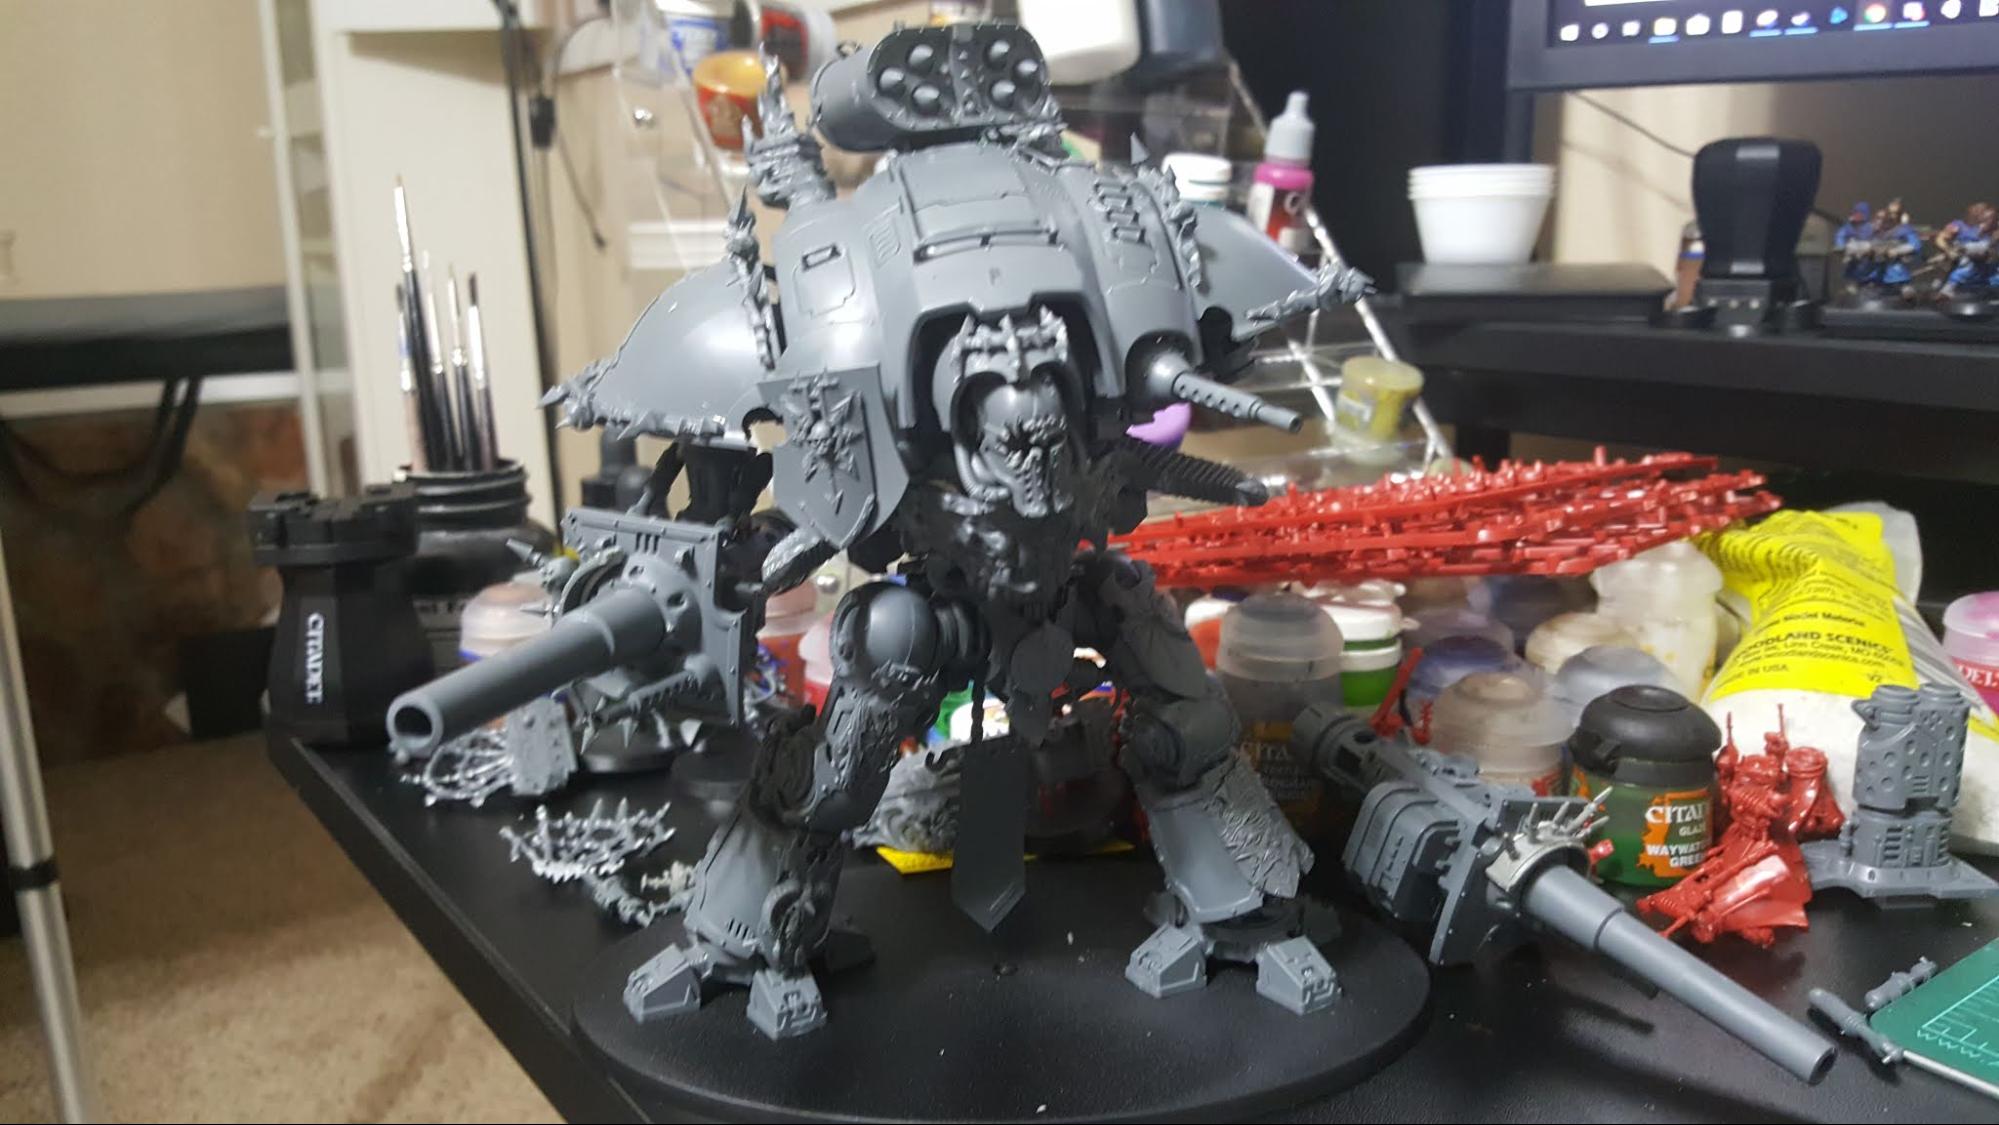
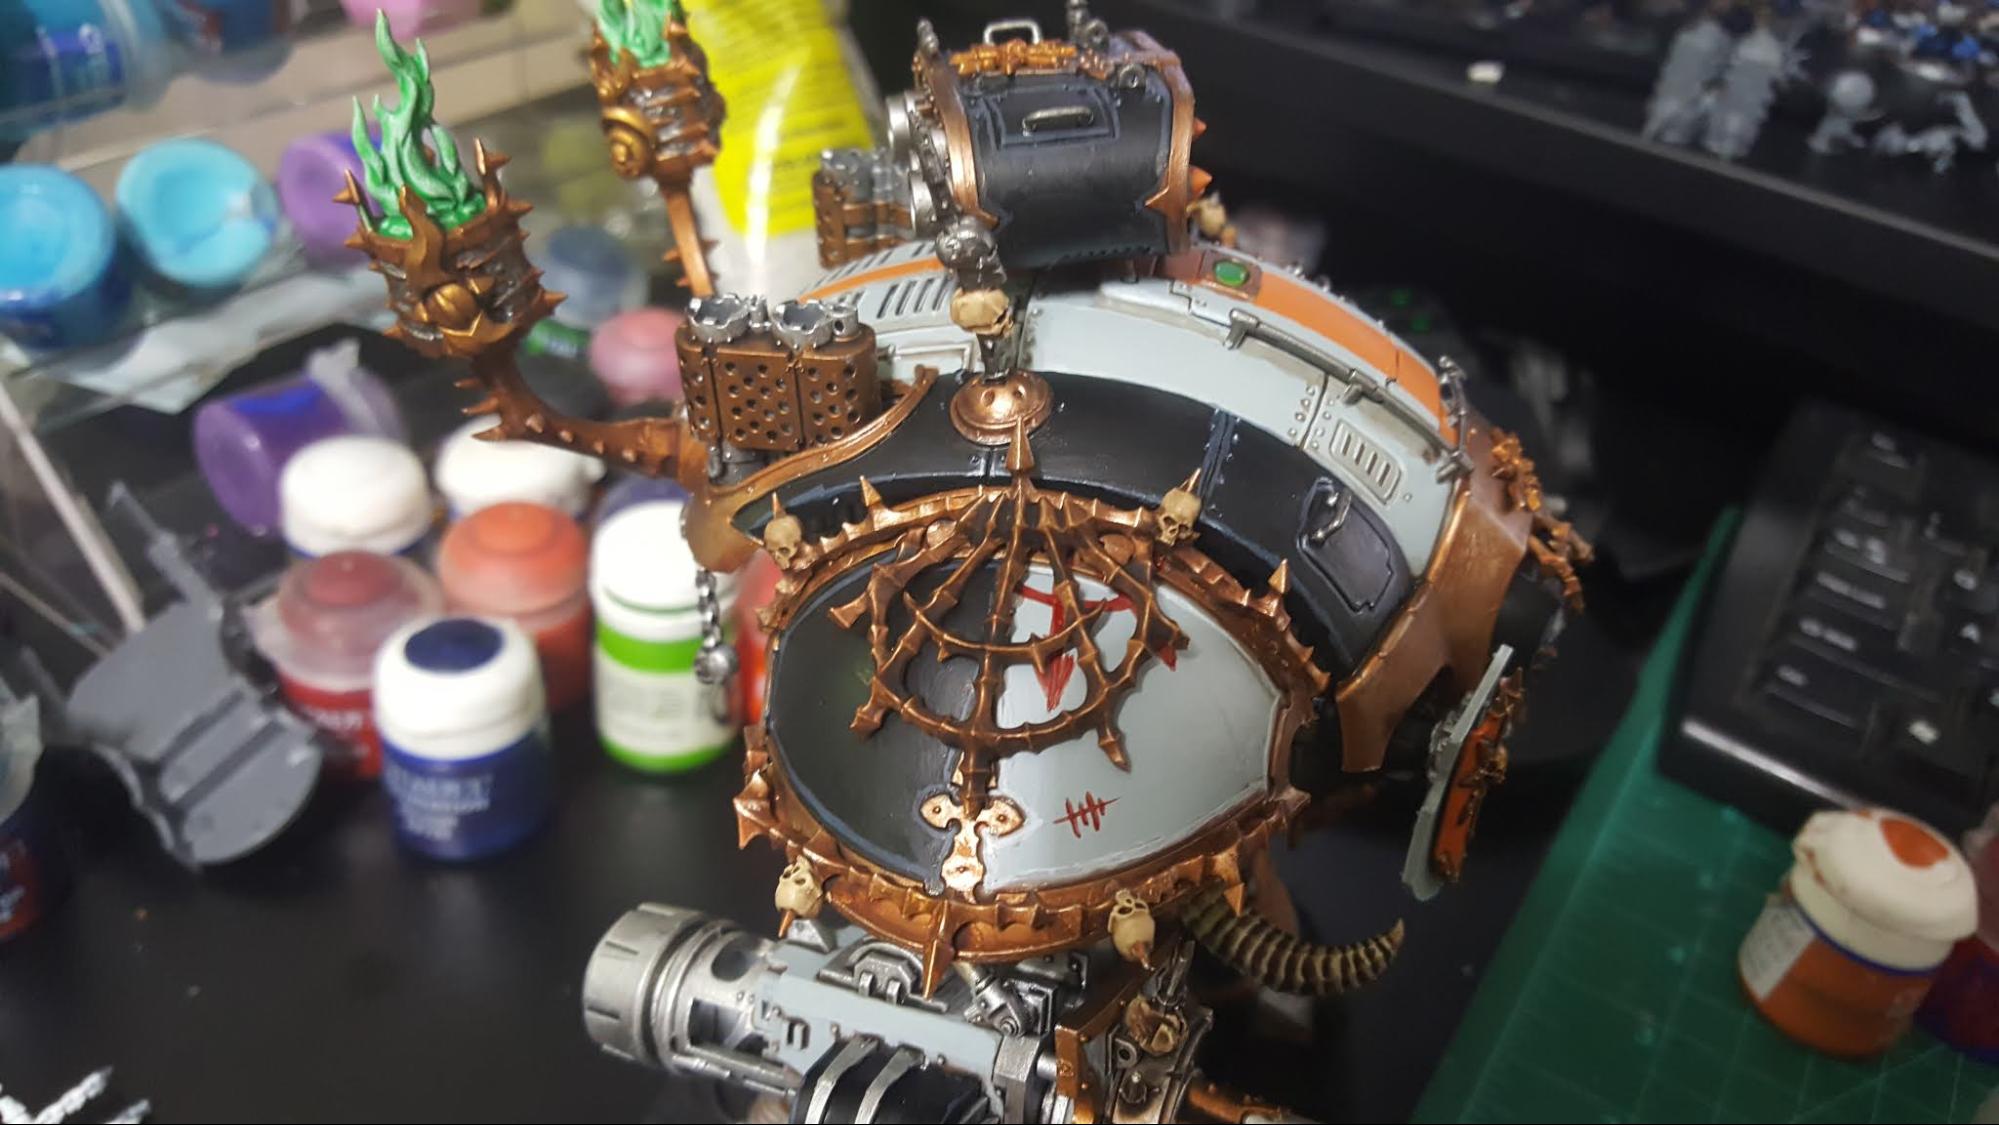
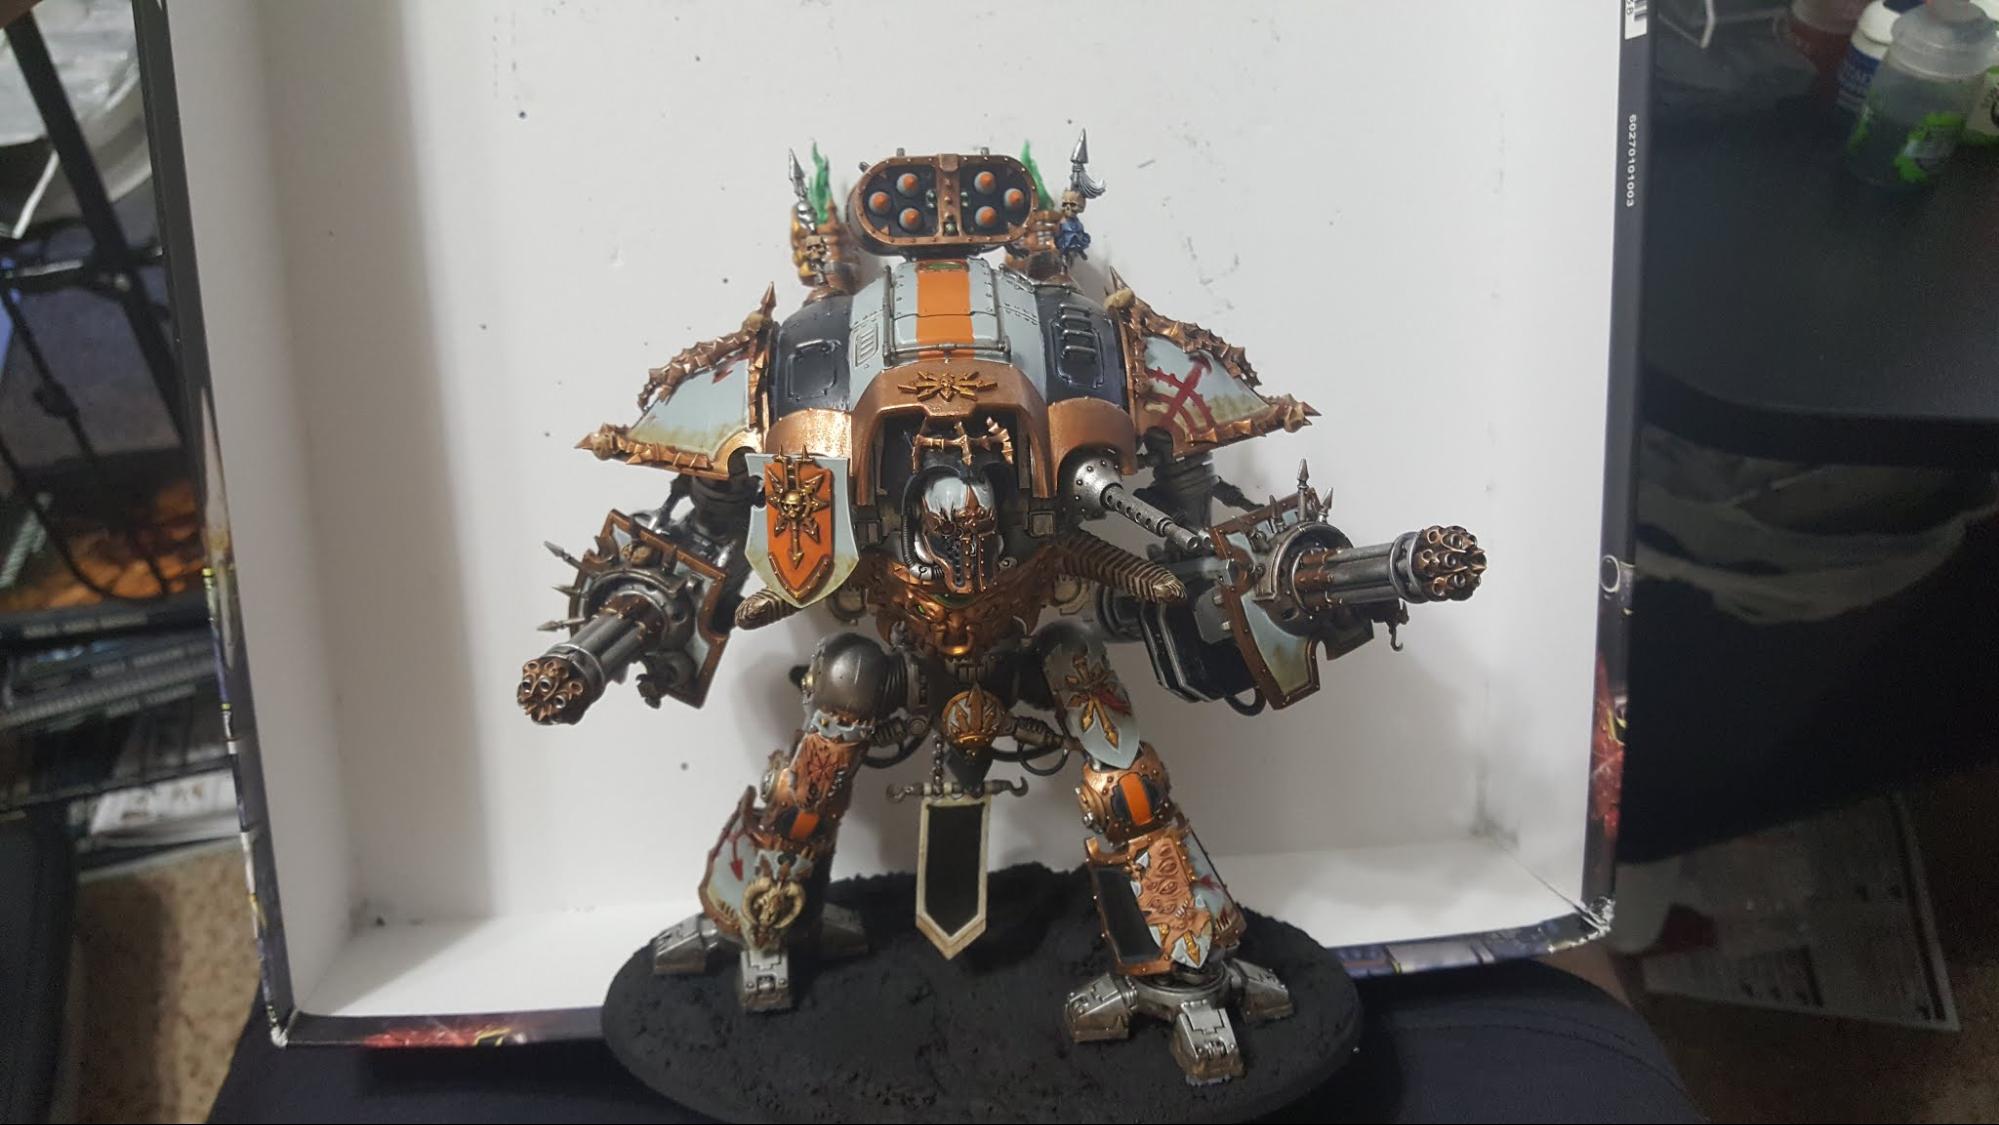
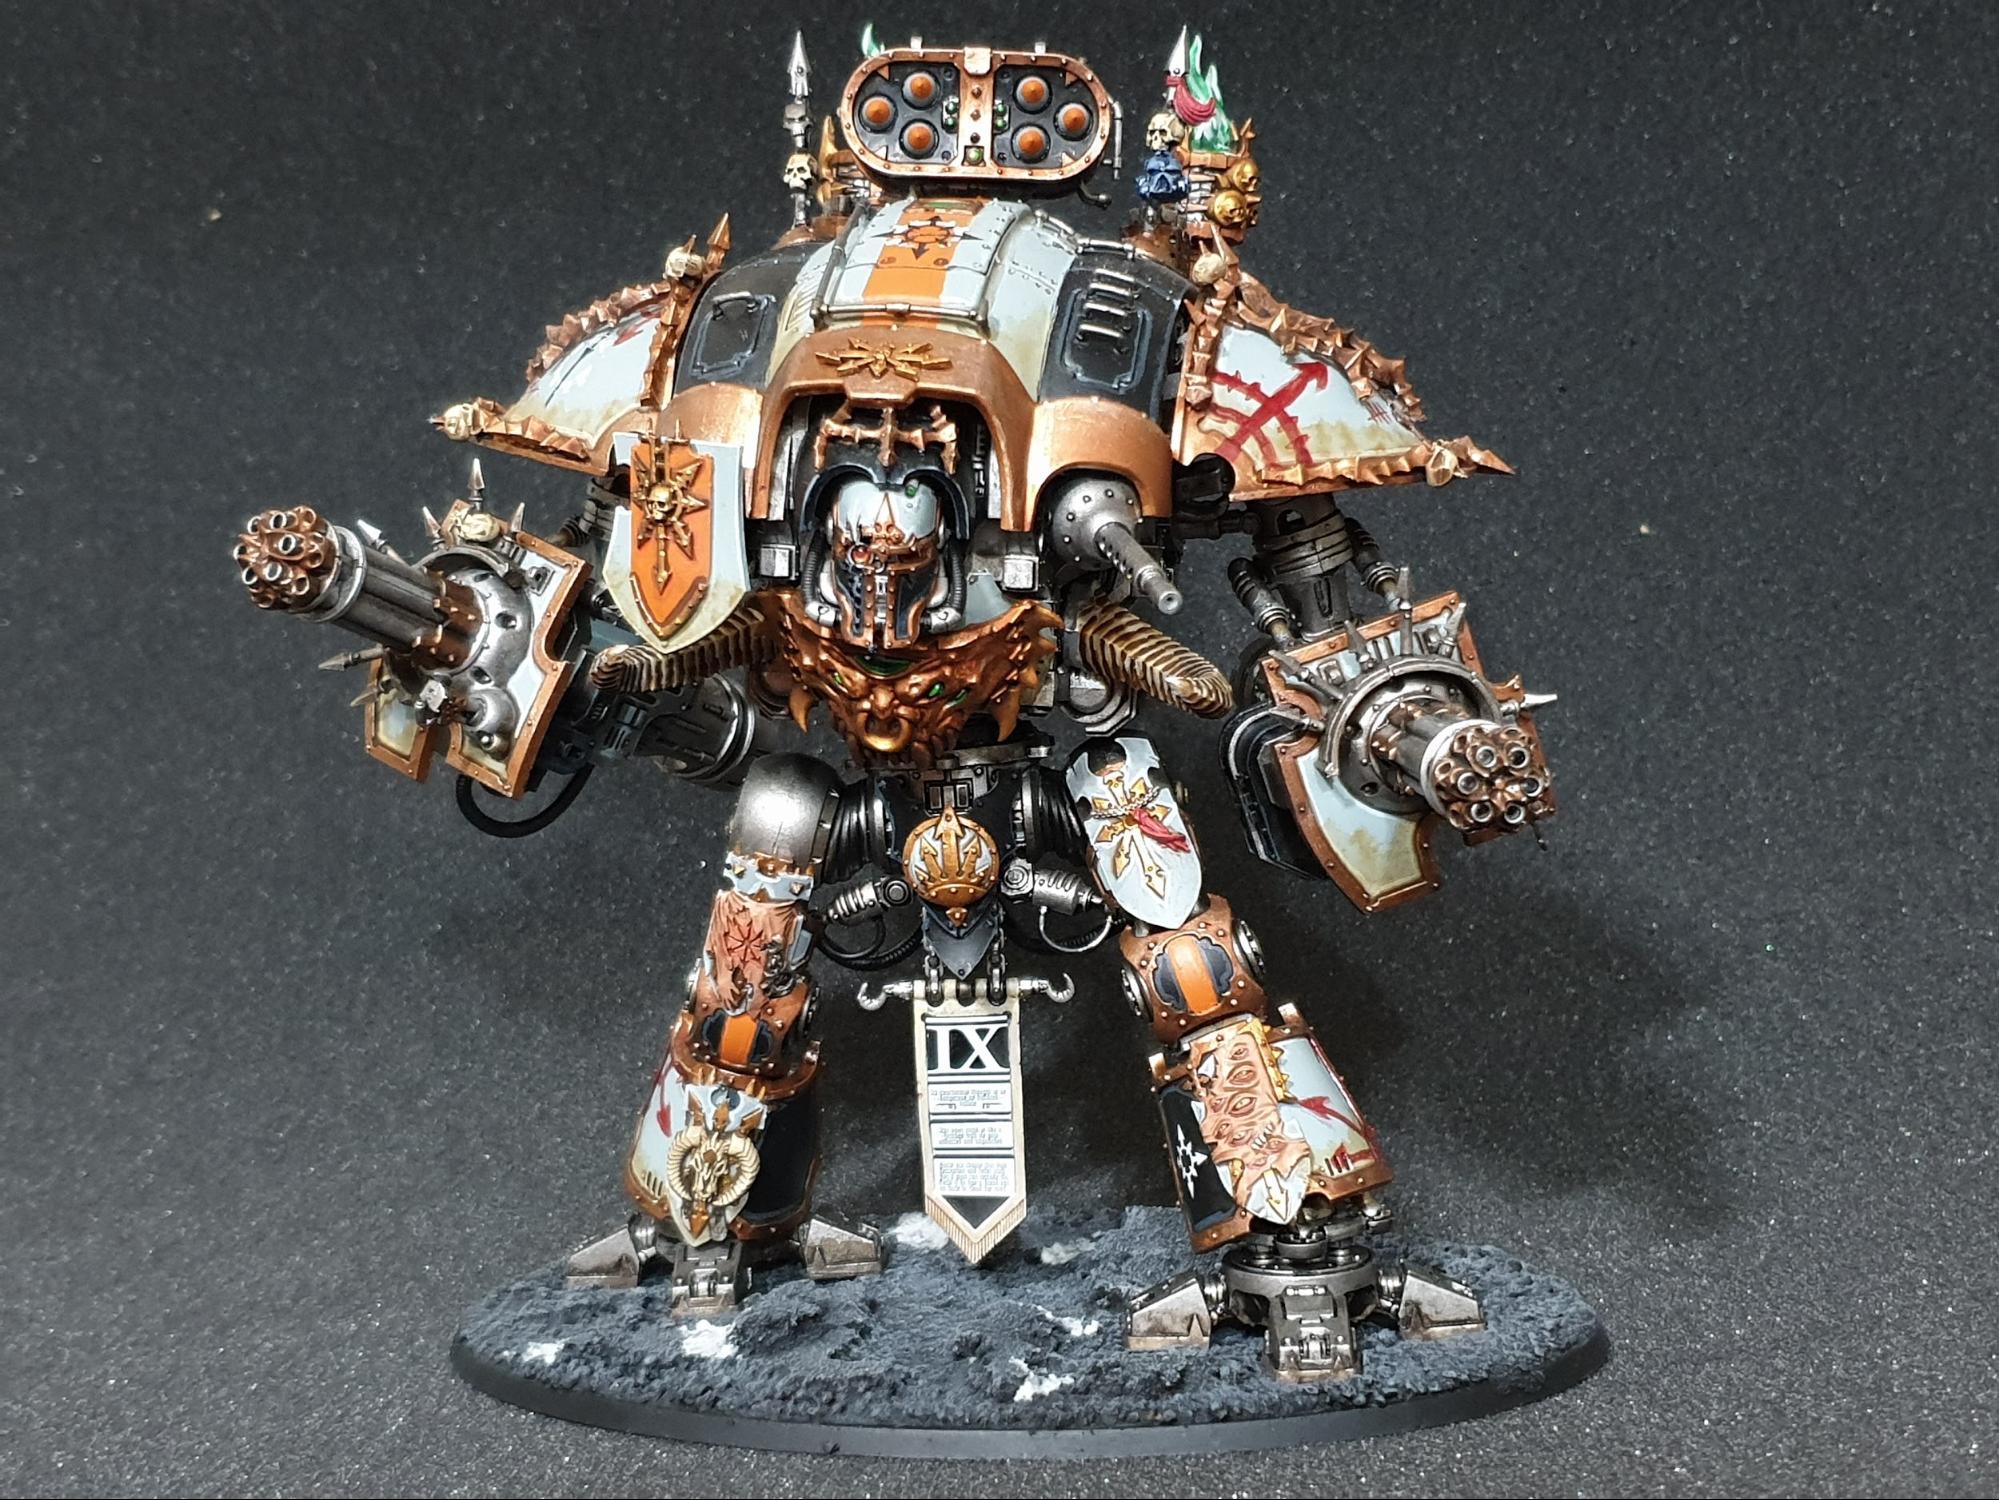
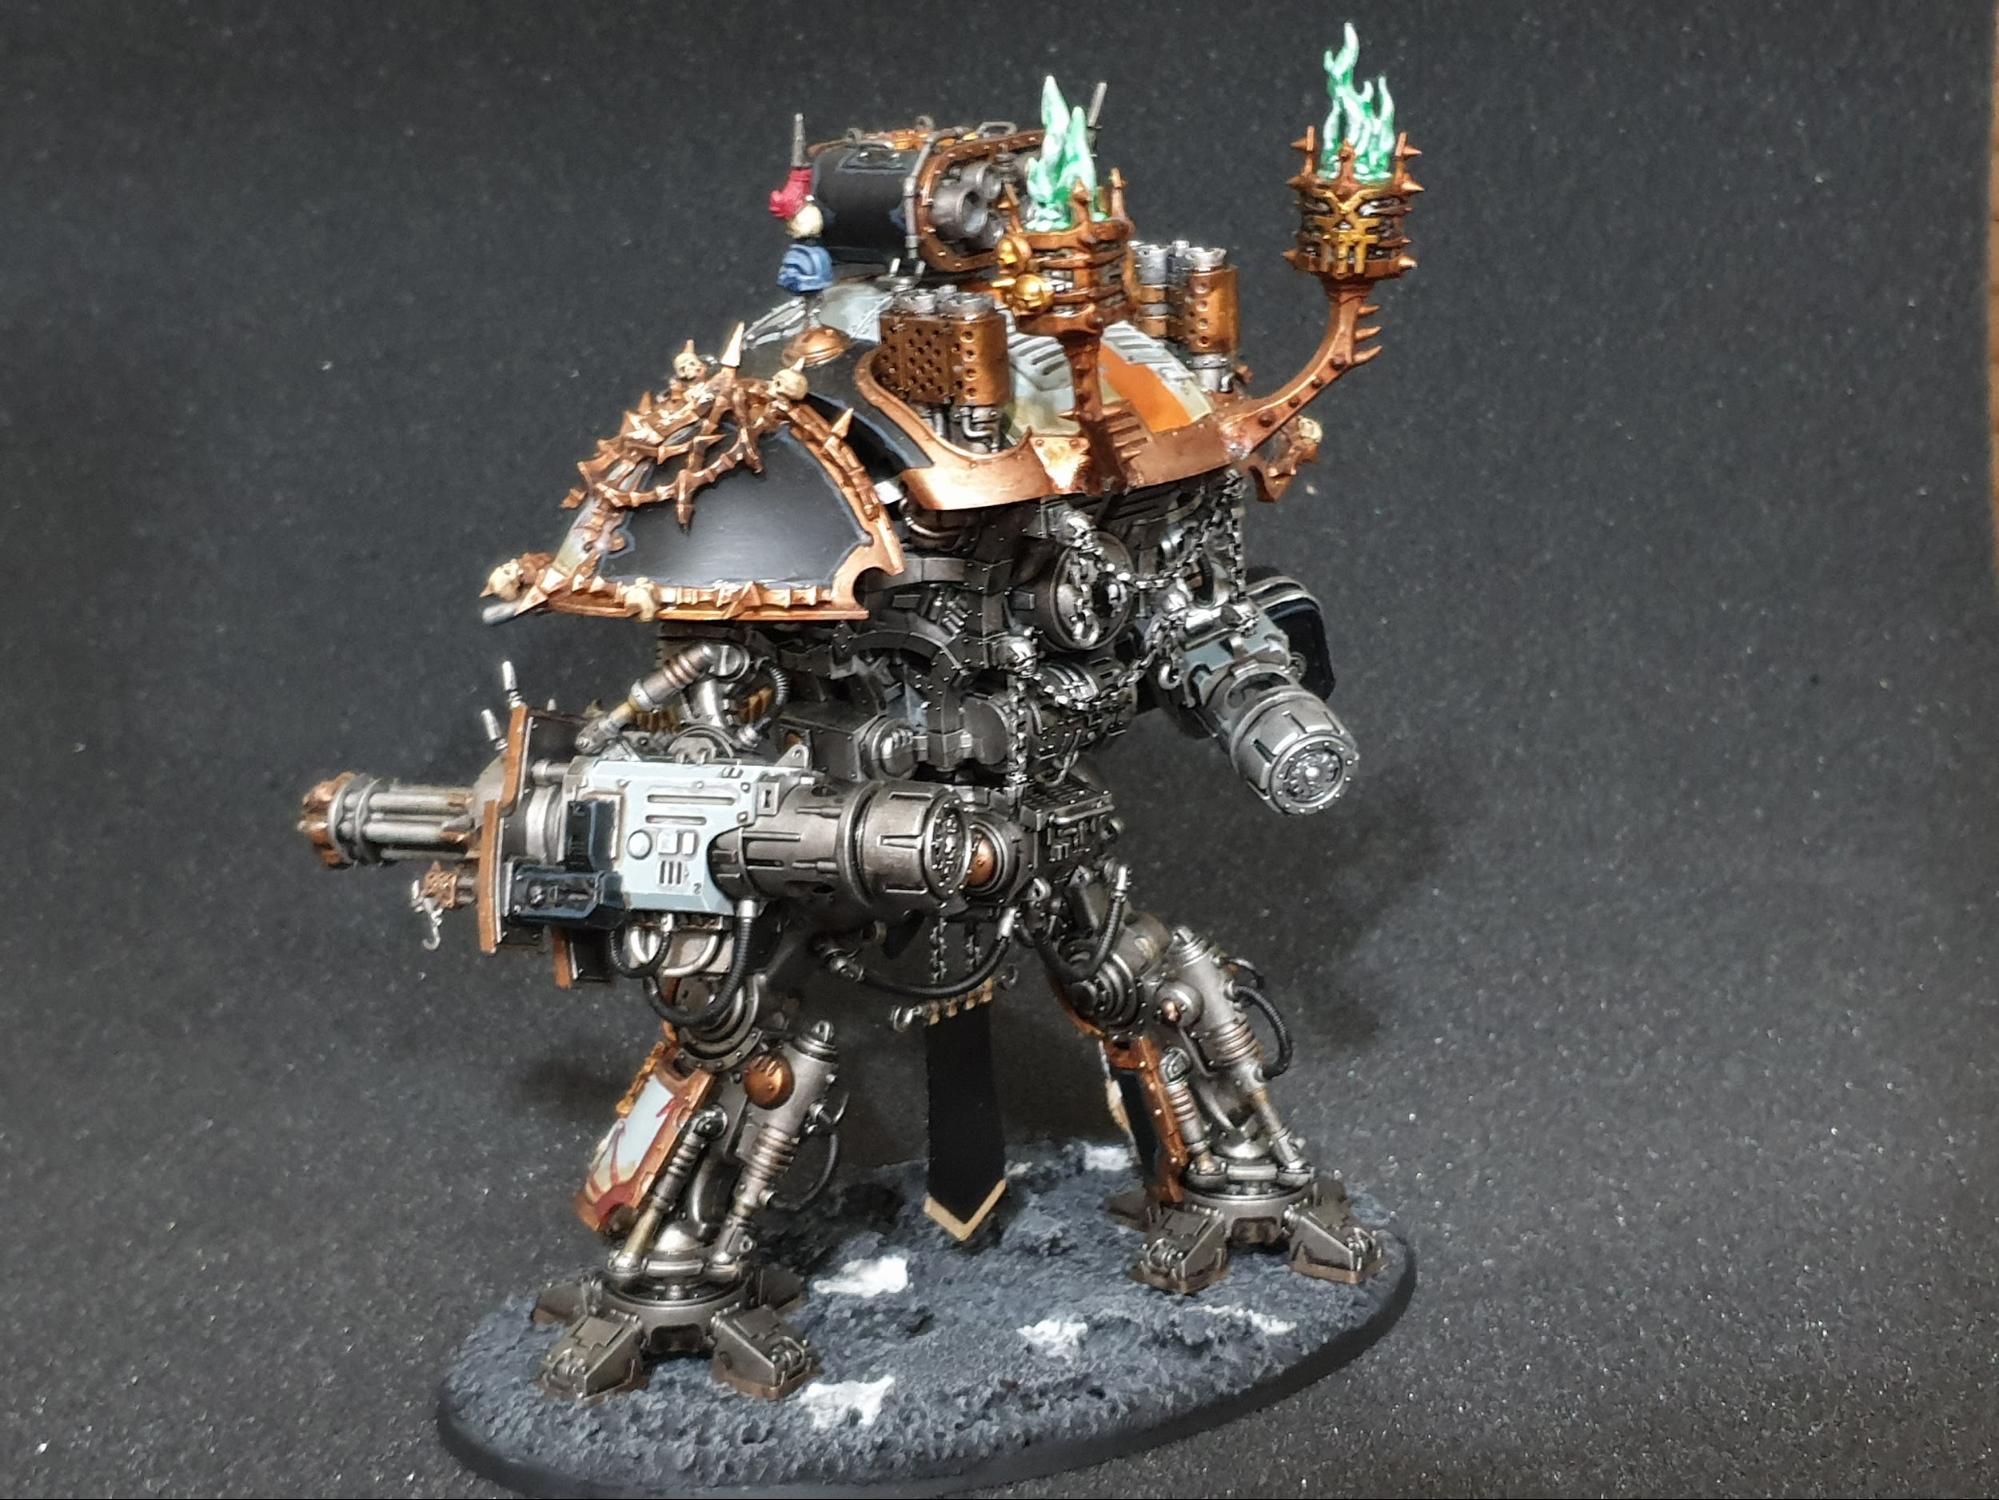
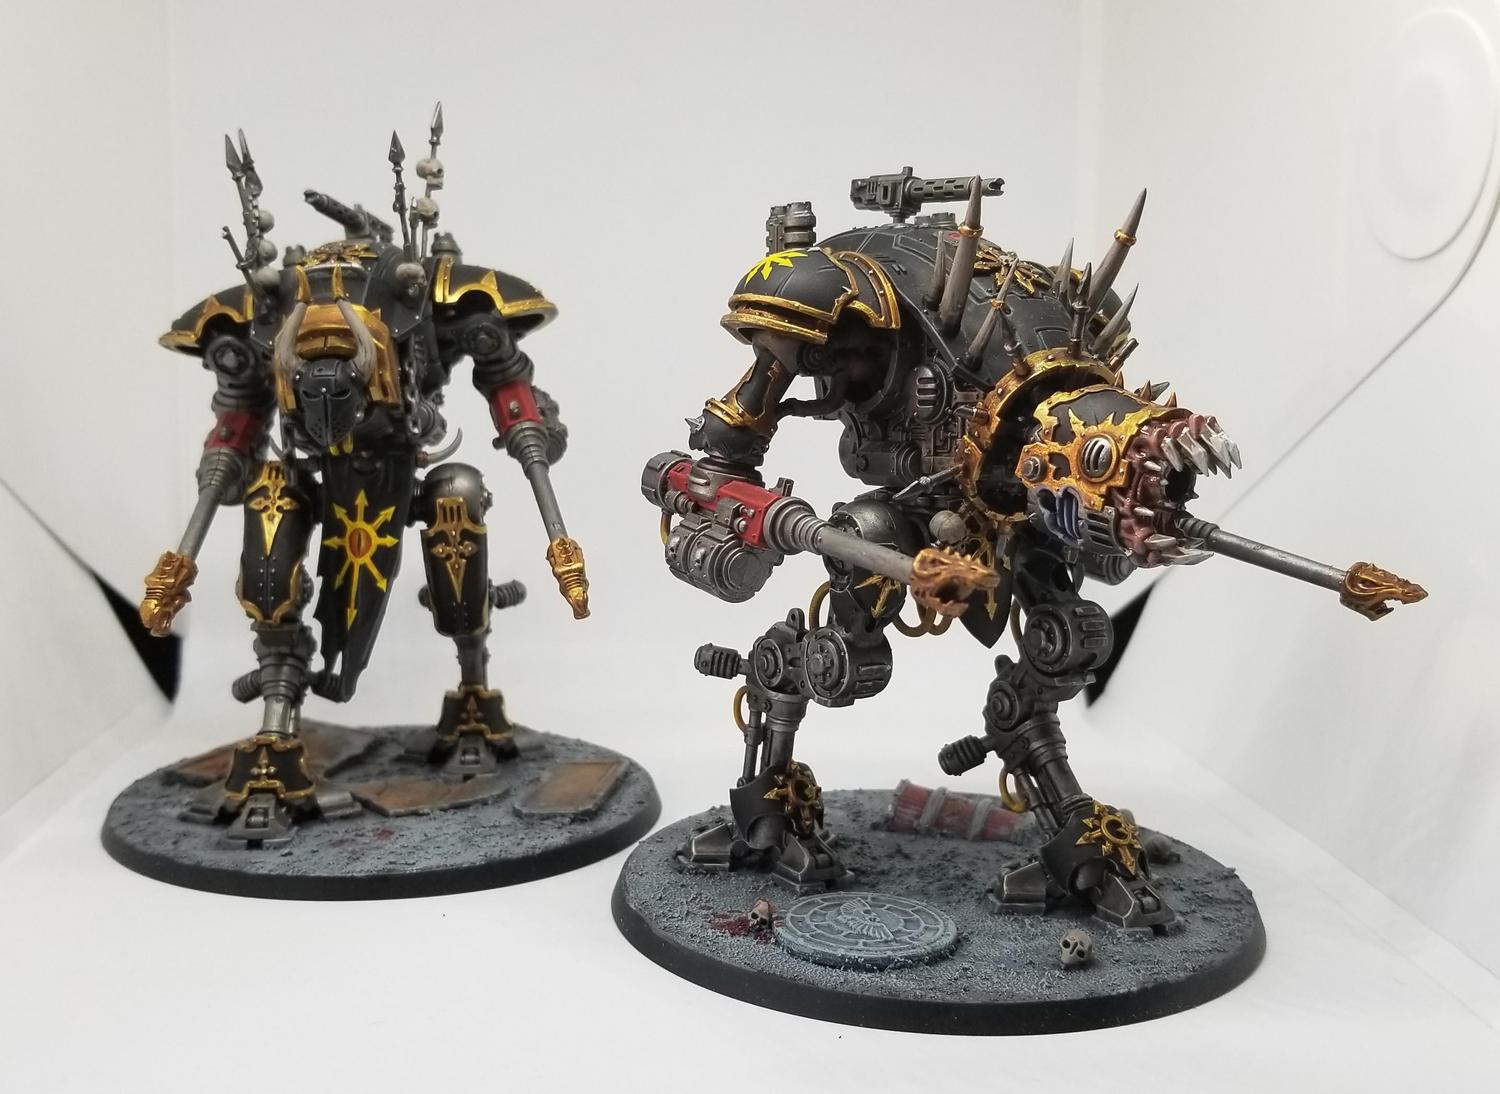
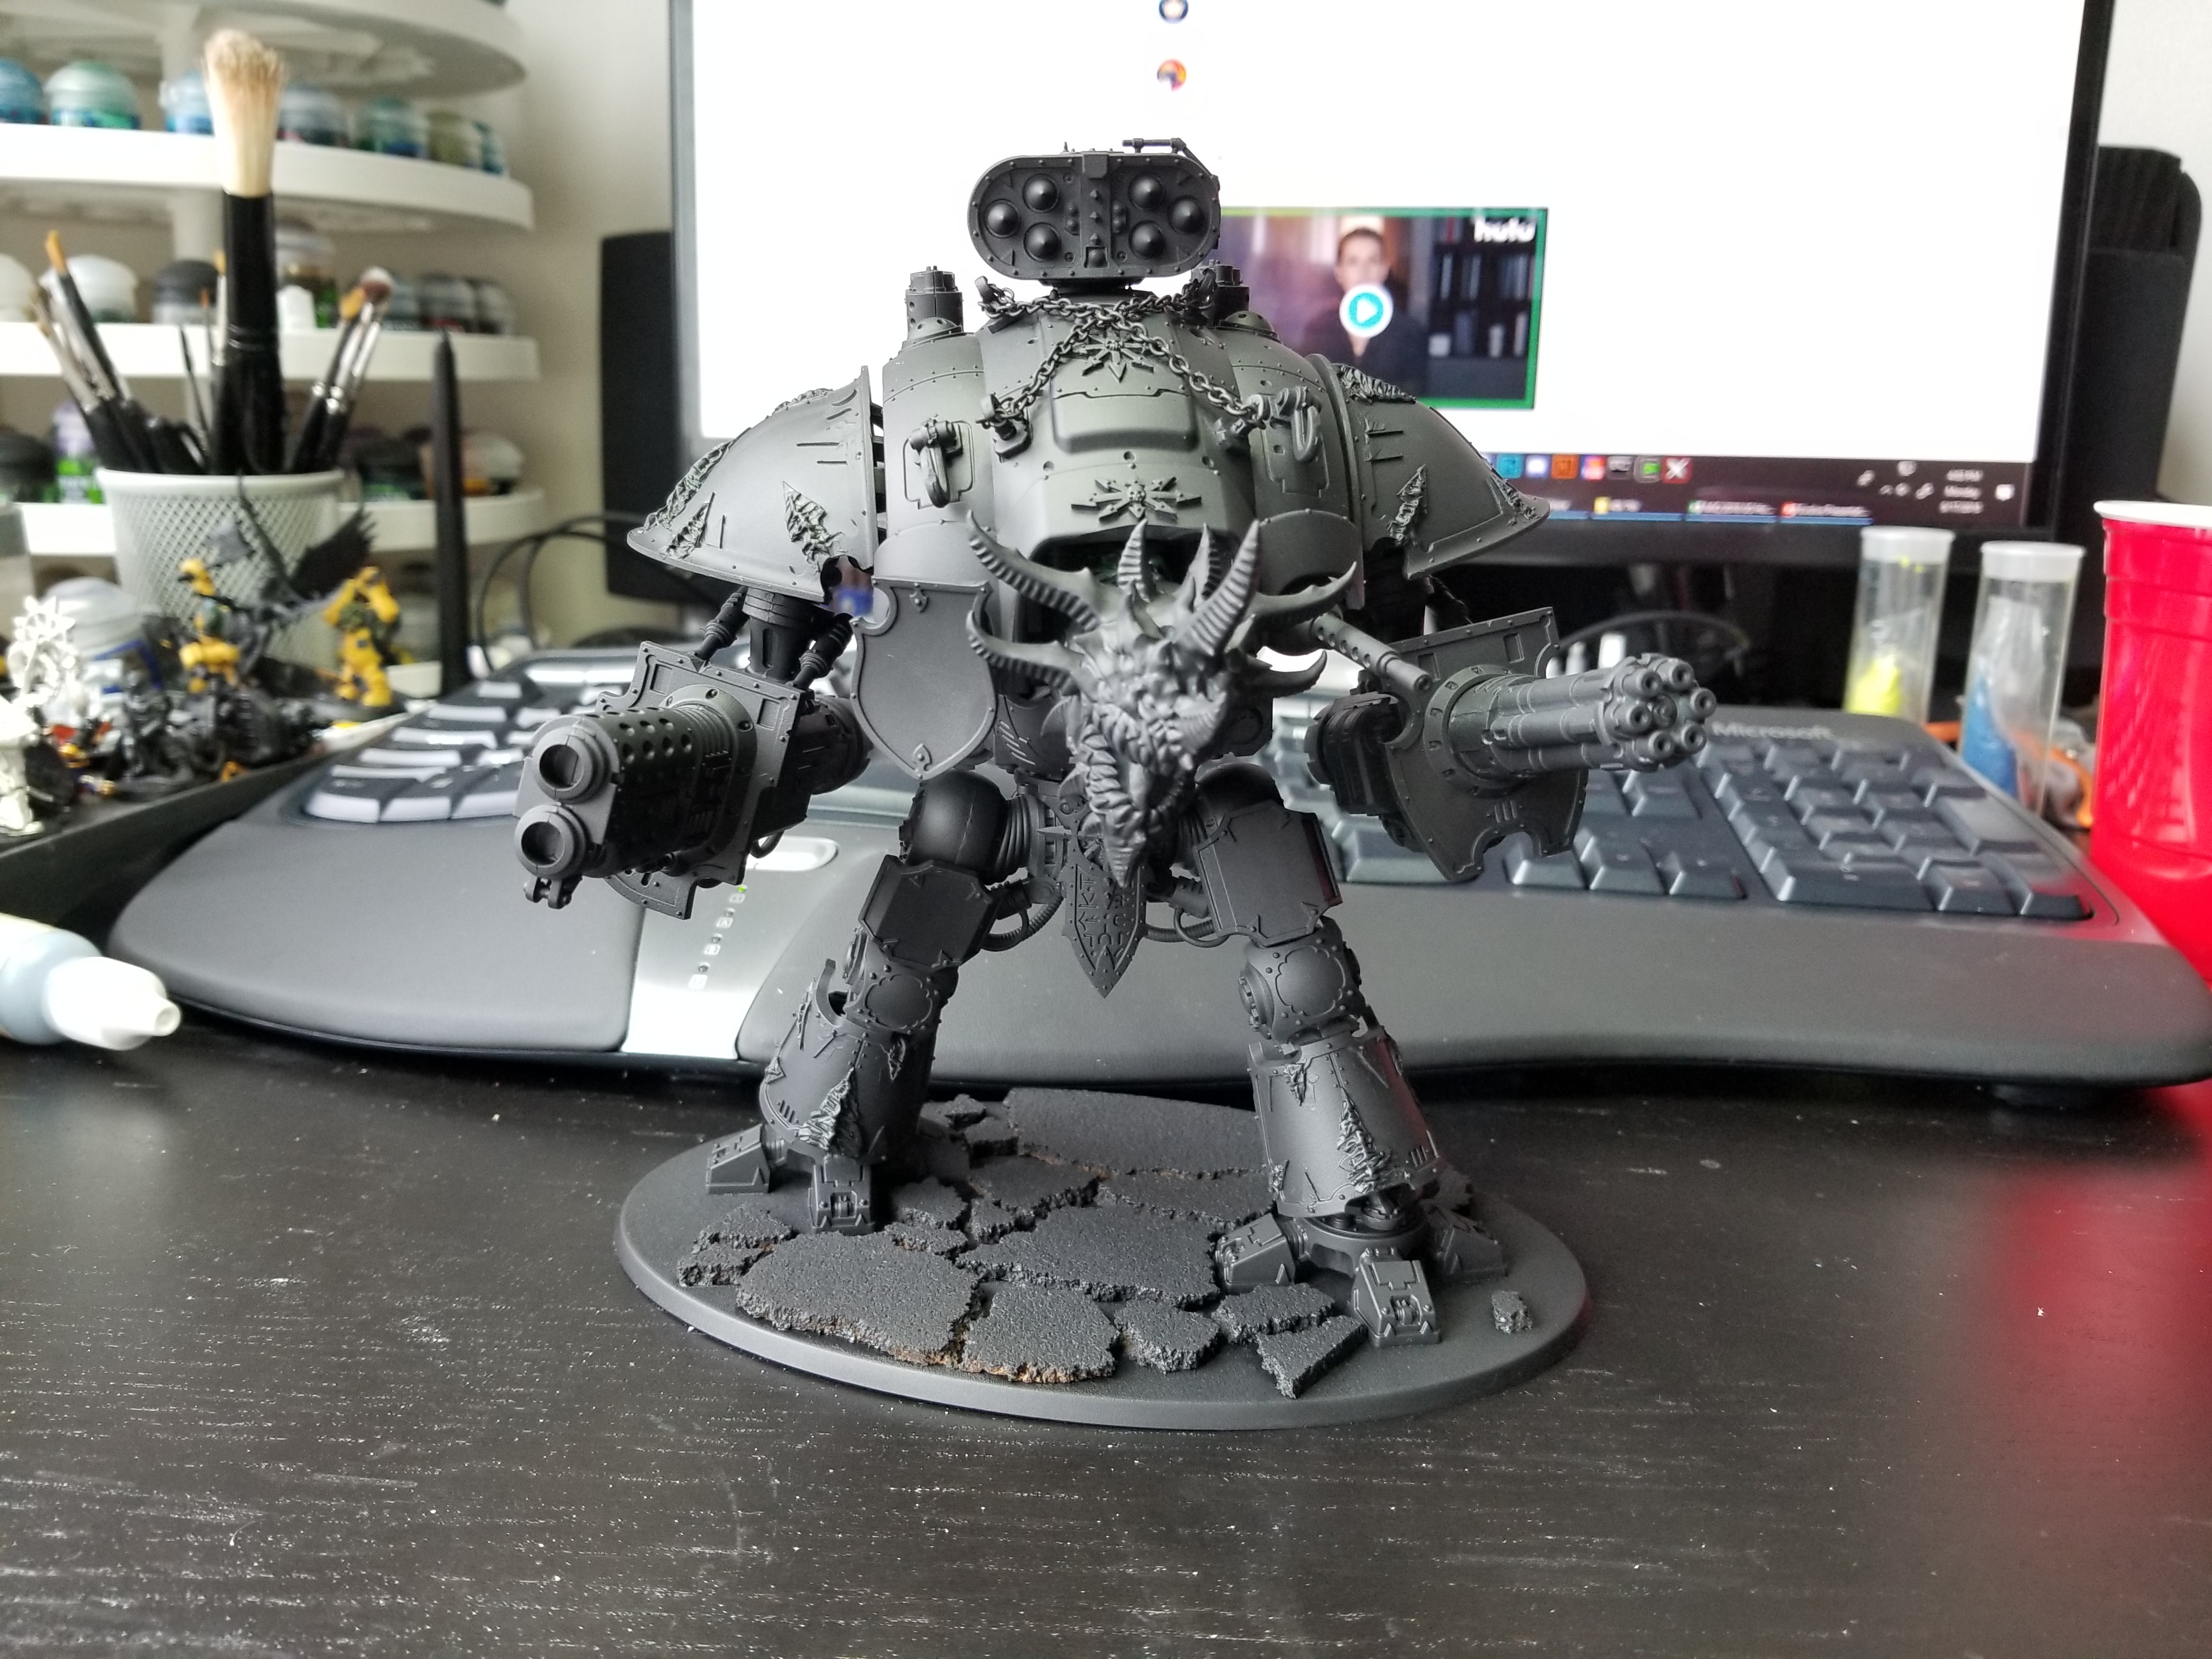
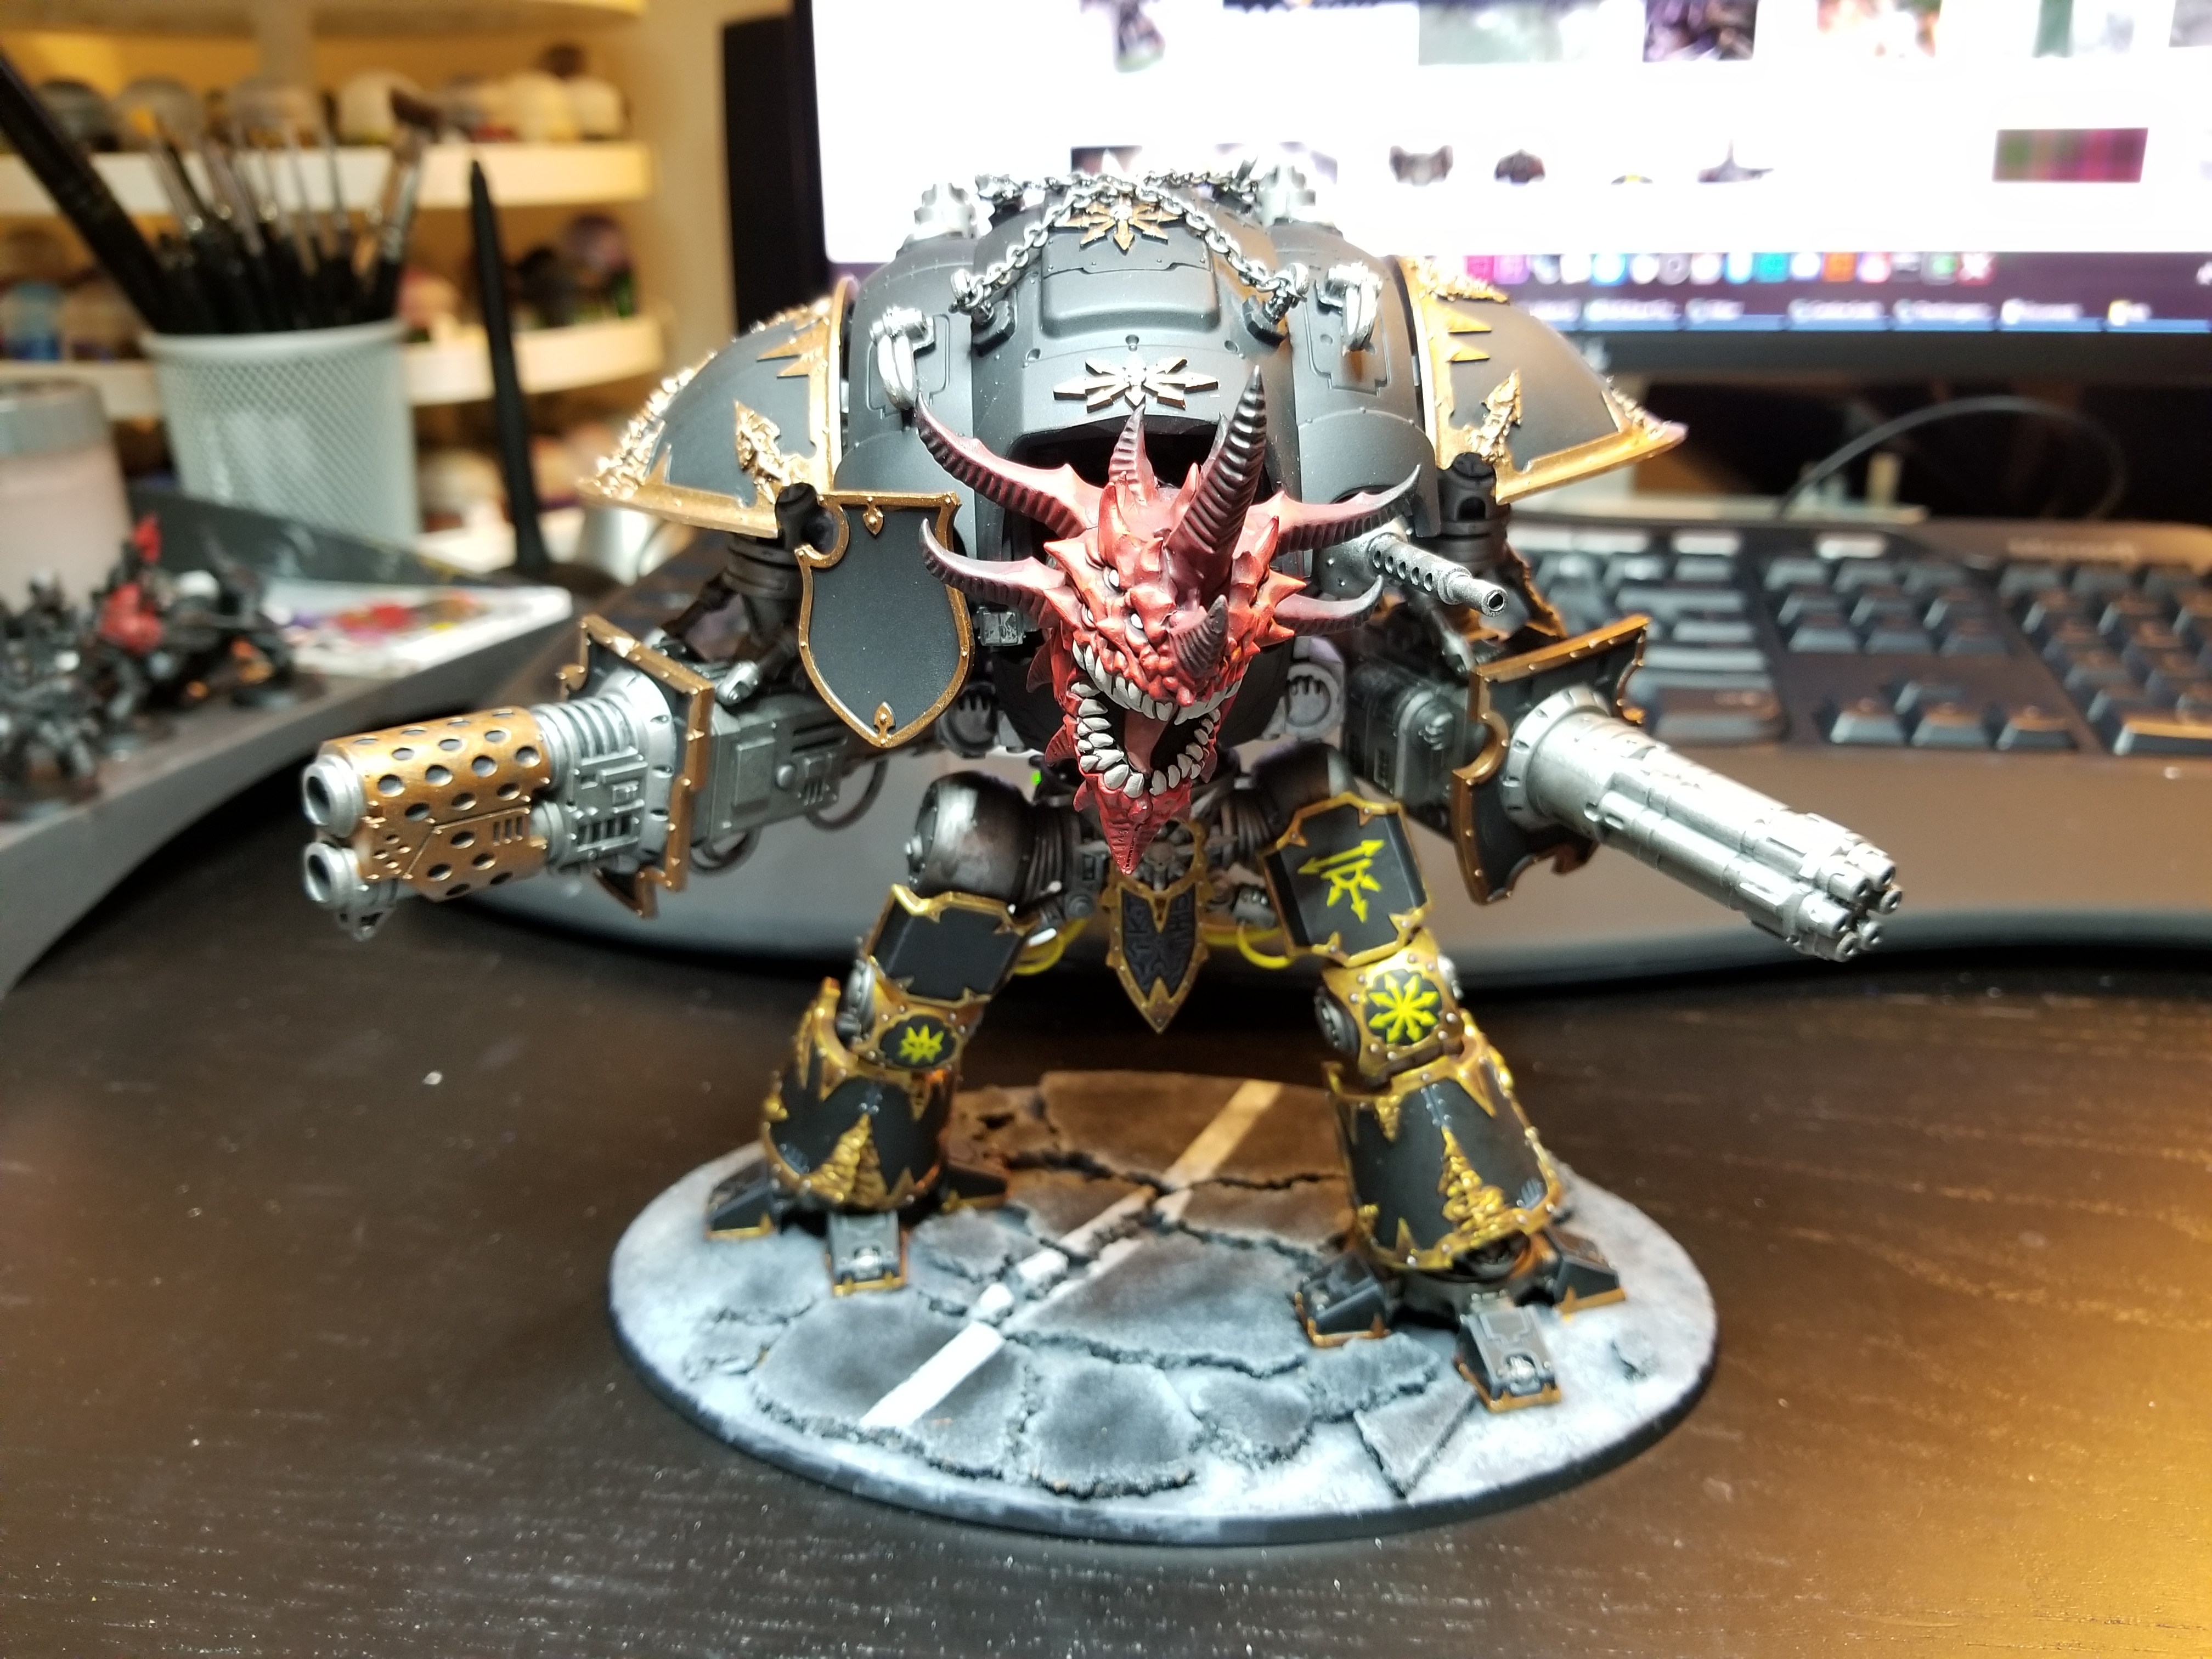
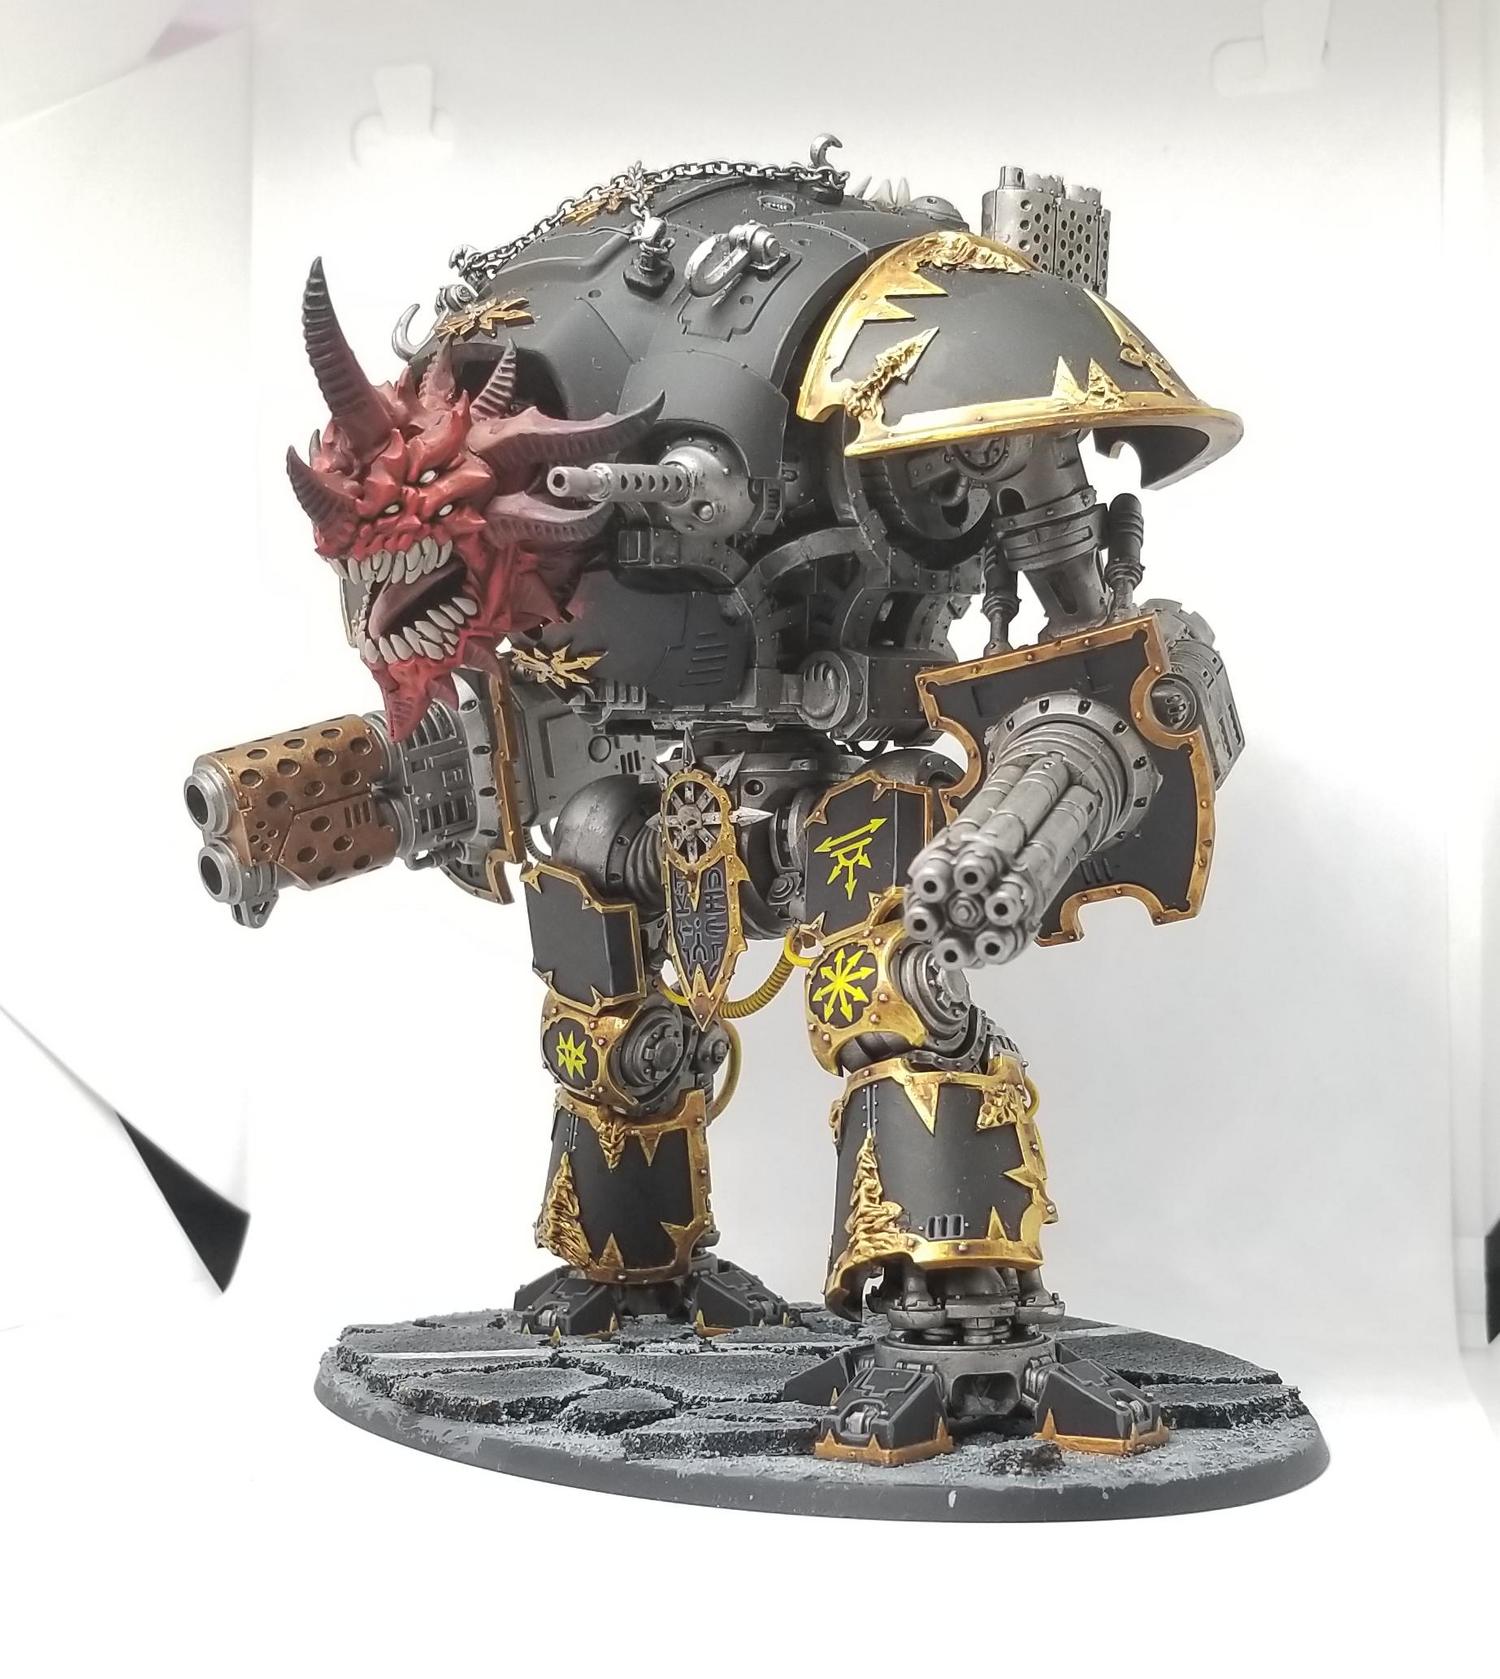
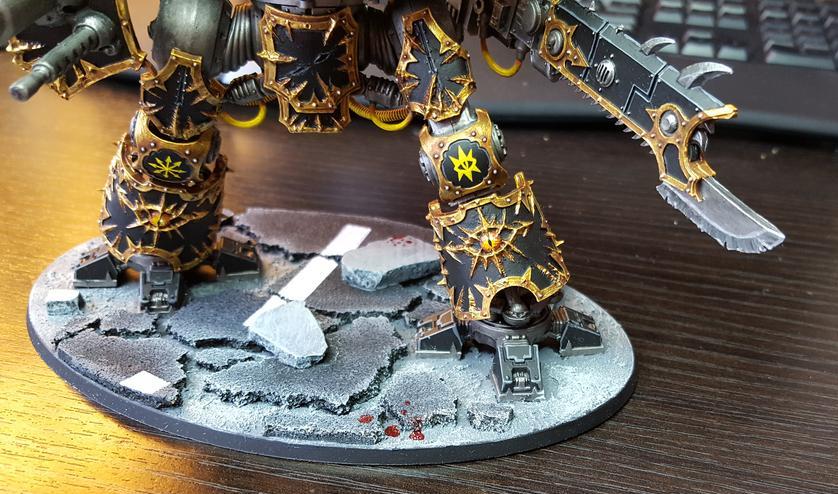
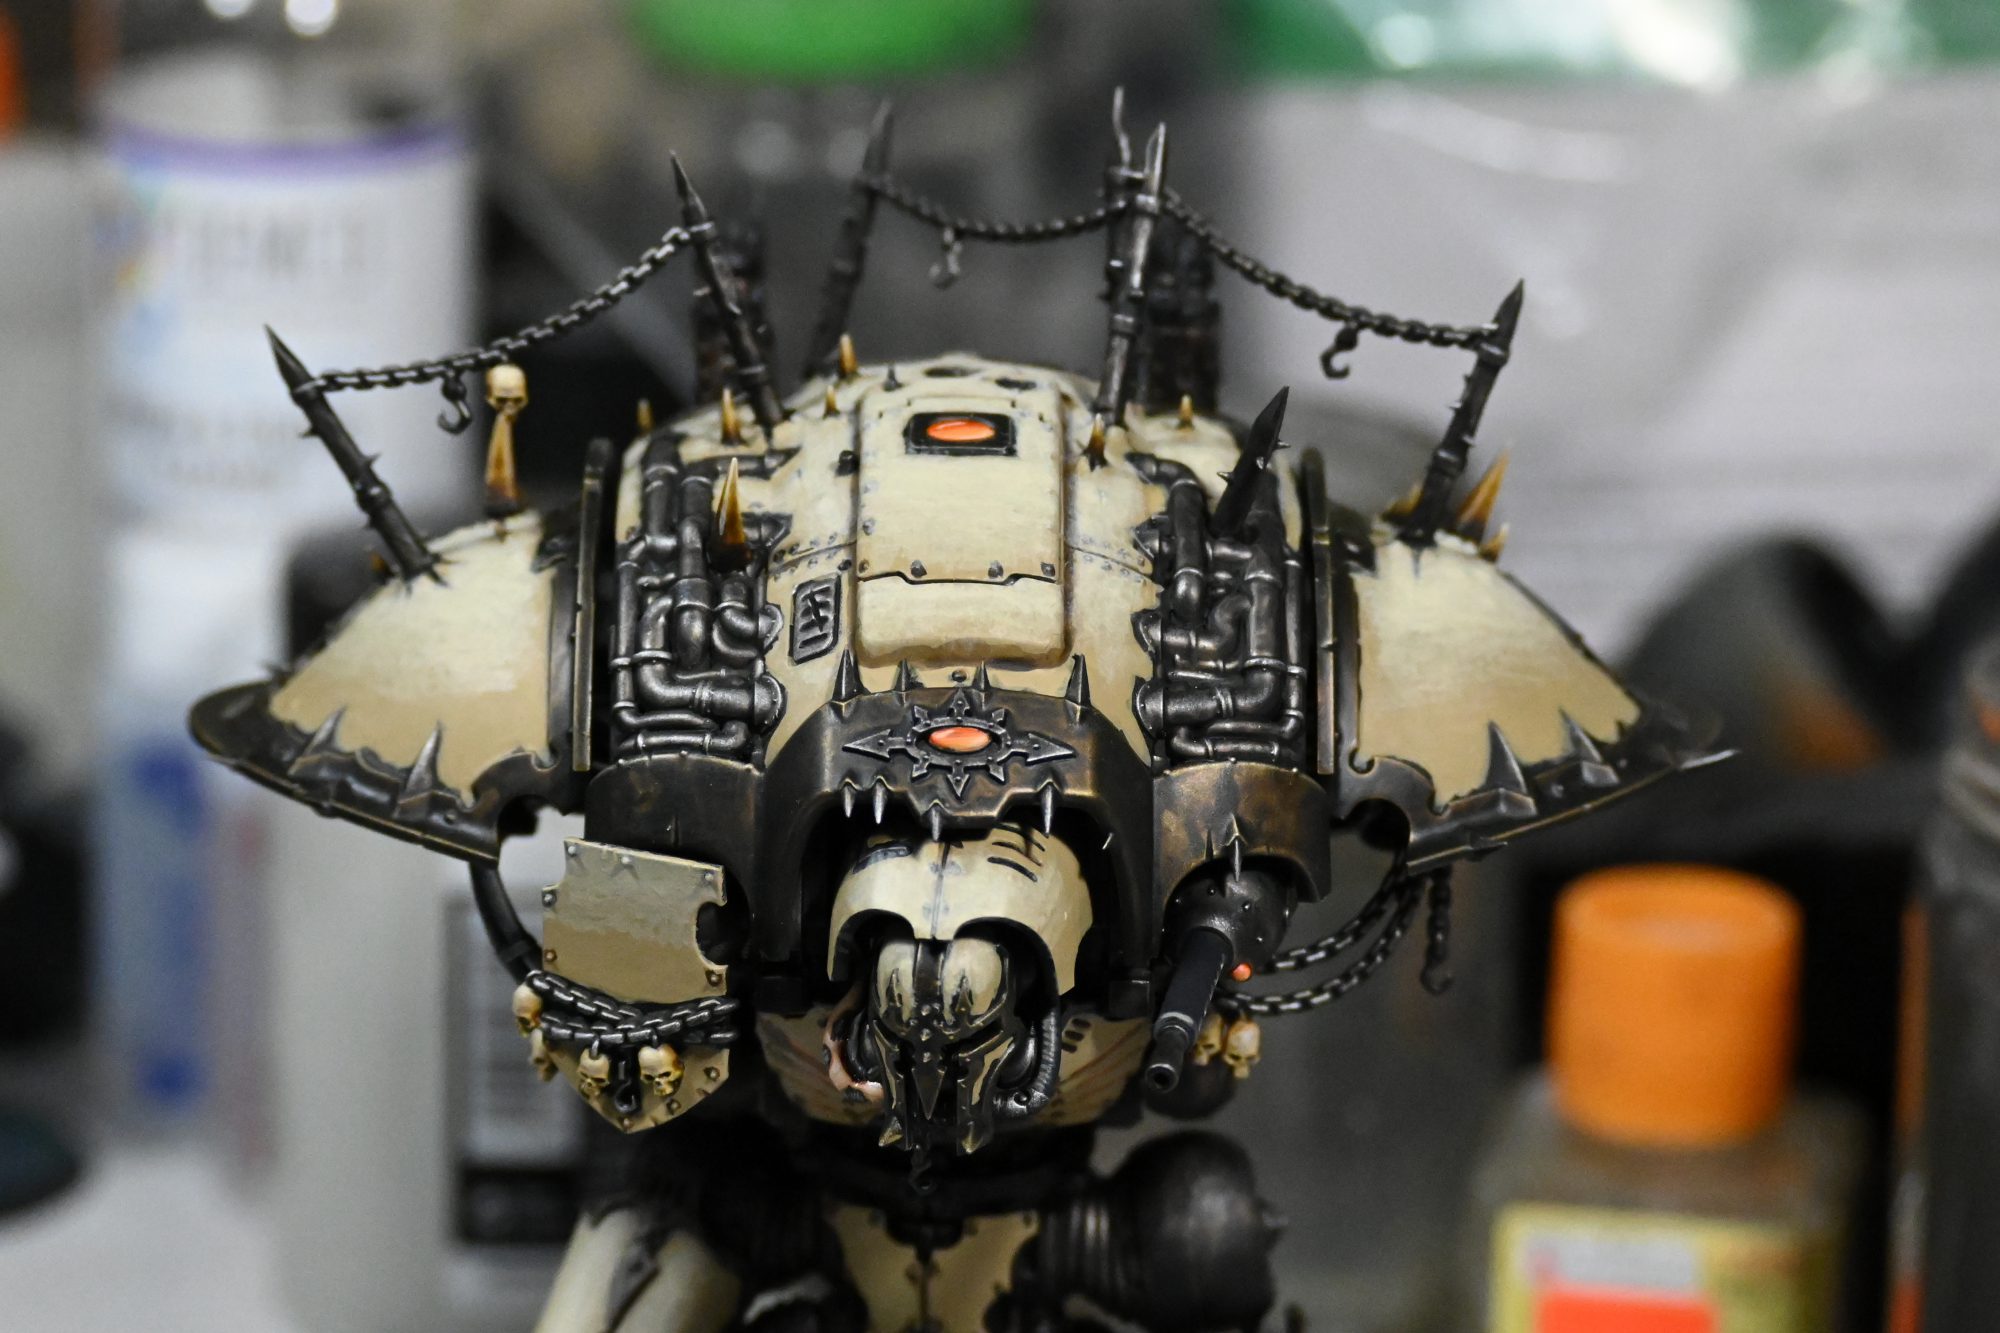
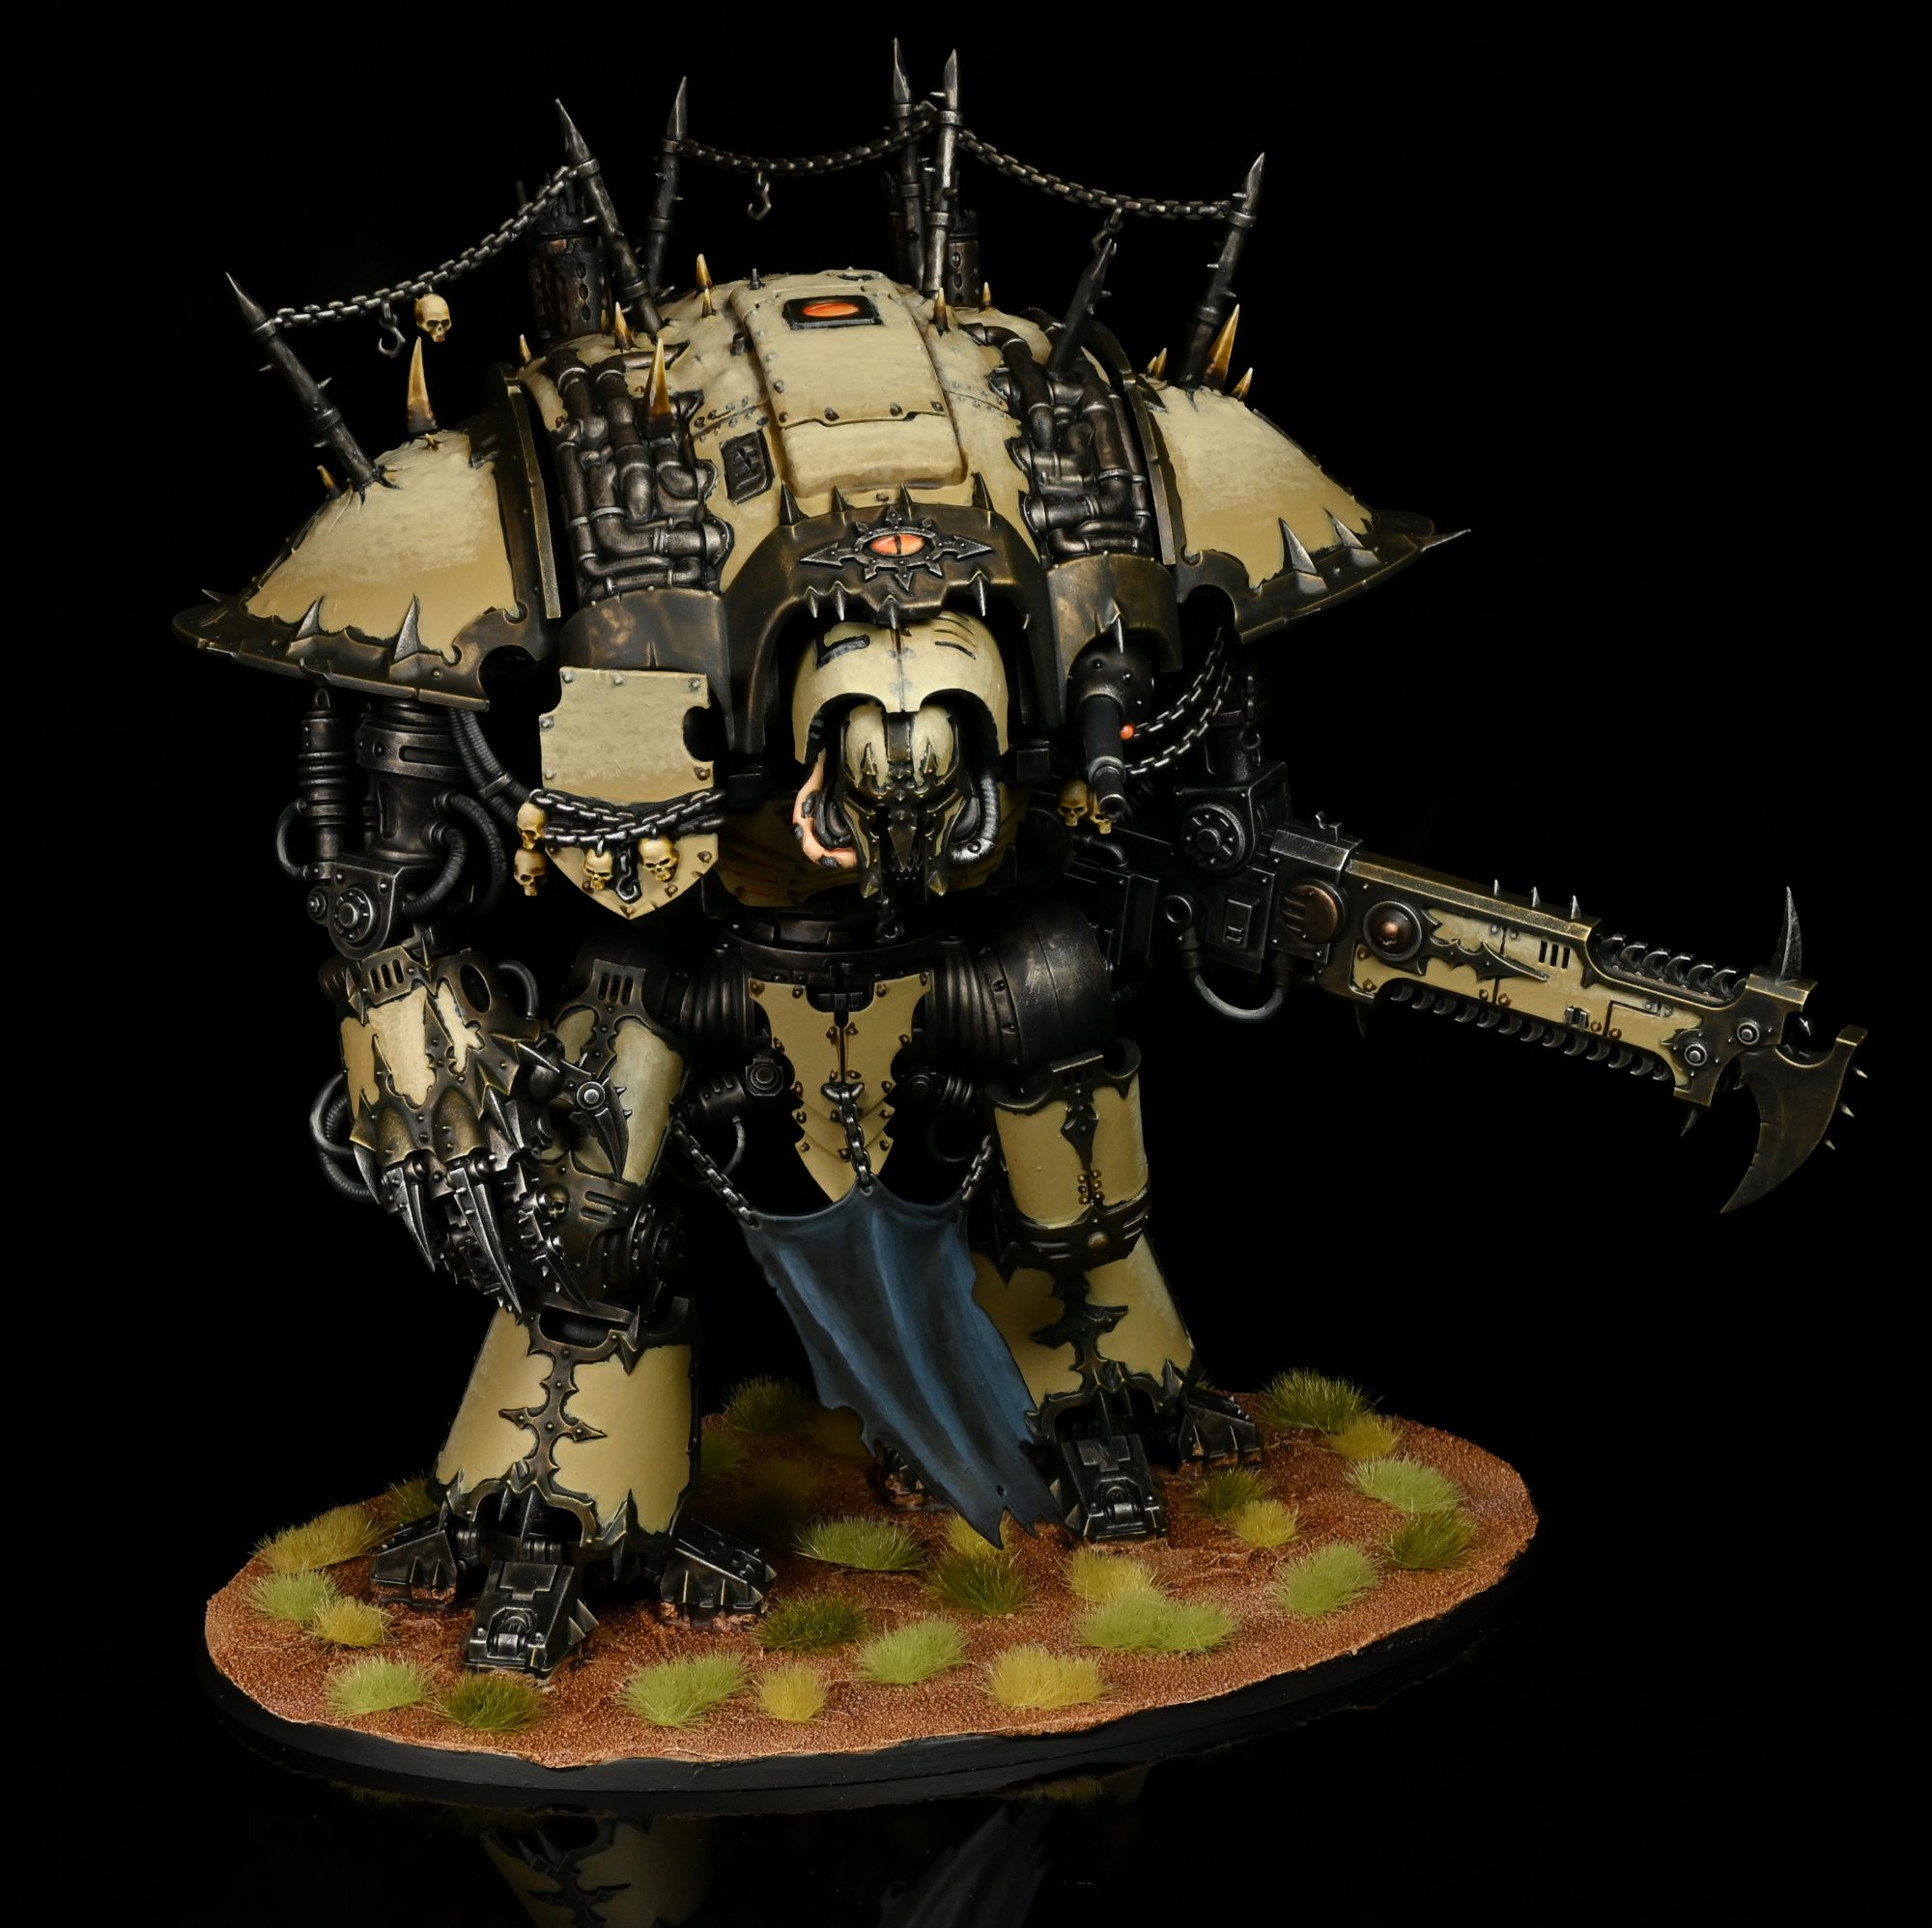
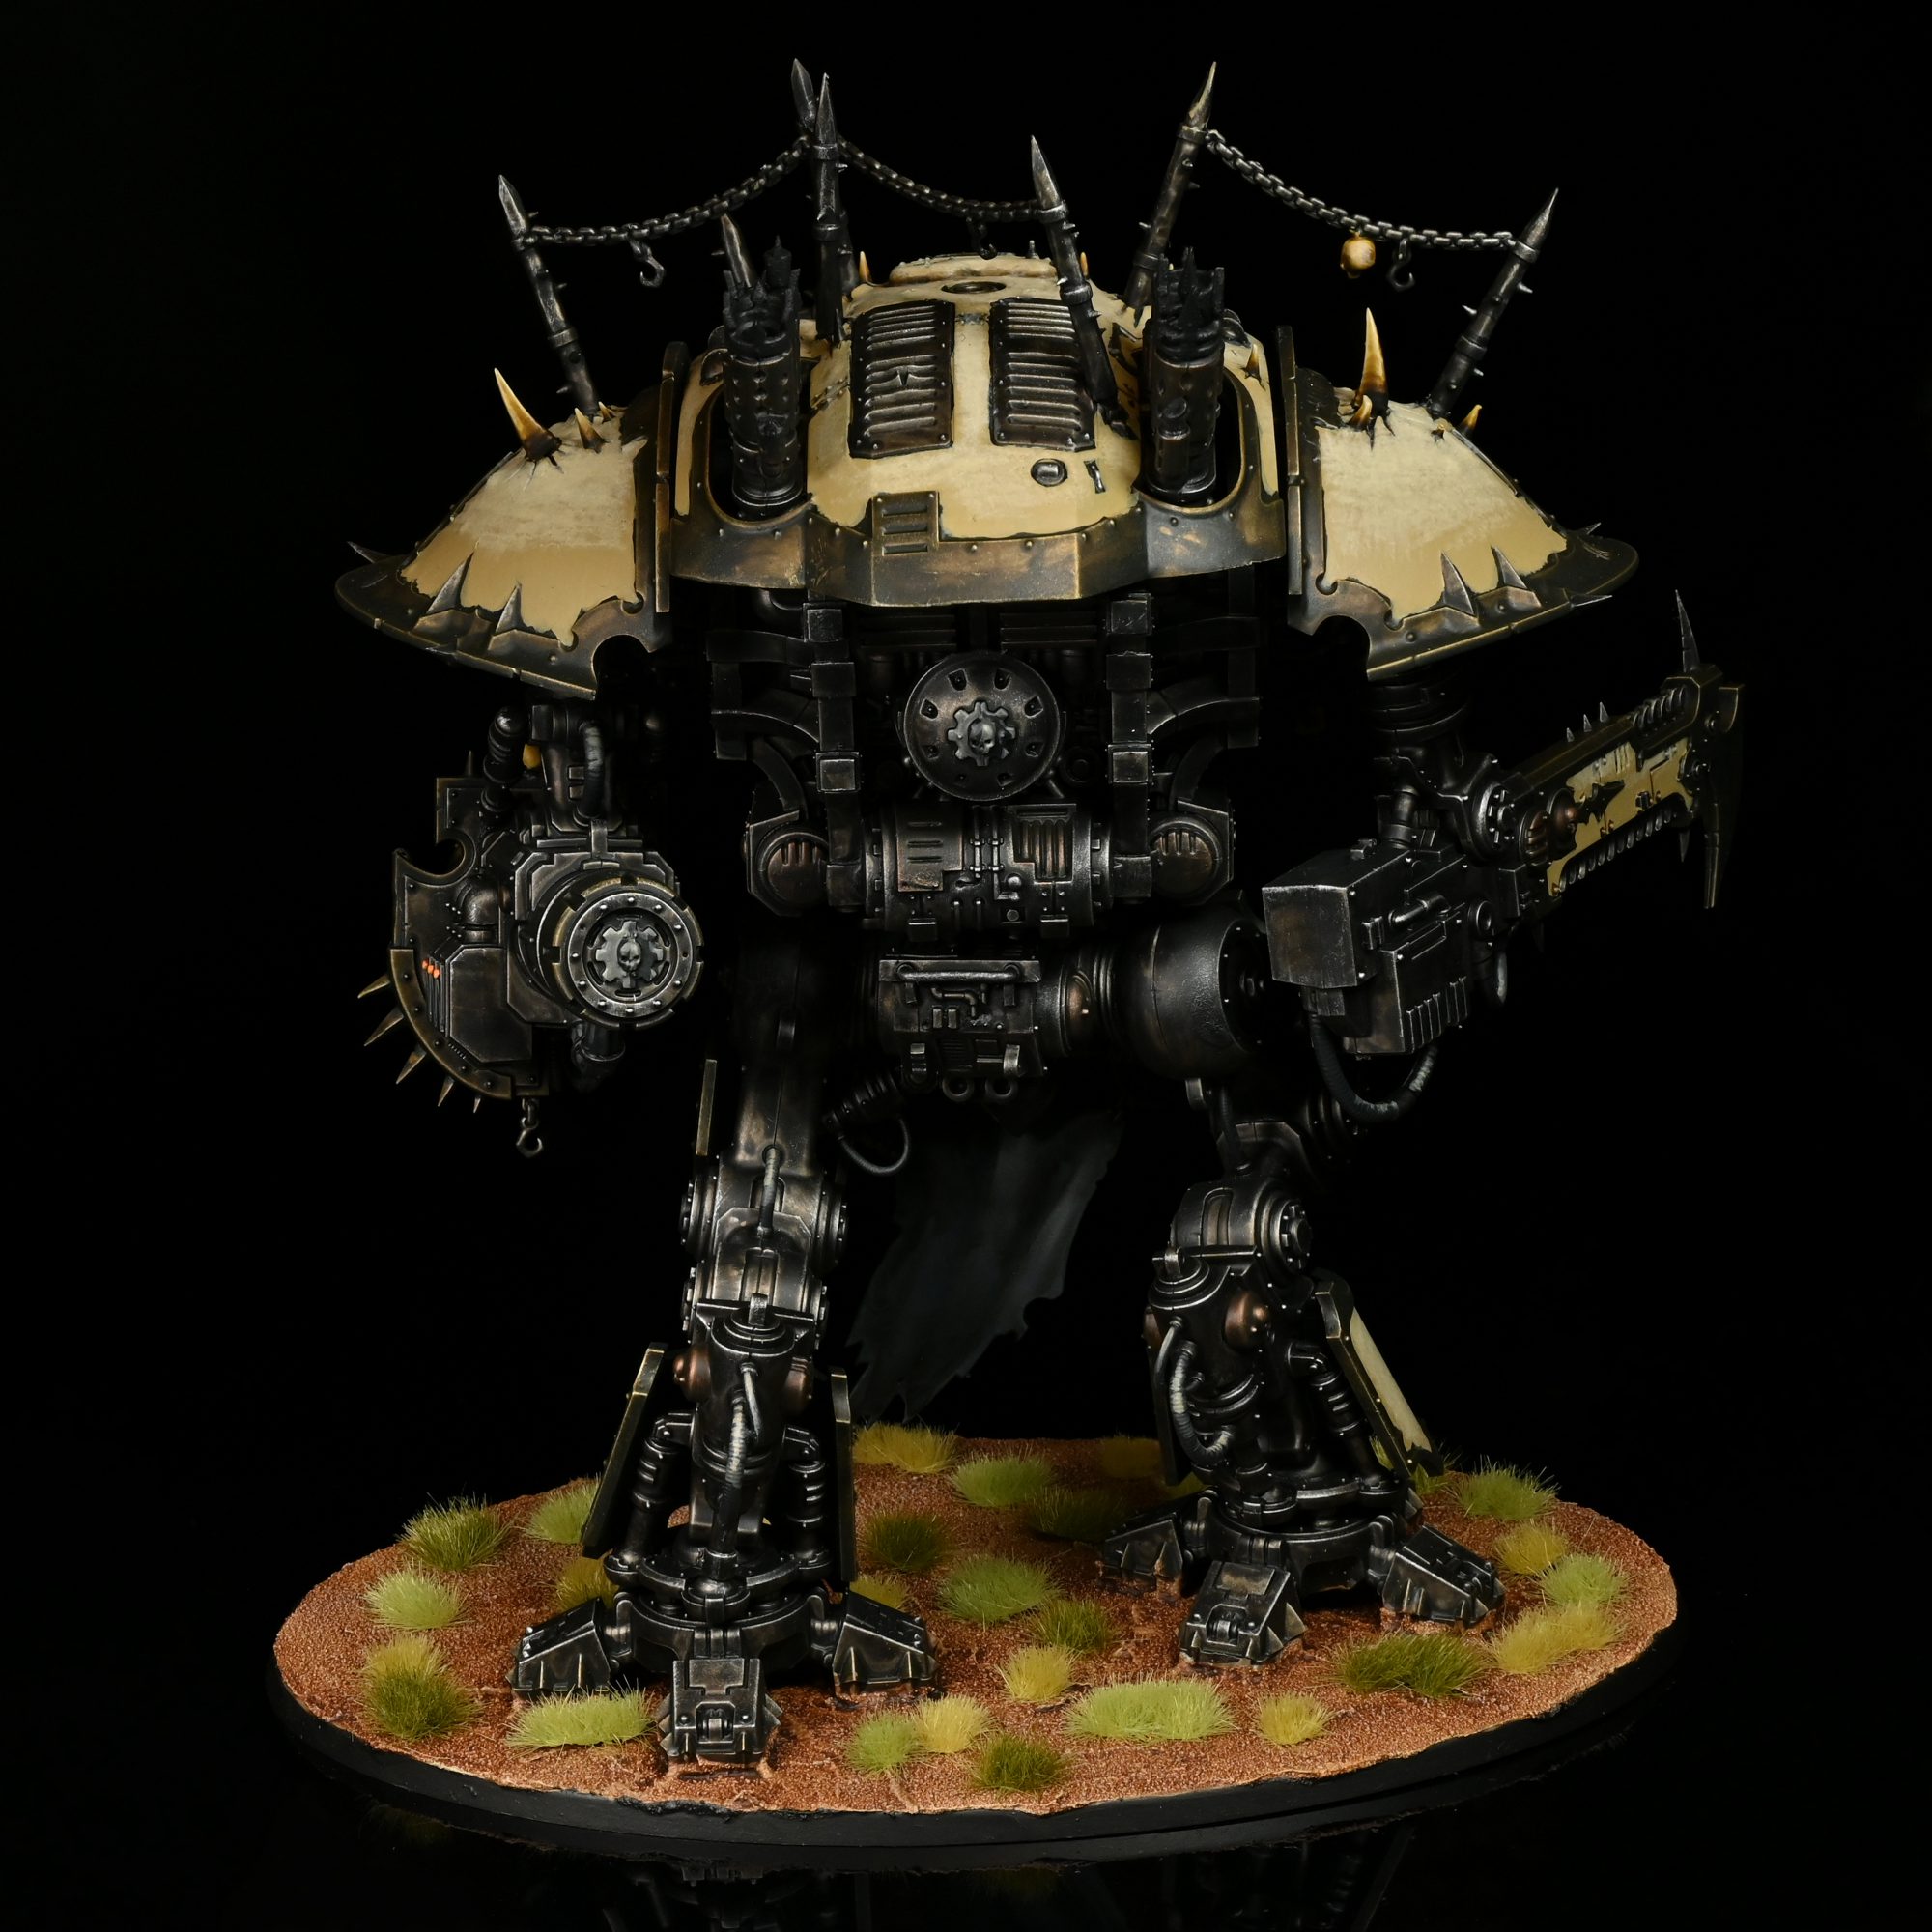
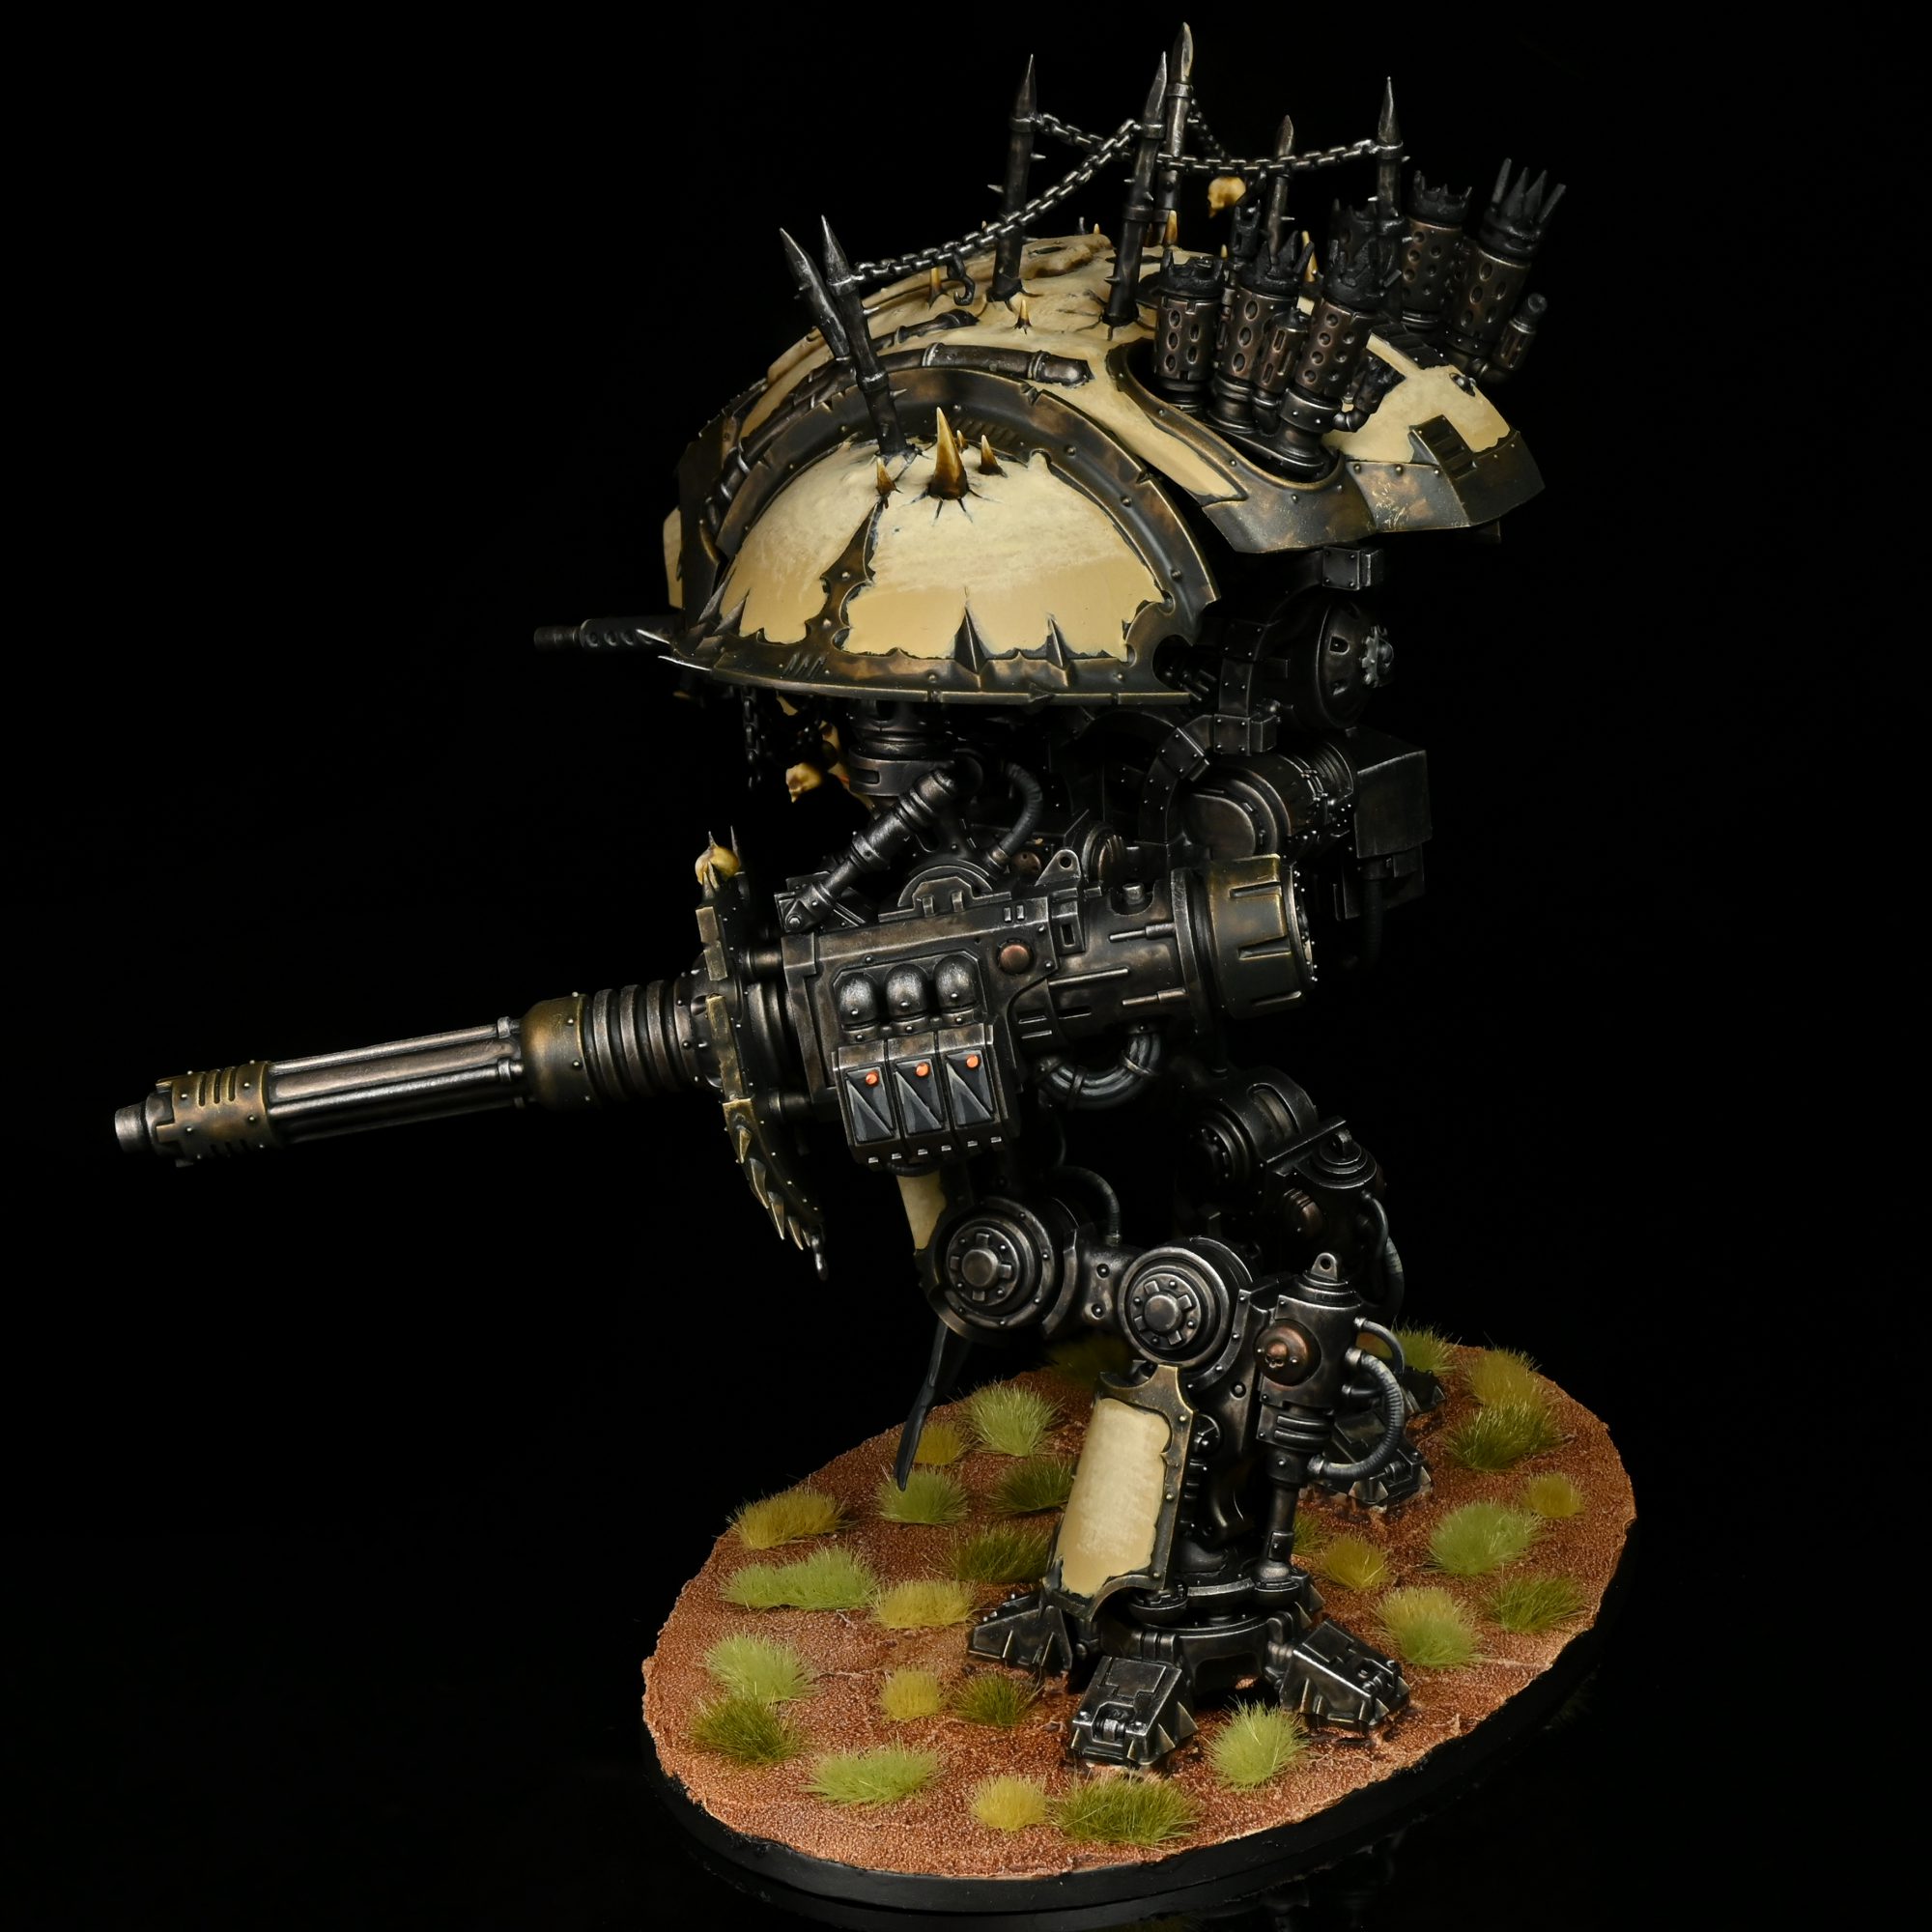
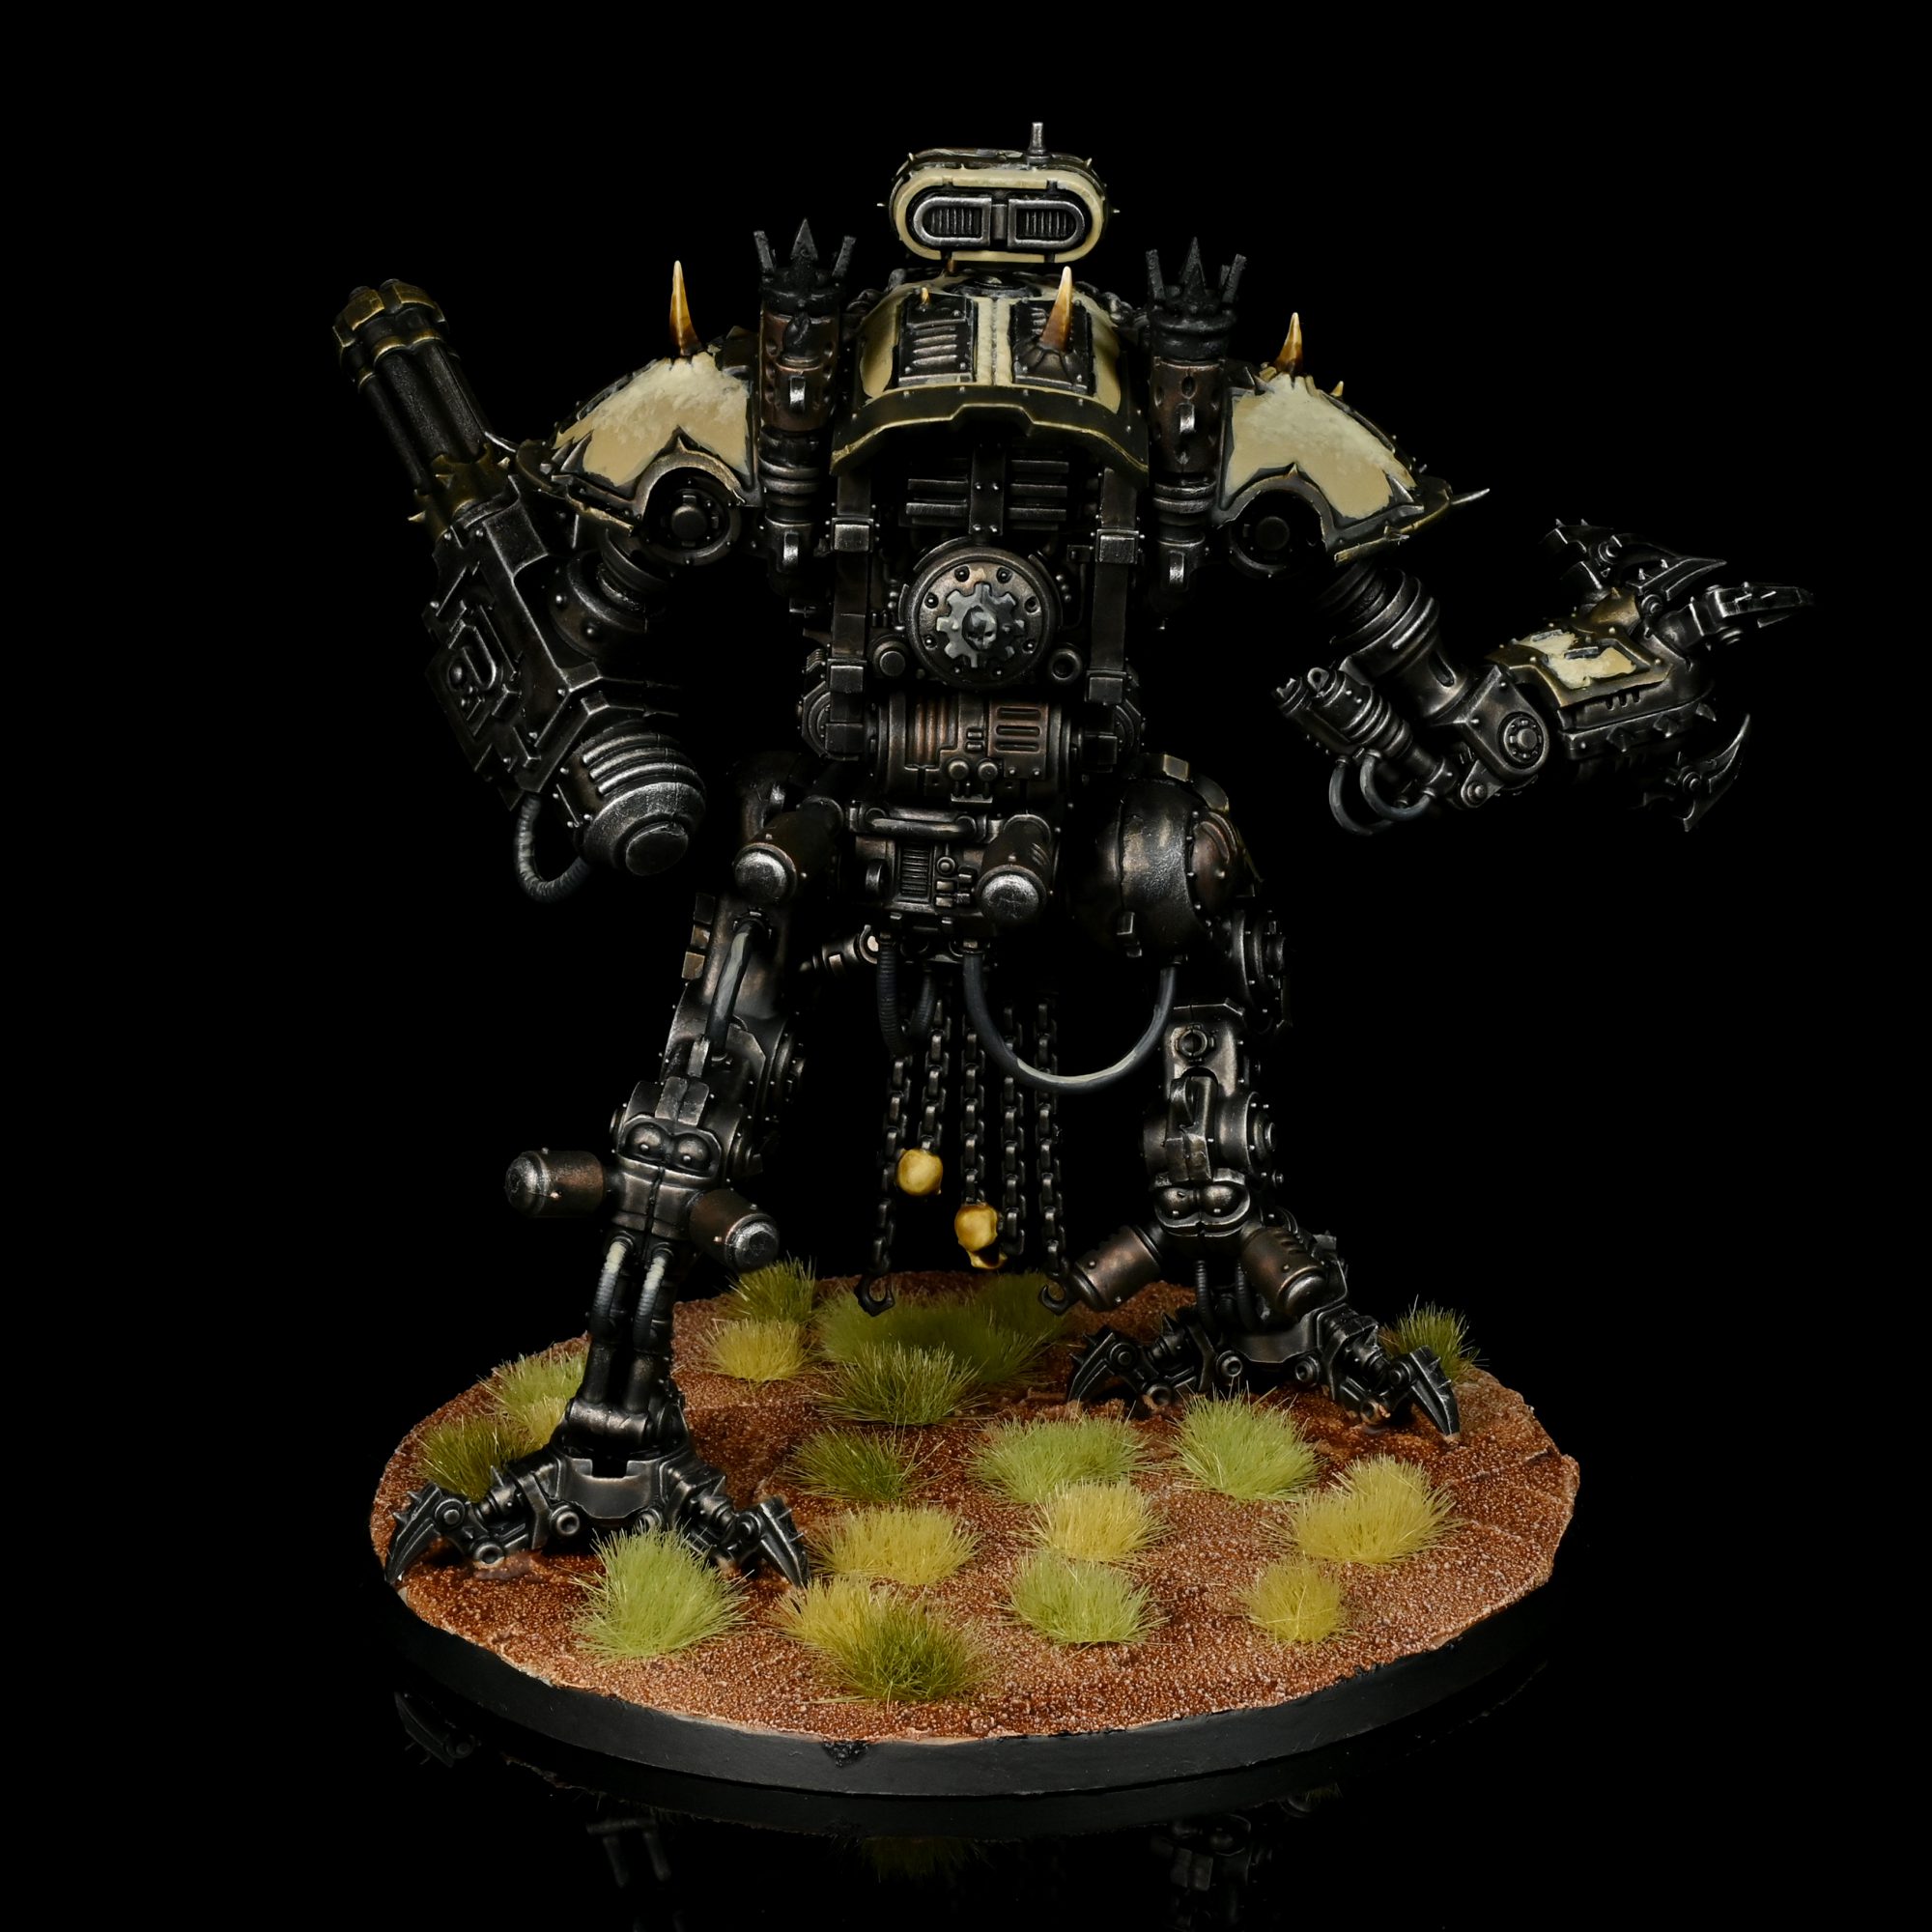
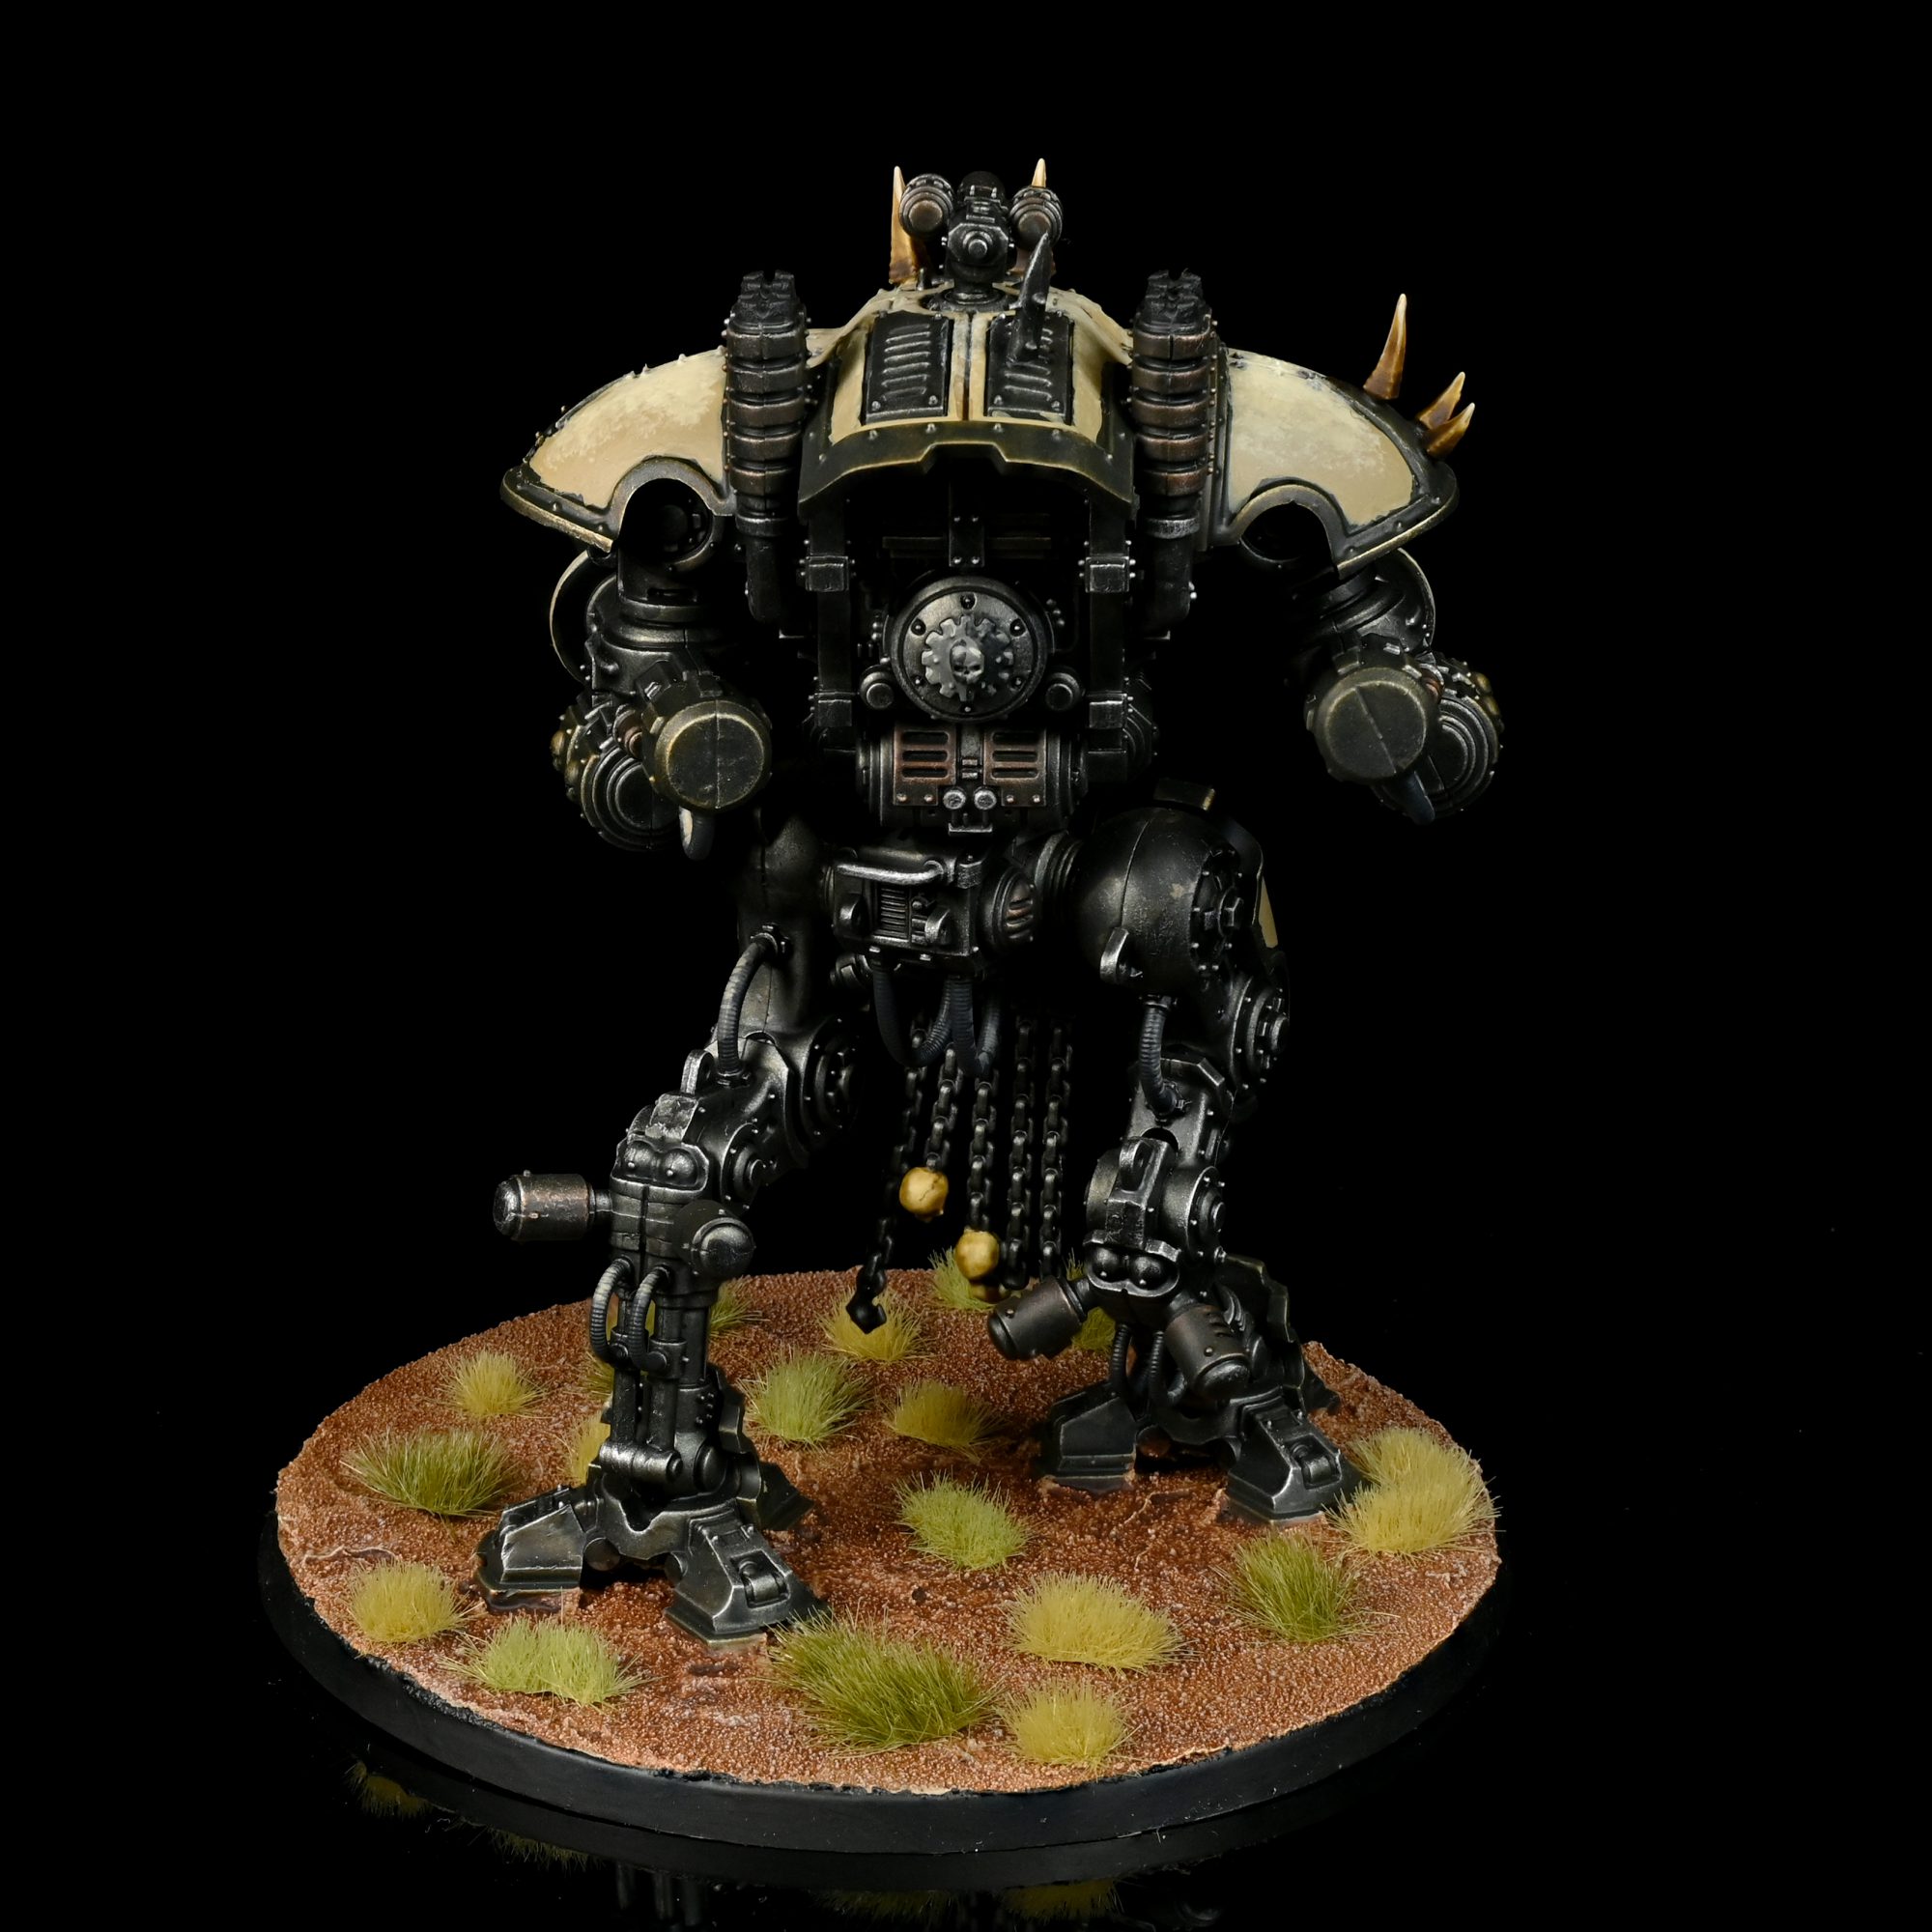
Painting Chaos Knights isn’t just about painting. I mean, it certainly can be, if you’re working with the Despoiler/Rampager kit. I’ve got one of those and haven’t finished painting it yet and it’s a great kit. But if you started building or collecting your Questor Traitoris before the new kit was released, or if you’re working on some other Knight kit, like trying to build a dual-thermals Despoiler, a Knight Tyrant, or War Dogs, you’re going to need to do some conversion work. I’m going to cover off on three projects I’ve worked on here, looking at painting the Forge World Chaos Knight, plus converting War Dogs and a Knight Despoiler. I chose to eschew the standard heraldry for my Knights; they may be members of fallen households but their primary allegiance is to Abaddon the Despoiler and his black crusades. As such, they’ve adopted the black and gold of the Black Legion for their armor.
War Dogs

I had a blast making these. War Dogs are small enough that there are a ton of great bits you can use to convert them, from the standard chaos vehicle upgrade sprue to the Defiler and other daemon engines to Chaos Warrior fantasy bits. For the one in back, I just used a Defiler head and some bits from the Chaos Vehicle upgrade sprue, plus a Chaos Warrior banner for his tabard and some Daemon prince trophy racks for the top. The other one was more involved, so let’s talk about that one in front with the Forgefiend head.
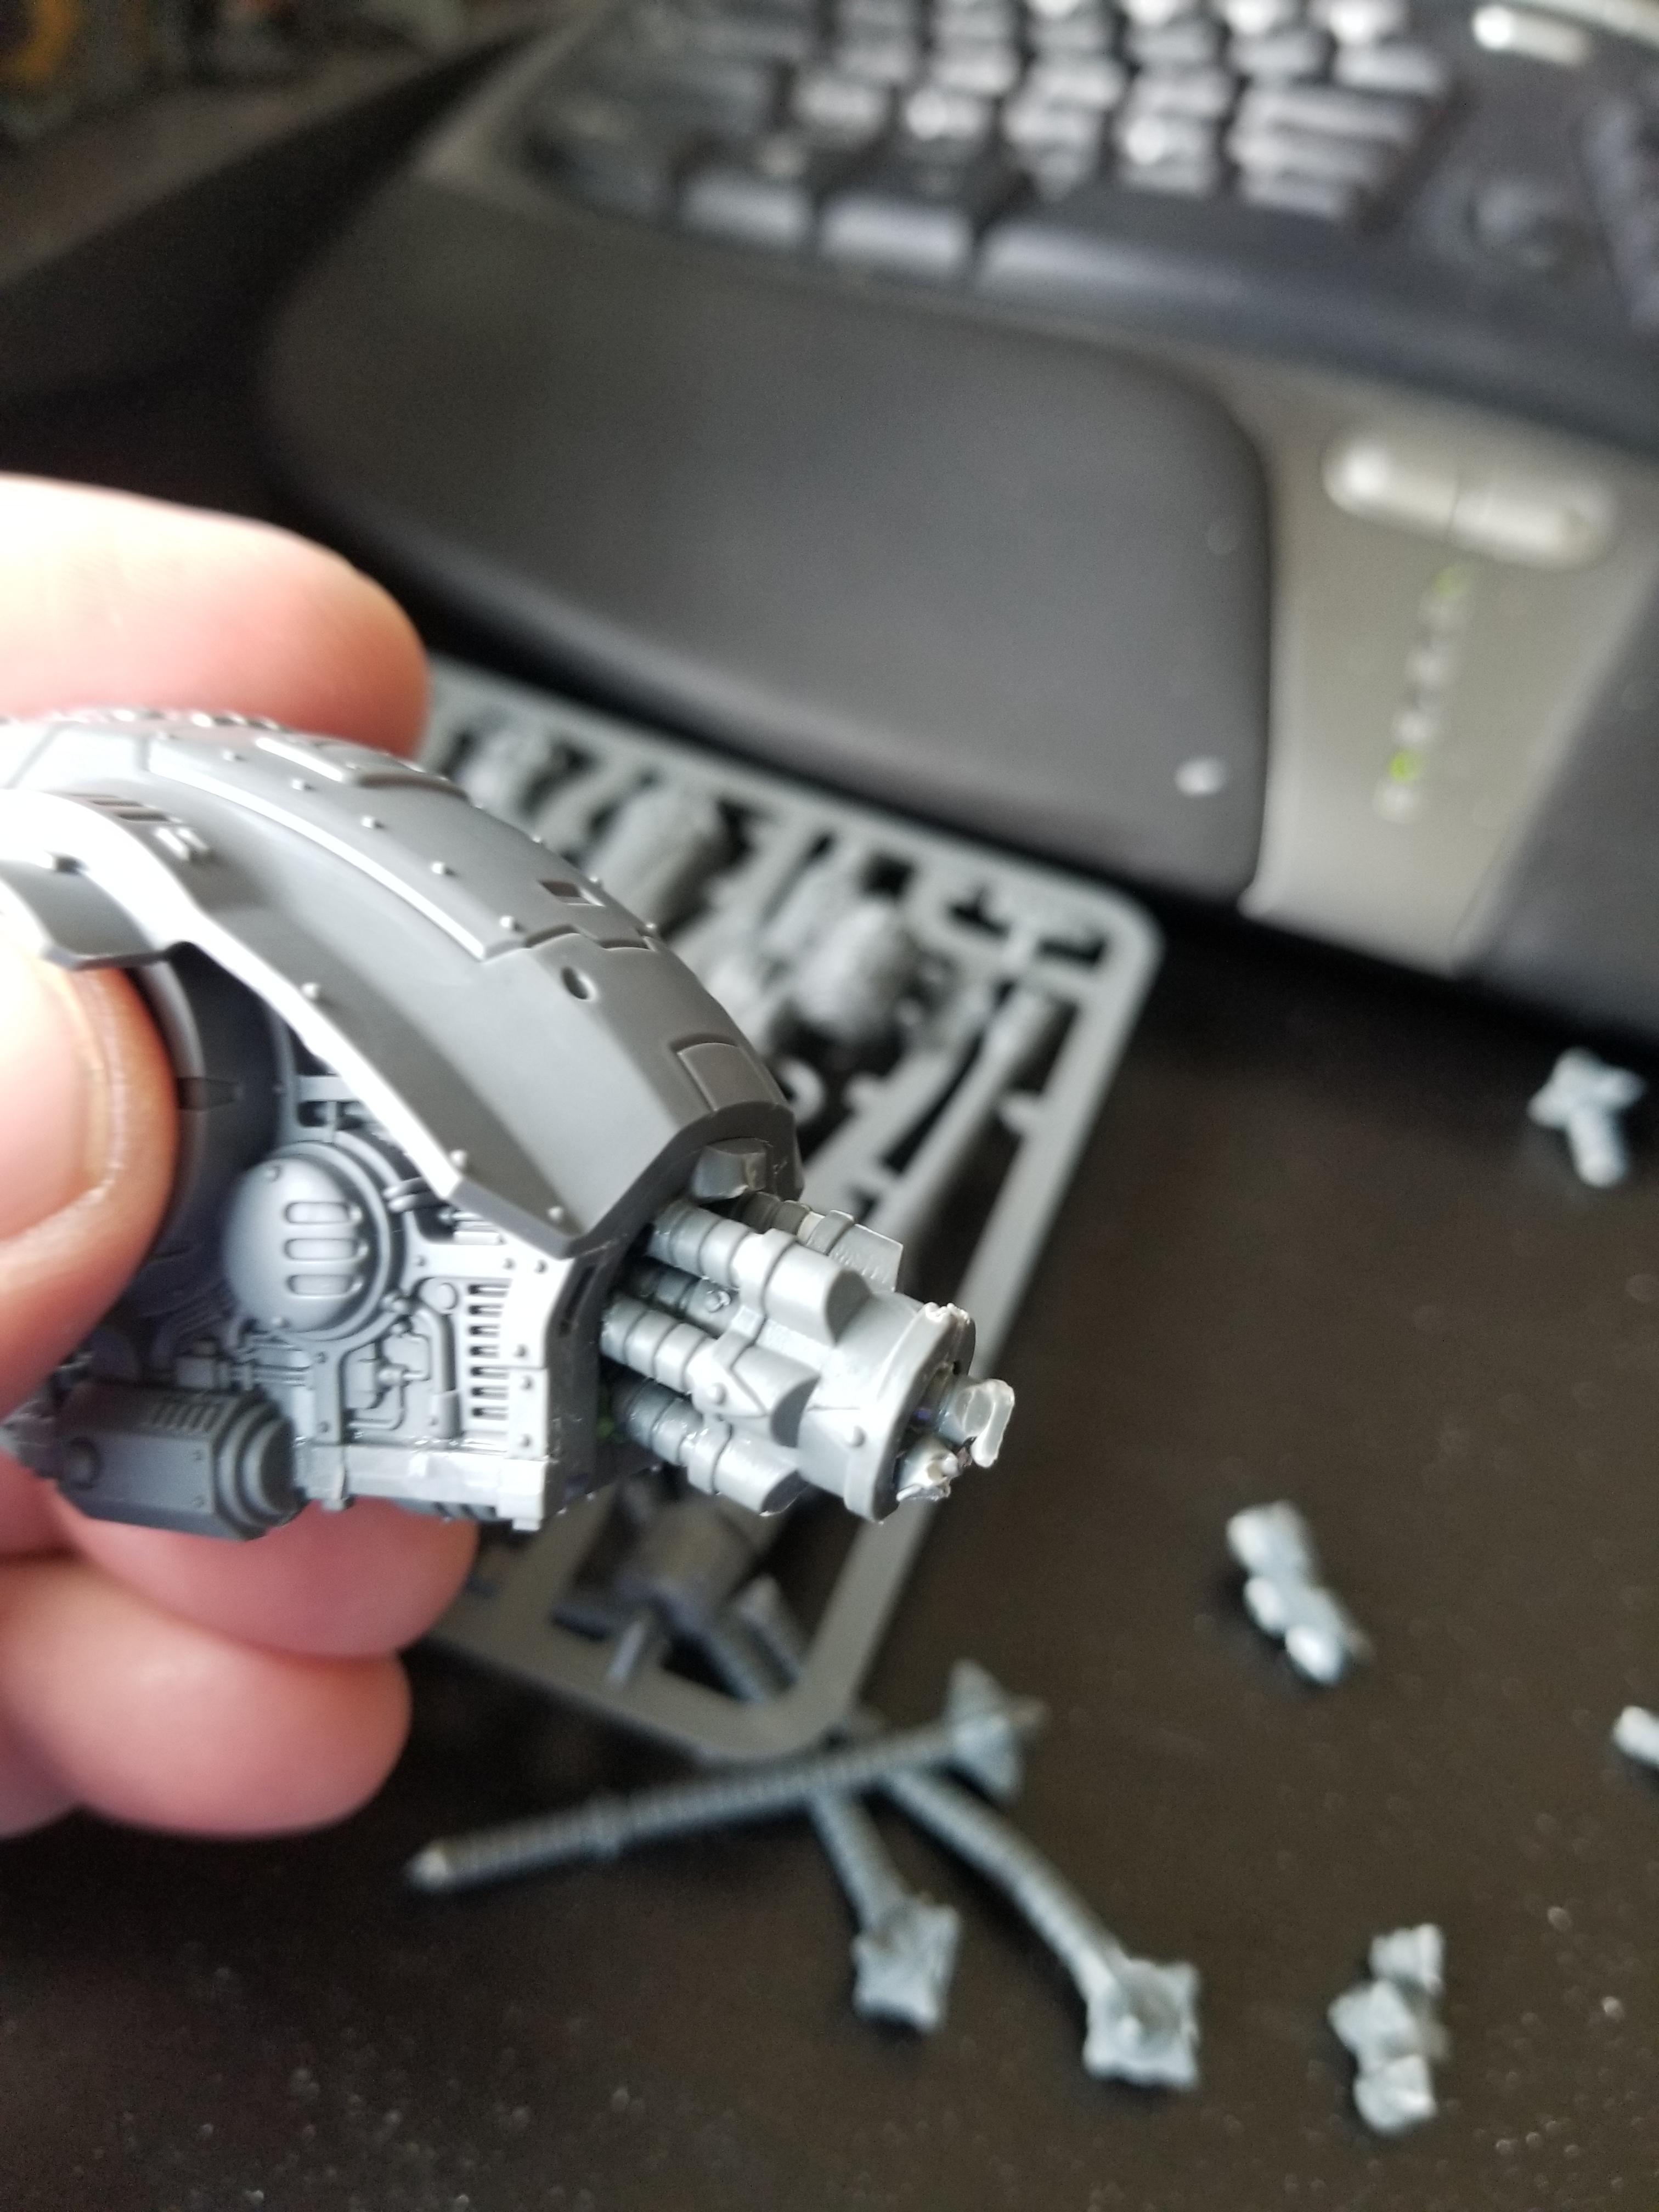
I knew early on that I wanted to put a forgefiend head on a Helverin, but actually doing that would require a lot more work and construction than just adding on a defiler mask. Mostly, it would mean building out a neck. I have a lot of extra defiler bits floating around and the Defiler Scourge, while looking terrible on the model, is a perfect fit for this. I cut its coils short and glued them back into its interior, creating what looks like a series of coils and cables that make a wonderful neck to place the Forgefiend head on.
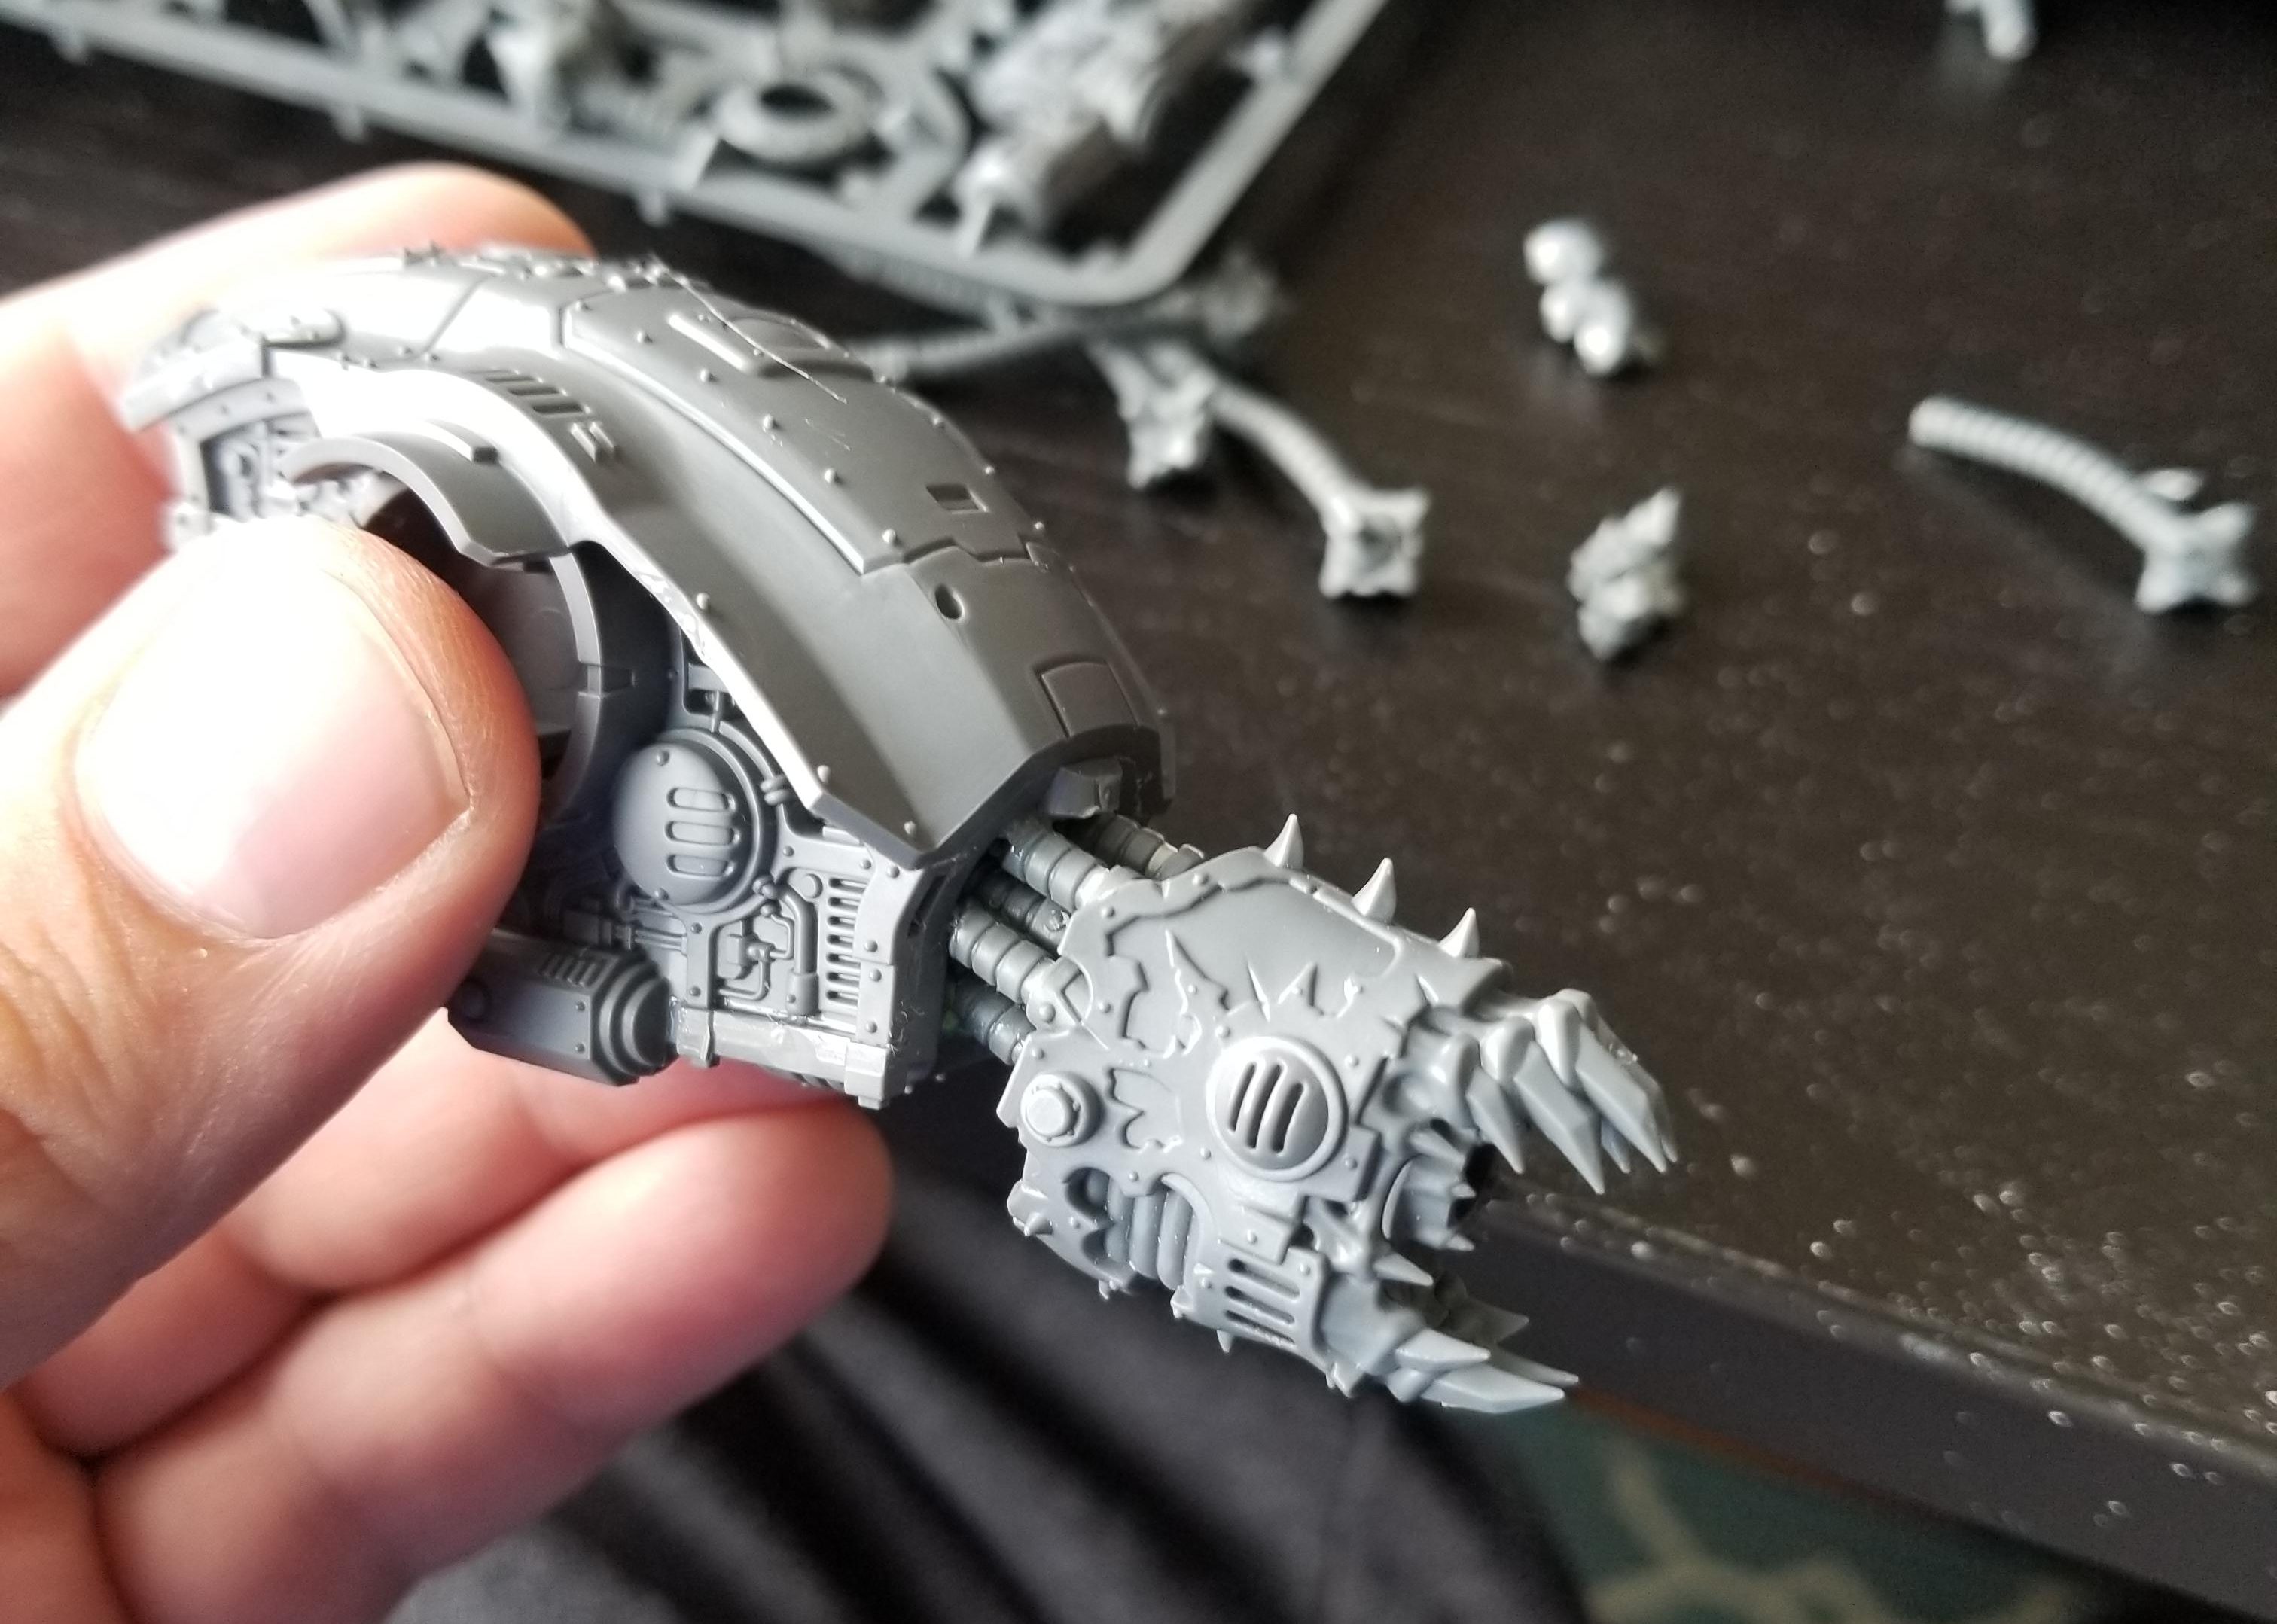
The end result is very striking but I needed something to replace the cuff that normally sits on the end of the Armiger body casing. That’s where I used a pair of Chaos Space Marine vehicle upgrade sprue semicircle bits to fashion a spiky collar for the neck. The end effect looks great and ended up being a wonderful coincidence since when I made it they weren’t yet called “War Dogs.”
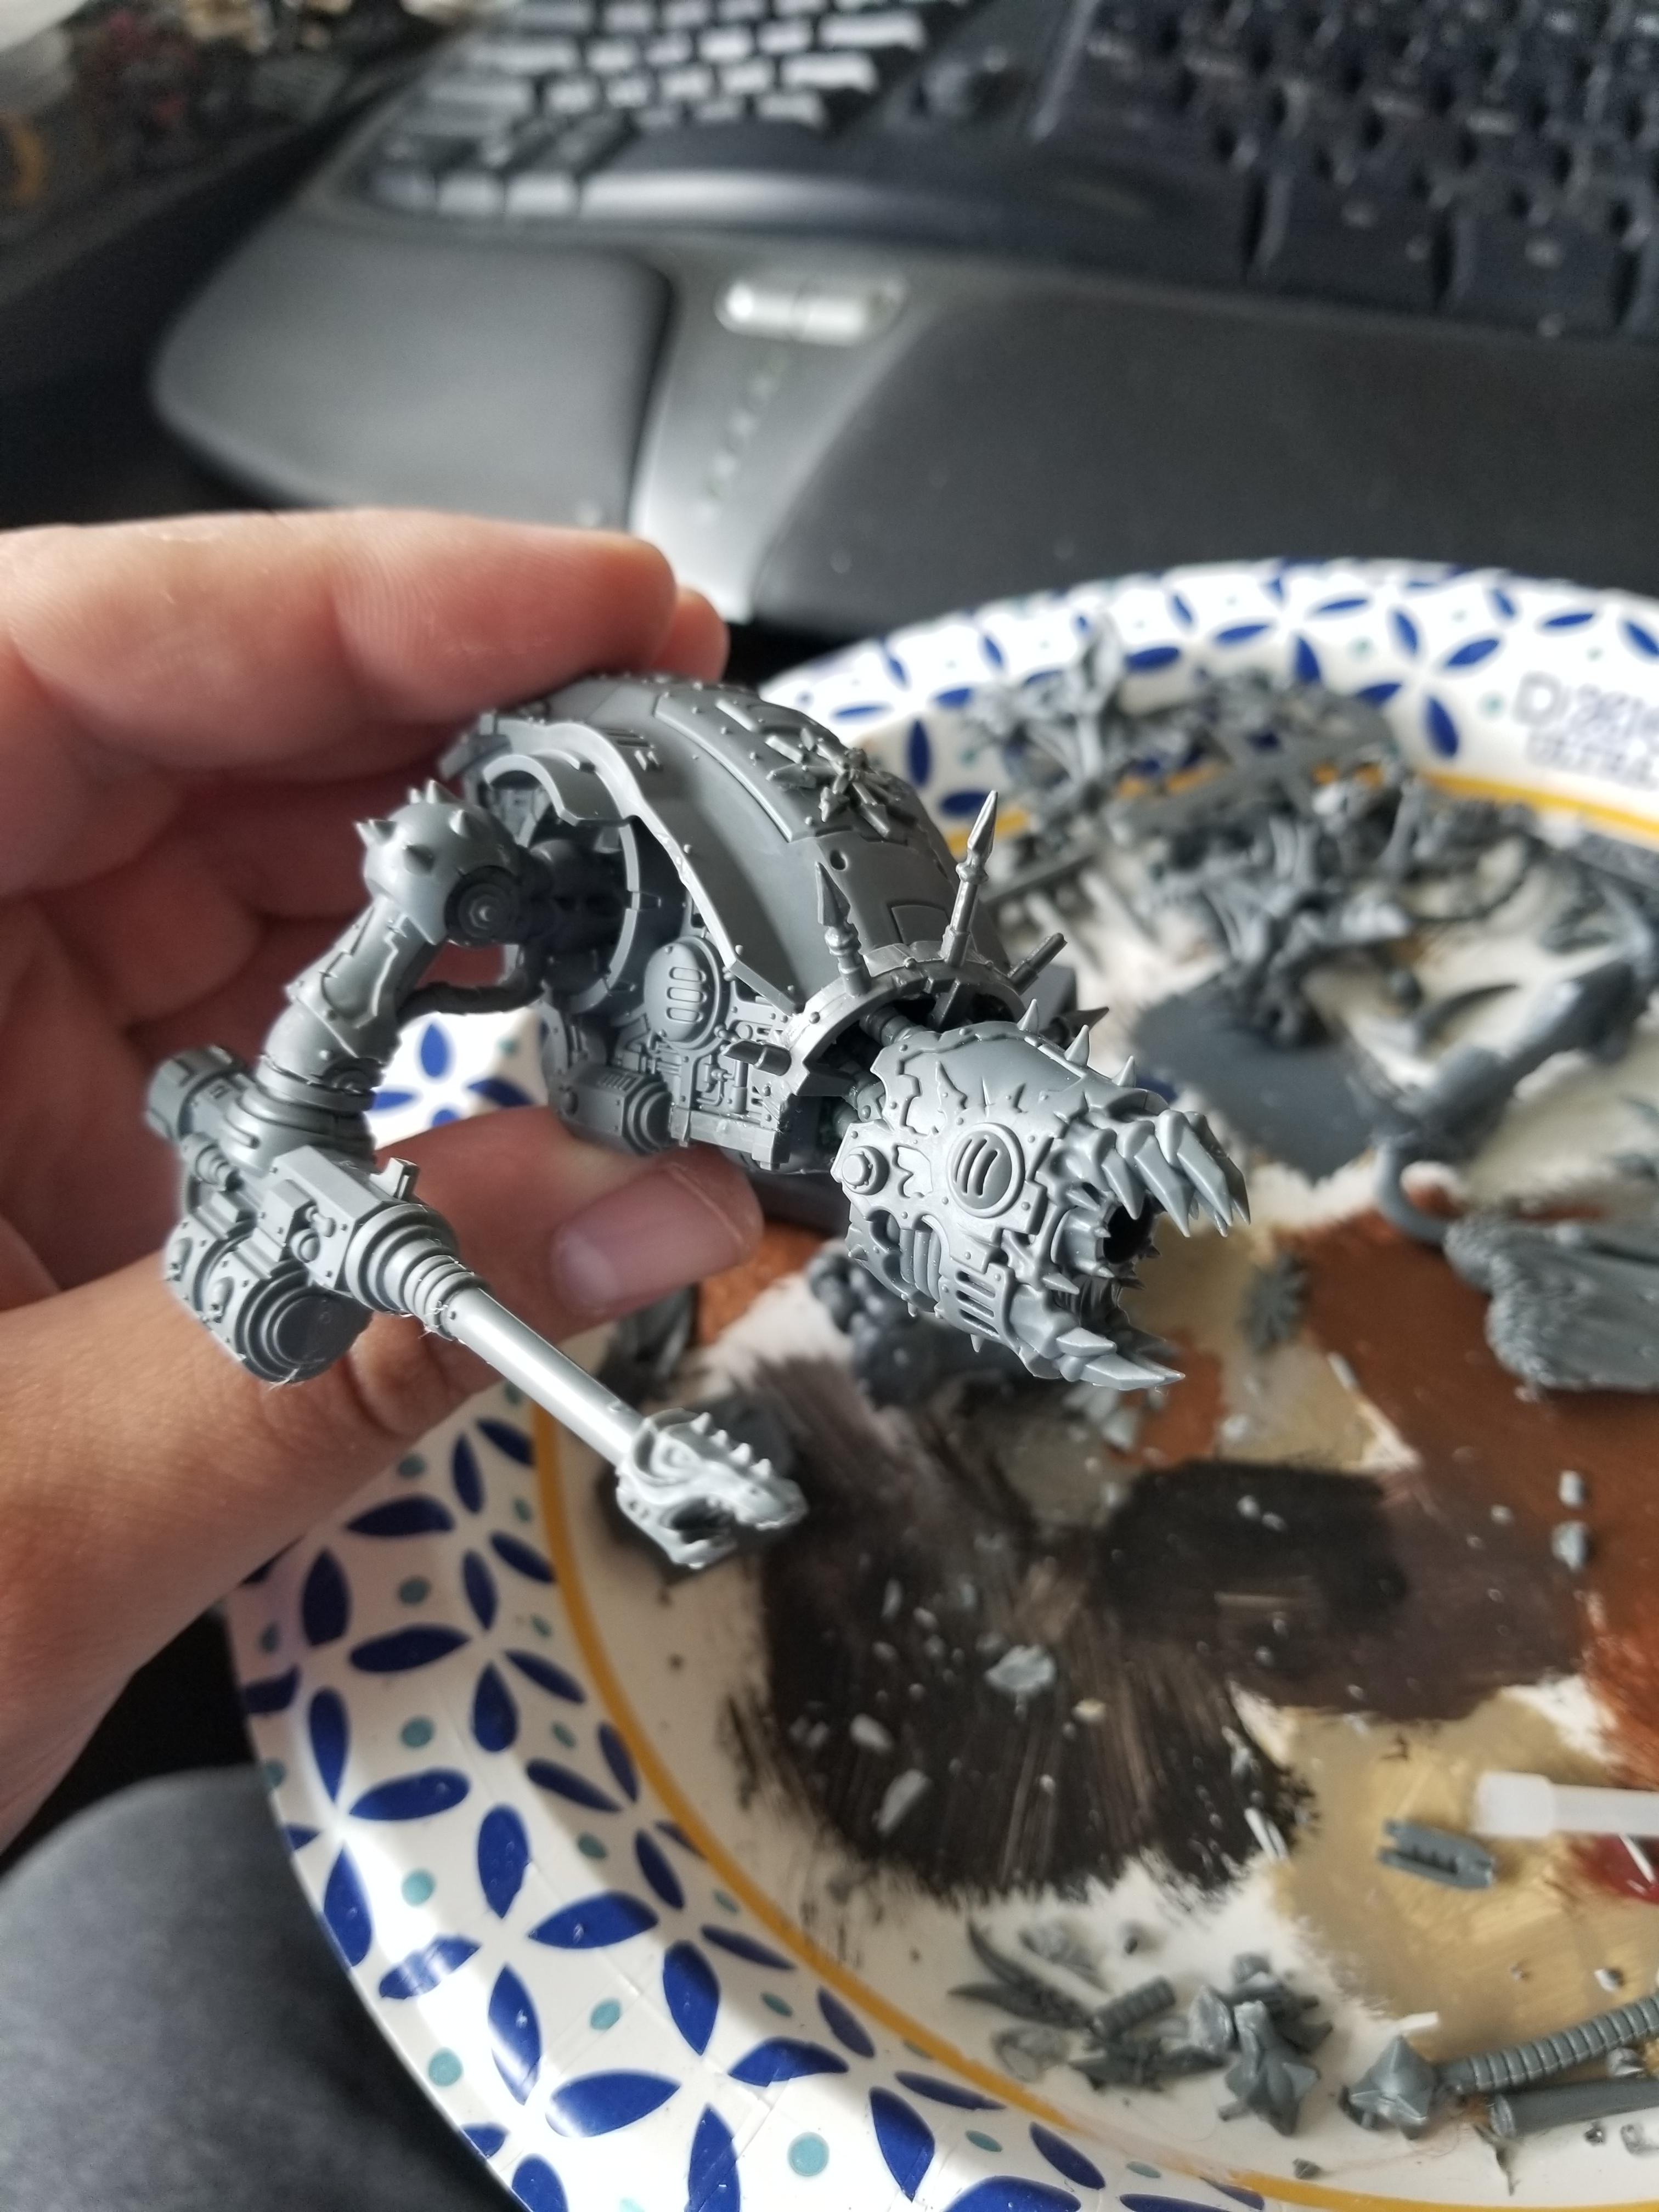
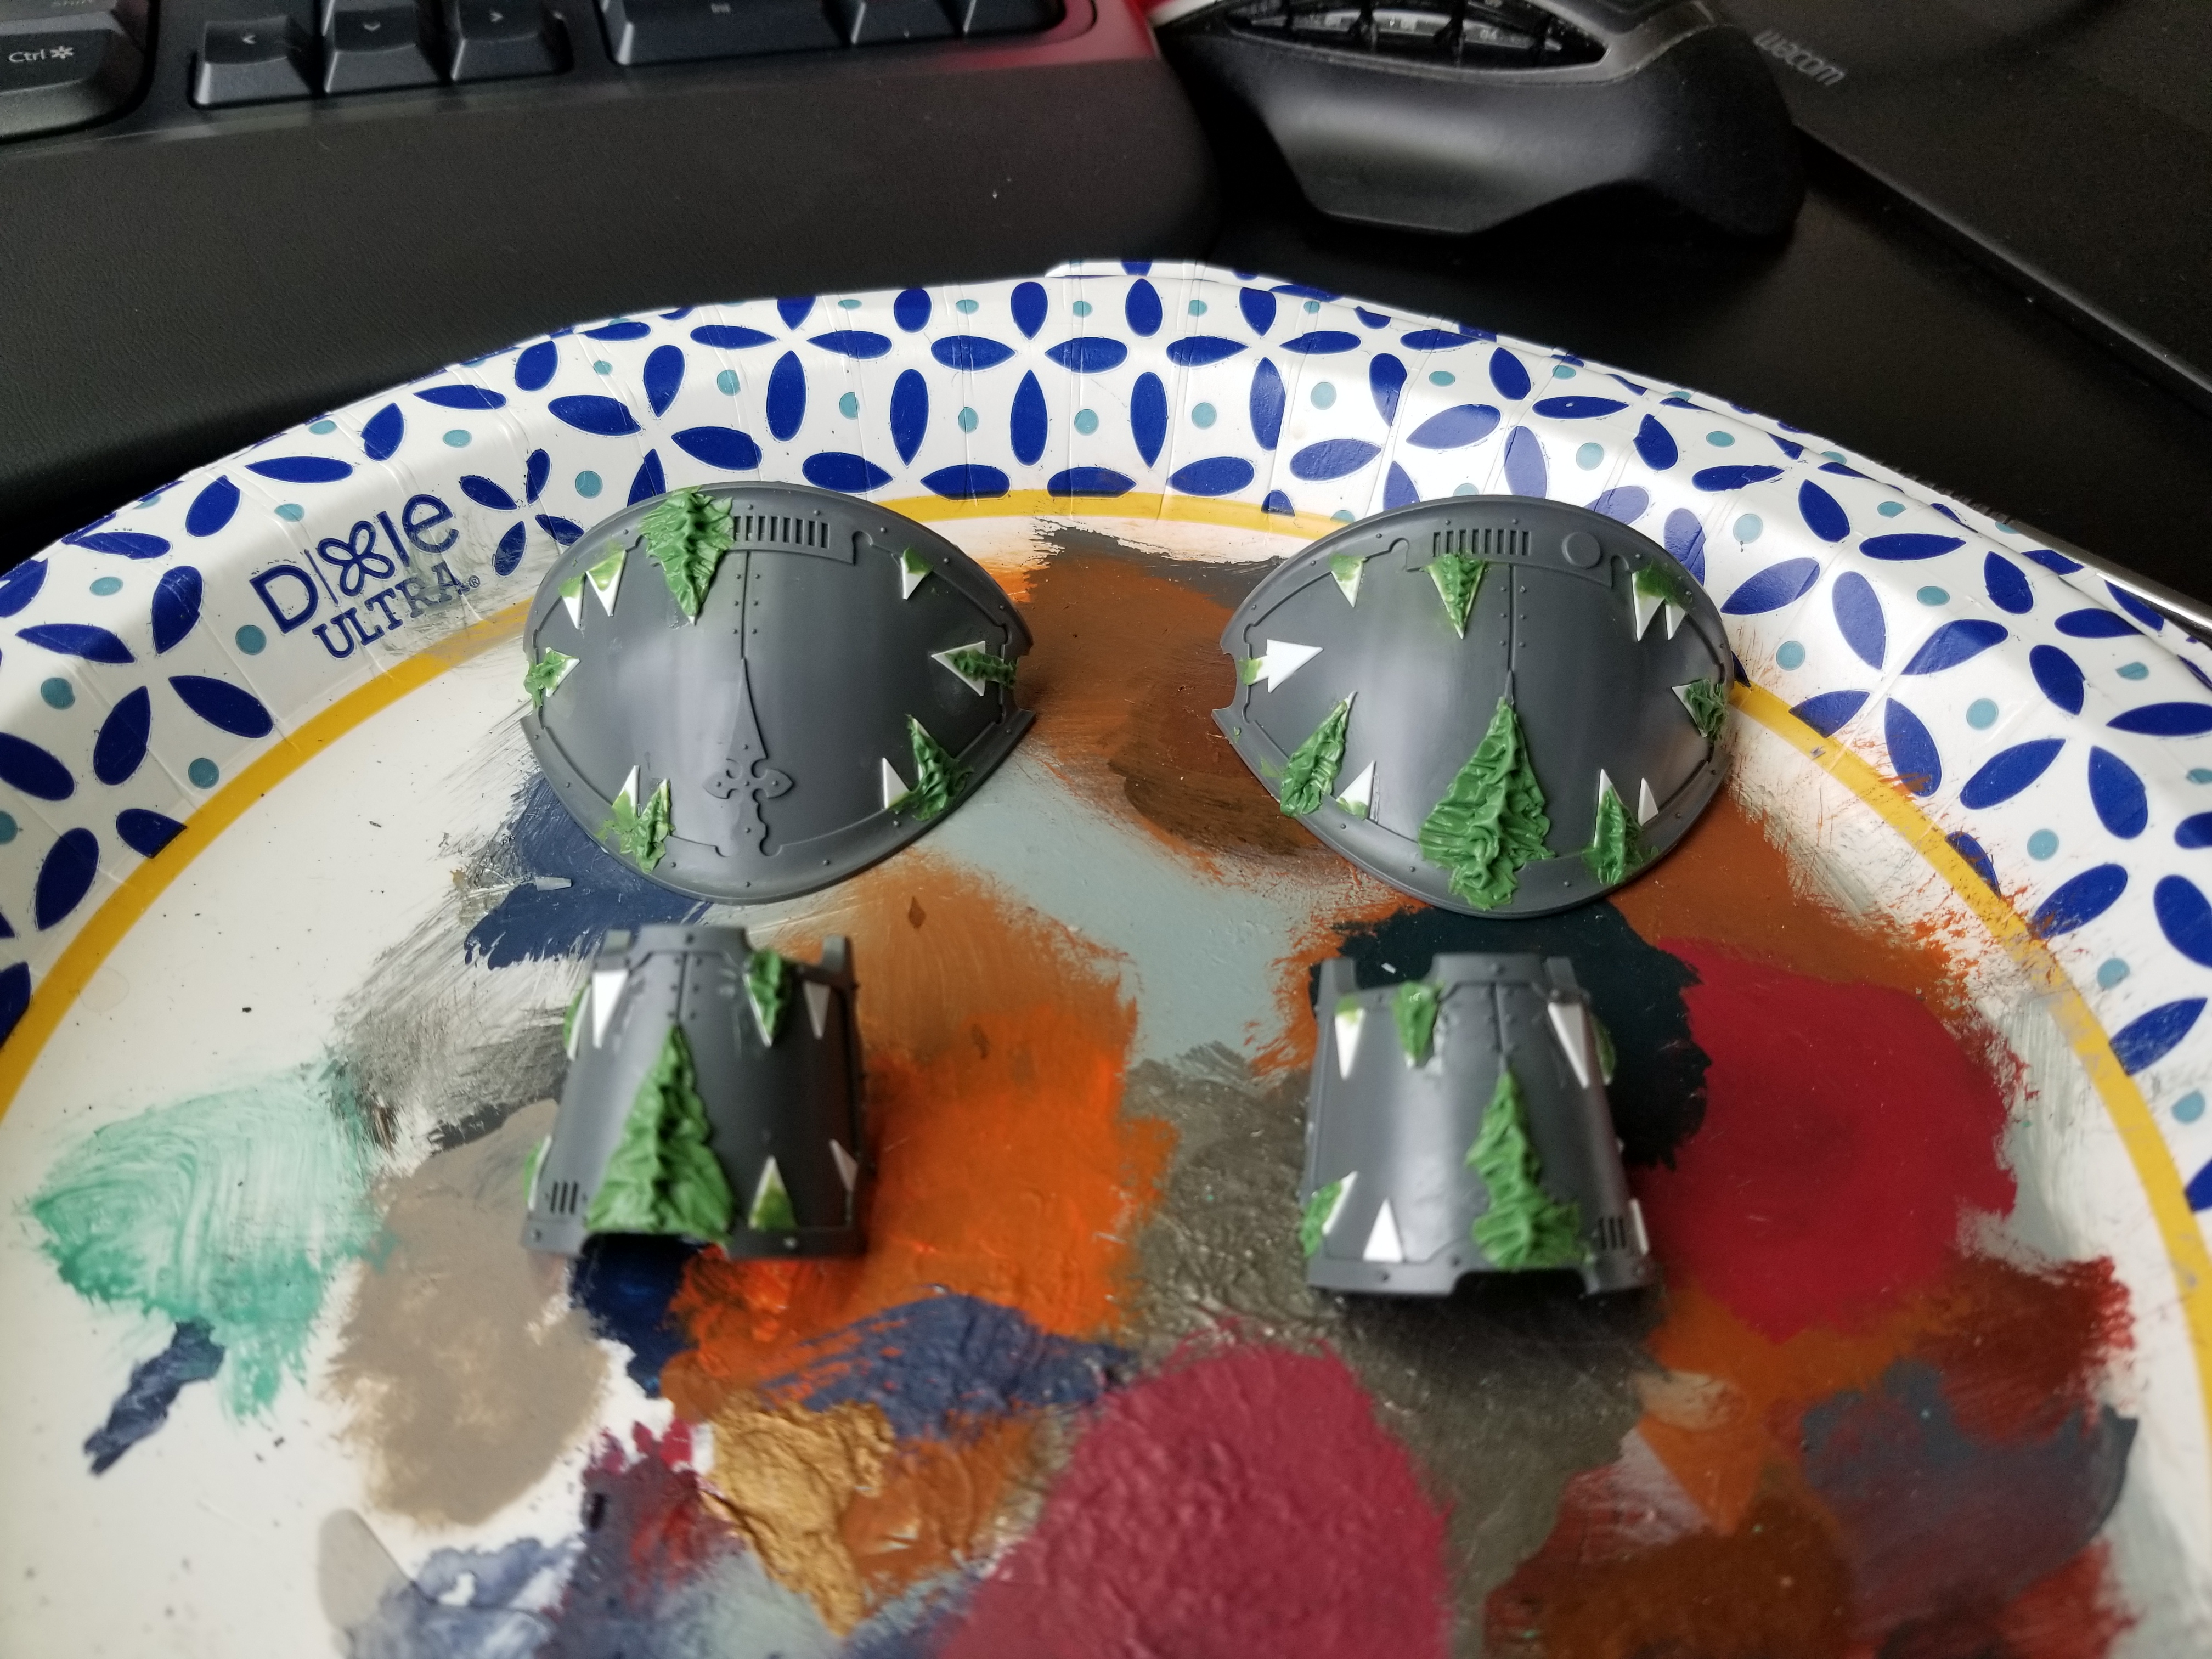
I got a little braver with the arms for this Helverin as well, making them out of Maulerfiefnd arms to give them an extra chaosy look. I also beefed up the shoulder pads with extra shoulder pads from the Chaos Helbrute Kit and added spikes from the Chaos Daemon Prince and Chaos Spawn kits. If you play chaos and haven’t bought a Chaos Spawn kit, you are robbing yourself of wonderful bits and conversion opportunities.

Time to paint these things. I start by priming Black, then I hit the metal parts with Leadbelcher and a thorough coat of Nuln Oil. I blocked in the gold parts with Balthasar Gold.
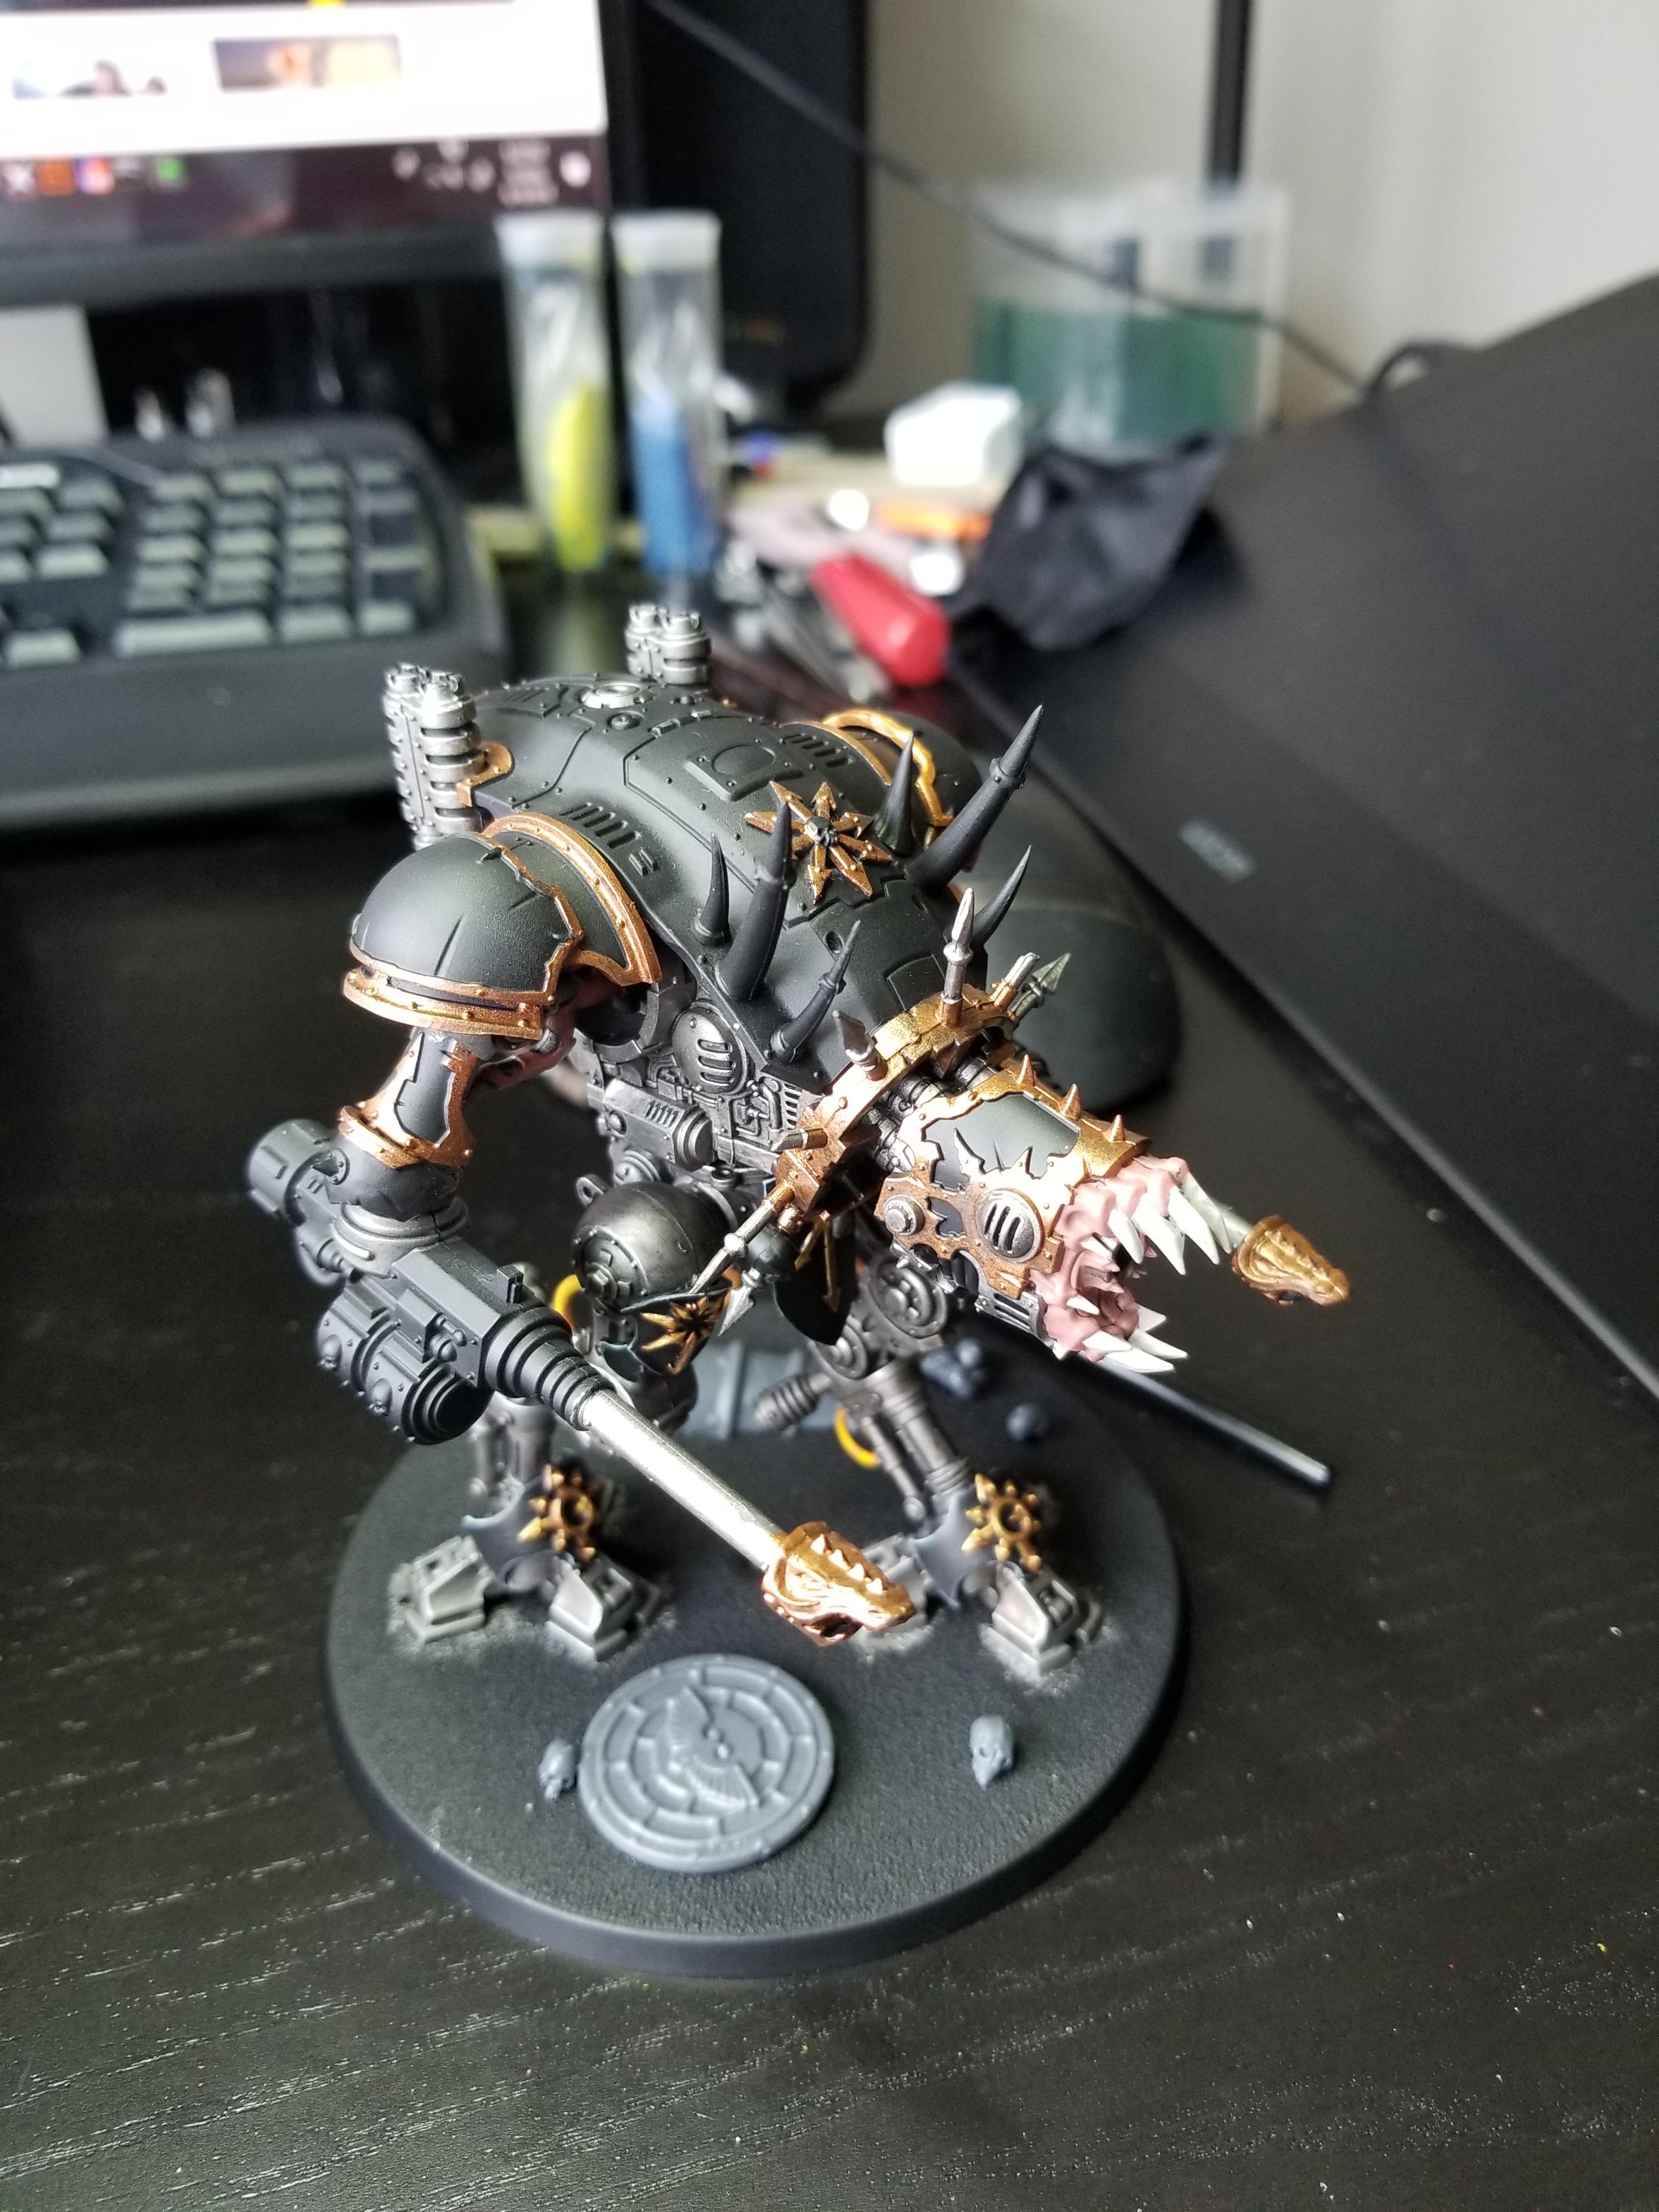
The maw is done with Bugman’s Glow and the teeth are Rakarth Flesh. I’ll shade the whole thing with Agrax Earthshade and then re-highlight with Bugman’s and Rakarth, then do edge highlights with Reaper Polished Bone on the teeth and a mix of Polished Bone and Bugmans for the raised parts of the gums. I’ll also hit the Gold parts with Retributor Armour and then wash it with Agrax.
I did the outlines/edge highlight on the black with Mechanicus Standard Grey and I freehand the yellow markings with a double-layer of Averland Sunset and Flash Gitz Yellow. The bones are Rakarth Flesh shaded with Agrax and higlighted with Rakarth and Reaper Polished Bone. The guns are Mephiston Red washed with Carroburg Crimson and edge highlighted with Evil Sunz Scarlet.
The gemostone on top is done with a base of Mephiston Red. Once that’s down, I shade toward the “upper right” of the gemstone using Carroburg Crimson and Nuln Oil, creating a transition to a darker shade in the upper right but leaving a rim of Mephiston around the edges. Then I put a spot of Abaddon Black in the upper right, and dot that with Reaper Pure White. Afterward I do a small swoosh of Evil Sunz Scarlet and Jokaero Orange to do the highlight in the “lower left” of the gemstone. This is pretty much how I do all gemstones. Finally, I coat the gemstone and the maw in ‘Ardcoat – this gives them a glossy sheen that makes the gem look shiny and the mouth look all slobbery and wet. I’ll double coat the maw in parts that i want to look super gross.
The end result: Two War Dogs, ready to rumble. It’s a shame they aren’t Moiraxes, but maybe I’ll do those at some point if they survive the 9th edition transition with good rules.
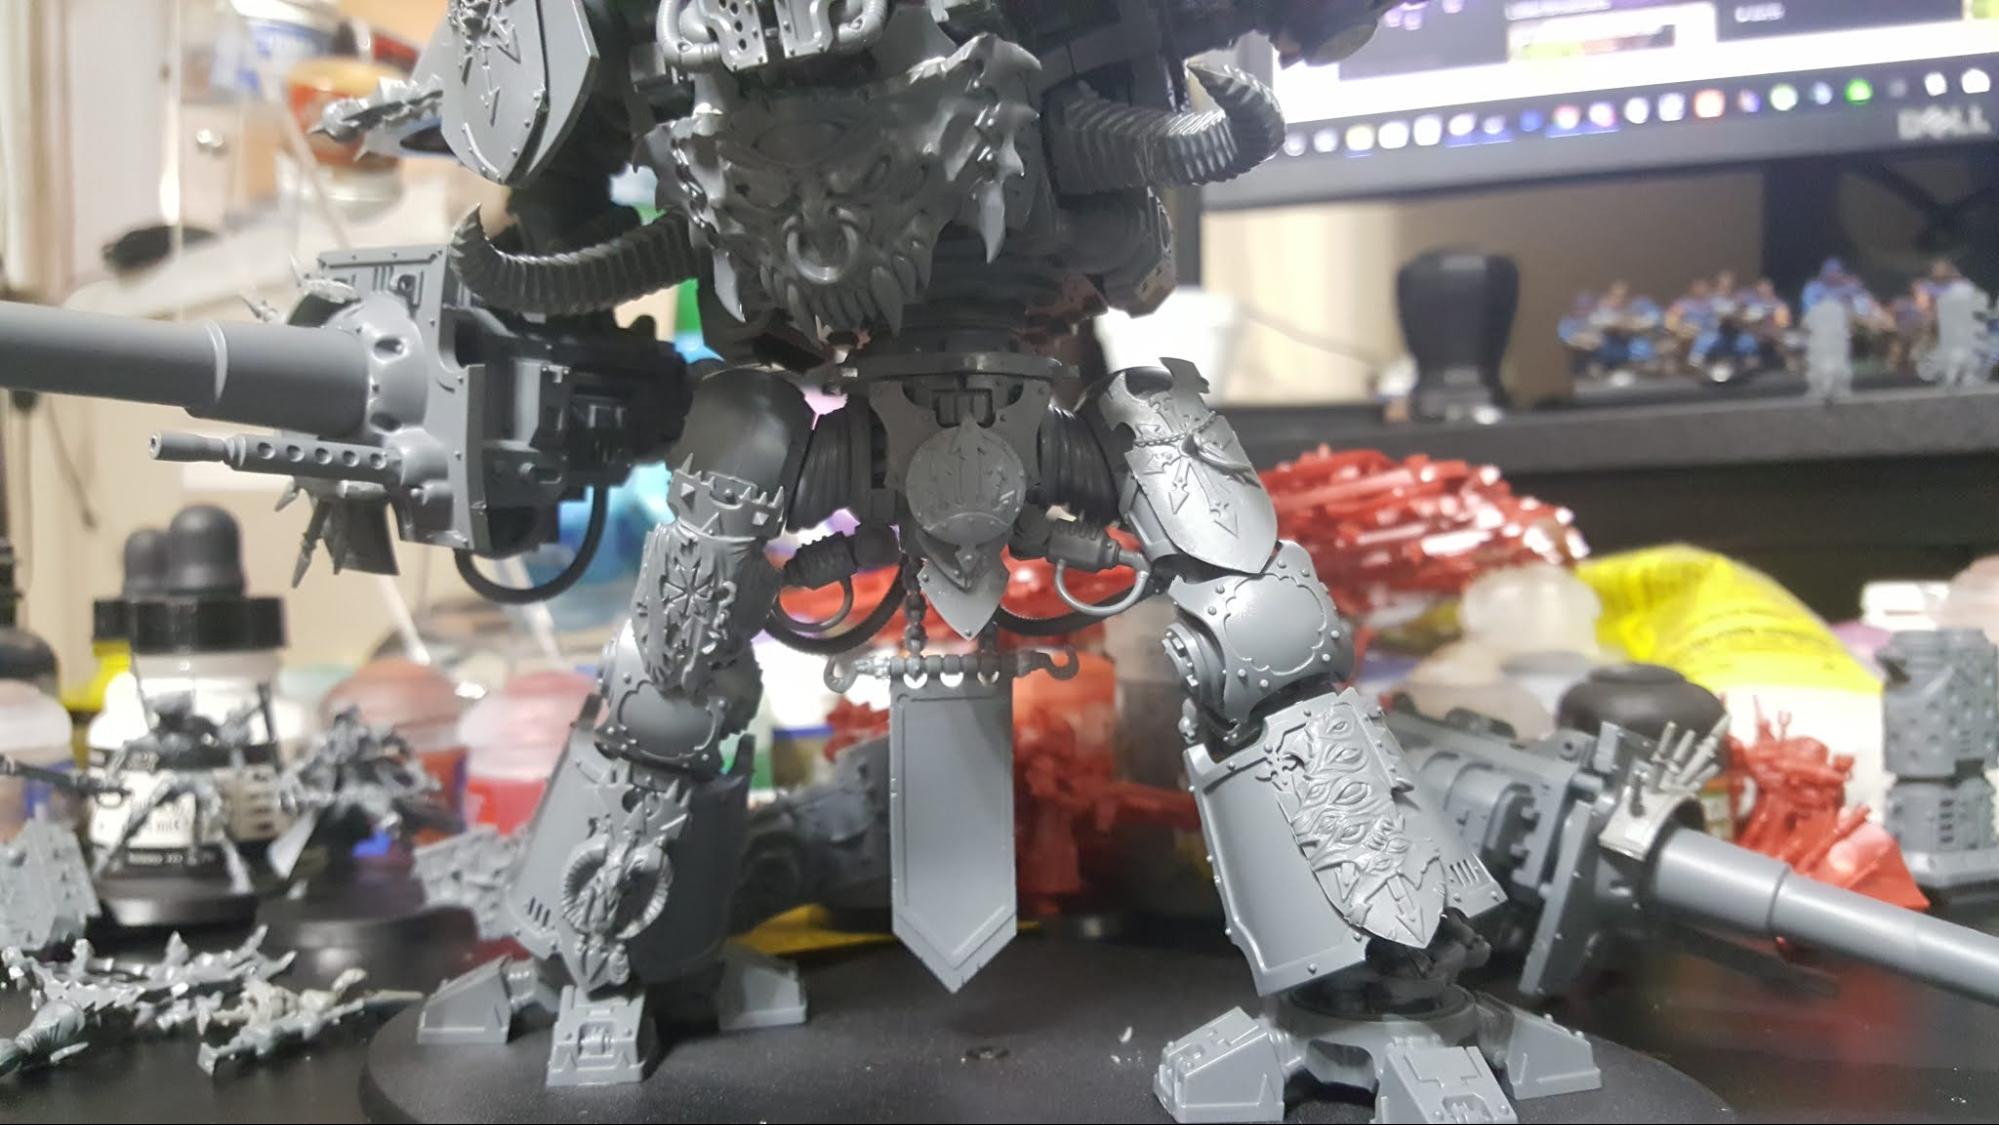
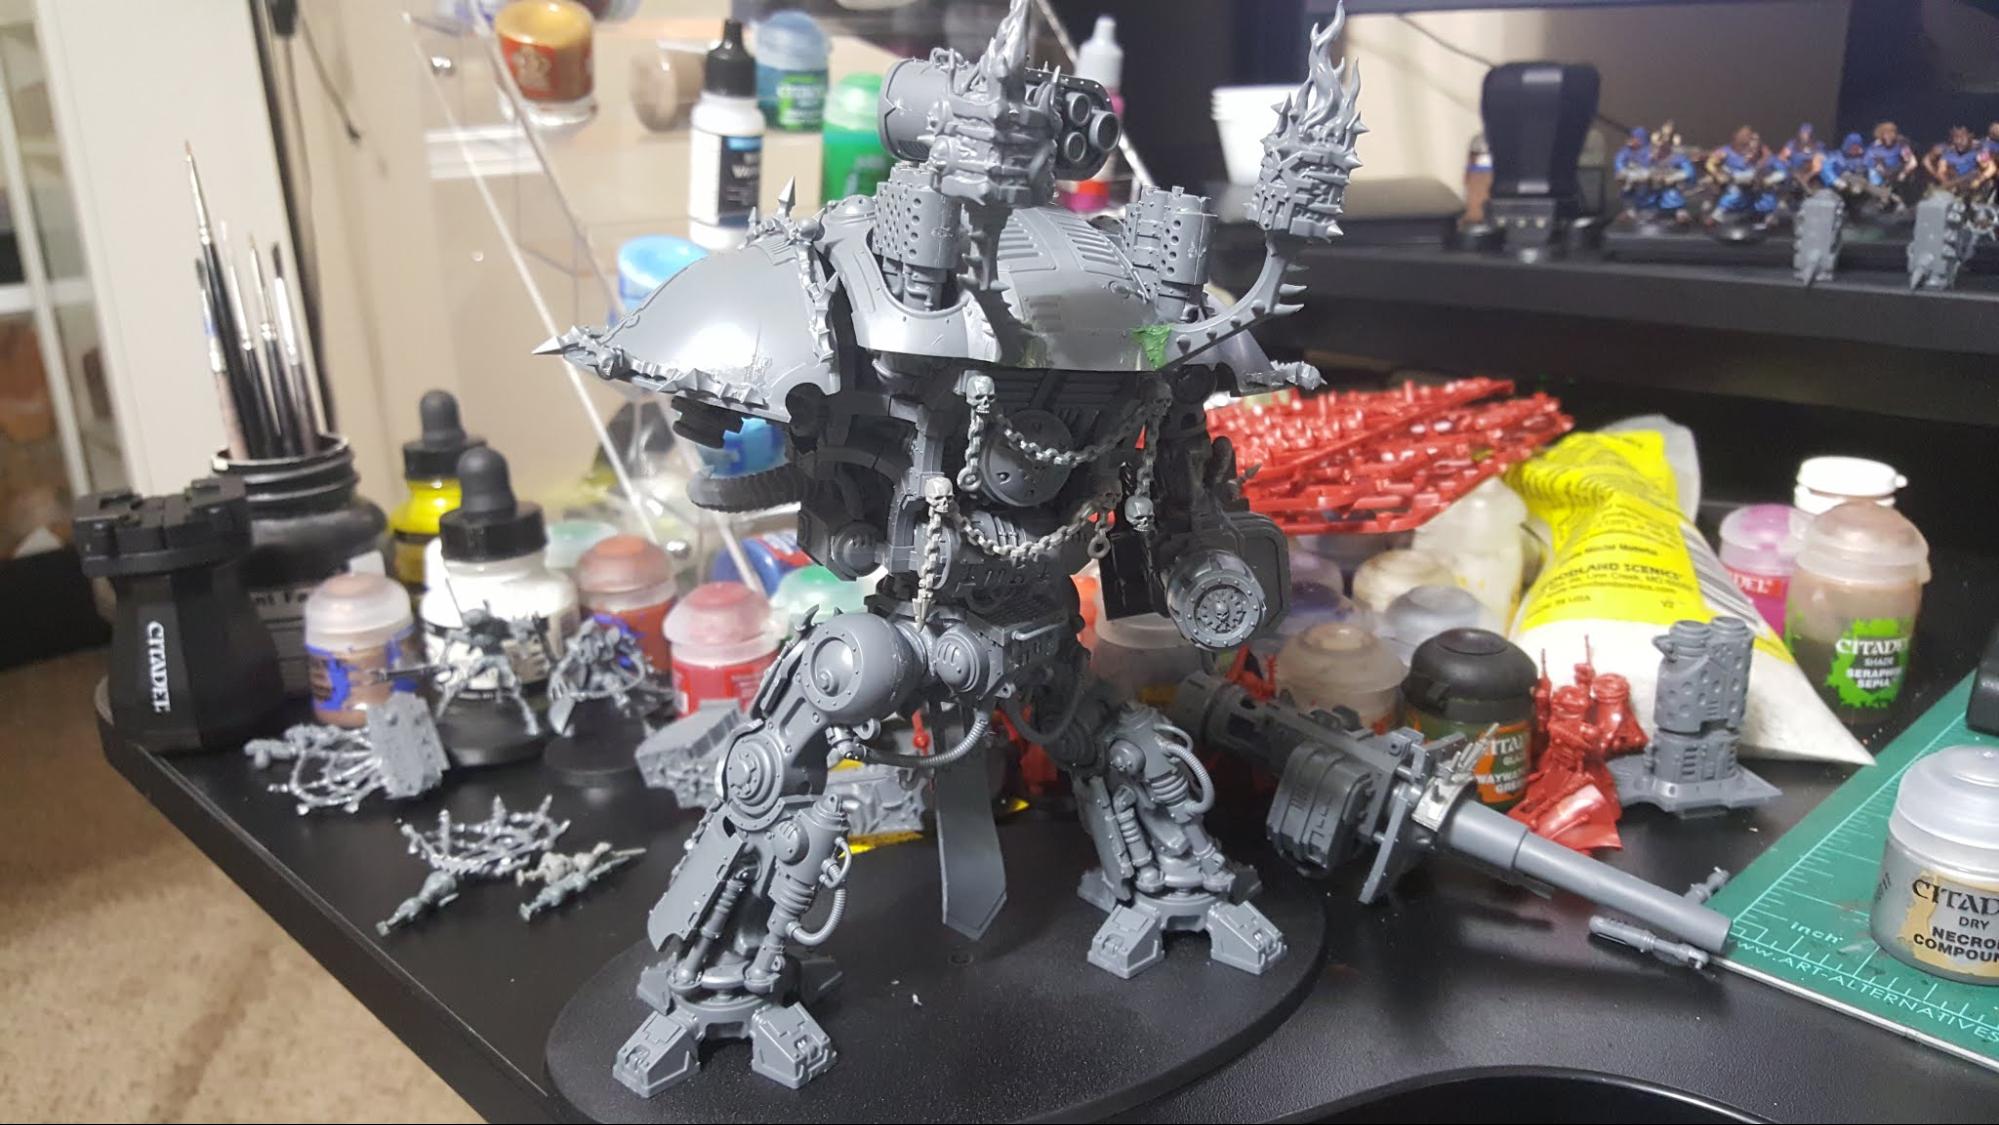
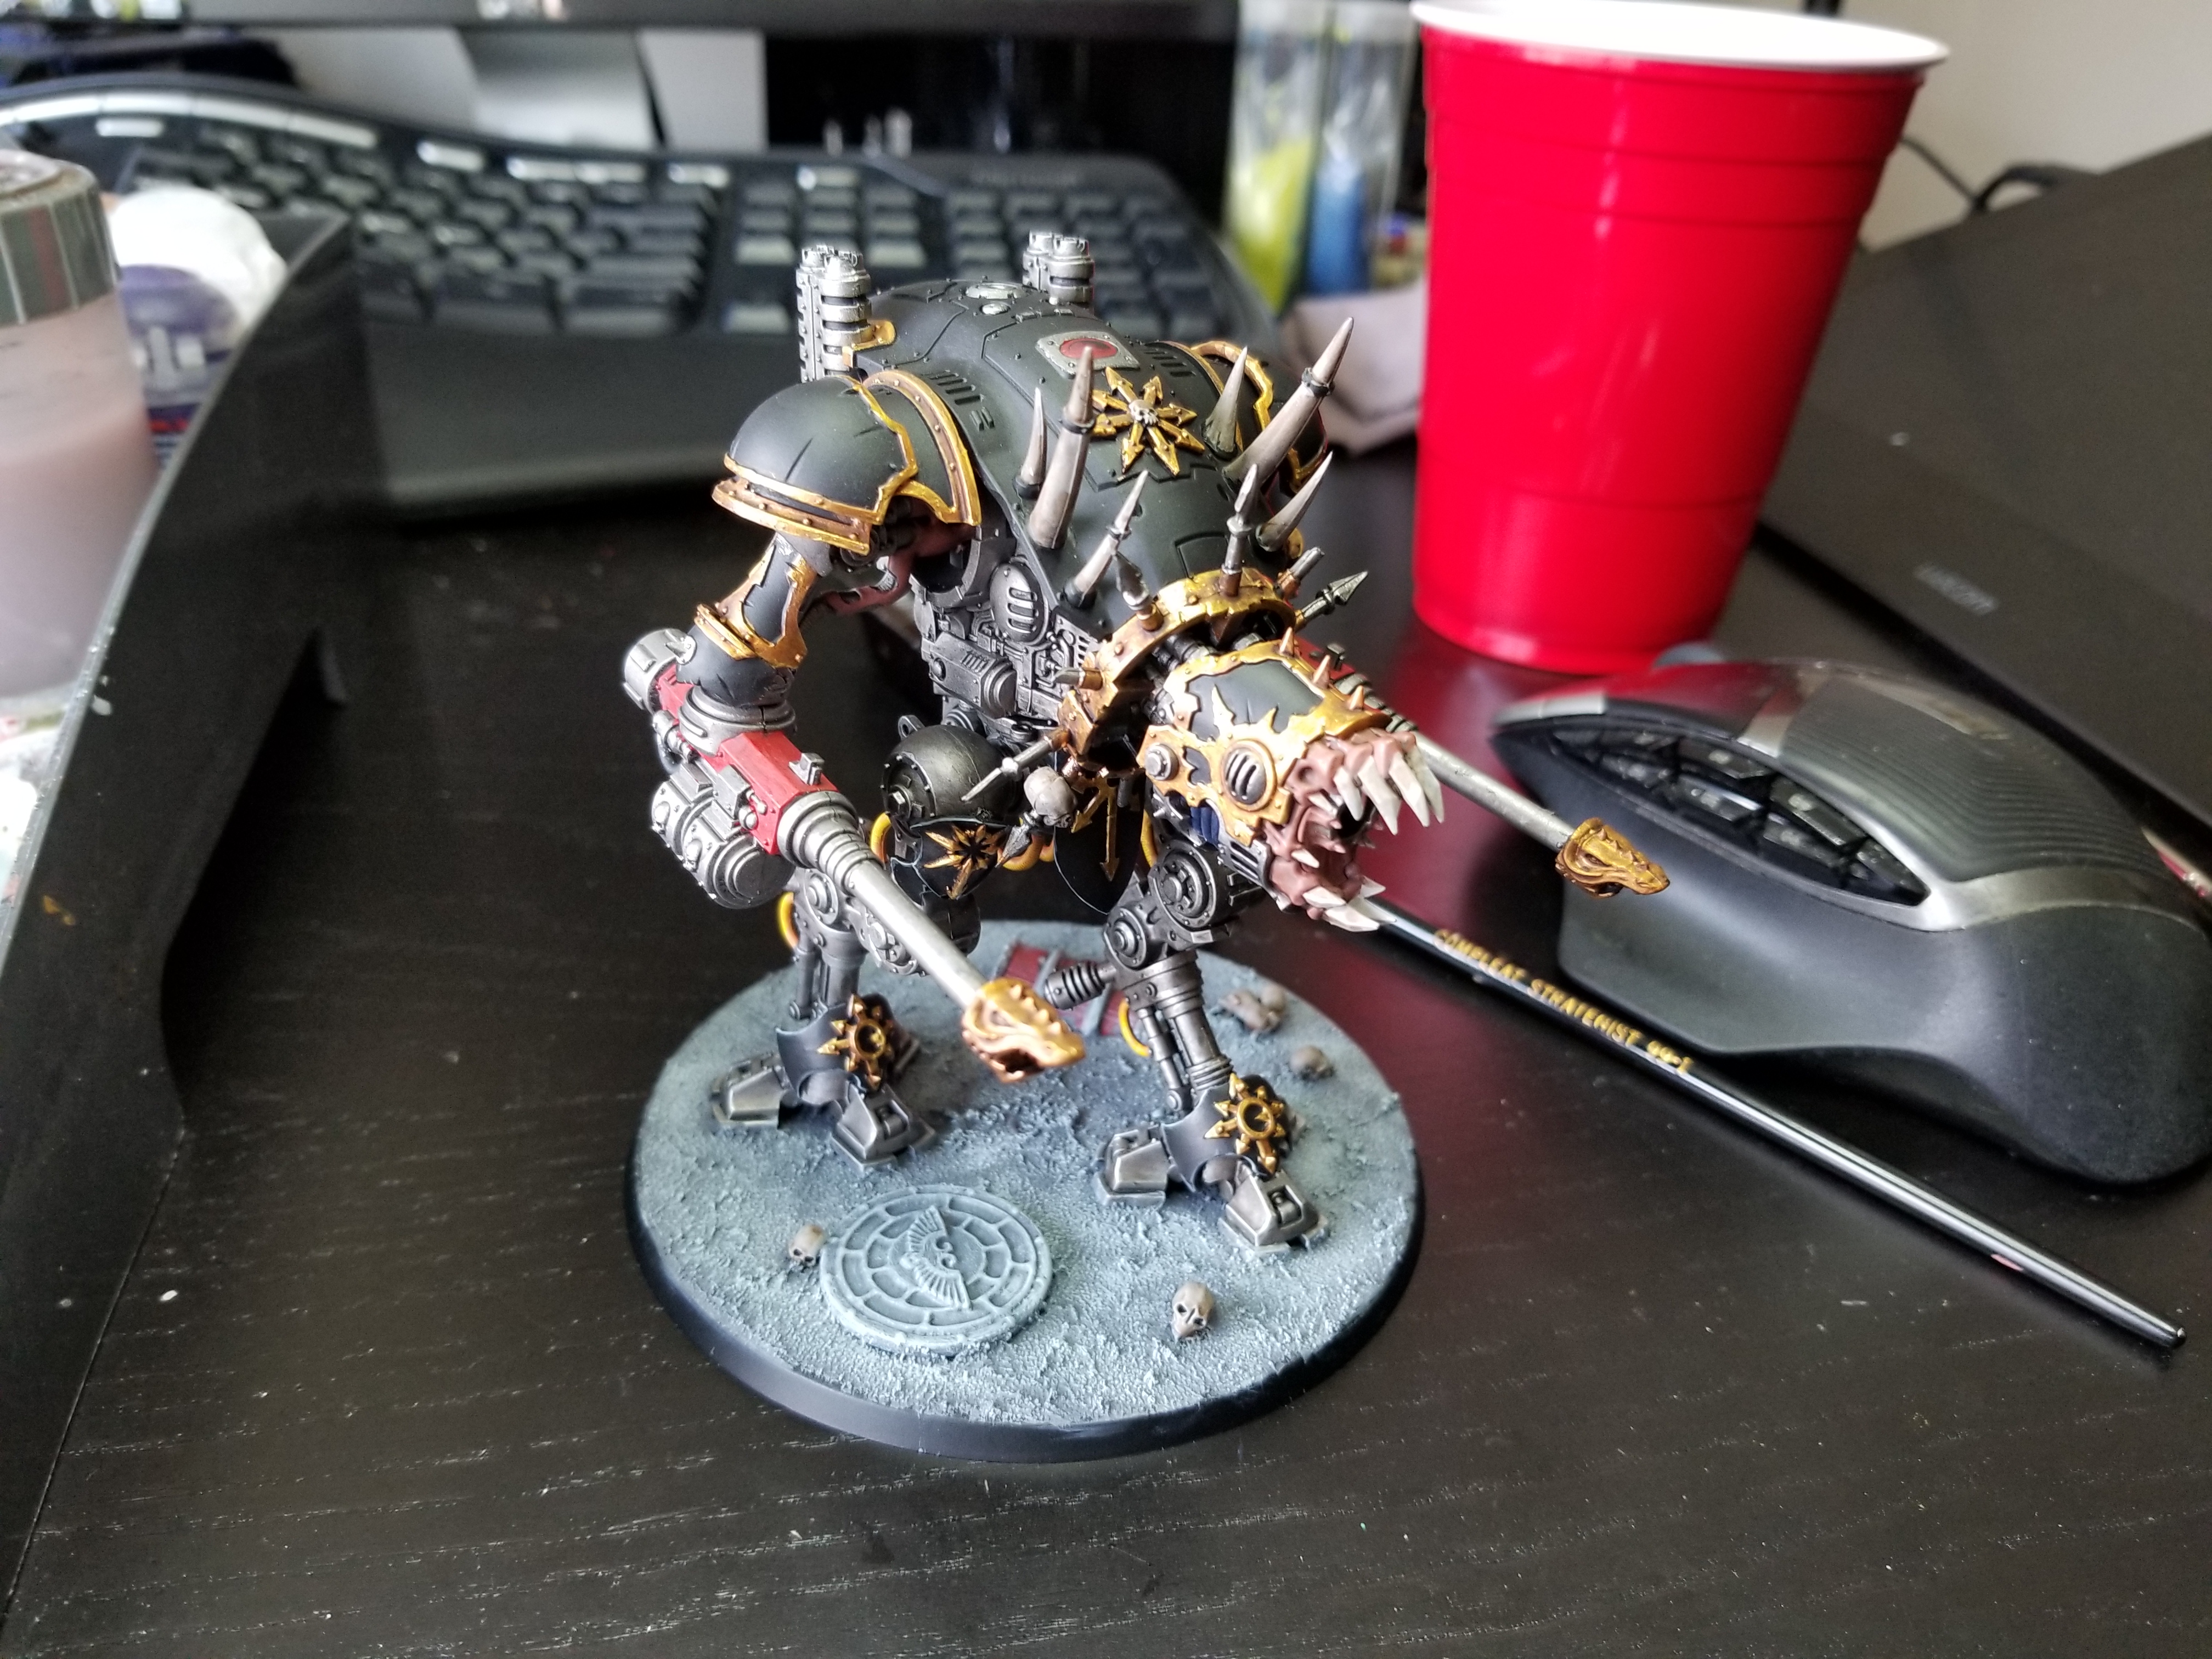
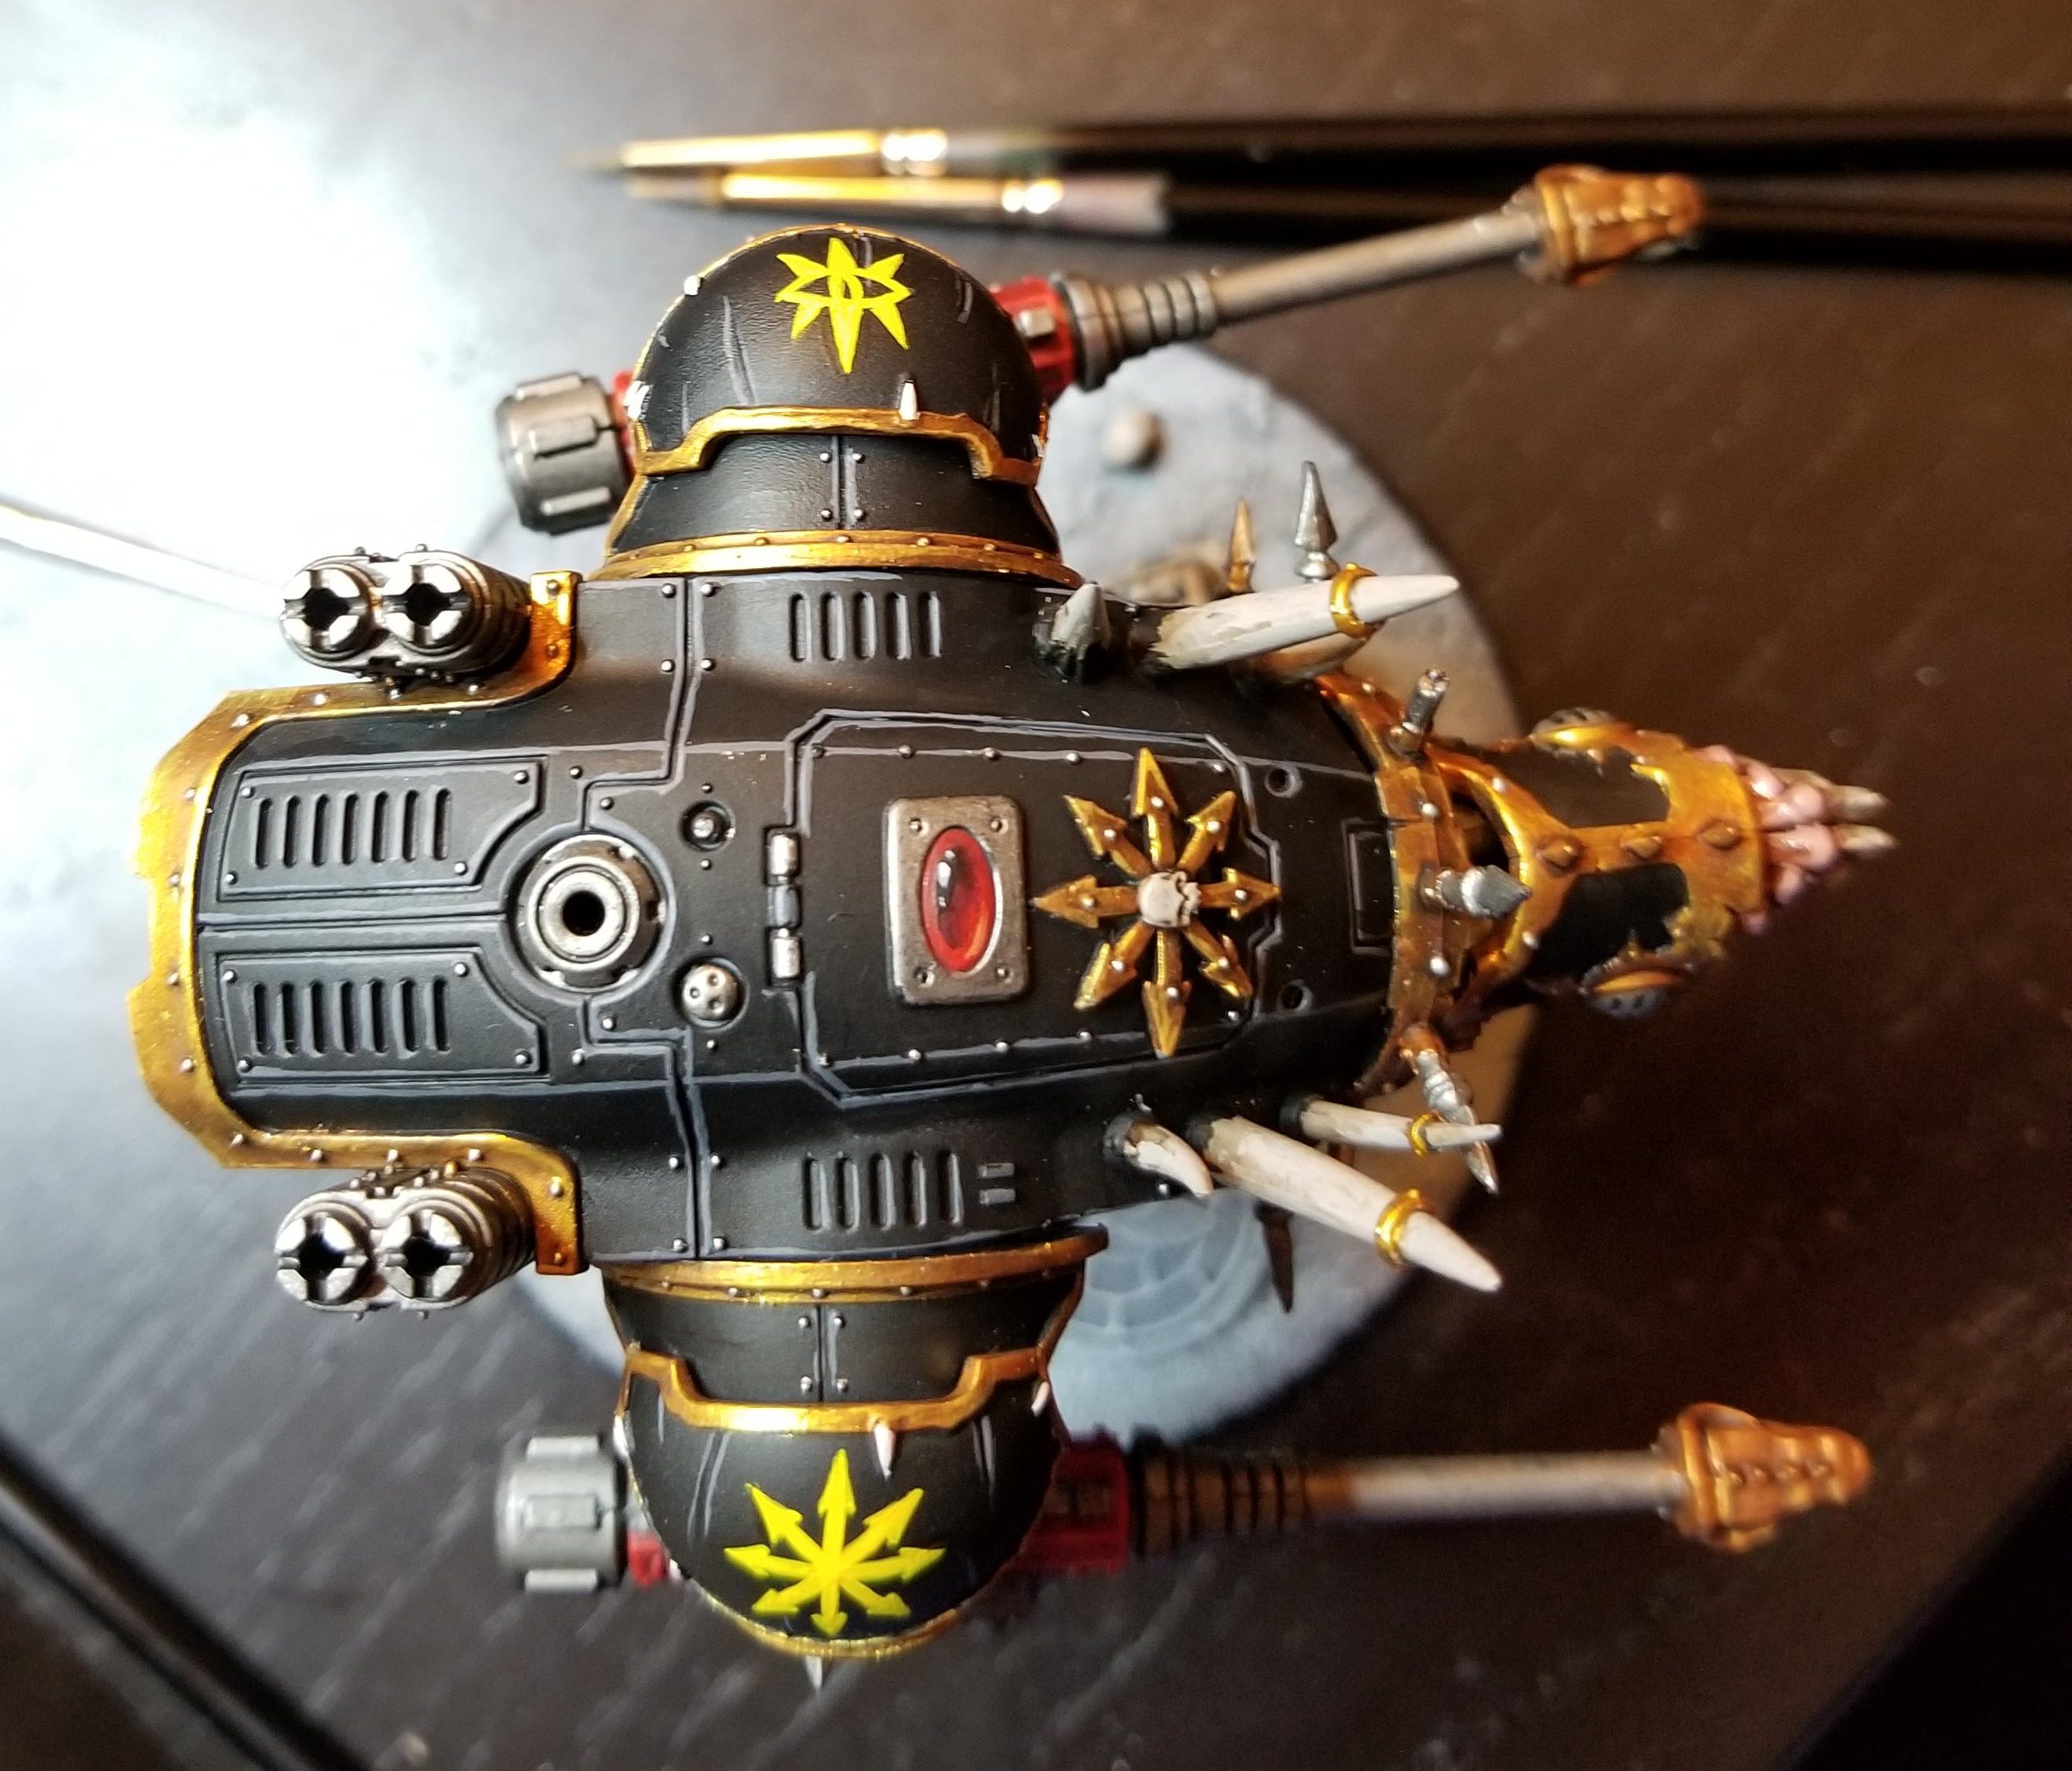
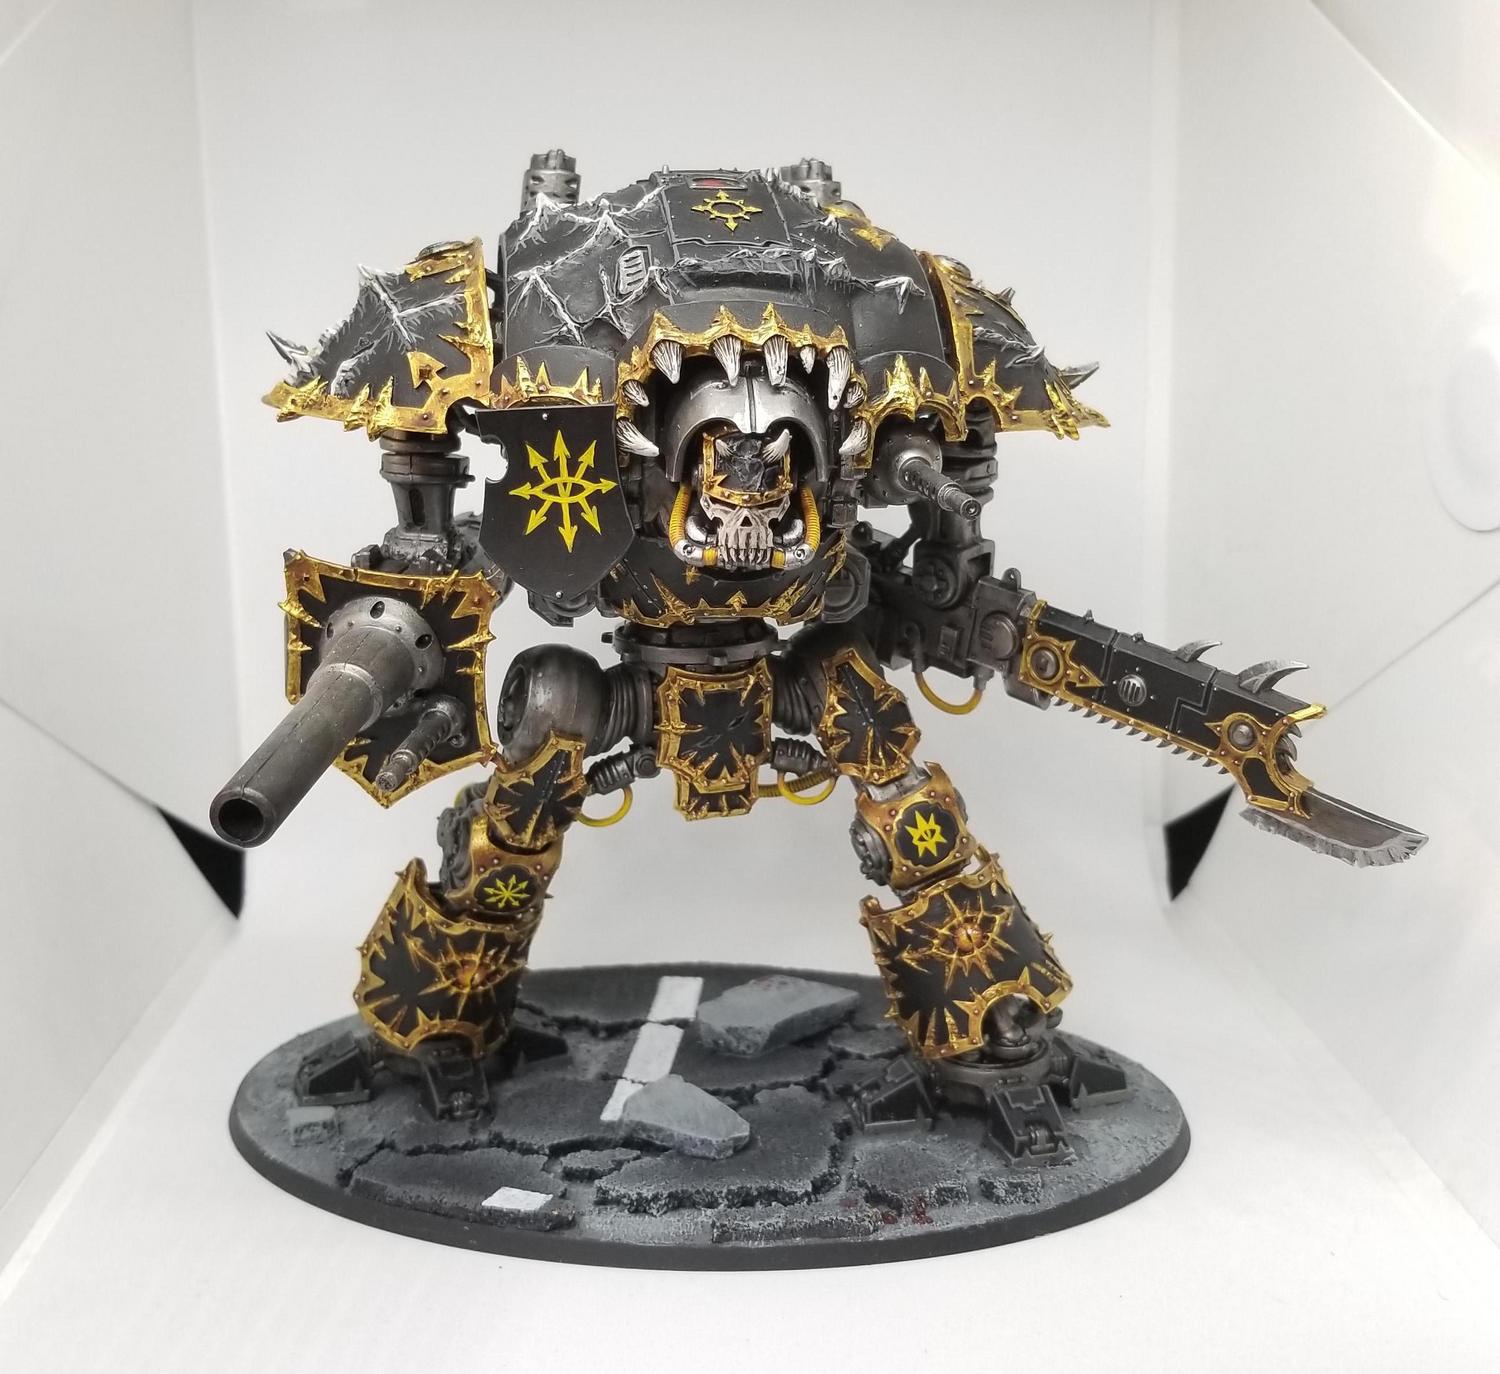
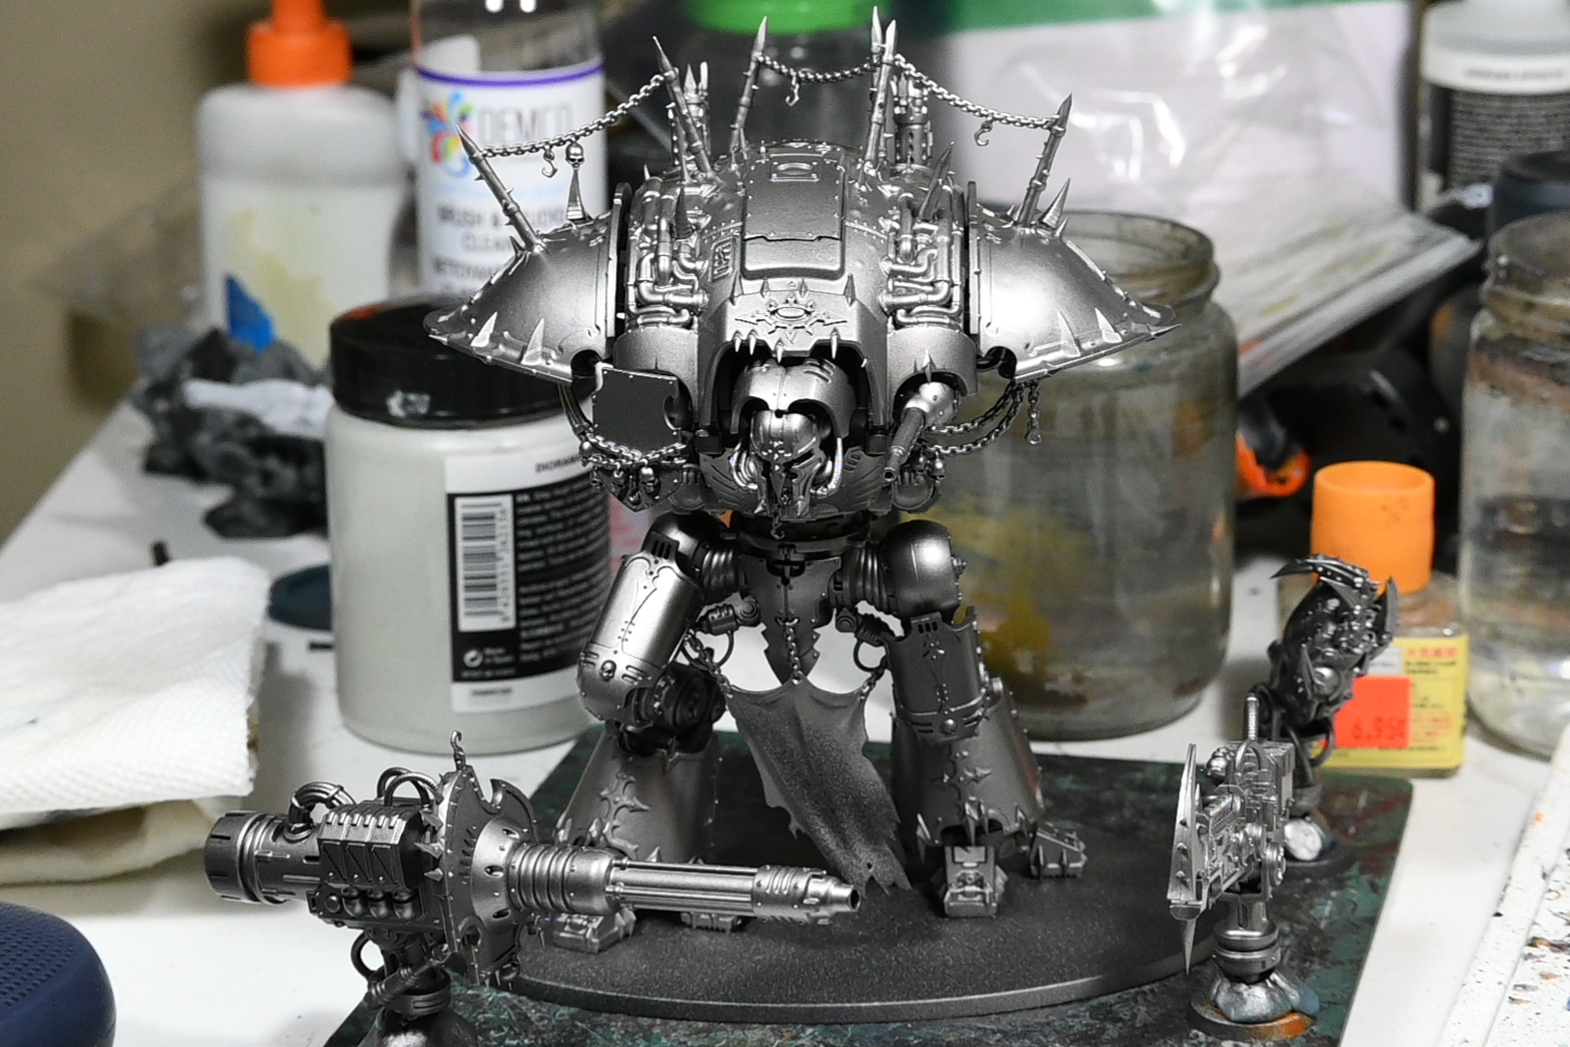
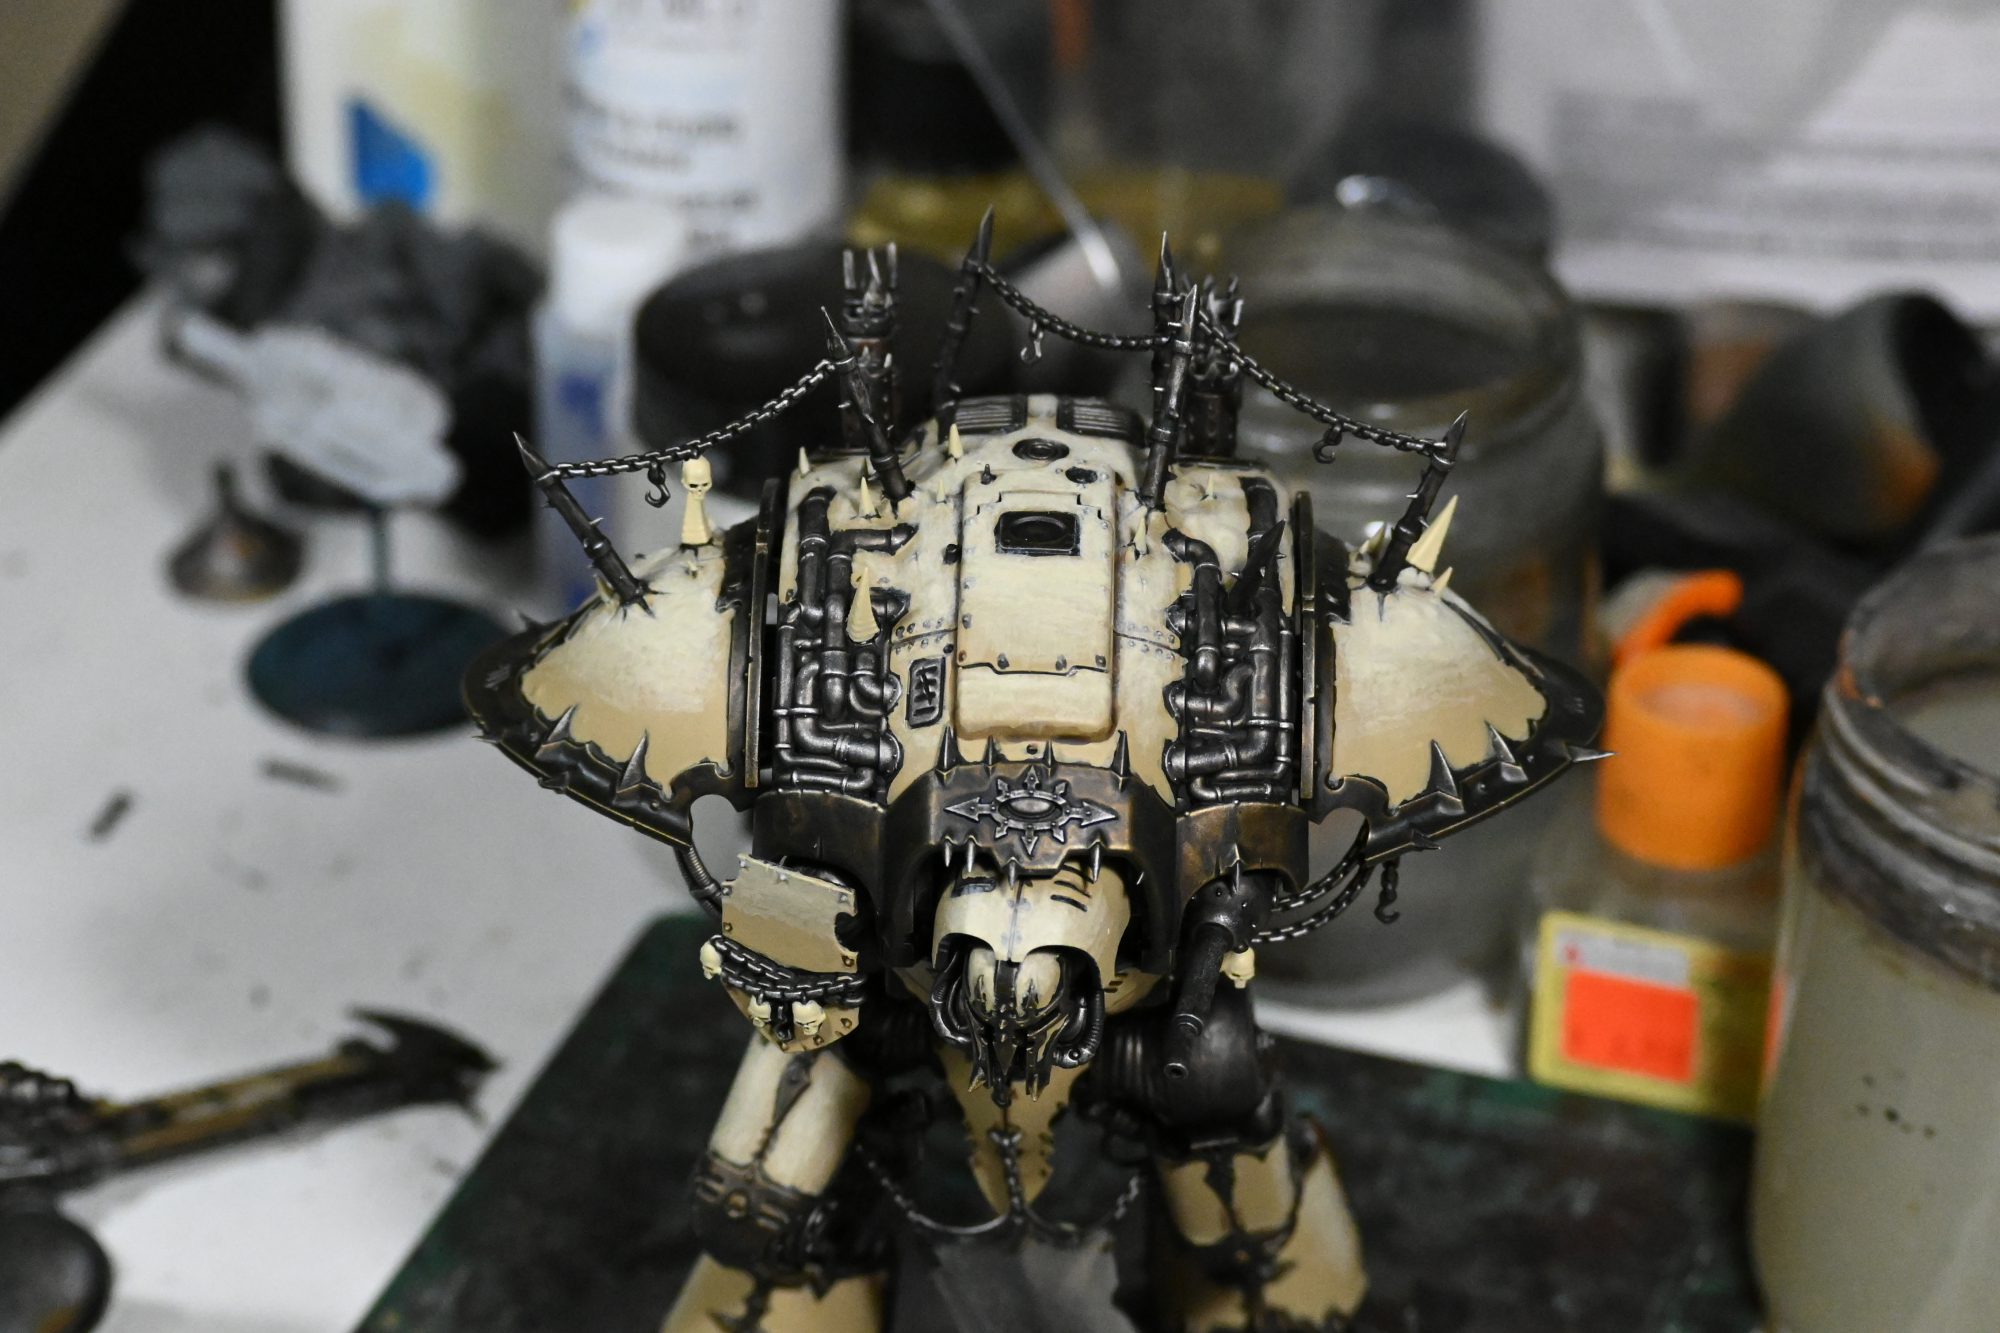
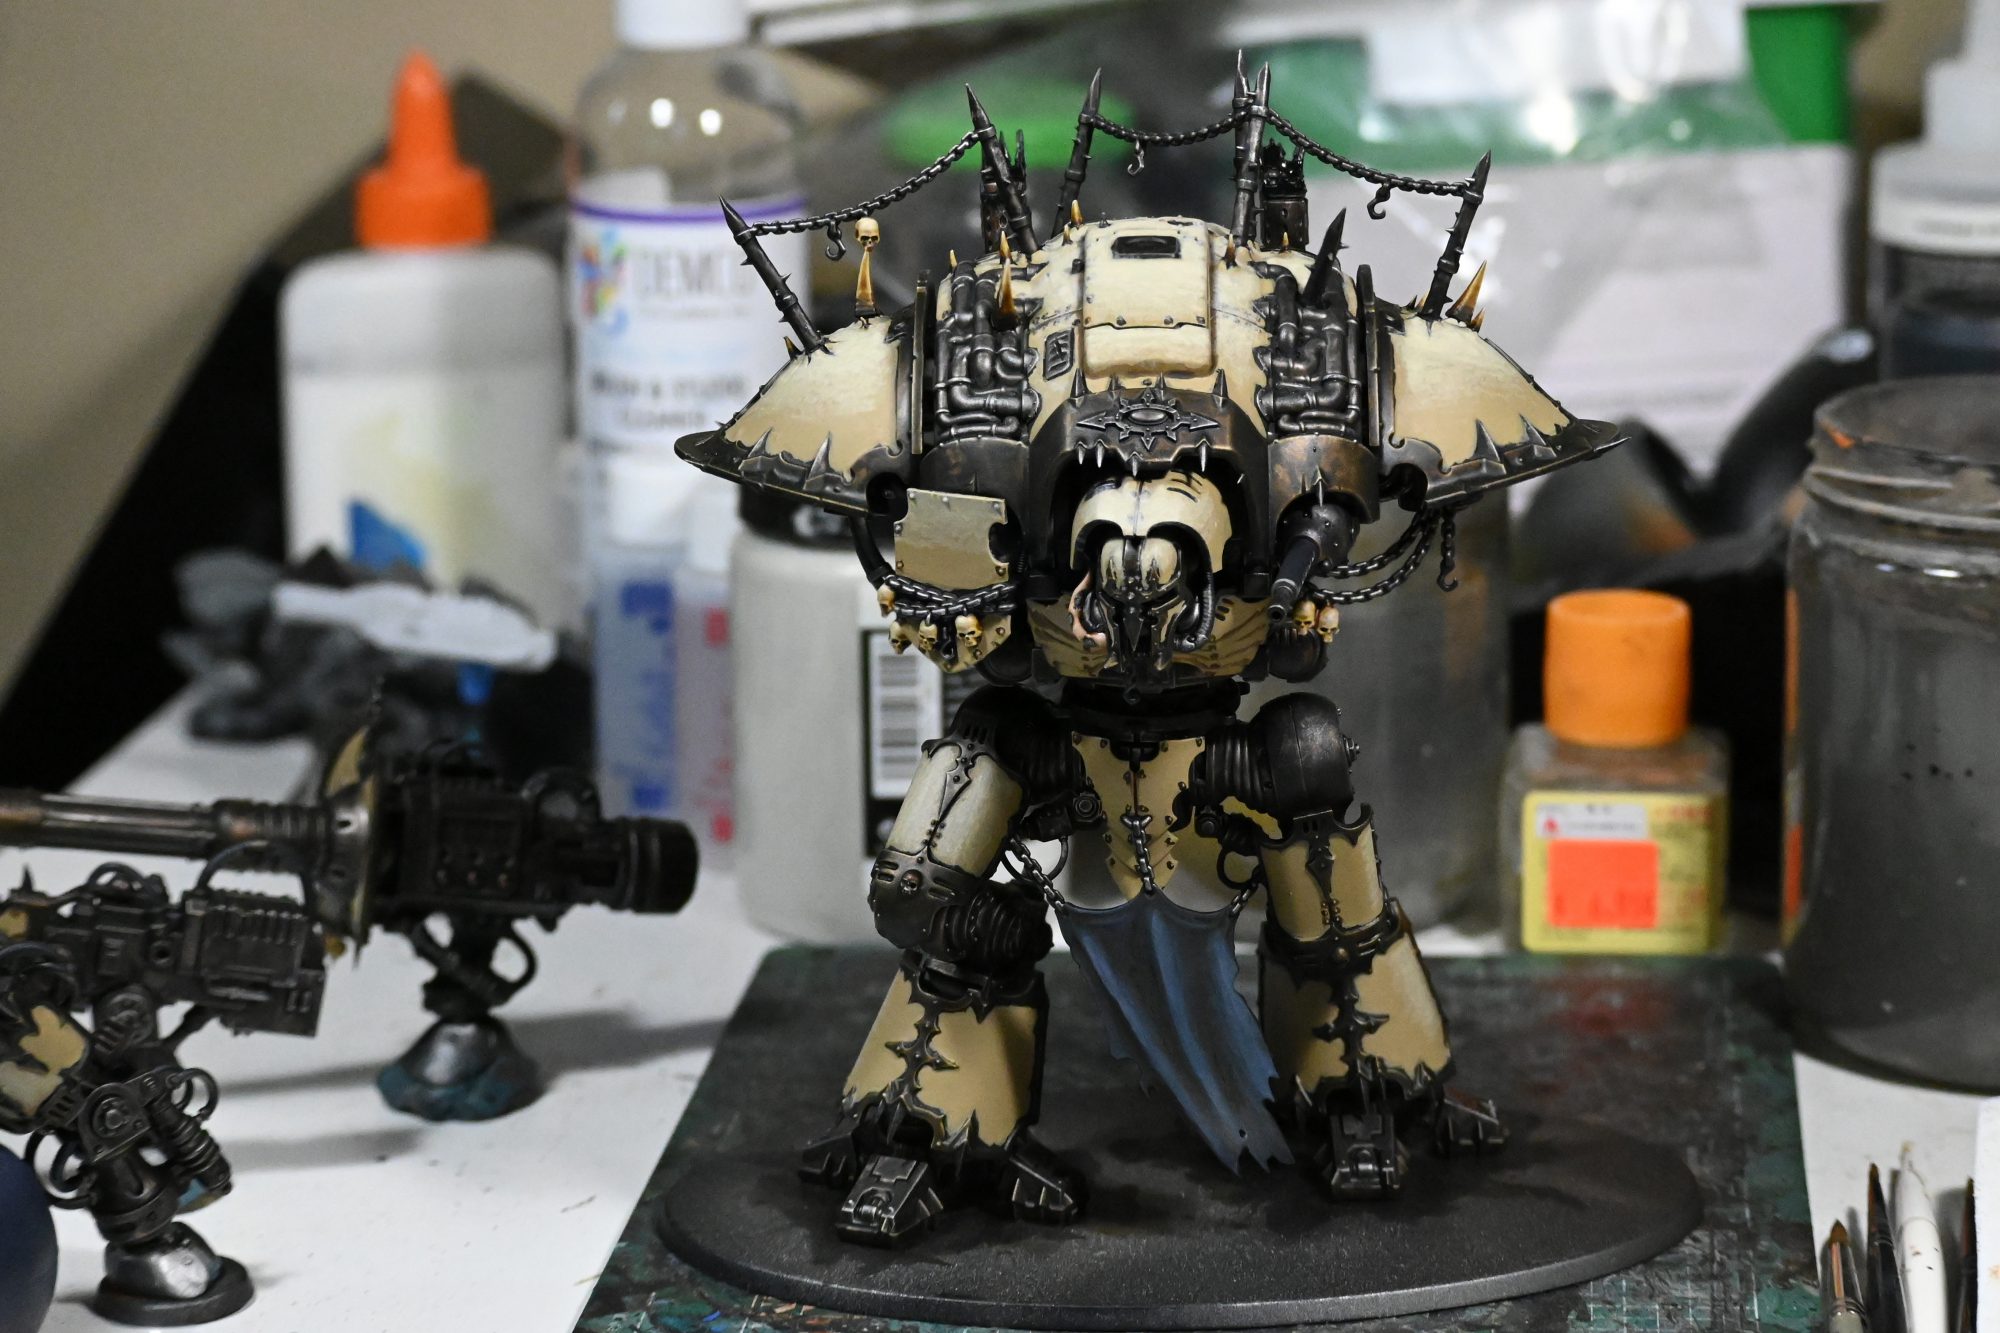
Converting a Knight Despoiler: The Slaughterknight
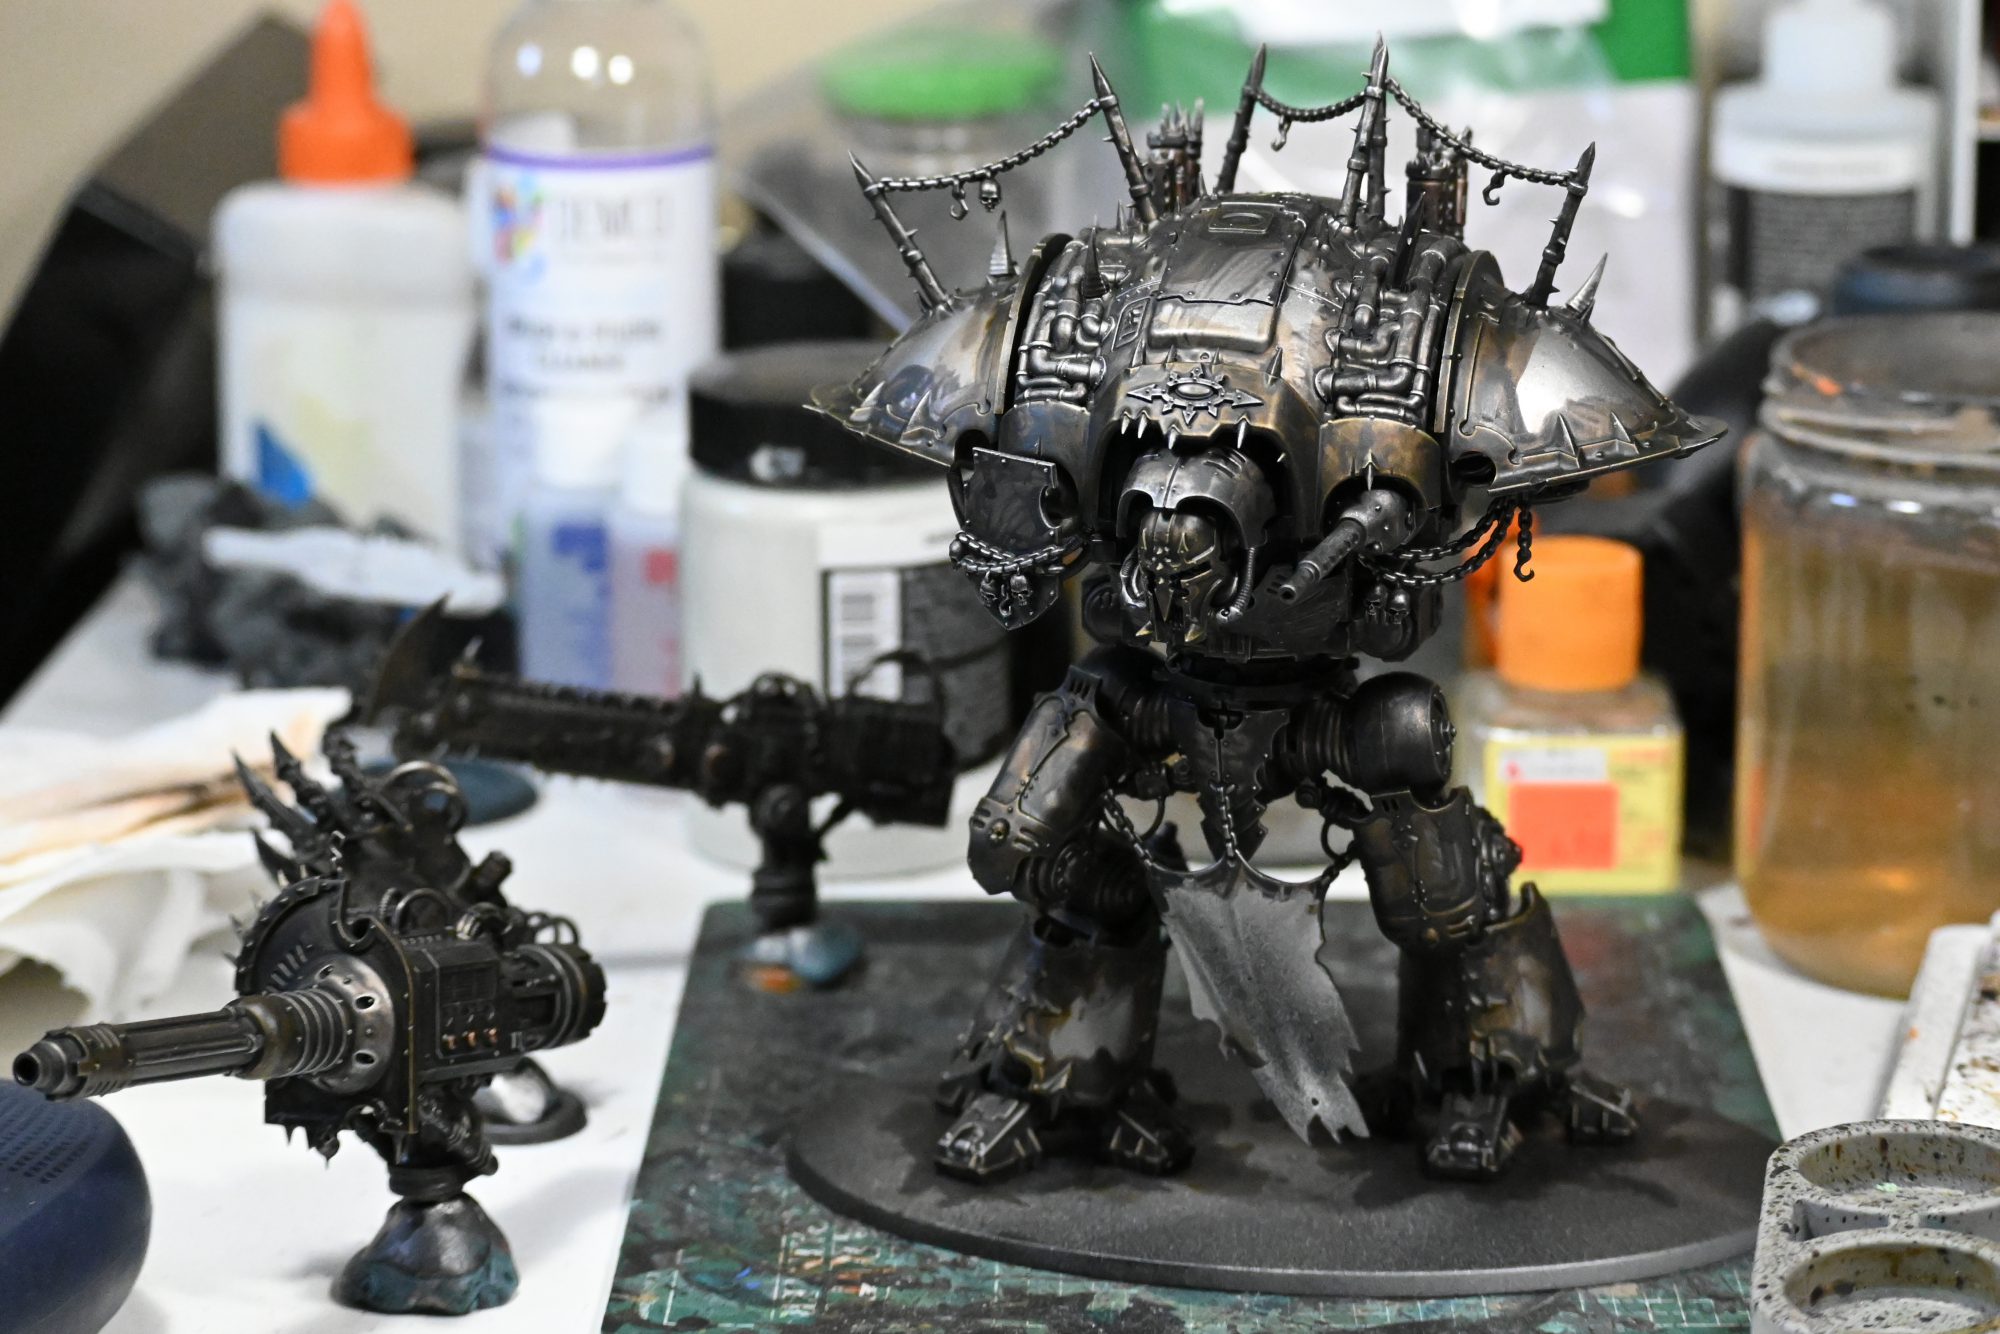
The Slaughterknight was the second of the two knights I painted, and still needs some finishing touches but as I write this I’m stuck at my parents’ house with my family thanks to the Coronavirus so I may as well talk about the work I did on it and how I painted it to this point. I’ll come back and update later on, I promise. I bought a Mutalith Vortex Beast when Codex: Thousand Sons came out and because that kit is a dual kit for the Slaugtherbrute, it comes with extra bits I wasn’t going to need but that I knew I really wanted to use. After I’d painted my Forge World chaos knight, I knew I wanted to do something more “out there” with the second and do a knight that was daemonically possessed. The Slaughterbrute head was the perfect size for doing this. I also wanted to replicate the feeling of a daemon “bursting out” of a knight’s shell, similar to how the Val Gorbak look in Horus Heresy.

Mashing the head on was pretty easy. While I’m no green stuff expert, I was able to fashion some connective tissue using a modeling knife pretty easy and likewise I added a tongue to the mouth to replace the weird triple tongue bit that the Slaughterbrute normally has.

For the top of the armor, I added the spine from a Warhammer Fantasy Zombie Dragon model, and used greenstuff to make it look more like part of the carapace. I think this worked out OK. Again, I’m not great with greenstuff, and probably lack the patience to really do great stuff with it.
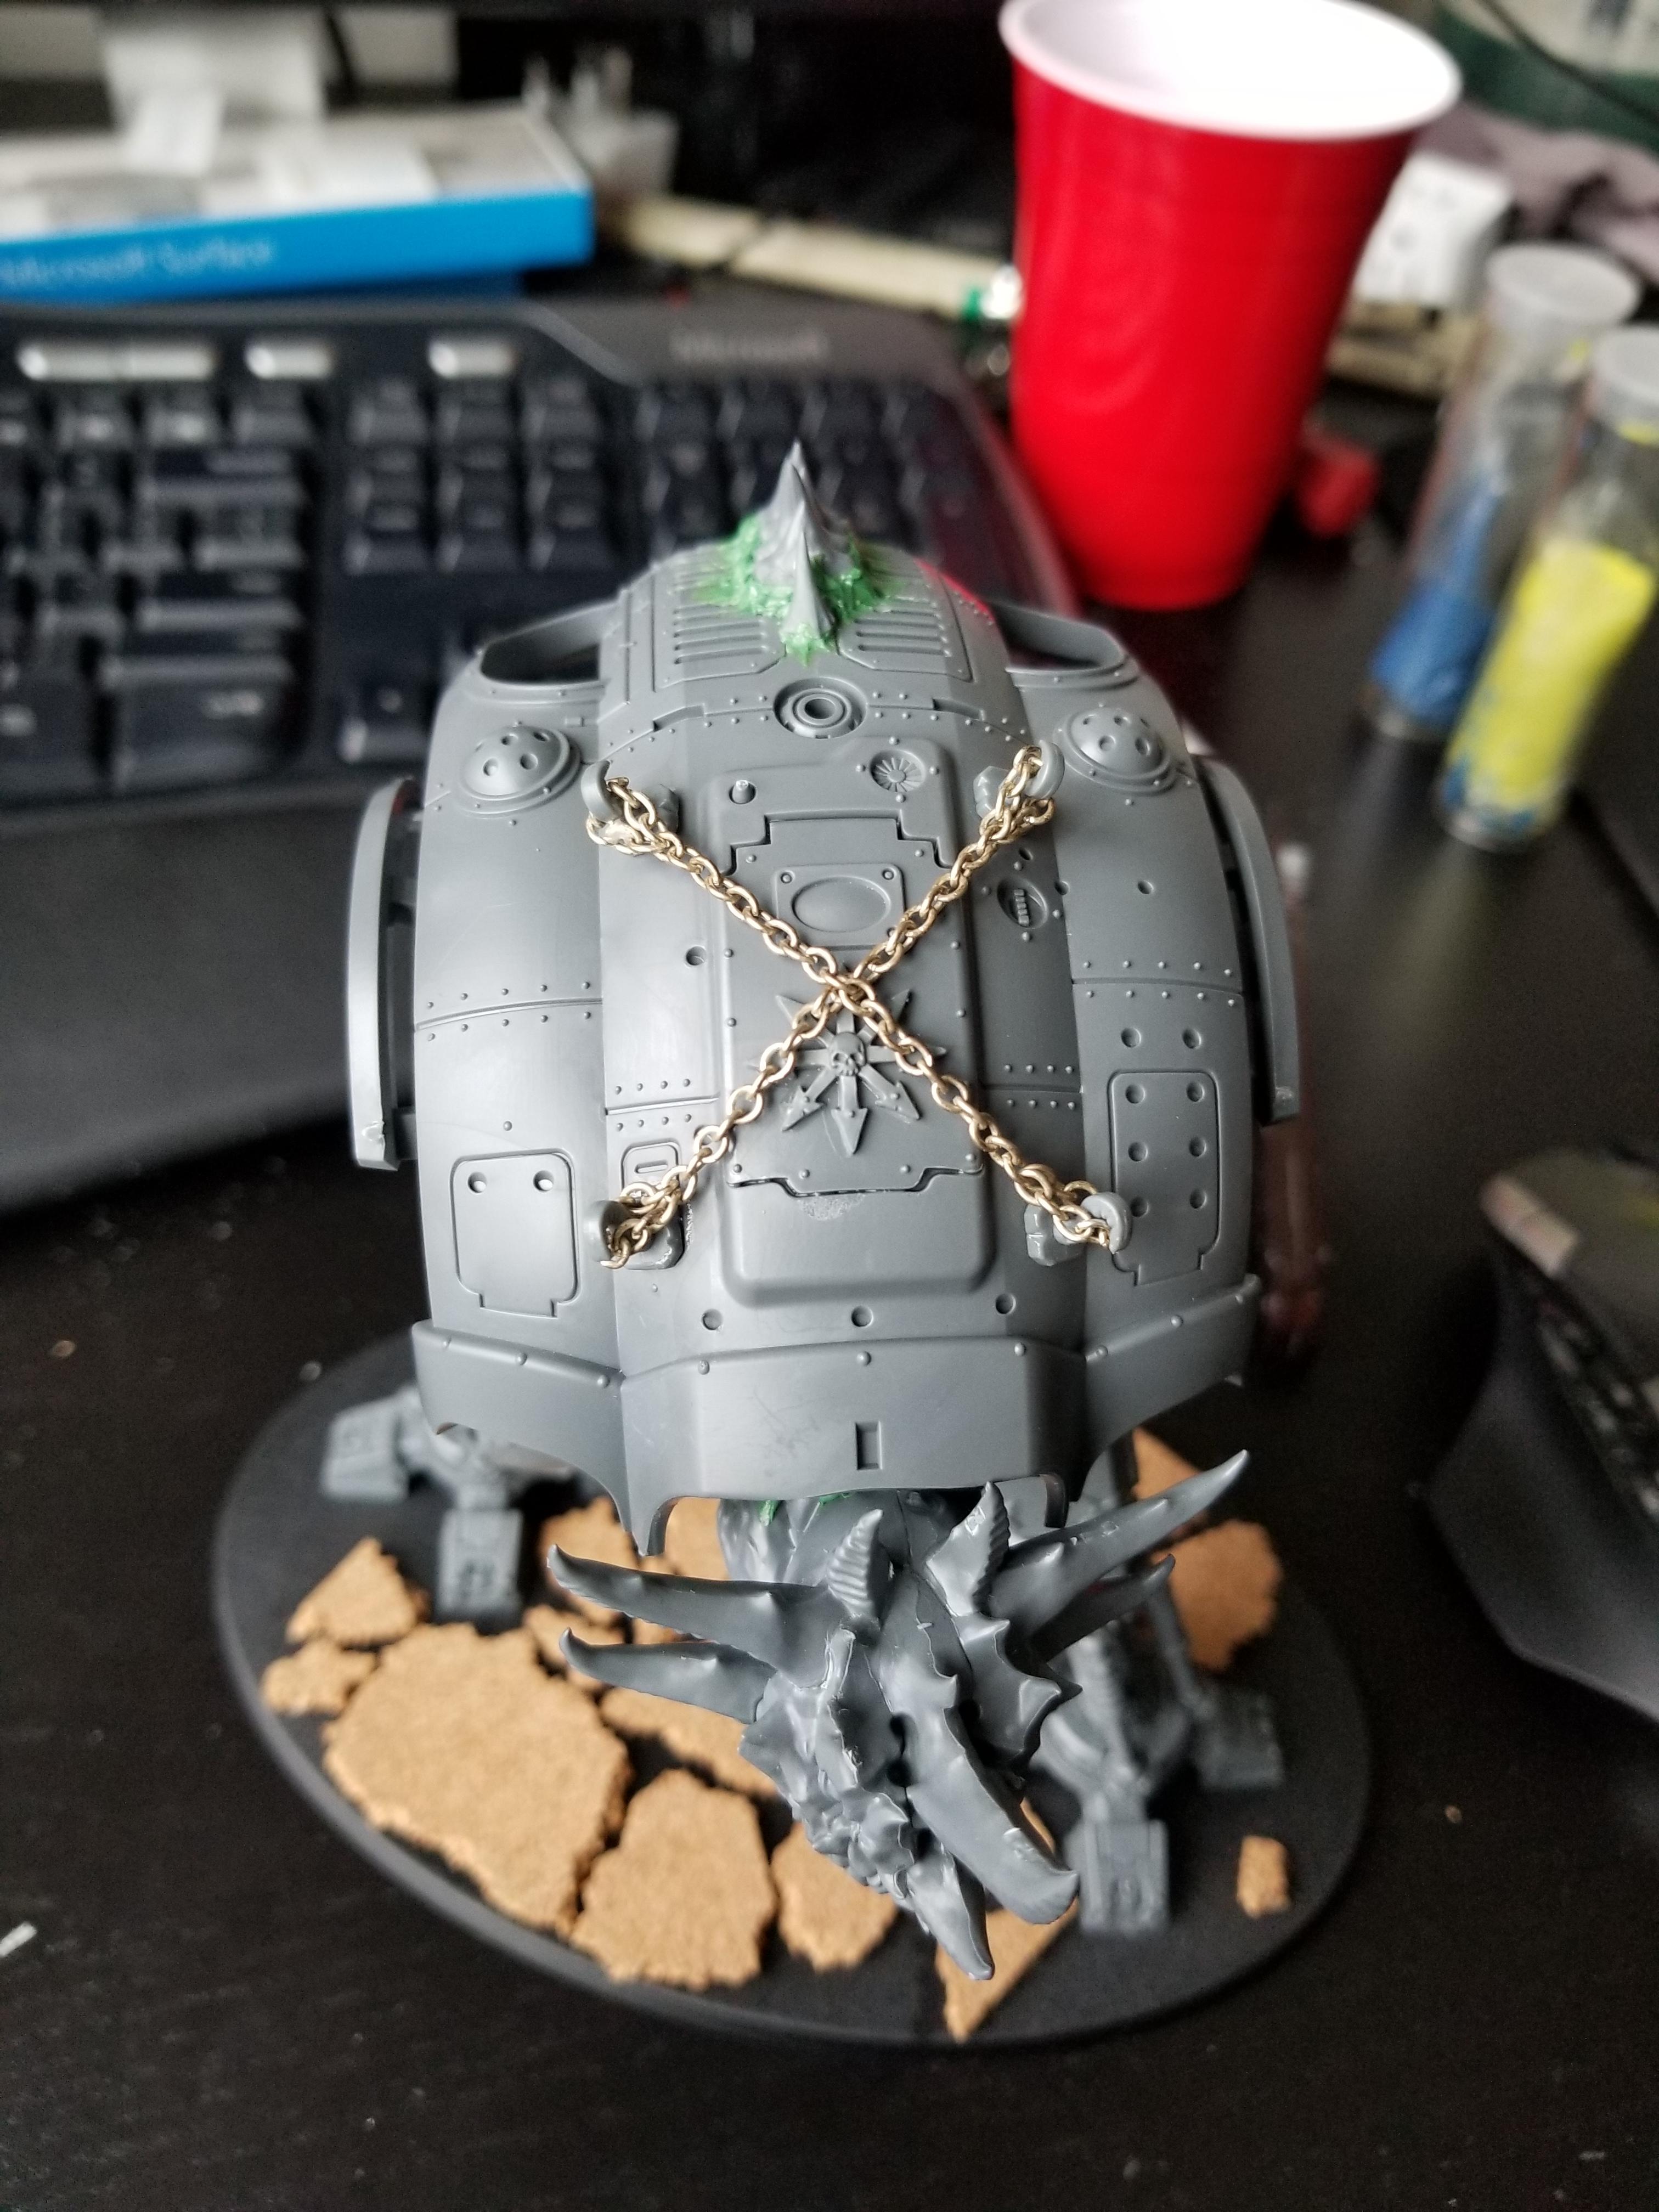
Because this is a daemon engine and no longer something piloted by a mortal, I wanted to make it clear that the pilot’s hatch was off limits. The chained aesthetic is something that shows up on other daemon engines and I replicated it here using the small hooks from the Chaos Space Marines vehicle upgrade sprue and some jewler’s chains. These always end up being a pain in the ass to paint, but the effect is worth it. I add the chains to the hooks before gluing them down so they end up taught – I don’t want them to come off on their own.

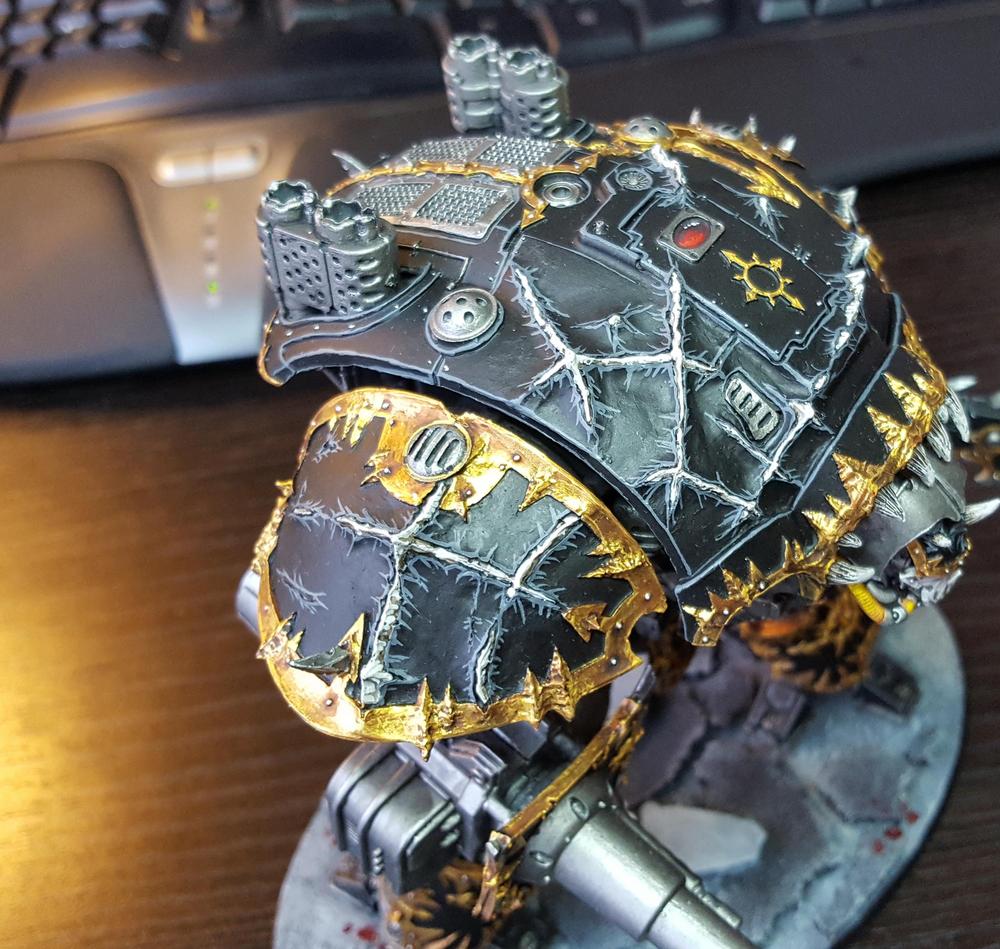
Next I needed the armor to look appropriately ridged and chaos-y to match the aesthetic of the Forge World Chaos Knight I already had (see below). I started by using plasticard to add more pointy bits to the trim on the standard knight armor.
Then I used green stuff to blend those in and add ridges to the more prominent parts. This makes them look more spiny and organic, and also helps blend them into the armor.

On the back of the armor I replaced the rear hatch with one from a Defiler that’s chained up, and the backs of the guns have been replaced with Chaos Warrior shields to make them look appropriately chaosy as well.

The leg plates were finished off with two plates from a Defiler and the tabard was replaced with a Fantasy Chaos Warrior Champion shield. Those shields make amazing bits for Chaos knights, by the way. I used some cork sheet for the base, because I’m going to make it look like he’s stomping on a ruined/broken street.
Time to paint! Prime black. Always black.
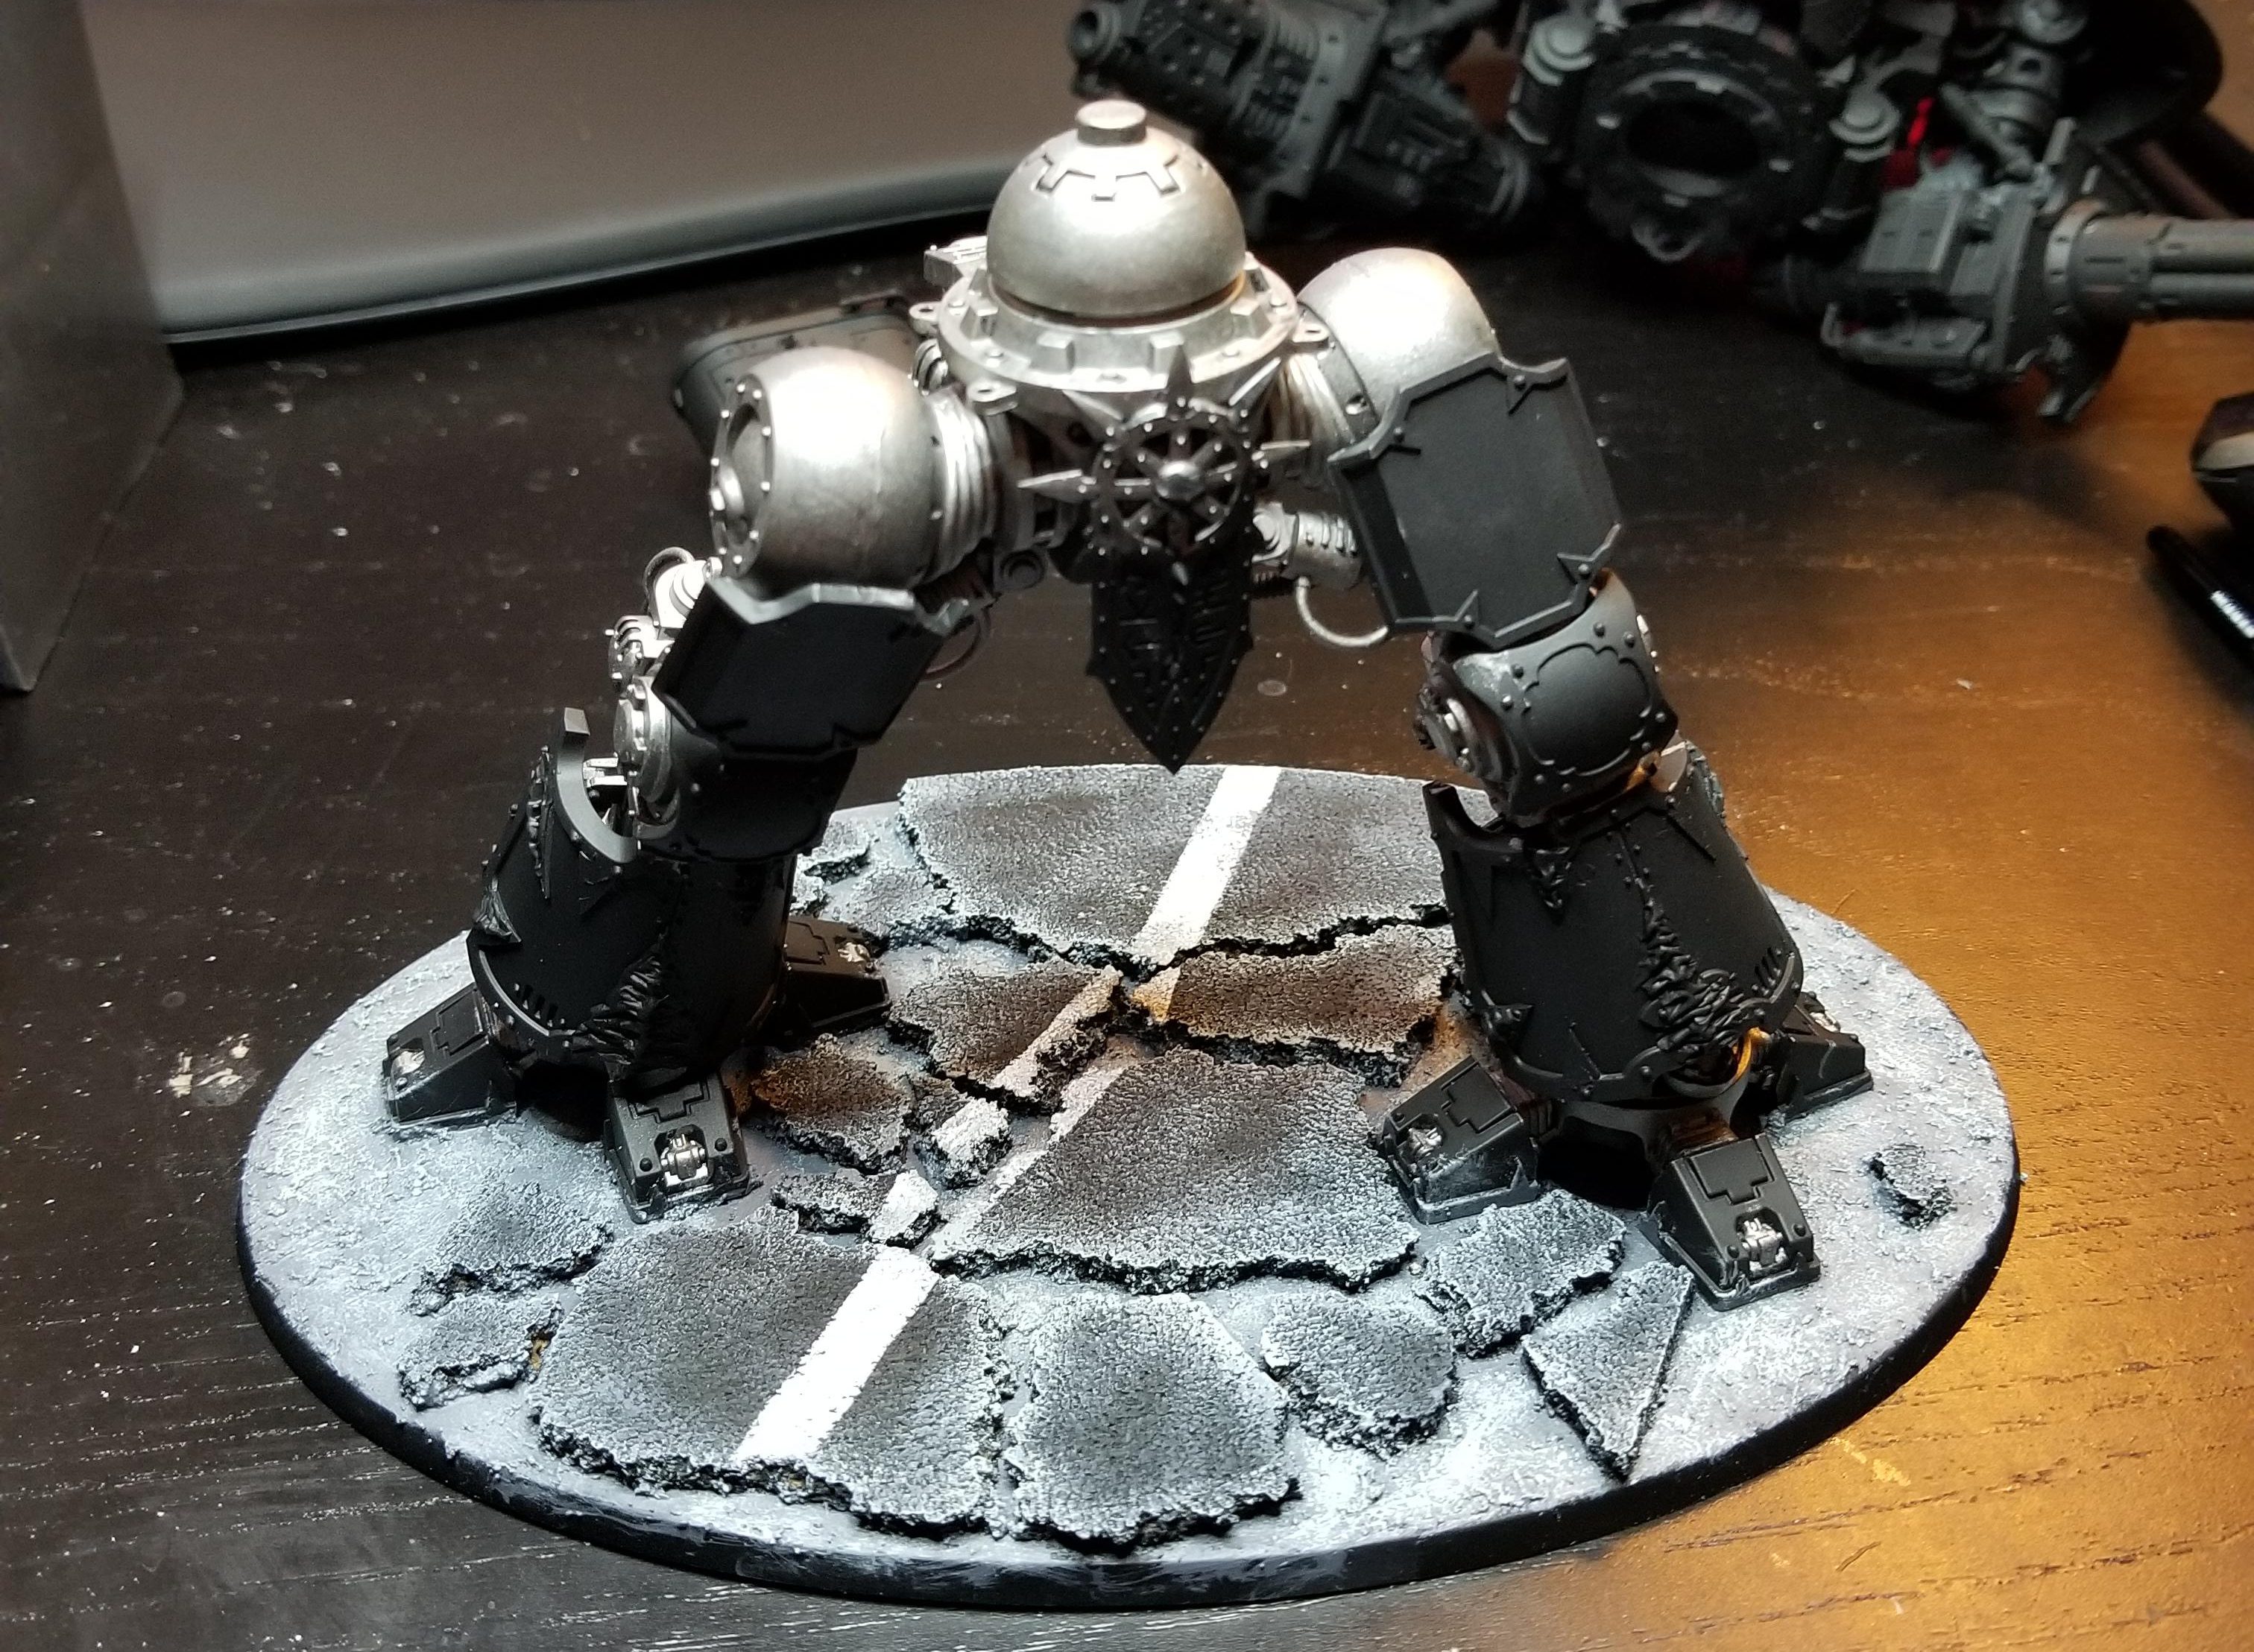
Starting with the legs again. I paint the metal sections with Leadbelcher, wash with Nuln Oil, then hit them with Leadbelcher again and edge highlight with Runefang Steel or Ironbreaker, whichever I grab first.
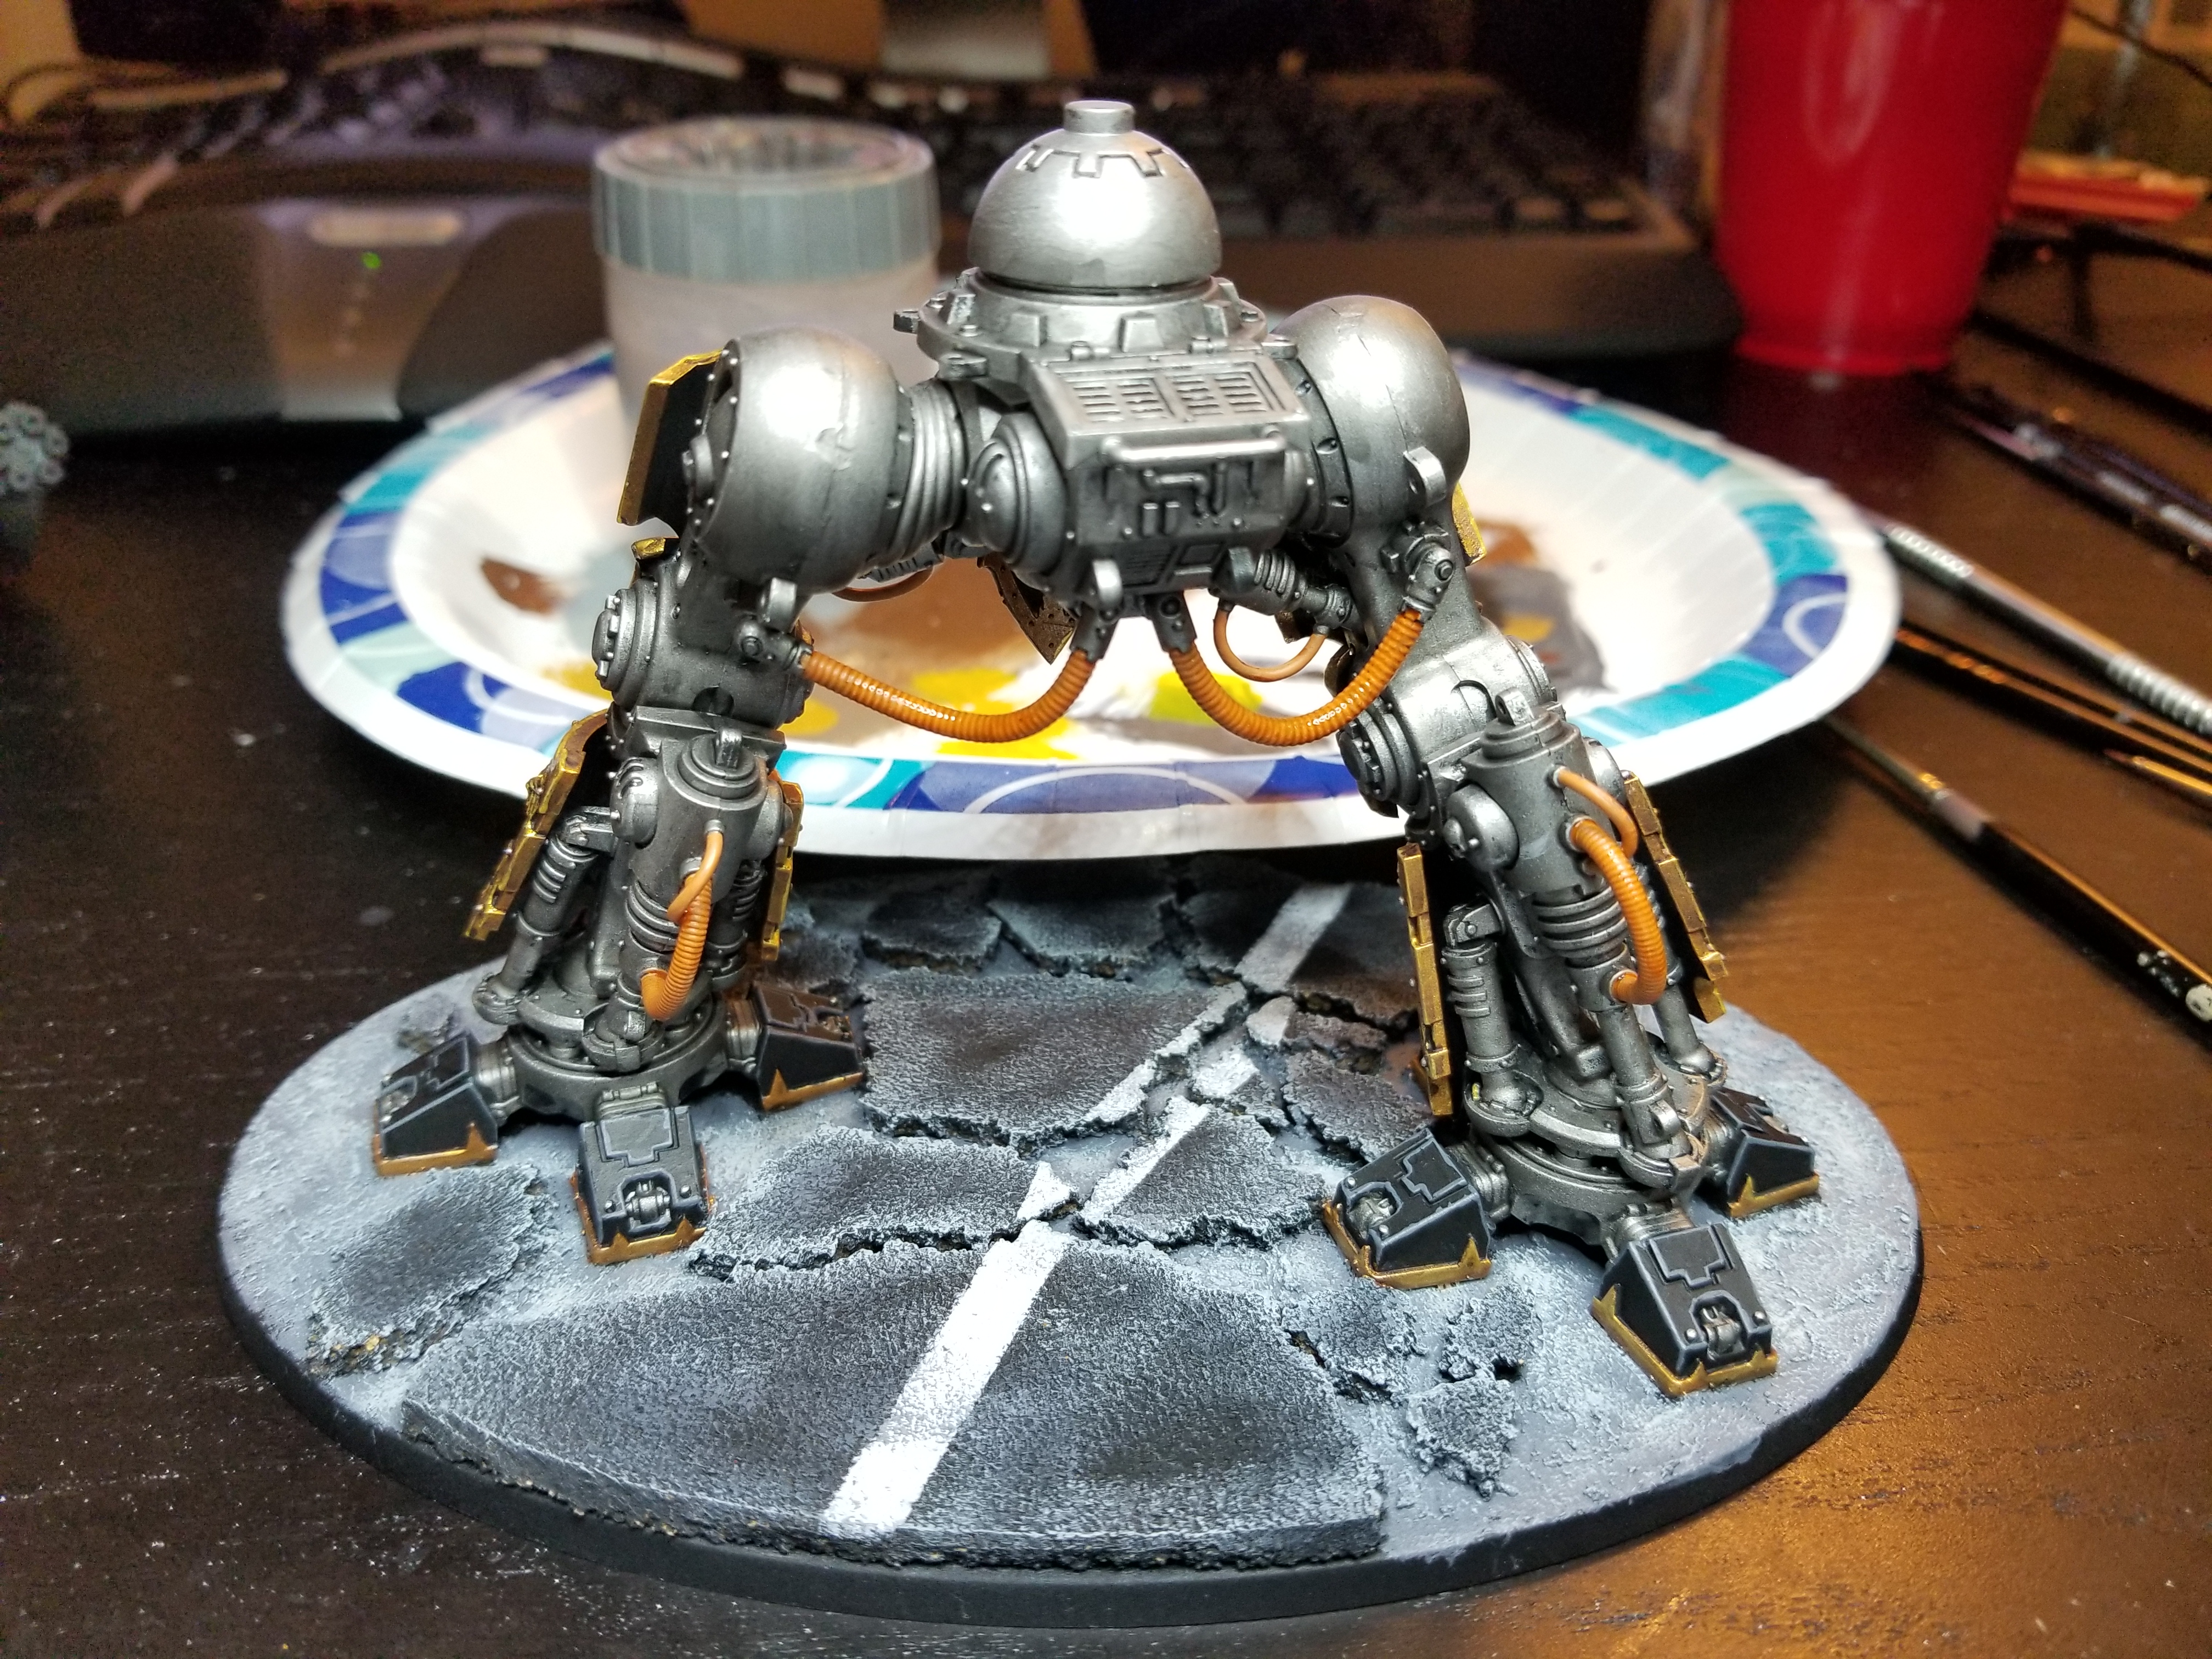
I match the cabling to my black legion, which means it has to be Orange. I lay down a basecoat of Jokaero Orange for these, then shade that with Fuegan Orange before hitting it with Jokaero again, followed by Averland Sunset and Flash Gitz Yellow.

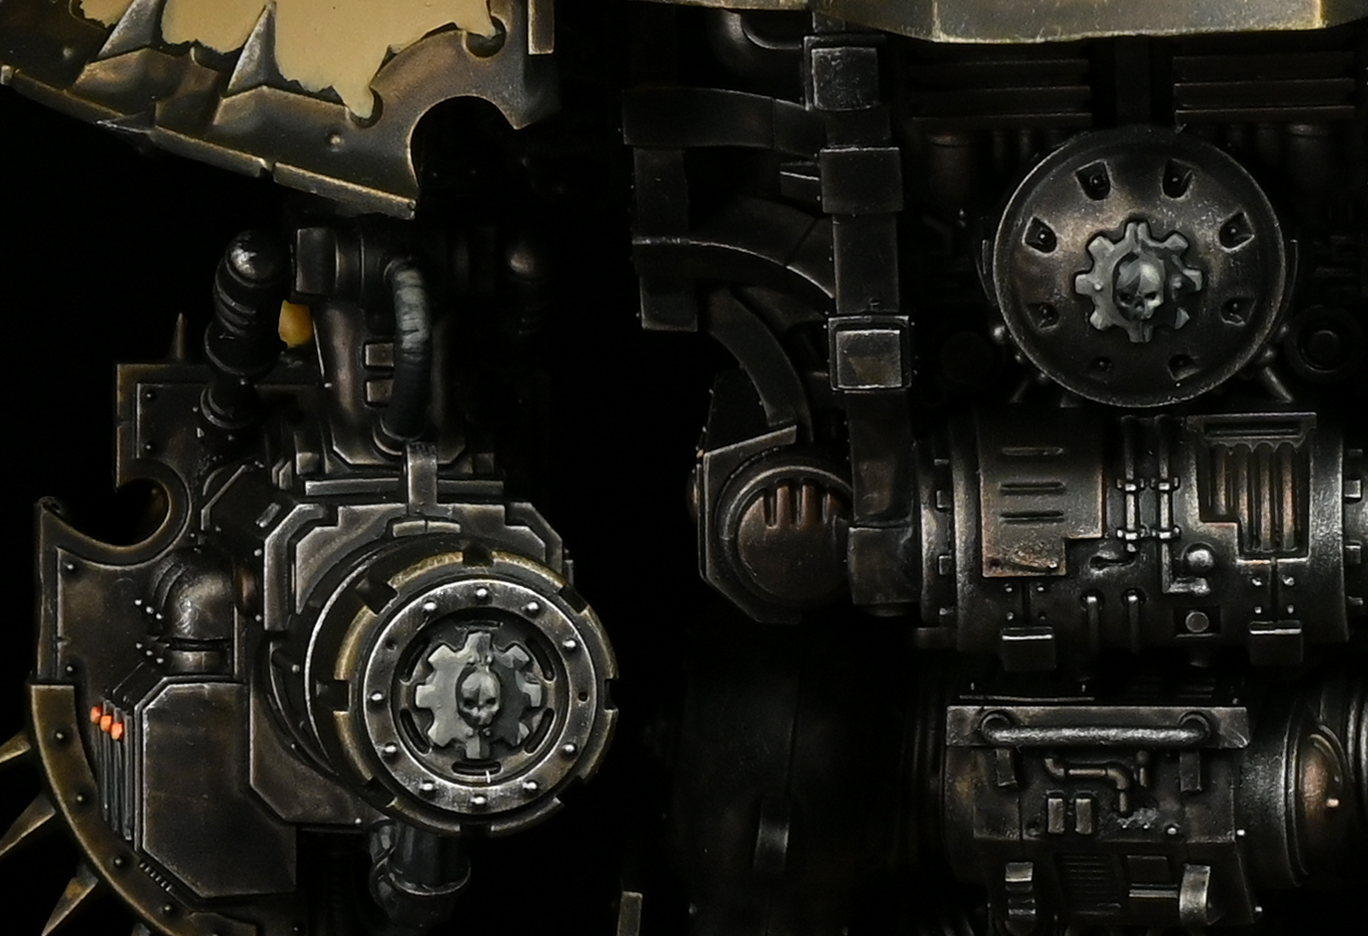
The gold is done here with a base of Balthasar Gold that I layer Retributor Armor on top of, then wash with Agrax Earthshade. I’ll come back and highlight it again with Retributor and edge highlight with Ironbreaker, plus I’ll hit the rivets with Ironbreaker as well. The runes and symbols are done in Averland Sunset and Flash Gitz yellow in the freehand style I linked to above.

The body is basically the same process, only using more Leadbelcher and Nuln Oil to get coverage. I’ll pick out trim bits on things like the shield afterwards using Retributor Armour and Agrax.

Time for the Daemon. Red works well here and I like the color as a spot color in my army since I paint all my guns red to honor the fact that I’m an old shithead who can’t let go of 2nd edition ‘Eavy Metal aesthetics. I start by drybrushing several layers of Khorne Red and Mephiston Red onto the head, working up to lighter shades in raised areas. Then I wash it with Carroburg Crimson around the front of the face and add more layers of Mephiston Red.

I hit some detailed areas with Mephiston Red, then paint the teeth with Rakarth Flesh, the eyes with Reaper Pure White, and the tongue with Bugman’s Glow.
At this point things are coming together. I’ll paint the chains with Leadbelcher, being careful to paint the undersides without getting paint on the body, then edge highlight the black with Mechanicus Standard Grey. The bone parts and the spine will be painted with Rakarth Flesh, then Agrax and shaded back up with Rakarth Flesh and Reaper Polished Bone.
Here’s the current project status. He’s about 80% done. The next step is to do more detail and highlighting work on the face around the mouth and eyes using Evil Sunz Scarlet, hit the teeth with Reaper Polished Bone, and the tongue with Emperor’s Children Pink. Then similar to how I did War Dog mouths, I’ll coat the whole thing with ‘Ardcoat to give it a wet, glistening look. I also need to add weathering and heat burns to the guns around the ends of the barrels. I’ll normally do that with just Nuln Oil, but I’m looking to get a bit fancier and will likely try to add some Drankhof and Duruchii Violet this time to get something more realistic. We’ll likely cover heat burns in a future How to Paint Everything, so stay tuned for that. Overall I’m happy with how he’s come along but I’m eager to finish him when I’m home again.
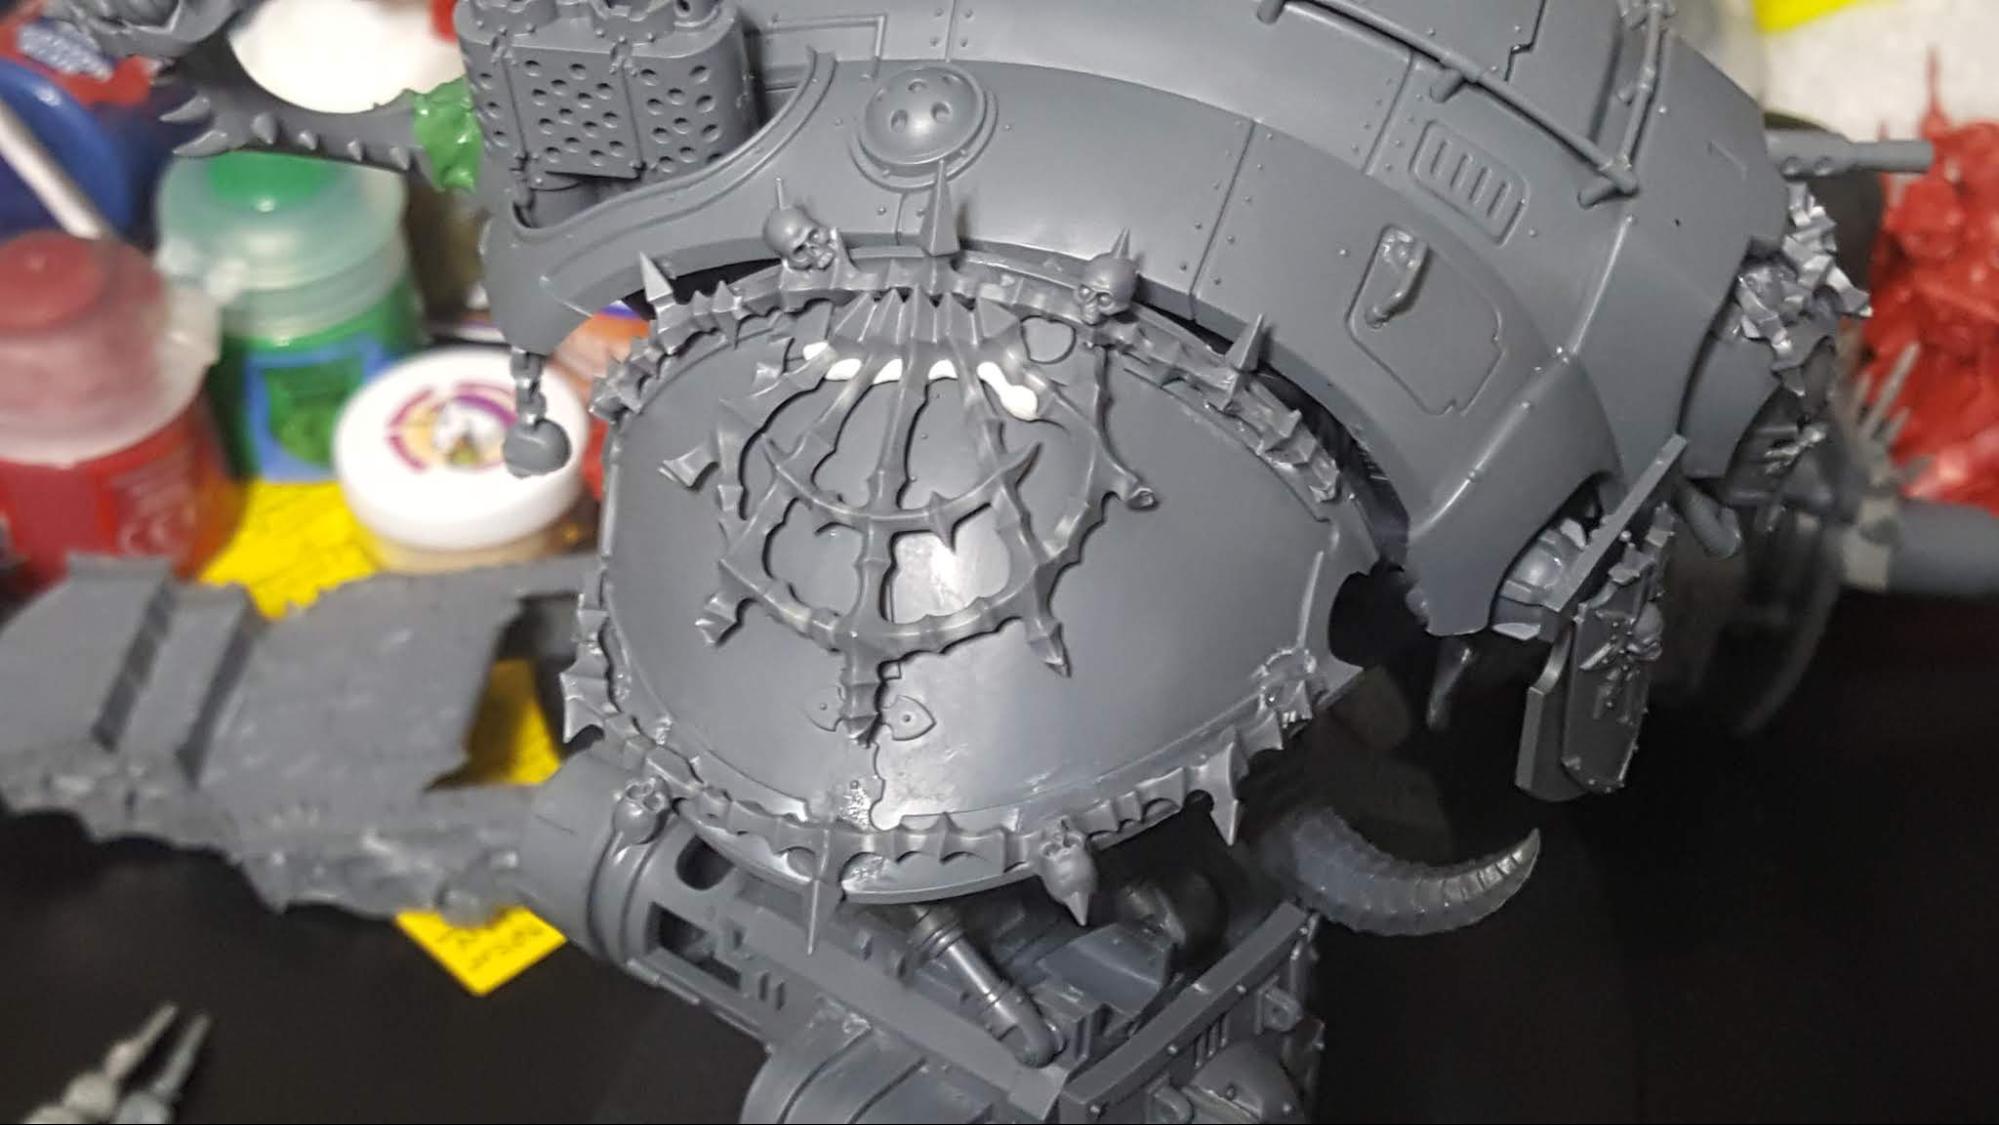
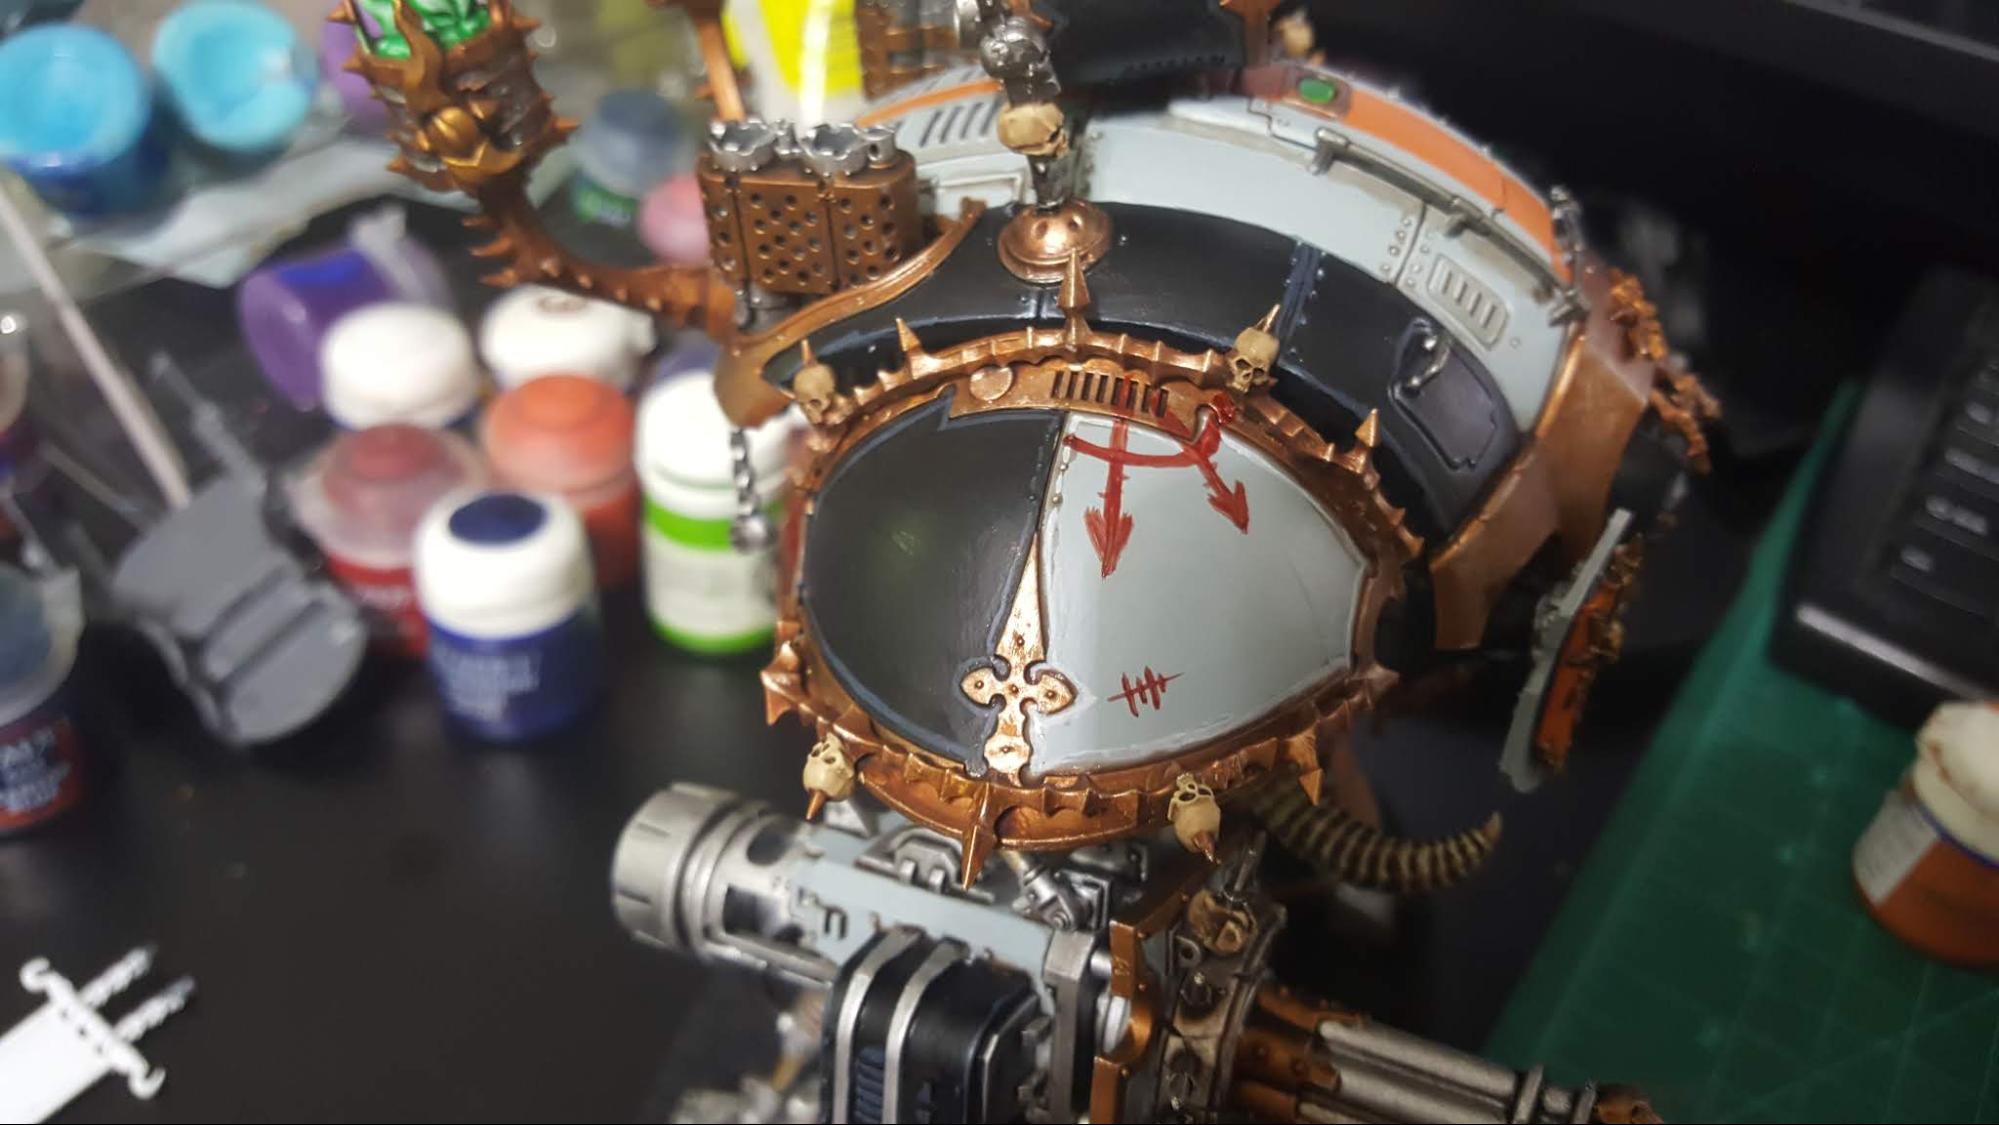
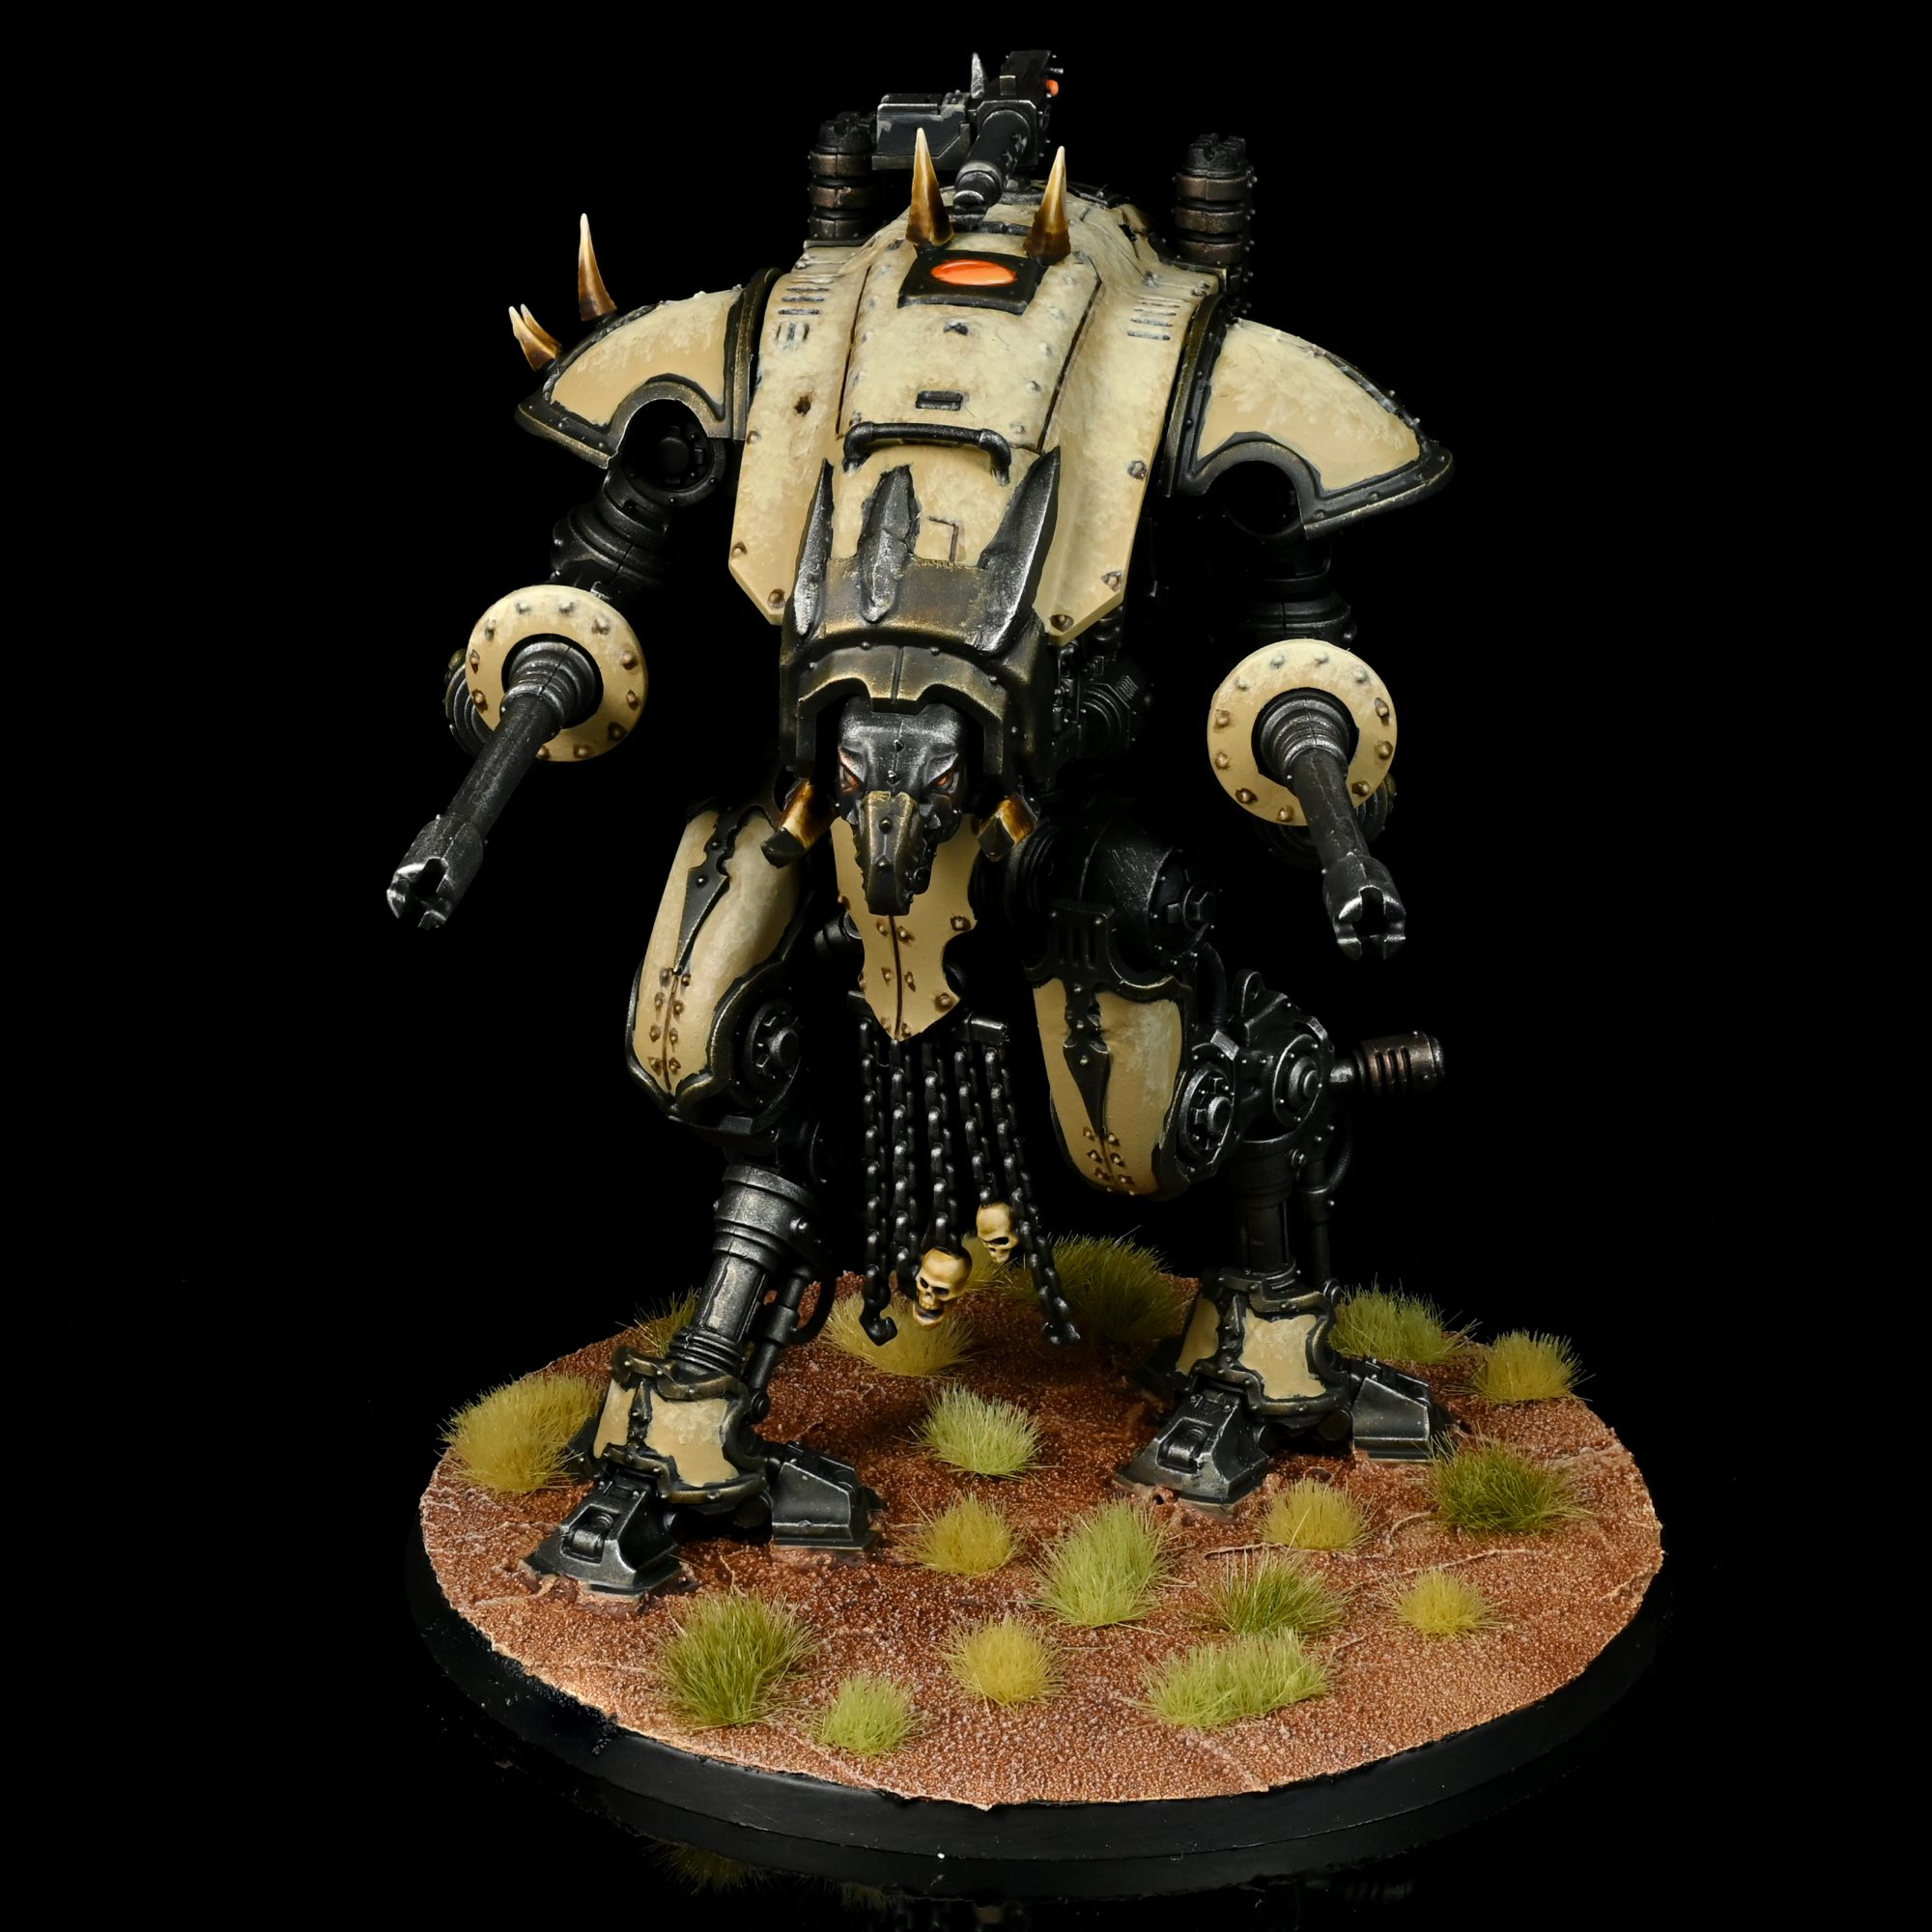
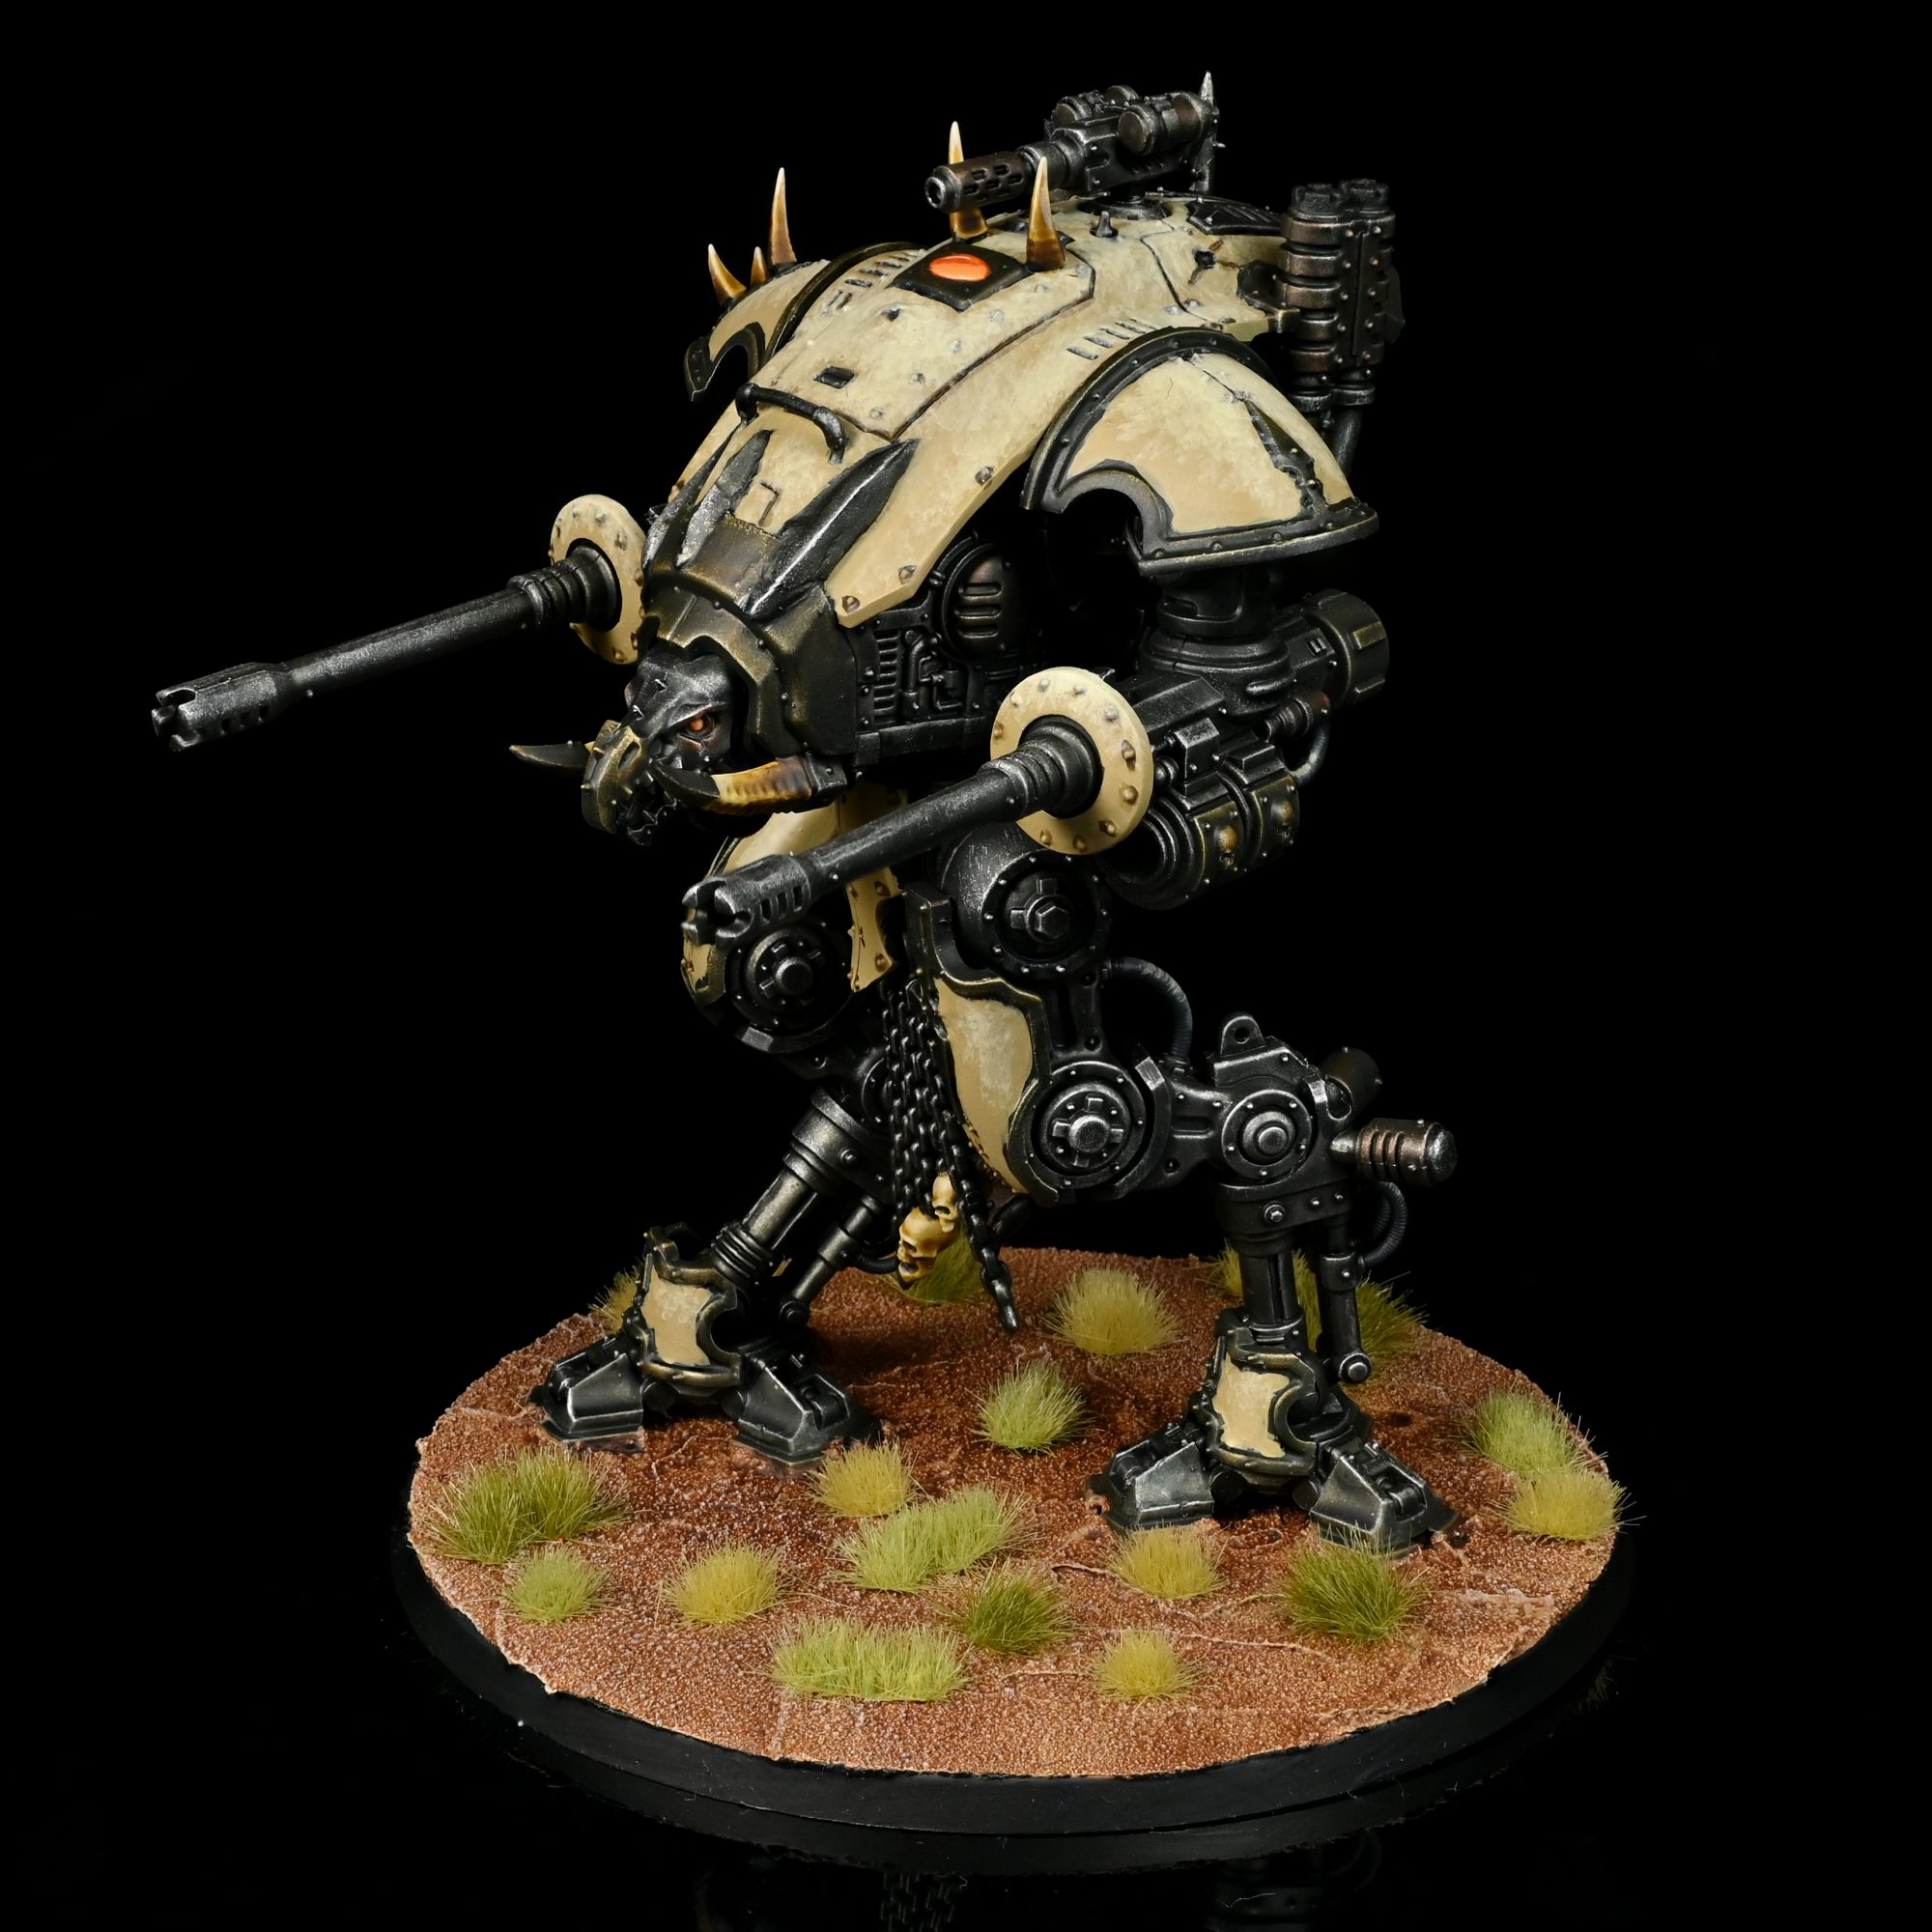
The Forge World Chaos Knight
Back in 7th edition Forge World released a conversion kit for the standard Imperial Knight. It’s a pretty solid kit, with replacement shoulder, torso, face, and leg armor, plus a replacement Reaper chainsword. Painting this is pretty straightforward and follows the other methods I outlined above.
One noteworthy thing about the Forge World Chaos Knight is the bone spurs that protrude through the armor. These I painted with Rakarth Flesh, then shade with Agrax, highlight with Rakarth and Polished Bone.
The eyes on the leg plates I did with a base of Mephiston Red worked up to Averland Sunset with a bit of Flash Gitz yellow. Paint the slit down the middle with Abaddon black, then do a curved line of Pure white across the top. I covered how to do the urban bases/streets in more detail in the basing article we did.
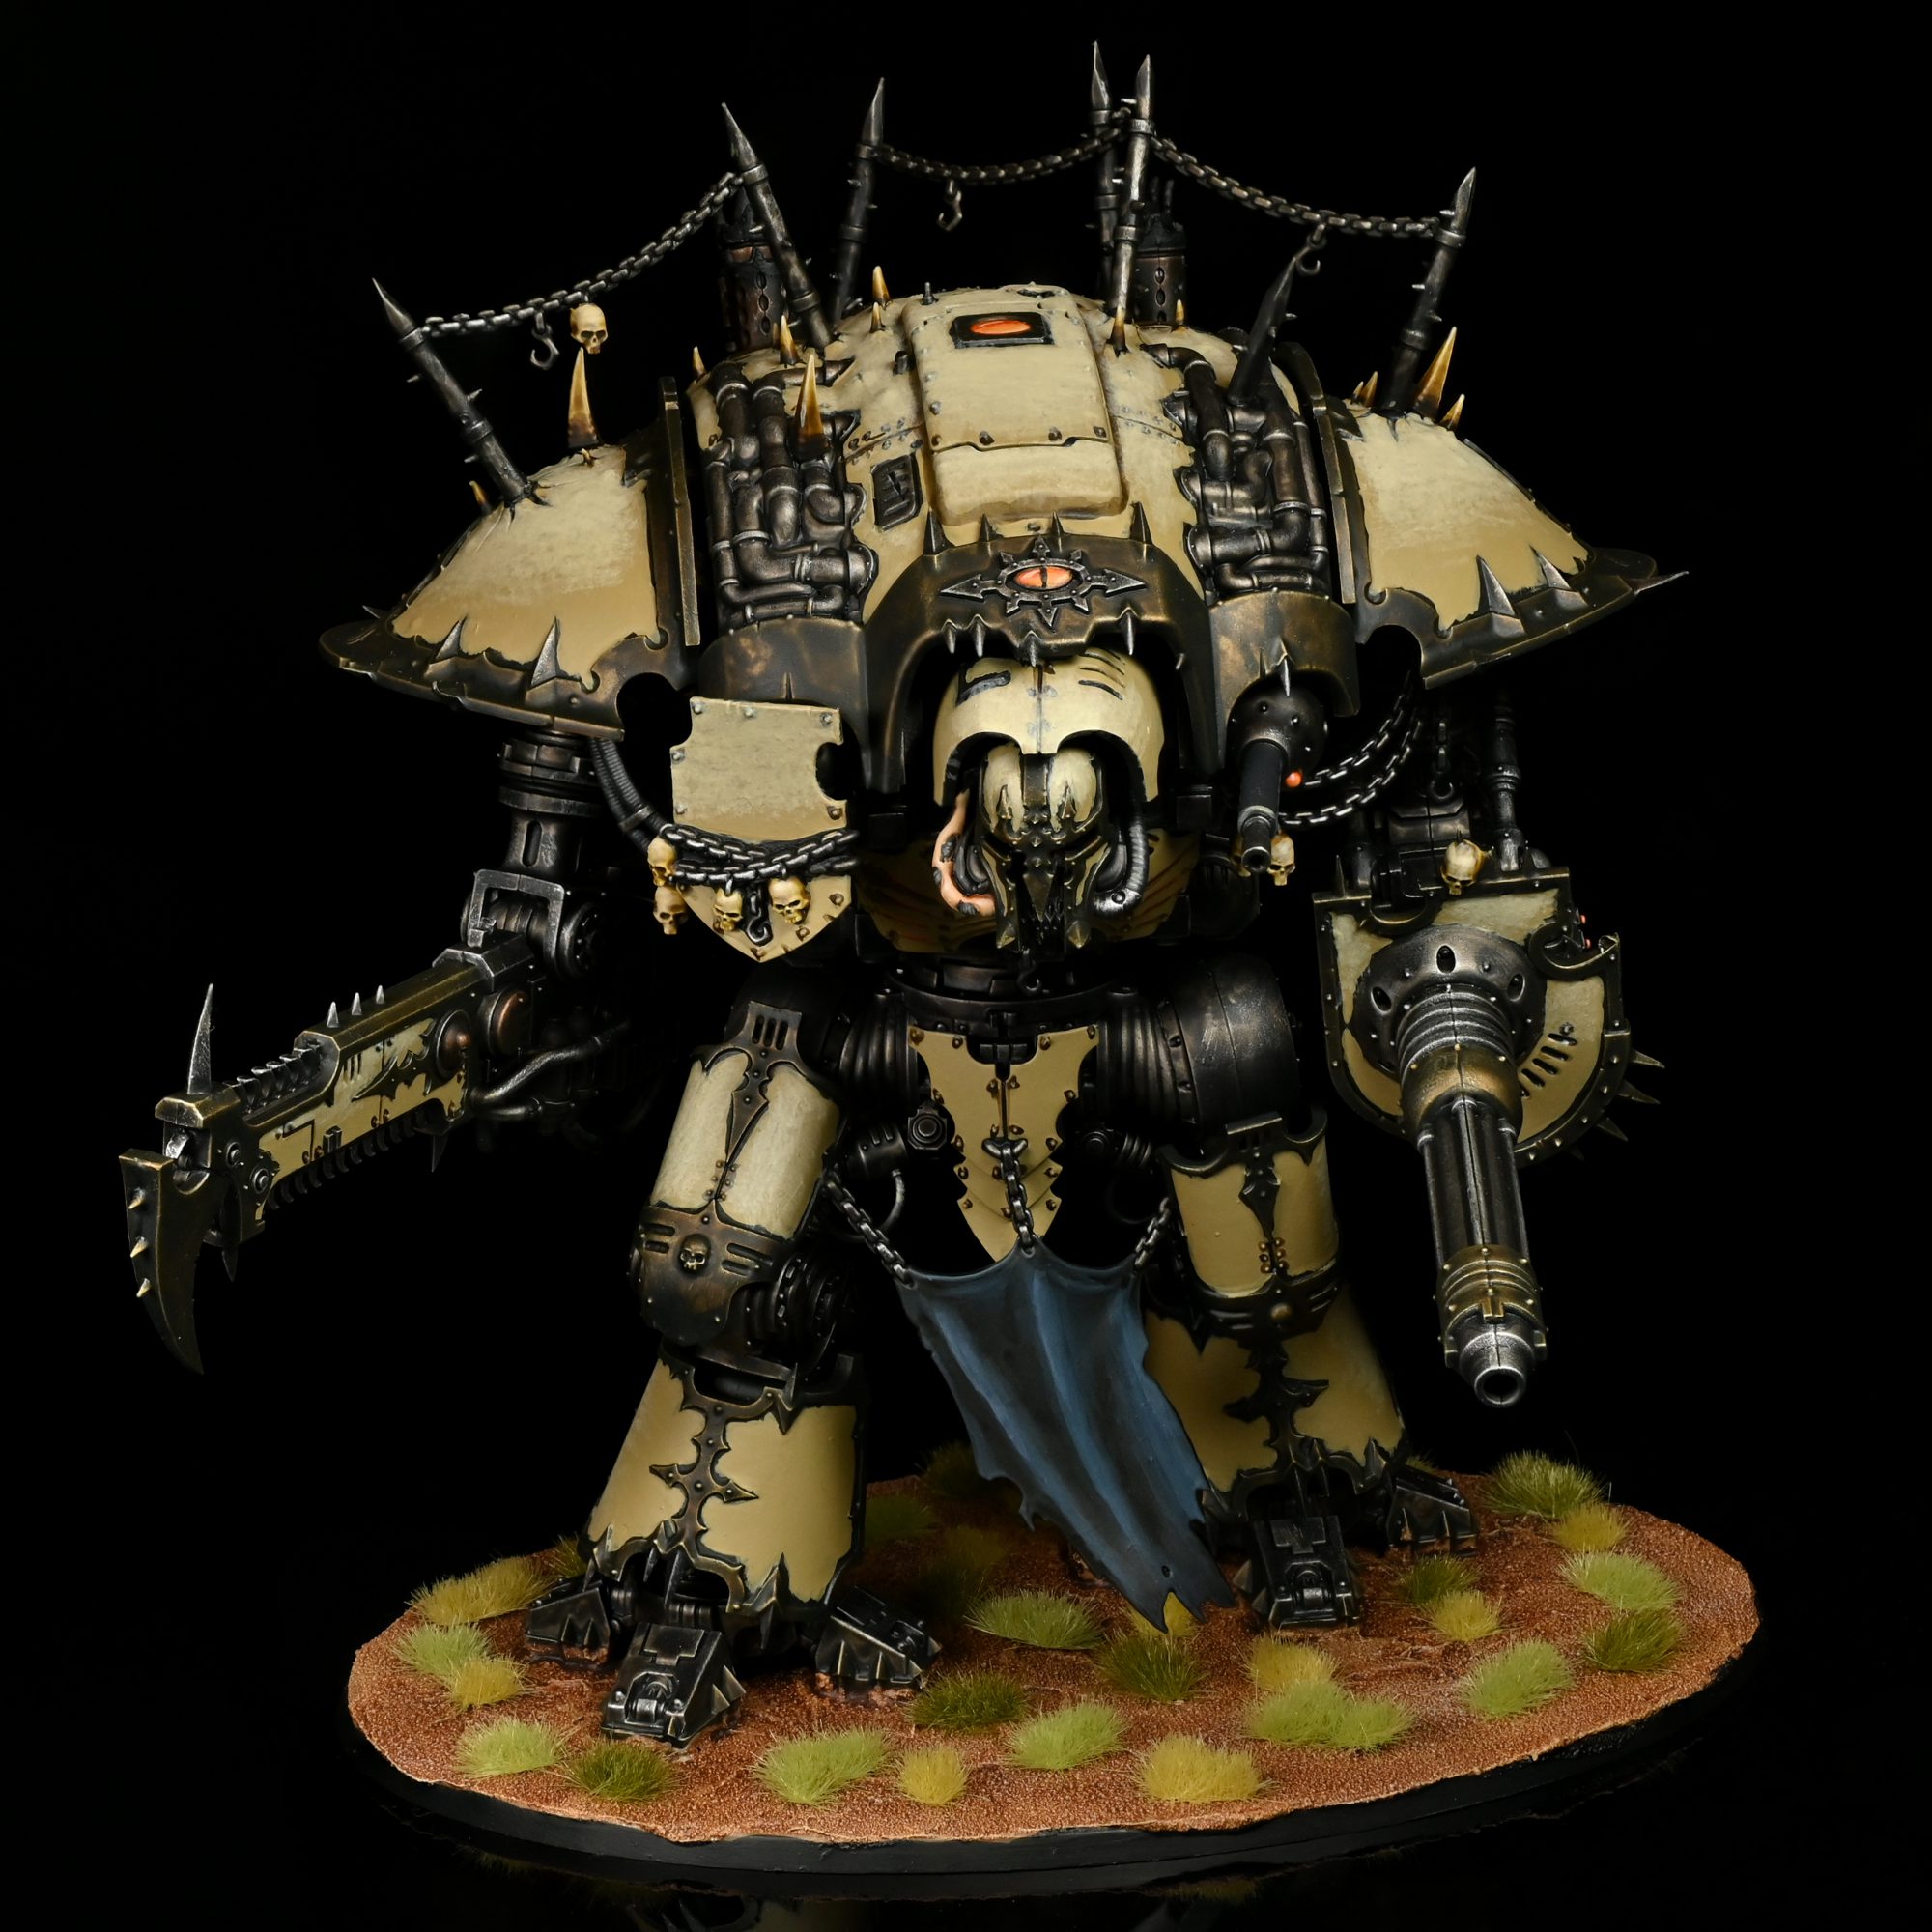
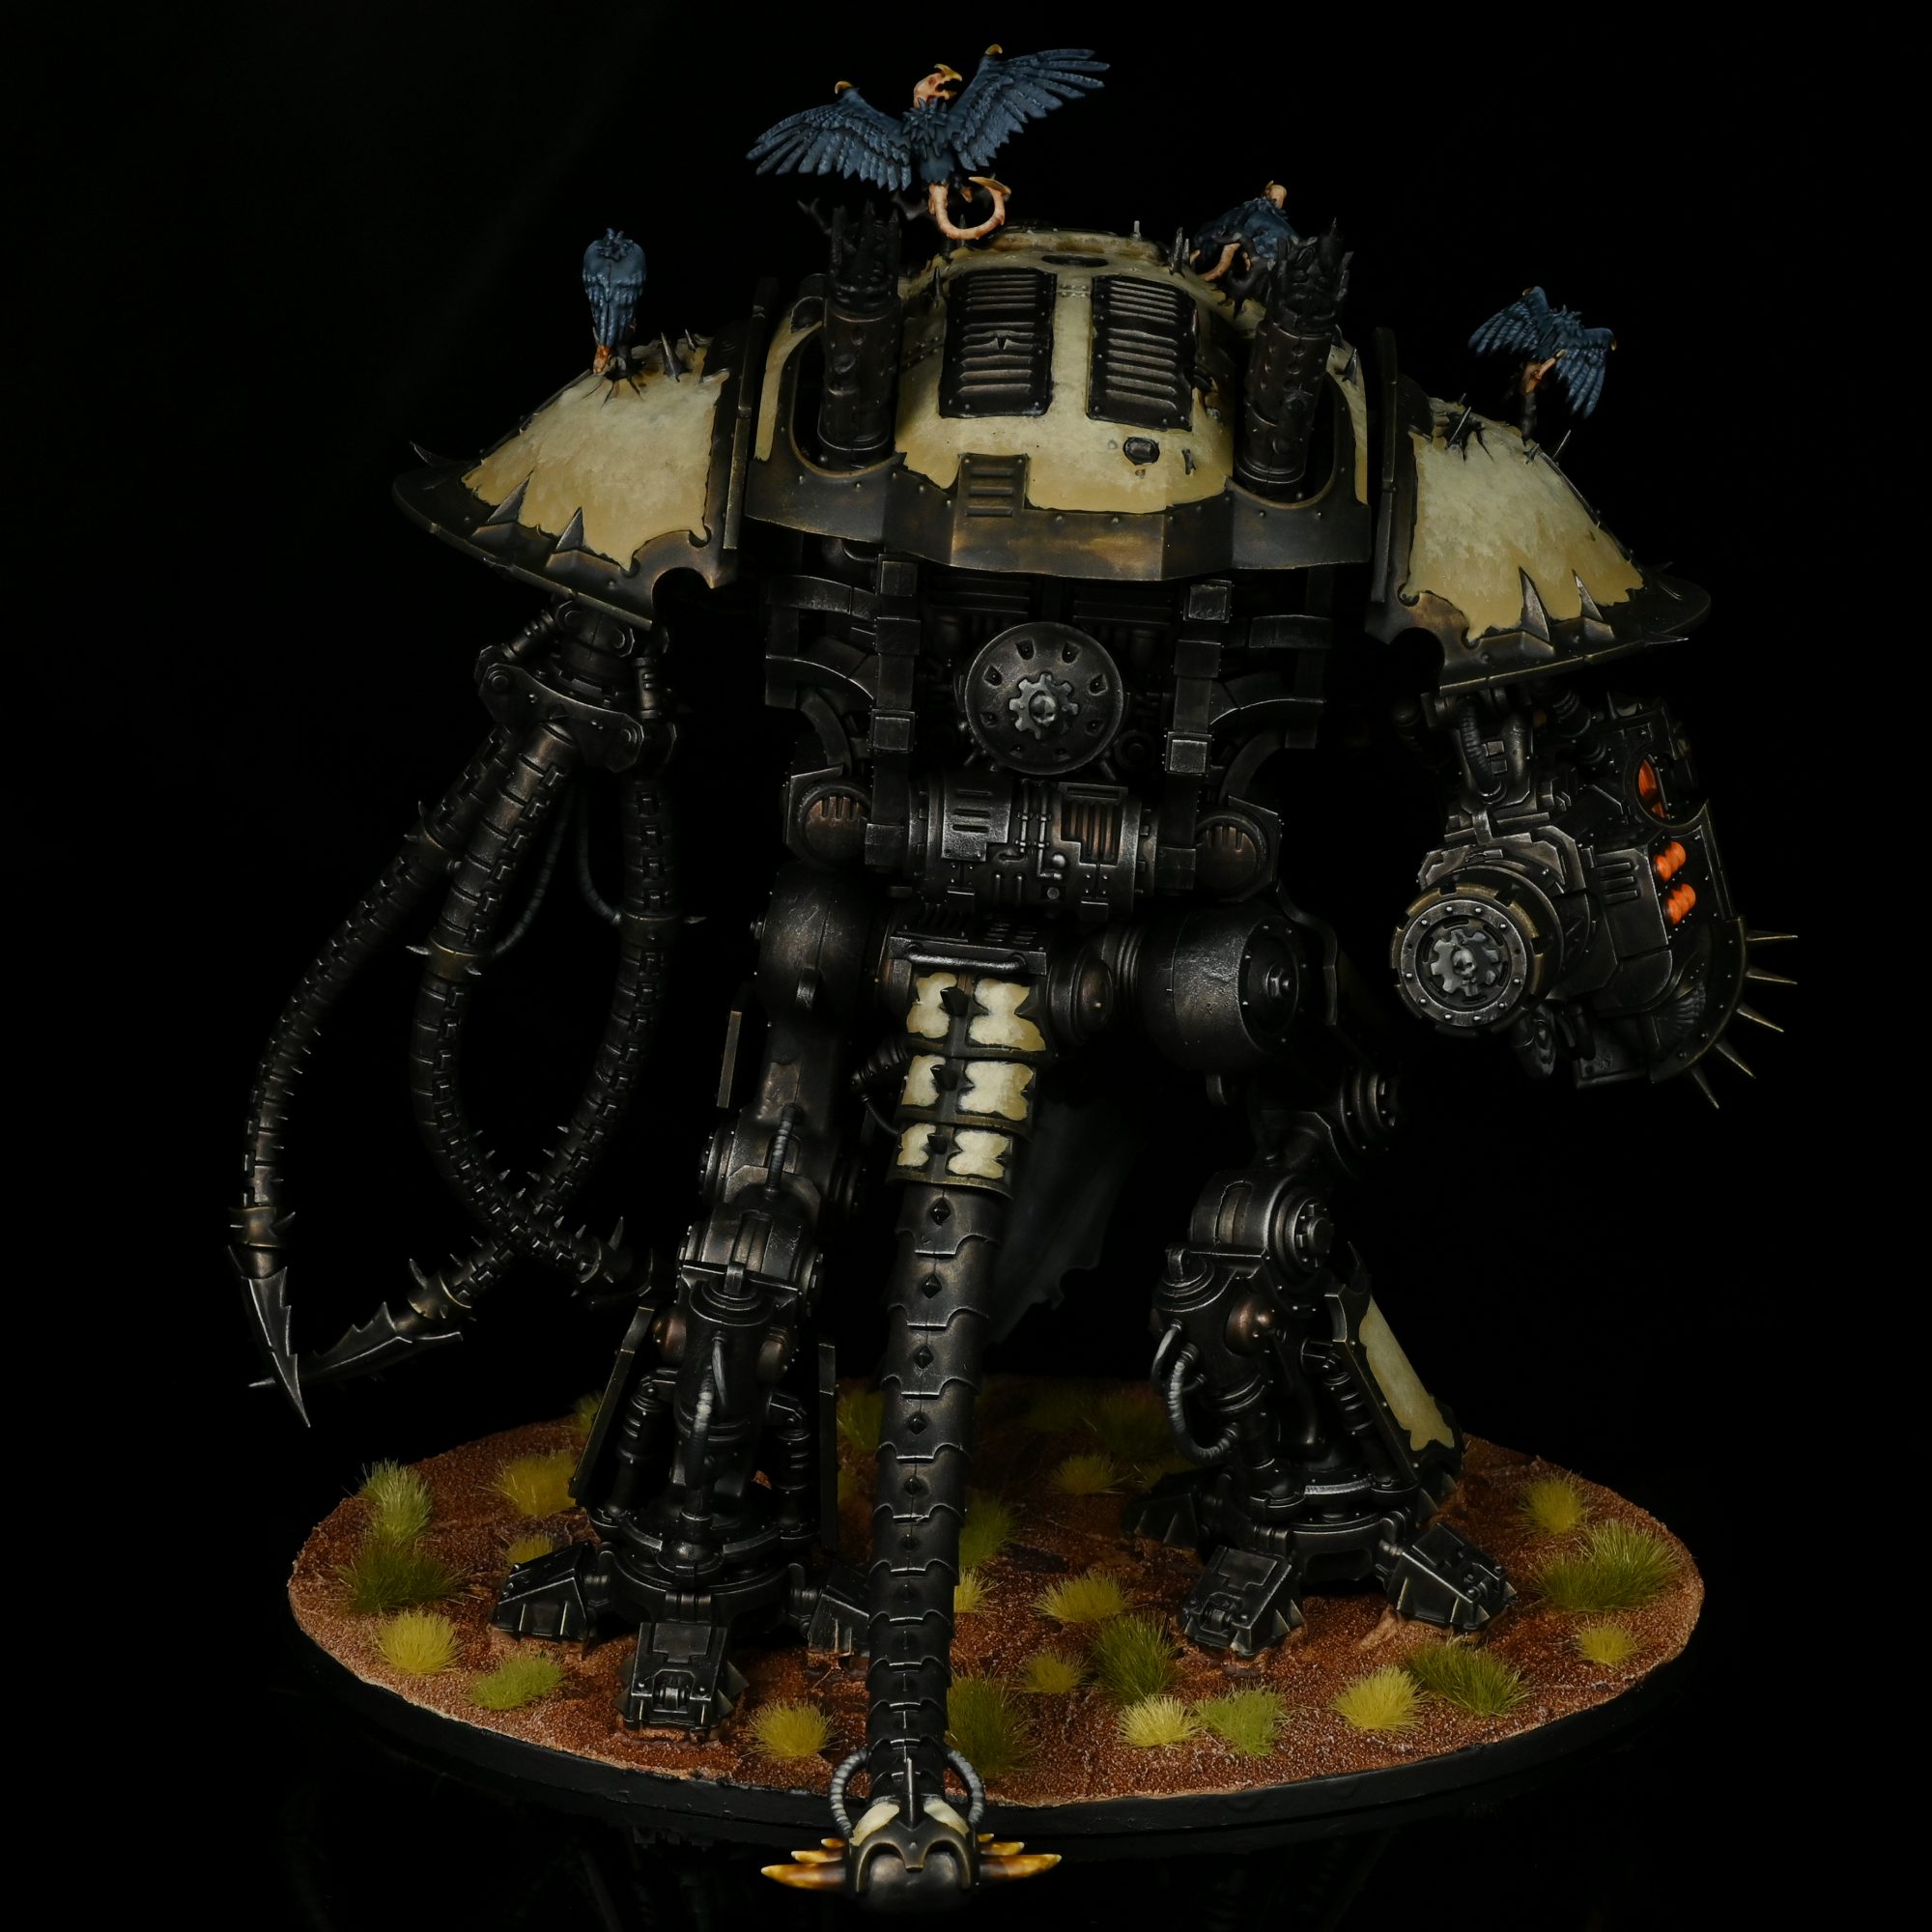
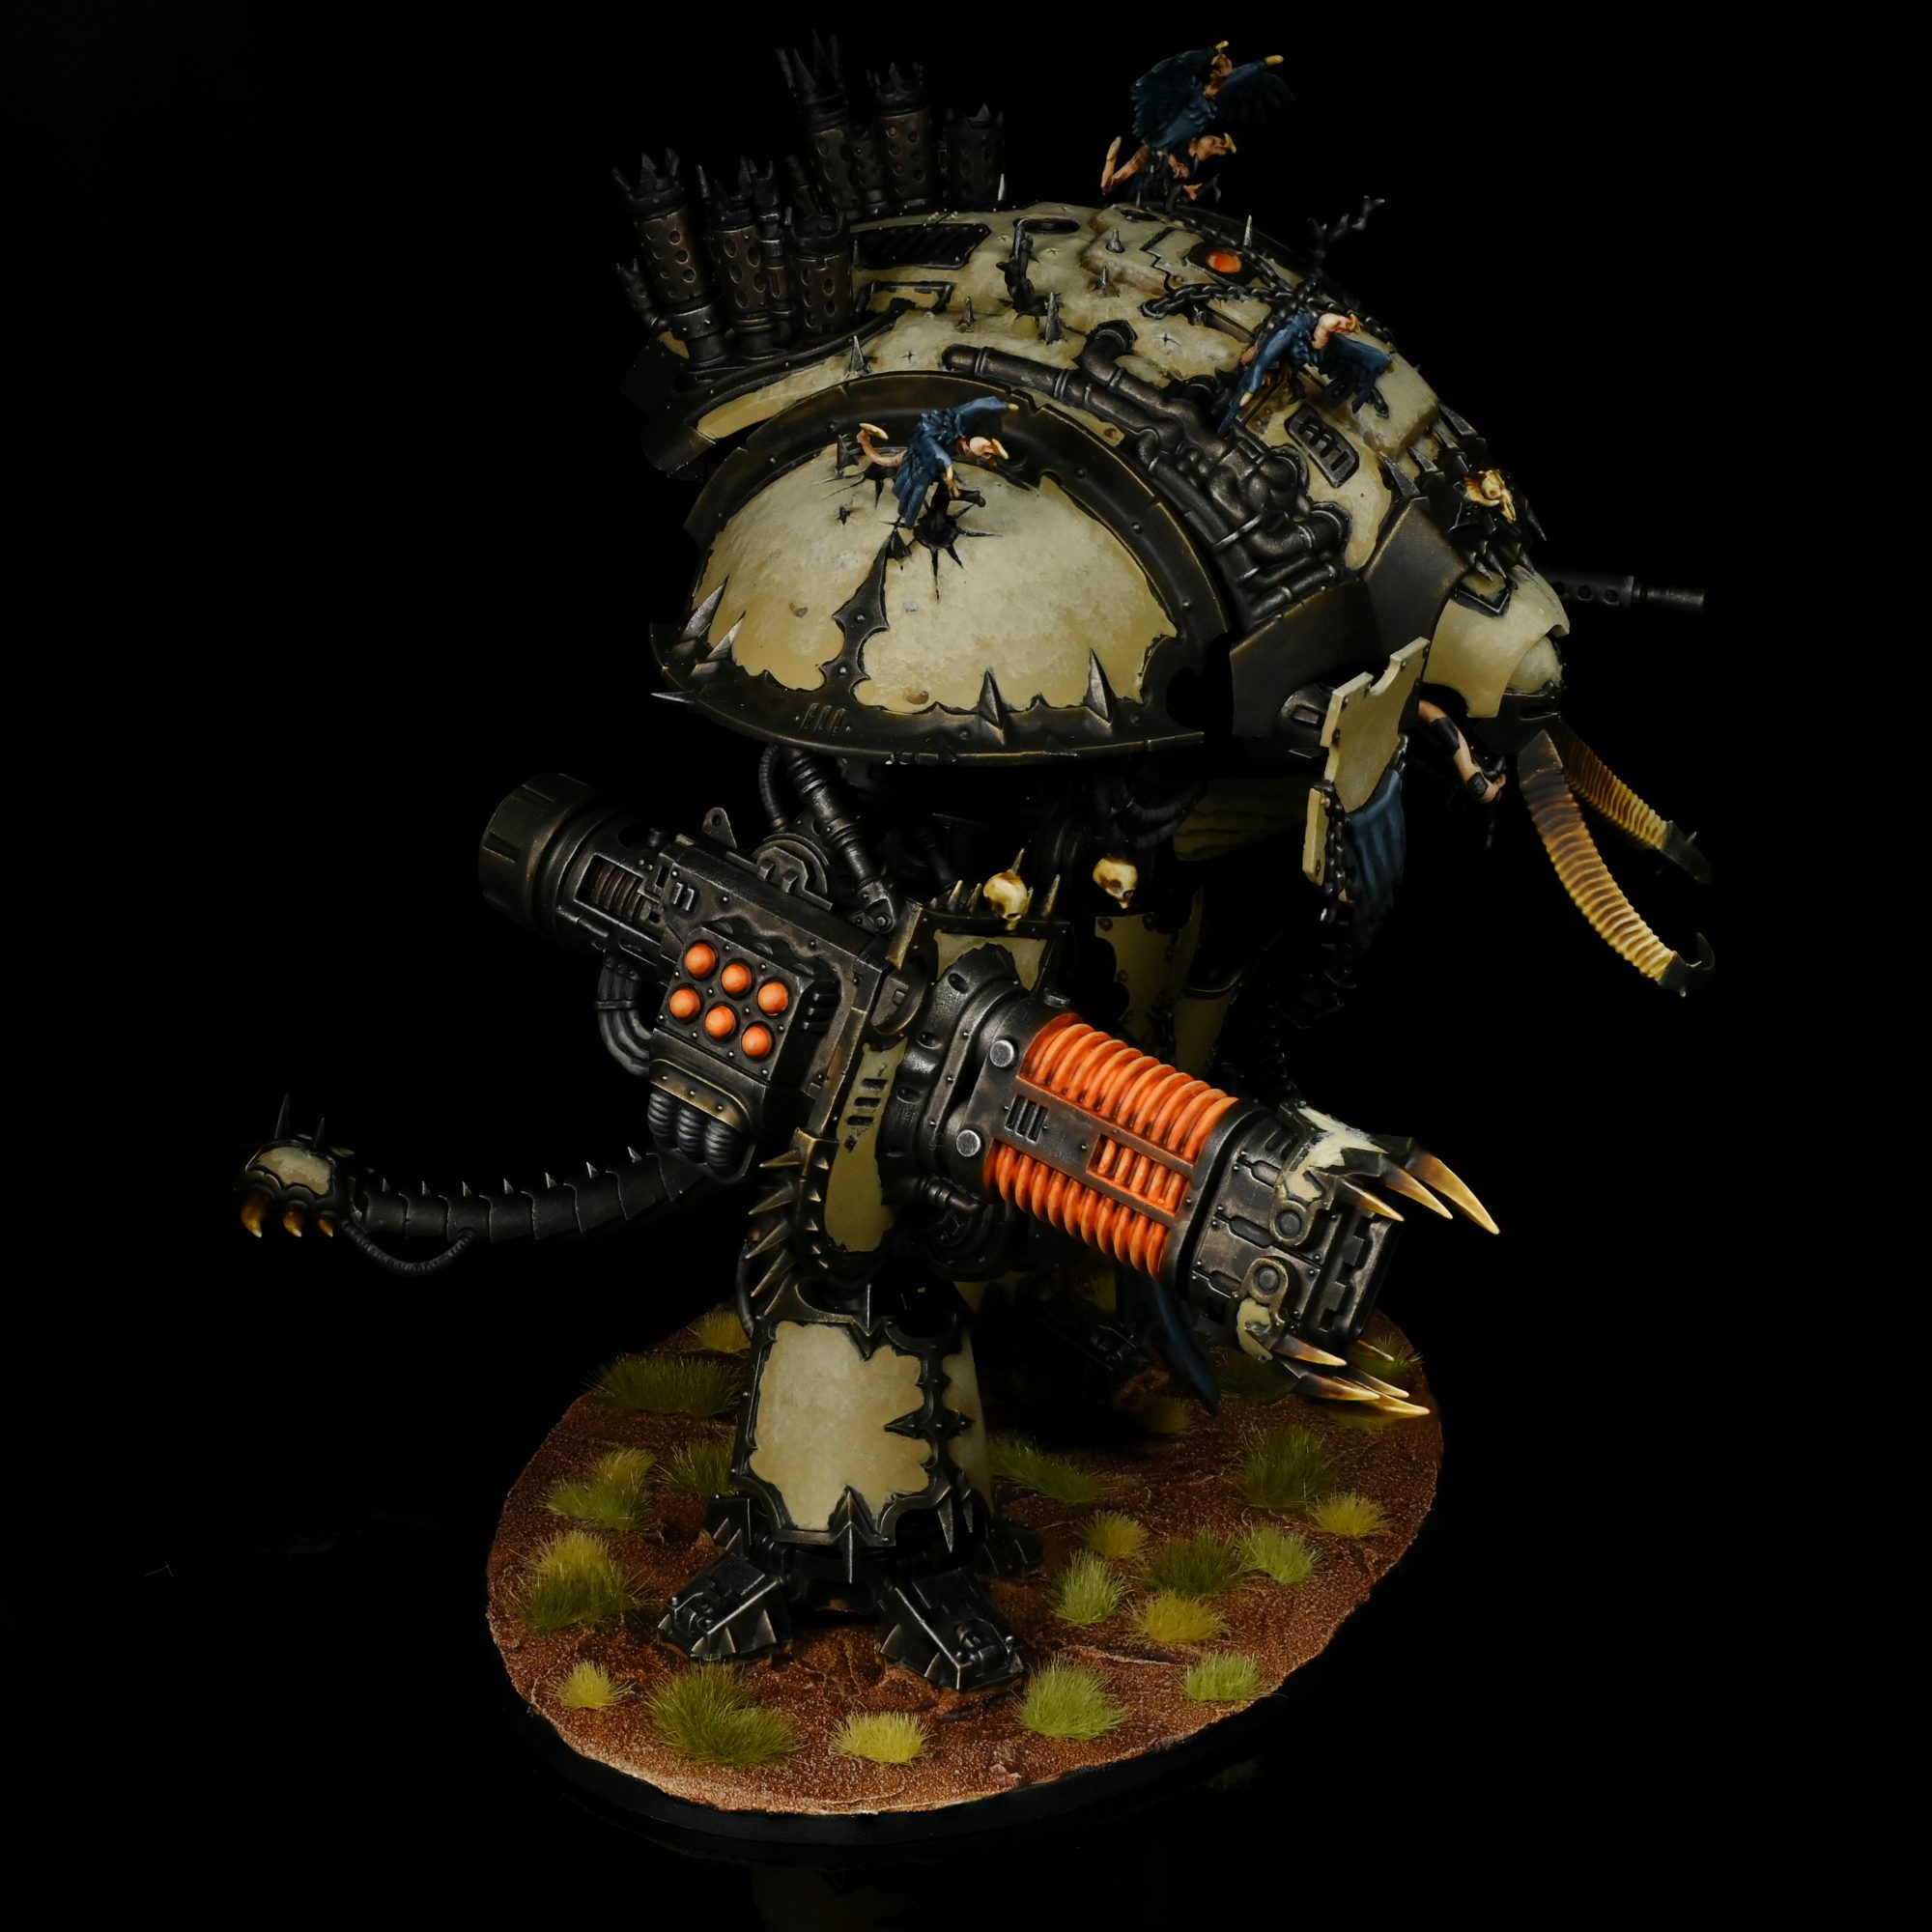
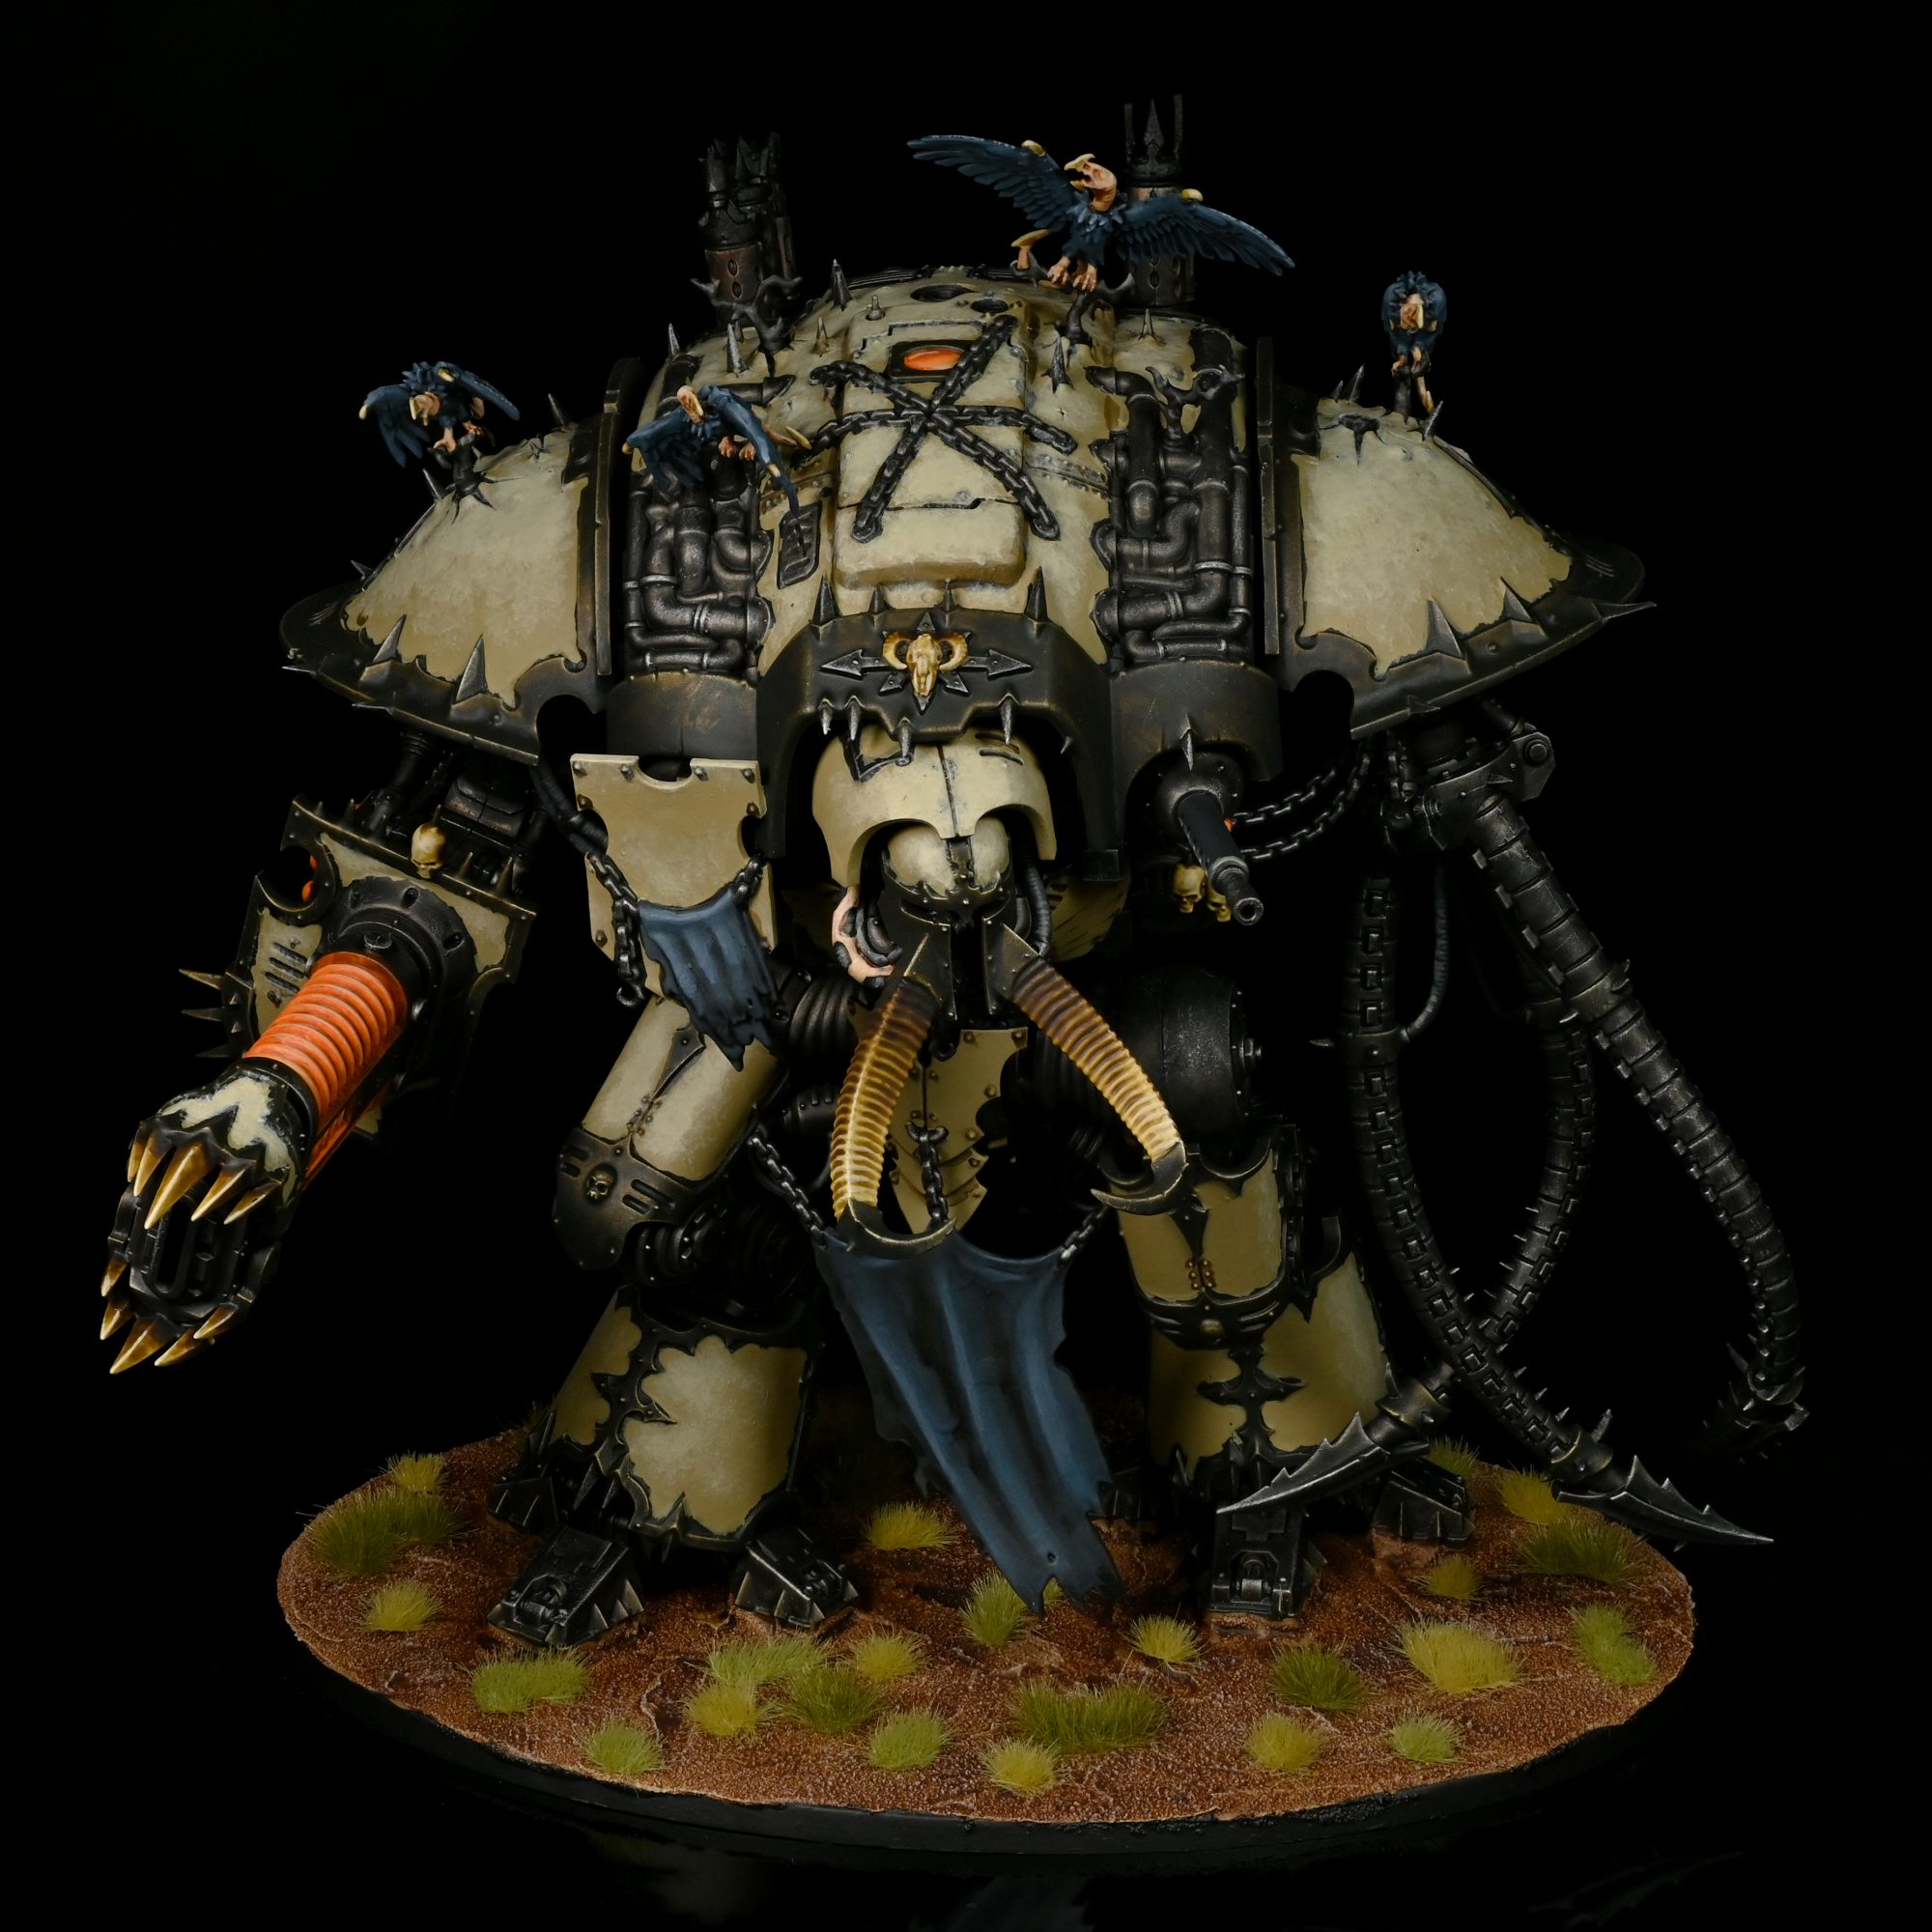
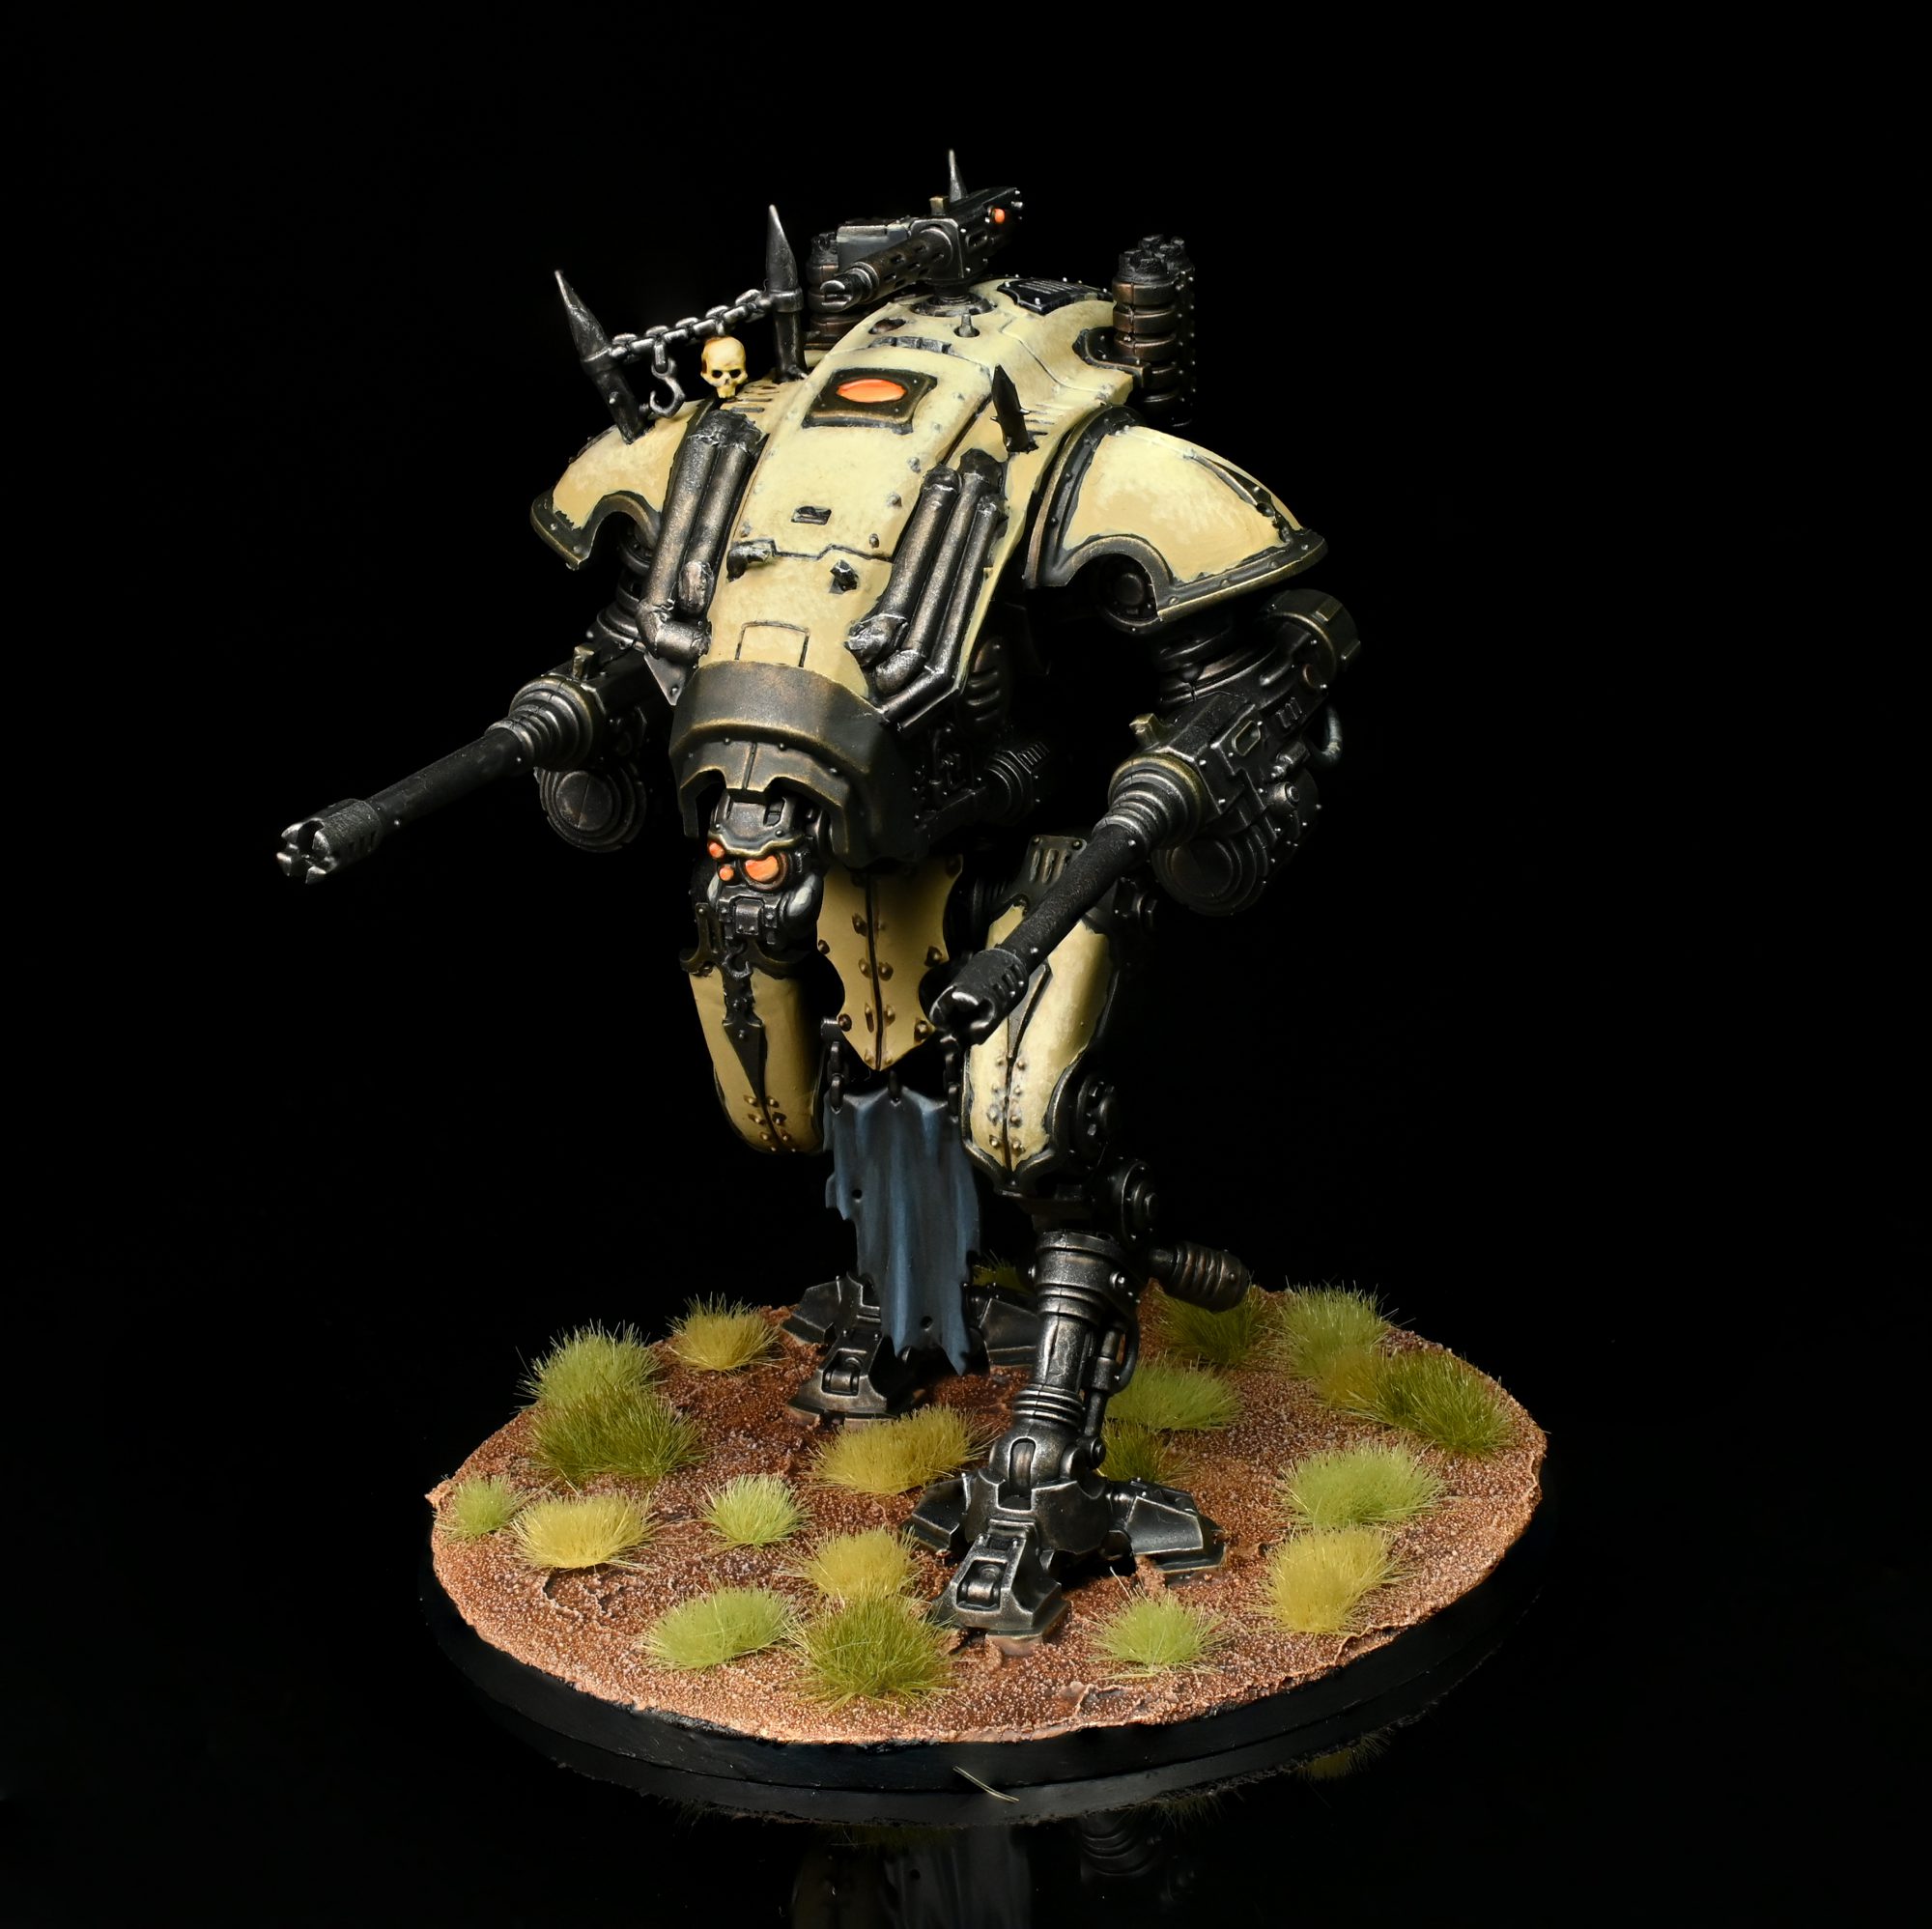
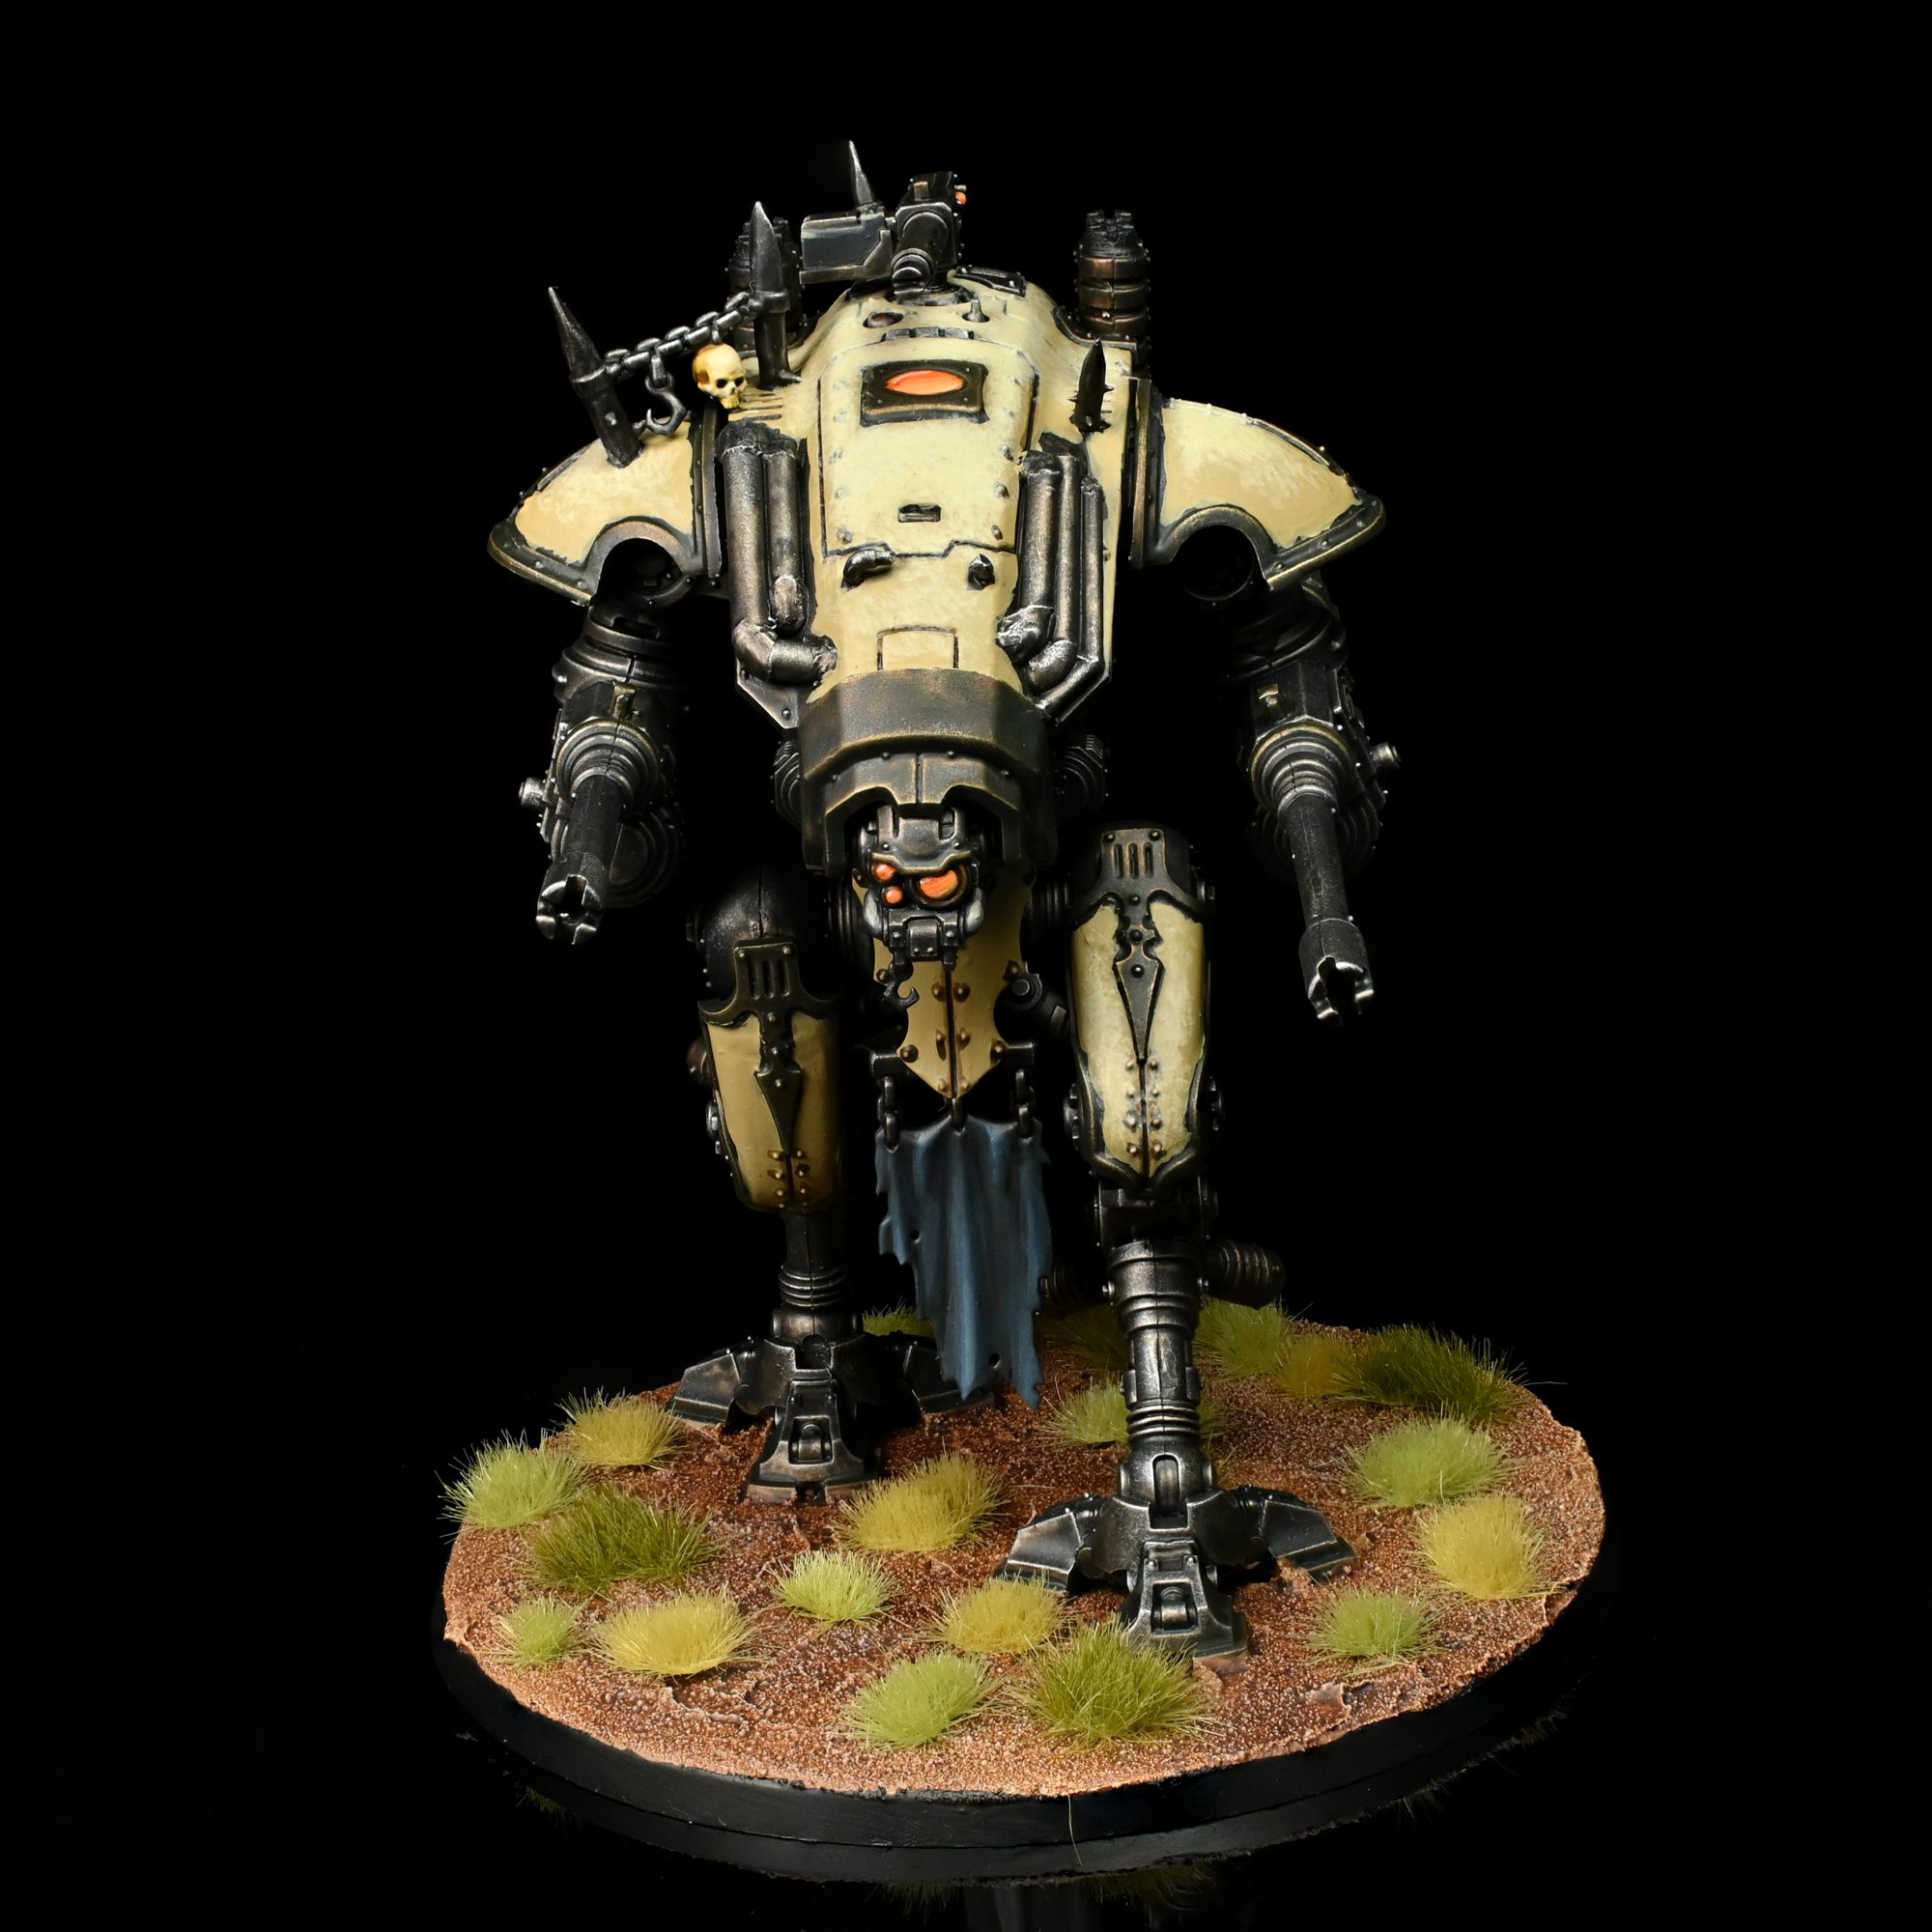
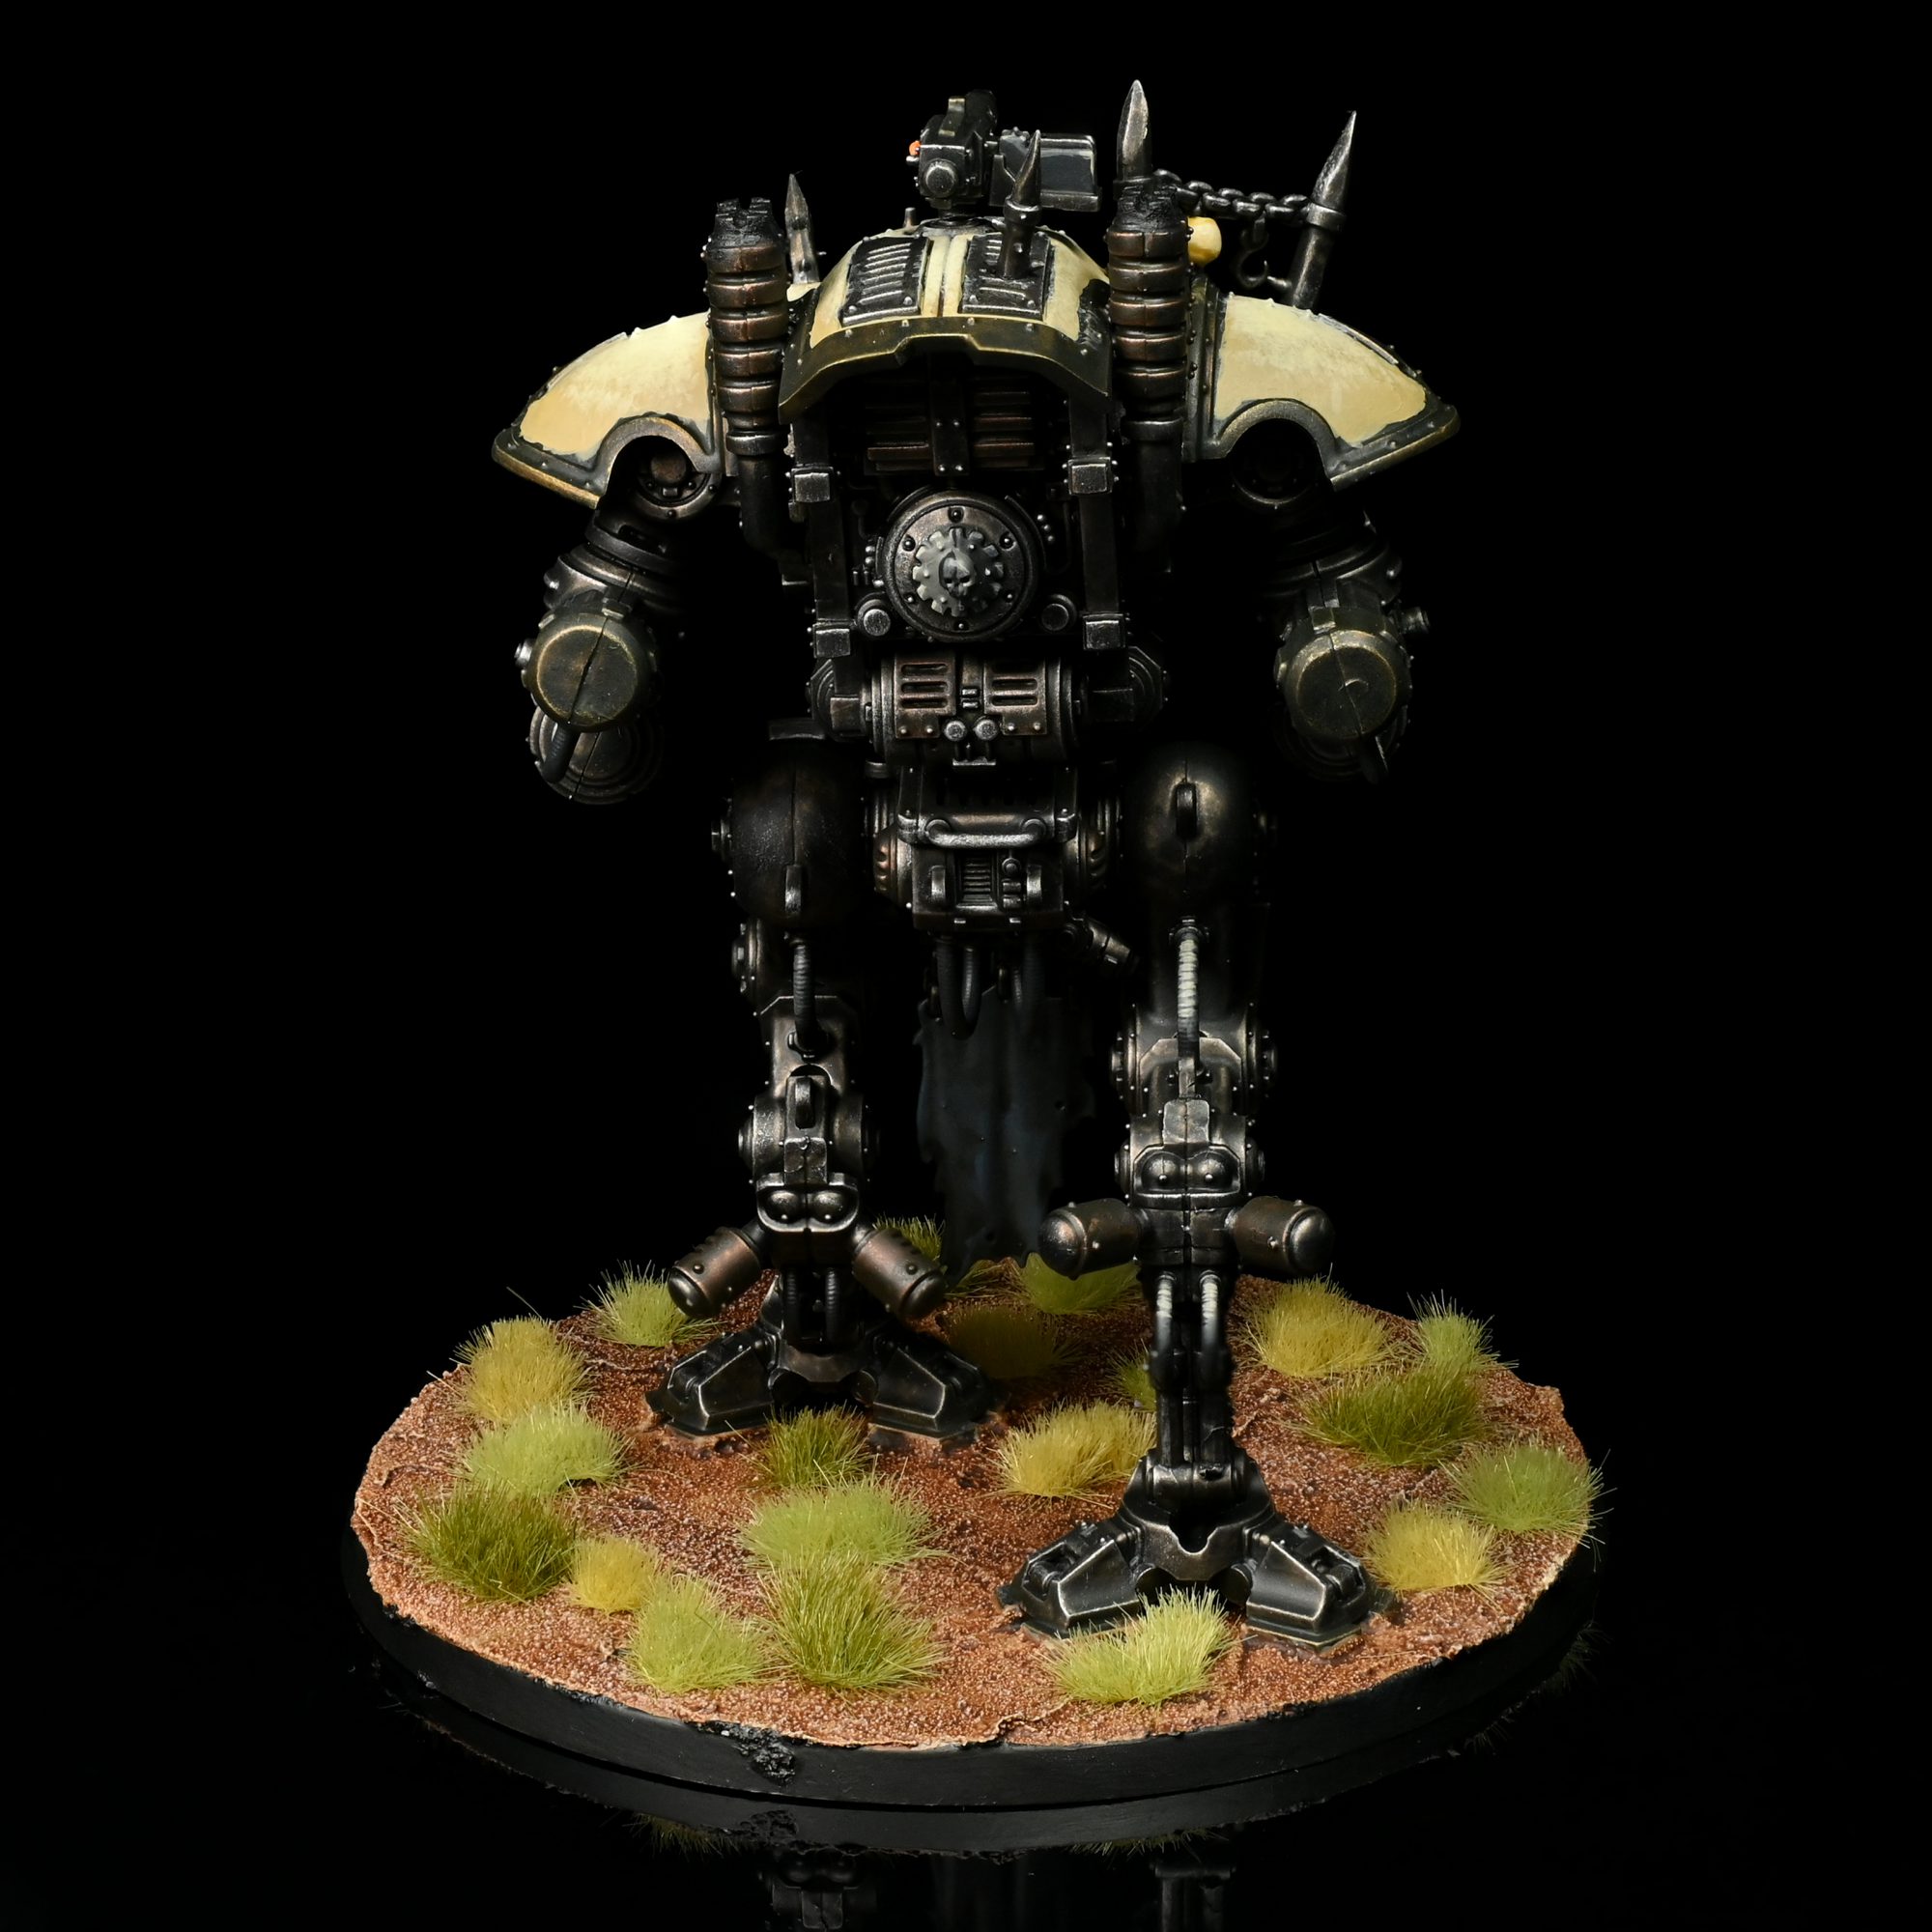
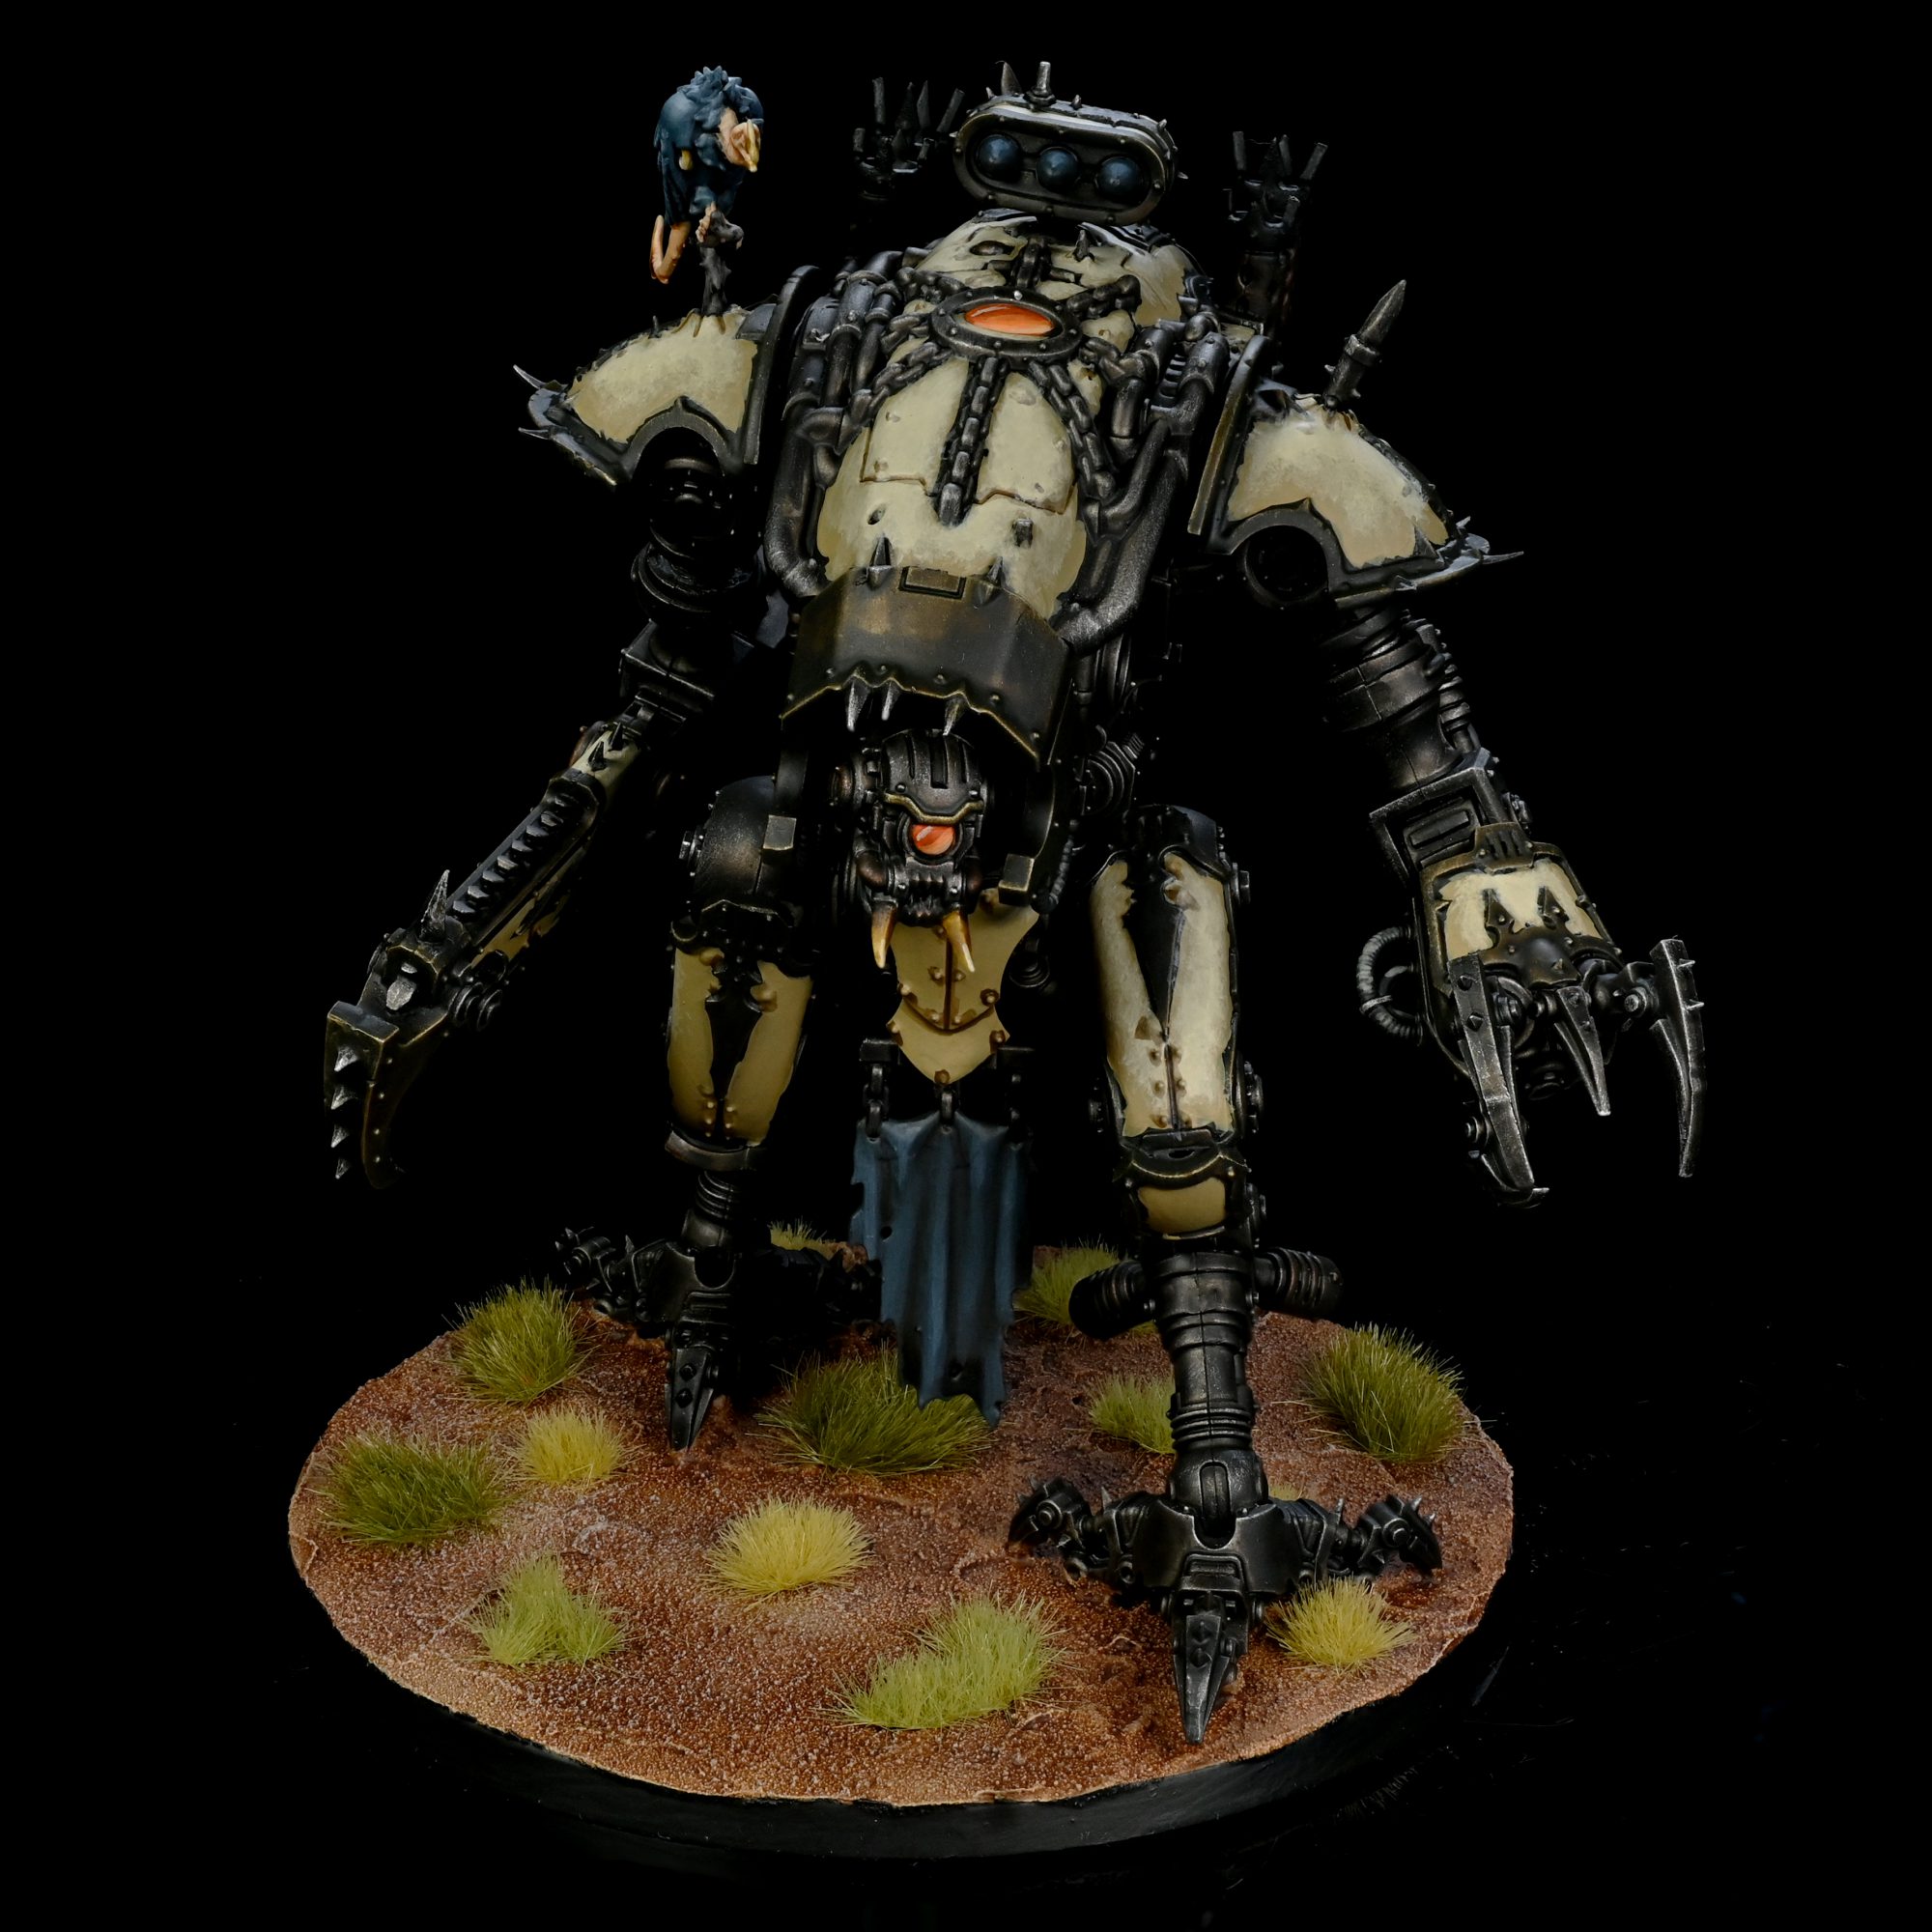
Rockfish’s Method
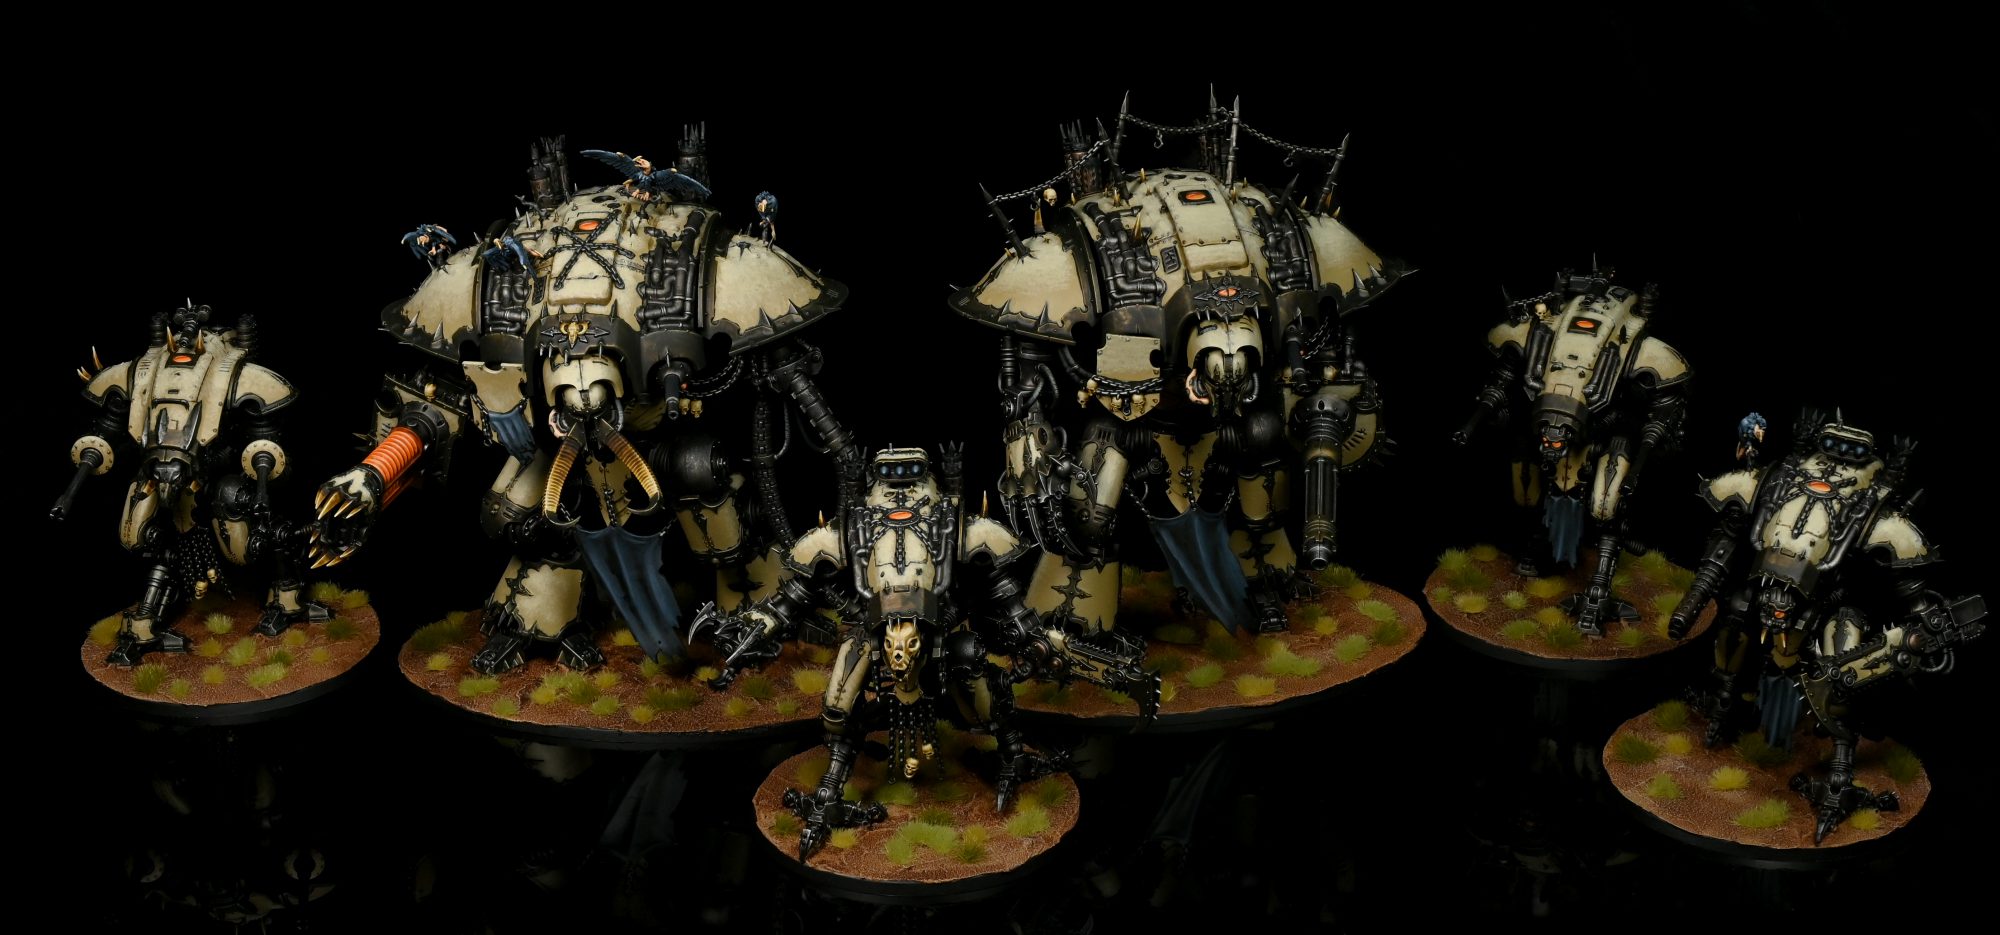
So I don’t have a great reason for starting this army besides GW having sent me like half of it, but hey it looks rad as hell so good enough for me!
I start by airbrushing Iron Hands Steel over the full model, you could make probably use any similar bright steel colour as a base coat. You really don’t need a airbrush for this either, a rattle can would work too.
After that I drown the entire model in Basilicanum Grey, you will have to be patient while this dries as speeding it up can result in recesses being bridged. In my experience it can take a few hours to dry, and you really want it fully dry as we are going to be covering it with another layer of wash. I coat the whole model in Agrax, which generally takes a bit less time to dry I have found but you will probably still need to wait a couple of hours. Once there aren’t any damp spots remaining , I drybrush the model fairly heavily with Iron Breaker, followed by a gentler one of Stormhost Silver to pick out the raised edges.
Once we have this base metal done then we can cheat for the rest, the copper is just a coat of Fyreslayer, brass is Snakebite Leather, and all the trim is two coats of Skeleton Horde.
For the bone armor I start by doing a two or three coats of Zandri Dust before recess shading with Agrax. The highlights are stipled on with a big drybrush, I don’t really know if this is normal but I thin the paint pretty heavily before I do so and I leave a pretty minimal amount of paint on the brush to the point where it is almost dry. I usually do two to three passes of Ushabti and Screaming Skull where I successively cover a bit less on each pass.
The horns and bone are base coated Ushabti before a wash of Skeleton Horde, the horns get a bit of a different treatment from this point on. I do another coat of Skeleton Horde starting about a quarter of the way back from the tip of the horn, after that I do a few coats of heavily thinned Wyldwood each time moving further from the tip, before I finish with a sliver of pure Wyldwood right at the base. Both the bones and horns get the same highlights of Ushabti and Screaming Skull, for the bone I usually do this in a few glazes where as the horns get crisp highlights.
There are a couple of different blacks on these models, the mechanicus iconography is basecoated Stormvermin before the black is added with Black Templar, I then use the basecoat to highlight the black for the first step. Then both get highlighted with a mix of Stormvermin and Ushabti, finally just the light section gets a highlight of pure Ushabti. The cables and other random panels are usually just a single coat of Corvus highlighted roughly with Stormvermin and Karak Stone.
Cloth, missiles and similar stuff get base coated with Dark Reaper before getting a heavy wash of Agrax, after that I then glaze starting base coat, than Thunder Hawk and finally Russ Grey.
There’s a few spots of skin for the birds and fleshy pipes, for that I start with Kislev, wash it with Reikland, before glazing the highlights in with Kislev, Flayed One and finally Screaming Skull. The wood the birds stand on starts with a coat of dryad bark washed wyldwood then highlighted with streaks and whirls that are blends of Dryad and Ushabti.
For the feathers on the birds they get base coated with Thunder Hawk, washed Drackenhof, the highlights are done in a couple of different ways though. In both cases the highlights will be Russ, Fenrisian and Ushabti, the masses of feathers get glazed for their highlights where as the flight feathers are little sharp lines built up in layers avoiding covering the previous entirely.
The crusty exhaust stacks are pretty simple, start with a heavy coat of Typhus Corrosion and then coat it with Black Templar.
The last details of the model is the orange glow/lenses, for this I start with a bunch of coats of Fire Dragon Bright which I then wash with Gryph-Hound to get a bit darker a colour and a neat mottling effect. After that I follow a normal gem stone effect with Fire Dragon, Tau Light Ochre and finally Ushabti, its worth mentioning that for larger ones I will usually do a mix or two as intermediate steps.
The base is a even coat of Vallejo Grey Sand, once it has dried I go over it with Baneblade Brown before a wash of Darkoath Flesh and a final drybrush with Rakarth.
Finishing off the model at this point is a coat of Vallejo Premium Air Varnish, black on rim, and some tufts from gamers grass, in this case I use a few different lengths of beige, light green and dry green.
-

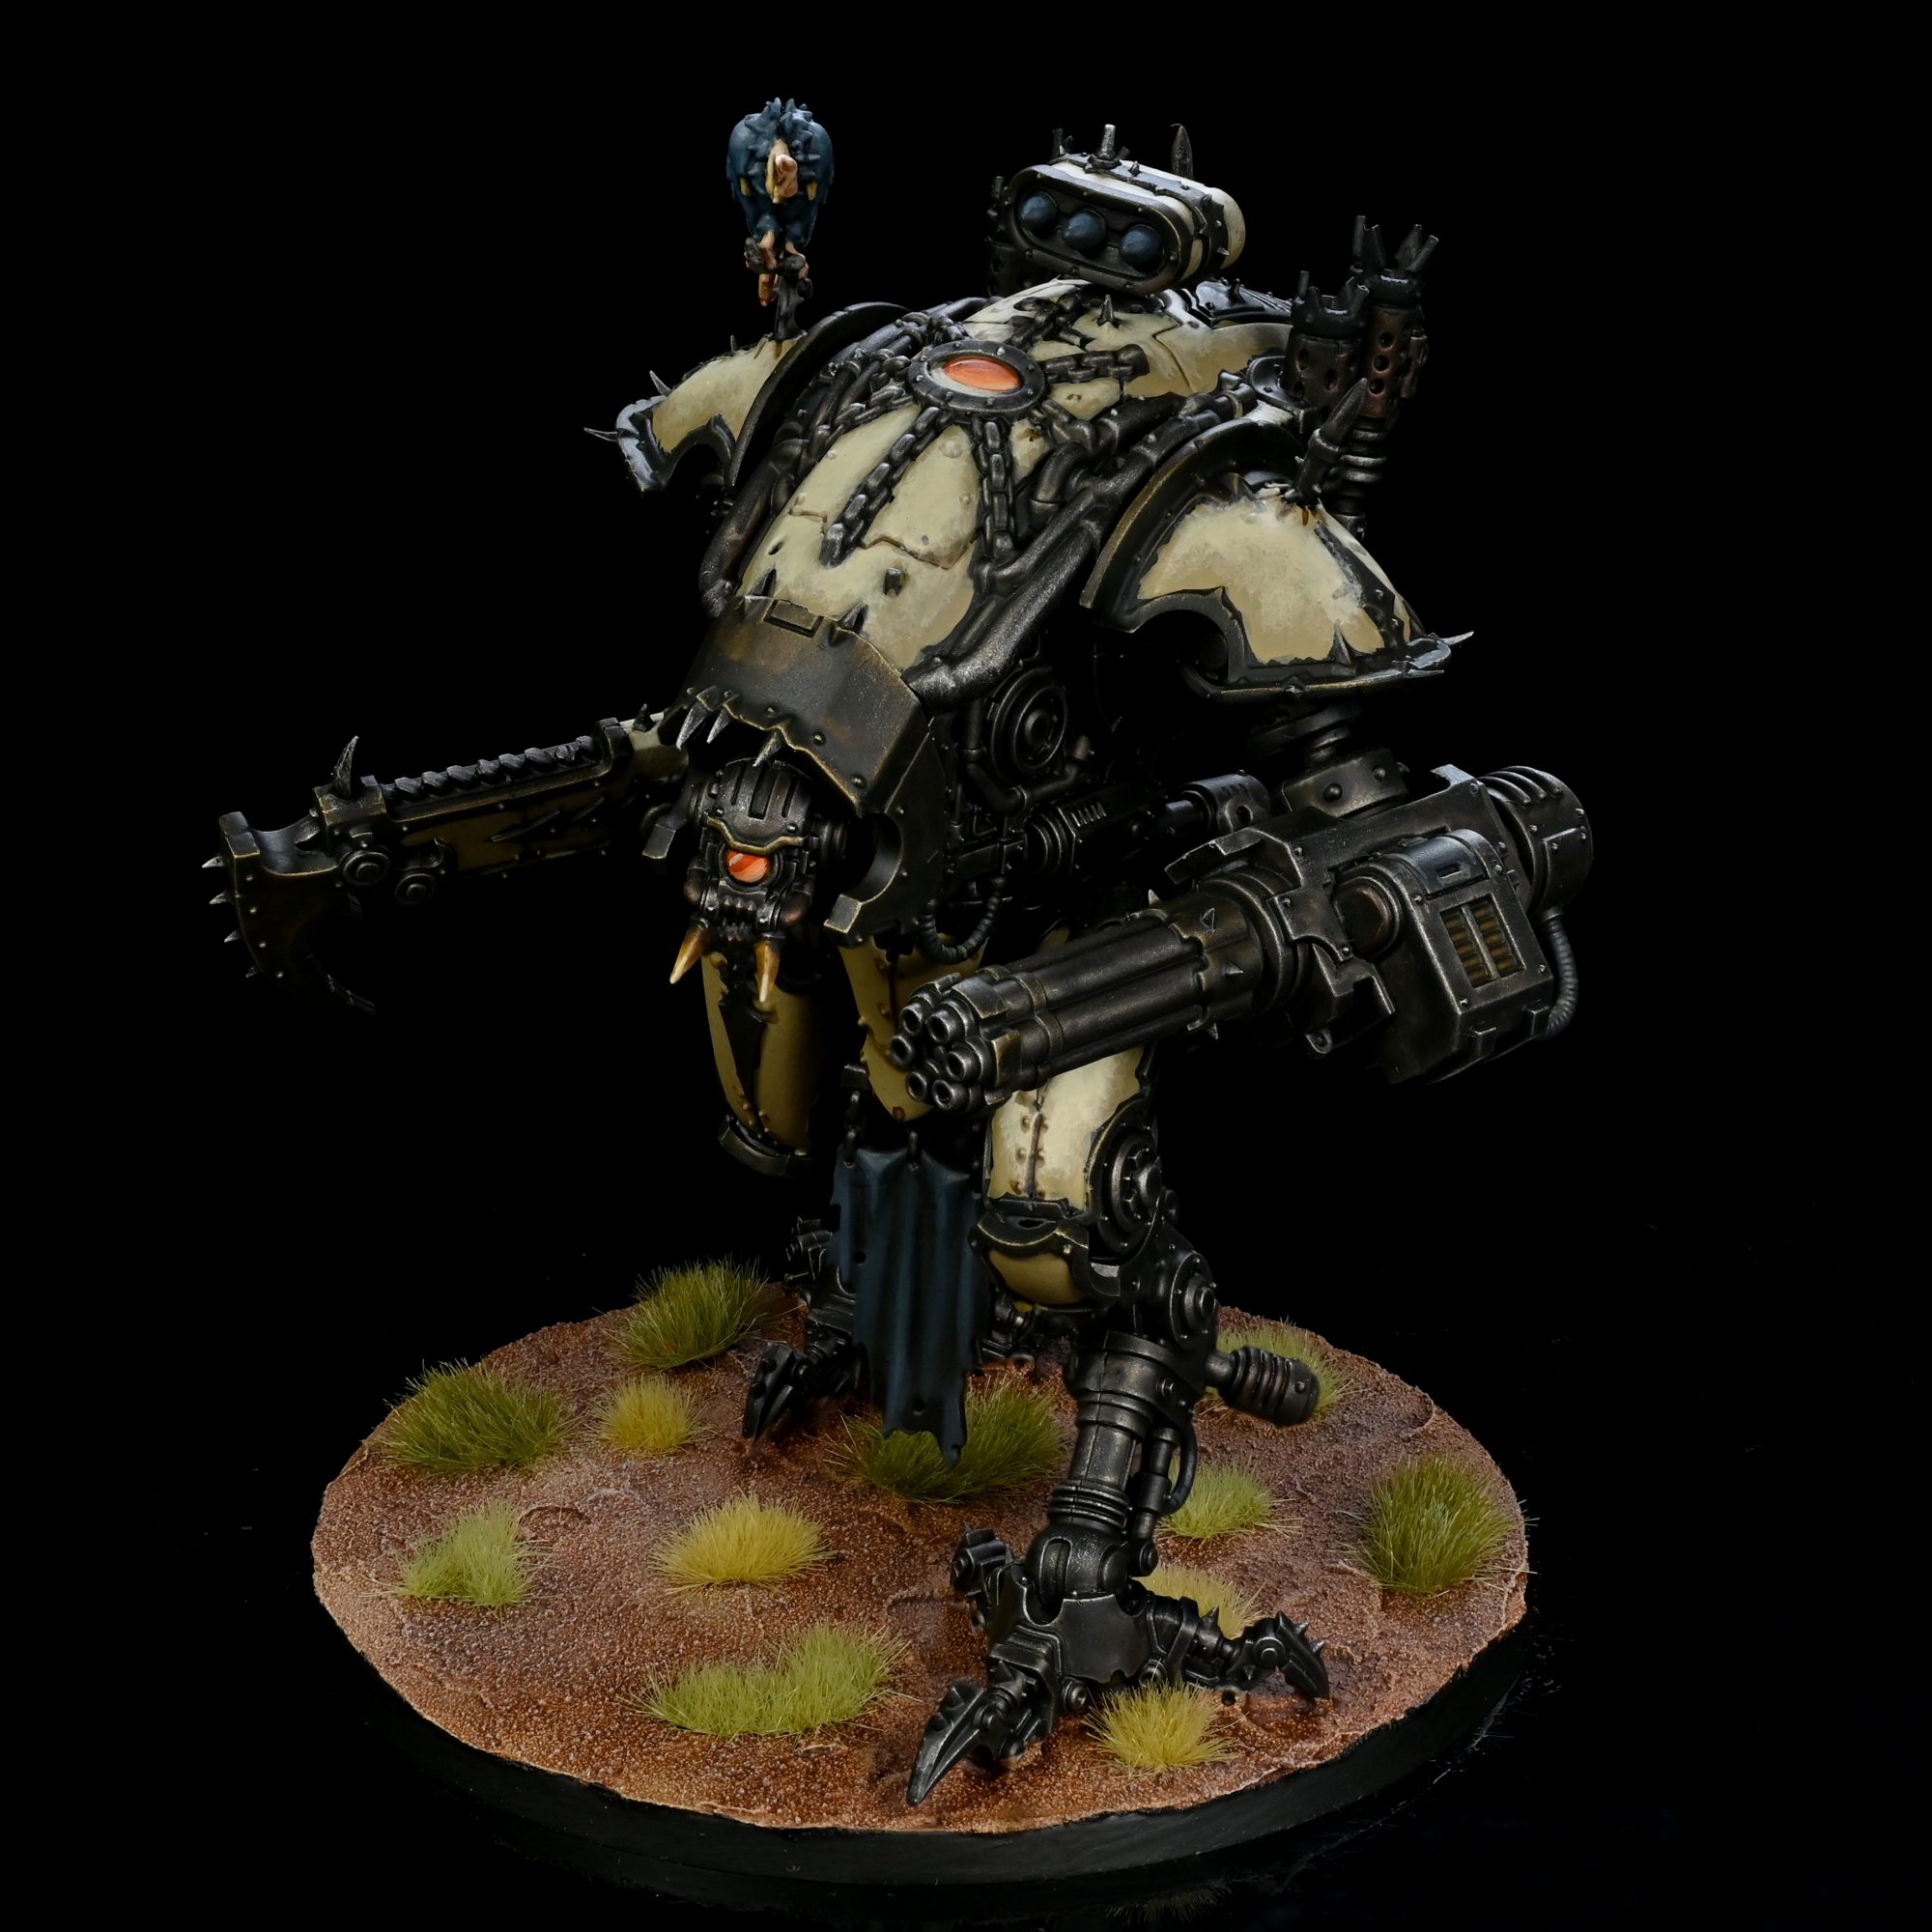
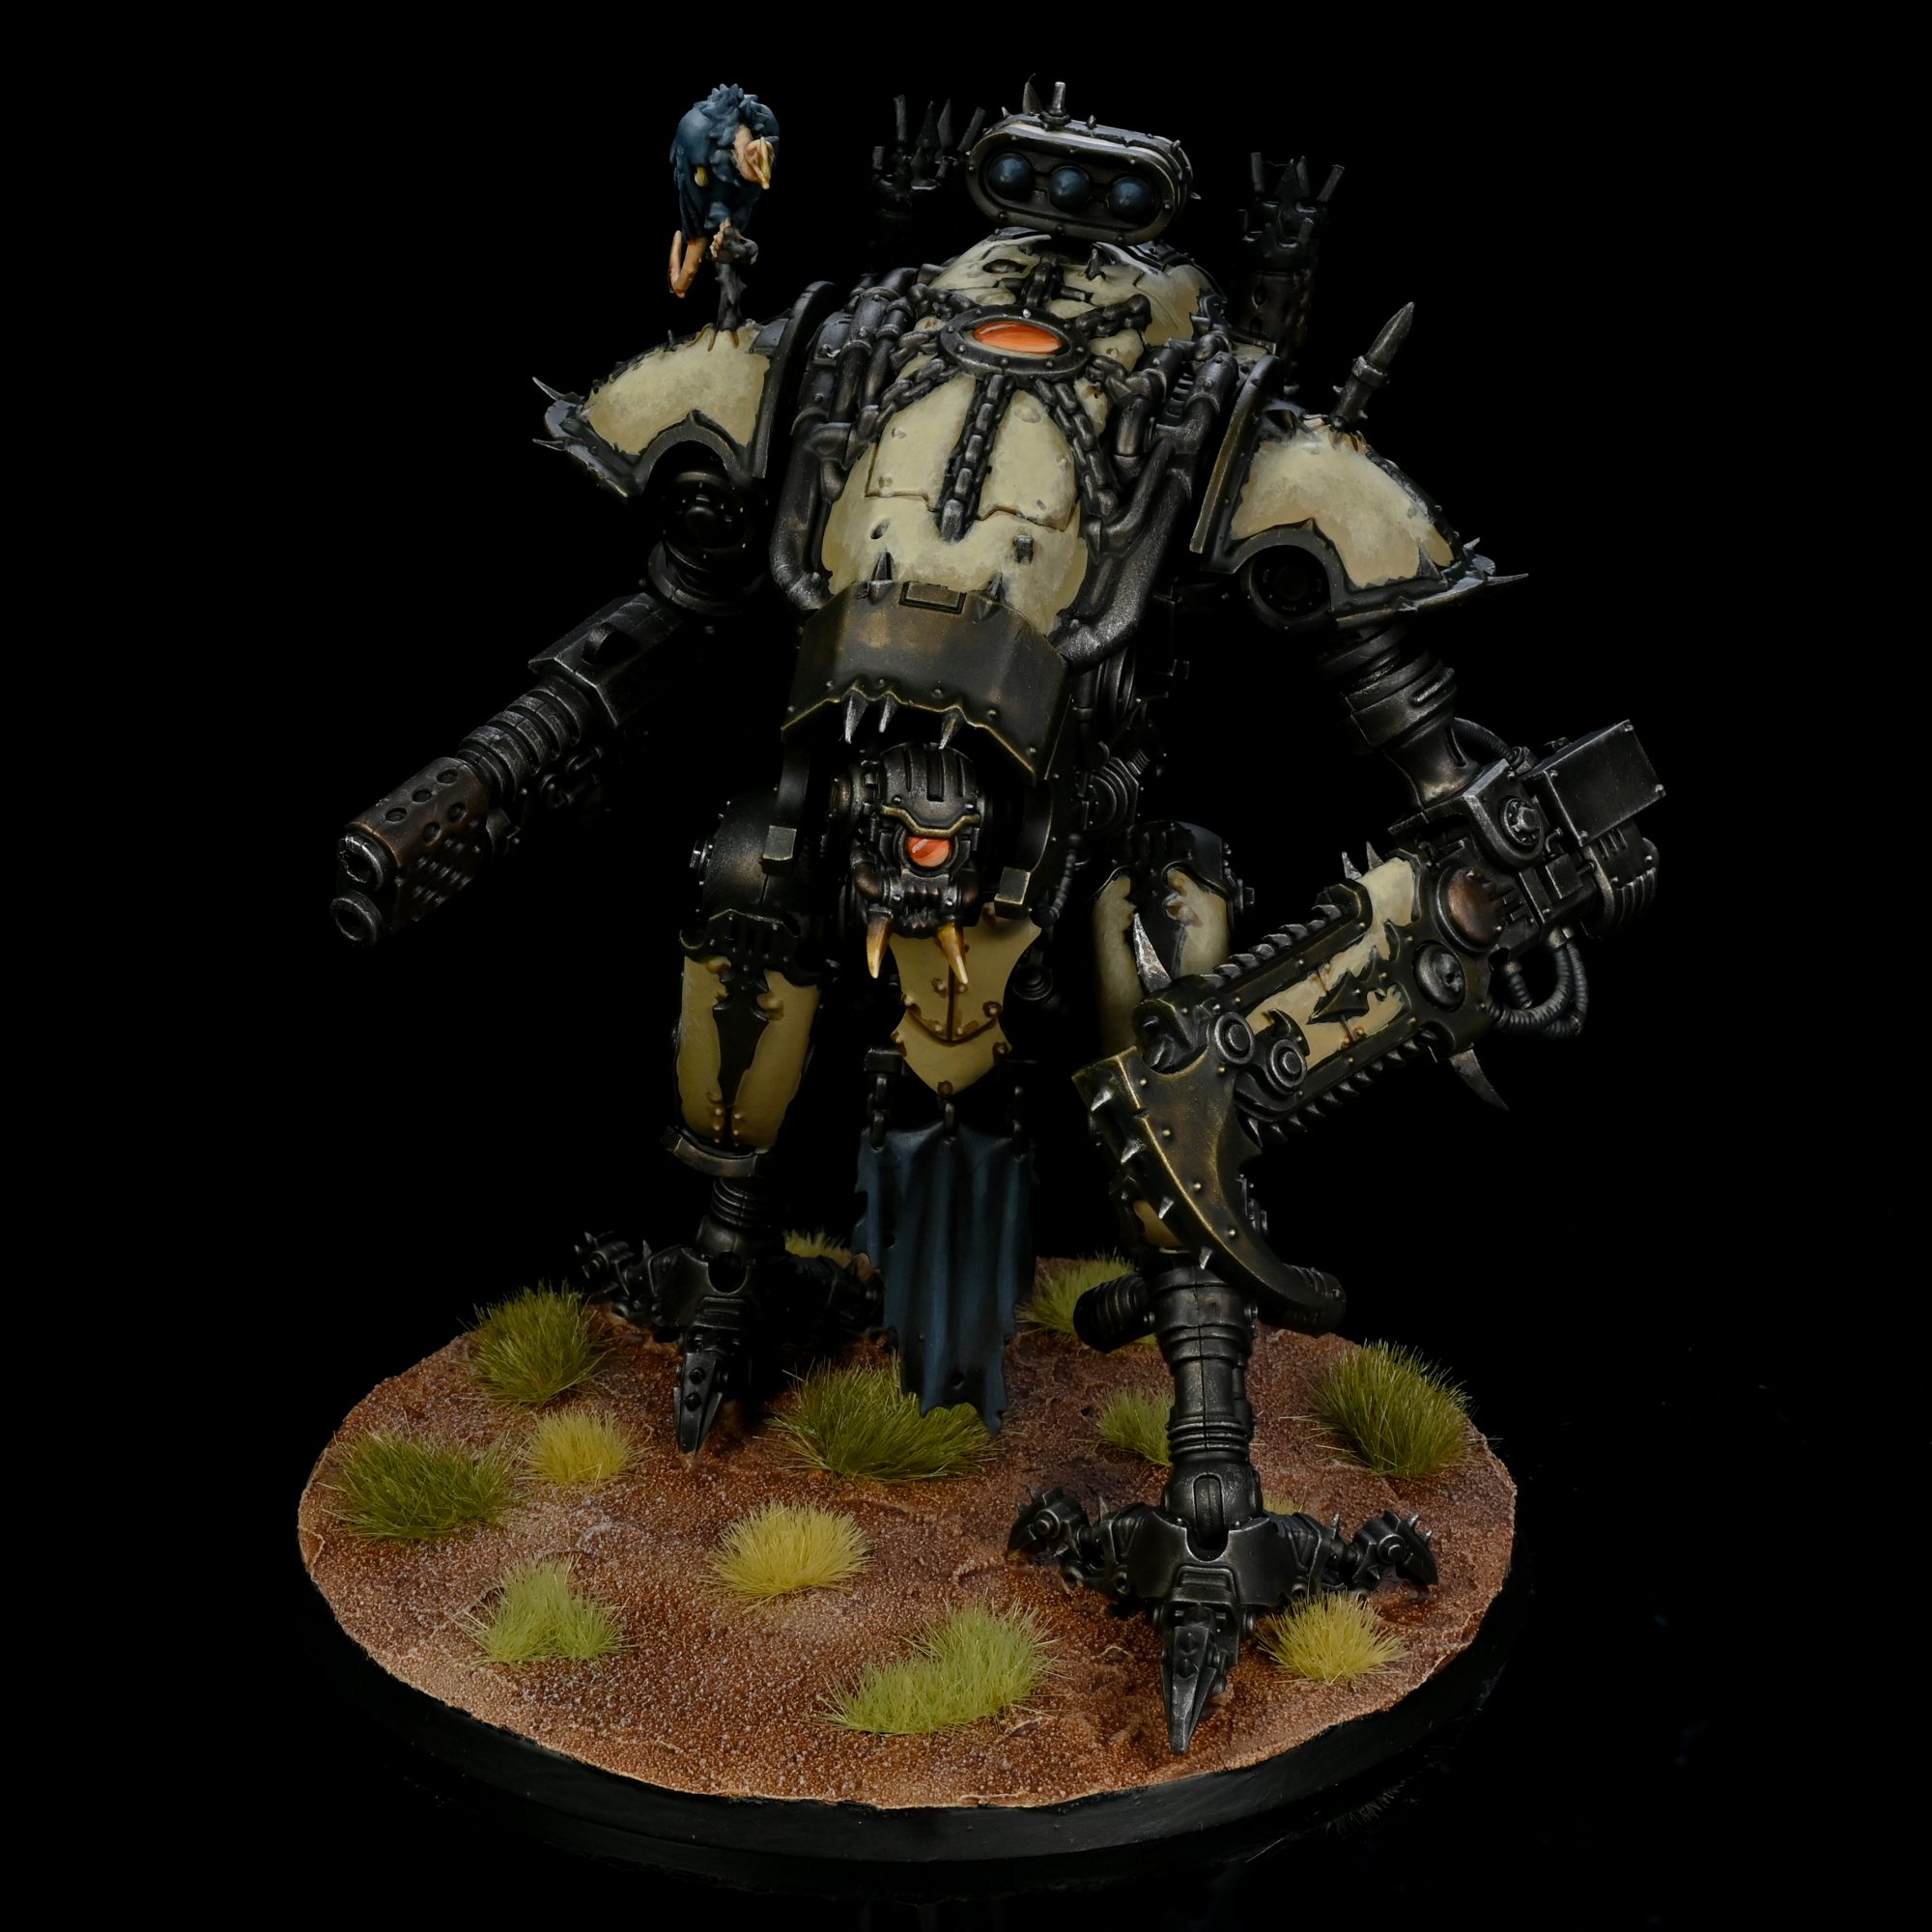
Knight Rampager. Credit: Rockfish -

Knight Desecrator. Credit: Rockfish -
Knight Desecrator. Credit: Rockfish -
Knight Desecrator. Credit: Rockfish
-
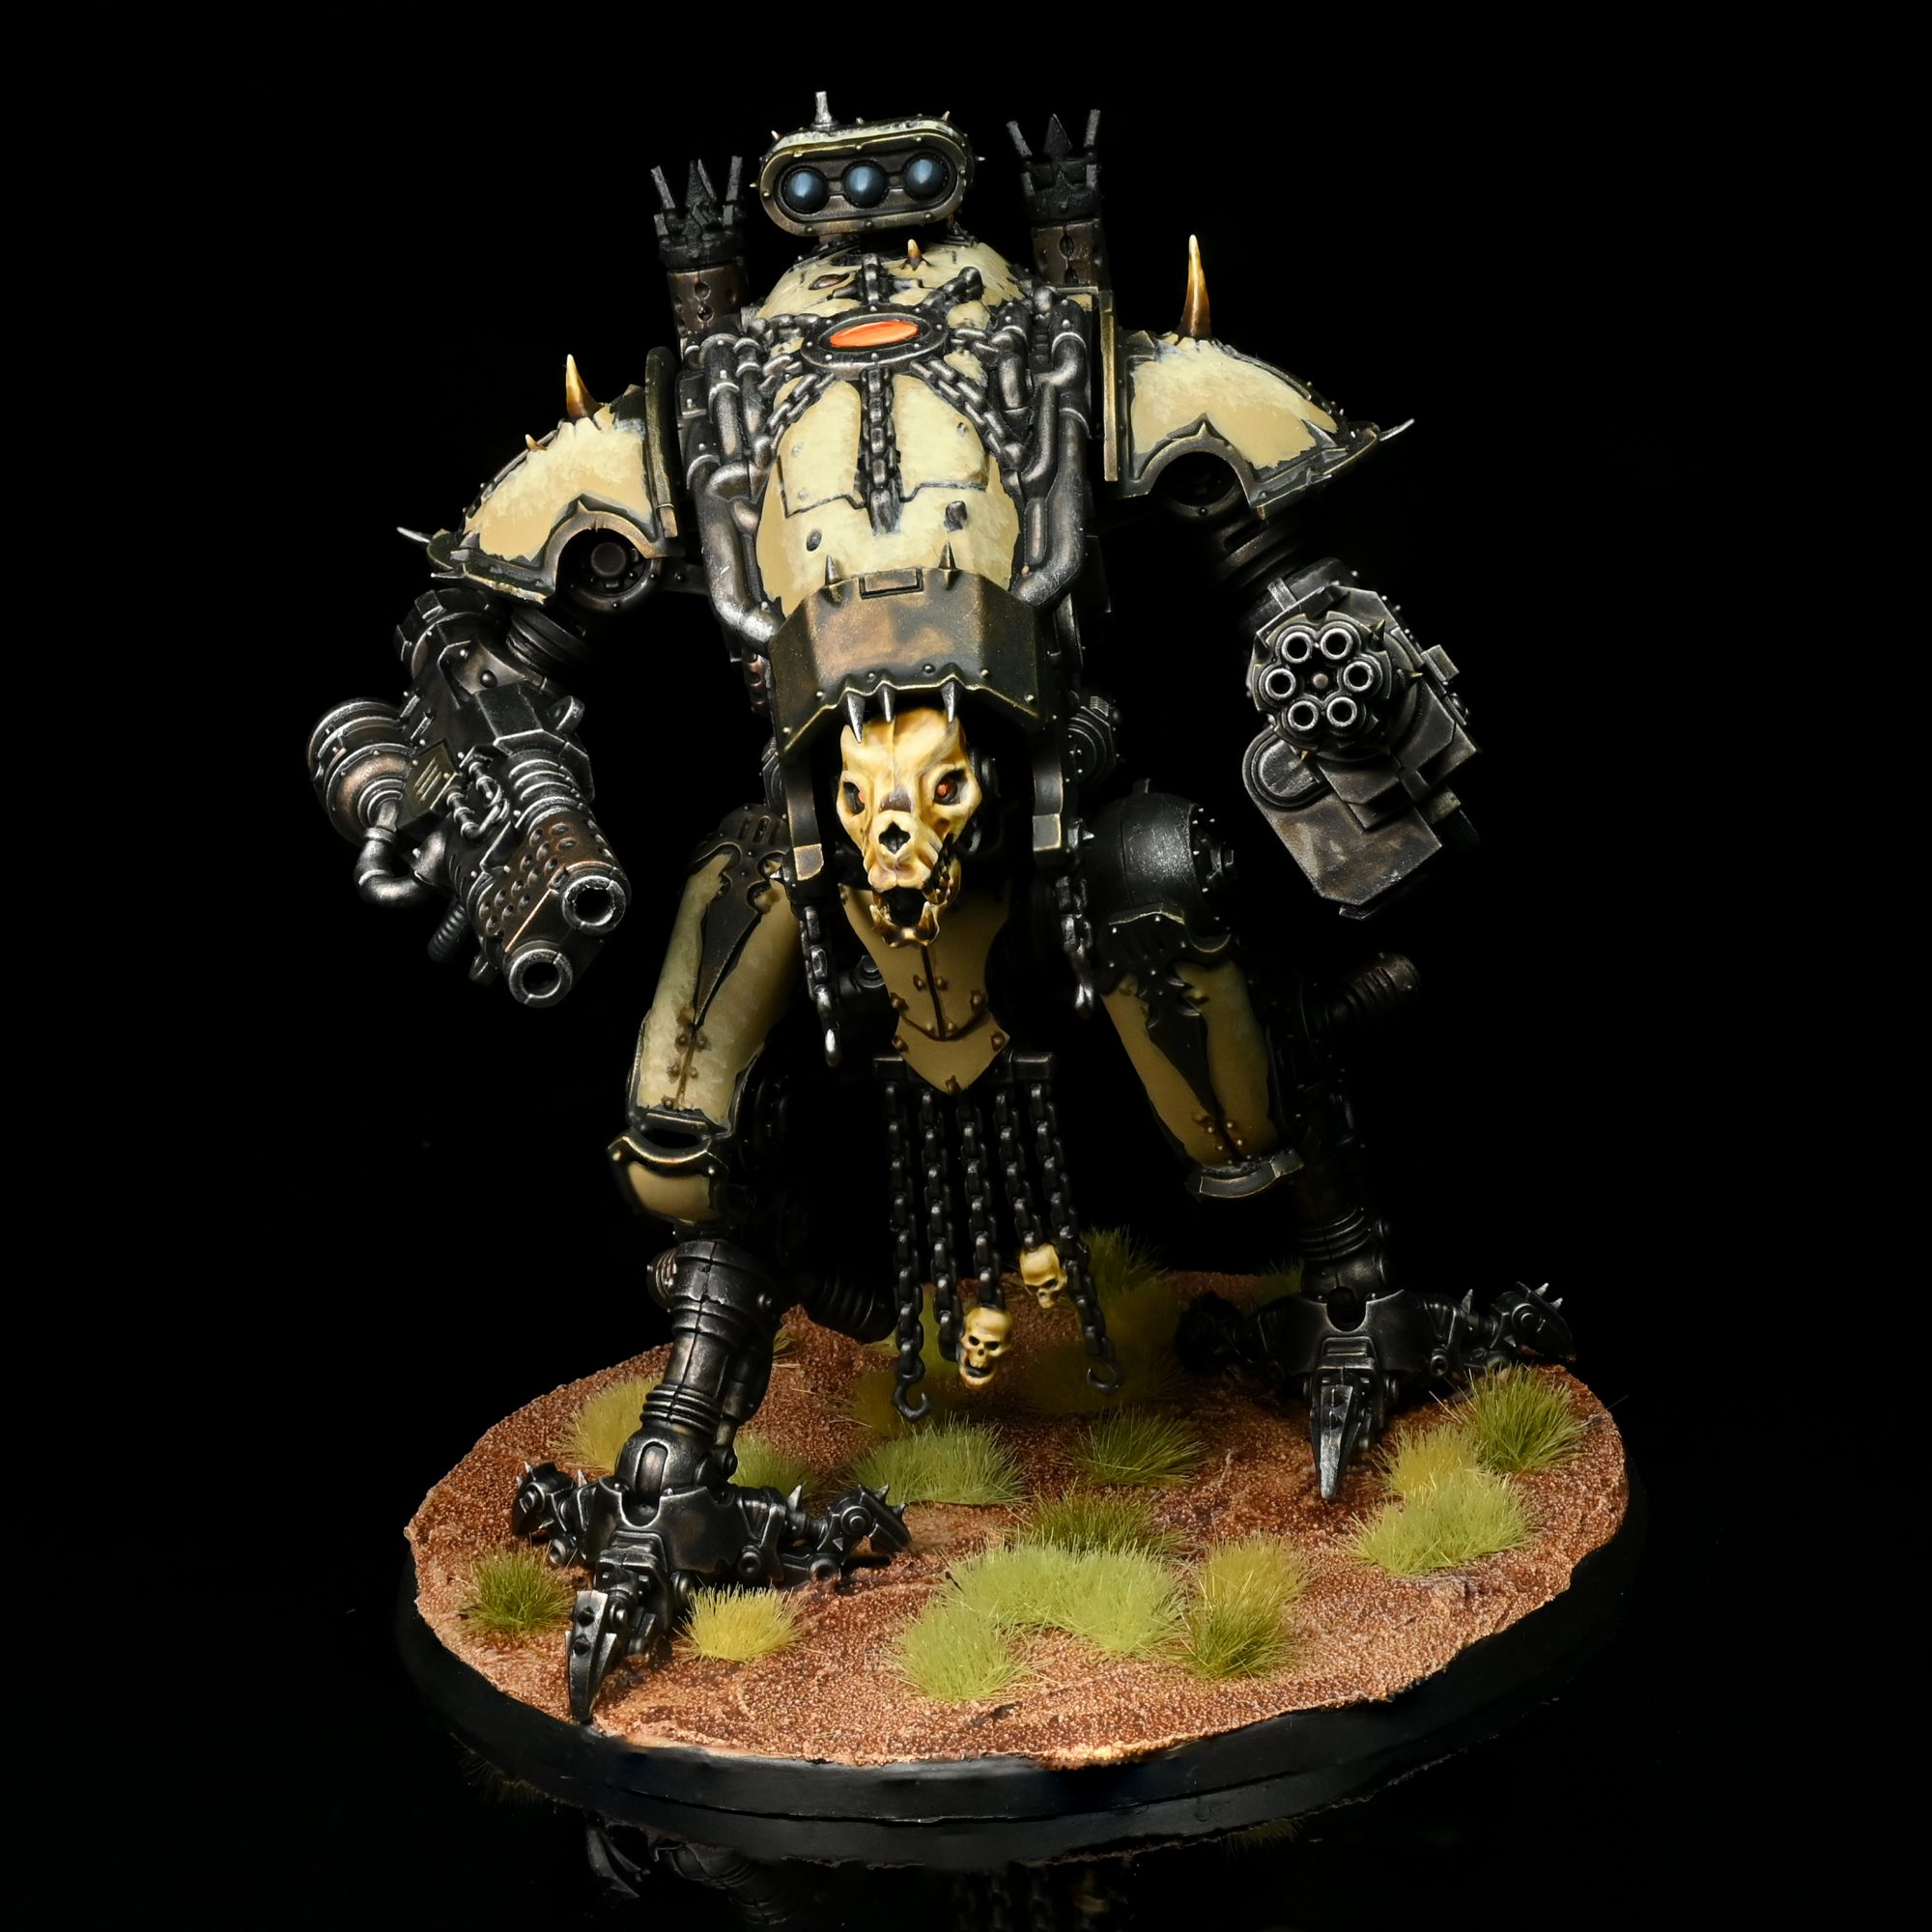
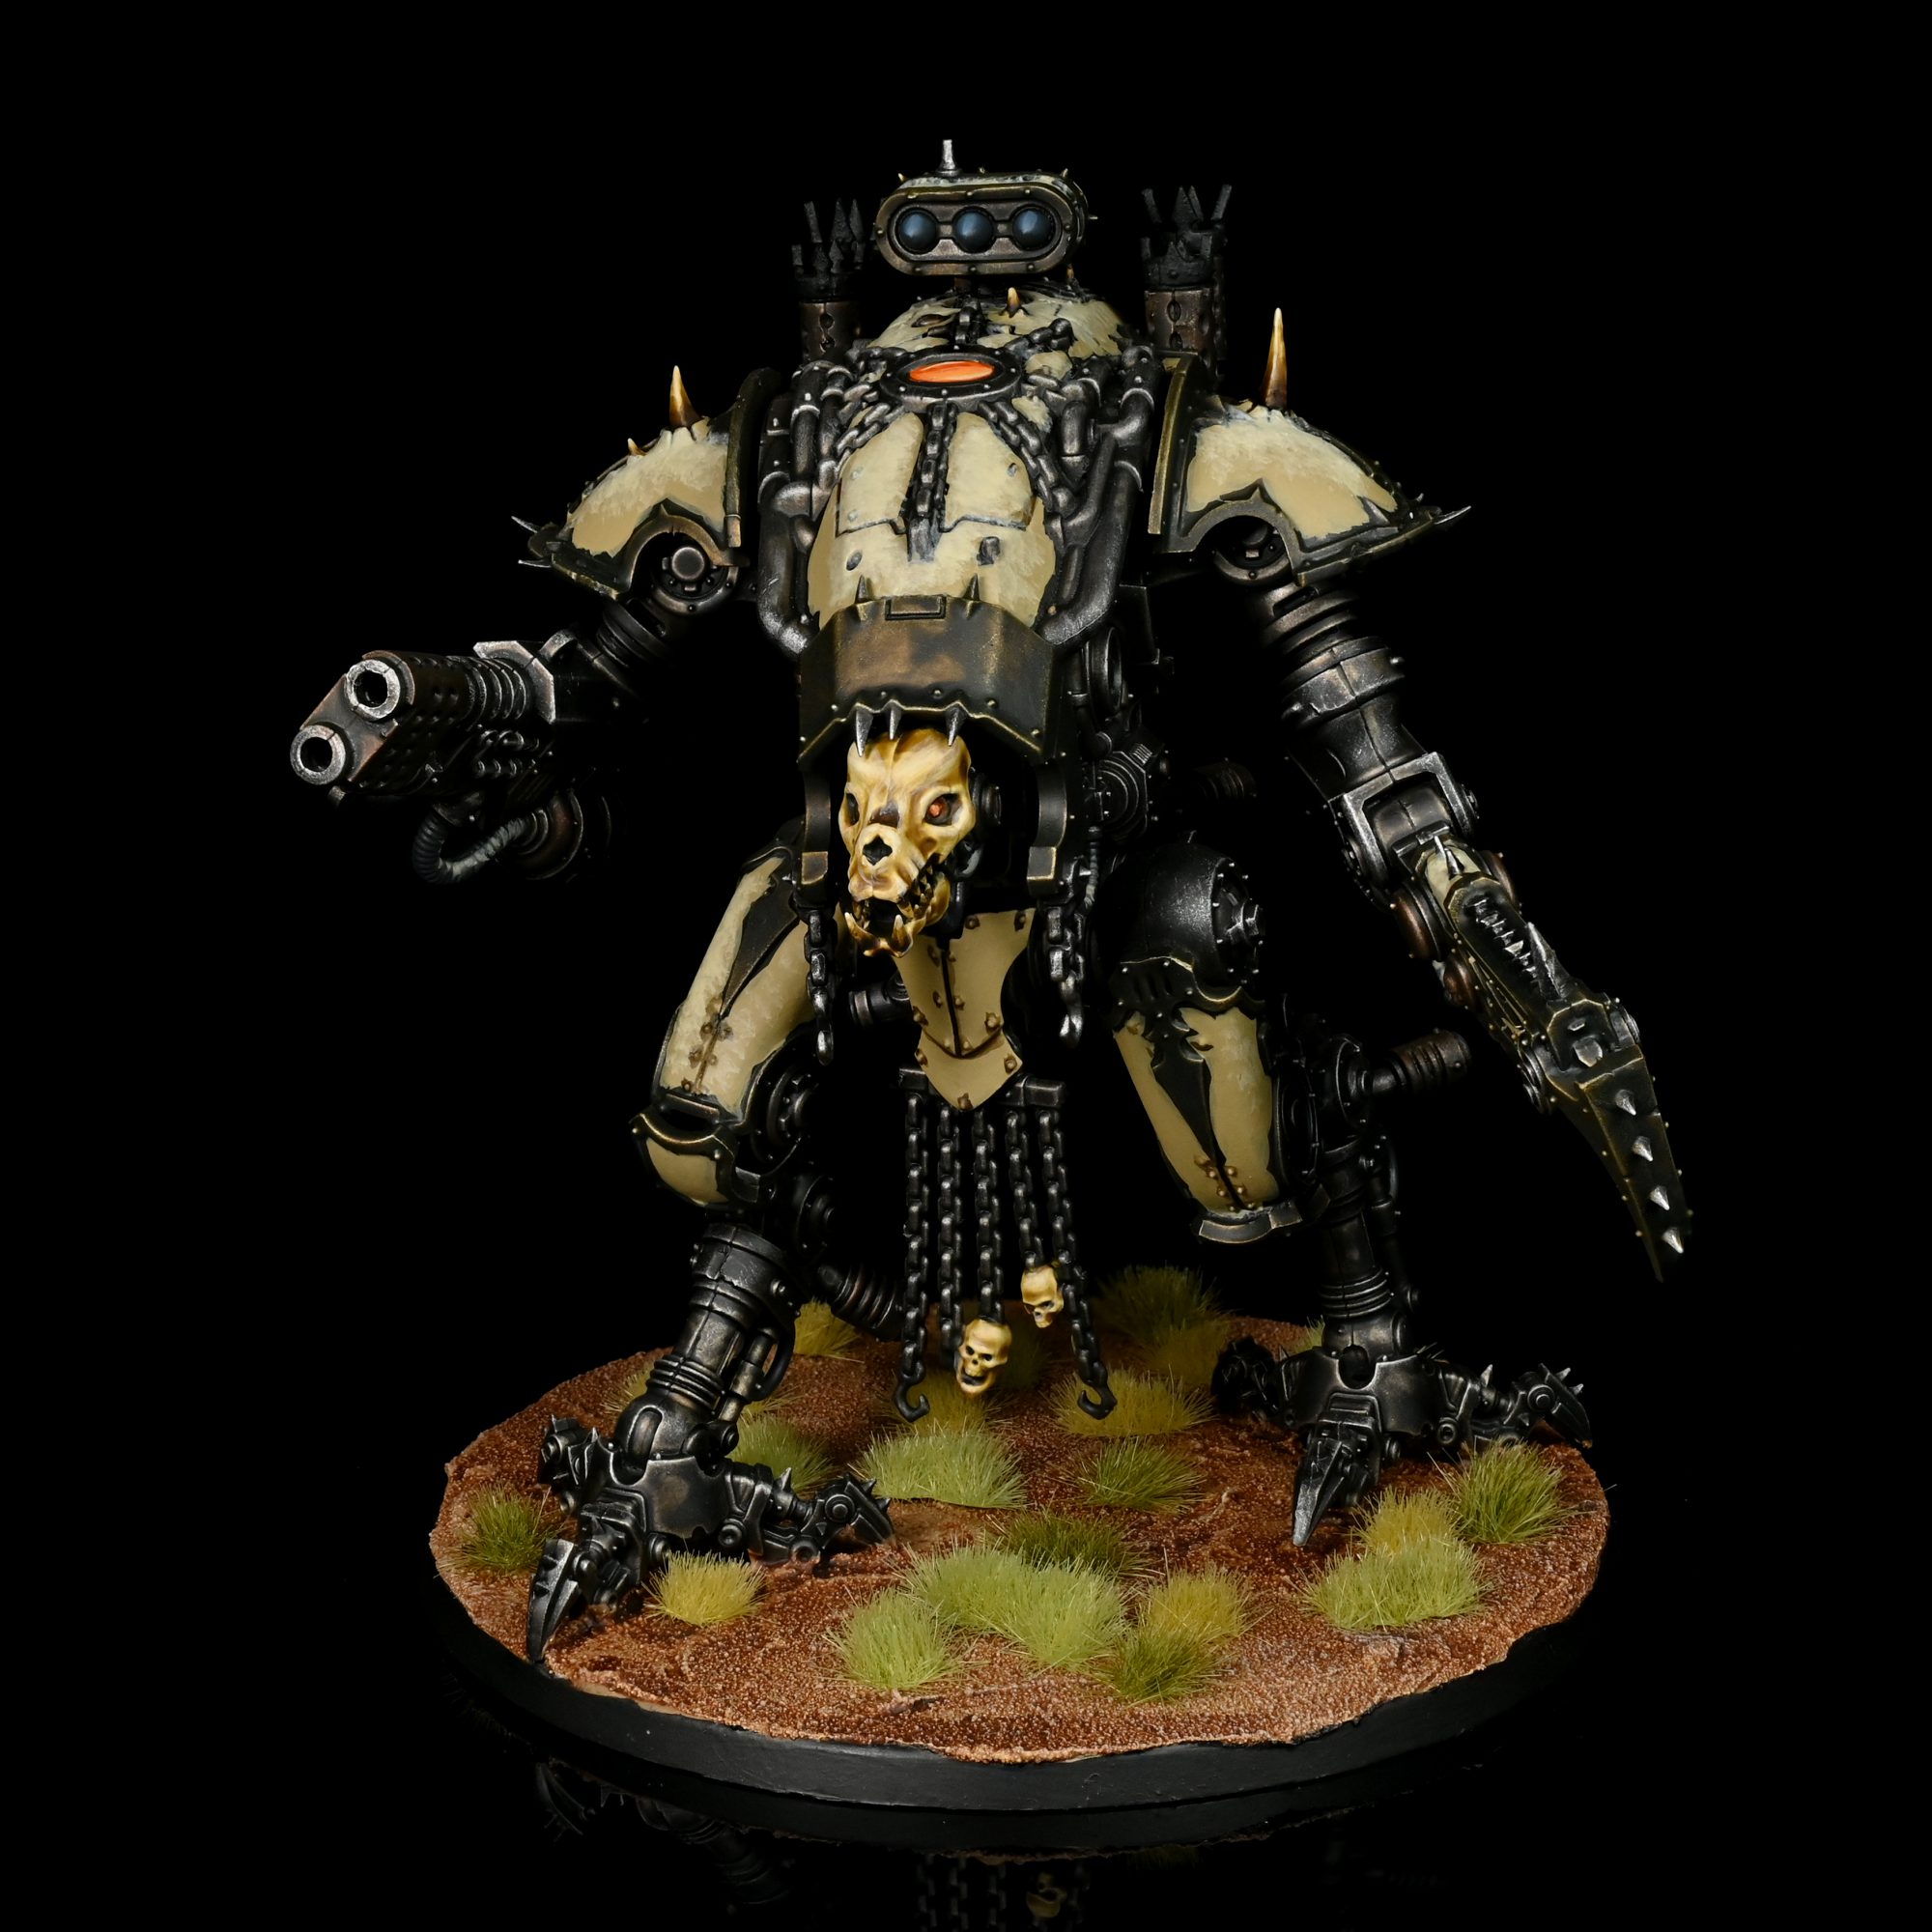
Knight Abominant. Credit: Rockfish -
Knight Abominant. Credit: Rockfish -
Knight Abominant. Credit: Rockfish
-

War Dog – Executioner. Credit: Rockfish -
War Dog – Executioner. Credit: Rockfish -
War Dog – Executioner. Credit: Rockfish -
War Dog – Karnivore. Credit: Rockfish -
War Dog – Stalker. Credit: Rockfish -
War Dog – Stalker. Credit: Rockfish -
War Dog – Brigand. Credit: Rockfish -
War Dog – Stalker. Credit: Rockfish -
War Dog – Stalker. Credit: Rockfish -
War Dog – Executioner. Credit: Rockfish -
War Dog – Executioner. Credit: Rockfish -
War Dog – Executioner. Credit: Rockfish
Wrap-up
Now you’ve got everything you need to paint up these towering traitors. Well, knowledge-wise anyways. You’ll still need a buttload of Leadbelcher and Nuln Oil and sadly we can’t provide that. As always, if you have any questions, drop us a note in the comments below or email us at contact@goonhammer.com.
