
This article is part of a sponsored series of articles exploring Freecompany’s Eldfall Chronicles tabletop miniatures game.
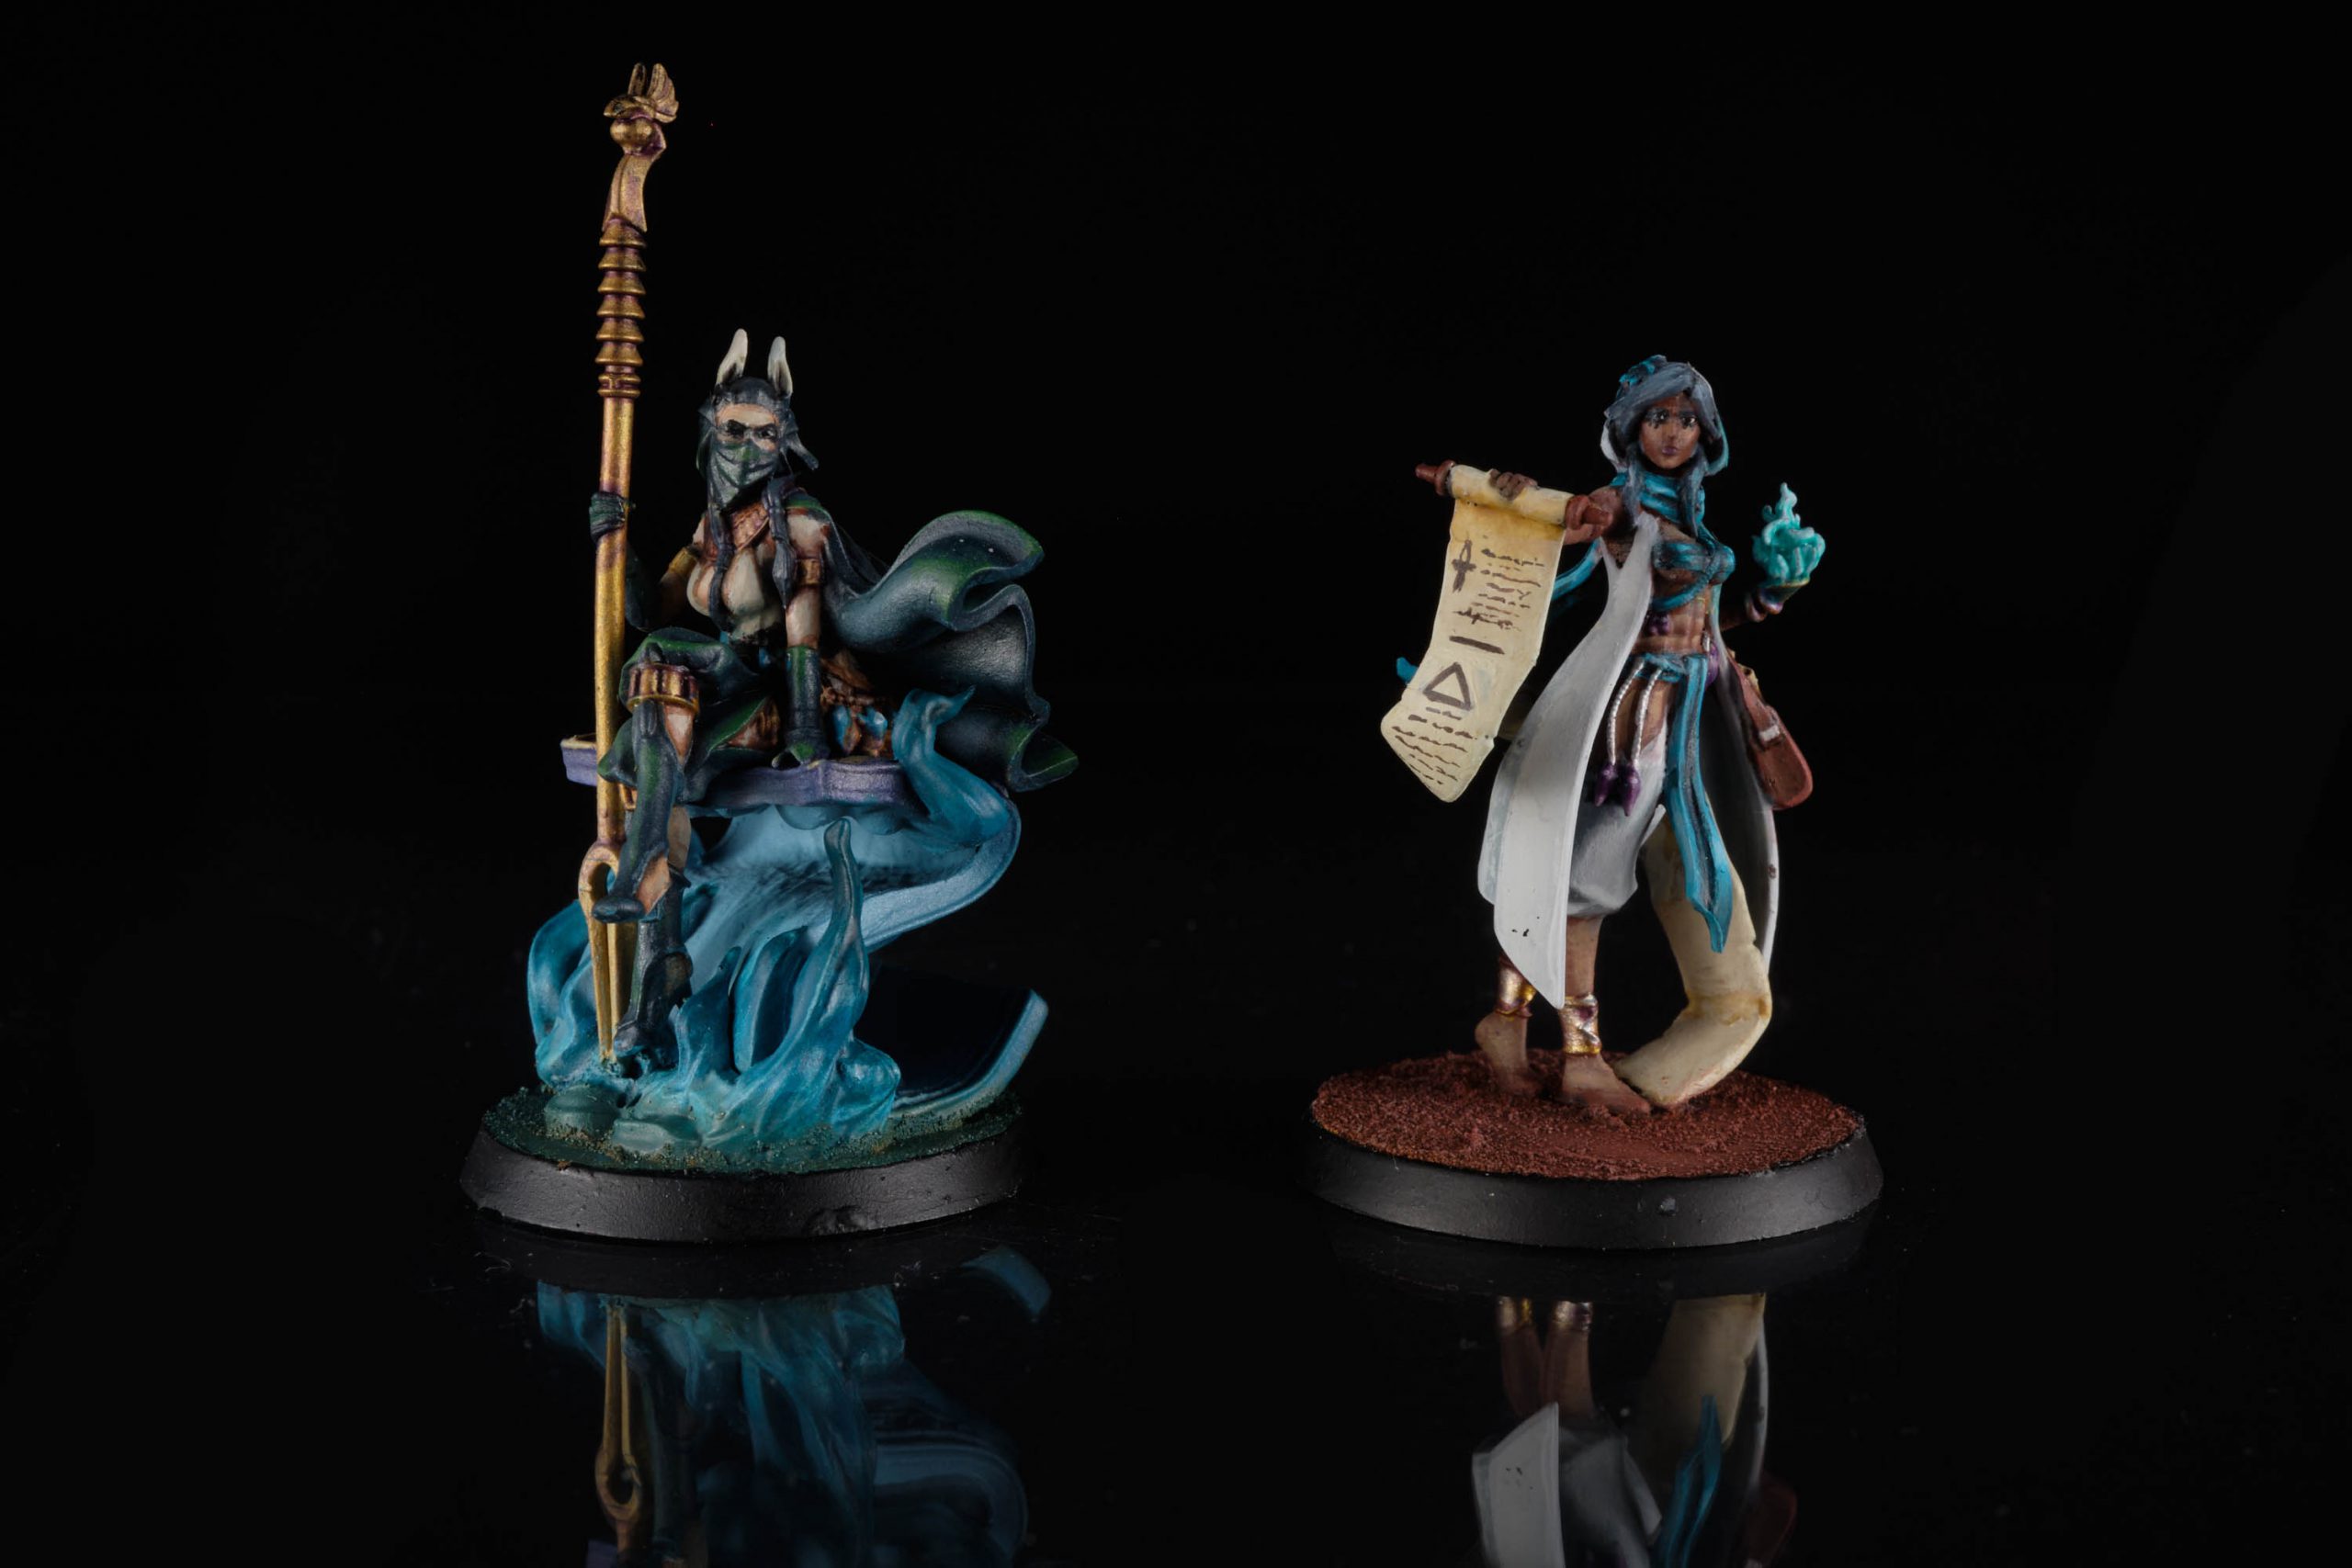
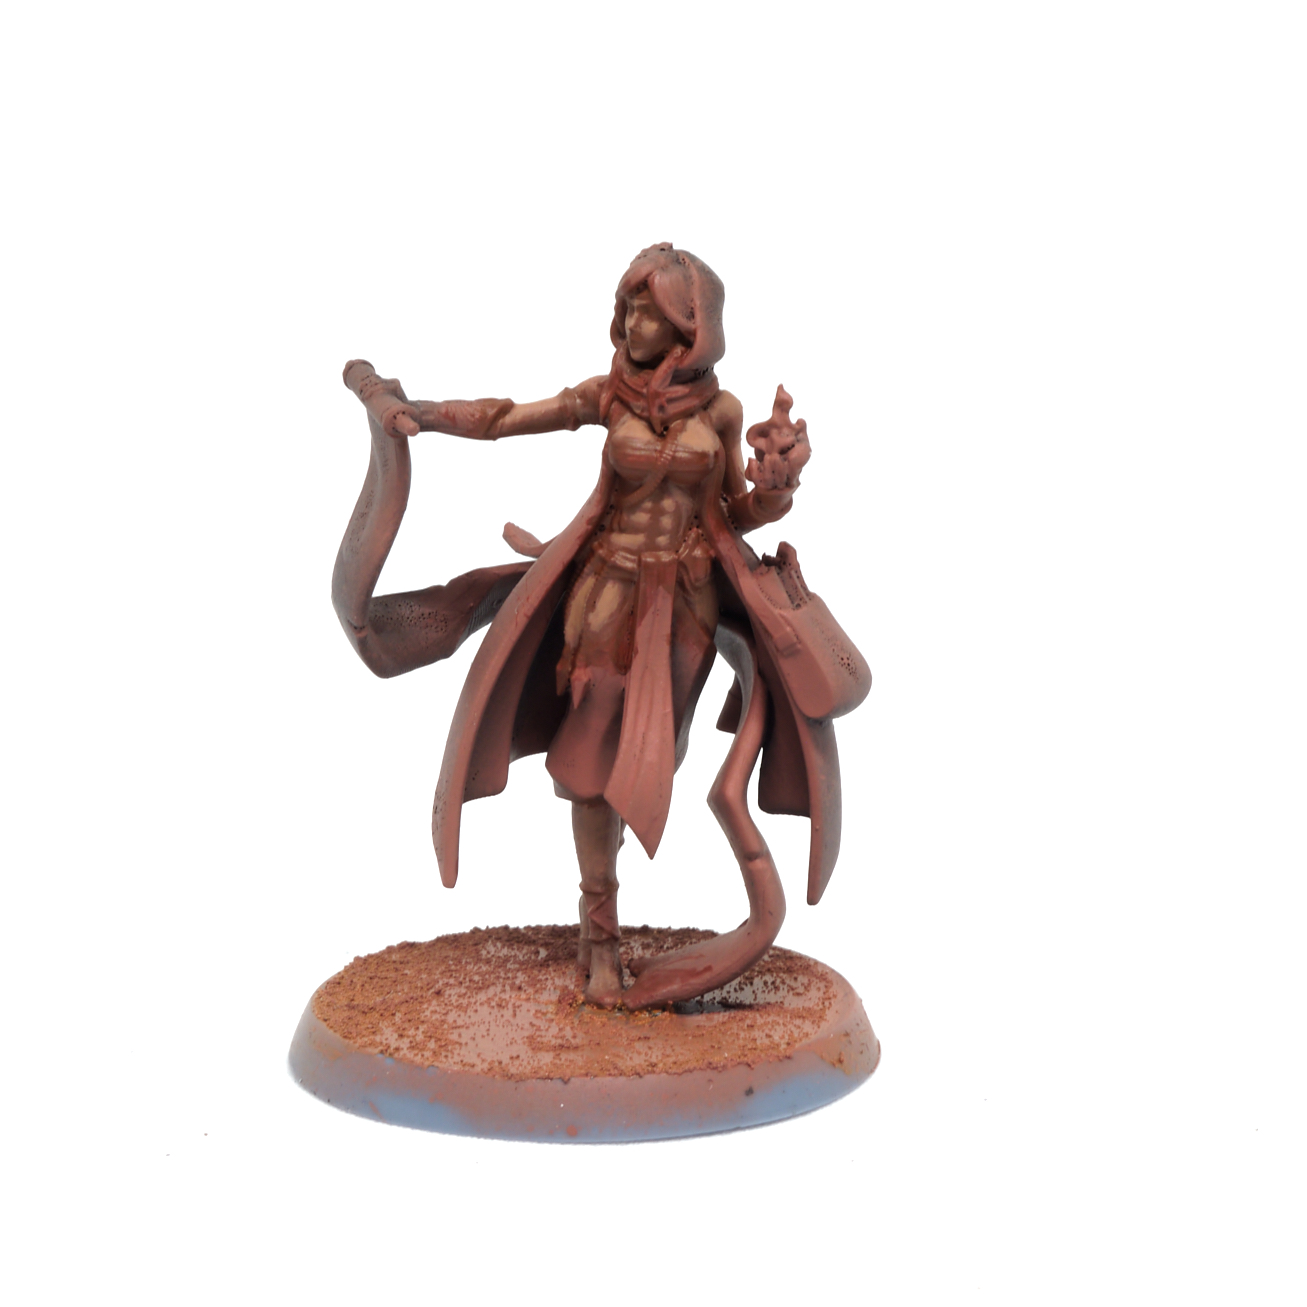
“The name Sand Kingdoms refers to the many lush and abundant city-kingdoms, positioned amidst what seems to be a lifeless desert in the west. Many believe it to be the cradle of all civilization on Calad. The Sand Kingdoms are not only the main source of magical knowledge, they are a lively melting pot of cultures and peoples as well as a whirlpool of trade, commerce and invention.” – Eldfall Chronicles

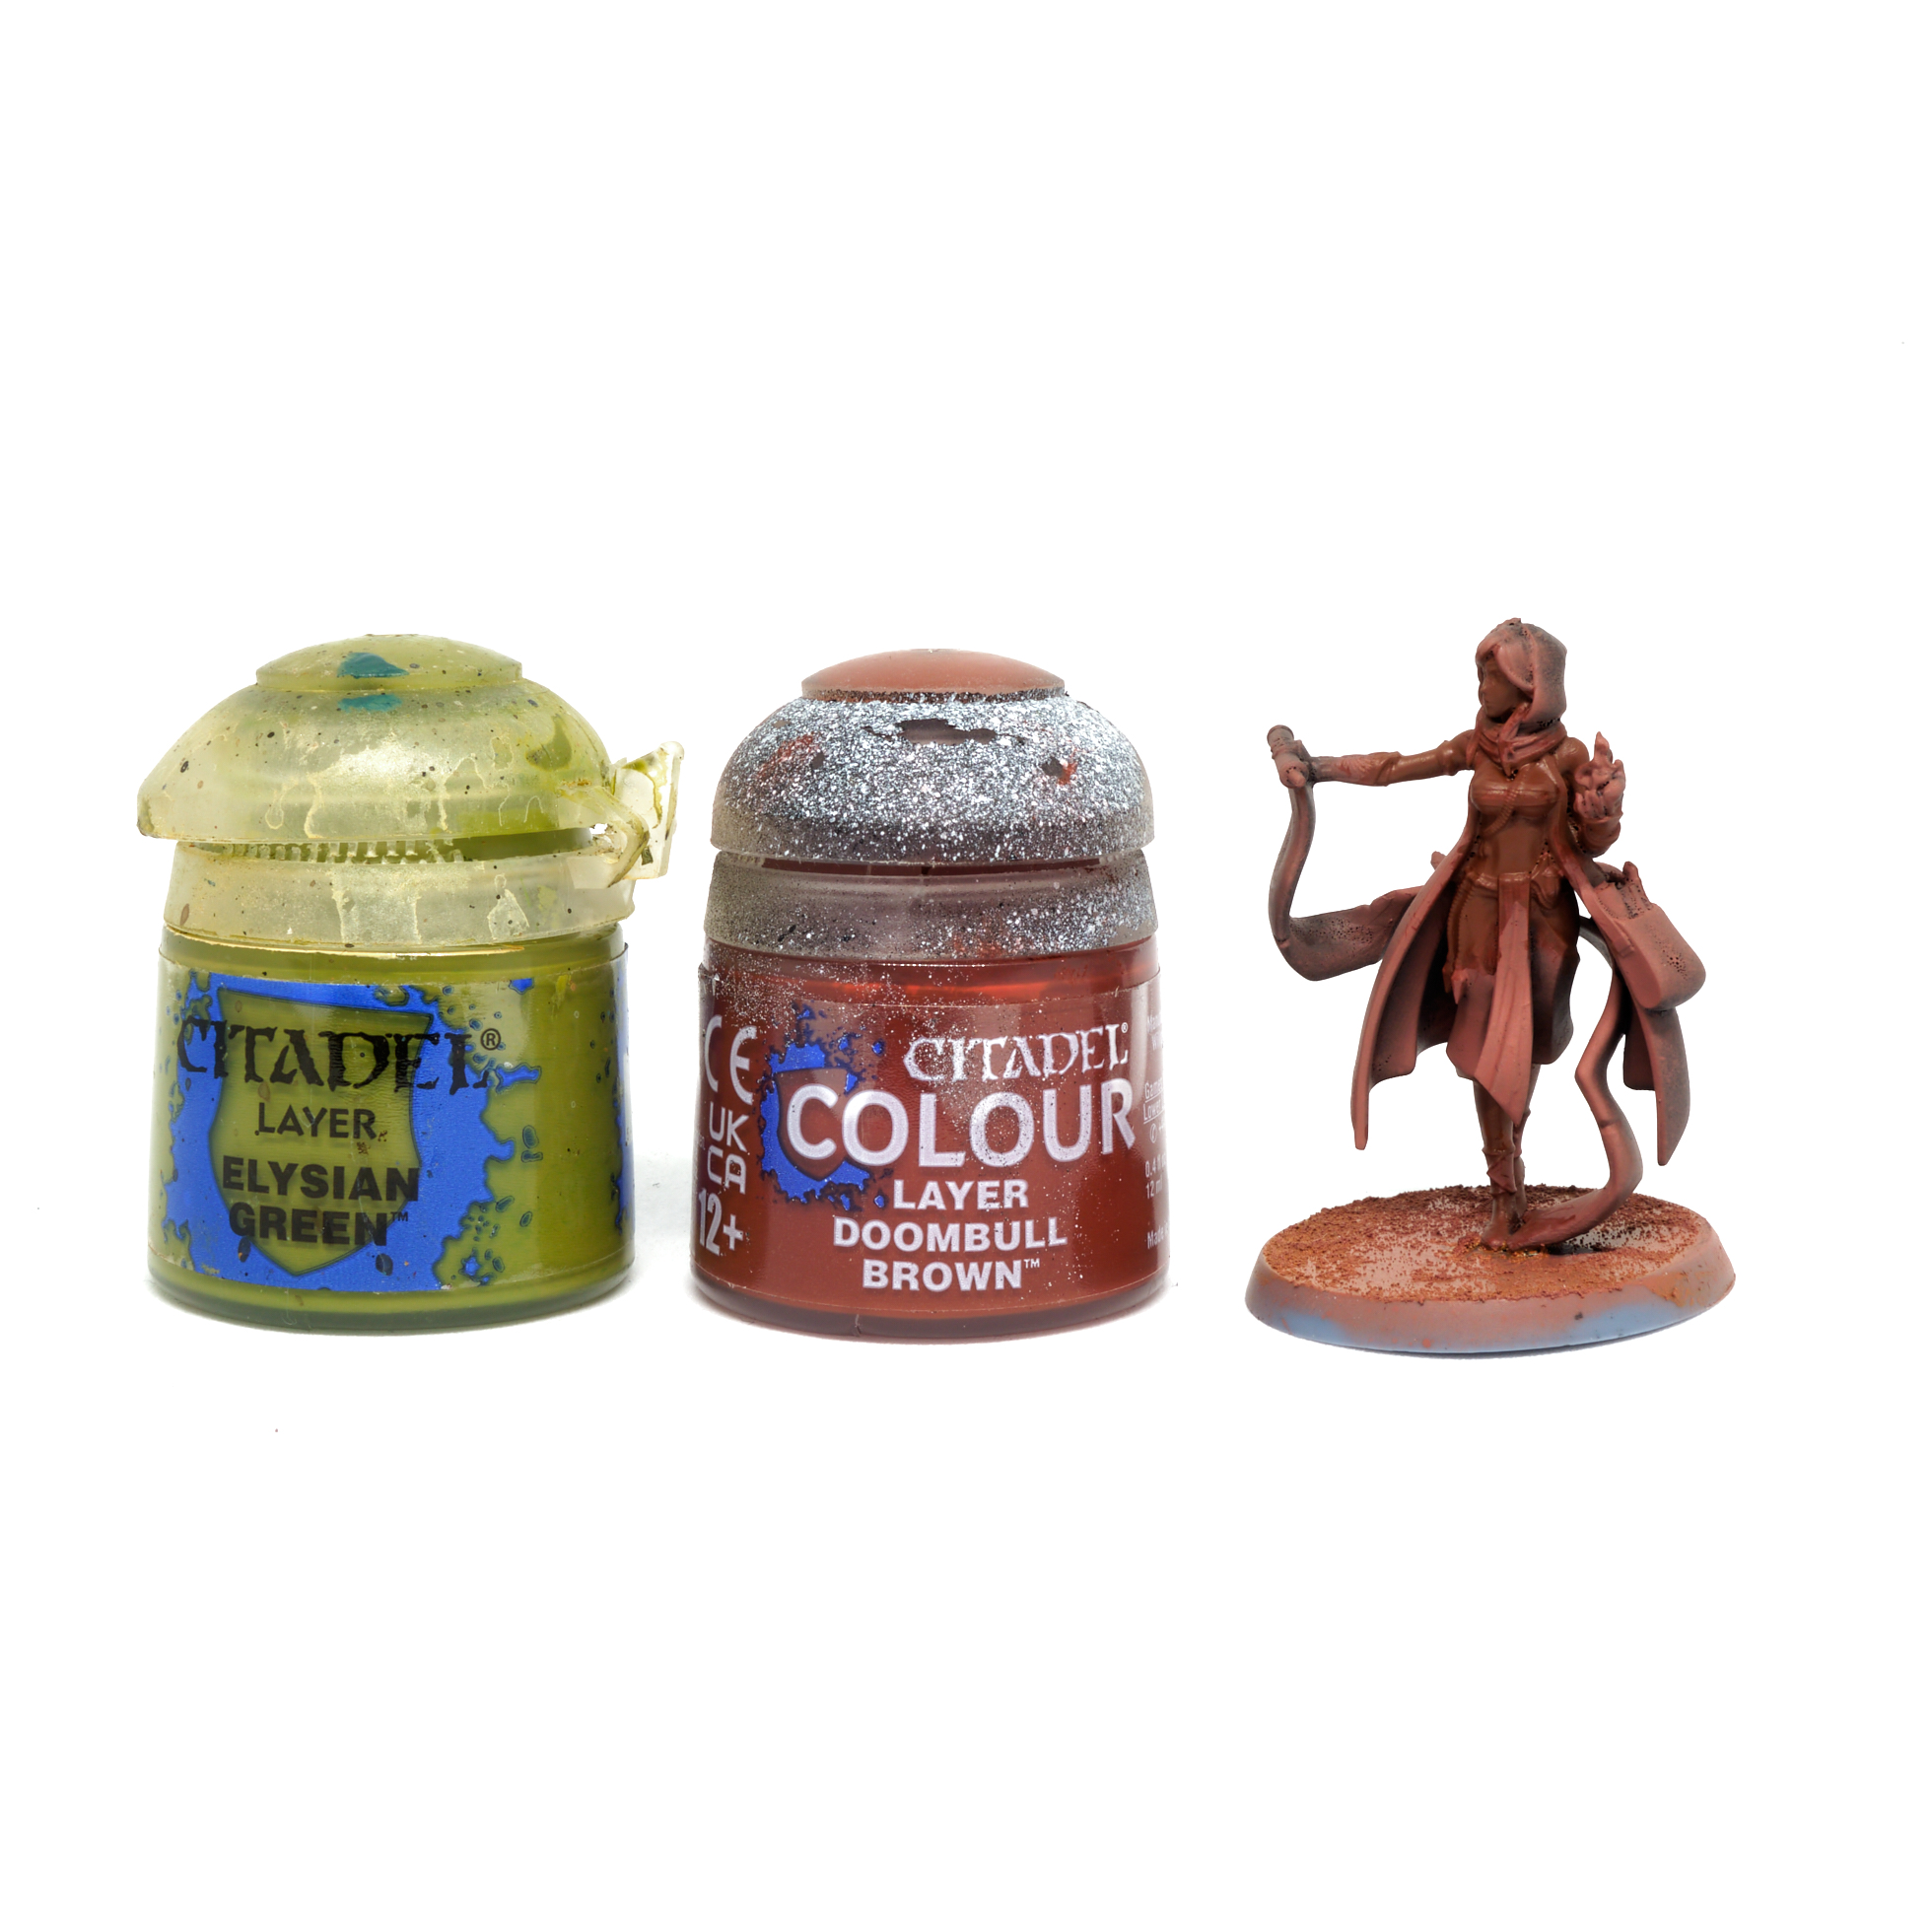
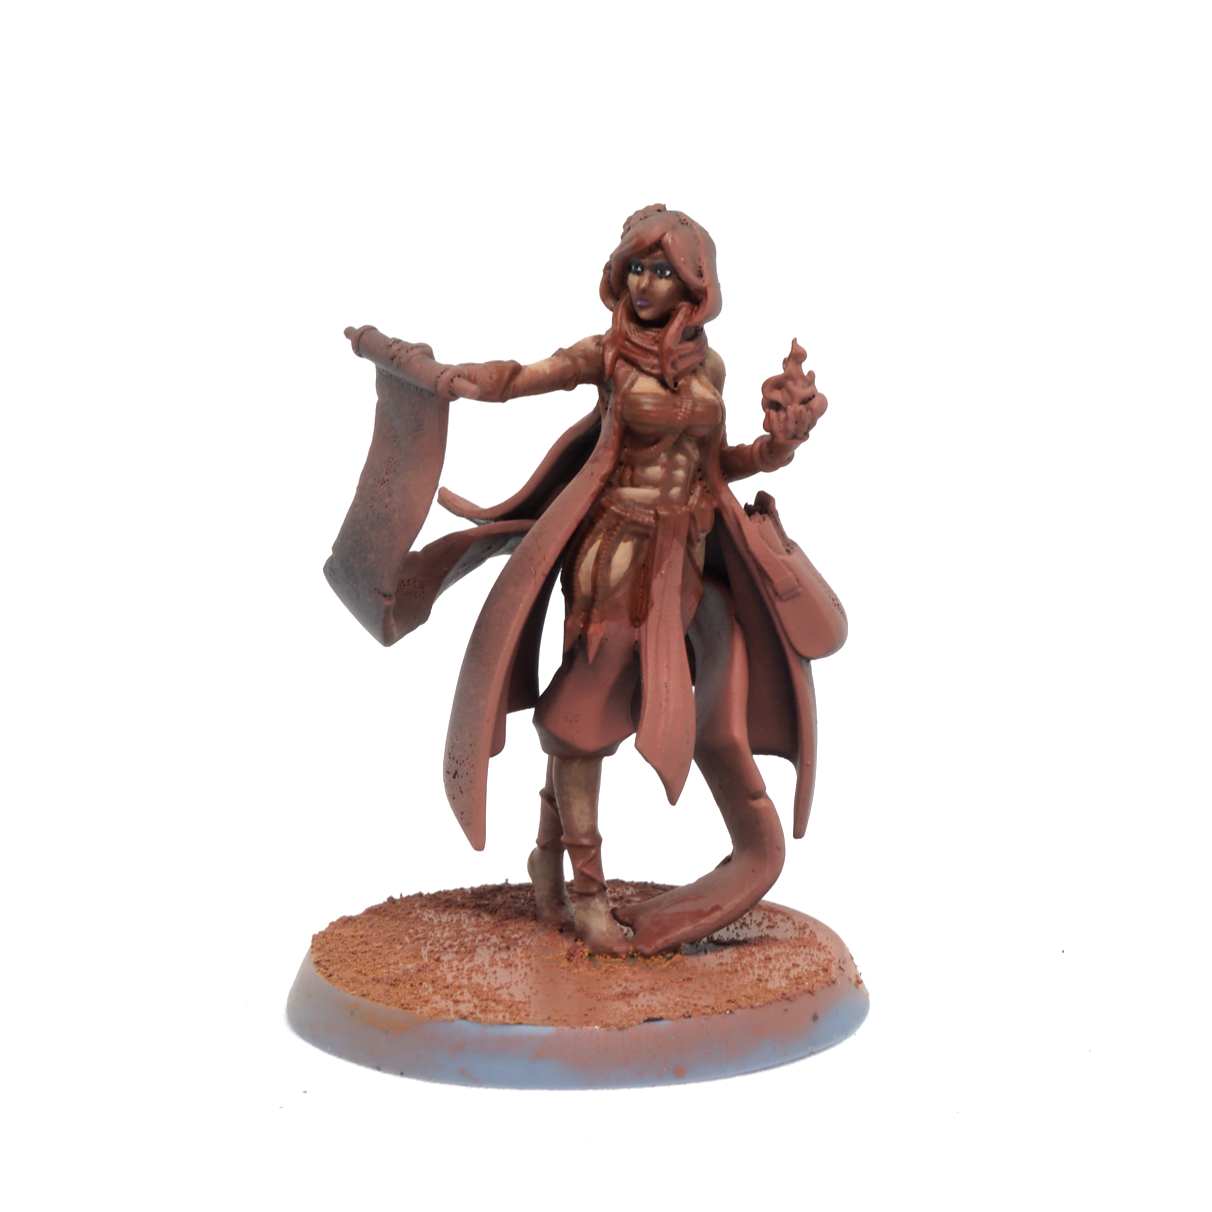
Tanned Olive Skin
- Start with a mix of Doombull Brown and Elysian Green in a 4:1 ratio (or thereabouts), thin coats all over the skin areas to build up a nice smooth coverage, we want to keep our paints as thin as possible for this, without introducing any texture. (Reaper Dark Skin is close enough to this shade)

Credit: Keewa - Lighten the mix by introducing a little bit of Pallid Wych Flesh and a little bit of Ogryn Camo, you only need a tiny amount of each to lighten the skin by a good amount, so it’s a good idea to go back and get some of your original shade, adjusting as you go to make a middle tone. (Vallejo Model Color Brown Sand)

Credit: Keewa 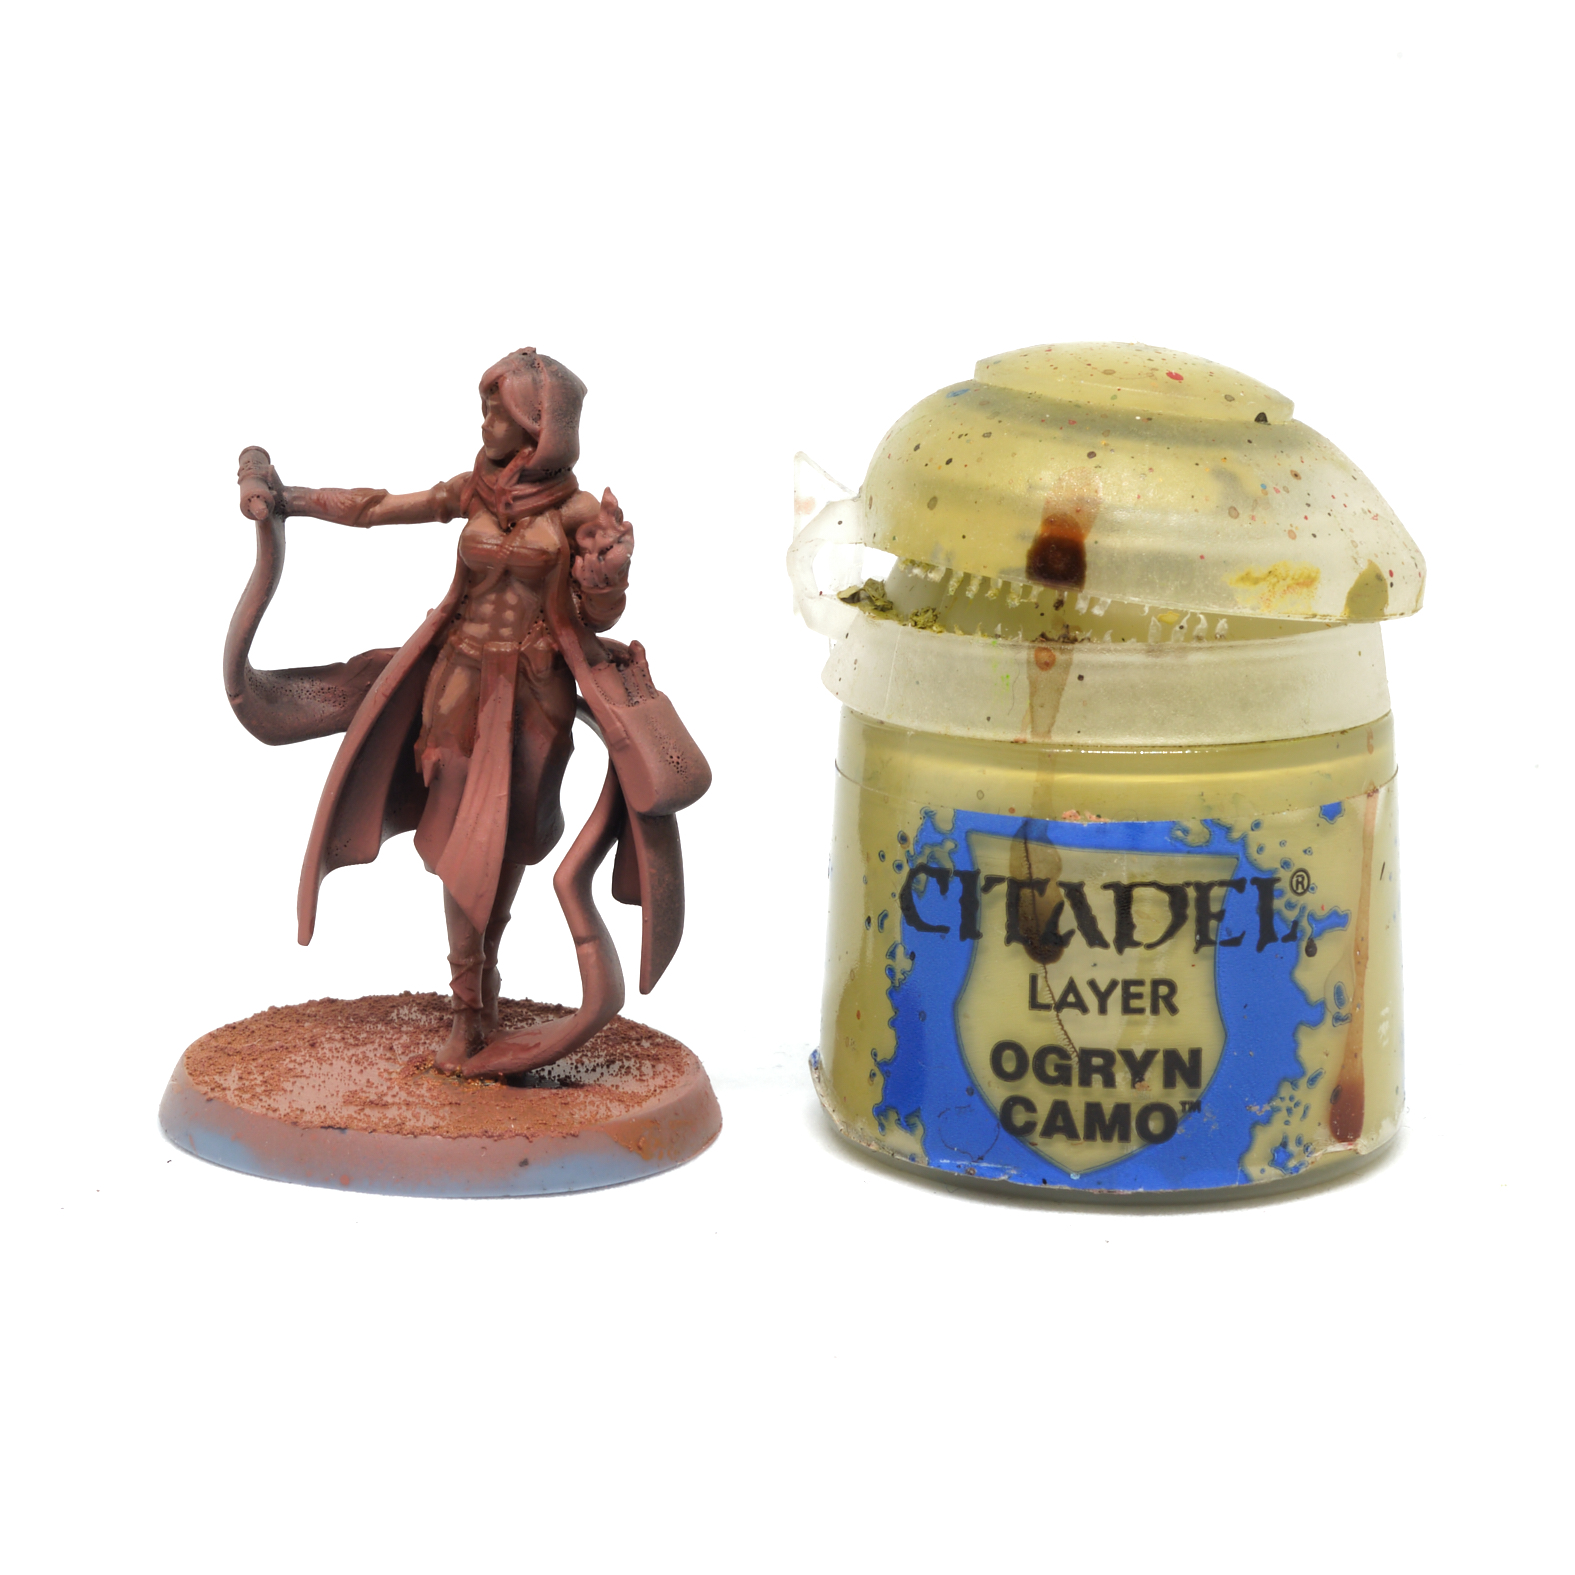

Credit: Keewa Layer this paint over the raised parts of the skin, particularly those parts that would get the most light, make sure to identify the volumes as you paint, boosting the contrast to exaggerate the form. Take the abs in the above picture as an example, the rounded shape is exaggerated by specular highlighting on the upper surfaces.
- Add progressively more and more of the PWF/Ogryn Camo – focusing on highlights inside the previous layer, until you have a light skin tone, but still with the olive tone showing through, you don’t want to go too pale, Pallid skin with this greenish tint will look sickly.

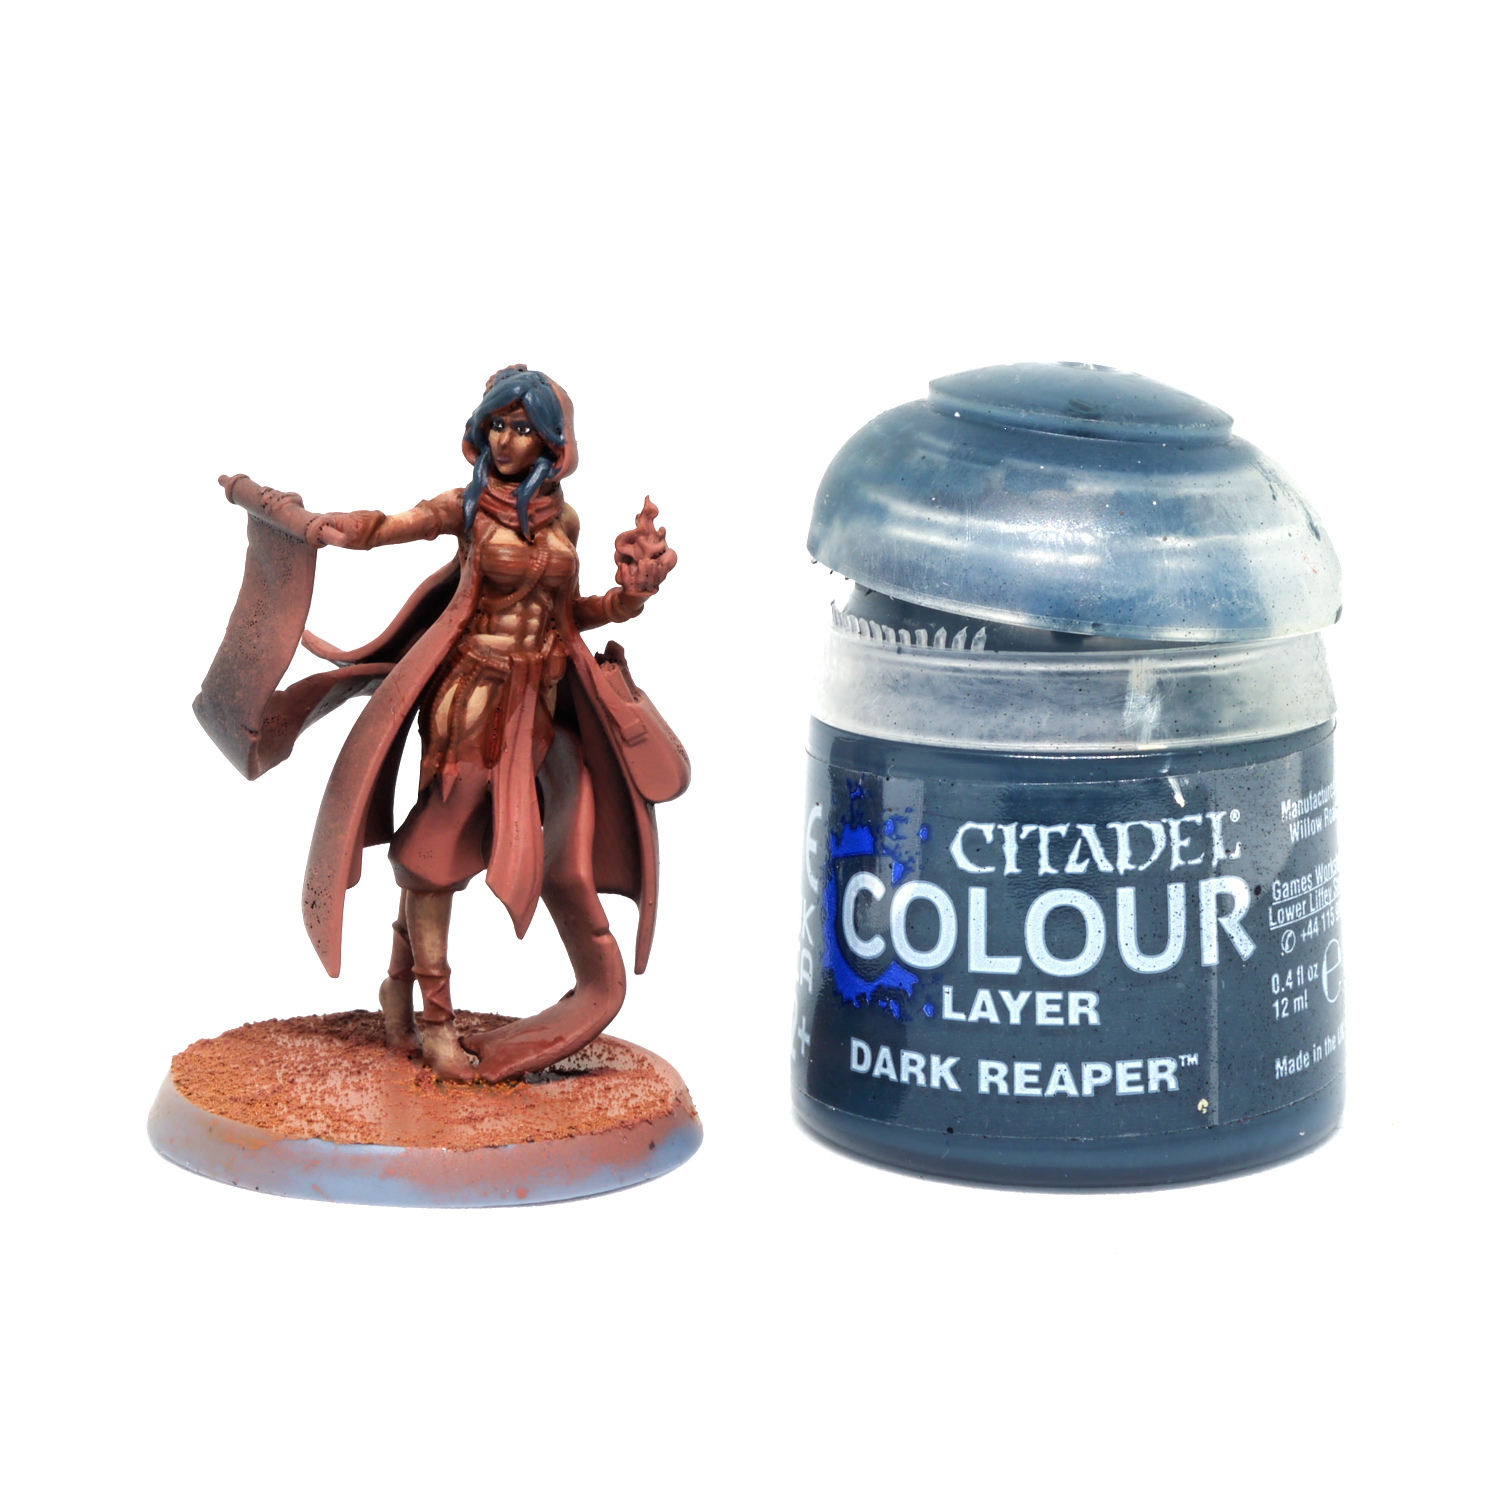
Credit: Keewa - At this point, fill the eye-socket with a suitably dark colour, I chose Dark Reaper because it looks a bit like Kohl make-up.

Credit: Keewa - Paint in the white of the eye with a very fine tip, rest your wrists on the top of your surface to get them nice and rocksteady, make sure the white is flowing smoothly off the brush by testing on your thumb. Any white will do, but I used Citadel White Scar.

Credit: Keewa - Using a fineliner pen and a very steady hand, dot the eyes. I much prefer to use one of these pens compared to a brush, they’re more accurate and the paint doesn’t dry out on them super fast. Plus, if you make a mistake, you can flood the area with water and the ink will lift right off, so you can try again without going over with the white again. I also added some eye makeup at the same time with the pen.

Credit: Keewa - Finish off the face with some make-up on the lip, I mixed a light purple with my skin shade and painted it carefully on the bottom lip. Important tip: when you’re painting lipstick on a miniature, only paint the bottom lip. You don’t need to paint the top lip to get the effect you want, and you’ll probably end up making your miniature look like a clown if you try. Finish off the makeup by mixing a tiny amount of white into the lip colour and add a little glossy shine.

Credit: Keewa
Dark Hair
- Start by painting all of the hair with Dark Reaper.

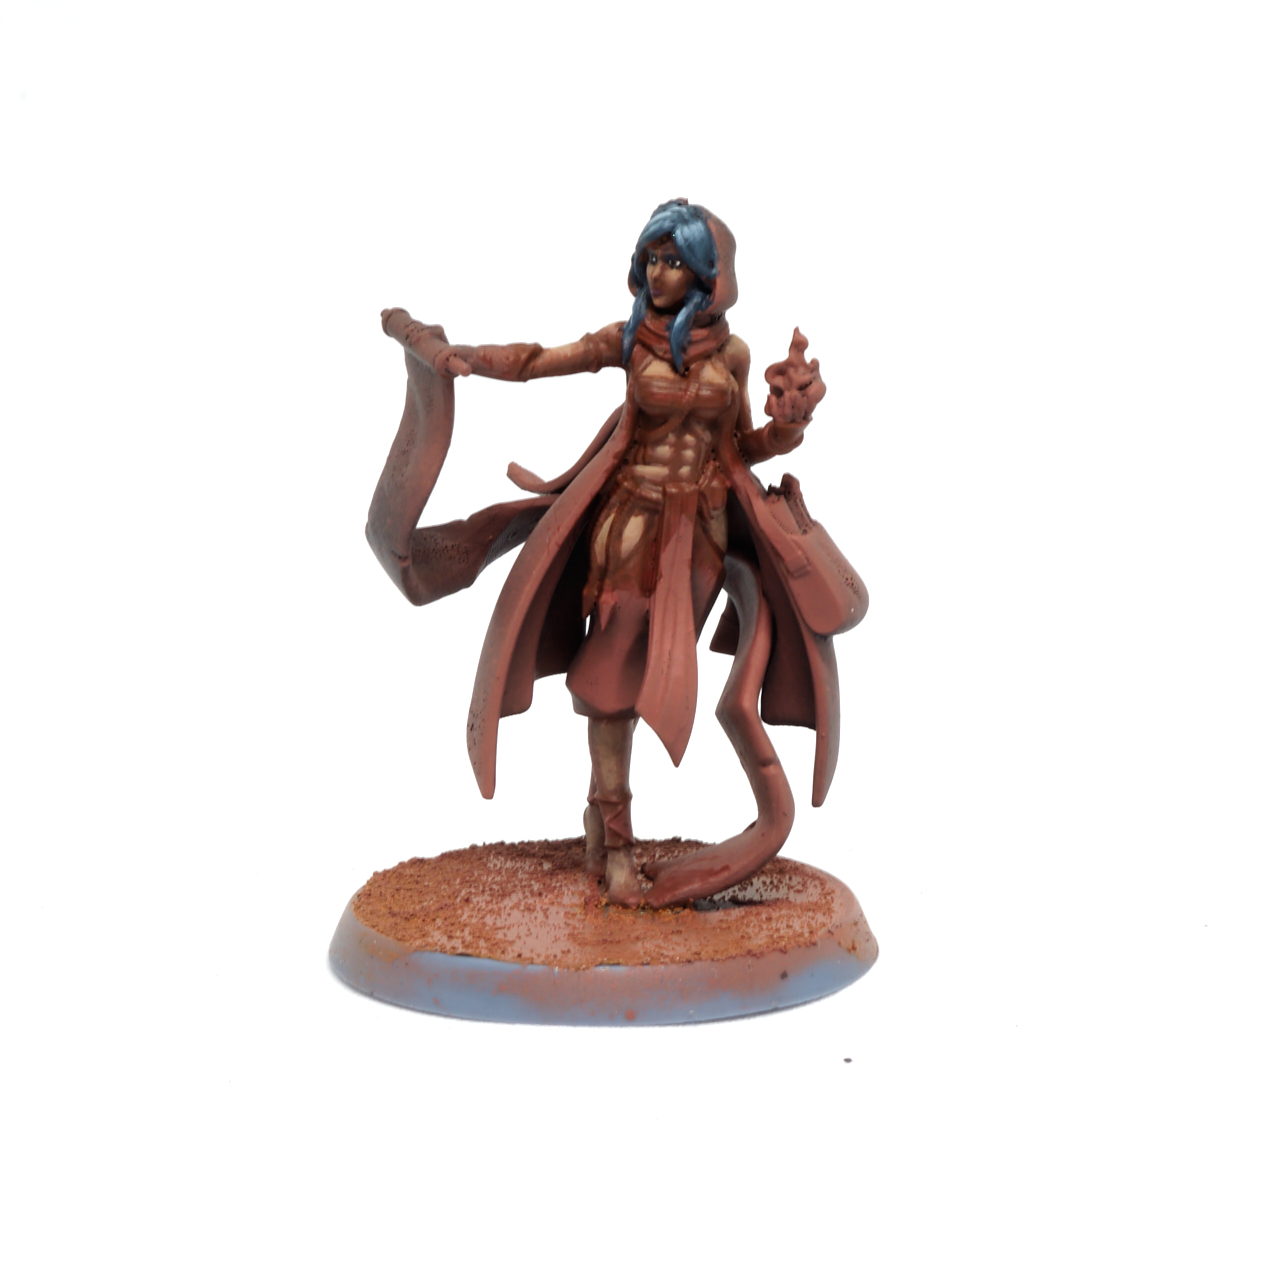
I’d already done the first highlight when I remembered to take the picture, whoops! Credit: Keewa - Mix a little white into the Dark Reaper and highlight the hair, again focussing on the parts that would receive light from directly overhead.
- Keep mixing white into the Dark Reaper until you’ve highlighted the hair, don’t worry about taking large leaps in highlight, this will help reinforce the image of the hair as being nice and glossy.

Credit: Keewa 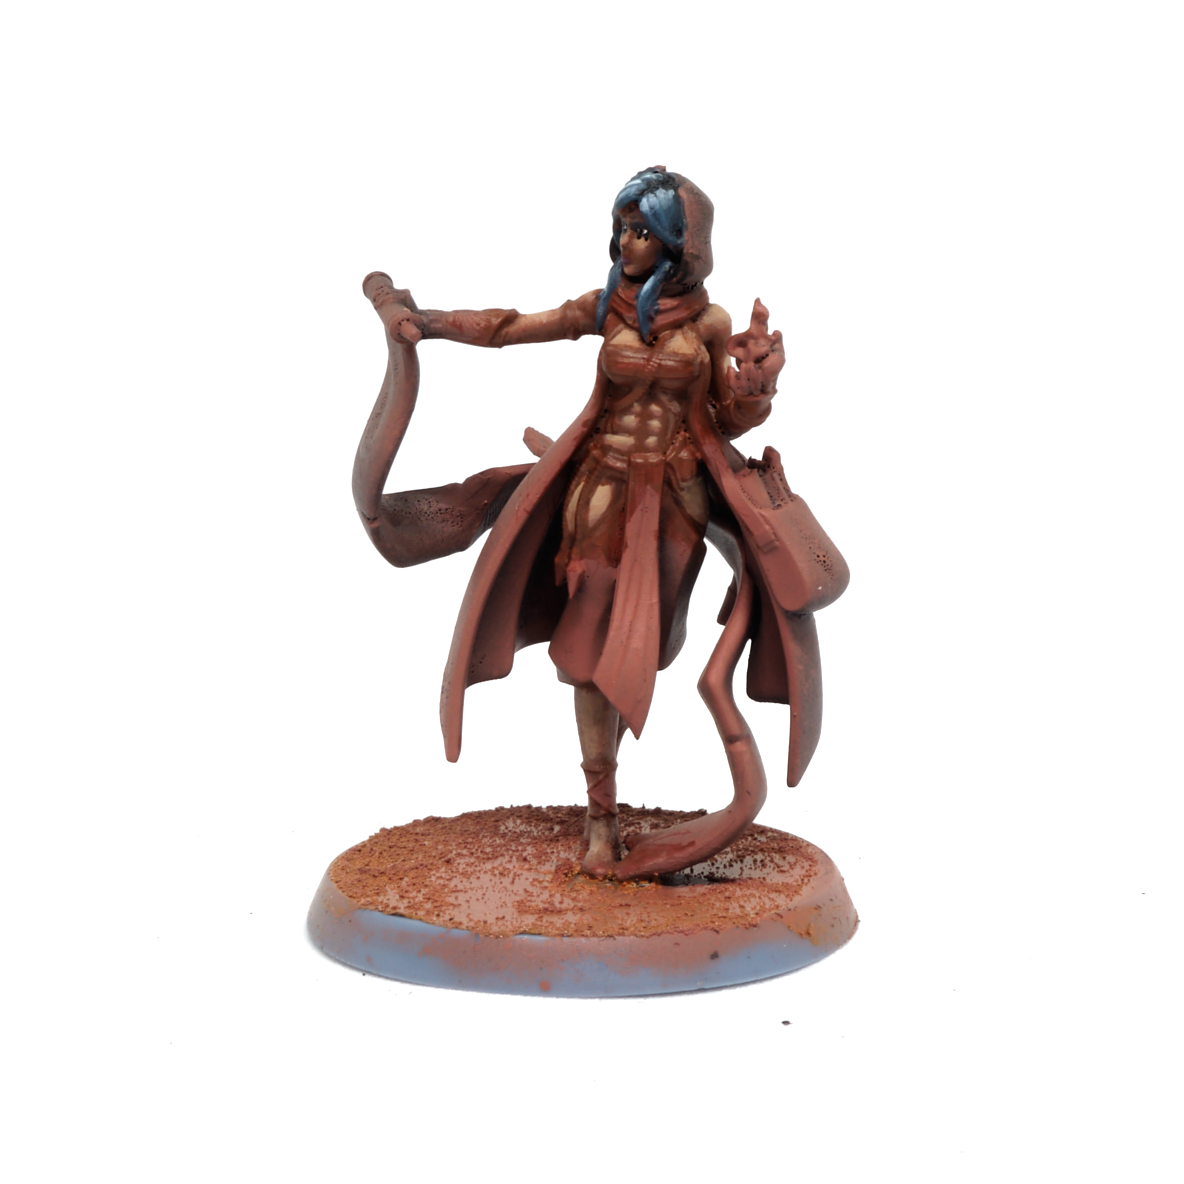

Credit: Keewa
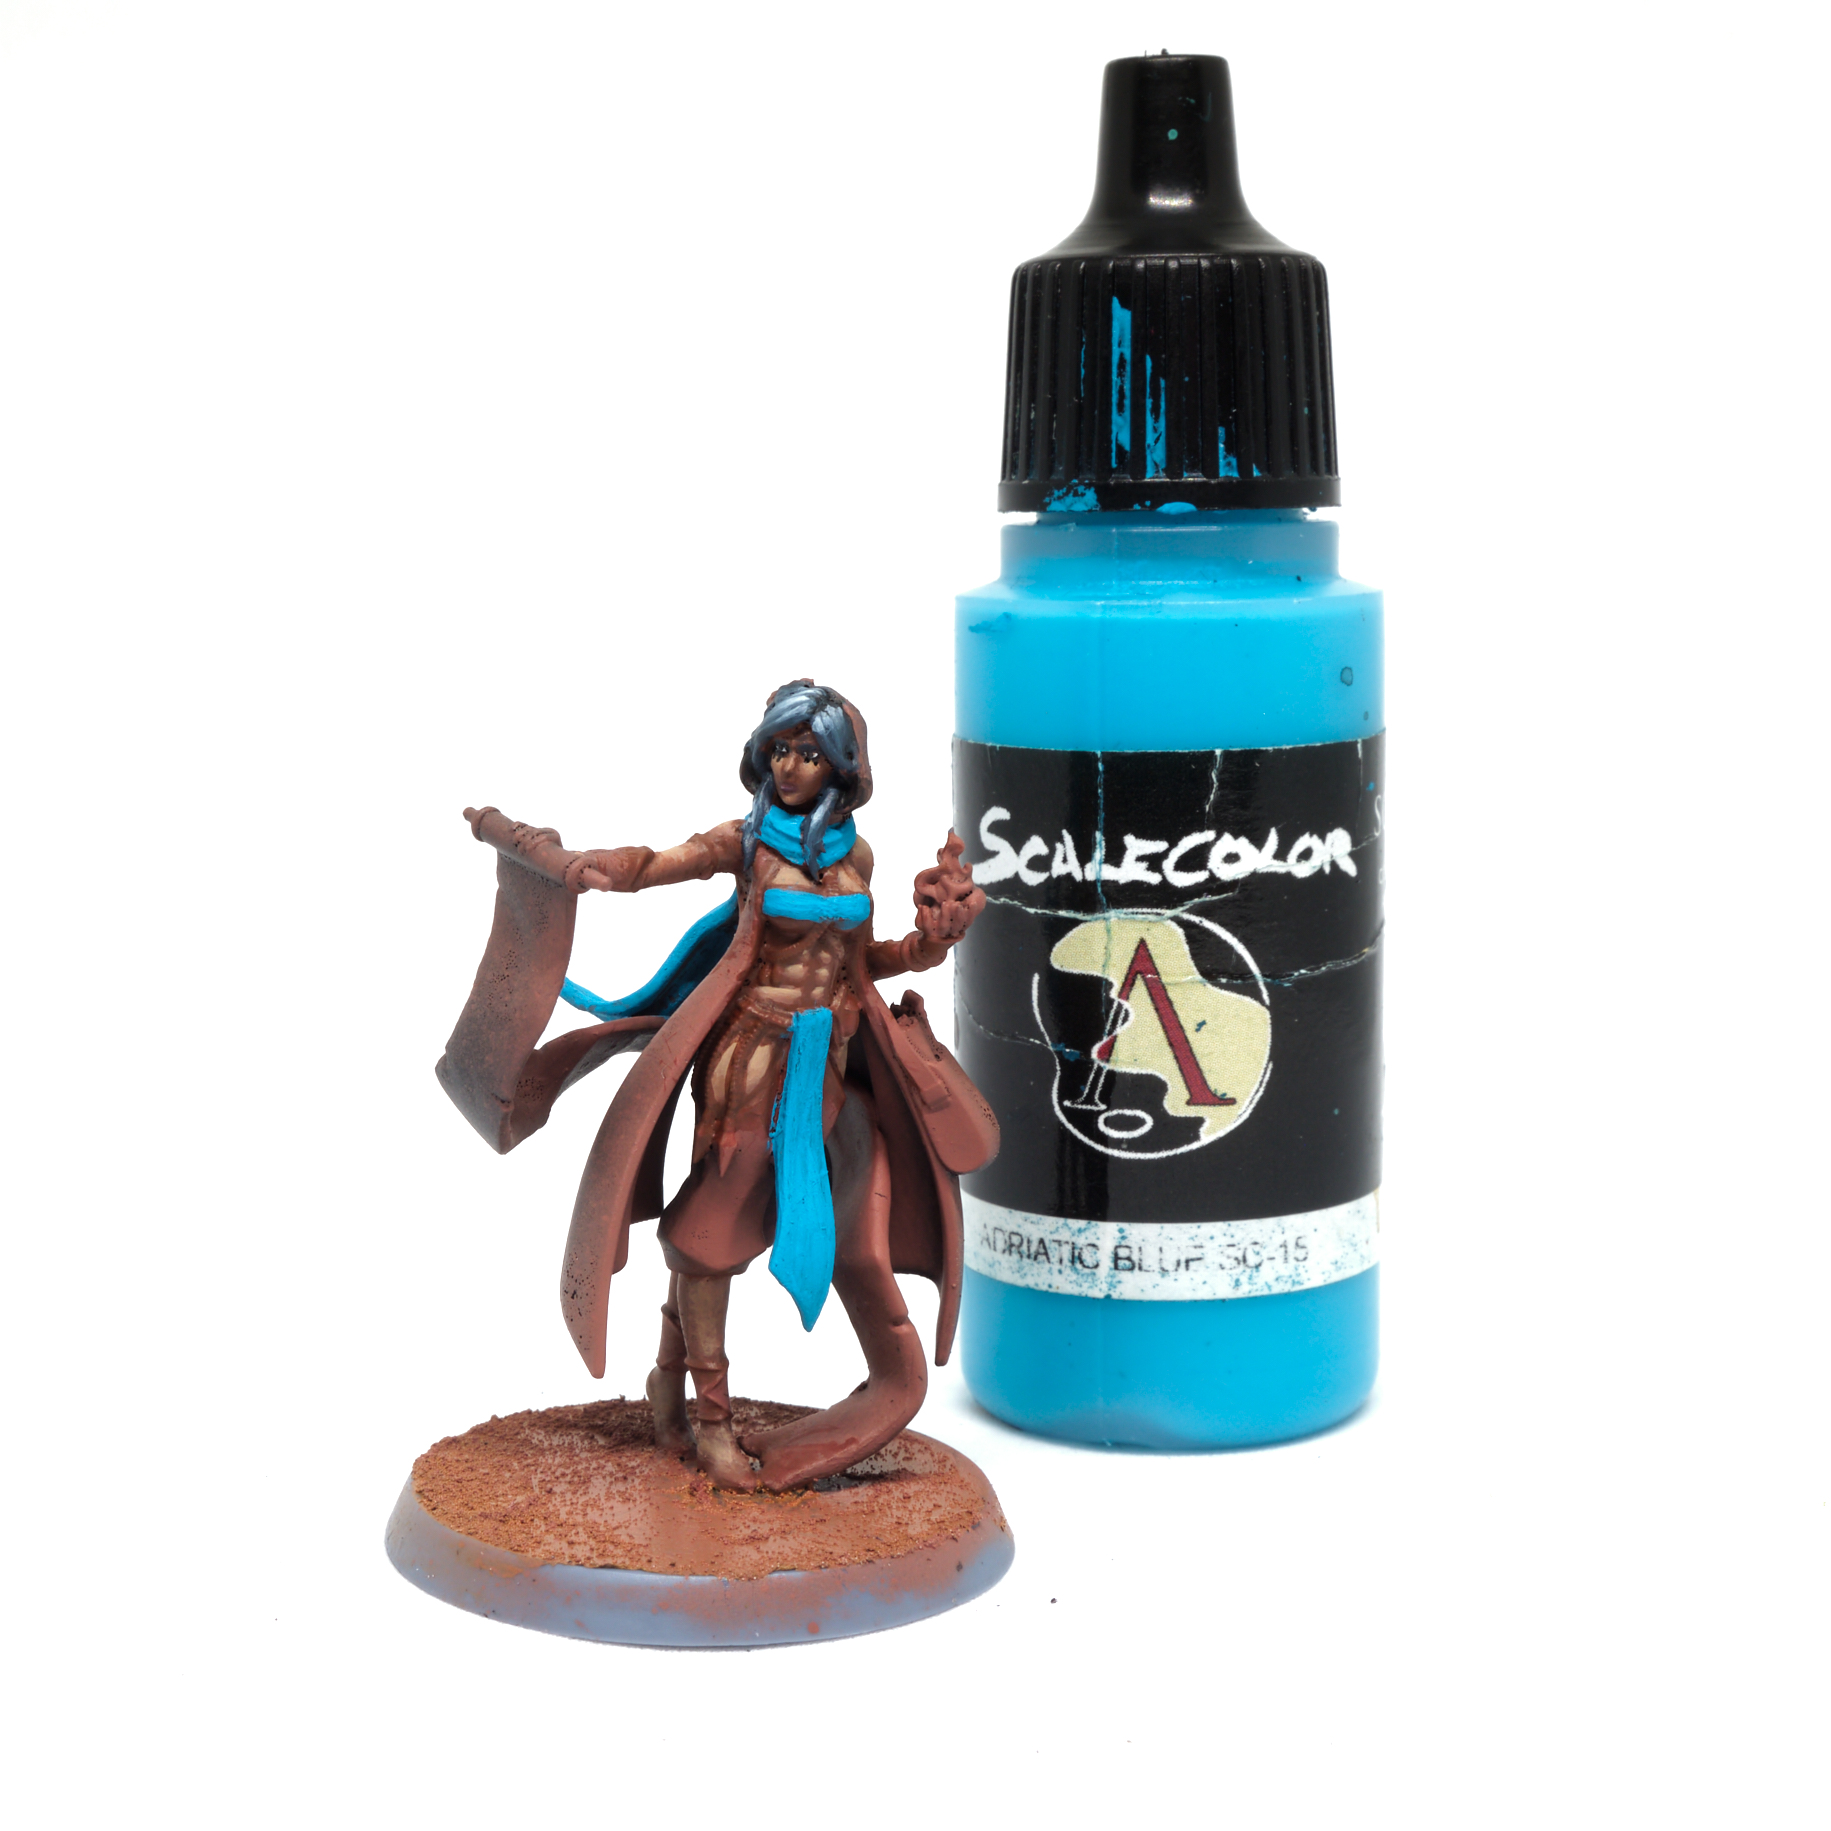
Turquoise Cloth
- Basecoat all the cloth areas with Scalecolor Adriatic Blue (or Citadel Temple Guard Blue if you prefer)

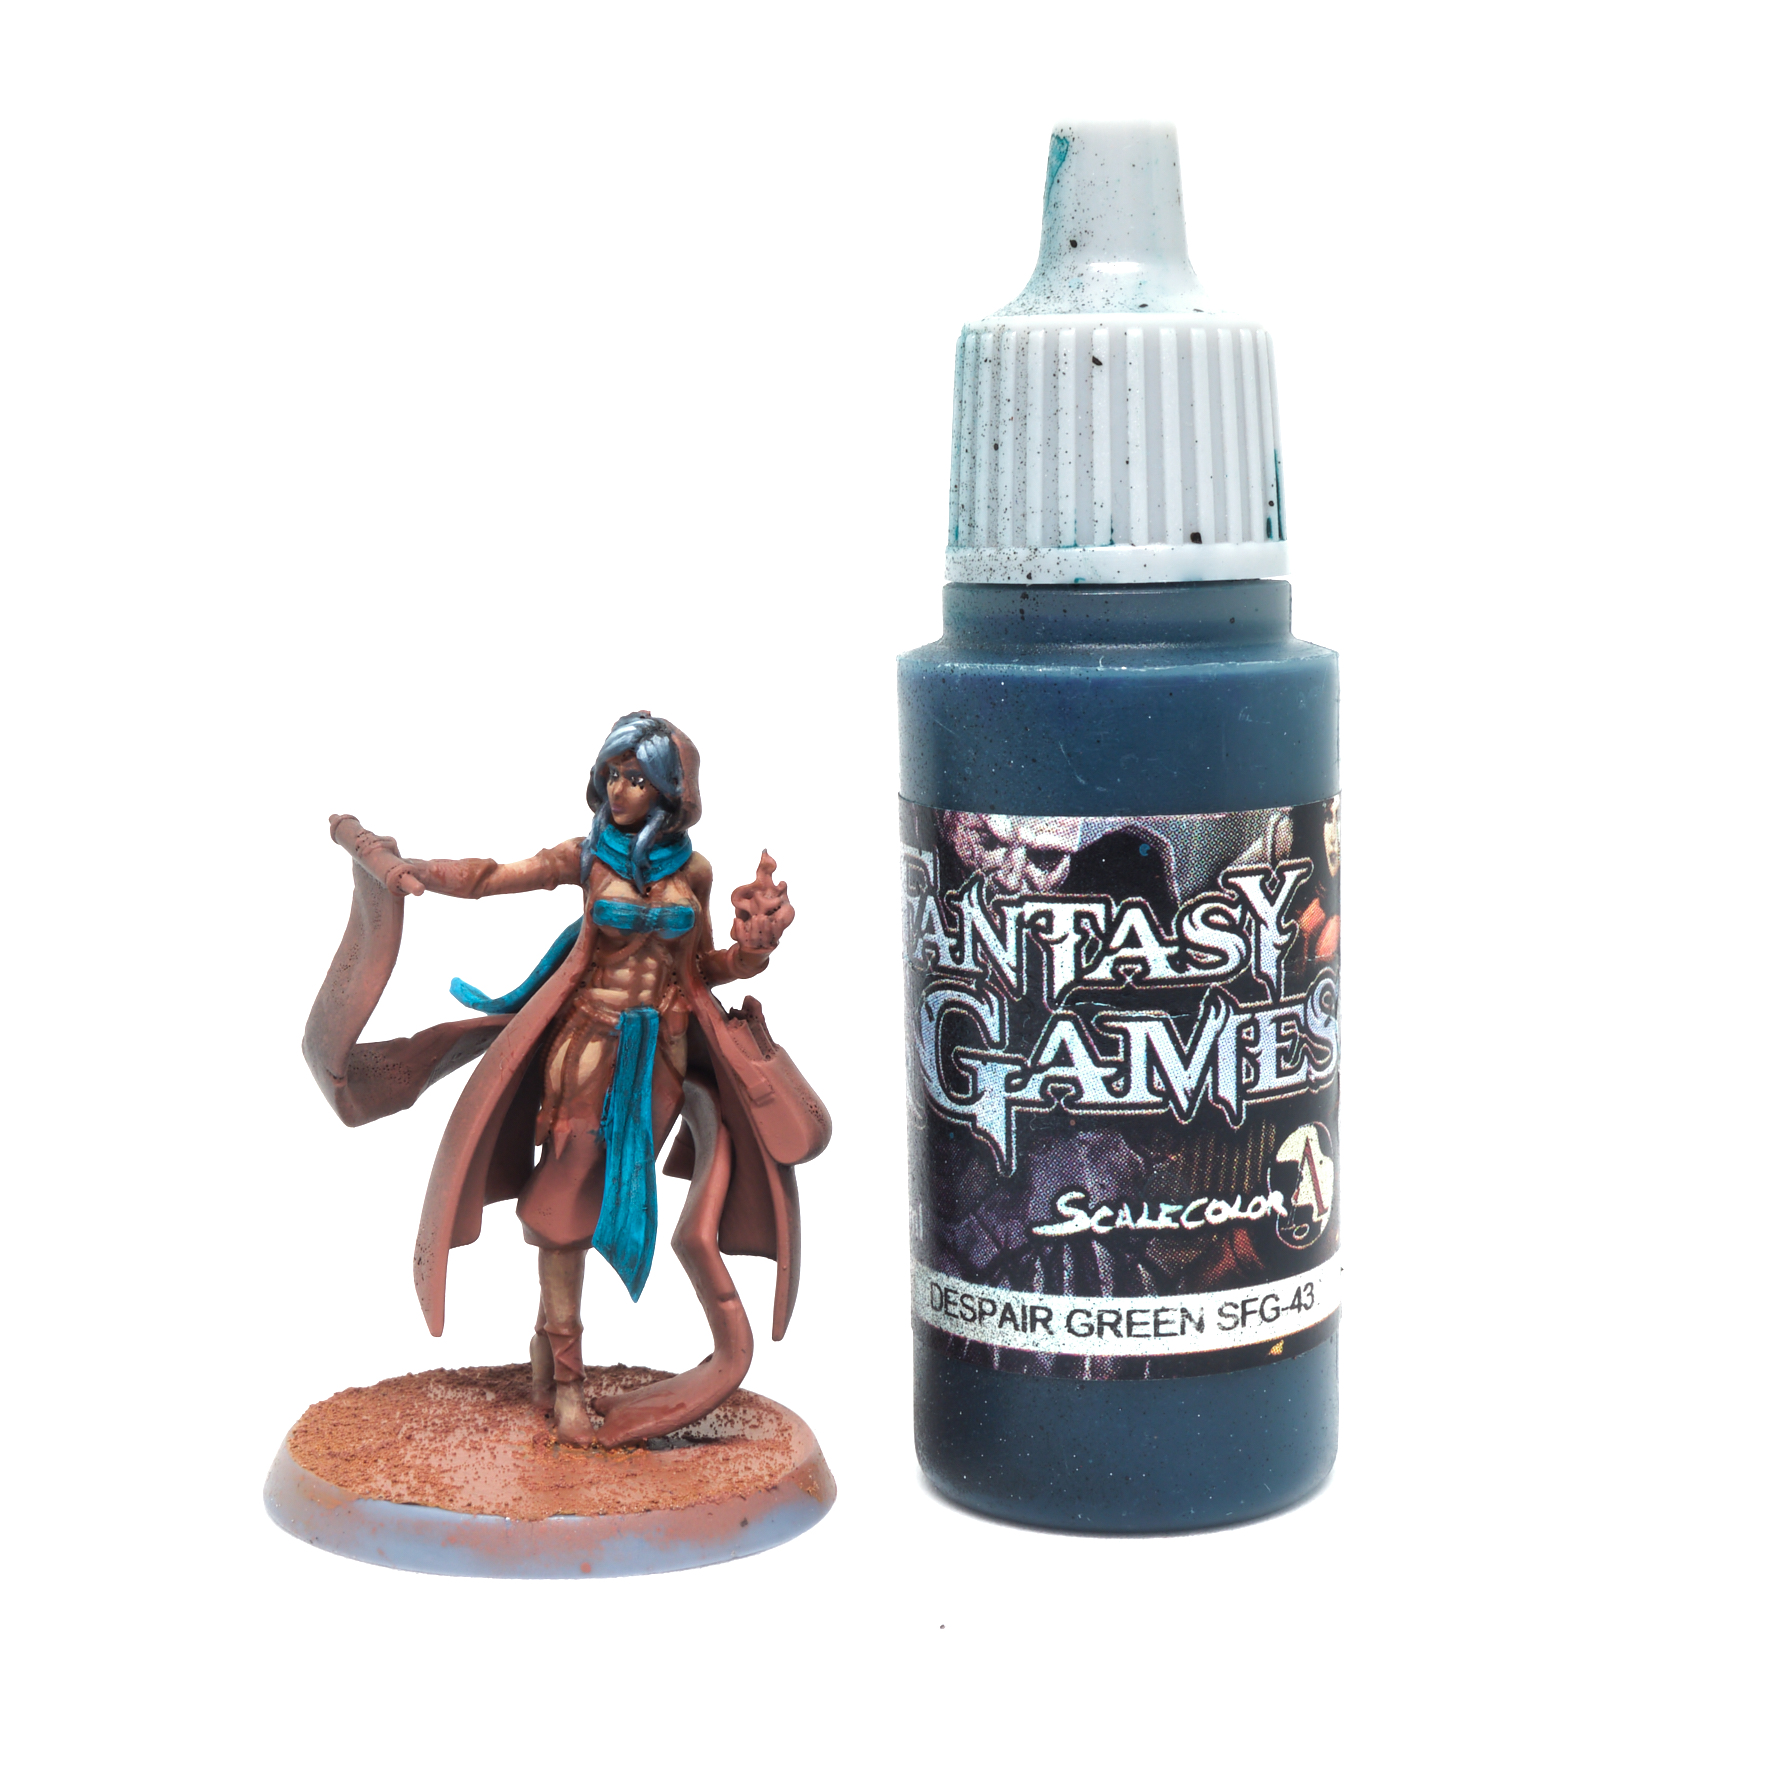
Credit: Keewa - Shade all over the cloth with Scale Fantasy and Games Despair Green (Incubi Darkness)

Credit: Keewa - Layer back up with Adriatic Blue, and – you’ve guessed it, add white to highlight the parts that catch the most light. Look at you! You have been paying attention!
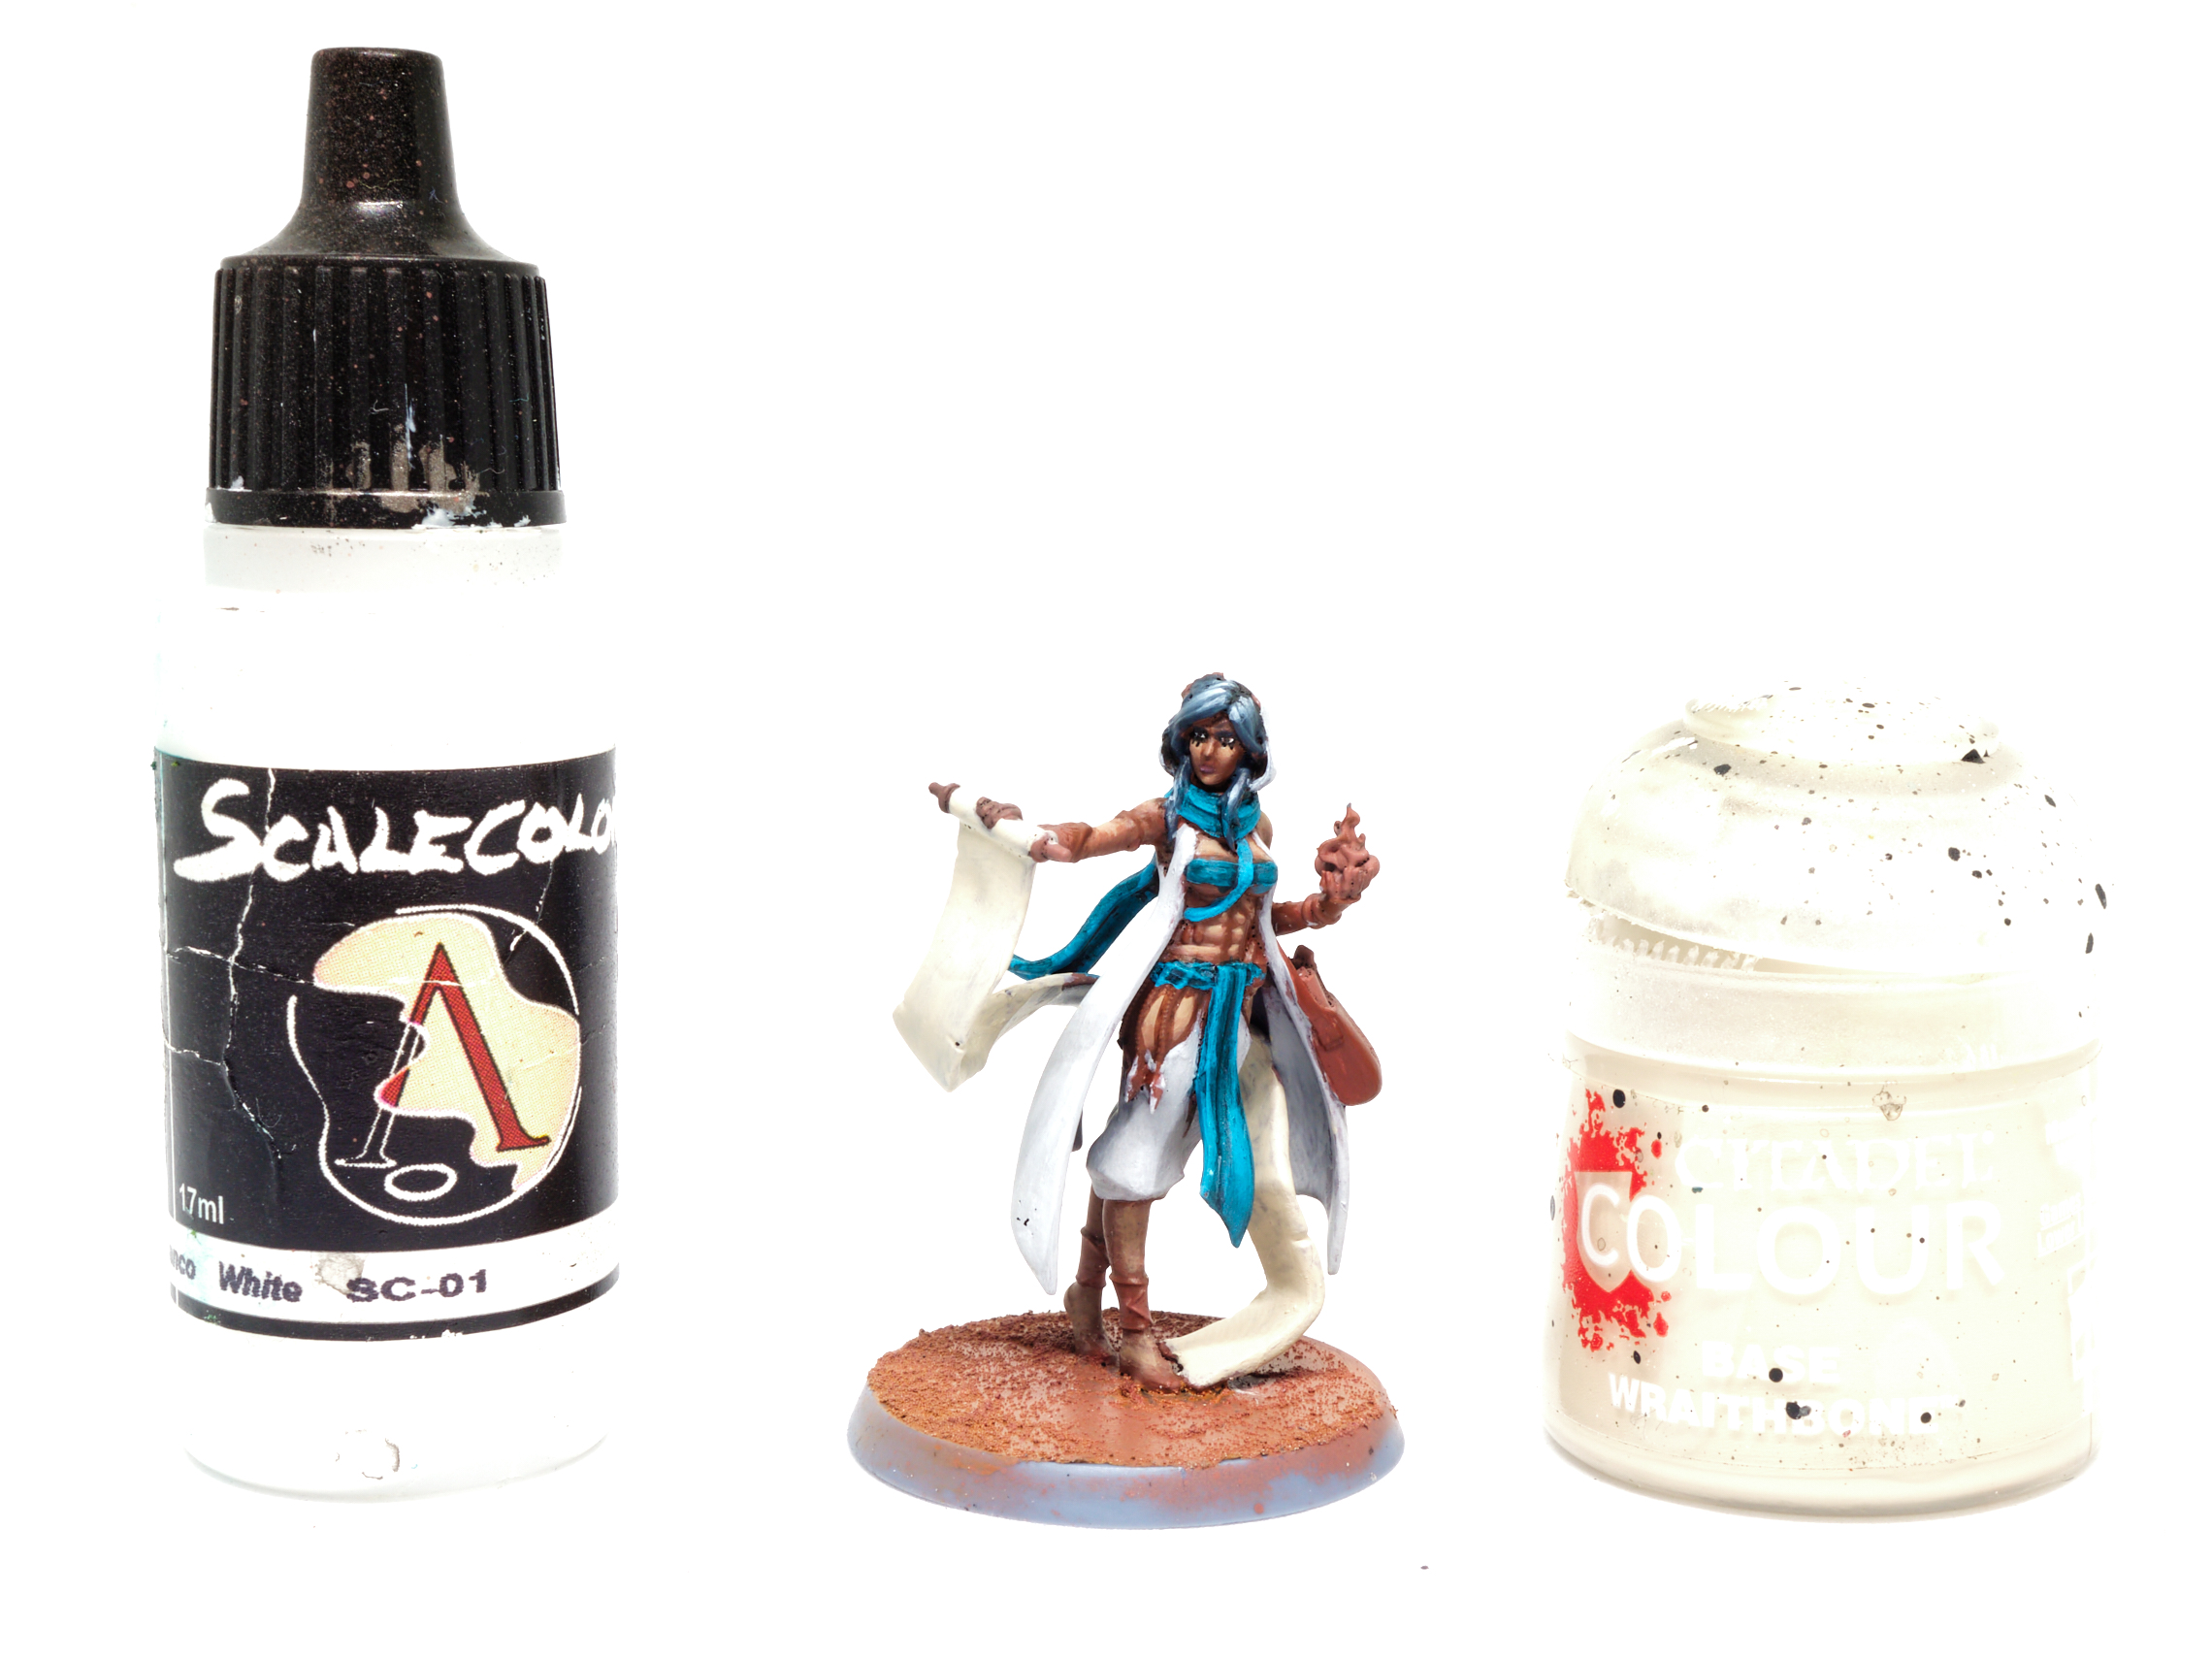
White Cloth and Parchment
- Basecoat the parchment with several layers of Wraithbone, basecoat the white cloth with Scalecolor White with a little black mixed in, making the white a very very light grey leaves us somewhere to go when highlighting, so it’s important! Highlight the white with.. white, and the parchment with Screaming Skull, we’ll shade it later!

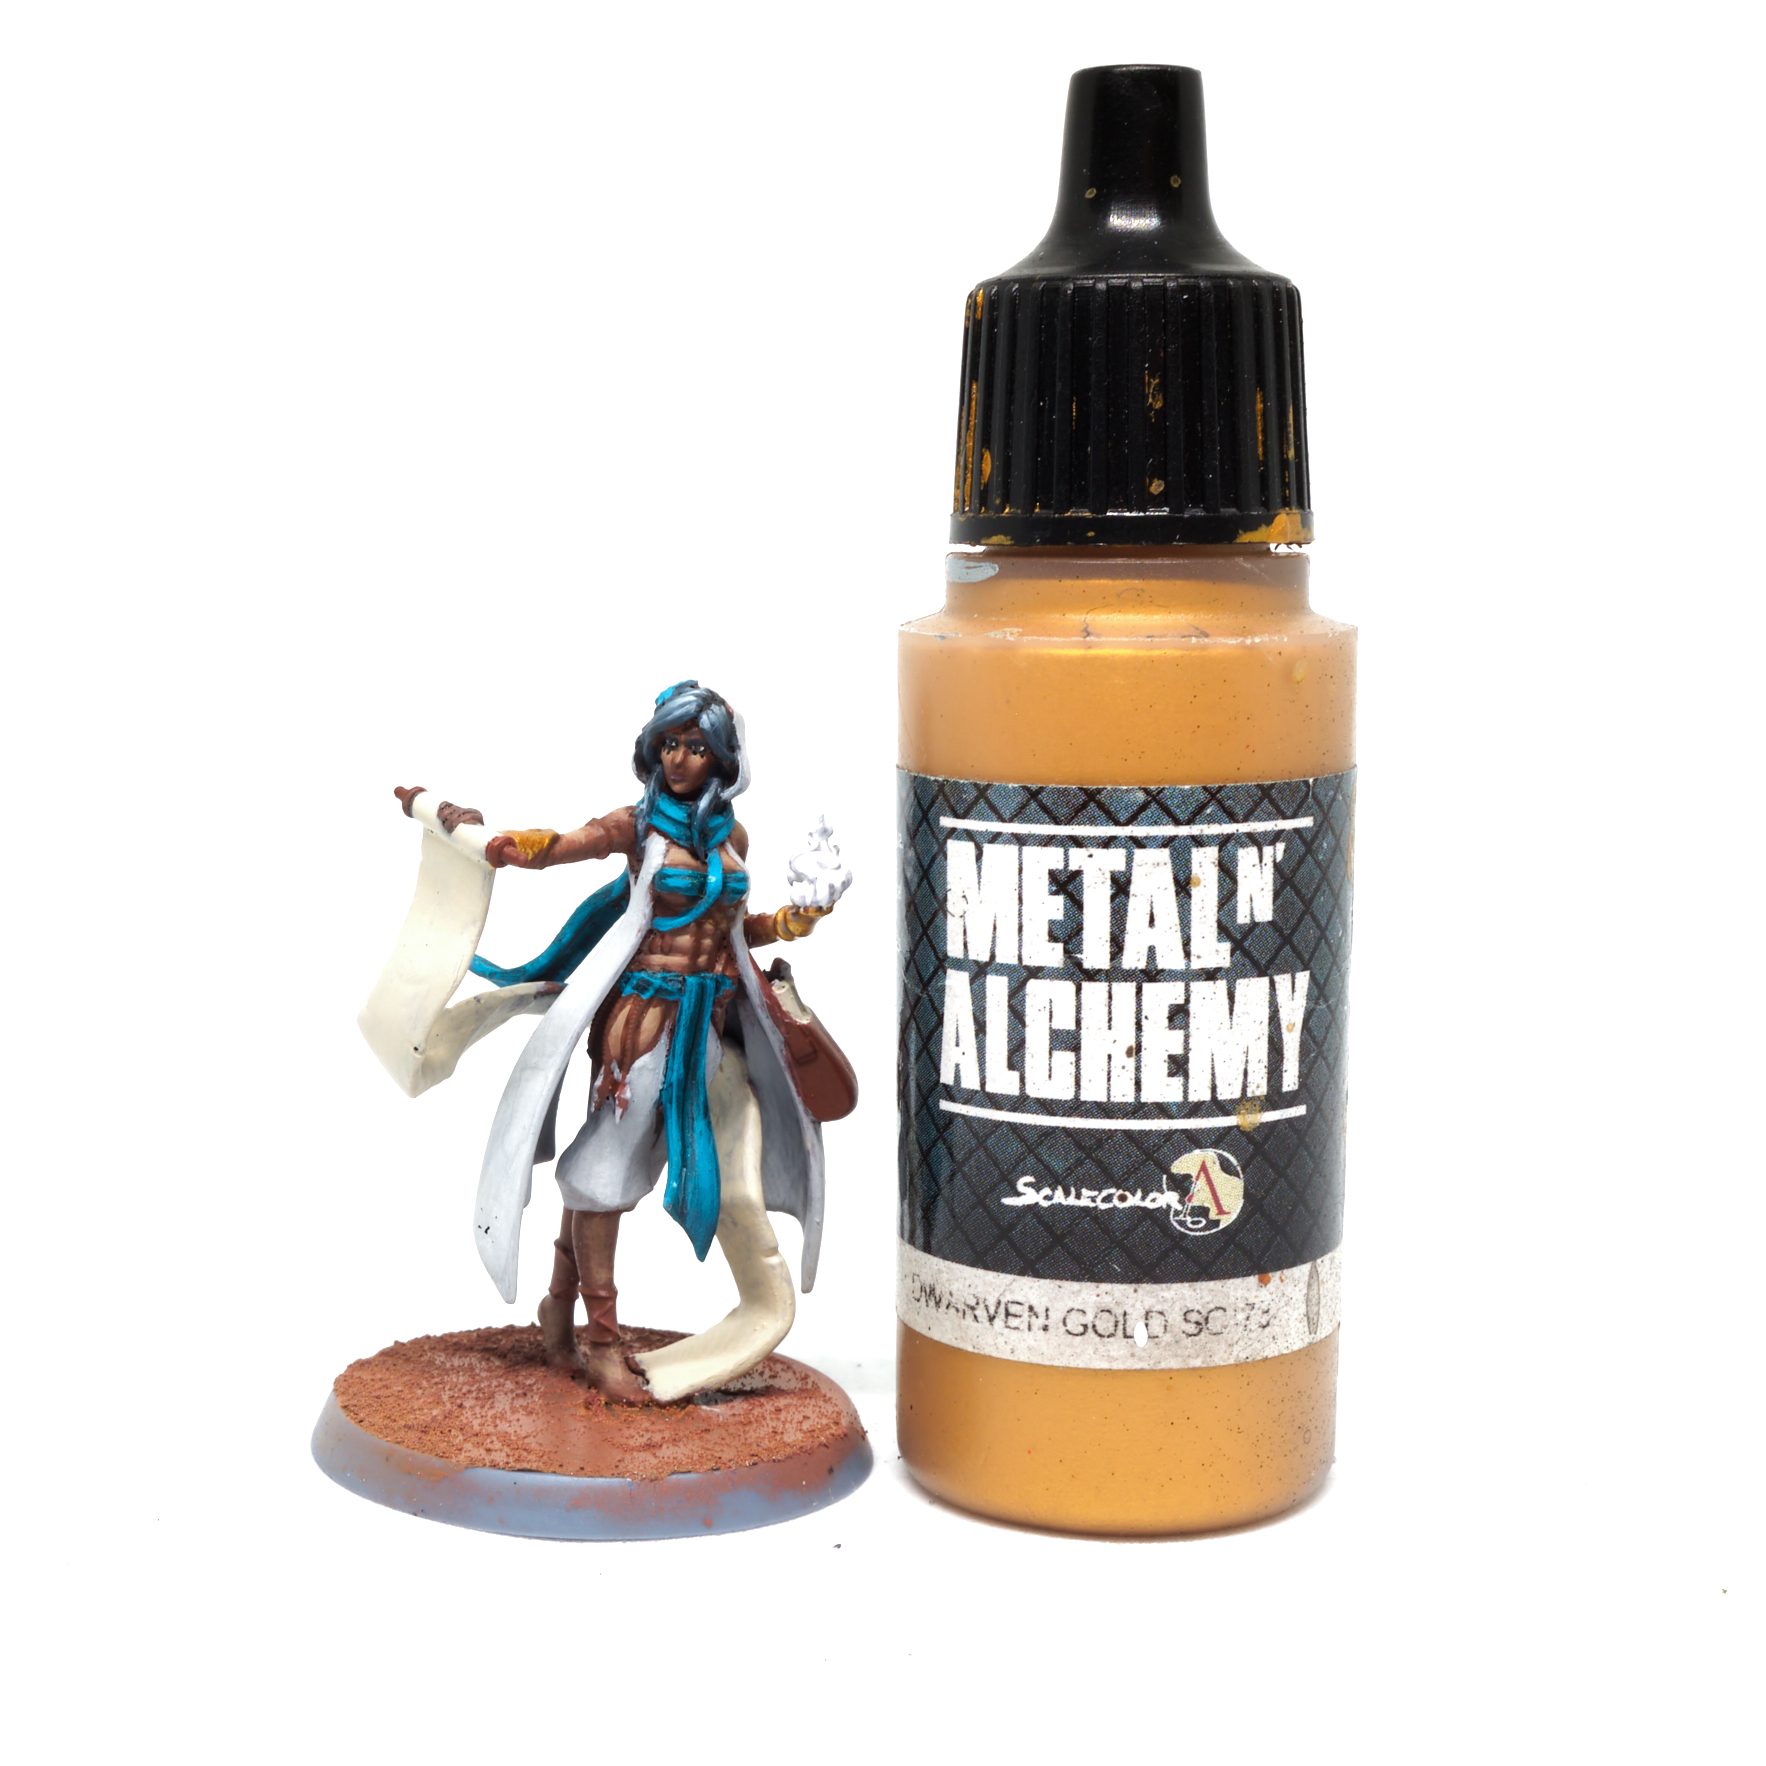
What an eye-wateringly bright picture. Credit: Keewa Jewellery
- Paint the bangles, anklets, bracelets et cetera with Scale Metal ‘n Alchemy Dwarven Gold.

Credit: Keewa - Paint silver details like the chains hanging from the belt with Vallejo Model Air Steel, paint purple gems with Xereus Purple.
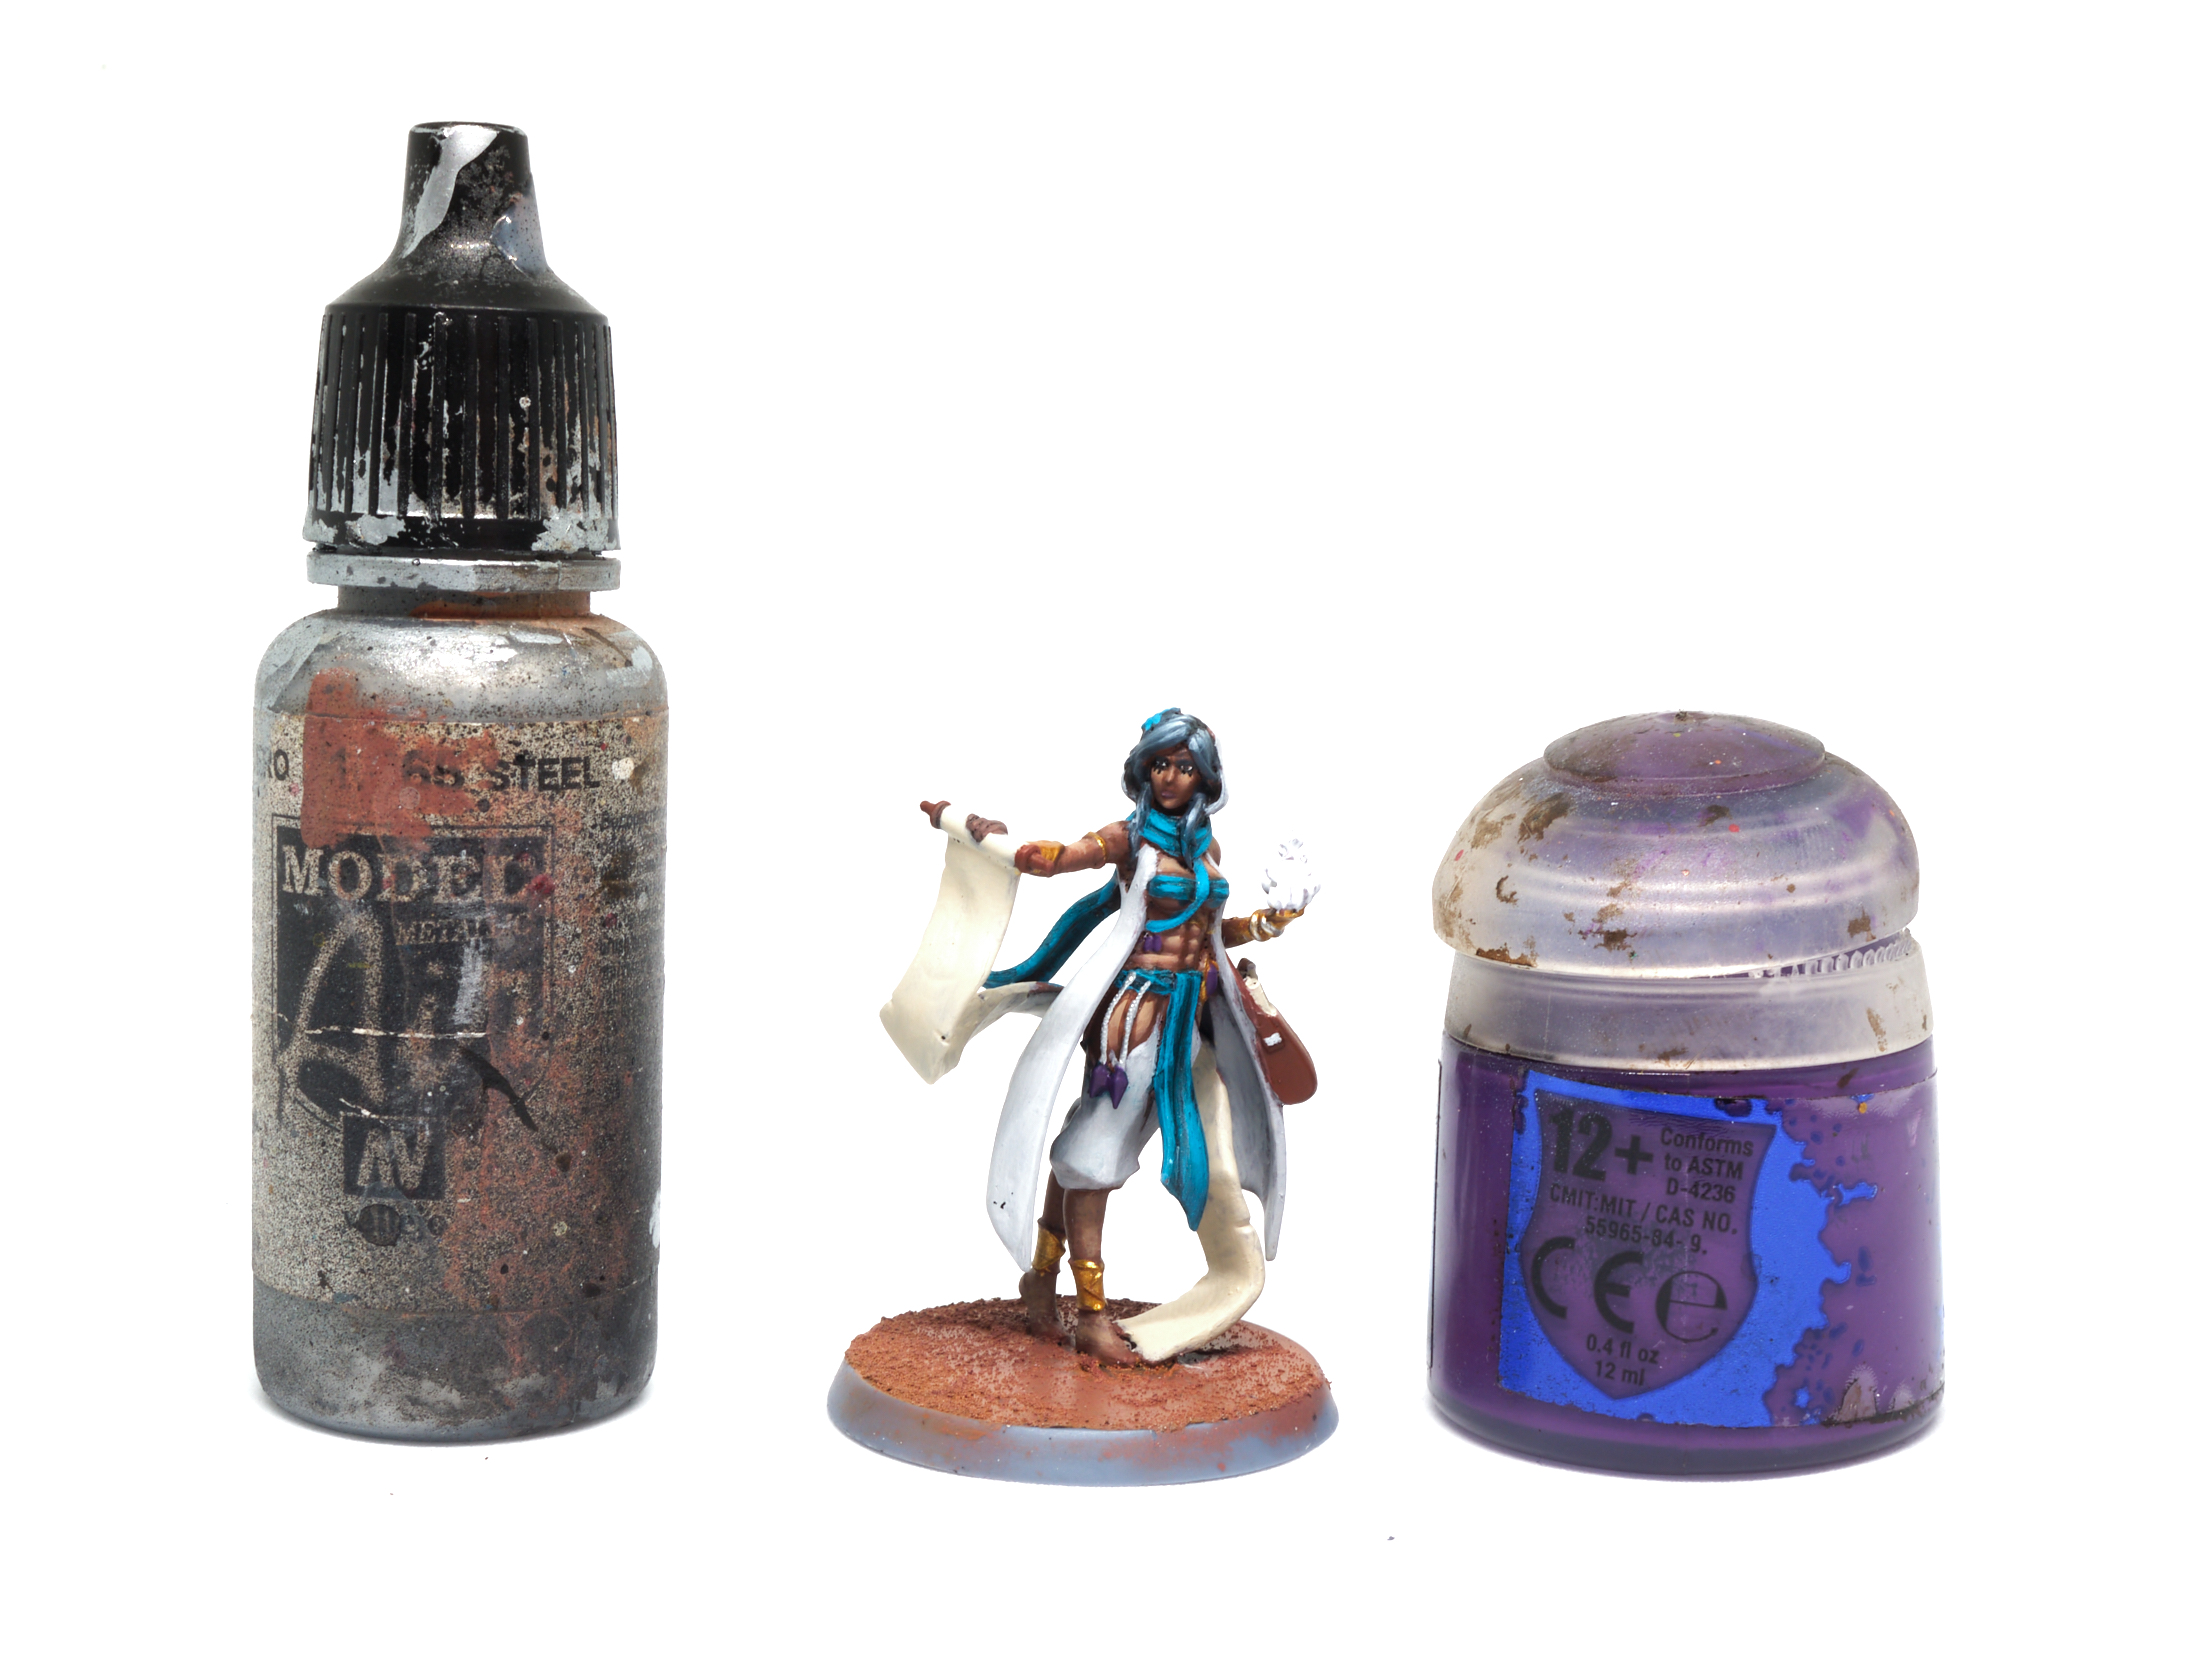

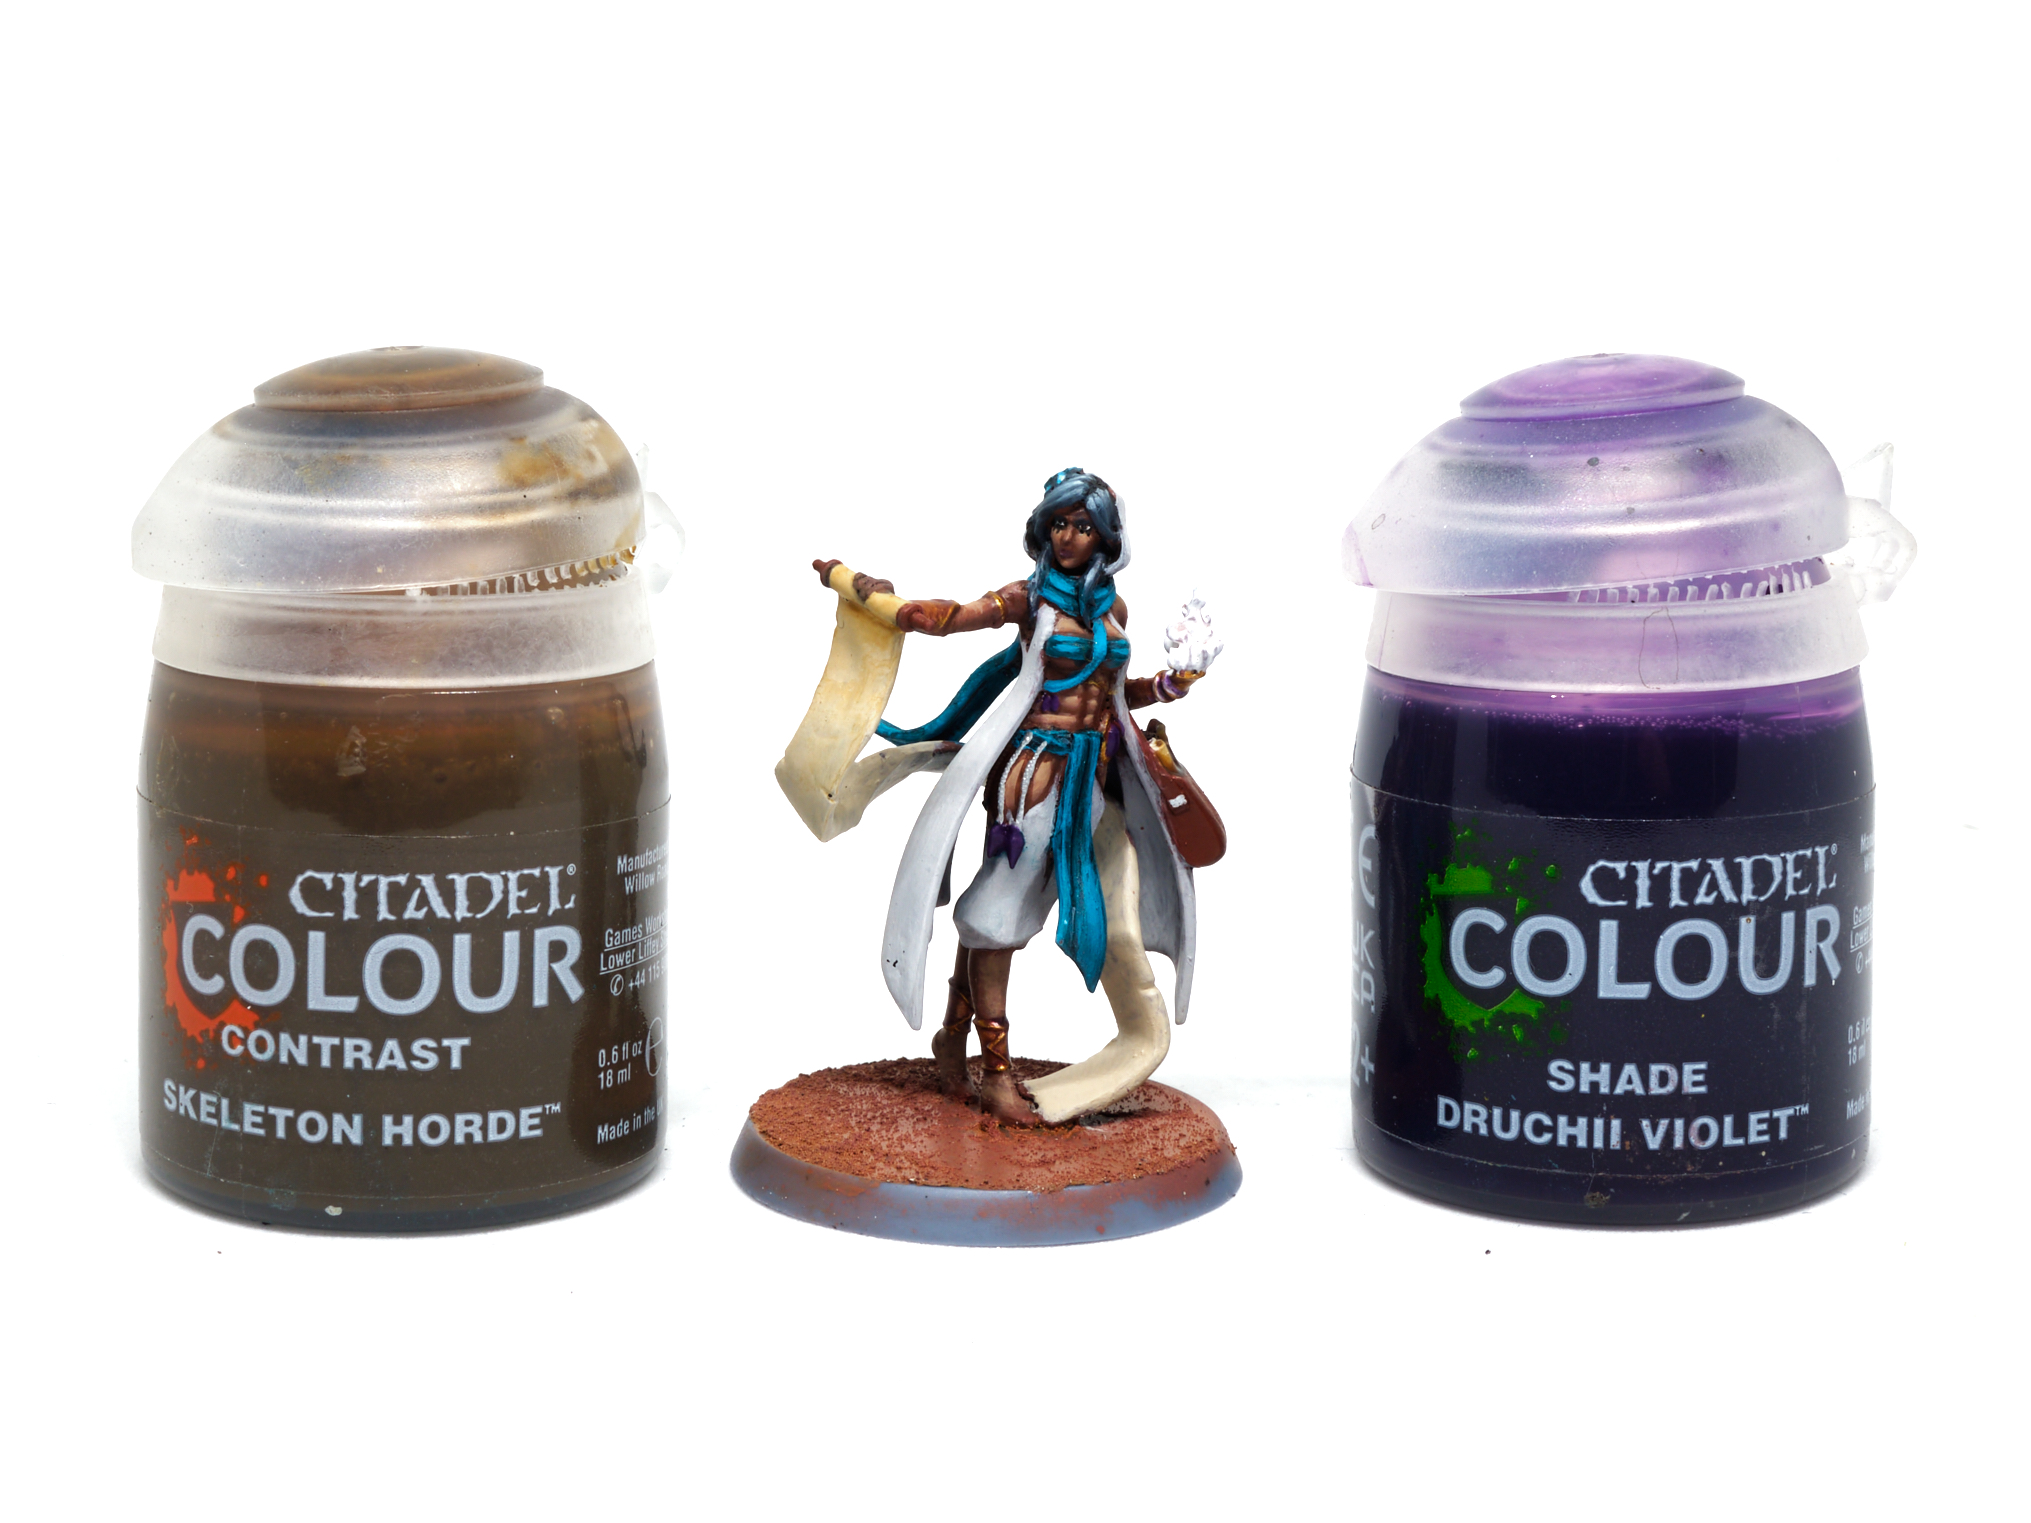
Credit: Keewa - Shade the gold with Druchii Violet shade, and while you’re at it, paint the parchment with Skeleton Horde contrast.

Credit: Keewa - Highlight the purple gems by adding Pink Horror to the Xereus Purple gradually, building up the colour towards the bottom of each stone. Cap that off by painting a bright white highlight on the top edge, opposite the buildup of light at the bottom.
- Layer back over most of the gold metallic with the Dwarven Gold, leaving the purplish hue only in the recesses. Mix a bit of the Vallejo Model Air Steel into the Dwarven Gold to create a nice highlight colour for the metallics.
Magic
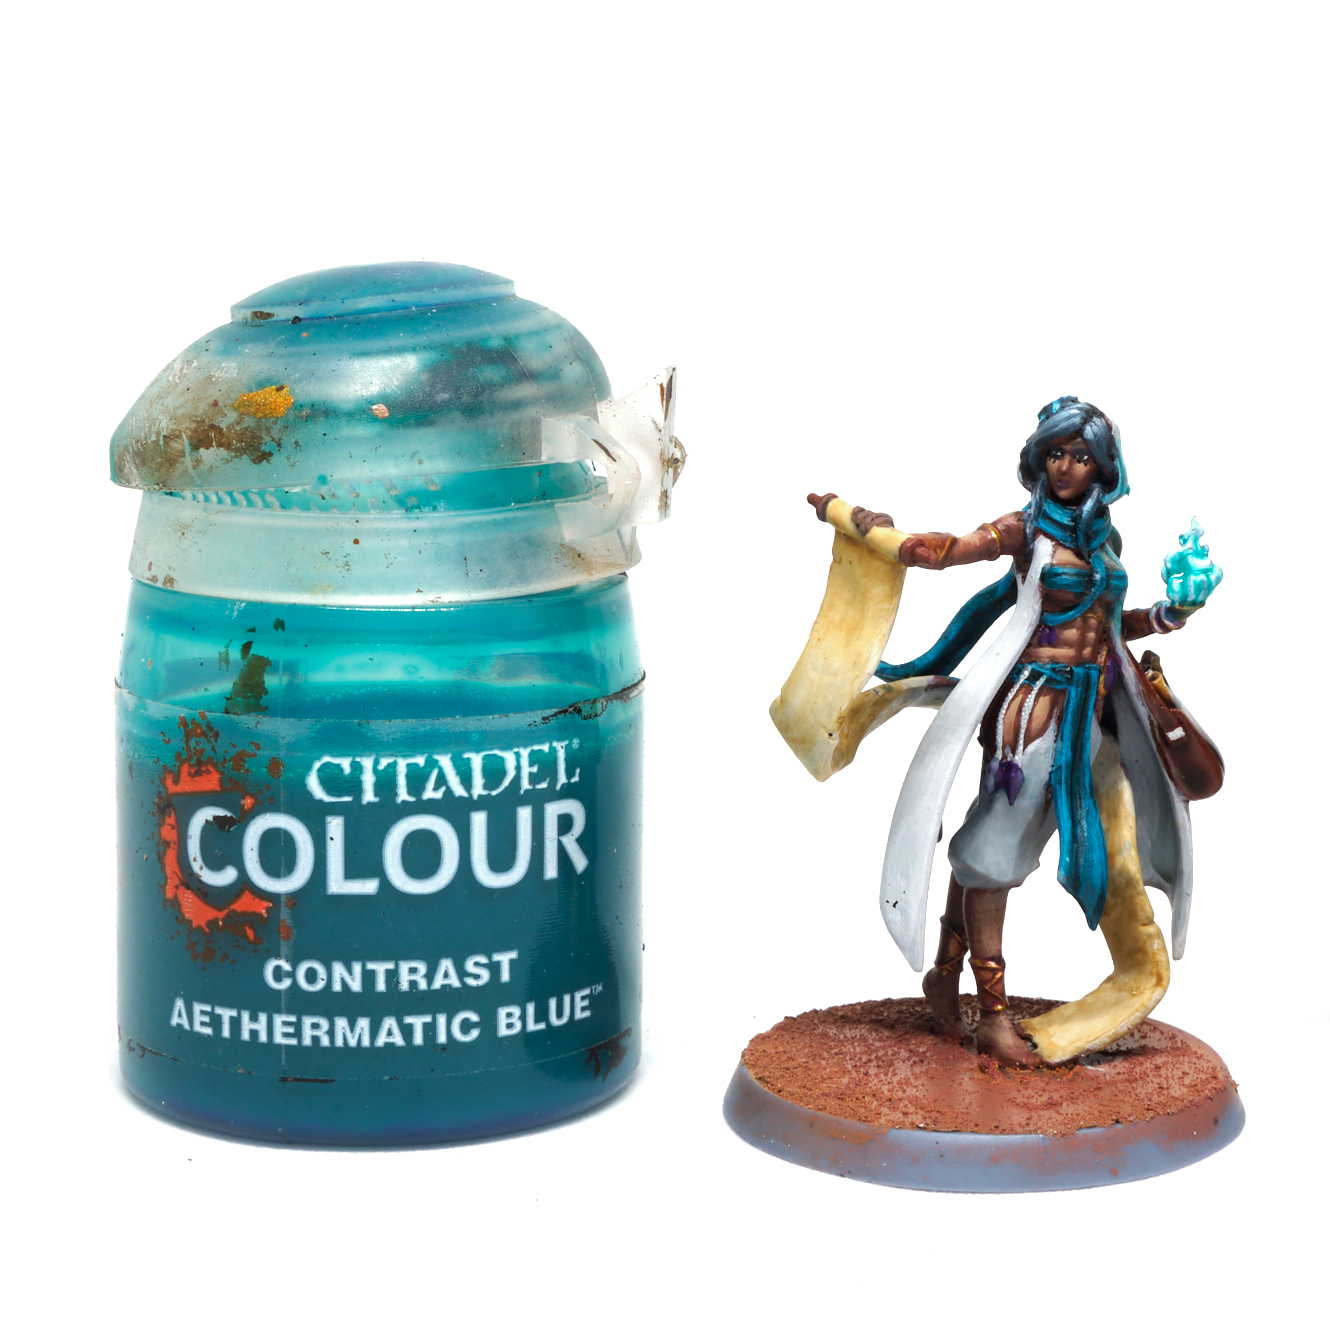
- Paint the flame in the hand with a pure white, cover it over with very thin layers until the white is smooth and opaque, it’s important to keep the white thin, because white paint has very large pigment particles, it’s often rather prone to filling in details, better to go too slowly than too fast when it comes to painting!
- Once the white paint has dried fully, go over the magical flame with a thick covering of Aethermatic Blue contrast paint, wipe it off the highest parts with your fingertip to keep a bit of white visible. After you’ve done that, take some of the Aethermatic Blue and thin it down a good amount with water, fill your brush and then wipe most of the paint off on your thumb/desk/cat/baby until there’s only a little left on the bristles, then very carefully dab it on areas that would be lit by this magic, drawing the brush towards the effect as you do so. By this action, you’ll leave a very very slight tint on the parts furthest away, strengthening towards the source of the light. This is a relatively straightfoward way to lend a bit of OSL to your magic effect, give it a go! Just remember, go slowly, too much too fast and you might ruin your hard work!

Credit: Keewa
Writing
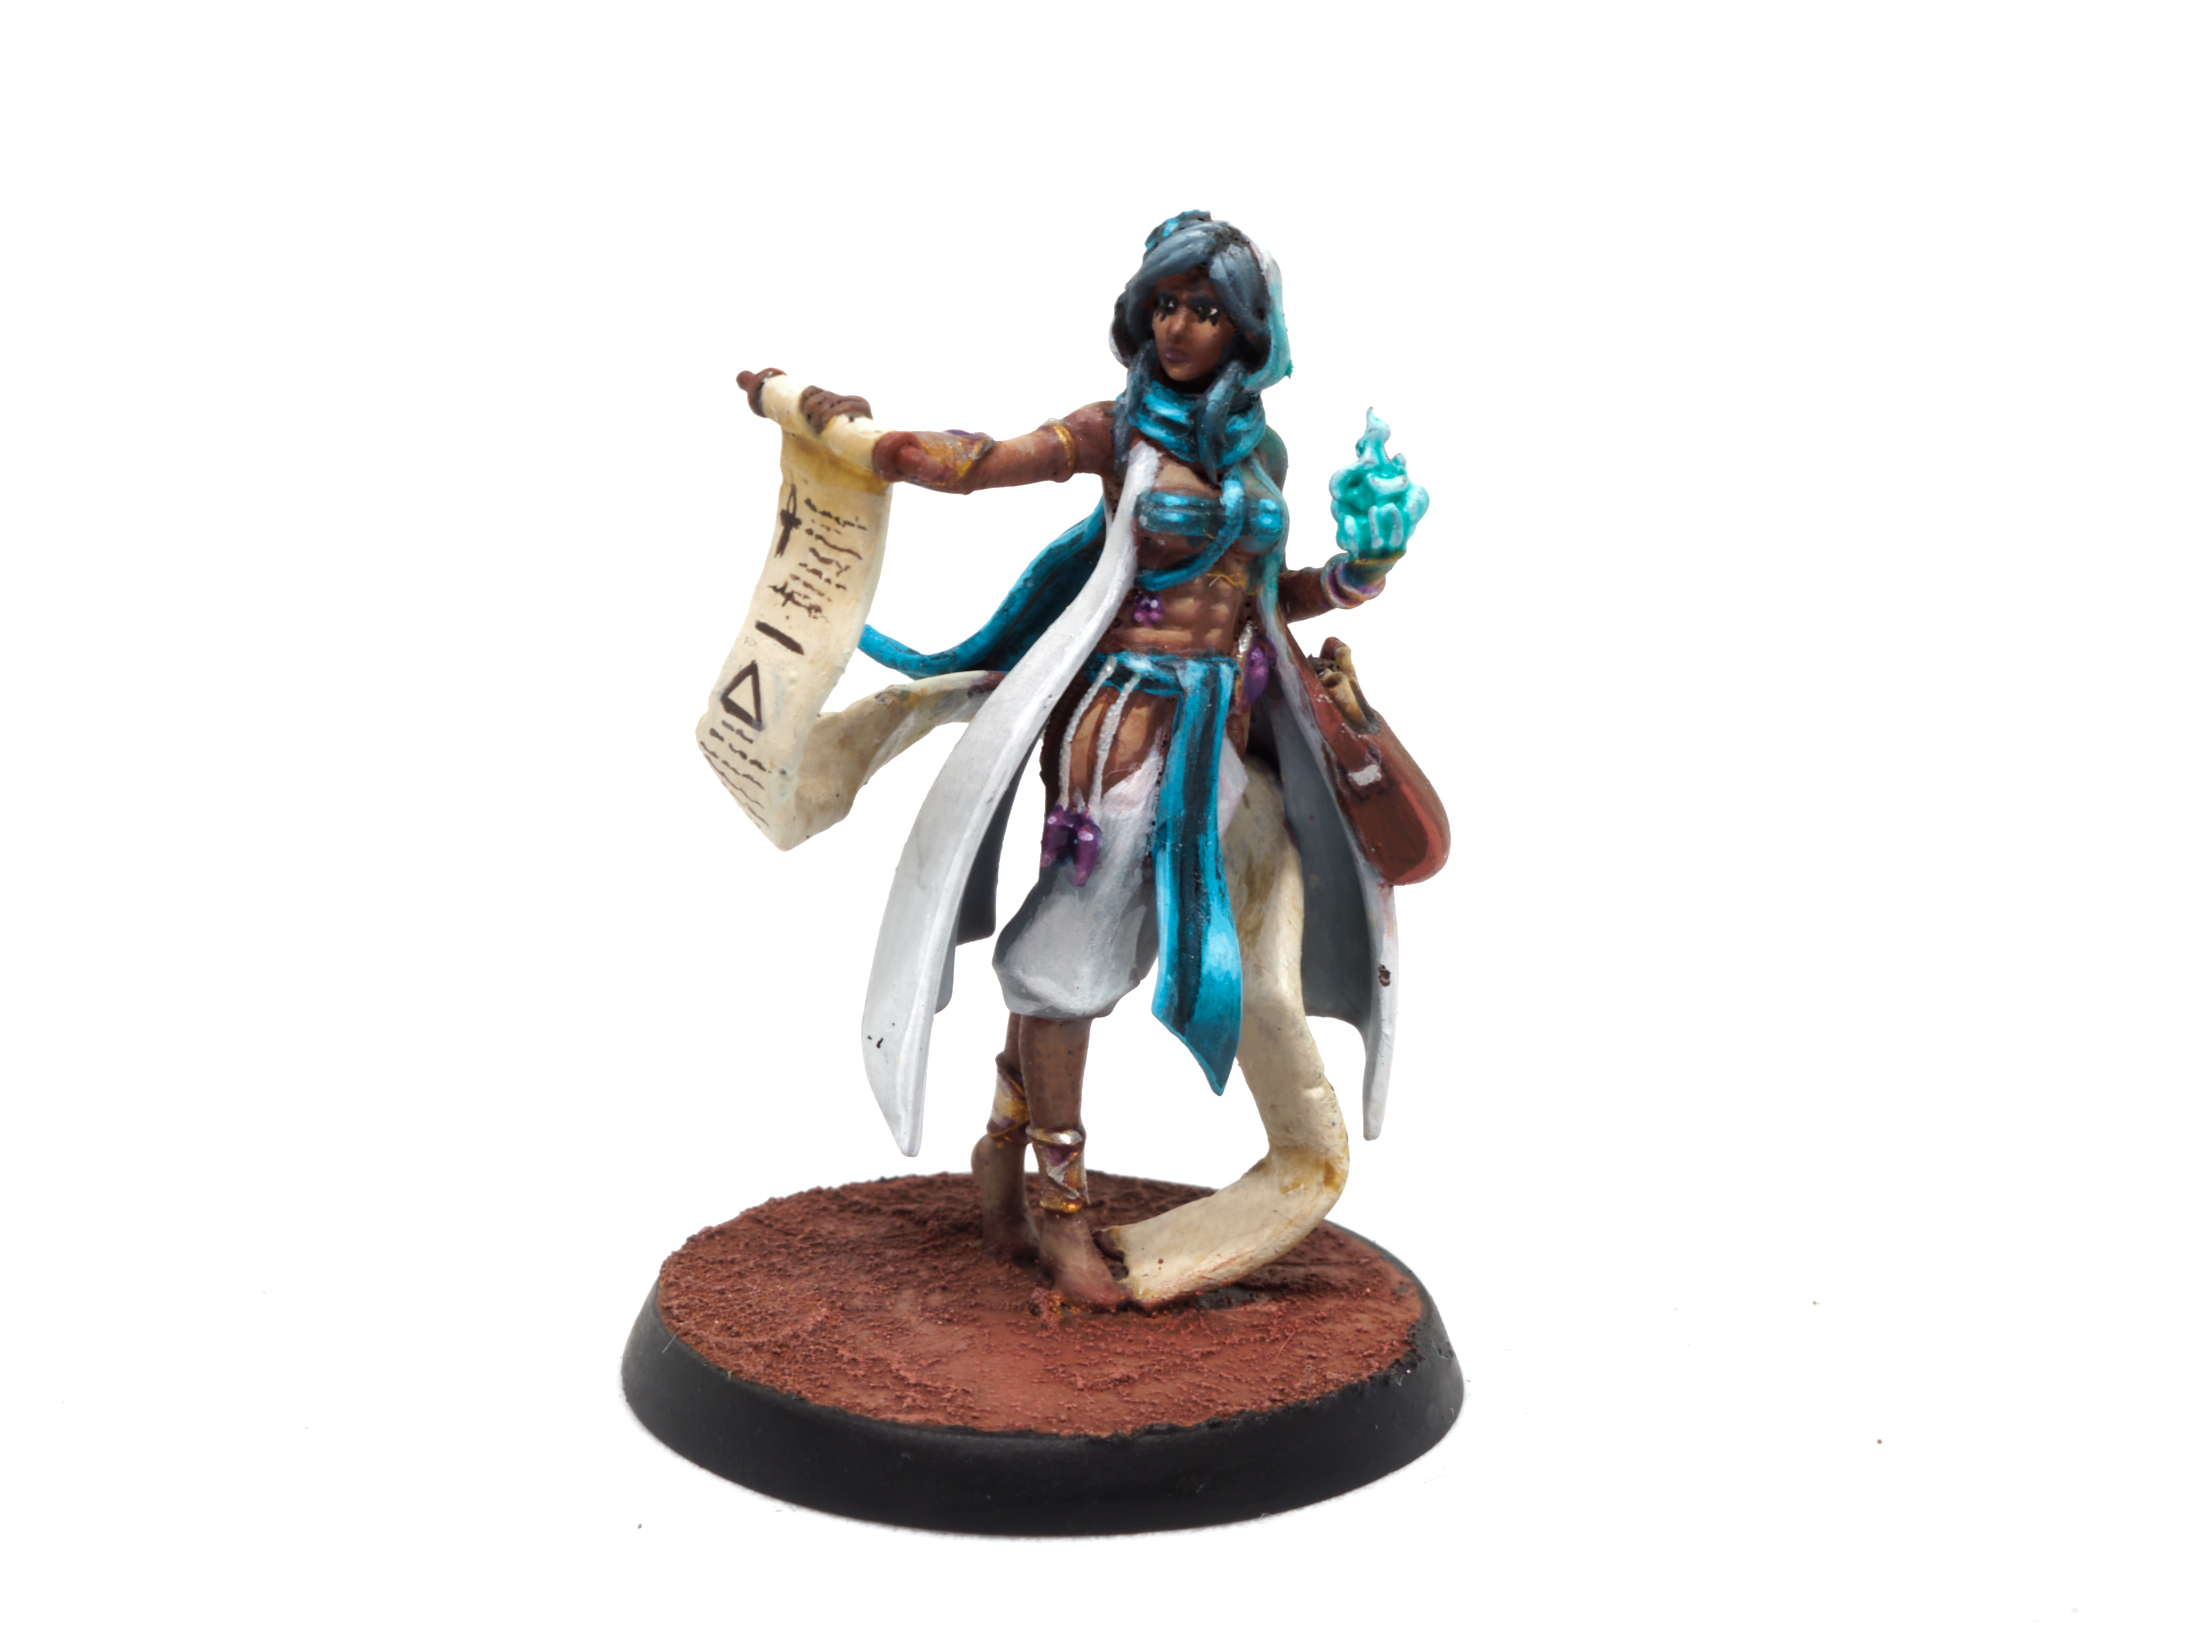
- This one is fairly straightforward, put a bit of Rhinox Hide on your pallete and mix it with some black, then with a very fine point on your brush, draw some teeny tiny little dots and squiggles on the parchment. You want to be extremely delicate here, if you press down on the scroll at all you’ll get a big blob of dark brown, which is definitely not what you want! To make this easier, hold your brush as close to the bristles as possible and brace your wrists on the table.

Credit: Keewa
That wraps up our look at how to paint the miniatures for the Sand Kingdoms. If you’re looking for more info on this faction and how they play, check out our Sand Kingdoms Faction Focus article here. And as always, if you have any questions or feedback, drop us a note in the comments below or email us at contact@goonhammer.com.
