
Before you start competing, you better have some minis built and painted. Our How to Paint Everything and Fabricator General series are super useful, but can be intimidating if you’re completely new to the hobby.
In this article we’re going back to basics and looking at how to build and paint your very first kit. Everyone has to start somewhere, and we can help you avoid some of the common mistakes.
Building your first unit
Here’s what you’ll need to get started building your very first kit:
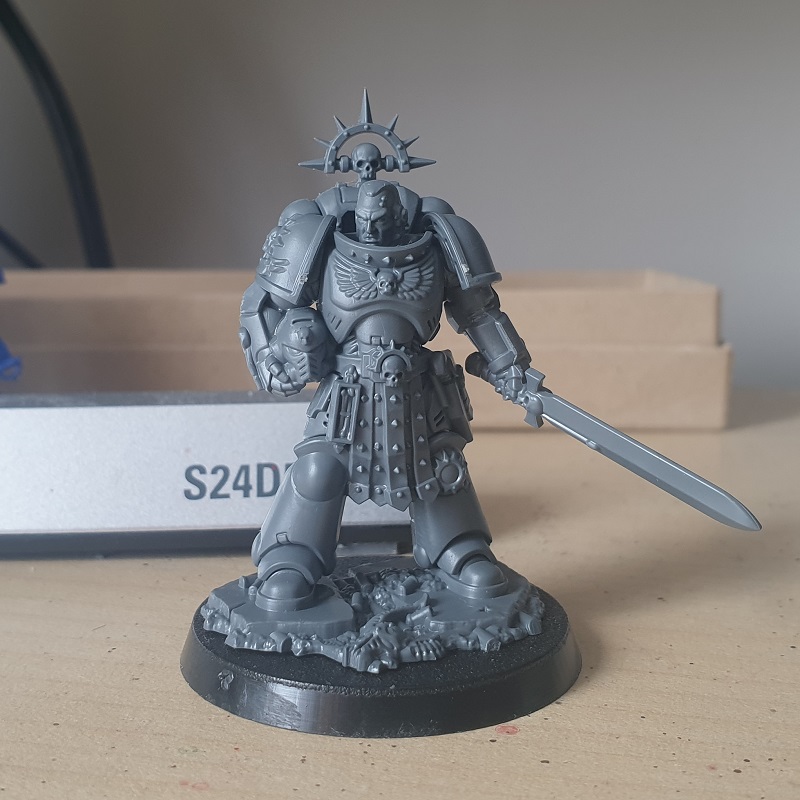
- A kit to assemble. It doesn’t have to be Warhammer, but a lot of our photos are going to focus on that (I’d recommend you start with a plastic kit of whatever the basic infantry is for your faction. If there is an easy to build option that’s even better, but don’t worry if not)
- Plastic glue (if you’ve ignored my advice about starting with a plastic kit, you’ll need super glue instead)
- Clippers
- Hobby knife
- A clean place to work
Once you’ve assembled this collection, you can get started. There are a few more things that could be helpful – a Citadel mold line cleaner is a great tool that’ll improve your experience right away, but it’s not essential (Corrode: If you’re reading this and you perhaps remember being a kid and GW selling stupid tools you didn’t really need, then trust us. It sounds like another one of those, but the mold line scraper is, genuinely, great). A file and some emery cloth is also a great addition, but again, not essential.
Here’s what we’re going to do:
Open the box of your shiny new miniatures, and get out the sprues, bases and instructions
Read the instructions! Most Games Workshop kits have great instructions included that’ll walk you through each of the steps to follow. Many newer kits have specific builds you’ll need to make or the kit won’t fit together – e.g. parts 1, 2, and 3 might all be front torsos, and 4, 5, and 6 might be backs, but you can’t just mix and match them freely. Some of the older kits don’t have quite the same requirements or quality of instruction, but even if it’s just a diagram showing you the parts needed to assemble each model it’ll help to look at it.
Work out which parts on the sprue you need to build the first step of the first model. Parts on the vast majority of Citadel sprues are numbered. If they’re not, just use your eyes to find the parts shown in the instructions.
Carefully clip the parts from the sprues. Each part is held by a number of gates which are pieces of plastic not part of the finished kit holding the part to the frame. You want to clip through the gates, putting the flat of the clippers towards the part. Clip as close to the part as possible without cutting into it. Sprues have two sides – a flat and a recessed side for the gates. Some parts will be easier to remove from one side or the other, but where possible clip from the recessed side as this will give you the best view of the part when you’re clipping so you don’t accidentally remove anything you’ll want on the mini
Once you have the parts for the first step of build instructions, it’s time to clean them up a bit. You’ll notice there are probably little bits of gate sticking out from the parts you’ve removed from the sprue. As carefully as possible use your clippers to remove as much as possible, and then use your craft knife to remove the rest. With a craft knife, safety instructions tell you to always cut away, but this can sometimes be more dangerous because it’s harder to control the pressure you’re exerting. The safest way is to wear a thumb pad or thimble, and then carefully cut towards the pad of the protected thumb. This gives you maximum control of the blade while ensuring you won’t be hurt if you slip. However, you can just be careful. If you’re trying to cut and you’re having to use a lot of force, stop. Either use the clippers to remove more of the gate first, or start by cutting way part of it rather than the whole thing. Your goal here is to have a nice smooth surface finish on the miniature
Now you want to remove any mold lines from the part. Mold lines are a natural part of the molding process, where the different sections of the mold meet and a small amount of plastic forces it’s way into the crack. Carefully turn the part over so you can see every angle, and look for fine lines running across the miniature that aren’t part of the sculpt (look at the box if you’re not sure). Using the back of your craft knife, or your mold line remover if you have one, slowly and carefully scrape along each line, so it is scraped away from the surface of the miniature. If it’s stubborn you may need to scrape across but avoid this where you can as it can leave some uneven surfaces
Now dry fit the parts together. That means getting them without glue and putting them together to make sure they fit and you know what you’re doing. Never just slap glue on and try and out it without having tried it dry first. You’re looking for there not to be large gaps that will make the finished model look bad. If the parts don’t fit together neatly, you may need to slightly trim the parts. If it’s an easy to build kit, those pins that snap into each other can be very tight, so it may be you just need to exert more (careful) force. Sometimes they just don’t line up well though, so don’t be too scared to clip off the pins and fit them together more like a traditional kit fit. Of it’s not easy to build, and the parts don’t line up check the instructions to make sure you’ve not missed anything. You can’t easily put plastic back on the parts so before trimming surfaces check. If you’re doing it right and it doesn’t line up, carefully slice or file away plastic until the fit is nice and tight. Once you’re happy…
Apply some glue. Plastic Glue is actually a cement, so it’ll melt the surfaces and bond them together permanently. Use a small amount on one surface where the parts will connect – you want an even covering of plastic glue that is just enough to make the whole surface look shiny and wet. You don’t want it dripping over the edges, or big drops of it. If you’re using Citadel glue get a single drop on the end of the applicator and then carefully wipe it over the area, only adding more when you can’t see that wetness on the surface. If you’re using a glue with a brush, use that instead. If you’re using Taimya Extra Thin… you have to make this complicated don’t you.*
If you are using super glue, follow the same principles – a thin layer across the whole surface
Now carefully line up the part without glue to the part with glue and press the surfaces to be glued together. Hold them firmly in place for 10-20 seconds (30-60 seconds for super glue). Gently release some pressure to check the bond, and if the parts come apart or a gap appears, holding them together for longer
Follow the same steps for each step of the instructions. You should end up with a miniature!
*Taimya Extra Thin is really great plastic glue but doesn’t work like most brands. It’s so thin and dries so fast if you try brushing it over a surface it’ll have dried before you put the other piece on it. Instead hold the pieces together and carefully brush the glue along the join – capillary action will draw the glue into the gap and fuse the pieces.
Priming your first models
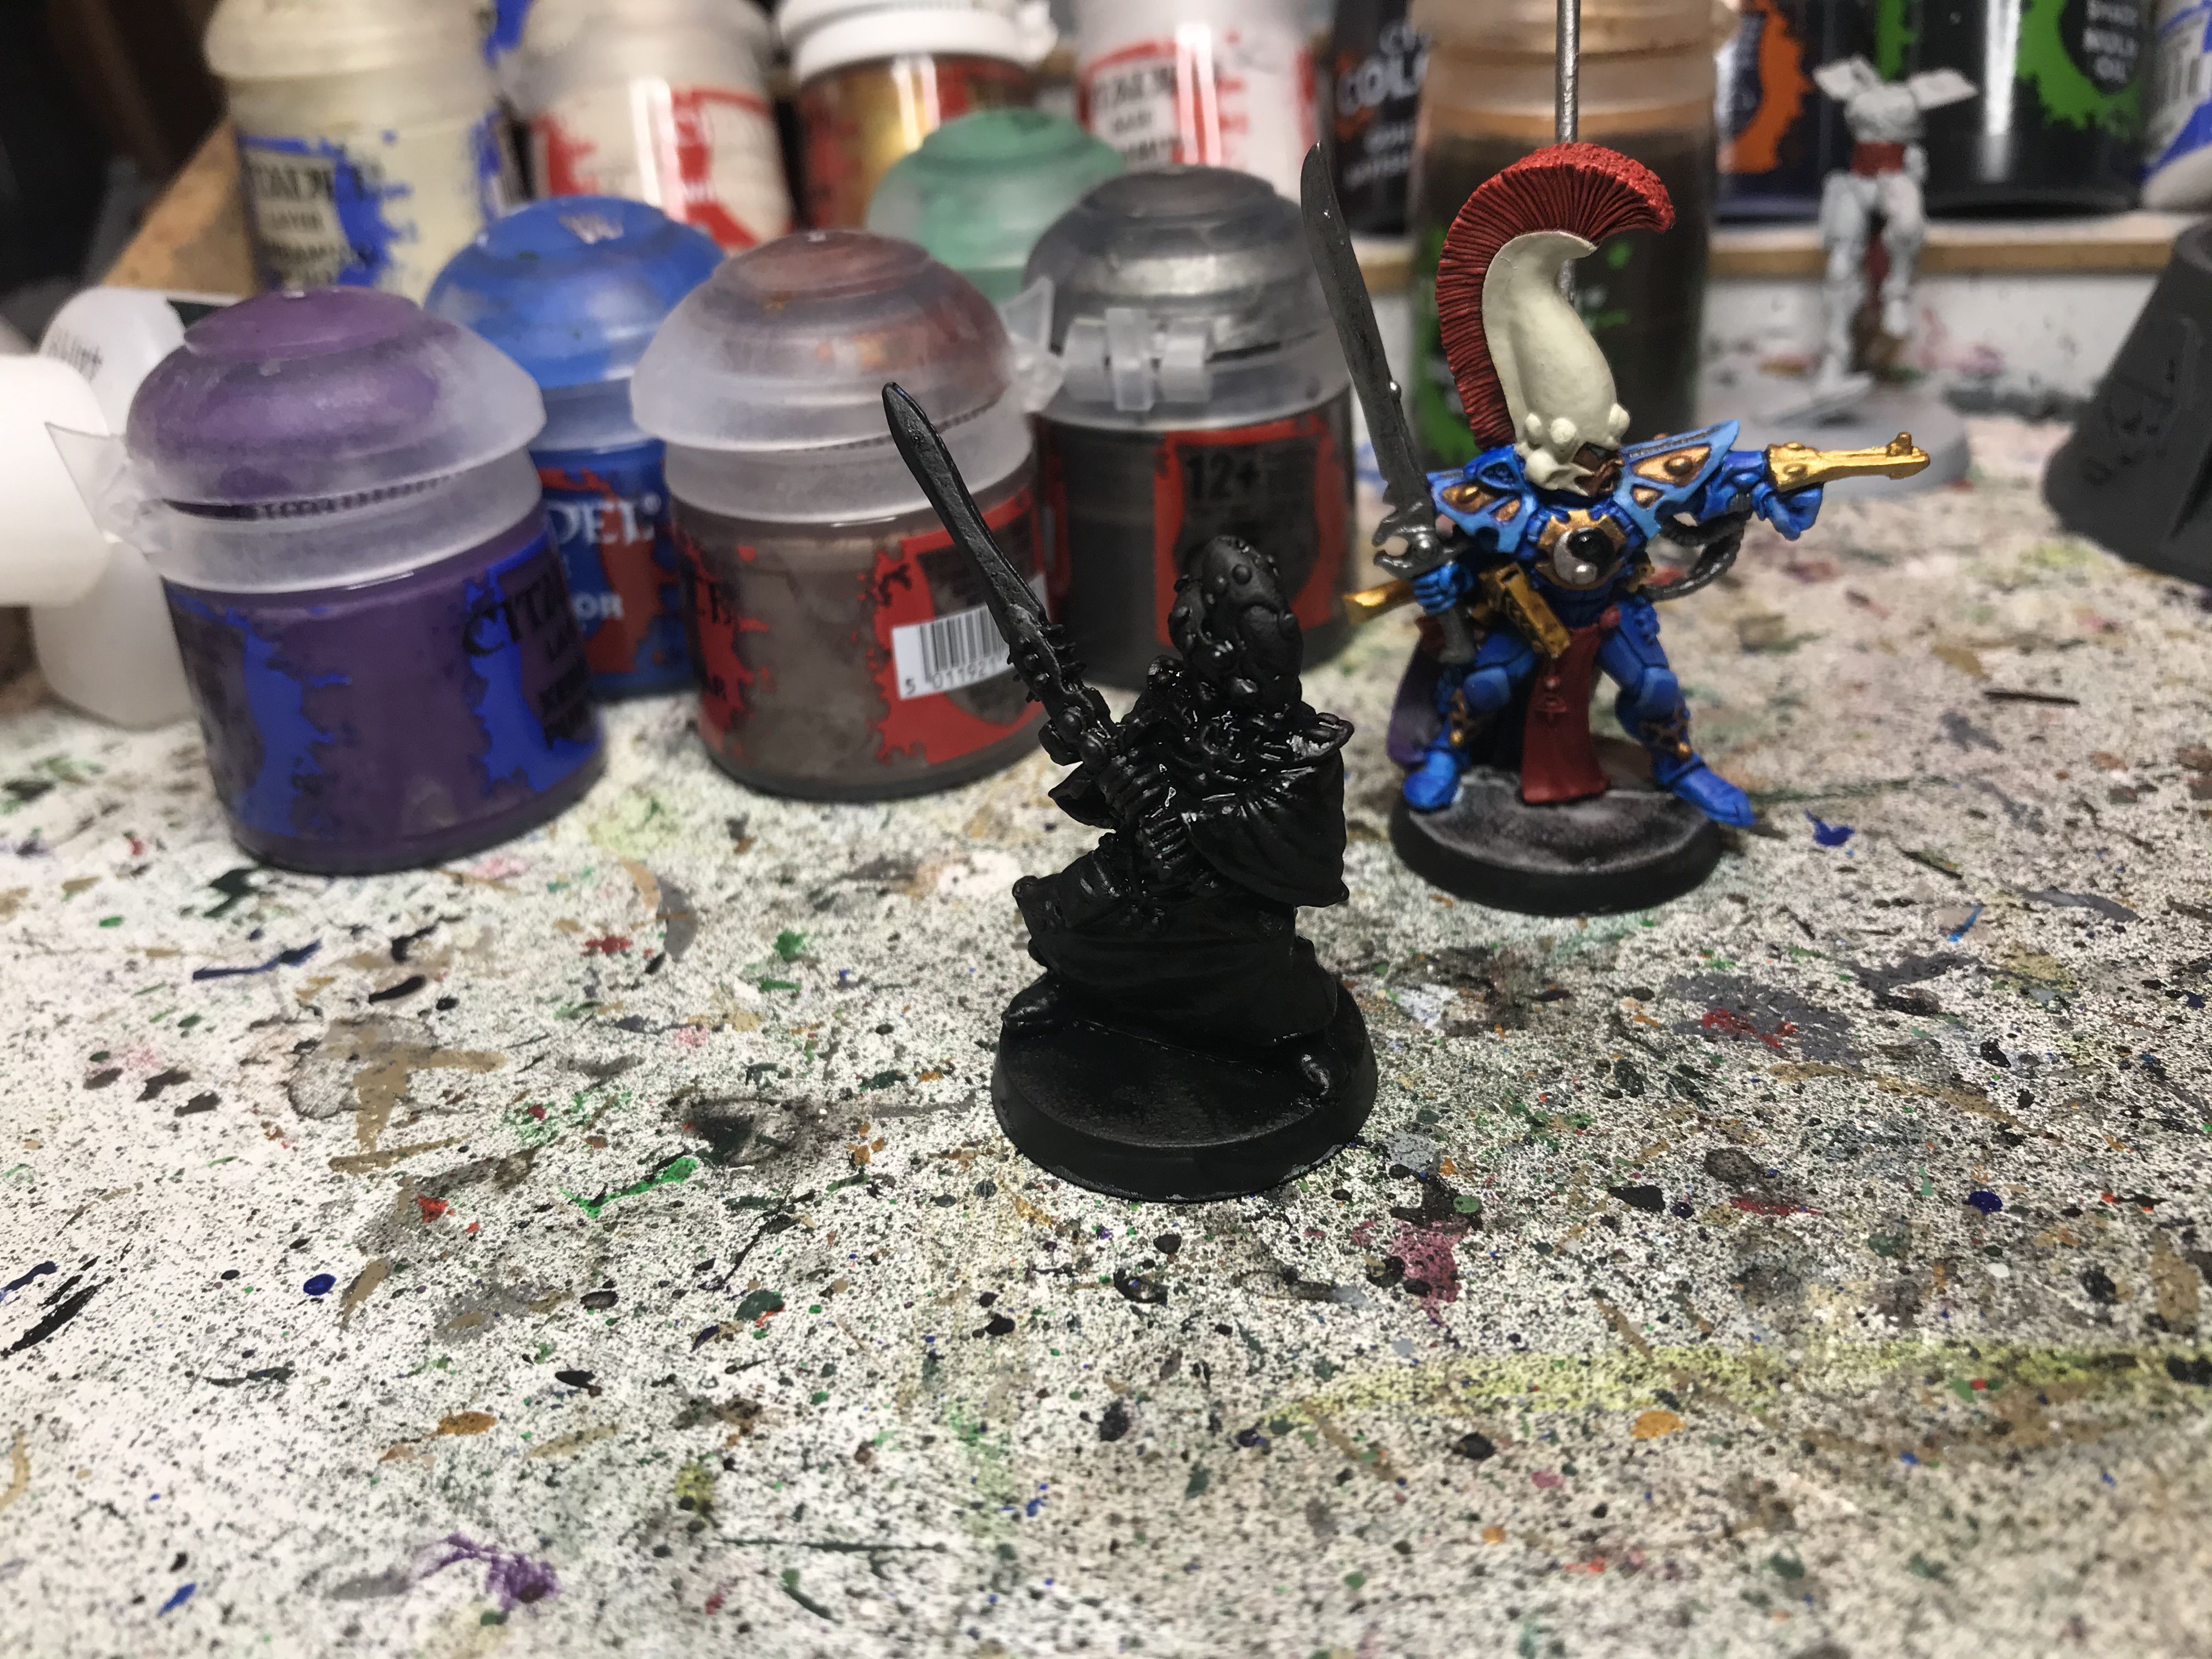
Once you’ve built the models from your first kit, you need to get them ready for painting by priming them. This is a base layer of paint that helps other paints adhere to the model. The easiest way to prime is usually a spray primer (“rattlecan”).
Spray primer comes in many different colours, but the most common are black, white and grey. If you’re painting a unit that’s mostly one particular colour (like say an Ultramrines unit) then you might find it useful to use a Citadel spray colour, but otherwise stick with a monochrome choice. White is my recommendation for your first unit because it’s easiest to paint over. The only exception is if you’re painting a miniature whose scheme is mostly or entirely black or metallic, and doesn’t have more than a tiny amount of white, yellow or orange on it. If this is the case, use black.
There are lots of brands of rattlecan. Citadel (Games Workshop) do great sprays, if a little pricey, and I’d always say for ease on your first experience, there’s no good reason to not. Other brands vary considerably and there are so many it’s a whole article to review them all.
To prime you’ll need a day when:
- It’s not raining, snowing, hailing, sleeting or otherwise having things fall from the sky
- It’s warmer than 3°C (37°F) and cooler than about 35°C (95°F)
- It’s not noticeably humid**
You’ll also need:
- Some space outside that’s not antisocial to spray paint in
- A cardboard box to catch overspray (or somewhere you don’t care about overspray)
- A stick or strip of stiff card
- Double sided tape or blutac (as an alternative to these last two, GW make a plastic spray stick which again sounds insane but is actually a good and cheap tool. I’m sure other companies make similar things)
Attach the miniatures to your spray stick using the tape or blutac. Set up the box so that when you spray anything that doesn’t hit the model goes into the box.
Shake the primer can thoroughly – for a minute or two (seriously). It should rattle when you do this (if it doesn’t you’re not shaking vigorously enough).
Take the cap off and test a few sprays into the box just to get paint moving through the nozzle.
Set up the spray stick in the box so one side of the models is facing out (or hold one end of the stick for mavericks who don’t mind getting painty). Spray the miniatures – you want to depress the nozzle firmly (if you’re too gentle it’ll spurt droplets rather than a fine mist) for a second or two while moving the can across the miniatures in a smooth motion. You want to spray from about a foot (30cm) away. Too close and you’ll find you apply too much paint by mistake, too far, and the paint will slightly dry in the air before it hits the mini, and you’ll get a rough surface.
When you’ve sprayed from one angle move the stick so you can hit the other parts of the minis.
It takes a little practice but you’ll get there. You’re looking for smooth consistent application across the whole model. It shouldn’t fill in the recess detail, but should be a solid consistent colour. If you think you might have oversprayed, don’t panic, wait for it to dry and see then – primer shrinks slightly as it dries, so it might be fine.
If you do end up making a mistake here, that can honestly suck. It’s hard to rectify a problem at this stage. If you’re concerned use the left over sprue you have from the kit to practice on until you’re happy.
** But Goonhammer, I hear you say, I live in a swamp. Well, if so rattlecan might not be for you – a brush on primer could work, or you could get an airbrush if you’re really going in hard (Google it).
Painting

Now we’re ready to paint! You’ll want the following for your first unit:
- An old plate or tile as a palette (or an actual palette or even Citadel palette paper if you’re feeling fancy)
- A brush for basecoating (Citadel medium base brush is a good start) and a brush for details (Citadel small layer for example)
- A cup with some fresh clean water in it
- Some paper towel
- Some paints! You specifically need acrylic paints for miniatures. You only need a small number of paints to start – 3-5 colours and a shade/wash is a good start. So for Ultramarines you should grab Macragge Blue, Abaddon Black, Retributor Armour, Mephiston Red, Leadbelcher and Nuln Oil
- A place with decent light (a table by a window if the daylight is strong, or a desk lamp)
Set up your painting area in good light. With your base brush get a small amount of your first base colour and put it on the palette. Wash the brush out in the water and dry it on the paper towel. If colour comes out onto the towel, wash it more. Now get a small amount of water on your brush and add it to the paint until it’s smooth (ie thin your paints).
Now apply the paint to the sections of the model you want that colour. You don’t need much paint on the brush – enough the brush looks the colour of the paint but not enough it might drip. You don’t want paint more than two thirds of the way up the bristles – any further and you risk getting paint in the ferrule (the metal bit) which will ruin your brush pretty effectively. When you hold your brush, don’t hold it right by the bristles, it’s not a pen. Hold it about halfway along its length – it’ll feel weird to start with, but will improve your painting in the long term.
Apply it thinly and smoothly as best you can. Wait for it to dry and apply a second coat. If the colour isn’t strong and consistent, do a third.
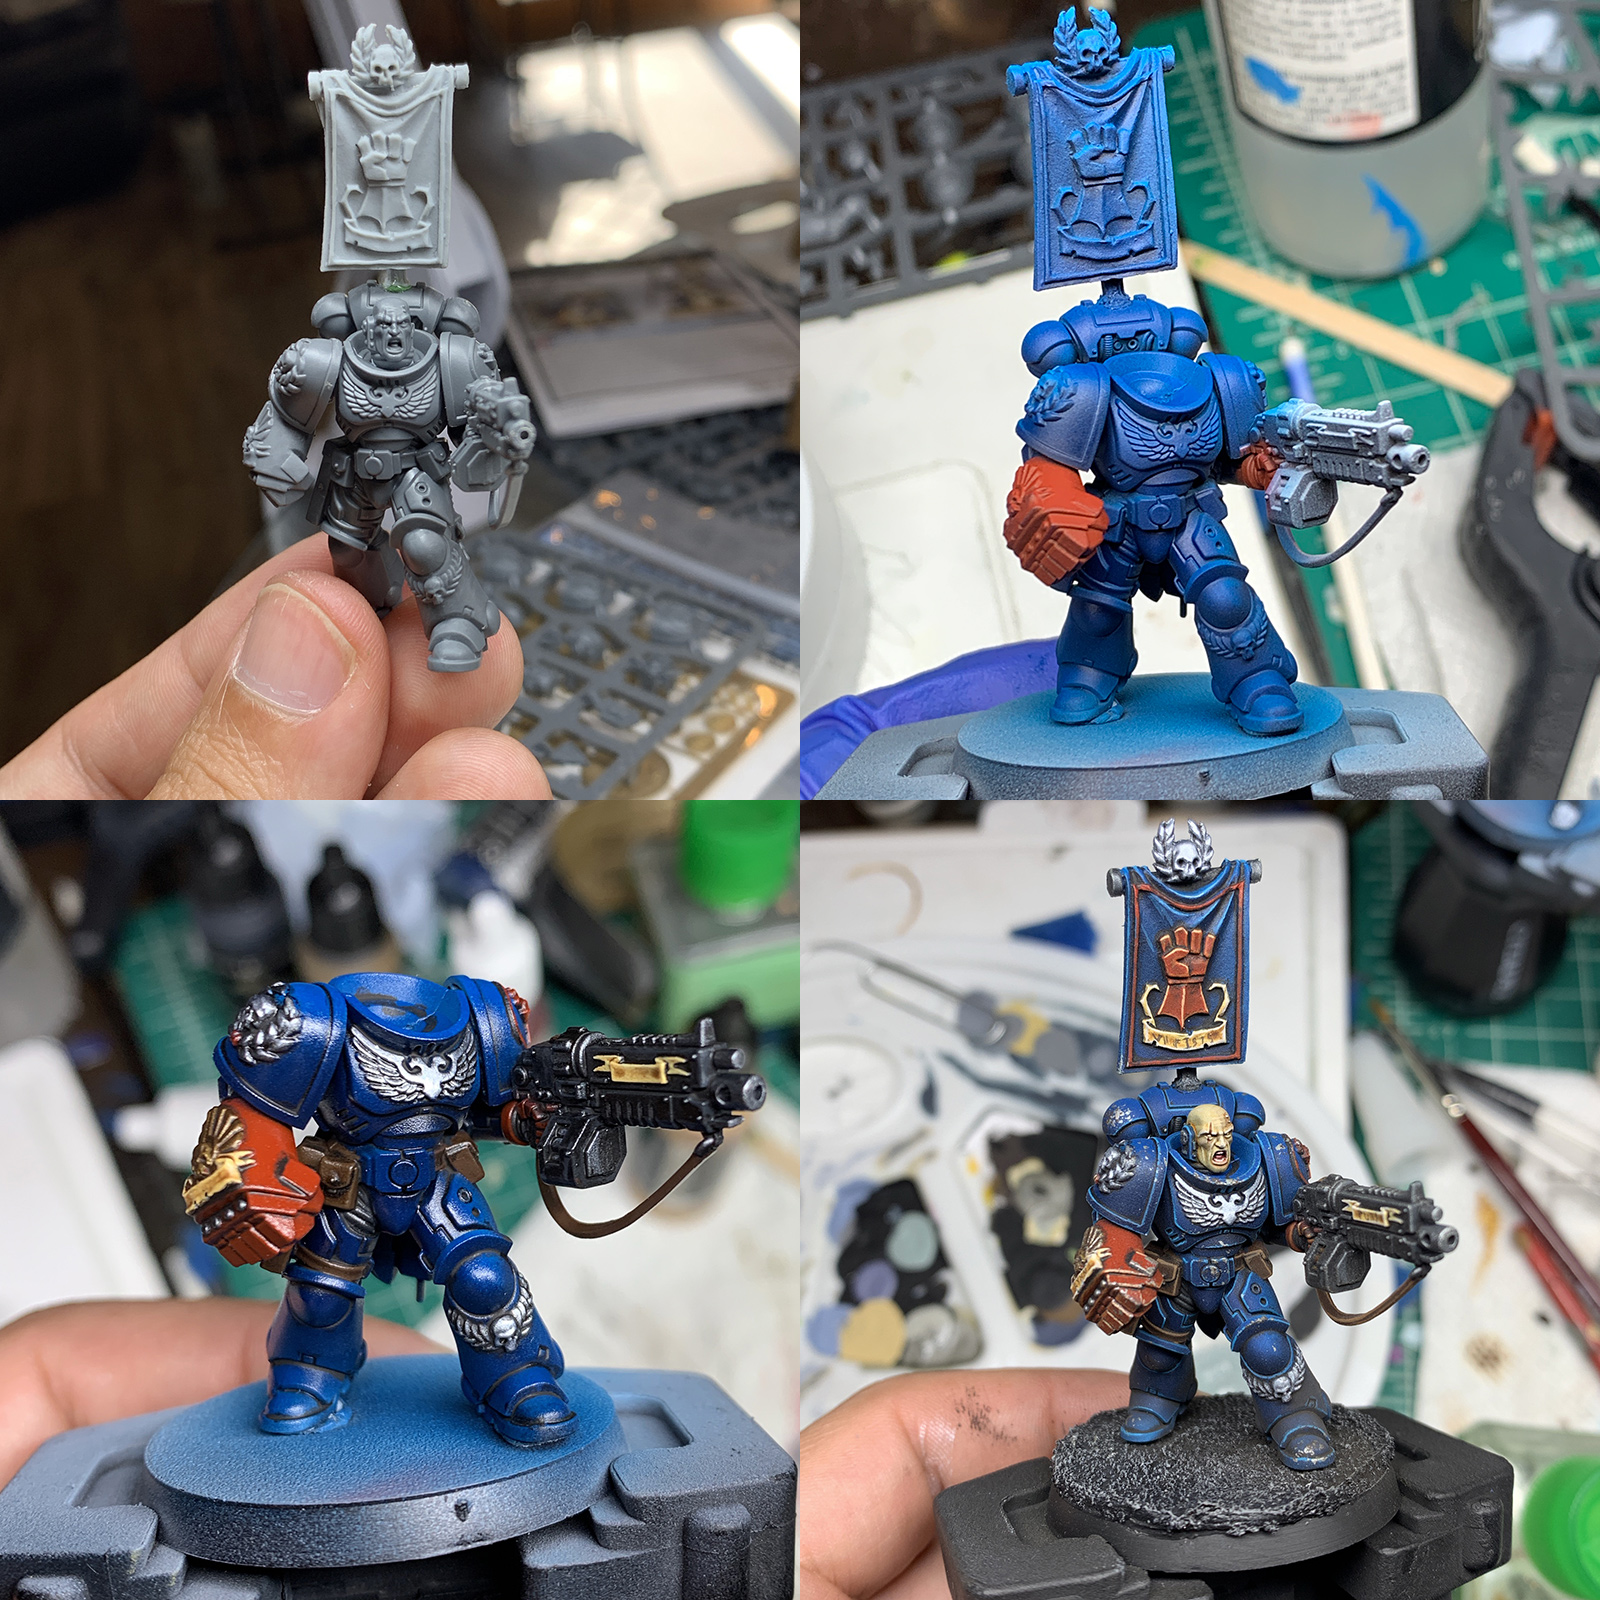
Now clean your brush thoroughly and do the next colour. Generally you want to paint inside out. That means doing the colours that are most recessed, so hardest to get to, first. If when you’re painting a colour you accidentally get paint on an area you already painted a different colour, don’t worry, go back and tidy up with the previous colour.
You may find your paint dries on the palette – make sure it’s still smooth as you’re painting, adding more water if you need to. If it dries up to much, you may just need more paint***.
Once all of your model (other than the base) has paint on it, and it’s completely dry, use your shade on the mini. You probably want Nuln Oil for your first paintjobs because you can put it on almost anything. Using your base brush, get a decent amount of the shade on the brush (way more than would be acceptable for normal paint) and slop it all over. You’re looking for it to flow into the recesses to create shadows, but not pool on the raised surfaces. If you get too much on there, dry your brush and use it to soak up the excess.
Wait for the shade to completely dry (20-30 minutes).
Now using the detail brush, carefully reapply base coat colours to each area, only putting paint on the raised areas, and not in the recesses. You’ll quickly find you soon have a miniature with lots of depth for very little work!
*** This is why cool kids use a wet palette. We’ve talked about those already in a pair of articles.
Basing your models

Wait, there’s another step! Your lovely miniatures are now stood on a boring flat little disc. We need to change that. If you want quick and easy you’ll need:
- An old brush or a Citadel modelling tool or other similar tool
- A Citadel Texture Paint that isn’t Valhallan Blizzard
- A normal paint that roughly matches the colour of the texture paint (like Steel Legion Drab for Aggrellan Earth)
Paint the whole base including the rim with your normal paint, two thin coats, Yadda Yadda.
Once dry, using the old brush/tool apply the texture paint to the top of the base, being careful not to get it on the feet of the mini. If it’s a paint that gives a crackle effect, the thicker the layer the larger the cracks.
Leave it to dry overnight and boom, finished mini.
If you’re looking to do something particularly fancy, we’ve already done a bunch of articles on bases, which you can find here:
You’re All Set
At this point you should have everything you need to get started, from basic equipment to assembly to priming to painting to basing. If it seems daunting, just remember that deep in everyone’s closet is a shameful first model that looks terrible. Just take things one step at a time and eventually you’ll be painting carefully-crafted jewels of wonder. And as always, if you have any questions or feedback, drop us a note in the comments below or email us at contact@goonhammer.com.
