
In our How to Paint Everything series, we take a look at different armies of the Warhammer universe, examine their history and heraldry, and look at several different methods for painting them. With the recent release of the Indomitus boxed set, we’re looking at the two factions involved and how to approach painting them. Today, we’re looking at the new Necrons. If you missed our look at Space Marines yesterday, you can find it here.
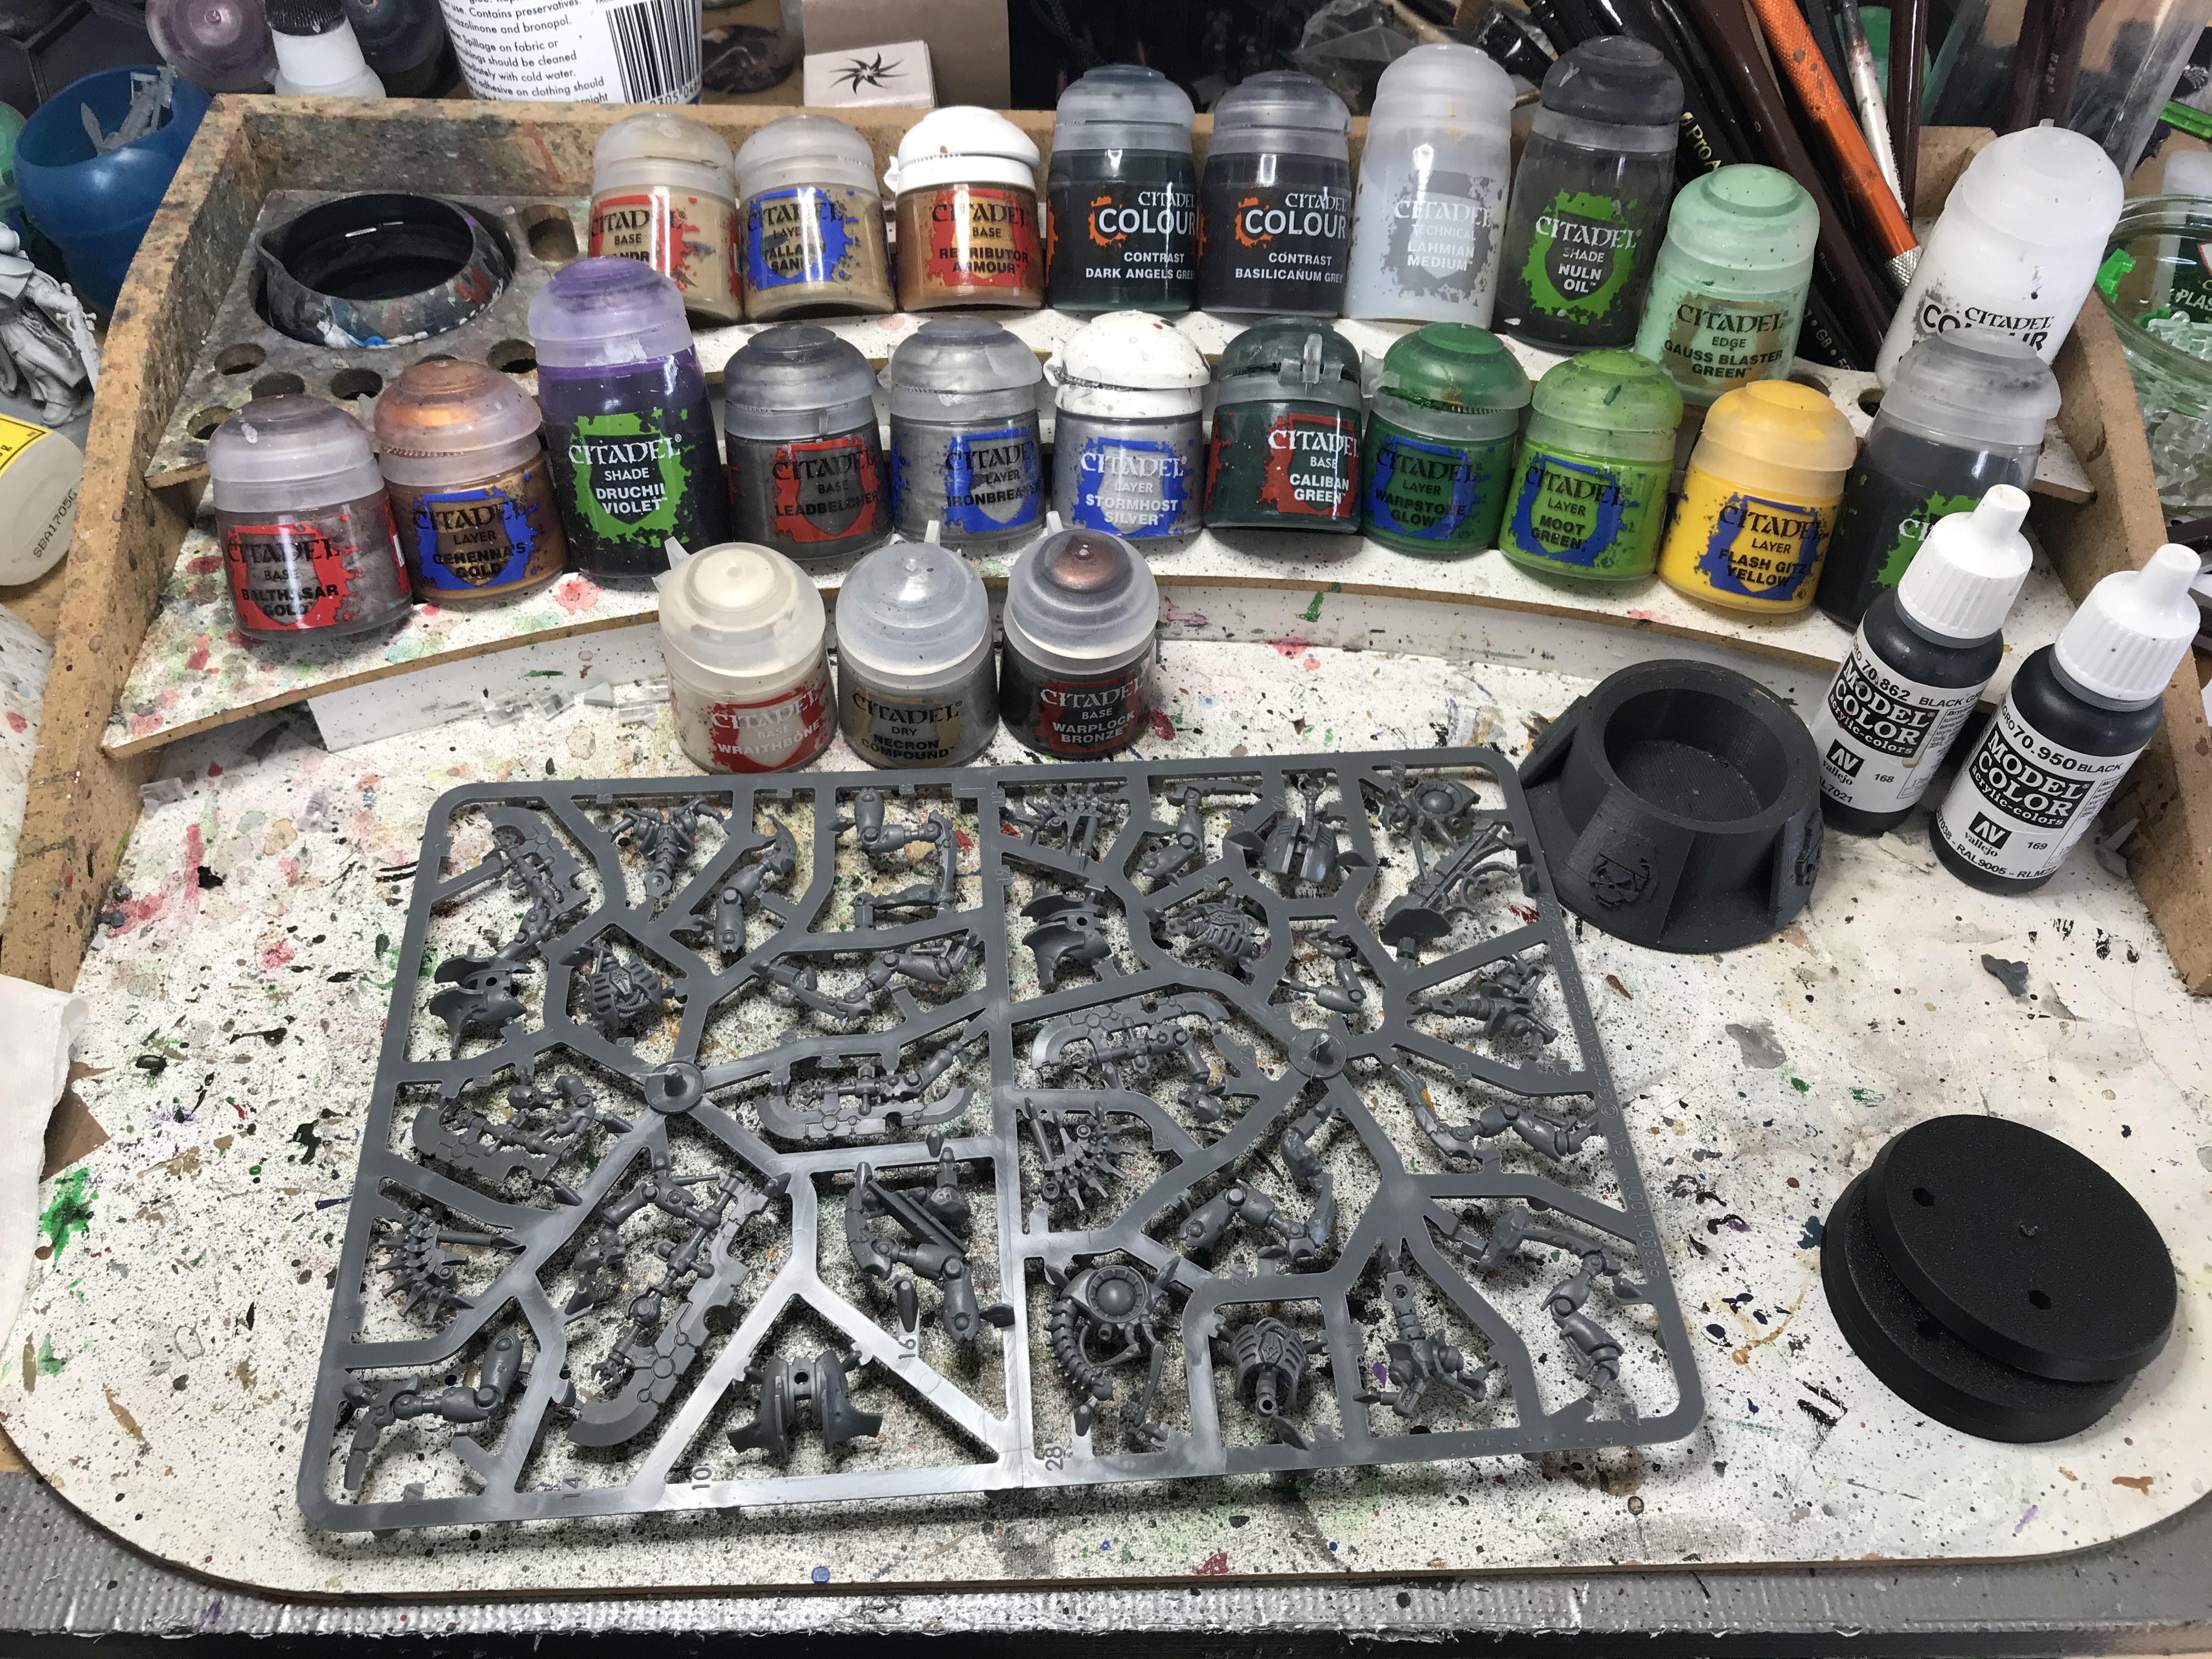
The Indomitus box is packed full of new miniatures for both the Space Marines and Necrons. The Necron half of the box comes with an Overlord, a Royal Warden, a Plasmancer Cryptek and two Cryptothralls, a Skorpekh Lord, a trio of Skorpekh destroyers, a Plasmacyte, a Canoptek Reanimator, 6 Scarab swarms, and two sprues of Necron Warriors – 10 each, with gauss flayer and gauss reaper options for each, plus two head options, giving you a ton of customization options for the kit. There’s a ton here and while it’s all pretty easy to assemble, thanks to the push-fit assembly construction of the kits, there are a lot of ways to paint these models and lots of cool details.
So James “One_Wing” Grover and I will be talking about how we set about painting our models in the Necron halves of Indomitus today, and tackling these sweet new models.
TheChirurgeon’s Method
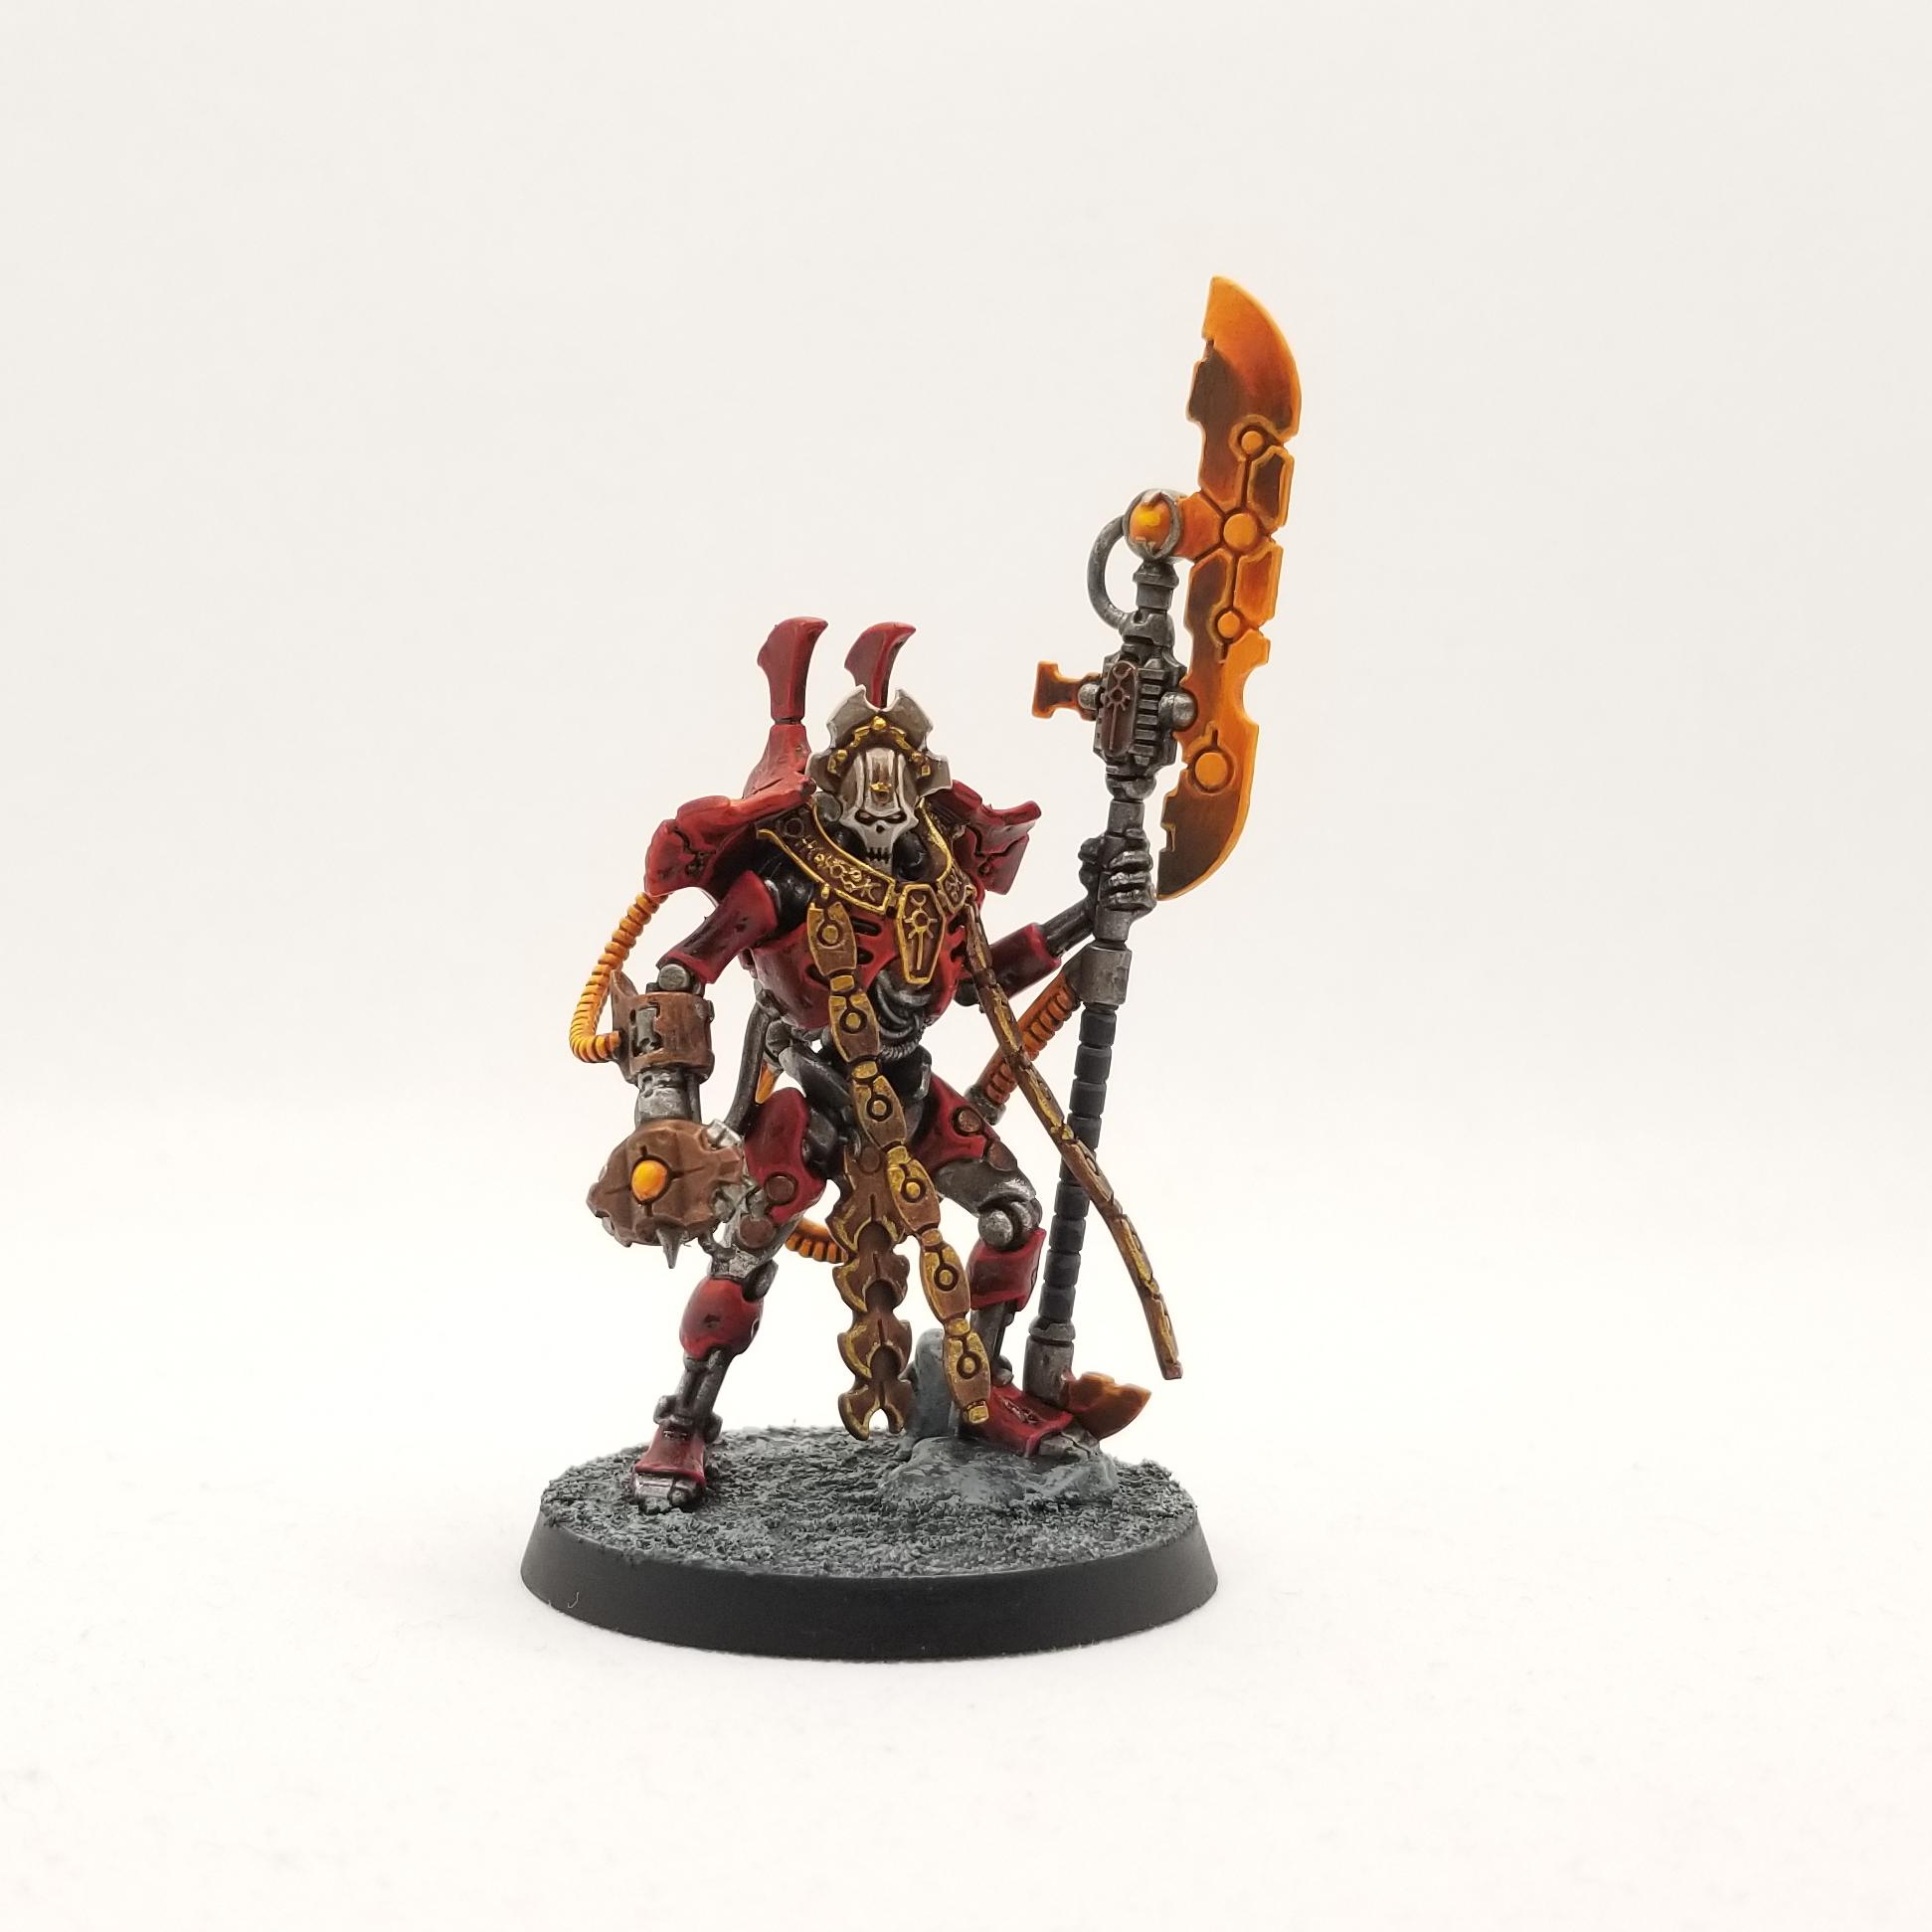
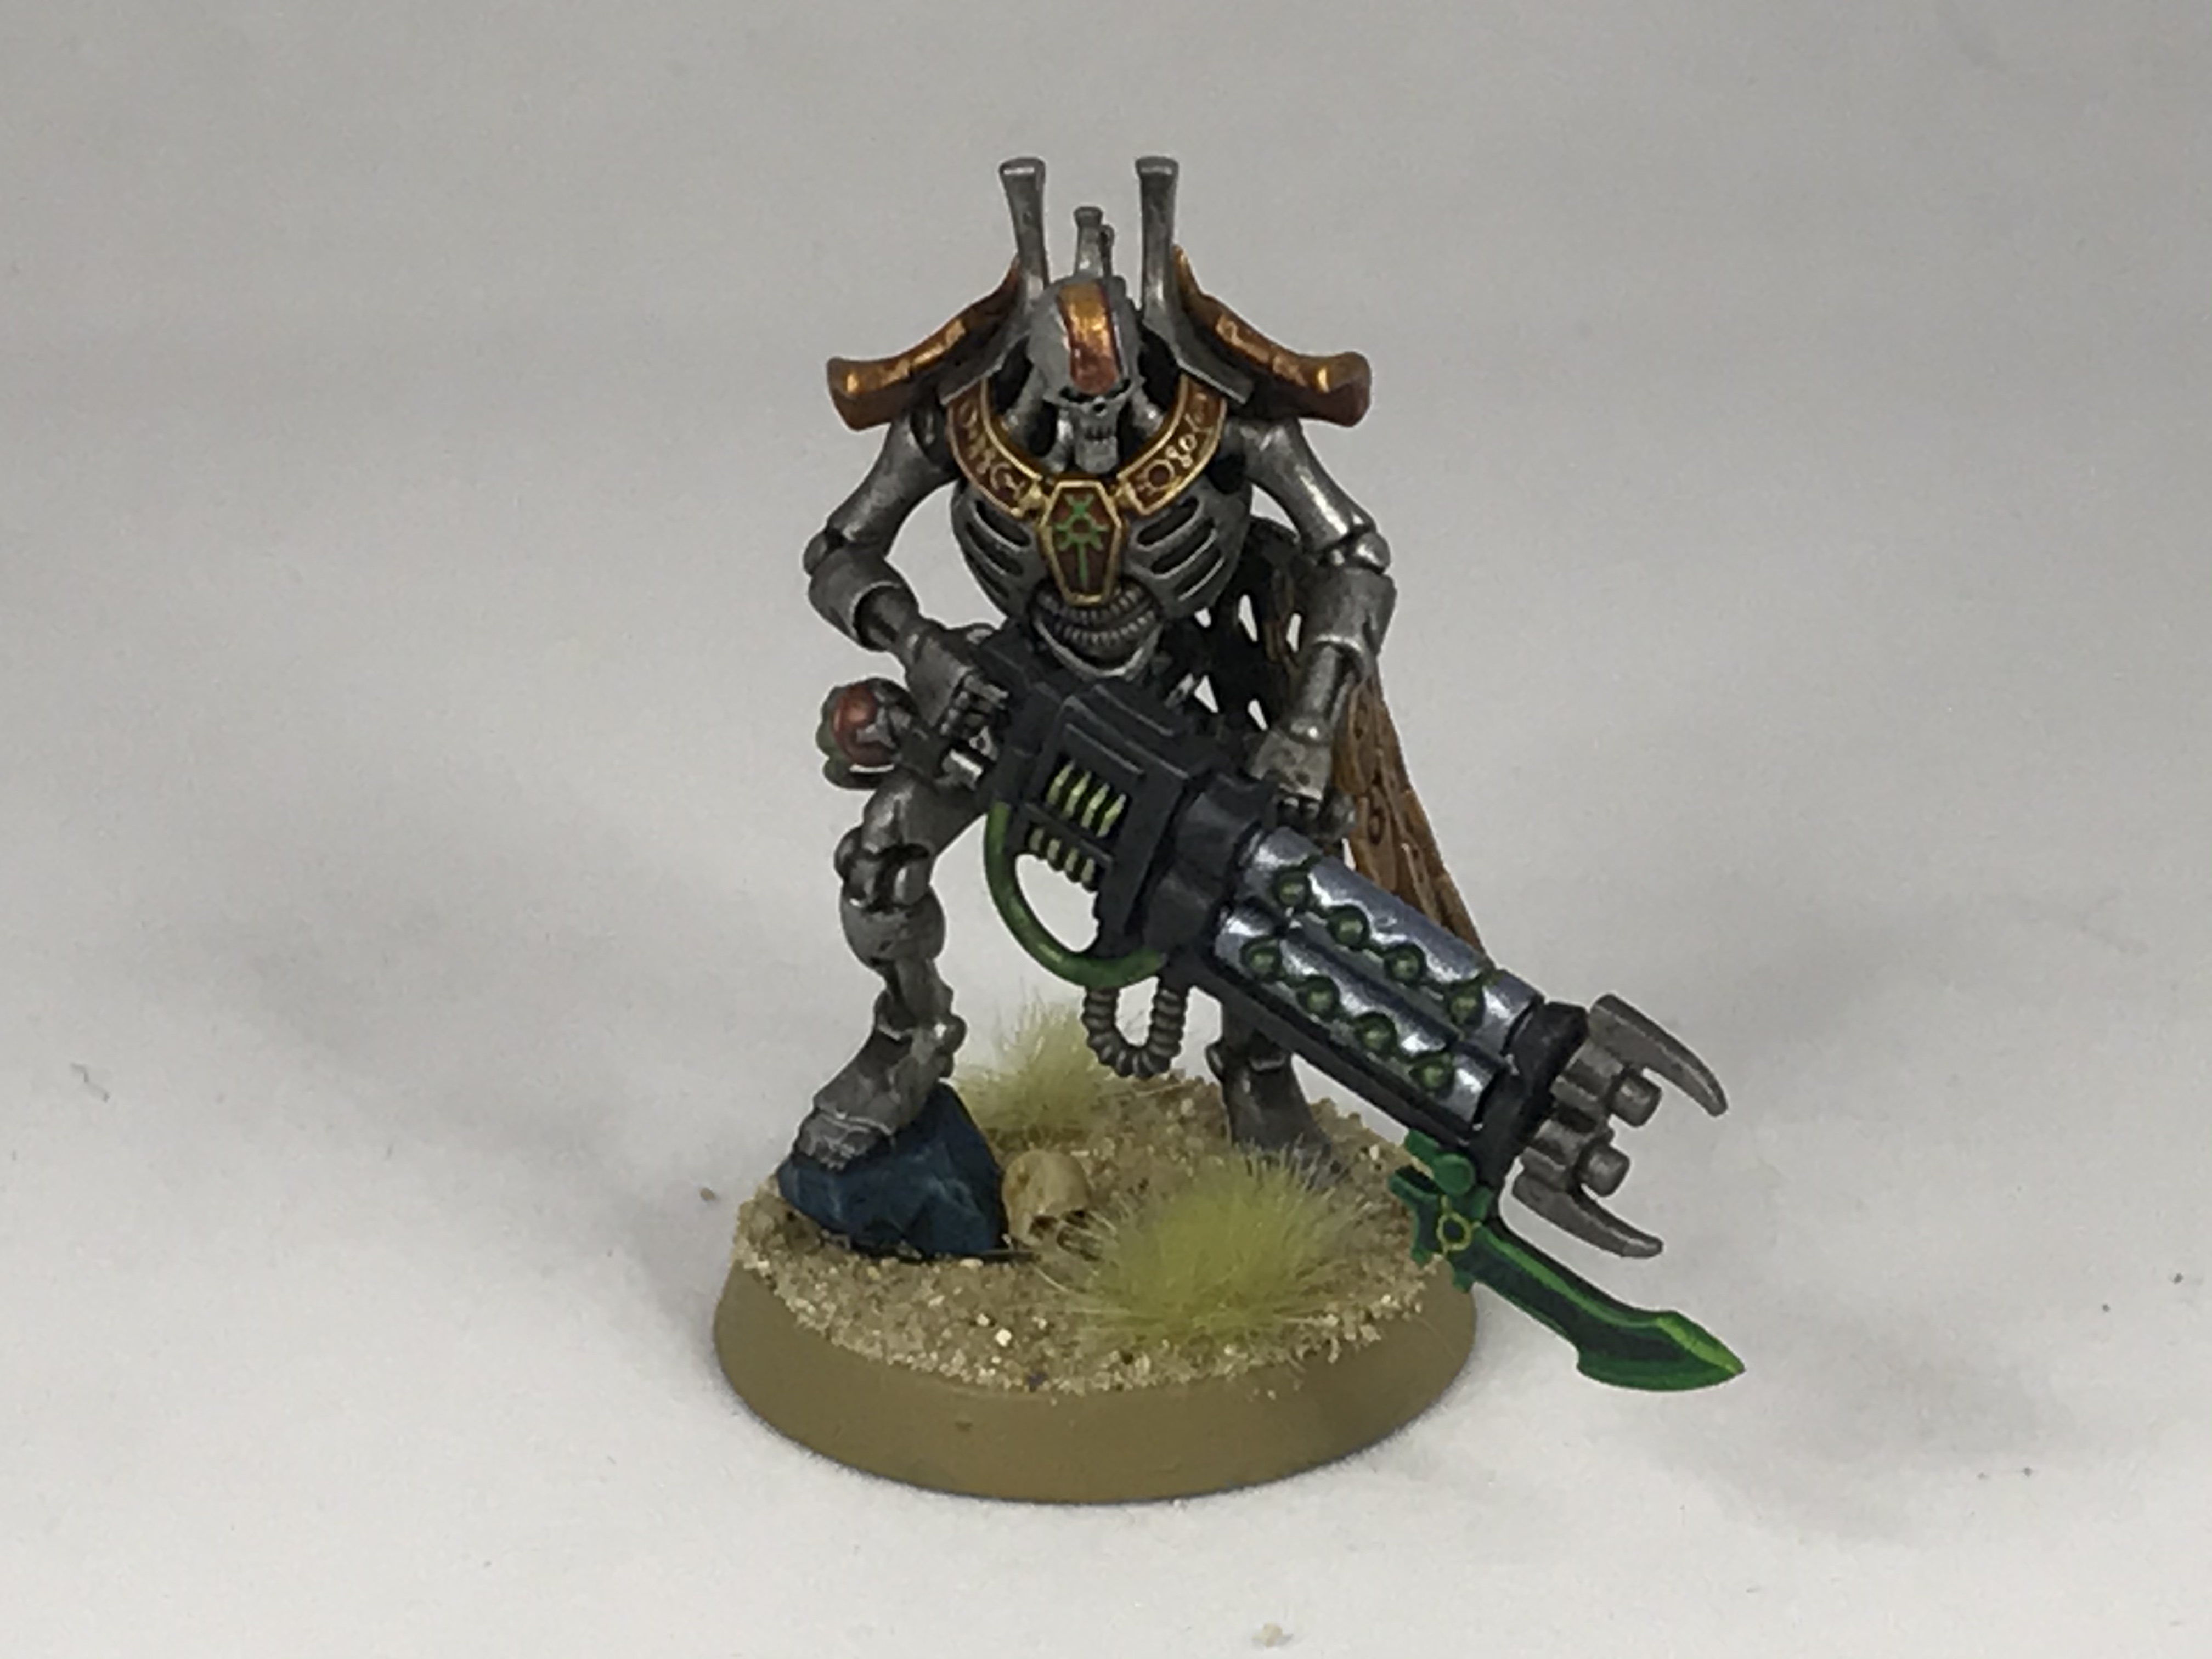
The models in the Indomitus box are my first Necrons – I’ve previously thought about doing Necrons but never pulled the trigger on them. I’m kind of glad I waited now because these models are awesome — they wonderfully combine the creepy eldritch horror of the 3rd edition Necron fluff with the character of the Tomb Kings-style 5th edition reboot. I’ve always really liked the red Necrons that one of my college roommates painted, and so I wanted to do something similar in style to his Necrons, albeit with a little more visual flair on the characters. I also wanted to get away from the green energy rods, since the red/green combo can end up looking a little too Christmas-like.
So the general scheme – and I guess these are loosely Novokh Dynasty, but I don’t know if I’ll be playing them that way – is to do deep red shoulder plates, chest armor, and heads for the core warriors, with more red plating for higher-ranking models in the army. I’ve decided to do the heads on my characters with a bone color, because it looks bad ass and gives them more of an undead feel.
Necron Warriors
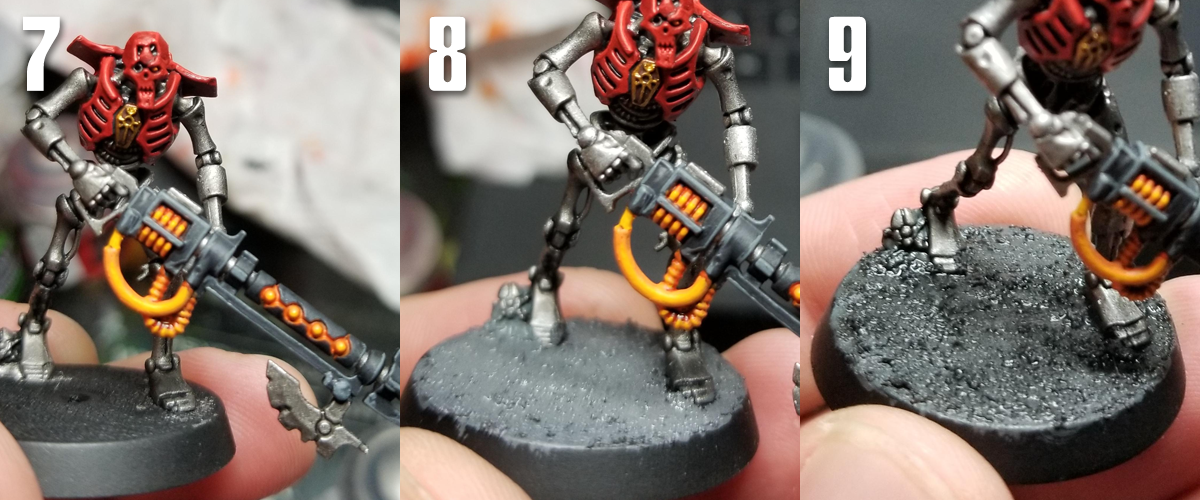
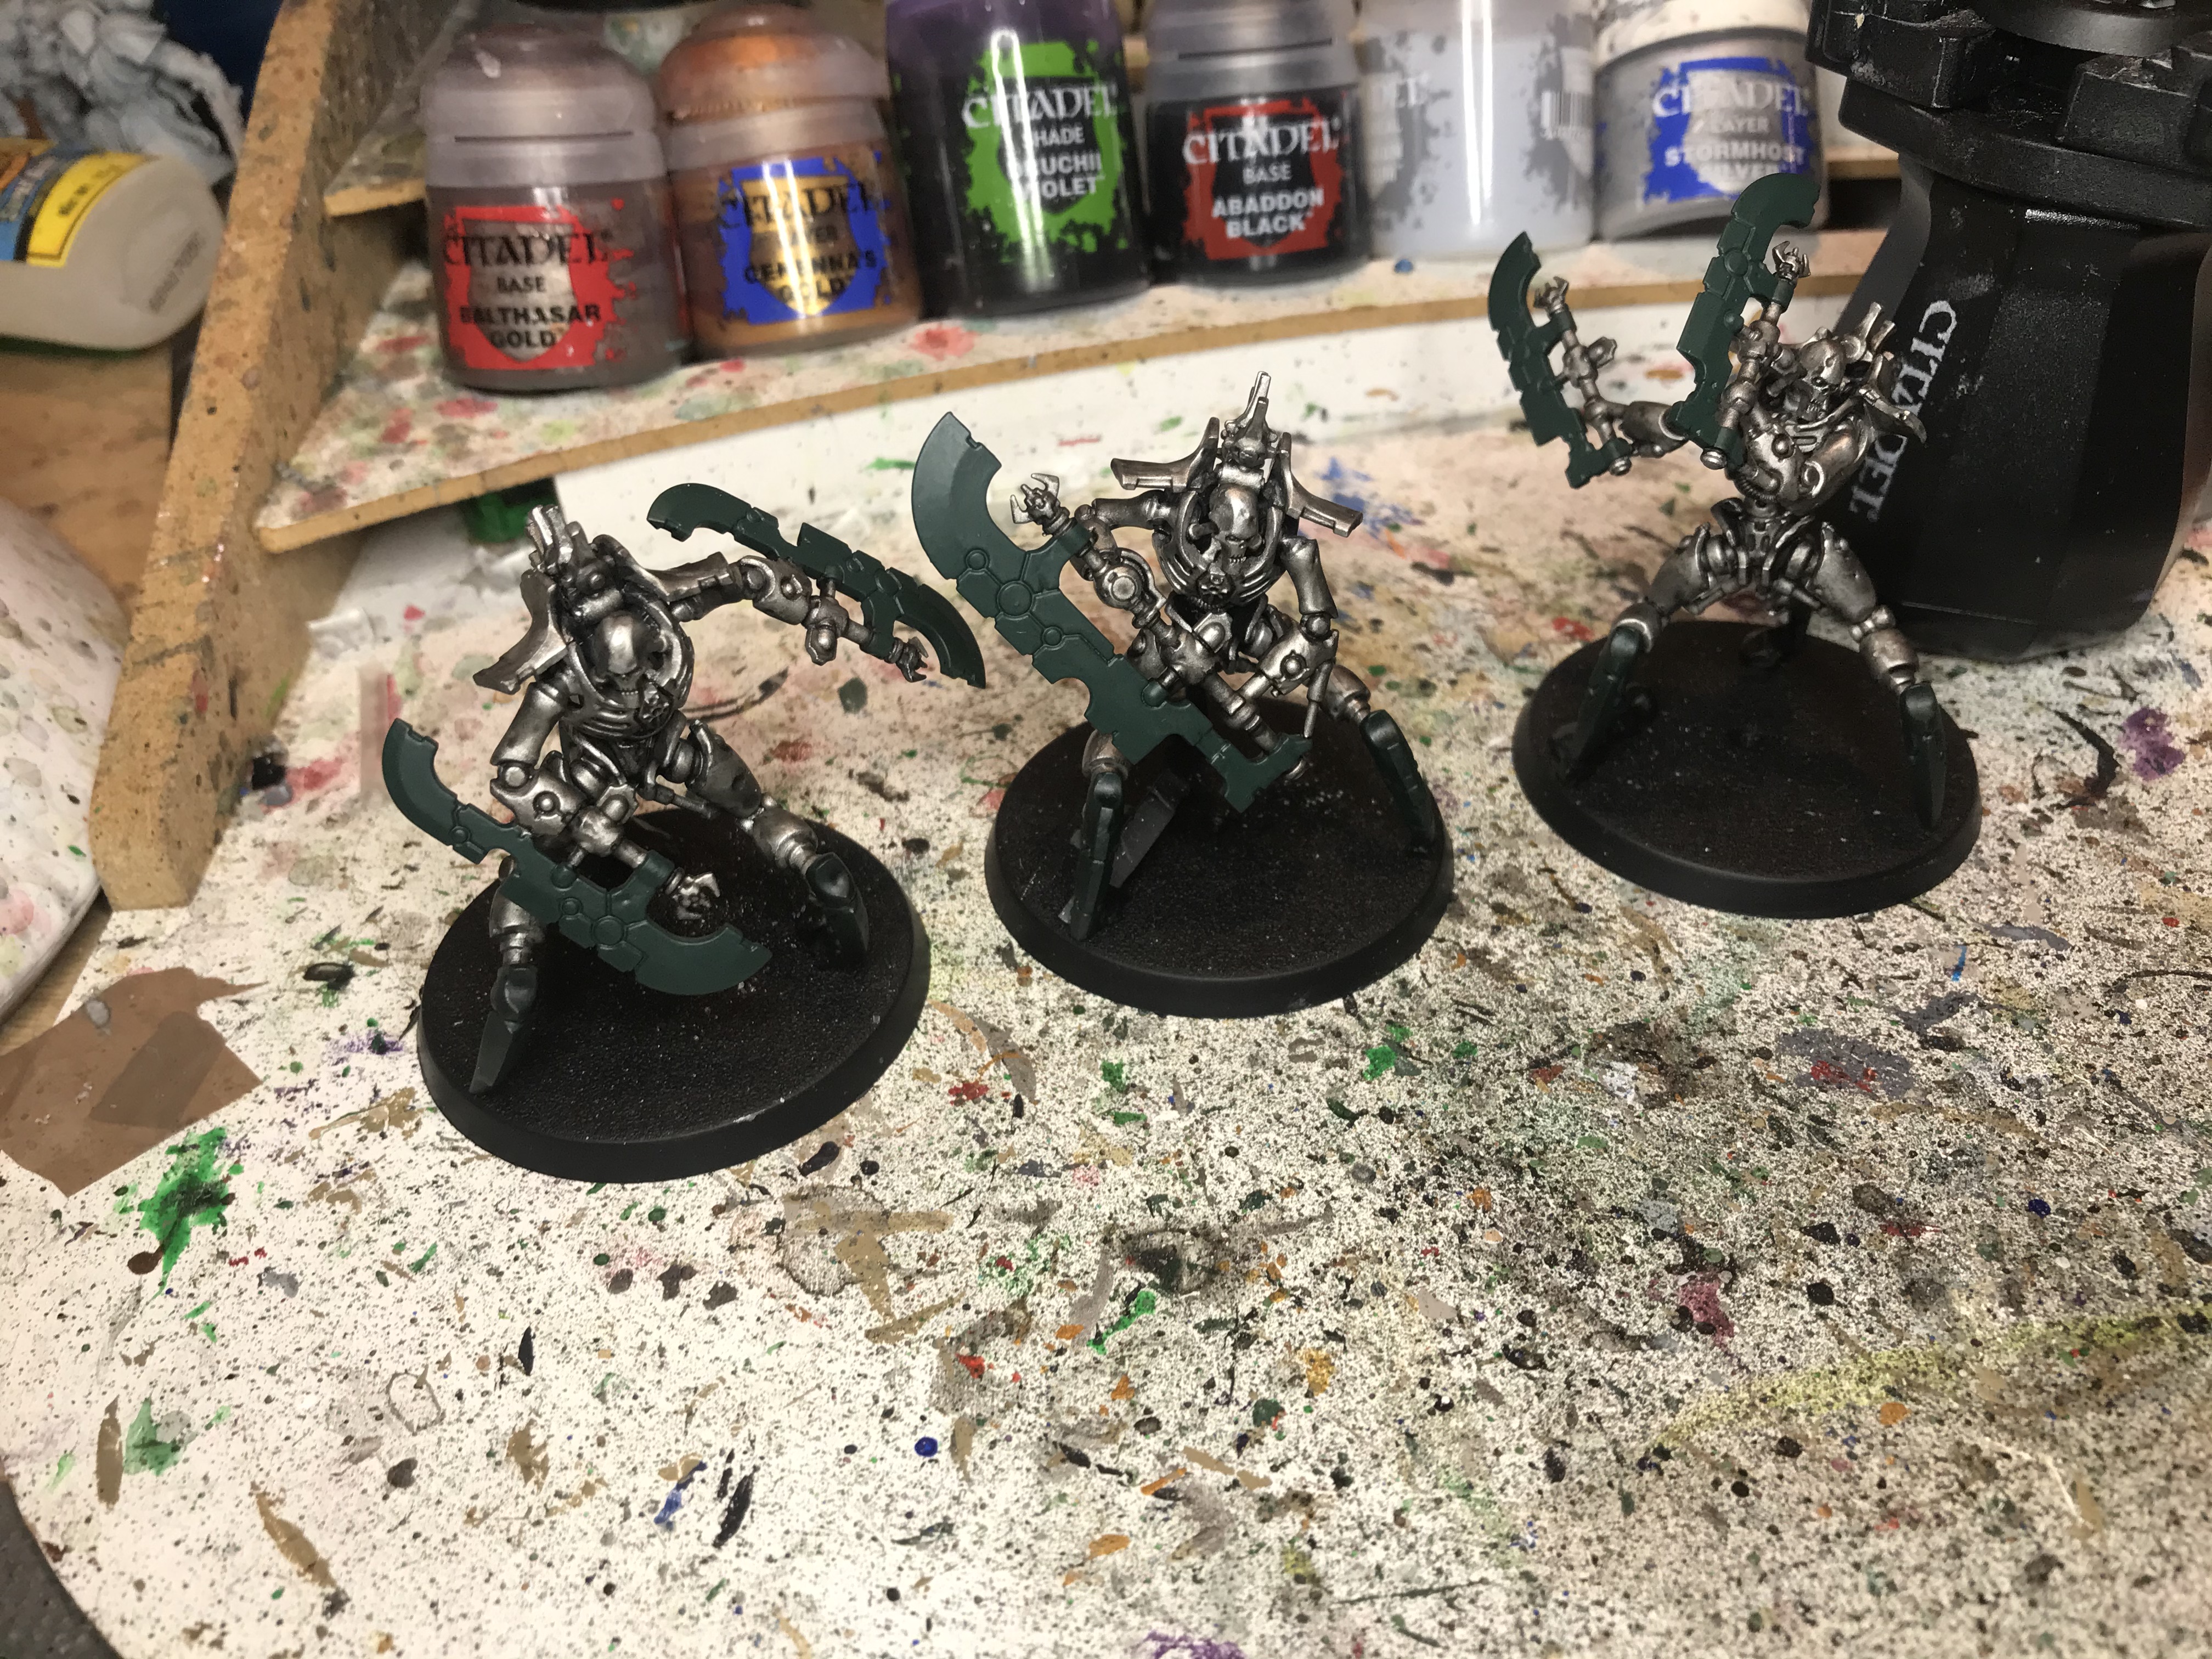
For the Necron Warriors I went with a really simple scheme that can be easily replicated across a large number of models. Metal bodies, Red chests/shoulders/helmets. It’s roughly a 9-to-12 step process.
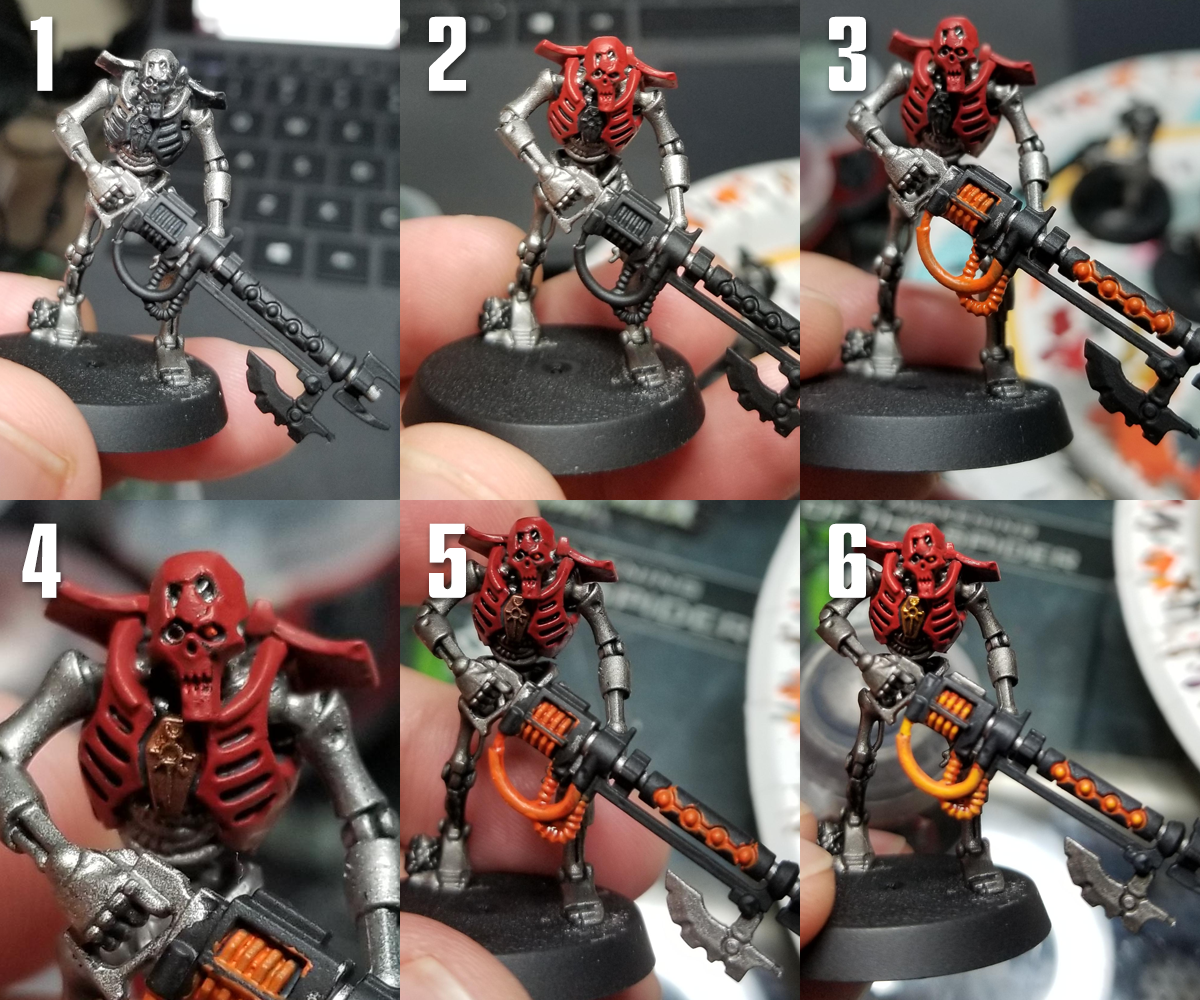
Step 0: Prime black. Always black.
Step 1: I start by doing a base coat of Leadbelcher all over the main parts of the body that won’t be red. My reds have pretty good coverage, so I can afford to be a bit sloppy here. I also want to get the spots on the head where the mask is broken.
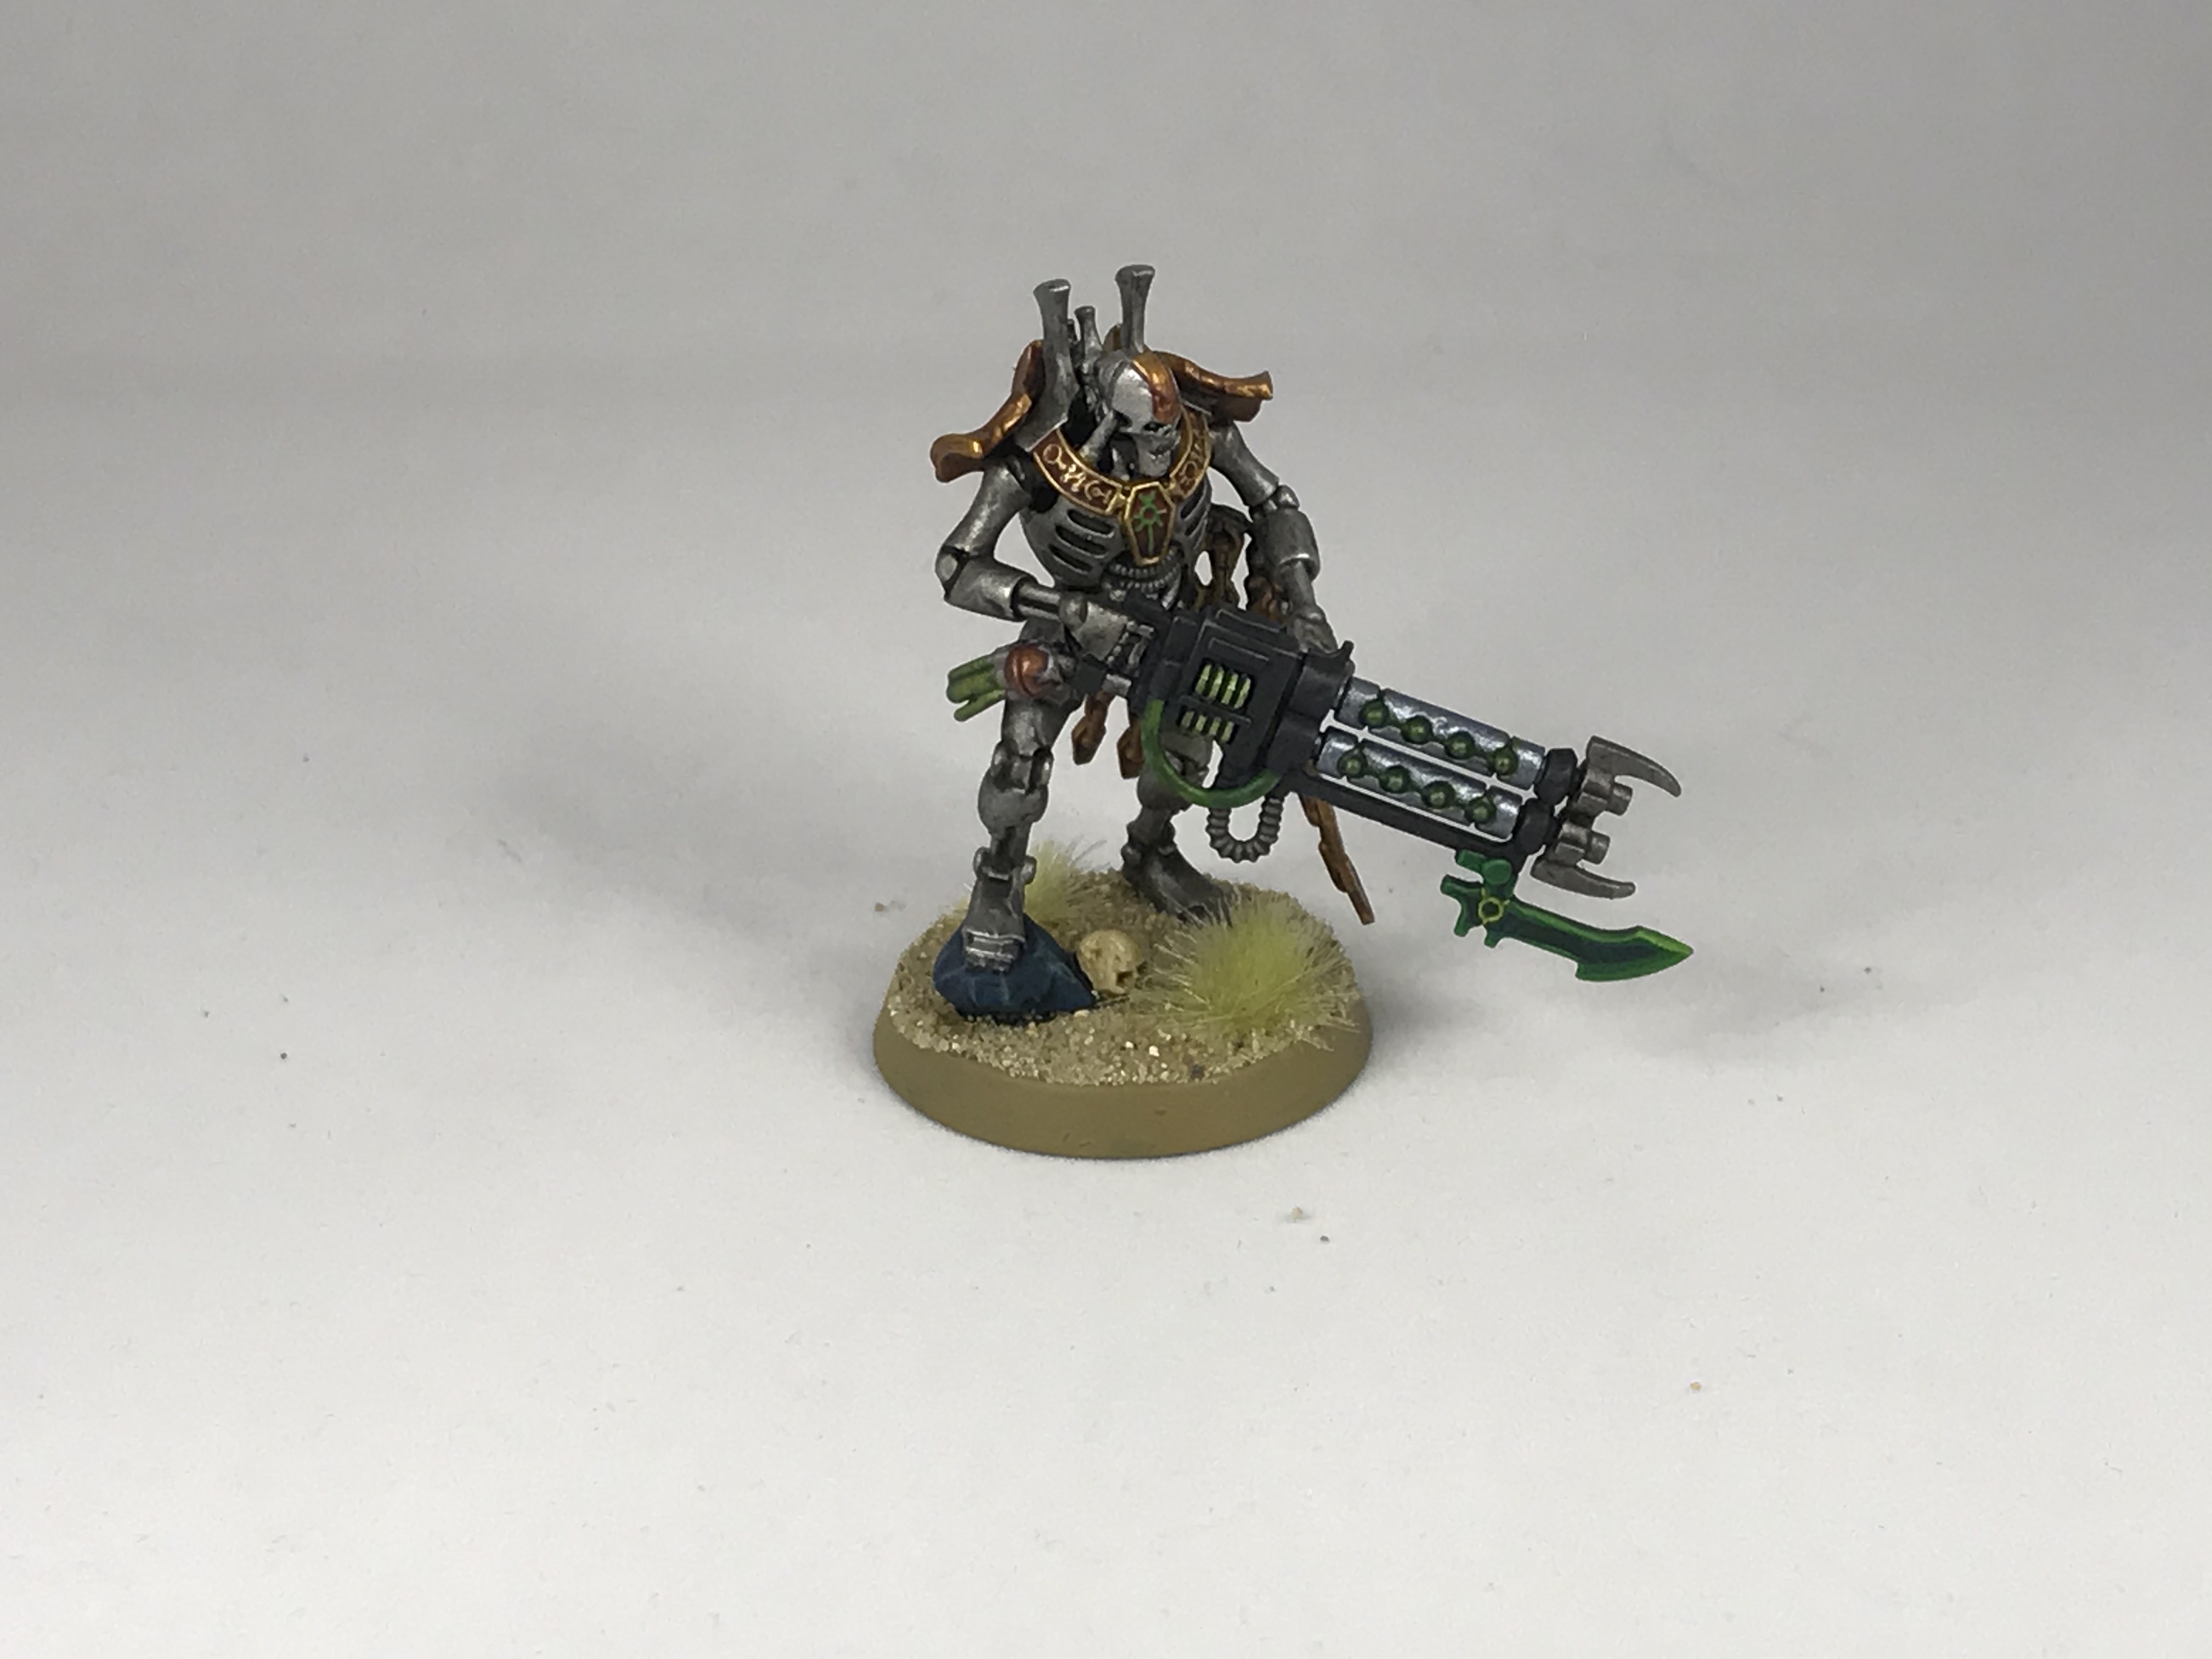
Step 2: Time for the red. This is Mephiston Red covering the chest, shoulder, and head plates. The back of the head is still kept silver.
Step 3: I’m doing orange weapons. I do a few thin coats of Trollslayer Orange to start. Dot the eye, do the glowing parts of the gun and the cables.
Step 4: The chest emblem gets painted Balthasar Gold.
Step 5: Time to wash everything. Nuln OIl on the Leadbelcher parts, Carroburg Crimson on the Red, Agrax Earthshade on the gold, Contrast Gryph-Hound Orange on the orange parts.
Step 6: Highlights. I do layers of Mephiston Red on the red armor on the raised parts of the chest, helmet, and shoulder pads. I highlight the orange with Trollslayer and Fire Dragon Bright, edge highlight the gold with Retributor Armour, and drybrush the metal armor with Necron Compound. This is also when I’ll hit the gun’s black parts with Corvus Black.
Step 7: Edge Highlighting. I edge the red with Evil Sunz Scarlet. The black gun gets edge highlighting with Mechanicus Standard Grey, and the orange gets a final touch of Fire Dragon Bright mixed with Yriel Yellow.
Step 8: The base! I slather it all in Astrogranite texture paint. I also paint the stone by the foot and the scarab with Leadbelcher.
Step 9: Wash the whole thing with Nuln Oil. Once that dries, drybrush it with Celestra Grey.
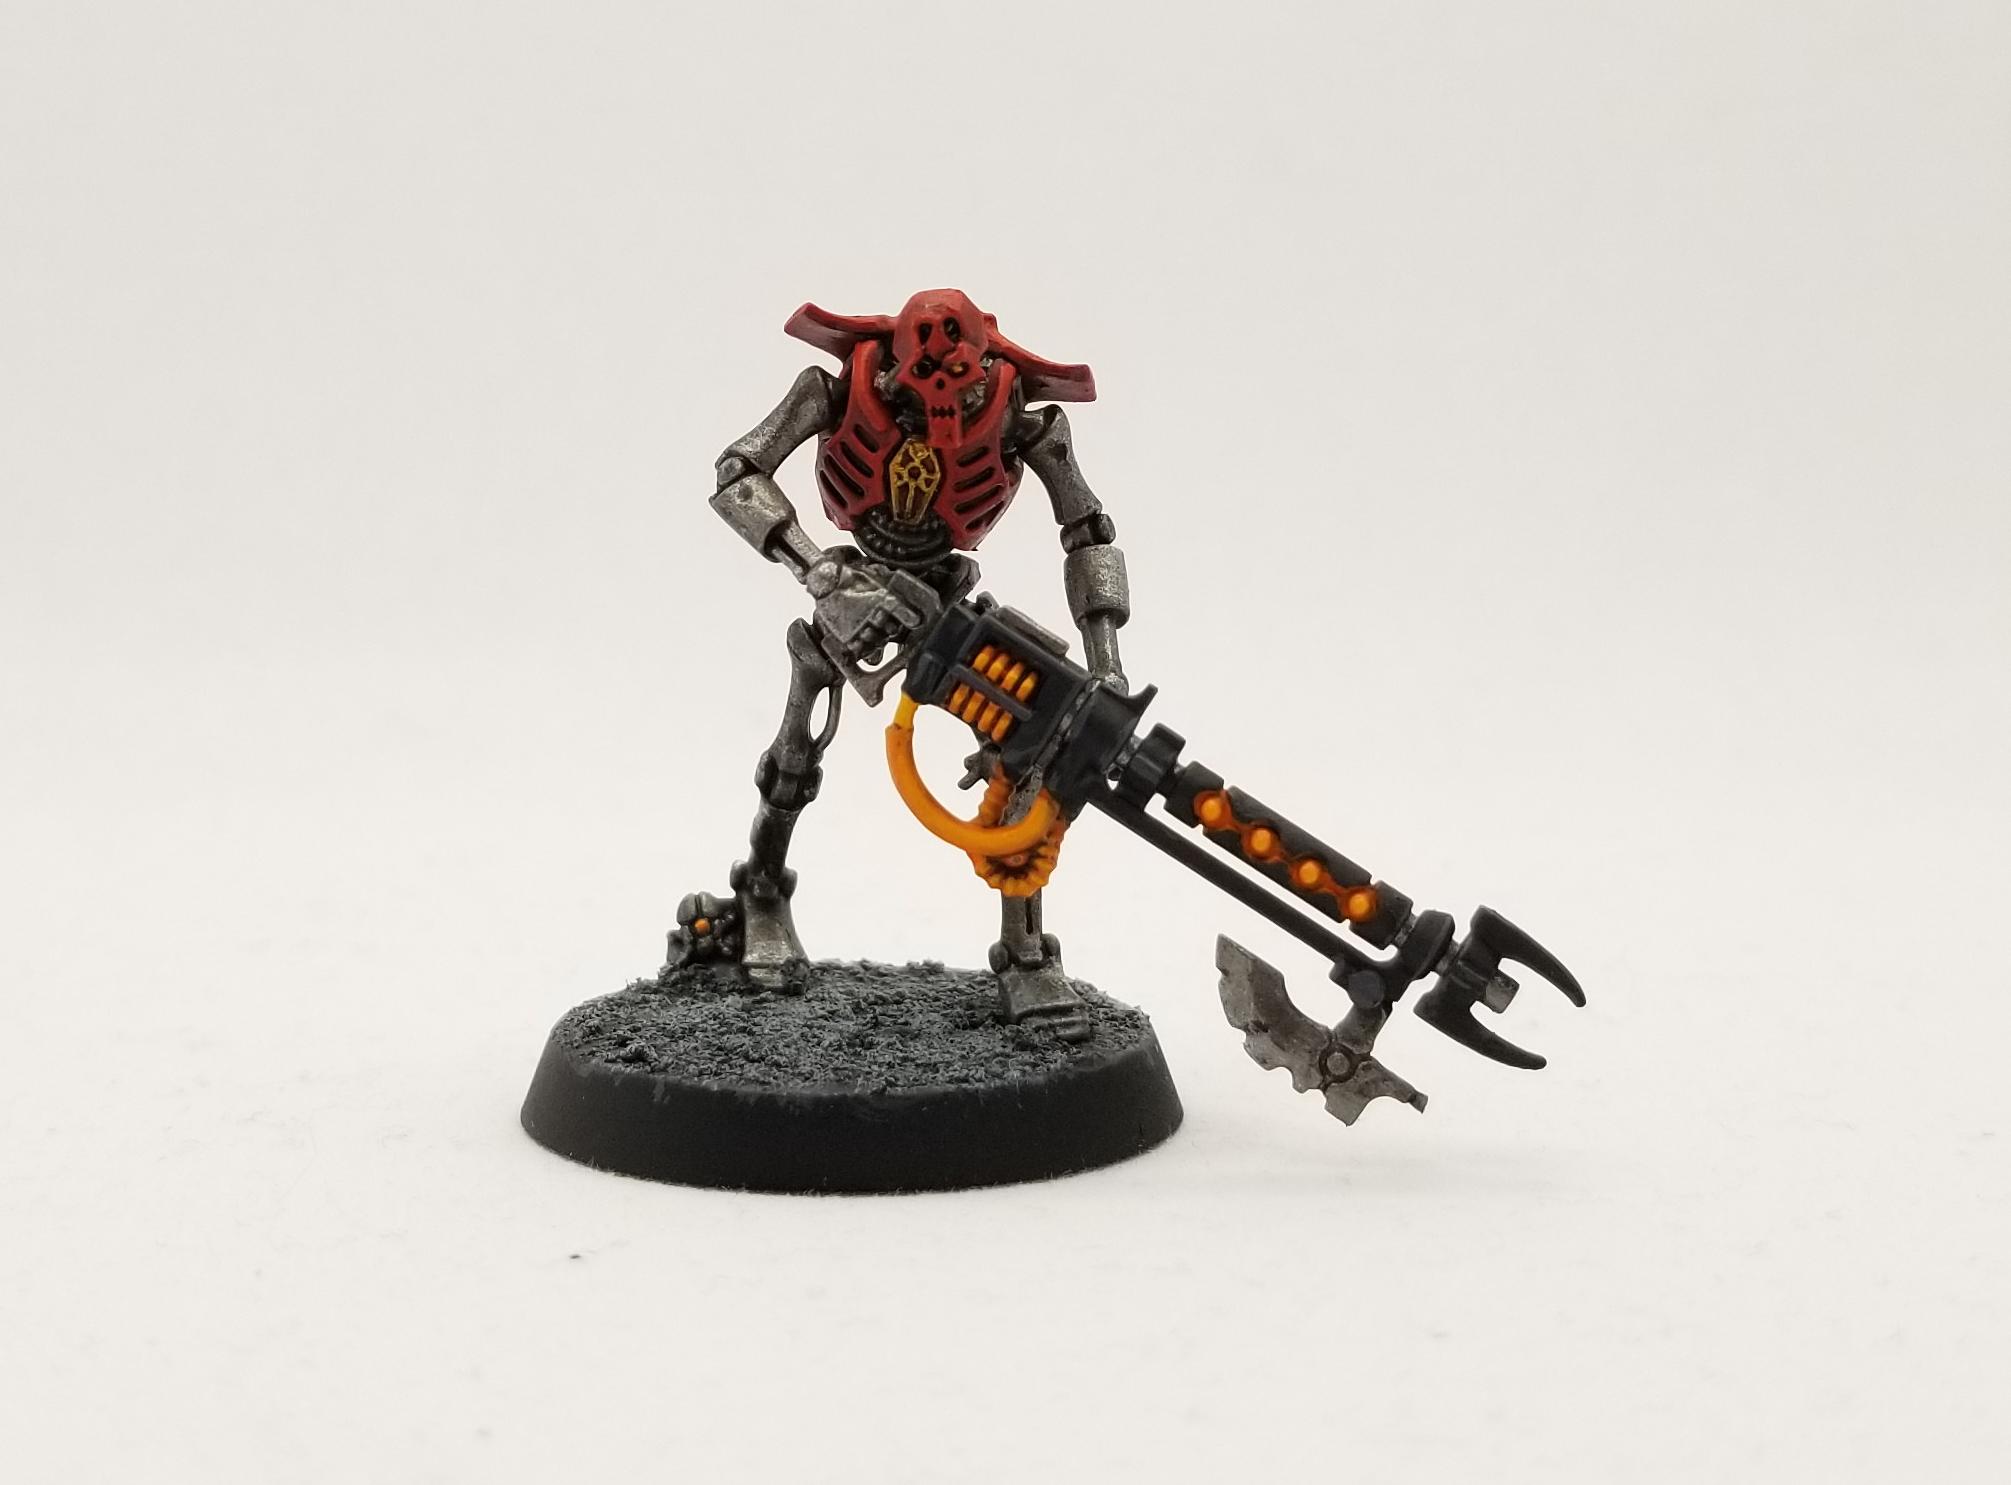
And that’s the finished Necron Warrior! This was pretty fast and easy to do, and I’m very happy with the result. Despite using bright colors, they come across appropriately menacing, which is the goal.
The Characters
My characters tend to follow the same process, with some minor variations and more complicated schemes.
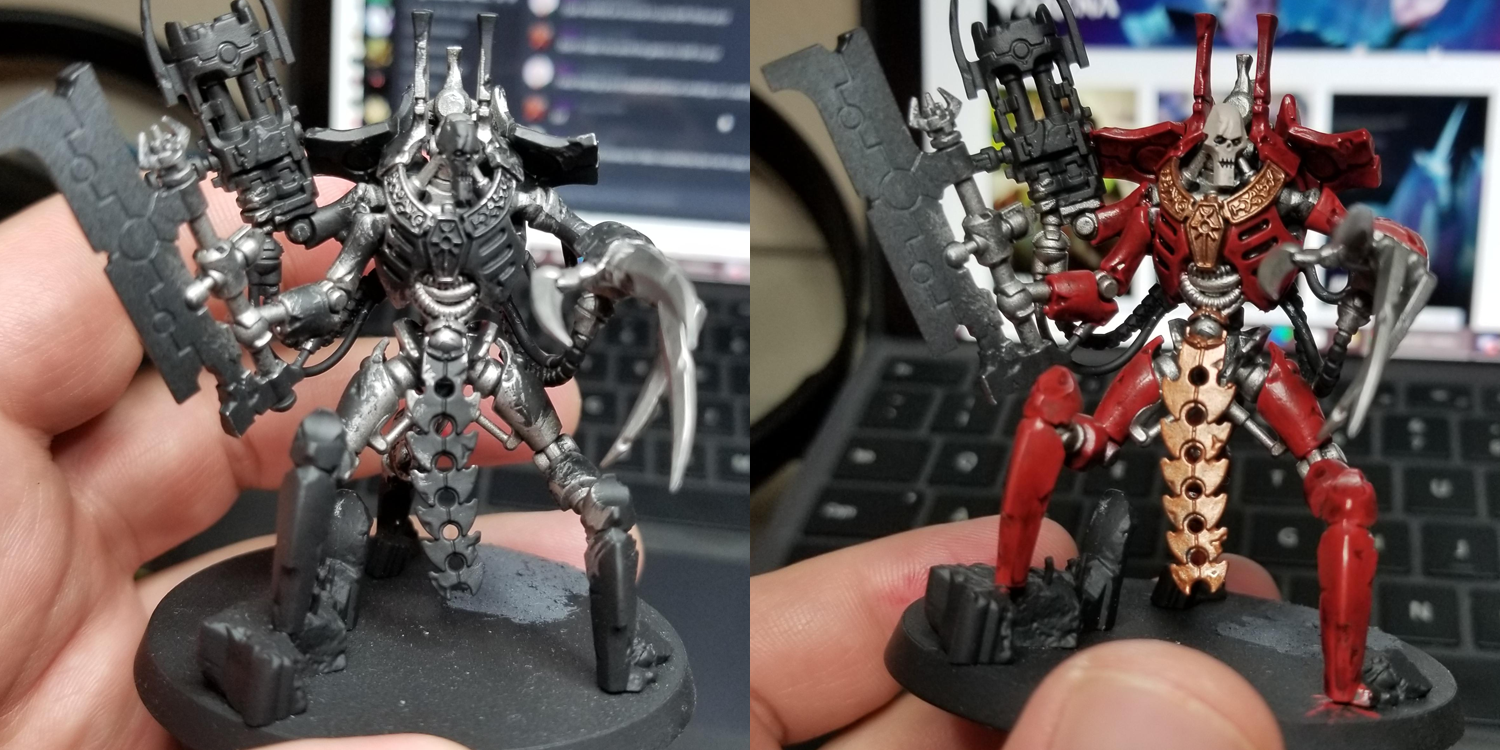 For these characters, the process is largely the same to begin – I cover the metal parts with Leadbelcher, but then they get significantly more red armor, where it will cover all of their non-joint areas. For the top leaders I’m also doing bone-colored skulls. When I do these, I start by painting them with Rakarth Flesh, then I wash them with Agrax Earthshade. I come back and highlight them with Rakarth Flesh and edge highlight them with Reaper Polished Bone. I’ll also mix a little Agrax with Rakarth Flesh to do some wet blinds on the sides and tops of the skulls to get a smoother transition from brown to bone.
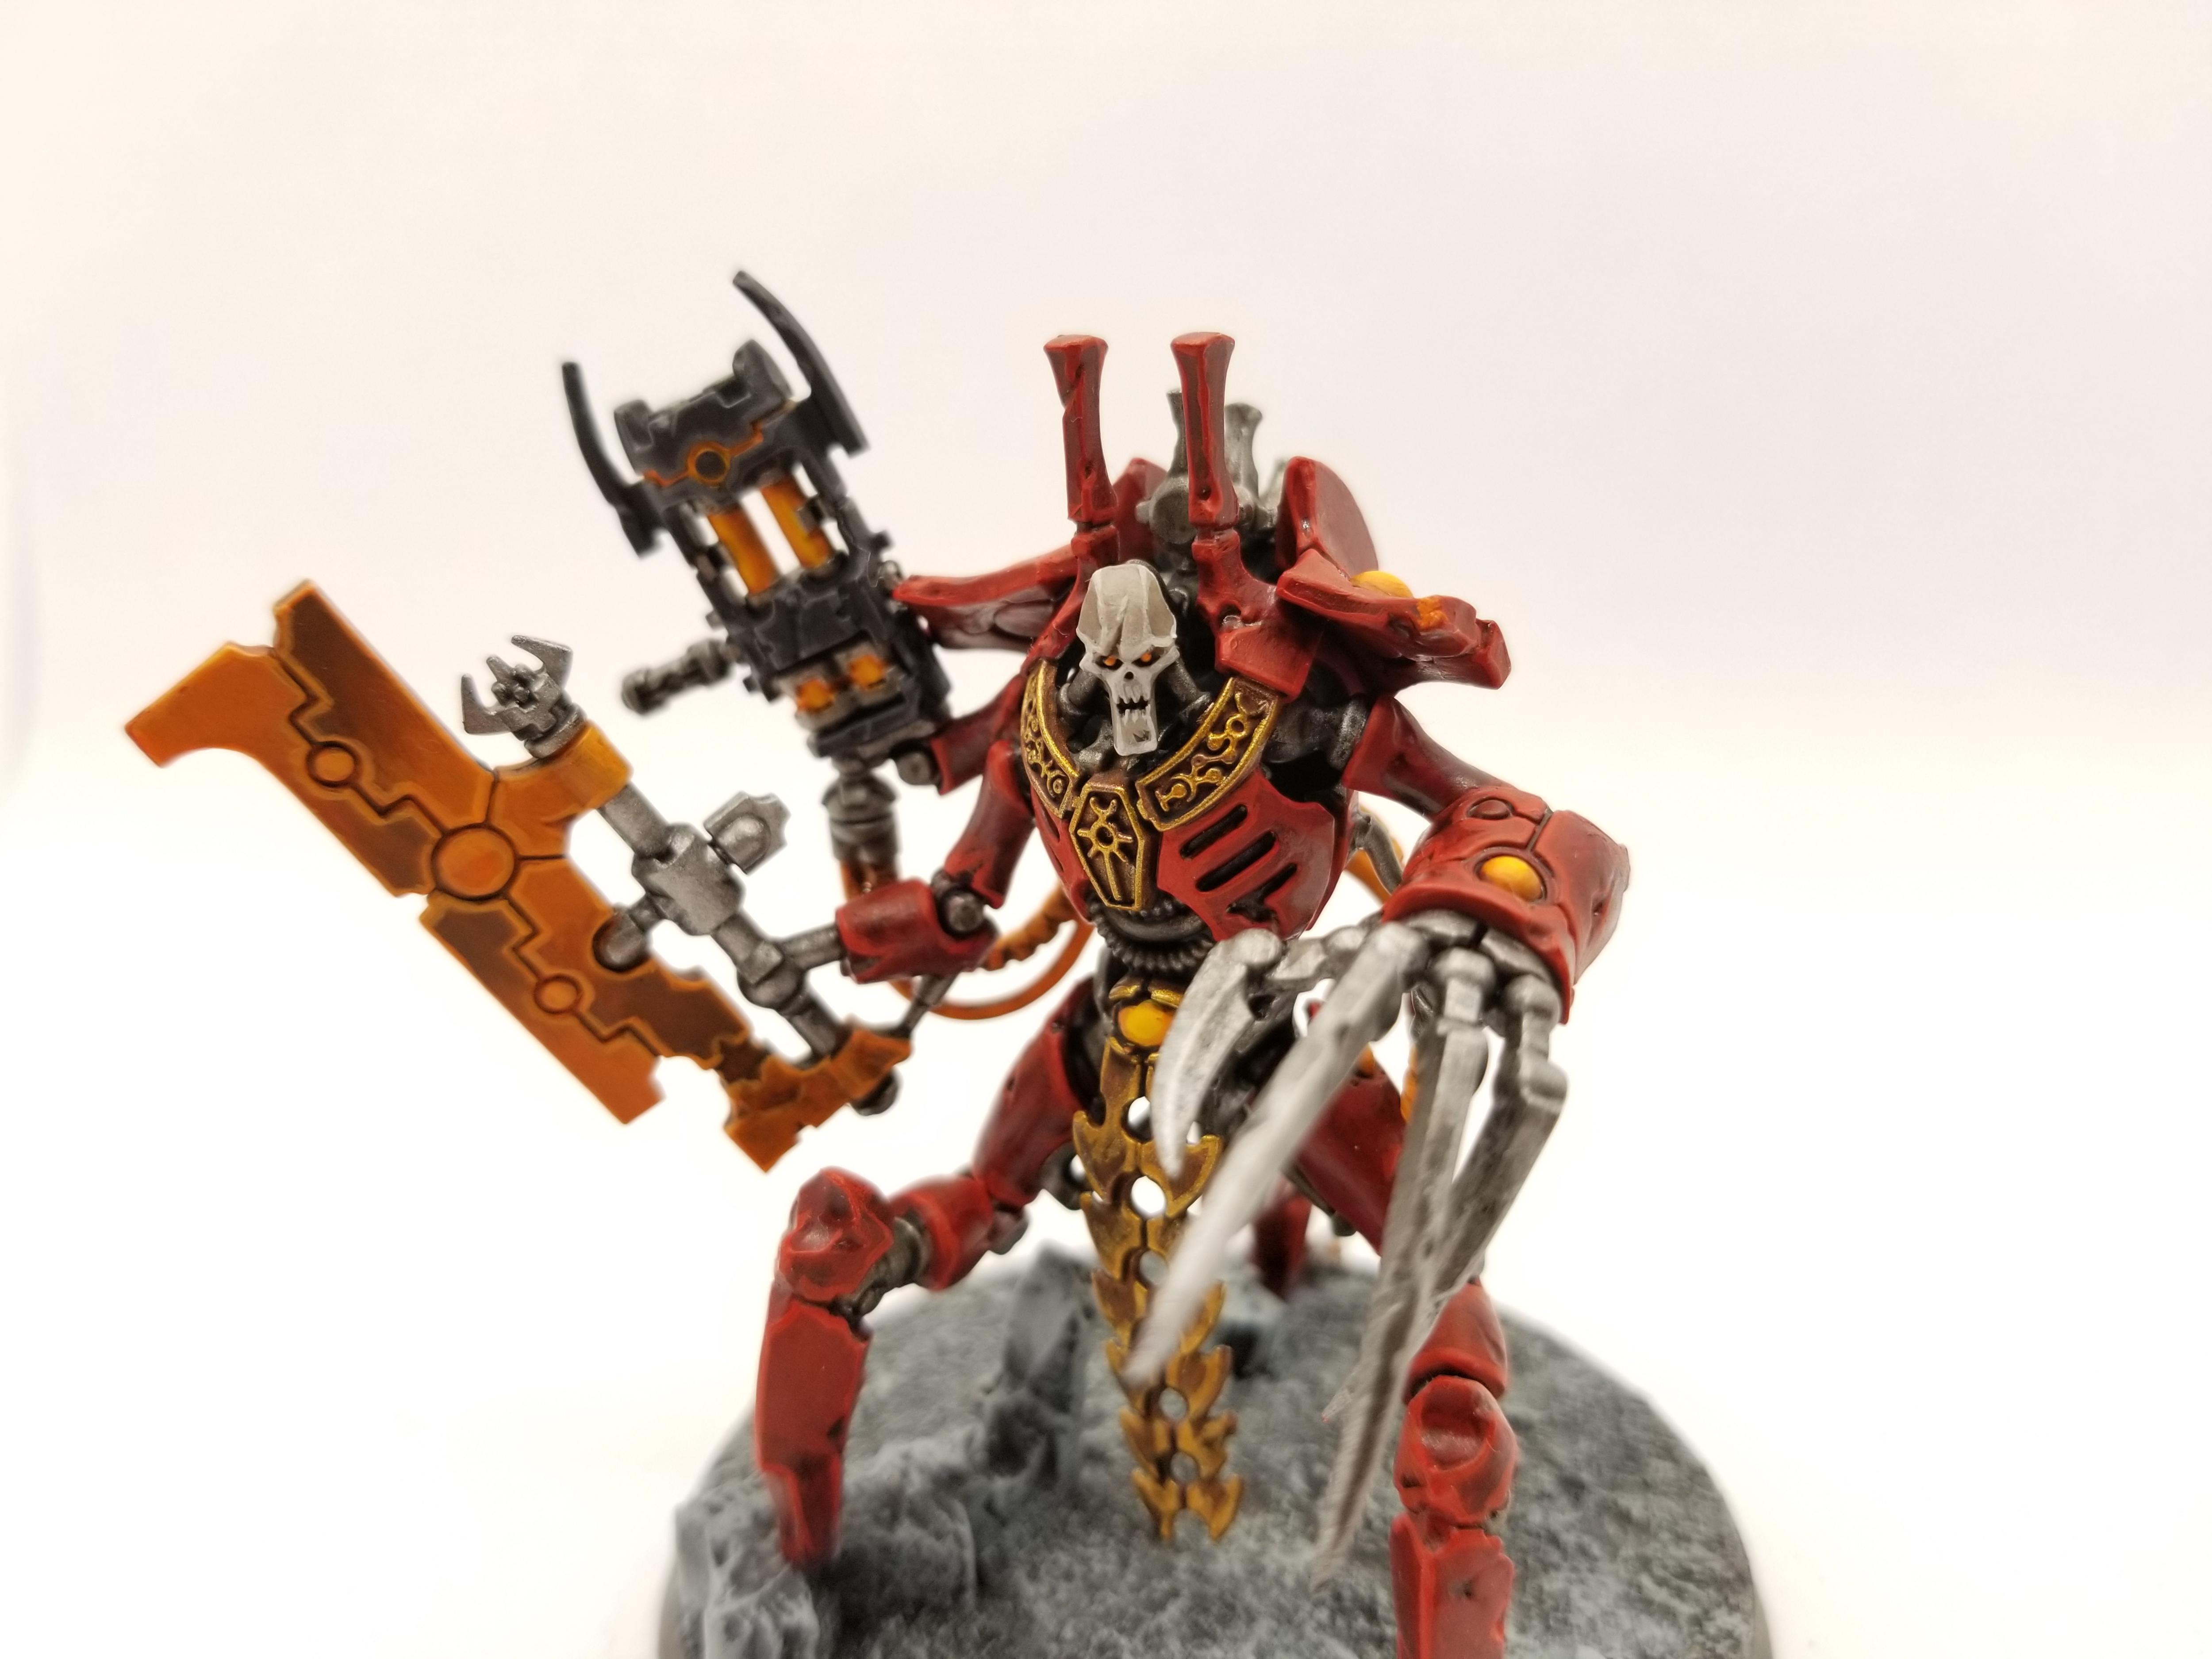
The other major difference between my characters and my rank-and-file jerks is that my character Necrons have orange hyperphase weapons. These took a bit of trial-and-error to figure out before I got a process for doing them that wasn’t particularly hateful.
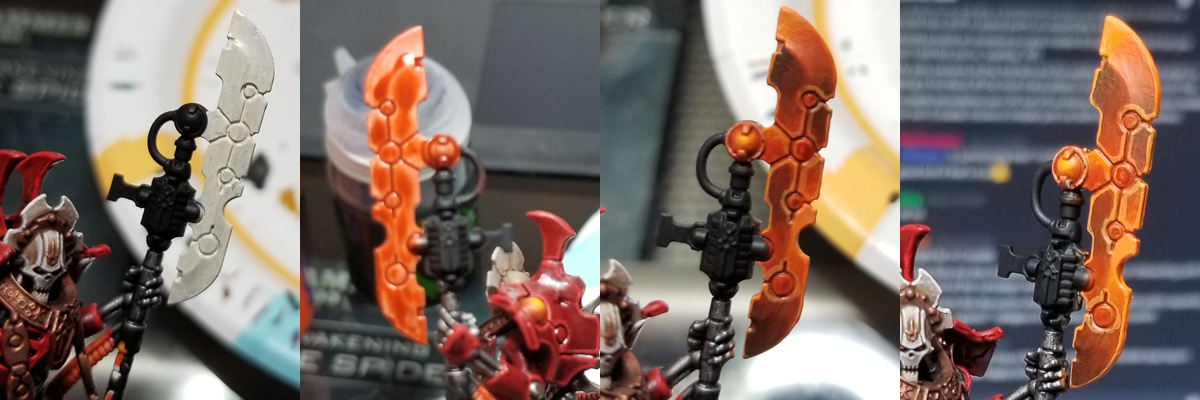 So I started by painting the blade with Wraithbone, then coating that in Contrast Gryph-Hound Orange. I didn’t love how that looked though so I ended up doing a few solid coats of Trollslayer Orange over that, and on later blades I just started with Trollslayer, which gave me a better effect. Next I shaded parts of the blade with Nuln Oil to create some obvious darker parts of the blade, doing the old standard “opposite lighting patterns” that frequently gets used on power weapons. Doing this in several layers and blending with Trollslayer gives you a brownish blade, so after that I started using thin coats of Contrast Gryph-Hound Orange, mixing it with Trollslayer, to coat the gradient parts and add saturation, giving a deeper orange hue. I shaded up a bit toward Fire Dragon Bright and used Fire Dragon to edge highlight the blade.
I’ve done this a few different ways now and I think starting with Wraithbone is probably the right call, and I’m getting to where it doesn’t take hours to do, which helps a lot.


Overall I’m very happy with the Necron lads I’ve finished up to this point, and I’m eager to paint the rest of the box!
One_Wing’s Method
While it doesn’t feature on the site nearly as frequently as my Eldar, I have a moderately sized Necron army already and am eagerly looking forward to them maybe being… good actually?
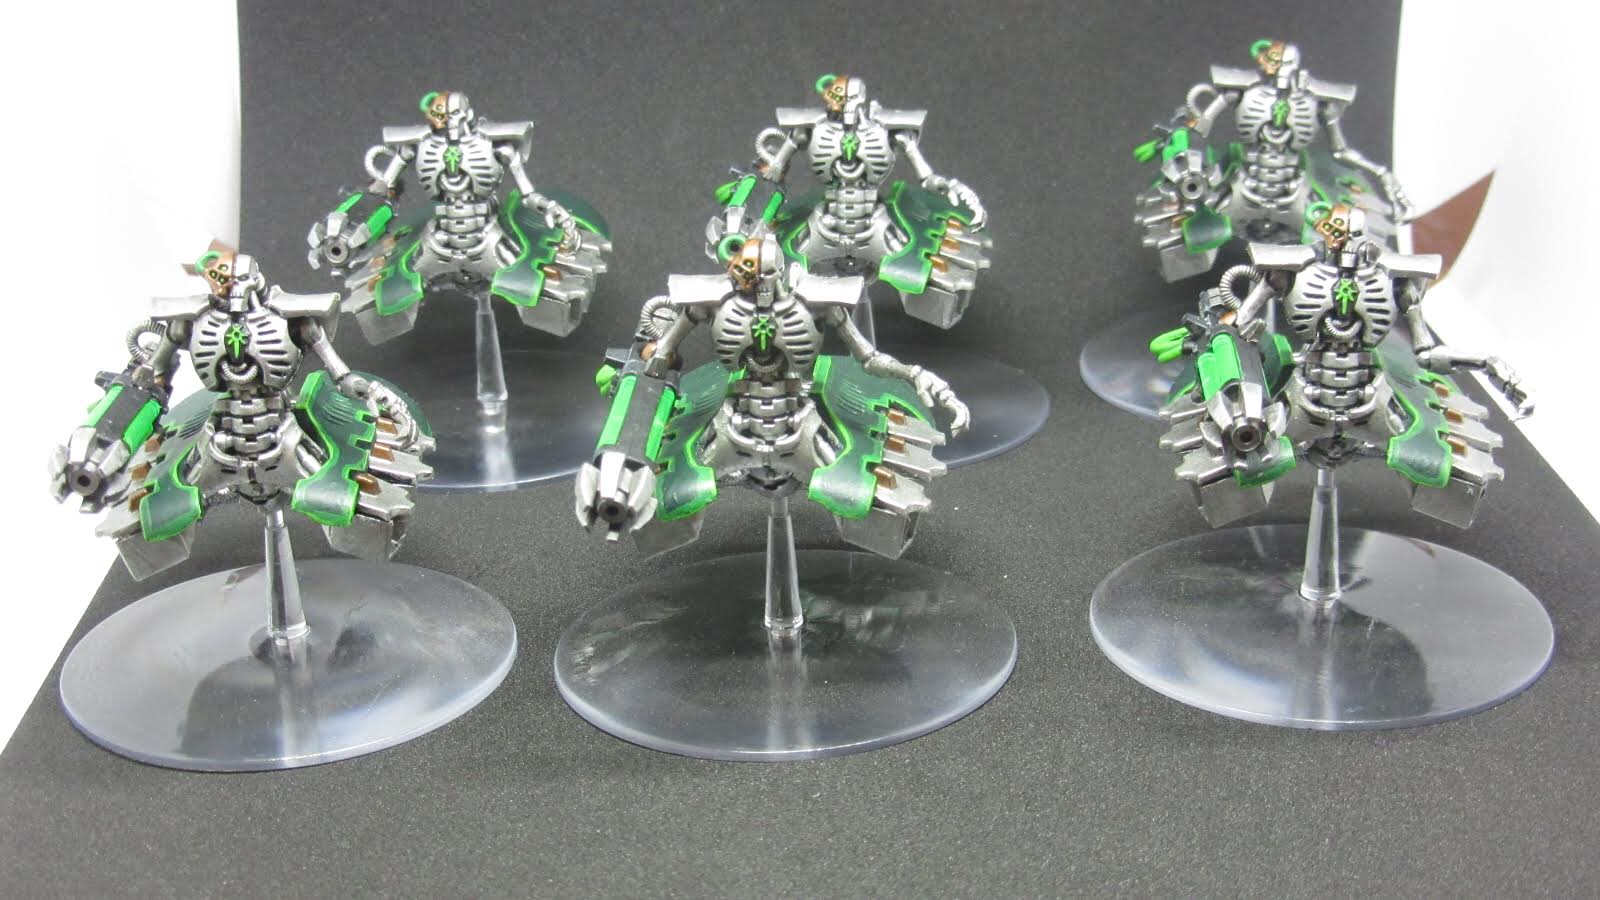
I started the army up around the time of the 8th Edition codex release – it was just getting to the point where I was bored of using my Eldar at club nights and starting to do enough events that I thought having a second army to use would be a good idea. I also, bluntly, thought they would be pretty easy to paint, and selected the Sautekh scheme for my army because it was super simple. That did, basically, turn out to be true, but ironically the process of working on this army (plus some other projects I was doing in parallel) was enough of a level-up moment for my painting ability that by the end I was looking for ways to add a bit of flair rather than keep things easy!
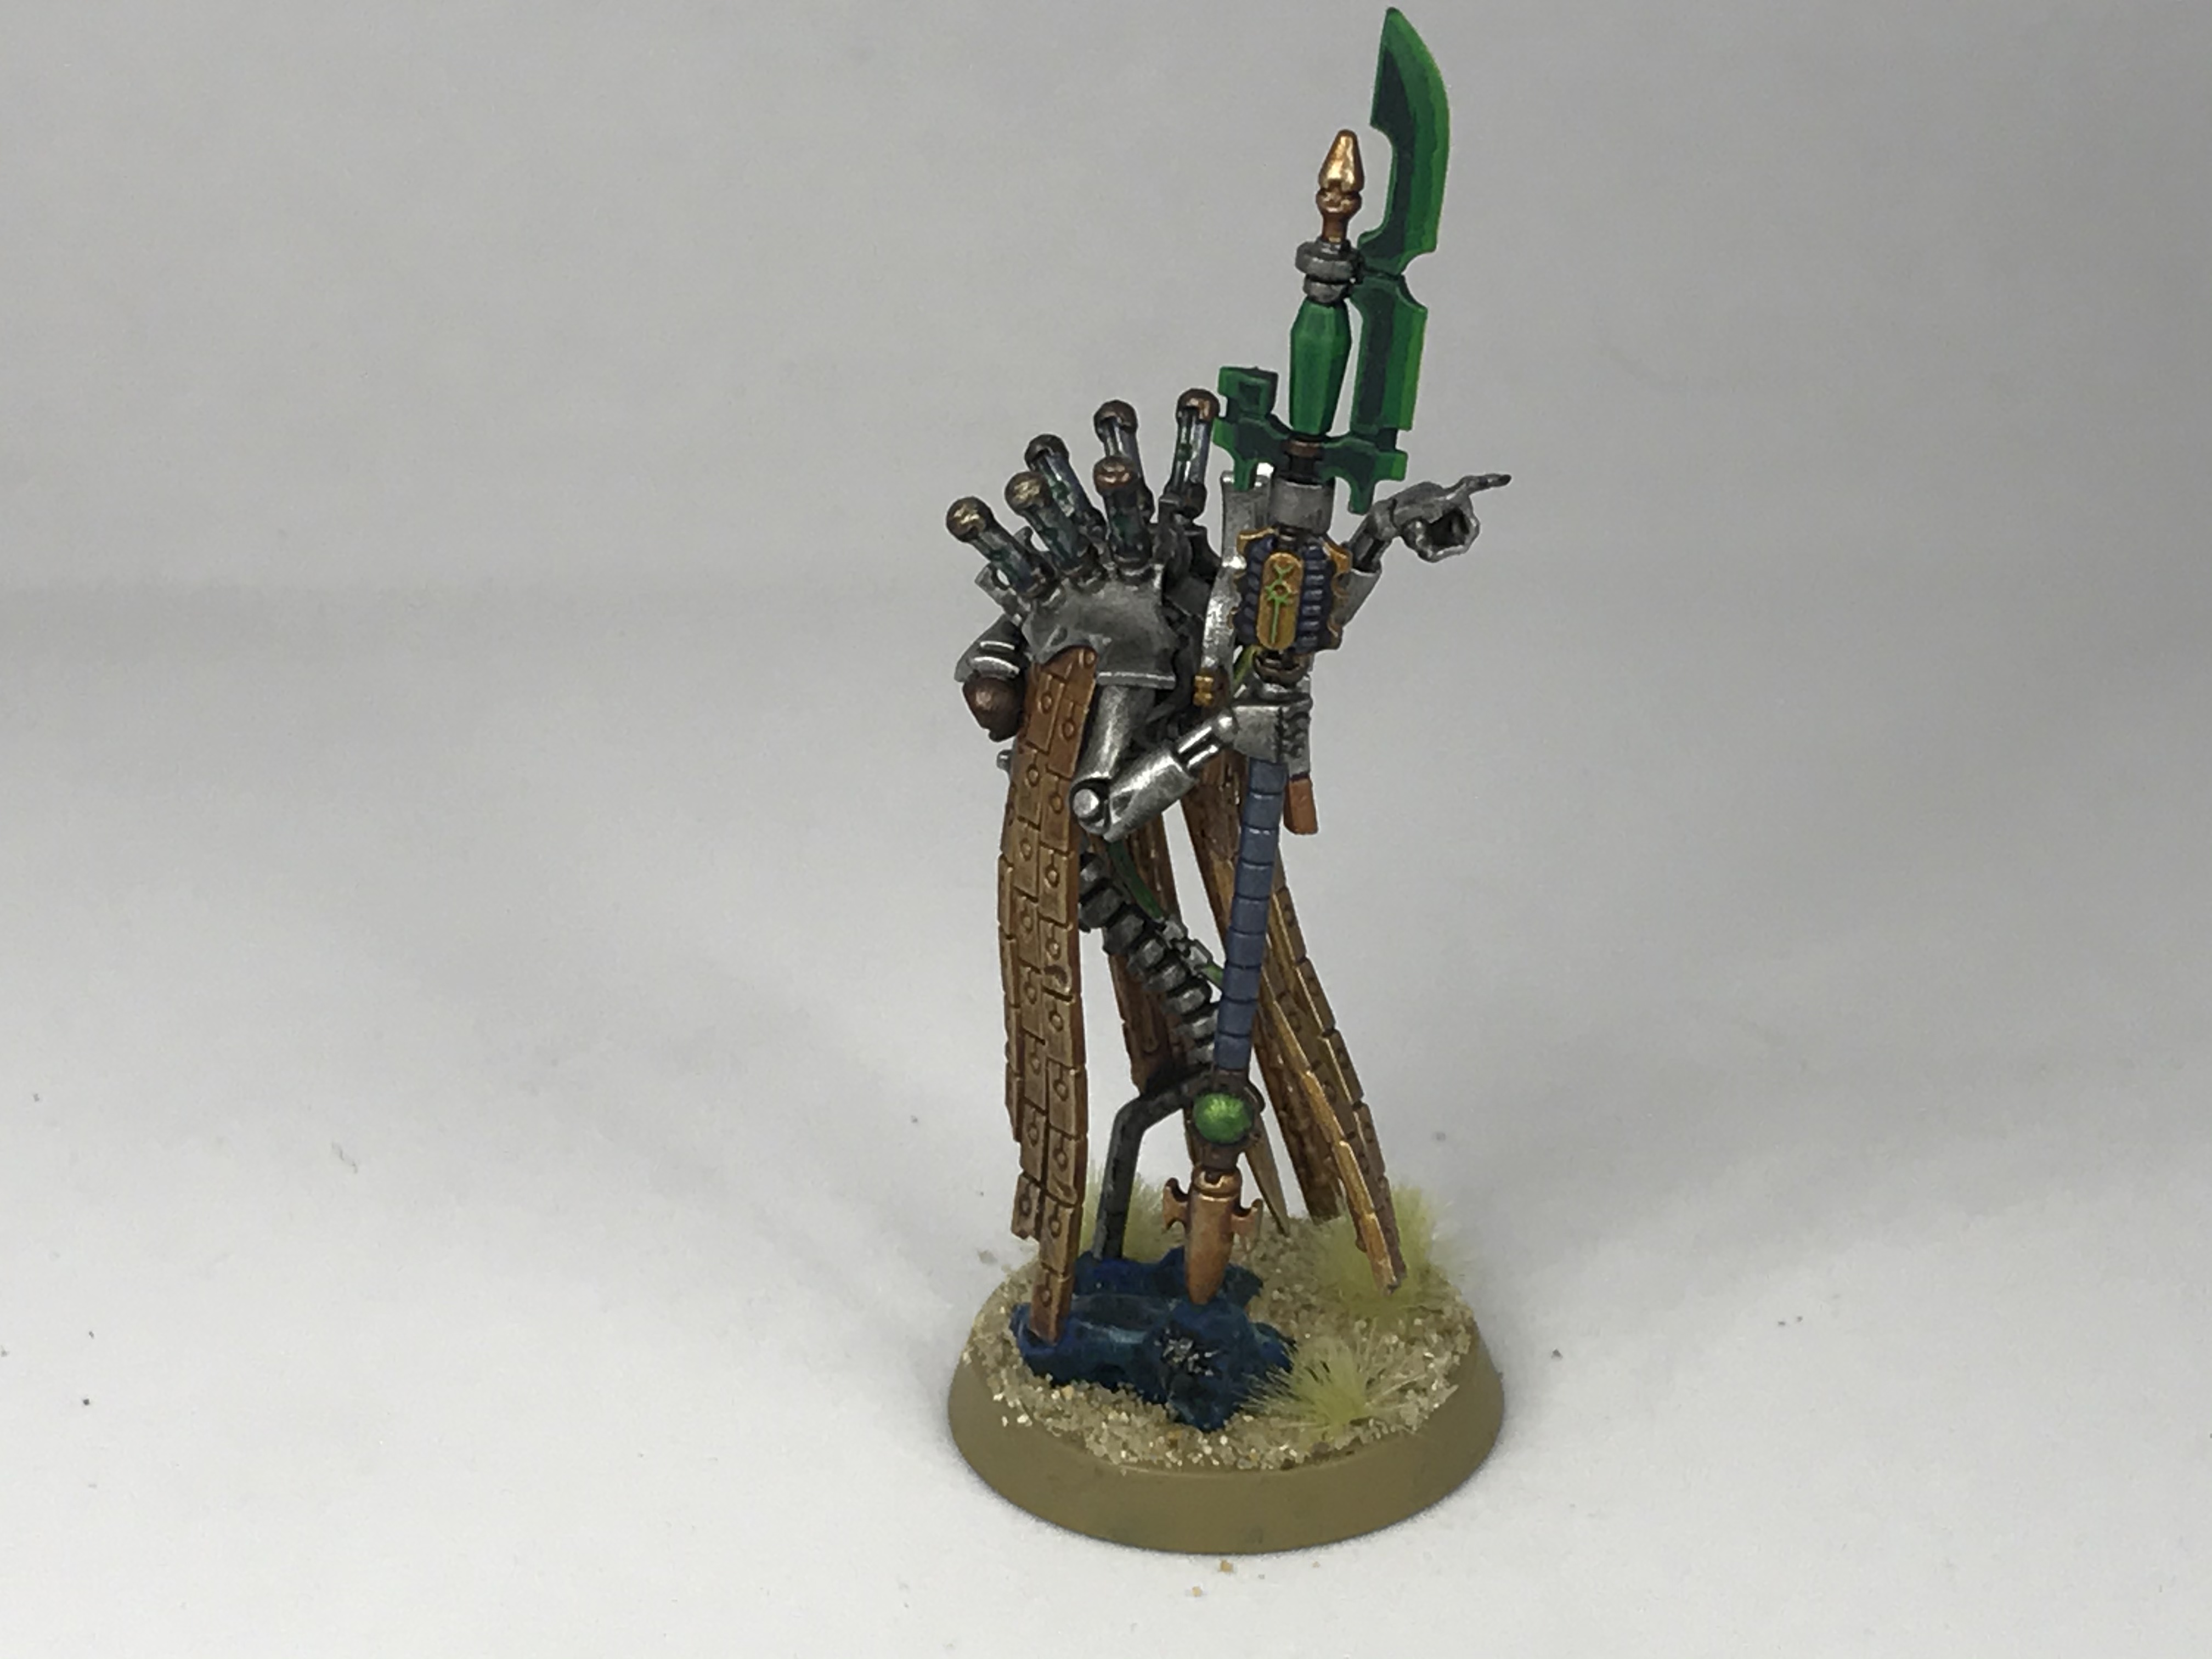
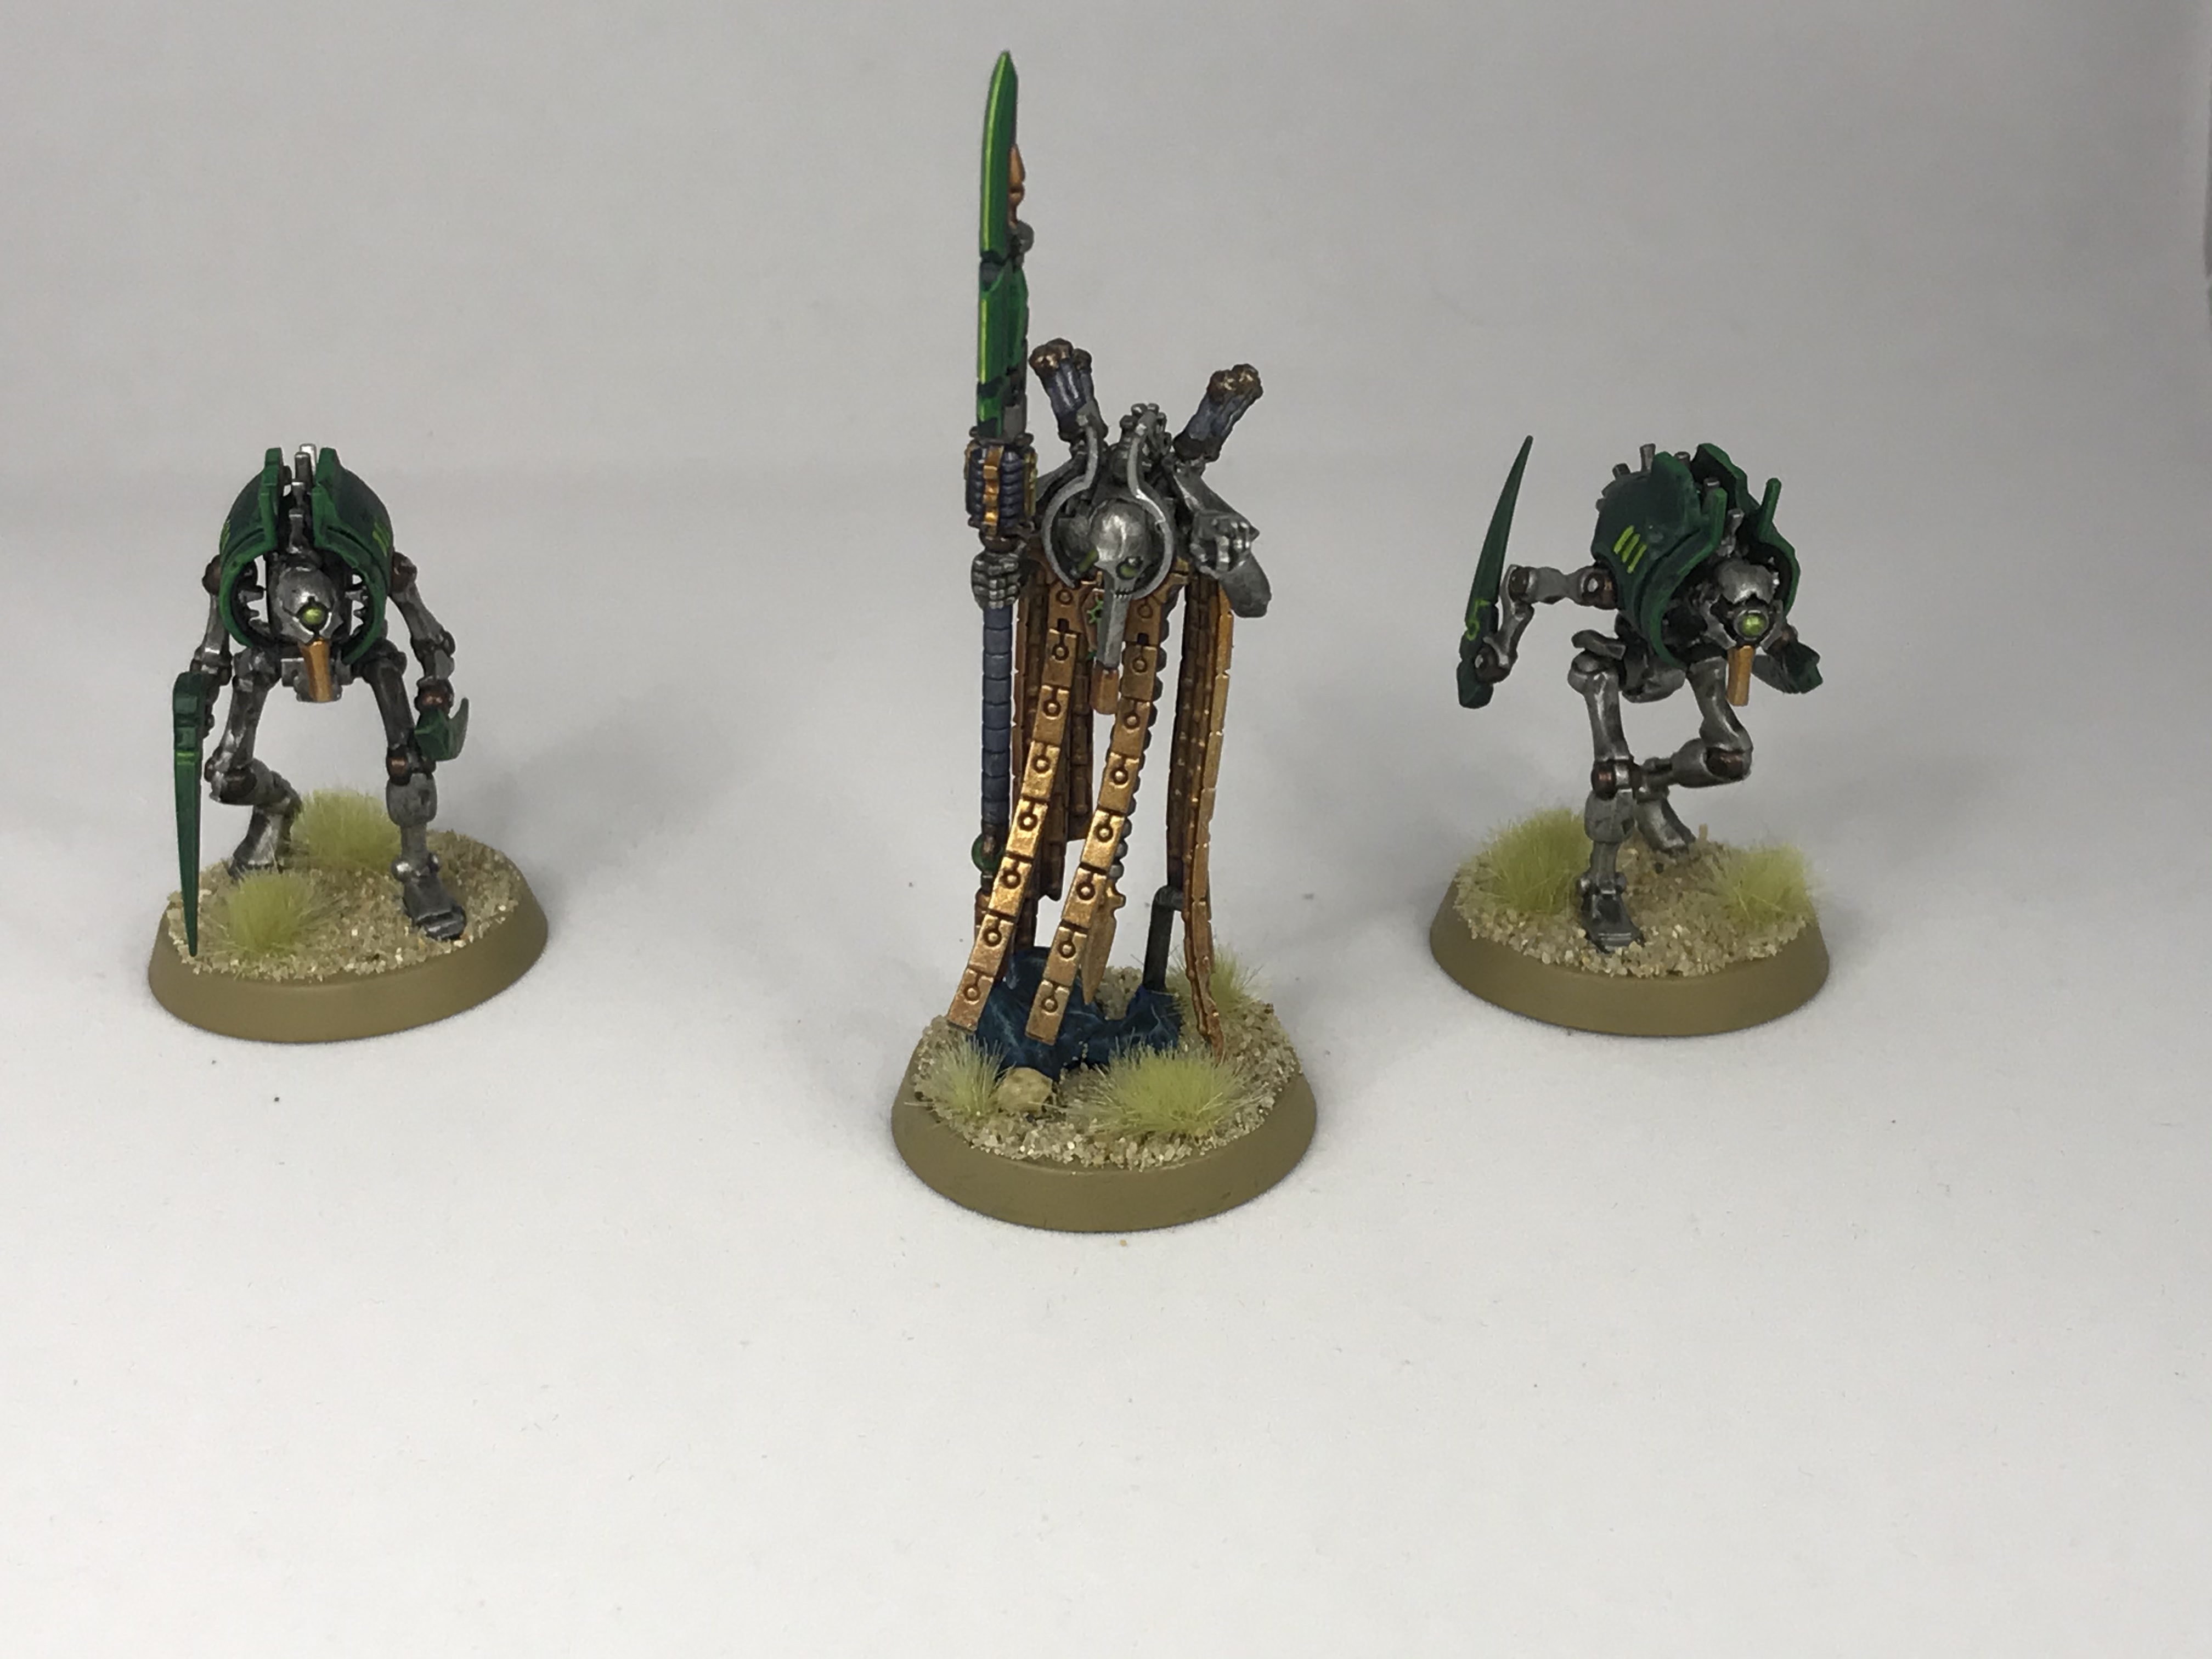
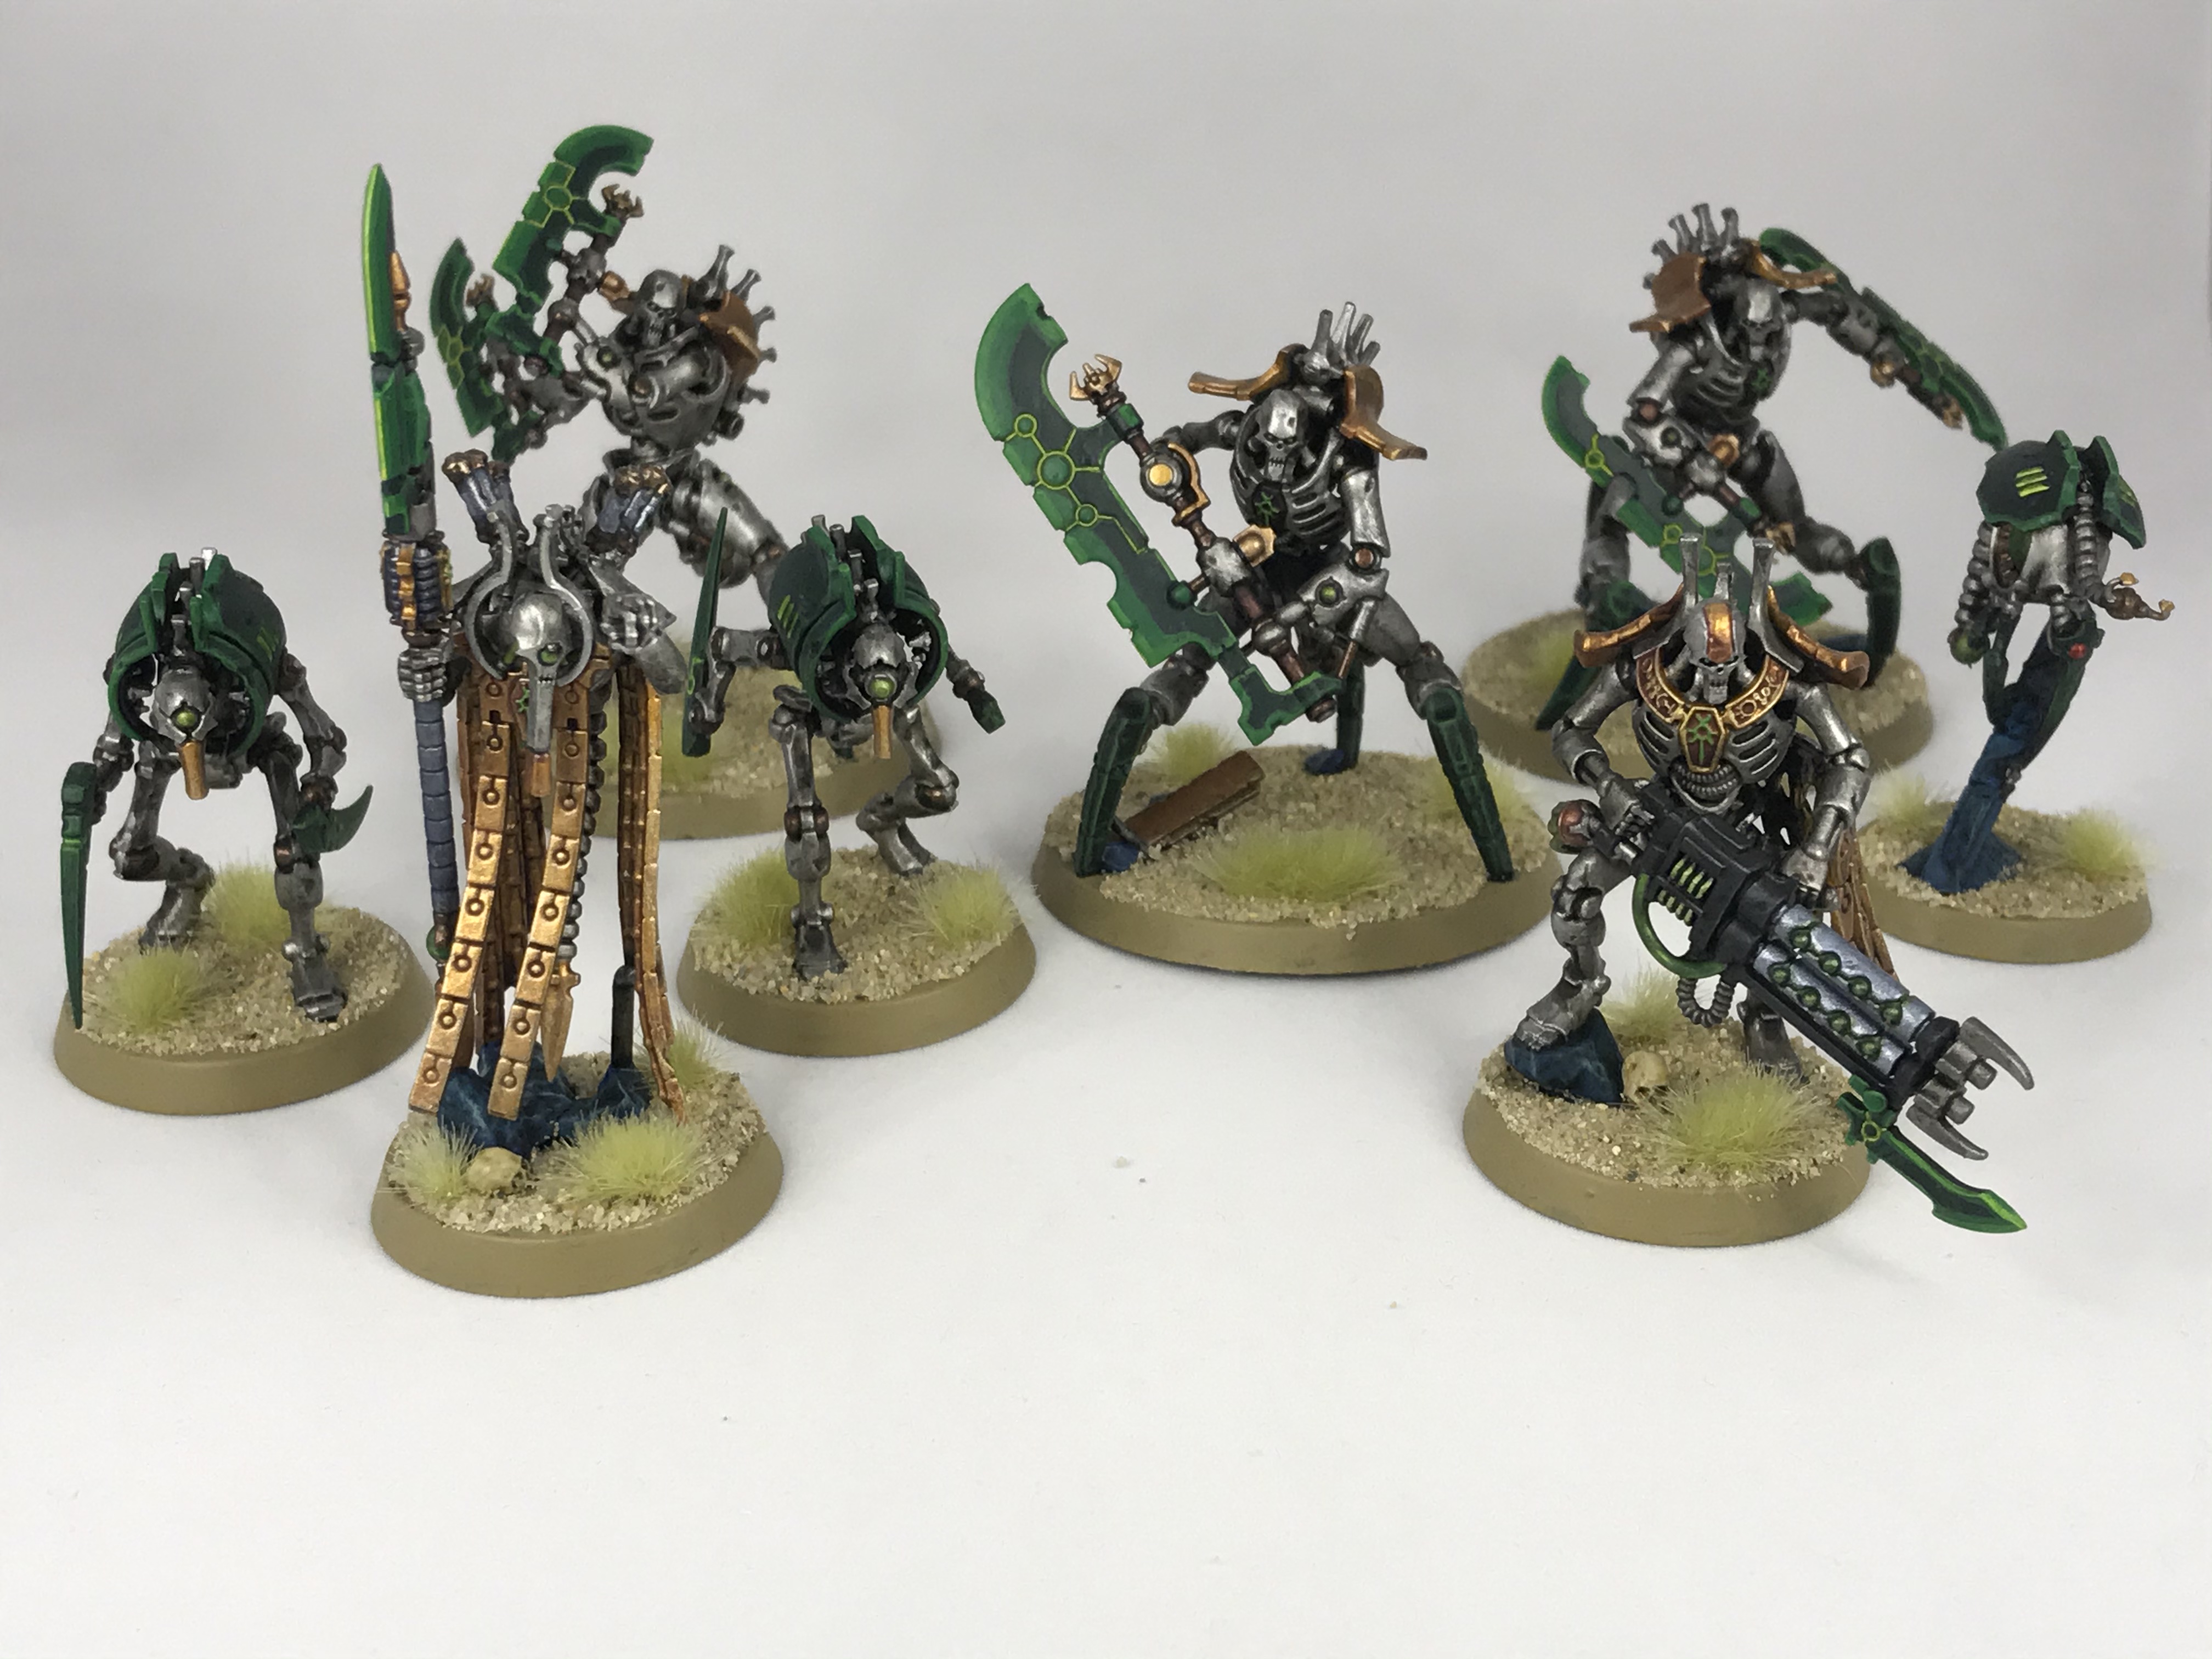
The baseline method I started with was inspired by two GW painting videos – one for how to do Sautekh warriors, and one for how to achieve the “glowing green” Necron vehicle effect. The former I follow pretty closely, the latter I adapted a bit to simplify, leaning a bit more into the green. My Destroyers are a good example of what I’ve ended up with in the past:
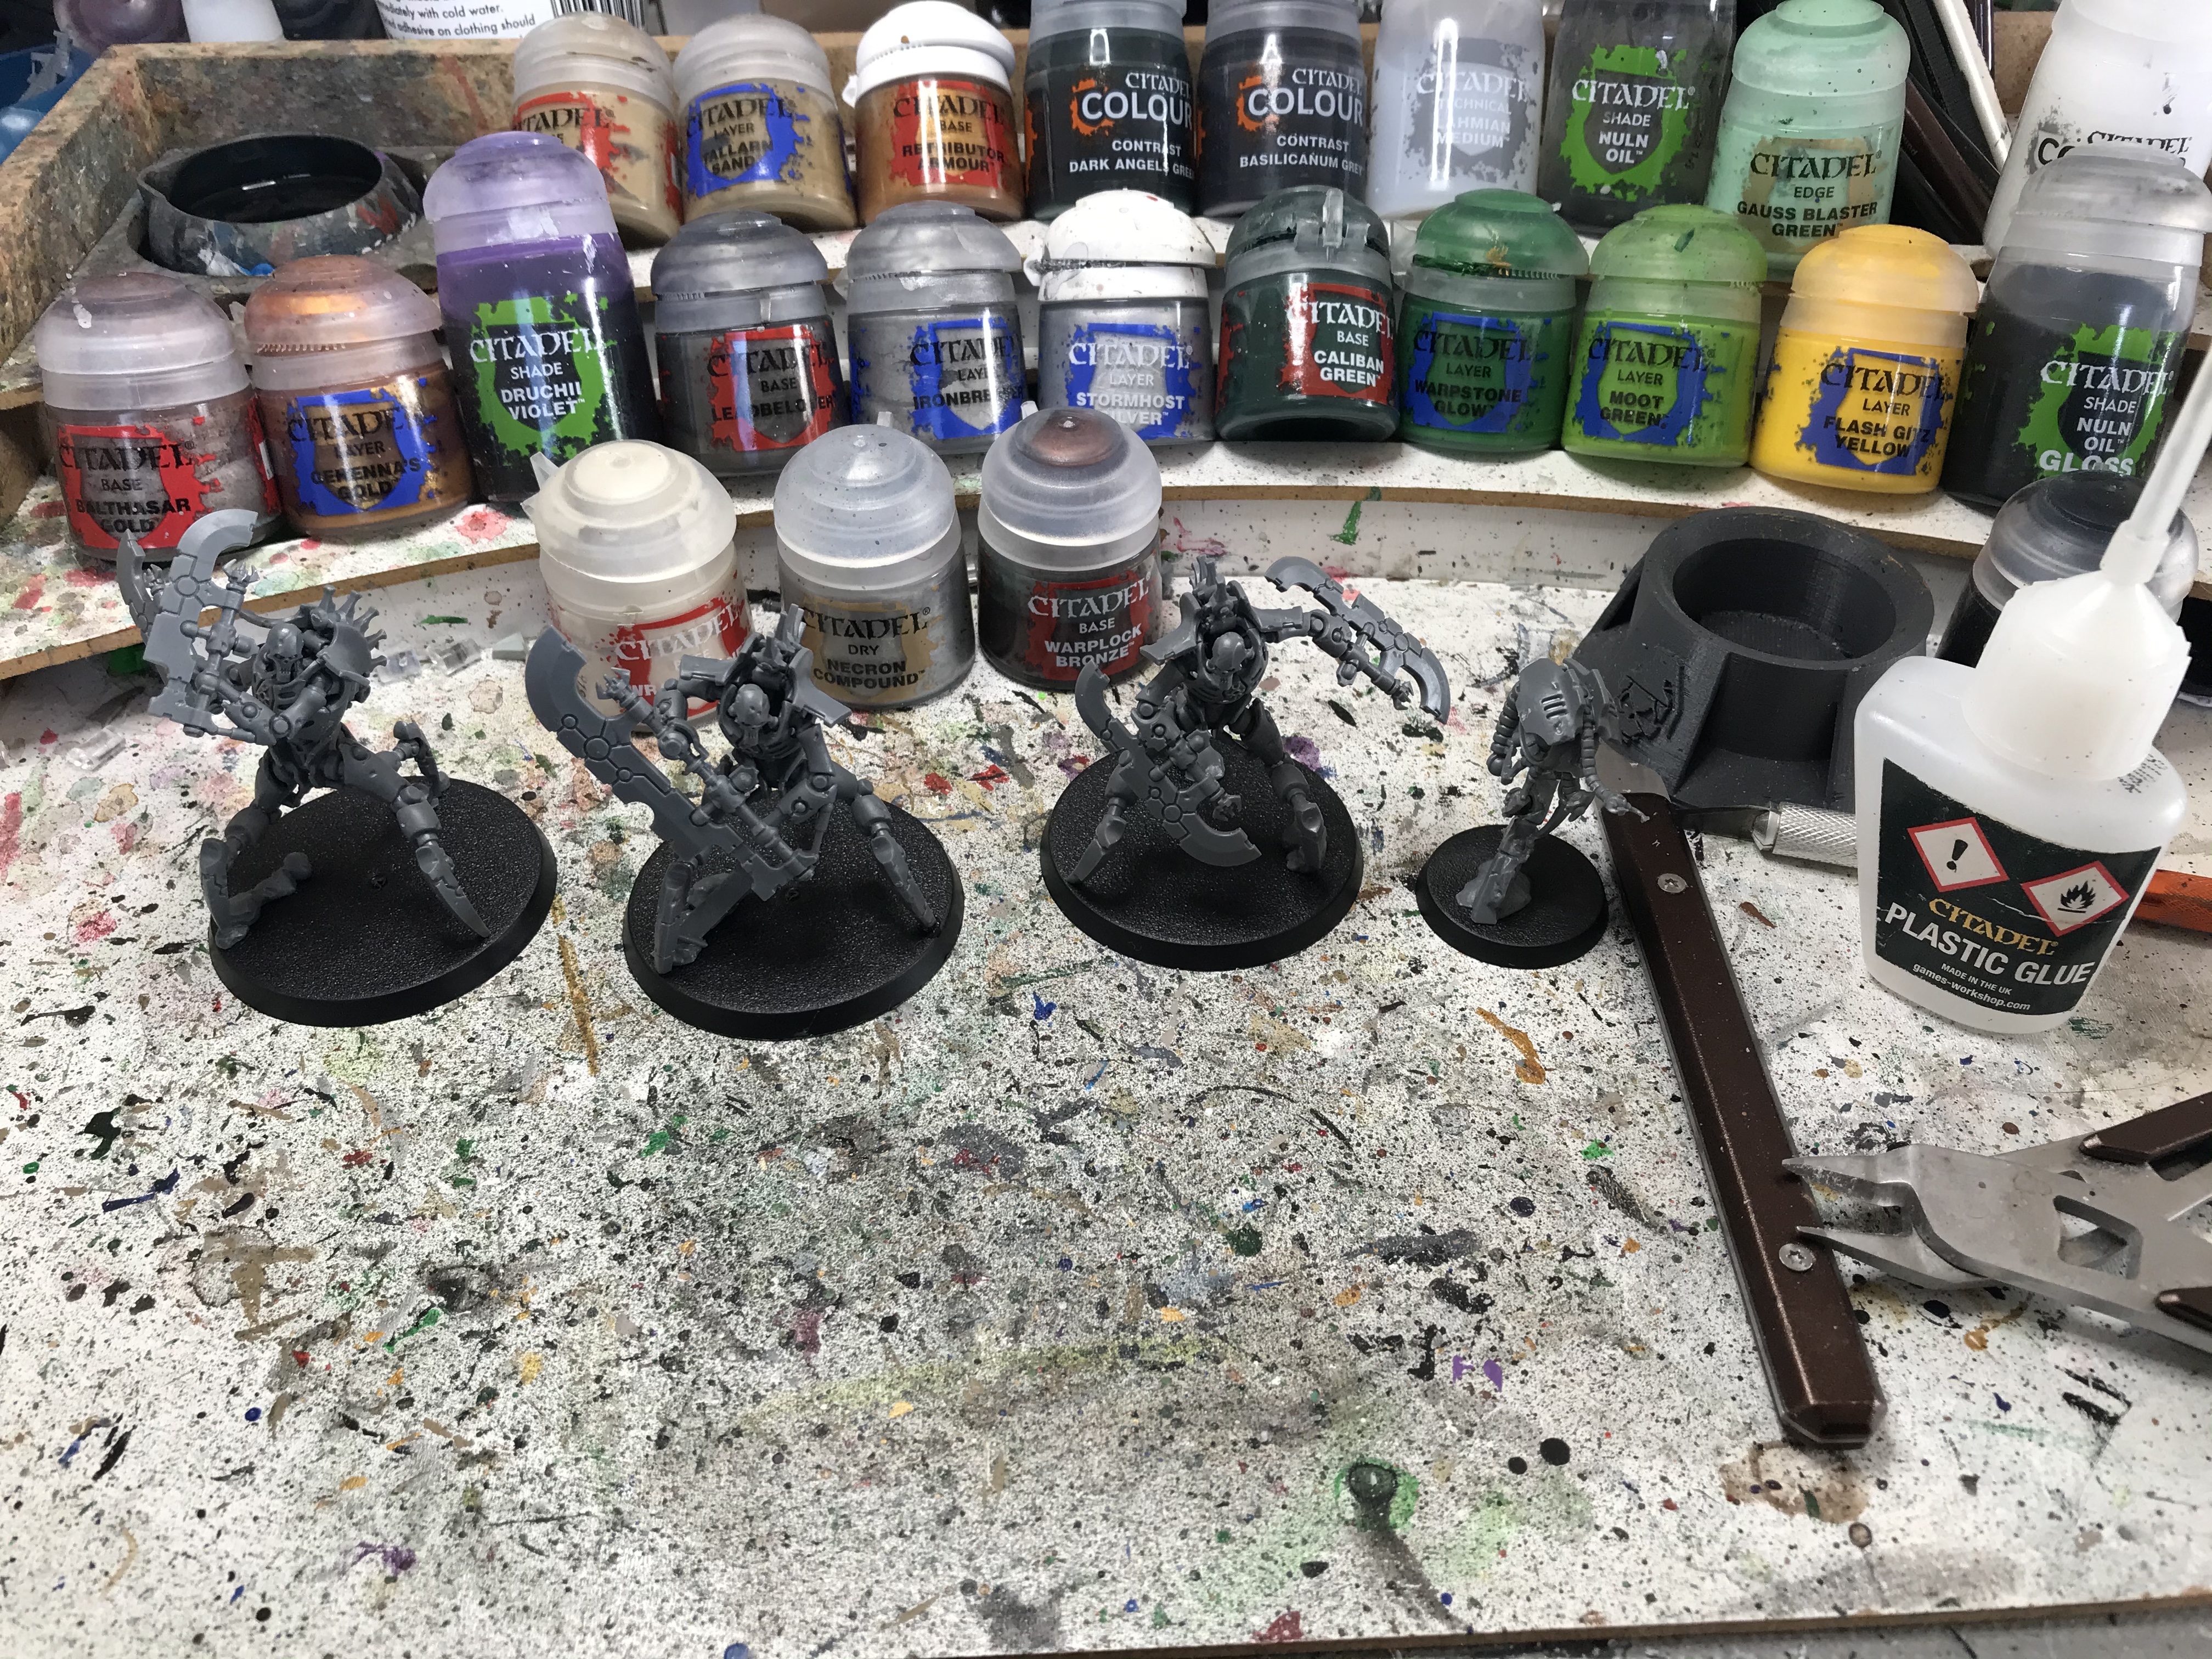
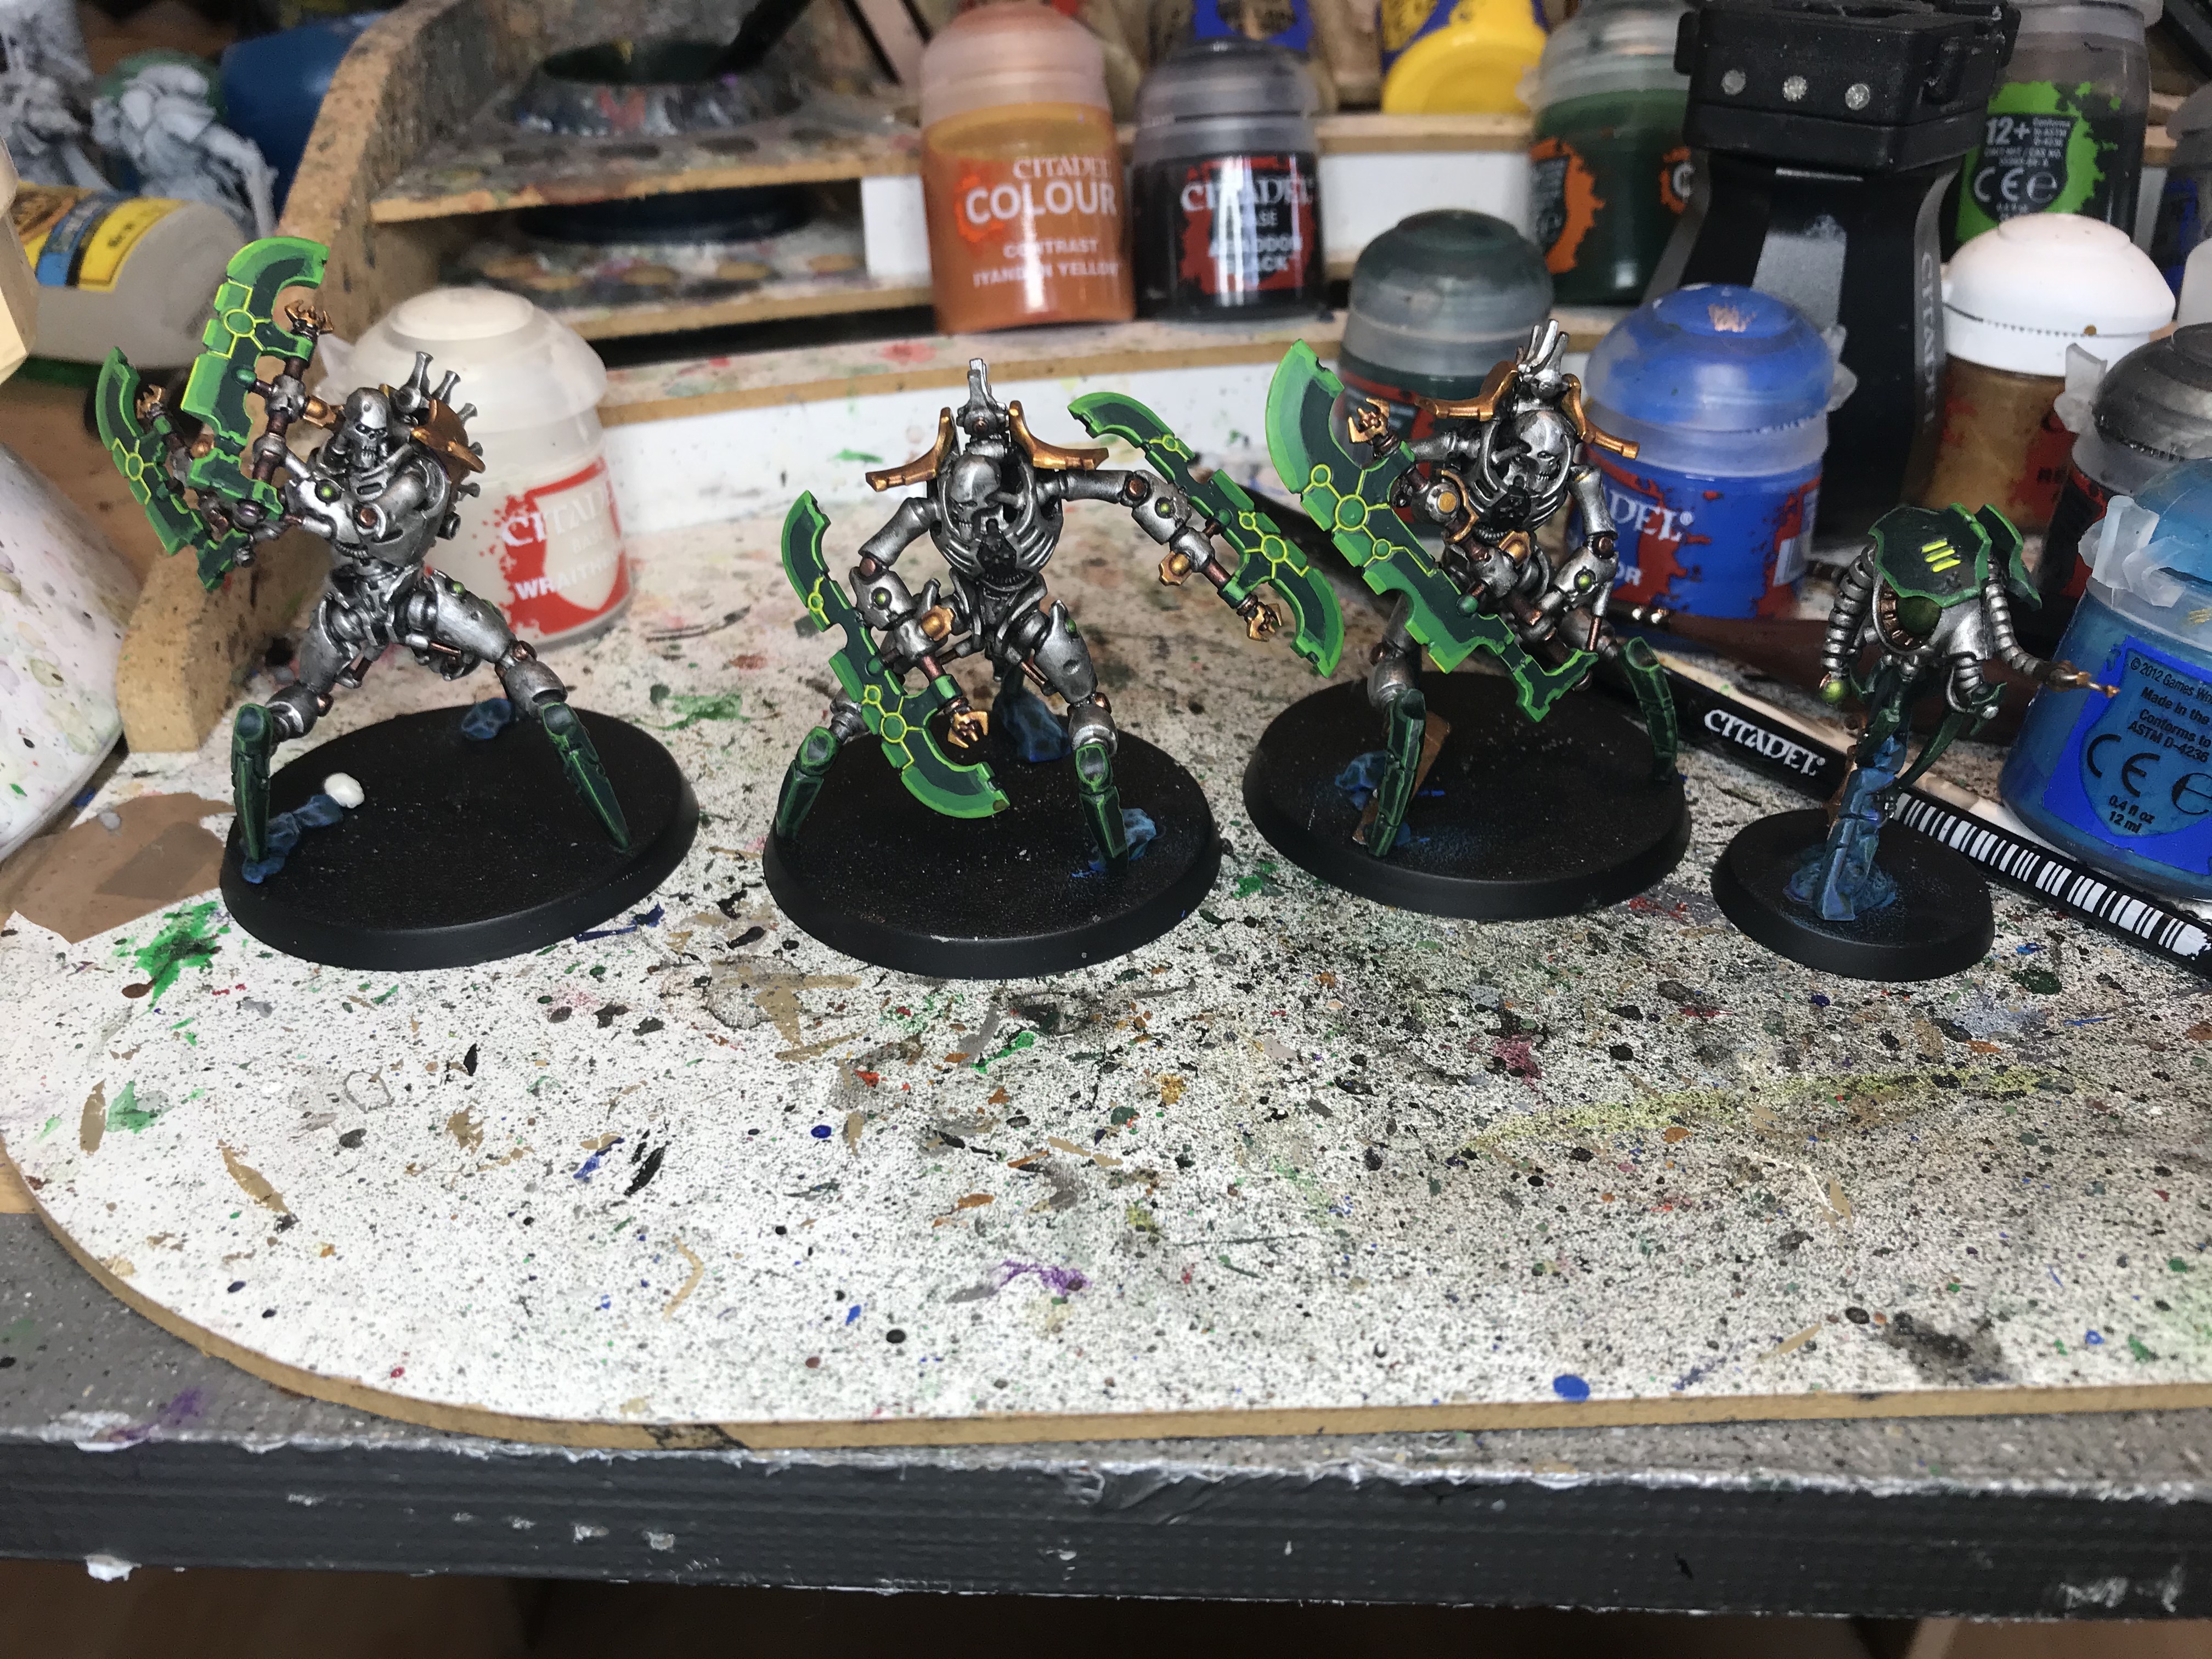
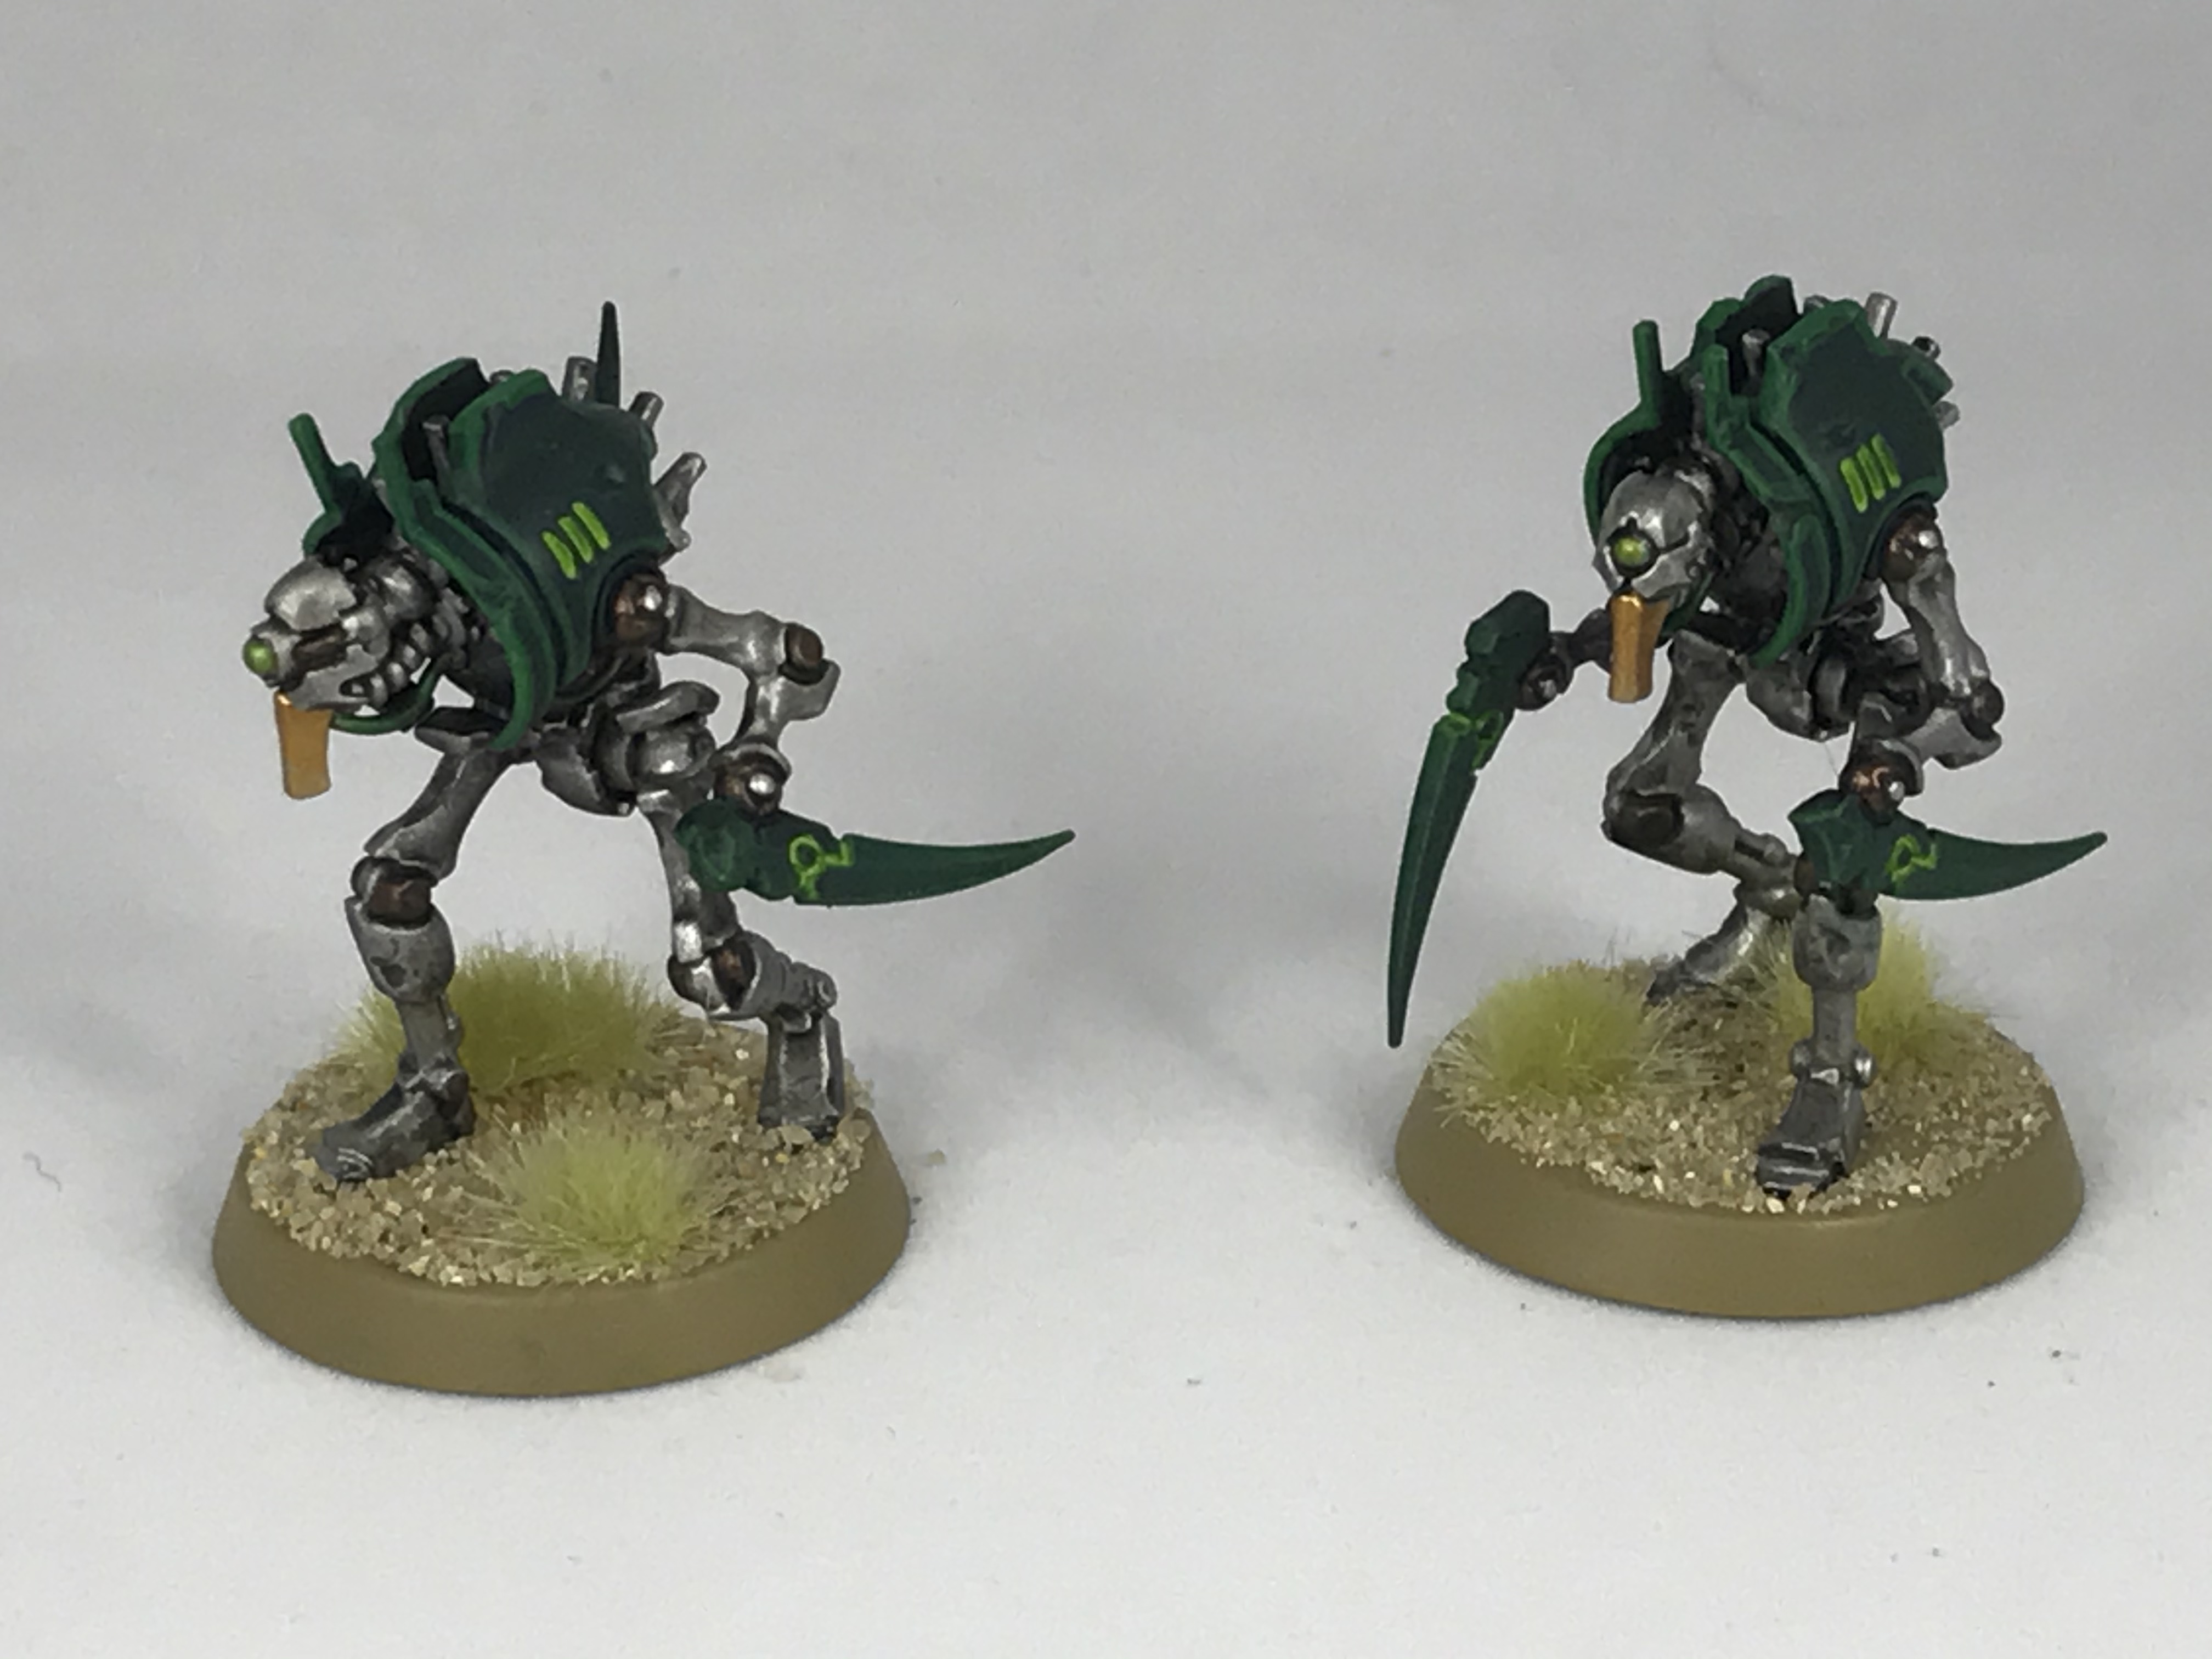
For Indomitus, I decided I wanted to start out with the Skorpekh Destroyers, as they’re an exciting new unit and I thought they’d provide a decent canvas to work on. The Skorpekh Lord is also the unit I’m most excited by on a tactical level, so warming up on the Destroyers seemed like a good plan!
Step 1, of course, is to assemble all required tools – I set up here with the sprue for the Skorpekh and roughly the set of paints I thought I’d need.
For monopose models where it’s important to keep parts together, but I still want to do clipping and cleaning of plastic in a batch, I tend to flip the bases upside down and keep the parts together in those once they’re cleaned.
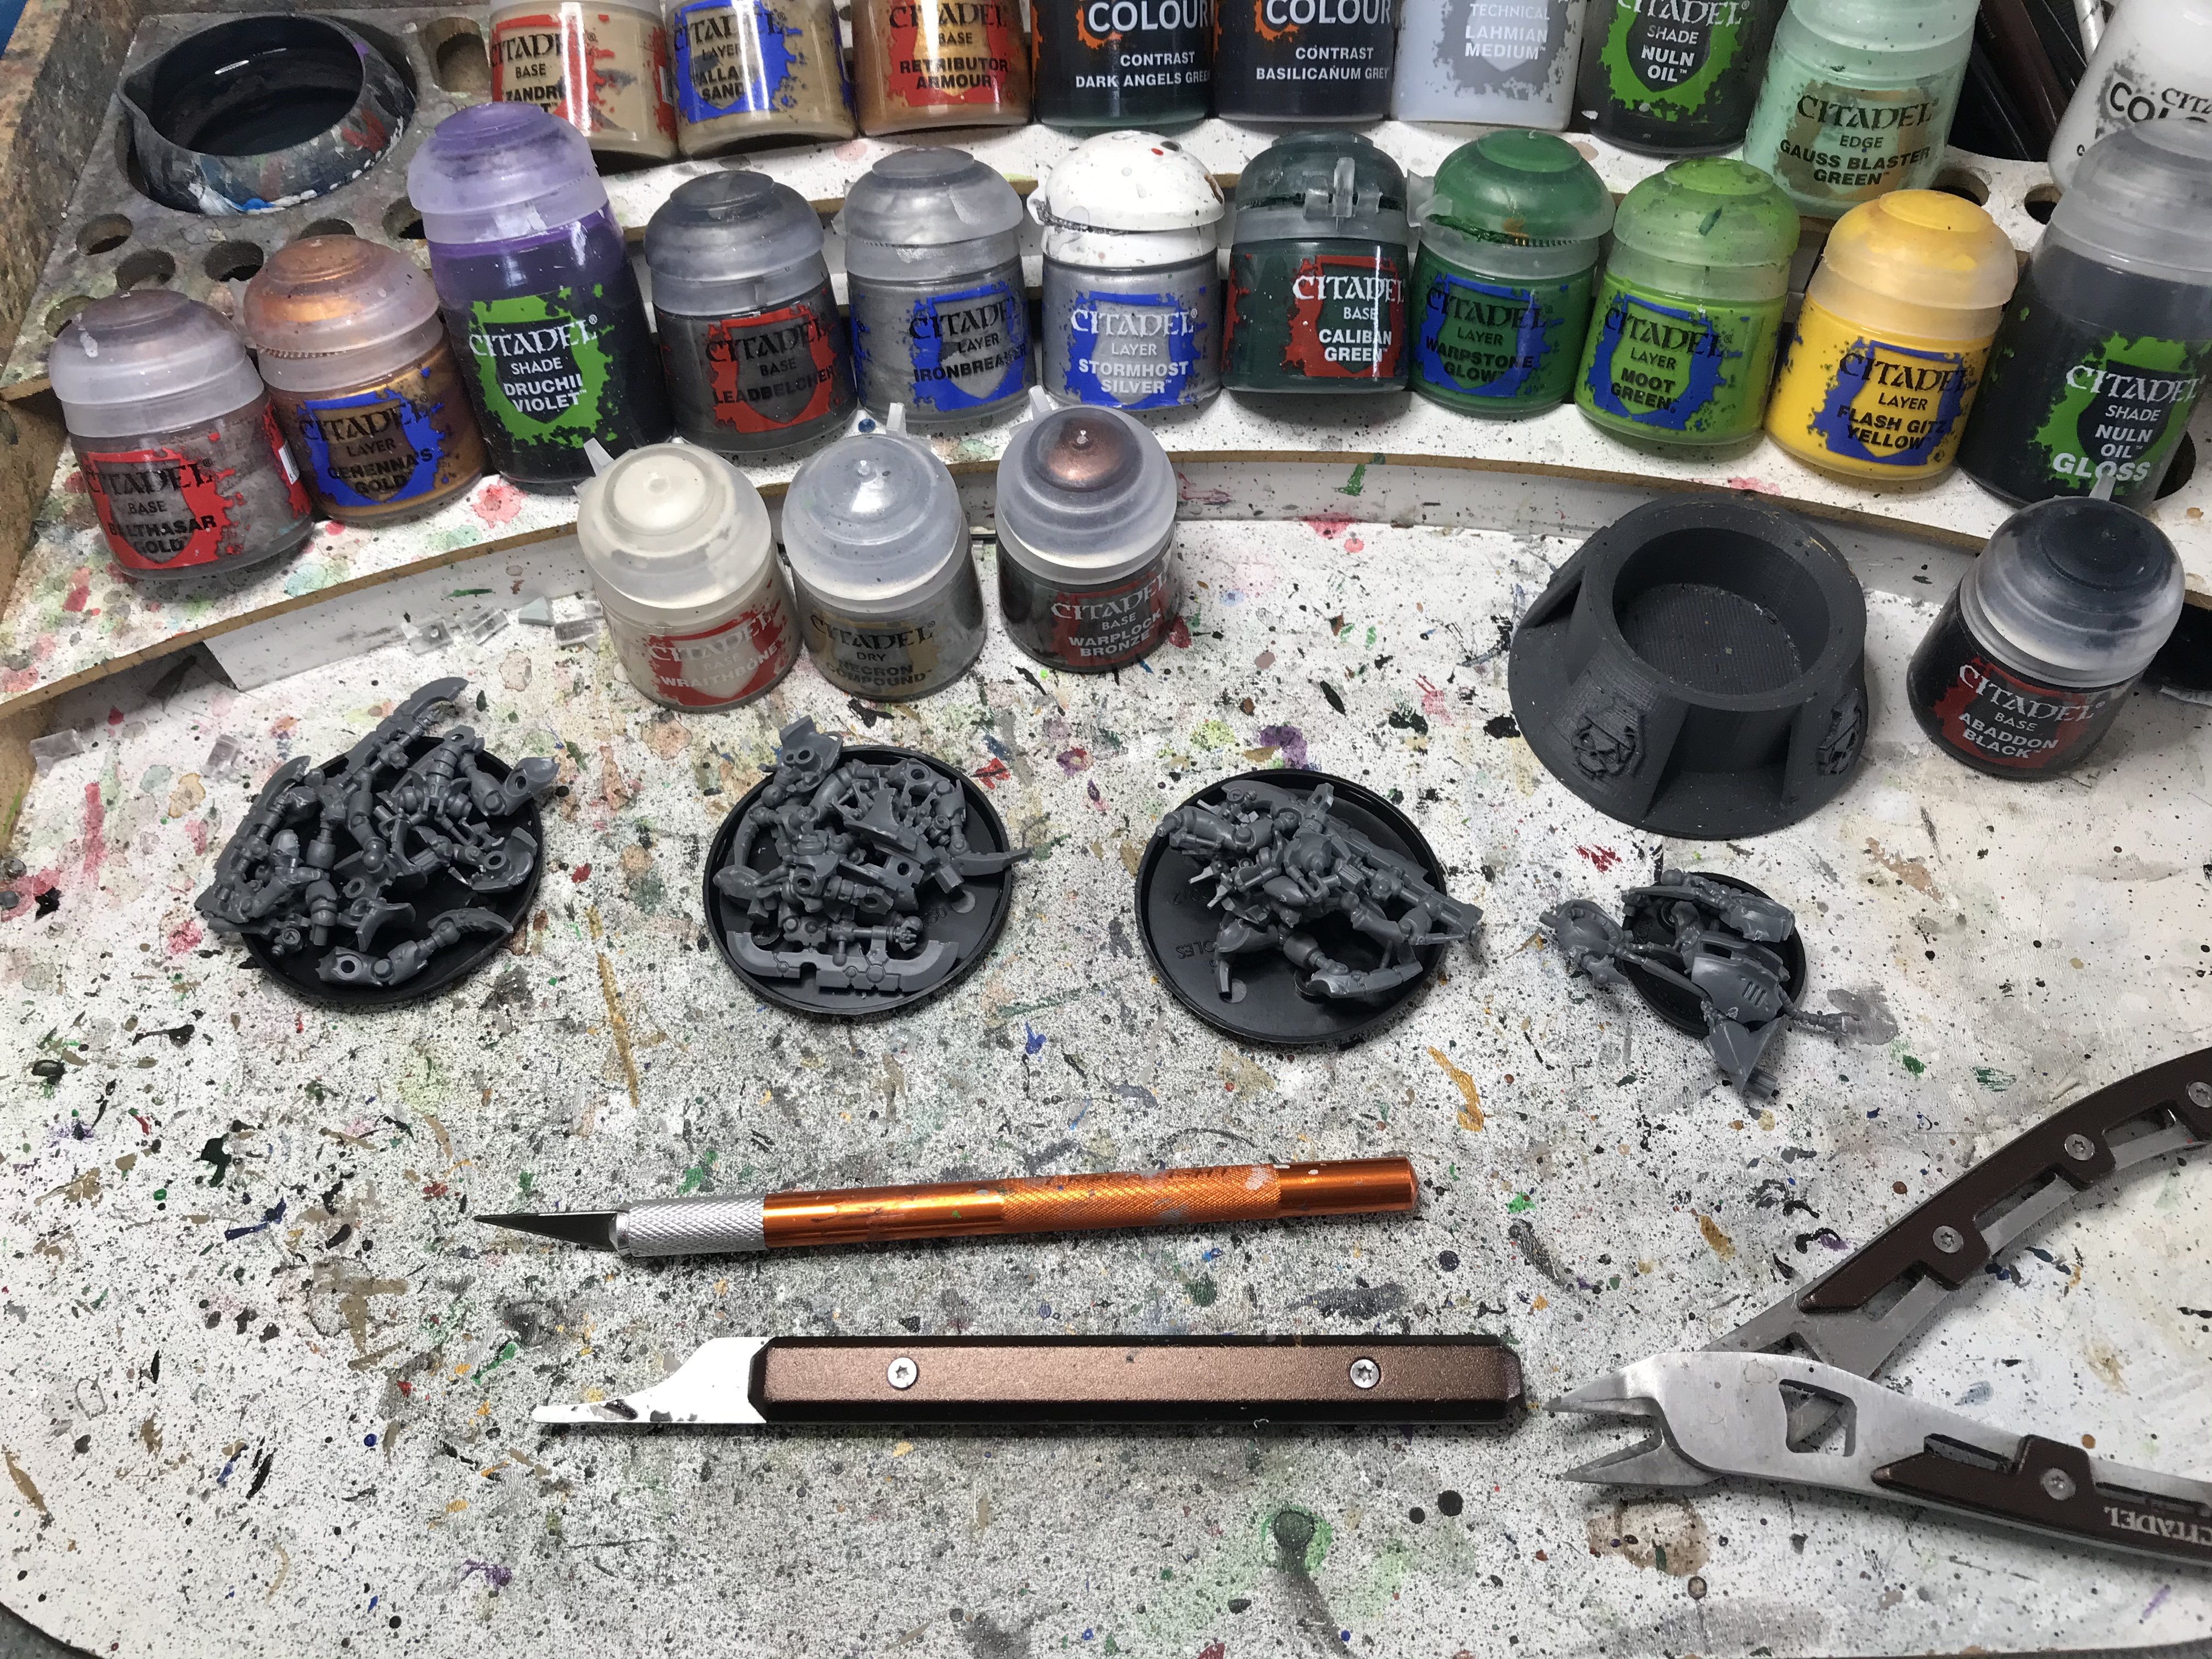
From there, assembly time. Here I thought I’d test the theory that you can build these without glue, and the answer is that yes, you can, and they’re mostly fine. There were a couple of joins that were a little bit looser than I’d like (so I did add glue to those after testing the dry fit) but if you really wanted to go glue-free you could. The hardest parts to work with were faces – GW have devised a clever way to hold these into place, which is that they’re attached to one of the arms and sort of get twisted into position and held by the tension, which works but is a little fiddly to line up, and the main place I went “screw it, adding glue”.
Next, priming. I just use a Citadel Spray Stick and Chaos Black Primer and it basically works. I did need to do a little extra manual priming under the lets once done, as it’s harder for the spray to reach, but this was minimal.


Once the models are ready to be painted, the first step is to work out what’s getting a metallic treatment, and which parts of the model are “Canoptek stuff” and get the green stone treatment. Here there are distinct design differences to the last segment of the legs that fit the latter, so that’s where I decided to make the split. My recipe for energy weapons is also a modified version of the same.
Once that’s figured out, I based everything that was going to be metallic in Leadbelcher thinned with Lahmian Medium, and everything Canoptek or an energy blade in Caliban Green thinned with water. Previously when working on Canoptek stuff I’ve used Caliban Green Spray (now out of production), and what I found here was that CG paint alone was a little bit more of a vibrant green than I really wanted for the base on the legs. Here I salvaged it by darkening down with a wash of Dark Angels Green contrast, for all later models I used 2:1 Caliban Green/Incubi Darkness, which gave what I wanted straight away. Once both are applied, I then apply a layer of thinned Ironbreaker to the silver as well.
That then gets washed with Nuln Oil to darken it down, especially in the recesses, followed by a drybrush with Necron Compound on bits that are going to stay silver to complete it. I do this all now because when drybrushing such a large proportion of the model there’s a risk of getting some on other areas, which I’d rather be able to correct by re-applying the base than having to redo any edge highlighting.
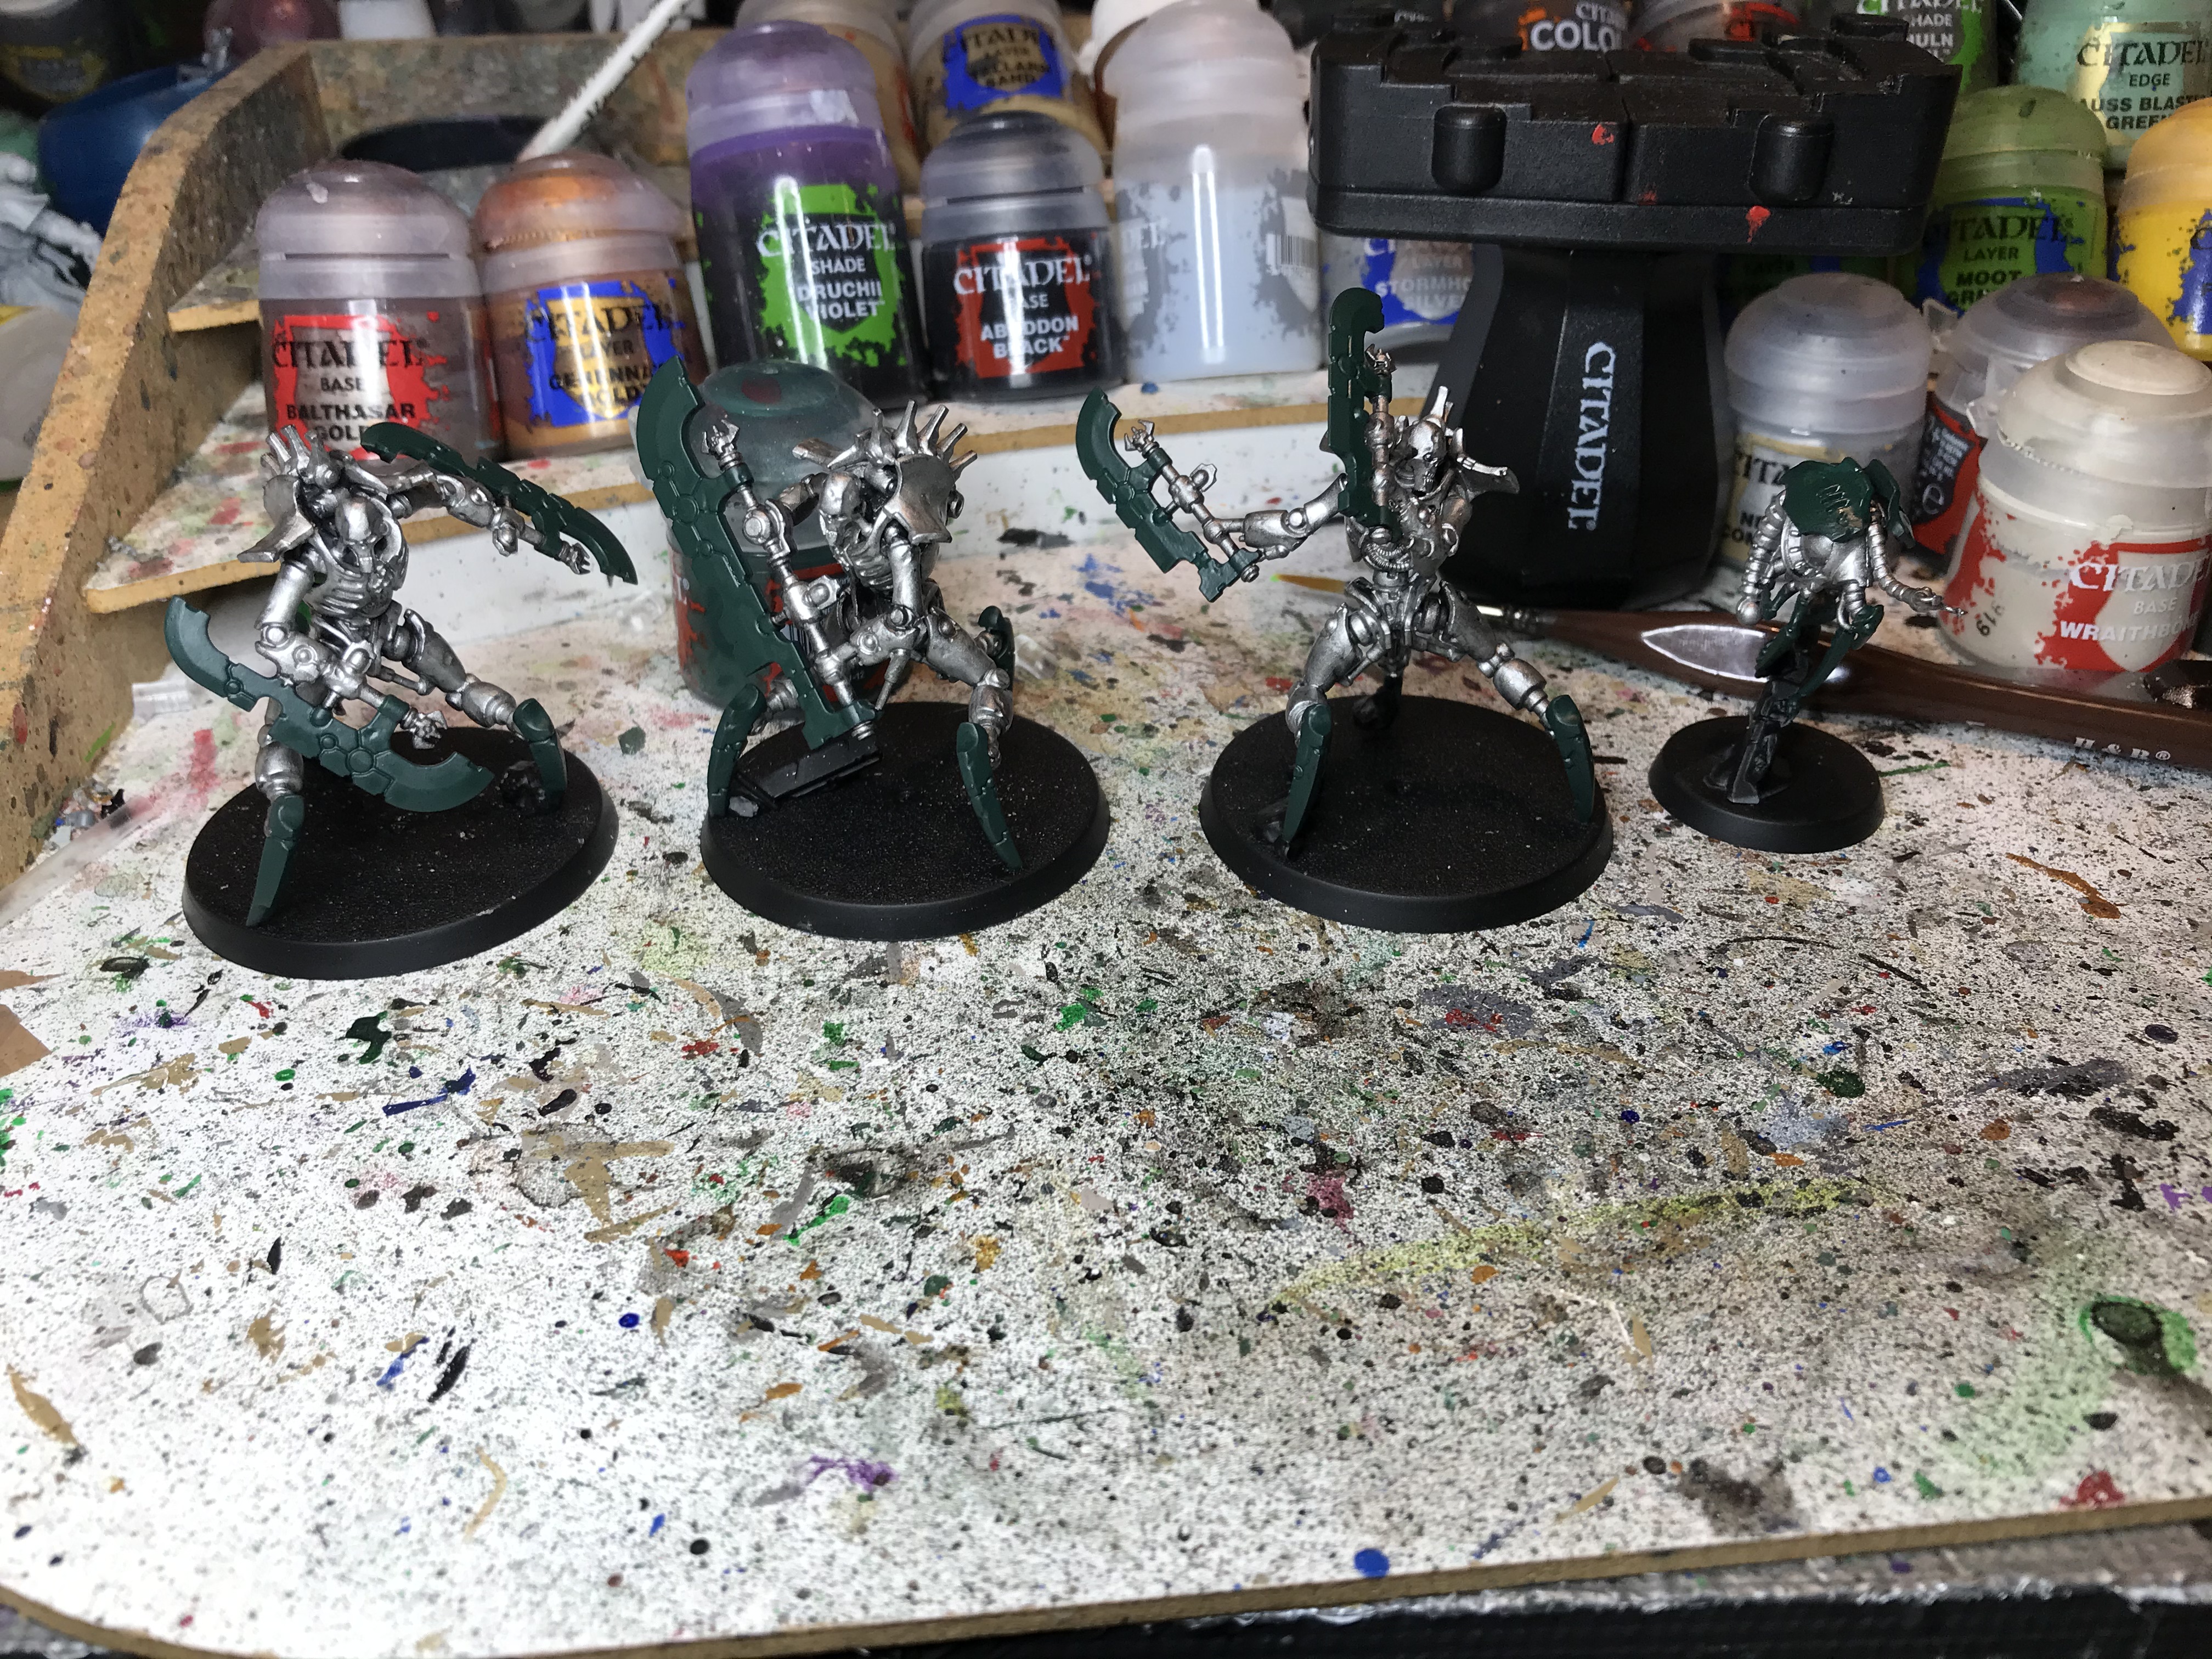
With that done, we can now work on various green things. We start off with thinned Warpstone Glow, edge highlighting the claws and doing thin two coats of it on the angled bit of the blades, plus a few other raised bits on the weapons. We also edge highlight the canopy on the little helper here.

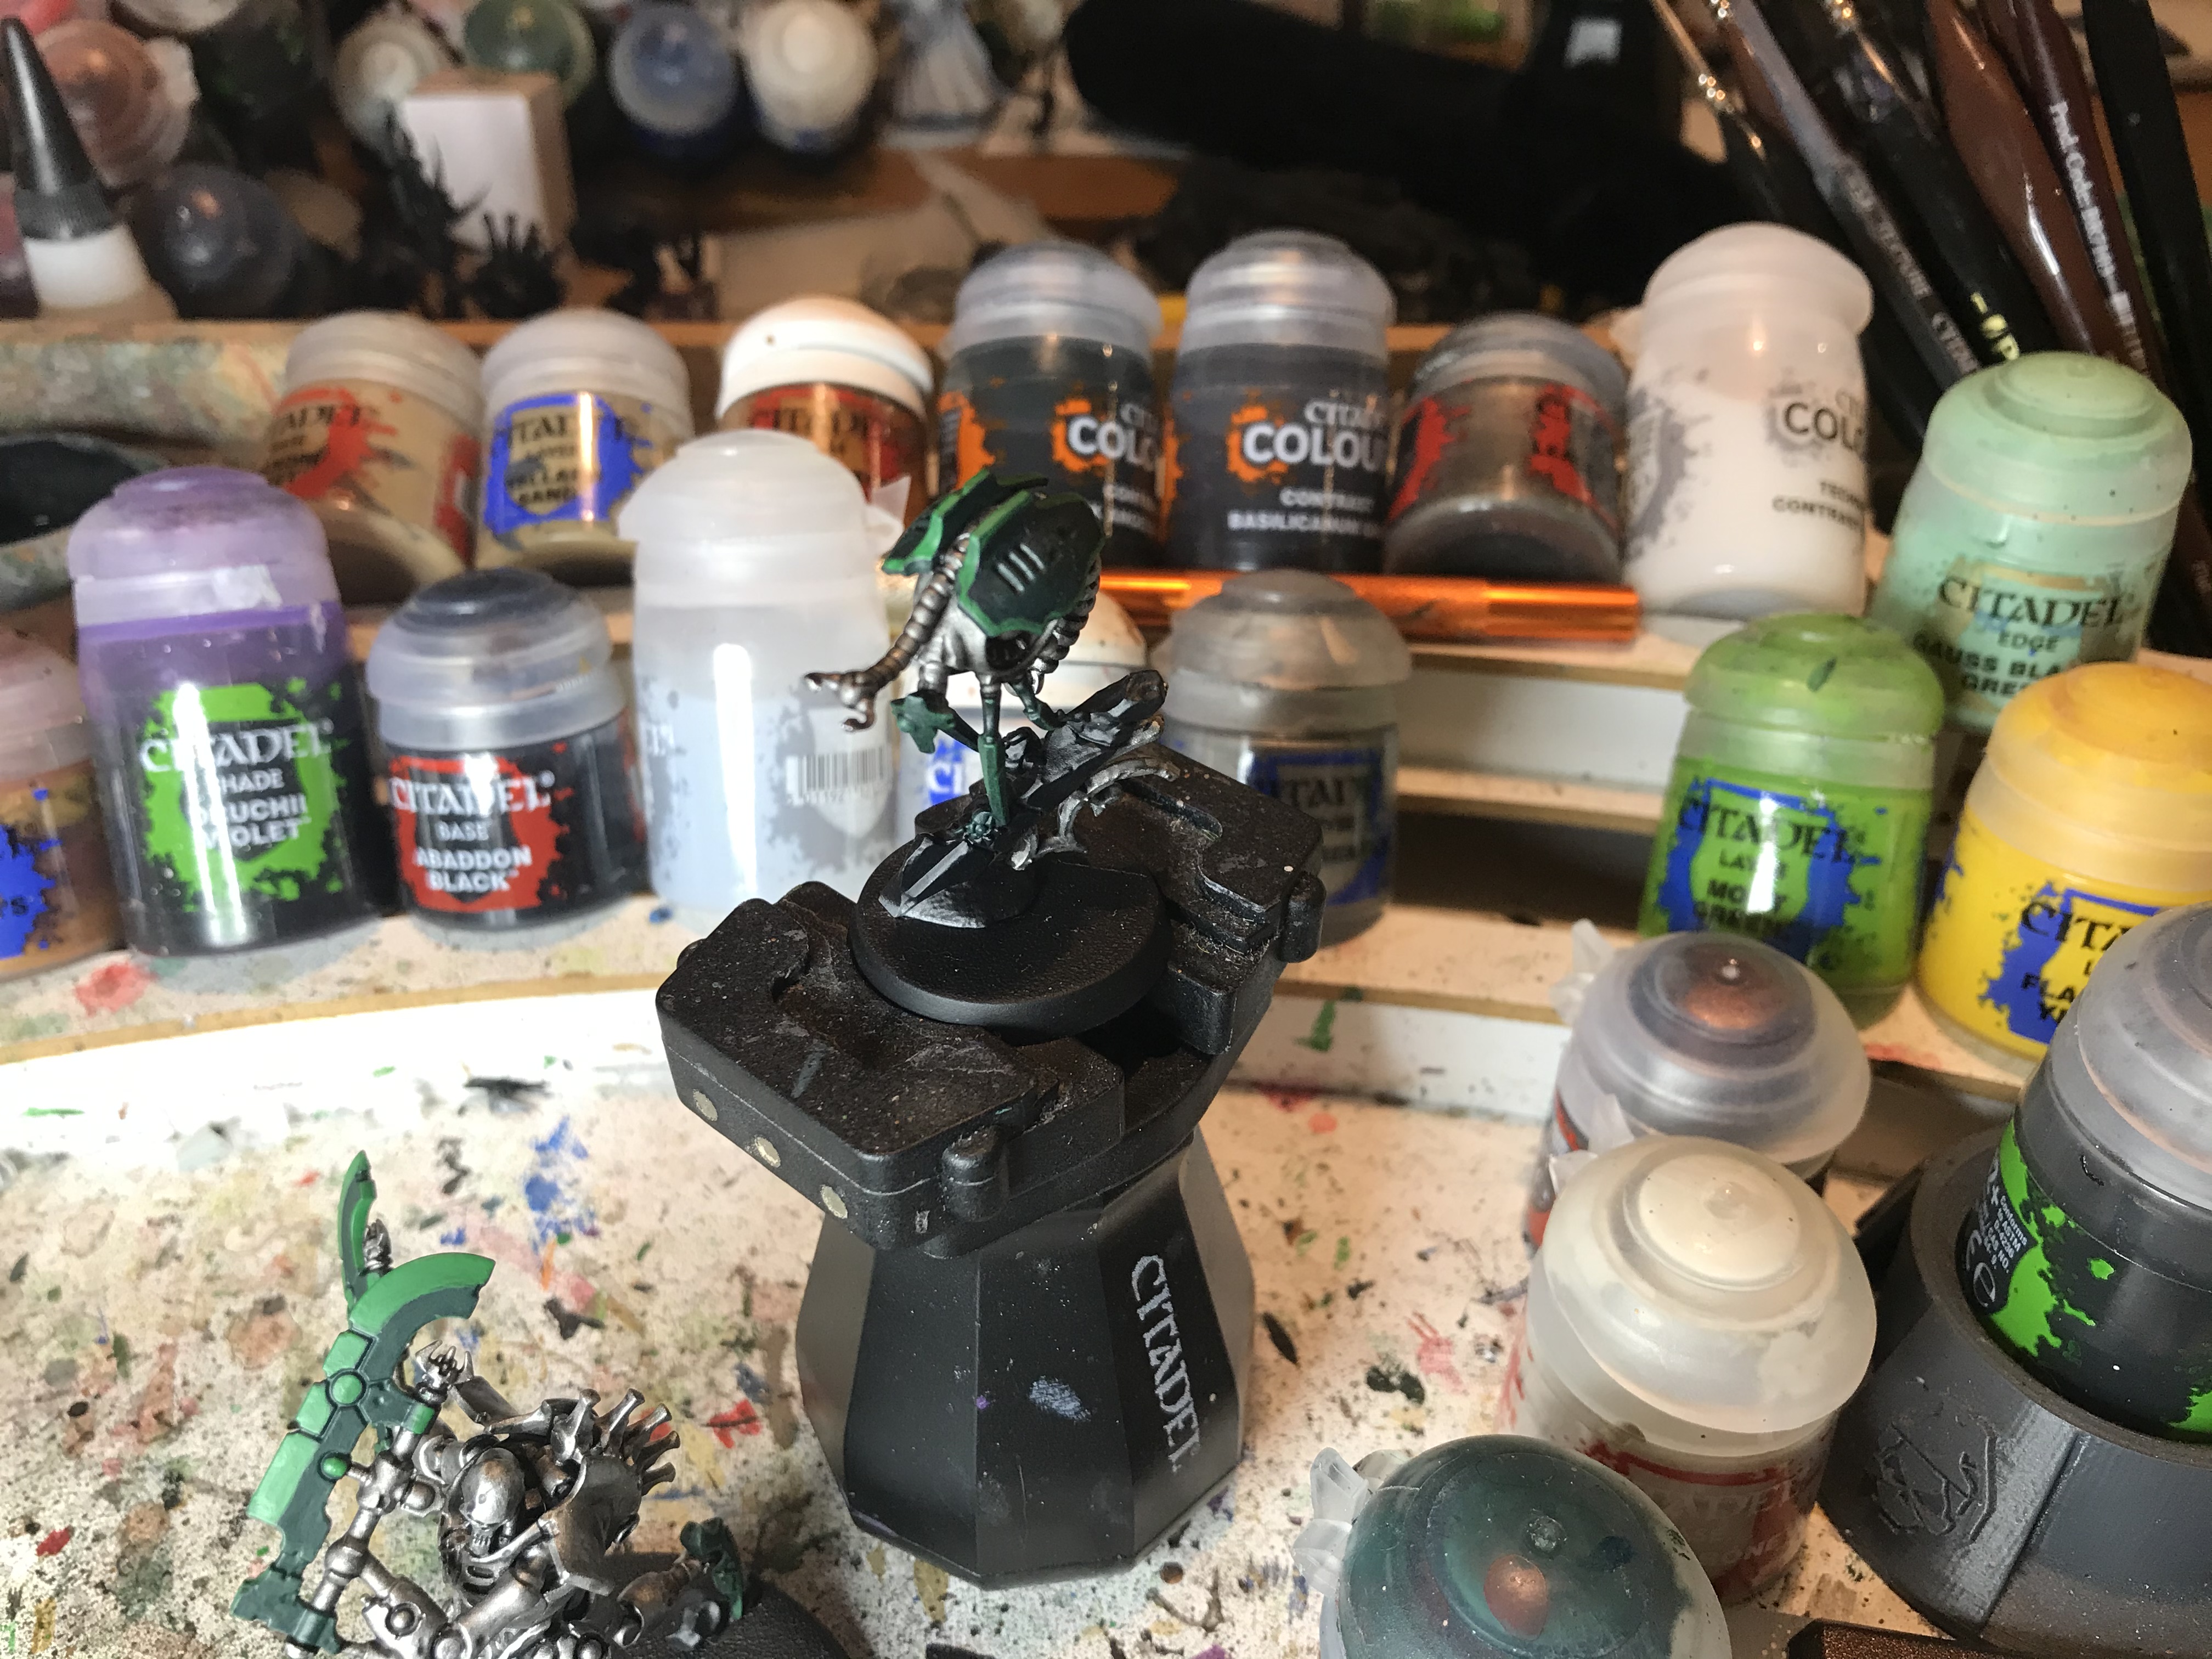
Now we base in some other metallic. To add some visual distinction on parts of the model, I use Warplock Bronze (later shaded with Nuln) on some other “mechanical” bits such as the weapon handles and arm joins, while using Retributor Armour to base the shoulder pads and weapon protrusions.
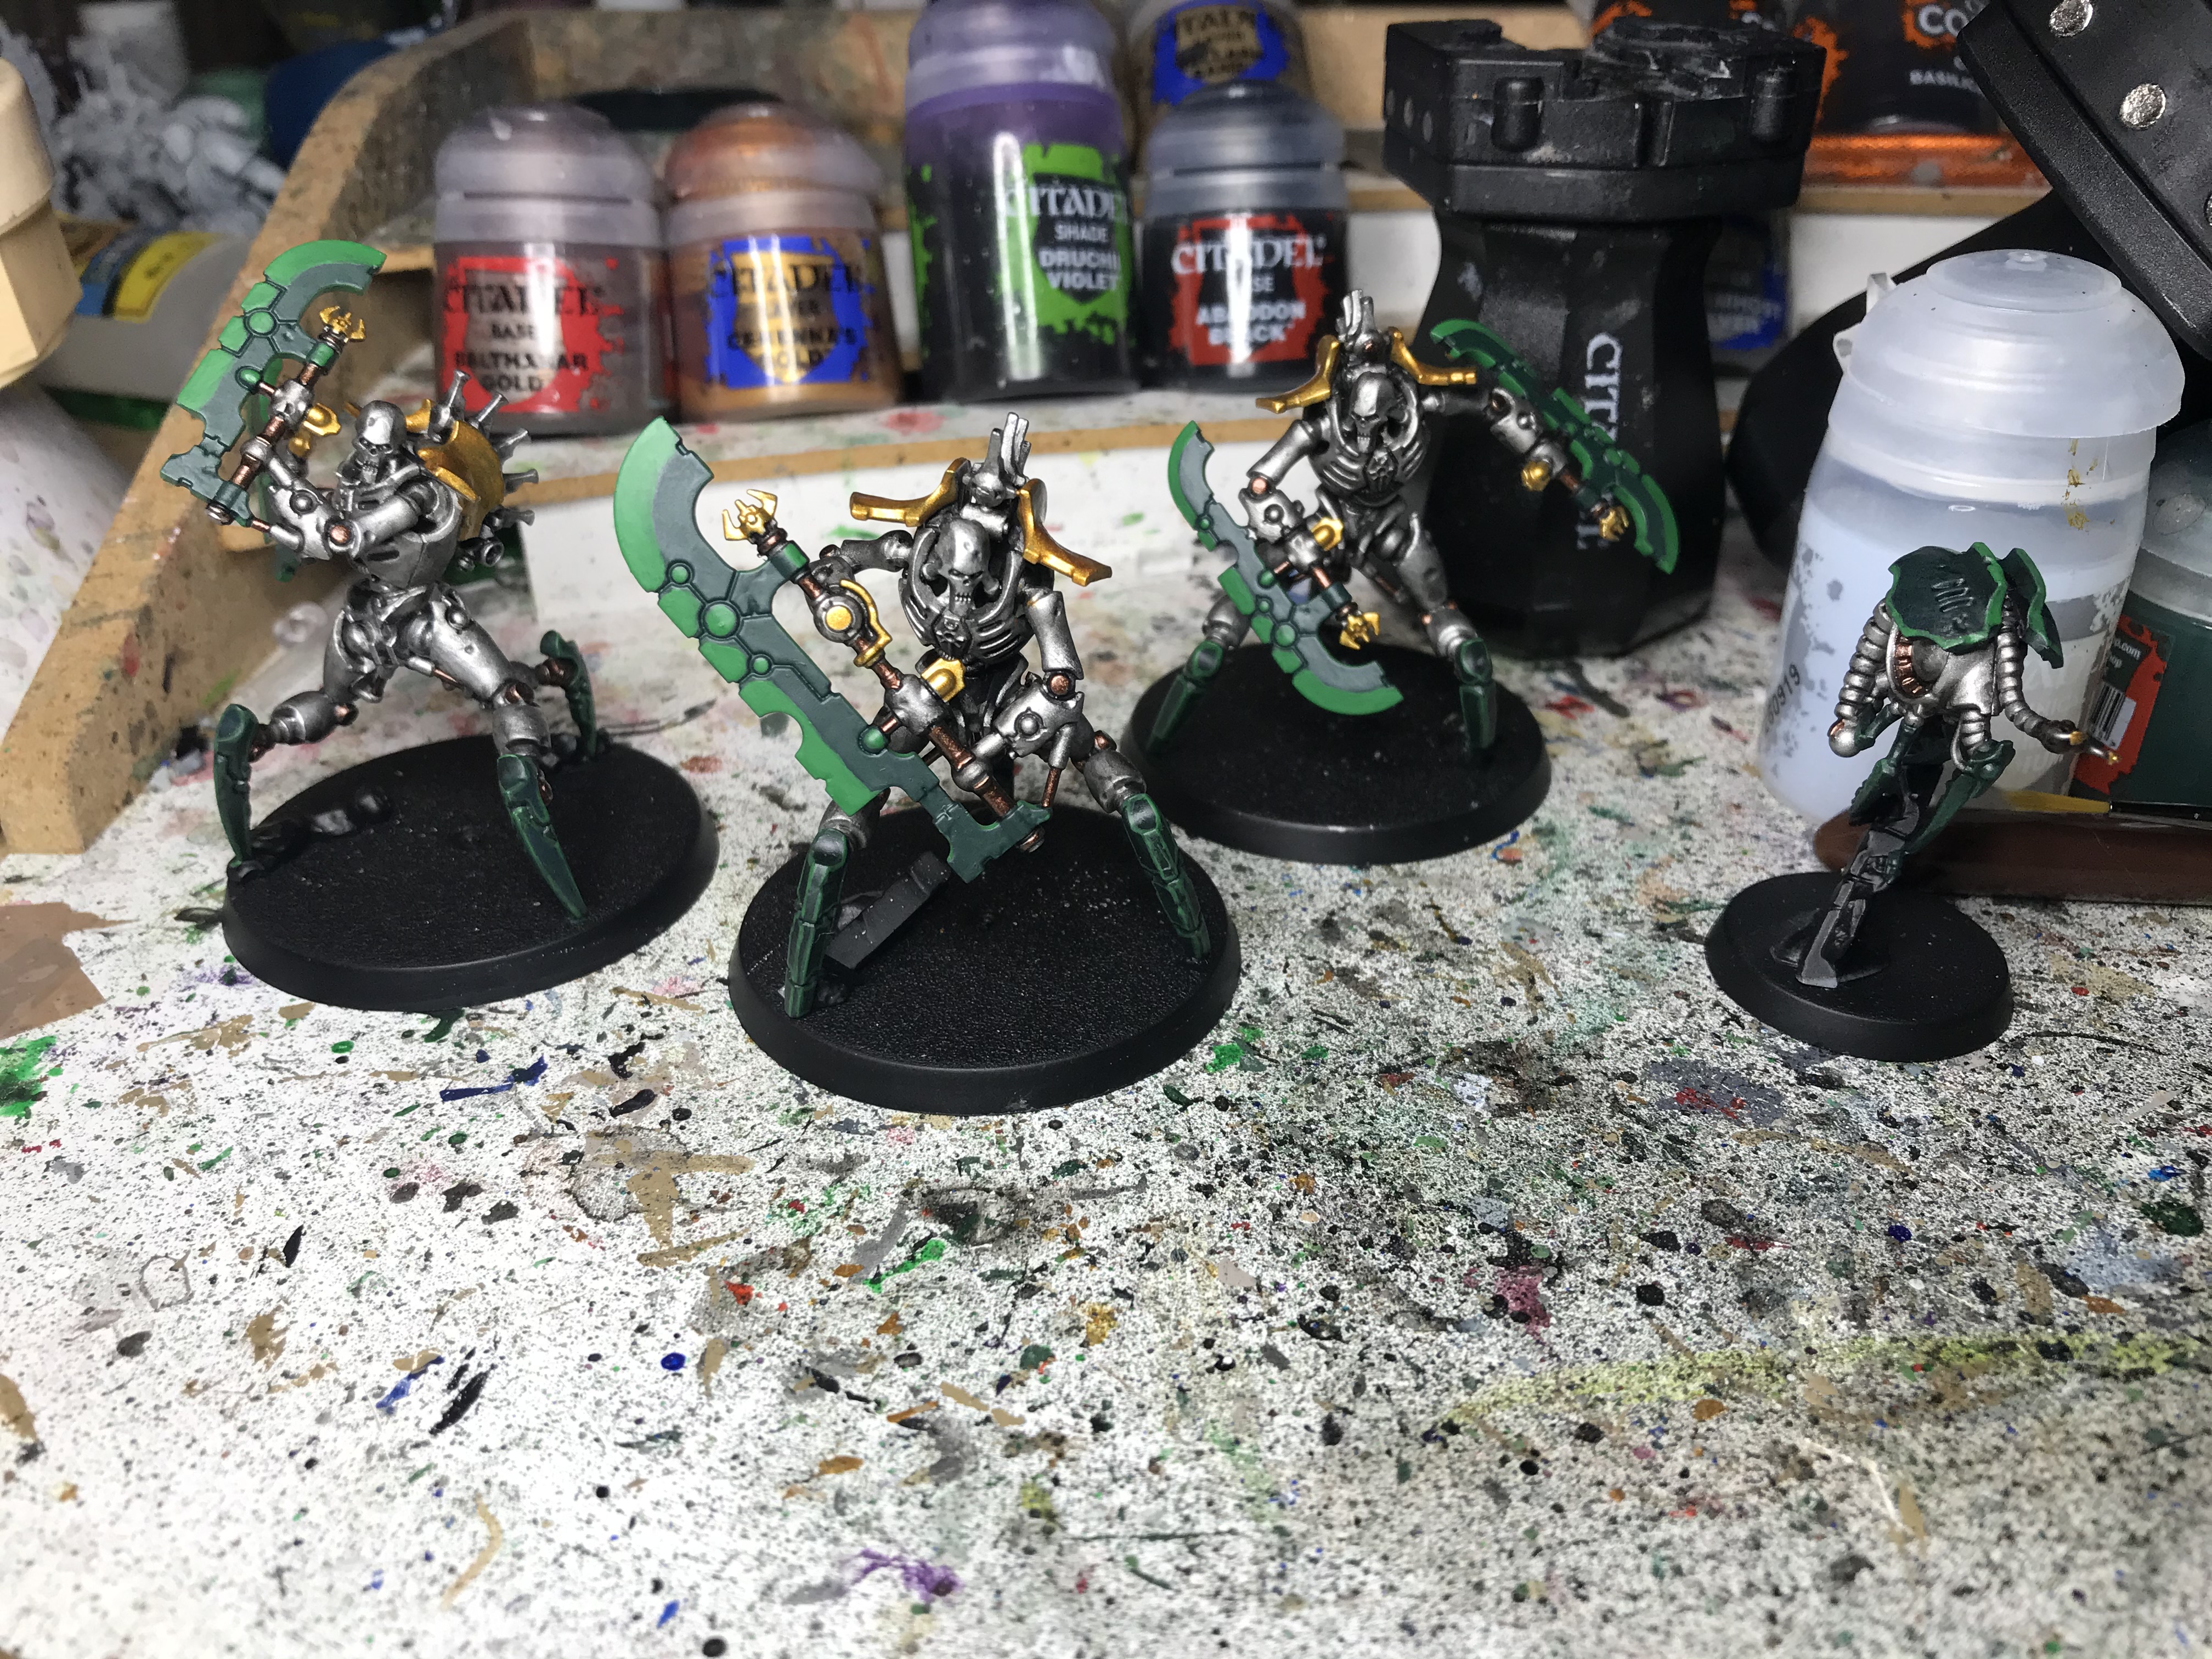
After that, now we’re done with any paint applications to wide areas, we finish the legs and blades. The legs get an edge of Moot Green applied via very gentle drybrushing, while for the blades 1:1 Moot Green/Warpstone Glow is used to edge round the back of the weapon, and do a much thicker line on the blade cutting edges. The blades are then finished by a thin edge highlight of Flash Gitz Yellow direct on the blade cutting edge, and an energy glow added to the recesses. To do the latter, I mixed about 2:1 Flash Gitz Yellow and Moot Green and then thinned it down a lot with water. With a detail brush, I then applied it to the recesses, letting capillary action draw it in and wiping any that escaped away quickly with my thumb. This also goes on any of the “vents” that Canoptek canopies tend to have.
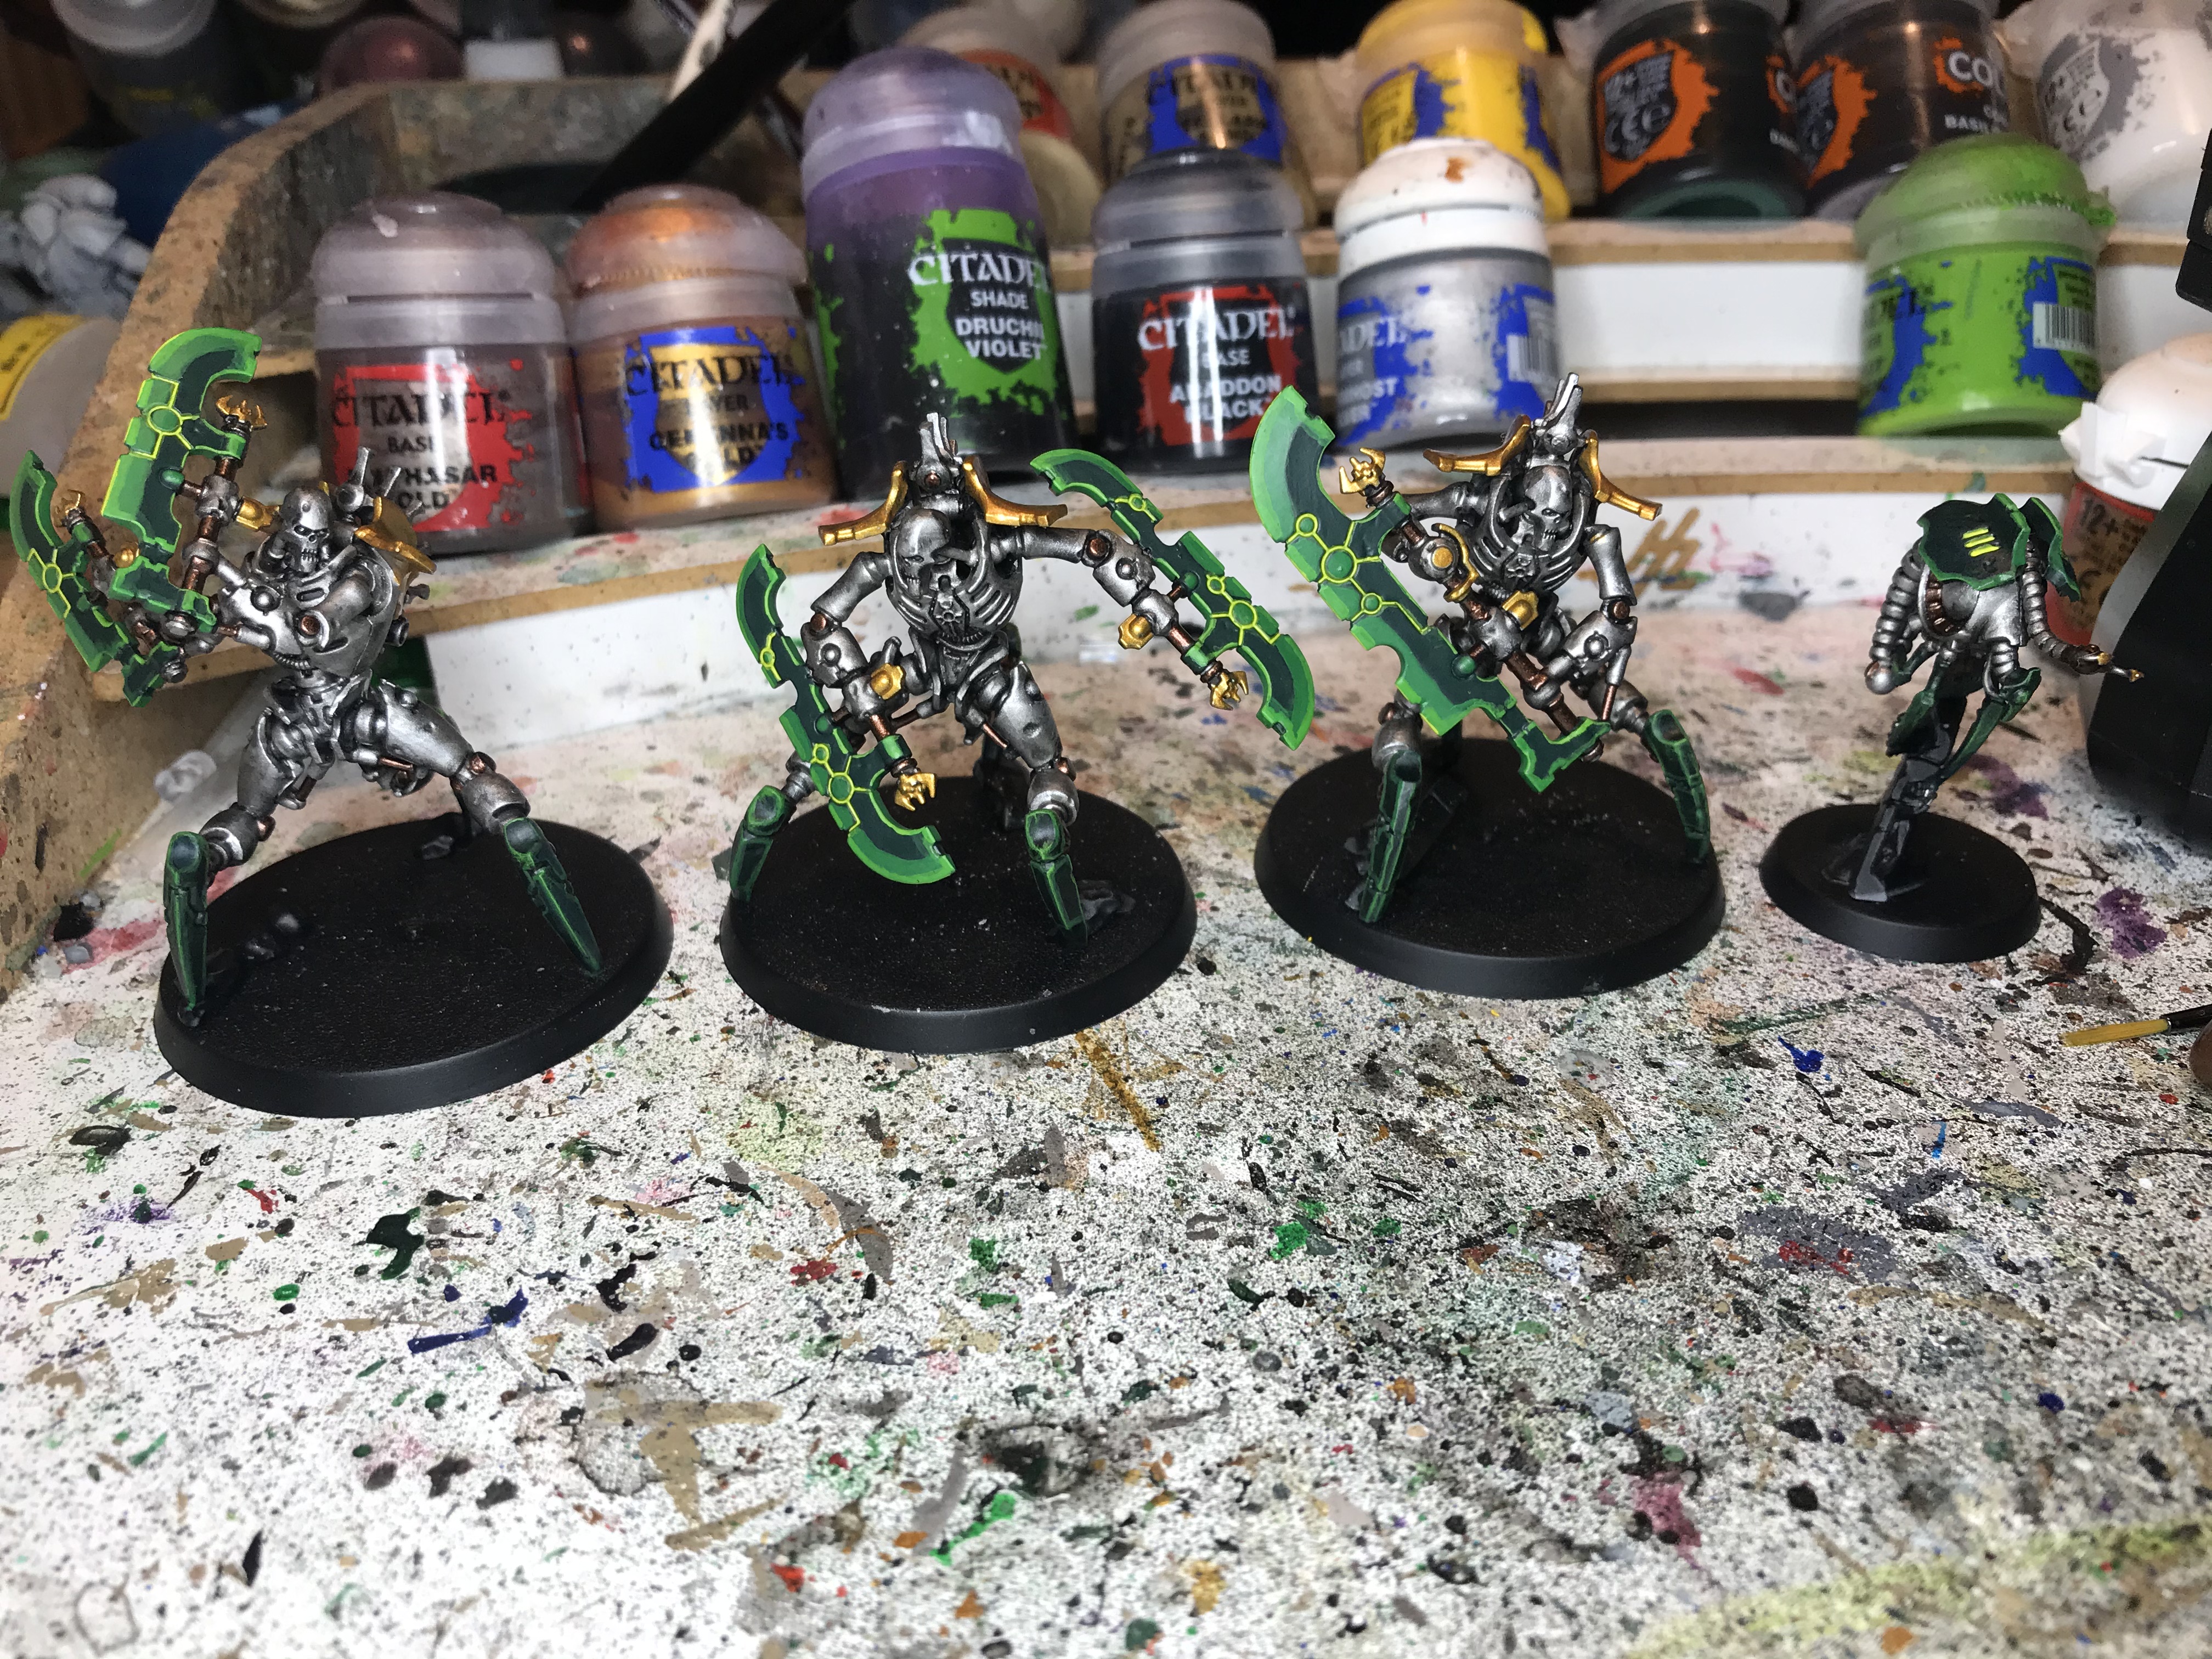
From here we’re nearly done. The gold parts get washed with Druchii Violet, then drybrushed with Gehenna Gold and then lightly drybrushed on the edges with 1:1 Retributor Armour/Stormhost Silver. The models have what are clearly “energy orbs” on a few places, so these I hit with Stormhost Silver then thinned Ork Flesh Contrast. For the Plasmocyte, I gave it an evil glowing red eye using Blood Angels Red Contrast over the silver instead. Finally, as these are still non-royalty among the Necrons, they get a black chest runeplate, with the rune itself picked out with Moot Green. A dot of moot green on each of the eyes, and the models themselves are done.
As you can see above, I’ve also worked on the bases. A lot of Indomitus models have some scenic parts where their legs join the bases to hide the pegs for attachment. I’ve done brown or grey stone on the bases of my Necrons before, but always been vaguely disappointed in how it looks. I decided to change that up for these (and will update some of my other models down the line) and do a blue marble recipe I’ve recently been using on statues. This contrasts much more interestingly with both the silver Necrons and the yellow sand of the bases. The recipe is:
- Base Caledor Sky
- Wash Hexwraith Flame
- Wash Drakenhof Nightshade
- Drybrush Sotek Green
- Very lightly drybrush Gauss Blaster Green – you only want to hit the sharpest edges.
Any metals on the bases were done in Balthazar Gold or Leadbelcher depending on whether they were ornamental or industrial, and washed/drybrushed appropriately. Finally, the bases themselves were painted with two thin coats of Zandri Dust, ready for PVA and sand. With that, the models were complete!
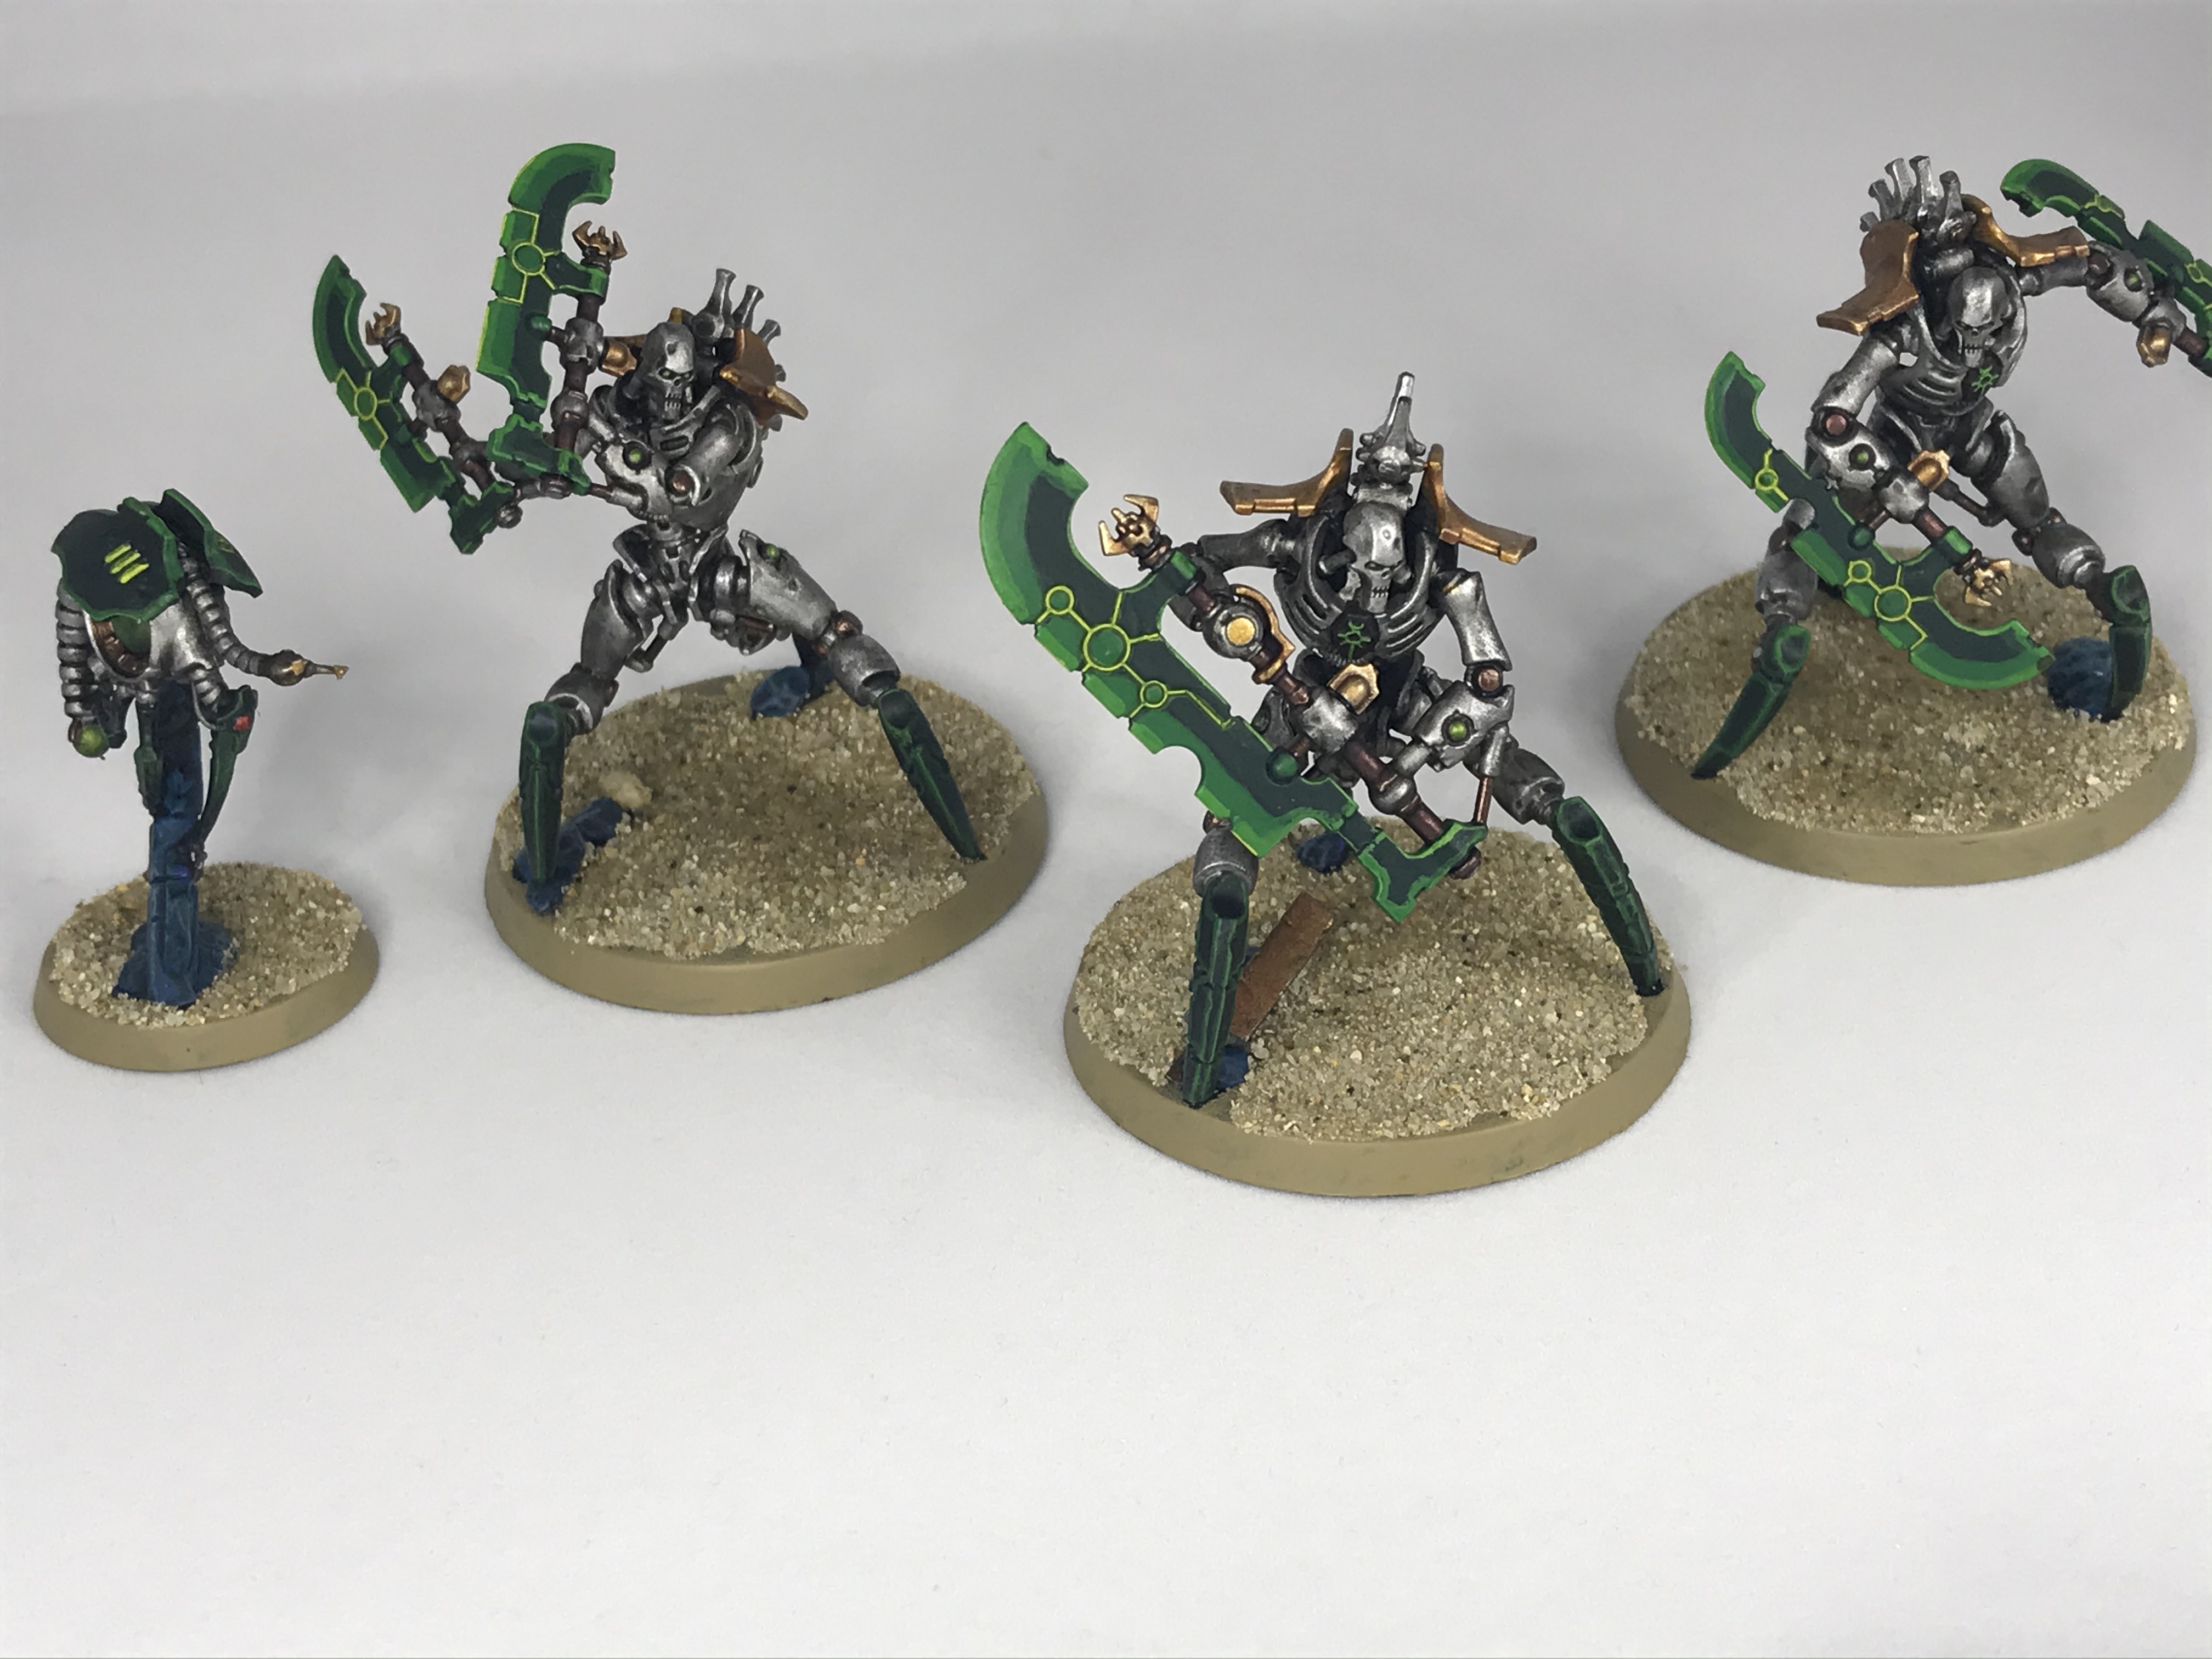

I have actually gone back and added some Mordheim Turf tufts later on alongside others, as you’ll see in the group photos.
I’m not going to go through as much of a step by step on the rest of the models, as fundamentally I mostly use the same recipes again, but there are a few extra bits on some of them. The Cryptothralls basically use exactly the same as the above with nothing really extra, so we’ll get them out of the way first.


The only new thing here is the eyes – these get a coat of Stormhost Silver followed by a thinned coat of Iyanden Yellow Contrast followed by an even more thinned coat of Ork Flesh Contrast, which gives a nice vibrant glowing green. This gets re-used on the glowing green cables on the next few models.
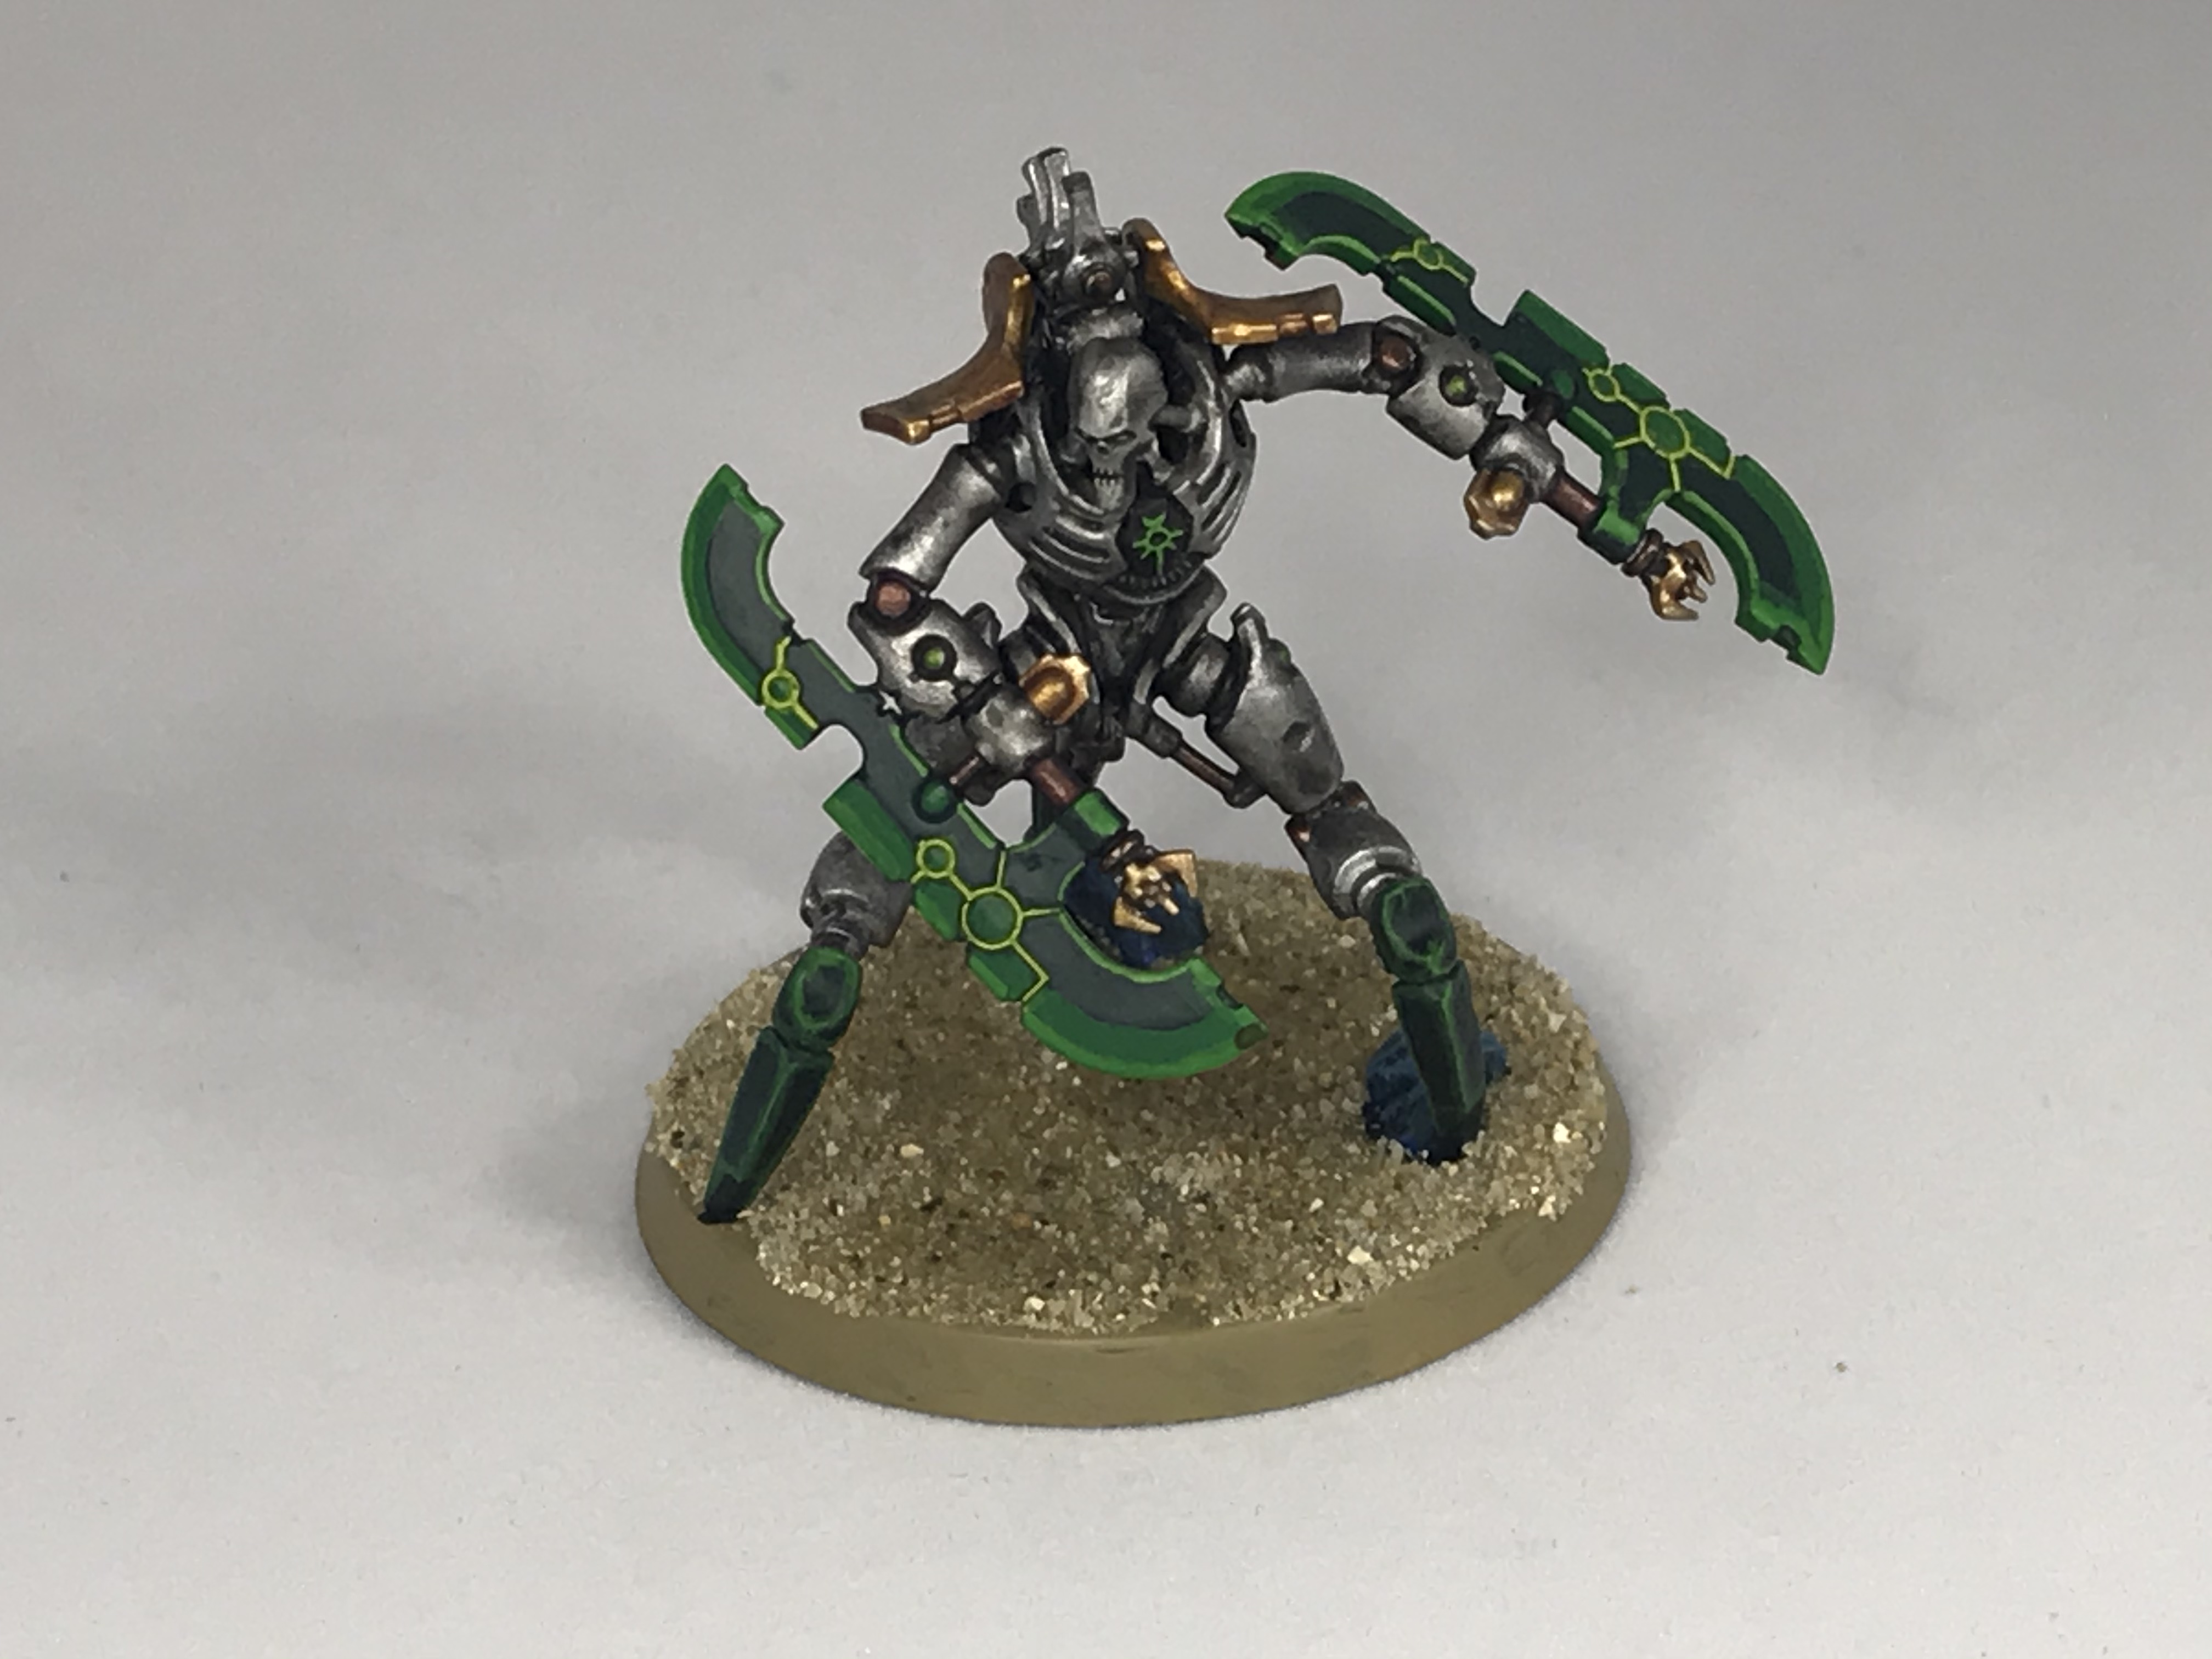
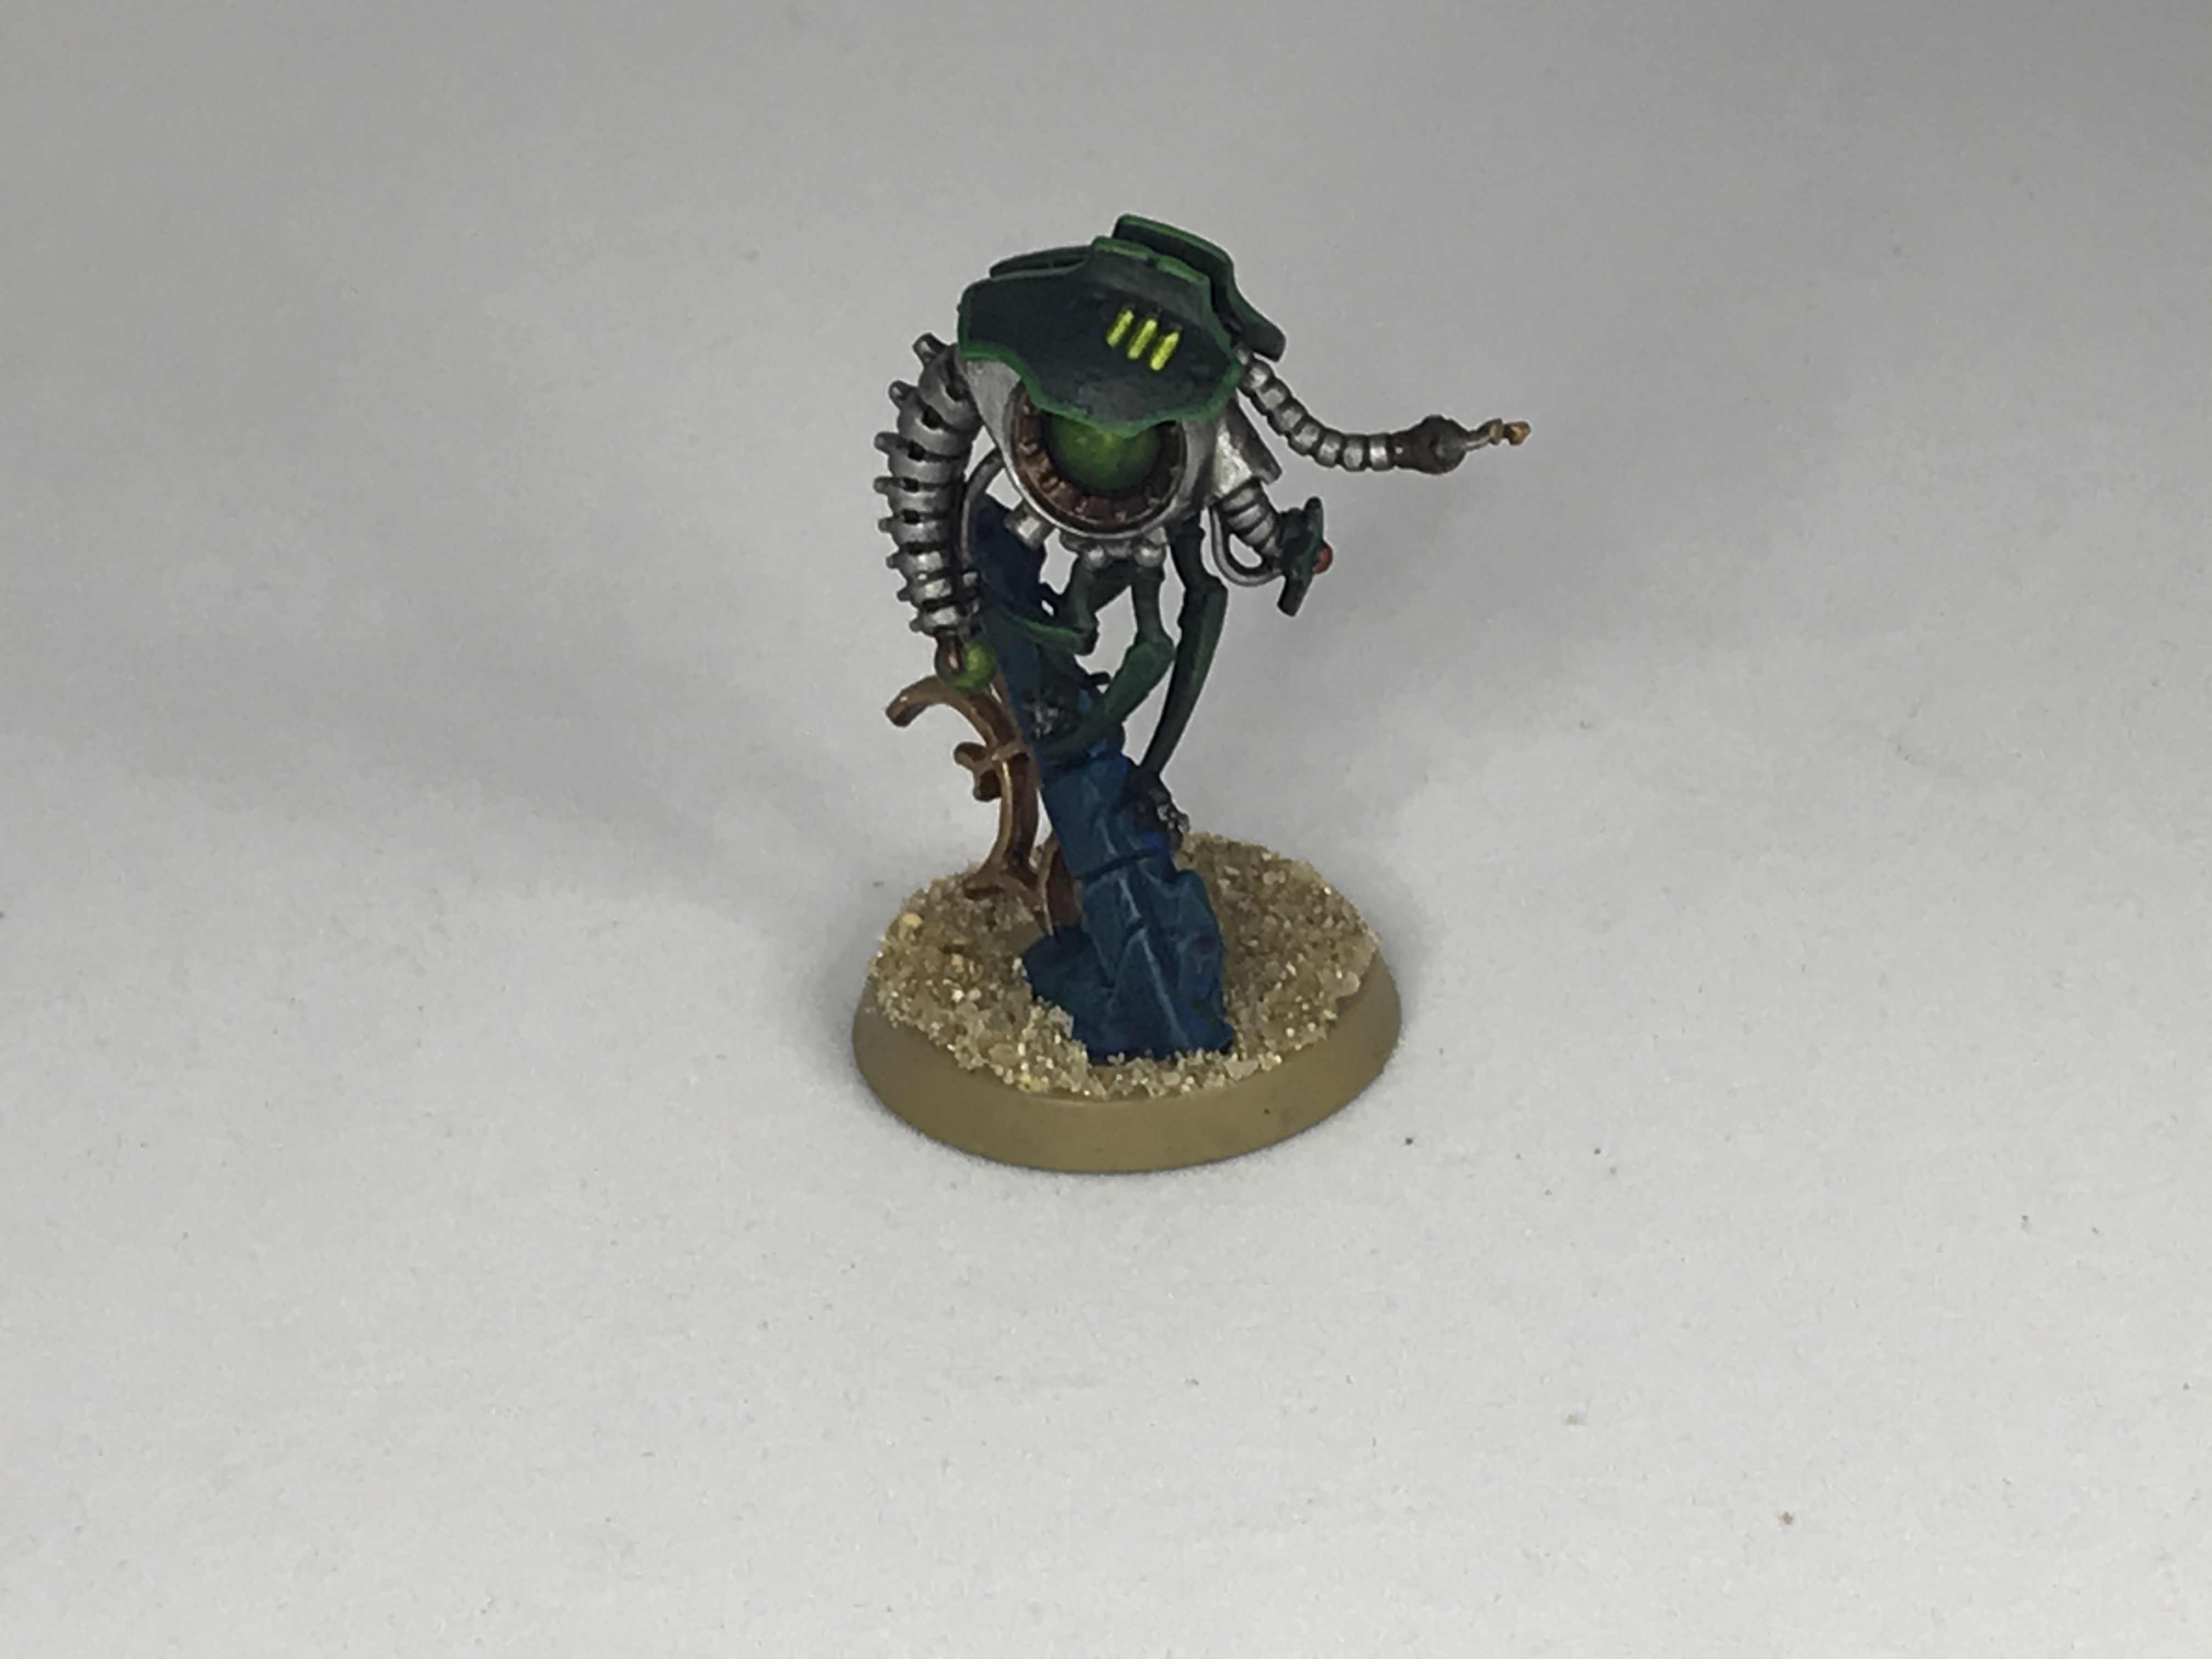
The Plasmancer has a couple extra things going on. For the bodywork on the staff, I used Grey Knights Steel washed with Drakenhoff, giving a distinctly different kind of metal for a different surface, helping add definition to the overall piece. He also gets a gold chestplate, as befits a more senior Necron. The crystal on his staff also gets a slightly different technique to everything else, being coated with Warpstone Glow, edged with mixed Warpstone and Moot Green, then washed with Aethermatic Blue. The last step didn’t really do much, so I’ll probably try Akhelian Green for the next similar thing.
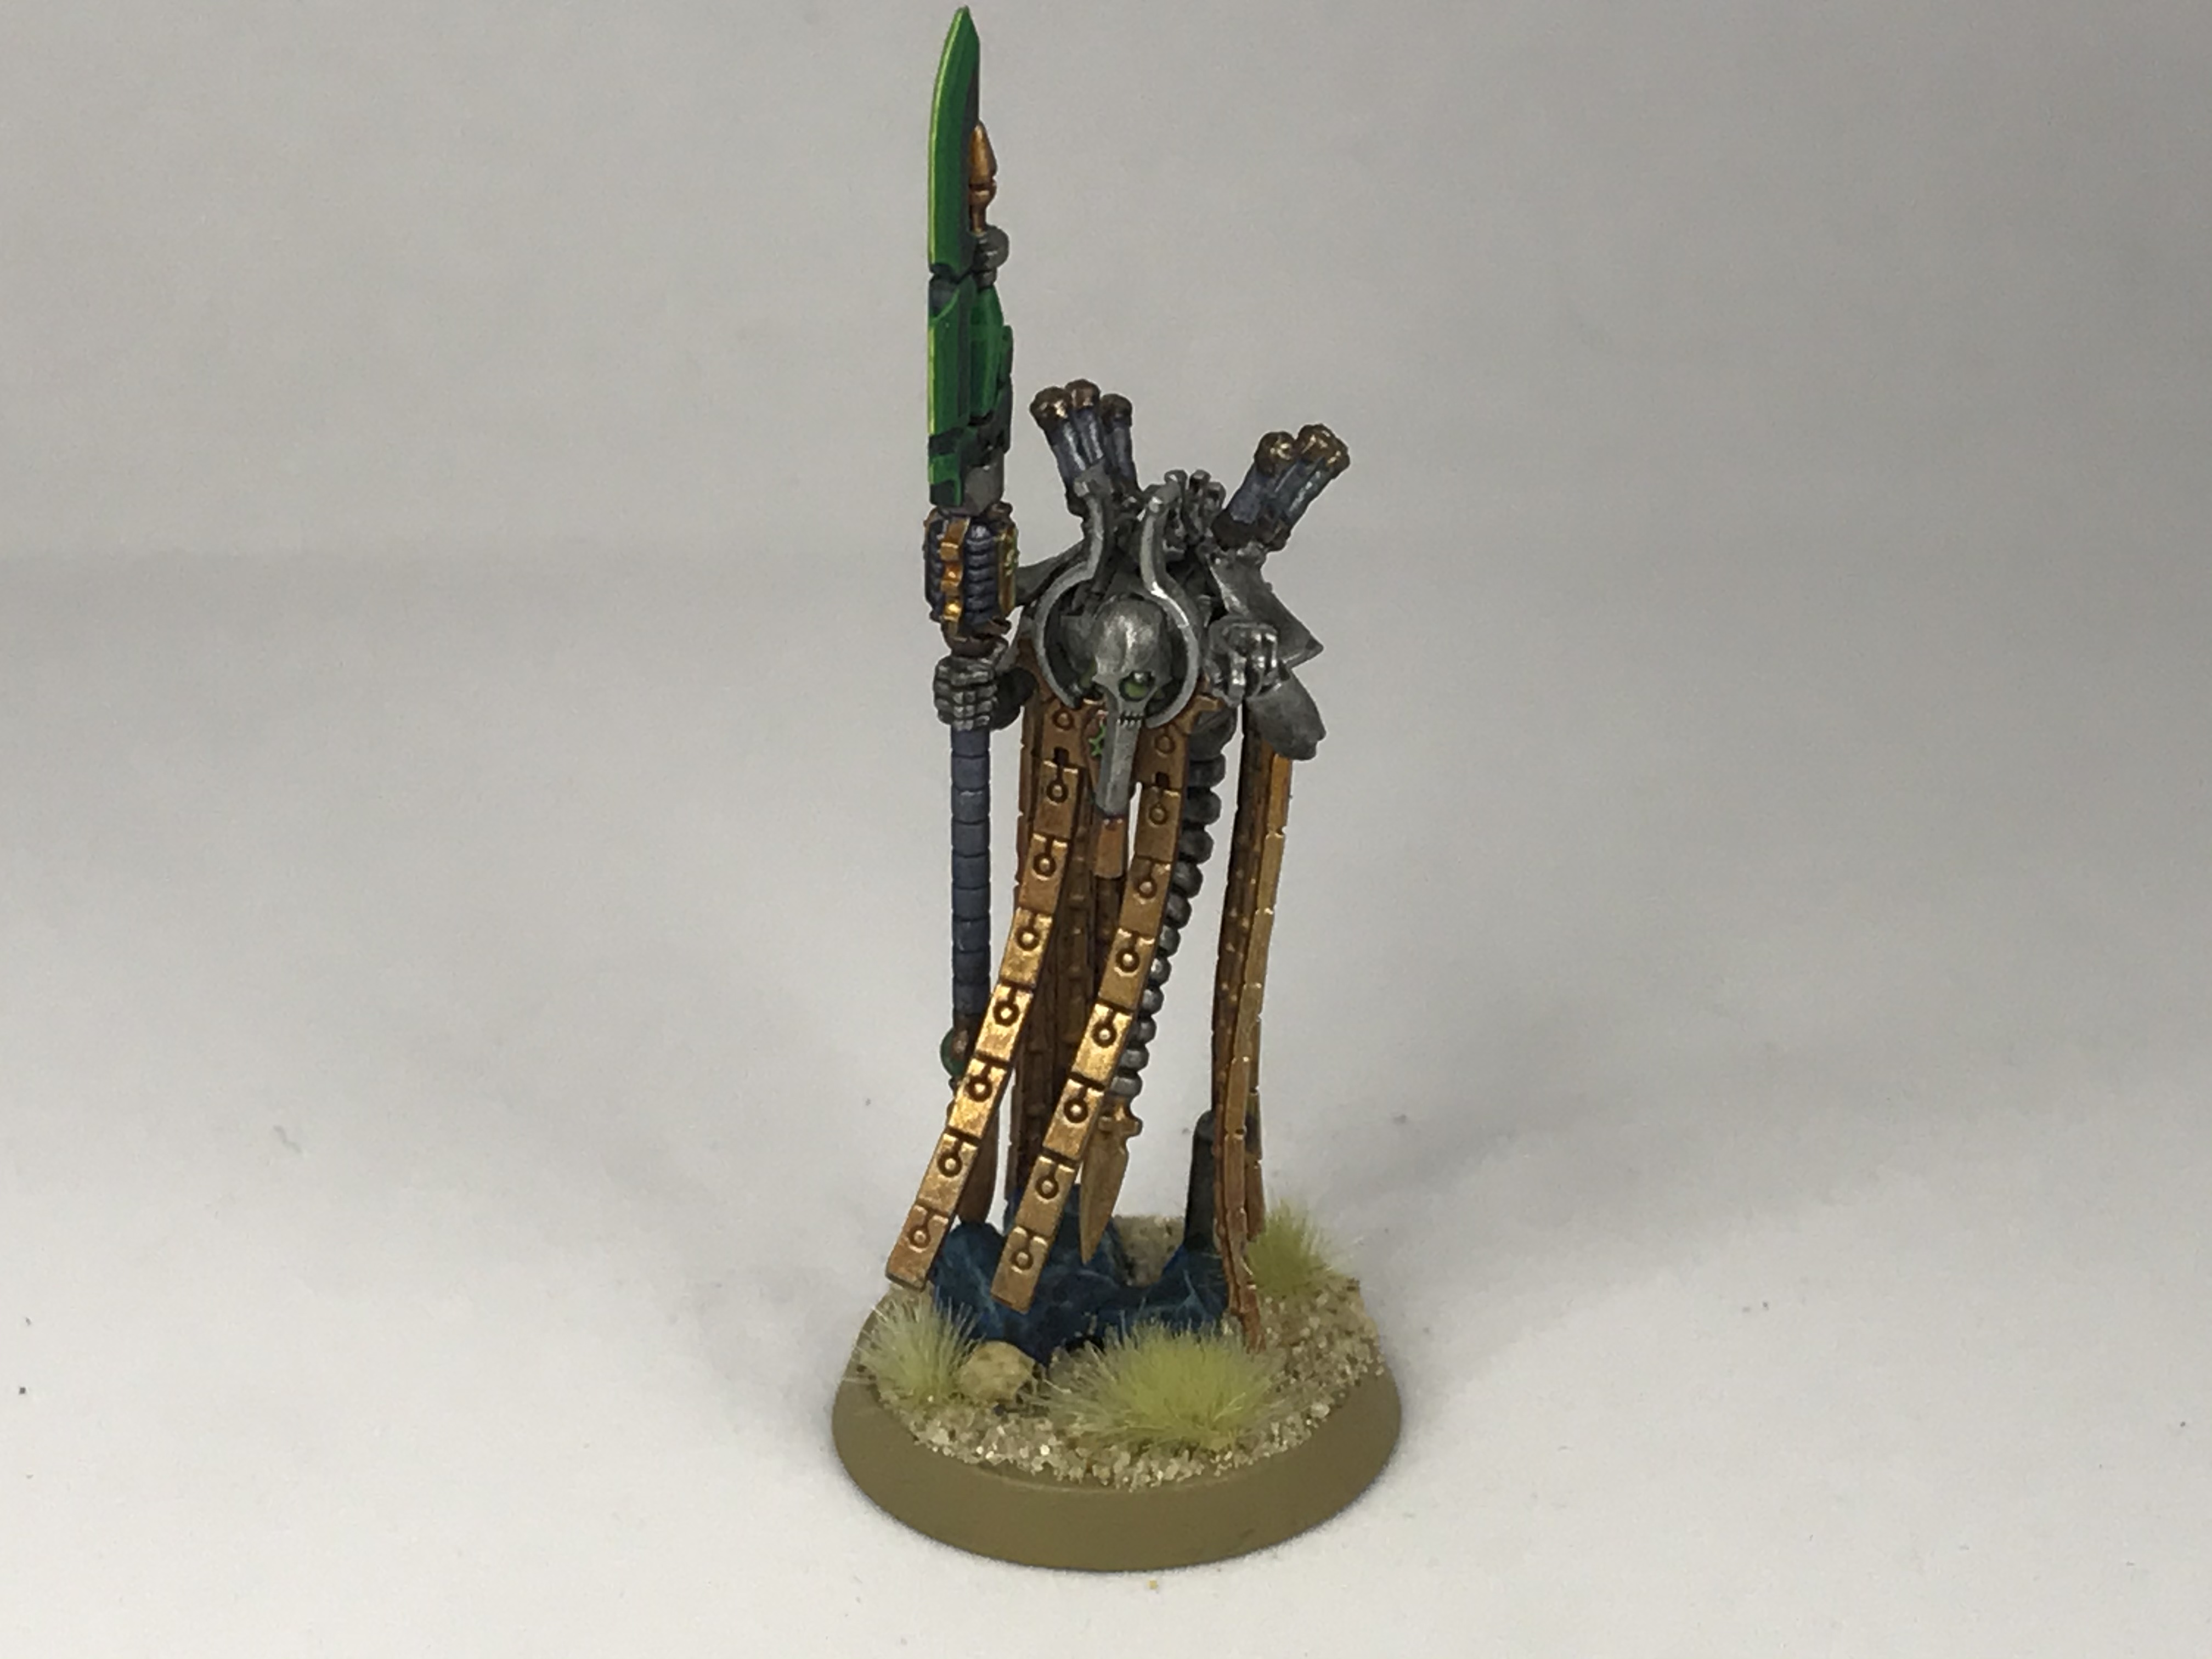
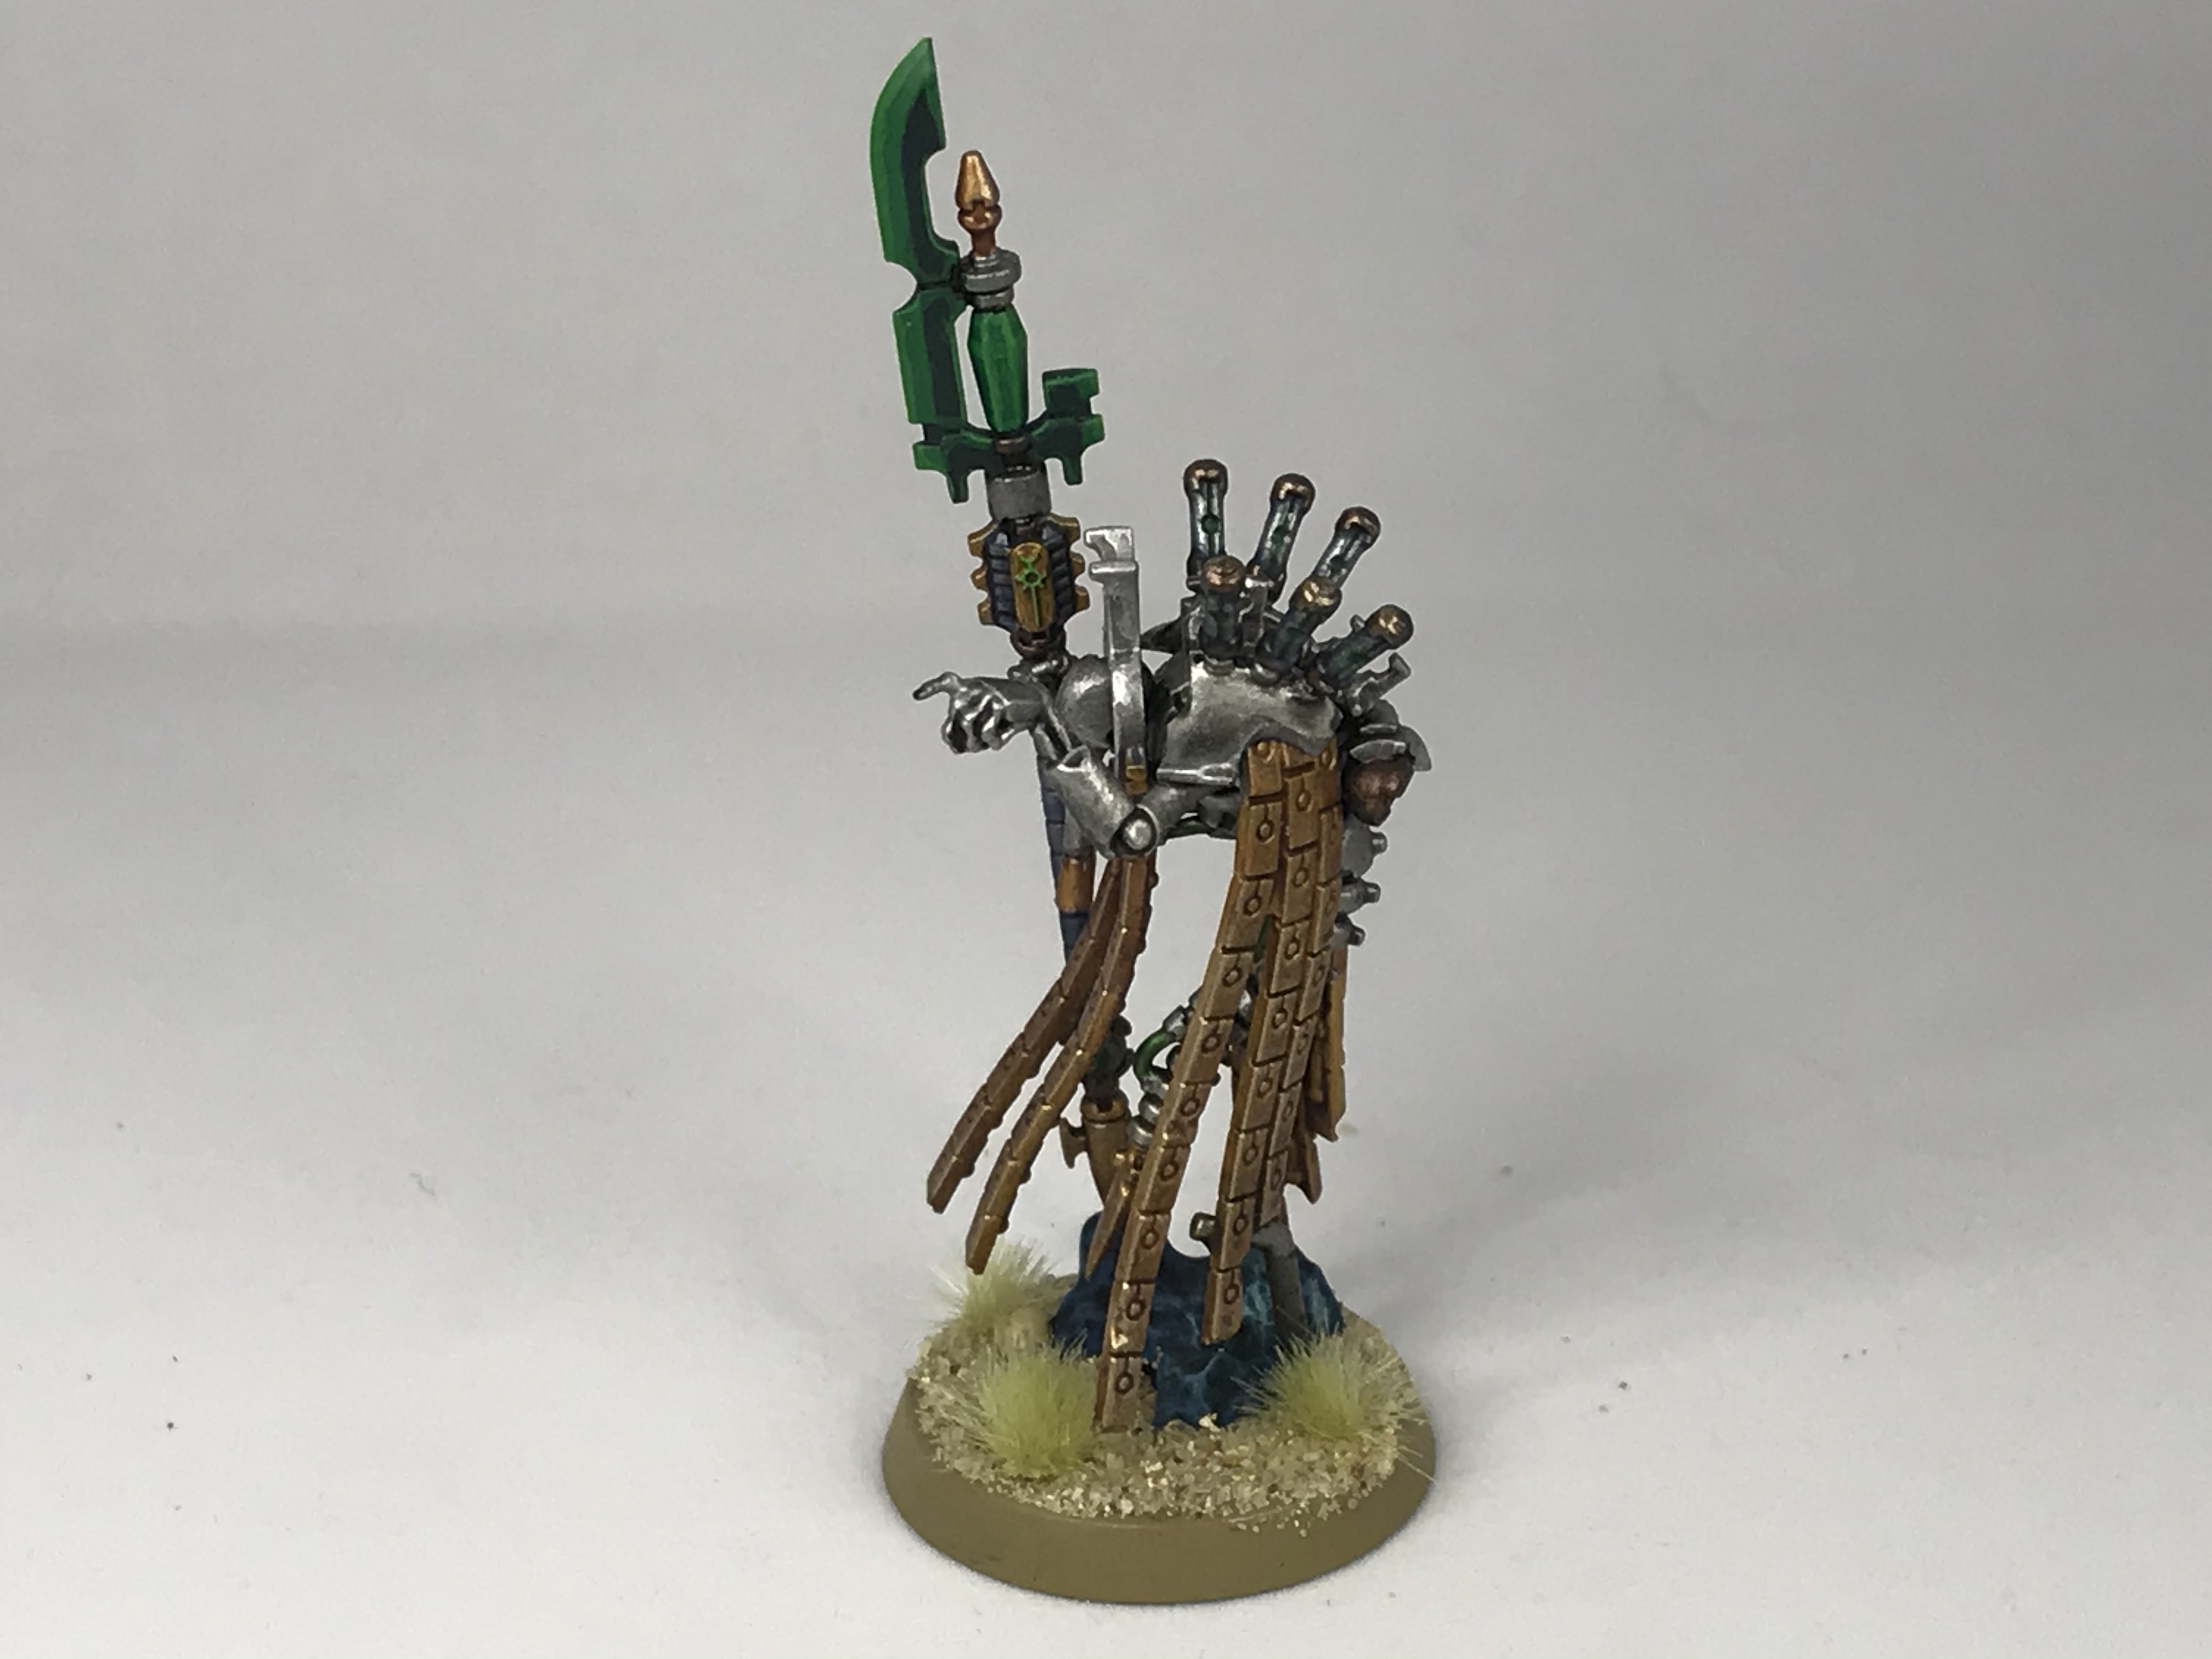
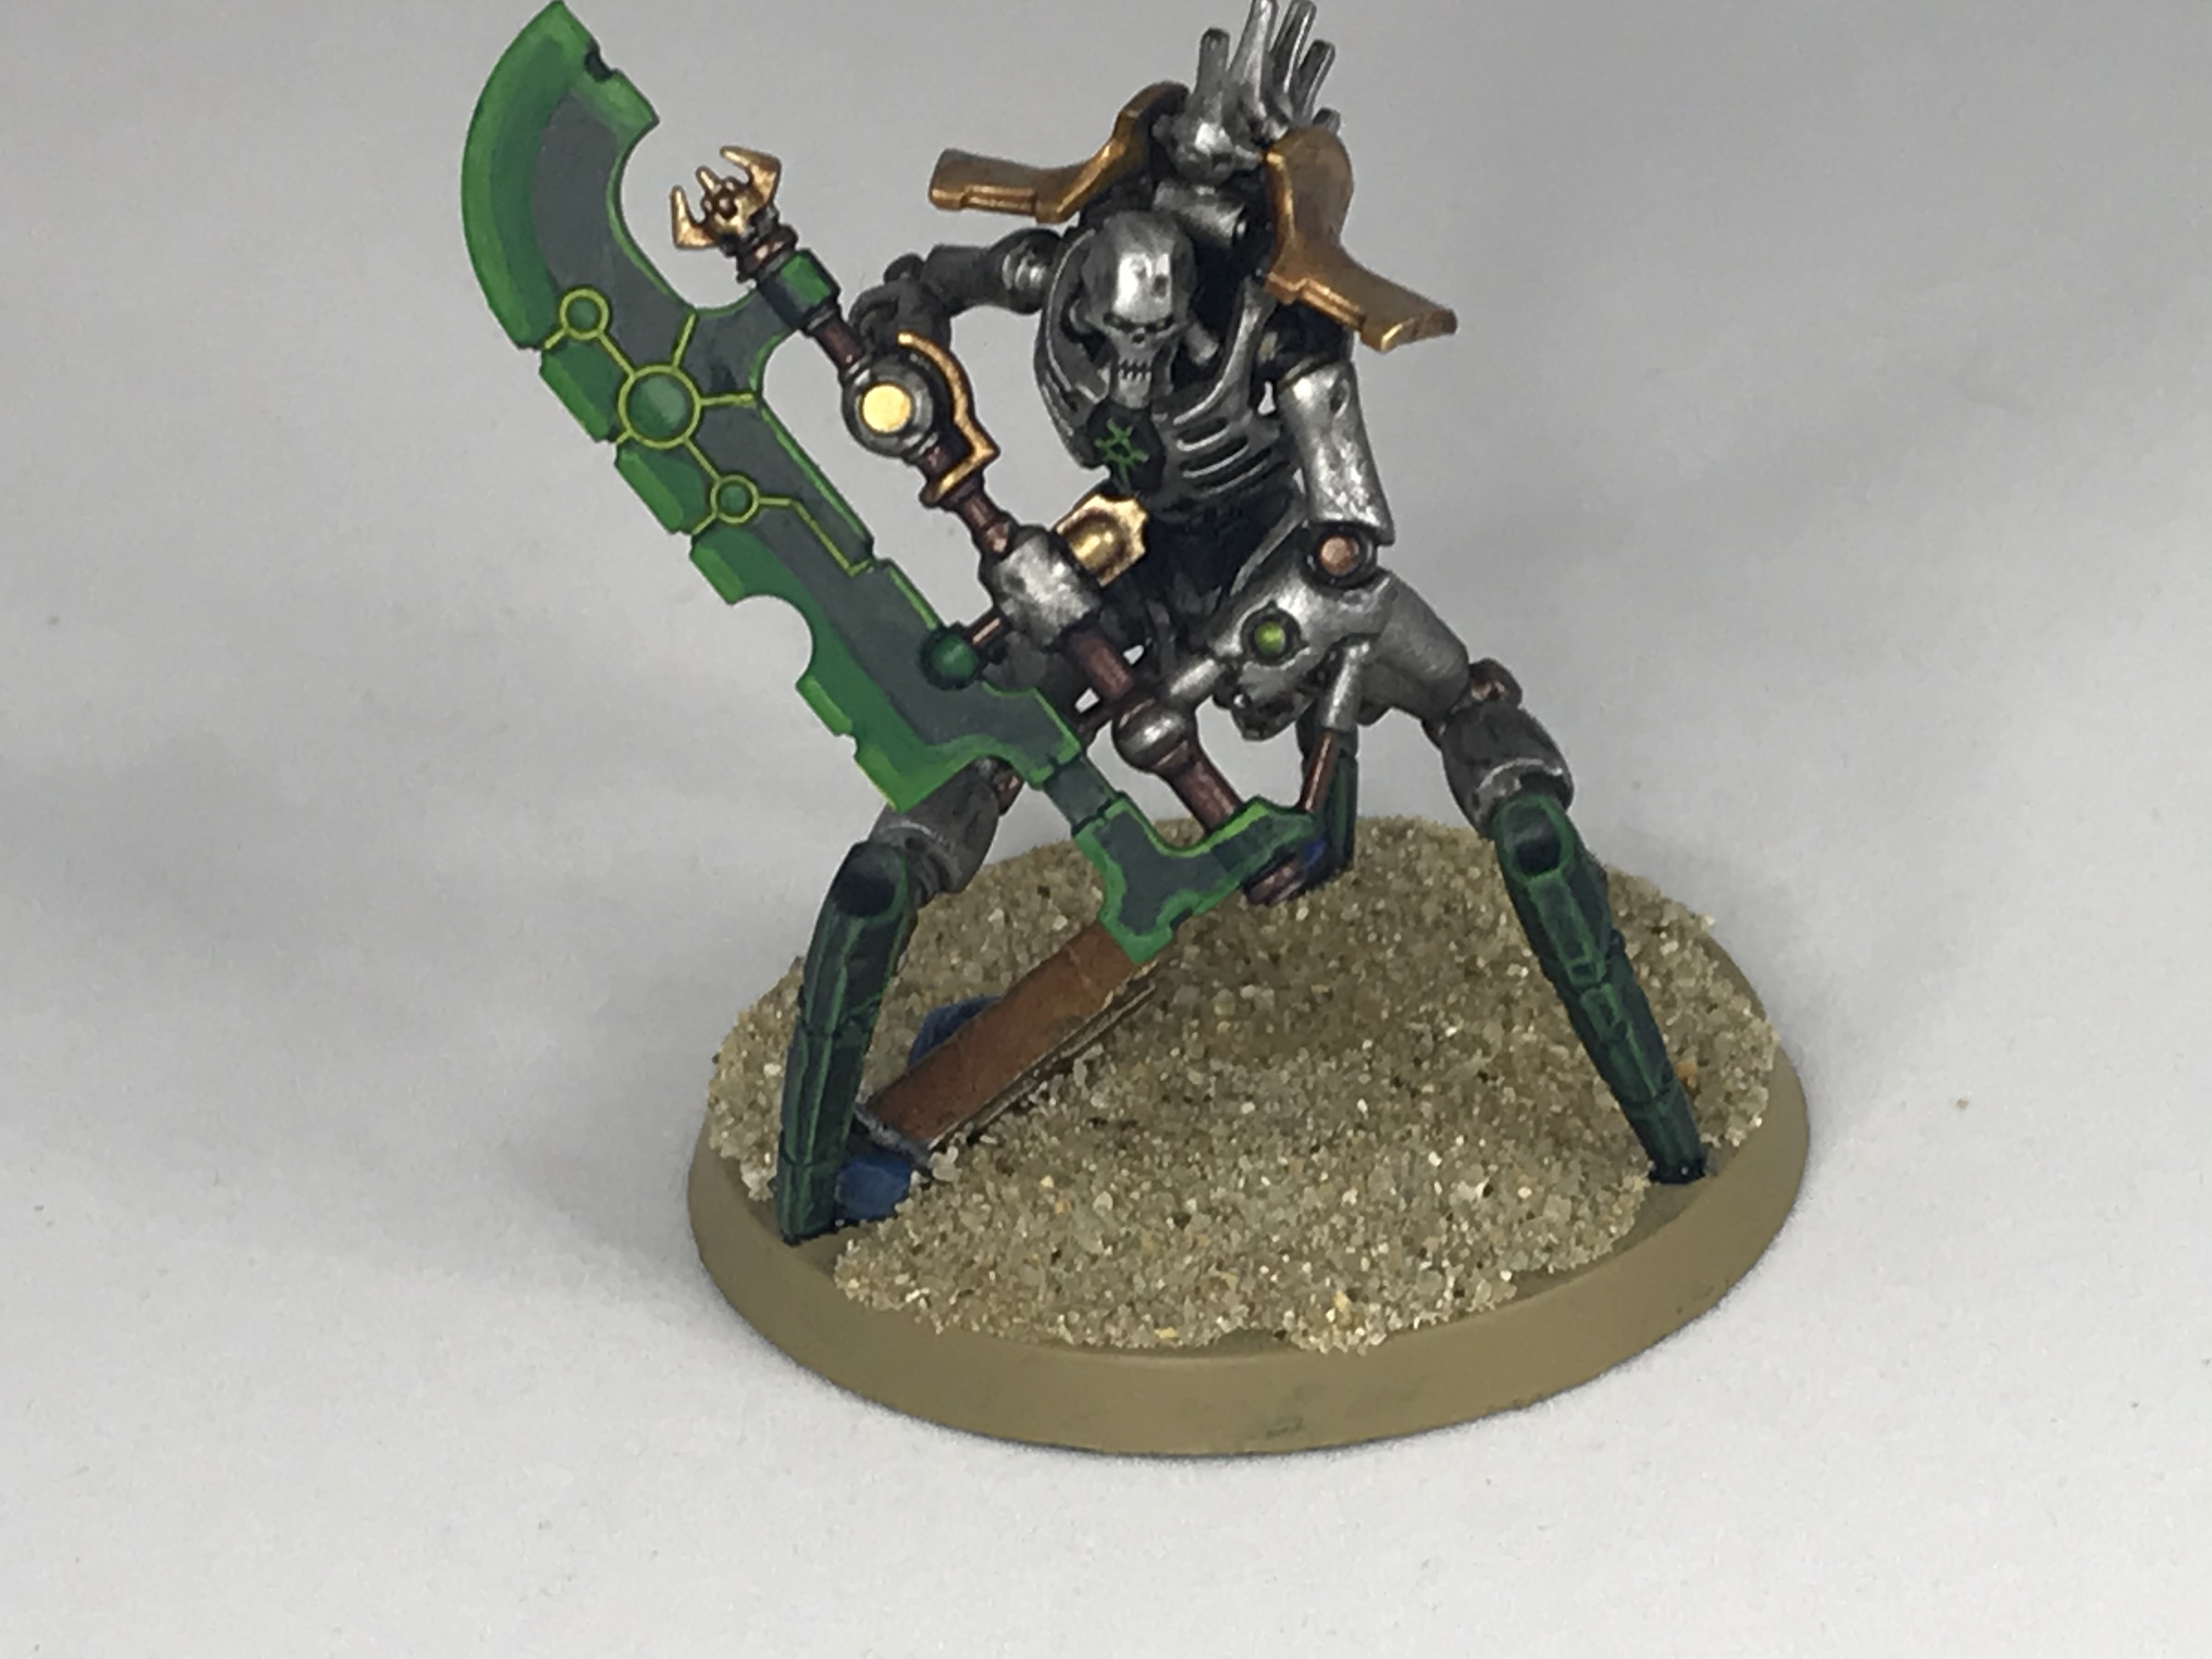
Finally, and I think my favourite of the models I’ve done so far, the Royal Warden. Most of the techniques here are repeats, but the gun gets some new stuff. The bodywork is Corvus Black on top of the primer, washed with Nuln and then gently edge highlighted with a drybrush of Dawnstone. The barrels sections are a new method I tried out here and worked well – it’s just thinned Grey Knights Steel on the whole thing, then thinned 1:1 Iyanden Yellow/Ork Flesh contrast into the recesses and over the orbs. It looks great, and I’ll be using it for my Warriors as well.
 These models have been great fun to work on thus far, and I’m looking forward to working on the Reanimator and Skorpekh Lord next.
Where to Read More
That wraps up our look at the Indomitus box, but if you’re looking for more ways to paint Necrons, we’d highly recommend you check out our How to Paint Everything: Necrons article, which has many more methods and recipes for different dynasties. Or check out How to Paint Szeras if you’re looking for tips on assembling and painting the newest Necron special character model. And as always, if you have any questions or feedback, drop us a note in the comments below or email us at contact@goonhammer.com. Or if you’re a Patron, drop into the Discord hobby channel to ask questions and share hobby progress with the Goonhammer staff and our wonderful community.
