
While we’re always going back and adding updates to our older How to Paint Everything series when we have new methods or need to adjust old links or rules talk, sometimes the updates are big enough that they deserve to get their own articles! In today’s article, guest author Macathu is sowing off his Bog Death Guard and talking about how to paint them. We’ll also be adding this to our larger How to Paint Everything: Death Guard article, which has more tips and tricks for painting Mortarion’s sons.
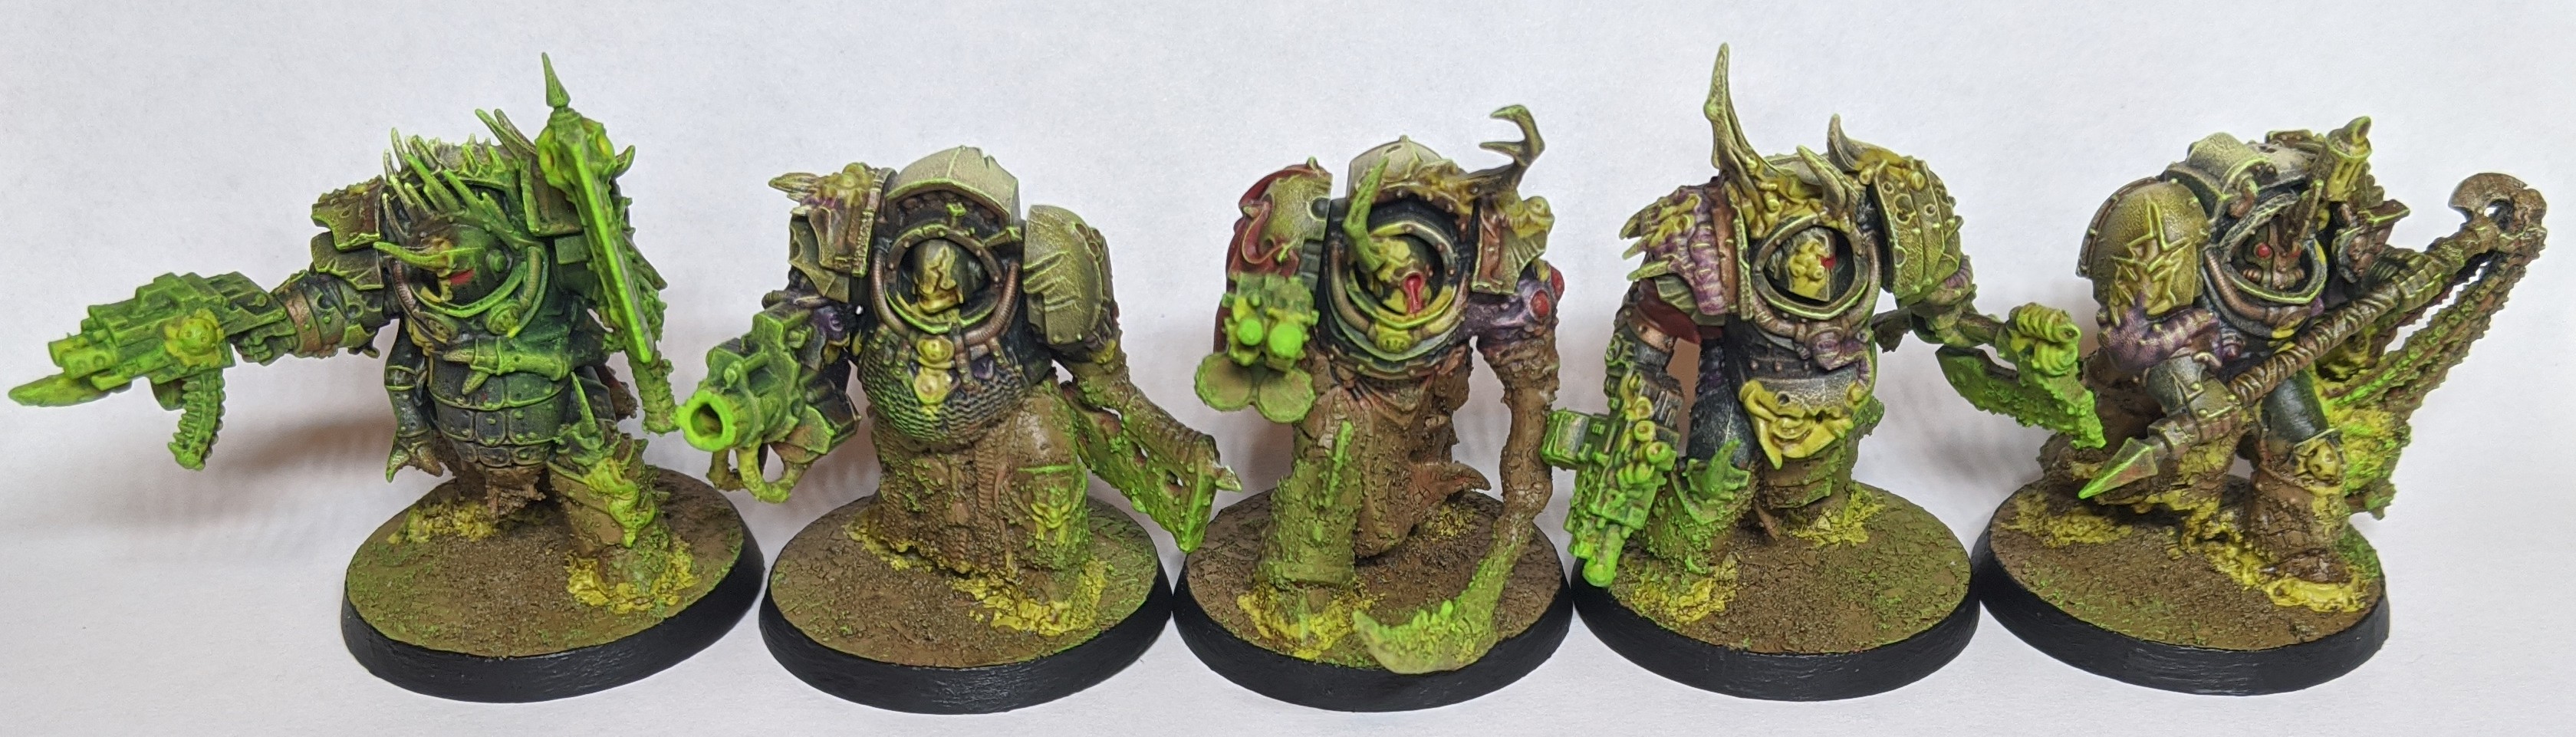
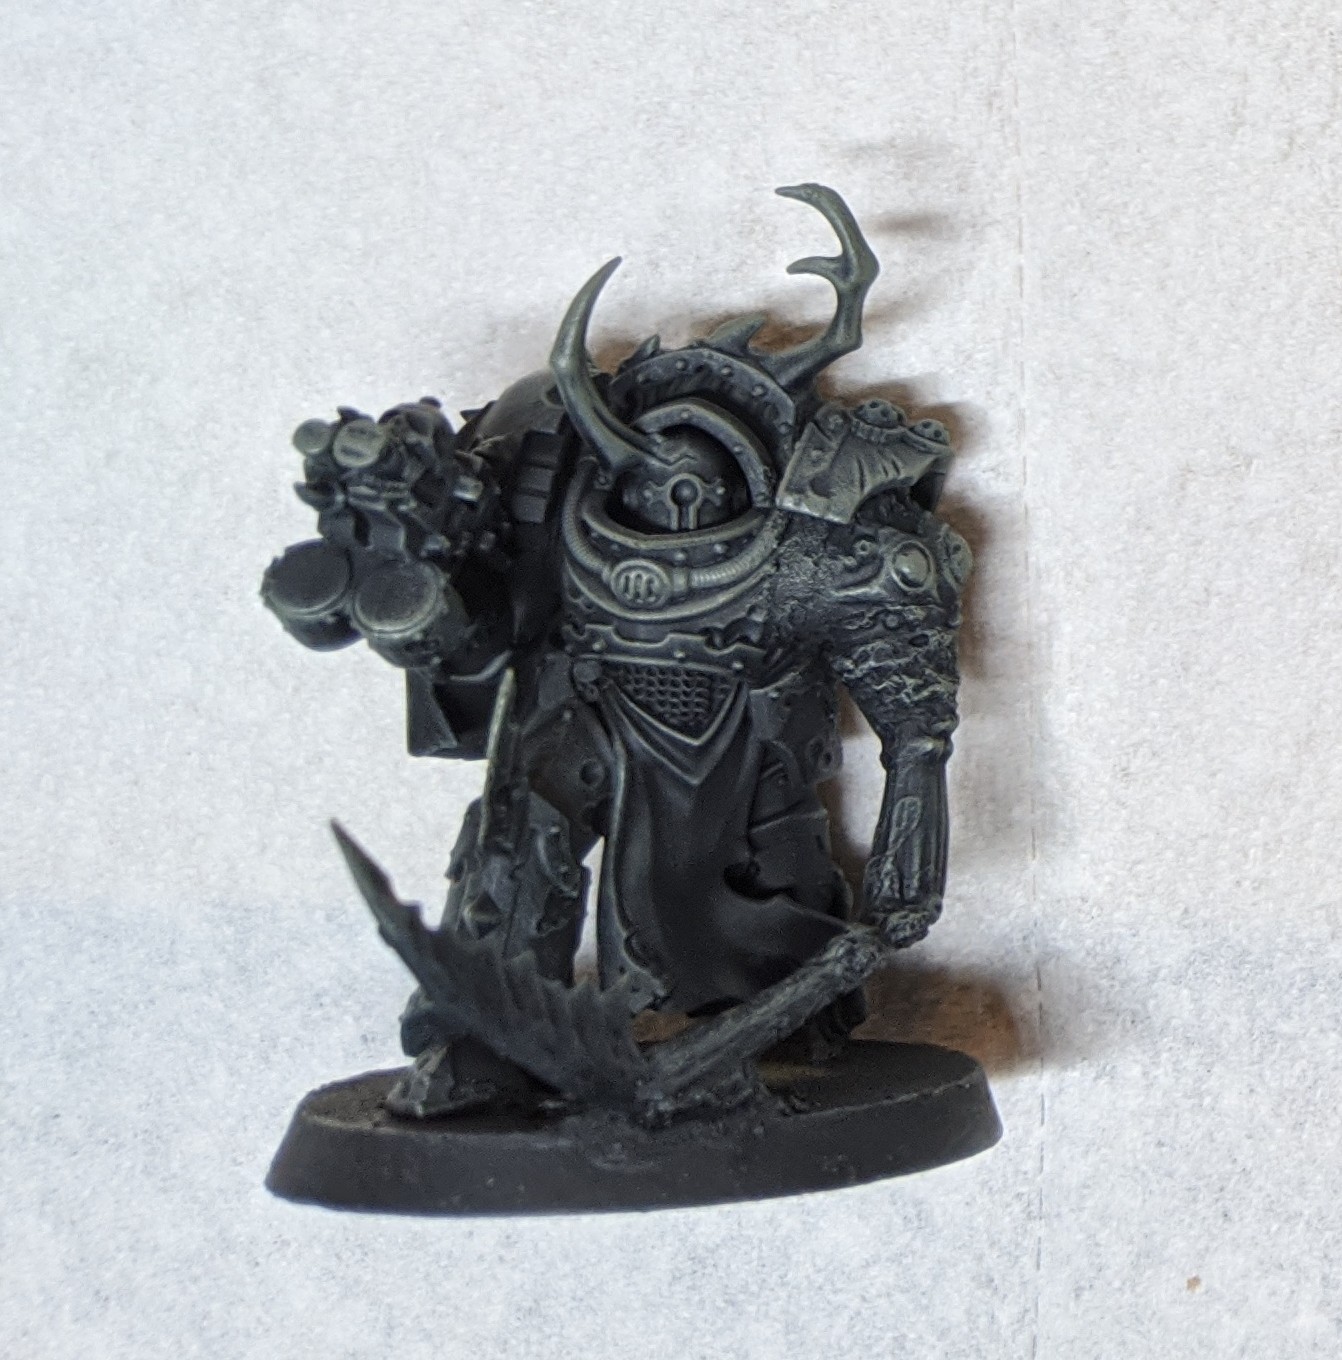
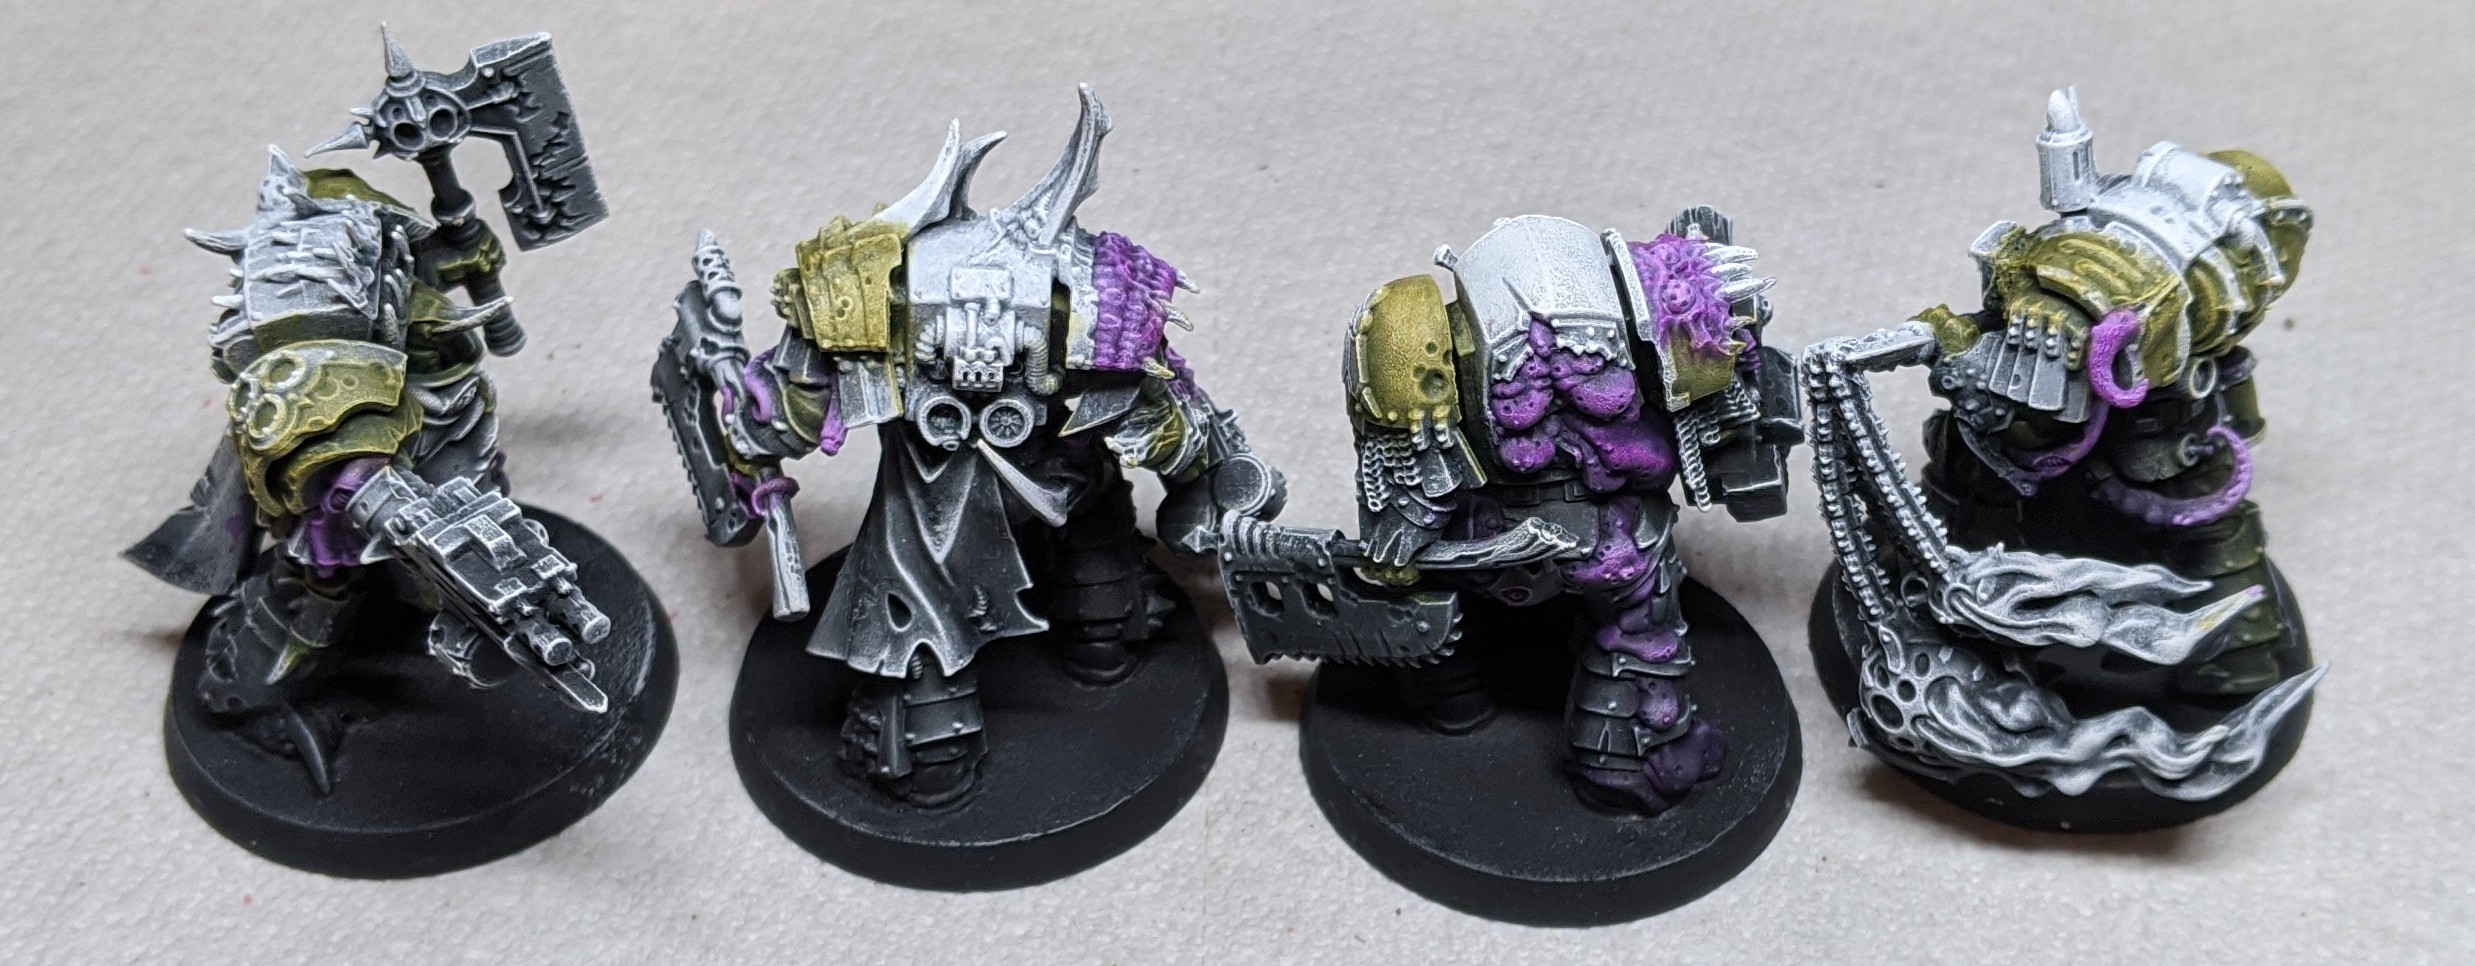
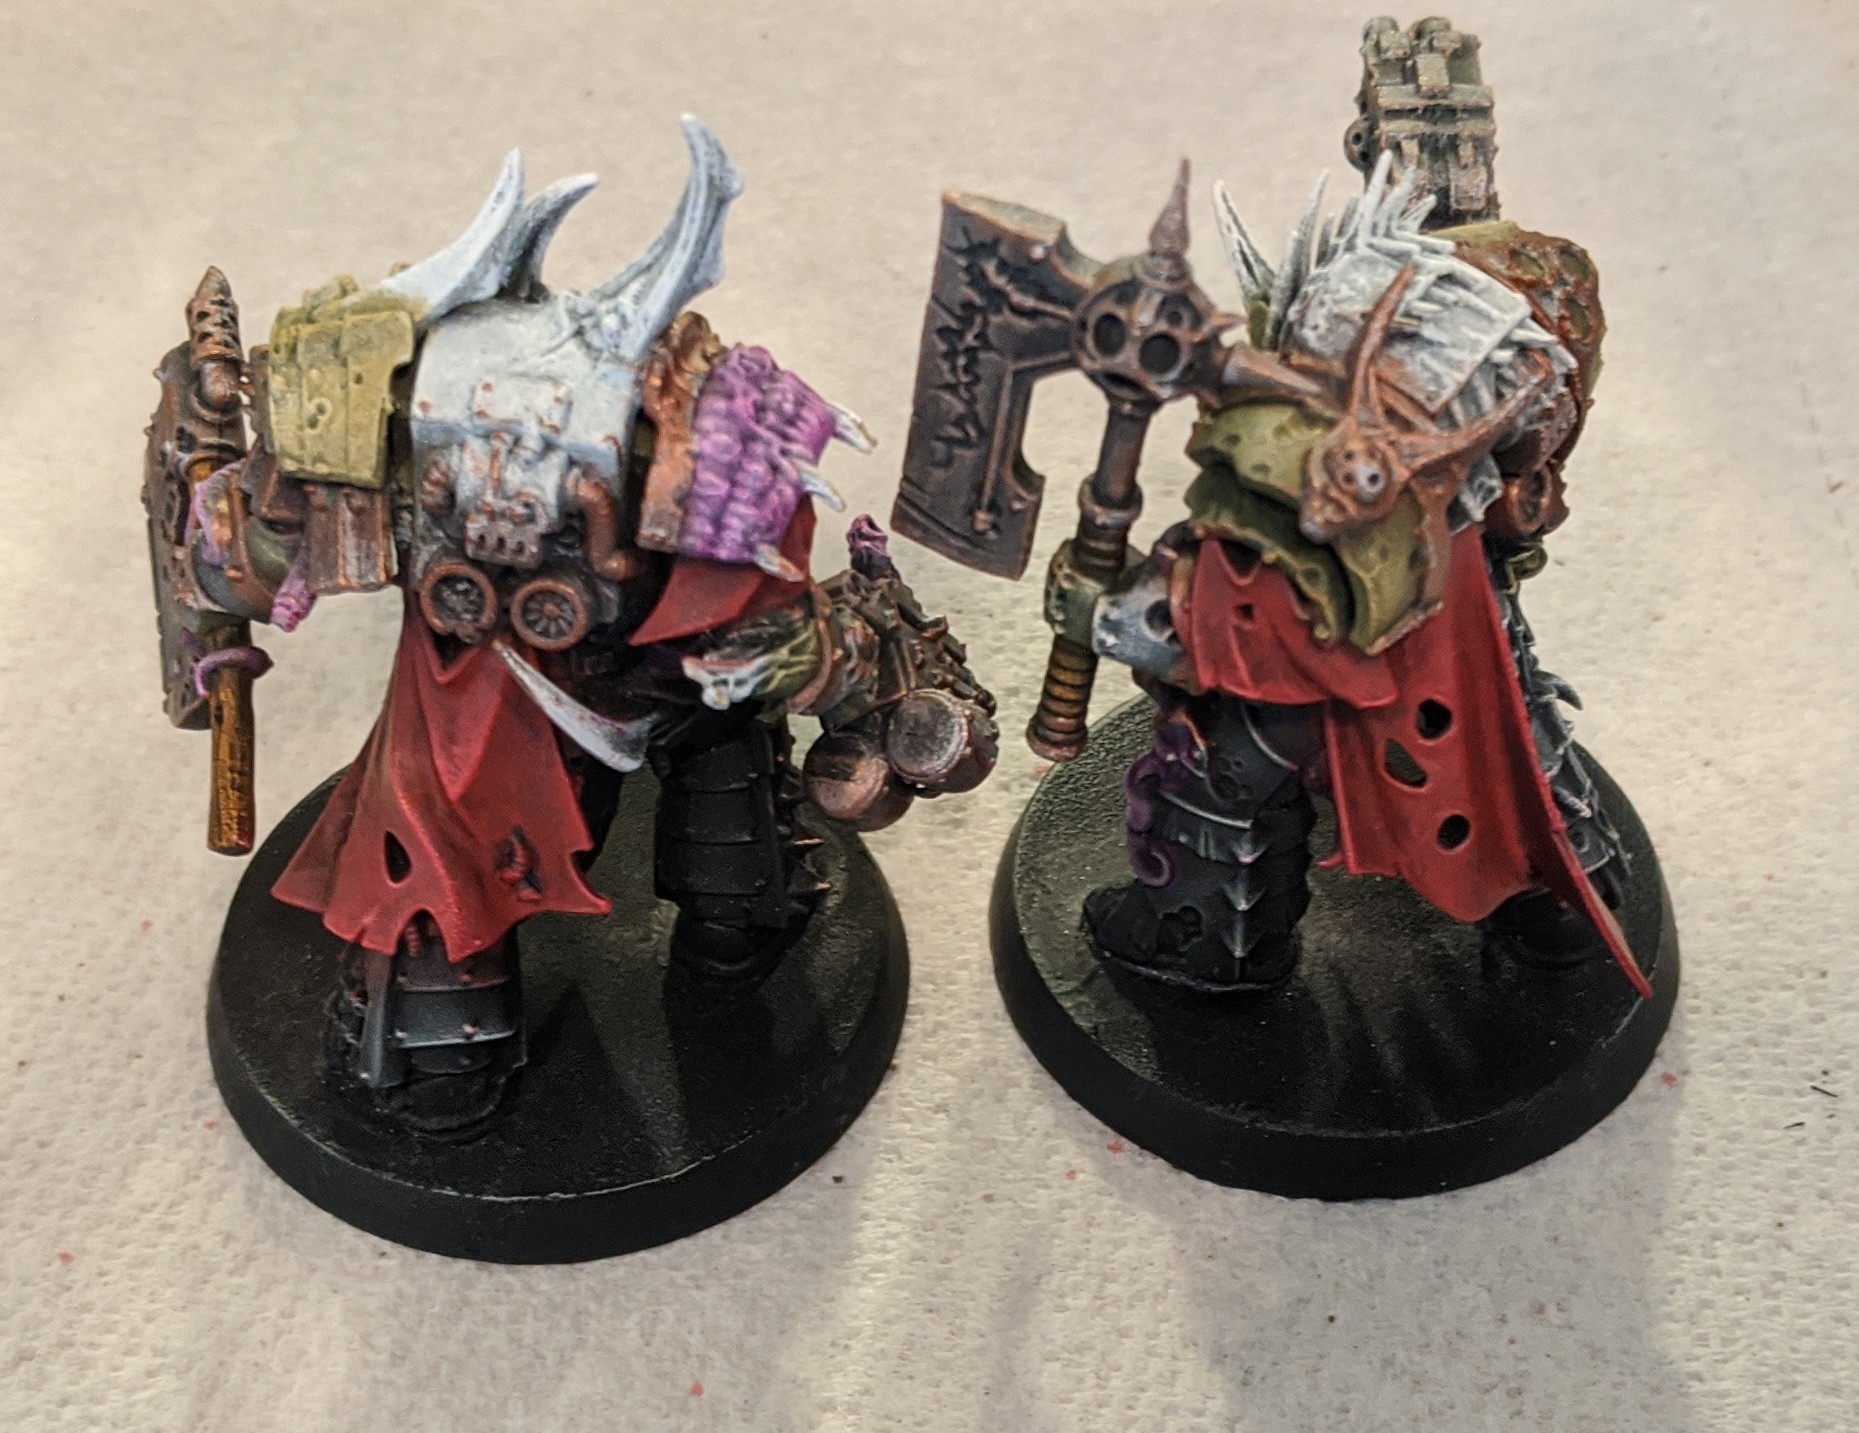
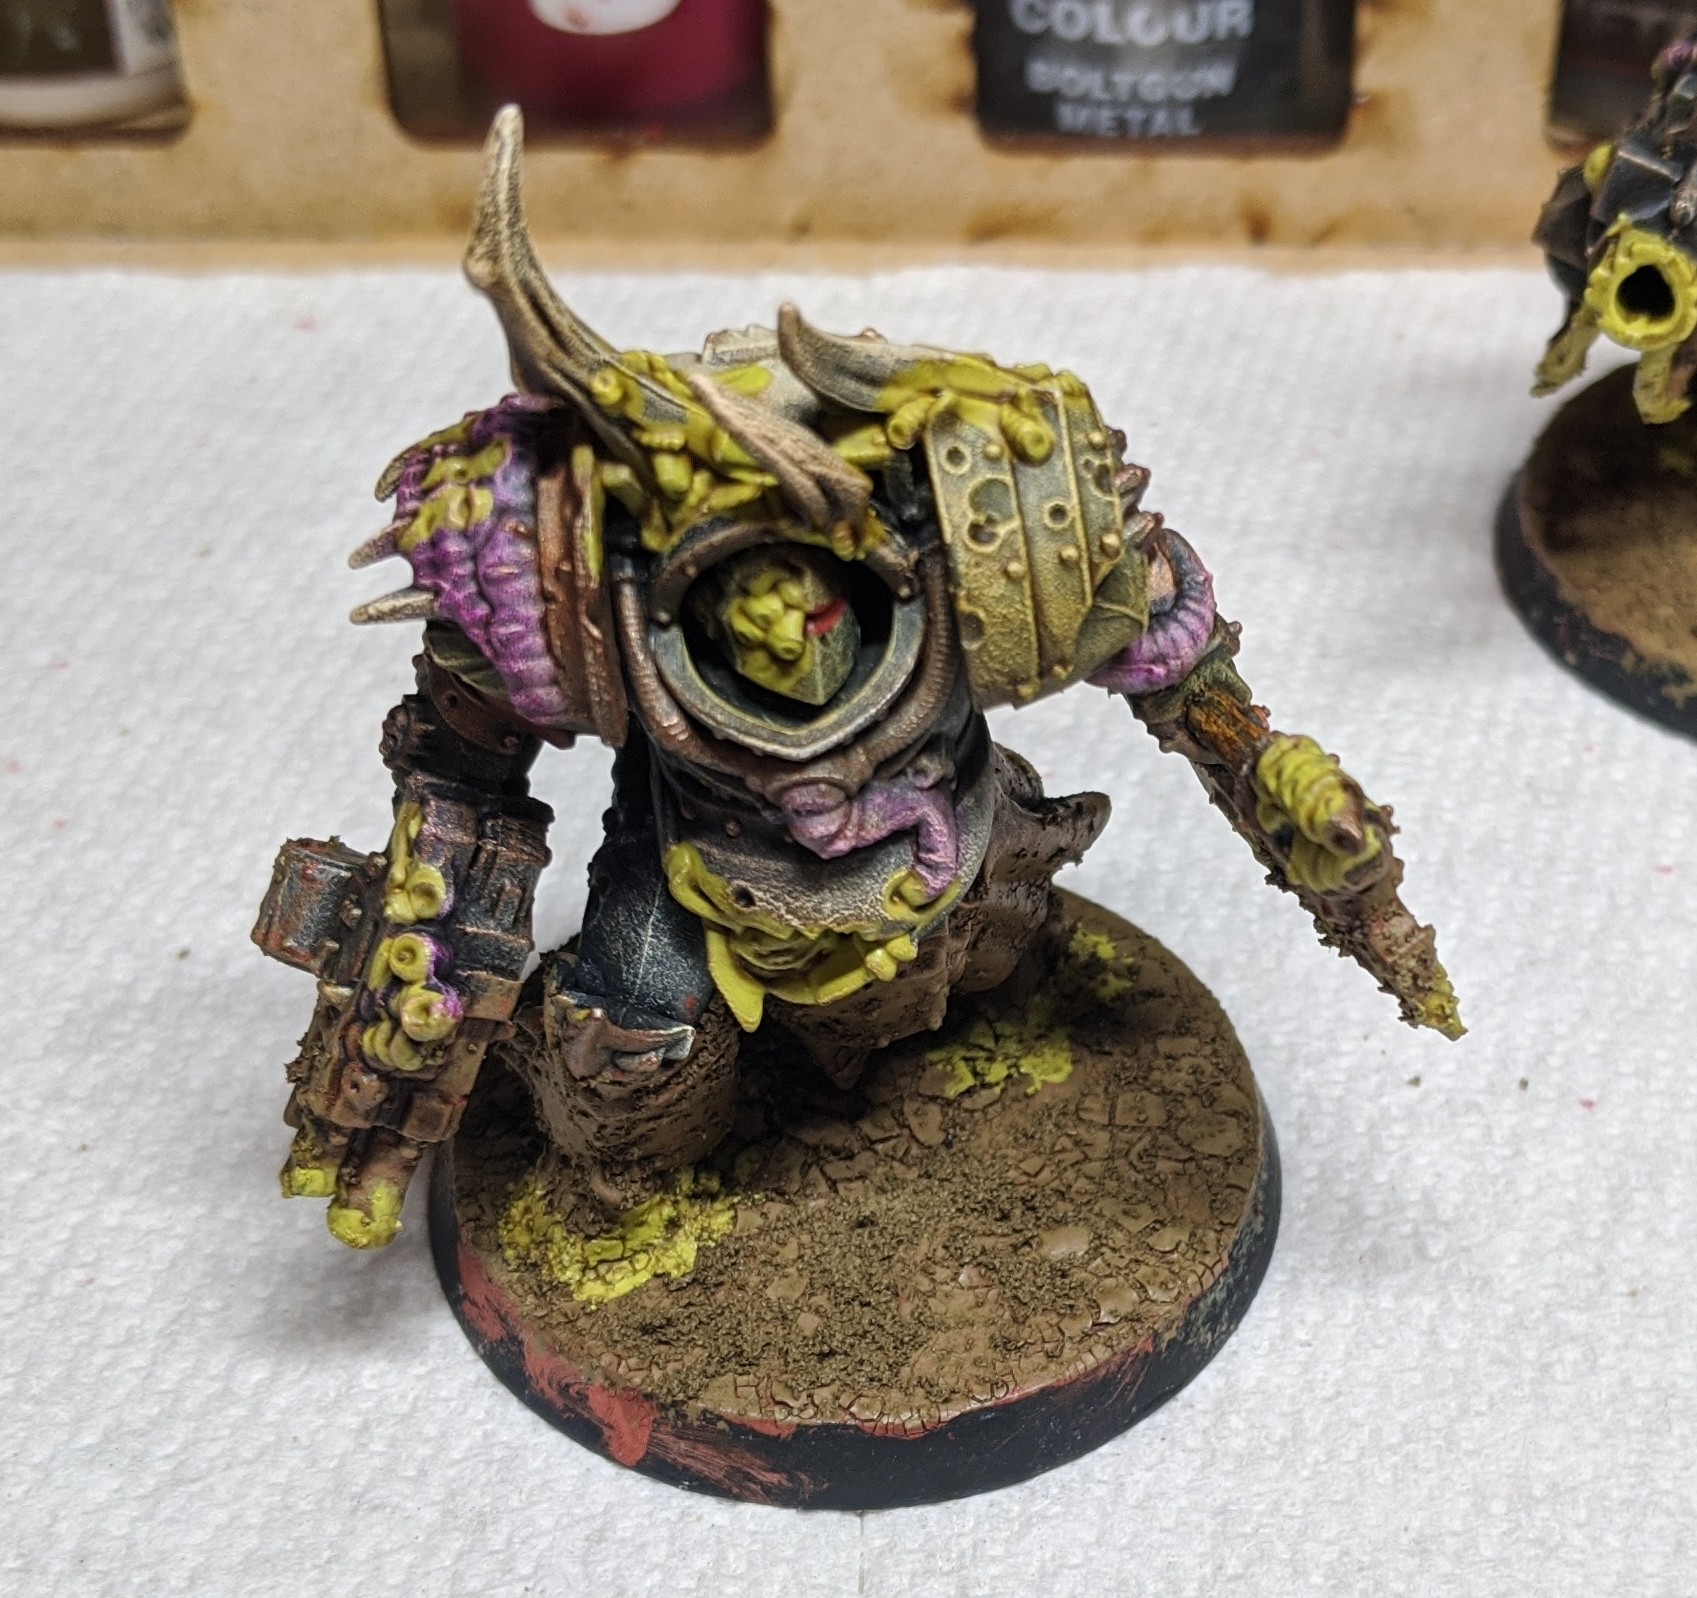
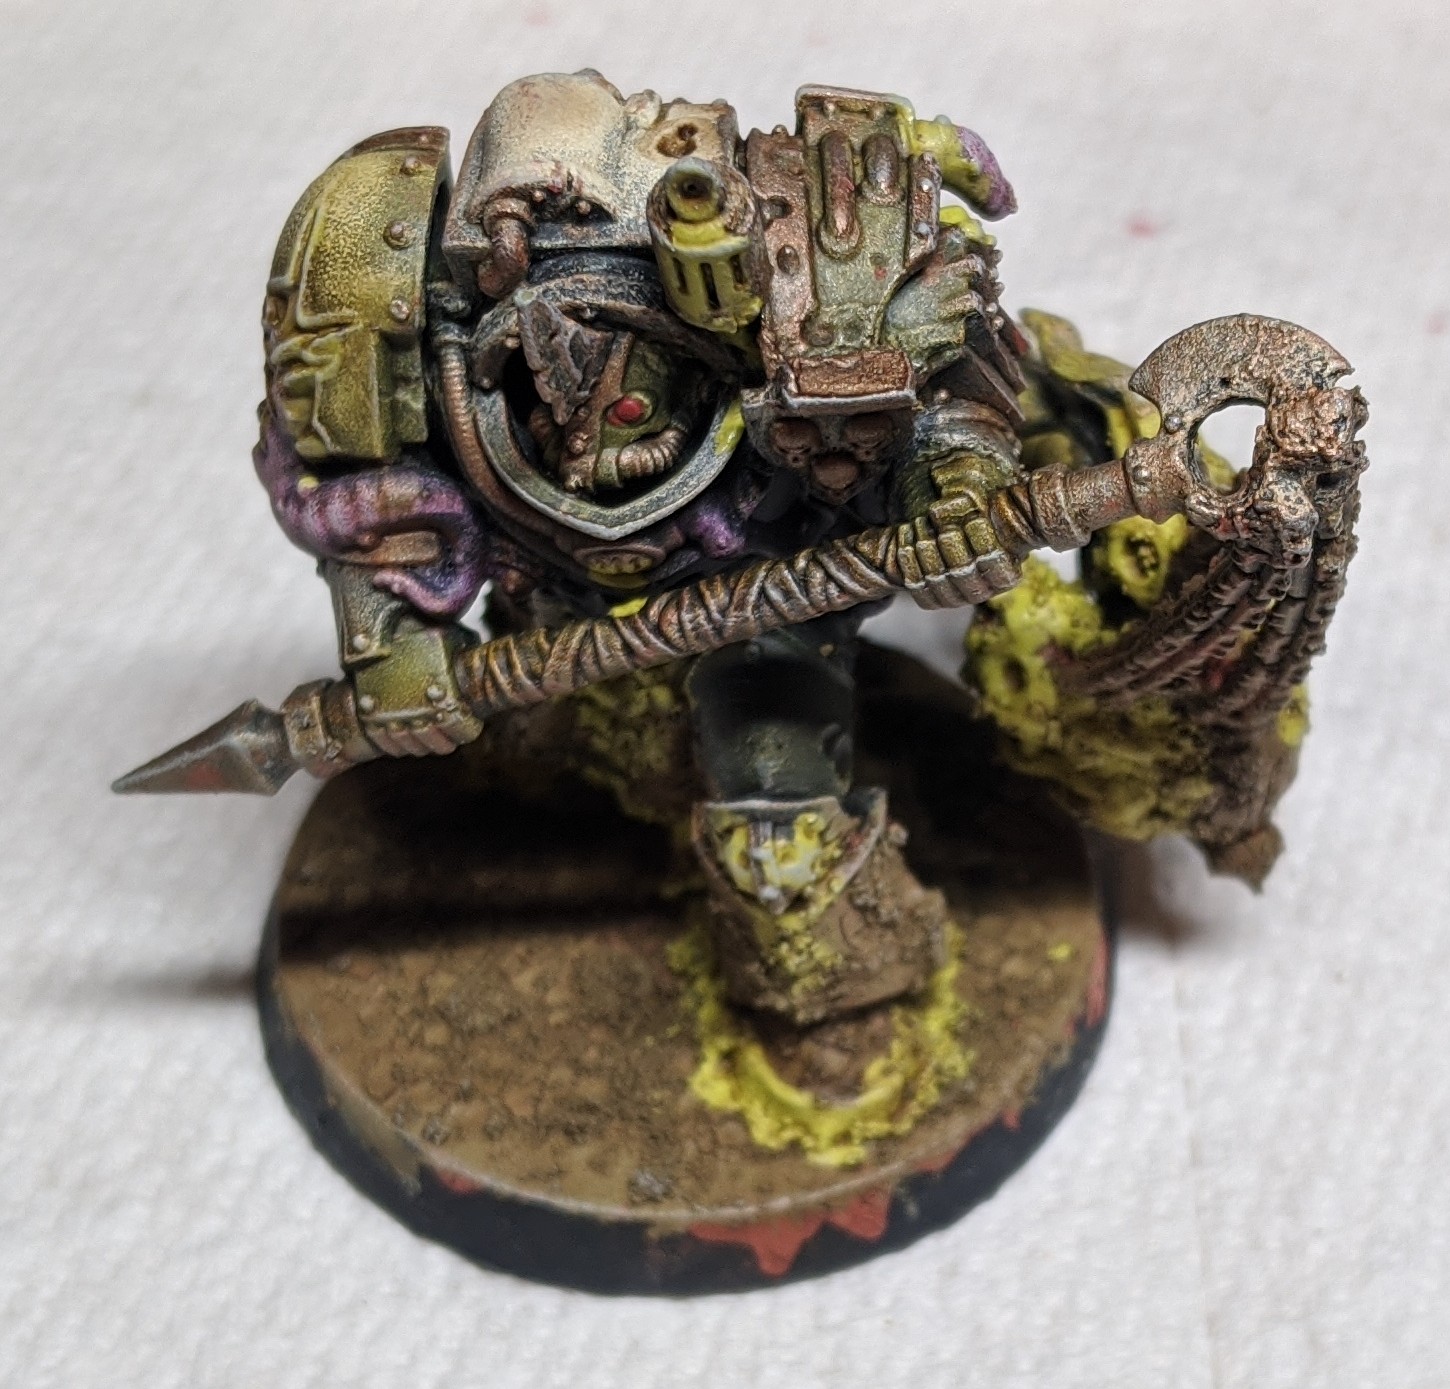
Greetings fellow disciples of Papa Nurgle! In this tutorial, you will see how my squad of Blightlord Terminators emerged from the muck and onto the battlefield. This was the first set of terminator models added to my army, so I wanted to experiment a bit and make them differ slightly from the rest of my models. The two standout components wound up being the utilization of multiple texture paints and some OSL (which was honestly a happy mistake).
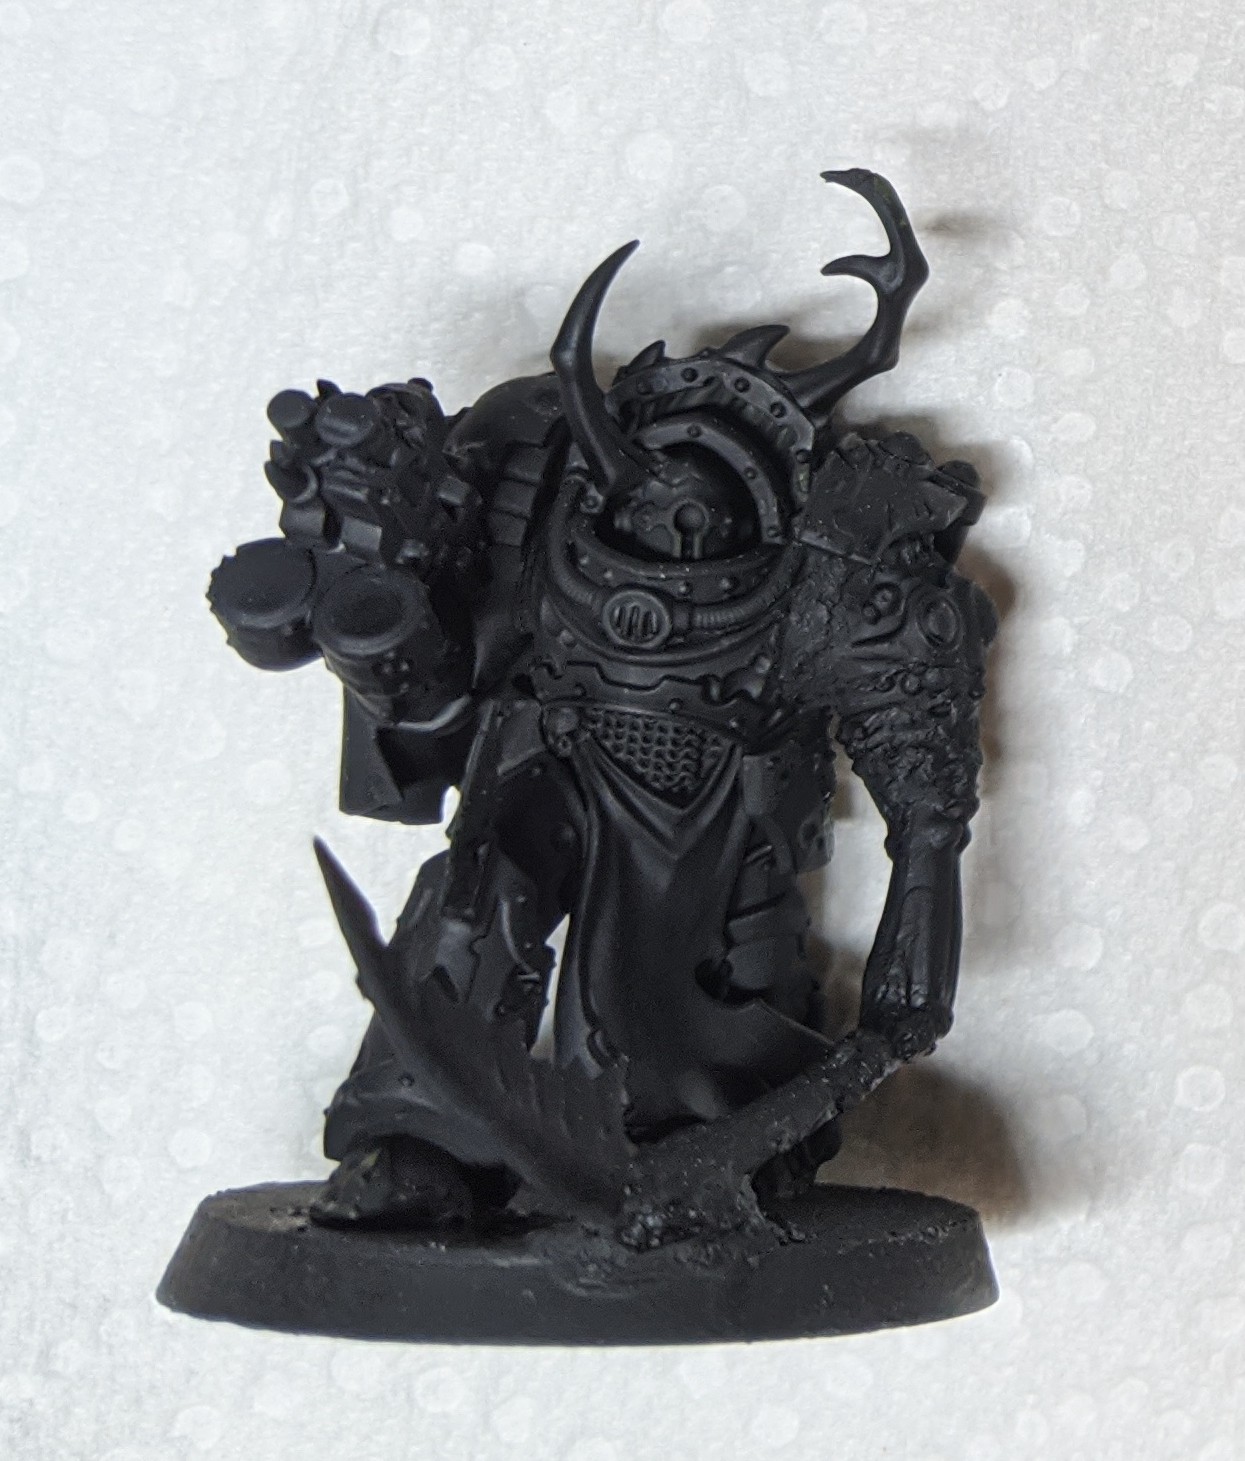
To start things off, the first phase will be priming followed by zenithal underpainting. I prime my models with “ultra flat” black to aid in shadows and take care of any hard to reach spots later on. I’m not really picky and will use Krylon or Rustoleum rattlecans from a hardware store. In the instance of those brands, the “camouflage” lines in particular. Neither of them are actually primer, but are formulated to adhere to plastic. Supposedly the Krylon line is better, but I haven’t had any issues with the Rustoleum.
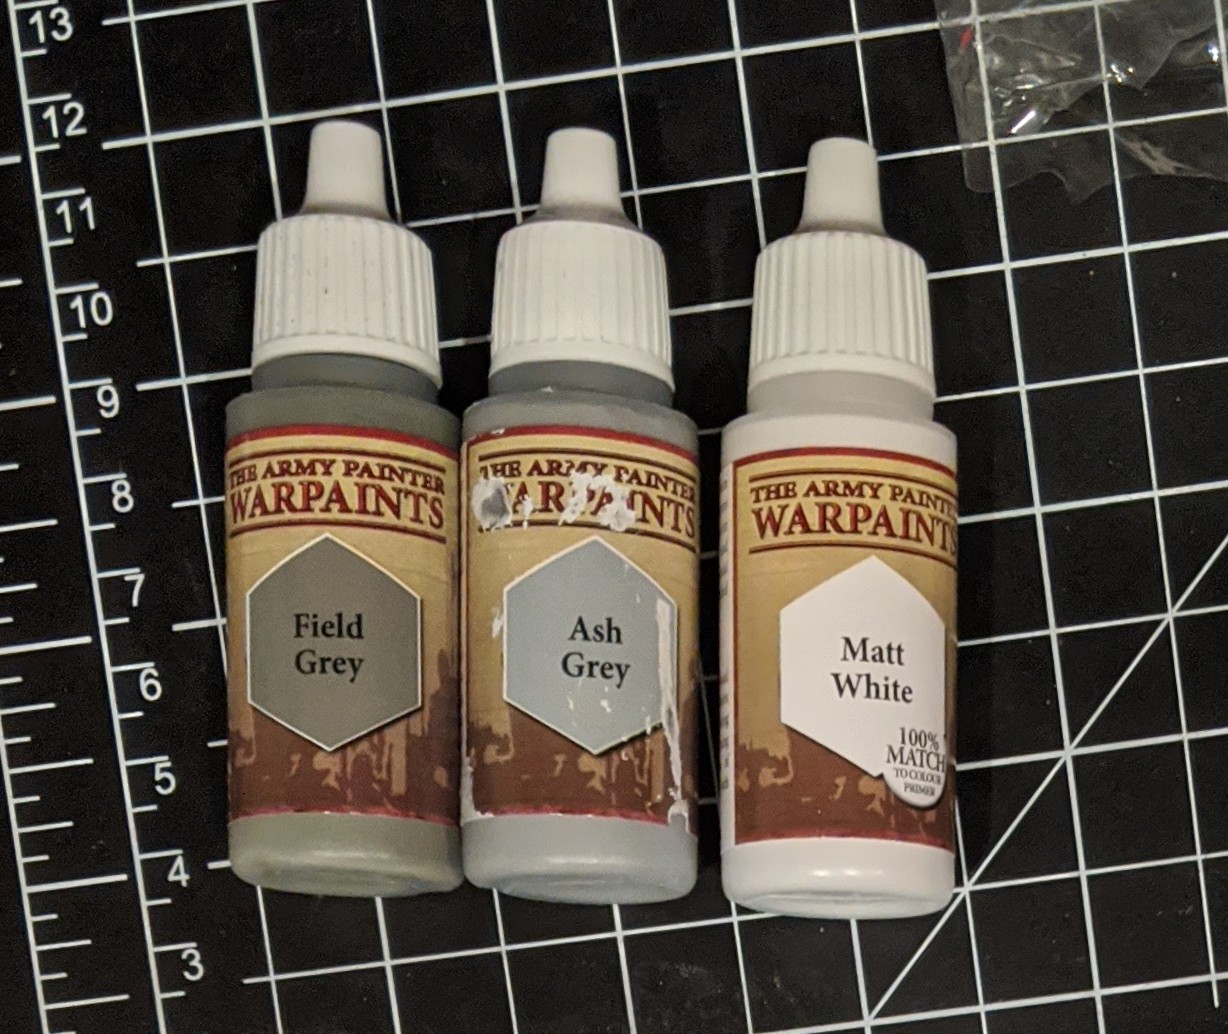
The next three coats will use a selection of greys and “Matt” white from Army Painter.
I’m a big proponent of that dirty filthy casual technique of dry brushing and in this case, I will be using some makeup brushes to apply the layers. If you haven’t tried them out yet, I highly recommend it. They are super cheap (I think I paid $7 shipped for an assortment of 10 or 12) and the extra soft bristles help accomplish the job with ease. The rounded tip ones seem to work best for ease of access on a model. The only downside is that they can be a bit paint thirsty, but that’s a minor complaint.
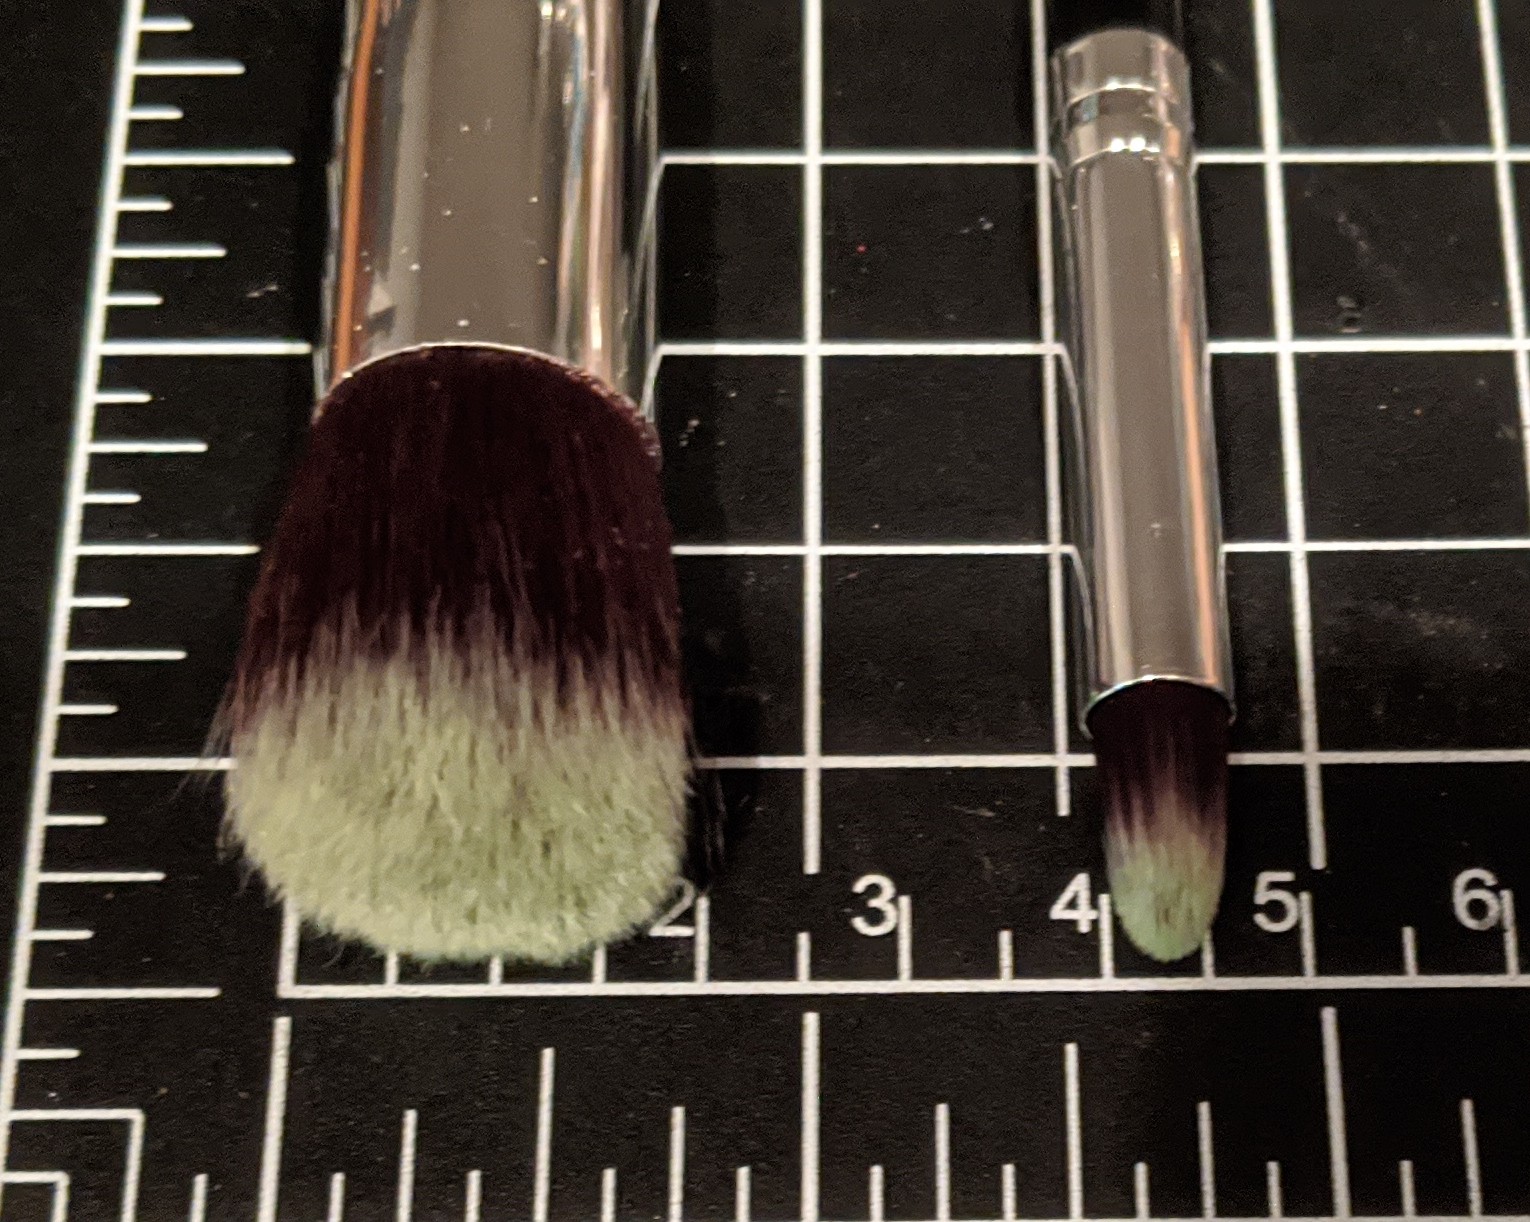
I used the larger brush for 90% of the dry brush work and will note when I switch over to the smaller one. For the more detailed work I used a normal hobby brushes, sizes ranging from 1 to 5.
Here is the dry brushing progression – you will notice that as the color being applied gets lighter, I attempt to stop a littler higher on the model with it:
Field Grey:
Ash Grey:

Matt White:

Now why spend all that time underpainting? Well, my little bubo, I’m glad you asked! The first reason is pretty obvious – it gives you a great idea of how the shadows are naturally going to fall and where you should focus your efforts or do “just enough” for each section of the model. Sure, you should try to paint all of the surfaces, but if it will never be an eye focal point there’s no reason to go overboard with it.
The second reason isn’t as obvious – your models will look freakin’ bad ass! I’m sure many of you have hit that wall where you don’t want to finish a painting project because the model “looks like garbage” until the final stages. This helps to circumvent that and provides a nice boost of motivation to help carry you forward (as you go through the progression pictures, you can see that there really isn’t a stage where they look “bad”).
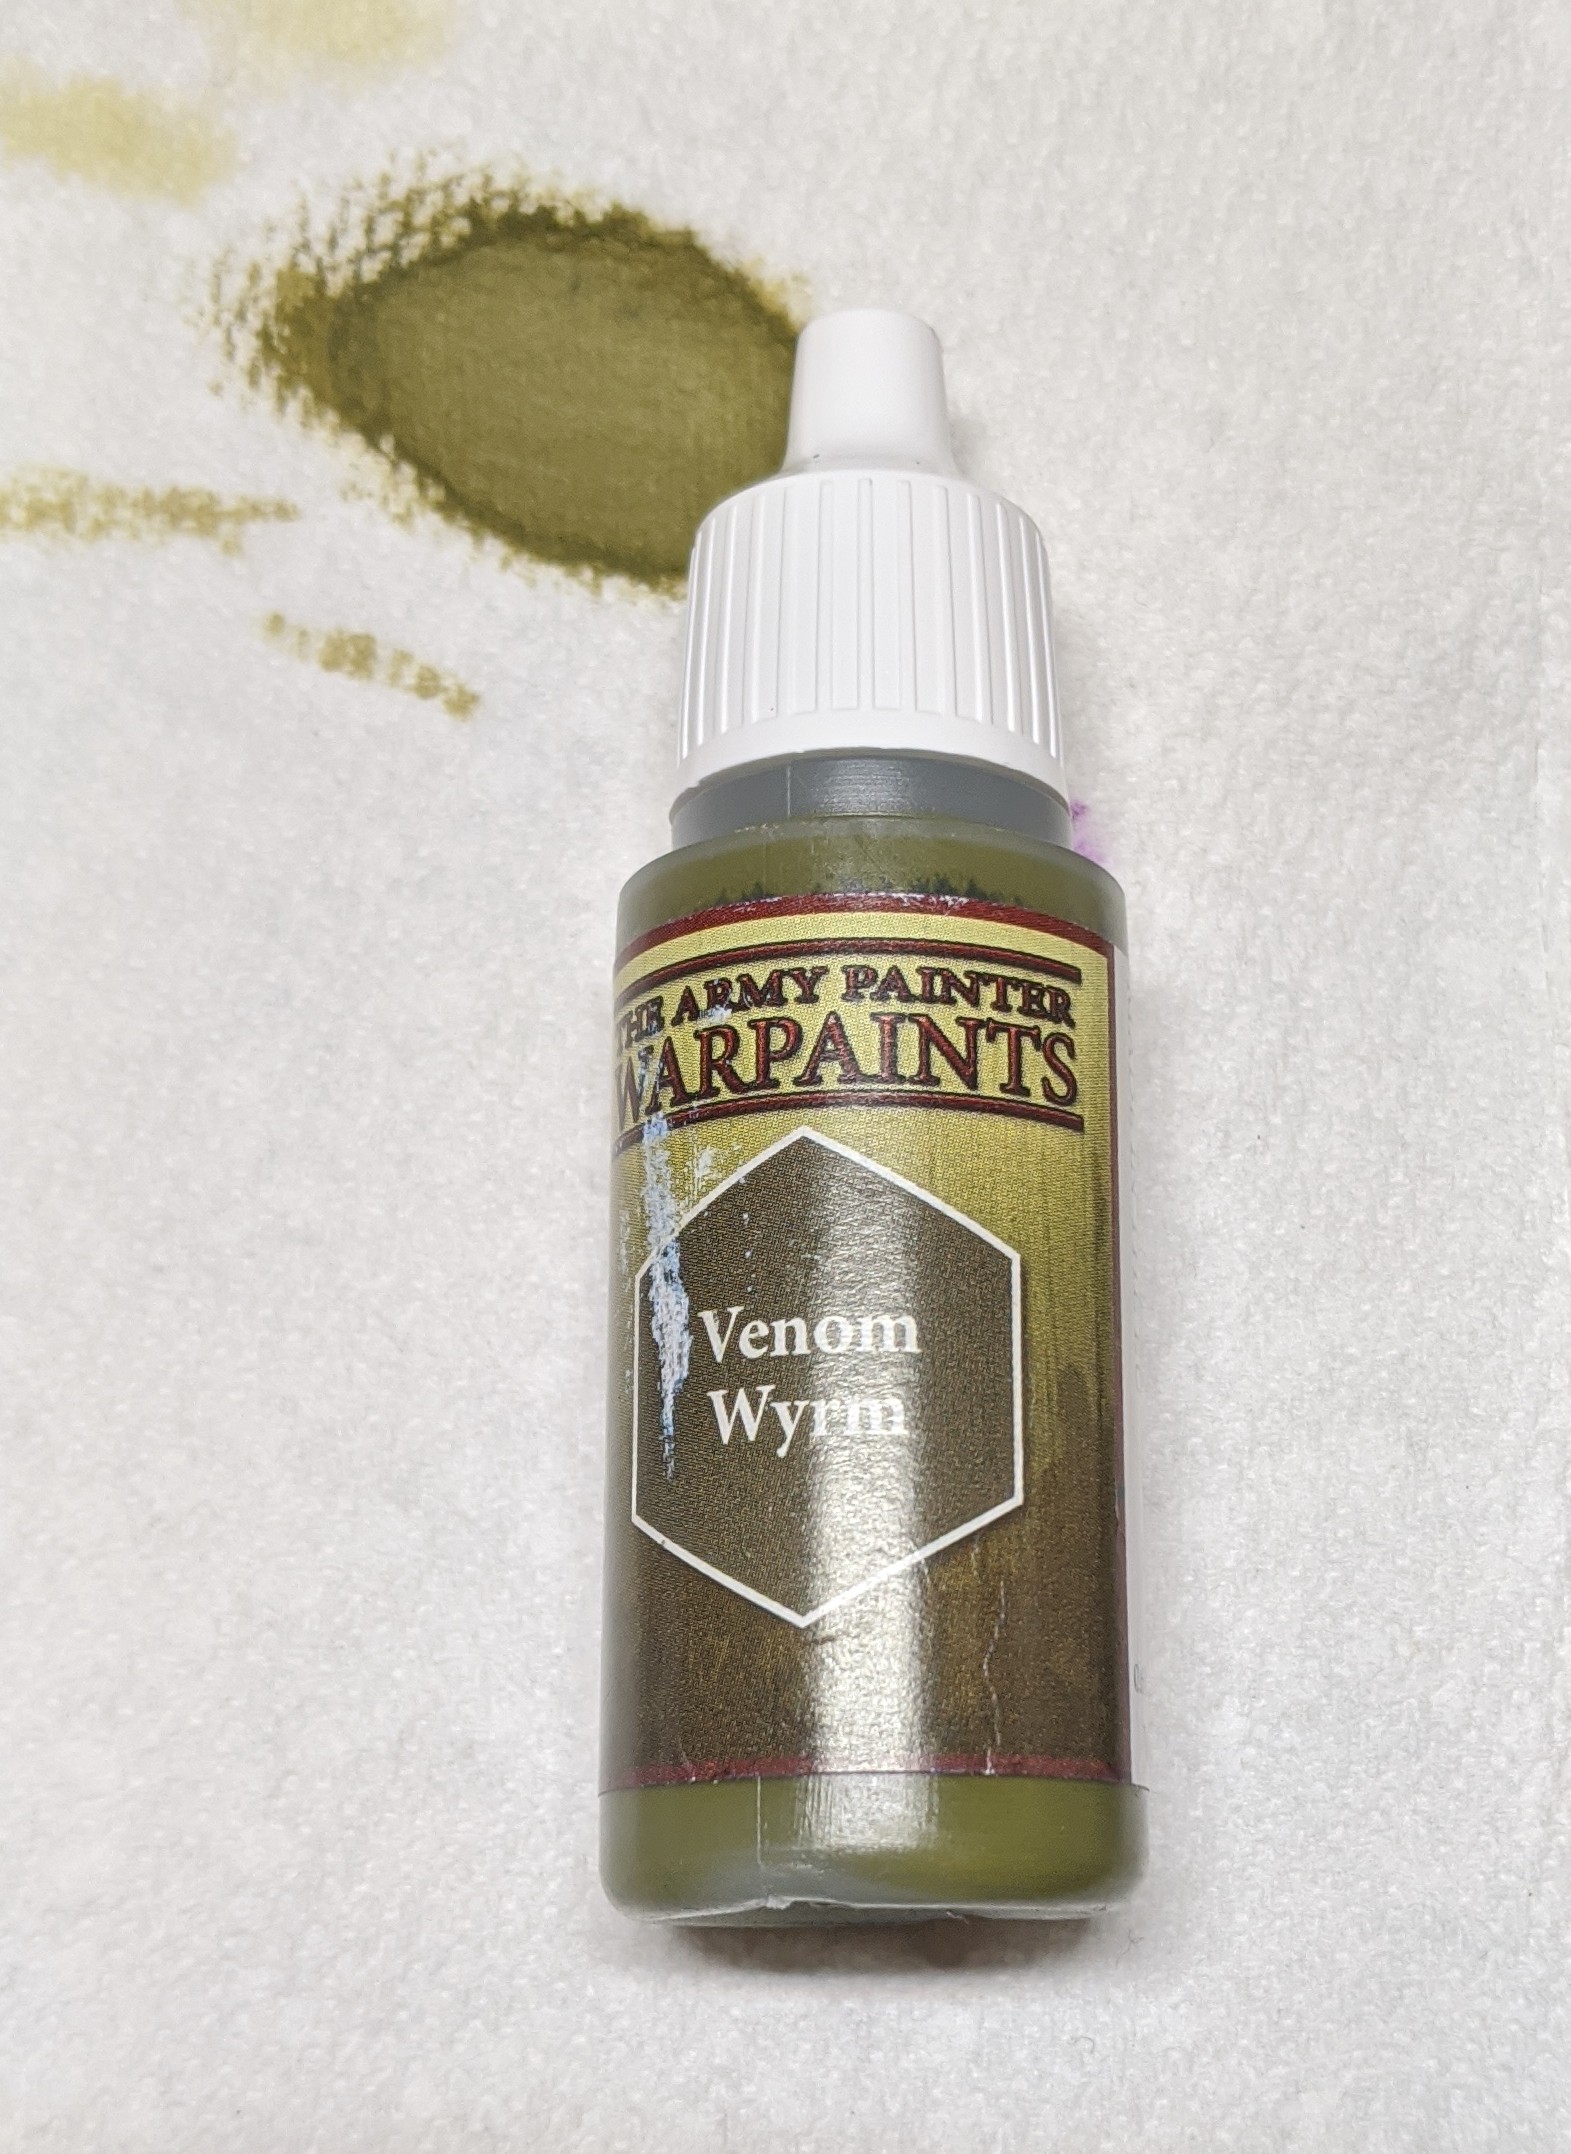
In the next phase of actually applying color, we will start with Venom Wyrm green for the shoulders, shins, helmets and gloves. Even when I was still using the GW green I went for Deathworld Forest instead of Death Guard green. It is slightly lighter which helps compensate when a wash is applied.
One of the major issues I’ve had in this aspect of the hobby, is winding up with models that are just way too dark at the end. To combat this, I’ve gradually adjusted my paint schemes. In wanting to keep the models a little on the lighter side, I leaned towards the 30k scheme instead of just hitting the whole model with green. Duncan be thy name, two thin coats shall be done.
There are two out of production paints that I used for this project and here is the first. The bloaty and grabby bits will pulse with Liche Purple (according to the conversion charts I found, its now called Xereus Purple from the current GW line).
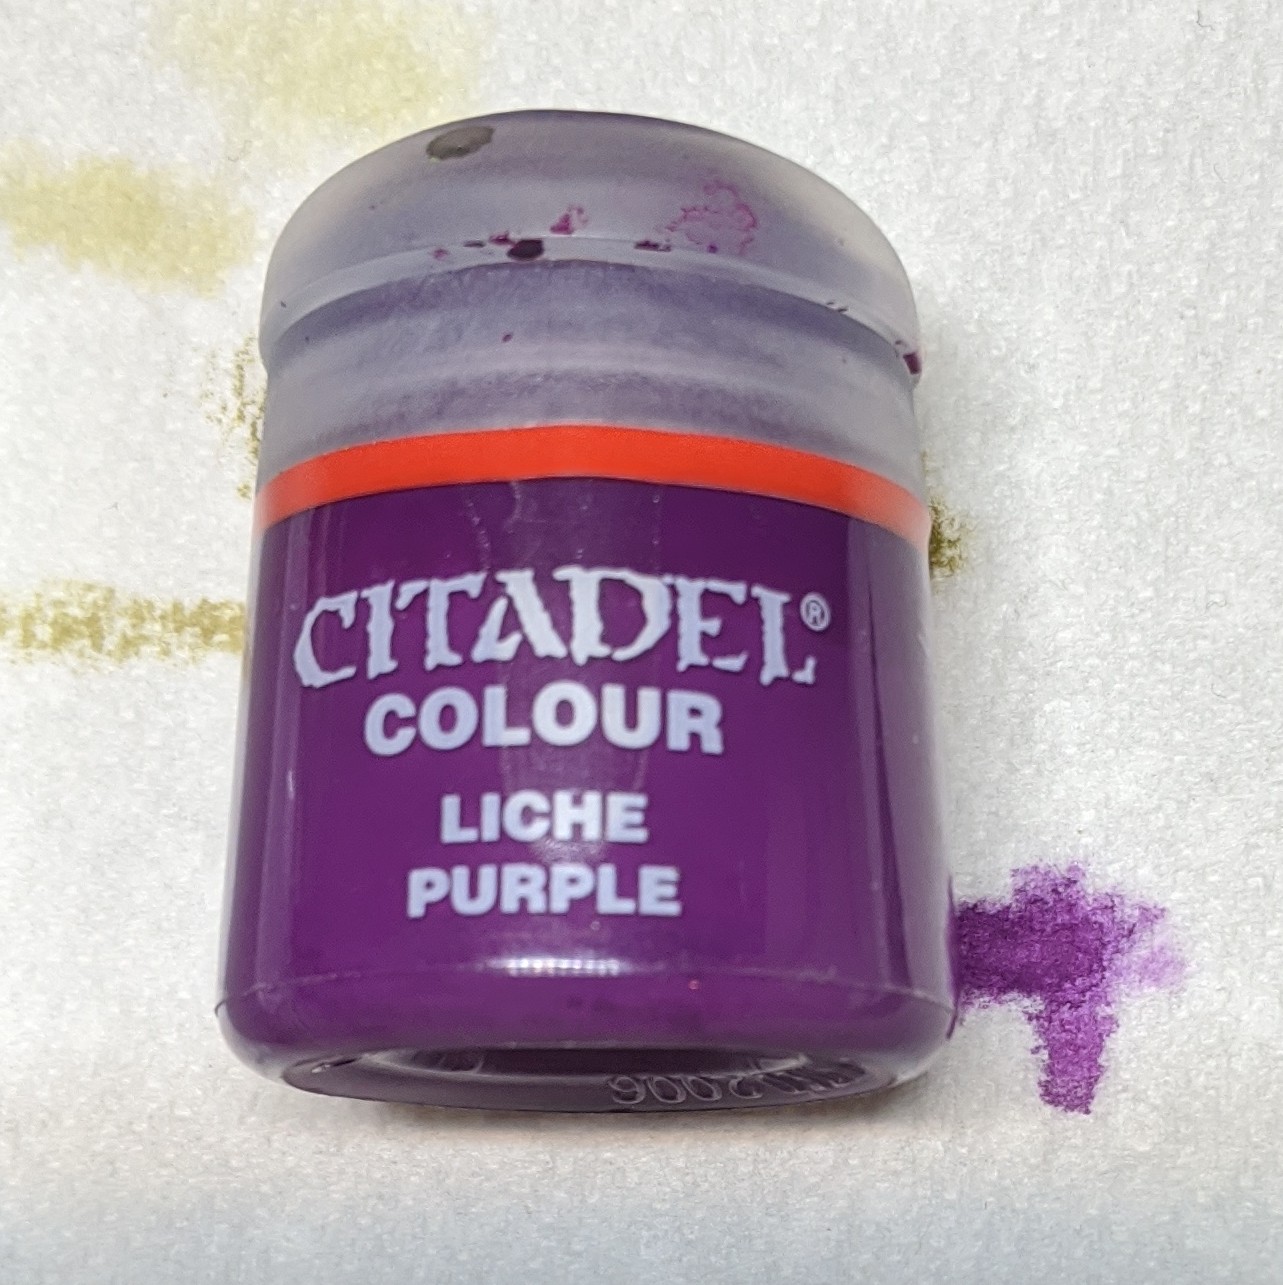
These pots were brought back to life with the nectar of Nurgle!…..water…it was just water. At this point, it’s so diluted that it resembles a heavy glaze more than regular paint (the pot is full of air bubbles after shaking it up). I’m still adding a few brush tip fulls of water to the solution, but I do indeed blaspheme with only one coat.

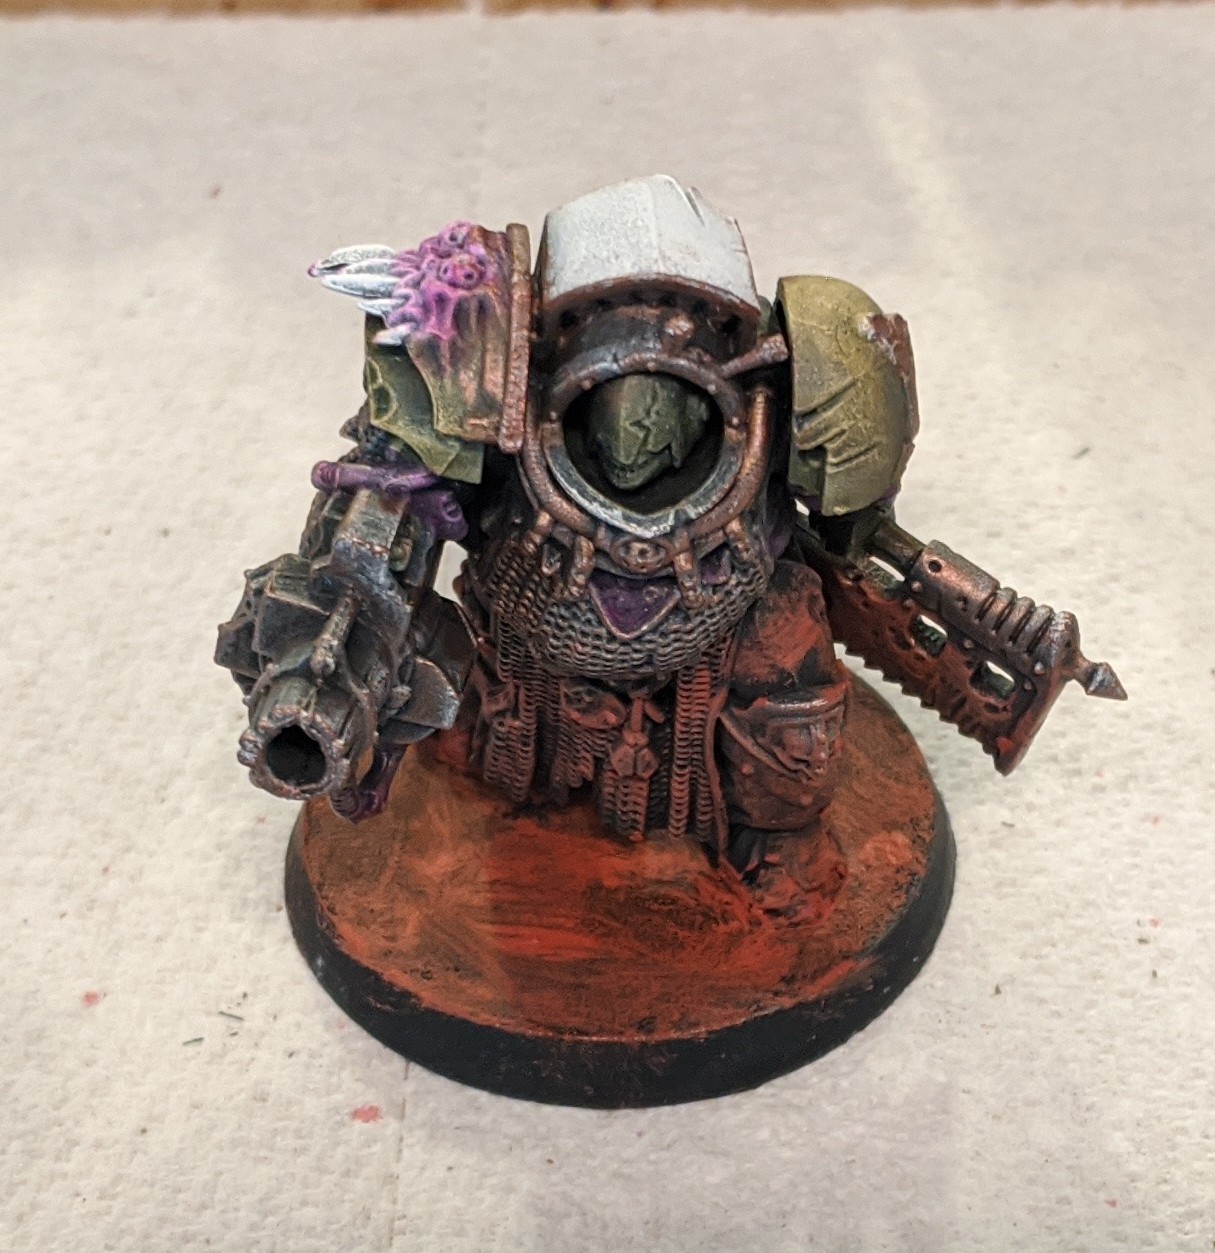
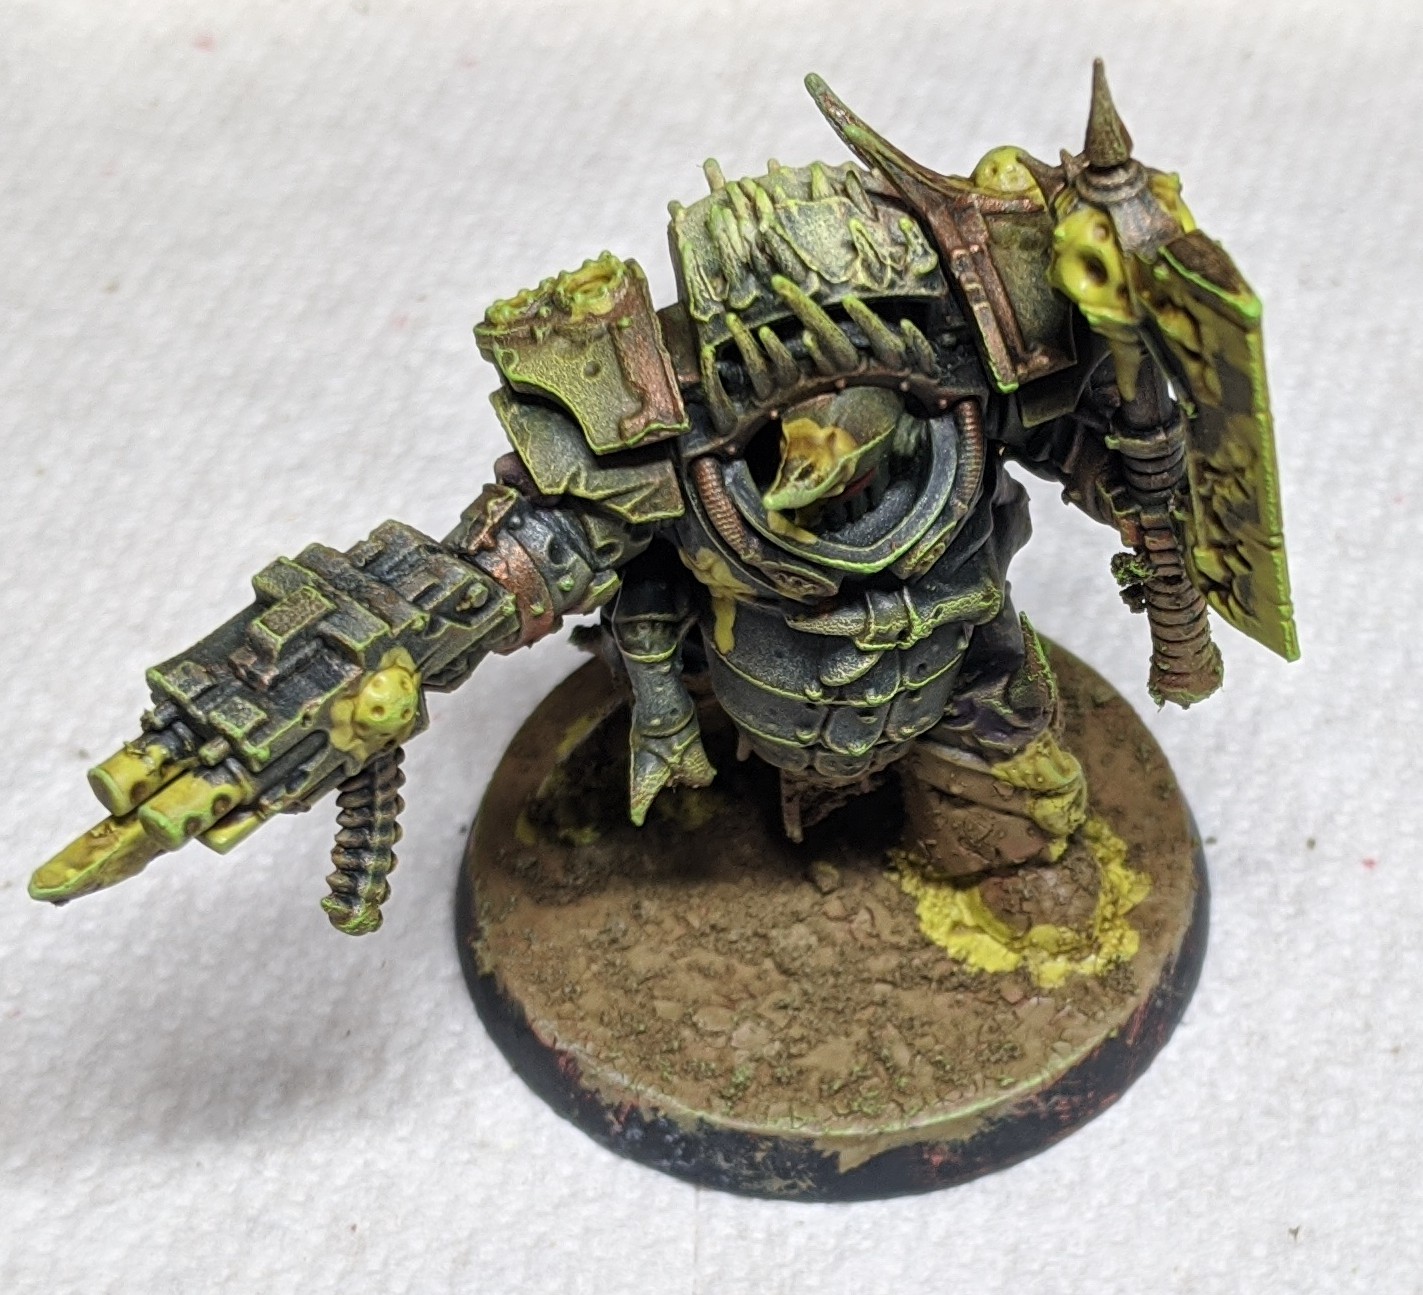
At this point, technically I’m done applying the main colors and I’m on to the details/accessories stage – weapons, capes, chain mail, etc. I will be using GW’s Snakebite Leather contrast paint for weapon handles and wraps. Boltgun and Balthasar Gold for the metallics.
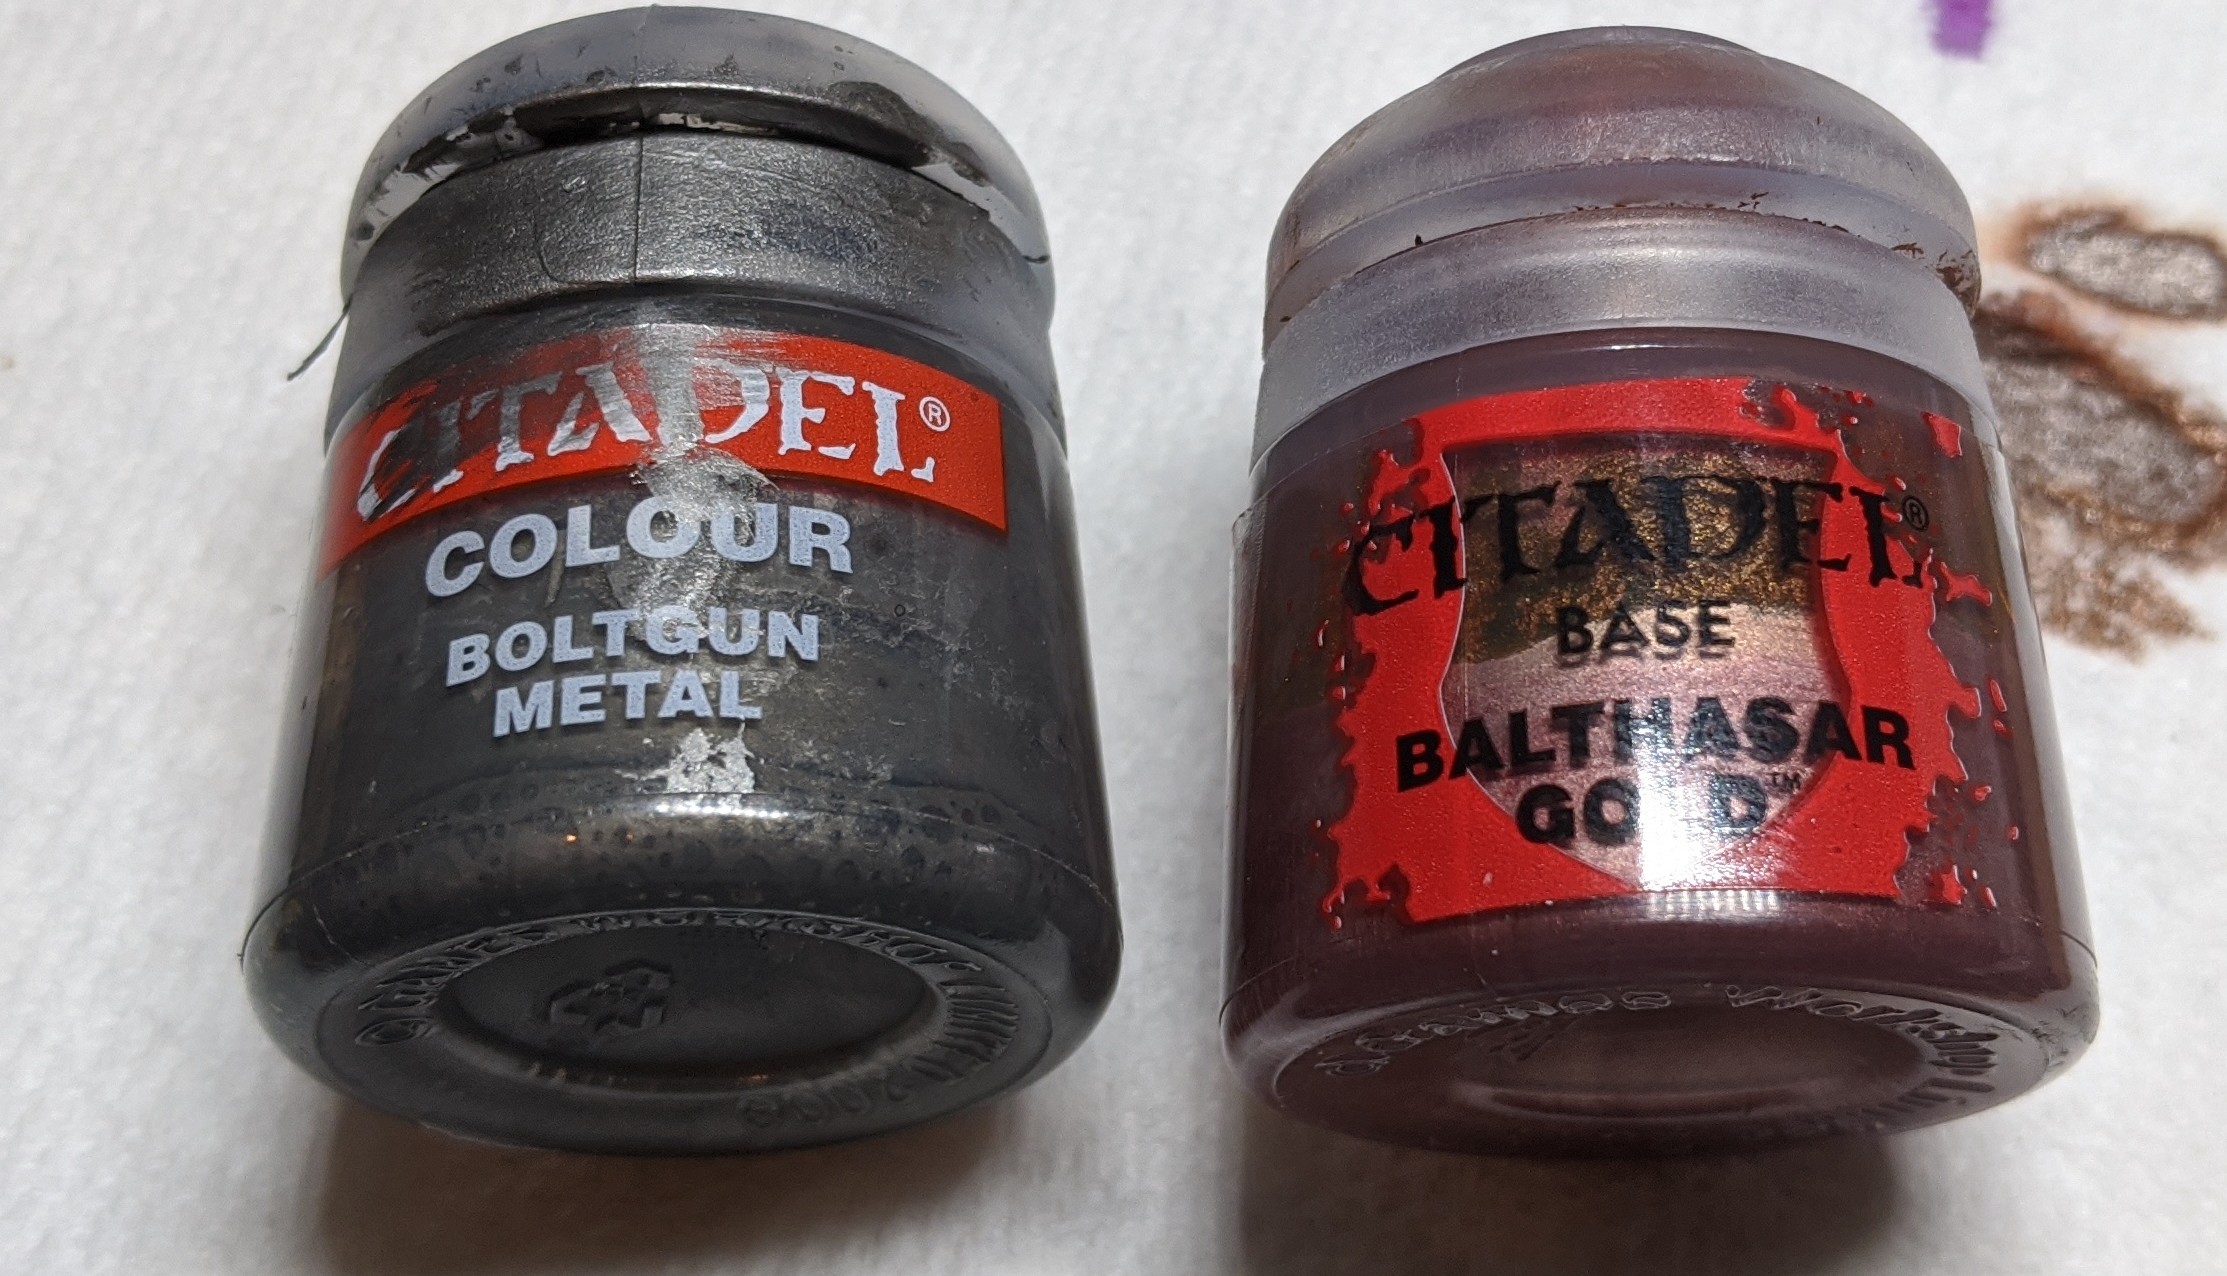
The goal for the metallics is a nice bronze color, post wash. All of it will start with a dry brush of Boltgun to provide a reflective base. The locations with full coverage of the Balthasar will be part of the pauldrons, some tubing, and some trim here and there. The rest will be more of a highlight with, you guessed it…dry brushing!
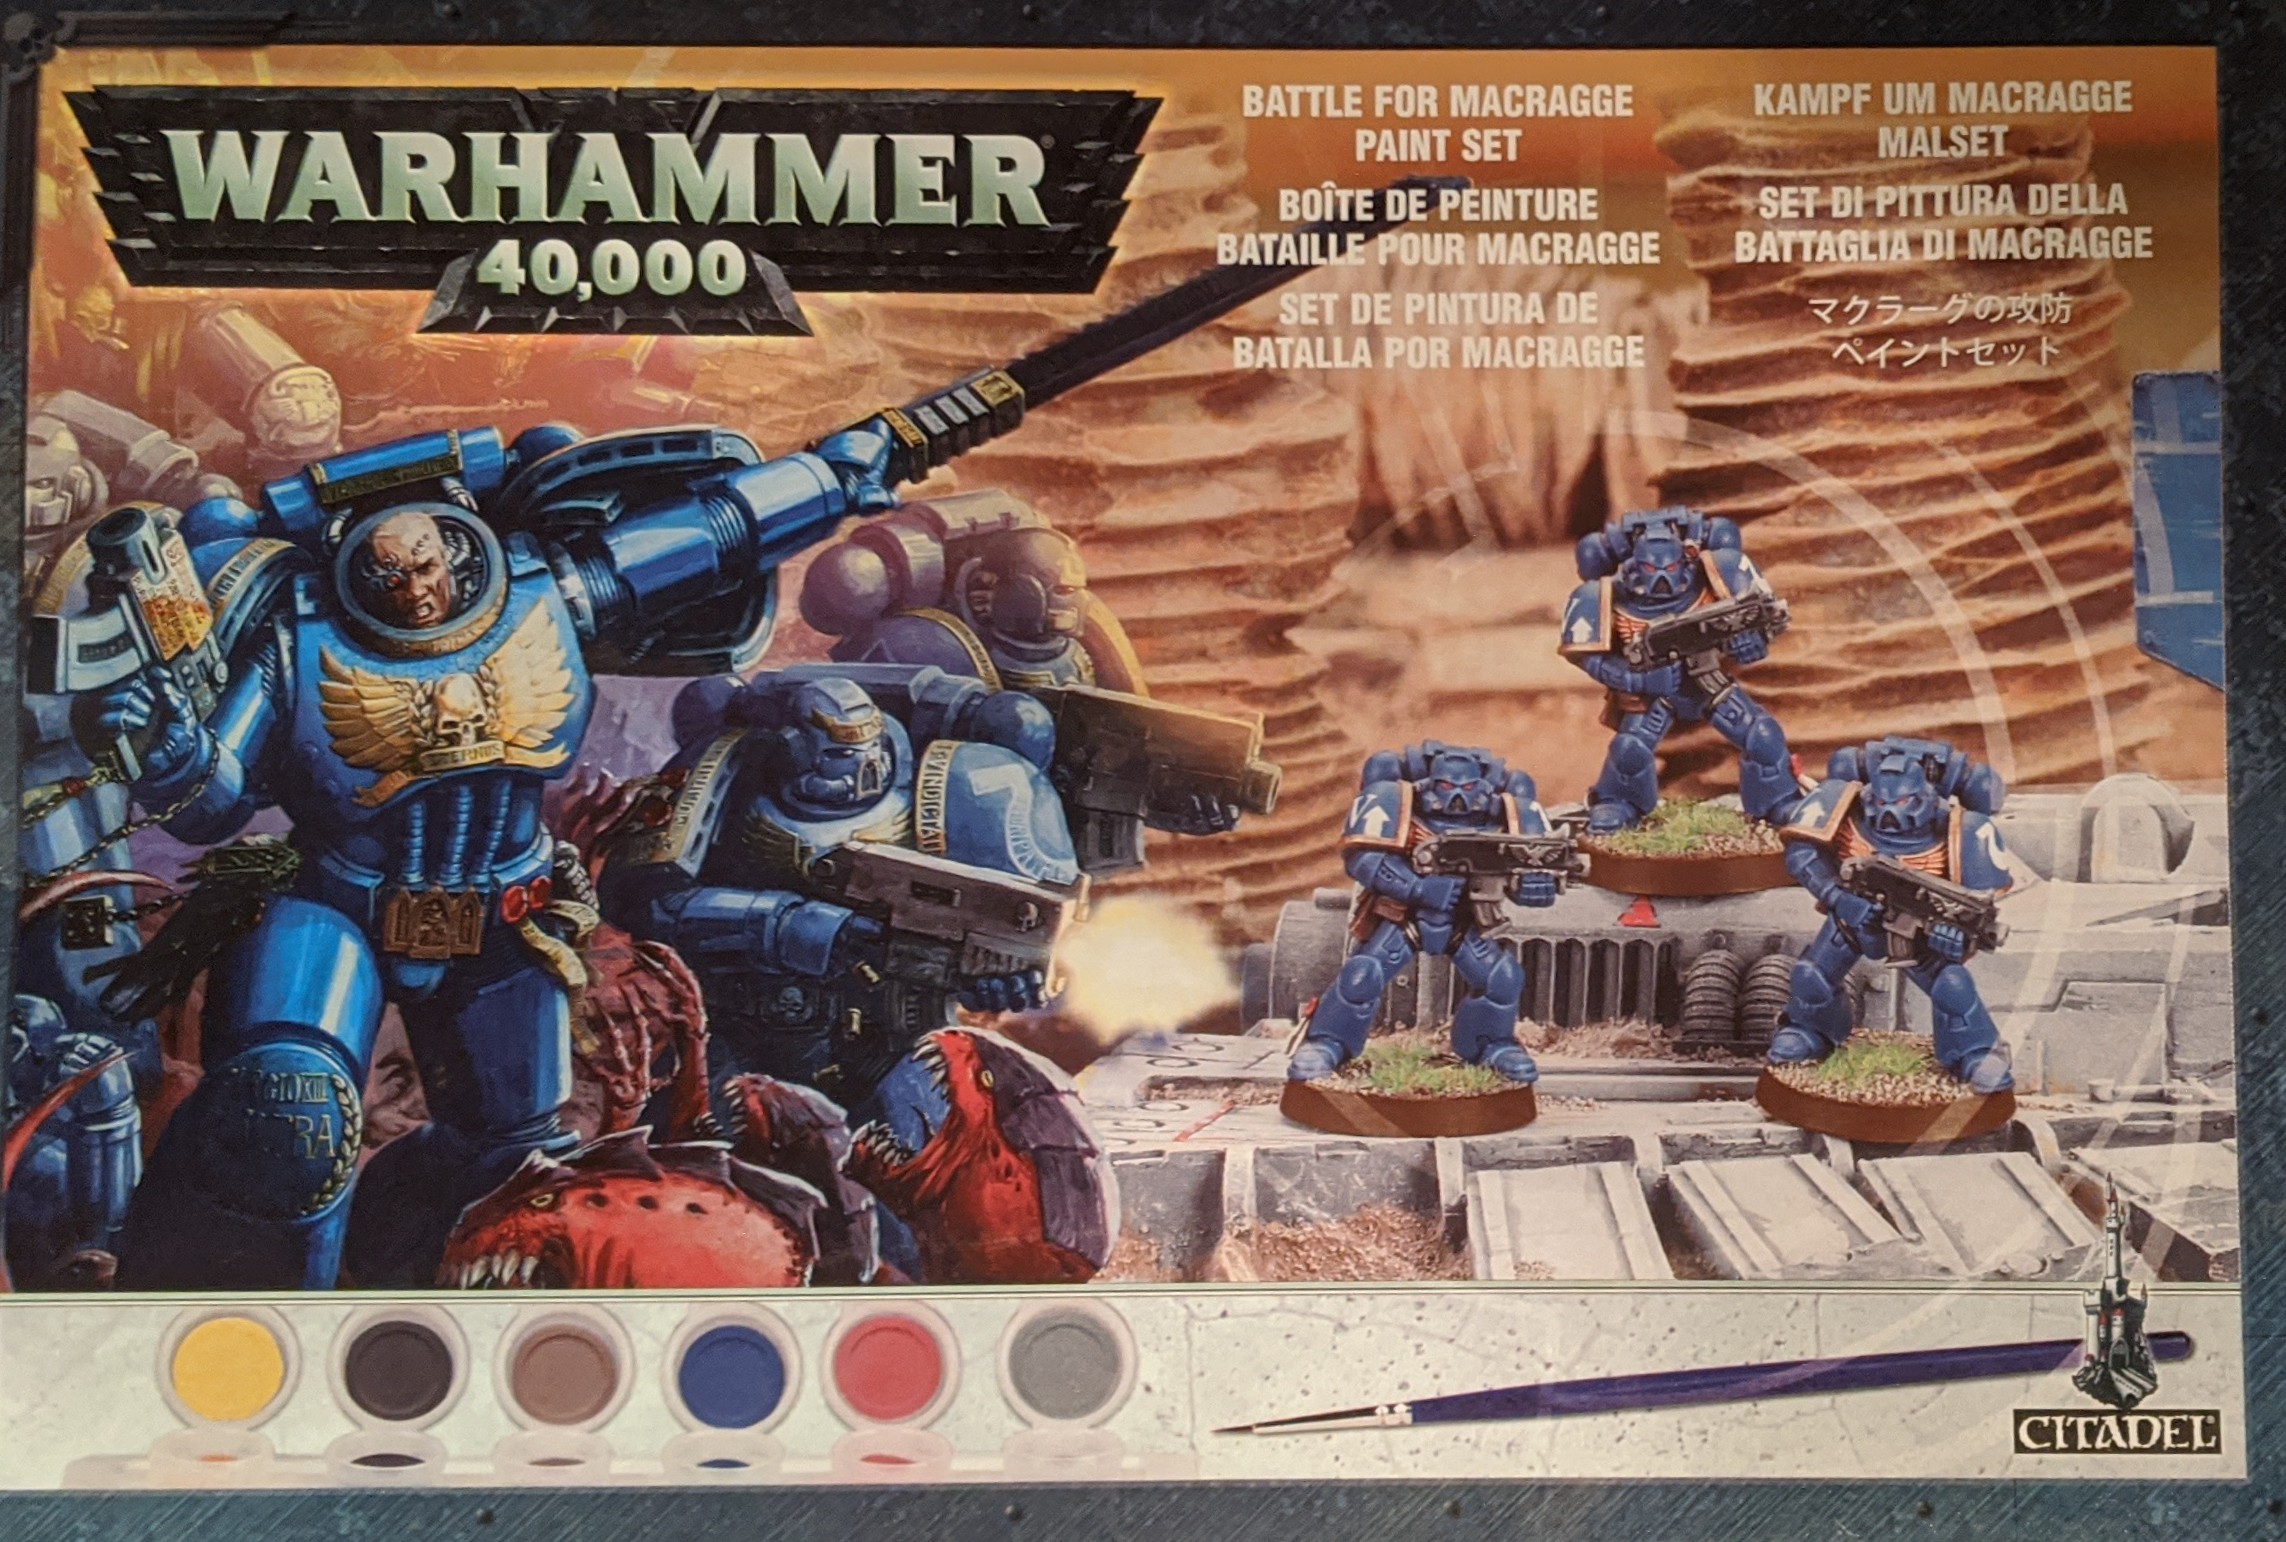
In addition to getting the eyes, the last part of the “details” phase (even though the surface area is a decent size) will be the cape that some of the models have. I will be using the highly specific and rare color, “RED.” No joke, that’s what its called in the instructions included in this paint set (Editor’s Note: It’s Mephiston Red). To blow your mind even more, I received this kit years ago for FREE….from a coupon I cut out of a weekly shopper (look it up, kids). For this step we will again be performing the ritual of two thin coats.
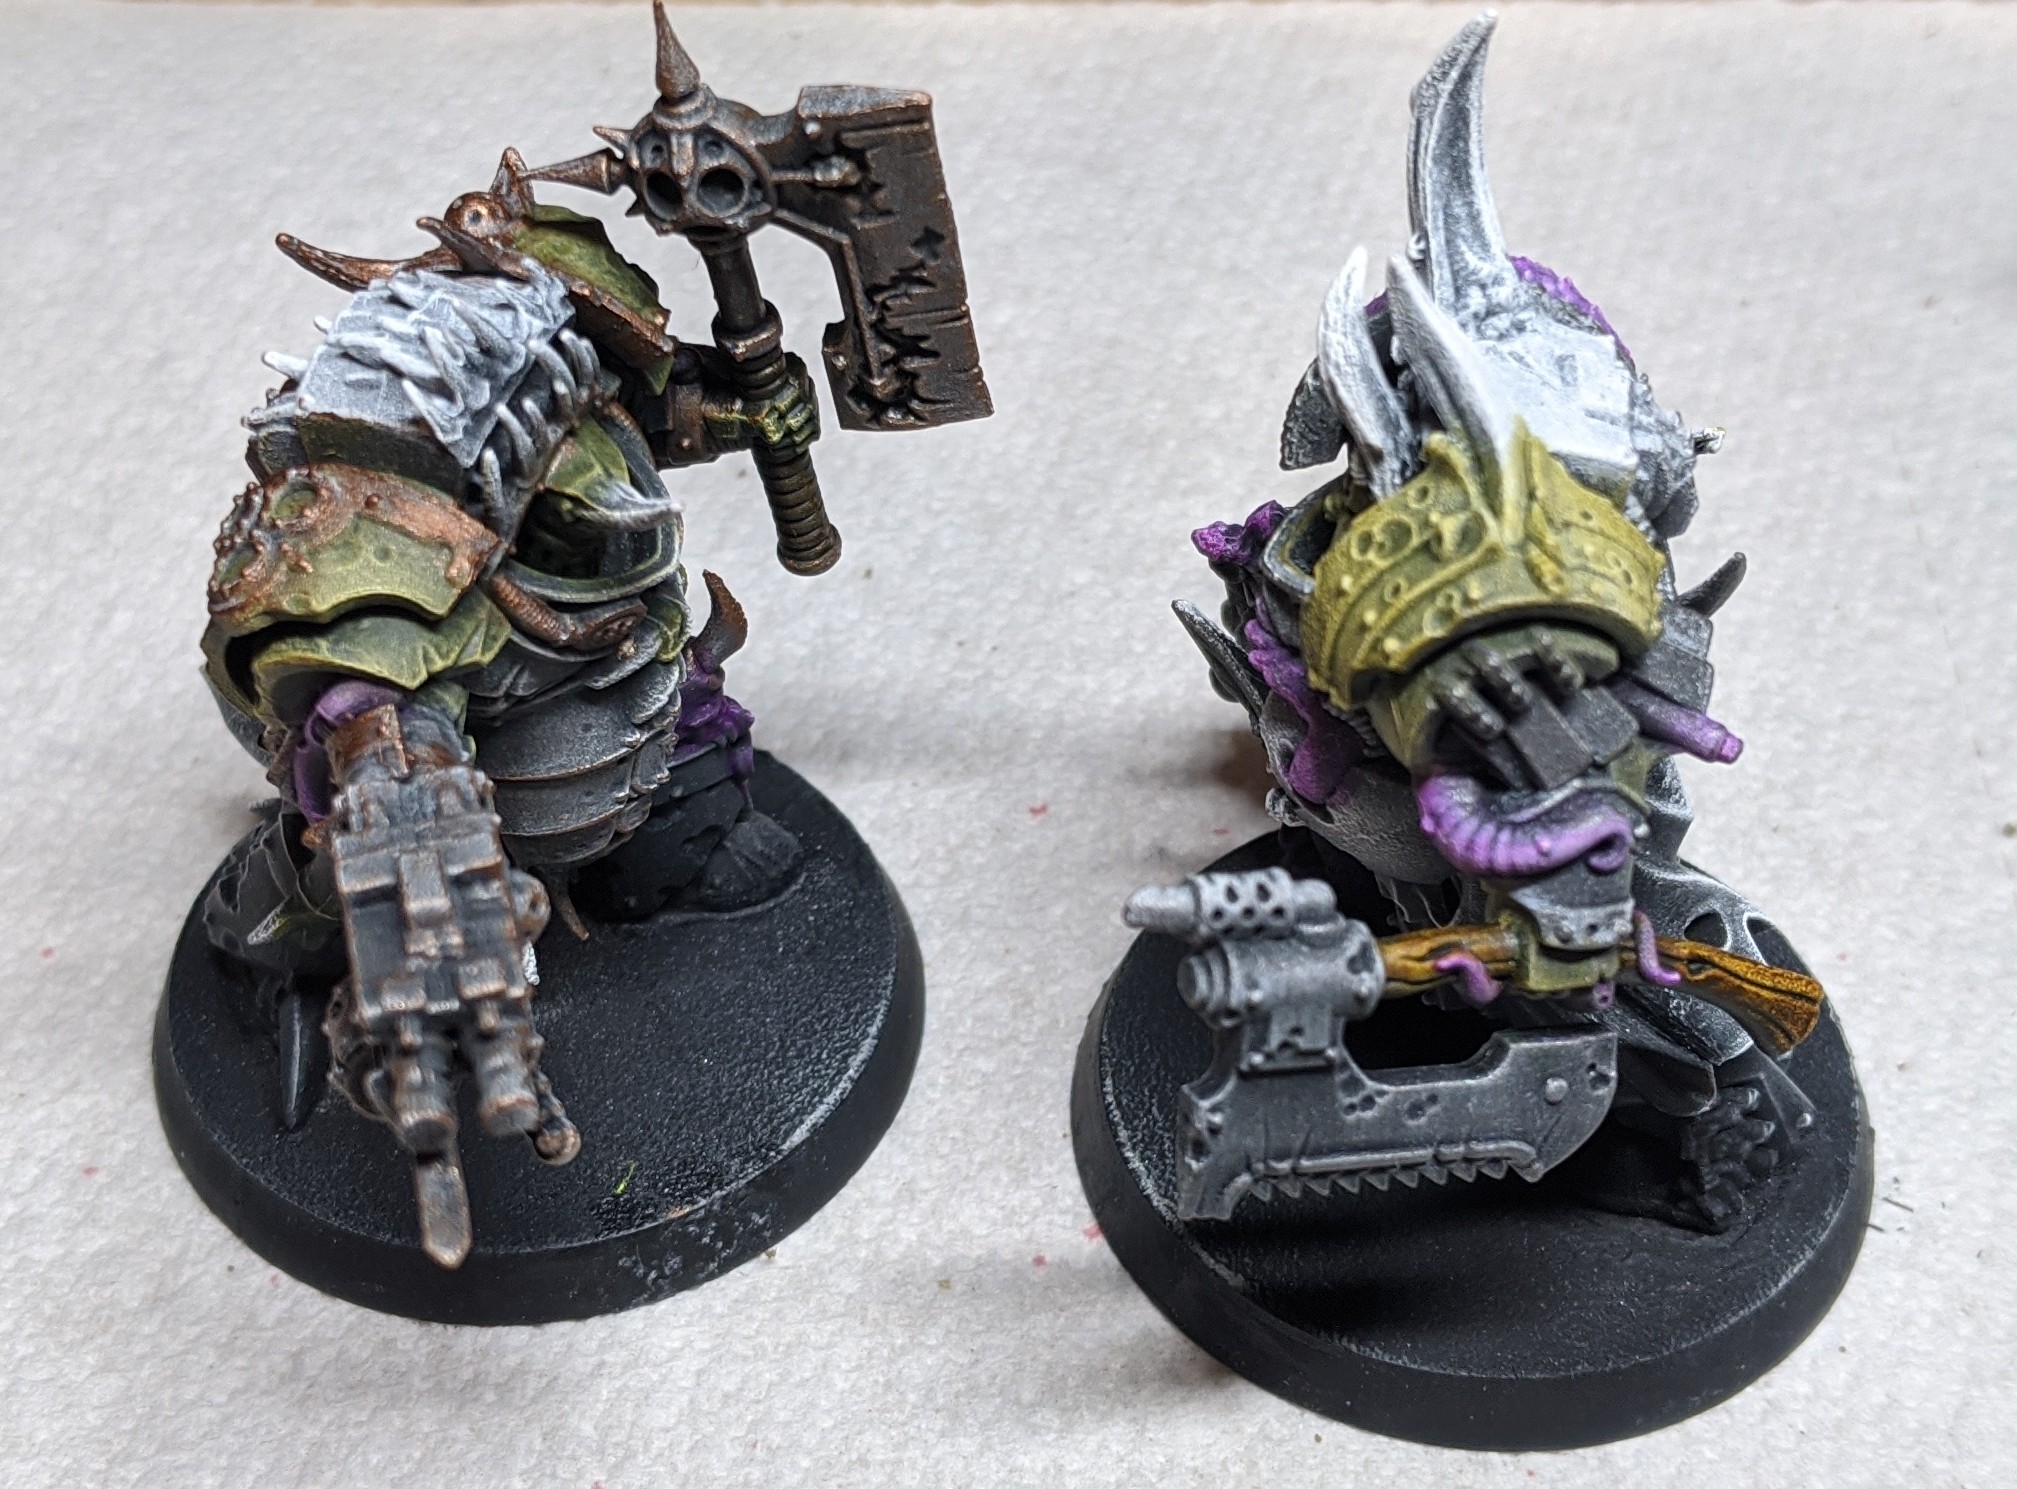
The next phase will be very simple but very time consuming – using the texture and slime paints. Martian Ironearth and Armageddon Dunes will compose the base of the “bog” look – Ironearth for the crackle and Dunes for the gritty mud.

One of the lessons I learned the hard-way about crackle paint is that if you don’t pre-paint the base, you will wind up using a ton of wash to try and cover up the primed base showing through (Editor’s Note: Can confirm. I also learned this the hard way). Using just a very light coat of the crackle paint is fine – with it this thin, it acts just like regular paint.
Applying this light coat is also where you will map out the regular application of the texture paints. Since it was a group of five, one model has the muck up to the chest, two are angled and high up on one leg and the last two are up to knee level. The texture paints usually never sit the same way twice, but this will ensure some extra variance.
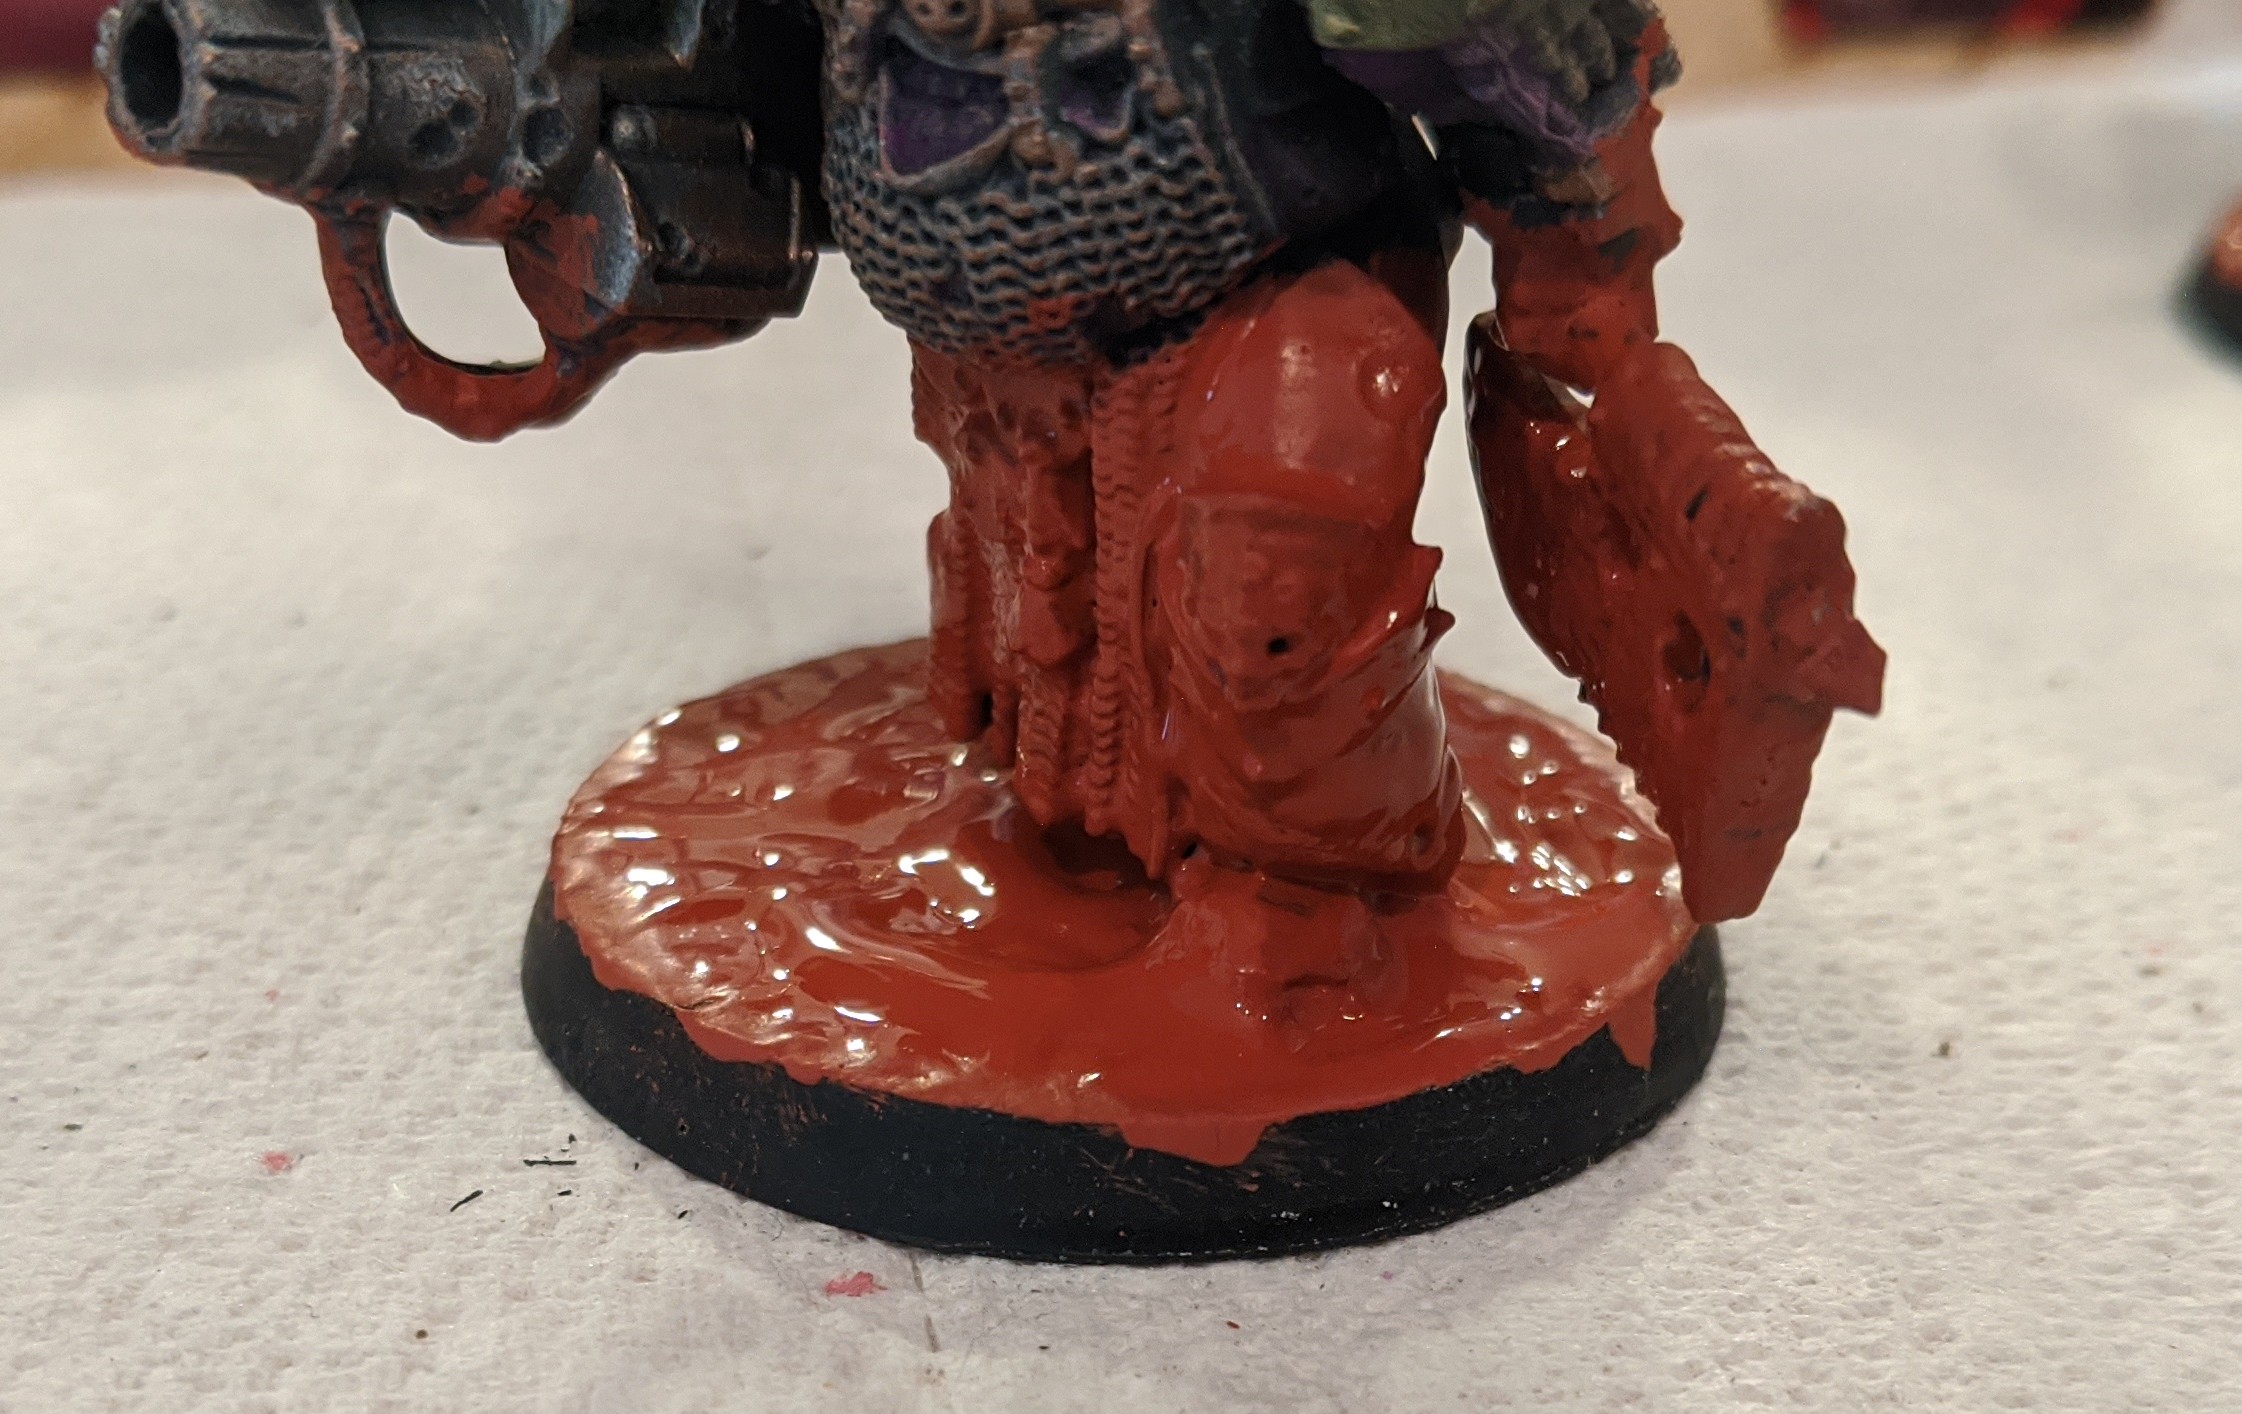
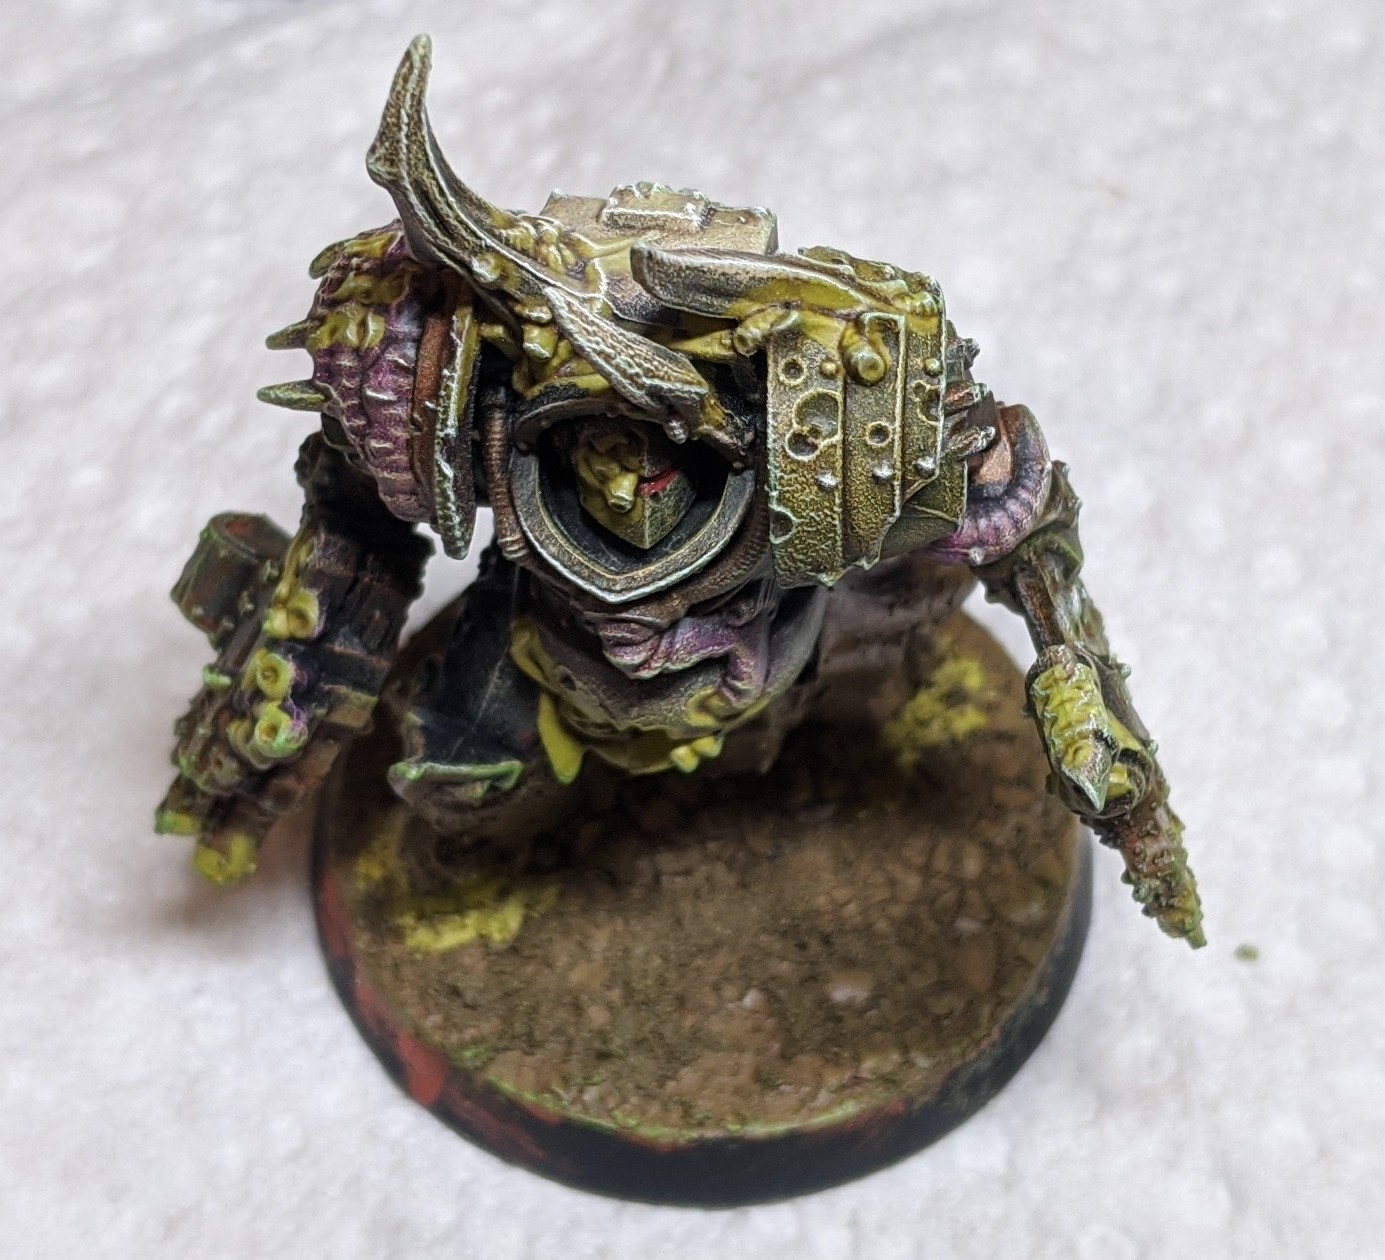
If you’ve never used the crackle paint before, the thicker it’s applied the larger the cracked sections will be. This may sound good at first, but also know that the larger the sections, the more likely it is to flake off when you paint anything on top of it. In this closeup, you can see what I’m talking about with the larger flakes and being able to see the base underneath.

You can use your imagination here and make the model more dynamic – pile it up in front of the feet, less underneath the heel, etc. This paint does take a very long time to dry, so its common for me to just let it dry overnight. If not that, apply it first thing in the morning so you can work on it in the evening.
If you are trying to keep the production line moving, the first thing in the morning scenario is probably best, since you will have to wait for the Armageddon Dunes to dry as well. This layer is going to be applied on the lighter side.

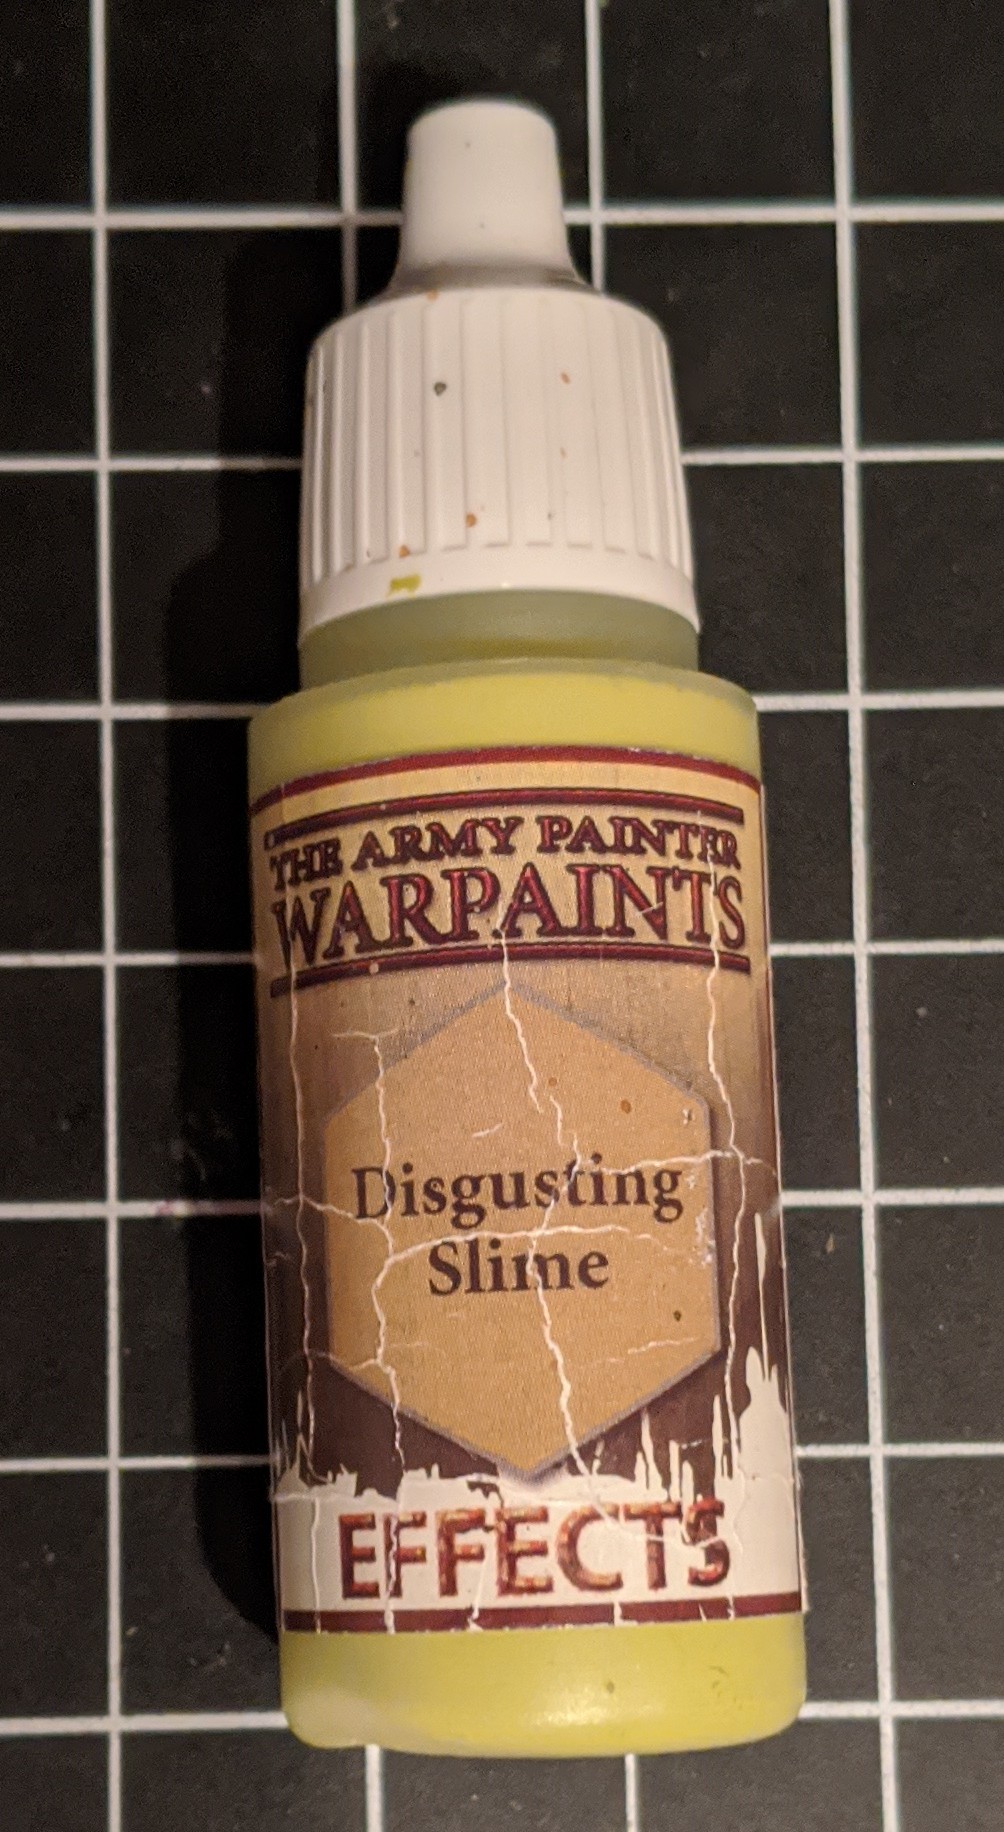
Going too heavy will cover up the crackle and leaving some red exposed helps add to the effect. Once dry, its time to accent the model with either GW Nurgle’s Rot or in my case AP Disgusting Slime. More or less the same thing, but the dropper bottle helps keep the paint mixture fresh. The go-to spots for the slime are weapon edges/barrels (they are plague weapons after all), exhaust ports, gaping wounds, and the base of horn growths. Besides that its really all to…uh….taste.
Be forewarned, it’s very easy to go overboard with the slime (Editor’s Note: Strongly disagree) – too much and all of the time you spent on those details is for naught. After the slime coagulates, its bath time for this dirty boi!
I used to use the GW Sepia wash, but once again prefer the dropper bottle of AP Soft Tone. In theory, everything is dry when you apply the wash, but there is no way to avoid your brush grabbing crumbly bits of the Armageddon Dunes. If you use a wash with the GW style pot, its only a matter of time before you contaminate it.
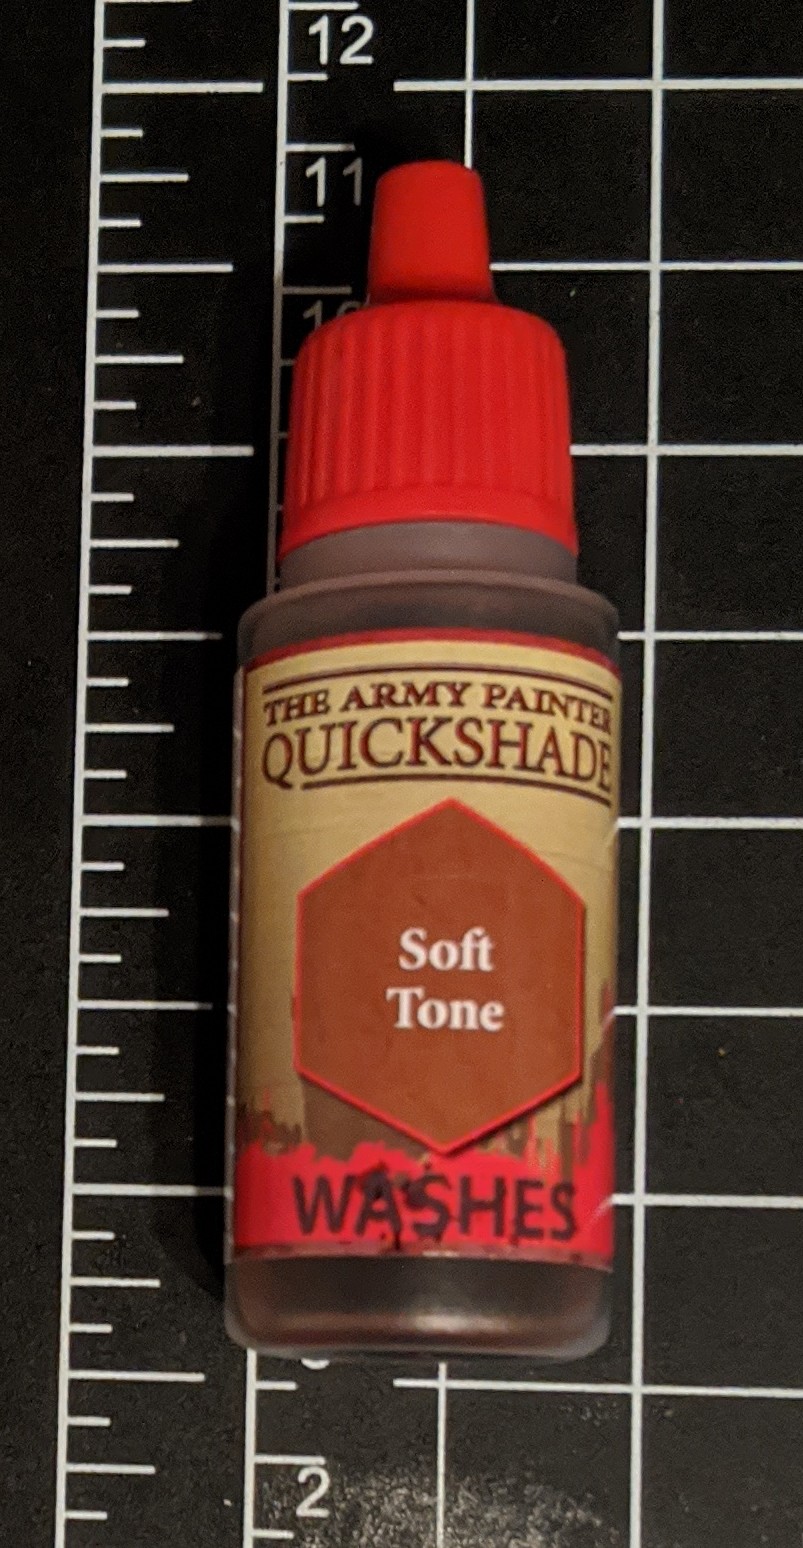
The wash step is one of those magical moments that helps bring everything together and gives you a good idea of the finished product. Soft Tone helps Balthasar Gold take on more of a bronze shade and the untouched underpainted sections turn that nice and dirty off-white color. I know people usually go for Nuln Oil or Agrax Earthshade, but I feel like Sepia/Soft Tone still shades well enough without making the model too dark.
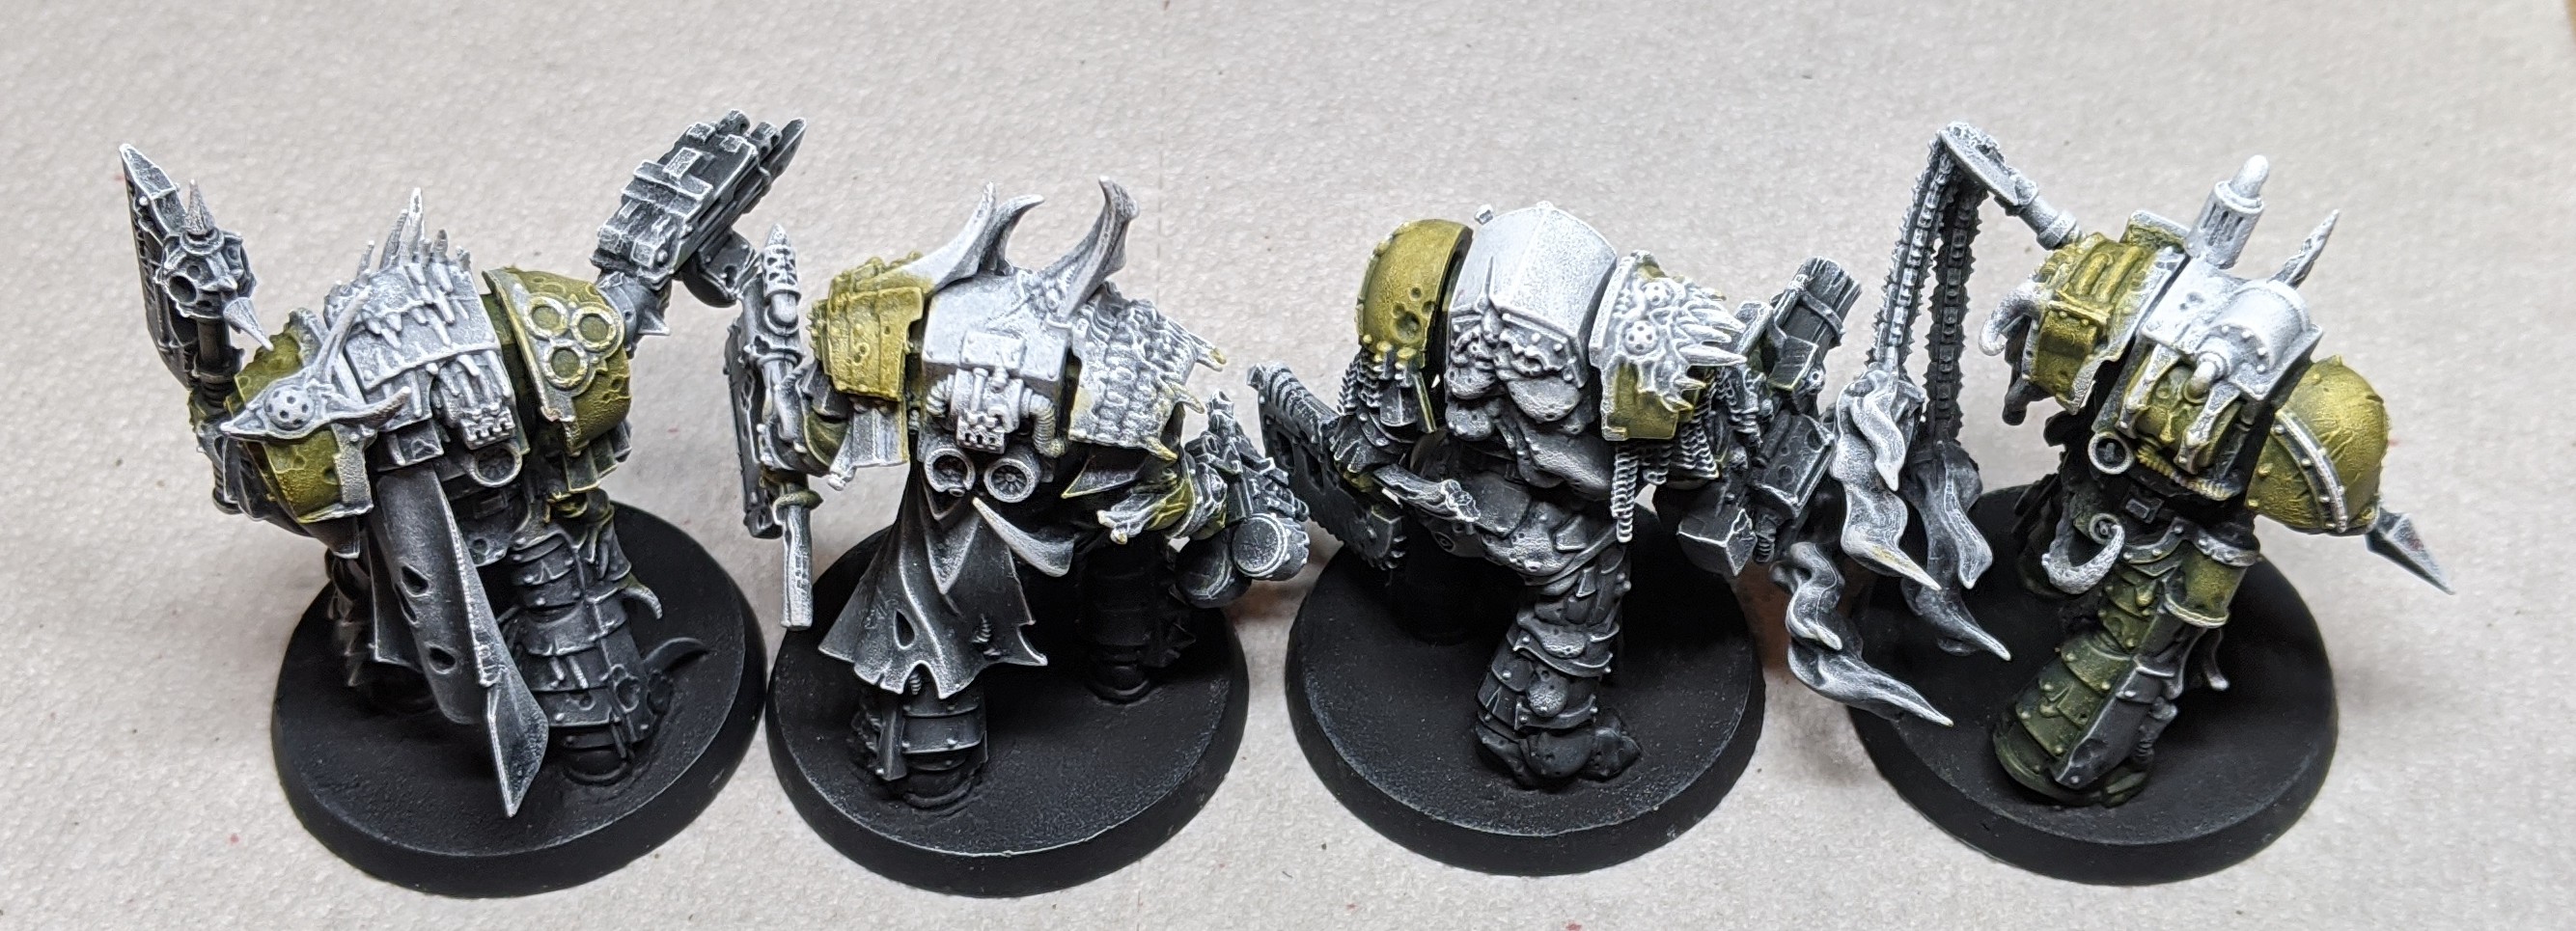
The, “Finishing Stage,” is comprised of steps focused on bringing up the highlights and finally adding some OSL (Object Source Lighting) at the end. From here on out, the small makeup brush will be used. Since these stinky bois were washed down in the previous phase, its time to bring those edges back to the forefront.
The models will be dry brushed again with the Ash Grey, but very lightly this time around. The purpose of the grey is to provide a base for the Scorpion Green that will be applied next. This will separate the green from the model slightly and help keep the brightness up.
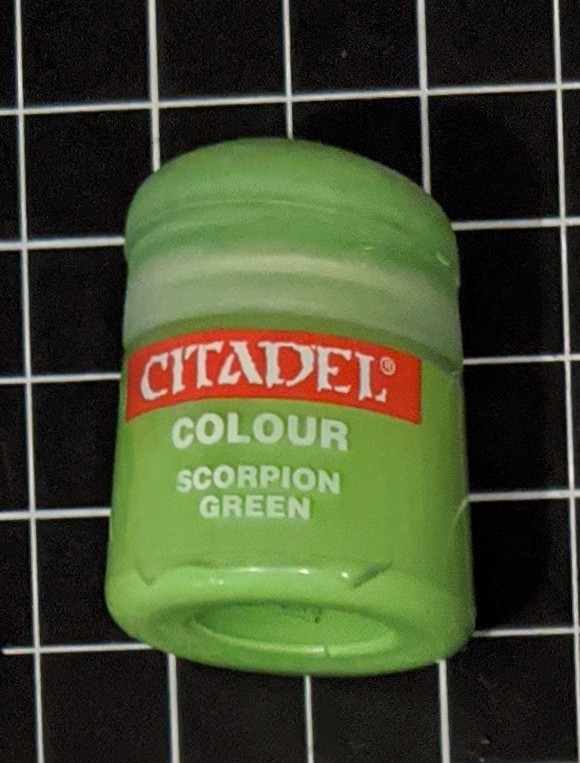
This is the second out of production paint that was mentioned earlier. And just like the other one, this pot needed a resurrection, so it’s heavily watered down. Supposedly, GW’s modern equivalent is Moot Green and the AP equivalent is Reptile Scales. That said, neither of the online images seem as neon as the OG. I’ll have to do some research, but when I run out, I may have to experiment with placing it on top of a layer of yellow to get the desired result.
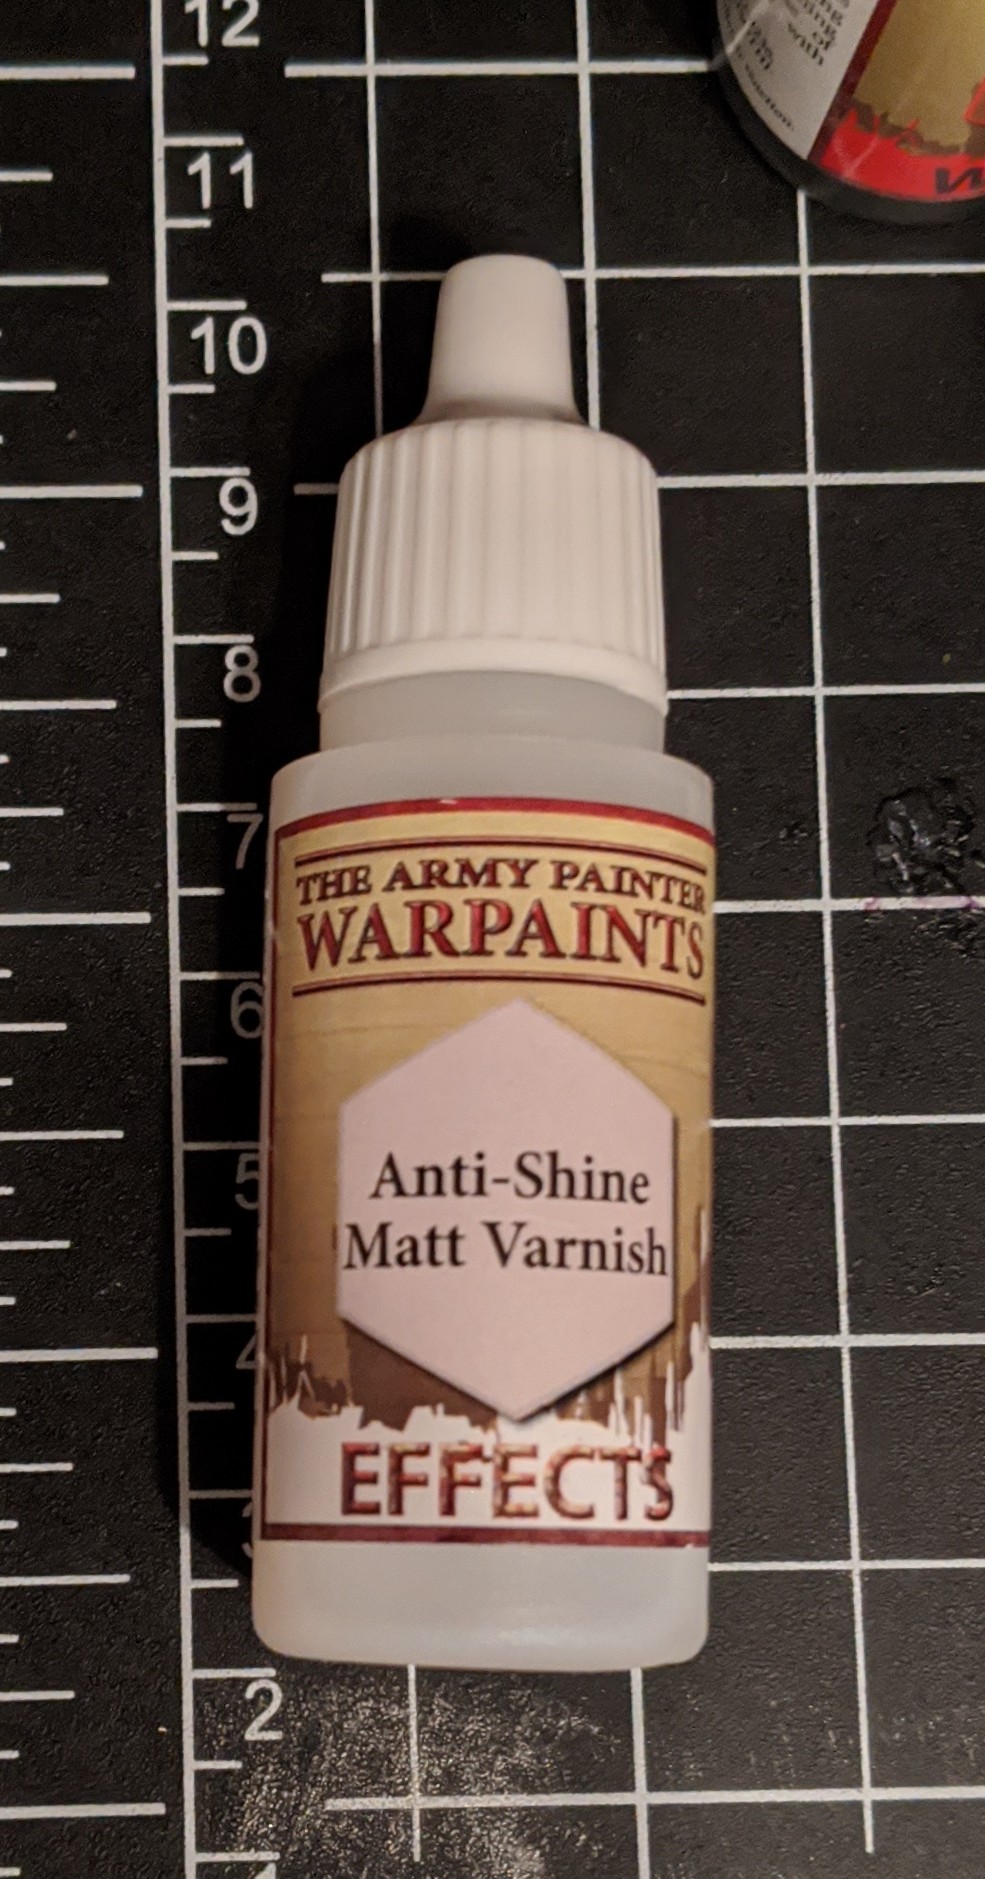
I approached it from a zenithal perspective, while layering it on heavier for weapon blade edges and the front of gun barrels. This grey and green layer work is actually in prep for more layers later on. The next step will be brushing on some AP Anti-Shine Matt Varnish. This product serves multiple purposes. The entire model will be hit with it like a wash and as advertised it will bring the shine level down a bit. This helps push the grime level a bit and makes the metals not as jarring compared to the rest of the model. It also helps cement the texture paint in place. Note: don’t worry about bubbles too much as you brush this on, they will go away as it dries.
Since we intentionally brought the overall brightness level down, it’s time to Reset the Clock!TM and dry brush highlight all over again! This time around we will be using the Matt White instead of grey. Again, with the zenithal focus.
Don’t feel like using the varnish is causing extra work – quite the opposite. Depending on how heavy the earlier layer of Scorpion Green was, we should have a nice gradient going on once the fresh layer is dry brushed on top of the white. Once that layer of green dries, we will be using it for the OSL work as well. Instead of dry brushing, we will be “damp brushing,” for lack of a better term.
You won’t be picking up as much paint as a regular brush, but the makeup brush will definitely not be in the “dry brush” state. Lightly dab it into your paint supply and give it just enough swirls on a paper towel to spread the paint around and soak it up a little bit. After that, revert back to the dry brushing technique of only traveling in one direction with your strokes and go to town.
Something that helped me immensely was flipping the model upside-down during this process. It helped to get a unique perspective and see how light would actually interact with it. In addition, always remember that you are trying to work from a particular focal point (or weapon edge) and work on the heaviest paint coverage being as close to that point as possible.
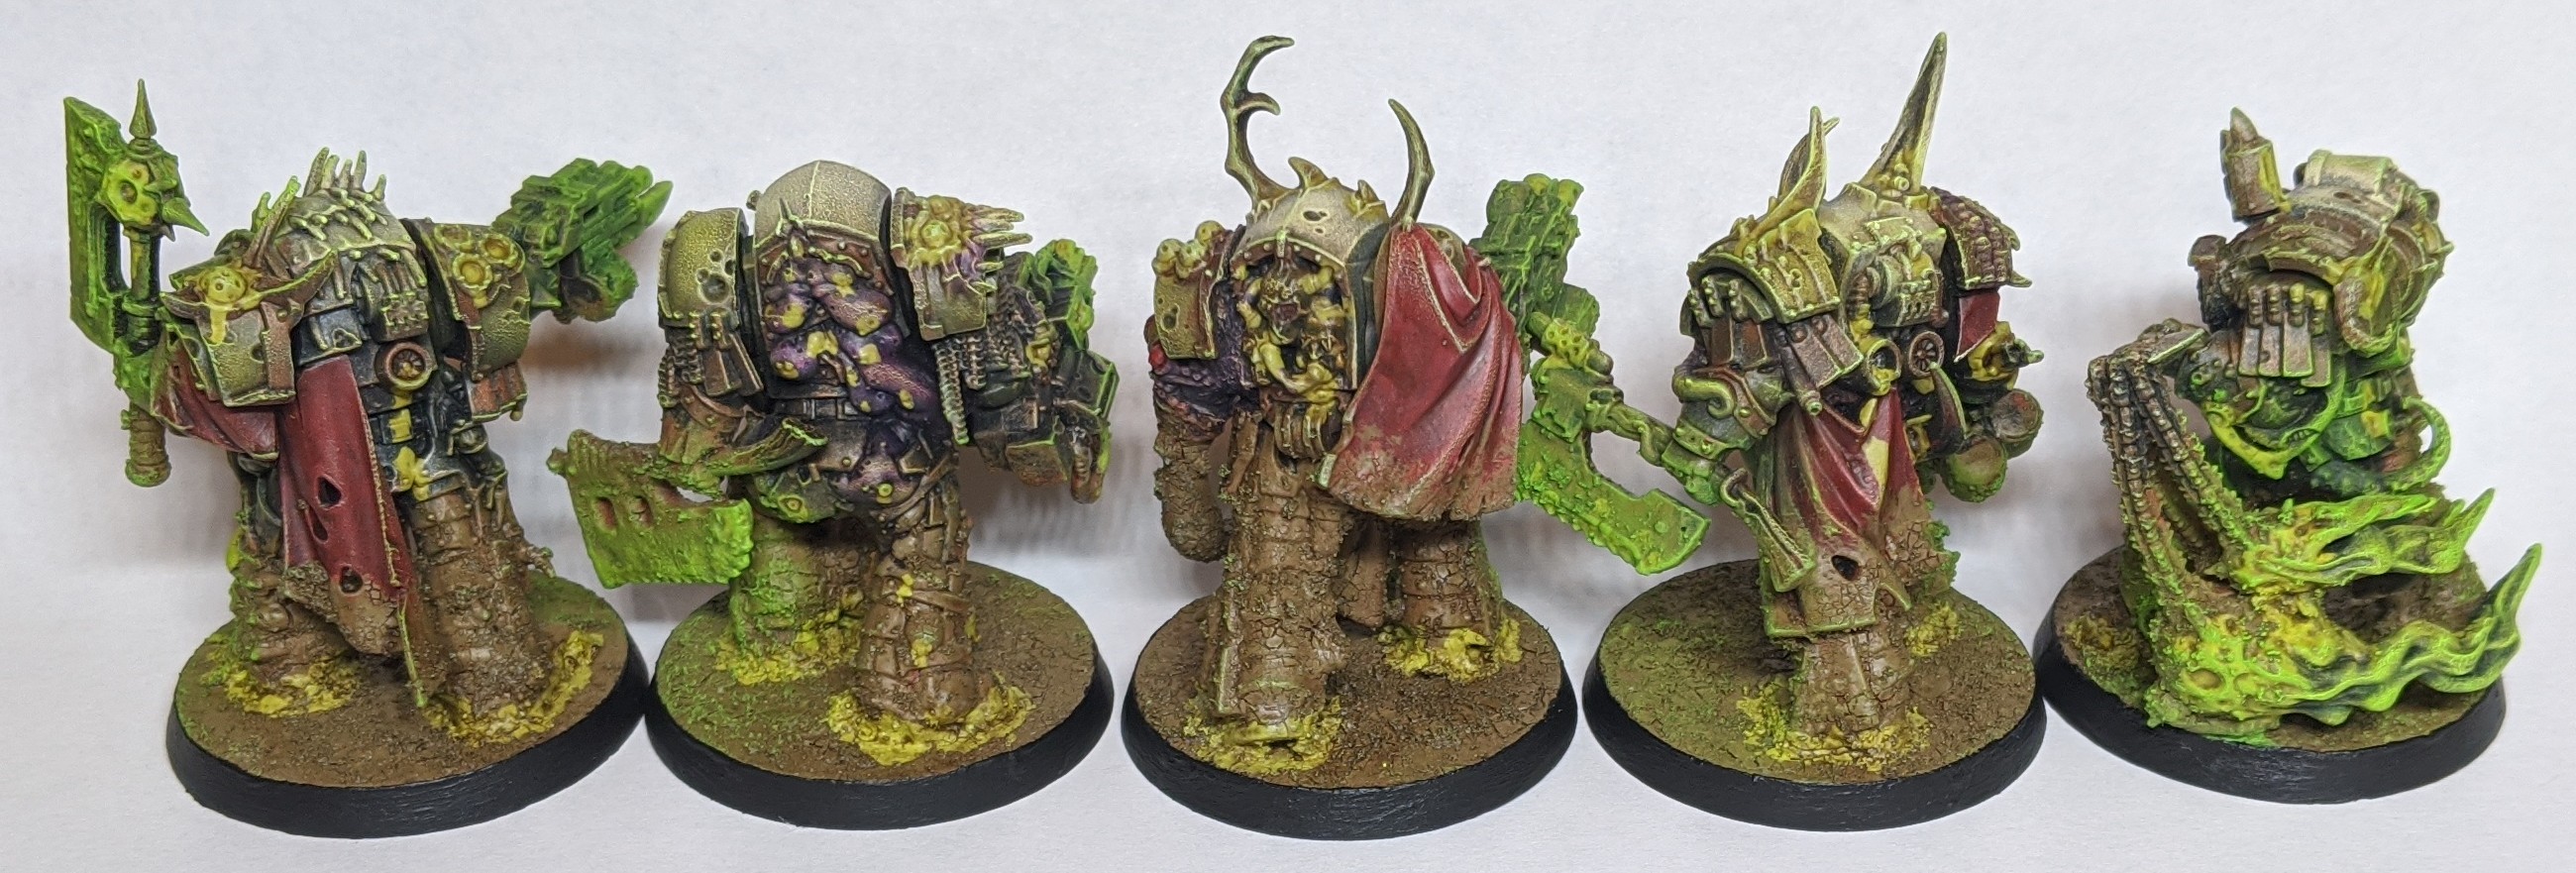
After you are happy with the OSL step, just touch up the eyes with a fresh coat of red, paint the base rim black (I run a hard edge around it to remove any texture paint spillover first) and you are done!
One last comment about the OSL – even if you’ve never done it before, go for it! This was my first real foray into it and it was a lot easier than I thought it would be. After going a bit too heavy during the last Scorpion Green dry brush, I decided to commit and see what happened.
I hope this tutorial helps a few of you budding nurglings out there or at the least gives inspiration for some color choices.
-Papa Praise!
Have any questions or feedback? Drop us a note in the comments below or email us at contact@goonhammer.com.
