
If you saw our review article on the new Eldar kits, you will find I was quite hyped by this model as its a huge step up on the old one. In this article we are gonna go through the recipe for my colour scheme on the big goth, although since I don’t do the aspect distinct colours its applicable to the rest of the eldar range.
Before we get into it I would like to thank Games Workshop for sending this model to us ahead of the release!
Orange Base Coats
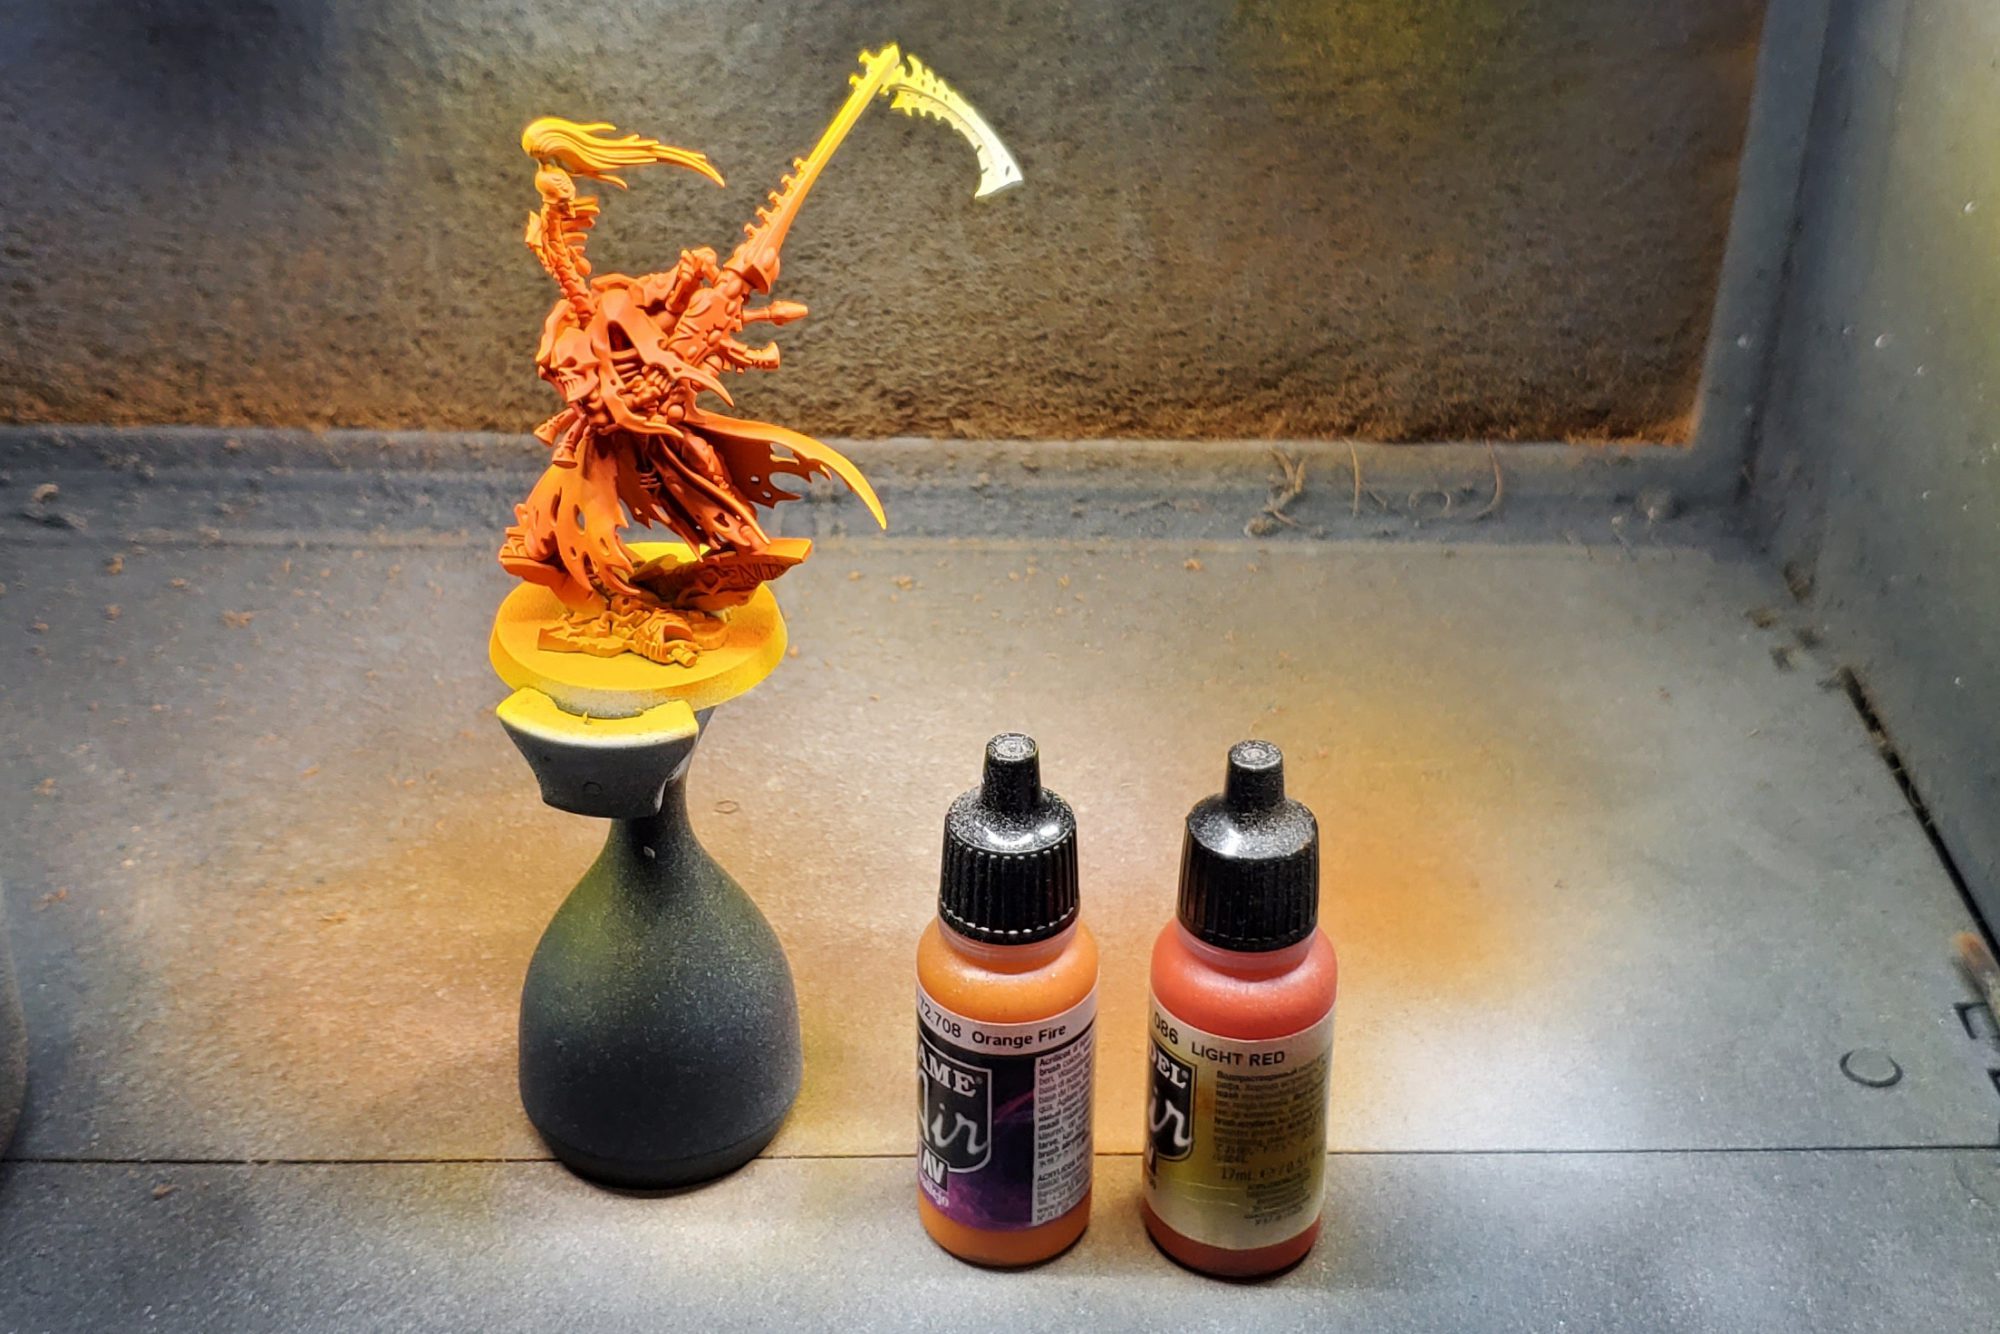
Its pretty important to start this scheme with a white primer, anything else will look dramatically different as the colours used are incredibly thin and translucent. After that I do two coats of Vallejo Light Red Air followed by 3-4 quick passes of Vallejo Orange Fire Air applied as a zenithal coat, the number of coats is necessitated by the aforementioned translucent nature of the paints. The light red won’t be super visible, but it’s crucial to get the right colour and is a little bonus from lower angles.

heading back up to the painting table, I went around and roughly recess shaded the orange with Druchii.
Bone
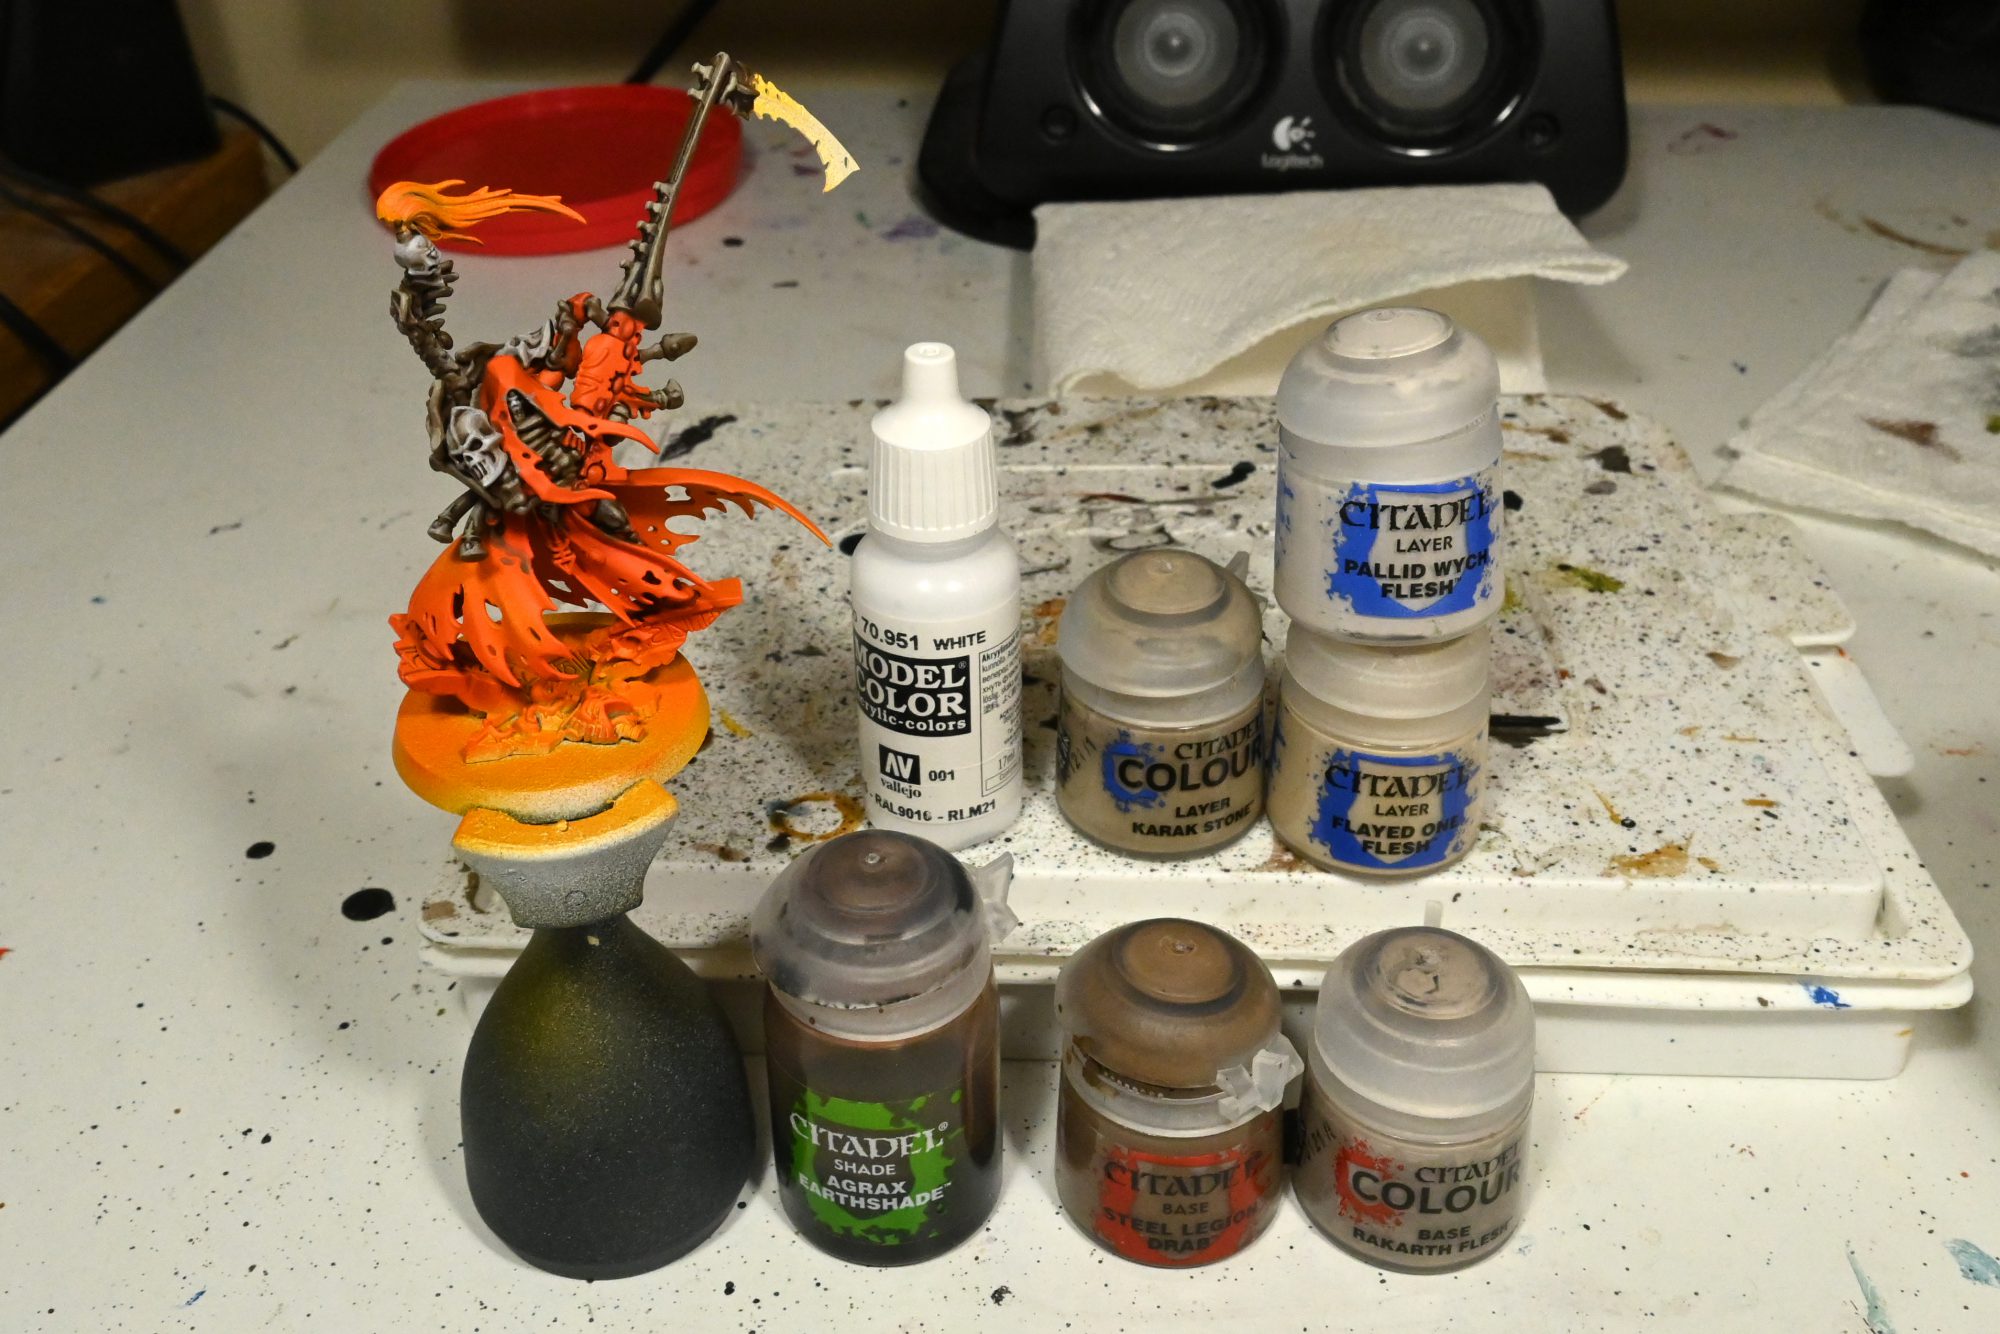
I start this step by base coating the Wraithbone bits like the gun shroud and most of the various bone things with Steel Legion Drab, and then the Dark Reaper iconography like the shoulder skulls and his face with Rakarth Flesh.
After washing both with Agrax, I glaze both with a coat of their respective base coats. Moving on, I glazed the Wraithbone with a couple of coats of Karak and then Flayed One Flesh, the iconography also gets a similar treatment of two glazes each of Pallid Wych and then White.
Purple Cloth
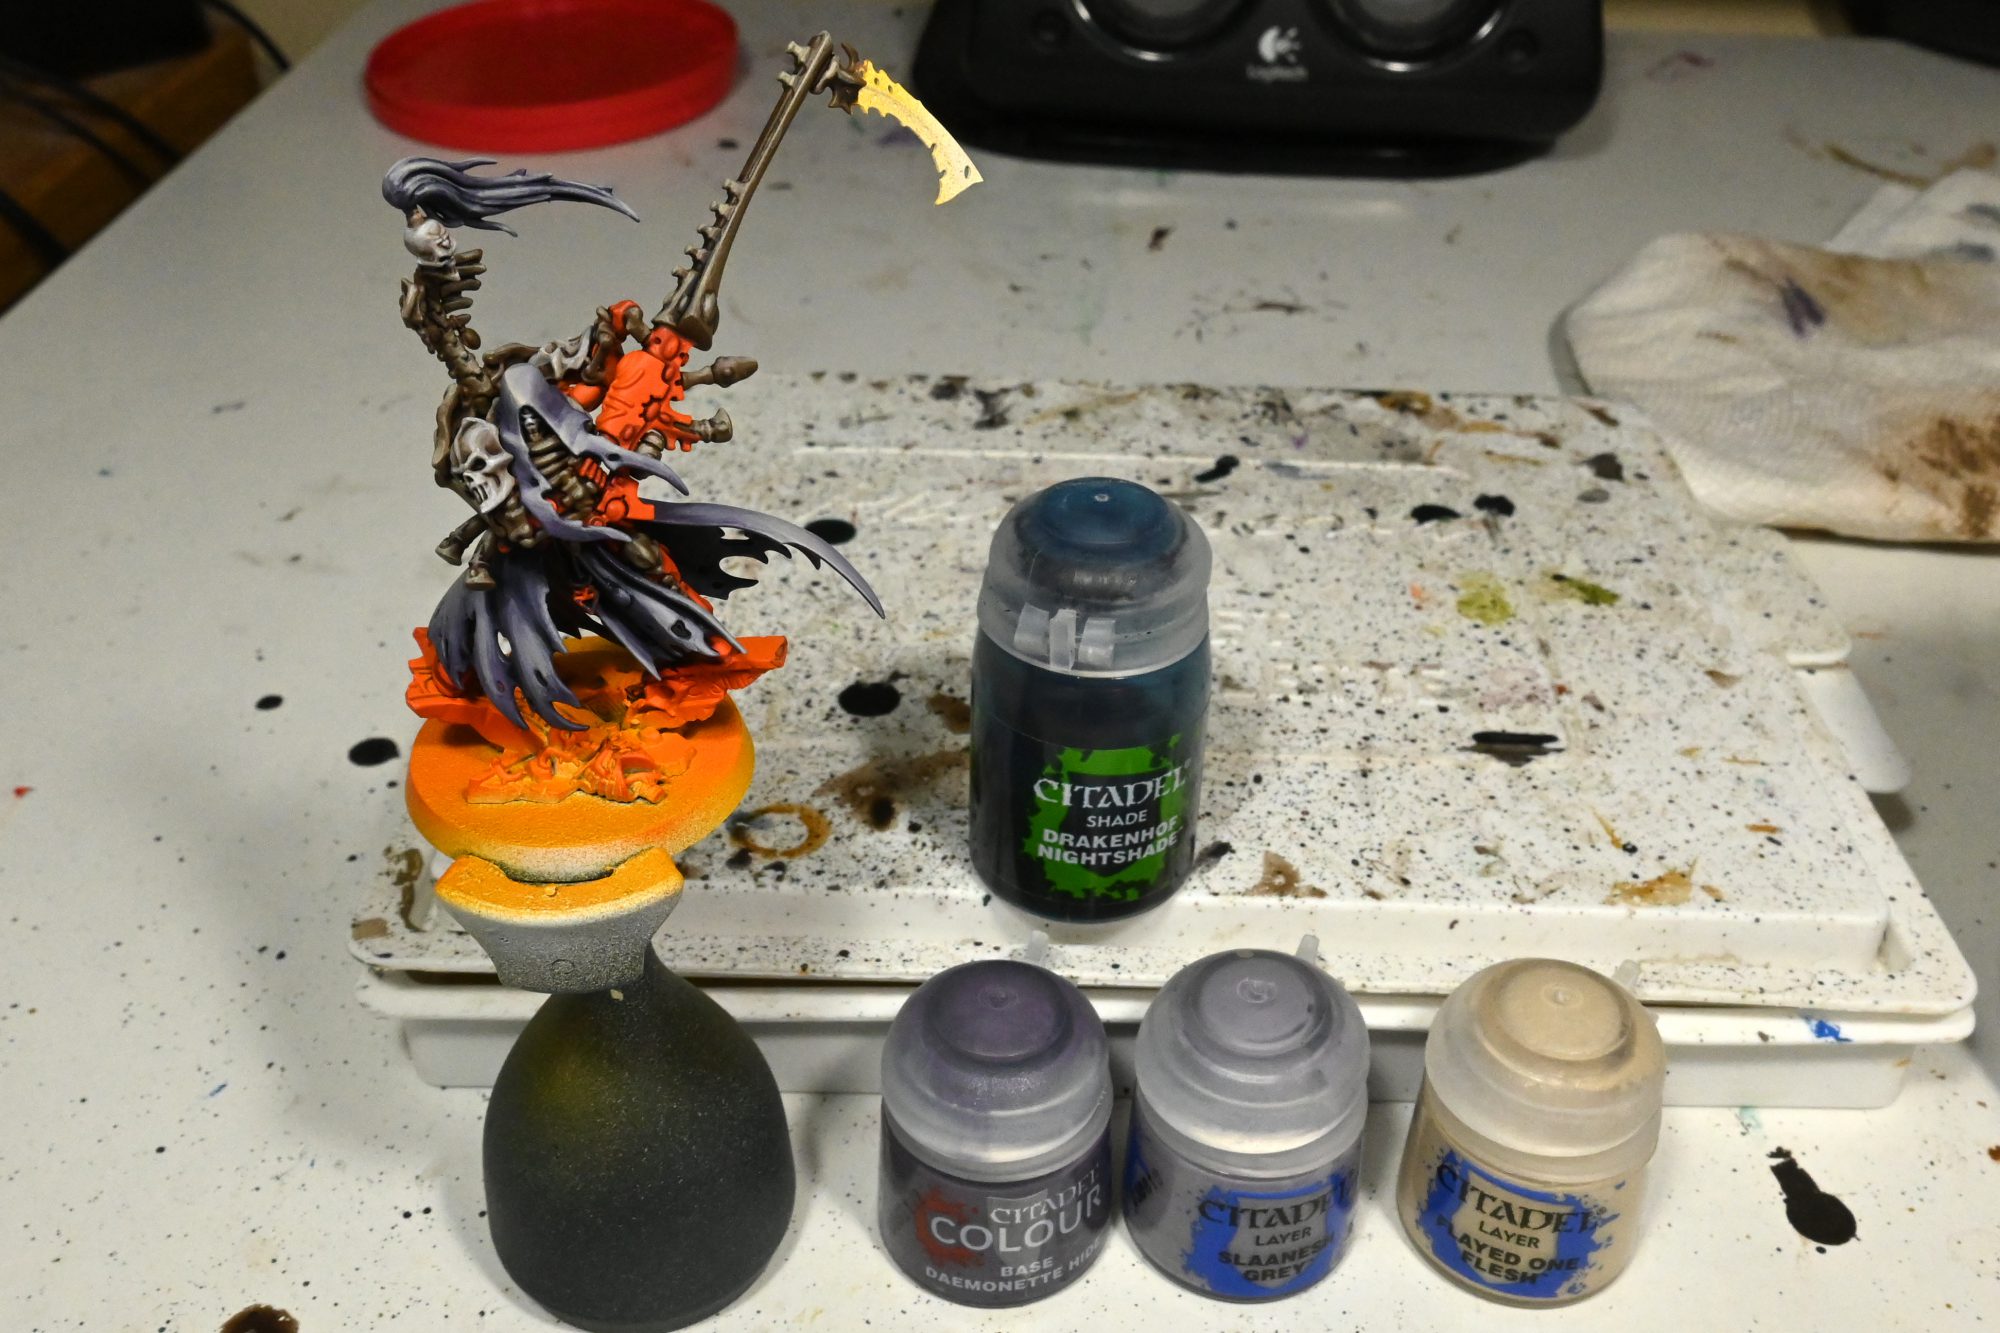
For this I start with Daemonette Hide and then wash Drackenhof Nightshade, after that is dry I glaze up from the base coat through Slaanesh Grey and then finally Flayed One. For these highlights I don’t really have a defined number of glazes I do for each, more just going until it looks right.
Leather, Black, and Metal
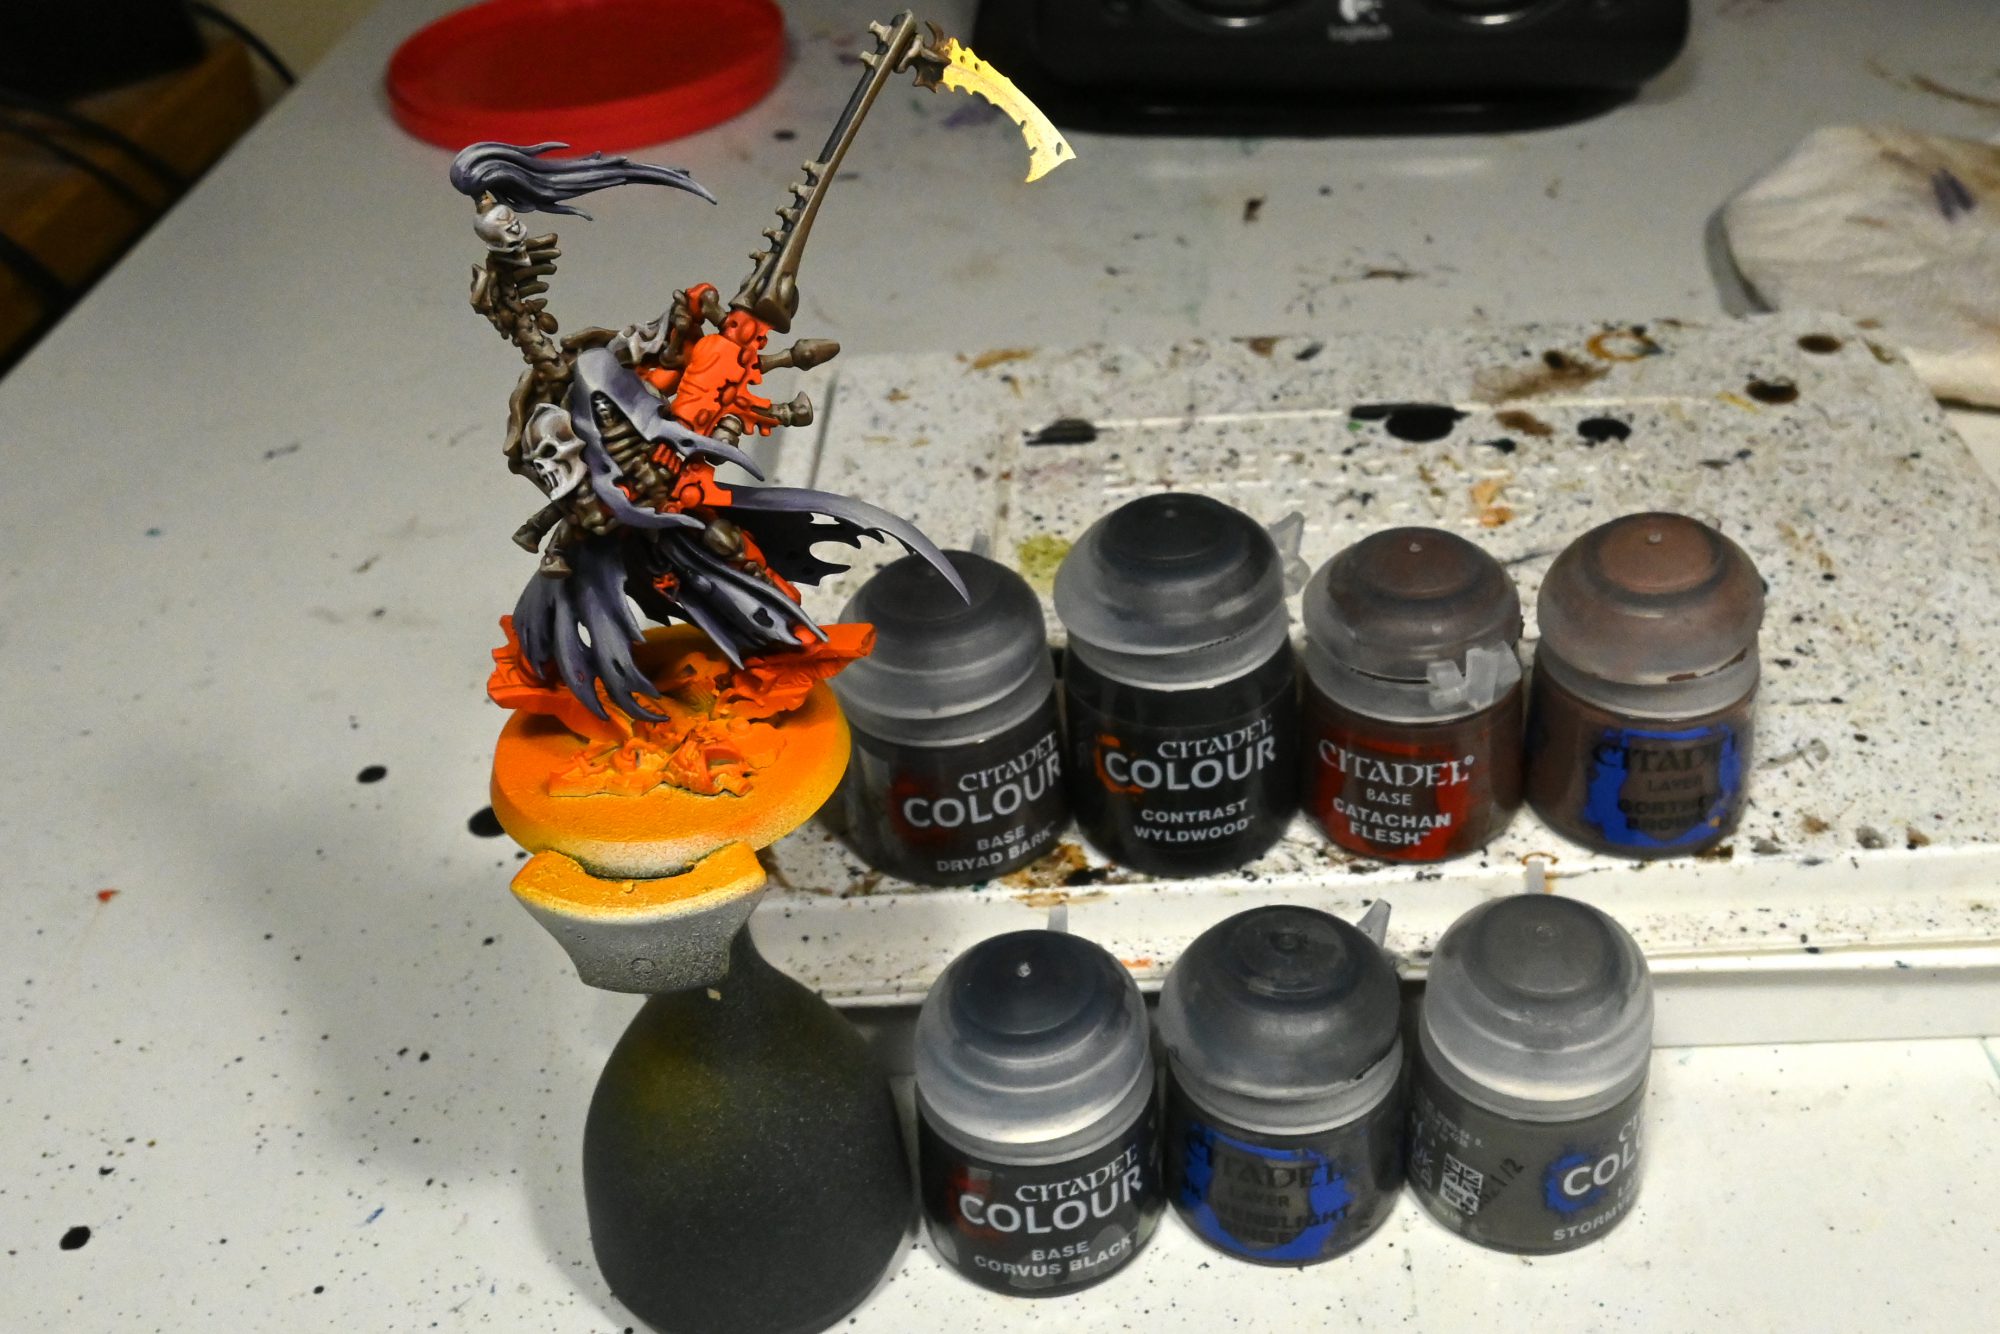
The leather is nice and quick, just do a single coat of Dryad Bark then wash it with Wyldwood followed by edge highlights of Dryad, Catachan and then Gorthor.
The black is even quicker, base coat Corvus then edge highlights of Skavenblight Dinge and Stormvermin.
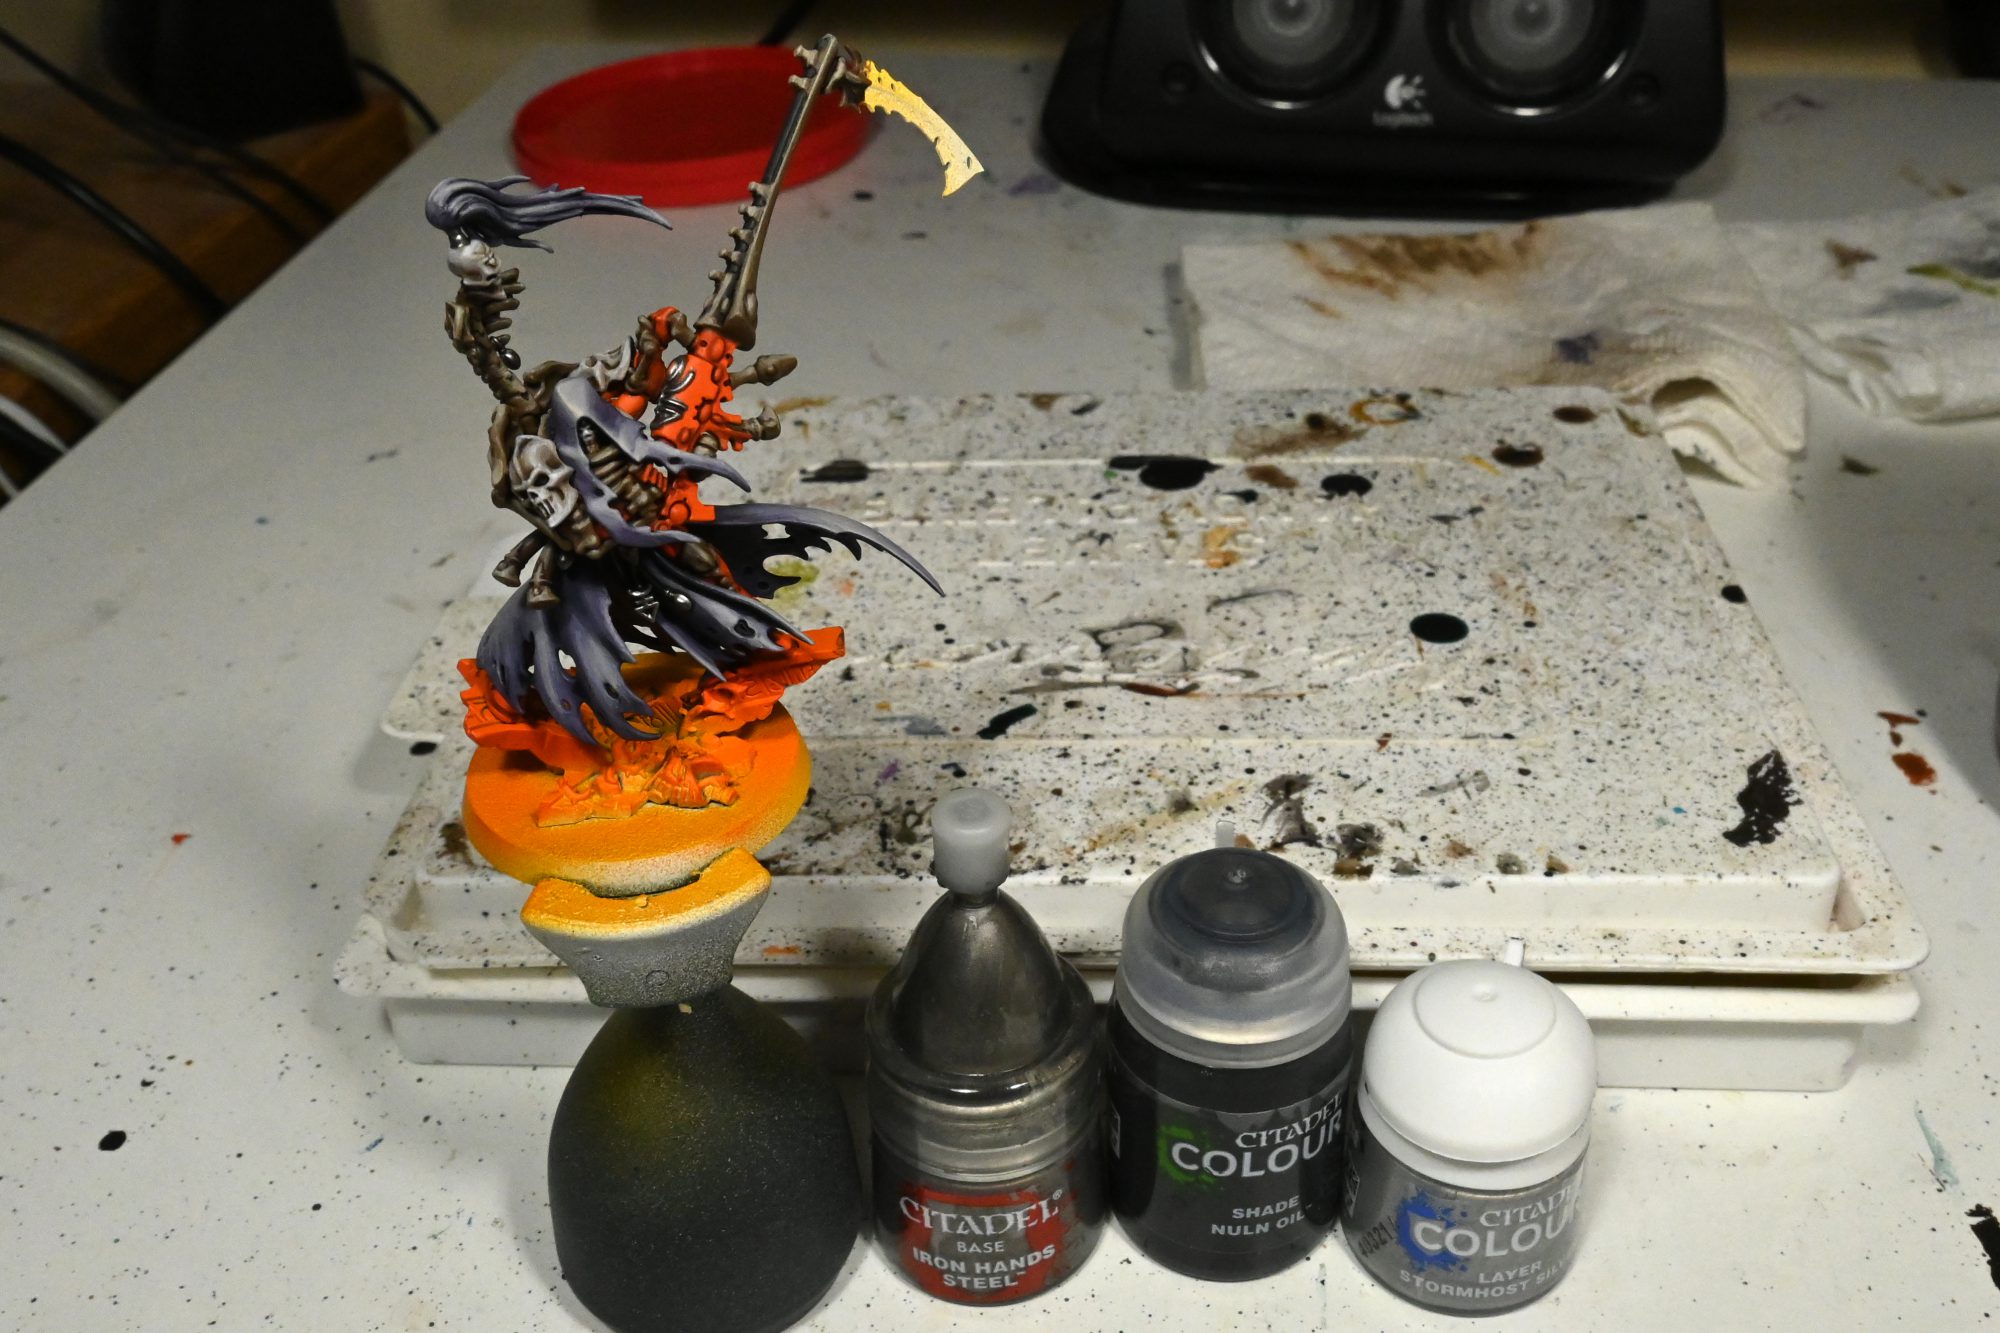
For the metal base coat I use Iron Hands Steel, wash with Nuln and finish off with a edge highlight of Stormhost Silver.
Blades and Gems
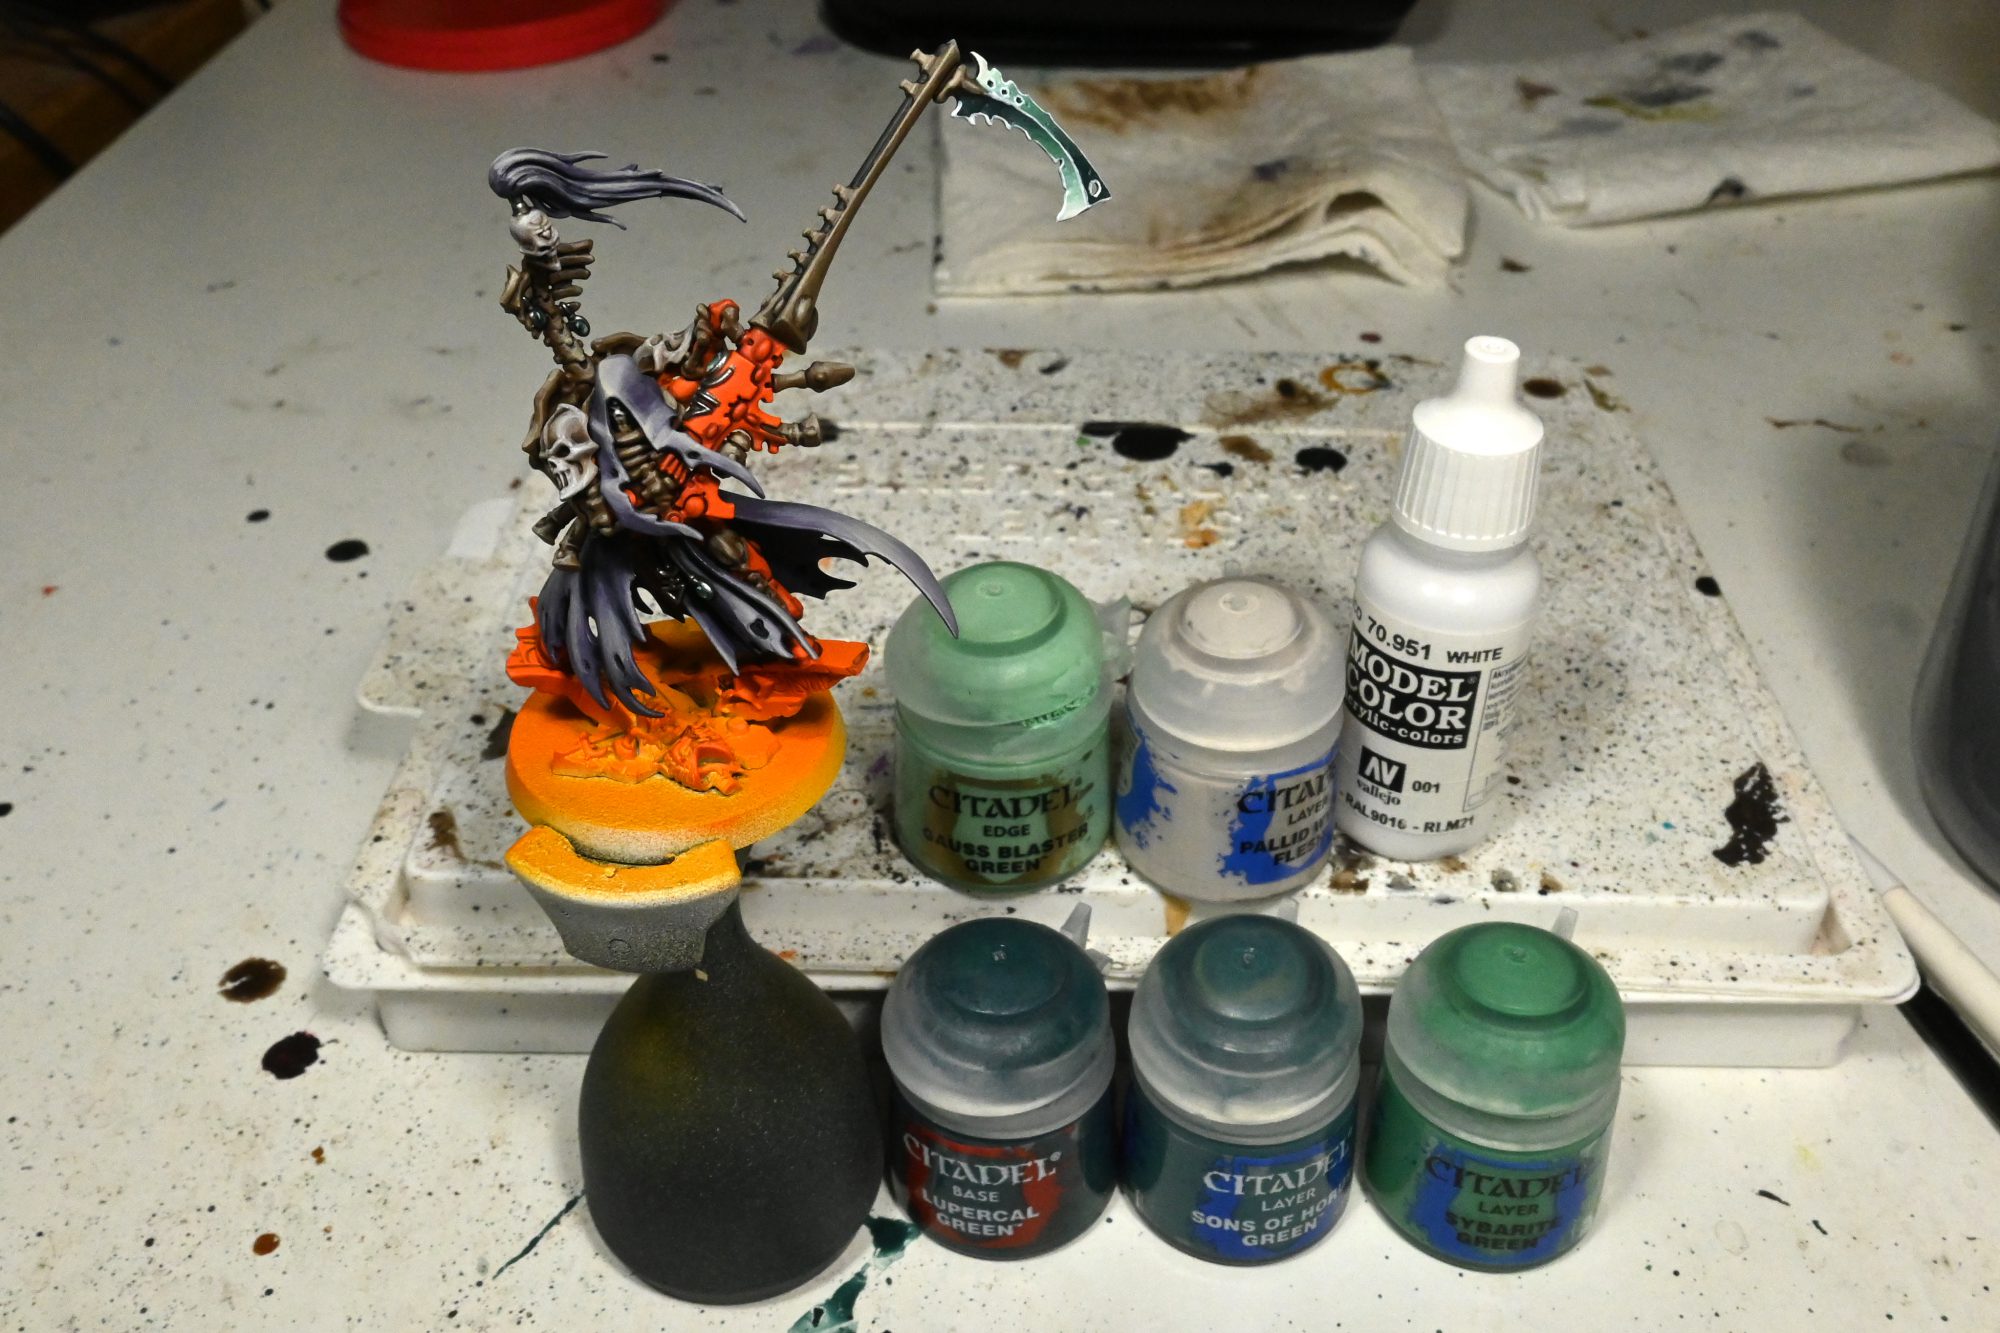
Start the blades with a base of Lupercal Green, after which then I glaze from about a quarter along the blade to the end slowly switching from Sons of Horus through Sybarite, Gauss Blaster and finally Pallid Wych. After the transition is where you want, take your choice of White and define the edges and boundaries of the blade faces. This actually helps hide any roughness to your transitions as there is a far more stark change right new by.
The gems are the same colours following the normal sequence of crescents.
Orange Highlights

These are just a couple of simple edge highlights of Fire Dragon Bright and then Bestigor Flesh.
Basing

Start with covering the base with Vallejo Grey Sand and then build up some difference in topography with Vallejo Black Lava.
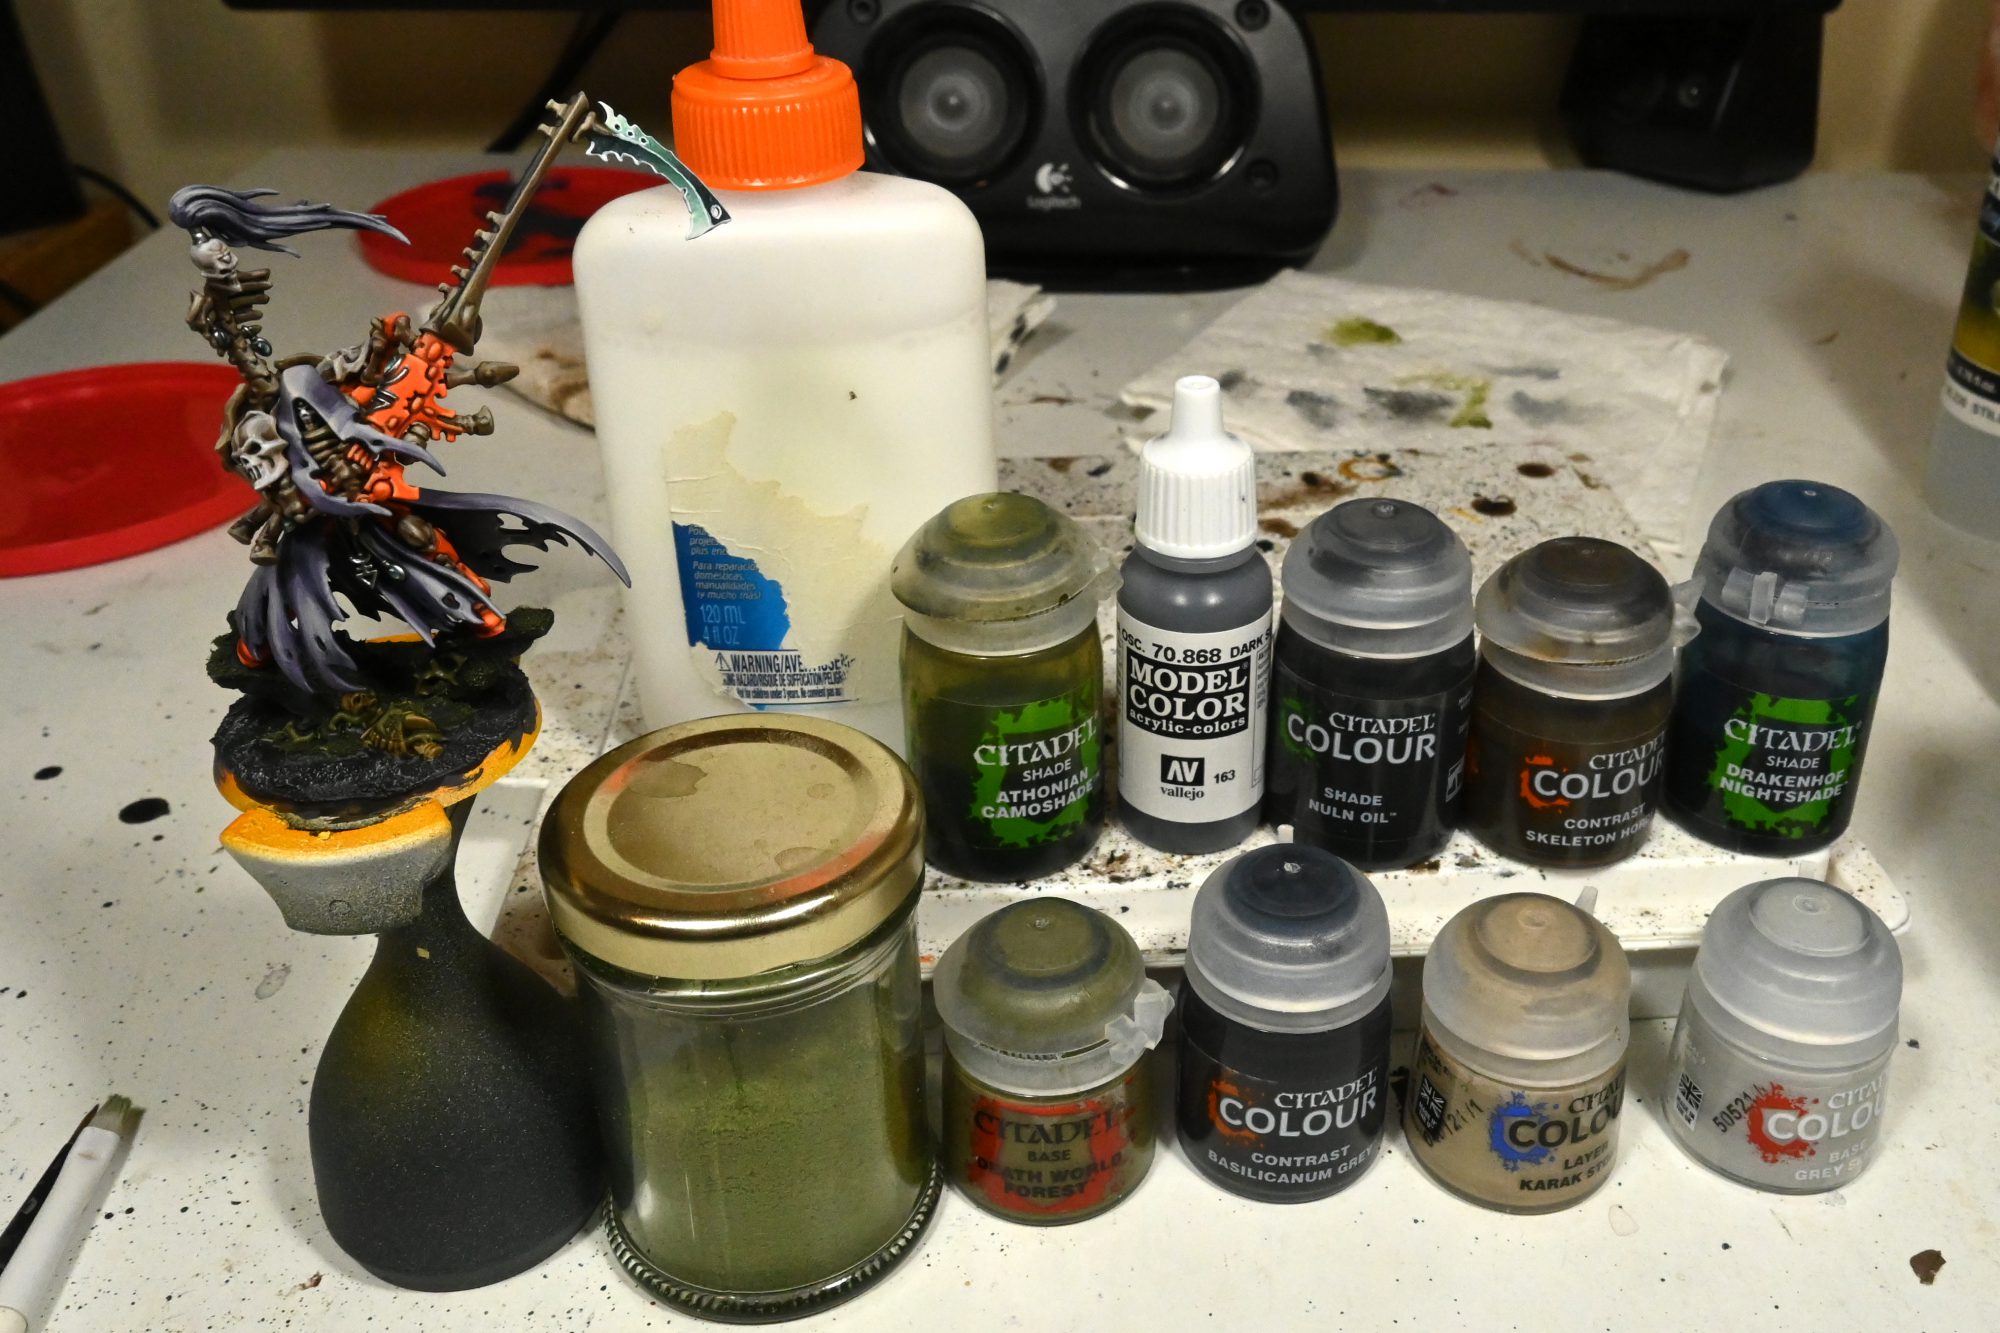
Once dry, base coat the rock and ruins in Dark Sea Green, then wash the ground with Basilicanum and the ruins with Nuln Oil. After that I tint any patterns in the ruins with Drakenhof Nightshade and drybrush both materials with Grey Seer. The bones were just Karak and Skeleton horde, the vines get base coated in Death World Forest and then we can leave them for now and move on to the moss.
I will admit this moss is a simplification of a recipe Lupe got from a friend, but I start by dabbing on some white glue to edges and upper surfaces on the ruins, then apply a mix of Woodland Scenics Fine Turf. (Specifically I used a roughly even mix of Grass Green and Burnt Grass) After the glue sets I wash the moss, vines, and various sections of the ruins with Athonian Camoshade, multiple times if I want to get a denser colour in spots, and then drybrush the plants with Elysian Green.
After that, I varnished the model with Vallejo Premium Air Matte Varnish, painted the rims Abaddon Black, and threw on some tufts from Gamers Grass. (Specifically: Green 4mm, Dry Green 2mm, Strong Green 6mm, Assorted Flowers)
Gallery
-
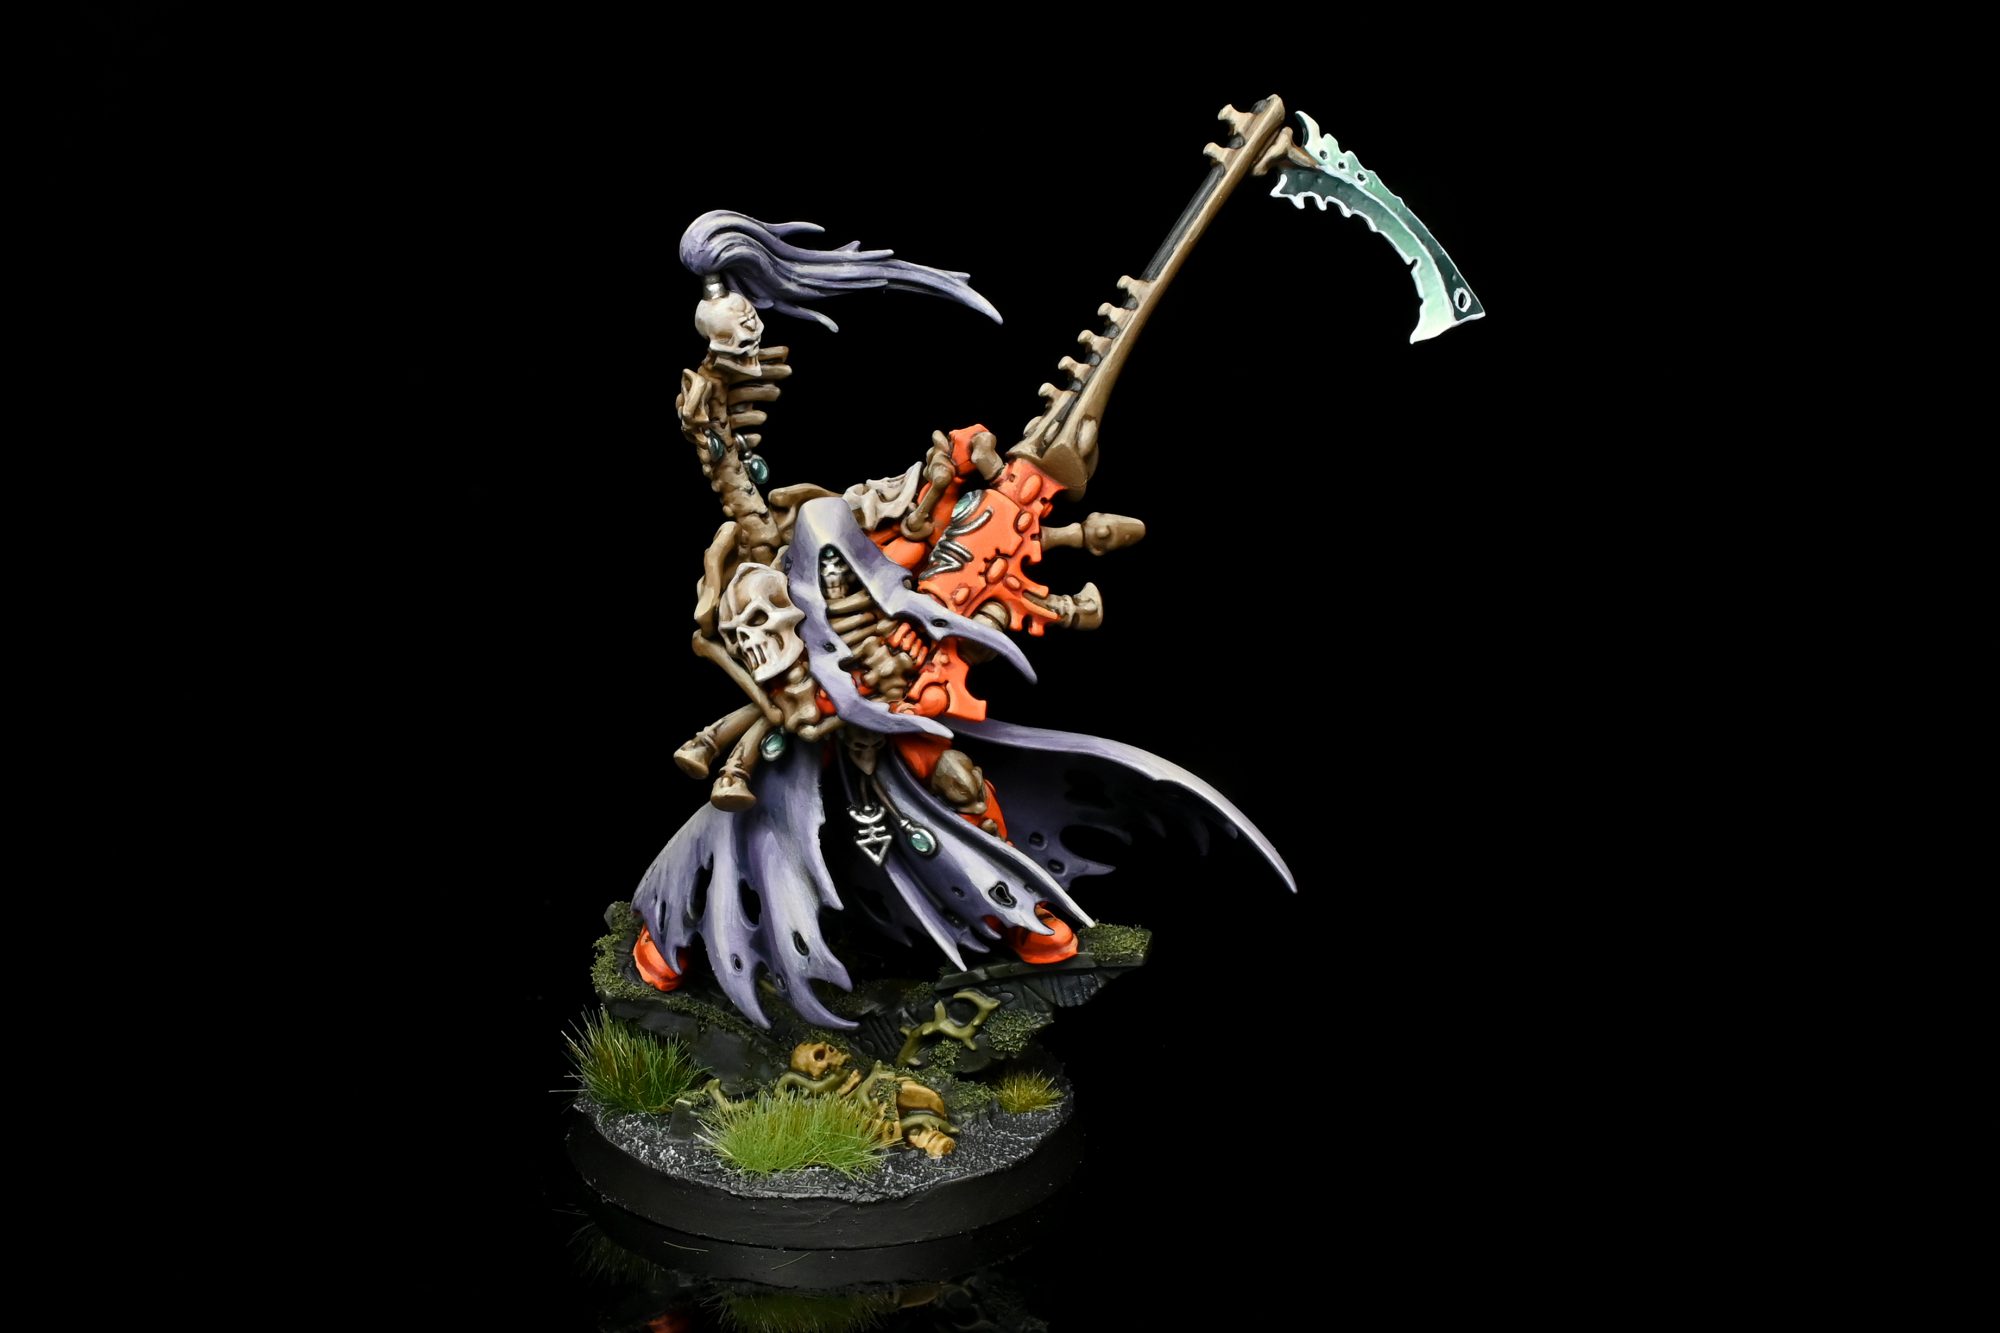

Maugan Ra. Credit: Rockfish -
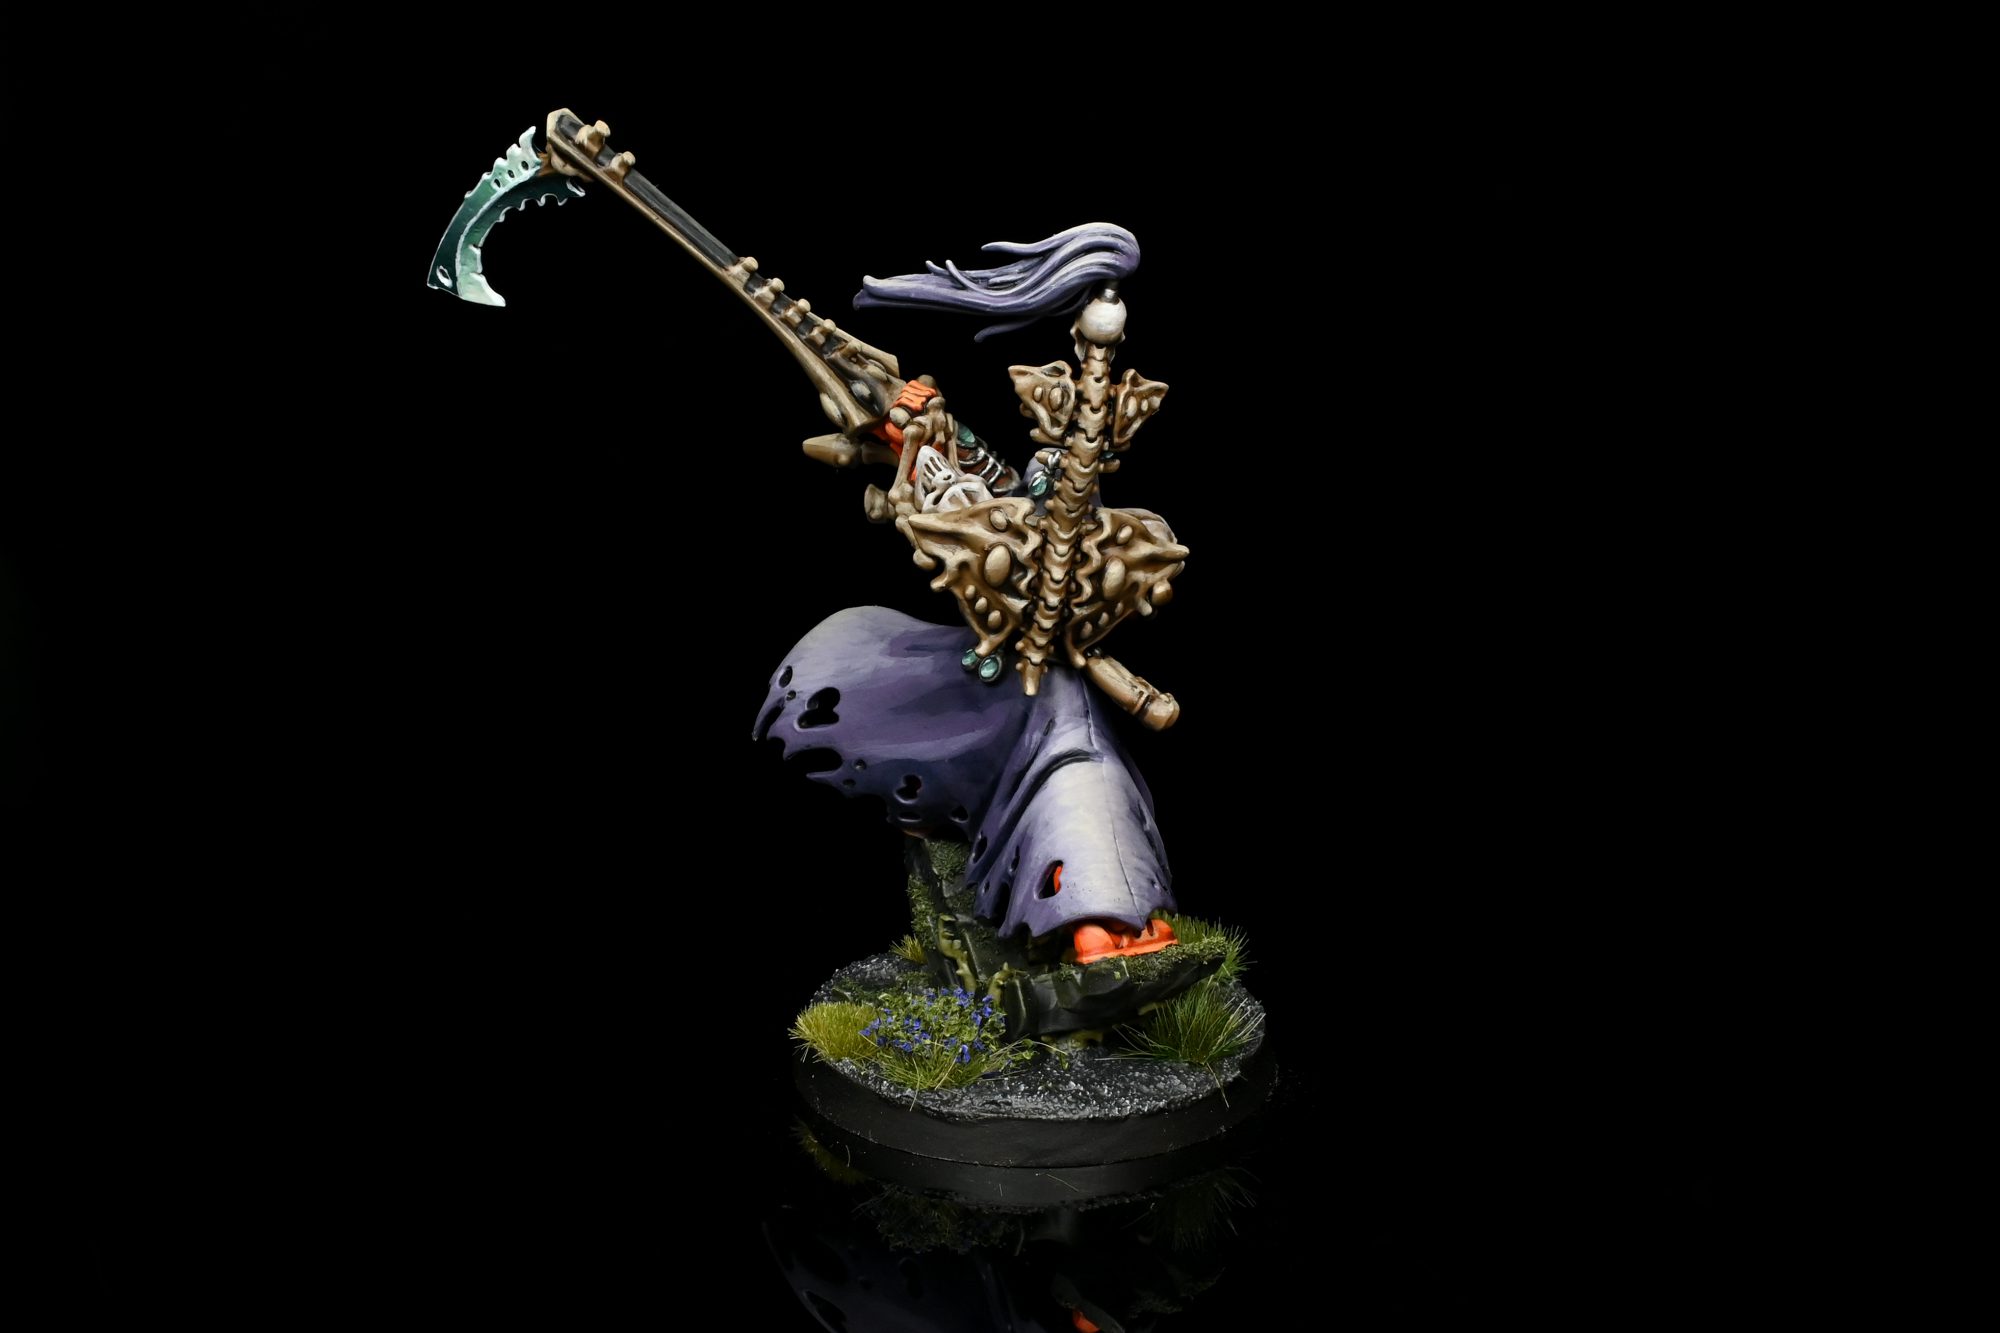
Maugan Ra. Credit: Rockfish -
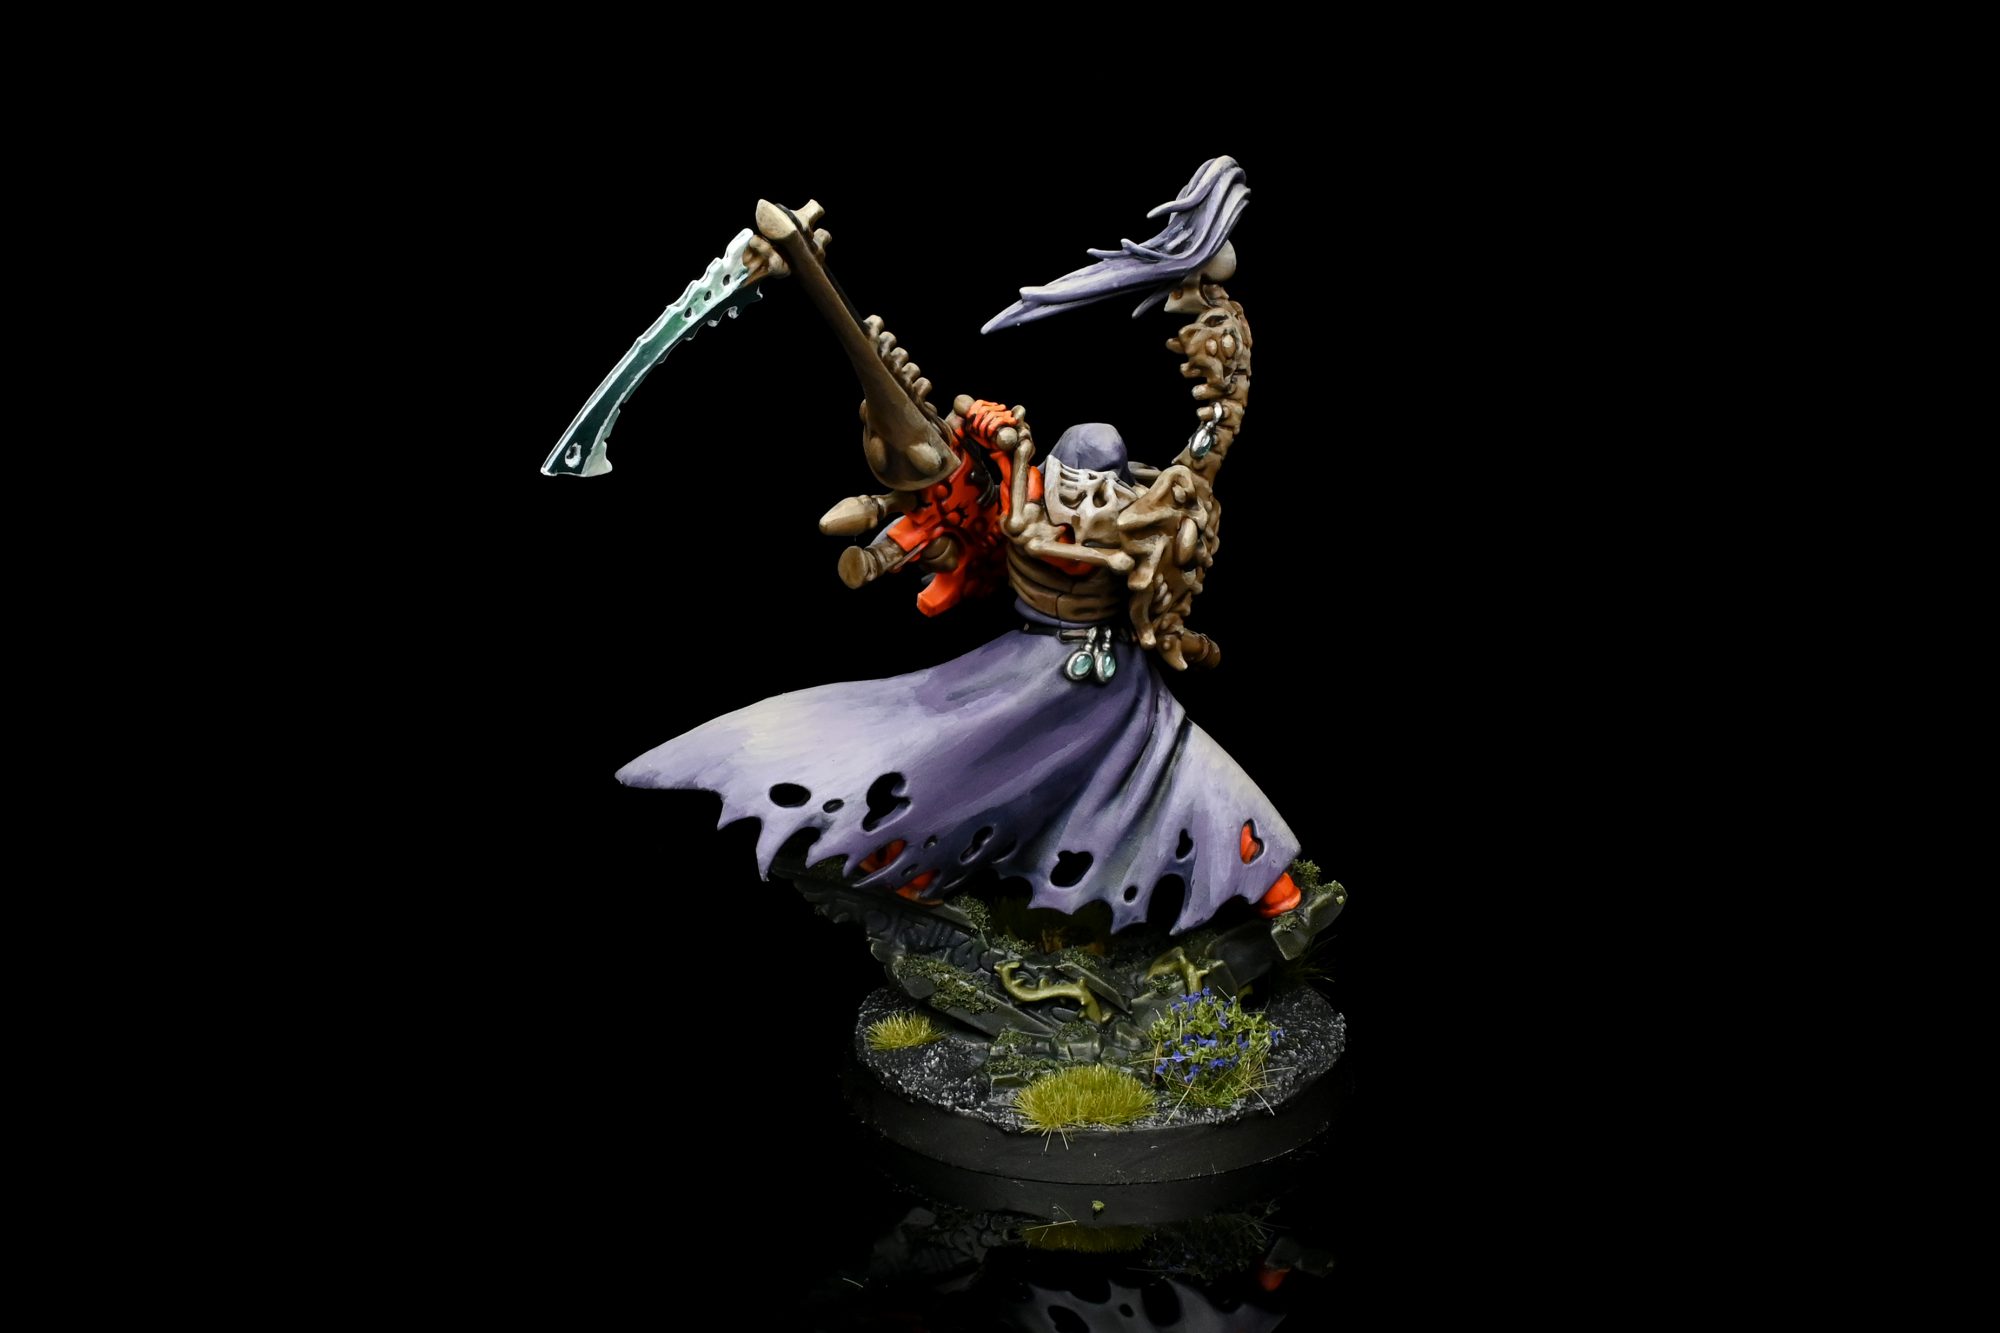
Maugan Ra. Credit: Rockfish
Have any questions or feedback? Drop us a note in the comments below or email us at contact@goonhammer.com.
