
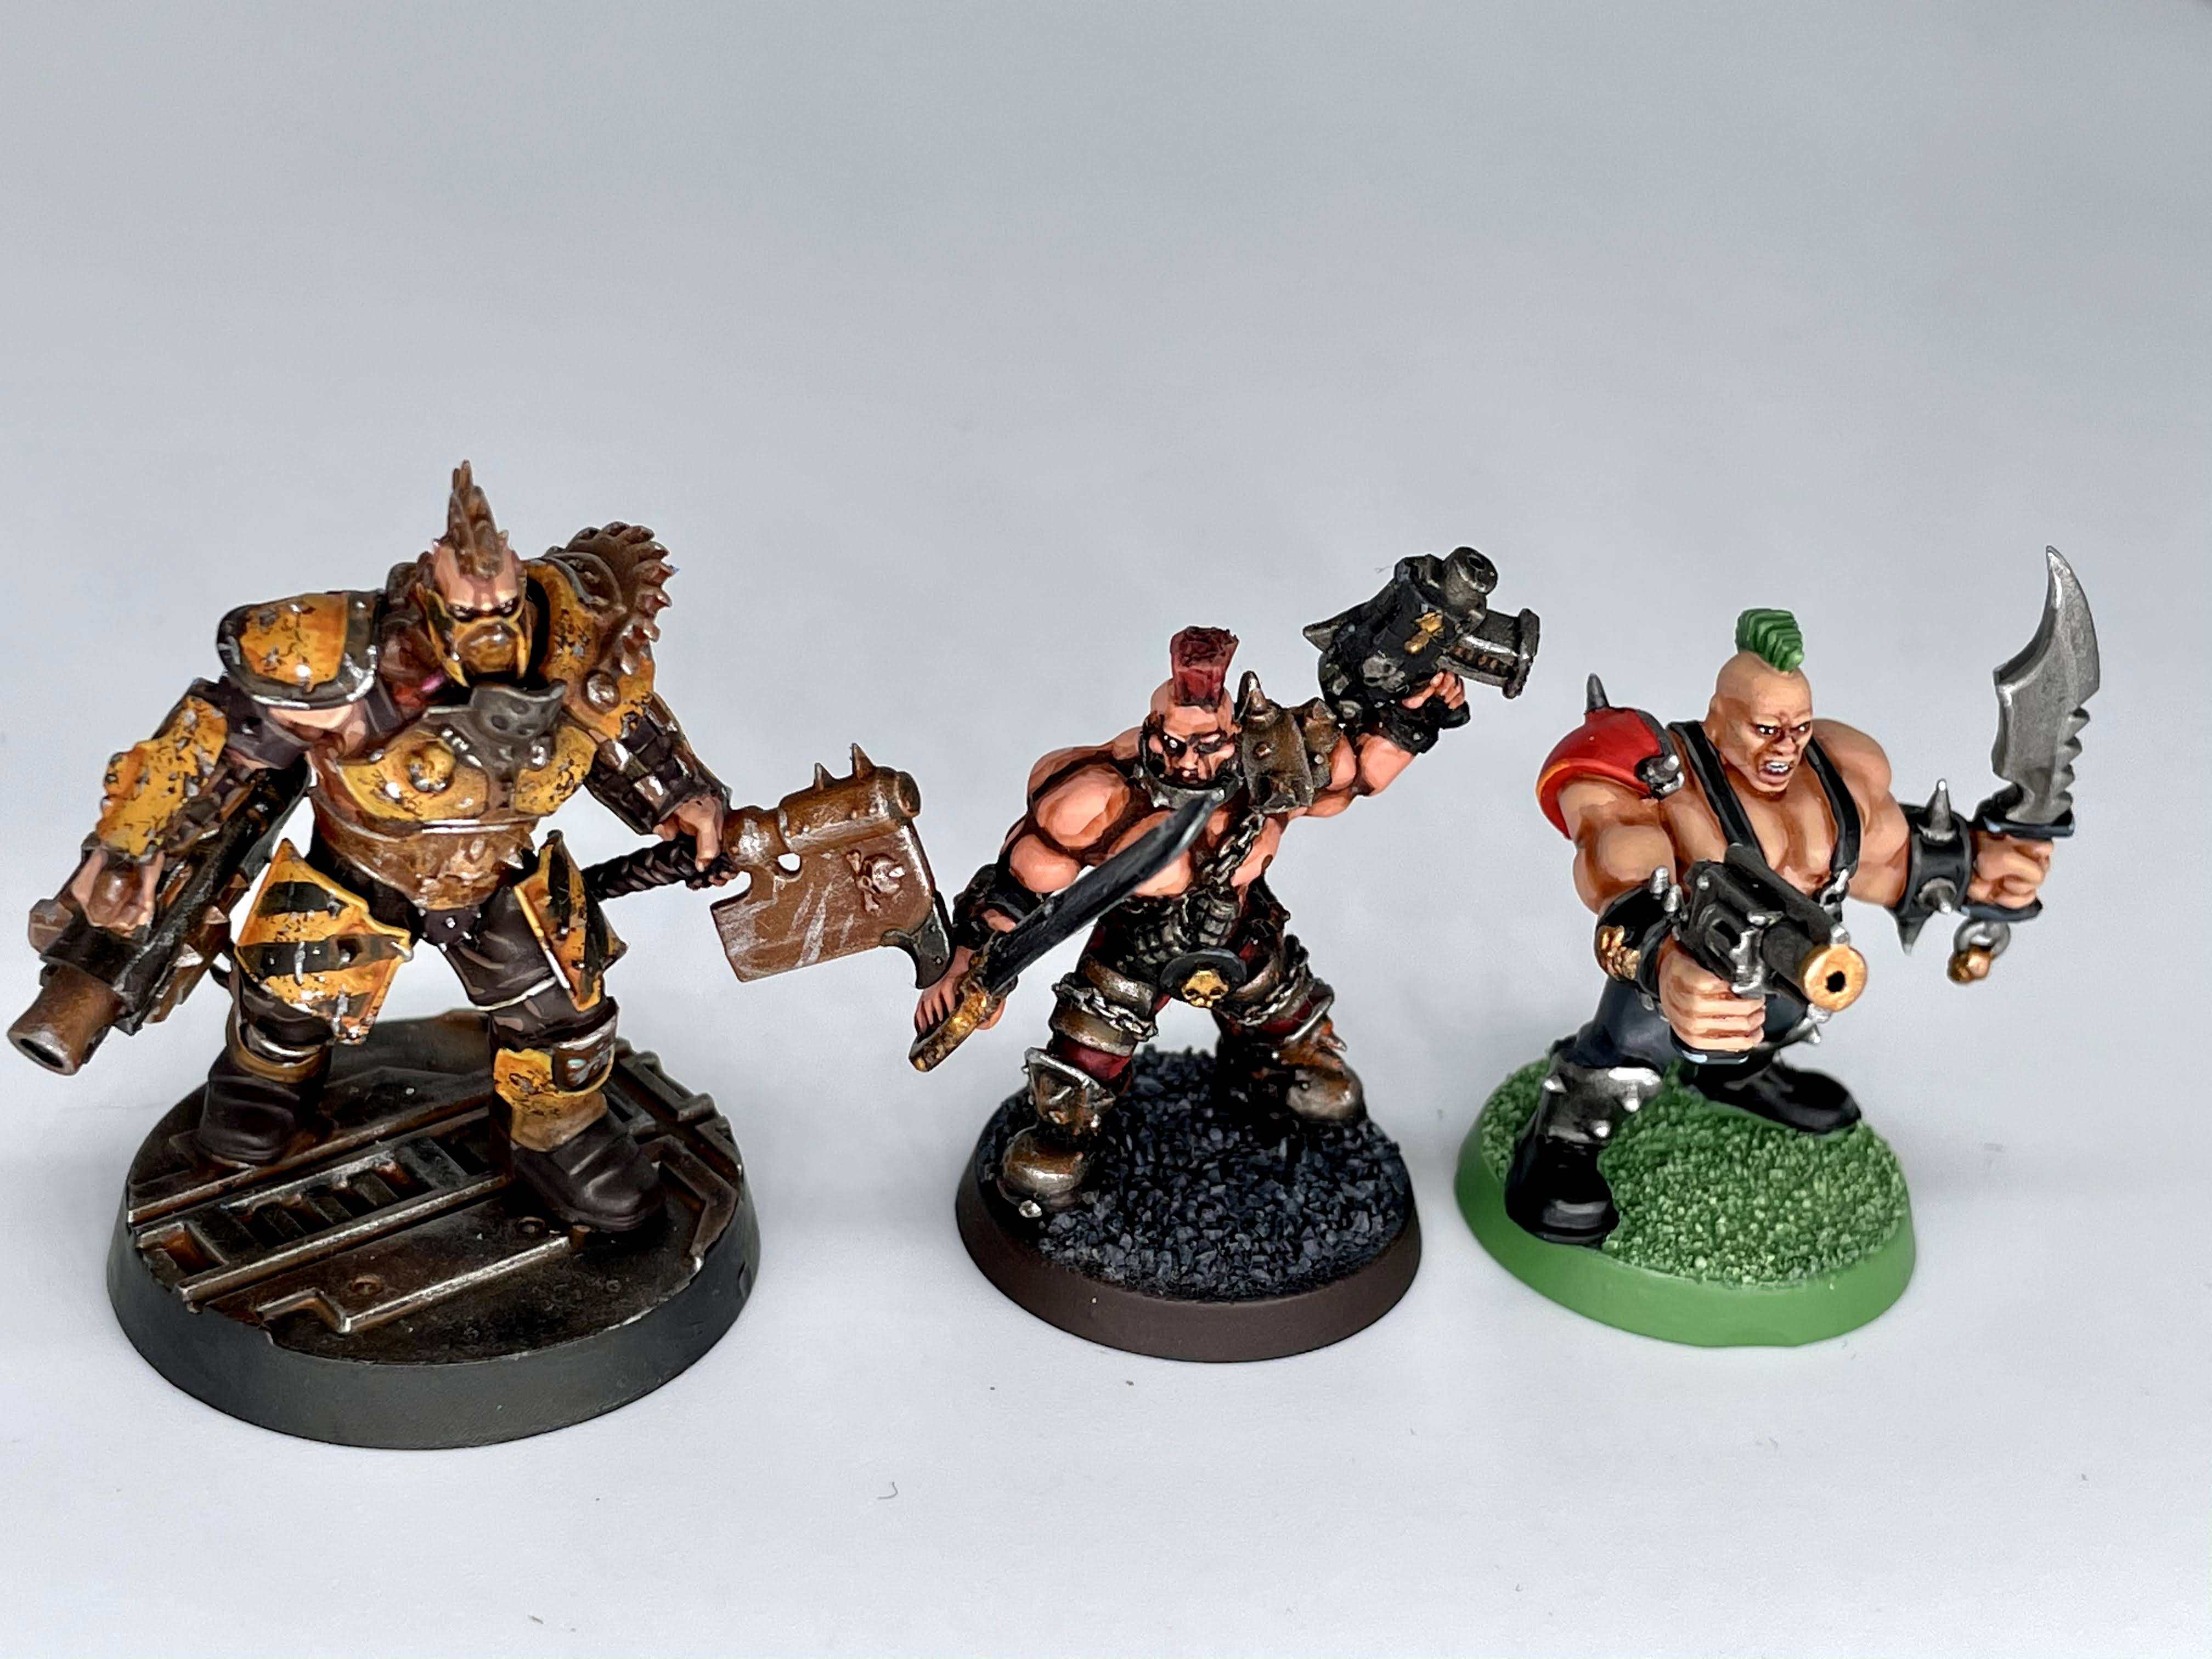
In our How to Paint Everything series, we take a look at how to paint different models, armies, and materials, and different approaches to painting them. In this article, we’re bringing a retro flair to Necromunday and covering the classic Goliaths paint scheme and applying it to the gang’s equally classic models.
It’s no secret that I’m a big fan of Goliaths. Hell, this article is detailing the foundation of a third gang of ’em.
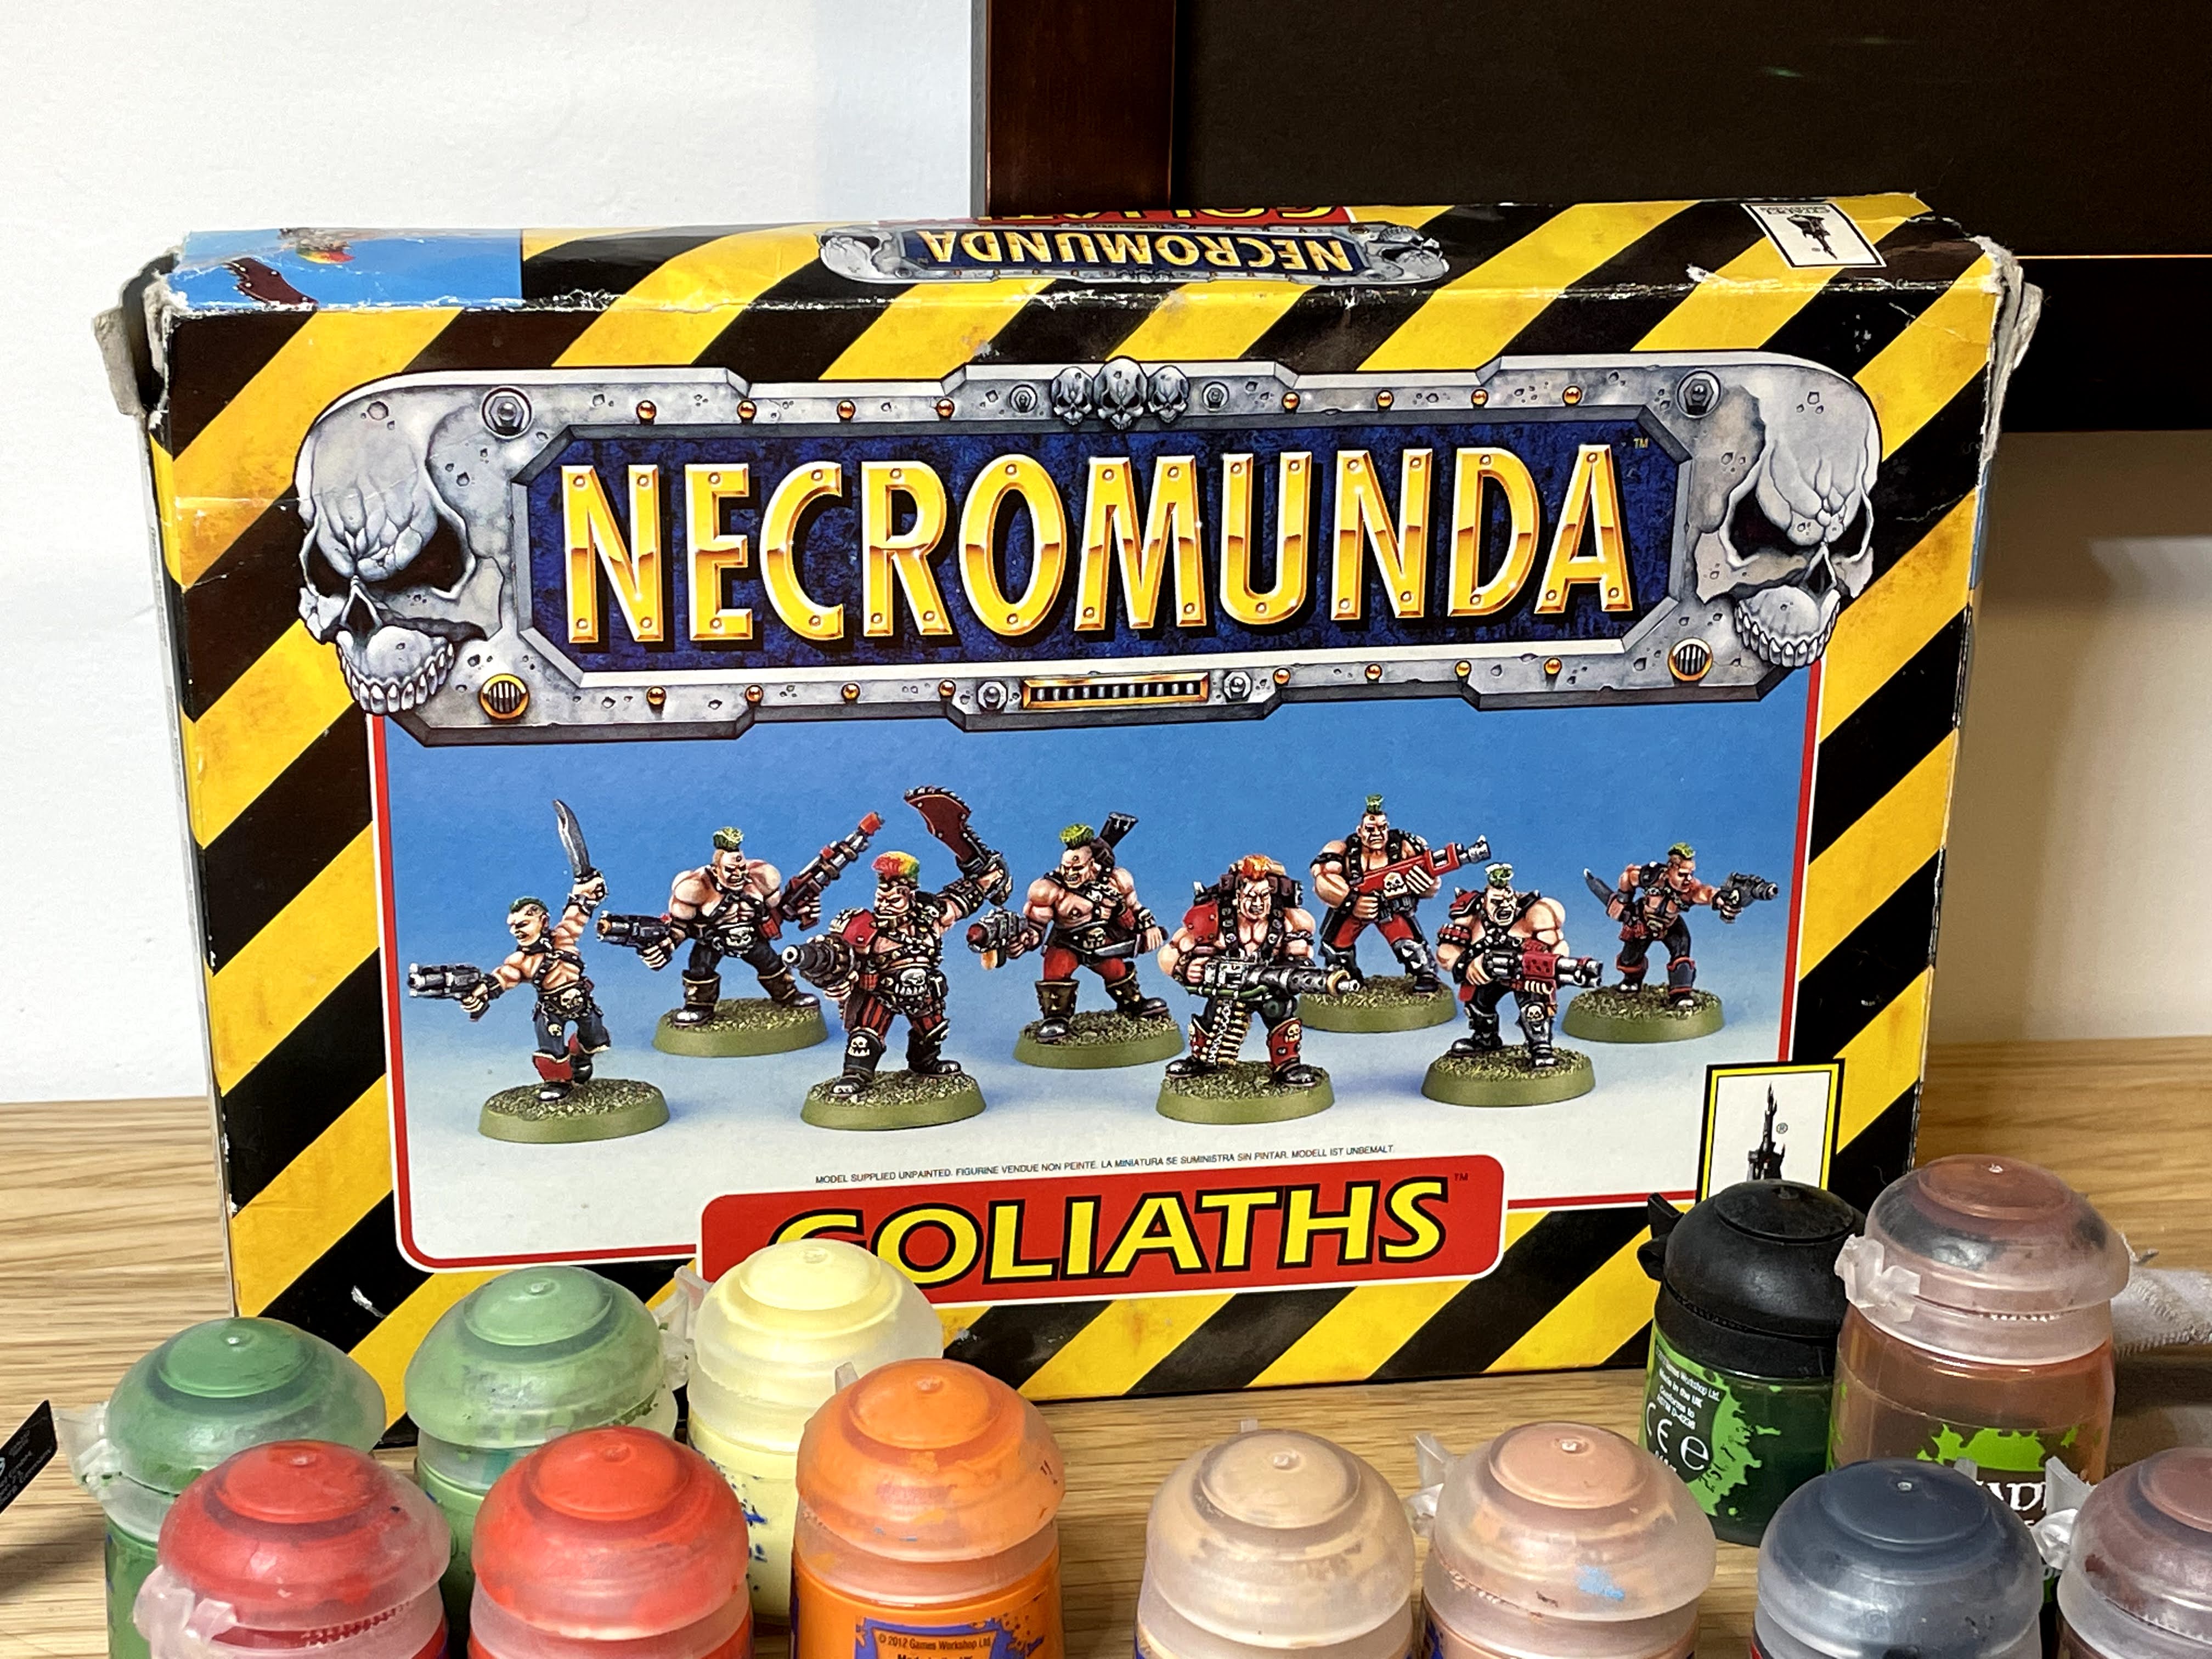
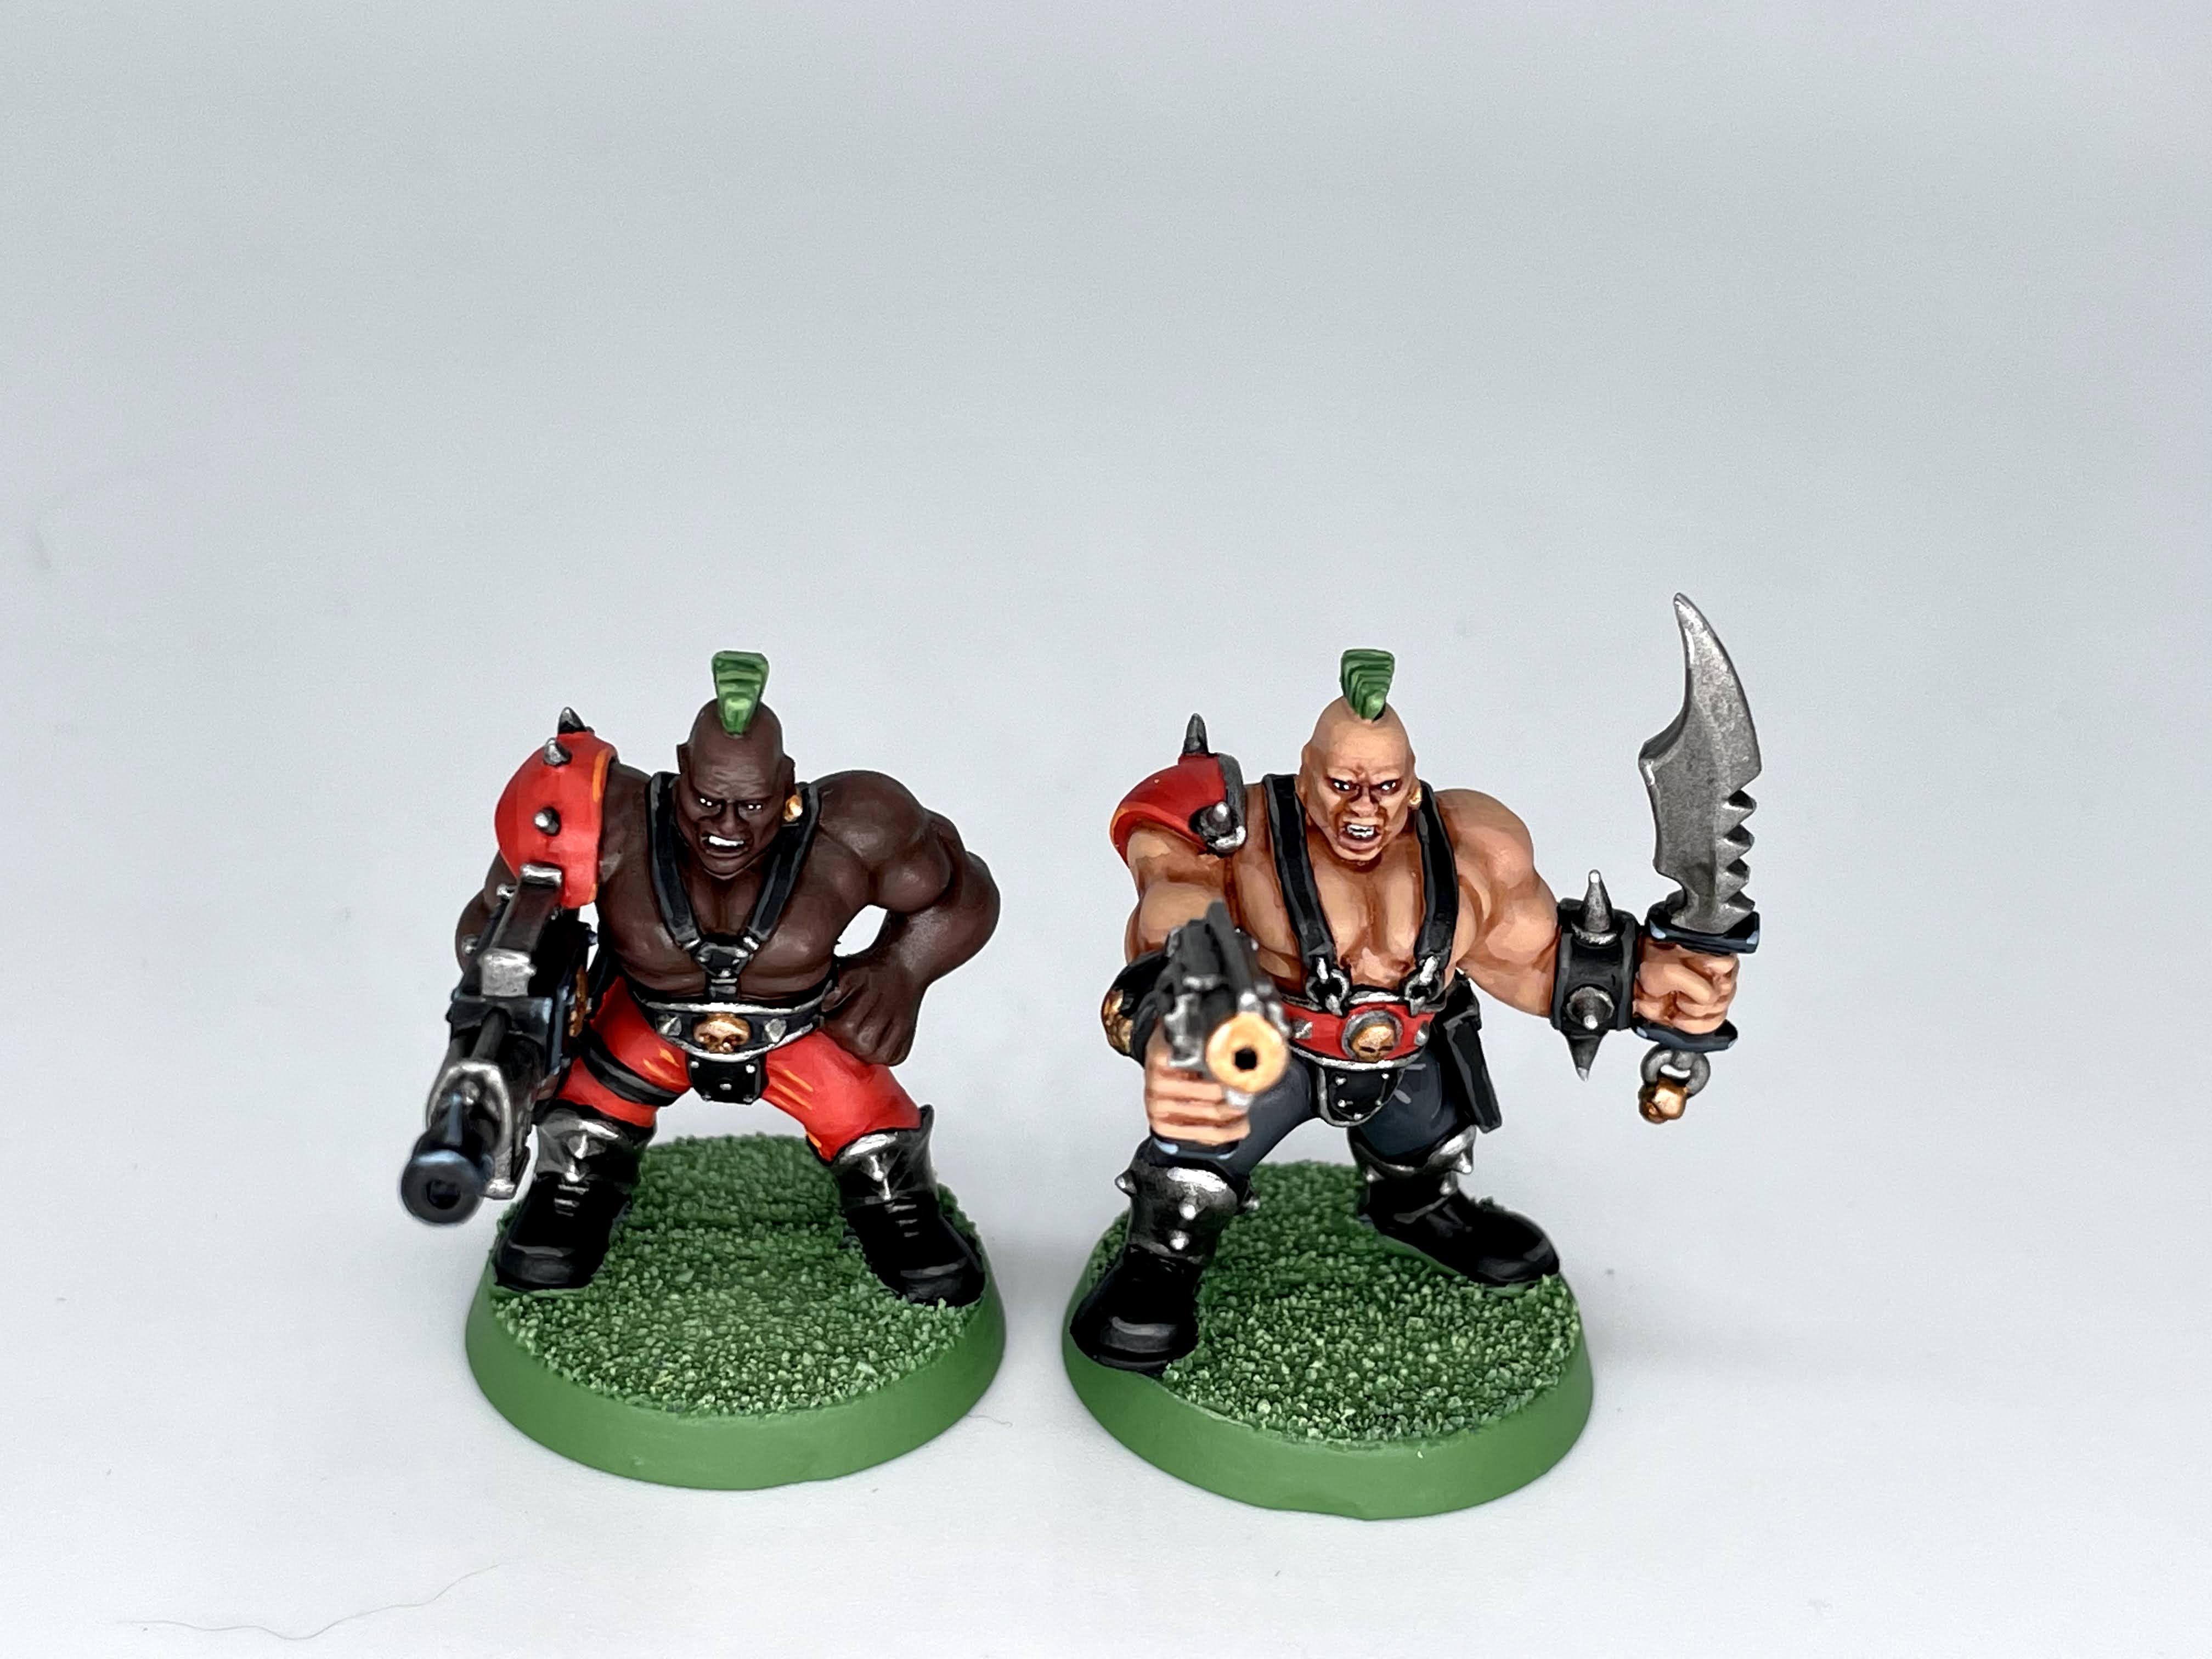
The classic ‘Eavy Metal style is extremely cartoonish, extremely bright, and extremely clean. With that in mind, I should have started with a white undercoat, but I only had grey primer on hand, so I went with that instead. Either (or even GW’s own Wraithbone) spray will probably do you just fine here, but it’s good to start light and neutral.
The Techniques
Before we get started, I’m going to be using some specific techniques to really get that classic look. First up is layering. This is the simple process of covering one paint with another, leaving the previous in the recesses. So were you to paint fabric, you’d paint it with a base color and then layer up with a lighter color, leaving the darker color in the fabric folds. We’ll be doing a lot of this, especially as washes as we know them didn’t really exist in 1996.
While many people will be familiar with edge highlights, most of what I’m doing here is called volumetric highlighting. This involves gradually layering from a midtone up to a highlight instead of doing the more classic and stark sharp edge highlight. So if I were painting a bicep (of which you will be painting many, should you follow this tutorial) I would take two skintones, and gradually add more and more of the lighter skintone to each successive layer, with each layer getting smaller and smaller. This is fantastic for softer, more organic surfaces, such as skin and fabric. So, were we transitioning from a medium grey to a light grey, here’s an extremely unbiased and not-at-all hastily assembled graphic showing the idea:

Lastly is edge highlighting, which you’re probably already familiar with but I’ll establish it now anyway. It involves painting just the edges of something with a lighter tone of the base color. This is good for hard, inorganic materials like metal or plastic where the edges are clearly defined, and it helps them really pop. I’ll also refer to extreme edge highlighting which is just hitting the very corners of an object.
Also don’t be afraid to make mistakes here. The classic ‘Eavy Metal style is extremely tidy, but you can always go back and clean up with the base color or a mixed midtone. Think of it like an editing pass. Most written word – this article included – can be greatly improved by going back and tweaking things a little.
Let’s Actually Paint These Buff Idiots
Before you get started you will likely want a wet palette to keep paint consistent and easy to mix. We’re going to be doing a lot of mixing of colors here to get those subtle gradations going! If you’re afraid of mixing paint, wasting paint, or what have you, don’t sweat it. The cost of paint can really add up but you’re only going to be messing around with a brushful here and there. Just make sure to rinse your brush thoroughly between colors and you’ll be fine.
The Skin
The largest part of any of these models is the skin, and you should resultantly work from there first. You can really blend between any two skintones you like, but for mine I started with one dark skintone (Bloodreaver Flesh) and one light skintone (Cadian Fleshtone) and blended them up gradually to a lighter tone. I’ll detail my two recipes here, but any two skintones will do.
Dark Flesh:
- Base with Bloodreaver Flesh
- Run Reikland Fleshshade in the recesses
- Layer up to Knight Questor Flesh, gradually mixing more and more into each successive layer until it’s almost pure Knight Questor Flesh
Light Flesh:
- Base with Cadian Fleshtone
- Run Reikland Fleshshade in the recesses
- Layer up to Kislev Flesh, gradually mixing more and more into each successive layer until it’s almost pure Kislev Flesh
The mixed highlights end up being 4:1 basecolor to highlight, 2:1 basecolor to highlight, 1:1 basecolor to highlight, 1:2 basecolor to highlight or something like that. The exact ratios aren’t too important and it’s worth experimenting to see what you like, but I generally go for 4 total highlight layers on any given material. Lastly, I painted in the hair, which is a far simpler affair.
Green Hair:
- Warboss Green
- Biel-Tan Green wash all over
- Edge highlight Warboss Green
- Extreme edge highlight Skarsnik Green
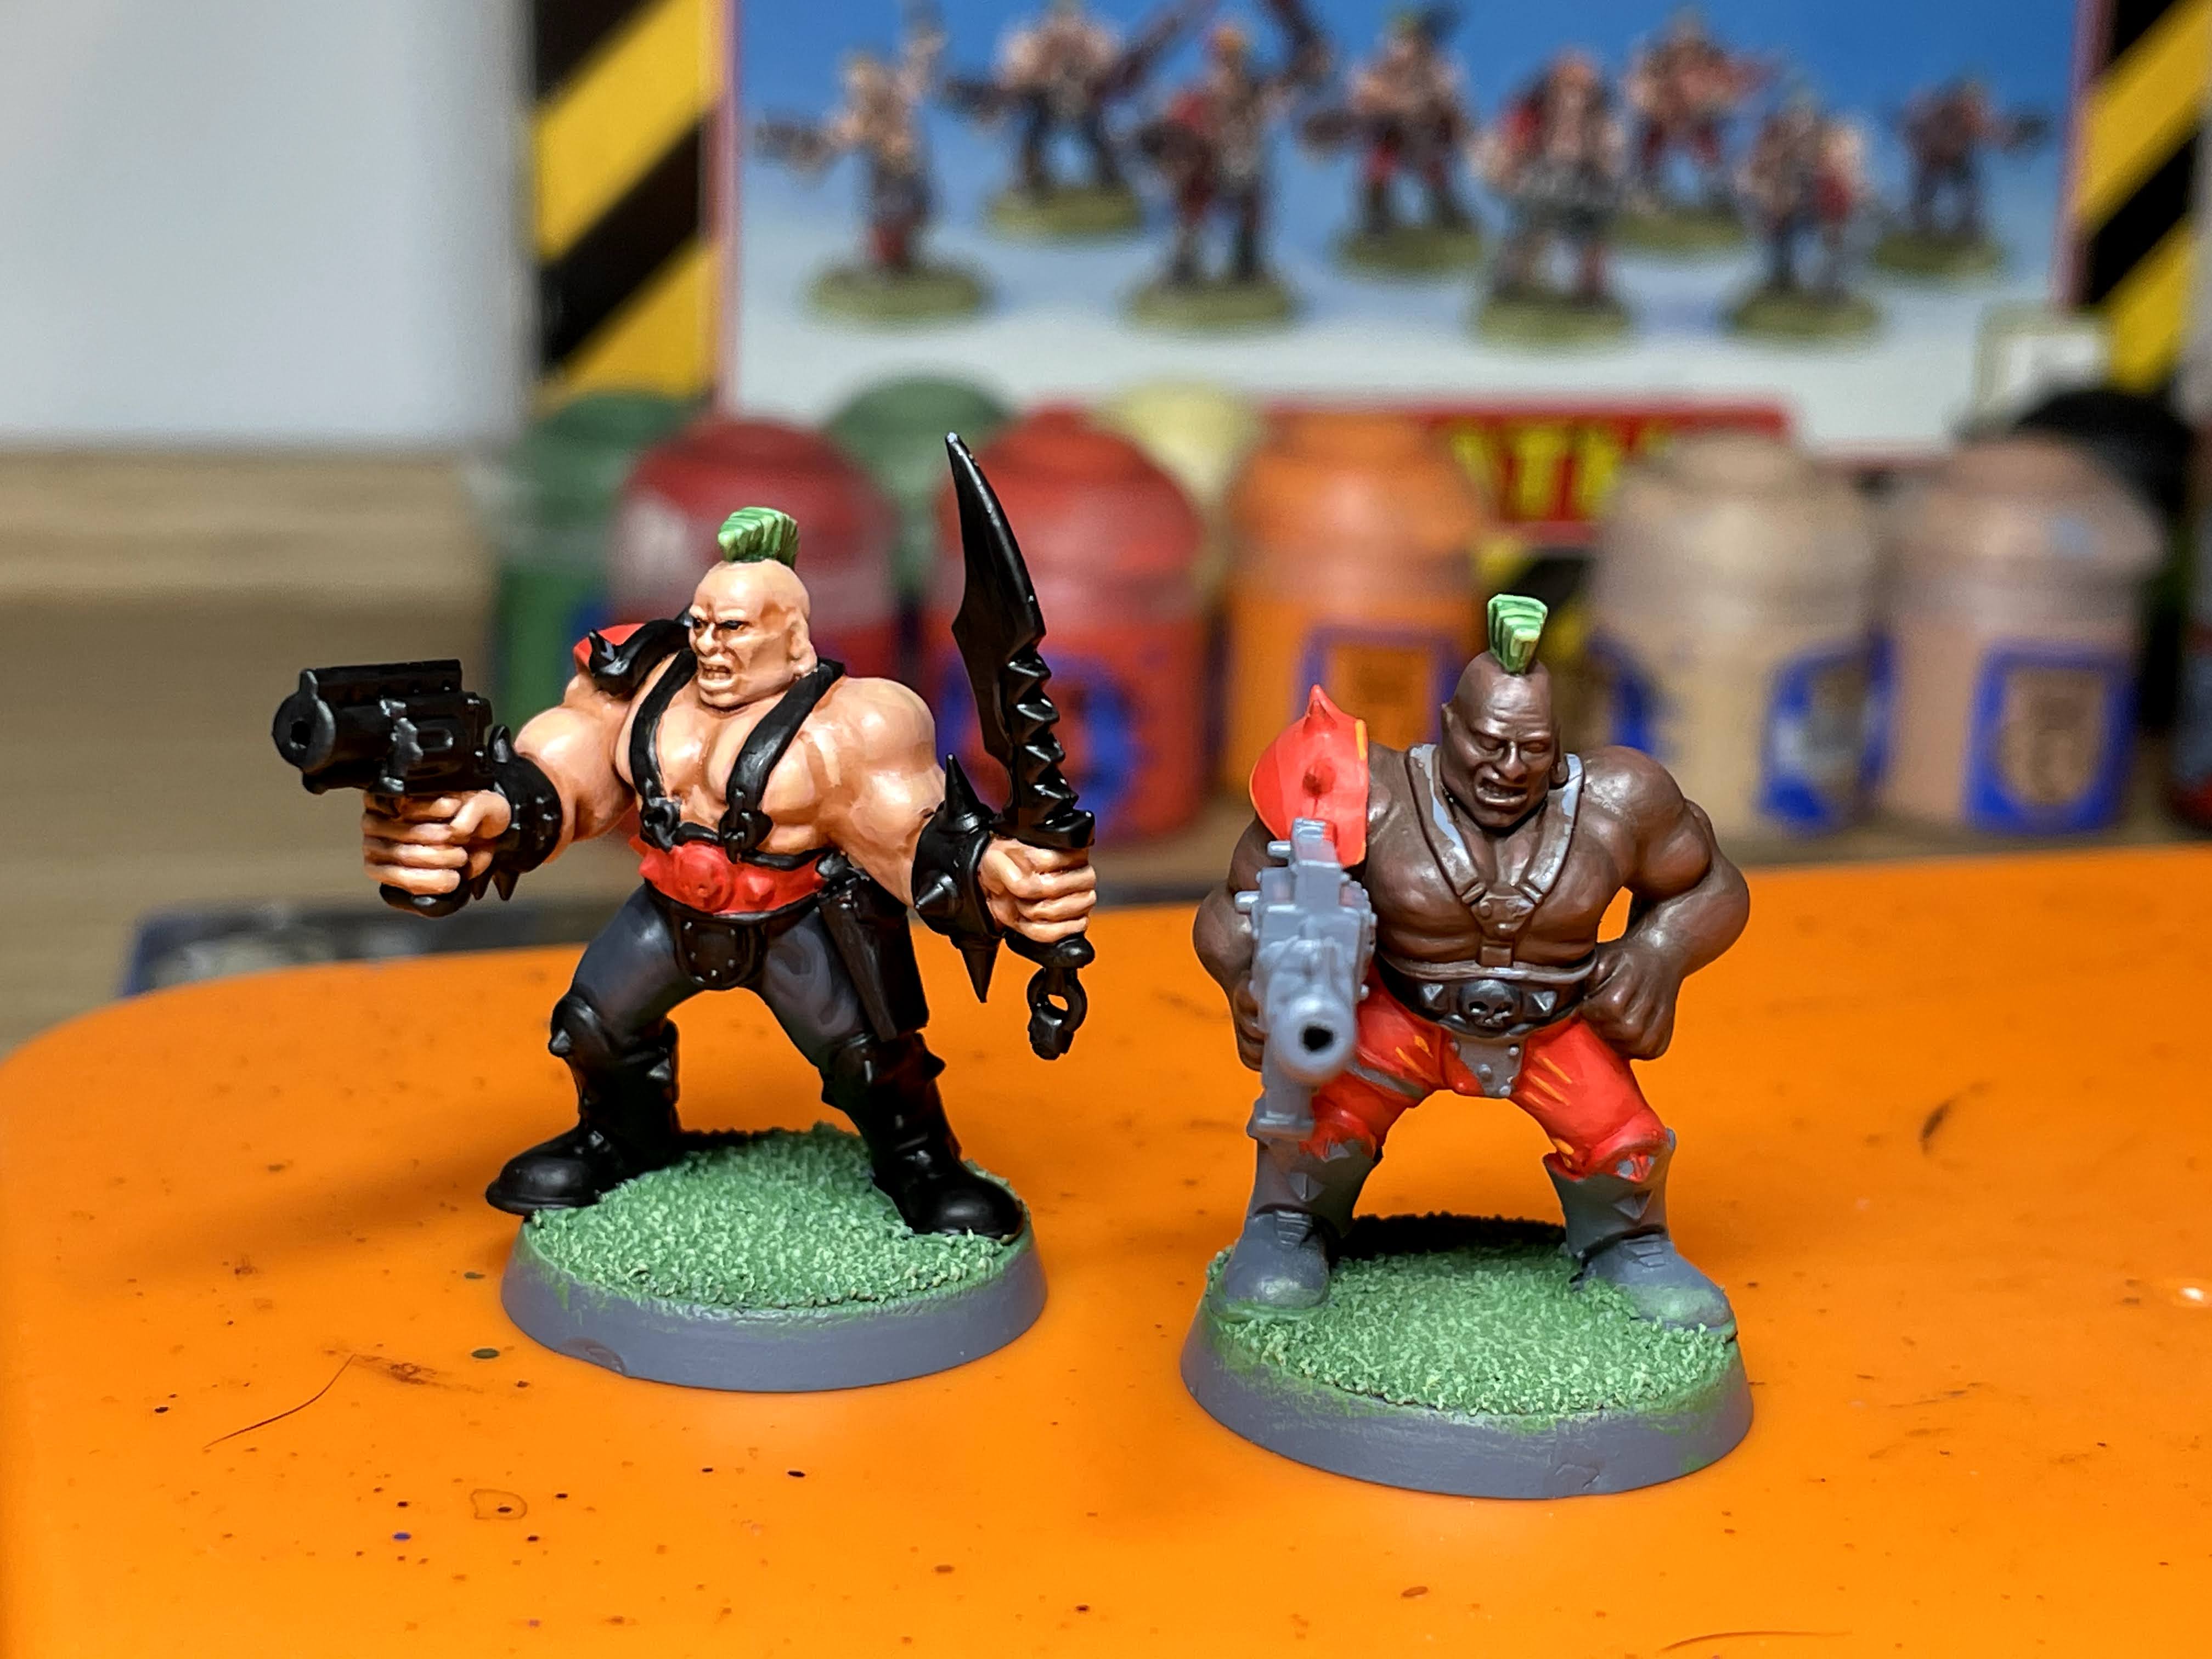
The Cloth
The pants on these guys will follow a fairly similar process to the skin. I gave one red pants and one dark grey pants, as it’s helpful to distinguish between what are extremely similar models. I also reversed the colors for the interiors of their belts.
Dark Grey Cloth:
- Base with Corvus Black
- Layer up to Eshin Grey, gradually mixing more and more into each successive layer until it’s almost pure Eshin Grey
- Edge highlight the raised folds with Dawnstone
Red Cloth:
- Base with Evil Sunz Scarlet
- Layer up to Wild Rider Red, gradually mixing more and more into each successive layer until it’s almost pure Wild Rider Red
- Edge highlight the raised folds with Fire Dragon Bright
I also did the red shoulderpad the same as the red cloth. For big, round pieces of metal like this, specular highlights work well. I didn’t layer up quite as brightly, so I could edge highlight with Wild Rider Red then hit the very corners and highest edges with Fire Dragon Bright. I’d do something similar with Eshin Grey and Dawnstone were I to do the same with grey armor.
Black
There’s a lot of leather on these leather daddies, but it’s fortunately pretty well defined. I like hitting this up after the skin so I don’t spill any layers of flesh tone onto the comparatively thin straps. We’re also going to be edge highlighting these, as they’re pretty thin and will stand out more with some edging. I used the same technique on the boots and holsters.
Black Leather:
- Base with P3 Thamar Black
- Edge highlight with Skavenblight Dinge
- Extreme edge highlight with Stormvermin Fur
There’s also a bit of black plastic/metal to be found in the handles of their weapons. I used a similar technique as the leather, but with a cooler, blue grey to simulate the more hard and reflective surface.
Black Metal/Plastic:
- Base with P3 Thamar Black
- Edge highlight with Dark Reaper
- Extreme edge highlight with Fenrisian Grey
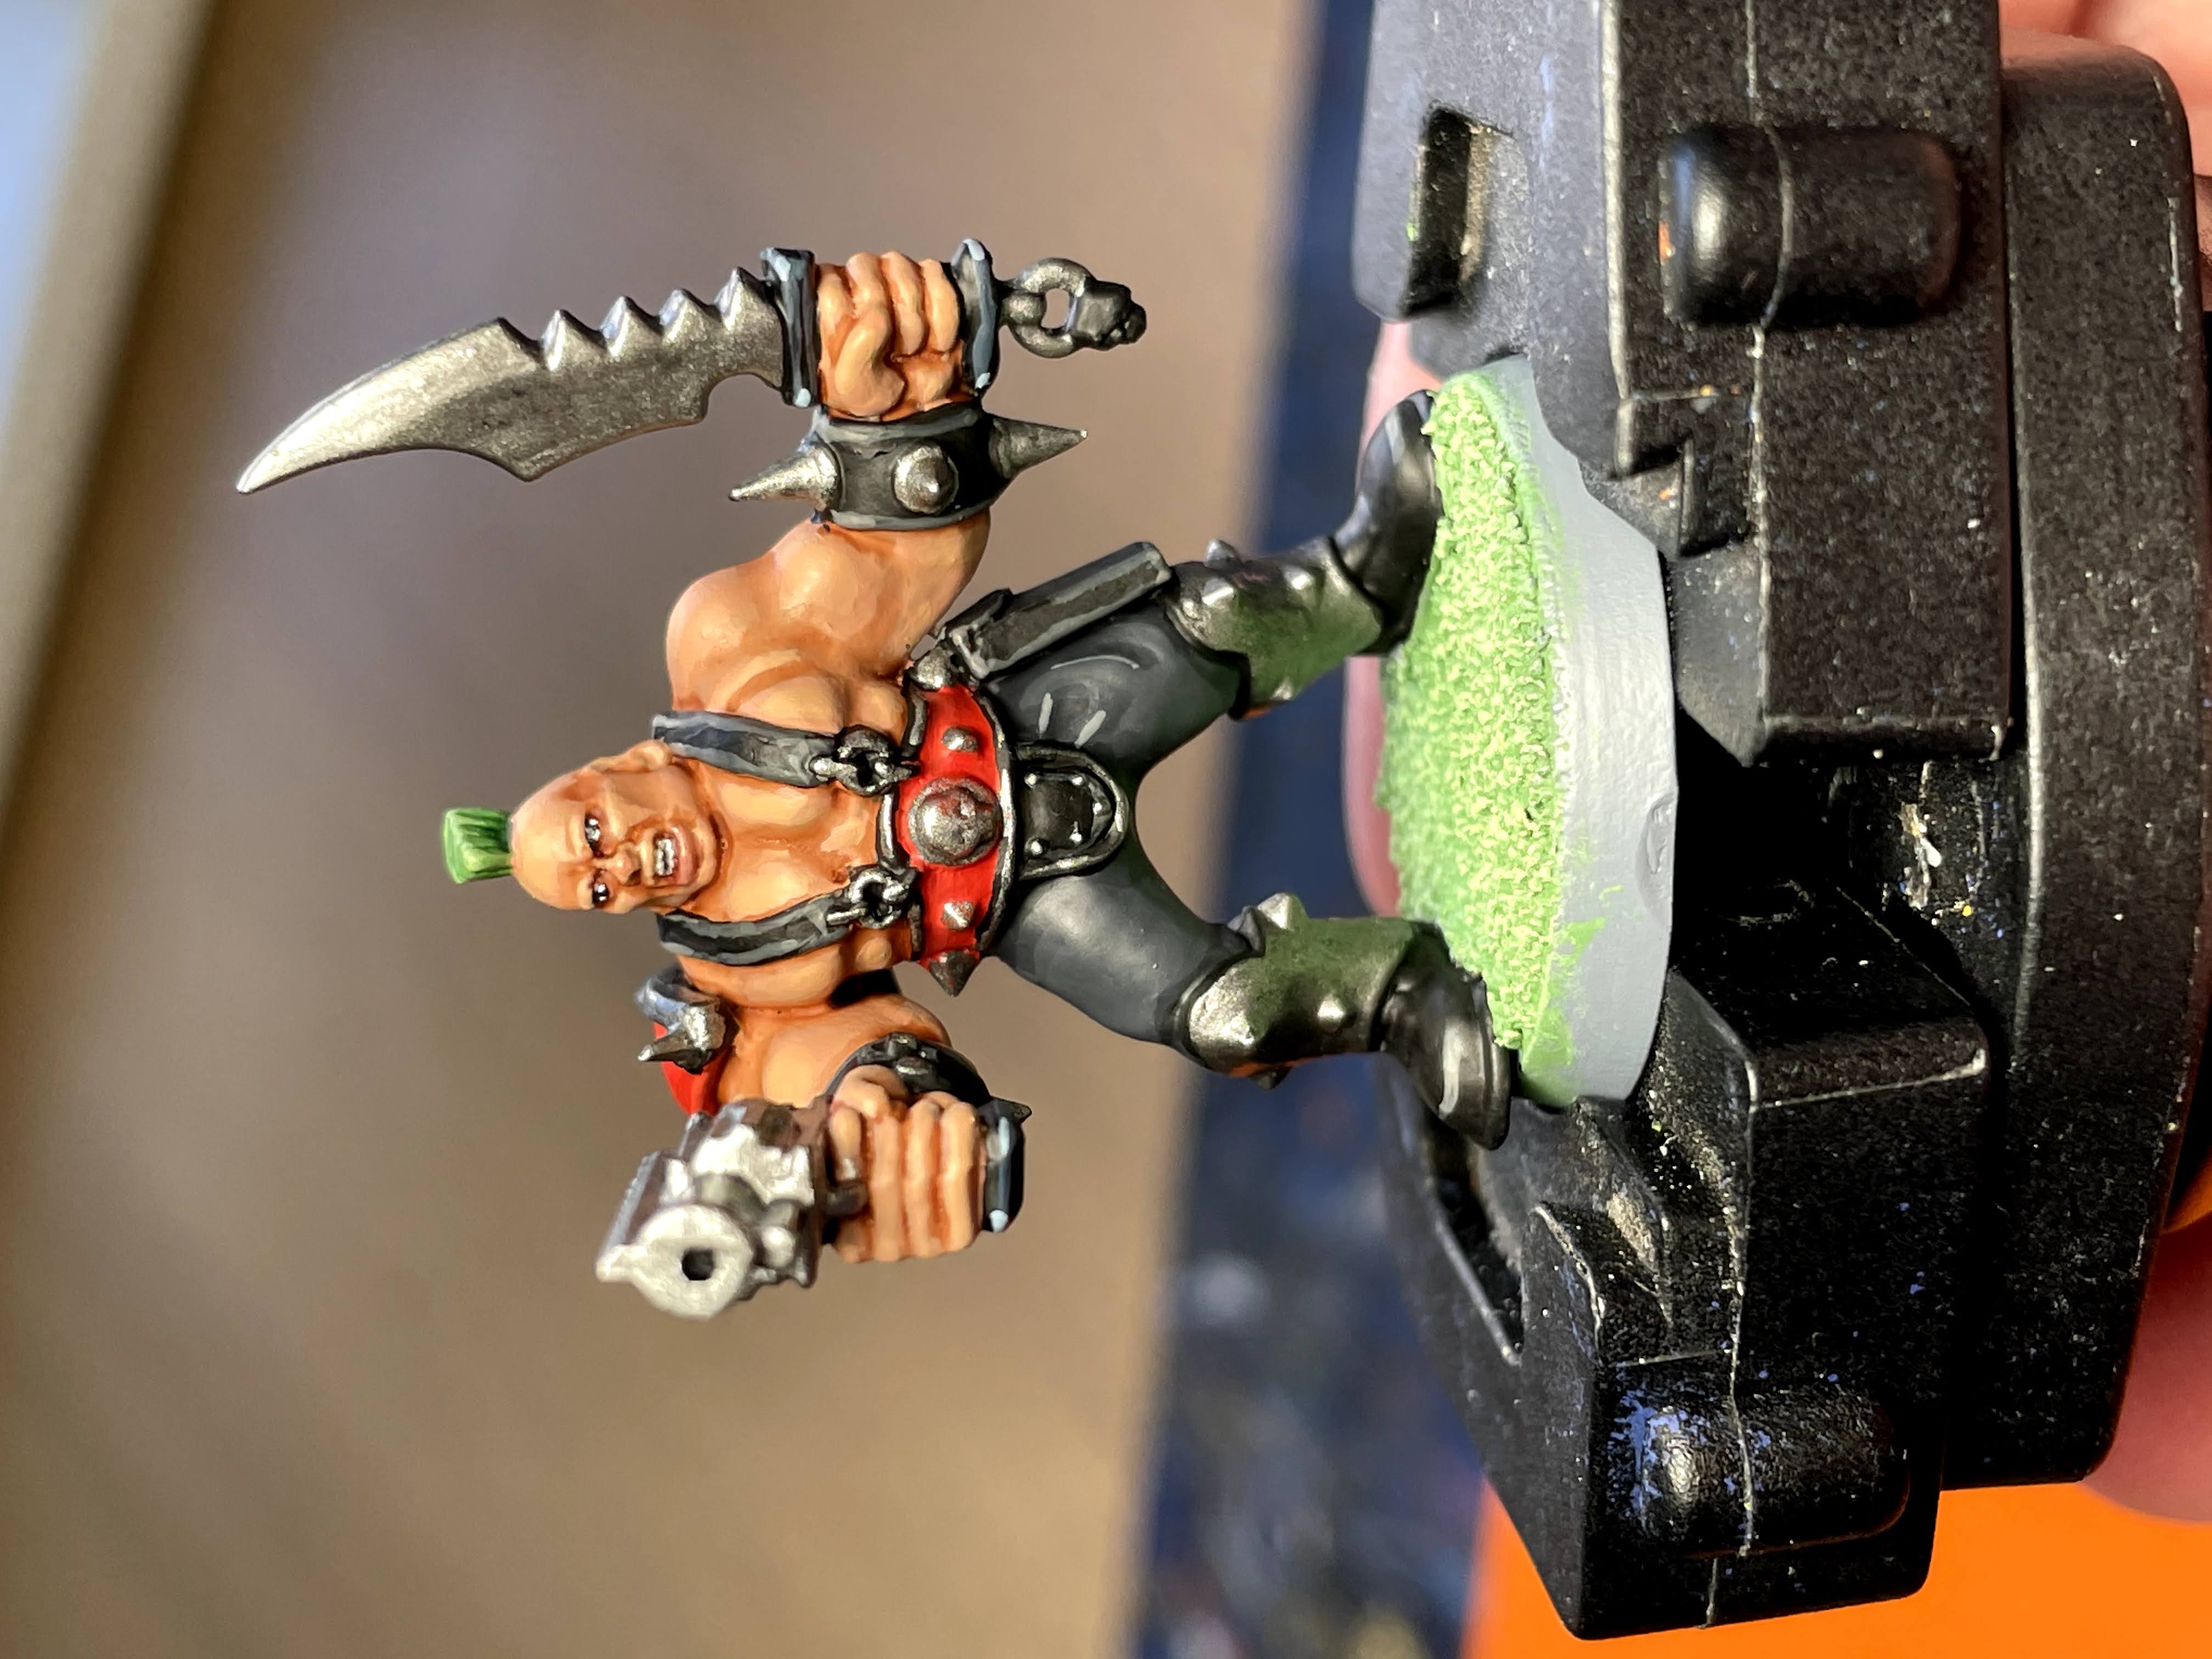
The Face
The faces on these models are actually surprisingly well defined for plastics of their age, and extremely expressive. That expression might be one of angry bewilderment, but expression is expression. Some finely targeted washes and a little def brushwork for the eyes and teeth will finish up this most focal point.
Facial Details:
- Black in the eyes and teeth. I use P3 Thamar Black.
- Targeted wash of Druchii Violet in and around the eyes
- Targeted wash of Carroburg Crimson below the lip and on the tip of the nose
- Dot in white at the corners of each eye, and define the teeth with White Scar
Metals
There’s two general metal tones on these guys, and it’s a burnished brass color and a darker silver. Both of these are pretty straightforward, with just a base, wash, and highlight each. I would recommend defining all the metal parts of the model first with black though; it will serve to better define the details and the Steel colors will cover black better than red or what have you. I went a little further with the steel highlights to really make the tips of the weapons and spikes shine, and when painting in studs I’d just start with Ironbreaker and skip the first two steps.
For the brass I did end up having to redefine some details as the skulls and such are quite shallow, in which case some thinned Rhinox Hide will do the trick. It’s generally good to use brass to pick out little skull decorations, earrings, or the tips of their weapons.
Steel:
- Leadbelcher
- Nuln Oil wash all over
- Edge highlight Ironbreaker
- Extreme edge highlight Stormhost Silver
Brass:
- Hashut Copper
- Seraphim Sepia wash all over
- Sycorax Bronze highlight
Basing
I had to give these guys Goblin Green bases to really capture that old school aesthetic, and if you’re not a coward you’ll do the same. I wrote a How to Paint Everything article on the matter which outlines some different approaches, but here’s the TL;DR version:
The Only Good Bases:
- Warboss Green
- Drybrush Skarsnik Green
- Drybrush Dorn Yellow
- Paint base rim Warboss Green
I then varnished them as that base rim paint can and will wear off with use. With that base rim done, the models are complete!
We hope this was useful for you oldhammer oldheads out there, or folks who just want to satisfy their grim curiosity. Let us know how you got on, and if you paint any models using this tutorial (ESPECIALLY new Goliaths!) we’d love to see the results. As always if you have any questions or feedback, drop us a note in the comments below or email us at contact@goonhammer.com.
