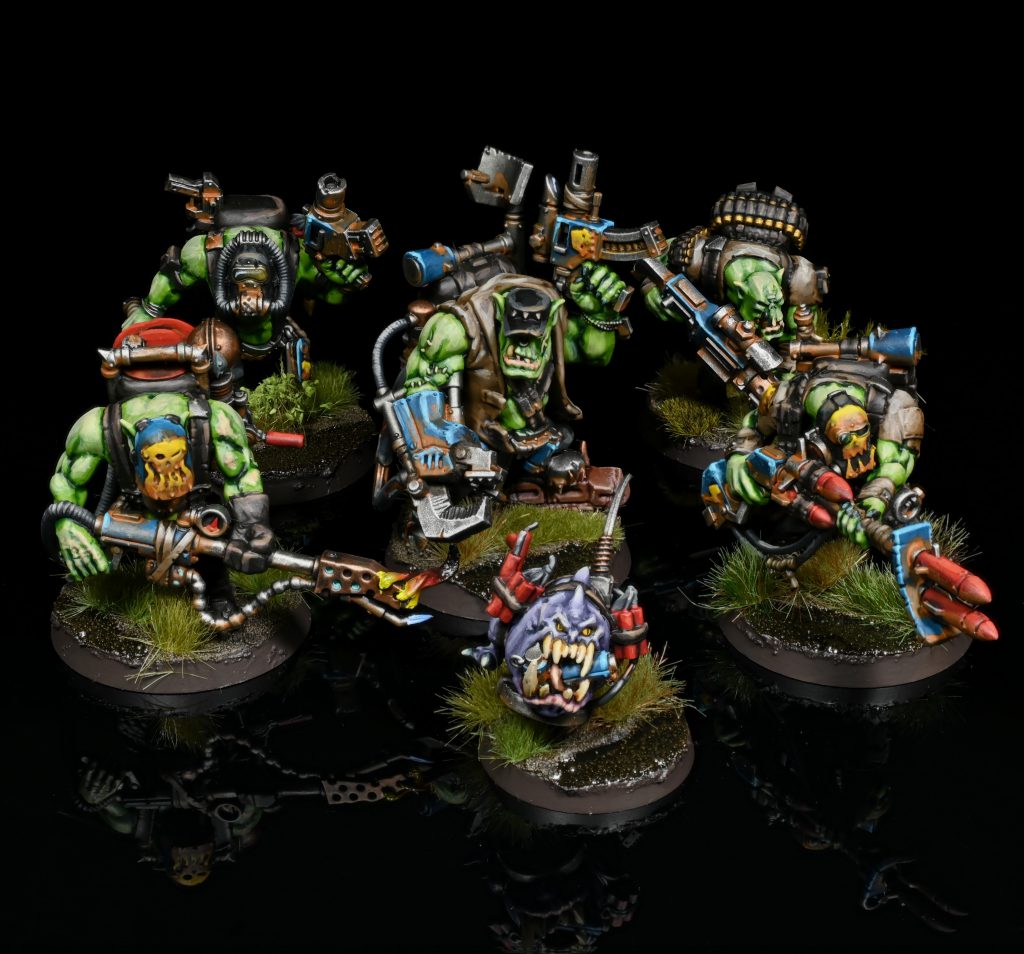
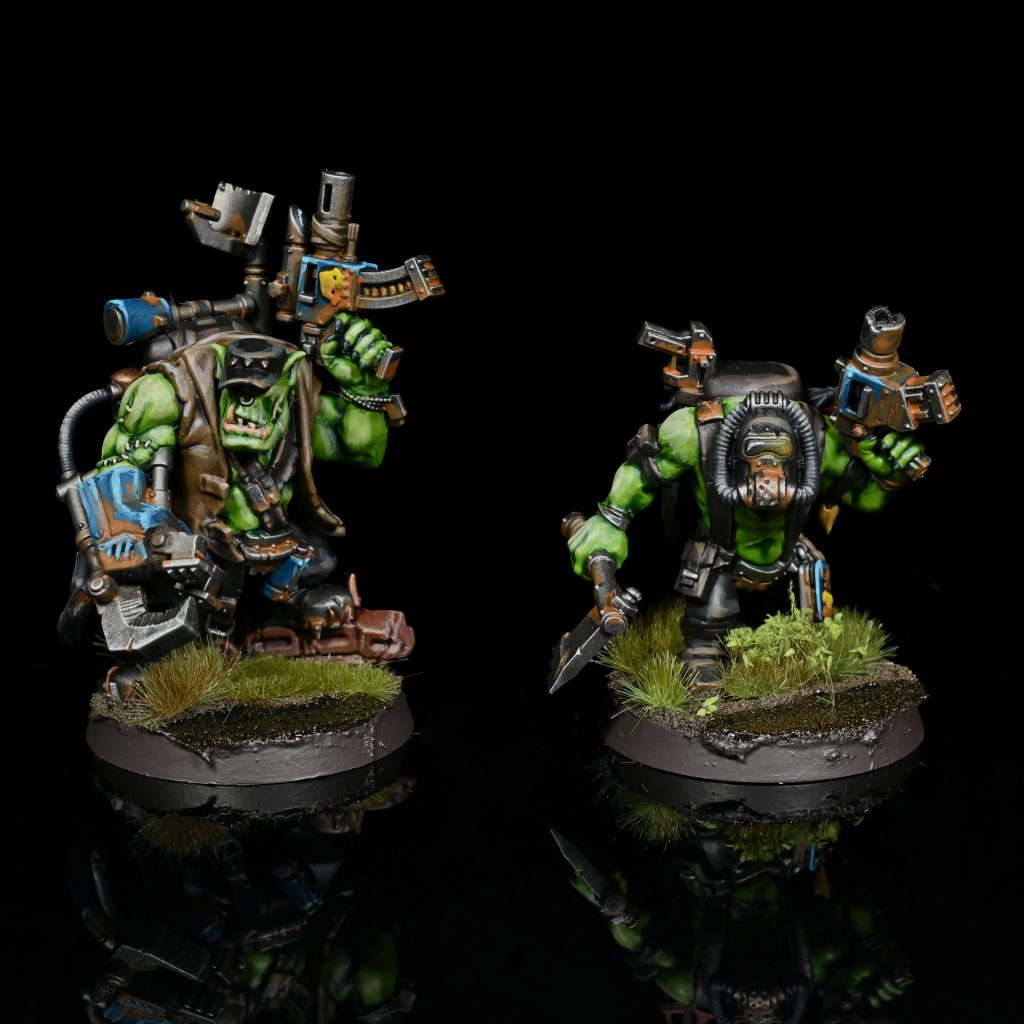
You will have seen my Orks before in either my army showcase or the previous version of my HTPE from a while ago, but my scheme has seen a few revisions since I did that write up so I thought it was time to get it up to date! This time we will look at the detail festooned Kommandos, but I will be back to do a separate article on the Kill Rig once that gets in.
Table of Contents
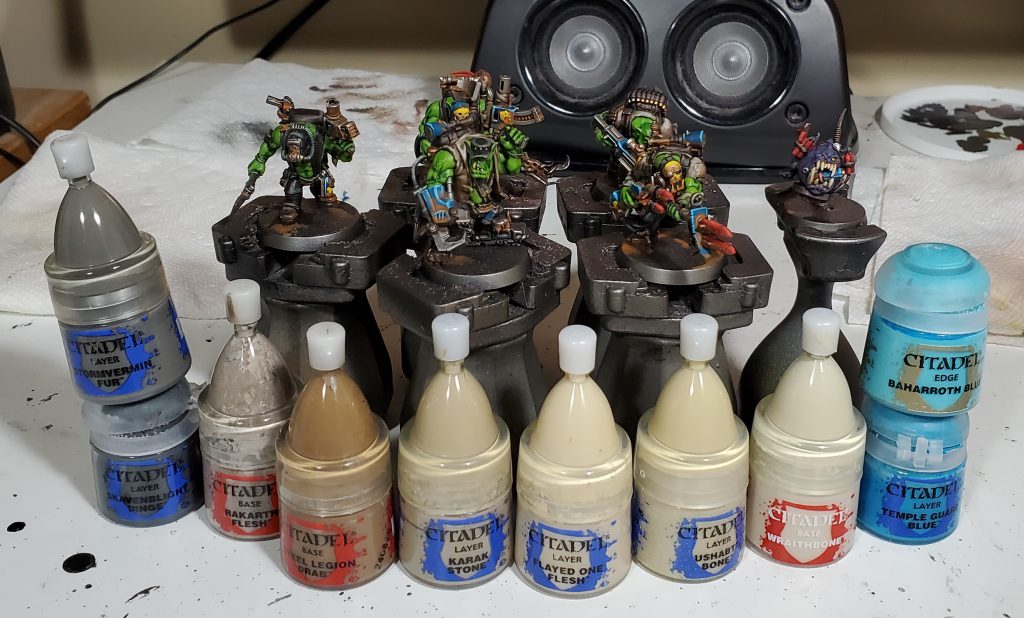
Step 1 – Base Coats and Washes
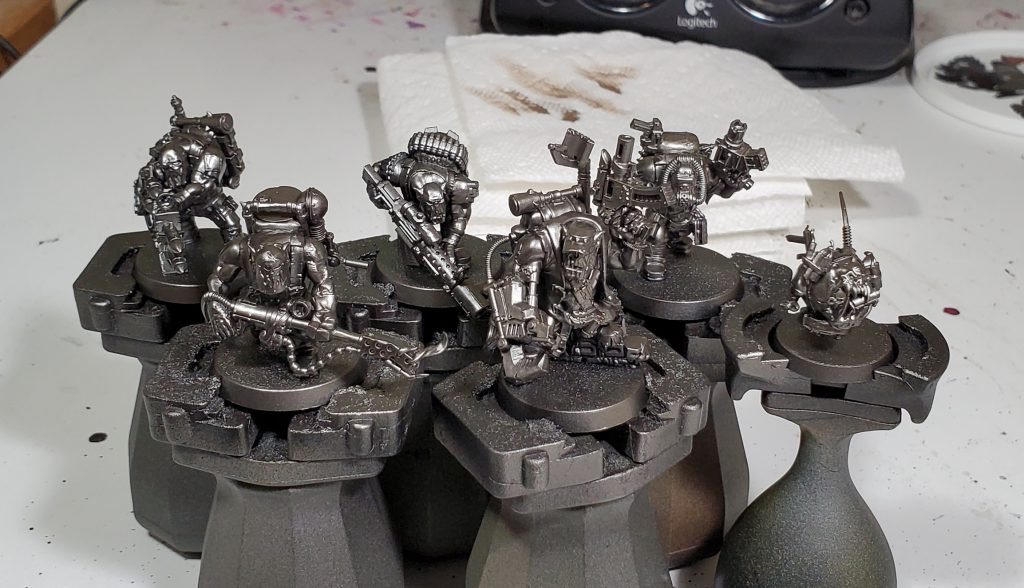
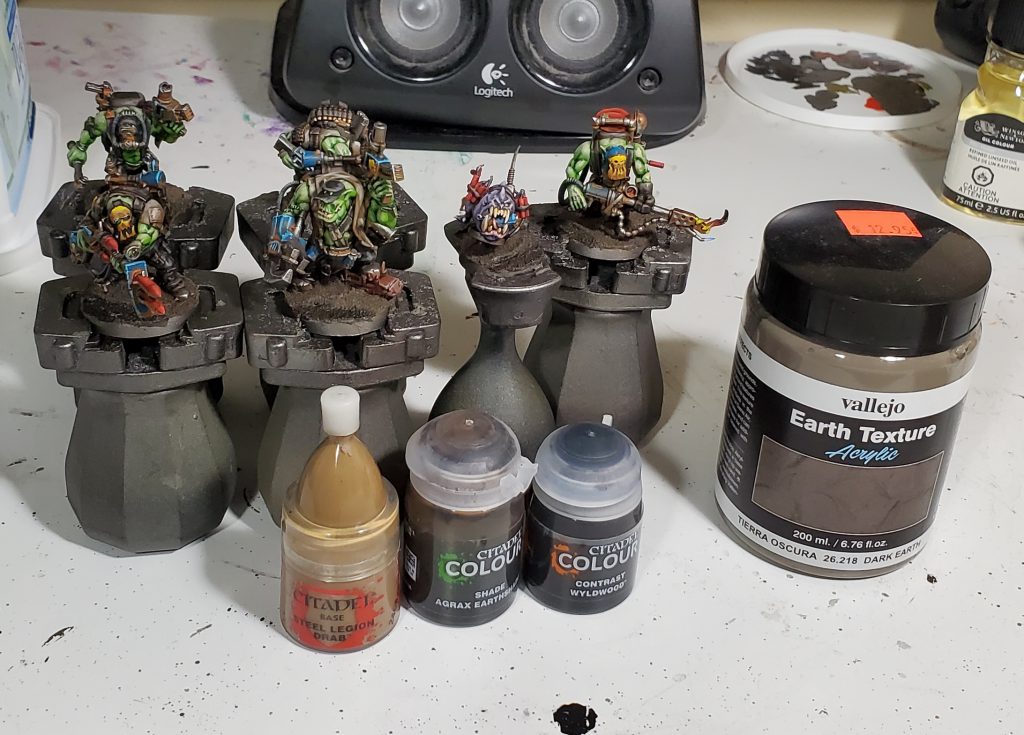
With the number of small metallic details on these models I like starting with that for the initial colour with the airbrush, I have been using Vallejo Metal Color Exhaust Manifold for this but you can probably take your pick of Citadel metals or a metal rattle can primer instead.

After that I wash them with Nuln and drybrush with Iron Breaker before doing any other colours, I prefer to do this as it means I can use a large wash brush and drybrush to save a bit of time. After that the VMC Brass and Balthasar is applied where you prefer and then washed Agrax. While you can do the bullets sticking out of their shells any colour you desire, I have been just hitting them with black templar as that will look suitable even if you were a little messy with the brass and agrax.
If you want to cut out a few coats you could do the copper with Gore-Grunta and the brass with Snakebite over the base steel, it will save you a not insubstantial amount of time!
Rustables go in the brown bin

Next up I do the main blue panels in Sotek washed with Drakenhof, again the idea here is that since the red and yellow details are on some of the blue panels it avoids dirtying those colours with the blue wash. Once the secondary armour panel colours are on and washed with Agrax, you can move on to corrosion and rust.
For verdigris, I usually water down the Nihilakh a moderate amount as its too intense straight for my taste. The rust is just super watered down Skrag, it should be similar to a wash in consistency, but without a surface tension breaker its not really one. Once thinned it is placed approximately towards the bottom of panels, if you have it thin enough it will mostly settle appropriately. Note that I left the Skrag off stuff like dynamite that wouldn’t rust, but should still be a secondary colour.
Showing a little skin
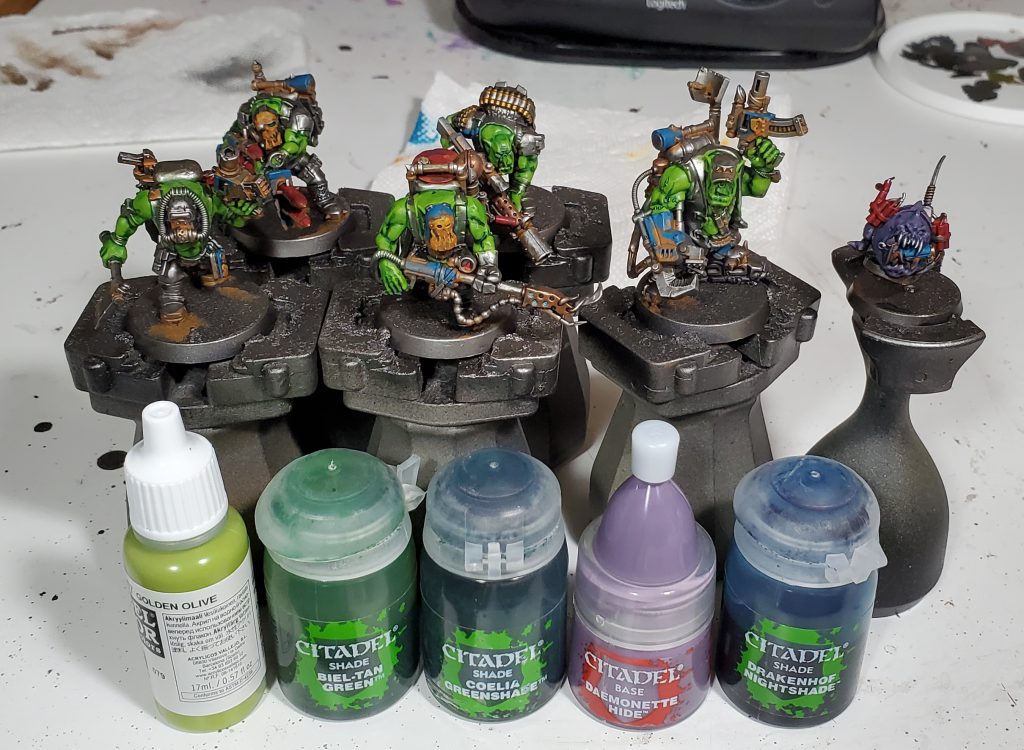
This part is pretty straight forward, base the ork skin with VMC Golden Olive, wash Biel-Tan and push the shadows in extreme recesses with Coelia. The squig skin will just be Daemonette Hide washed with Drakenhof for now. While we are going to come back later for highlights, this is a perfectly reasonable end point for ork skin if you want it to be nice and simple.
Base coat all 8 billion other small details
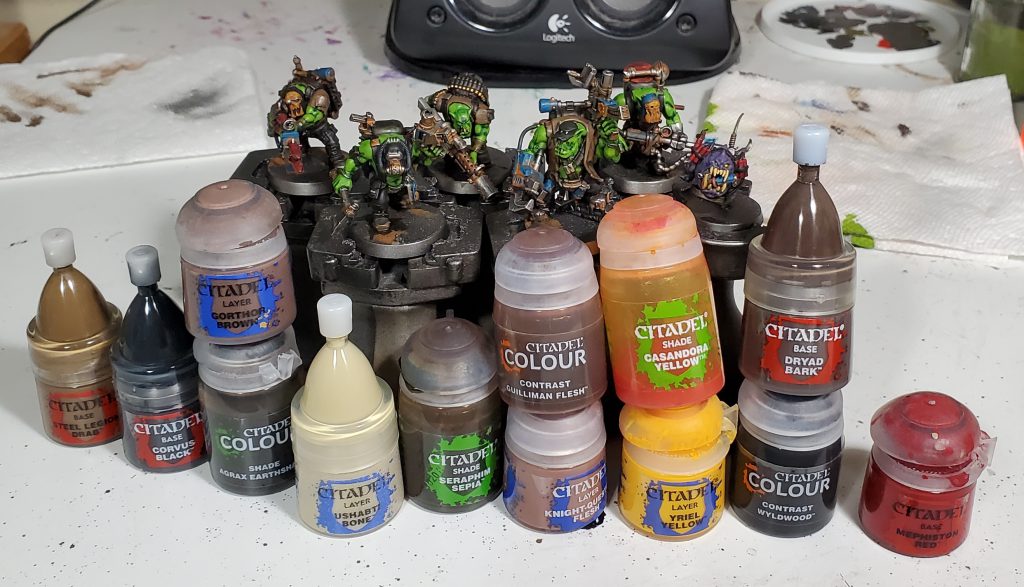
This is the point at which colours really start to get out of hand, but lets get into what goes where here:
- Steel Legion and Corvus washed Agrex is used for the large areas of cloth/leather across the models
- Dryad and Wyldwood goes on the leather of belts, boots, and straps.
- Ushabti and Sepia is used for teeth and lights (I would suggest starting with a single coat of Steel Legion before the Ushabti as it makes it a lot faster)
- Knight-Questor and Guilliman is used on the inside of mouths and tongues
- Yriel and Casandora is used for the squig eyes
- Mephiston is used to dot any exposed ork eyes
Step 2 – Go insane highlighting
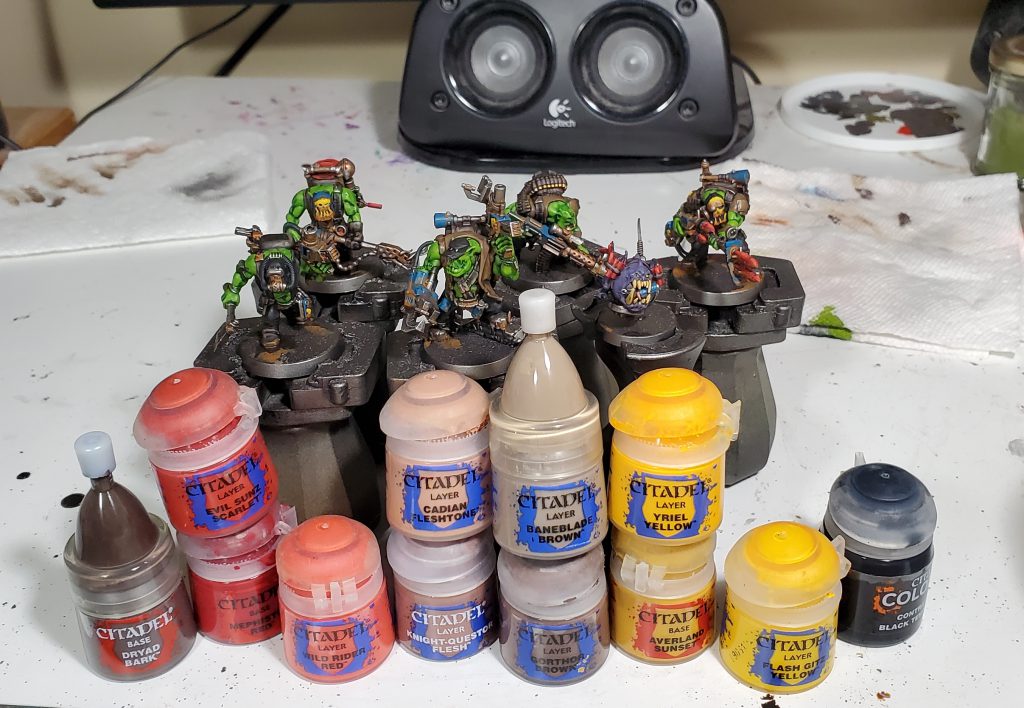
We have a ton going on here, so I am gonna list it out rather then throw endless paragraphs at you. I would also suggest that rather then going buck wild with highlights like I do you can just pick your favorite of the ones I am using stop there!
- The three reds go on the red bitz for three successive highlights, I usually do these as almost glazes
- The same idea with the yellow, taking a quick detour along with the Black Templar to do the eyes on the squig
- The brown leather gets Dryad and Gorthor edge highlights
- The wood is Gorthor and Baneblade
- The tongue on the squig is Knight-Questor and Cadian
Take a breather, as we have a lot left!
- The blue is straight forward, just a couple of highlights there, with the exception that sometime on smooth areas I might bring in a highlight of Sotek to provide one more transition
- Black rubber and leather gets Skavenblight and Stormvermin, for the final highlight it differs a bit with the rubber getting Rakarth where as the leather gets Steel Legion
- The light leather/cloth is highlighted Steel Legion, Karak and Flayed One
- Steel Legion is also used as a extreme highlight on the brown leather
- Lights and bones have highlights of Ushabti and Wraithbone, lights get a basic gemstone style highlight while bone is more conventional
Onto the skin and related details!
Gleaming Gams
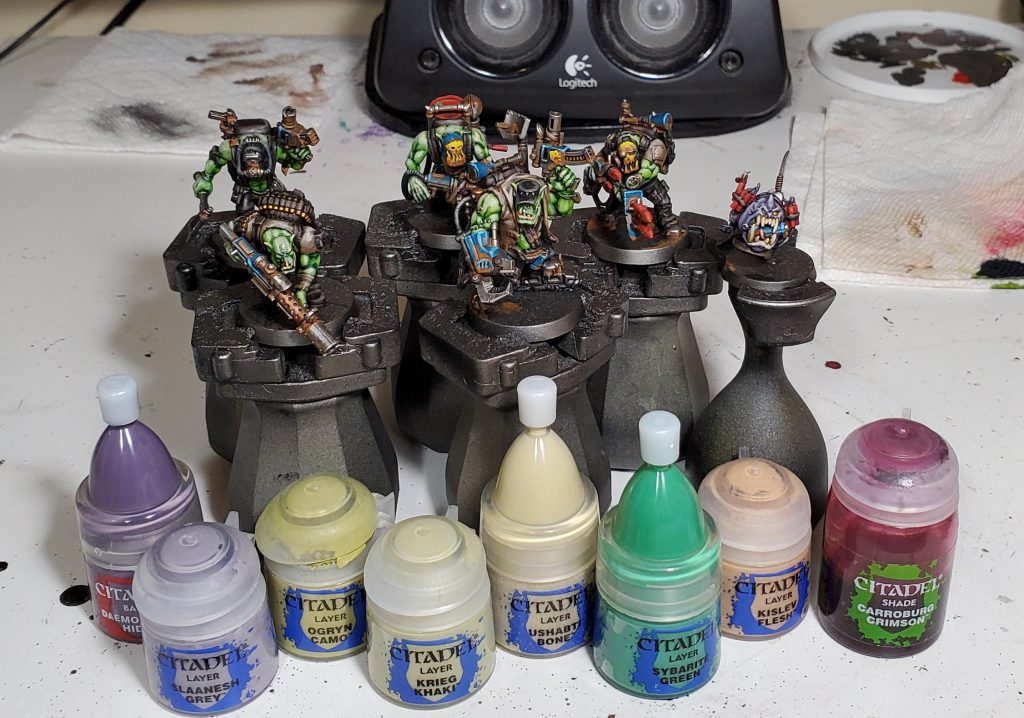
- The squig gets Daemonette and Slaanesh highlights with a few extreme areas being Ushabti
- Regular ork skin is Ogryn, Krieg and Ushabti mostly pretty roughly applied.
- I then hit lips, scars, knuckles and similar areas with kislev, and then only lips get Carroburg as a quick wash
- The finger nails get highlighted Sybarite
That’s all the highlights done! Too bad there’s still a few details left…
Step 3 – Delightful little details
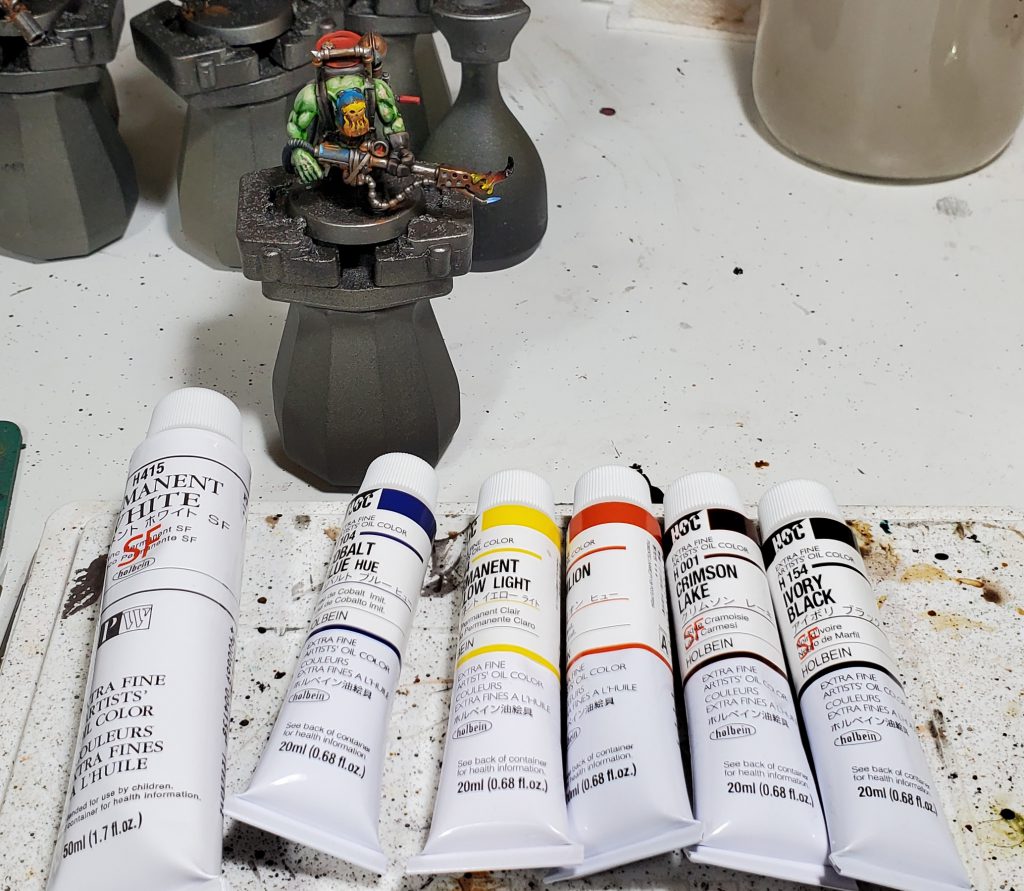
The pilot light starts as pure white with a bit of blue feathered into it to look suitably hot. The dirty fire is a sequence of the yellow through black each feathered a bit into the last. When I say feathering, I mean taking a completely dry soft brush and gently pulling from one colour into the other to get a smooth transition.
Don’t mind that these are a little rough, as its the first time I have actually used oil paints since art class in highschool, but I am pretty happy nonetheless!
Just a few details left!
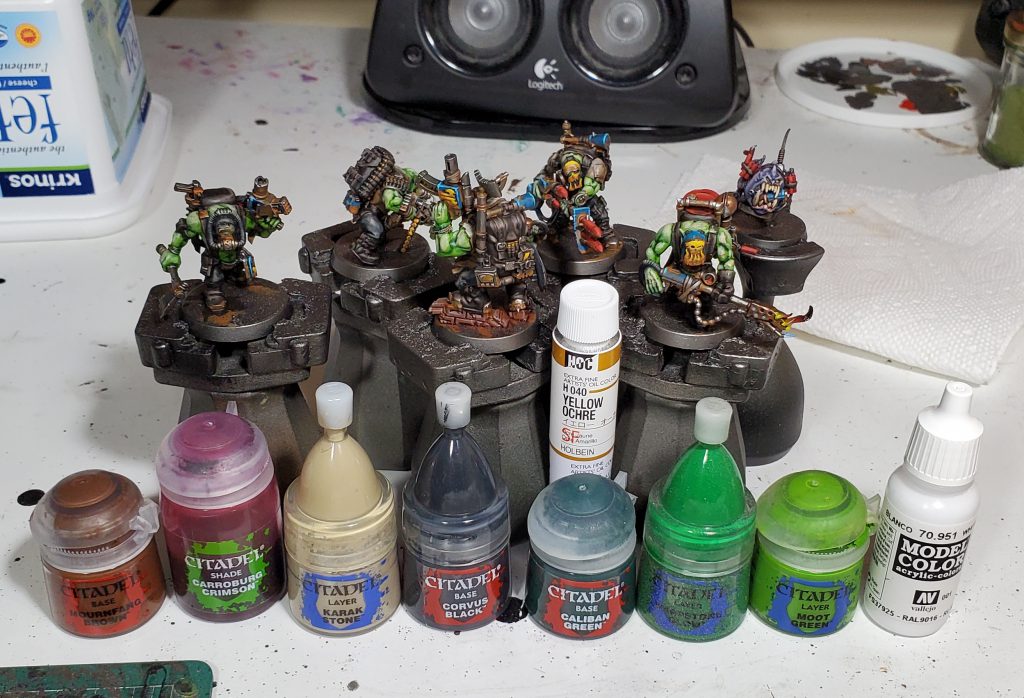
- The bricks are Mournfang washed Carroburg and then drybrushed Karak
- I did a simple screen with Mournfang then a bit of yellow Ochre which gets feathered out over the dry acrylic, which isn’t as smooth as wet on wet but it’s OK for something quick. You can do simple lenses with corvus instead of Mournfang too, it doesn’t work well on small lenses at my level of experience though
- The green lenses are basic gems of Corvus with increasingly thin crescents of Caliban, Warpstone and Moot. Then a little opposing crescent of White
- You can also do brown/yellow lenses by swapping the green out for Mournfang, Skrag, Fire Dragon, Yriel and Flash Gitz
Step 4 – Get in my swamp
The bases get covered in Dark Earth with some slightly pressed down to form the river/lake, then once it’s dry the banks get washed Agrax and the bed Wyldwood before a drybrush of Steel Legion. I usually varnish once I finish the bases to avoid having to re-gloss the river or having tufts go funny looking, for that I have been using Vallejo Premium Air lately but Mecha Matte is good too.
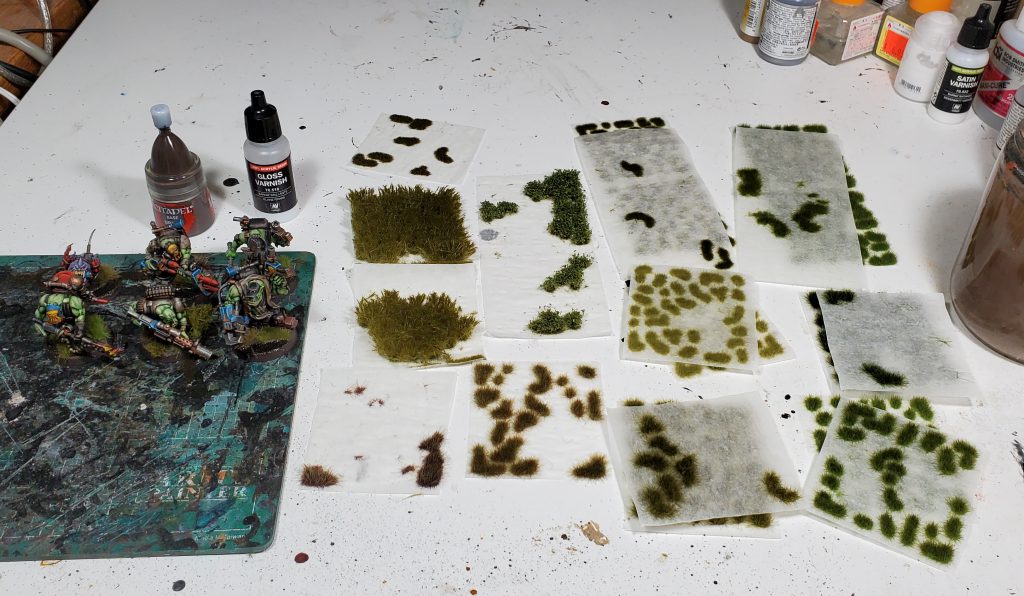
Now it’s just finishing the water off with a nice thicc coat of gloss varnish, painting the rims Dryad and hucking a bunch of tufts on. I am currently using these tufts all from Gamers Grass:
- 6mm Burned Grass
- 6mm and 2mm Dry Green
- 2mm Moss
- 4mm Green
- 6mm Mixed Green
- 6mm Strong Green
- Spiky Green
- Dark Green Shrubs
With that you are done and get to admire your models!
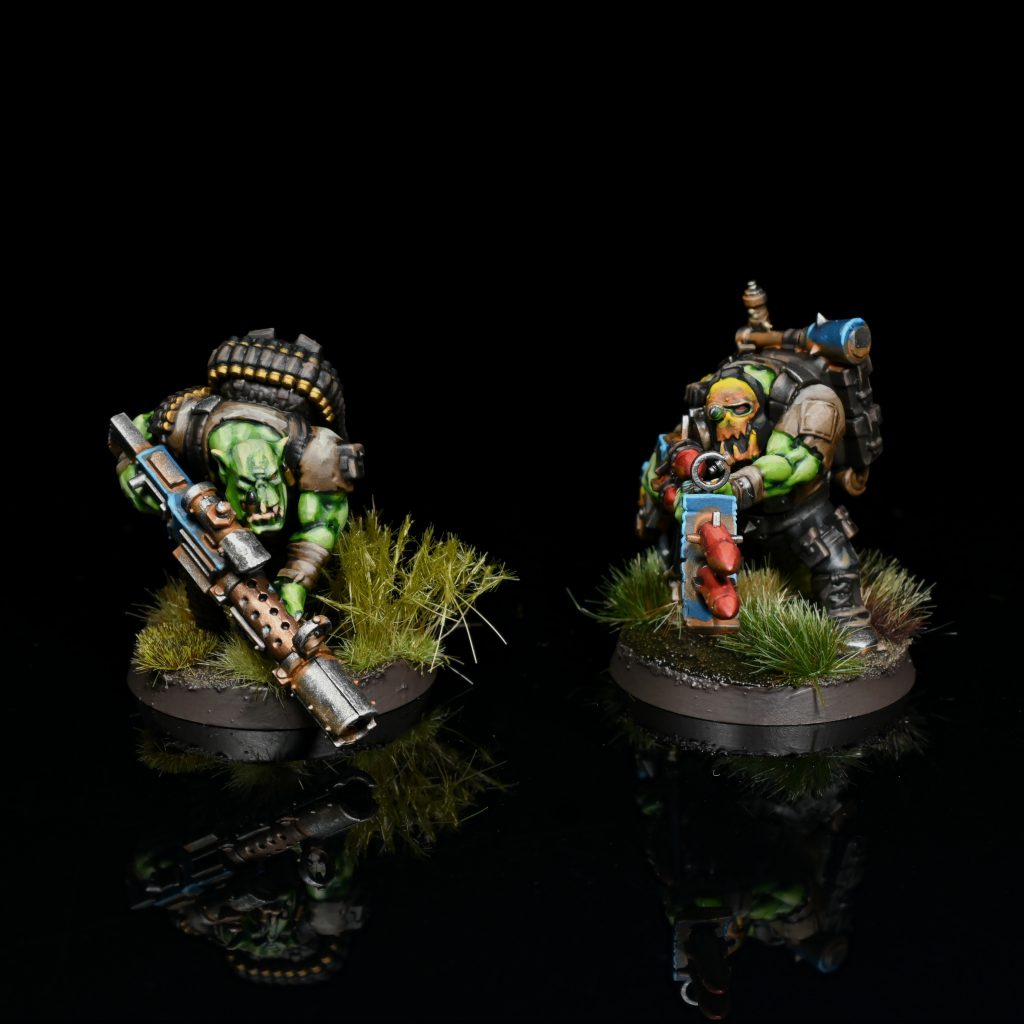
Gallery

Have any questions or feedback? Drop us a note in the comments below or email us at contact@goonhammer.com.
