
While we’re always going back and adding updates to our older How to Paint Everything series when we have new methods or need to adjust old links or rules talk, sometimes the updates are big enough that they deserve to get their own articles! In this article we revisit the Necrons for Rockfish’s take on Szeras. We’ll also be updating our How to Paint Everything: Illuminor Szeras article with these changes.
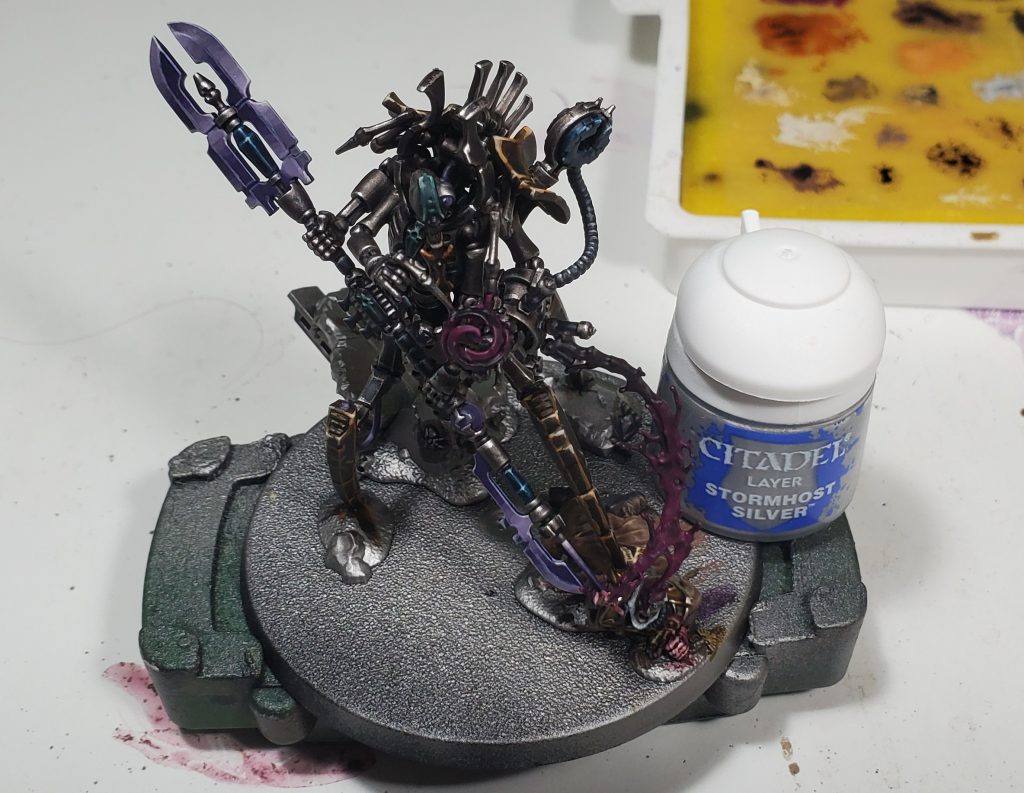
In a field with stiff competition, Szeras would have to be my favorite model that GW has released to date, it is just the perfect level of detail to allow for fun techniques without getting too time consuming and results in a stunning model.

I am a bit too lazy to do sub-assemblies, so you could probably make some steps a bit faster through doing that, but I would be a touch worried about long term durability with this fellows spindly little bits.
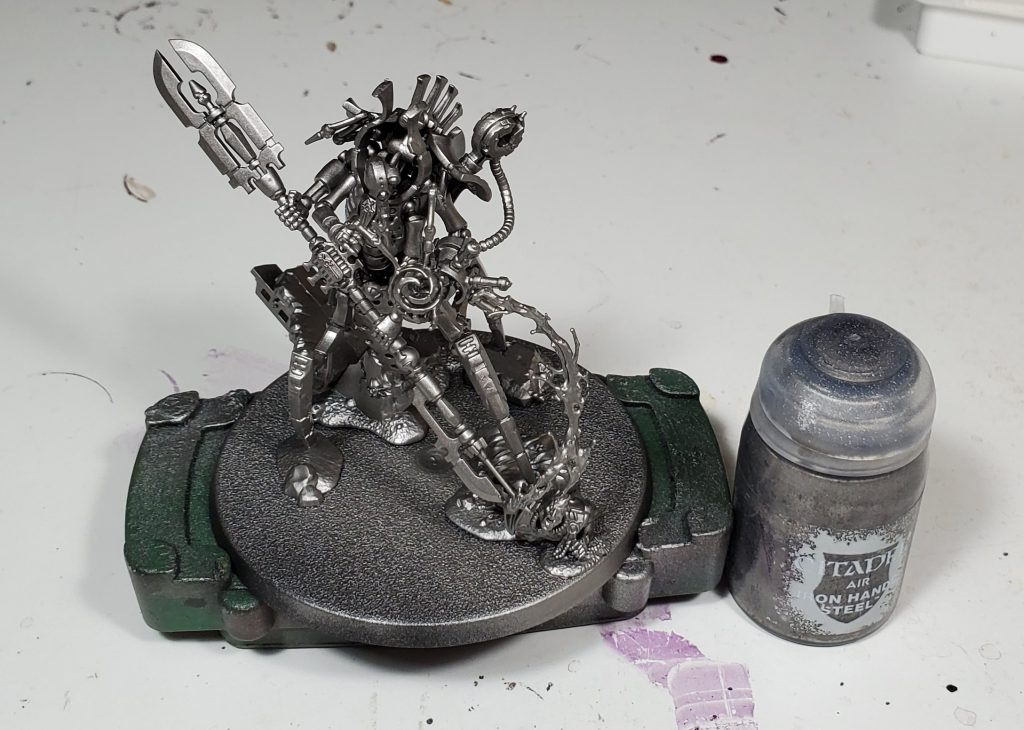
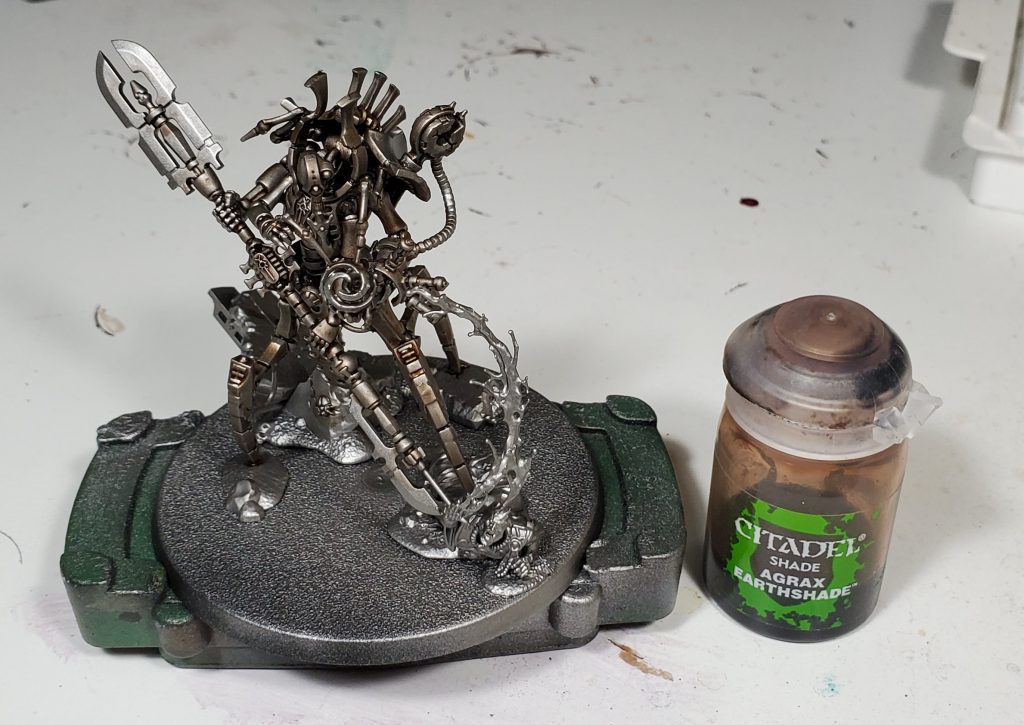
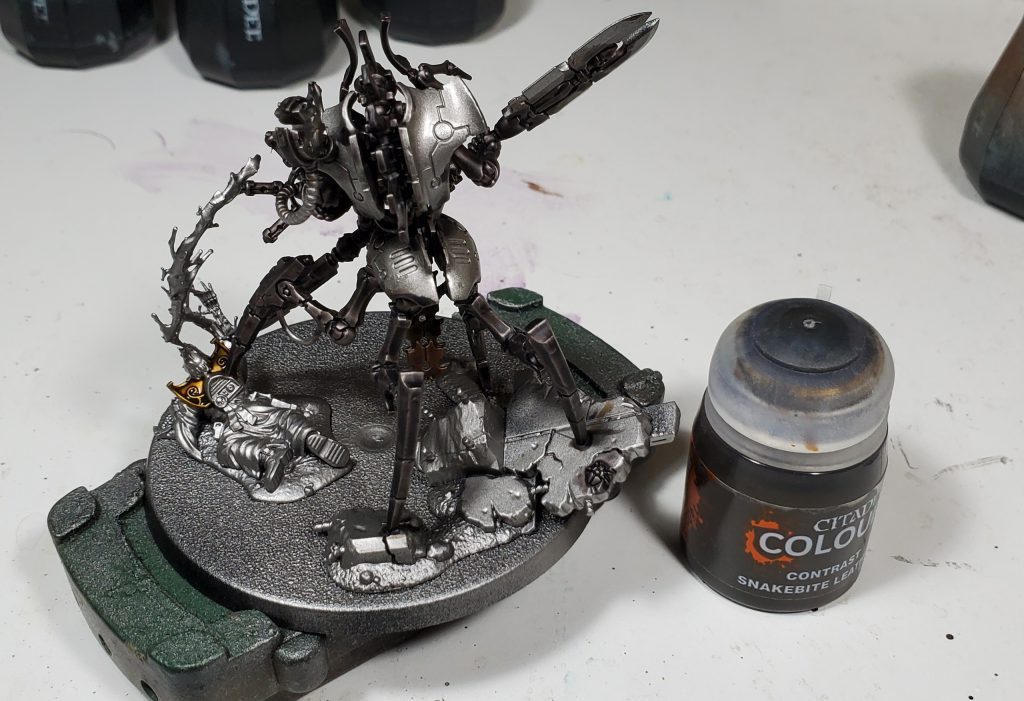

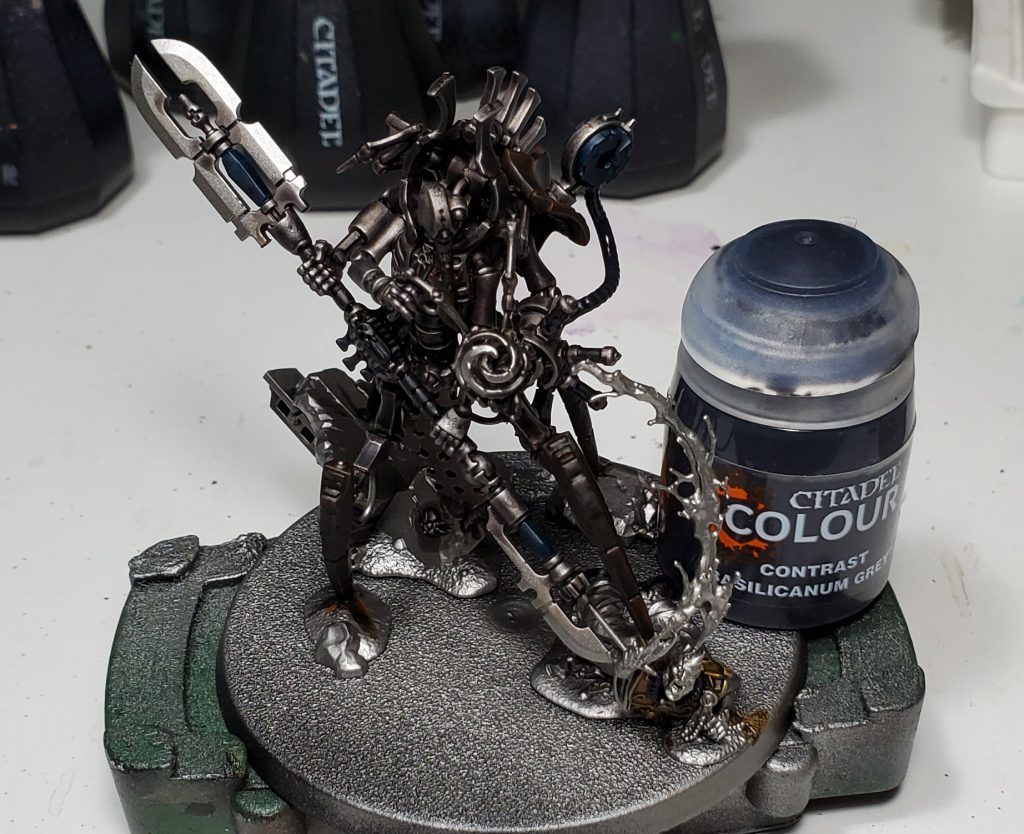
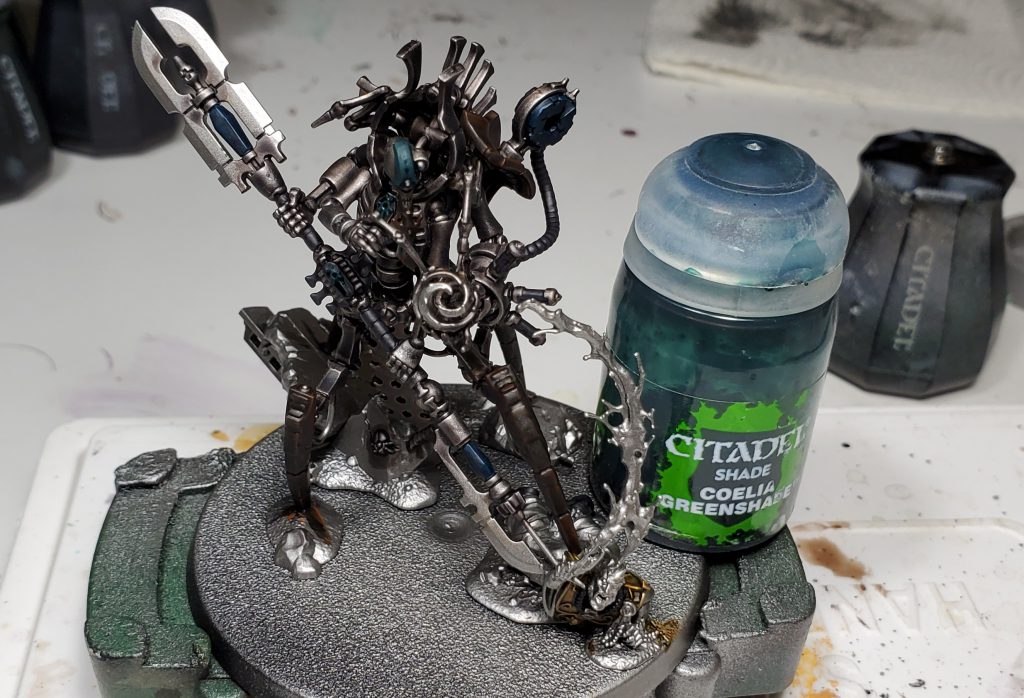
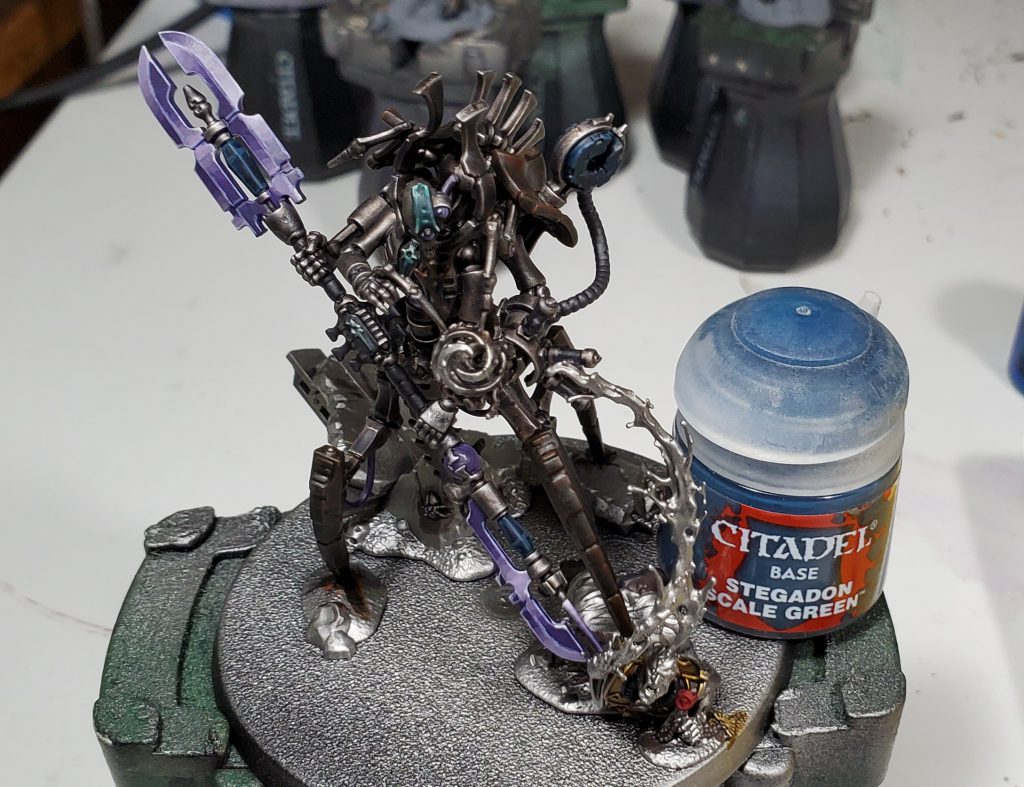
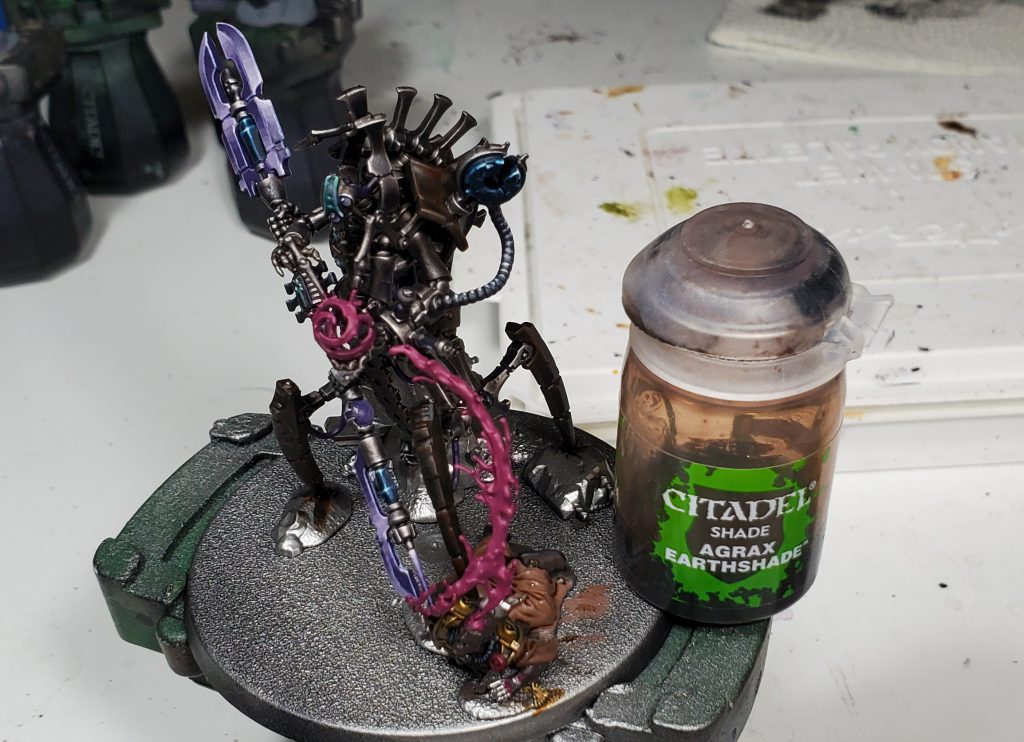
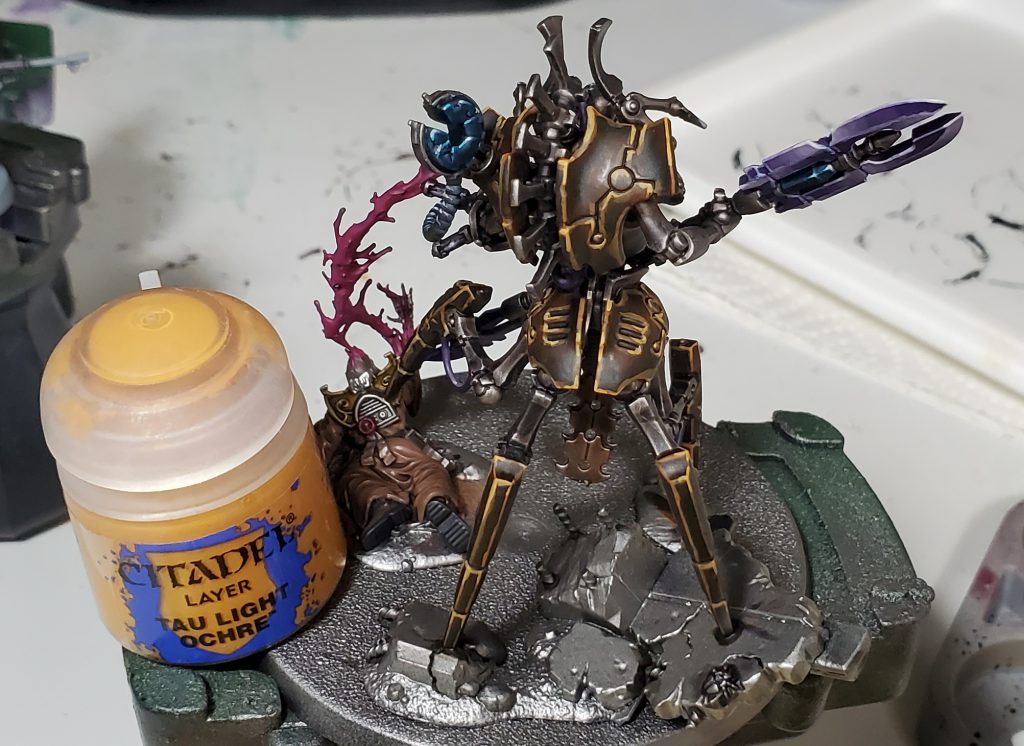
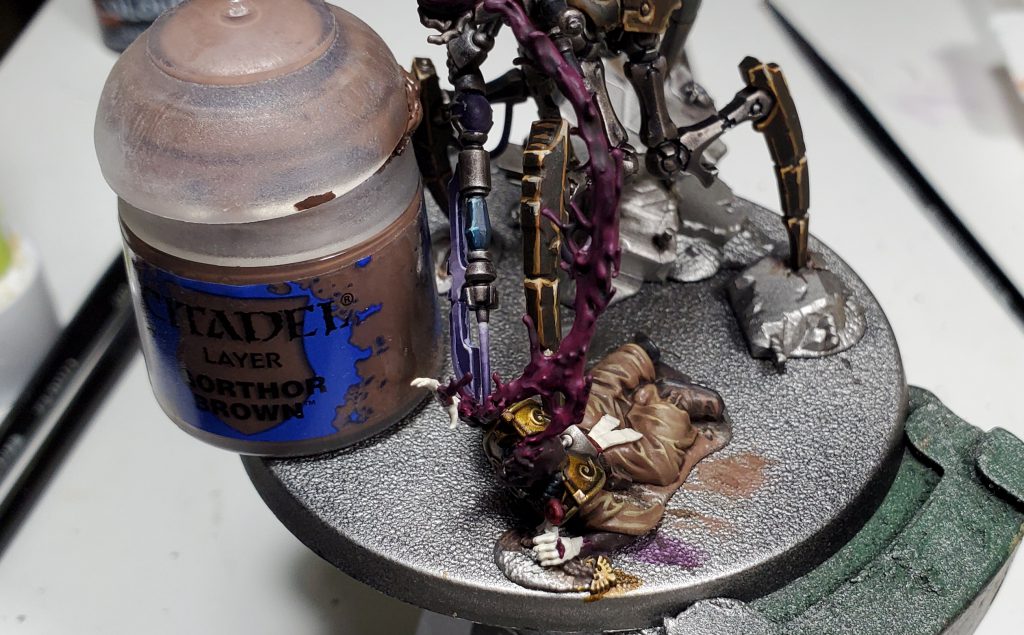
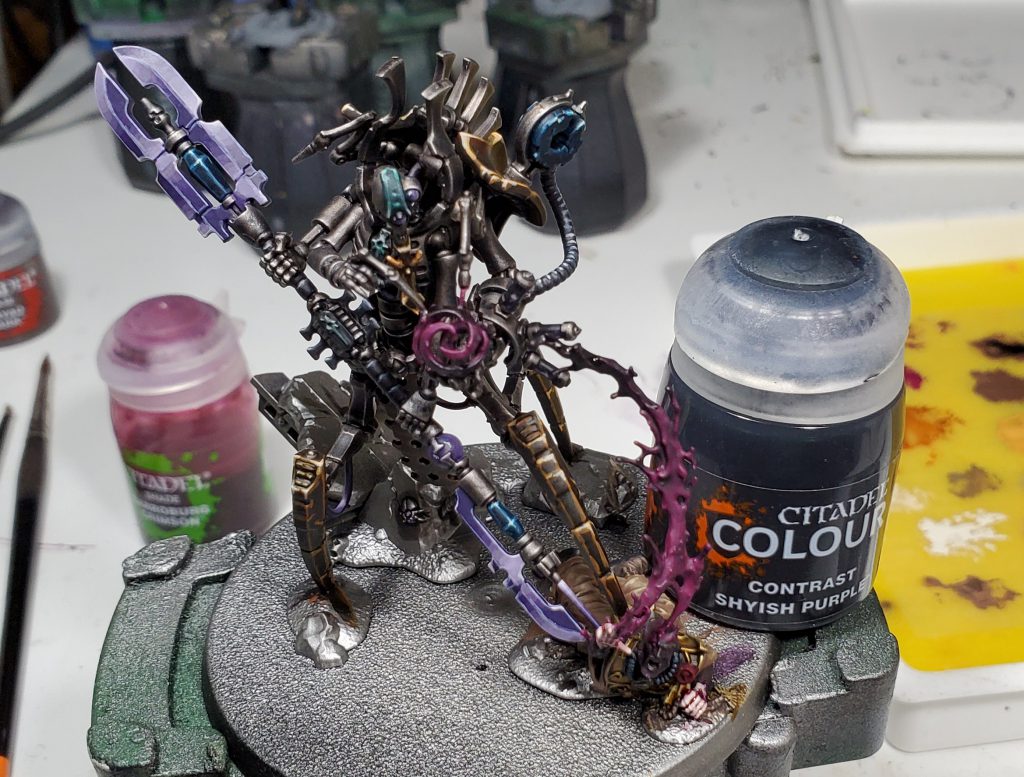
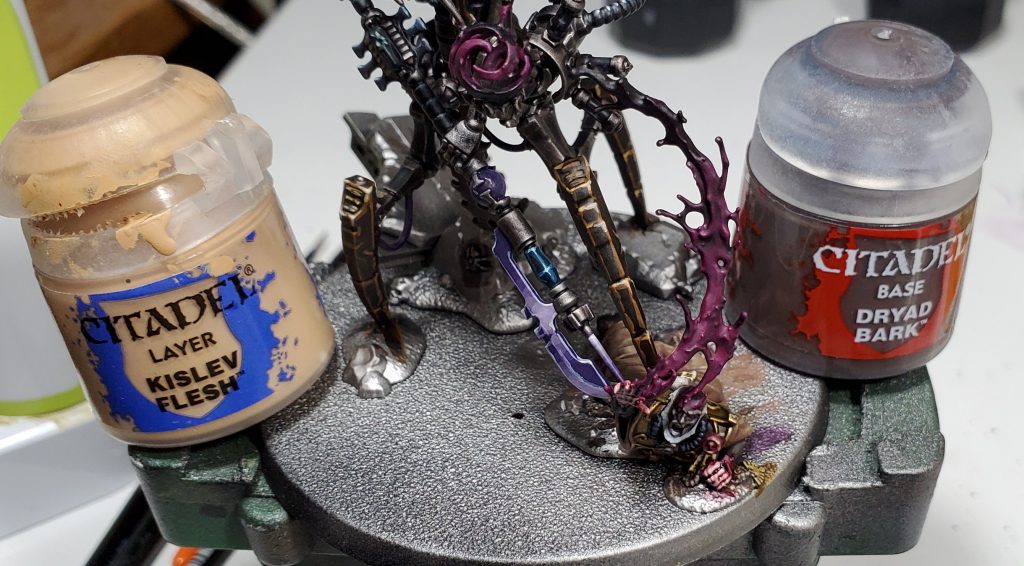
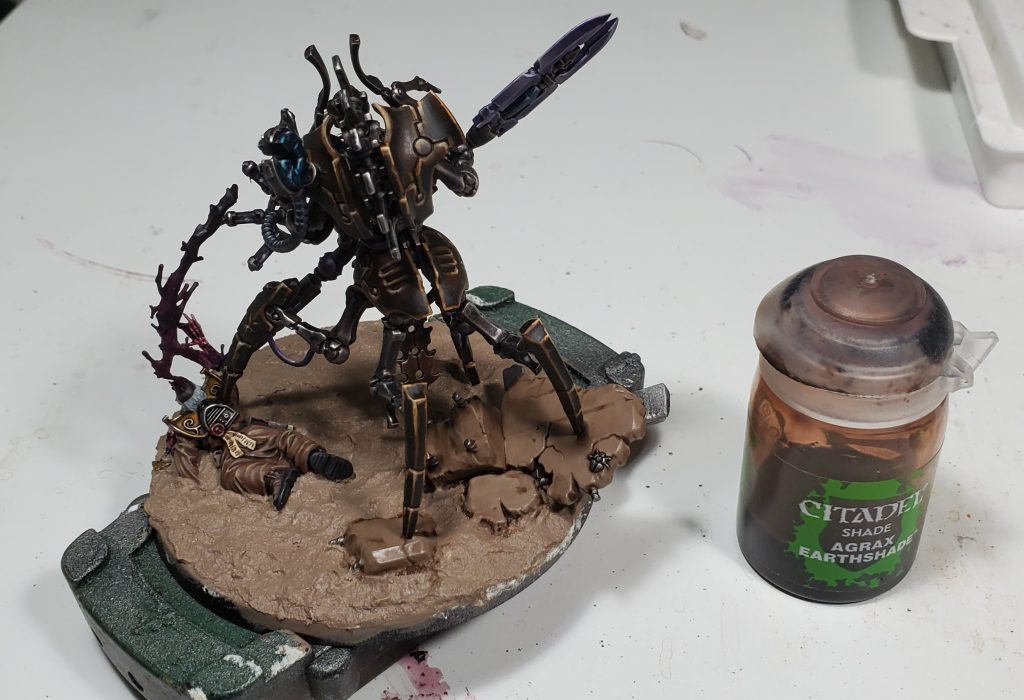
I started by getting most of the metals out of the way, to minimize the number of base coats I like making use of washes and contrasts to differentiate each metal while maintaining a common base coat.
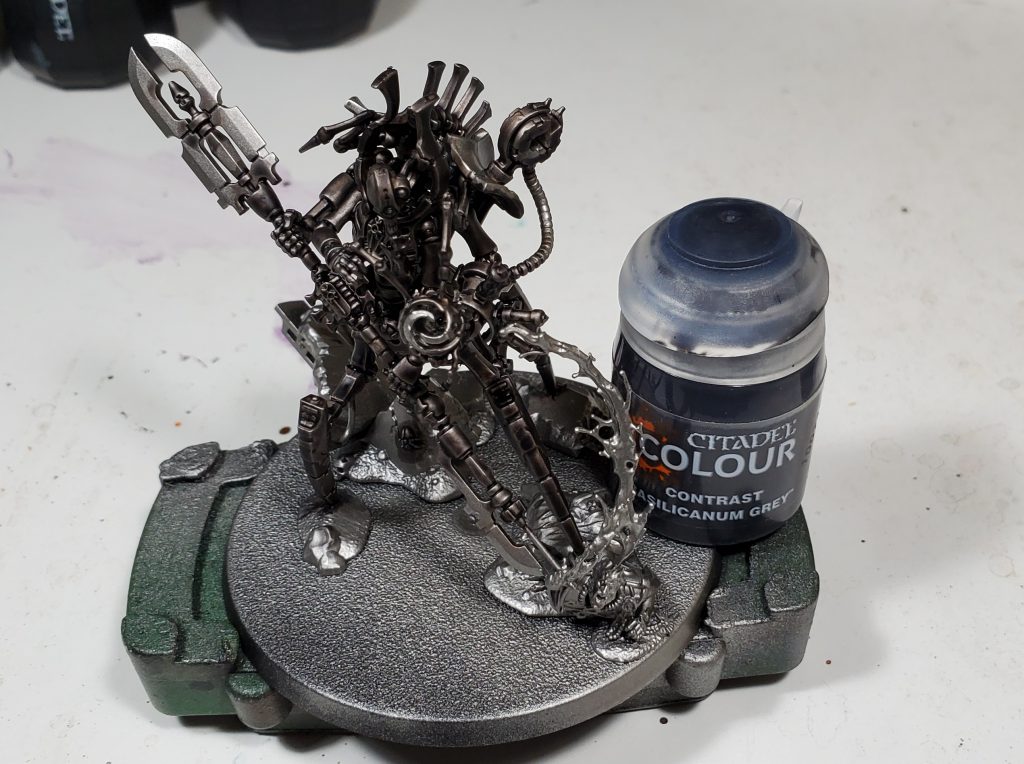
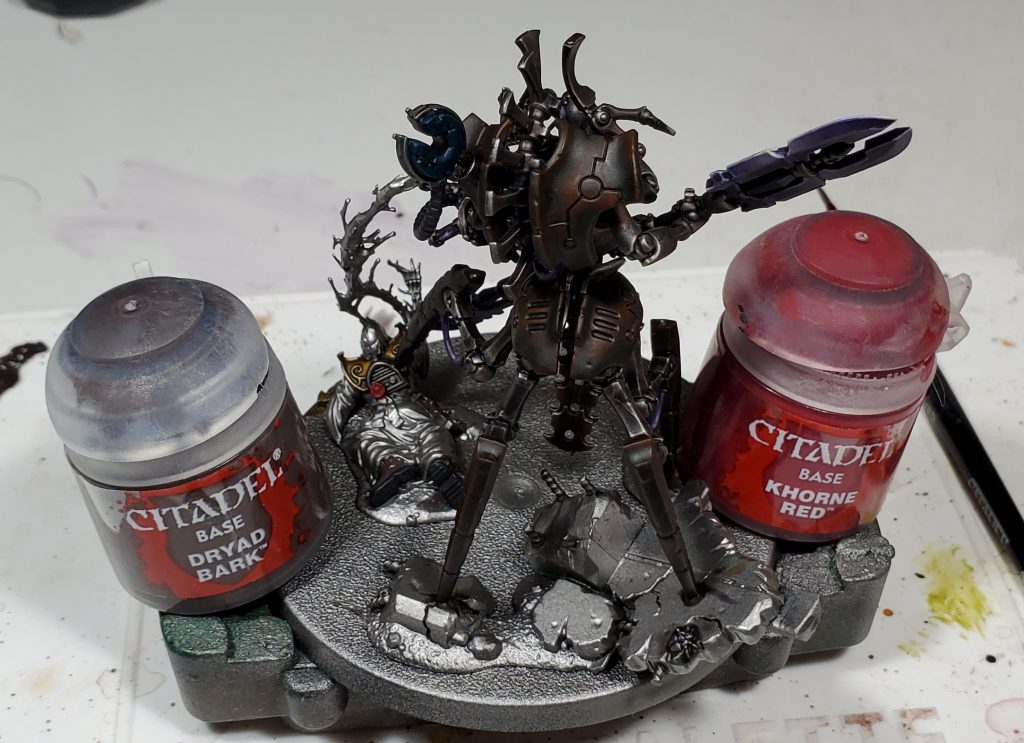
While the agrax in the living metal gets obscured a bit by later stages, it helps give body to the colour and ties it into the carapace which will have a rich brown. While you could use nuln oil instead of basilicanum, I find the contrast creates a dense colour that would require multiple coats of nuln oil.
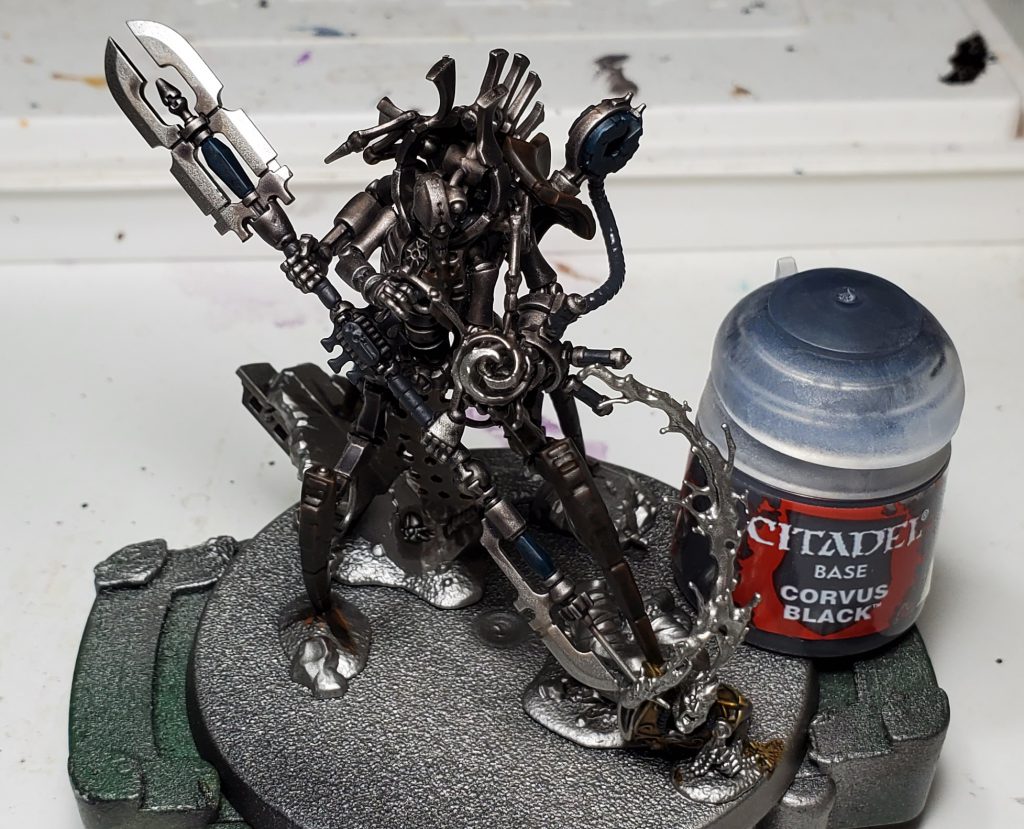

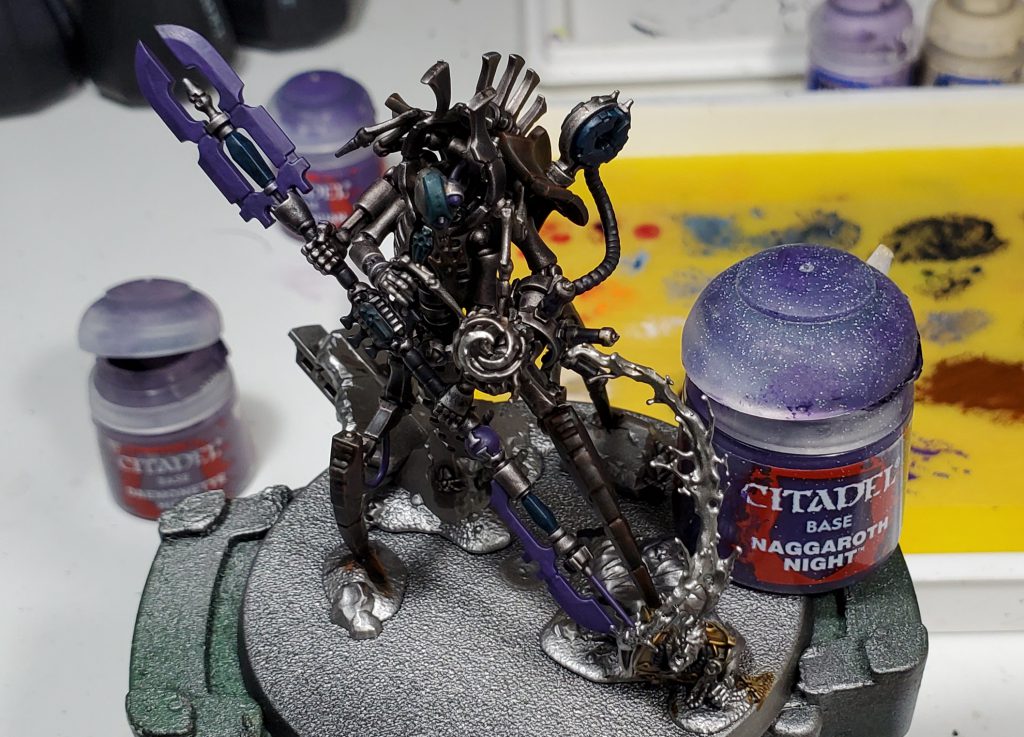
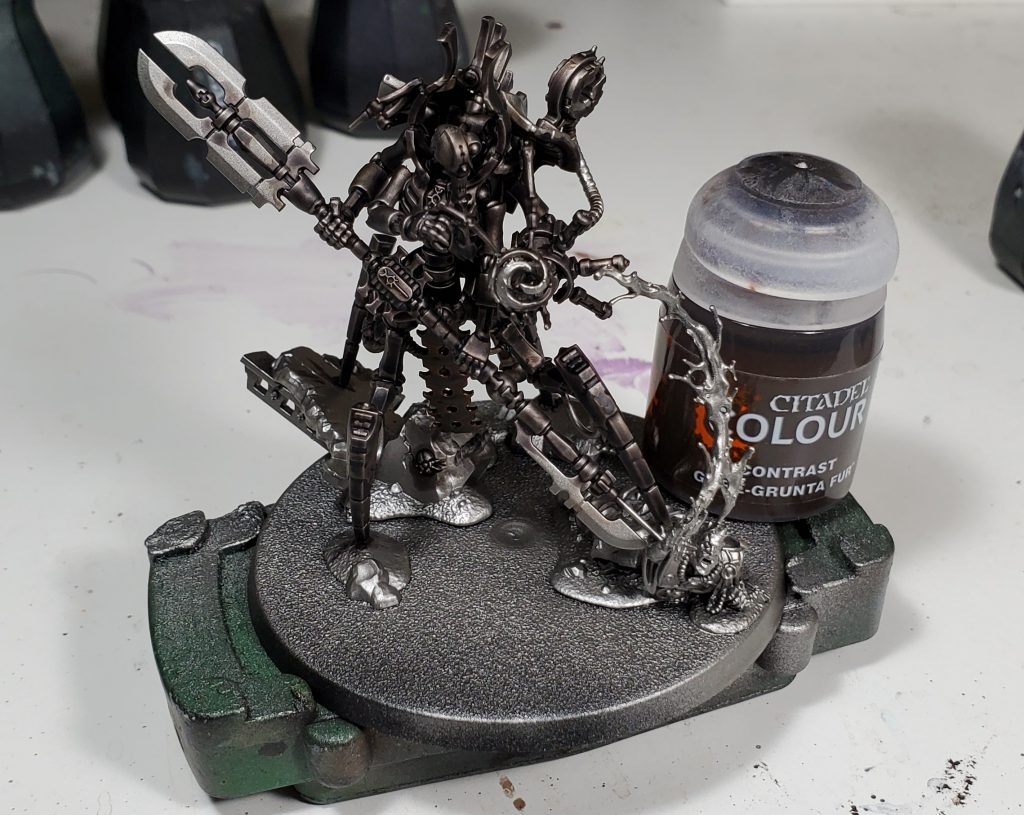
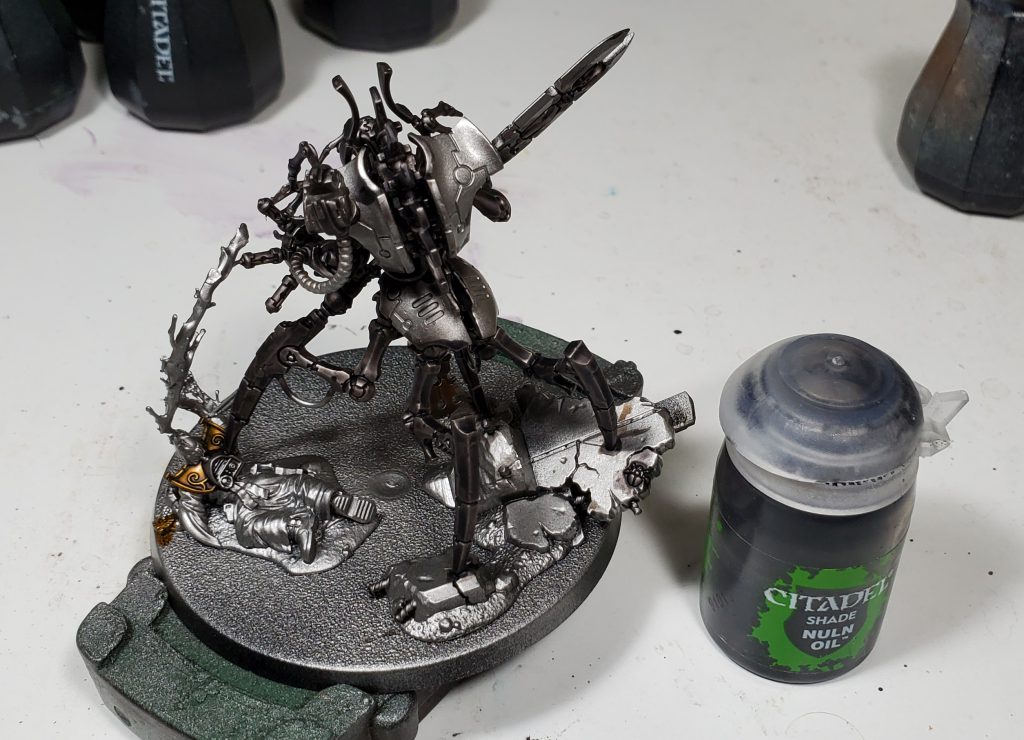
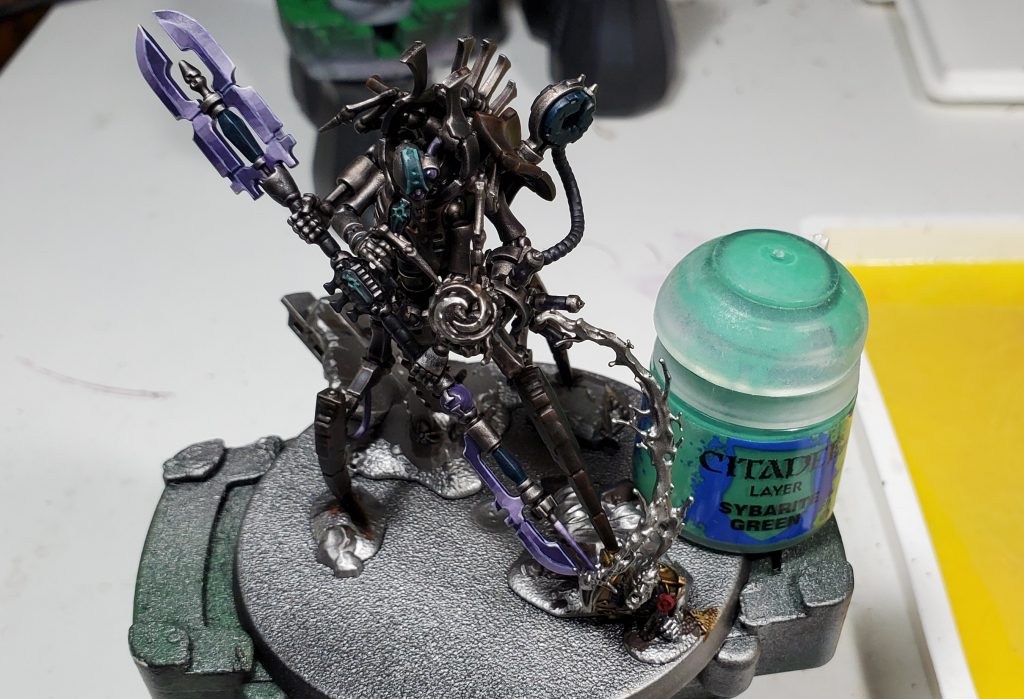
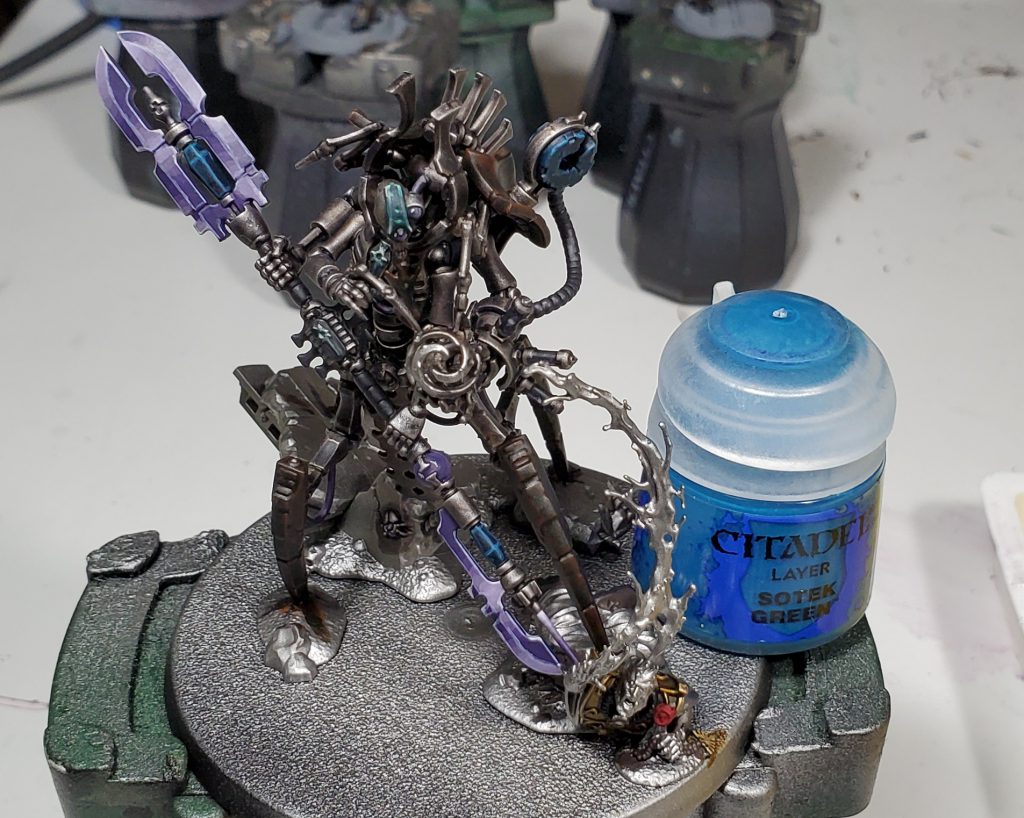
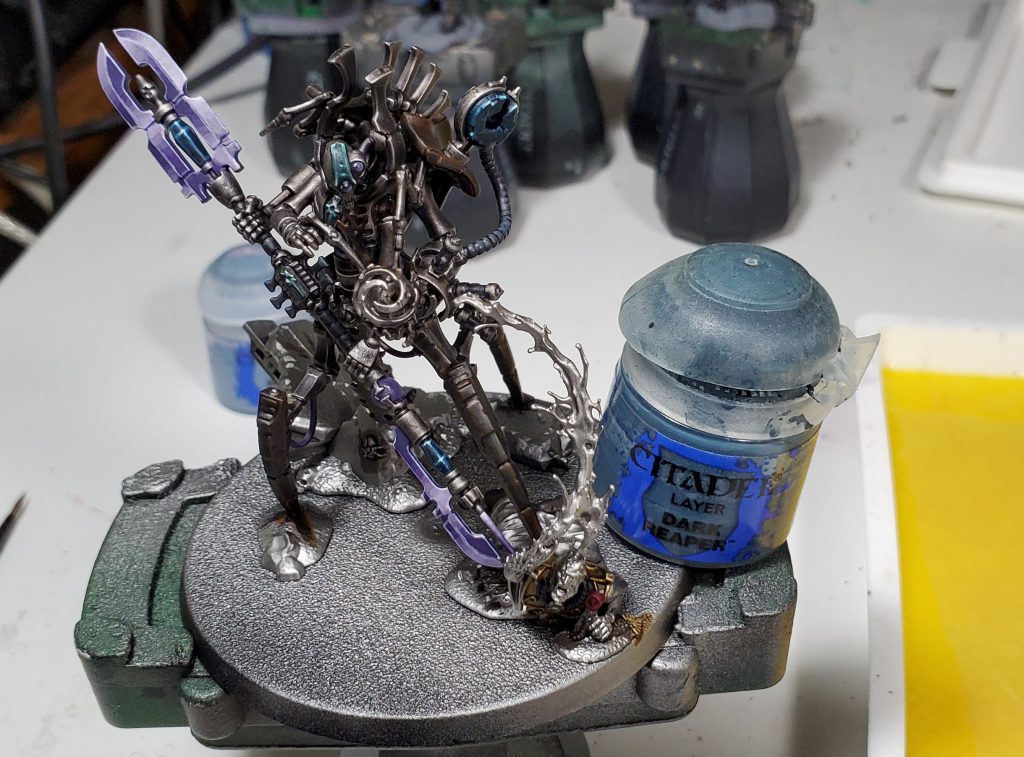
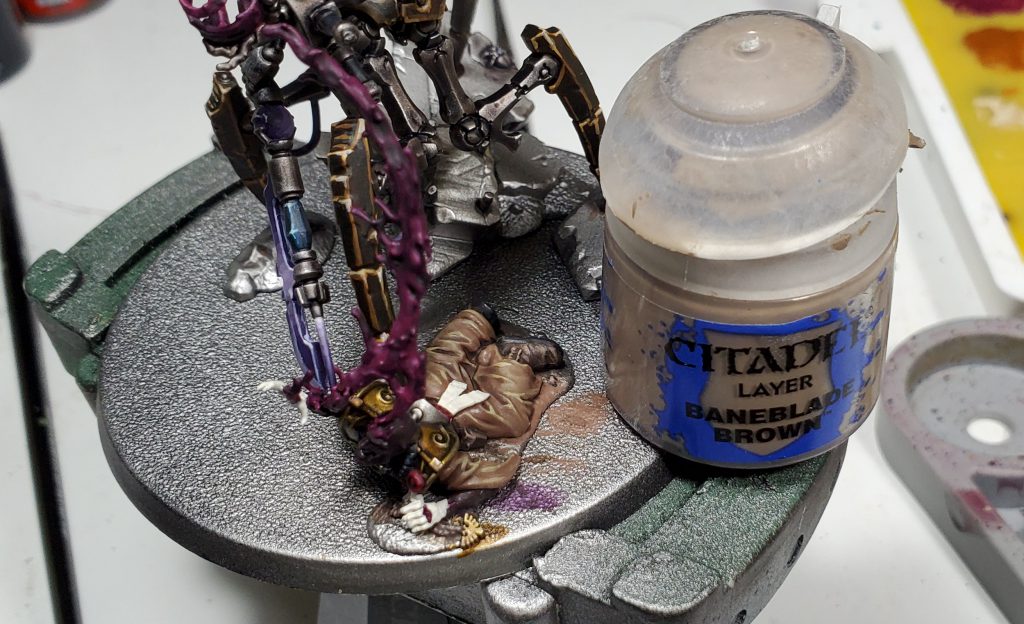
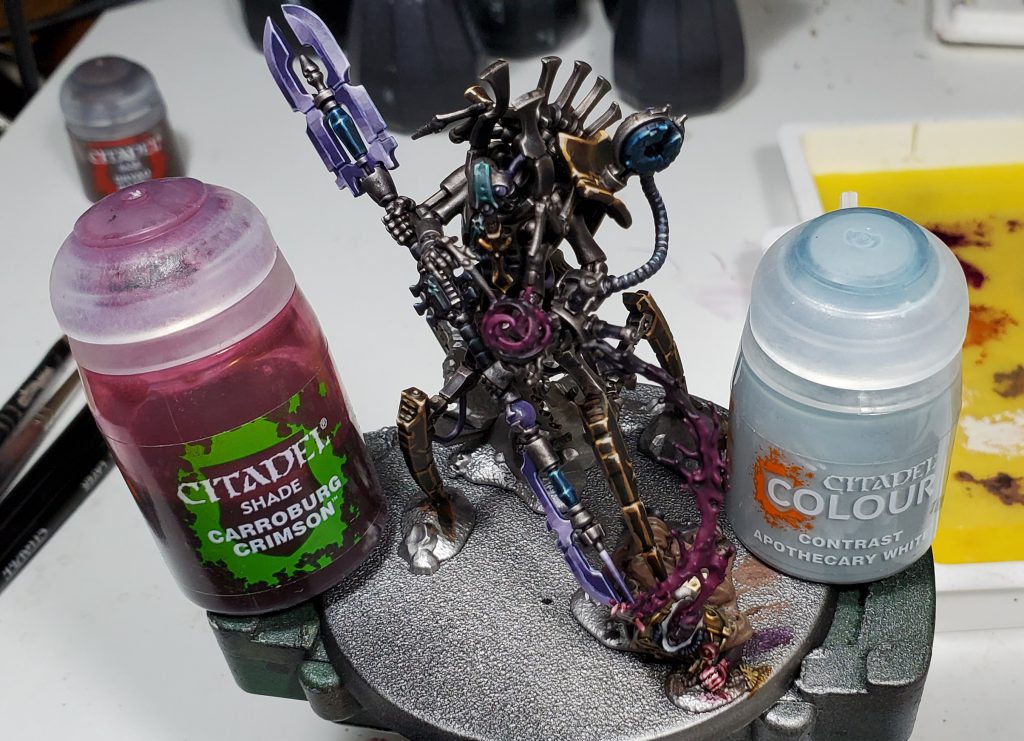
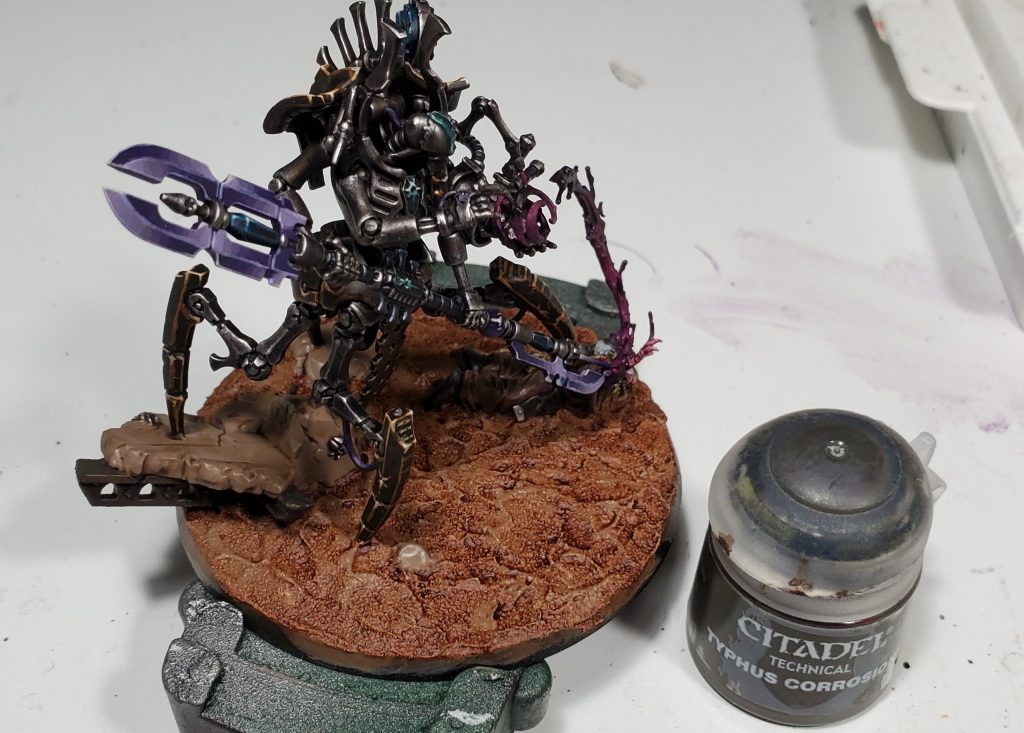
Next up I blocked in and washed the rest of the panel/detail colours on Szeras, these are starting very dark so that I can get some really impactful highlights later on.
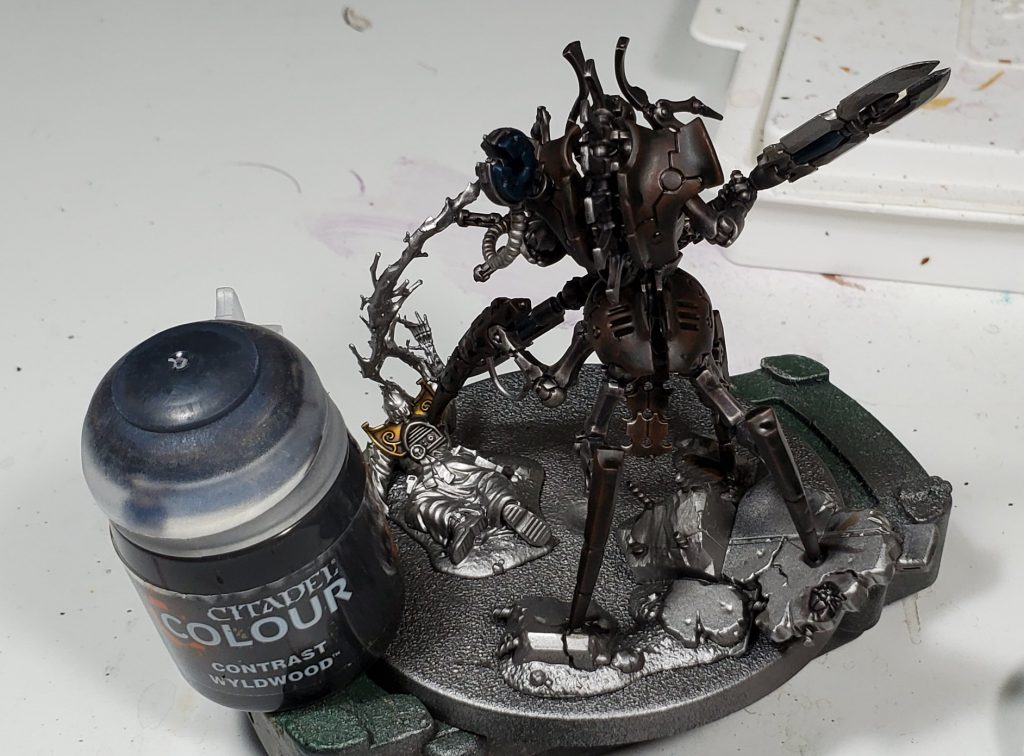
While contrast over a basic grey/white base coat can look messy, here the wyldwood contrast over brown again creates wonderfully textured surfaces that give an aged implication.

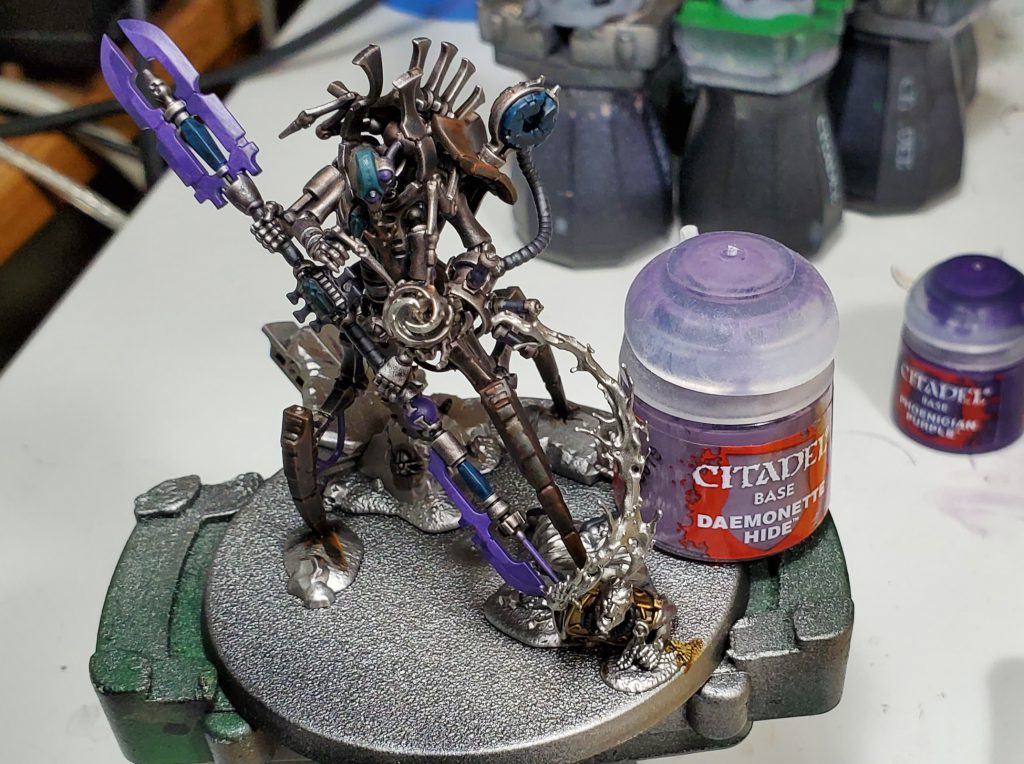

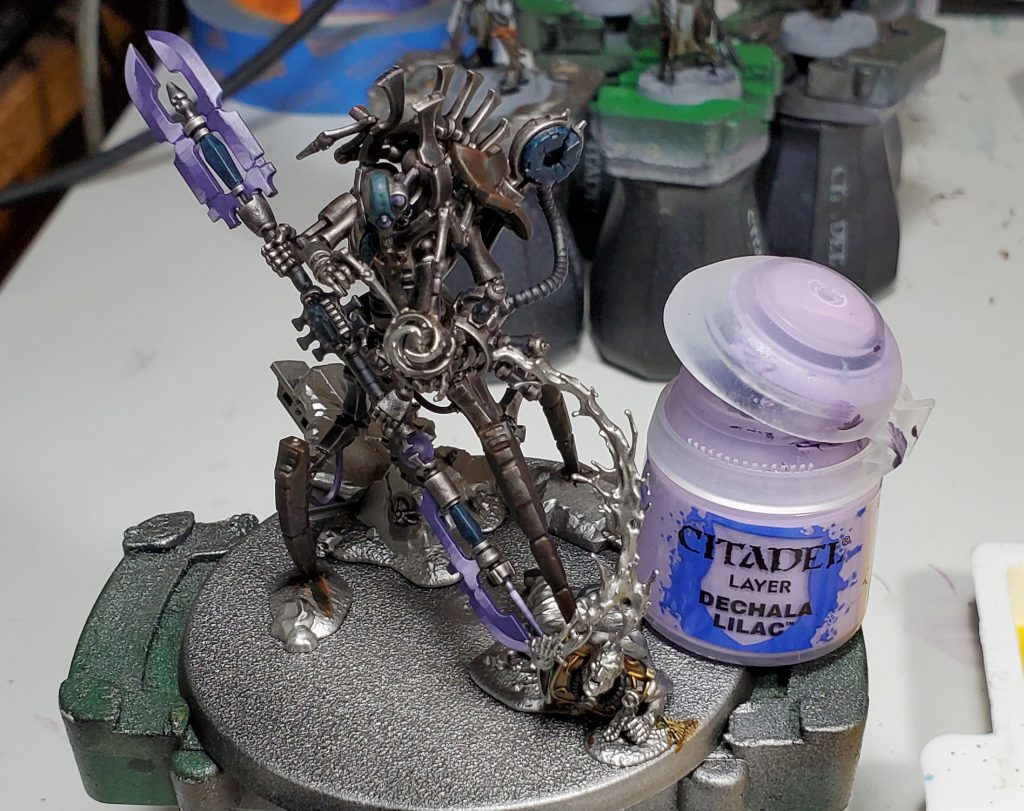
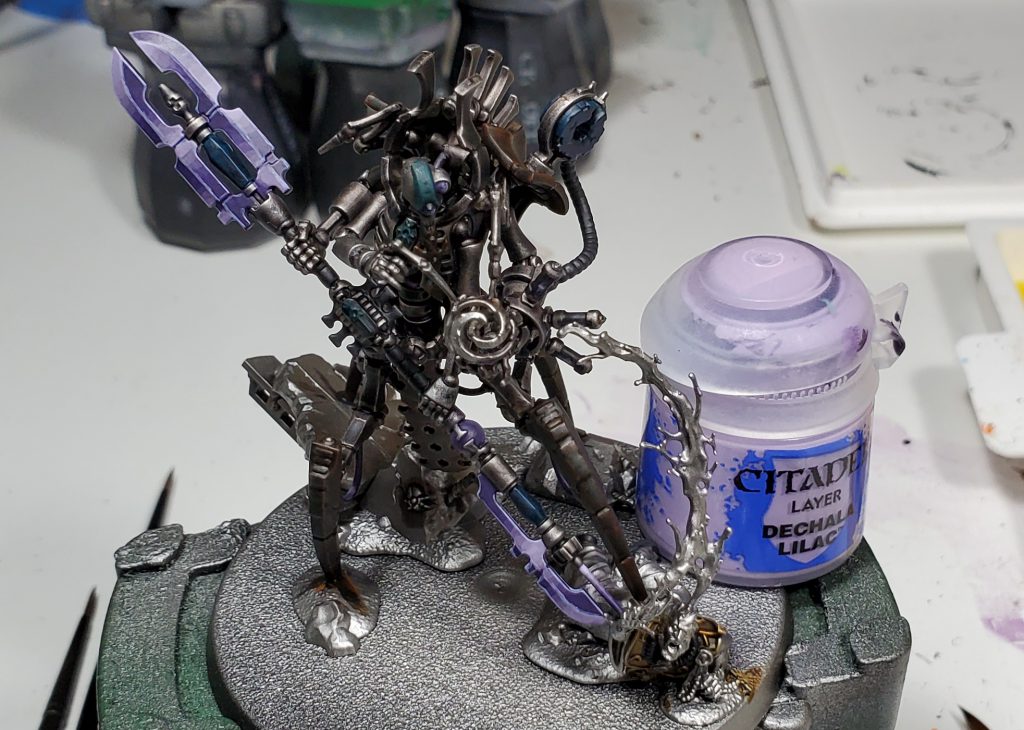
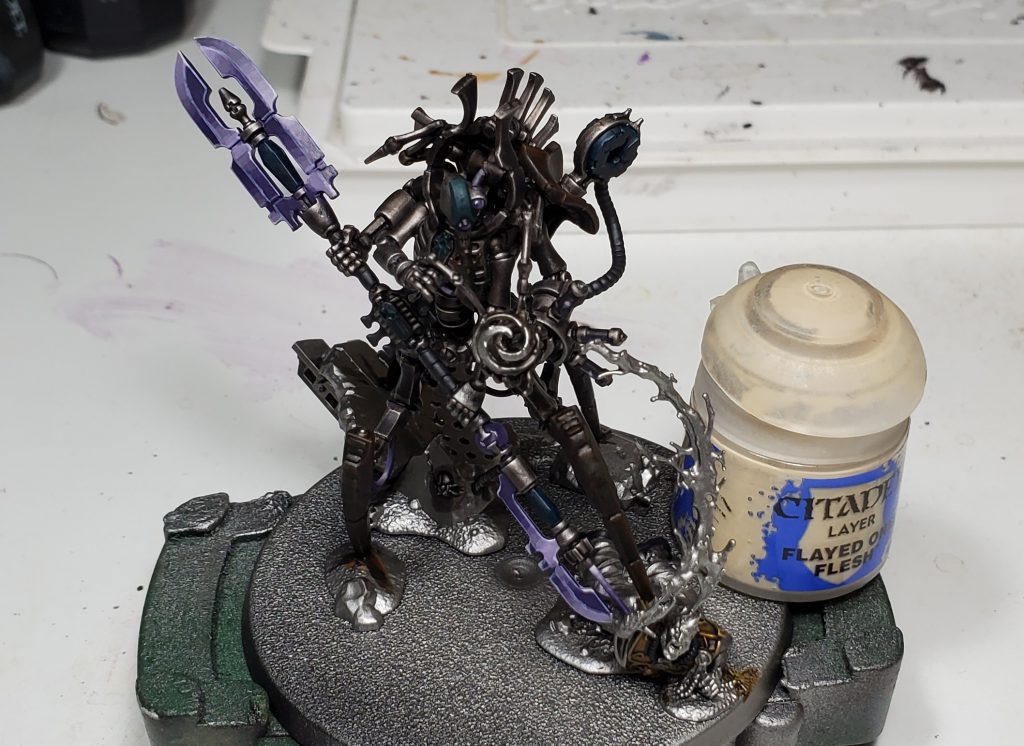
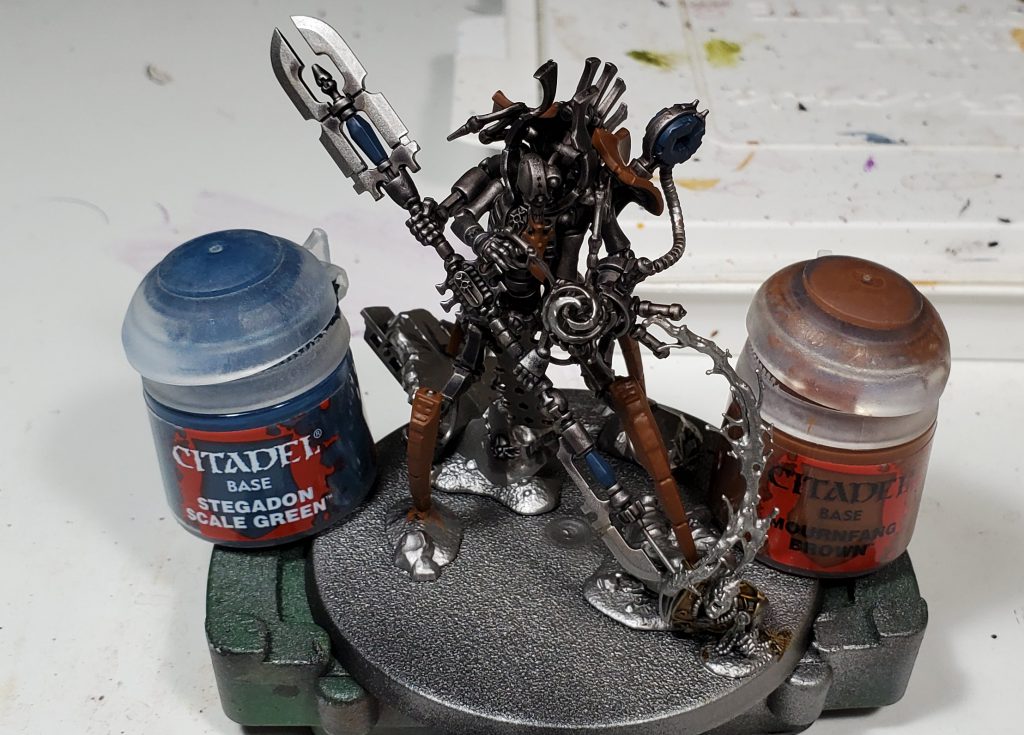
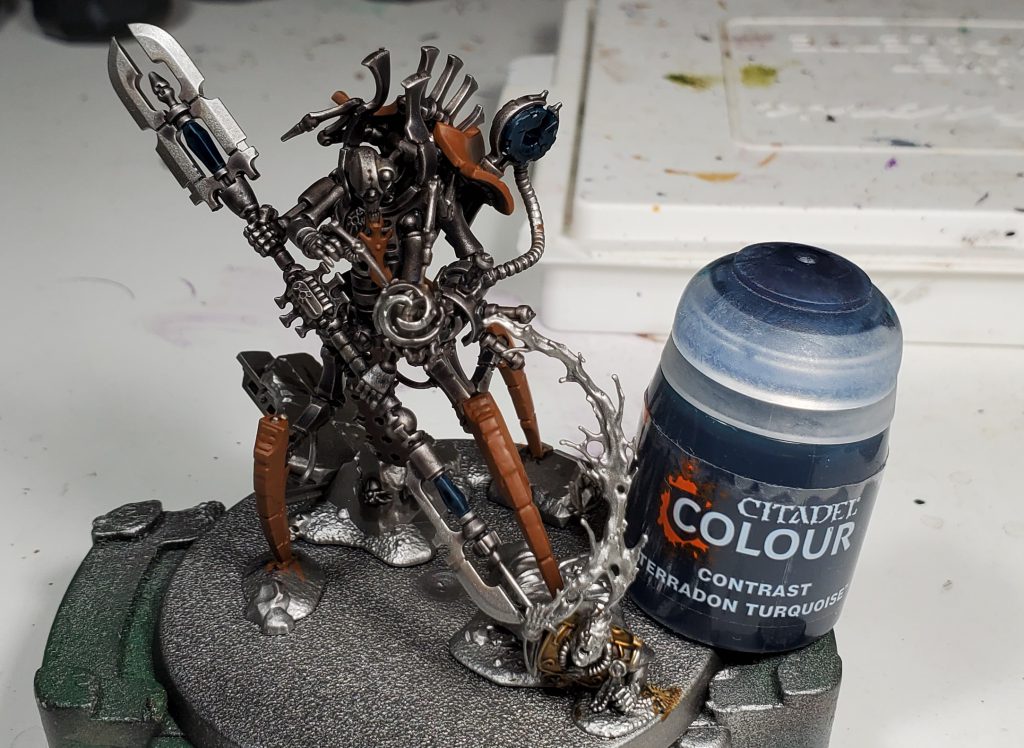
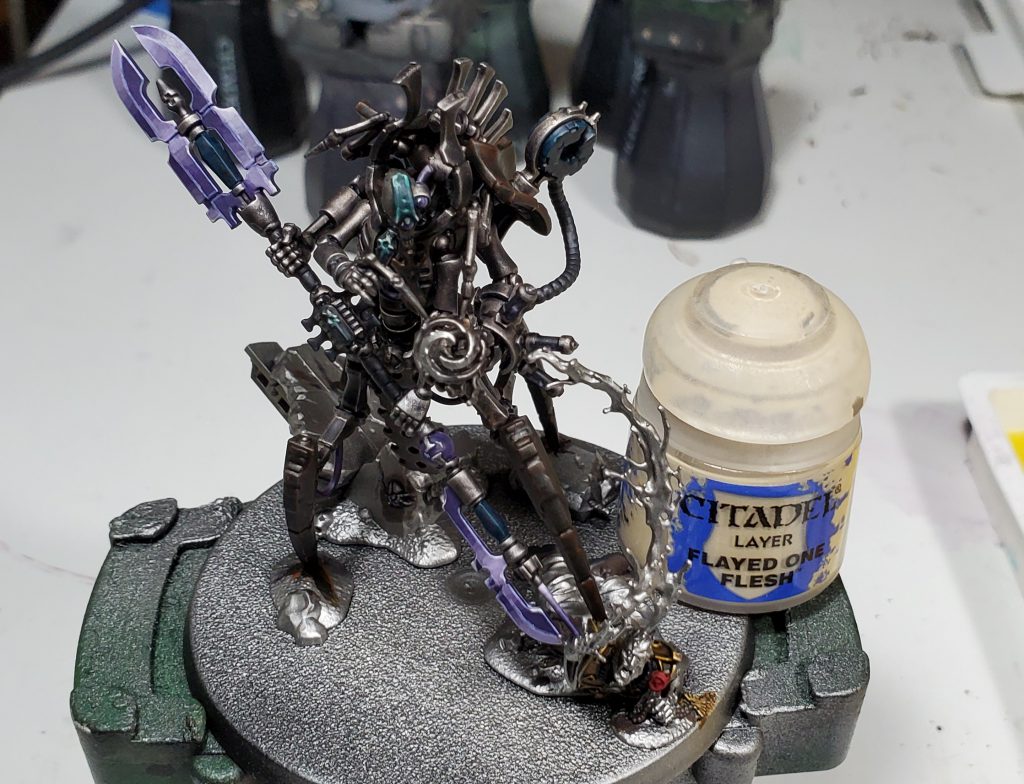
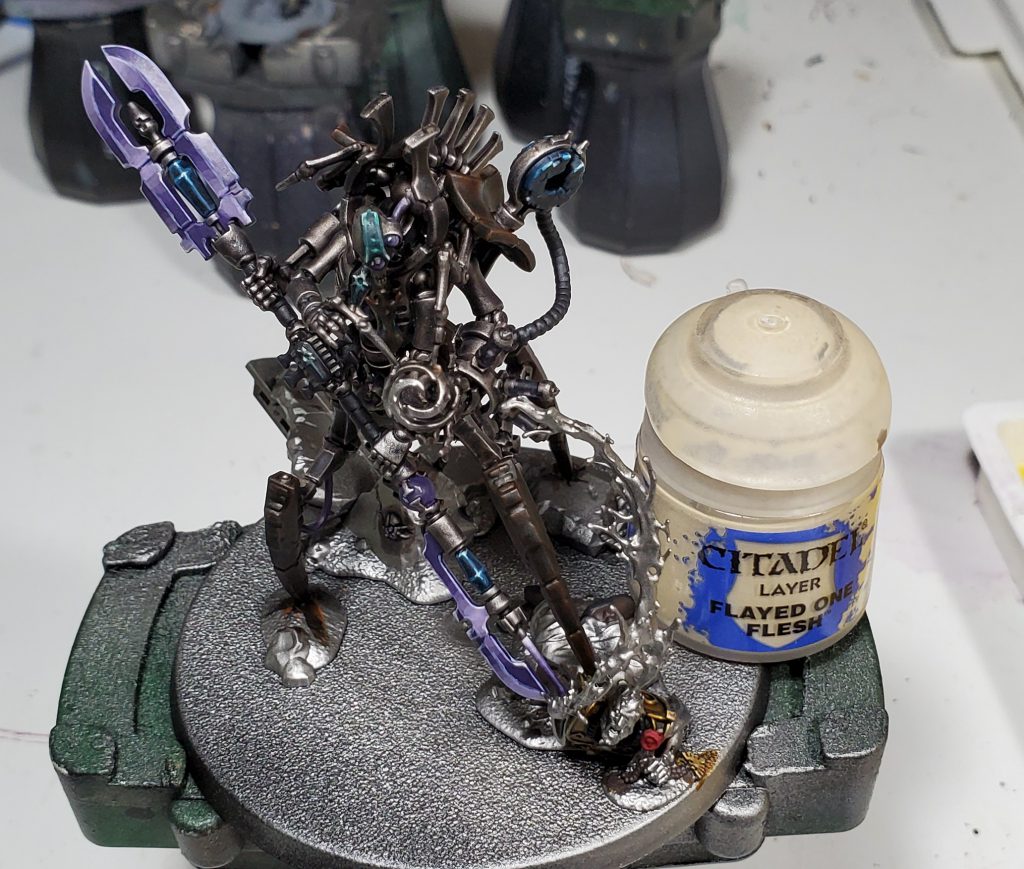
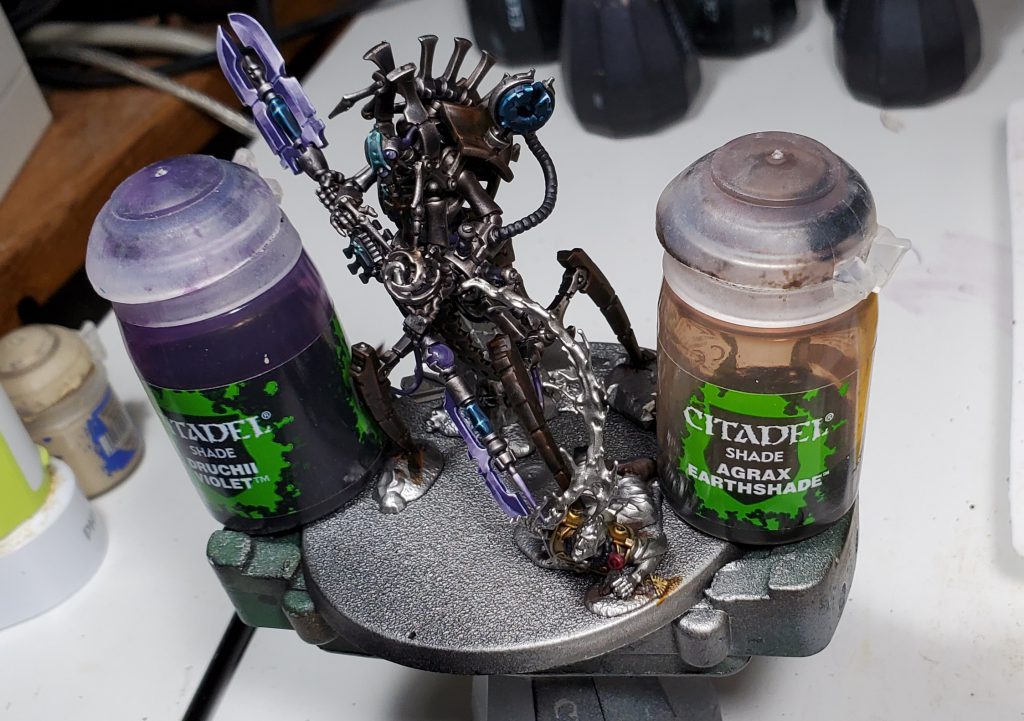
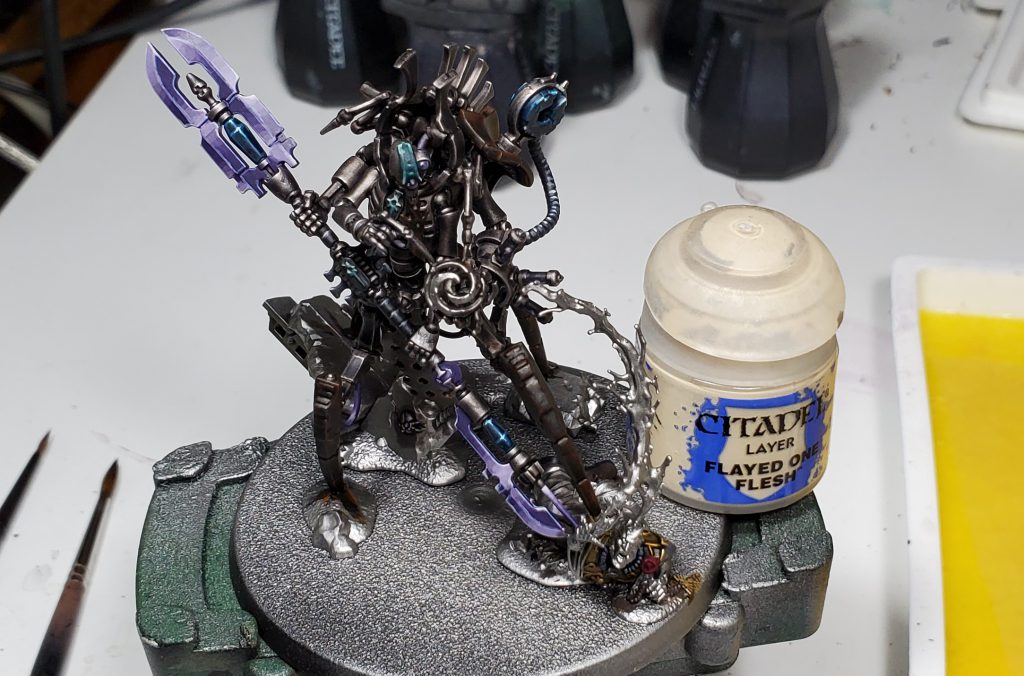
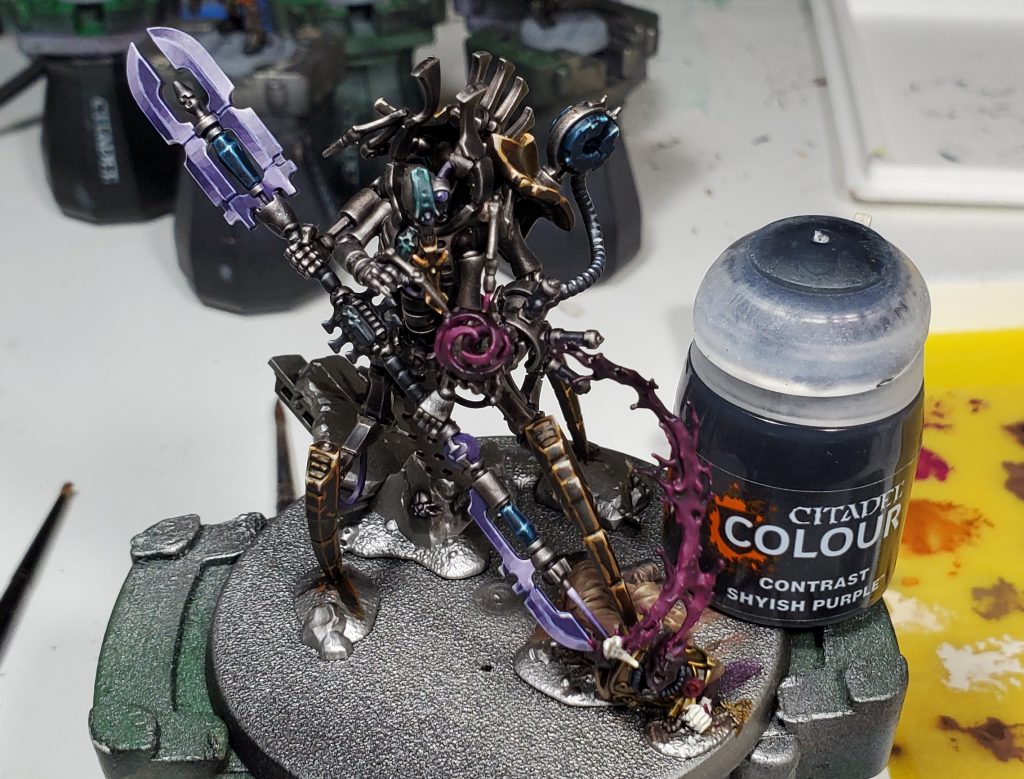
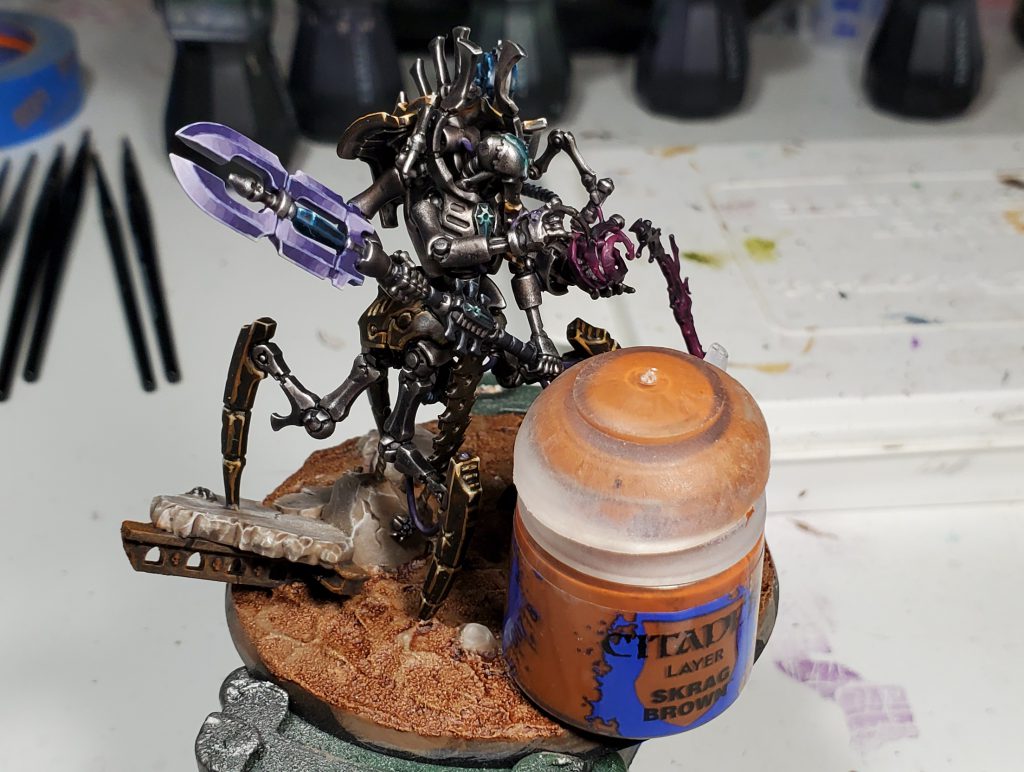
For the blade and lenses I just mixed and layered up through some purples, I will probably skip phoenician in future goes as it is a bit too subtle a transition. I don’t really have specific mixes and the number of steps between each varies a bit, but usually I would mix in the next colour twice before moving on. Note that I only used pure dechala and flayed one on edges and lense spots as they are a touch too bright to use without skewing the glow colour.

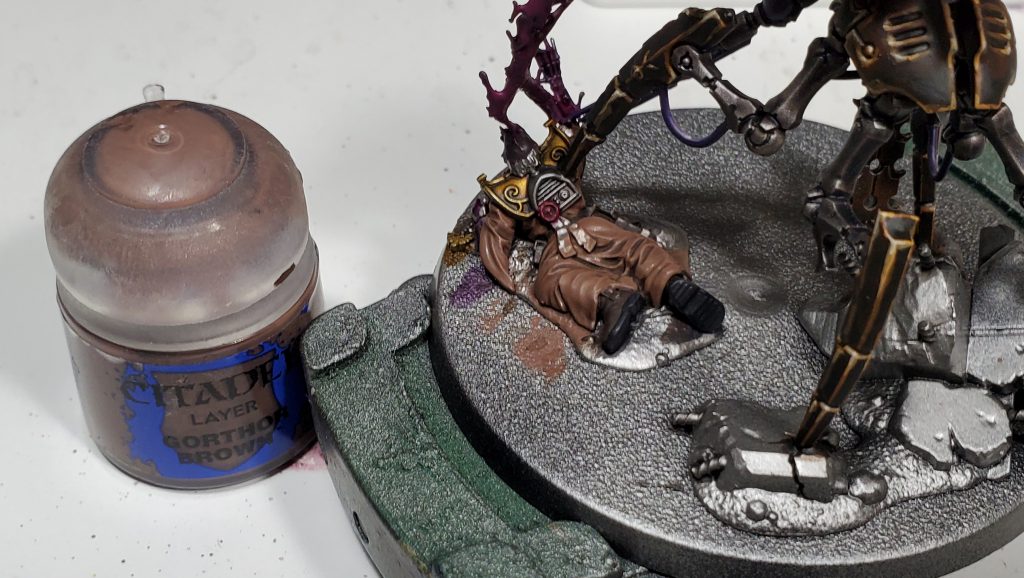
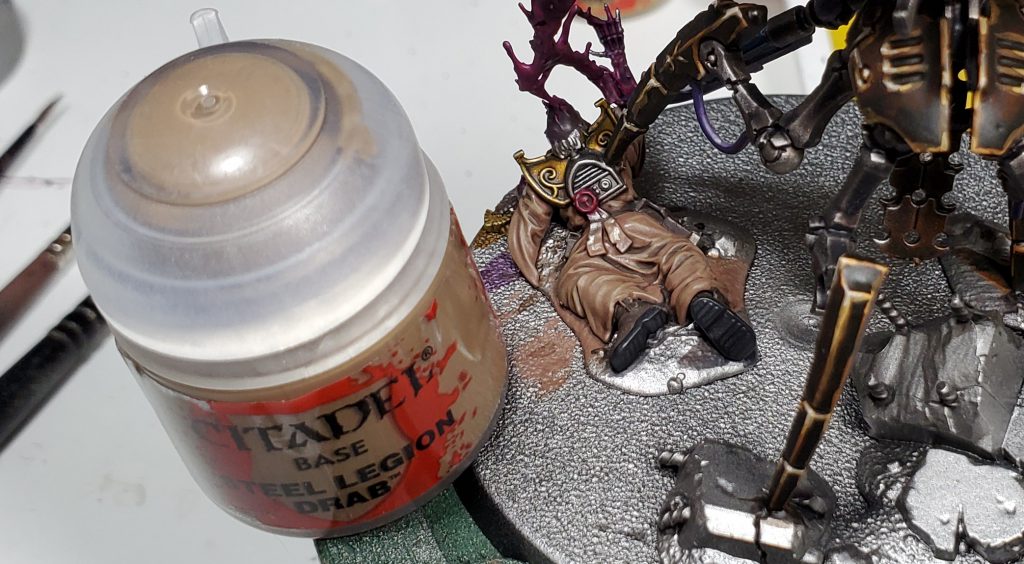
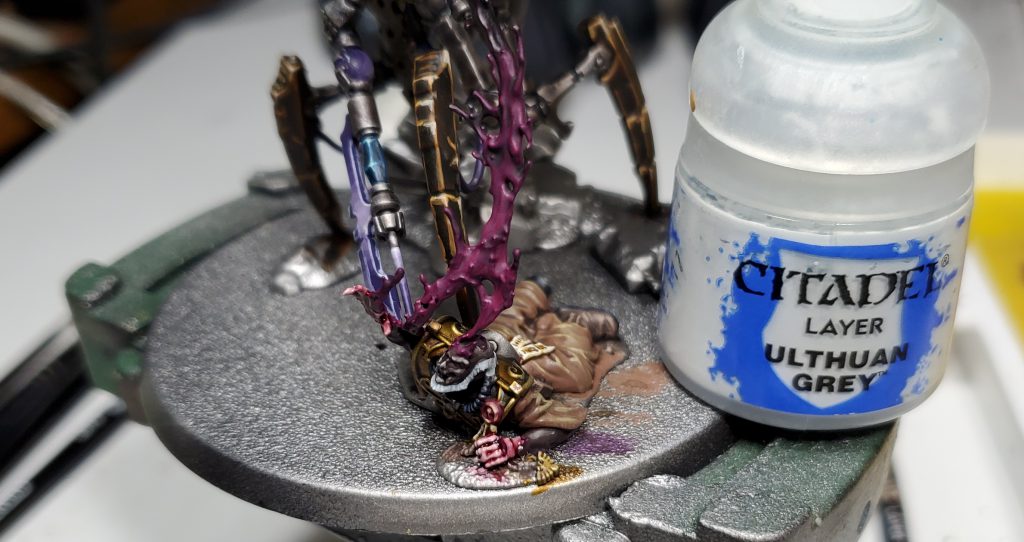
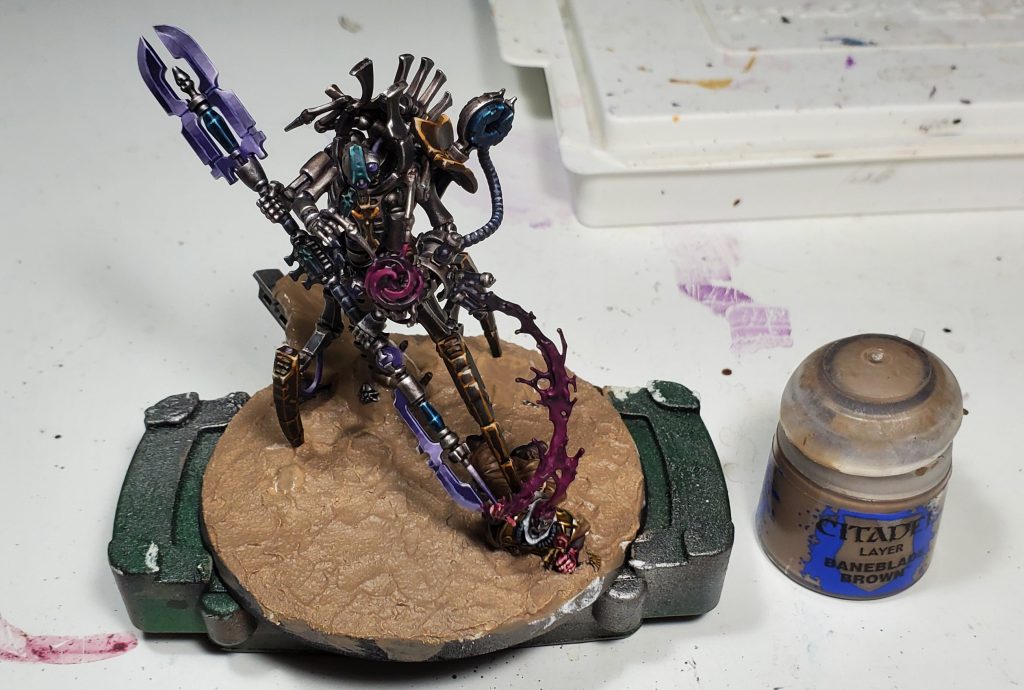
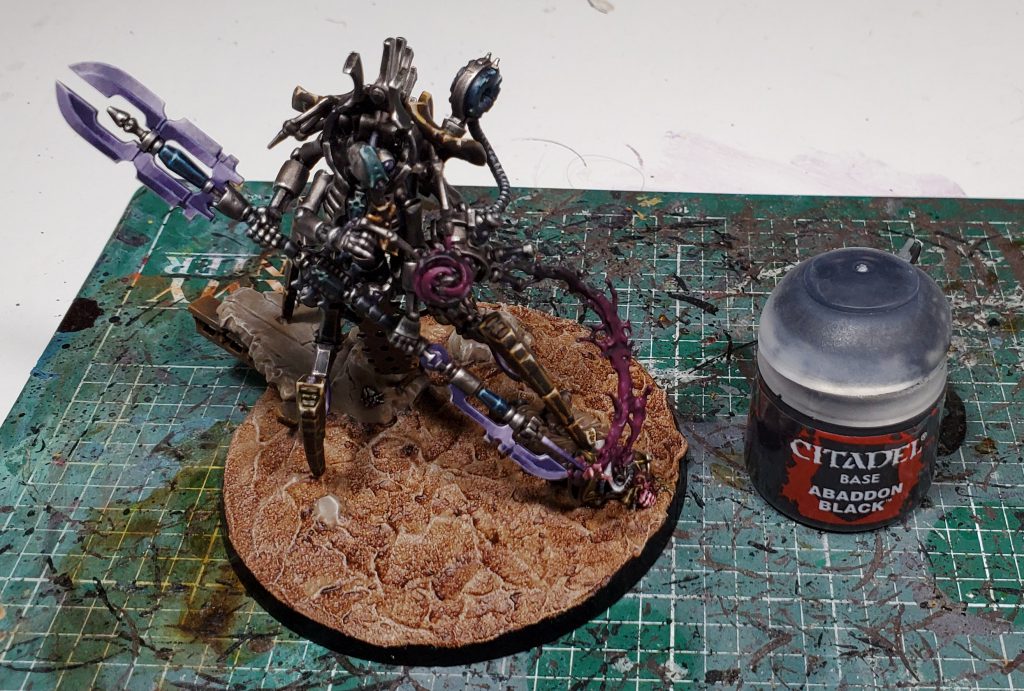
After a quick stop off to base coat the seals and some leather on the base dude, I added highlights to the black stone and trim.

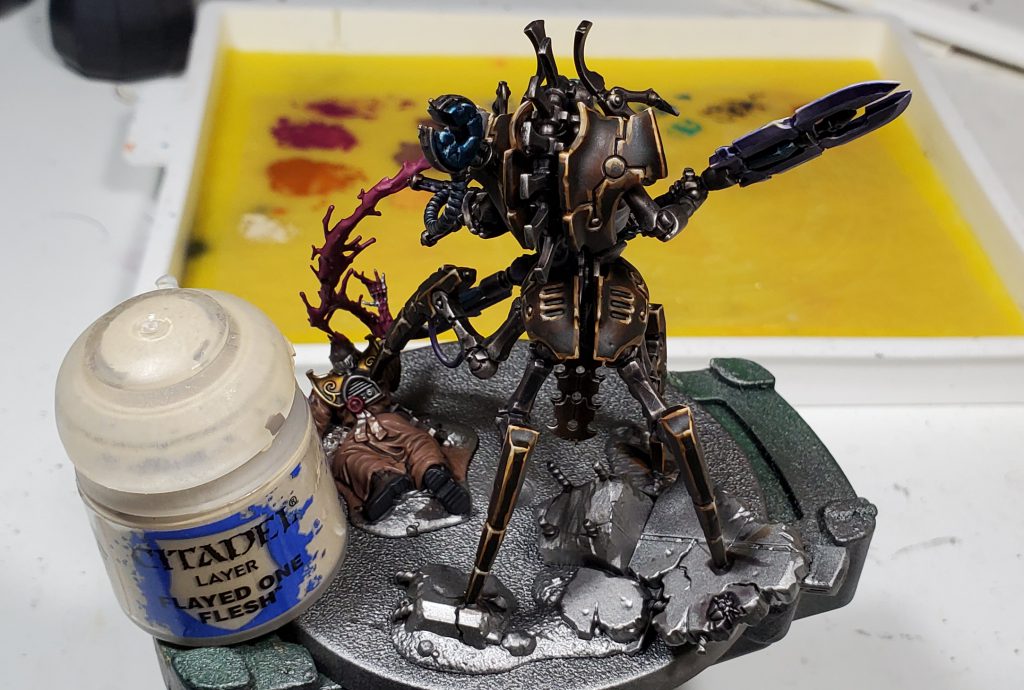
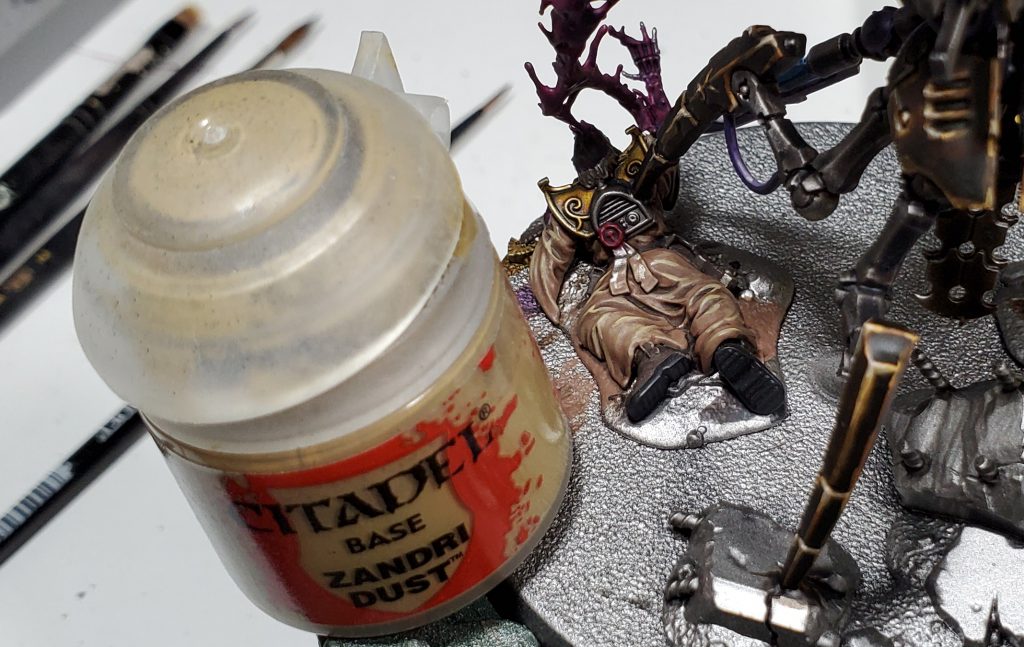
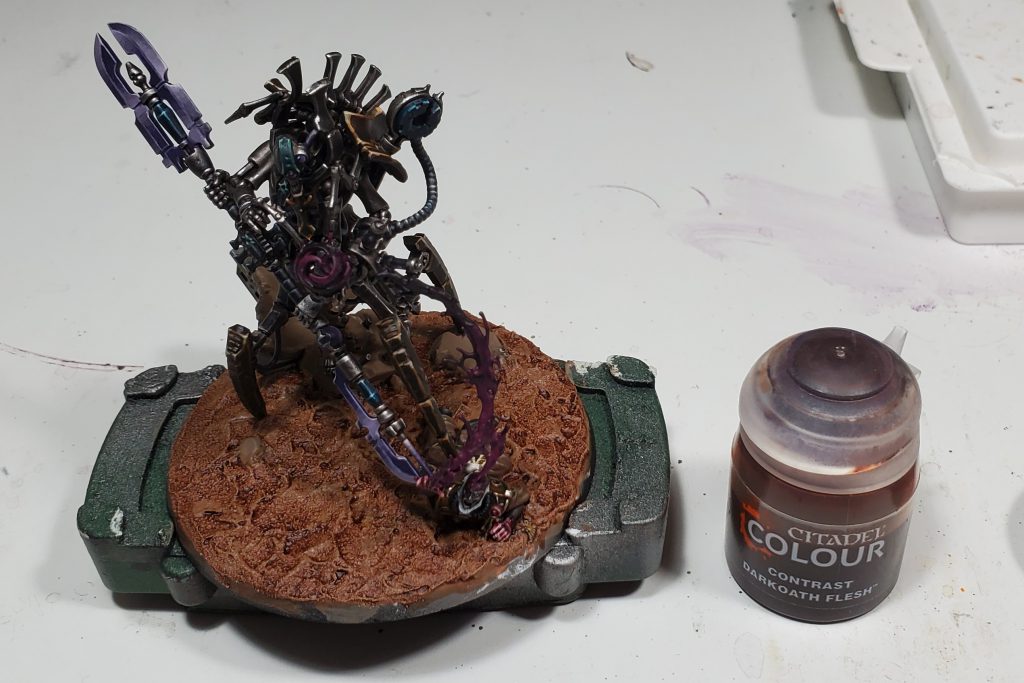
I base coated the skin on the guy getting sucked up after the flesh spray, but since the initial colour is the same as the leather you could do it then instead to save a bit of time.
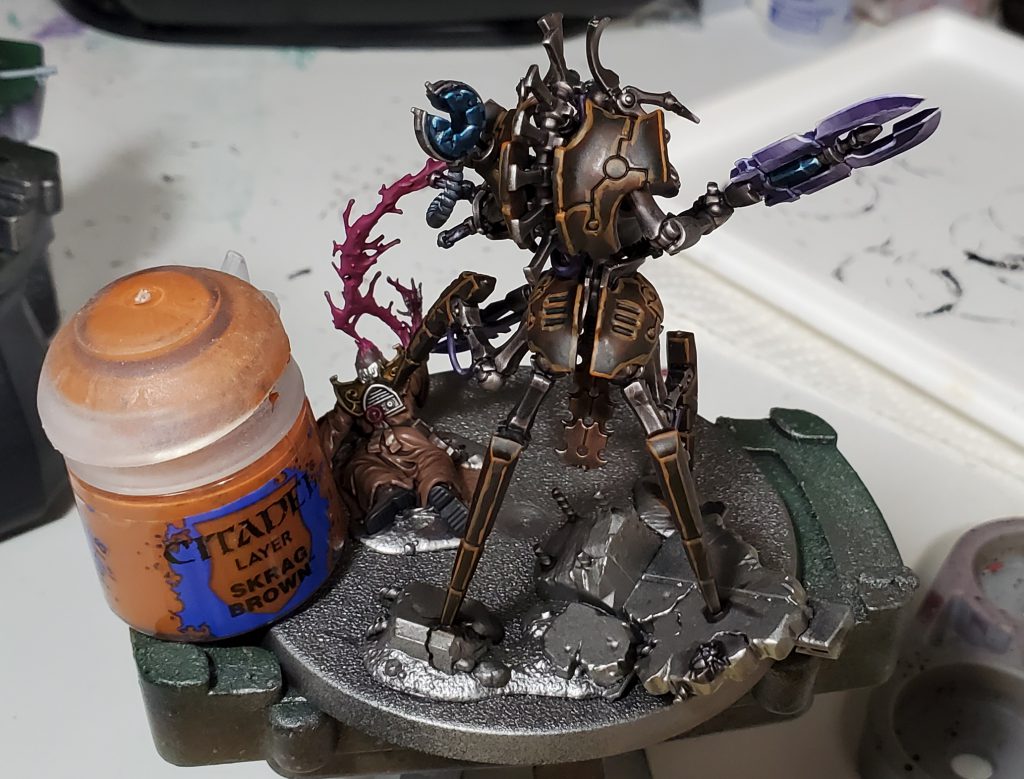
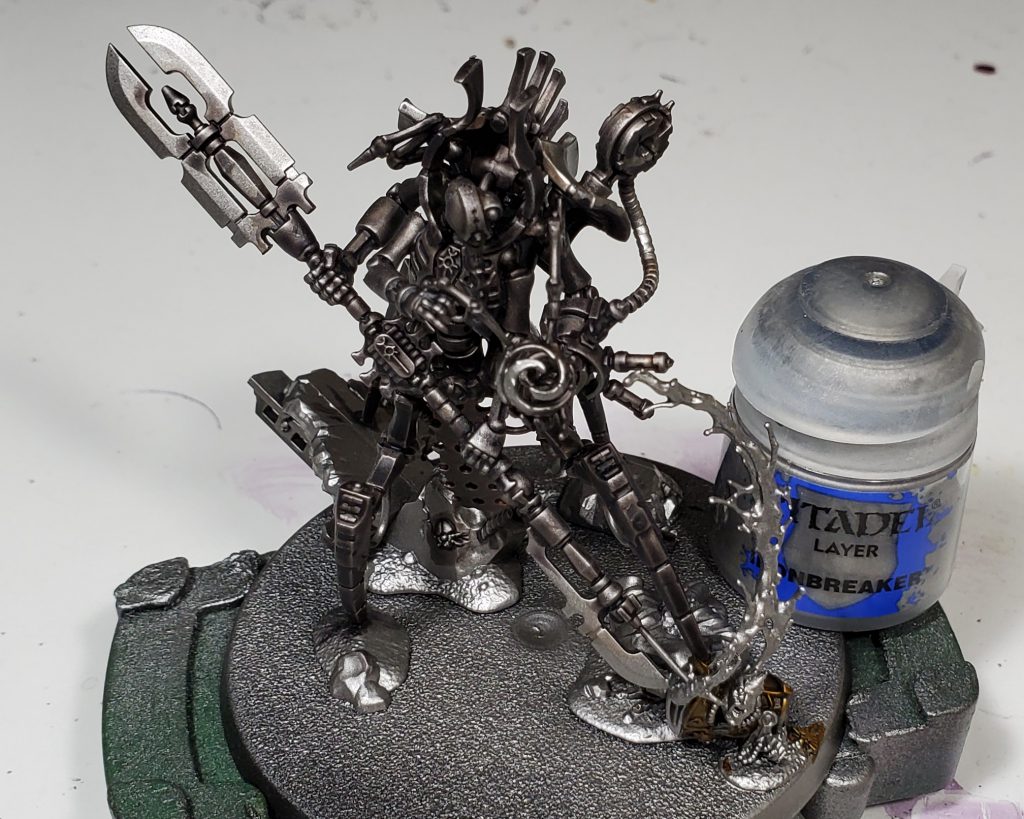
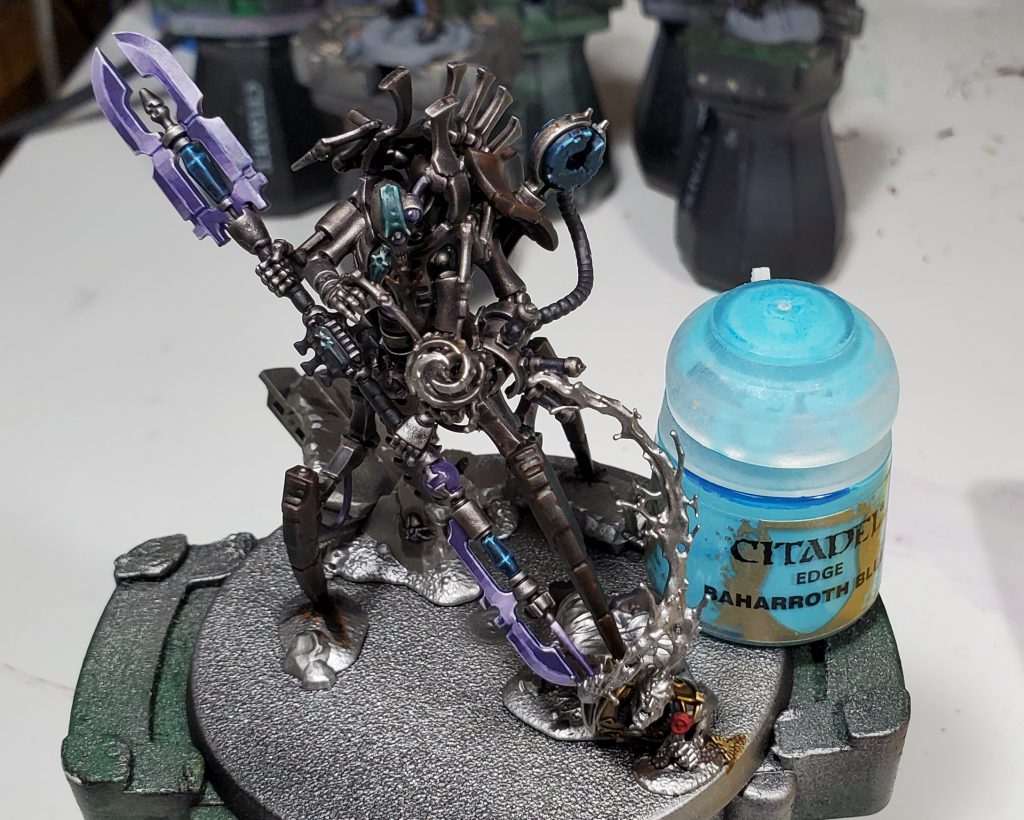
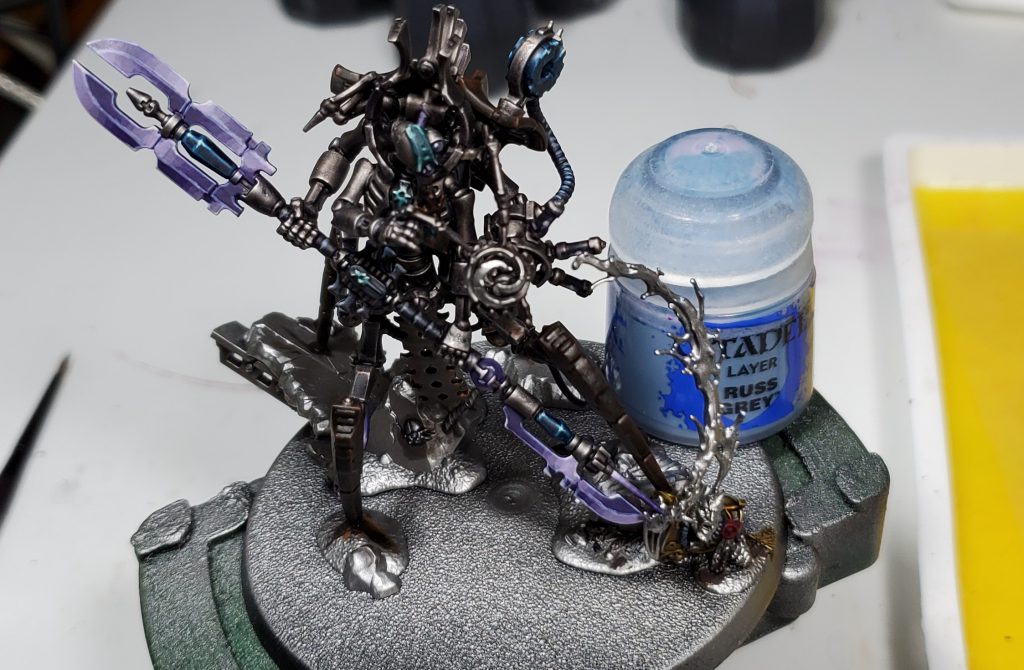
It might be a bit more visible here then else where, but I am really fond of thicc roughly zenithal highlights, aka I focus the most major highlights on the upper surfaces and edges, this helps to maintain a rough source of light and saves a ton of time.
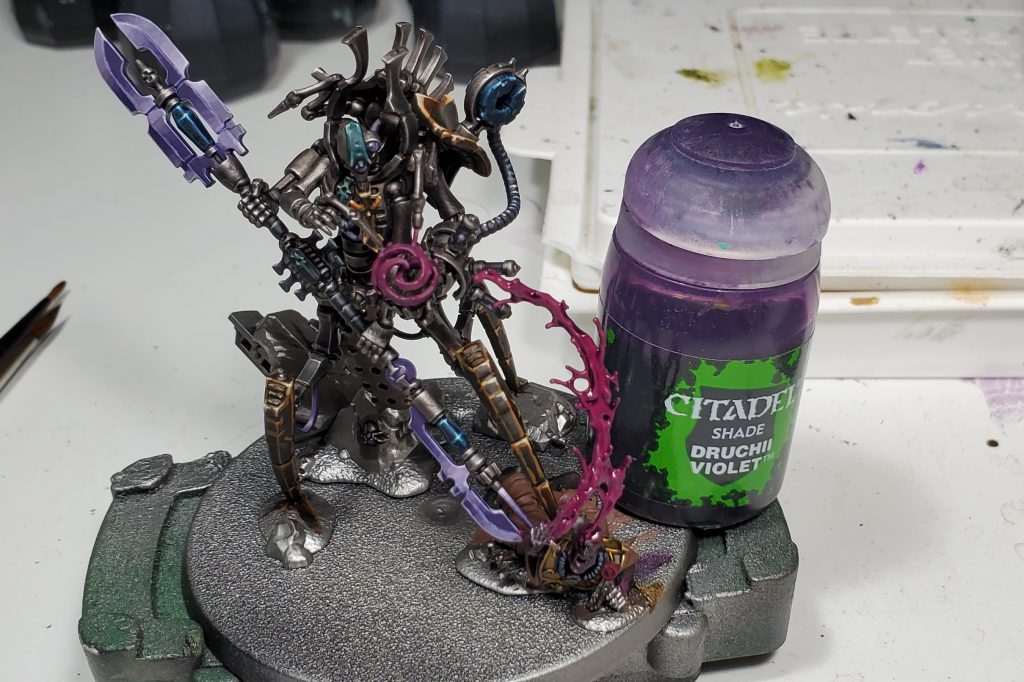
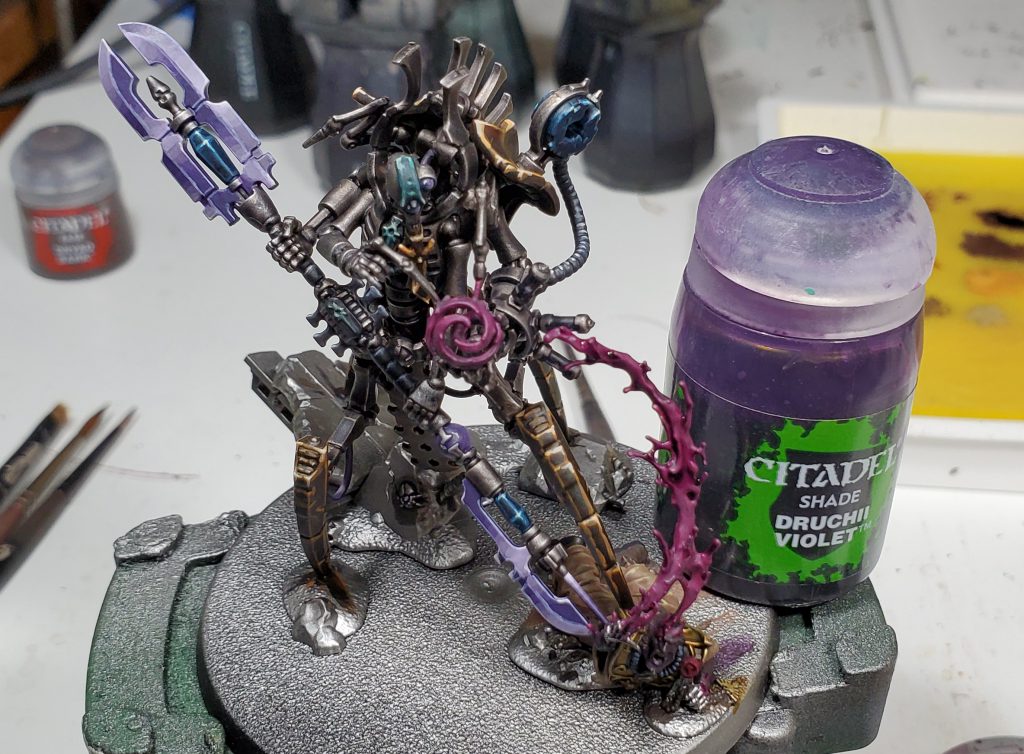
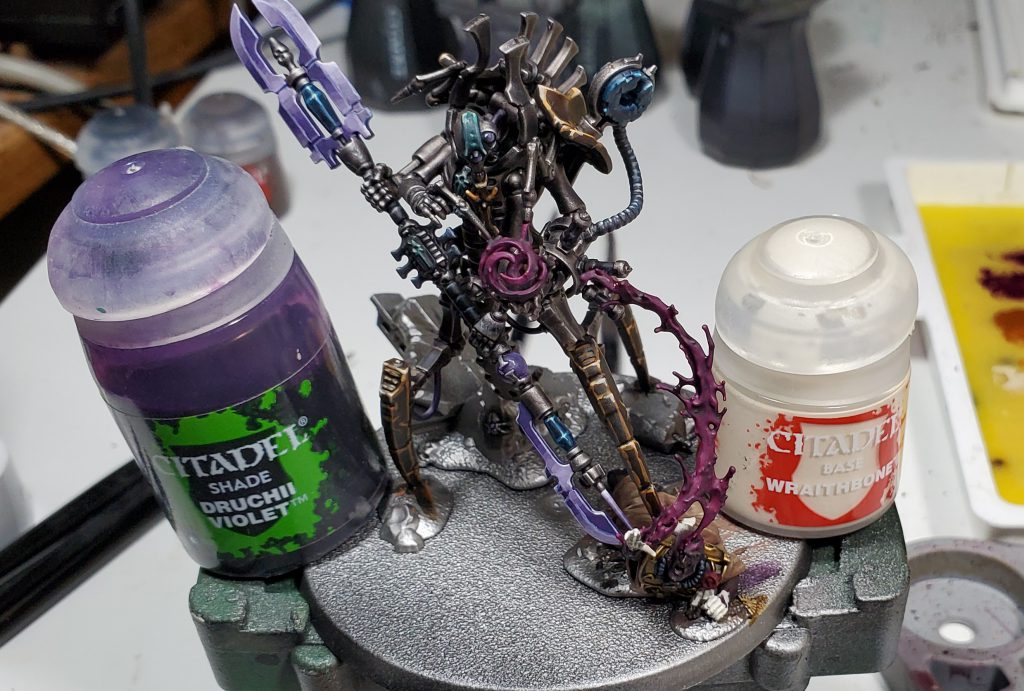
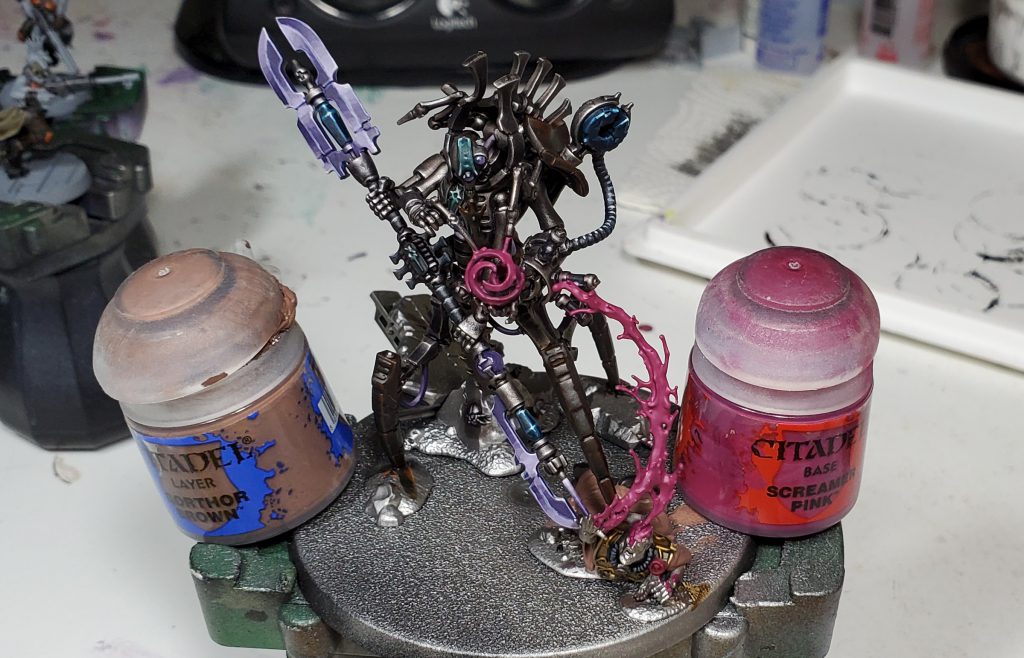
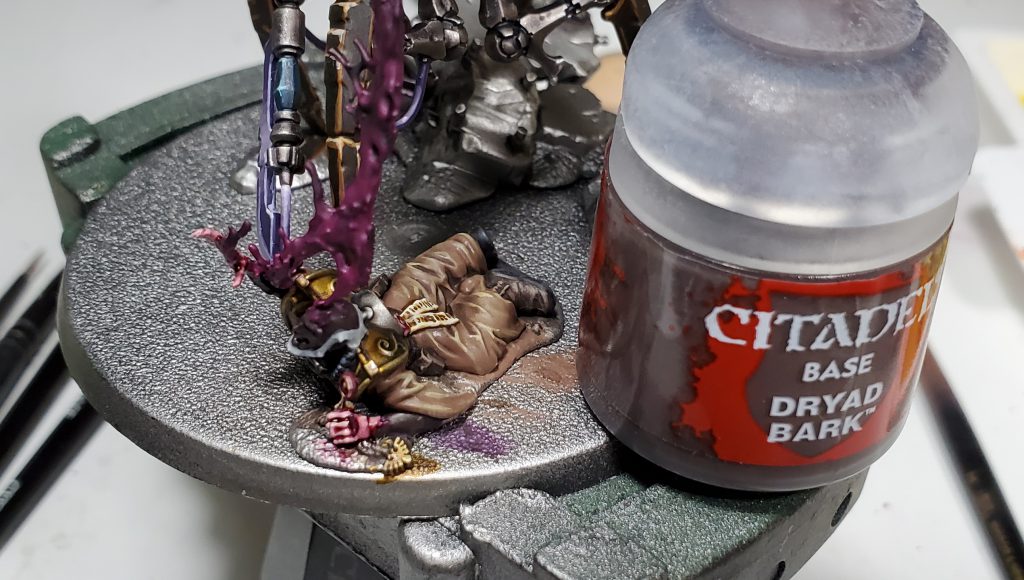
You will see the purple wash pop up a lot here, I built up a lazy gradient on the flesh spray by just washing the crap out of it in a sequence of steps as this is a large object and it would take a while to build up a nice blend or highlight.
For the robes and leather it might not be obvious but for each colour I would both drybrush and edge highlight the robes, I saw this in some gif somewhere and it looks pretty cool.

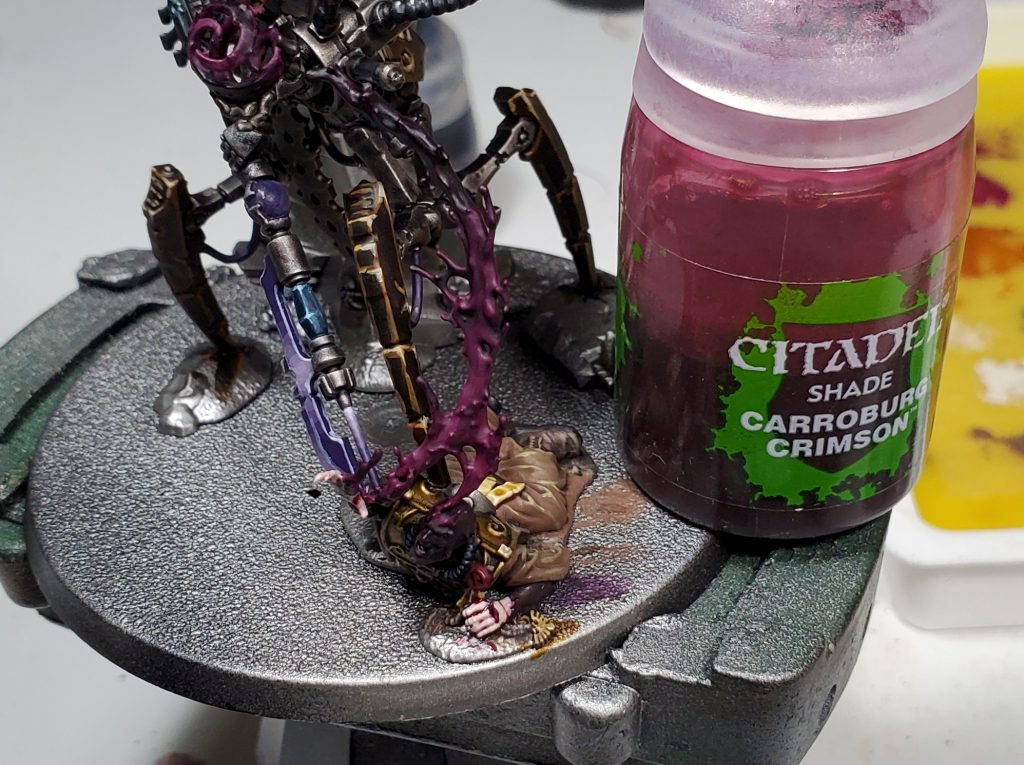


Continuing the trend excessively us of layering washes, I slowly built up colour of the scoured bones in a similar way to the flesh spray.
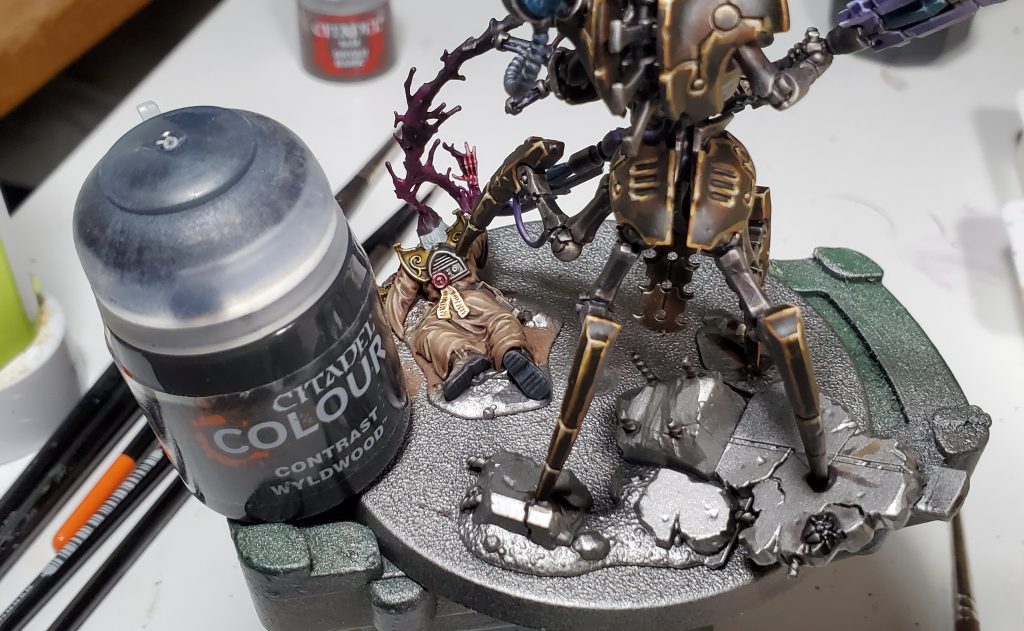
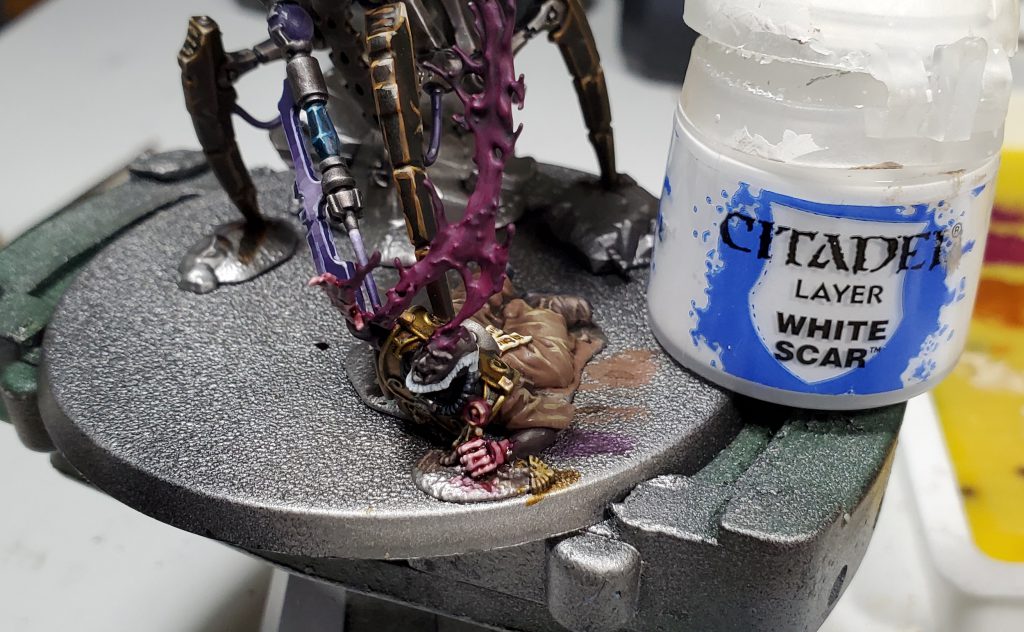

For the skin I built the highlights up in a few steps, I expect you could use a premixed paint for each but mixing can be faster than opening another pot. You could could probably also paint the tongue too but I did not bother.
I often leave the final main highlight of large areas to end, because you can clean up mistakes with it.
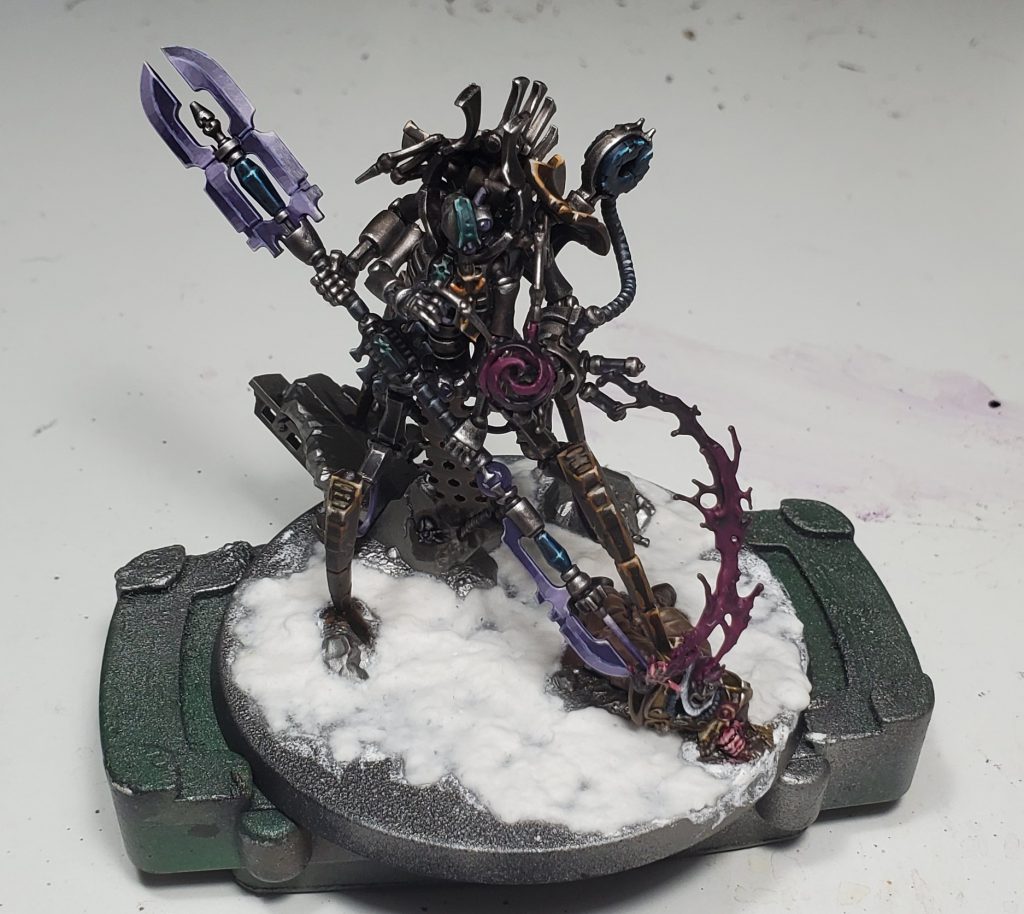
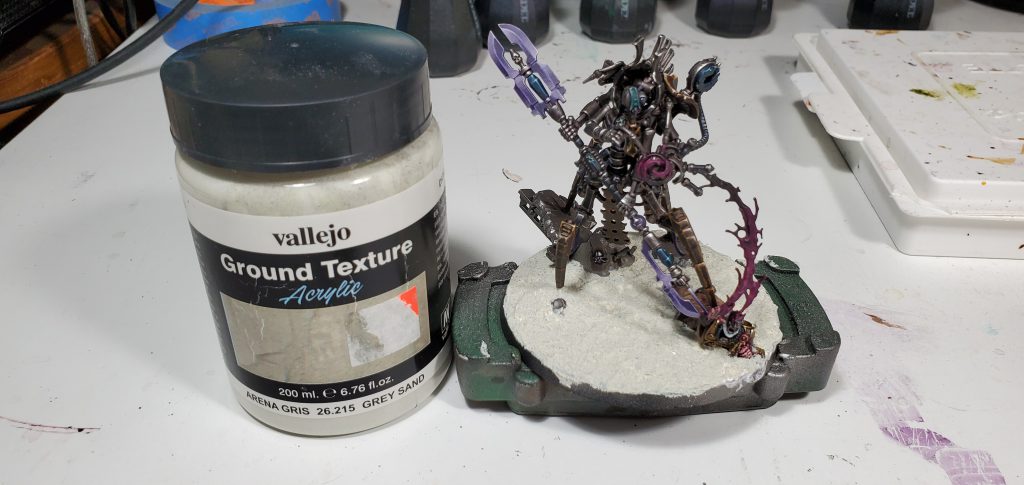
The white stuff is Sculptamold, I am just using it to blend the raised plastic pieces in to the rest of the base a bit more.
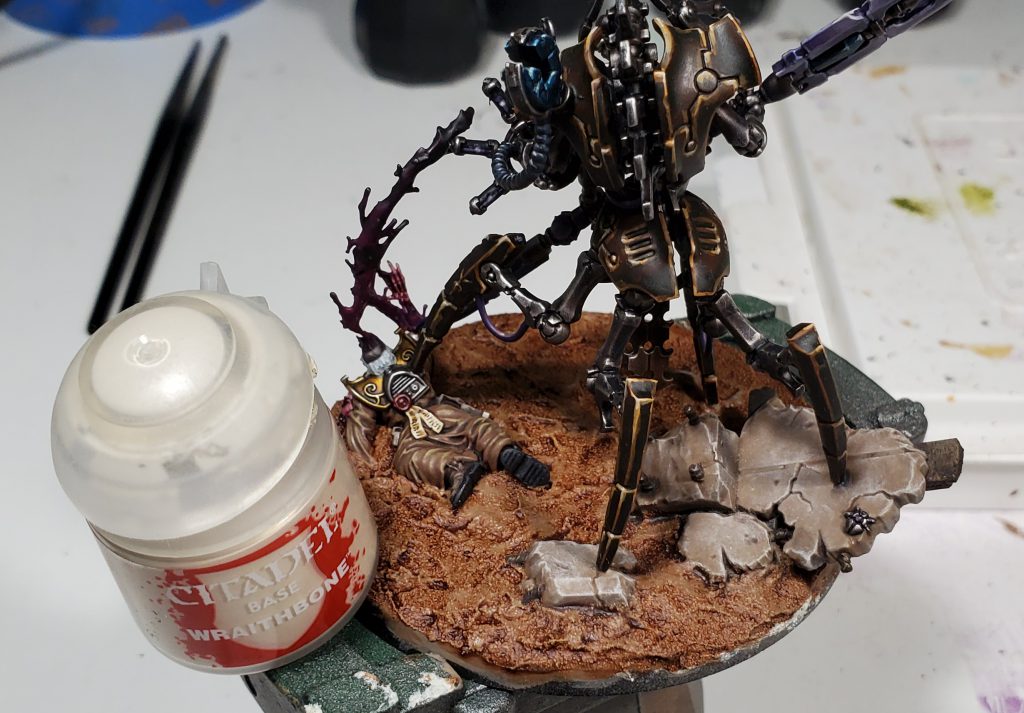
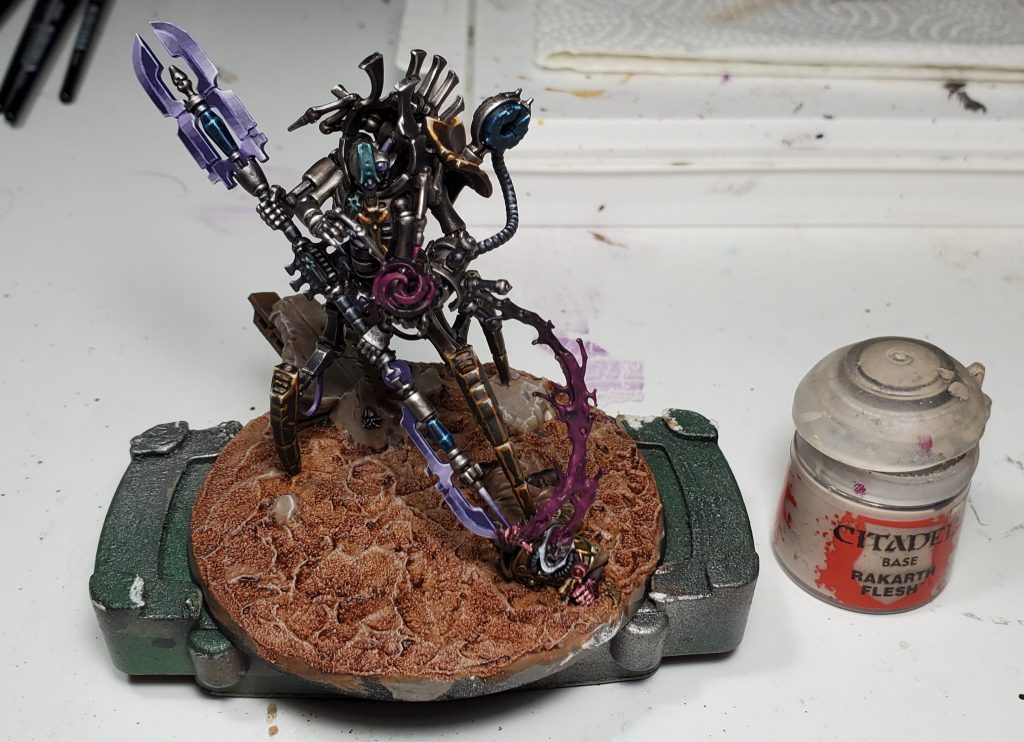
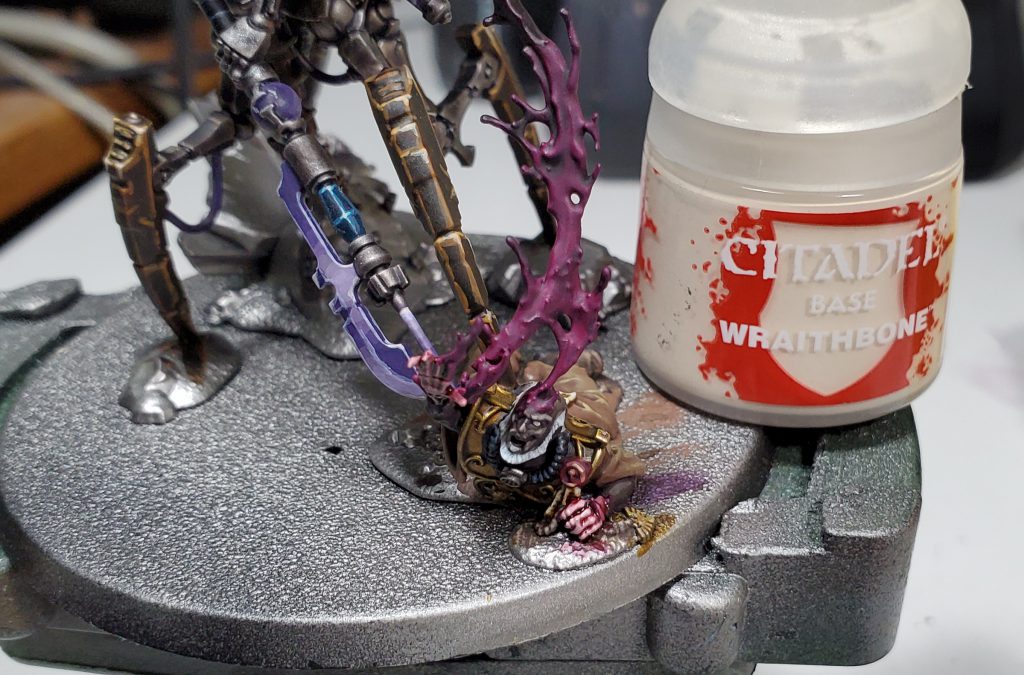
The concrete gets drybrushed like crazy to get that look but you might be able to find a highlight and base colour that are a bit closer to save some time.
In the final shot you will see some tufts, those are from Gamers Grass which is my currently preferred tufts company, I used their beige, light green and dry green tufts in this case.

