In our How to Paint Everything series, we take a look at various methods and techniques for painting your minis. In this article, Raf Cordero provides a clear primer on using clear primer to speed up your work on minis that come in colored plastic or are pre-painted.
Clear Primer? What?
Look I know it sounds weird and possibly even useless, but clear primer exists. You probably already have some, though it’s likely labeled “Matte Varnish”. I stumbled on this trick years ago on a painting message board (Editor’s Note: Raf is old). In the way that online arguments can turn suggestions into declarative statements of The One and Only Best True Way to do things, these users swore up and down that matte varnish was not only an option as a primer but the only way you should prime. They were wrong on that front, but they were correct that it is a useful (if rarely applicable) trick.
Functionally matte varnish/clear primer works like a normal colored primer. It adheres to the base material well and provides a good surface for the paint to bond to. The flat finish on matte primers gives you a close approximation to the finish on matte primer. You could also use a glossy primer the way they’re used to provide a smooth surface for washes. The benefit is that you leave the base model color (or paint job) showing through.
Miniatures made with colored plastic are becoming more and more popular, particularly in the world of hobby board games. It’s done to make the playing area more vibrant and improve the readability of games with lots of plastic scattered on the board. When applied thoughtfully you can use this trick to greatly speed up paint jobs.
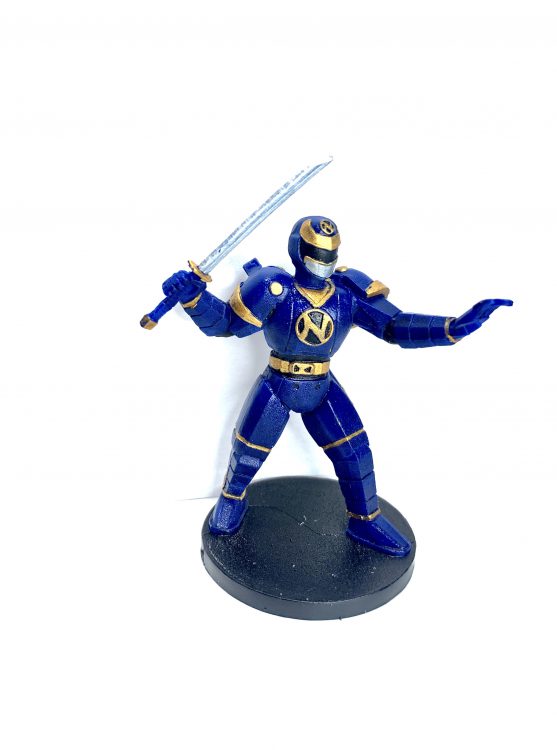
For example, Power Rangers: Heroes of the Grid includes the 5 Rangers from the “Mighty Morphin'” series. Each ranger is cast in plastic matching their colored uniforms. Traditionally you might prime all your rangers white or black, and then go in and do red/blue/yellow/black/pink basecoats. You could also used colored primers for each. However, hitting them all with Matte Varnish gives you the same effect as using colored primers without having to buy 5 different sprays or base paints. You can also immediately move into batch painting all the details, since each Ranger has similar details.
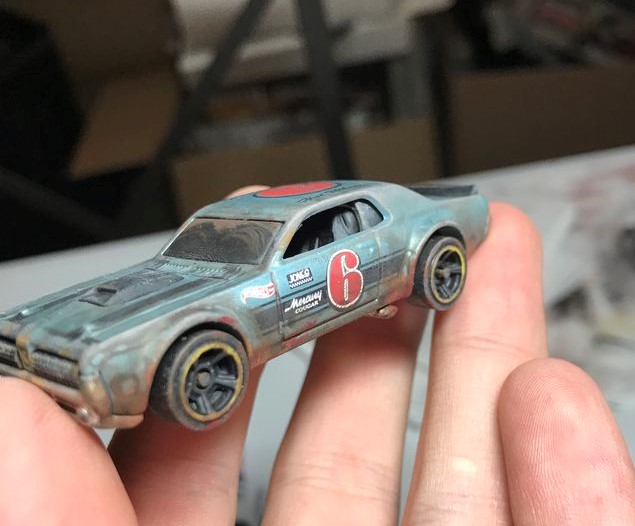
Another great use of this trick is painting Hot Wheels (or really any other toys) for the fantastic car combat miniatures game called Gaslands. Instead of buying models, you’re supposed to stick weapons and bits to Hot Wheels or Matchbox cars. These little cars often have awesome decals and paint jobs; using matte varnish lets you preserve those details while instantly aging them as appropriate for a post-apocalyptic wasteland. A few washes, fake windshield streaks, and your car is ready to roll. I painted this one in 60 seconds, literally. By using matte varnish I kept all the stripes, details, and work that Mattel did for me.
The Process
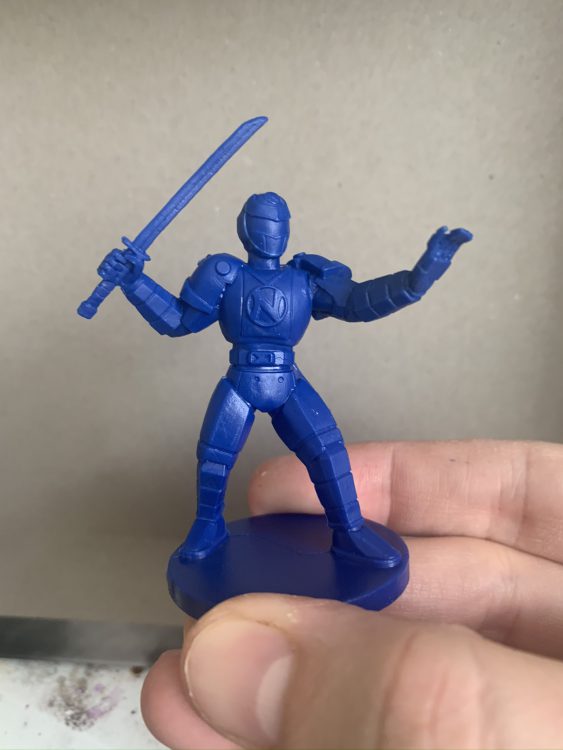
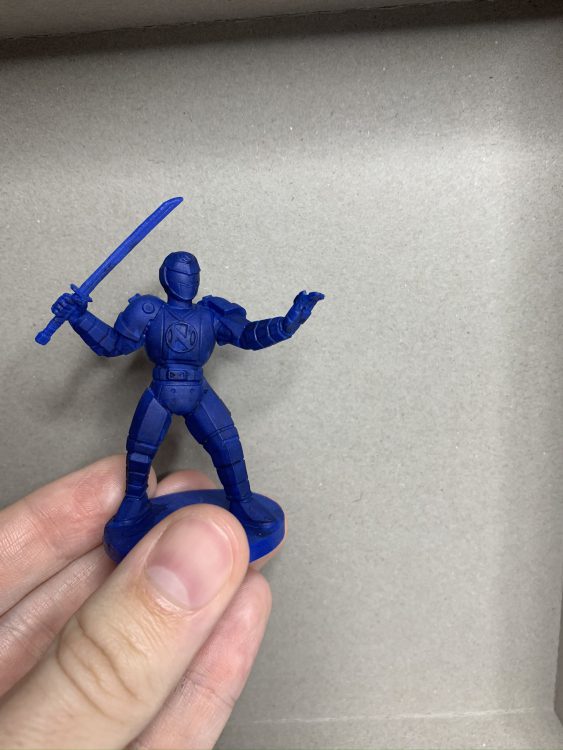
If you’re an experienced painter you already know everything you need to know to get started. Hit the mini with varnish and paint as normal. However, for the sake of providing some clarity for less-advanced painters I’ll take you through a step-by-step process of how I painted Ninjor from the Power Rangers: Heroes of the Grid Ally Pack. We’ll be covering the base game on Boardhammer soon. Hopefully this tutorial will help you get painted quickly should you decide to pick it up! Here’s a shot of Ninjor as he comes in the box.
Prime
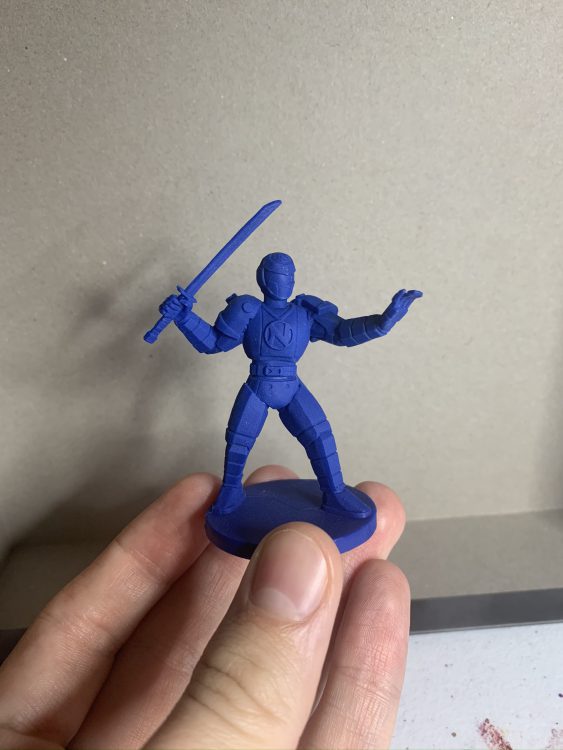
Start by priming the model using the matte varnish of your choice. I used Liquitex Matte Varnish applied via airbrush, but you could easily use a spray can. For this technique I recommend matte as it will behave similar to regular primer. A glossy varnish would work, as would as satin or semi-matte like Citadel’s Munitorum Varnish however your paint will behave differently on the model depending on what you go with. Glossy finish is harder to paint, though washes flow better. As you can see, there is a very clear difference in the surface of the model after applying matte spray.
Wash
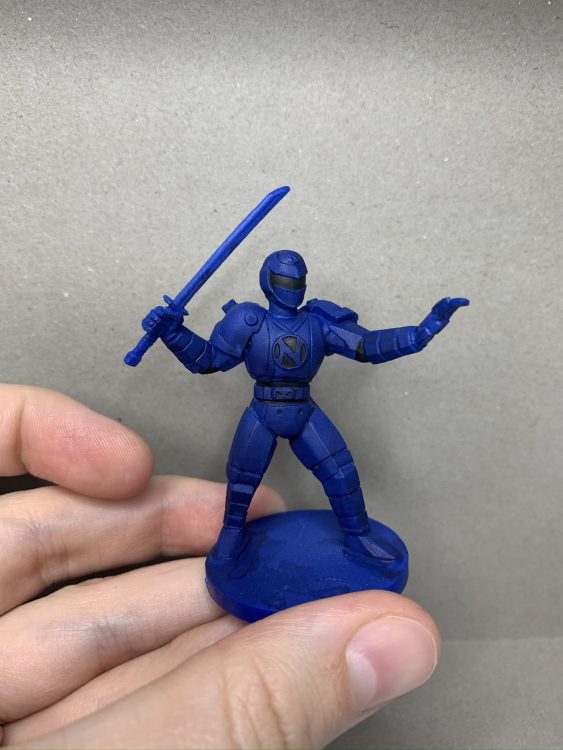
This step is optional! I applied Drakenhof Nightshade all over the model in a fairly heavy coat. This will darken the blue a little and provide shadow and depth to the model. Just let paint it on all over and let it pool in the recesses.
At this point the blue is done! 90% of Ninjor’s body is blue so this is a huge time savings over normal miniature painting.
Black Detail
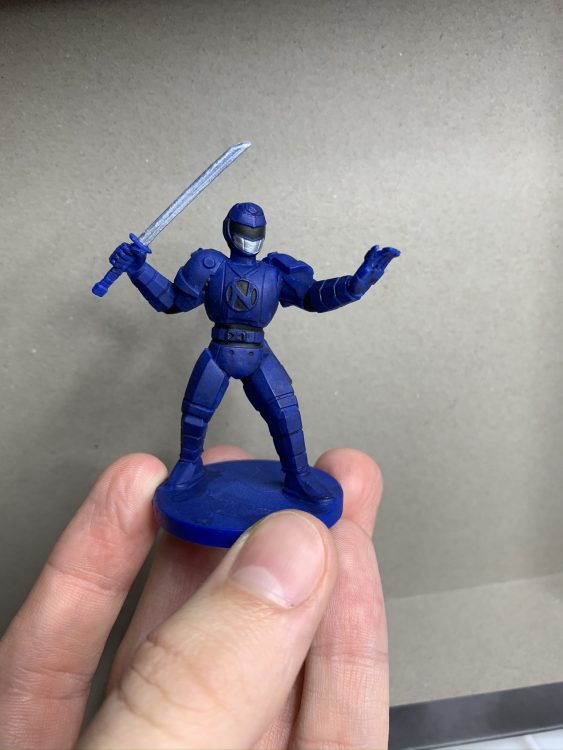
From here I went to the traditional “inside out” method of painting. As the black parts of the costume are in the deeper areas like the soft joints and inside the “N” logo, I did these next. At this point you need to start being very careful with your brush. The hardest part about this painting process is that it’s difficult to touch up your base color because you didn’t apply it with a specific pot of paint. Keep an extra wet brush nearby to quickly wipe up any mistakes or stray paint marks.
Silver Details
The only silver parts of this costume are the face mask and the sword. Depending on the paint you use, this may take a few thin coats to get good coverage. Be patient and let it dry between layers.
Gold Details
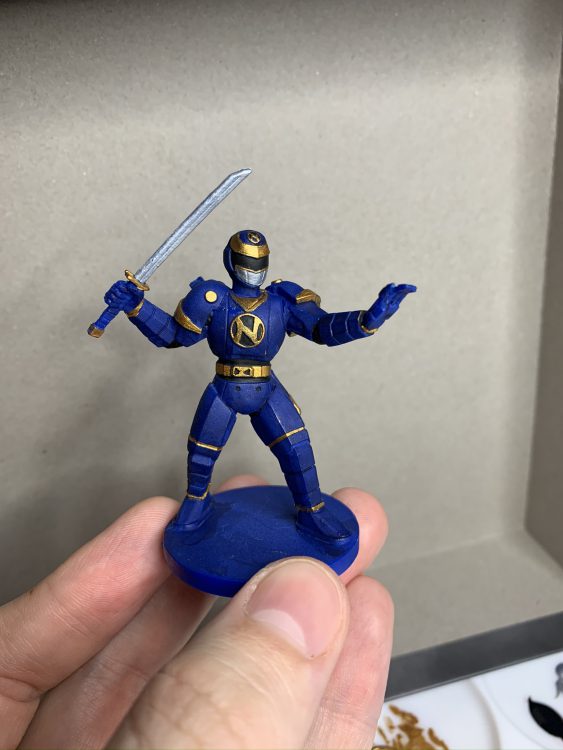
Painting the gold details is the final step of this miniature. This is the trickiest part, as there are some small details that need to be painted. I used a lot of edge highlighting techniques to get through this step. Again, go slowly and carefully and keep an extra brush nearby to clean up any messy bits. If you paint over black or silver you can just paint right back over with the paint but you can’t do that with the blue!
Finishing Touches
To finish the model off, I painted the base the same black I used on the model. I’m leaving mine without any basing materials but a desert base or urban base would work great for the Rangers. You could also color-code the bases (black for good guys, red for bad guys, etc) to help keep things neat while playing. Whatever works for you.
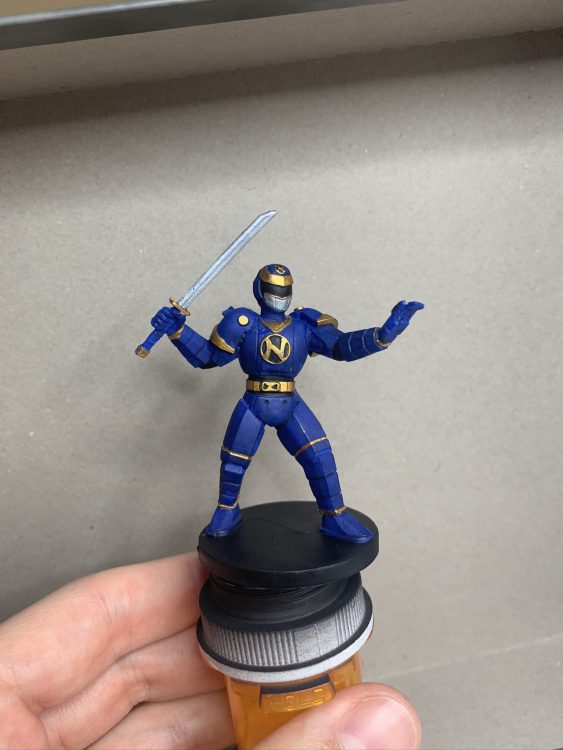
Finally, I hit the whole model with glossy varnish. I wanted a shiny action-figure style look. If you prefer the matte finish then just use the same stuff you used to prime!
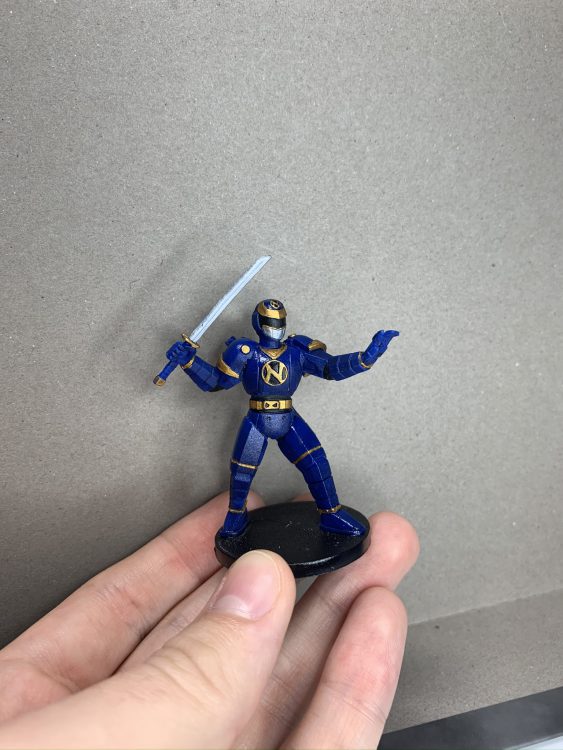
This technique isn’t likely to win you any painting competitions, but it can certainly spice up your gaming table relatively quickly. Whether you’re painting Power Rangers or adding some depth to your Cthulhu Wars miniatures, this technique can save a ton of time and ensure that you’re still matching the rest of the game’s components. You could also use it on pre-painted DnD minis or stuff like X-Wing if you want to do a quick over-paint to make them look nicer. It’s less usesful on Citadel miniatures—though it’ll probably work great on the Purple Sun of Shyish from Malign Sorcery.
And that’s it for clear primer! If you have any questions or feedback, drop us a note in the comments below or email us at contact@goonhammer.com.


