
Welcome back to our ongoing series for Conquest: The Last Argument of Kings. Today we sit down and look at playing through your first game with any of the factions, giving an overview of game mechanics and what you can expect. This article has been updated since it’s original posting to be accurate for the game’s 2nd edition.
Putting your army together
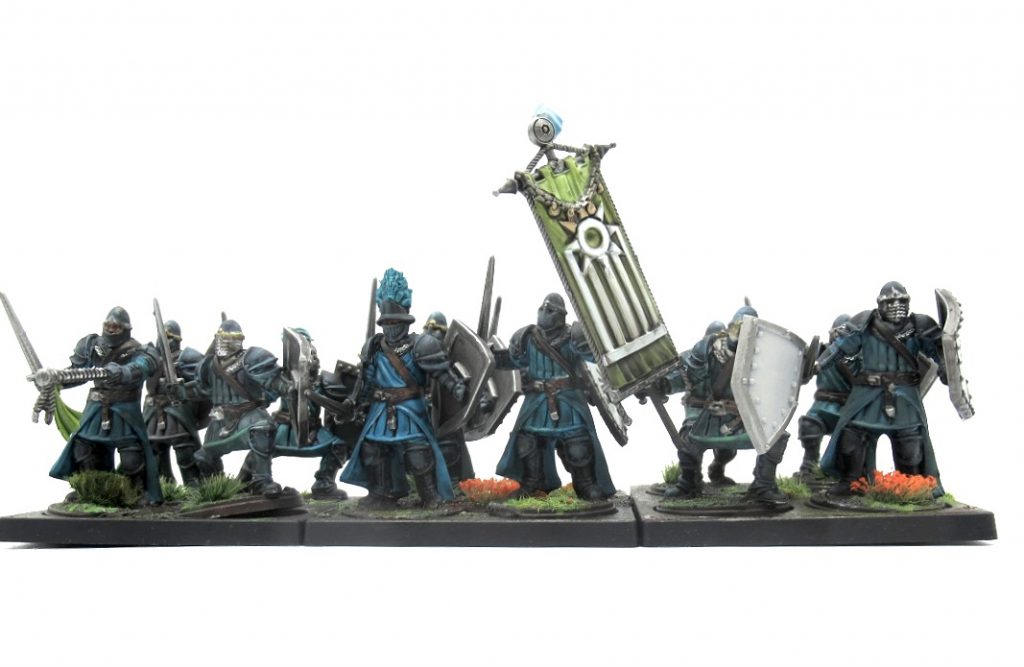
List building is something that we’ll look at more in depth in another article but it’s still important to know about some of the basics here. If you’re starting with one of the one player starter sets or either half of the two player starter set you’re in good shape for your first game. You need to first take a Character and then add Regiments to its Warband. Each Character has a different selection of units that it’s able to take. You can add up your units and view all their stats etc in the free army builder.
Each Character and Regiment has a weight class: Light, Medium, or Heavy. This determines how early in the game the unit is able to arrive to the battle as well as if they’re able to take and hold objectives or not (normally Light units cannot while Medium and Heavy can). Characters must join a Regiment from their Warband but do not have to be the same weight class as the unit they join. They’ll arrive using that Regiment’s weight; the Character’s weight matters in fewer occasions which we’ll talk about later.
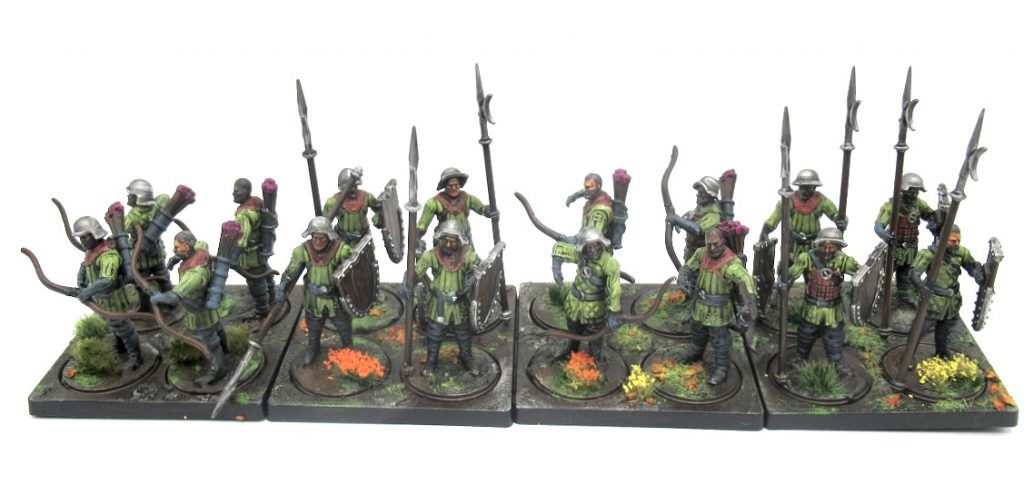
Generally speaking you want one or two Light units to arrive early, the bulk of your force to be Medium units, and then a Heavy unit or two depending on the size of the game.
Setting up the table
Games are normally played on 6’x4′ tables, however smaller games under 1,000 points (which is likely to be your first) I prefer on a 4’x4′ table to that things are a bit closer together and hit combat a little sooner. For terrain use whatever you have to hand but in a small game (up to 1,000 points) aim for 2 pieces that can block movement and 2 forest-like pieces that units can move through but obscures line of sight to hinder shooting units a bit. For anything larger than that on a 6’x4′ double it, with maybe some garrisonable terrain too once you’ve got the basics of the rules down.
Note that this is one of those terrain systems that is based on aesthetics rather than gameplay so there isn’t formal guidance on how to make a ‘balanced’ table.
Once you’ve got the table set up you’re ready to roll your scenario and start playing.
Scenarios
Scenarios are set up in such a way as to be changed regularly with free tournament packs. At time of writing there are 4 scenarios in the core rulebook 3 of which are set up to be played on a 4’x4′ table and I recommend starting with these; there are other organised play scenarios set up for games on 6’x4′ tables and are for competitive/tournament styles of play.
Out of the rulebook the first mission is very simple “kill stuff”. If you’re just playing with a starter set the maximum points either play can earn is rather low (1 per unit + 1 for the character + 2 for Warlord + secondaries). That means this game will likely last the maximum 10 turns instead of ending early for a player hitting 8 victory points. This is fine and probably the easiest way to learn the basics but once you know these it’s a boring game – playing other scenarios with objectives adds more depth.
Conquest games play to a set number of turns (almost always 10) OR they end when a player has reached a certain number of victory points as laid out by the scenario.The immediate ending to the game when points are reached is uncommon in wargaming and will trigger far more often than hitting the 10th turn – games ending on turn 6-7 are common in my experience.
Objectives
Most scenarios use some form of objective. Usually these are circles on the battlefield of a certain size (3, 6, and 12 inches are common) that units need to be within to control; sometimes they’re quarters or sextons of the table. Only Medium and Heavy regiments are able to take control of an objective, Light units arrive earlier in the game but cannot score you objective points giving them an important role but meaning you’ll need to have some heavier ones in your list to score points and win. Whichever player has the most stands of Medium or Heavy in range of an objective has control of it – and although light units can’t score they can still block scoring.
Characters that are Medium or Heavy make this a little more interesting: they can join a Light unit but their stand will still count for scoring in most scenarios (some explicitly prohibit Character stands from scoring). Sticking a Medium Character in a Light unit gets them on the table early and gets you scoring points earlier too, just keep in mind that Light units are also often squishier so joining another unit later on will probably be a good move.
Secondary Objectives
Each army has a list of secondary objectives and these are the only things in the game which are not free to access. I don’t know why this is, but they only come in the Army Support Packs. These packs do also contain a variety of other, very helpful, printed cards such as spells that the army uses, so are a worthwhile gaming aid anyways. Many of the secondary objectives are shared between armies but some are also unique to each faction. These range from “kill a unit of a heavier weight class with a lighter weight class unit” to “have double or more command cards active than your opponent” meaning that you have twice as many units (including characters since they’re separate cards).
These aren’t something you need immediately if you’re just getting started and can easily be skipped out overall if you don’t want to buy the support packs. Events will sometimes use them; always check the event pack or as the organiser if they’re using secondaries or not.
Setting up
You don’t.
Once you’ve placed the terrain and objectives you’re already playing the game. Just make sure your Characters are attached to the unit they want to be with off-table and you’re ready to start rolling reinforcements. This is a massive change from pretty much every other wargame; none of your models start on the table, they all arrive from reserves.
This is one of the reasons the game plays so fast. Even small modelcount games like Infinity can call for 30 minutes spent in deployment; in Conquest each drop is made in response to a very small amount of information which means that the possibility space you need to consider is much smaller.

Playing the game
Like most wargames Conquest uses a series of phases that each turn runs through, these are:
- Reinforcement Phase
- Command Phase
- Supremacy Phase
- Action Phase
In the Reinforcement phase you look at your roster and roll a number of dice equal to the Light regiments in your army, on turn 1 these come in on a 4 or under; each turn thereafter other heavier units come in on ever easier rolls until they arrive automatically. After you roll the dice you’re in the command phase and order the units’ cards that are on the table or arriving this turn. Place them in a pile in the order you want them activated, the top card being the first to activate and so on. Now you’re in the Supremacy Phase and players roll off to see who takes supremacy for the turn; the player that rolls lower on 1D6 (+/-1 depending on who has fewer cards) activates first. This is also when your Warlord can activate their Supremacy ability, but we’ll cover those in depth later.
This Supremacy roll is hugely important, and the ability to add +1 or -1 is enormously important. It’s a subtle but powerful push towards having fewer, larger units.
That leaves us with the Action Phase. The player with supremacy flips the top card of their command deck to reveal the activating unit. If you draw a Character card before that character is on the table then it’s simply a “dead drop” and the end of your activation. Using characters that aren’t on the table already is a nice way of making your opponent move a unit first to be able to react to their placement. Otherwise, when you activate a unit it makes 2 actions; regiments that are off the table line up with your table edge and march on, using its first action to do so. Often you’ll want to make a second move immediately to get up the board quicker – but if it’s a ranged unit it can then immediately shoot! A powerful ranged unit in reserve, then, represents an extremely lethal threat to an enemy unit that has lunged deep into your backline, able to appear and then immediately shoot.
Players go back and forth drawing the top card of their command deck, revealing it, and activating that regiment until both players have run out of cards.
Actions
Regiments have a list of actions they’re able to perform that split up between ones they can perform while outside of combat:
- March – moving up to the units move characteristic which can include wheeling the unit to change their facing; this is the only action you’re allowed to perform twice
- Charge – charging into combat with the enemy; a unit that charges it automatically Inspired as well without using an Action. Charge distance is 1d6+Movement. Notably you do not automatically attack at the end of a charge – you need to charge+clash to do that. Alternately, you can move+charge to threaten 2xmovement+1d6 – this means that even basic infantry can threaten 13-14 inches reliably which means that unscreened ranged units will get jammed up from surprisingly long distances. Monsters, Brutes and Cavalry get impact attacks when they charge which can be extremely dangerous.
- There are a couple of interesting little rules to cut down on the amount of hostile geometry in the game – you must maximize the number of stands in contact with the enemy, if you’ve charged a unit and another unit is triangle-blocking it you just shove the offending unit off to the side, and so on.
- Rally – if the unit is Broken, doing this un-breaks it. A Broken unit has a bunch of things wrong with it, but most notably if it loses 50% of its stands in a single attack then it shatters, taking it off the table entirely.
- Reform – can change the units facing on the spot or reform ranks
- Take Aim – if you’re about to use Volley to make your hit rolls better
- Volley – shooting at enemy units using your Volley characteristic
and then actions that units perform if already in combat:
- Clash – attacking with melee weapons using your Clash and Attacks characteristics
- Combat Rally – like Rally just while in combat
- Combat Reform – like Reform but the unit might suffer some wounds for trying to move around next to enemies
- Inspire – before attacking, use to get better hit rolls. Inspire+clash is the default engaged action, but if you think you can kill the enemy without the Inspire bonus or you otherwise don’t need/can’t make the Inspire action you can spare the activation for something like a reform or a post-clash charge if you wipe the enemy.
- Withdraw – to retreat from combat. Withdrawing is enormously punishing in Conquest. Not only do you risk taking enormous damage if you fail the Resolve check – 1d6 wounds per engaged stand – but you end the movement facing directly away from your enemy.
One of the biggest things to keep in mind is that units locked in combat do NOT attack automatically, they only attack during they activation and as one of their chosen actions. So if you need to move and then charge to get into range that’s your two actions spent: you won’t also be able to attack. Also, unlike many wargames, you can fully move and even charge through your own units so long as there’s no overlap after the unit has finished a move. If you miss the charge through a friendly unit, though, both units become Broken – which is really bad.
Characters attached to a regiment will perform whatever action that regiment is doing. It will move with them, attack with them, etc etc and they instead have their own list of actions which they perform. Characters also only get to make 1 action per activation instead of 2:
- Duel (in combat)– one on one combat! This is not the character just attack whatever it’s in combat with, it will do that when the regiment it is with uses the Clash action. A duel is between two characters and your opponent can potentially decline to fight but with possible disaster for the unit they’re attached to…
- Spellcasting (in or out of combat)- if your character is a Wizard or Priest then they’ll have spells they can cast. They’ll only be able to cast one of their spells unless they have an ability allows them to cast multiple but these can be very powerful. One of the big things with spells is that many only last until end of turn so sometimes you’ll want to activate the priest/wizard early to get defensive spells up or hinder enemy units.
- Seek New Escort (out of combat)– the only way for Characters to join other units. If the regiment a character is joined to is destroyed so is the character!
Reinforcement Zones
Units arriving to the battle don’t only do so from your own table edge, needing to march across the whole table turn after turn. From the second turn onwards players determine their reinforcement zones. This zone extends from their table edge up to rearmost point of their their forward-most unit that is not in combat – unless there’s an enemy unit that is closer then it is up to that line instead. When any of your units would arrive from the table they can still walk on from your table edge or they can move on from any point within your reinforcement zone. Your zone only changes during the turn if your opponent’s unit moves into it, pushing it back towards you, you cannot move it further up during your turn.
This mechanic is what really sets Conquest apart. You need to think at least one turn ahead as to where you want your units arriving from and how far you can push your earlier units up the board without just being slaughtered; all the while considering where your opponent’s zone is and how to minimise their flexibility. Units arriving may not be able to charge but they can shoot and can definitely get in the way. Regiments become far more gruesome when attacking enemies in the flank and rear, so having units come on the side of the table means you need to be careful about movement so you’re not exposing flanks in future turns. It’s something that will definitely take practice getting used to with your first few games but is another reason the game can move so quickly: being able to double March units from the side of the table onto objectives creates another layer of strategy that both players need to consider.
Rolling low is actually better…
If you’re someone that seems to consistently roll 1’s instead of 6’s then oh man is this the game for you. All of the unit’s stats are used as thresholds against a D6 roll instead of a value to beat; meaning that rolling low is actually what you want to do. Let’s look at this stat block for a unit of Nord Huskarls, a reasonably armoured human unit:

- Movement- how far the unit moves in inches
- Volley – how good the unit is at shooting
- Clash – value used for melee attacks
- Attacks – number of melee attacks
- Wounds – number of wounds each stand can suffer before being removed
- Resolve – the bravery of the unit
- Defence – basic save value based on armour
- Evade – a different save based on dodging
When a regiment makes a Volley or Clash action you need to roll equal to or under the value shown on the stat line. For this unit of Men at Arms to fight in combat they would need to roll 1’s or a 2’s for successful hits. If they use the Inspire action before attacking then this is improved by 1 so they would need to roll 1’s 2’s or 3’s instead. If a unit charges it is automatically inspired and so gains that bonus. Each successful hit results in a wound to the enemy unit who then need to roll that number of D6’s and roll equal to or under their Defence or Evade value, depending on which is better. Defence is used to signify the armour of the unit and can be modified by certain rules that units have, effectively worsening your unit’s save roll. Evade on the other hand, while rare, is not effected by such rules and works as an almost unmodifiable save. For each failed save, either with Defence or Evade, the regiment then rolls that many dice as Morale Tests and will suffer a further wound for each roll that exceeds their Resolve characteristic. Morale Tests are taken after suffering any wounds except from shooting attacks; we like this a lot because it can be too easy for shooting to outshine combat in a fantasy melee-focused game, and this helps in decreasing it’s over-effectiveness.
For example, if a regiment of 12 Men at Arms is attacking another unit of Men at Arms and each stand is touching the sequence is:
- Roll 13 attack dice (1 each +1 for unit leader), needing 1’s and 2’s
- Enemy unit rolls Defence saves, needing 1’s and 2’s to pass, suffer the wounds for each dice roll over
- Pick up failed saves and roll those dice again against Resolve and suffer that many more wounds for each failed roll
Once you get used to it, it’s a very quick process and you can see why this game is able to play so quickly, and why it’s so bloody!
To victory!
That’s basically the game! We’ll be going into more depth on some of these steps and how you can really make the best use of actions in different situations, when you may not want to rush up the table, etc. This is frankly a fast playing game even when you’re constantly checking the stats and rules of your units. The army list builder prints out a really friendly sheet that also prints out all of the special rules that your army is using so you’re not flipping back and forth on a pdf or book constantly. A “full” game of The Last Argument of Kings will last under 2 hours, and once you know the rules well can be as short as 40-60 minutes even, allowing you to get multiple games in during a gaming evening down at your local club or your mate’s house.
