
Do you really like elves, but not the dark, clown, or new-age vaguely Slaanesh-like kind? Are you the kind of person who insists on using the name “Asuryani” to refer to your 40k army? Do you just really not want to play Corsairs? Or maybe you want to play Kill Team but haven’t bought any new models yet. Then the Aeldari Craftworlds Kill Team may be the one for you.
Unlike their Drukhari cousins, Craftworlds Eldar have yet to receive an updated kill team and are one of the few teams still working with Compendium rules. That said, there are still plenty of interesting things to say about them.
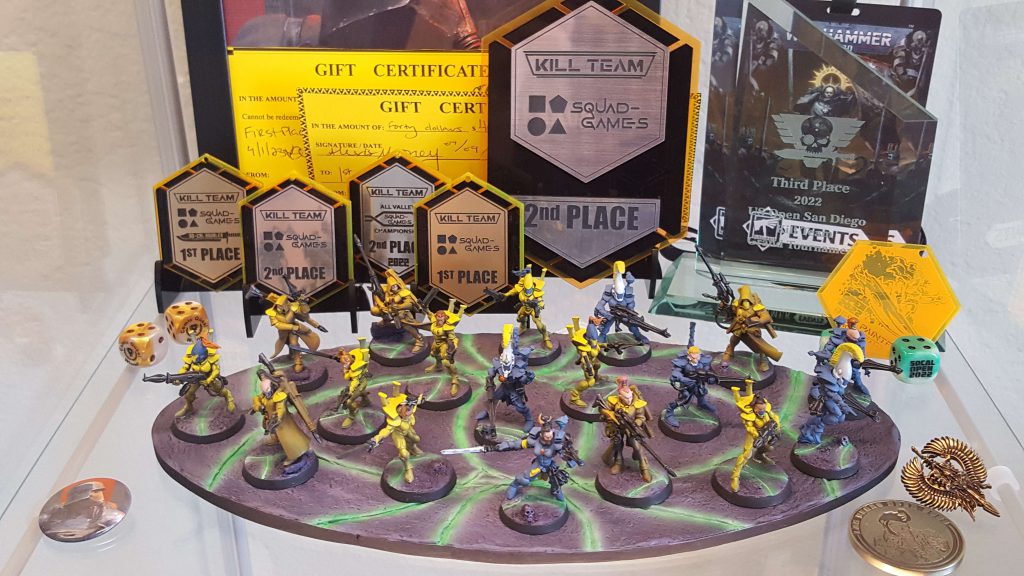
Table of Contents
Team Overview
Compendium Craftworld represents an archetype the bespoke rules have yet to truly work in. With up to 12 shooty models hitting on 3+s, 8 wounds and 4+ saves, Craftworld represent one of the shootiest teams in the game. I’ve recruited Robert N. one of the winning-est compendium players around, friend of KTO winner Jimmy K, to help me out on this tactica. With some extra comments from Leila C. a local aeldari fangirl.
Strengths
- Shooty Horde – 4+ Saves, 8 Wounds, and Bolter profiles of ¾ Damage. The potentially 12 Aeldari team puts a substantial number of dice downrange compared to their peers.
- Fast as hell – With free Dashes on two strategic ploys, and a tactical ploy involving dashes, Craftworld can get anywhere quick! Meaning you can respond to opposing plays, or even bad dice rolls with some dynamism.
- Flexible Tac Op Selection – Depending on your Fire Team selection you can have access to all 4 archetypes which allows you high flexibility when approaching match ups.
- Simple Rules – Individual operatives function largely the same, which means the cognitive load of the team can be spent on scoring, playing ploys at the right time, and knowing your opponents rules.
Weaknesses
- Low Synergy – Most operatives being the same means there isn’t much more to a play than what’s on the tin. When you move, dash, and fire a fusion gun, you won’t be setting up outside of a barbequed enemy. The upside here that your basic warriors are fairly strong.
- Roster Problems – With two fire teams clocking in at 6 operatives each, the 20-elf roster quickly limits your ability to adapt to opposing teams. Your roster will not be able to get the best hordes on the field while still supporting the Rangers and Dire Avengers appropriately.
- Pay (CP) to Play – Strategic ploys are flexible, and required to get your best plays off. You’ll have to budget for important turns, and often will not be able to do everything you want to do.
- Middling Melee – While you have models with acceptable melee, you won’t win too many combats against the “good” melee teams.
Team Structure
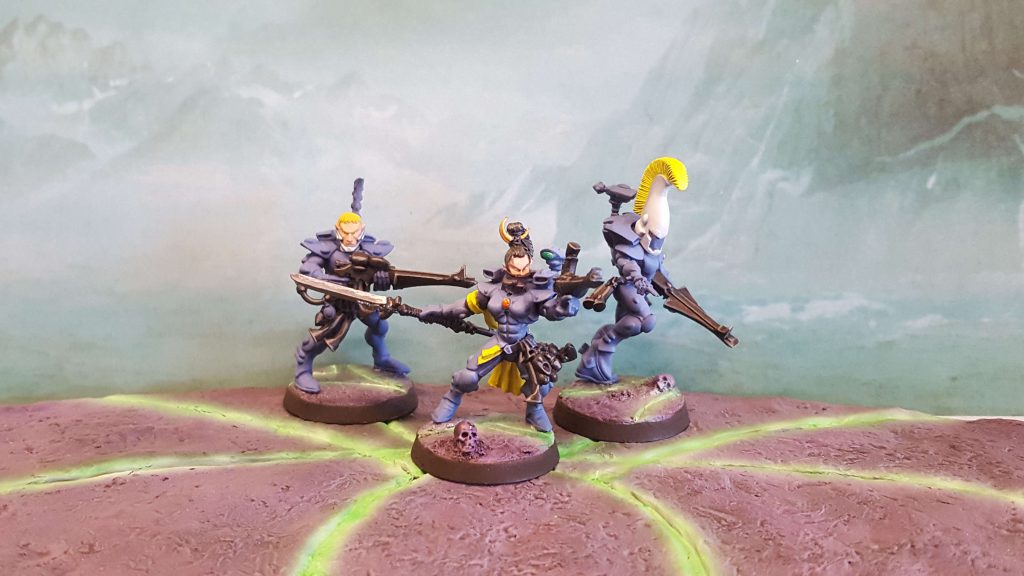
Select two out of the four kinds of Fire Teams to assemble a Craftworld Kill Team. Guardian fire teams come in two flavors, with Defenders shooting and Storms fighting in melee in sets of six operatives. If you opt instead for the fancier aspect warriors, Rangers and Dire Avengers, those come in sets of five. That means you can have a more elite 10-elf kill team or widen things out to an 11- or 12-elf kill team.
Fire Teams, and their Operatives
Guardian Defenders, the Ranged Ones, who aren’t great
First of the fire teams, and a set of six. They sport shuriken cannons, rending guns akin to bolters, with 4 attacks on a 3+, damage ¾ (a common profile across the team). With 4+ saves and 8 wounds, they can trade shots reasonably well. While they have access to the Weapon Platform and Gunner, the pair are one of the worst uses of rosters slots currently in the game. If you take this fire team, I’d expect you are always taking warriors and ignoring the gunner.
Guardian Defender Warrior
- Shuriken Catapults provide 4 attacks at long range, with ¾ damage and Rending. Meaning on a good day these guys will punch above their weight, or they’ll approximate an Intercessor warrior’s shooting.
- Melee is a forgettable 3 attacks on 3+ for ⅔ damage, so these guys are meant to hold backline objectives and suppressive fire. On ITD these guys are there to get doors for your more important operatives.
Guardian Defender Heavy Gunner, and Platform
- Pre-buff there was room to keep this pair on hand, on the off chance a map allowed you to set up a turn 1 shot with the platform. However those days are gone, and the roster is too tight to waste on a pair like this. If you really need the AP2 to punch through an opposing operative pick up the Storm Guardian Gunner.
Guardian Defender Leader
- A solid operative who wields the Shuriken Cannon with a 2+ Ballistic skill. For opponents where you really want all 12 activations, this would be a good leader against an opponent who doesn’t like being shot at.
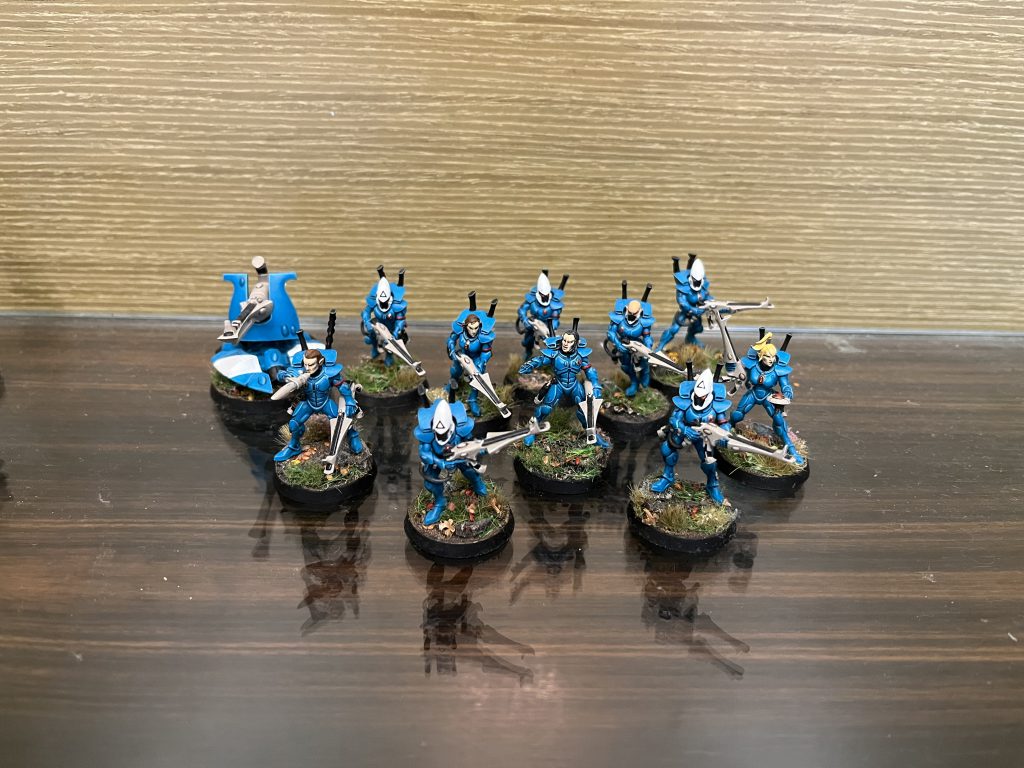
Storm Guardians, the Melee Ones
One of the fire teams of six, with 4 attacks on 3+, damage ¾, and Rending Six inch pistols. These guys sport your best usable gun profile with the Fusion Gun melting most things it points at. Alongside that they are good plasma grenade holders needing to move up field on conceal to begin with.
Storm Guardian Warrior
- The standard Storm Guardian with acceptable melee, and a rending shrunken pistol is mostly taken if you want access to the Storm Guardian Gunner. However against 7 wound models these guys and gals can get stuck into enemy lines fast. Able to get to the points and shoot well, these are your heavy lifters. Shoot often with the shurikens and overwhelm enemy defenses.
Storm Guardian Gunner
- Both special weapons are 6” range, which means you do need a good reason for sliding one of these guns onto the battlefield. With the Fusion gun being the obvious pick, as its profile is far more threatening to most models. If you really need multiple Fusion shots to land the gunner can sport a Celestial Shield equipment, to have a 4++ Invulnerable save once per game. Letting it shoot towards the end of a turn and ideally have another opening to fire again.
Storm Guardian Leader
- I would expect this operative to be taken rarely, as it only provides 2+ Weapon Skill and Ballistic Skill, it takes up a roster slot for a mild upgrade. Better to save your leader options for a melee oriented Dire Avenger if you really need a specialist.
- This leader would probably come off the roster in match ups where you need 12 activations and a playable melee operative.
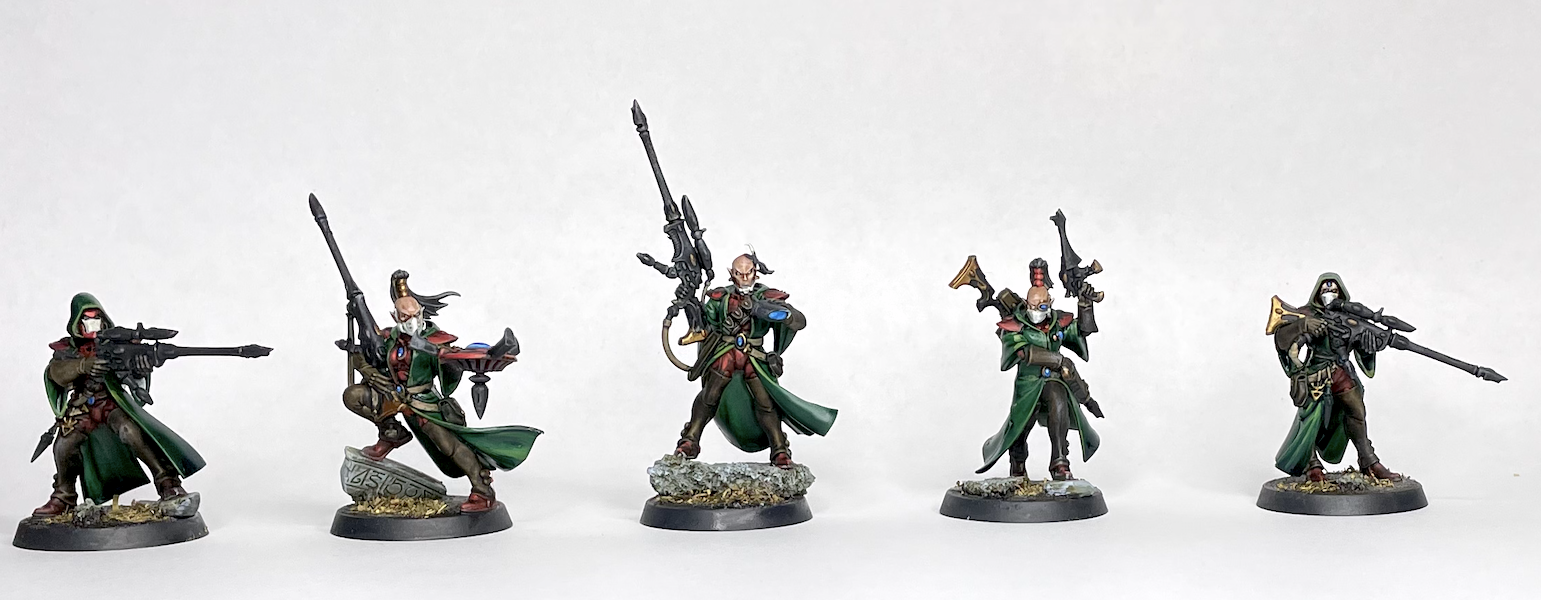
Rangers, the Sneaky Ranged Ones
Sniper specialists who come in sets of fives. They all hit on 2+ with the sniper rifles, and have access to Hidden Paths to sneak about the board quickly. Additionally their Camo Cloaks provide an additional retained cover save making their 5+ saves feel much stronger.
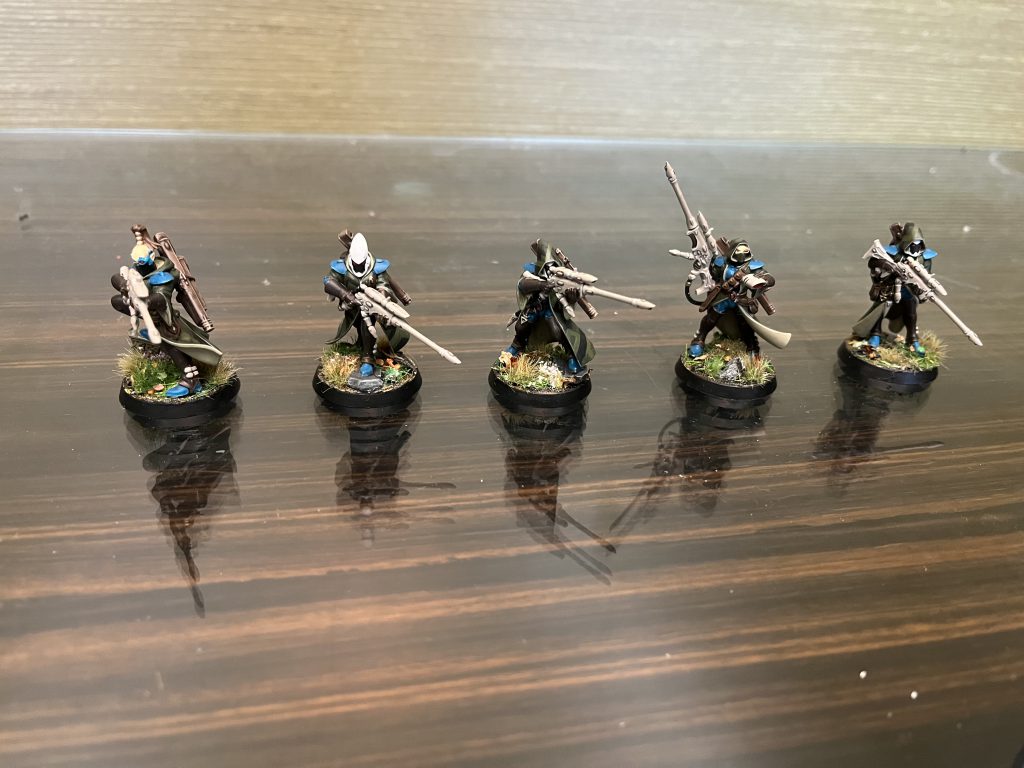
Ranger Warrior & Leader (who gets balanced)
- Sneaky elf, who has a silent Ranger Long Rifle, and a Shuriken pistol. If you upgrade them with Pathfinder Cloaks, these rangers can be miserable for opponents to dig out of vantage points. With fortify providing more hiding spots than ever, Rangers open up room for your other operatives to move about.
- The real downside of Rangers, is the Heavy restriction across 5 operatives making them substantially slower than the rest of the team on Open. You’ll often spend most of turn 1 just getting into position, without too many opportunities to fire from vantage.
- If you play them on ITD, you can use the Guard action to let Engaged rangers move about more actively. The downside being you can be shot at more easily.
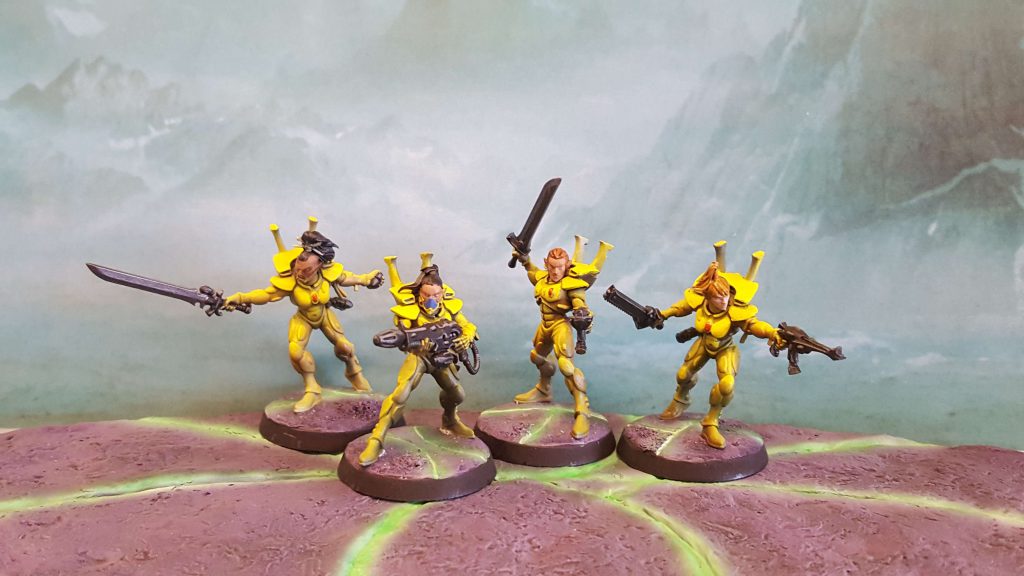
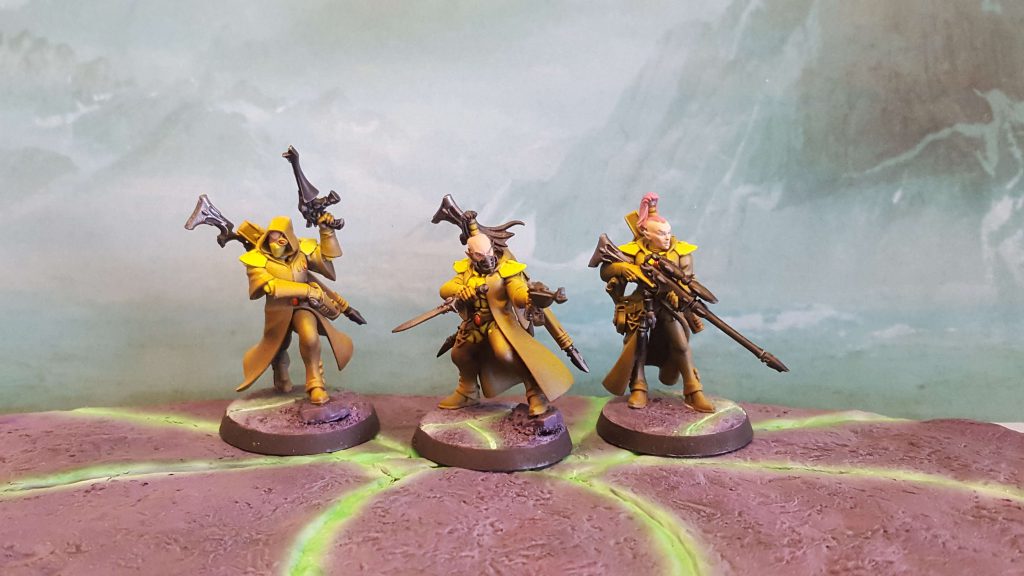
Dire Avengers, the Brave Ones
Aspect warriors trained in the way of the Avenger catapults. The Dire Avengers bring accurate lethal shuriken fire to any battlefield they grace. They can ignore Overwatch penalties, which make them particularly lethal shooters on ITD.
Dire Avenger Warrior
- Avenger Shuriken Catapults, sport 4 attacks, on 3+, with ¾ damage and the Rending rule. The Avengers training provides the Balanced special rule which results in roughly 15% higher likelihood to hit damage breakpoints compared to their Guardian counterparts.
- While these guys are not more durable than Guardians, they do have access to more tools in the form of equipment, and ploys. Meanwhile they will hit much harder than the Guardians making them good all rounder choices.
Dire Avenger Exarch
- The real reason we take the Dire Avenger fire team is so that we can get access to the faction’s best leader. Exarchs can skew to be ranged monsters, or capable melee threats based on opposing weaknesses.
- When wielding the Twin Avenger Shuriken Catapult, you can either fire at 1 target with Relentless, or 2 different targets without Relentless for 2 AP. While it might seem hard to set up a 2 AP shooting action, Fleet (dash and normal move for 1ap), and First of the Aspects (+1apl), provides all the movement you’ll need to line up the perfect shot or shots. Unfortunately firing at 2 separate targets is not good, only being dangerous when targeting 2 injured guardsmen.
- The better ranged option is the Avenger Shuriken Catapult, as it hits on 2+s with Balanced and Rending. Making it more reliable by a smidge against power armor, but consistently better against worse saves. You lose the rule of cool, but you gain a piece with more reliability. If firing at two separate targets was good this might not have a spot, but the single catapult is better right now.
- However, you can also line up melee kills with either a power sword (D 4/6, Lethal 5+), or a Diresword (D ⅘, Lethal 5+, Rending) on 2+s. The power sword is the clear favorite of the two. While a Shimmershield provides a 5++ Invulnerable save aura within 2” it’s not reliable making the shuriken pistol a reliable choice.. Against critical fearing models like Legionaries the Diresword presents some useful melee capability.
Ploys
Compendium Craftworld exists in an interesting space where they pay for parts of bespoke Aeldari teams. Whether it be the 3” movement bonus, defensive shooting re-rolls, or melee power. Your ploys echo bespoke teams tricks, which means they are powerful. However you have limited command points to deploy each game.
Strategic
Fleet [1 CP], A – All operatives can take a free Dash after a normal move or fall back, letting you get into or out of trouble with 9” of movement. Note you cannot do an action in the middle of this so you’ll be shooting like a 2 apl operative, and can’t dash back into cover like 3 apl Space Marines. However this does give you the spiciest lines for Grenades, Fusion Guns, and Shuriken Storms.
Forewarned [1 CP], B – Gain a defensive re-roll when being shot at in the Roll Defence Dice, while readied. A great ploy on the turns you expect to get shot at. Against veteran guard, or pathfinders the extra re-roll will increase your chance of surviving by about 10%. While it doesn’t sound impressive with 10 operatives that means you should generally keep an extra operative alive and shooting.
Supreme Disdain [1 CP], C – When getting into combat, if you retain more hits than your opponent you can retain a normal as a critical. With only 1 operative, the Exarch, having critical melee rules, this is often going to see the most play against teams with weak melee. Storm Guardians can reliably mulch 7 wound operatives with this ploy active, as you can generally strike with a normal hit, and keep the four damage crit safe from normal parries.
Hidden Paths [1 CP], C – Rangers are kept back by the heavy rule, so having the ability to take a free dash to move in and around terrain is welcome. On Open we really want to get onto Vantage and this lets us shuffle 3” closer to further Vantage points. On ITD, where rangers can guard and normal move, Hidden Paths can really let you slingshot Rangers where your opponent least wants to see them.
Tactical
Matchless Agility [1 CP], C+ – By giving up offensive actions an operative can dash for 5 inches instead of 3. When combined with Fleet you can have an operative move up 11 inches to steal a critical objective from an opponent. I suspect Fleet is oftentimes enough to get into position but being able to play with the 2” in mind for cheeky steals is important! Robert mentioned he uses it about 50% of games.
First of the Aspects [1 CP], B – A dire avenger gets 1 extra AP for its activation. Avengers can use the APL to move, shoot, and dash back into cover. Avengers with the Avenger Shrine Banner, can hold objectives as 4 apl models, wresting control away from Space Marines with ease. Having the ability to dynamically add apl to the board is powerful on all teams, and Craftworld are lucky to have this capability.
Equipment
Weaponised Panoply [1 EP], C – Dire Avenger specific upgrade taking your melee to ¾ damage instead of ⅔ damage. At 1 EP, you’ll use this to fill out your equipment load out. Generally you’ll want to avoid melee with those juicy Avenger Shuriken Catapults. The primary time these come into play is for 7 wound models while Supreme Disdain is online.
Avenger Shrine Banner+ [2 EP], C – Another Dire Avenger specific upgrade. All Dire Avengers within 3” and Visible to the holder count as 1 APL higher when controlling objective markers. This goes up in value on Loot and Secure, where you can steal an objective or make control an objective almost impossible with 2 Dire Avengers.
Ranger Scope [3 EP], C – Ranger specific upgrade to increase your damage output. For 3 points the lethal 5+ is quite pricey. However, against 3+ saves that lethal 5+ does translate to a 10% higher chance to hit damage breakpoints, but the delta decreases as saves get worse. When facing down marines, the scope can put in some work.
Pathfinder Cloak [2 EP], C – Rangers equipped with this have super concealment and can become a nightmare for opponents to shoot. This mostly gets a C, because rangers come with a few too many downsides on Open, where the Cloak is at its best.
Wraithbone Talisman [3 EP], A – Once a game you get a free command re-roll for the equipped operative. With many of the other options being less reliable the Talisman is the favorite of Robert N. If you need a job that absolutely needs doing, the Talisman can shift those odds in your favor.
Celestial Shield+ [2 EP], C+ – Once a game, a Guardian can use a 4++ invulnerable save. If your fusion gun can wait it out, the 4++ save can mean it shrugs off a plasma shot to get a second shot. The plasma grenade holder might be able to tank a shot to get a juicier blast.
Plasma Grenade [2 EP], A – A bolter grenade, 4 attacks on 3+, with ¾ damage. Indirect is a great rule, and forcing your opponent to space out can open up shots with your mobile shuriken catapults. I suspect you’re almost always taking this unless armor saves are 3+ or better.
Notable Generic Tac Ops
Quote from Robert N, Craftworld specialist about Recon:
- Honestly, while I used to think you should be flexible, in practice I think you should only ever take Recon (esp after Crit Ops). This is a team about spending bodies for points. Recover Item and Courier as a priority, then Surge/Plant/Vantage depending on the map. There are some corner cases where you’d want to take Security, but they’re rare.
Recon: Surge Forward, B – With so many operatives and so many guns, Craftworld can punch a hole in opposing lines, and flood into that side of the board. While this can be risky, this team does have the tools to make use of Surge Forward.
Recon: Courier, A – Leverage those operatives to create a pocket to hide a model. Dire Avenger shooting is nothing to scoff at.
Recon: Recover Item, A+ – With fleet you can generally make it onto the item on turn 1, rangers with pathfinder cloaks, being the most annoying kind of operative to hold the item on turn 1.
Recon: Secure Room/Vantage, B – With 10-12 operatives it can be easy to overwhelm apl in rooms, and Fleet lets you get onto vantage points fairly easy on tp1.
———–
Infiltration: Implant, B – Have 3 melee attacks do no damage against 3 distinct enemy operatives. When using storm guardians Implant opens up some scoring opportunities, however you need to have Rangers to get this combo. Whether or not Rangers mixed with Storm Guardians is a good idea, depends on the opponent and the map. Perhaps ITD lets this combo shine best.
Infiltration: Seize Defenses, B – On ITD, Storm guardians and Rangers can blitz your opponent leading to good chances at scoring this.
Infiltration: Subversive Control, A – One of the better infiltration tac ops as we have lots of operatives and can flow to the portion of the map that allows us to score this. Since this is score on turns 3 and 4, we can focus on killing and scoring on turns 1 and 2.
Security: Seize Ground, A – We’ve got guns and dudes, so we can select a piece of terrain and spend our time shooting opposing models turns 1-3, before swooping in to score points.
Security: Central Control/Centre Line, B+ – Security with guns has historically been a solid combination. Being able to dictate where opponents need to go lets you open up firing lanes, and Central control remains a strong choice.
Security: Protect Assets, F/B+ – A tac op that improves against hordes, and worsens against elites. When you are in a target rich environment, protecting assets is great, and it’s unplayable against much smaller teams as your opponent can dictate your ability to score.
Seek and Destroy: Eliminate Guards, A- – Incapacitate a selected opposing model that ended the target reveal step within 2” of an objective. Craftworld has plenty of room to gun down opponents on objectives.
Seek and Destroy: Rob and Ransack, C – Incapacitate an enemy operative in combat, and live to tell the tale for 2 VP. Storm Guardians and the Exarch can reasonably do this tac op, but could not reasonably aim for this against melee specialist teams. As 8 wounds means you can’t win all that many 1:1 fights.
Seek and Destroy: Rout, B – With 10-12 operatives that move fast as hell, Rout is always in the running if you play Seek and Destroy.
Example Roster
5x Storm Guardian Warrior
1x Storm Guardian Gunner w/Fusion Gun
1x Storm Guardian Gunner w/Flamer
1x Storm Guardian Leader
5x Rangers
5x Dire Avenger Warrior
1x Dire Avenger Exarch Leader w/Avenger Catapult and Fists
1x Dire Avenger Exarch Leader w/Power Sword and Shuriken Pistol
This is a roster from Robert N. a compendium aficionado and Craftworld specialist. He’s done well with this list focusing on pushing up the field to score points. You have more bodies and Shuriken’s rending can do a number on power armored foes. Generally he focuses on scoring Recon tac ops and playing for points at all times. The pieces are interchangeable so the game plan stays focused on points!
Gameplans
-
Loot
Use your disposable operatives and Fleet to break scoring parity as soon as possible. If the opportunity presents itself you can slingshot an Exarch with a banner to steal an objective your opponent is not expecting.
-
Secure
Set up to score as turns ½ with Fleet letting you get multiple operatives onto objectives to make it hard for opponents to secure objectives.
-
Capture
With Fleet up, look for ways to get onto opposing objectives to strip control away from opponents. Since control is checked at the end of each action, at the end of the normal move and dash you can reset opposing objectives to neutral. Dire Avengers with the banner can make it quite hard for opponents to do the same in return, and you can punish them in return with shurikens!
Final Thoughts
While Compendium teams have lost some relevance there is still some play to be had. Compendium teams remain a good way to use existing models, and learn the basics of the game. Without all the special rules you can focus on learning what opponents do, or just scoring efficiently. Both things that drive competition at higher tiers of play.. If you’re ever in the Brooklyn area, feel free to come to the Brooklyn Strategist! We’ve got monthly tournaments on the first Saturday of each month!
Have any questions or feedback? Drop us a note in the comments below or email us at contact@goonhammer.com.
