
It has been over one year since White Dwarf 469 brought us the Warpcoven Kill Team, the first bespoke team for the Forces of Chaos. At the time, the release of updated rules for teams found in the Compendium seemed like it would be the future of the game, but as it turns out we would only end seeing two more teams released through this method. Since their release a lot has happened with the game: Multiple balance dataslates, FAQs, Designers’ Commentary, the Into The Dark release, and most recently a complete refresh of the Critical Operations Mission Pack. With all these changes it is time to revisit this team and see what they bring to the table.
Team Overview
Strengths
- Psychic Powers – It should come as no surprise that Warpcoven have amongst the strongest Psychic Actions in the game. While their team isn’t composed entirely of Psychers like Grey Knights, they have the widest range of Psychic Actions to choose from. Additionally, the Sorcerers themselves are no slouches in combat, and are amongst the strongest single operatives in the game.
- Versatile – Warpcoven are unique in that they can either be a horde team, elite team, or a hybrid of both depending on whether you focus on Tzaangors or Marines.
- Deadly Firepower – All Rubric Marine weapons come with AP1 at a minimum, and weapons like the Soulreaper Cannon or Warpflamer are incredibly deadly.
Weaknesses
- Rubric Marines – This isn’t so much of a weakness as it is a vulnerability. Rubric Marines are more durable and have a deadlier standard firearm than their flesh and blood counterparts, but they are slower and less versatile. Some of this can be off set by keeping them close to a Sorcerer, but ultimately these guys need a babysitter, which will weaken your ability to adapt.
- Command Point Hungry – Many of the ploys available to this team are absolutely required to bring out their full range of effectiveness, meaning you’ll have to weigh your choices carefully as you manage your CP.
Team Structure
Warpcoven Kill Teams are led by a Thousand Sons Sorcerer who comes with a Force Stave and either an Inferno Bolt Pistol, a Warpflamer Pistol, or a Prosperine Khopesh.
You then select Ten (10) Warpcoven operatives from the following list, with Marines counting as two selections.
- Sorcerer with Force Stave and Inferno Bolt Pistol, Warpflame pistol, or Khopesh
- Rubric Marine Gunner with Warpflamer
- Rubric Marine Gunner with Warpflamer or Soulreaper Cannon
- Rubric Marine Icon Bearer
- Rubric Marine Warrior
- Tzaangor Champion
- Tzaangor Icon Bearer
- Tzaangor Horn Bearer
- Tzaangor Fighter
You can only pick each Icon Bearer/Horn Bearer or Tzaangor Champion once, while you must have at least 4 Rubric Marines in your Kill Team to take a second Rubric Gunner. Most importantly you can have a maximum of 3 Sorcerers.
Abilities
Warpcoven have two team specific abilities, both of which revolve ALMOST exclusively around your Sorcerers. It is also worth pointing out that all Warpcoven operatives come with a 5+ Invulnerable Save.
Boons of Tzeentch
Each time you add a Sorcerer to your roster, you can select a Boon of Tzeentch for that Sorcerer from three different categories. A Sorcerer may not receive a boon that another Sorcerer already has. Your other operatives can only get boons through Spec Ops rewards and Requisitions so it isn’t something you need to worry about for competitive play. The three categories of boon are Fate, Mutation, and Aetheric.
Mutation
- Warp Swell improves the normal damage on your operative’s melee weapons by 1, which is OK. Being 5/6 is decent but not amazing, and possibly redundant if you’re taking a Khopesh as it basically grants Lethal 5+ and Relentless. D
- Mutant Appendage gives your operative the ability to perform a single Mission action or pick up action at -1 AP once per turn, giving you a little more flexibility to move, cast, shoot, and still action or pick up an objective without giving you 4APL. This is a great boon to have, and even more versatile on Into the Dark as your Sorcerer can basically open doors (or close them) for free, allowing all sorts of fun movement tricks. B
- Avian Talons lets you retain a single regular hit as a critical hit when you fight after a charge. This is likely better than Warp Swell for getting the damage you need but again isn’t going to be your first choice. C
Fate
- Patron of Destiny gives you a free use of the Command Re-roll Tactical ploy once per turn for this operative, but each time you use this you roll a D6 and on a 1-3, you lose the ability for the rest of the game. At the very least this gives a free specific-use 1 CP and there will be games where you get 2-3 out of it. C due to be unreliable
- Incorporeal Sight gives the operatives non-psychic ranged weapons Lethal 5+ and No Cover, making them considerably more deadly. The problem is this doesn’t do a whole lot on a pistol, so it’s more something you’d want on one of your gunners. D
- Time-Walker gives the operative +1 attack with their melee weapons and adds ▲ to their movement, speeding them up and making their melee a bit more lethal. Movement bonuses are always powerful, making this one of the better boons. B
Aetheric
- Immaterial Flight gives you the FLY keyword. Straight up the best boon on open boards, and not entirely useless on Into The Dark as it will allow your Sorcerer to pass over blocking models. A cool opportunity to model your sorcerer on a disc of Tzeentch, though one of the Exalted Sorcerer models is already levitating. A
- Crystalline improves your save characteristic by 1. Going to a 2+ save is major improvement, and there aren’t that many ways of protecting your Sorcerers. A solid choice, but not as useful as some of the other options you can get – Kill Team is a very deadly game, and while a 2+ save is good for surviving small arms fire, this won’t save you against a mining laser. C+
- Empyric Ward gives your operative a 4+ invulnerable save. Slightly less useful than Crystalline due to how invulnerable saves work in Kill Team only really shining in the rare situations you run into AP2. Since boons are chosen at roster creation odds are this won’t be a top choice. C
Psychic Actions
The real meat of what Warpcoven teams get – and why you’ll take three Sorcerers – is the Psychic Powers. Each time you add a Sorcerer to your roster you have to pick which of the three Psychic Disciplines they study. You can double up on disciplines if you want but because you can’t double up on the use of powers in the same Turning Point, it will often behoove you to take all three in your team. Each discipline has three powers to choose from.
Destiny Discipline
- Weave Fates gives a friendly VISIBLE Warpcoven operative the ability to re-roll any or all of their defence dice when being shot at. A good power for when you decide to expose your Gunner, or other high value operative, and is especially useful against nullifying attacks from standard weapons, however don’t expect it to save you from weapons with AP values or Mortal Wounds.
- Twist Destiny debuffs a VISIBLE enemy operative, preventing them from re-rolling dice when making attacks and removing any positive APL modifiers they may get. This is situational, since it’ll depend on your opponent having access to either effect and relying on it, but when you can deny hit re-rolls on a gunner it’s a good feeling.
- Doombolt allows the operative to perform a free Shoot Action at 4 attacks, +3 hit/wound, 3/3 damage, Lethal 5+, and MW2. This a solid power that provides the Sorcerer with some much needed ranged firepower, and a reliable source of Mortal Wounds that can easily spike.
Tempyric Discipline
- Ephemeral Instability is a team-wide debuff, forcing your opponent’s operatives to subtract ⬤ from Dash and Charge moves until the end of the Turning Point. This is simply one of the nastiest abilities in the game, and can be straight debilitating for enemies who already have reduced movement naturally, or are injured. The only downside is that it only lasts until the end of the Turning Point meaning you get more benefit from it the earlier you use it. Your Sorcerers being your most vital operatives tend to want to wait and see what your opponent does before activating them.
- Temporal Manipulation heals an operative within six inches for 2D3 lost wounds. It’s a solid amount and a good way to stymie an opponent trying to chip away at one of your gunners or sorcerers with smaller arms fire. Utterly demoralizing when you take an operative from 2 wounds remaining to 8.
- Fluxblast performs a free Shoot Action at 4 attacks, +3 Hit/Wound, 3/4 damage, Blast ⬤, and Rending. Less deadly than Doombolt this is your crowd control power and your only source of Blast 2, and while it lacks Indirect it is much stronger your standard Frag Grenade or equivalent.
Warpfire Discipline
- Warp Portal lets you take a friendly operative within ■ who hasn’t moved yet this Turning Point and move them to anywhere within ⬟, after which that operative can’t move again. There are lots of ways in which this power can be useful, whether its essentially setting an operative up for the equivalent of a 4 APL activation or disengaging a friendly operative for 1 APL there are all sorts of neat tricks that you can do with this.
- Infernal Fire select a visible enemy operative for this power, friendly operatives fighting or shooting the affected operative can re-roll any or all of their attack dice. Simply nasty, the ability to say “fuck that guy”, and especially brutal with things like Doombolt or the Soulreaper Cannon.
- Firestorm performs a free Shoot Action at 5 attacks, +4 hit/wound, 2/2 damage, Blast ▲, Barrage, and INDIRECT. This last weapon trait makes this power unique across the entire game. There are no other shooting attacks in Kill Team that have Indirect without a range limitation. Now the lethality of this power might not seem like much on its own, but it can be absolutely devastating against weaker foes that like to hide (such as Glitchlings), especially when paired up with Infernal Fire (which you could use in the same activation via the Psychic Dominion Ploy).
Every discipline offers something you want, so it’s a good idea to just take all three in most games, however if your roster has space you may find yourself wanting to double up on certain ones.
An very important detail here is that the psychic powers that are also shooting attacks are basically two actions in one. You are performing a Psychic Action, followed by a free Shooting Action, which will count toward your action limitations for the activation. You will see how important this is when we get to Ploys.
Operatives
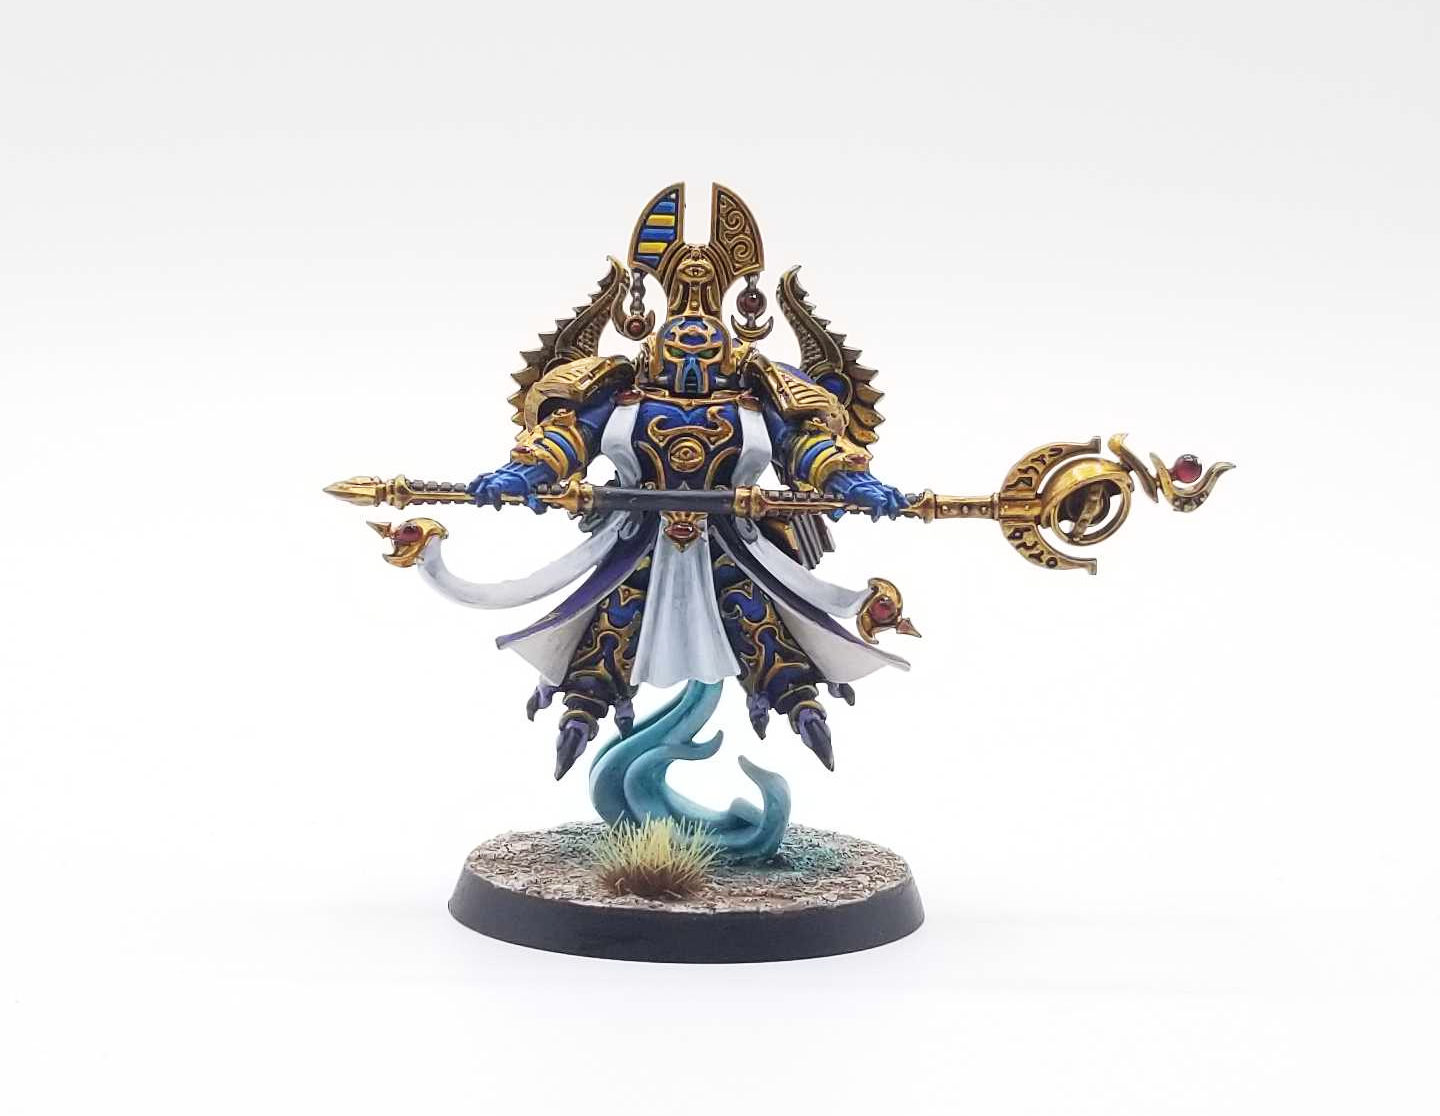
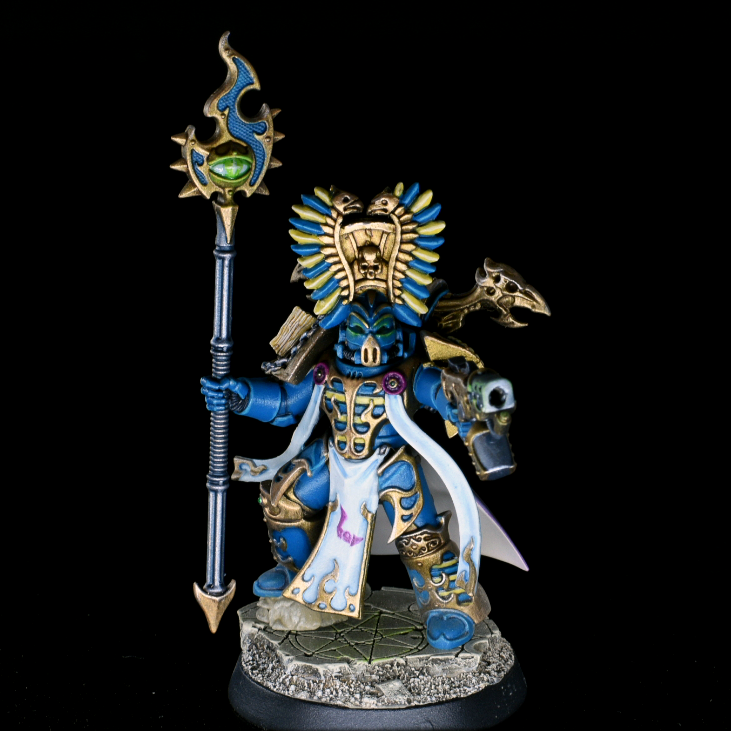
Sorcerer
Perhaps another unique trait among the Warpcoven is that the equivalent of their Leader choice is also a standard operative choice as you may take a Sorcerer up to three times, and there is nothing that distinguishes the one you choose as your Leader from any of the others. This gives you a significant amount of the options to customize and specialize your Sorcerers between their Boons and Psychic Powers.
Aside from these options you don’t have much variability in the way of weapon loadouts coming down to a choice of dual melee weapons or a pistol/melee combination. The Warpflame Pistol, limited to 1 per team, is particularly powerful, doing 4 damage on critical hits and being AP1. This makes it one of the deadlier Torrent weapons in the game, especially on Into the Dark maps. When combined with Immaterial Flight a Sorcerer armed with this can be especially frightening.
Your final decision then comes down to whether you want to have your Sorcerer specialize in close combat, or keep your options open via a pistol. Even without the Khopesh your Sorcerers are your deadliest melee combatants, and outstrip all but the deadliest specialists. Give a Staff/Khopesh wielding Sorcerer the Time-Walker Boon, and you have an operative that can fight twice with 5 attacks, 4/6 Damage, Lethal 5+, and Relentless.
Sorcerers also come with the Rubric Command ability that allows them to add 1 APL to a visible Rubric Marine within ⬟ inches when it is activated, once per Turning Point. This effectively means any Rubric Marine you take will need a Sorcerer to babysit them, making your Sorcerers an even bigger target than they already were.
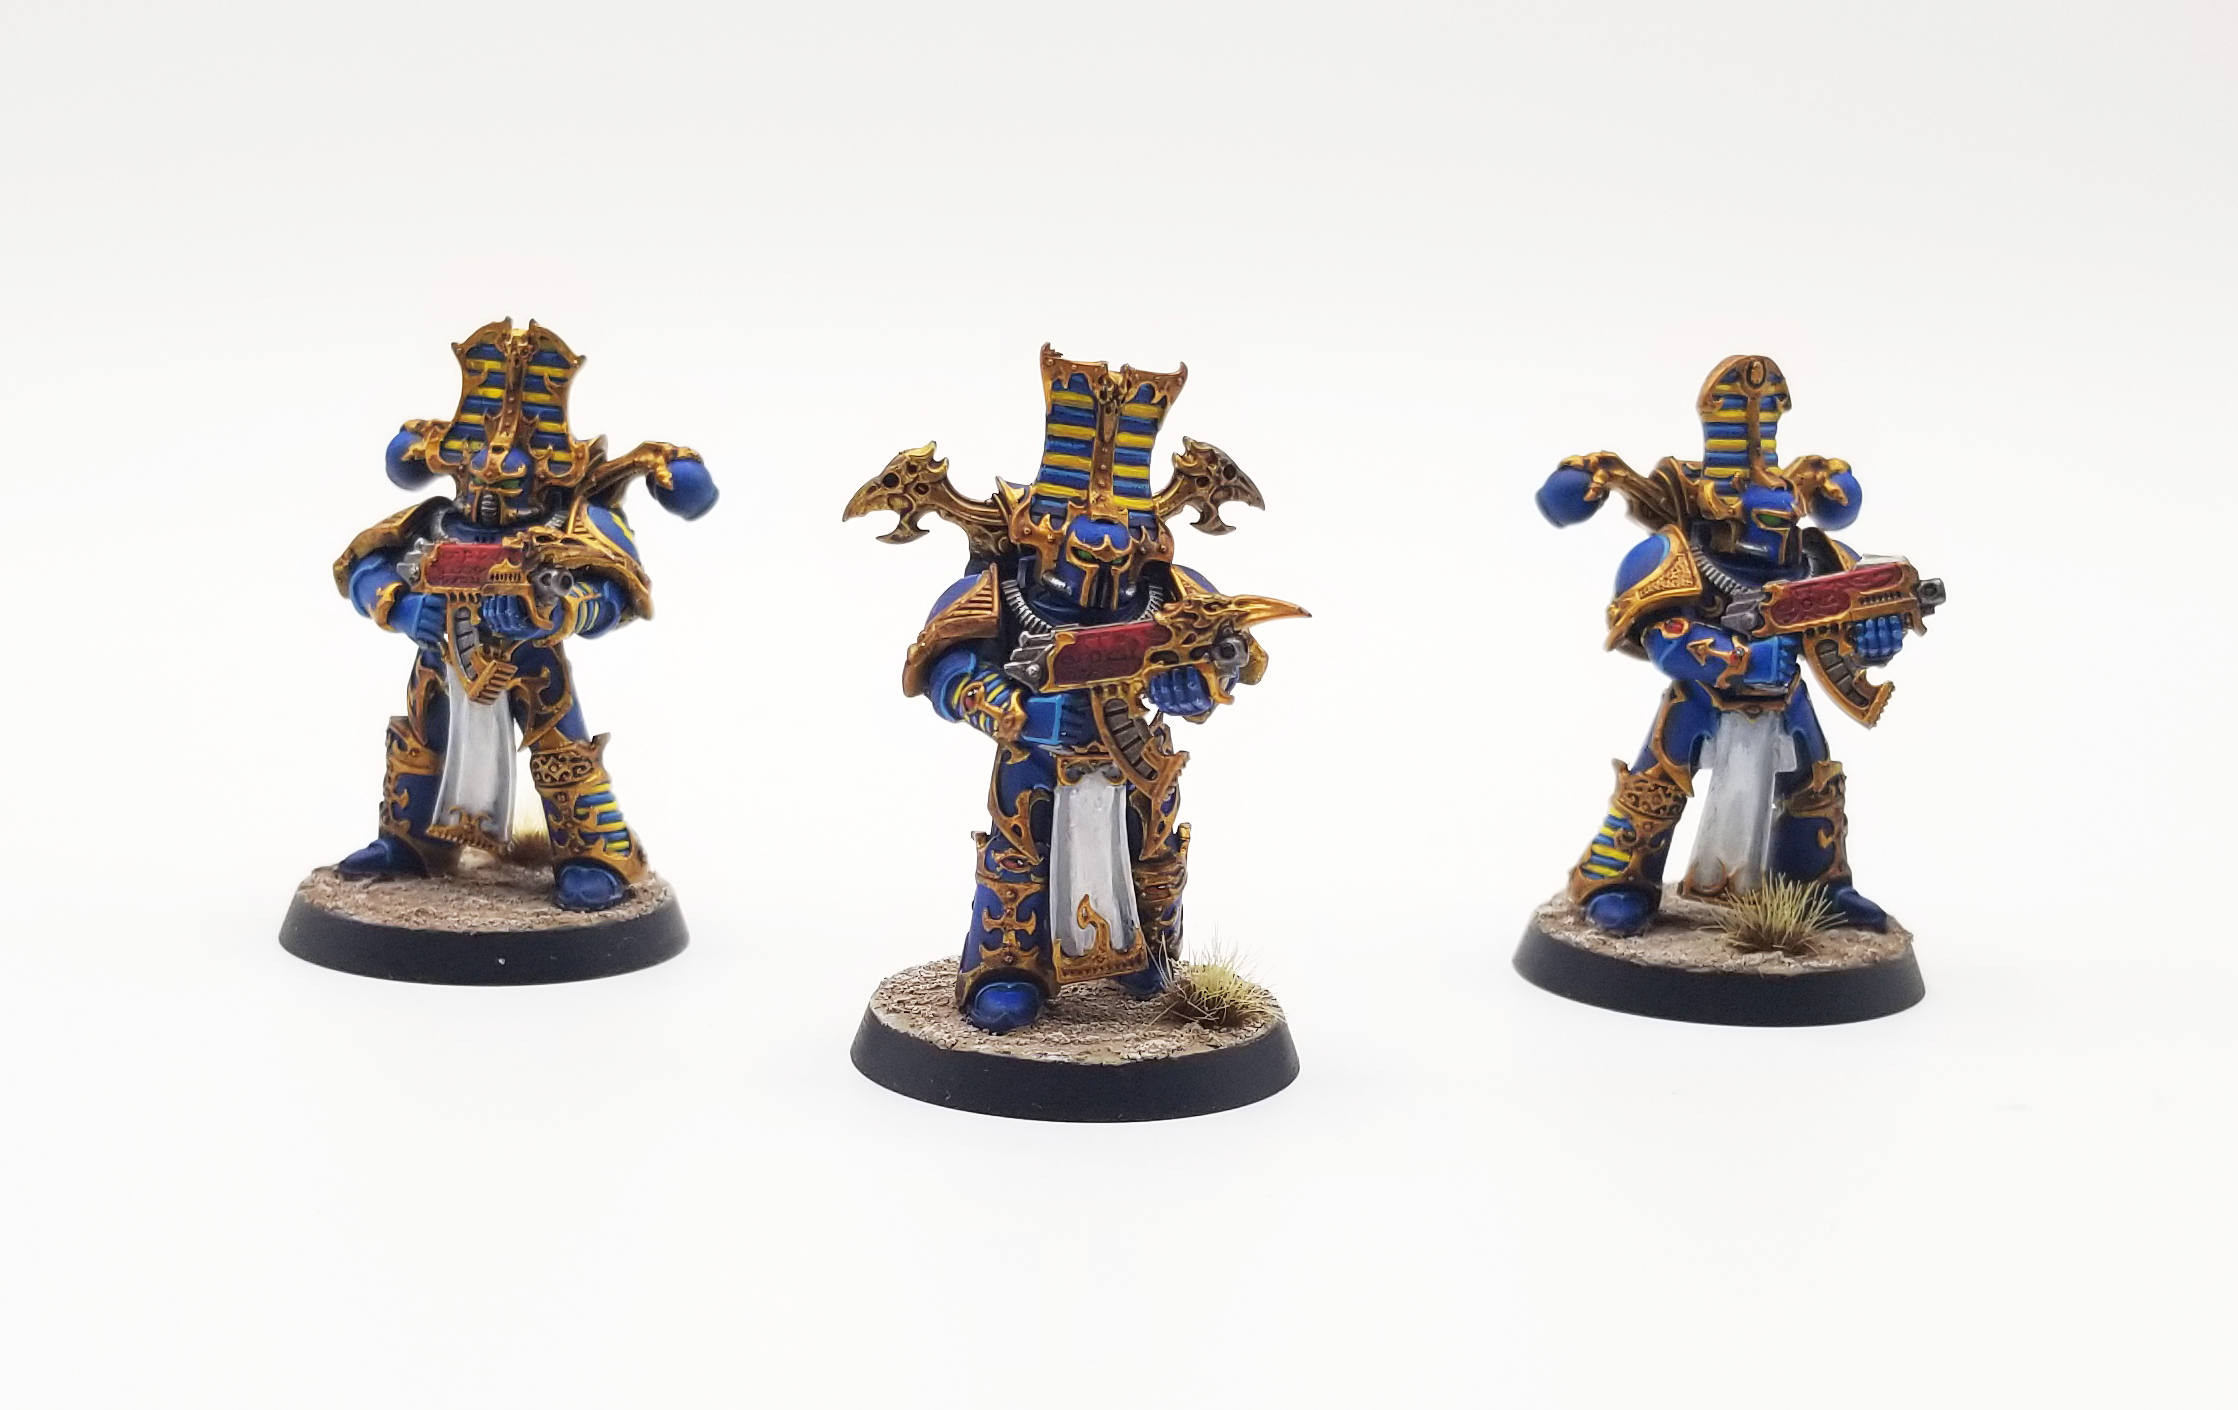
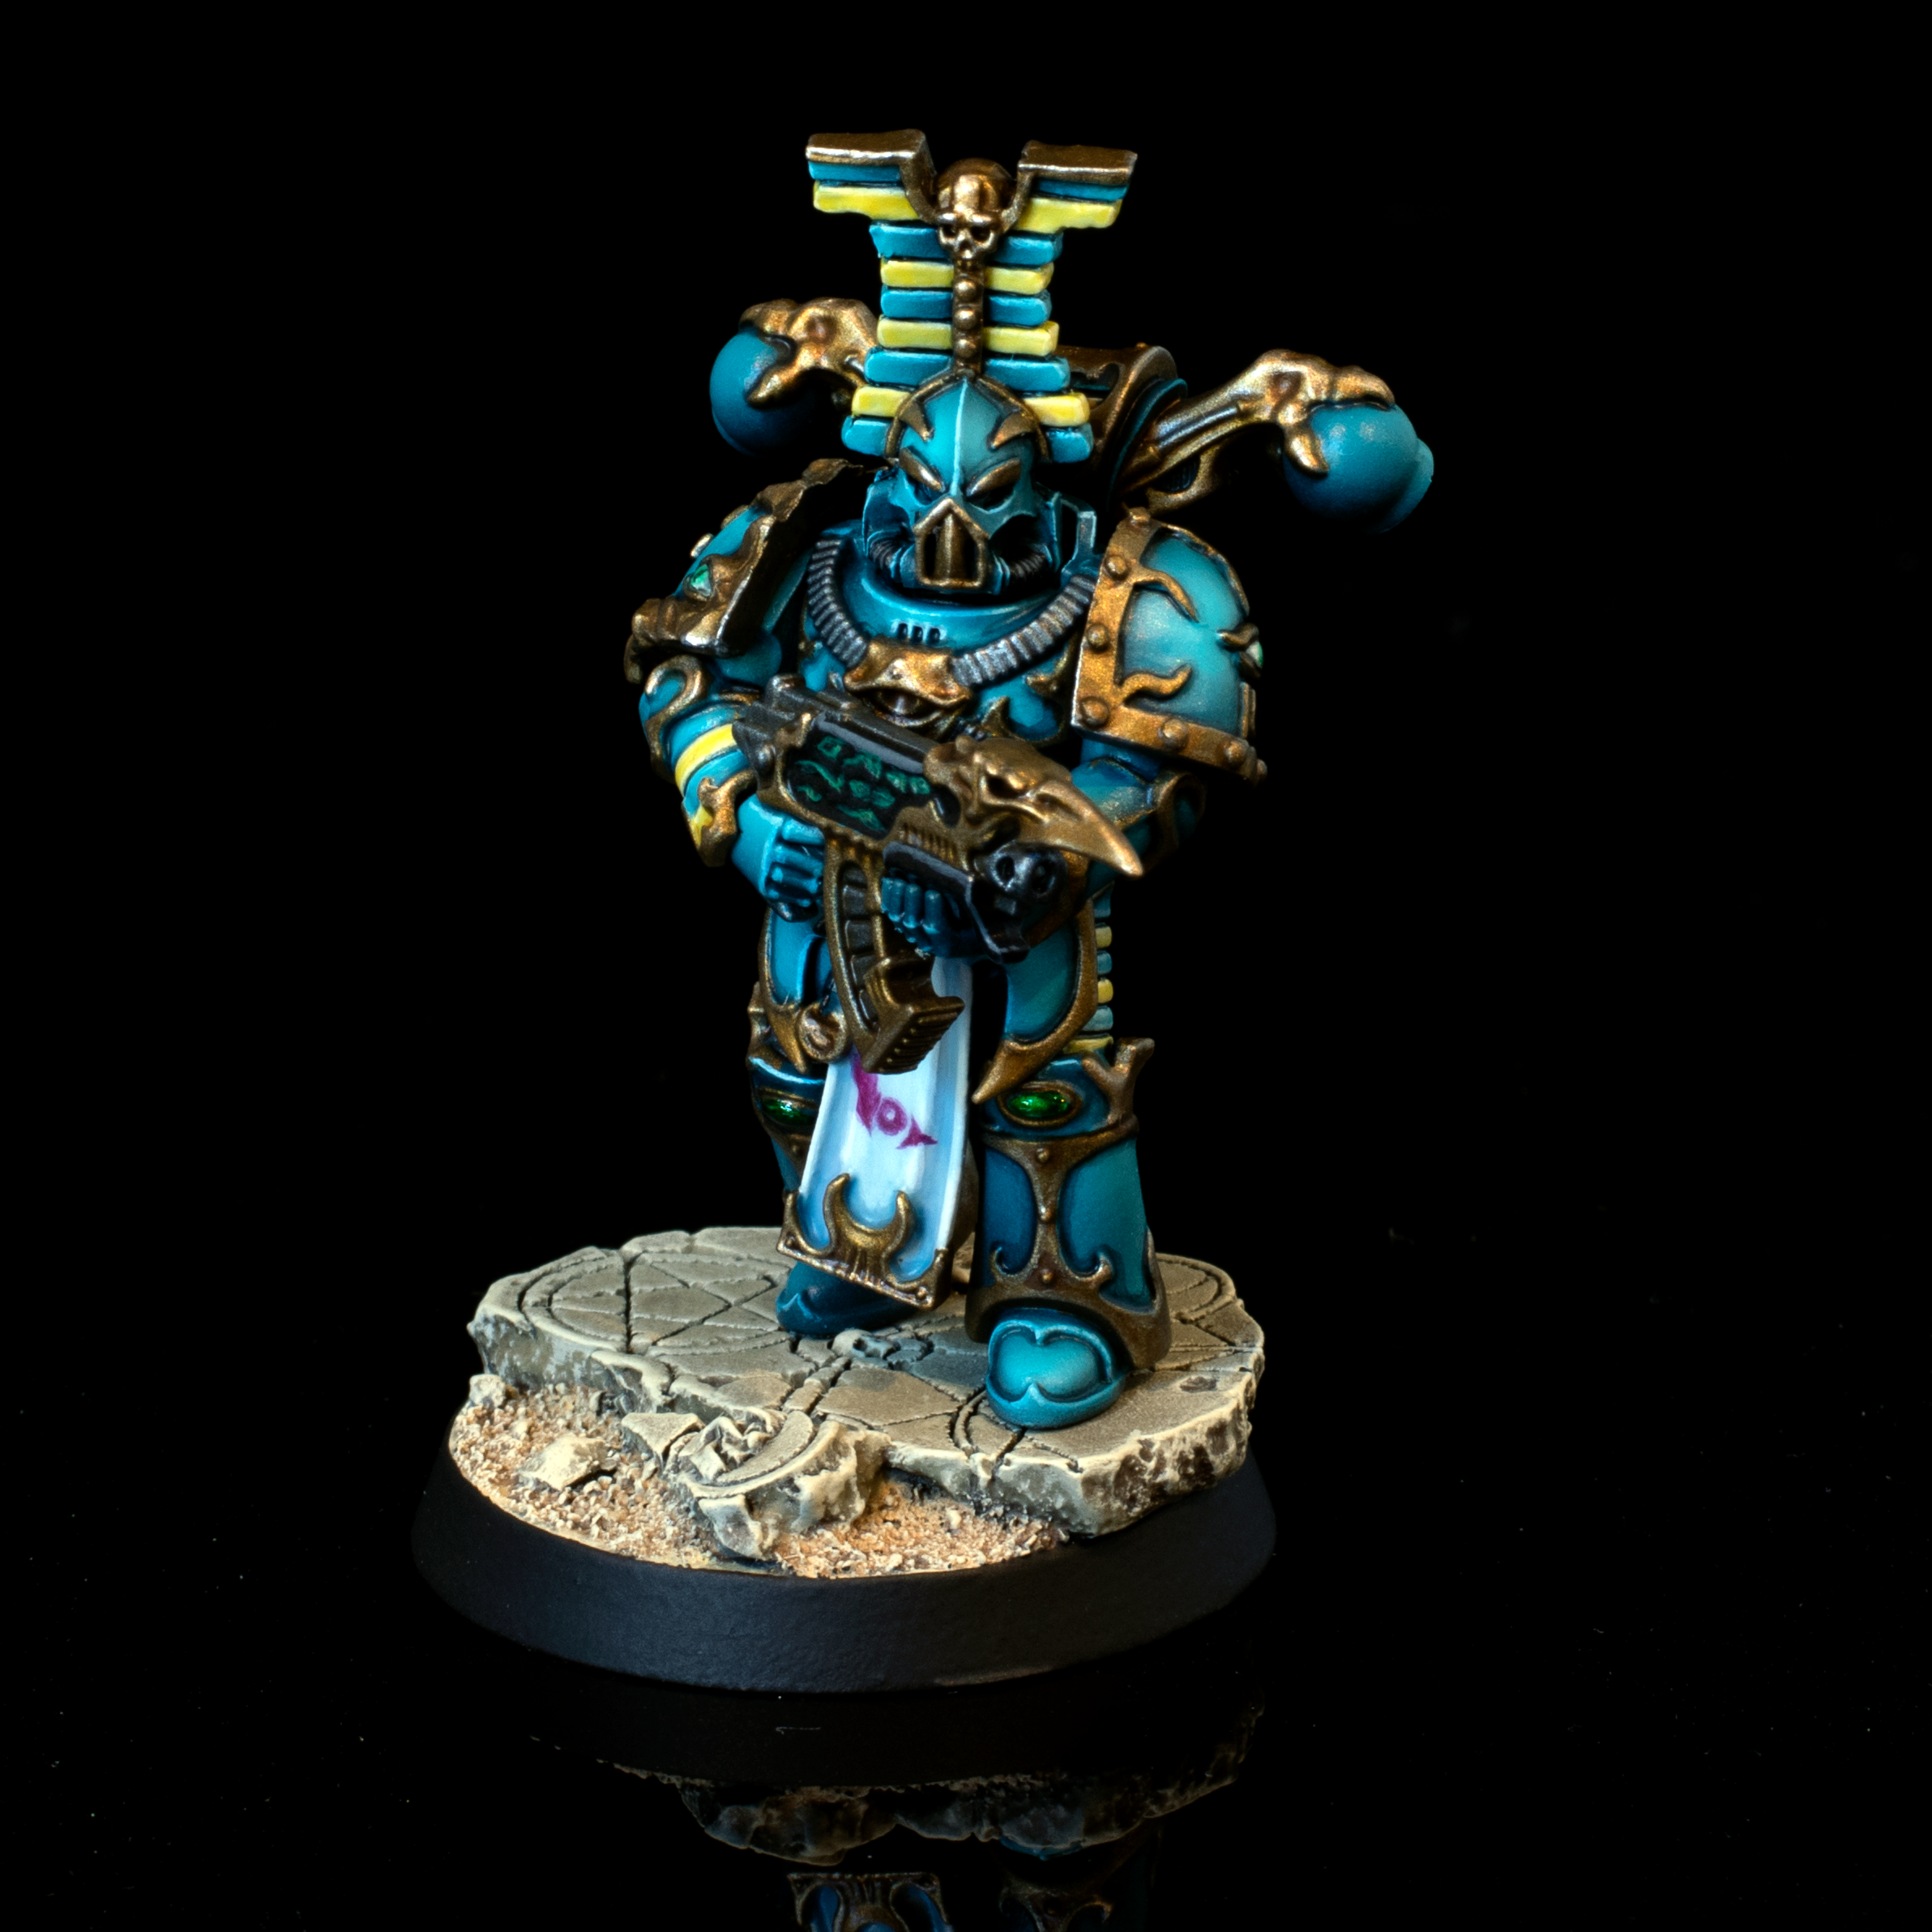
Rubric Marines
Rubric Marines are one of the more interesting examples of Chaos Marines, while they share a lot of commonalities with both their chaotic and loyalist counterparts, they differ in very important ways. Perhaps the most important difference is that they are only 2 APL, which is a HUGE blow to their usefulness, however as we saw above this can be offset by keeping them close to a Sorcerer. This does however put a soft cap on the number of Rubrics you can take, anything past three is sub-optimal.
Next, all Rubrics have the All Is Dust ability. This is both a buff and nerf, they receive a 2+ save against shooting attacks with a normal damage characteristic of 3 or less, but may never move more than ⬟ inches during their activation. In my opinion this buff to durability is not worth the downgrade in movement. Additionally, your Rubrics are amongst the worst close quarters combatants in the entire Marine range, with only 3 attacks as opposed to the normal 4 you will find on unarmed Legionnaires or Primaris marines.
If Rubrics are good at anything over standard Marines, it is Shooting, as their Inferno Boltguns come with AP1 by default, AND the Gunner has access to a Warpflamer or Soul Reaper Cannon. Both of these are great, and which you choose really comes down to the board you find yourself on. Keep in mind you will likely never have the second Gunner simply due to the requirement that you bring 4 Rubrics before you can even access them, meaning you’re looking at a 1 Sorcerer and 5 Rubric Team, a recipe for losing.
Lastly, it is important to remember that the Rubric Icon-Bearer brings the Icon of Flame, which will allow a Sorcerer, within ⬟, a free Psychic Action per Turning Point (keep in mind this will still require the use of the Psychic Dominion Ploy if you wish to use two powers), a handy buff for whichever sorcerer you deem the most useful.
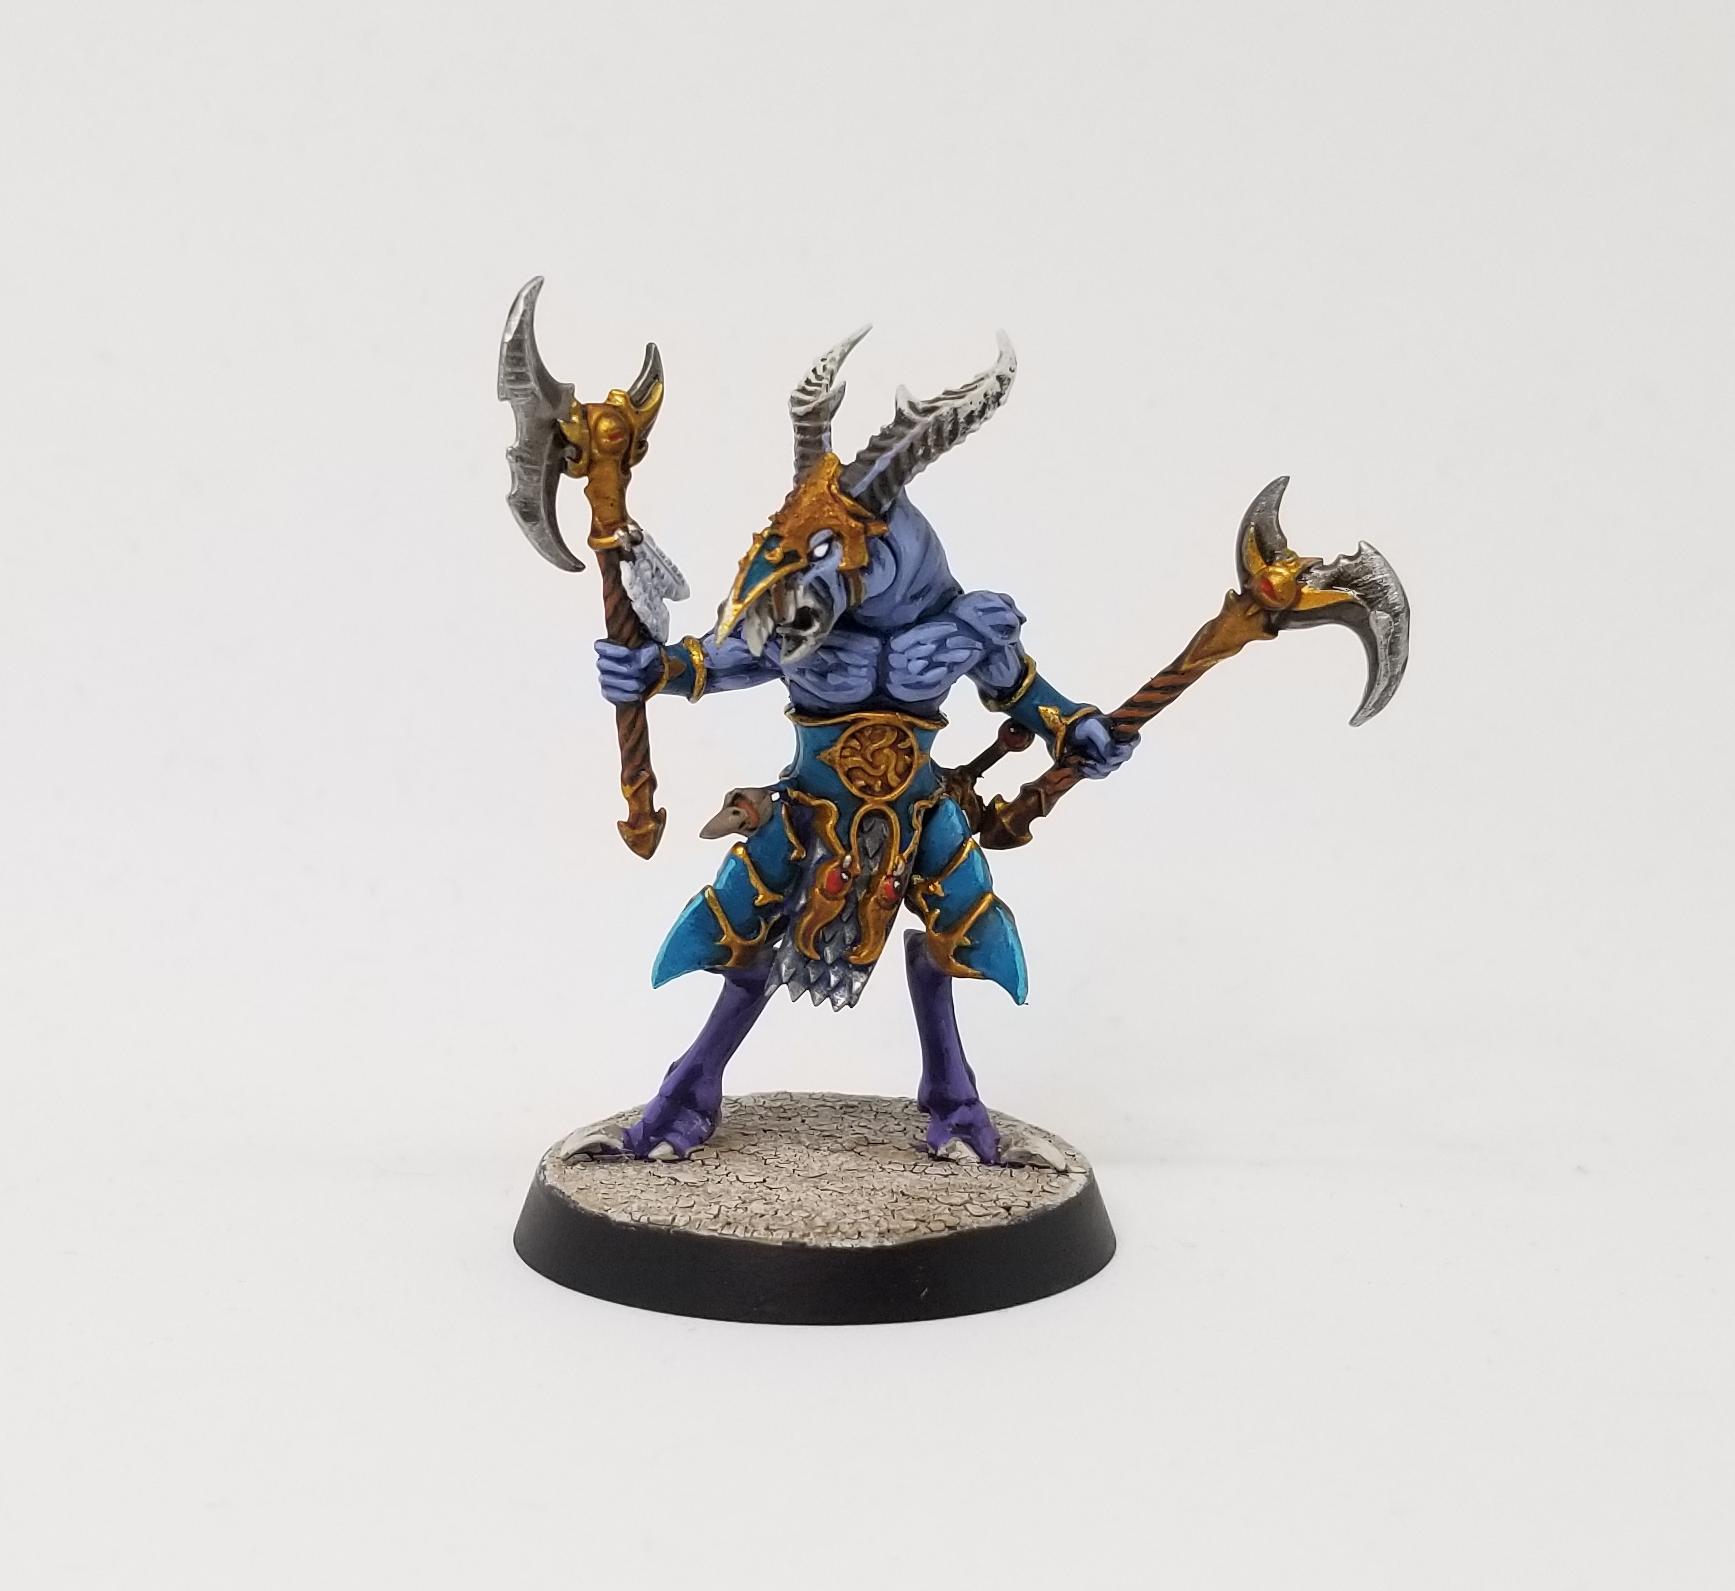
Tzaangors
The final category of operative available, these guys clock in at just above “human” with 8 wounds, but are otherwise not hugely different in terms of their stats than most other horde-equivalent operatives. It is worth noting they get the most out of the 5+ Invulnerable save simply because it is all they have.
Tzaangors come in three flavors, all of which are predominantly melee. The Champion is the standout, and the closest thing to an auto-take as they have the ability to fight a second time for free. This is more useful for helping to clear out Guardsman and other weaker combatants, as the Champion simply lacks the durability to do anything against more powerful foes such as Assault Intercessors. It is also worth noting the Champion’s melee weapon has a 4/5 damage profile instead of the 4/6 found on most other power weapons. This is a significant difference as it means you’d need three successful critical strikes to kill your standard 12 wound model (Phobos Marines, Chaos Marines, Grey Knights, etc) as opposed to two, further reinforcing the point that this guy is strictly meant to be handling softer targets.
Second, we have our two “Bearer” options. The Icon-Bearer has the usual make your guys better at holding objectives buff, and has the Herd Banner (1 AP) action that boosts the invulnerable save of Tzaangors within ■ by 1. This is pretty terrible, odds are you aren’t going to have enough Tzaangors to rely on this, and it requiring an action and a distance to be effective only makes it more useless. The Horn-Bearer is slightly more useful in that it has the Brayhorn (1 AP) action that increase all Tzaangors’ movement by ▲. This has no visibility or distance requirements, and might be worth your time if you have AT LEAST 4 Tzaangors on your team. The last thing to note is that either Bearer has the weakest of the melee profiles of all three variants, meaning not only do they have to use actions to buff their comrades, you’re also bringing a suboptimal fighter.
Lastly, we have the standard Fighter option. This comes in your usual all-melee, or melee/pistol flavors. While it is my habit to recommend pistols over pure melee the buffs you get for focusing on melee are hard to pass up. Like their Sorcerer masters the Tzaangors gain Relentless for giving up their ranged options, and as we have mentioned in the past anything you can do to reduce variance is a huge buff.
Ploys
As mentioned at the top of the article, Warpcoven come with a lot of great ploys, many of which you’ll be nearly required to use every Turning Point to really make the team work.
Strategic Ploys
- Exalted Astartes has received a lot of tweaks since the team was released, but now it can be basically be broken up into two parts: First, it allows your Sorcerers to either perform two Fight Actions or two Shoot Actions during an activation, as long as they did not perform a Shoot or Fight Action, respectively, during that same activation. The second shooting action must be with a different weapon, and can be a shooting attack via a Psychic Action. Second, your Rubric Marines may now perform two Shoot Actions if they do not perform a Fight Action during that activation, if the Rubric is a Gunner it must spend two AP for its second Shoot Action, essentially meaning it must remain still to shoot twice. It is worth pointing out that there is no restriction on the type of weapon being shot twice (e.g. you aren’t restricted to just Bolt weapons). A
- Psychic Dominion ( lets your Sorcerer Operatives manifest psychic powers twice per activation. Pretty straightforward, but you can see how this particular Ploy when paired with Exalted Astartes really opens up the options for your Sorcerers. A
- Slow and Purposeful affects your Rubrics; each time they shoot, if they haven’t made a normal move, charge, or fall back that turning point, they can re-roll hit rolls of a single result. This isn’t a bad ploy, but you have better access to re-rolls in the form of Infernal Fire, and unlikely to have enough Rubrics to justify spending your CP on this ploy. C
- Savage Herd allows Tzaangors to retain one normal hit without rolling if they fight in combat. If they are supported by another Tzaangor they can retain a critical hit without rolling. This is another mediocre ploy that isn’t really needed when you consider the Champion has Lethal 5+, and your Fighters can have Relentless. D
Tactical Ploys
- Capricious Plan can be used by a Sorcerer at the end of their activation. You immediately get a free Dash action and can change the operative’s order. An excellent Ploy akin to Returning To The Shadows for Wyrmblade, BUT BETTER! If it has any downside its that it can only be used on your Sorcerers, but they’re you best operatives anyways. A+
- Psychic Cabal lets your Sorcerers share powers if they’re within ⬟ of each other, letting you double or triple up on casting from the same Discipline. It’s a good reason to have all three disciplines in your Kill Team, AND to keep your opponents guessing. However, this can be hindered greatly depending on the map and objective spread. B
- Mutant Herd activate a Tzaangor and pick another Tzaangor within ■ to immediately activate after the current activation, before any Overwatch shots. Essentially the only way in which Warpcoven get access to GA:2. This is an excellent ploy, although the range limitation does make it much more niche. B
- Schemes of Change lets you discard a Tac Op and randomly generate a new one. This ploy is technically no longer usable due to the latest Tac Ops changes as players no longer generate a deck of cards. Your T.O. or opponent may allow you to use it to simply choose a new Tac Op to replace one you currently have, but at the moment this Ploys usefulness remains unclear until a F.A.Q. fixes it. ?
Equipment
- The Gargoyle Bayonet [2 EP], a Rubric-only option that gives the operative a 4/4-damage melee attack. At 2 EP it’s a bit much to spend for so little effect, particularly when your sorcerers are the real melee powerhouses. D
- High Capacity Magazine [1/3 EP] is new, and upgrades an autopistol, inferno bolt pistol, or inferno boltgun with the Ceaseless special rule, costing you 1 EP for an autopistol and 3 EP otherwise. A decent upgrade if you’re bringing Rubric Marines, but between Slow and Purposeful and Infernal Fire you already have access to a decent amount of re-rolling. C
- Occult Talisman [2 EP] gives you the ability to ignore mortal wounds or wounds from a psychic power shooting attack on a 5+. A niche item that might be useful depending on the weapons your opponent has, or going up against other Warpcoven or Legionnaires. C
- Sorcerous Scroll [4 EP] gives a Sorcerer a ONCE per game use of a psychic power from another discipline. This is pretty great, and you’re probably going to take it every game. Basically, you need to decide which power is most important to your strategy, or which Sorcerer you feel is at the greatest risk of dying. A
- Arcane Robes [2 EP] goes on a sorcerer and once per battle lets them turn a Crit into normal damage. This translates into 1 or 2 more wounds on your Sorcerer, but depending on the weapon may still be irrelevant. The wound thresh hold of Sorcerers being 13 means this isn’t going to matter much. D
- Ensorcelled Rounds [2 EP] gives Tzaaongor Fighters +1 damage to their Autopistols, essentially making them Bolt Pistols. This is a pretty big upgrade, but unfortunately Tzaangor shooting isn’t really why you take them. C
- Gilded Horns [1 EP] Gives Tzaangors the ability to turn one 5+ result into a critical hit when fighting after making a Charge Action. Not a bad choice if you’re bring Tzaangors, and preferable to the Ensorcelled Rounds simple due to how cheap it is. B
Tac Ops
Warpcoven come with your obligatory 3 Faction Tac Ops, two of which have actions only your Sorcerers can perform. More significant is that Warpcoven have “access” to either Security or Recon, but the composition of your team determines which of these archetypes you will use. If you have 5+ Tzaangor operatives you get Recon, 4 or more Marines gets you Security.
- Scry Secret is revealed during the first turning point and has your opponent pick one of their Operatives to be holding a secret. Your job is to then do the Scry Secret Psychic Action at them and then not die. Scry Secret requires you be within ⬟ of the secret holder. Do it, and you get 1 VP. Stay alive, and you score another. Tac Ops that let your opponent choose what you do are always suspect, they can hide that operative from you, or even purposefully get them killed. Additionally, requiring your Sorcerers do this means you’re using up their actions, and they’re already primary targets for your opponent to begin with. D
- Sorcerous Ritual asks one of your Sorcerers to perform a Sorcerous Ritual Psychic Action and you then reveal this Tac Op. Sorcerous Ritual is a psychic action you do while within ⬤ of the centre of the Kill Zone or Objective Marker MORE than ⬟ from your Drop Zone. Once you perform this action they location that you performed it at is the only place it may performed in later Turning Points. Do this in two Turning Points for 1 VP, and a third Turning Point for 1 more VP. Less terrible than Scry Secret, but now requires an action to be performed three times. If you are able to find a location that you can easily defend or remain Concealed on this can a strong choice. C+
- Grand Plan is revealed on the first turn – your opponent selects one of their operatives and an objective more than ⬟ from their Kill Zone edge. If you take out that enemy operative, you score 1 VP. If you control the objective at the end of any turn, you score 1 VP. Apparently, the Grand Plan is to let your opponent decide how you lose? D
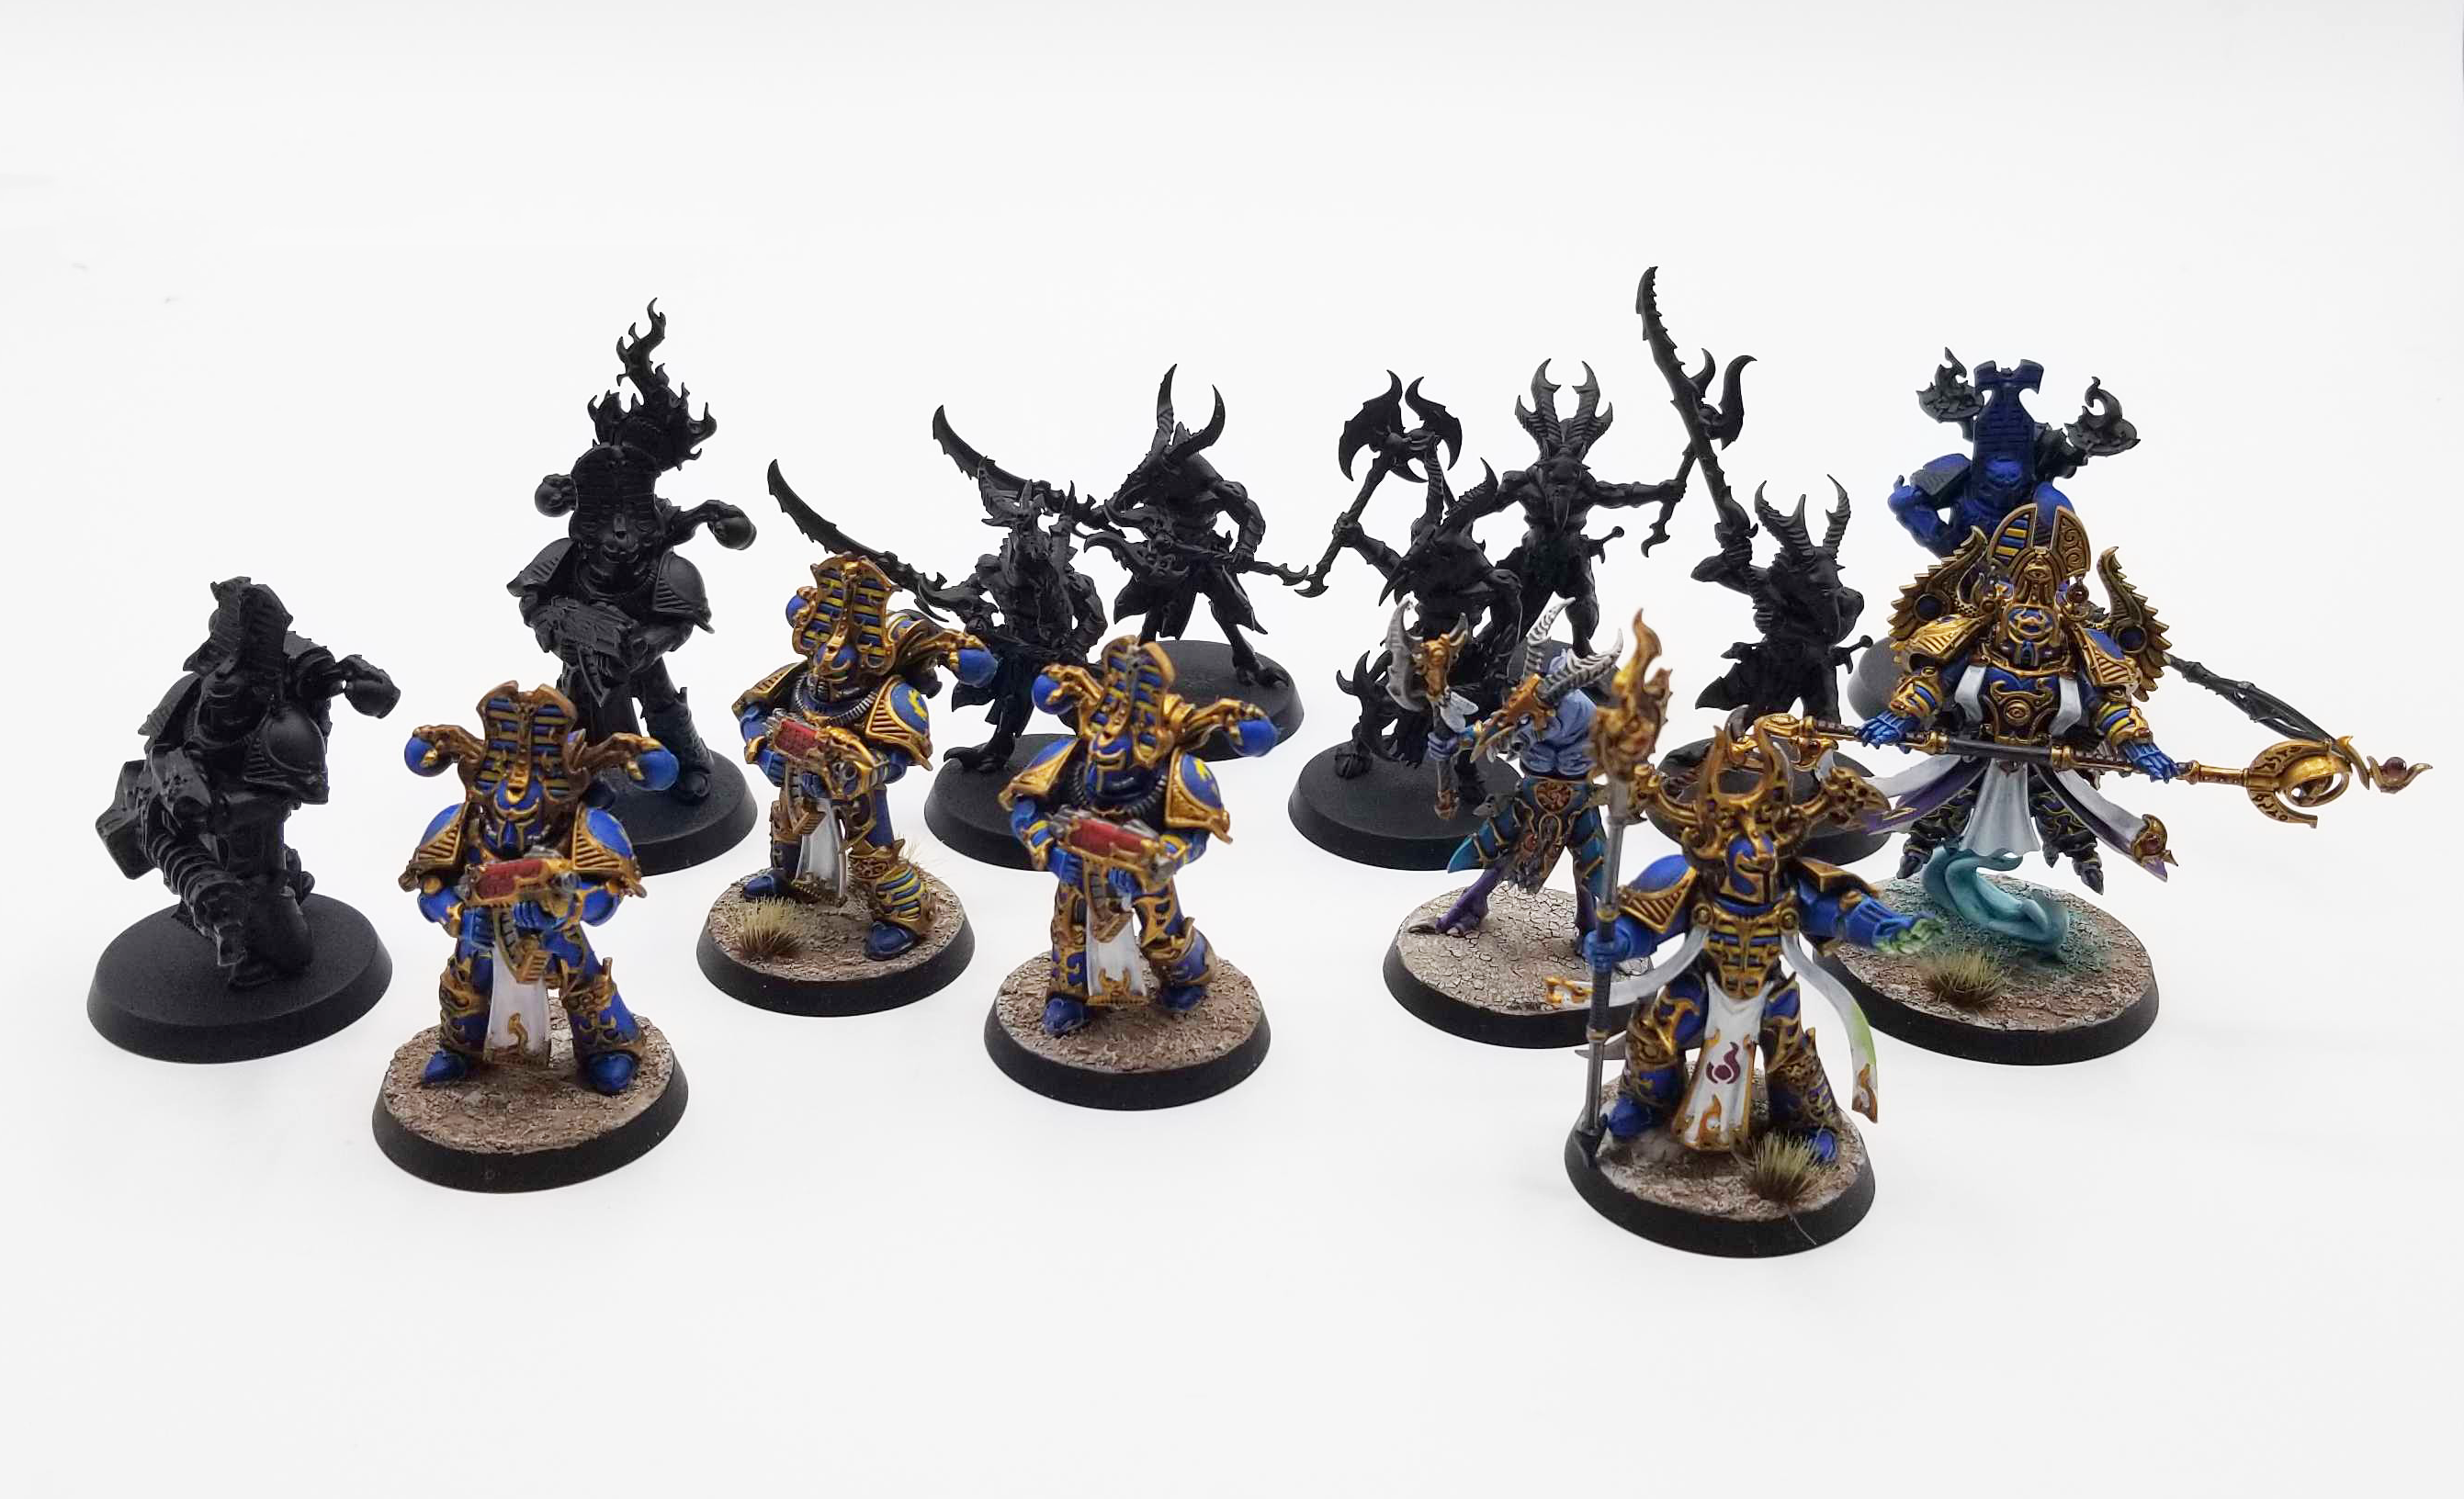
Building a Warpcoven Kill Team
Building a Warpcoven Kill Team roster almost always starts with your Sorcerers. You’ll need to have at least three Sorcerers on your roster and most of the time you’ll want 6 or more so you can mix up the powers and Boons they get. Combos like Immaterial Flight and Warp Portal can give the team some incredible mobility, and Time-Walker + Ephemeral Instability can give us an operative who can’t really be touched unless he wants to be. We’ll also want to consider one Warpflame Pistol option and Immaterial Flight allowing you to fly over obstacles and surprise poorly placed opponents. Mutant Appendage should also always be on your list so you have a Sorcerer oriented towards completing mission actions.
- Sorcerer with Khopesh & Force Stave, Boon: Immaterial Flight, Discipline: Warpfire
- Sorcerer with Khopesh & Force Stave, Boon: Empyric Ward, Discipline: Tempyric
- Sorcerer with Khopesh & Force Stave, Boon: Time-Walker, Discipline: Tempyric
- Sorcerer with Khopesh & Force Stave, Boon: Crystalline, Discipline Tempyric
- Sorcerer with Khopesh & Force Stave, Boon: Mutant Appendage, Discipline: Tempyric
- Sorcerer with Warpflame Pistol and Force Stave, Boon: Immaterial Flight, Discipline: Destiny
- Sorcerer with Khopesh & Force Stave, Boon: Warp Swell, Discipline: Destiny
For Rubrics there isn’t a ton of versatility, and there is no need to ever have more than 2 in your Kill Team. Bring an Icon Bearer and both Gunners, but leave the Warriors at home.
- Rubric Marine Icon Bearer
- Rubric Marine Gunner with Warpflamer
- Rubric Marine Gunner with Soulreaper Cannon
We’ll stuff the rest with Tzaangors, ensuring we have all the GOOD options.
- Tzaangor Champion w/Greataxe
- Tzaangor Horn Bearer
- Tzaangor Fighter w/Blades
- Tzaangor Fighter w/Blades
- Tzaangor Fighter w/Blades
- Tzaangor Fighter w/Blades
- Tzaangor Fighter w/Chainsword + Autopistol
- Tzaangor Fighter w/Chainsword + Autopistol
- Tzaangor Fighter w/Chainsword + Autopistol
- Tzaangor Fighter w/Chainsword + Autopistol
With this roster we have a solid number of Sorcerer combinations and can run three strong team combinations. In all instances you will want three Sorcerers and then choose between: 2 Rubrics/2 Tzaangors, 1 Rubric/4 Tzaangors, or 6 Tzaangors. The rule of thumb you should follow is the more operatives your opponent has the more Tzaangors you will want to help counter their board control.
How Do I Play Them?
Obviously the playstyle for this team will vary depending on its make up, but we can cover a few important things to keep in mind. The first is that all Kill Team missions currently have six objective markers, meaning you need to have a solid plan on how you want to contest them.You could opt to go heavy Tzaangors and try to hold the objectives, or opt to stay back and simply deny your opponent from holding certain objectives by keeping them within the Line of Sight of a Rubric Gunner, if a Vantage point is available. This kind of decision can only be made once you observe your playing area and see how the terrain relates to the objectives, additionally the mission type will also be important as Loot will require operatives to sit on objectives for the duration of the game, while others will not.
Second, the power and boon combinations you bring can be very important, and are affected greatly by whether it is an Open or Close Quarters board. For example, the divided and corridor style setup of Gallowdark boards can do a lot to hinder your operatives from buffing one another, or coming to the aid of threatened operatives. Additionally, you will need to ensure you activate your rubrics first so they generate an additional APL from their Sorcerer.
Third, play conservatively with your Sorcerers, while they are amongst the most versatile operatives in the game it takes a lot of planning to use them at their fullest. At the beginning of the game you want to do your best to present your opponent with no opportunities to attack them, while still managing to harm your opponent in some way. One way this can be done is by combining the Infernal Fire and Firestorm abilities to pull off a full re-rolls long range Indirect shooting attack on your opponent’s Concealed operatives. You can then use Capricious Plan to put this operative into Conceal. If your opponent has any Engaged operatives you will want to target them with DoomBolt and either Dash out of Line of Sight, or you can even use your final Sorcerer to use Warp Gate (thanks to the Sorcerous Scroll) to pull that exposed operative back into cover. This last Sorcerer could then use Ephemeral Instability to slow down the opposing team.
Something to keep in mind for Kill Team is that it is similar to chess, in that you are trying to set your opponent up to trade pieces in a way that favors you. The more unfavorable decision points you set up for your opponent, the better. Losing more elite operatives like Marines, while failing to kill an equivalent number of opposing elites, or two human equivalent models is a sure sign you’re on the road to defeat.
Final Thoughts
It is safe say that Warpcoven have only become better in the time since their release, and with the changes to both Tac Ops and Missions they’re in the perfect position for a skilled player to pilot them to victory in major events.
Have any questions or feedback? Drop us a note in the comments below or email us at contact@goonhammer.com.
