
G’Day Goonhammer readers! In this two-part series we will be covering our games at Clash of Kings Australia 2022 back in January. This is not supposed to be a documentation of tactical nous (or lack thereof), but instead to show newer players just how much fun these big events are!
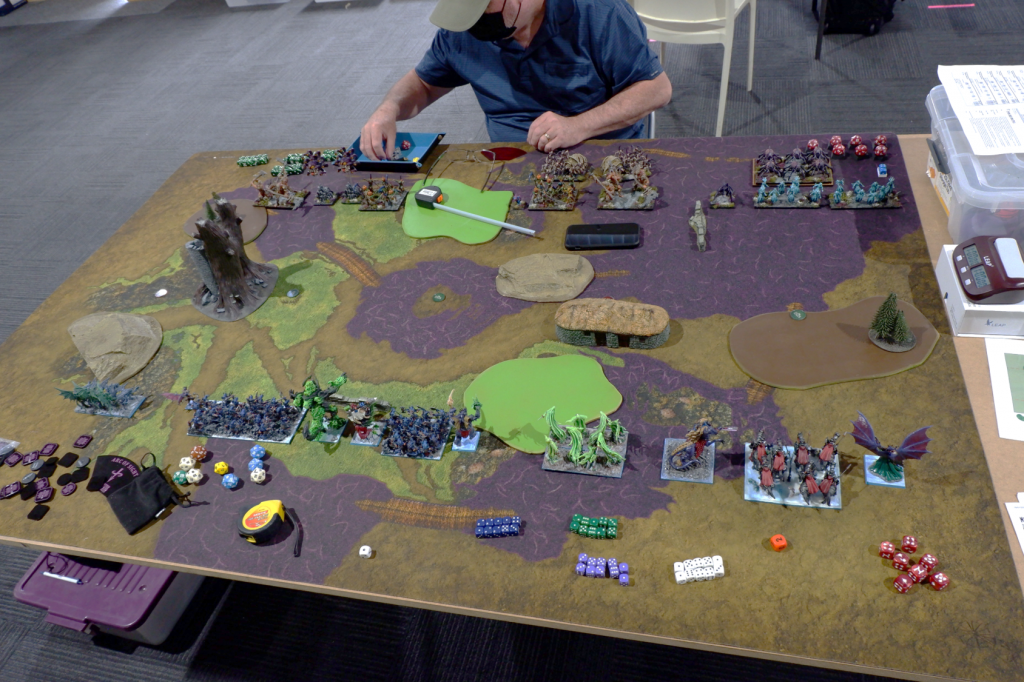
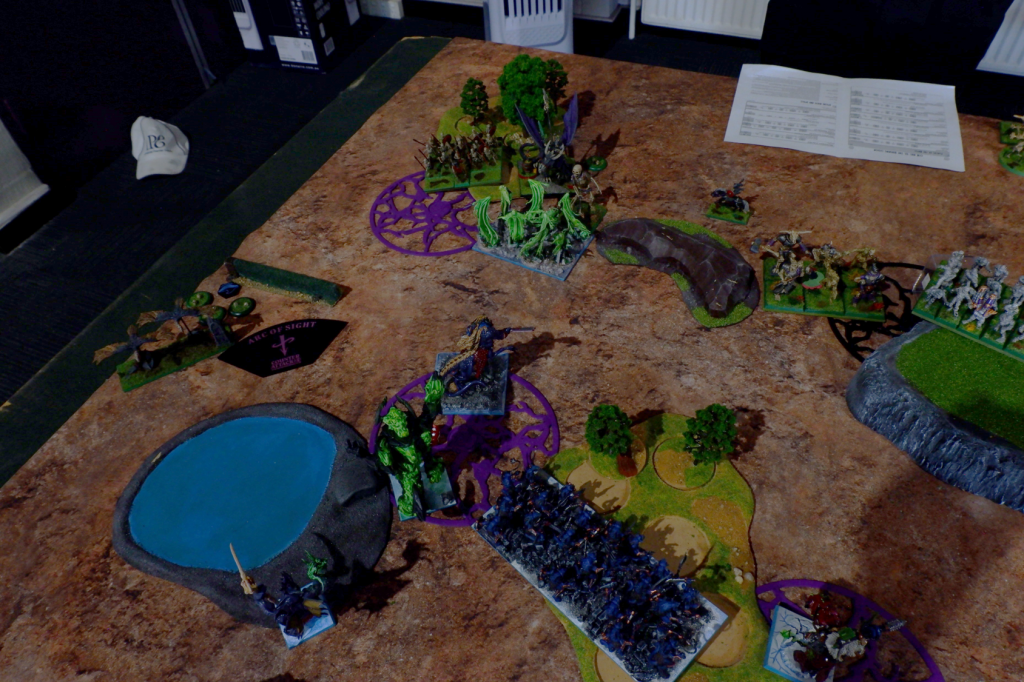
It’s Day 1 of Clash of Kings. We had just recovered from our monumental drive up from Melbourne to Canberra and the caffeine from the teas and coffees was just kicking in. We bring in our armies, perform our COVID-19 rapid antigen test (all negative!) and get to our tables to start the first round.
You can find a lengthy description of our lists here; otherwise you can find all of the lists from the tournament here.
We were optimistic about our performance; 3 wins and 3 losses was a simple enough goal. Of the two of us, Urr had hopes to end up higher on the ladder, whilst Cytoplasm was content to break even if he could. If you don’t care about spoilers you can see how we did here, otherwise let the battles commence!
Urr’s Day 1
Round 1
Scenario: Control
Urr vs Tony’s Nightstalkers
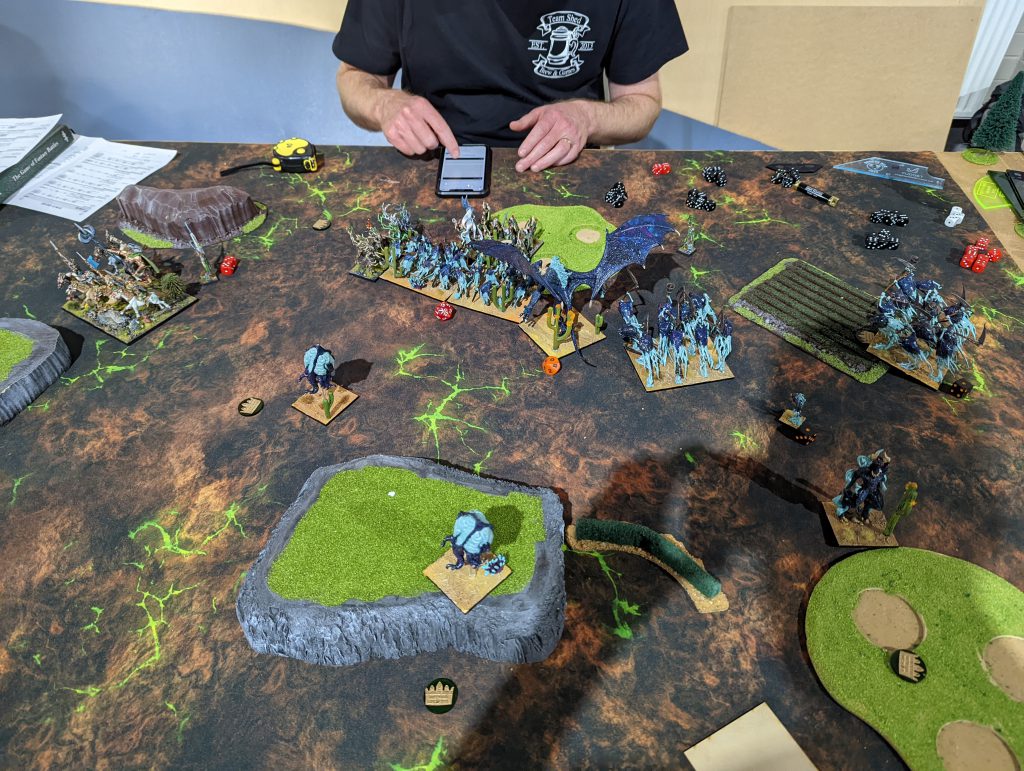
First up I was playing Tony Winmill and his Nightstalkers, so right off the bat we knew this could be a very swingy game. The complete lack of Inspiring on the board meant that any nerve test would stand, and that would cut both ways.
Tony’s list is built around the hordes of Butchers being a difficult to remove core, with a fast group of Phantoms, Fiends and a Void Lurker, and the seemingly compulsory Mind-Screeches and Horror for support.
Going in, I think my list has the tools needed to deal with this, I’ve just got to make sure that my Reapers get to connect with the Butchers, and I mitigate the speedier elements of his list with lightning bolt for the chaff and my chaff for the Fiends and Void Lurker.

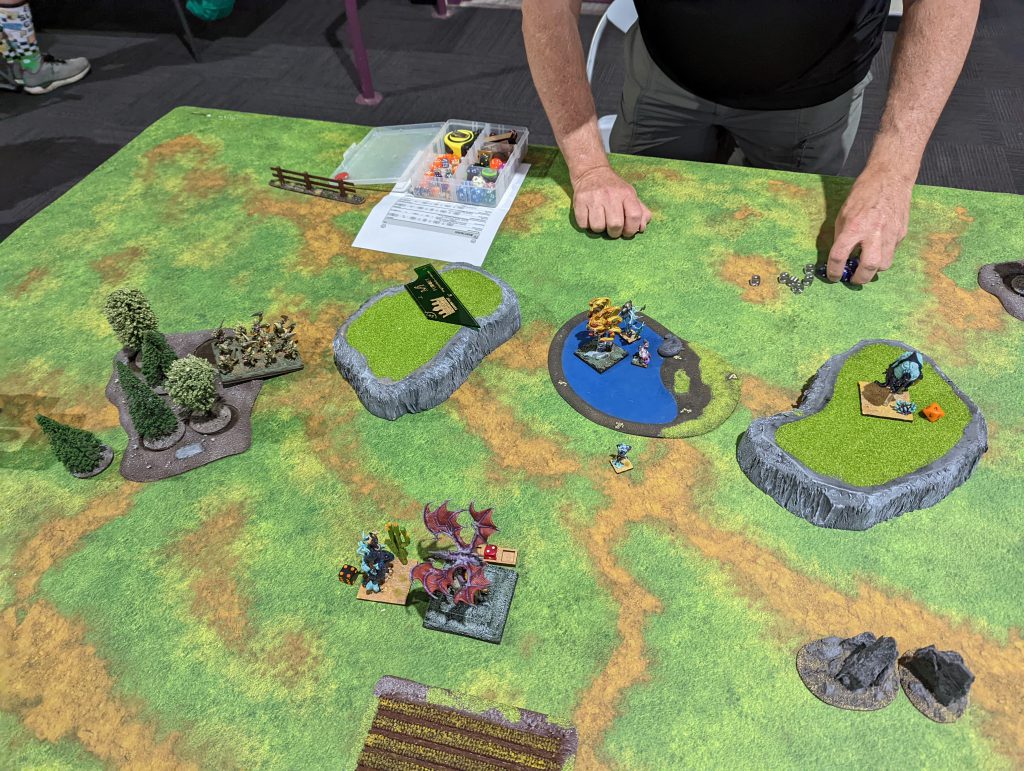
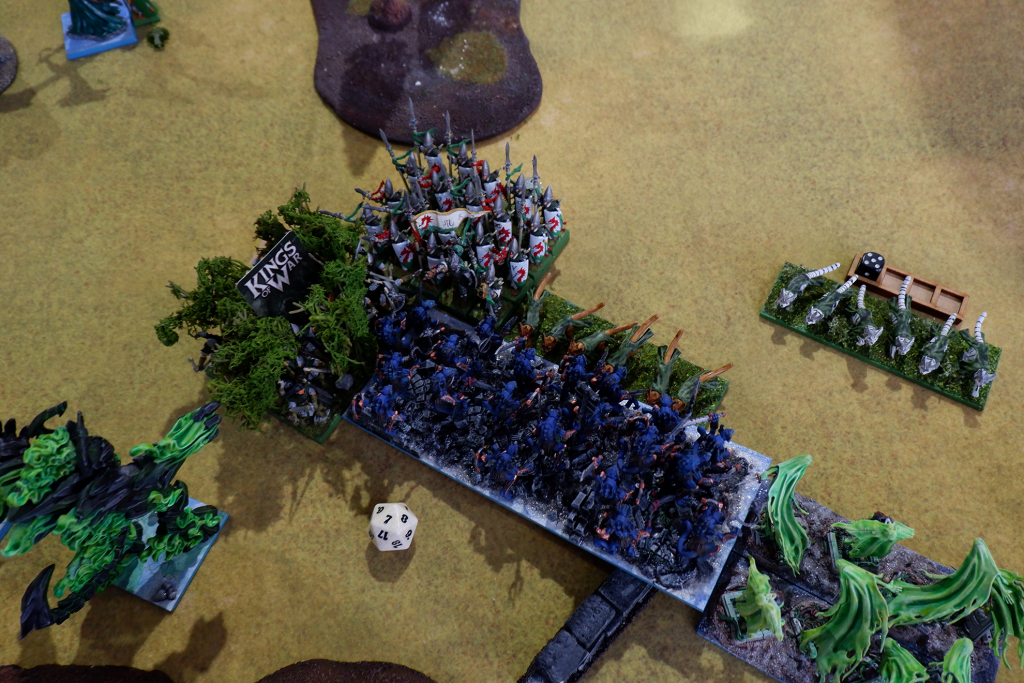
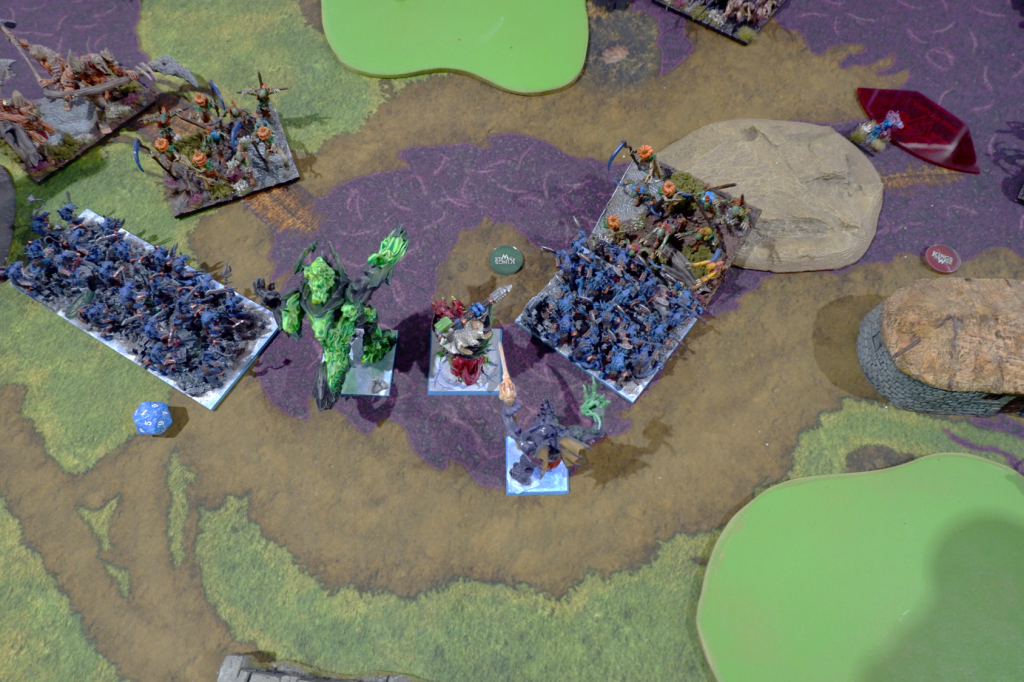
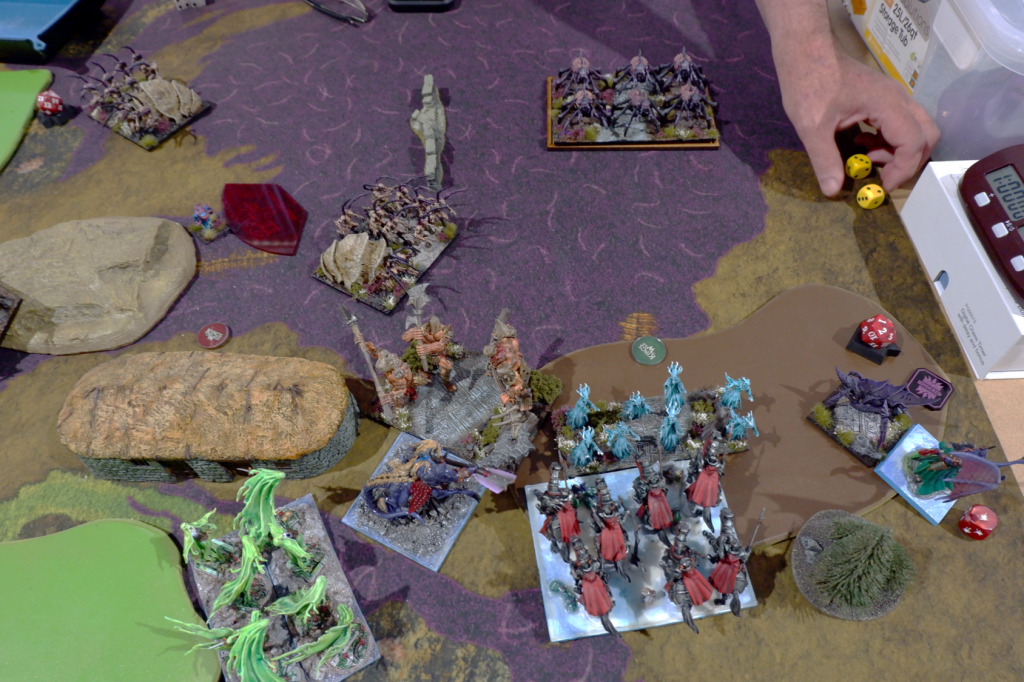
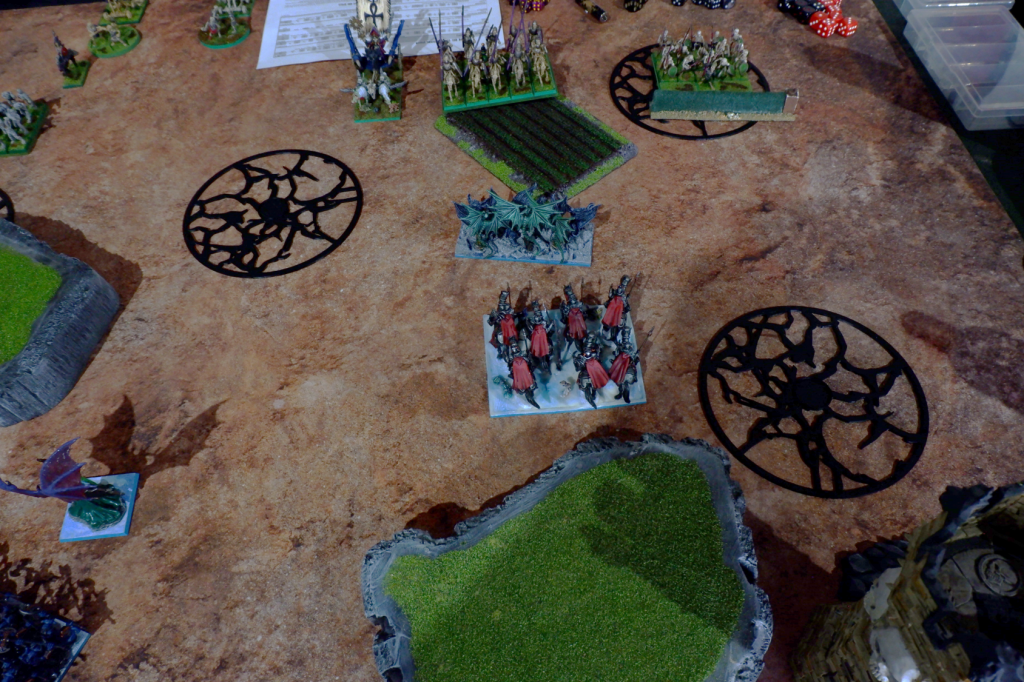
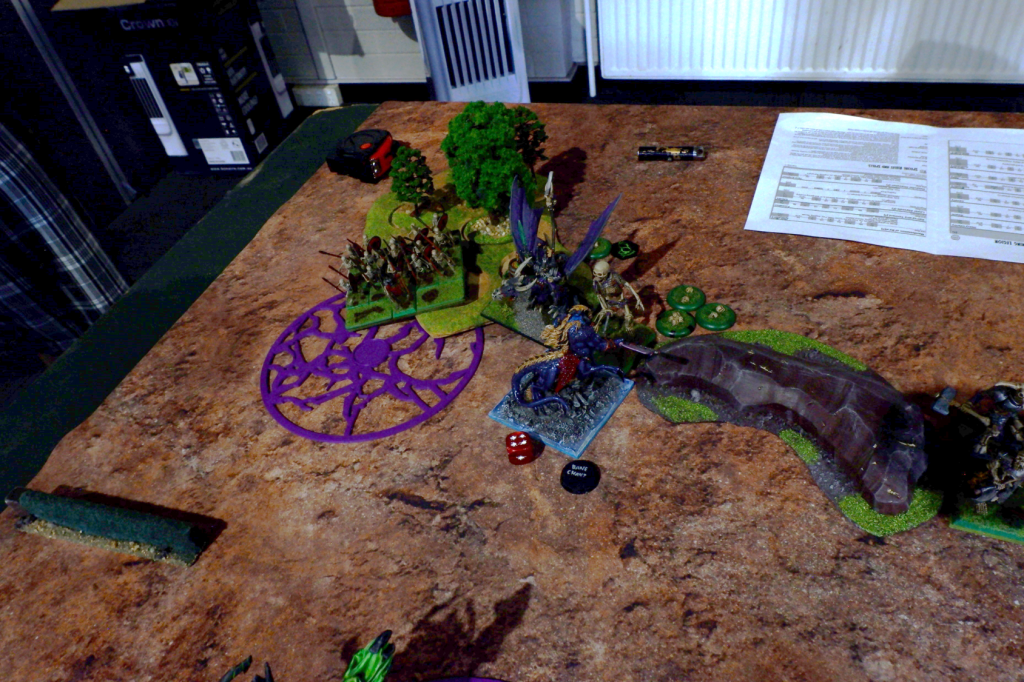
As you can see, I’ve grouped my forces together with more than one line, while Tony has spread out a lot.
Tony got first turn and moved everything up, positioning his flyers to prepare for flanks and to charge in with his other fast units.
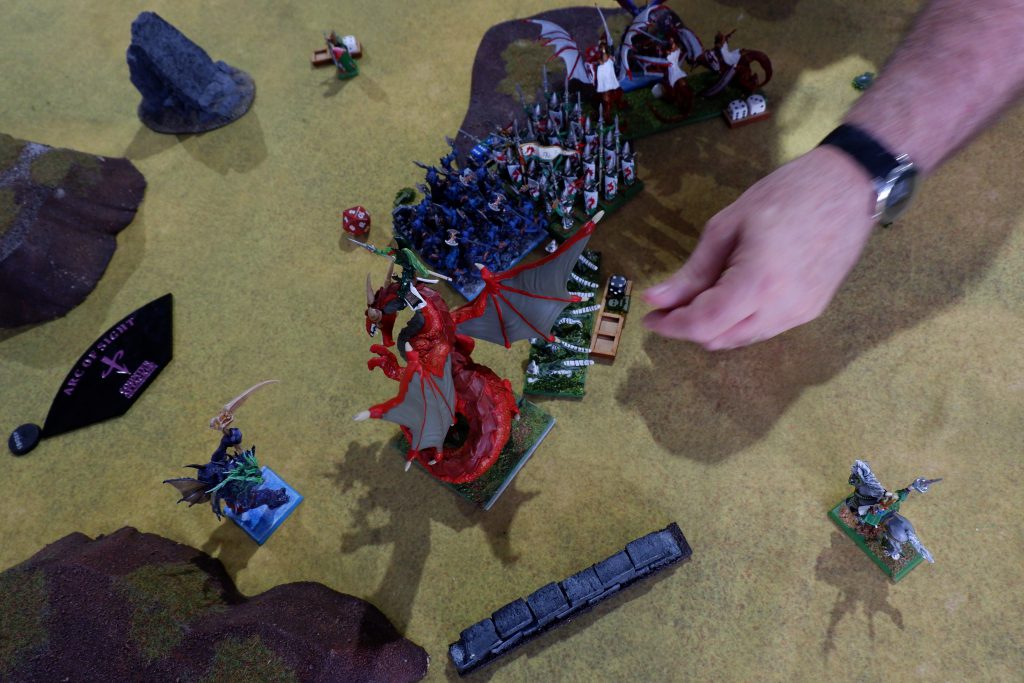
I responded by moving forward as well, throwing my Phantoms up into the Fiends that crested the hill on my left, and positioned my monsters to deal with his Void Lurker closing in on my left. A few lightning bolts put some wounds on the Phantoms on my left, while my Phantoms managed a couple of wounds on Tony’s Fiends, and then got the double 6’s needed to waver them! They still got killed the next turn by the Dread-Fiend, but it did mean my Scarecrows made it in to give the Fiends more of a hit than I’d been expecting. We continued on, fighting and trading pieces in the middle, with dice going each way. He gets a lucky waver on a Reaper unit, setting up a Butcher horde in the flank, I throw a Mind-screech into said horde’s flank along with Esenyshra in the front, and roll hot to take it off.

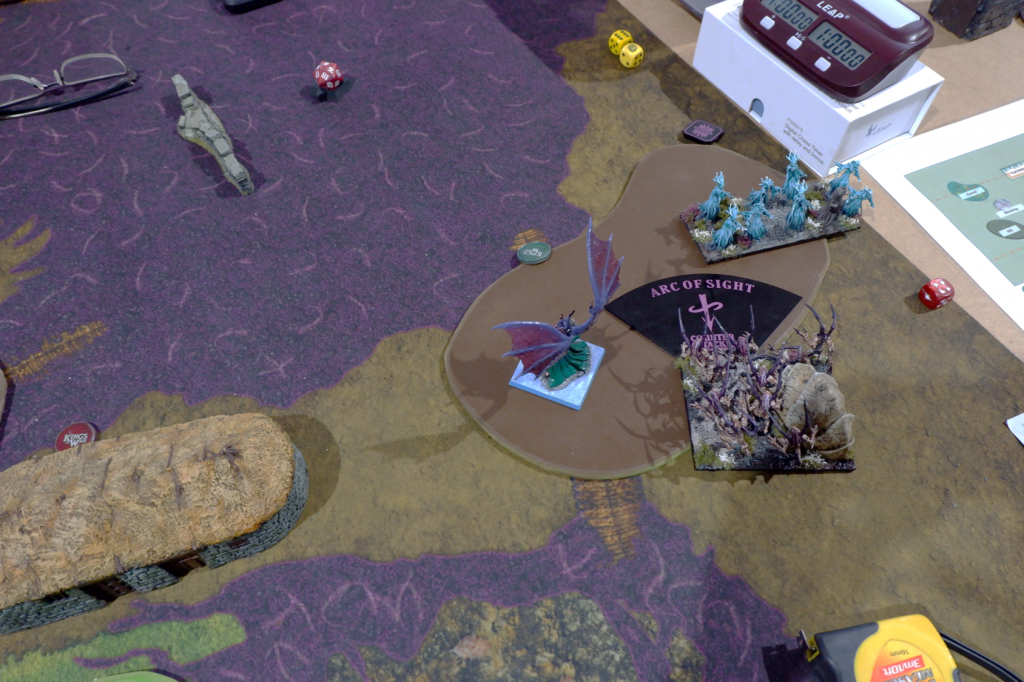
In the end it came down to a couple of target priority mistakes on my part. I threw my Void Lurker into a fight with Tony’s Scarecrows way too early and got hit by his Phantoms in the flank. I stayed trying to kill the Scarecrows, failing miserably, and gradually got ground down. I should have held him longer and threatened the monsters in the back, or gone for the flank of his Fiends that you can see in the photo above. I also needed to push up a Reaper unit and kill off his Scarecrows to take unit strength off the board, but went to reposition instead. Had I killed them, that would have meant he only had monsters left to score with, instead of me ending up as the one with only monsters.
Instead, I was left throwing a hail Mary for a draw; if Esenyshra can kill a Mindscreech, we each hold one normal zone and tie in my middle deployment zone, but alas, it was not to be.
The game ended with Tony up, and a very close 7-14 loss for me, which puts me in the top end of the losers, so my submarine journey (hopefully) starts here. It also puts Tony in the running for Unluckiest General (most double ones in the tournament) which he eventually wins.
All in all, I am very happy to start my weekend with such a close game, and I’d be fine losing all of them if they were this tight.
After having a wander and a look at all the other games and checking out how the rest of the crew were going it was time for round two.
Round 2
Scenario: Plunder
Urr vs Rob’s Salamanders
First off, there’s no photos of this game. Rob and I started chatting right from the start of the round and so I just forgot. It turns out Rob had been to the last Melbourne event and we had had a brief chat then. Rob was a long time Warhammer Fantasy player but had recently started in Kings of War, and you can see in the pic below a very well painted army with a mix of old Games Workshop Lizardmen, Mantic Salamanders and dragons from a manufacturer I don’t know.
See his list here.

I deployed most of my army in a cluster aiming for the two primary tokens, with most of my fast units across from Rob’s Fire Drakes, which were both placed on my right. My Void Lurker went on my left, giving it a lot of angles and threatening positions, after I sped up the side of the table turn one. Rob had his large units deployed across the middle, with a fast flank on my right, containing the two Clan Lord on Fire Drakes and Battle-Captains on Rhinosaurs, with the Scorchwings screening some Tyrants.
Rob gets first turn, and moves everything up, the big units going for the two center tokens. The Clan Lords advance into a forest on my right flank, and the two battle captains each grab a 1 point token, and will spend the rest of the game running back to his deployment zone.
My turn one is quite similar, I advance my Void Lurker up on my left flank and set up some future charges. The Scarecrows move up as bait/cover for the Reapers, and on my right flank I put the Soulflayers and Phantoms into one Clan Lord, and the Planar Apparition into the other, while I set up a unit of Reapers and Esenyshra to charge next turn. Lightning bolt puts a bit of damage onto the Scorchwings, but they hold.
On turn two, Rob takes the bait and charges the Ceremonial Guard into the Scarecrows on my left flank, and easily destroys them, but cannot reposition to avoid getting Reapers in the front and Void Lurker in the flank. The rest of the infantry continues towards the middle, except the Ancients, which head over to try to deal with the Void Lurker. They will spend the rest of the game keeping it locked in combat with them, so not a bad use. One unit of Tyrants destroys the Soulflayers, and the Clan Lords kill off the units facing them.
I get to hit back on my turn, destroying the Ceremonial Guard, on my left flank and the Sharpness Clan Lord on Fire Drake on the right. Rob has messed up a bit with his reforming of his Tyrants here, and the Reapers are now in their flank, and out of line of sight from anything that could stop them, and this is where the game starts to slip away from him. We continue to trade things in the middle, fighting over the two two-point objectives, but I am getting the better of the trades; losing Scarecrows but in doing so setting up good charges for the Reapers onto the Tyrants, and just feeding anything I can to ground the last Clan Lord, including Esenyshra, who gets one shot on me, which is the start of a theme here. By turn 6, the Reapers have cut through everything bar the Battle-Captains who ran away, and the Clan Lord. That Clan Lord then has to go and sit on the middle objective and survive to give Rob a 4-2 win, but luckily for me, one unit of Reapers is ready and waiting, gets the buffs from the Horror, and does its job, killing the last Clan Lord and giving a 4-2 victory to me.
I think this ended up being a pretty good matchup for me. I have enough speed to take one flank and hold the other if Rob splits up the Clan Lords, and as demonstrated, can take them down if they both come on the same flank. I am not sure there was a lot Rob could do, there’s just too many points invested in those two models, so if they are not effective the rest of the list will struggle. A couple of reform errors really cost him, letting the Reapers get kills safely (flanking the tyrants) and prepare for another charge the following turn. I did focus a lot on just killing at the start, instead of the objectives, which is something that could have bit me, but fortunately didn’t, which is always important to keep in mind. I would have been kicking myself if I had lost after killing almost everything but losing on objectives.
Another great game here, and I will probably see Rob at the next local event and maybe he’ll get his revenge.
Round 3
Scenario: Pillage
Urr vs Dan’s Sylvan Kin
For game three I was up against Daniel Bird. Now Dan is the guy who introduced us both to Kings of War, so we were staying up with him and his team (Team Shed). Dan and I played a practice game the night before, and it did not go well for the Sylvan Kin, even with some poor rolls from me. Unfortunately for Dan, Nightstalkers are a counter to the Gladestalker shooting list Dan is running, and my Nightstalkers are fast enough to not give what shooting there is time to work. So going in I was pretty confident, I just had to make sure I was playing for objectives, not just killing.
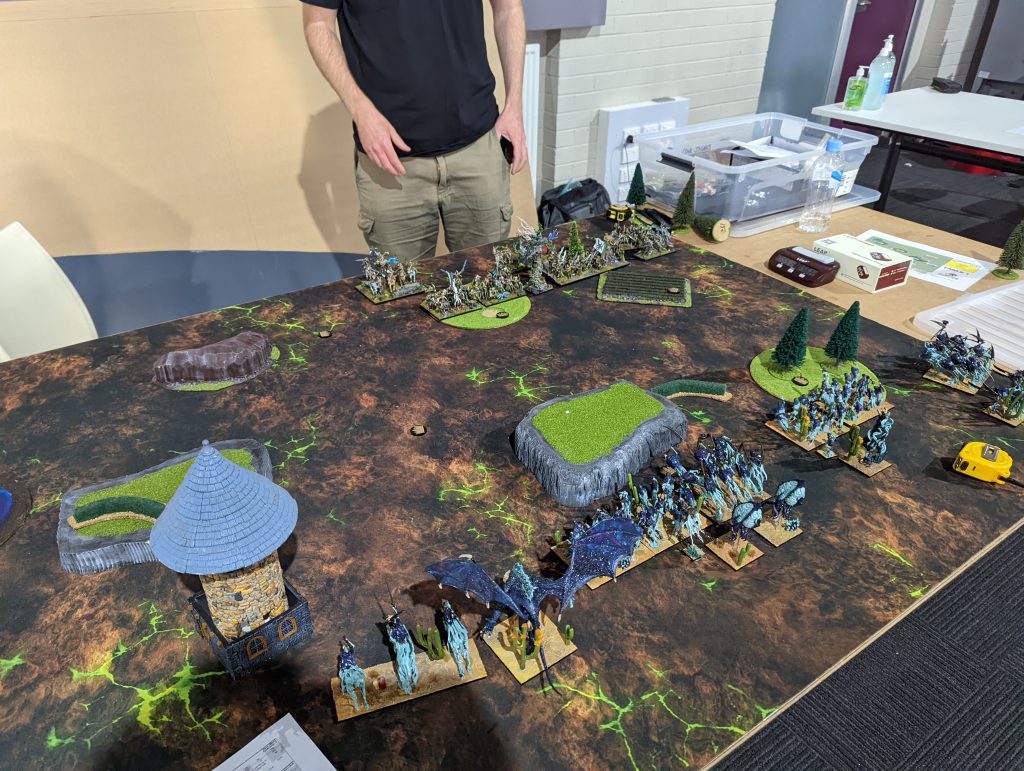
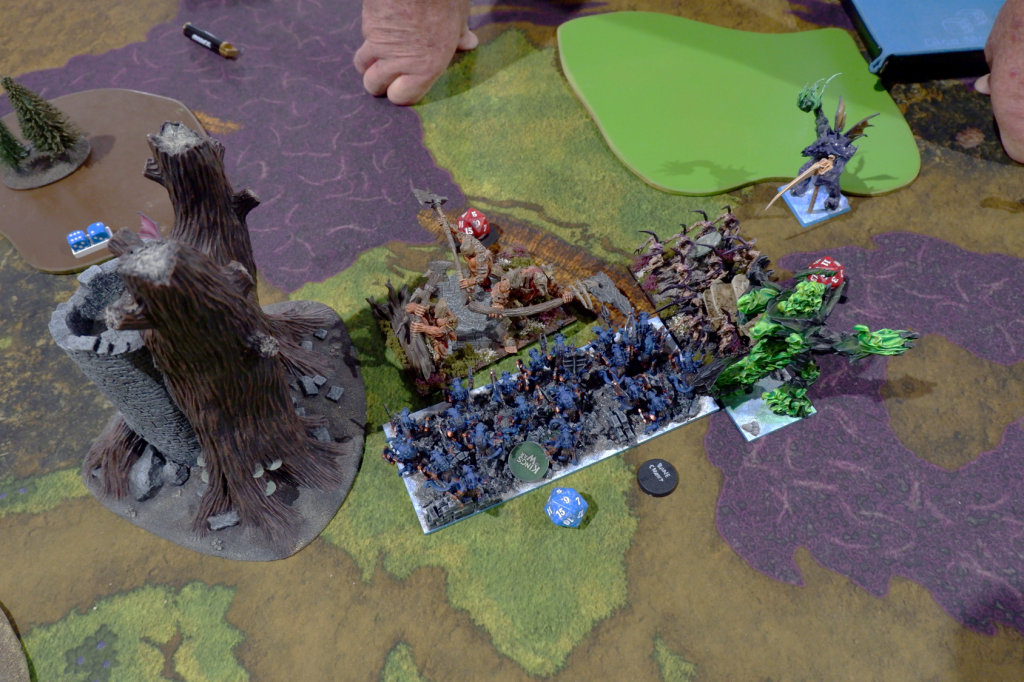
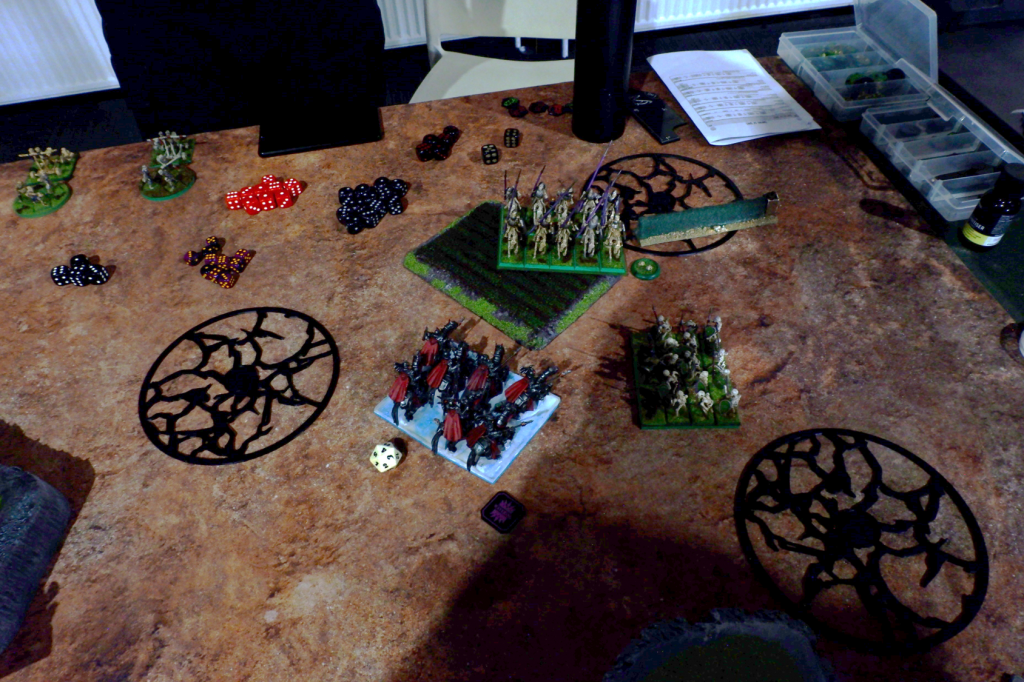
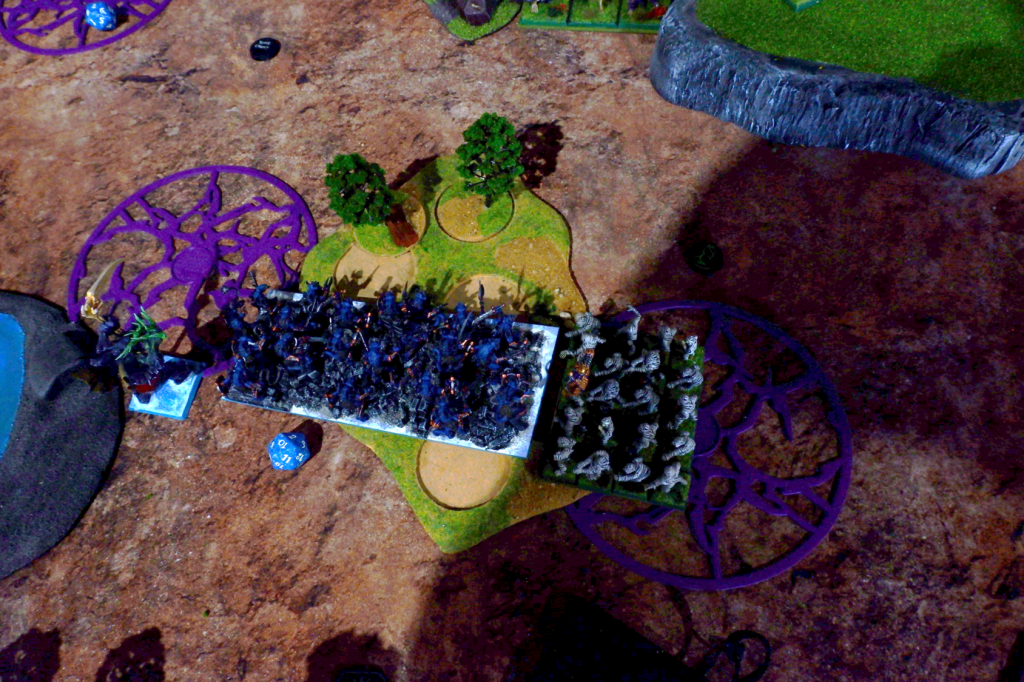
We both deployed opposite each other, huddled in on one half of the board, ignoring the board half to my left. We put all the objectives bar one in a tight bunch on the right half of the board (see the above photo). I go in aiming to hold the three objectives near me and take control of one or two of Dan’s or, if needed, make a sprint for the far left objective that we are both ignoring. I also have my “secret” weapon of Wind Blast here, and as I end up with going second, I can blow units off objectives on the last turns.
I have my speed on my left, except for the Phantoms, who are going to be chaff for the Reapers on the right. The Soulflayers and Void Lurker are faster than the Stormwind Cavalry so can keep threatening them (and the rest of the army) while being safe from reprisal.
The first two turns see Dan’s army getting into position around the terrain and shooting, while I move up and lightning bolt, and try to heal the chip damage from said shooting.
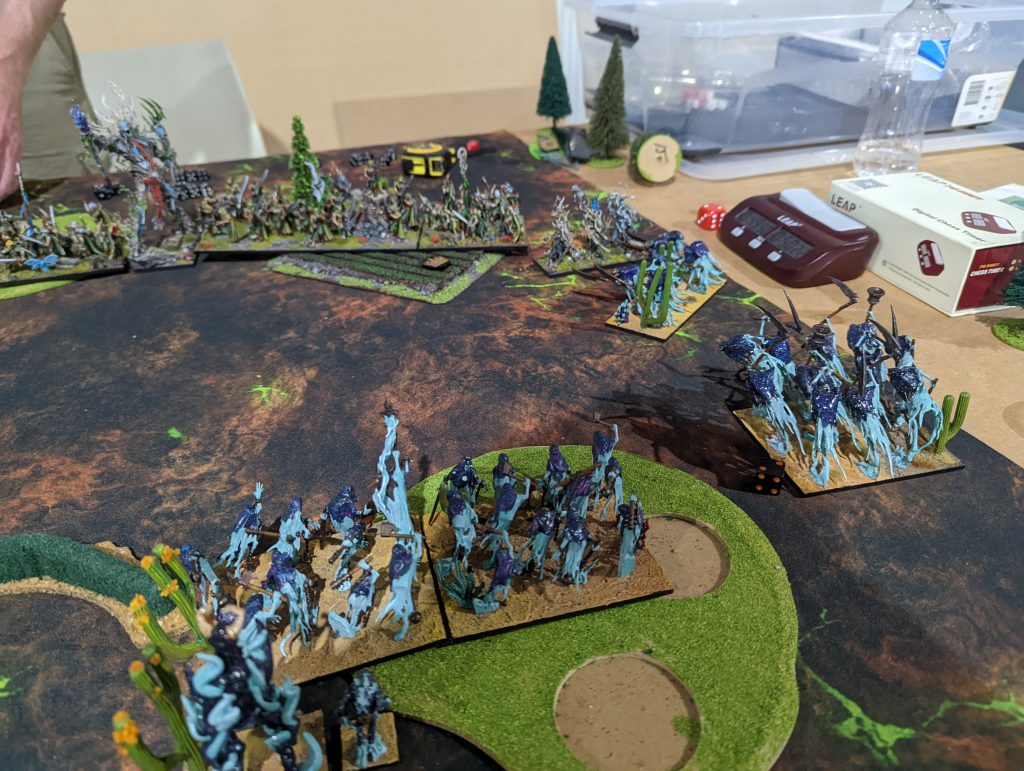
On the right, the Phantoms move up to take a charge for the Reapers, and the Stormwind Cavalry keep moving back to try and not get hit. The Boskwraiths on my right kill the Phantoms, then are charged by my Scarecrows, killing them, who then get charged by the Wiltfather. I use my Reapers and Planar Apparition to deal with the Palace Guard and only just kill them, while on my left the Soulflayers have tried to kill some Gladestalkers, only to fail and be killed by taking the other unit in the flank.
The Scarecrows and Void Lurker follow up, the Lurker killing one unit while the Scarecrows fail, but miraculously survive the swing back with the Boskwraiths in the flank as well. This mostly seals the game, with the Wiltfather killing Esenyshra in one go, but then going down to Reapers soon after, and while the Stormwind Cavalry had moved to take an objective, I move up and Wind Blast them off, taking an extra point for me and leaving me up 4-0.
Like I said at the start this was my game to lose, and thankfully I kept myself in check and focused on the objectives. With a few different dice rolls it could have been closer. The Palace Guard almost waver instead of die, but that wouldn’t have slowed me down enough, and even if the Scarecrows on the left do die (as they probably should), I’ve still got too much dangerous stuff left that can still score.
So a good day for me by the end, one close loss and two solid wins set me up to be in the upper middle of the pack. But more importantly, all the games had been very enjoyable and I was excited for the next day.
Cytoplasm’s Day 1
Round 1
Scenario: Control
Cytoplasm vs John’s Elves
The army of Elves being fielded by John was formidable; a considerable portion of it was made up of hard-hitting fast units like the Drakon Riders (a regiment and a horde), Nimble Stormwind Cavalry and the terrifying Tydarion Dragonlord. To help all these units get the charges they wanted, four regiments of Battlecats were ready to annoy me. The Elven Archmage exists to support the aforementioned hammer units, while the Kindred Gladestalkers and Therennian Sea Guard provide ranged support and unit strength.
A Self Critique of My Deployment
There are distinct battle groups in my deployment (particularly this early in the morning, with distinct slow and fast components.
Why I deployed the Abyssal Horsemen (the ultimate hammer of my army), not in the forest, I do not know. Was I afraid of being hindered by the terrain? Probably. But this then provided John the entire flank, which his drakons and dragon were happy to use. As a band-aid for this awkward situation, I had placed my winged Abyssal Champion on the far right flank (not shown).
Massacre on the Right
The first turn of the game was uneventful; shooting was ineffective for both sides, and the drakons moved up relatively tentatively. The Abyssal Champion, in an act of impatience, charged the Drakon regiment. Despite successfully disordering the Drakons, the Abyssal Champion was then multicharged by Tydarion and the Drakons, which pivoted to face the flank of my entire army upon the Champion’s assured demise. This was not a good use of the Champion.
Before I knew it, the fight was on in earnest.
The Gargoyles had screened the Abyssal Fiend, however this ended up being a foolish use of them because the Battlecats overcame such feeble Gargoyles and themselves acted as a screen for the Stormwind Cavalry.
The horde of Drakons gently hit my Abyssal Horsemen, who polished off the discount dragons on the countercharge. However, Wave 2 of the assault saw my Abyssal Horsemen promptly destroyed by the Drakon regiment and Tydarion.
The Stormwind Cavalry attempted the same feat against the Abyssal Fiend, but pulled up short on the nerve test. The consequence of this was that the Stormwind Cavalry were ripe for a flanking attack by the Tortured Souls. Despite this minor victory, the Tortured Souls and Abyssal Fiend served only as a roadblock for the Drakons and the Dragonlord, safeguarding the rest of the army until Turn 5.
Skirmishing on the Left
Combat on the left half of the battlefield was more muted. The Lower Abyssals slowly advanced on the Gladestalkers and Sea Guard. These rained down arrows from the cover of the forest. The horde of Lower Abyssals took an opportunity to remove some Battlecats, but unfortunately only wavered them. This left the Abyssals’ flank exposed to the Gladestalkers who promptly dissected the demonic wretches from the battlefield.
This terrible turn of events was at the same time as the Drakon incursion, Turn 3, so my confidence began to waver. Yet, the Gladestalkers were quickly dispatched by the regiment of Lower Abyssals and the Chroneas.
I wasted the potential of both the Manifestation of Ba’el trying to remove the leftmost Battlecats, before being stuck in combat with the King’s Champion; a combat that eventually involved the Despoiler Champion who took over while Ba’el tried to get his points back elsewhere.
It all comes together
The two separated battles joined in the last turns of the game. Tydarion absolutely demolished the Chroneas while the Drakons flew off to dispatch Ba’el in the woods. Unfortunately for the Drakons, Ba’el didn’t blink and cut them down in response. Meanwhile the Lower Abyssals ground the Sea Guard underfoot, only to be taken out by Tydarion.
Suddenly, it became apparent that all that remained with unit strength was my Warlock and Ba’el. John had Tydarion and two Battlecat regiments. One regiment had managed to get halfway to Uluru, guaranteeing John at least 1 Victory Point. The other was right in front of Ba’el, who promptly destroyed them.
With Ba’el in my opponent’s middle region (2 Victory Points) and my Warlock in my own middle region (1 Victory Point), I need only stay out of the charge arcs of Tydarion to secure the win. Tydarion did try to burn my Warlock, however to no success.
It was by these pitiful means that I secured victory, yet my army was sorely decimated. John was a lovely opponent who enunciated what he was doing and played very tightly. Looking forward to future matches against him!
Round 2
Scenario: Plunder
Cytoplasm vs Michael’s Nightstalkers
My next opponent was Michael and his vibrantly painted Nightstalkers. Quick mention of the colour choices, because it all popped and the miniatures were a mix of Mantic, Mierce and 3D printed. It was fantastic to look at and play against.
Of all the armies to come up against, Nightstalkers were my preferred enemy. The many games against Urr on Tabletop Simulator had taught me their ways, and so in a rare show of insight, I managed to figure out what Michael’s army was supposed to do, and I worked on trying to stop it.
See his list here.
The army is broken down into glass hammers (Reaper regiments), tough hammers (Butcher hordes) and medium cavalry (Fiend horde). The Reapers and Fiends require screening to protect them from being charged, so that was where the Scarecrows and Phantoms were going. The Mind-Screeches and Horror would then be wherever was deemed best to support the army. Oh yes, I felt I had it all figured out.
Better Deployment
Looking at the deployment, my wise deductions appeared mostly correct. The only deviation was that he used one unit of Butchers to screen Reapers, keeping the other Scarecrows for Loot token grabbing.
I deployed my army as two separate battle groups. The slow grindy half on the left, and the fast hammers on the right. The Gargoyles were destined for the 2 Victory Point Loot token on the left, while the Tortured Souls were destined for the 2 Victory Point Look token behind that hut. My Abyssal Champion (aka The Torpedo) was deployed opposite the Mind-Screeches. My goal is to ensure they rarely get to cast anything.
Holding the Left
The first turn for the Nightstalkers was quite muted, with everything moving up just a little. The Mind-screeches fired off some bolts are my Lower Abyssal horde to little effect. The Butchers on the far left at first went for the leftmost Loot token, dissuading my Gargoyles from making a real play for it.
The Lower Abyssals in line with the Chroneas and Despoiler Champion advanced on the midline, my sights set on the tokens. Covering this advance, the Abyssal Champion charged a Mind-screech on Turn 2 and promptly disordered it. The Gargoyles unfortunately fell to the remaining Mind-Screech, removing my ability to acquire that token completely.
Despite this, the huge slab of meat that was my Lower Abyssals and friends were still unchallenged, and the Nightstalkers realized they sorely needed more to deal with it, so the leftmost Butchers and the Reapers in the middle turned toward my invading demons.
Not wanting to be double charged by Butchers and Scarecrows, I sent my Chroneas and Lower Abyssal horde into the Scarecrow regiment, quickly flattening them. The Butchers then charged into the Lower Abyssals, but what I did not expect was one of the disordered Mind-screeches (my Abyssal Champion had been bouncing between them) to charge my Chroneas and prevent it from joining in the fight! Very smart move. This meant the Butchers could kill the Lower Abyssals at their leisure, yet it took far longer than anticipated.
The oncoming Reapers made their way through my Lower Abyssals and Despoiler Champion, acquiring a Loot token on the way. Despite taking their time in two separate combats, they eventually flank charged the Lower Abyssals, freeing the Butchers from their combat purgatory and passing the Loot token to the Butchers.
Patience on the Right
The Manifestation of Ba’el and Abyssal Horsemen quickly moved into the forest to gain line of sight on the Nightstalkers beyond, yet ensured that they were outside of the threat range of everything except the Phantoms.
As expected the Phantoms hit first, shutting down Ba’el’s magic, but paying for it with their lives (souls?). The second wave saw the remaining Phantoms hit the Abyssal Horsemen, in an attempt to screen the Butchers which charged the Abyssal Fiend and the Dread-Fiend which went into Ba’el. Thanks to the terrain, the charges were softened, but they had done their job, which was to allow the Reapers and Fiends to close in.
The Abyssal Horsemen helped Ba’el remove the Dread-Fiend, but were then charged by the Fiends. Thankfully Ba’el was positioned just to the side enough that he could engage the flank of the Fiends and they were slain, freeing up Ba’el and the Horsemen to face inwards.
The Abyssal Fiend (so many fiends!) fell prey to the Reapers, while the Phantoms that had been ignored by my Horsemen managed to one-shot my Tortured Souls! Sorry, Tortured Souls, I used you poorly. Remember how I meant to use them to threaten that 2 Victory Point Look token? I certainly didn’t.
The Butchers tried to take down the Horsemen alone, but died in the attempt (Brew of Sharpness Horsemen are nothing to mess with), so it came down to the Reapers to remove my cavalry, which they managed to without fuss.
The Manifestation of Ba’el became the sole survivor, and the Reapers managed to grab the Loot token on this half.
A Ridiculous Finale
At this point, the game seems set in stone, the Butchers and the two regiments of Reapers hold three Loot tokens, even if they are only the 1 Victory Point tokens, it’s a clear path to victory. With little else, I attempt two desperate ploys.
The Abyssal Champion, who had personally slain one of the Mind-Screeches, torpedoes into the Butchers, who have already suffered damage thanks to their grind with the Lower Abyssals. At the same time, the Abyssal Warlock rear charged the Reapers, for who would worry about some warlock in the rear?
The result? Dead Butchers and dead Reapers. Now my Abyssal Warlock had a Loot token, making it a draw.
At the same time, my Chroneas was engaged with the Horror, who failed to wound the Chroneas in return. Within 12” of my Chroneas, directly in front, was a 2 Victory Point token (the one behind the hut). My Chroneas ignored the Horror and claimed the token for a victory.
Once again, I managed to tease out a win from looked like complete defeat. I would not put it down to any strategic genius, just an ability to see at least one way to win after multiple blunders. For instance, both the Tortured Souls and the Gargoyles were fully capable of waiting until the right moment to grab those tokens, but instead I tried too quickly with the Gargoyles, and completely forgot with my Tortured Souls. I need to make sure I stick to the plan I form when deploying, otherwise why am I deploying that way at all?
Round 3
Scenario: Pillage
Cytoplasm vs Chris’s Empire of Dust
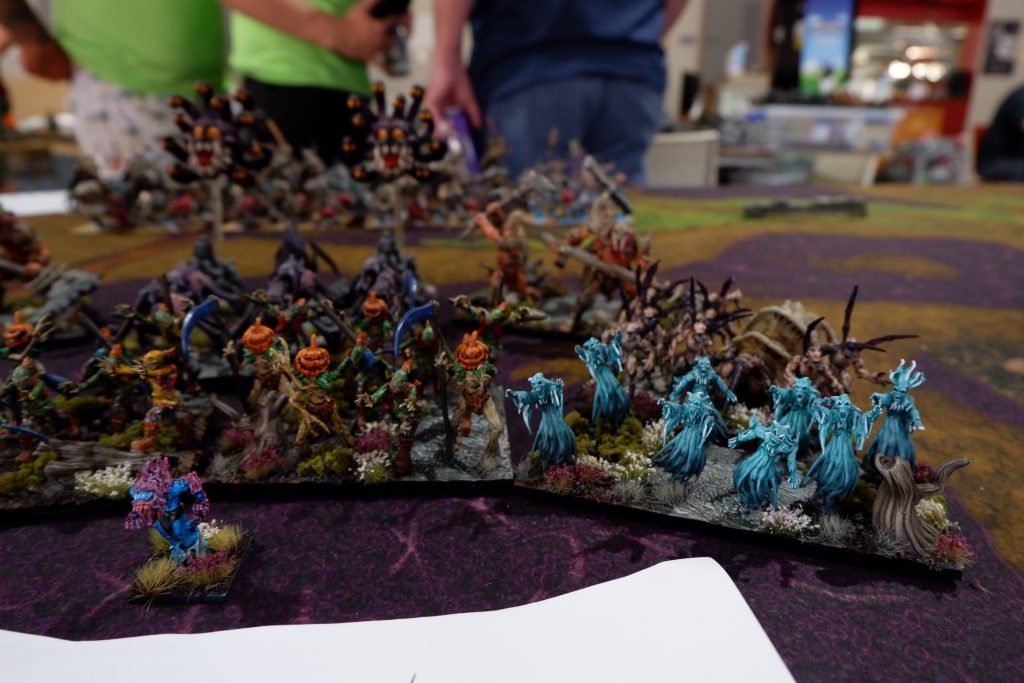
The final game of the day was against Chris and his vintage Empire of Dust army; vintage because of the collection of classic Undead models from the early days of Games Workshop, complete with Goblin Green flock basing. Complete with full model count units and a solid coat of classic colours, its a real treat to see on the battlefield.
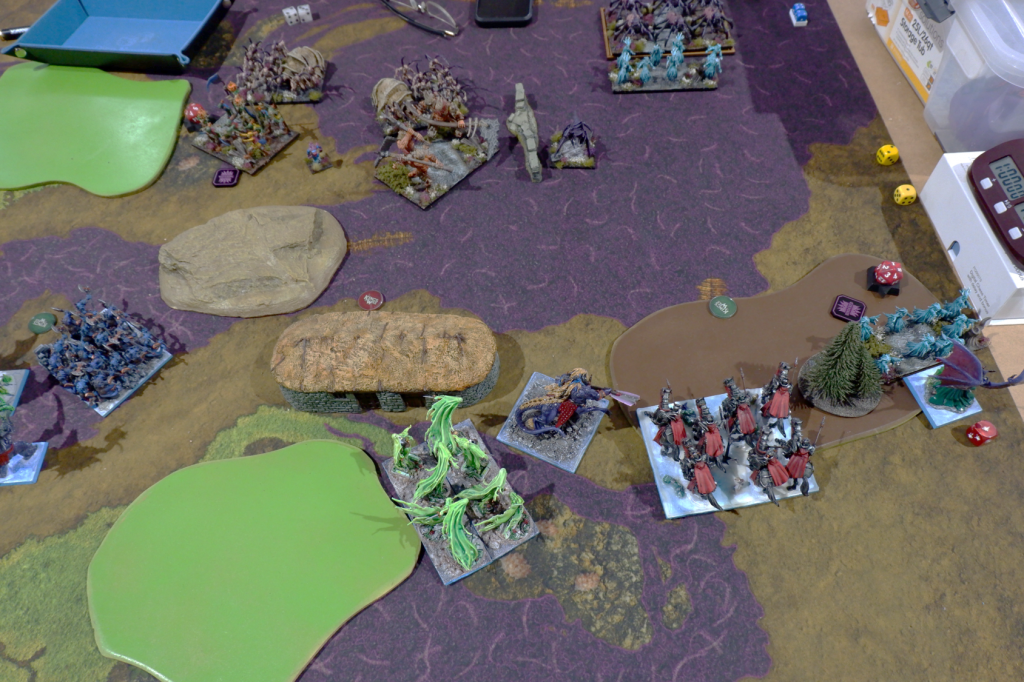
As far as what I knew about Empire of Dust armies, Chris’s seemed to break all the molds. No Shobek, no Monolith, No Soulsnare. Instead it leaned into the new Ahmunite Pharaoh on Royal Chariot upgrade, Rahs the Undying, and coupling the buff he provides to skeleton units with a regiment of Revenant Cavalry. The rest of the army was composed of units all solid on their own; Enslaved Guardians, Mummies, a Bone Giant, a Revenant King on Undead Great Flying Wyrm with Brew of Sharpness, and a pair of Balefire Catapults.
Deployment
My deployment was dictated by two concerns; getting my horde of Lower Abyssals onto two of the objectives at once, and keeping my Abyssal Horsemen safe from the Balefire Catapults. I had placed two of the objectives around a forest, so that my Lower Abyssals could safely sit in there. This meant the Abyssal Horsemen would need something else to be safe, hence they ended up behind the hill. The rest of my forces just arranged themselves to fill in the gaps, with Ba’el right in the middle to threaten everything (he doesn’t care about war machines).
Chris’s Skeleton Spearmen were both deployed so they could occupy objectives with little fuss, and Rahs the Undying and the Revenant Cavalry ended up opposite my Abyssal Horsemen, keeping my hammers in check. The rest of his forces were arrayed against my Lower Abyssals, with the flying Scavengers and Great Flying Wyrm on the far left, perhaps hoping to catch the bulk of my army unawares.
Making a Go of the Right
Getting the first turn, I bring the Abyssal Horsemen over the hill, placing the Gargoyles in front, setting up a charge on either the Revenant Cavalry or Rahs, and Ba’el also moves into range. While not a mistake I should certainly have angled Ba’el better to be in the flanks of these units rather than the front, using the Gargoyles to force the charge to be at my advantage. Lesson learned.
The Gargoyles are quickly removed, while the Balefire Catapults pummel the Abyssal Horsemen. Hence I waste no time getting those Horsemen into combat, charge the Pharaoh with the Horsemen and the Revenant Cavalry with Ba’el. I was scared of the Revenant Cavalry charge, but truly a double charge on the Pharaoh would have been more sensible. The result was that the Pharaoh took two turns to remove, giving the Skeleton Spearmen time to come and join the fight.
When finally Rahs the Undying was destroyed, my exposed Abyssal Horsemen once again came under barrage from the Balefire Catapults, and it was from this point on that they remained wavered for multiple turns until eventually dying. Before their demise, Ba’el alone couldn’t handle the weight of numbers brought by the Revenant Cavalry and Skeleton Spearmen, and succumbed to death by a thousand cuts.
Holding Firm on the Left
While all that fighting on the right was going on, I moved up the left hand side of my army quite tentatively, getting the Lower Abyssals across the two objectives. Good job, me. Now just to hold and take a few more.
 I set my sights on slowing down the flyers, and so get into shooting the Scavengers with my Abyssal Warlock and eventually also the Fireball from by Abyssal Fiend. The Great Flying Wyrm became quickly grounded by the Abyssal Champion, who managed to get three wounds on the great beast in the first round of combat! The Scavengers eventually perished (after 3 turns), and it took both the Bone Giant (surged in) and the Great Flying Wyrm, to bring down the Abyssal Champion (what a champ).
Unfortunately, despite delaying the flyers, my hesitancy brought the Tortured Souls, Abyssal Fiend and Chroneas in too late. By the time they arrived, the Bone Giant and Great Flying Wyrm were facing my lines again, which teaches me the importance of synchronizing units of the army. Ideally the Tortured Souls should have setup their charge when the Abyssal Champion went in, but instead the Abyssal Champion was alone (and still a champ).
The rest of the armies on the left side continued to stare down each other, none of the slower units willing to make major plays. It wasn’t until I attempted to bring the regiment of Lower Abyssals to the aid of the right flank that the Mummies sprang (I totally forgot to measure if they were in range) and removed the Lower Abyssals, facing the flank of my horde.
Scrambling for Objectives!
By this point I knew the right flank was lost, so any objectives I could possibly attain were on the left. Chris possessed two objectives on the right flank, and one on the left with his Skeleton Spearmen. I had two thanks to the horde of Lower Abyssals. I need only take the Skeleton Spearmen off and it would at least be a draw.
The difficulty was that there was also the Great Flying Wyrm and Bone Giant. The Abyssal Fiend went into the Bone Giant, but to little effect. Similarly the Chroneas charged the Skeleton Spearmen, but also failed. I should definitely have waited to charge with both, especially as this would have doubled my unit strength on that objective.
In the end, I had two objectives. The flank charge of the Mummies onto my Lower Abyssals didn’t destroy them (somehow), but Chris still had 3.
Summary
Winning two out of three games was well on my way to my goal of breaking even. Clearly my play needed some work as each of my wins was either lucky or just pulled from a hat at the last minute. Still, I was keen for Day 2!
Next Time: Day 2
That wraps up our coverage of day 1 but join us next week for our write-up of day 2 to find out how we finished. In the meantime, if you have any questions or feedback, drop us a note in the columns below or email us at contact@goonhammer.com.
