Welcome back, Mali-folks. Last time we discussed Team Danger Planet’s trip to the Malifaux Masters Invitational, the claiming of the top spot by Haku, and my own bitter defeat at the hands of popedarpa. Plus: Karaoke, Root and Azul. Today I’m going to cover the other big five-round, two-day tournament of the weekend: the Malifaux Open.
Unlike the Invitational, this was open to all, and featured some of my favorite locals in addition to the fabulous crowd from around the country. Also unlike the Invitational, this format was run without bans in the Singles format, so you could not double-master. I do prefer this format, even if my preferred Masters have access to busted double-Master combos, and I was looking forward to the games. I declared Explorer’s Society again, and made ready to claim land and treasure in the name of bored rich jerks.
Before we get started, a quick reminder that my stirring victories here (and dire defeats) were under the banner of Team Danger Planet – a Goonhammer affiliate channel focused largely on Malifaux, but with content aimed at Horus Heresy and lots of other games as well. You can check us out here, and find our Discord here, where we discuss all these games, playing the games, enjoying the games, etc.
With that plug out of the way – on to the main event!
NoVA, Day 3
Game 1
Yeah, I’m just continuing the naming scheme from last time. Too confusing otherwise.
The first round of the open found me playing against Matt S. Matt, it turned out, was a fan of the channel, and I made sure to give him some awesome Danger Planet swag. The strategy was Carve a Path on Wedge deployment, with the scheme pool containing Sabotage, Catch and Release, Secret Meetup, Hidden Martyrs and Public Demonstration. I declared Cadmus while he declared Forgotten – Molly’s keyword. I was kind of excited for this, since I haven’t played against Molly yet in this edition; my local Resser players don’t like her much.
No McCabe shenanigans this time; I hired a real crew, which meant the Archivist, Meredith Stanley, Cavatica, two Eyes and Ears, a single Spelleater, and Calypso. I gave Stanley and the Archivist Flush With Cash to top off my Soulstone stash and keep them safe. Calypso’s always a fun hire with the kids; it’s one of the easiest ways to keep one of the kids safe, and when they’re inside it they actually have a bonus action (Calypso’s Onward). Nothing rockets a parasite-infected child up the board like a giant crab robot. The Spelleater was a bit of a weird flex, but the Noxious Nephilim is very good with Molly and incidentally has a built-in crow on its Df stat, which means that I can shoot it with the Spelleater’s gun and build in the Drain Magic trigger. That’s pretty sweet.
My opponent took the Nephilim, Archie, a Crooligan, two Night Terrors, Philip and the Nanny, and interestingly enough, Molly’s title form Chaotic Conductor, armed with The Whisper. I had never even seen her on the table and was quite curious about how the game would go.
The board was interesting looking – an Asian-themed garden with low pagodas and a series of arches in the middle. His crew unpacked along one flank of a pagoda and took up station in the middle. I aimed for Philip and the Nanny immediately, dealing some damage but leaving them alive. Turn 2, though, I won initiative, and went for the kill. I hammered Philip, dealing just enough damage with the last attack to kill him, and he black jokered his damage prevention flip – thus losing the pram, the zombie, and the talking head inside it.
He sent his Noxious Nephilim and Archie forward, but there he started running into the biggest issue with this matchup: Molly’s crew just doesn’t hit that hard, and Cadmus is incredibly resilient between We Are Legion and Parasite token healing. Flush With Cash let me no-sell individual attacks so he couldn’t just go over the top of my defenses. The Noxious and Archie both have crap defenses and were soon covered in Parasite Tokens, which shortly meant that they were dead. I ended up freezing him out of scheme points, though he was able to use the interaction potential of Night Terrors to put his wagons in my deployment zone; I ended with 7 points (neither of my Martyrs died) while he got 4.
Many thanks to Matt for a great game and for being understanding when I noted (politely) that it was midway through Turn 2 and the round time was more than half over. We both have complicated crews, and learning to play them quickly is a big part of being successful, especially at tournaments. And there’s no way to learn better than putting in reps!
Game 2
My next round opponent was Rob from the Texas meta. Another Texas player, so I knew I was in for a good game. (For those wondering how I knew who was from Texas: they all have custom jerseys. They’re pretty sweet). Rob declared Arcanists, which was immediately stressful; I knew there were multiple Witness crews floating around, and both of the crews I planned to play (Cadmus and EVS) were pretty terrible against Witness.
Fortunately, I had a secret plan. With a sly grin, I declared Apex.
Into December. Whoops.
Well, here I am playing a crew I’ve literally never touched before in a tournament against a good player. I swallowed hard and resolved to do my best. The strategy was Guard the Stash on Corner Deployment, with Assassinate, In Your Face, Spread Them Out, Set the Trap and Breakthrough as schemes. This is not the best pool for Cooper, and the table wasn’t helping either – it was a farm, covered in forests, fields of wheat, short walls and haybales – tons of concealment and cover.
I resolved to make the best of it and took two Vatagi Huntsmen, two Crypsis Corps, Ullr, Austera and Twigge and an Empyrean Eagle. For schemes I selected Spread Them Out and Set the Trap, counting on my bird buddies to drop schemes for me. That plan probably would have worked better if I’d literally remembered at any point about Set the Trap.
My opponent took Rasputina’s title form, Abominable, the Ice Golem with Soulstone Cache, a Steam Arachnid Swarm with Diesel Engine, a Silent One, the Blessed of December, and Snow Storm. We deployed far from each other, but he started crossing the table fast. He was making excellent use of Rasputina’s Sub-Zero Statues ability, summoning a model per turn, but I spread out quickly along the flanks with Austera and the bird. The Runaways were mere speedbumps, but one of them did manage to kill the Wendigo, which was amusing; more seriously, Lord Cooper black jokered his first damage flip on the Ice Golem (on a +twist, no less) and on Turn 2 I black jokered another damage flip into it with a Crypsis Corps that was attempting to Stagger it with a built-in mask.
Not a good start. The golem crashed right down my front door, but I managed to get the heck out of dodge; turn 3 I staggered it and dropped a Pit Trap in the narrow corridor it was navigating between a forest and a blocking hay bale, effectively taking it out of the game. My opponent looped the Steam Arachnid Swarm around the top right corner of the board, passing my Eagle, but critically not killing it; the bird escaped and proceeded to score me three victory points, as it held down a Stash marker and also dropped two Scheme Markers for Spread.
Cooper’s early shots were fairly unimpressive, but once I gave up on killing the golem I fared much better, blowing away the Blessed and Silent One and a few summoned models. Ullr, too, was a champ, repeatedly healing up with his built-in Tear Off a Bite trigger to tank lots of incoming damage. I used Pit Traps and the Crypsis Corps’ Beneath the Leaves to full effect, turning the area near my deployment zone into a killing ground, but one by one I lost my shooters. Still, I had managed to delay him enough; my opponent ended up scoring two points on the strategy, but not a single scheme, as I was too spread for Set the Trap and he hadn’t been able to get to Cooper for Assassinate.
This latter point wasn’t entirely due to stellar play on my part; in the second half of the game, the decks betrayed us both. There was one moment when Rasputina tried to use Northern Winds to push the Swarm into position. “It has concealment,” I reminded my opponent.
“That’s ok, I’m relenting.”
“Does it have a TN?”
It did have a TN. A 4, but still.
“Do you want to focus?”
No, he didn’t. He couldn’t spare the AP. And he managed to flip… a 1 and a 3. At least it adds up to 4!
Final score was 5-2, with about half of each crew dead. Not my cleanest win. But it was a win.
Game 3
This gets my vote for favorite game of the weekend. I drew into Andre Demings, king of the Texas meta. A little background: Andre, aka Kharnage, one of the best-rated players in the world. Back in September 2021, when I was first getting back into Malifaux, Andre played me at Gencon and crushed me with Zoraida. At the time, I remember thinking “damn, that guy’s super good at Malifaux. I wonder how good-at-Malifaux it’s possible to be?”
Well, I had a year of practicing to find out.
The pool was Covert Operation on Flank Deployment with Set the Trap, Secret Meetup, Sabotage, Leave Your Mark and Vendetta. I picked Maxine – her ability to bubble up and collapse down on a target is great at Covert, and Beebe + Calypso are very good at Sabotage. Andre declared Seamus, and it wasn’t hard to see why; Comfortable Hats are very good at scoring Set the Trap, Sabotage, and Leave Your Mark, and the table was covered in blocking terrain, with not a single piece of concealing to be seen.
That’s ok, I brought my own. My list was Maxine, Orville, Beebe, Calypso, Harata, Jin Baccara, Tidecaller and the Intrepid Emissary – the same as I took against Landon the day before. The Emissary is good at soaking pistol shots, and Jin gives me that critical last activation. Andre took Seamus’s original form with the Whisper, the Copycat Killer, Bete Noire with the Whisper, a Dead Doxy with Grave Spirit’s Touch, a Nurse, the Carrion Emissary and the White Rabbit Co.
I drew my opening hand and saw a 13. I had a plan.
My first activation of the game was Harata. I moved out, set up my Haka, and focused. Andre thought for a moment and activated Seamus. That was what I was counting on – this was the one activation where he would reasonably be able to get a shot at something valuable in my crew. After this, Orville was going to move out and put himself in Harata’s bubble, thereby ensuring -twists on all attacks against my bubble. Seamus teleported forward and took a shot at Harata… and I cheated my 13. He had one too, with the Daze trigger, but that meant we were evenly matched, giving him two -twists on damage. Harata took 4 and then Seamus had to teleport away. He could have charged, but he wasn’t going to finish Harata with one attack short of Red Jokering the damage flip (since I could cheat a Crow defensively to heal) and if he left Seamus exposed he was 100% going to die.
Orville moved up and that was that – the fortress gate came down. Andre played cagey with the rest of his turn, though he did expose the Copycat enough that Maxine could kill it on the last activation; she also Calculated the Possibilities to stack my hand again and heal Harata to full.
That’s pretty much how the game went from there. I kept the bubble alive and healed off the chip damage Seamus could inflict. Maxine kept Bete Noire buried by smacking her, and though she was able to pop up and kill Orville, I got her in return. Calypso soaked another 4-damage pistol shot (down to 2 after armor), healed off the damage, and jaunted around the building I had chosen for Sabotage, easily dropping 4 Scheme Markers. I took advantage of my control over the center of the table to score Leave Your Mark as well. The White Rabbit Co had control over one Operations marker, but he couldn’t get anyone close to the other three for a couple of turns. After that initial explosive turn, casualties were low on both sides; I eventually popped Jin up and aced the Nurse, but a Red Joker from the Doxy and a Why Hello Love attack from Seamus dropped my poor spy. I threw some desultory attacks into the Doxy but didn’t manage to do any damage he couldn’t heal off, but he was so pinned into his side of the table that he wasn’t really able to get at soft targets either. Eventually Seamus blasted Harata good, but couldn’t quite kill him, and he didn’t have the AP left to finish him off; he needed to teleport around the center of the board dropping Scheme Markers. The combination of Hats and Schemes scored him quite a few points – he picked up both halves of Leave Your Mark and one half of Sabotage. However, he simply wasn’t able to contest two of the Covert Operations markers, while my control of the midboard had given me three; the final score was 6-5.
It was a really amazing game and I gushed a bit afterwards. I’ve played lots of good players, but quite often they beat me; this was my first unequivocal win against someone I consider to be in the top tier, and it felt really nice. Afterwards Andre said he should have taken Seamus 2 for his anti-Aura ability, and maybe that’s true, but the threat of Seamus’s gun really constrained my play and prevented me from abusing my mobility. Plus, he needed that teleport to score at the end of the game.
Anyways, going 3-0 on day 1 felt really good, and I’d managed to dodge both Landon and Haku so far… so far…
Third Interlude: Chilling With Wyrd
We didn’t have specific plans Saturday night, but as luck would have it, we ran into Wyrd Matt (the lead designer of Malifaux) in the hotel lobby. Was he hungry? Yes he was. Would he go to dinner with us? Yes he would. Did he want Tex-Mex? Does a Slate Ridge Mauler shit in the mountains? (Editor’s Note: I have no idea. Should I be editing this?)
Matt was a wonderful dinner companion and a good sport; he gave up absolutely nothing, despite our cunning questions. And we talked about other stuff than Malifaux too. You should all go see Jordan Peele’s Nope!
Also, midway through dinner, Landon was joined by his Duck Doppelganger…

Day 4
Game 4
My first game was supposed to be against Cody Hiatt, another hyper-skilled player who I knew was hiring Witness. Worse yet, the person I was borrowing the Apex keyword from had vanished. But as luck would have it, bad luck cancelled out bad luck; Cody wasn’t feeling well and dropped, leaving me Cooperless but safe and facing Hawk Haines, one of the other Explorer’s Society players.
The Strategy was Cursed Objects on Standard Deployment, with In Your Face, Hidden Martyrs, Public Demonstration, Vendetta and Load ’em Up. Hawk declared Jedza; I picked Maxine again, since I think she’s really good at In Your Face and her crew is great at Martyrs. My crew was Maxine Monomaniacal, Orville, Calypso and Beebe, Harata, the Tidecaller, Jin Baccara, and two Machinists. I figured Hawk was playing Jedza1 to abuse her Life Tokens for Cursed Objects, and I wanted to cancel his Inevitability of Death aura so I could get my healing.
He took Jedza1, Sophie, two Lamplighters (one with Flush with Cash), Austera and Twigge, Mikhail XVI, Winston and a Hopeful Prospect. I was surprised to see no Kurgan and no Goo, but I understood the rest. Priority #1 was Austera; while she was alive, Orville wasn’t safe and neither were my Machinists.
I had a secret weapon this game: Split Across Worlds. It’s not her broken bonus action, her broken tactical action, or her broken tentacle slap, so people tend to forget she has it (even me sometimes), but when you need it, it’s incredible. Split is a 10″ stat 6 attack against Wp (so Stat 8 when Max is on the centerline) that turns off the target’s healing for a turn and inflicts one damage to them the first time each activation a nearby model heals. It even has a trigger (built in if you’re on the centerline) to pulse out healing to nearby models and start the pain train rolling! This action was my MVP for the game; each turn I targeted one model for deletion with Split, ensuring that it would not survive even with Jedza’s help.
Turn 1 I took out Sophie to stop the flow of Life Tokens. Turn 2 I set it up on Mikhail, but here’s where things went wrong. I delayed activating Harata, allowing Mikhail to charge him. His first attack connected for 4 damage on a negative twist… bad, but not the end of the world, especially since Harata could cheat the next defense duel to heal 1 and get out of range of even a severe. That is, unless my opponent flipped the red Joker, which he did, putting him at a straight flip and allowing him to cheat a severe to kill my poor Maori warrior before his second activation of the game.
Whoops.
I Split Mikhail and charged him, but thanks to stones and his armor he survived at low health. That also meant I hadn’t Split anyone else to ensure the kill, and all of a sudden we had a game on our hands.
Fortunately, I’d flung Calypso up to engage Austera, and I used a combination of Mass of Tentacles and regular slaps to bring her down low. Orville buzzed in, picking up the bird lady and dumping her outside of Jedza’s aura for the kill and a point. With the threat neutralized, the Machinists moved in, handing out focused and shielded but – more importantly – negating Inevitability of Death and the Lamplighters’ Shimmering Lights aura. Without Shimmering Lights they’re actually quite fragile, and I killed the non-Flush With Cash one on Turn 3 for my strategy point, followed by his Flush brother when Hawk forgot about Bribery (though in fairness, that’s once per turn; that dude was dead no matter what). He made great use of Jedza to delete Orville with her heal, but the Tidecaller lumbered up and tossed her 10″ away, getting her nasty auras away from my fun. Hawk had withdrawn Mikhail to heal him up a bit, but he was forced to recommit to deal with an angry crab-bot, and Calypso and Max combined to slap him into next week. Max finished off Winston for good measure, my stacked hand (from Calculate the Possibilities and Cascading Magic) meaning I never had to fail an attack and heal him.
In the end, he was left with only Jedza, who I spared to score a Martyrs point. Neither of my Martyrs had actually died (I should have picked Orville and Tidecaller, but I went with Jin and Calypso) and Harata’s death locked me out of the second point of In Your Face, but Hawk only scored 3 – two for the Strategy and one for In Your Face, I think? Sorry, Hawk, I forgot.
That left me at 4-0, one of two undefeated players in the tournament, and ready for… The Final Boss.
Dun dun dunnnn!
My final opponent turned out to be none other than Landon. History repeated itself, us meeting in the fifth round. In the fourth round he’d sent Haku to the Shadow Realm, and now it was up to me to avenge… myself.
Good news: he was playing Iron Scorpius, which meant he couldn’t declare any master more than once!
Better news: he was playing Guild, a faction with which he was totally unfamiliar!
Terrible news: he still hadn’t declared Hoffman!
oh noooOOOOOO
For the uninitiated, Hoffman2 is one of the most busted Masters in the game, and Landon actually knows how to play him since he’s played against him so much. I, meanwhile, had never ever played against Hoffman2, and my understanding of him was entirely theoretical.
Gulping, I declared Maxine. I figured I could hide in the impenetrable smoke wall from the death laser, and maybe… I dunno, I’m not sure what I had in mind. The Strategy was Covert Operations on Standard Deployment, the Schemes were Spread Them Out, Leave Your Mark, Public Demonstration, Breakthrough, and Assassinate. Here’s where I made my first mistake of the game: I hired Maxine Monomaniacal, Orville, Beebe, Calypso, Tidecaller, Harata, Jin Baccara and Kiya Manimi.
See it? See the mistake?
He hired Hoffman2, the Mechanical Attendant, Melissa K.O.R.E. with Expert Marksman, the Mobile Toolkit, Peacekeeper with No Prisoners, Pale Rider with Lead-Lined Coat, and a Guild Lawyer.
Here’s where I made my second mistake: I figured Max is good at dominating the center of the board, so I took Leave Your Mark, and Beebe + Calypso are really good at scoring Breakthrough, so I took that one too.
We deployed very heavily clustered on the right flank, with my models pinned between a rock spire and a ruined house, though each of us tossed a token model to the left – Beebe + Calypso for me, the Pale Rider for him. We drew our starting hands, both stoned for cards, and Landon cheated a 13 to win initiative. He made me go first and here I made my third and perhaps most crucial mistake: I activated Harata first and advanced him up, setting up his Haka.
He immediately activated his Lawyer and Tools for the Job’d the 13 back into his hand. D’oh!
The presence of that 13 fundamentally warped the rest of the game. We both unpacked out of our deployment zones, me preparing to use Max to get into the fray (and Jin Baccara gave me the last activation, despite his making me activate first). This all went as expected. What I didn’t expect was Hoffman powering forwards and crashing into the fray.
He charged right into Harata, yanking him out of position with the Construction Claw and setting him up for a Peacekeeper charge on the next activation. I saw an opportunity and went for it with Max. Hoffman was in Harata’s aura, so I was able to land three huge hits on him (some with Mass of Tentacles), and the tome cheats healed Harata up to full. However, I black jokered one of the damage flips. I then used my bonus to flip Harata back out of danger, but critically forgot to make sure he was in Orville’s aura. Mistake #3. That meant that the Peacekeeper was able to target him with the spear gun and yank him forward again… a mistake I would pay dearly for. Kiya was able to walk-charge Hoffman, but only hit him for 2.
Turn two, Landon was able to win initiative with that 13 and immediately go with the Peacekeeper, charging the damaged Harata and finishing him off. That let me activate Max with Hoffman still in her face, though without the -twist to his Wp from Harata I had to cheat good cards to hit him – and I black jokered one of the attacks, leaving him at Injured +2 instead of +3. Hoffman, left on two health (thanks, black jokers!) Bulldozed to escape and dropped a Pylon behind him to block Kiya’s charge lane, and he zapped Orville to death with Alternating Current for good measure.
With the Toolkit and the Attendant he had a ton of healing potential, but I was able to pop Jin out of the Lawyer and immediately murder the Toolkit with a high ram giving me double Critical Strike on his Armor Piercing attack. That meant that with just the Toolkit, he was able to heal 3-4 points on Hoffman (I forget exactly which). I had to waste AP to move the Pylon, so Kiya wasn’t able to get in on him with focus. Also, the black joker from earlier came back to haunt me.
At Injured +3 Hoffman is Df 2, meaning a 13 puts him at a 15 duel total, meaning that any crow lets the Stat 6 Kiya Manimi bonk him for irreducible damage. At +2, that 13 can force a miss, meaning Kiya has to cheat in a real card or risk wasting her attack. I did this, but still flipped weak, dealing only two. Making a bad situation worse, Melissa Kore Power Transferred herself to push 2″, walked 5, charged 5, and shot 12″, exactly catching Calypso in her range; she spent a token for a Tome for Armor Piercing and took a Focused shot, blasting the crab off the board in one shot. I really should have hugged the Strategy marker for cover – that would have probably let it survive and scuttle to safety. Mistake #4, I guess.
From there, things started to fall apart. On turn 3 Max was finally able to blip over to Hoffman and finish him off, but that was definitely a turn too late. I was minus Calypso, minus Orville and minus Harata, and much of what was left was beaten up. I Tossed the Peacekeeper away, which bought me a turn, but I just wasn’t able to land a hit on anything that mattered, and the Lawyer tanked Jin Baccara all game long by making him Slow.
In the end, it was a low-scoring game; I got one for Breakthrough and one on the Strategy, while Landon got one for Leave Your Mark, one for Assassinate and two for the Strategy. Afterwards, he pointed out to me that if I had just taken Assassinate, and the game played out exactly as it had, we would have tied. I hadn’t taken it, figuring Hoffman would be too far back to kill, but it turns out he likes to mix it up close. Who knew?
In the end, I don’t feel too bad about losing to Landon (twice); he’s an incredibly talented player. I also feel like I learned a lot in our second game. Hoffman is a major meta player and there’s no getting around him; I have to learn to beat him. Lessons from this game:
- Take Assassinate. Hoffman does get close to you, and you really have to kill him. And it’s not that hard!
- You have to keep your bubble compact all game long. The crew is too high threat to let Harata dangle.
- Kiya Manimi is trash. Ten stones?! That Weak 2 is a killer, since any Soulstone user or Hard to Wound model is just going to take 2 damage at a time. Why isn’t she just a 3/4/5? Ten stones!!!
- Never let people just Tools a 13 for free. That’s stupid behavior.
- Try not to flip black jokers on attacks against Masters.
The Denouement
As we assembled for the final standings, I reflected on the weekend. I’d played ten games of tournament Malifaux in four days and won 7 of them; I’d won Best Painted at the Invitational; and I’d sung some amazing karaoke. I go to a fair few cons, but this was easily the most fun I’ve ever had at one. Meeting the Texas guys, playing with Nathan, and almost beating Landon once all felt great. But I think my favorite game of the weekend was against Andre; it was tight, came down to a single point, and involved really solid play on both sides (as well as mistakes on both sides). Neither of us was randomly screwed by cards or made any boneheaded game-losing errors. He’s an amazingly good player and a great opponent, and the last time we played he crushed him; it felt very good to come back.
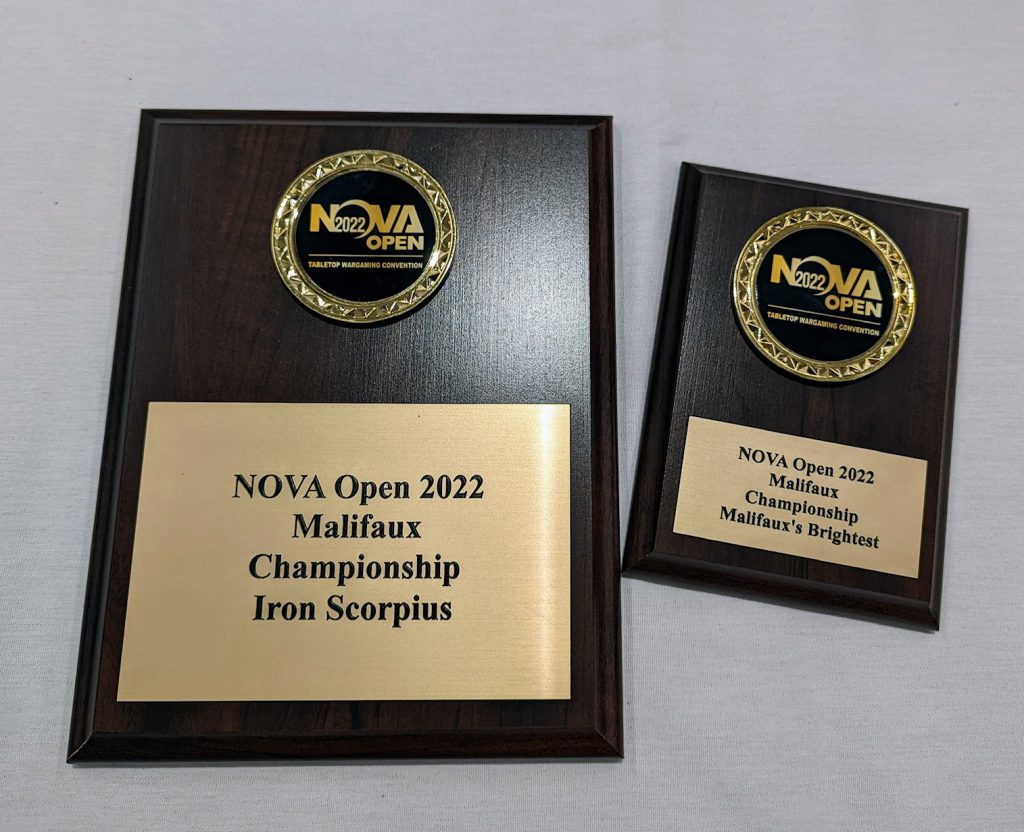
In the end, Landon took the Iron Scorpius. There were two other big prizes: Malifaux’s Best went to the best non-Landon player, and was won by Nick Westbrook of Texas. And Malifaux’s Brightest was a combined painting score, sportsmanship score and tournament place score, and went to… me! Hooray!
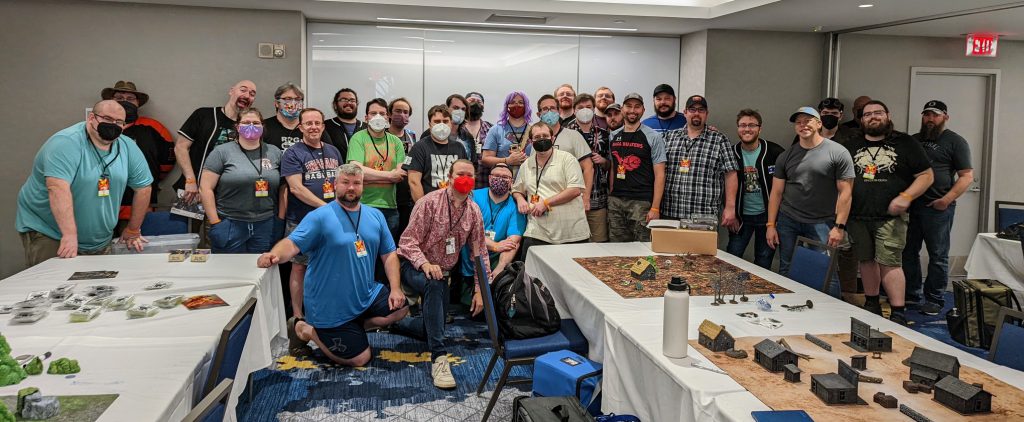
To everyone who came out: thank you so much for flipping cards with me. This was an amazing experience, and the full gamut of Malifaux was on display: from newer players dipping their toes in the competitive scene to the hardest of the hardcore, from bare three-color-minimum crews to beautiful display pieces, NoVa had it all. We had a great turnout and a great crowd. Malifaux players are very chill and friendly; we know that our game is small and we want to welcome everyone who wants to play. I’ll hopefully be able to make it back to NoVa next year, at which time I aspire to take a single game off of Landon. Or at least tie.
Until next time… see you at NoVa!
If you liked this content and want to hear us discuss the event, check out the video below!
Have any questions or feedback? Drop us a note in the comments below or email us at contact@goonhammer.com.
