
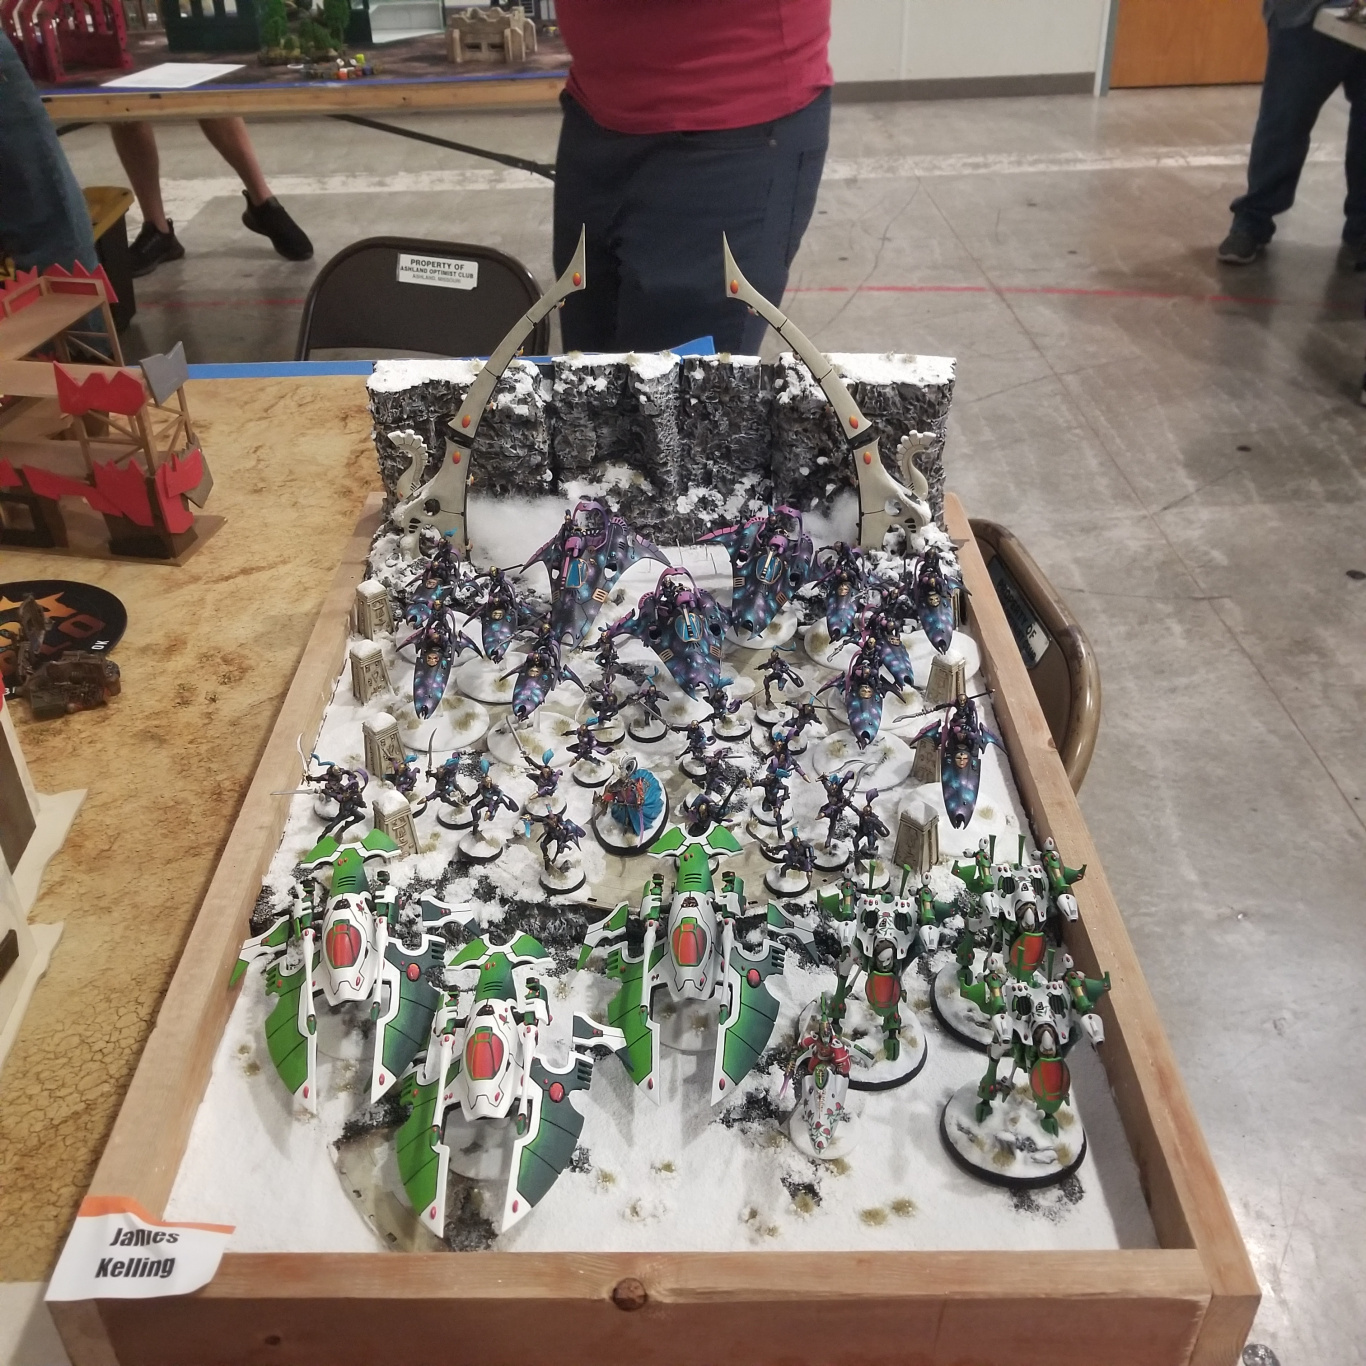
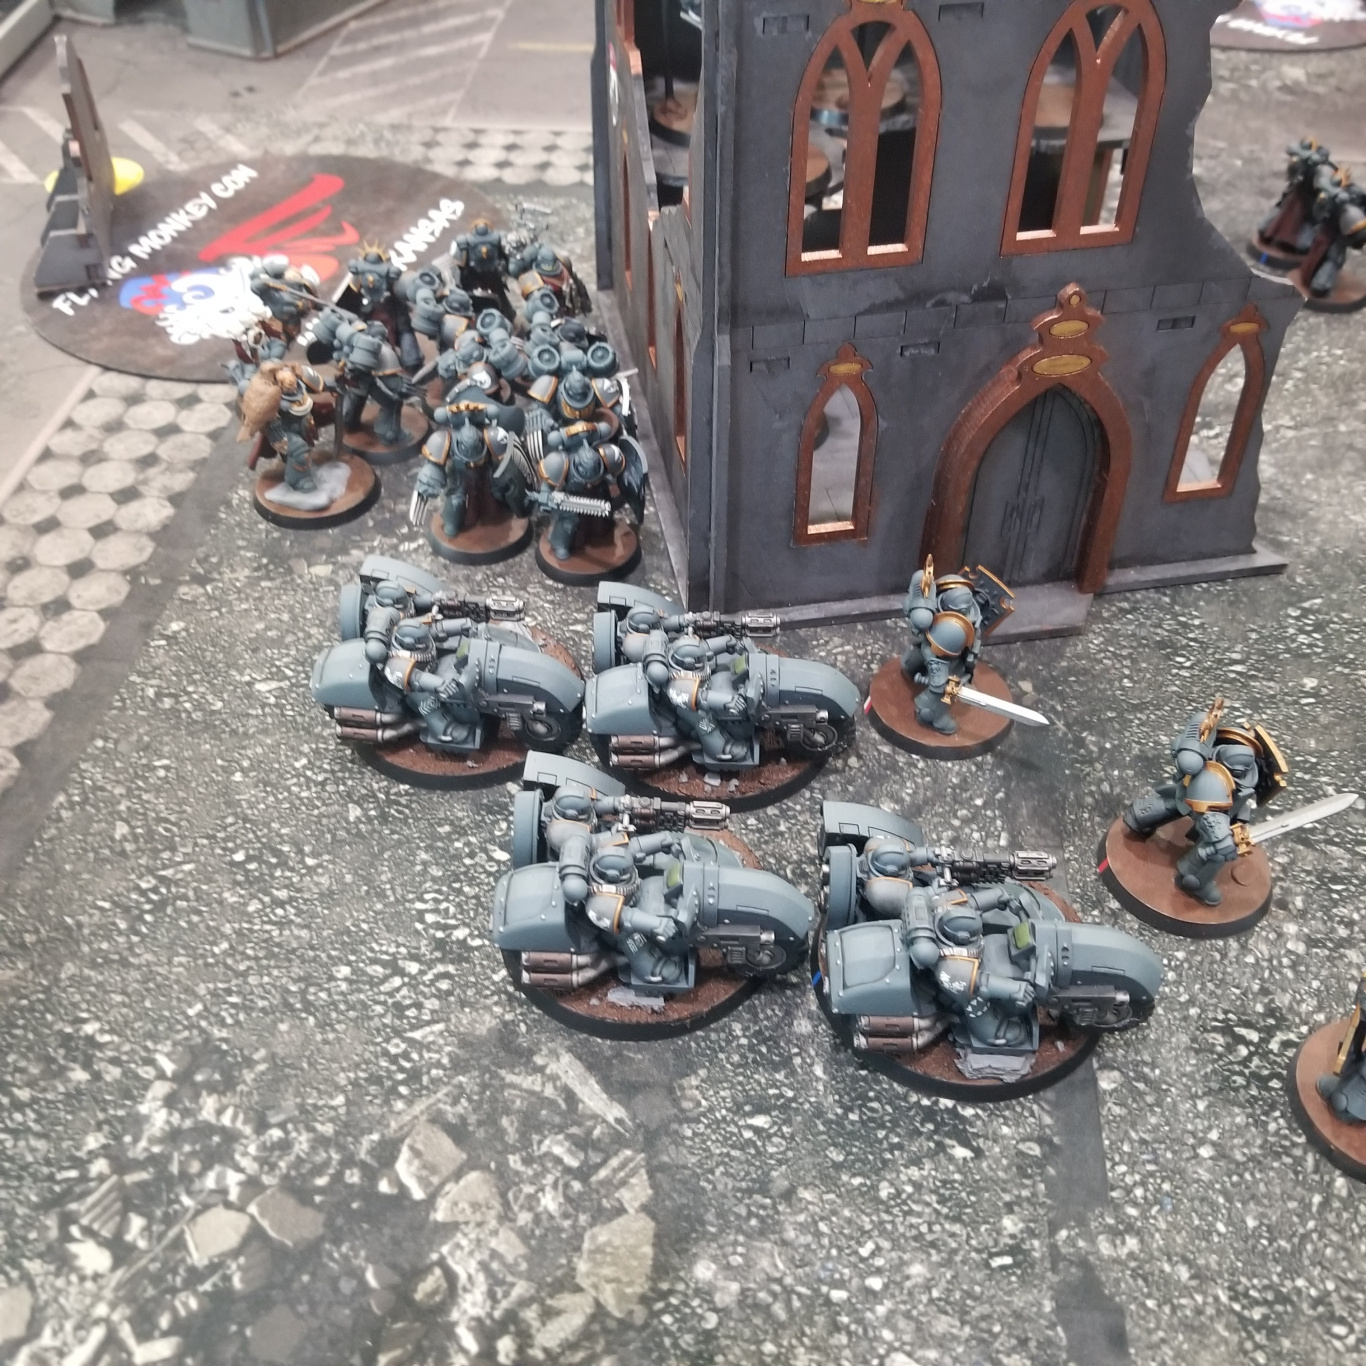
Over the weekend I had the pleasure of attending the third annual Mid-Mo Maelstrom in Ashland, Missouri. Hosted by Ben Spears and the Forgeworld Columbia crew – the event was a well-attended and controlled (COVID) 50-person GT. Perhaps the most striking part of the event was the quality of the tables – terrain was well built, painted, and plentiful and made for a lot of fun and interesting games. Overall, a great event and if you can make it in the new year, safely, then I recommend it.
In Wings recent Competitive Innovations Part One he accurately discussed the mechanics of my list.
++ Battalion Detachment 0CP (Aeldari – Harlequins) [70 PL, 11CP, 1,310pts] ++
+ Configuration +
Masque Form: The Soaring Spite: Serpent’s Blood
+ HQ +
Troupe Master [4 PL, -1CP, 70pts]: Choreographer of War, Darkness’ Bite, Fusion Pistol, Harlequin’s Blade, Soaring Spite: Skystrider, Stratagem: Pivotal Role, The Twilight Fang, Warlord
Yvraine [6 PL, 120pts]
+ Troops +
Troupe [5 PL, 95pts] . Player: Fusion Pistol, Harlequin’s Blade
. Player: Fusion Pistol, Harlequin’s Blade
. Player: Fusion Pistol, Harlequin’s Blade
. Player: Fusion Pistol, Harlequin’s Blade
. Player: Fusion Pistol, Harlequin’s Blade
Troupe [5 PL, 95pts] . Player: Fusion Pistol, Harlequin’s Blade
. Player: Fusion Pistol, Harlequin’s Blade
. Player: Fusion Pistol, Harlequin’s Blade
. Player: Fusion Pistol, Harlequin’s Blade
. Player: Fusion Pistol, Harlequin’s Blade
Troupe [5 PL, 95pts] . Player: Fusion Pistol, Harlequin’s Blade
. Player: Fusion Pistol, Harlequin’s Blade
. Player: Fusion Pistol, Harlequin’s Blade
. Player: Fusion Pistol, Harlequin’s Blade
. Player: Fusion Pistol, Harlequin’s Blade
Troupe [5 PL, 70pts] . Player: Harlequin’s Blade, Shuriken Pistol
. Player: Harlequin’s Blade, Shuriken Pistol
. Player: Harlequin’s Blade, Shuriken Pistol
. Player: Harlequin’s Blade, Shuriken Pistol
. Player: Harlequin’s Blade, Shuriken Pistol
+ Elites +
Death Jester [3 PL, 50pts]: Humbling Cruelty
+ Fast Attack +
Skyweavers [15 PL, 265pts] . Skyweaver: Haywire Cannon, Zephyrglaive
. Skyweaver: Haywire Cannon, Zephyrglaive
. Skyweaver: Haywire Cannon, Zephyrglaive
. Skyweaver: Haywire Cannon, Star Bolas
. Skyweaver: Haywire Cannon, Star Bolas
Skyweavers [10 PL, 210pts] . Skyweaver: Haywire Cannon, Zephyrglaive
. Skyweaver: Haywire Cannon, Zephyrglaive
. Skyweaver: Haywire Cannon, Star Bolas
. Skyweaver: Haywire Cannon, Star Bolas
+ Dedicated Transport +
Starweaver [4 PL, 80pts]: 2x Shuriken Cannon
Starweaver [4 PL, 80pts]: 2x Shuriken Cannon
Starweaver [4 PL, 80pts]: 2x Shuriken Cannon
++ Outrider Detachment -3CP (Aeldari – Craftworlds) [37 PL, -4CP, 690pts] ++
+ Configuration +
Craftworld Attribute
. *Custom Craftworld*: Expert Crafters, Masterful Shots
+ Stratagems +
Treasures of the Craftworld (1 Relic) [-1CP]
+ HQ +
Farseer Skyrunner [7 PL, 135pts]: 0. Smite, 2. Doom, 4. Executioner, Shuriken Pistol, Witchblade
. The Phoenix Gem
+ Fast Attack +
Hornets [6 PL, 115pts] . Hornet: 2x Hornet Pulse Laser
Hornets [6 PL, 115pts] . Hornet: 2x Hornet Pulse Laser
Hornets [6 PL, 115pts] . Hornet: 2x Hornet Pulse Laser
+ Heavy Support +
War Walkers [12 PL, 210pts] . War Walker: Starcannon, Starcannon
. War Walker: Starcannon, Starcannon
. War Walker: Starcannon, Starcannon
++ Total: [107 PL, 7CP, 2,000pts] ++
As Wings predicted, the number one question I received this weekend was, “Why Yvraine?” The short answer is that I prefer her reliable mortal wound output as it helps punch through the wide array of invulnerable saves that I see across the top-table landscape and gives the list a dimension that it otherwise wouldn’t have. She’s pretty useful in Harlequin and Custodes matchups as well as facing down a block of tough Astartes Storm Shield toting squads. Secondarily, I balk at the CP cost of a Shadowseer in the mixed Harlequins/CW list as you’ll see that I like to go heavy on my turn one CP spend. Defensively, I have not found it difficult to hide the Starweavers and if hiding is difficult I’ll likely use the War Walkers datasheet ability to Outflank to save on real estate.
Overall the list defaults to a few assumptions:
- Deploy Scramblers and Engage on All Fronts are default secondaries
- Deploys extremely conservatively to minimize shots on the vehicles when going second
- The list will almost always spend 2 CP going first for Polychromatic Storm to redeploy forward aggressively and 2 more CP for Phantasm if I don’t think I can move and draw a sight line to specific targets with my Craftworld units.
That latter point is probably the biggest assumption. Multiple opponents commented at the amount of CP I dumped on turn 1 and in at least two games over the weekend I entered turn 2 with only the Command Phase CP in my pocket. But the redeploys often lead to a complete shifting of the board which I’ll discuss further in my game 5 and if the situation calls for it I won’t hesitate to spend the CP. Ultimately, my list doesn’t need much CP after turn 1 – and the 1 CP provided each turn is plenty to ensure I can do what I need to each turn if I have to.
At heart the list is a gunline. It often doesn’t feel that way because the Harlequin boats are so short-ranged and generally mid-board or further forward, but the combat punch is less about dealing damage and more about forcing my opponent onto the backfoot and simply being present either on an objective or in their backfield. My target priorities are long-ranged anti-tank and then targeting out the smaller, fast objective grabbers – if I can take these units from my opponent I can continue to safely dominate my own backfield with the Craftworld units and then outmaneuver/outpace my opponent on the mid-board objectives using the speed of the Harlequins to focus my firepower and/or minimize return shots/chargers.
Before I dive in to the games themselves, thank you to all my opponents. Each opponent was great and made for an extremely enjoyable tournament. Thank you to Matt Baugh, Joey Kirk, John Indellicate, Dan Sammons, and Aaron Cook.
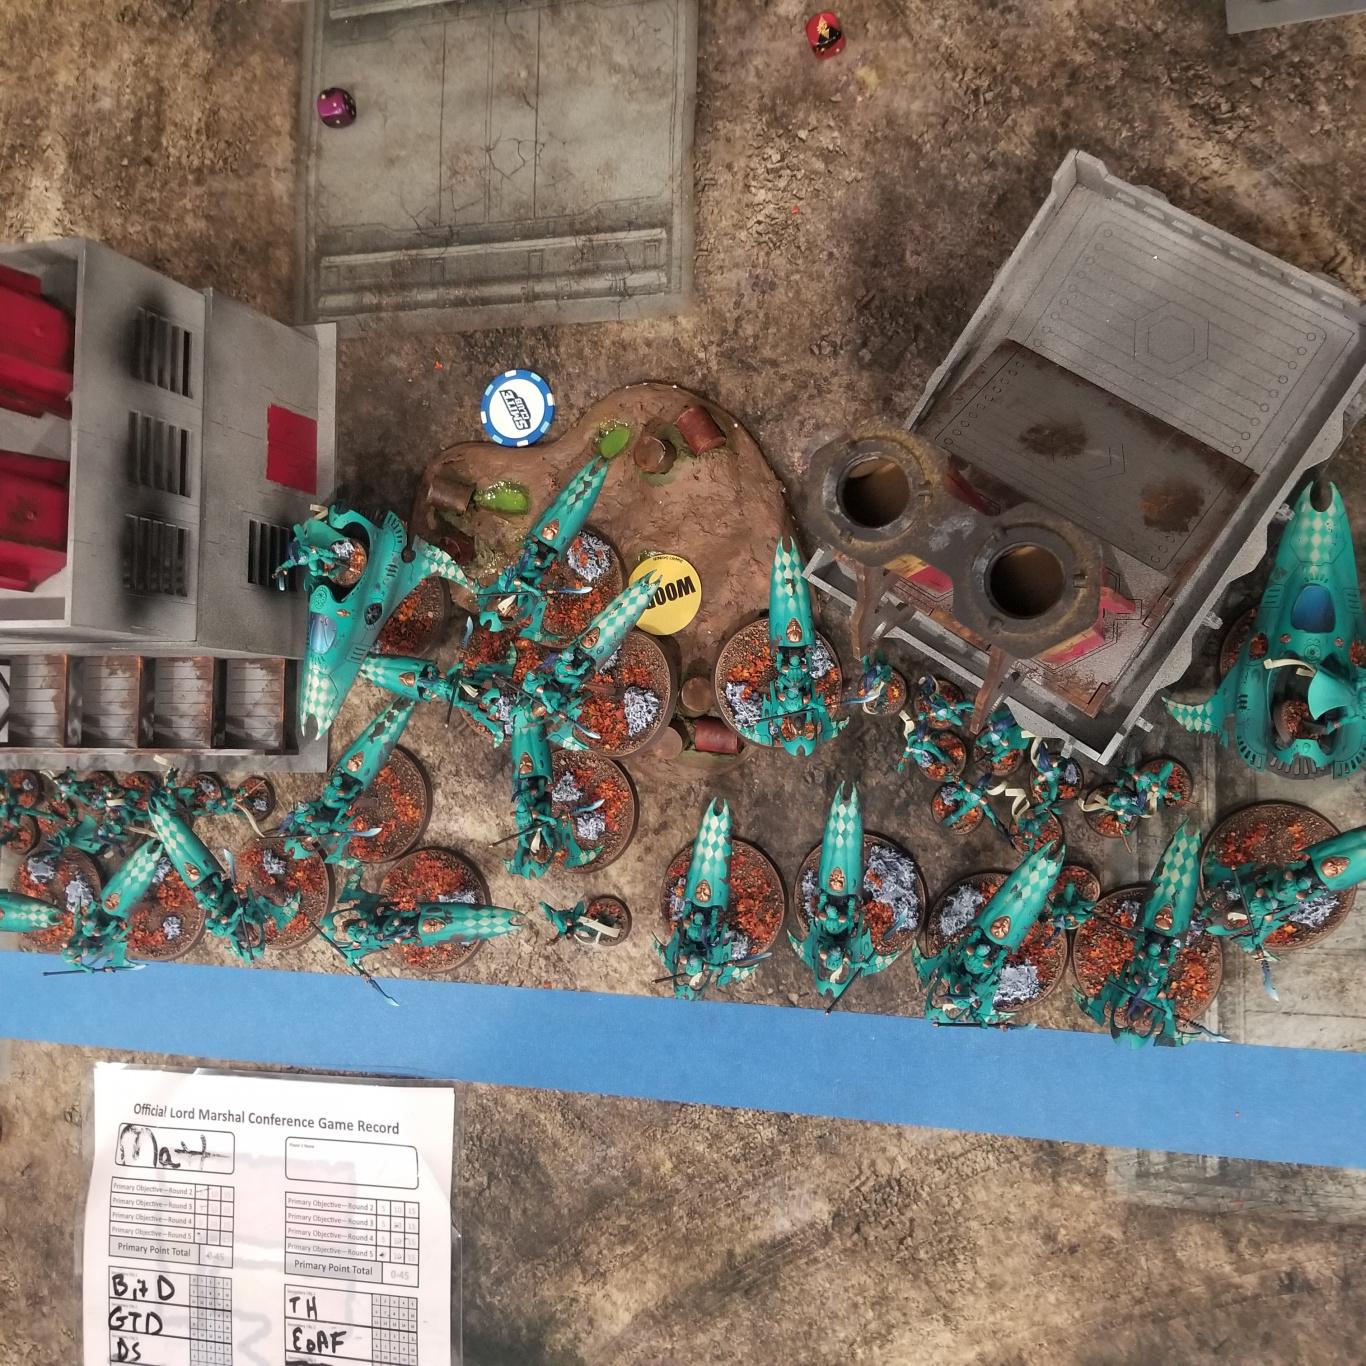
Round One – Matt Baugh – Frozen Stars Harlequins
My Secondaries:
- Engage on All Fronts – 11
- Deploy Scramblers – 10
- Grind Them Down – 9
Matt’s Secondaries:
- Engage on All Fronts – 7
- Deploy Scramblers – 0
- Assassinate – 3
Final: 85-50
Seeing the first-round pairings I had to chuckle at the only two Harlequin players getting the round one matchup. I think both Matt and I were apprehensive to open with this game as Harlequins are great right now and make for a tough match. Moreover, secondaries are hard to pick against them, and while Grind them Down isn’t the guarantee that Deploy or Engage might be, it’s a nice hedge against going second with the information asymmetry so I chose it. He went with Assassinate on my 4 characters for his third. During deployment I castled into a corner of the map behind an L-shaped ruin, trying to maximize the obscuring of my vehicles and then bubble wrapping with the Skyweavers. He largely mirrored that deployment with a token Starweaver midboard. He held one bike unit in reserve and I held my War Walkers in outflank. He won the dice off and used Polychromatic Storm to push the two deployed bike squads into a position to shoot/charge my hunkered down army and I declined to redeploy.
On turn one Matt went all in and committed both bike squads to pinning me back. His Starweavers and large troupe blocks spread out to cover the mid-board objectives and grab the early Engage on All Fronts while a home, dismounted troupe unit deployed their Scramblers. Using Twilight Pathways he was able to easily position both Skyweaver units on either side of my L-blocking ruin and lined up shots on my Hornets and prepared to charge my bubble-wrapping Skyweavers. Unfortunately for him, the Skyweaver shooting fell flat and was unable to bring down either Hornet. Looking to salvage the turn, he popped the +1D stratagem on one squad and launched into my 5-man Skyweaver unit. However, a combination of Lightning Reflexes and good saves kept my unit alive – only losing 1 bike. On the other side, his unit was a bit more fortunate and grabbed an additional 2 bikes. The swings back managed to grab a bike each, and he spent the 3 CP to swing again on his buffed Weavers – again only managing a single bike. In total he had committed about 1/3 of his army into my lines and due to some misfortune was rewarded with only a meager 4 bikes killed while 2 of his own also fell.
In my responding turn I lined up my Farseer and Yvraine to start punching through his 3++ Prismatic Blur bikes in my deployment zone and then shot my Starweavers into a position that could begin to threaten his own units. The Troupe Master hopped out to clean up any Skyweavers I couldn’t take in the psychic/shooting phase. My remaining Skyweavers fell back and lined up to harass his nearest Starweavers. Fortunately, retaining all three Hornets, and with the reliability of the Farseer/Yvraine I was able to clear most of the bikes so that the Troupe Master only needed to pick up the final bike before hopping back into his ride. At the end of turn 1 I had a distinct advantage – being Soaring Spite I was now more mobile with my fusion pistols, could maintain range with my Hornets against his fusion, and could outmaneuver his large troupe blocks while focusing on pressuring his objectives. I still had my War Walkers in reserve and could respond to the position of his final bike unit coming in – but with the loss of his first two bike blocks and the third coming from deep-strike, the main advantage of his Frozen Stars trait was lost if he couldn’t bring his large blocks into combat.
The game degenerated for Matt from that point. Facing a sudden reversal, he found himself having to pressure my backfield while holding his own backfield – his deep-striking Skyweavers did come in and opened up my Troupe Master’s Starweaver allowing one of his foot blocks to murder the troupe master inside, but his dice failed him and he ended up failing to kill the accompanying troupe and lost his whole unit to the return swings in combination with morale/attrition roles. My War Walkers coming in on his deployment corner forced his other large block back and pinned them in the corner for the remainder of the game while my Hornets and remaining fusion boats mopped up and prevented any other deploy scramblers.
Post-Game Thoughts:
This was an example of a game where first turn really mattered – his mobility and ability to be a multi-phase threat on turn 1 was greater than my own. He made the right decision in committing his bikes, I think, as the Skyweavers threatened to put me into an irrecoverable hole right off the bat. Matt had the advantage going first, but that evaporated as soon as he focused on my Skyweavers rather than my Starweavers. If there’s one thing I’ve learned playing against Harlequins, it’s that the Skyweavers are not the most important factor in our match – it’s the transports and troupes. While he ran into some unfortunate luck by failing to bring down either targeted Hornet with Haywire, not opening my Starweavers with assaults meant I retained all my mobility and counter-punch – especially after failing to clear either Skyweaver squad. It really left him on the backfoot and more than anything I think it cost him the game. Either way it was likely a frustrating game for him as the dice just weren’t falling in his favor so I was lucky to escape with the win.
Round Two – Joey Kirk – Custom Dynasty
My Secondaries:
- Engage on All Fronts – 14
- Deploy Scramblers – 10
- Bring it Down – 11
Joey’s Secondaries:
- Bring it Down – 8
- Grind Them Down – 3
- Engage on All Fronts – 2
Final: 90-43
I had yet to face Necrons with their new 9th edition revamp so I was excited to learn about them on the fly. Joey had a very text-heavy, unformatted list in BCP that was impossible to read between rounds and I remember thinking to myself, “Well here we go”. Turns out prejudging is bad because Joey was actually an awesome guy who had also brought a backup printout for me to look at because the BCP formatting was an error… Really made me feel like an asshole for assuming the worst (I’m sorry Joey!).
Anyway, he was running the custom dynasty that gave him a 6” pre-game move and army-wide ObSec which makes the Necrons surprisingly fast and versatile – the board afforded a lot of obscuring and so I deployed on my back edge hiding as much as possible from his heavy hitting Doomsday Arks and putting as much distance between my front line and his Nightbringer, Wraiths, and Destroyers as possible. He won the deployment roll off and I spent a couple of CP to reposition my War Walkers and Hornets to make sure he couldn’t draw sight on T1 – leaving just my bikes exposed. Following his pregame move, Joey marched his Nightbringer forward on his left flank towards the majority of my army while the Wraiths moved up the middle and his Destroyers ran up his right flank. The supporting Triarch Stalker and Immortals block followed in tow up the mid board and the Doomsday Arks lined up shots where they could find them on my bikes but failed to do any damage.
Having escaped unscathed, my bikes leapt out to challenge his Wraiths and the Nightbringer supported by my psykers and two of the fusion boats. The goal was to murder the Nightbringer in psychic and shooting and then close him out with my Troupe Master in combat. Everything else focused on the Wraiths or the Doomsday Arcs to remove his long range and mobile threats. Yvraine’s first Smite knocked 3 wounds from the Nightbringer which allowed me to follow up on the Wraiths with a targeted Smite and then the Farseer’s Executioner/Smite. Opening the shooting phase, I was able to remove one Doomsday Ark and then damaged both his Triarch Stalker as well as the remaining Doomsday Arc with my Skyweavers. I put the necessary 3 wounds on the Nightbringer, and refocused on the Wraiths bringing them down to just 2 models remaining. I declined to charge the remaining Wraiths with the large bike squad but charged into the Nightbringer with my small bike unit and the Troupe Master to ensure he went down. His ability to ignore invulnerables terrified me but I fortunately rolled enough wounds to punch one through his save and then dropped my two automatic MWs from the Troupe Master. He exploded and dealt wounds to everything around him but at this point his left flank was now fully opened which gave me a lot of room to maneuver behind cover and up the board.
On his turn two he brought his Destroyers ever closer and poured fire into my Starweavers and Skyweavers – exploding a transport and whittling down both Skyweaver squads before the middle unit took a charge and lost one or two more bikes. It was a good response but wasn’t enough to prevent me from continuing to whittle down his forces and pressuring his backfield. On my turn 2 I finished off the Wraiths and the Triarch Stalker and tried to remove the Immortals from his backfield. It wasn’t much in comparison, but at this point Joey was quickly running out of ways to deal enough damage to prevent me from removing him from his home objective or force me off of mine. The following turns were spent keeping my distance from the Destroyers and removing his remaining threats one by one.
Post-Game Thoughts:
I made a big mistake not charging his two remaining Wraiths on turn 1 with my larger Skyweaver squad. In my mind I was thinking I wouldn’t do much and would only cost myself some bikes in the combat and instead I wanted the bikes to take the shots in his shooting phase. However, I had left both Yvraine or the Farseer open to potentially getting sniped out by those Wraiths. While I don’t think it would have changed the outcome it was a significant mistake that I realized too late. However, I have to imagine that if Joey could run the mission again he would not have brought the Nightbringer forward by his lonesome on the flank. He can be such a terror for units with invulnerable saves (half of my army) but I don’t think Joey expected the three-phased capability that I could bring, which ultimately brought him down with relative ease. It was a fun game though and I’m glad Joey went on to do well the rest of the tournament.
Round Three – John Indellicate – Black Heart/Custom Coven Drukhari
My Secondaries:
- Engage on All Fronts – 15
- Bring it Down – 15
- Grind Them Down – 15
John’s Secondaries:
- Bring it Down – 6
- Deploy Scramblers – 10
- Engage on All Fronts – 5
Final: 100-43
This is a game where I really feared going second. Eldar on Eldar matches always tend to be slugging matches as we both counter each other well with volume of shots and mobility. Fortunately, I had an advantage on secondary selection – as heavy hitting as John’s list was it ran afoul of the same problem that most pure Eldar lists have – they are easy to pick secondaries against. In this case John had a lot of small, individual units and a lot of vehicles that allowed me to choose both Bring It Down and Grind Them Down relatively easily. In deployment I positioned everything on the table defensively while John deployed extremely aggressively on the deployment line preparing to rush while leaving his Incubi and Drazhar in a Raider in deepstrike. I won the roll and went first.
Redeploying my Harlequin units forward, I decided to commit everything on T1 and see how many of his vehicles I could take down before he had a chance to get them moving. His Venoms stretched the line with three on either side of some center-placed obscuring ruins with his Ravagers/Reaper in the backfield. Between the fusion boats, the Skyweavers, and Craftworld shooting I was able to remove three Venoms, a Ravager, bottom-tier the other Ravager, damaged the Reaper, and removed multiple small Warrior units. It was a devastating turn one that proved unrecoverable as he quickly ran out of units capable of projecting range or threatening my backfield. By the time his deepstriking Raider came in it was nearly all that remained. On the other hand, he did absolutely murder my Troupe Master in overwatch while he zealously attempted to bring down a 4th Venom – the first in a series of embarrassing defeats for the murder clown.
Post-Game Thoughts:
To me the most remarkable part of this game wasn’t the match itself, but rather John’s sportsmanship. I think a lot of players would be put off by the unbalanced turn one outcome – but not John. He seemed to truly enjoy the game from start to finish and I’d be hard pressed to think of an opponent more fun to play than him. I’ve learned that he can’t attend many GTs, but if you see him on the registration list cross your fingers you’ll get the chance to play a game with him because he’s a great guy, a fun opponent, and his Drukhari are just lovely!
Round Four – Dan Sammons – White Scars Adeptus Astartes
My Secondaries:
- Engage on All Fronts – 13
- Deploy Scramblers – 0
- Grind Them Down – 9
Dan’s Secondaries:
- Bring it Down – 8
- Oaths of Moment – 15
- Engage on All Fronts – 8
Final: 67-57
This is a matchup that I was eagerly anticipating and also dreading. Dan’s list is a nightmare of fast moving power armor and close combat punch, especially after turn 3. Even better, Dan himself is an excellent player, a champion, and currently the ITC leader. Wings highlighted the list in part one of this week’s Competitive Innovations, but I want to also highlight that the Company Veteran squads were a fantastic addition to this army and I’d expect he’ll have set a trend with these and we’ll see these in more lists after this weekend.
In my approach to the game, I considered that Dan’s list is a combination of elite units that want to be punching, some chaff units for objective sitting and character protection, then a small contingent of bikes and Inceptors for some limited threat in the shooting phase. I knew right off that I wanted to eliminate the attack bikes, and if I could, his Inceptors. Doing so would make him a one-phase army and give me an advantage with my Starweavers in that he couldn’t pop the vehicles and also kill their contents. Further, given the Domination format of the game, I wanted to take advantage of my speed to keep pressure on mid-board objectives while using my ranged CW units to hunt down on the fringes and remove him from center objectives – limiting the number of primary points he could score.
The board did not favor Dan – there was a lot of good terrain, but the spread had obscuring along the board edges with two large woods blocks in the center – this would have been good in a lot of games, but in Vital Intelligence with the majority of the objectives on the diagonal this forced Dan into an open field where I could take advantage of my ranged firepower. We each deployed extremely conservatively, tucking our armies away from each other in the corners of the board behind obscuring ruin blocks as much as possible – he threw out some Incursors in the corner objectives and had to put some Bladeguard out where they could be seen but otherwise remained neatly tucked. We wondered aloud whether we’d win and choose to go second. – I won the roll and there was a lot of good reasons to want to go second in this game. However, In thinking about how deceptively fast White Scars can be, and examining whether I thought I could draw sight lines on at least one squad of Attack Bikes – I chose to go first because I wanted the extra turn of being able to remove those Incursors, an attack bike squad, and the majority of the Inceptors who formed the front line of his bubble wrapped infantry blocks and with some luck, a Bladeguard or three. So I took first turn.
Spending 4 CP right off, I redeployed my Hornets to the top of the board so I could draw a board edge sight line to the Attack Bikes and then brought forward my Troupe Master Starweaver and my Yvraine Starweaver along with the large bike squad which moved with Prismatic Blur for the 3++ on my near board edge. The Troupe Master boat sped directly for Dan’s forces in the ruins while the rest split into the corners of the board, the War Walkers, a bike squad, and my bare bones Troupe unit staying home. Clearing the Incursors was first priority, which Yvraine and the fusion boat did easily on my board edge, and the Death Jester fusion boat and a Hornet did on the opposite corner. My two remaining Hornets turned their guns to one of the Attack Bike squads and picked it up with a spate of good rolls, punching 4 wounds through. The turn was off to a good start and I’d eliminated Dan’s flexibility on the edges; now I just needed to stick the landing. I closed out the shooting phase with focusing on the exposed Bladeguard but the wounds fell off rapidly from the War Walkers and remaining Hornet and ended up only killing a single model. Shifting to combat, the large bike squad charged into one of his 2-man Company Veteran squads, expecting the 9 zephyrglaives swings to remove them. The Troupe Master, having hopped out, charged through the ruin walls and into his Inceptors – popping the +1 damage strat to make him flat 3D. The Troupe Master has a decent chance of removing the squad, but I was hoping for 3-4. Instead on my 6 attacks I rolled four 1s to hit and ended up only killing two and dealing 2 MWs to a third – which he would of course promptly heal with his apothecary. Slinking back in defeat to his transport, I prepared to lose my fusion boat and troupe master on his turn 1 – again. Then the bikes whiffed and killed 1 of the 2 Company Vets. Stepping back and surveying the board it was right about this time that I realized I forgot to say the magic words, “These guys are deploying scramblers.” Big oof. Also I now had 0 CP.
On Dan’s turn one he began to move his forces out. The Inceptors backed off out of the ruin and towards his short edge, drew sight to my Troupe Master fusion boat, healed, and brought a missing man back. The remaining two Attack Bikes similarly positioned to ensure a kill on the Starweaver and both managed to maintain the obscuring ruin between themselves and the downrange Hornets. Meanwhile, one of his Vanguard Vets and the Assault Intercessors moved up the short edge to smack around the Skyweavers and relieve his beleaguered Company Vet. The bike Chaplain YOLO’d himself across the board to threaten my Hornet and leverage a charge to contest the objective in the corner. The remaining Vanguard Vets held tight while the Bladeguard moved forward to claim the board center and threaten the middle (Oaths). In the shooting phase his Attack Bikes and Inceptors predictably murdered my Troupe Master’s Starweaver leaving the passengers open to be wrecked in the fight phase. The interesting part was playing out on his short edge however; his Vanguard Vets and Assault Intercessors charged into the bikes and claimed the objective in doing so. Swinging in the Fight phase they failed to kill all 5 bikes on their 3++, my return swings killed a couple of Assault Intercessors though not enough to matter. His Chaplain made the charge into the Hornet, destroyed it easily, and consolidated into the objective and my Starweaver on it to contest.
The weight of his army was balanced on the short edge and an interesting dynamic was playing out. We had a Hammer and Anvil happening where my Craftworld forces were nearly out of reach at this point, but I needed to be able to contest the primaries and live long enough to do so. His Chaplain and Assault Intercessors removing me from controlling the corner objectives meant I couldn’t score on turn 2 – so now I needed to answer in kind. I remembered to deploy my scramblers this turn and dropped in the neutral zone from my bare bones Troupe unit. The Starweaver fell back from the Chaplain and I positioned my other units to draw sight to him and the Bladeguard. On the far side, Yvraine started to back off as fast as she could, getting away from that tide of extremely angry power armor coming to dominate that corner. Her fusion boat moved towards the center objective to place shots on Bladeguard and hold that, hoping the psychic/shooting phase could remove the Vanguard Vets and Assault Intercessors from the corner. Everything else held tight to maintain distance from any potential charges. My second bike squad remained home because I forgot that this particular mission meant I could control an objective without being on it. Meanwhile the Farseer lined up some Smites/Executioner on the central Bladeguard. The Attack Bikes and Inceptors were out of my range/sight this turn, so the focus was on removing his elite assault units. The Skyweaver squad fell back onto the objective and looked to close out the Assault Marines and remain a nuisance on that objective – though I doubted I could take it with the Vanguard Vets right there. In my psychic phase, I poured smites/gaze of Ynnead/Executioner into Bladeguard and did a fair number of wounds; one of the squads would be cleared in the ensuing shooting phase, but the remaining unit would only lose 2 of the 5. The Assault Intercessors died but I was unable to kill the Vanguard Vets or the remaining Company Vet and declined to charge to force Dan to deal with them. On the opposite corner, Dan didn’t realize that my Starweaver could fall back and still allow the fusion inside to blast away – it predictably removed the Chaplain. At the end of my turn, I was sitting on 3 objectives – my home, my short edge corner, and Dan’s middle-center while Dan held his home and his short edge corner. He scored 5 on the Primary
He had his work cut out for him at this point. I do want to take a moment to note that I noticed Dan has a habit to take a step back from the table and just envision the phase for a couple of minutes before touching or moving any models each turn, for any readers who are interested in his play – I’d note that as a key component of his game as he is able to refocus himself and prioritize what he wants/needs to do. Anyway, his Vanguard Vets remained in a position to threaten both my Skyweavers and the Starweaver on the central-mid objective while the other squad remained home. The sole surviving Company Vet also moved forward and his Inceptors and Attack Bikes swung around into that corner to line up shots on the Starweaver for the charges to follow and put max distance between himself and my Craftworld units. The Apothecary and remaining Bladeguard moved more central for the Oaths and put themselves in a position to claim the center or charge the Starweaver’s Troupe should the bikes/inceptors kill it. In his shooting phase he did indeed kill the Starweaver and I positioned my four surviving Troupers as far back from the chargers as I could resulting in some decently long charges, but given his strats they were probably dead. In assault he charged the Skyweavers with the Vanguard Vets and Company Vet. He declared his charge on the objective holding Troupe, using his strat for a 3D6 drop lowest, which I dejectedly gave up on – he failed. Reroll. Failed. Woah. Apothecary. Failed. Attack Bikes. Failed. This was a huge moment. Not being able to do anything about those four players on the objective was a 10 point swing on the primary and more than made up for my mistake with the Scramblers. This really put Dan on the back foot. Even worse, he improbably failed to kill the remaining Skyweavers, leaving two bikes still alive – not enough to contest but meant I could continue to distract/tie him up.
On my turn 3 I Ieapt ahead on the primary and found myself in the driver’s seat. I brought forth my final Starweaver from the corner objective to line up shots on the central Bladeguard and hold the other mid-center objective, dropping the Death Jester out to retain it knowing Dan couldn’t reach him (again forgetting about the lack of a need to do so on this mission). The Skyweavers finally came forward and moved centrally with the Farseer nosing out of the ruin to Smite/Executioner and Yvraine continuing to hurriedly rush backwards from the Marines along the long board edge. The battered unit of Skyweavers fell back to claim the fourth table quarter and threaten the Apothecary. At this point I couldn’t do anything about the corner objective – the obscuring ruin protecting it also protected the Vanguard Vets, the Company Vet, and the Inceptors. I did try to line up some shots on the Attack Bikes but was careless and put my War Walkers out of range and ended up wasting those shots. I cleared the remaining Bladeguard and the Apothecary, killed one of the attack bikes and ended my turn sitting on 4 objectives. On his turn 3 the final Vanguard Vet unit finally came out combined with his other squad, both threatening the central objectives with the one prepared to charge the Starweaver should the remaining Attack Bike be able to open it up. Unfortunately he was unable to down the Starweaver and declined to charge to prevent my ObSec Troupe from jumping out and retaining the objective from his Vanguard Vets. He knew at this point that I was unable to deploy my scramblers due to my poor position and so planned accordingly. He cleared my remaining Skyweavers and the Troupe on the other mid-center objective, then pushed into the middle for his Oaths. We each held 3 objectives but at this point he could outscore me on the secondaries, but not the primaries and the game began to wind down from here as I removed both Vanguard Vets on my turn and the final Attack bike, and I slowly closed out the game on primary points.
Post-Game Thoughts:
I think this was a tough matchup for Dan on a tougher board. Being forced into the open to claim the objectives while being slowed by the mid-board woods meant he could never realistically threaten my core of Craftworld units and prevent them continuously pouring high quality fire into his elite Marines. Basically the center of the board was a killing field littered with Marine bodies that just came in waves. There were a few swings in this game – the failure to deploy my scramblers on turn one ultimately cost me that secondary which is a bone-headed mistake and I continued to play them poorly all game – not positioning them as I needed to ensure a Scramblers. However, the biggest swing was undoubtedly the turn 2 series of charge failures that netted me the 15 primary points on turn 3 and left Dan hanging out in the open.
Also, I just want to say that bike chaplain is an amazing unit – I think Dan was a little bit unsure of how he wanted to use him, but with more games and some patience he’s going to make that guy a nightmare. While I don’t think Dan thought the Chaplain would be removed so easily by the fusion boat, I do think that sacrificing him was undoubtedly the right play – in fact I immediately kicked myself for putting the Hornet so far forward that he’d be able to make the charge. The play resulted in a lost Hornet, which was an incredibly valuable unit in this game, and allowed him to contest my objective for 5 points.
Round Five – Aaron Cook – Shadowkeepers Adeptus Custodes
My Secondaries:
- Engage on All Fronts – 15
- Deploy Scramblers – 10
- Bring it Down – 7
Aaron’s Secondaries:
- Bring it Down – 10
- Grind Them Down – 6
- Engage on All Fronts – 8
Final: 87-54
Looking at Aaron’s list I didn’t find a lot of good options with my secondary selections – I opted for Bring It Down knowing I could only score 7 VP but that it was very likely I would do so and resigning myself to the fact that I’d need to keep his score down. We had a very interesting board for the final game, with a large centrally placed Woods tightly flanked by two large line of sight blocking containers effectively dividing the board in two. In opposing deployment corners sat a fair amount of obscuring terrain and then a woods in the other two corners. Along the long board edge sat a significant container-like line of sight blocking piece. On the Dawn of War deployment, we both castled into the Obscuring corners and completely ignored the open woods corner. Aaron chose to deepstrike his Allarus and everything else started on the board – on the deployment line mid-board sat his Telemon with the Vexilla centrally placed behind to grant the -1 to everything except his most distant Pallas. For my part, I also mirrored the refused flank and placed everything into my obscuring corner and held nothing off the board – the Telemon was my only real threat on Turn 1 as I didn’t think the Pallas would be able to draw sight lines to any vehicles and my Skyweavers could take the limited shots if need be. I won the roll off for first turn, and despite there not being a disadvantage for me going second, there was huge upside for Aaron going first – so I took first and spent my 4 CP to redeploy the Farseer, War Walkers, a Hornet, both Skyweavers, and the Troupe Master Starweaver into the open end of the deployment zone with the intention of pinning Aaron into the corner.
Going first I advanced both bike squads, the smaller onto the central objective, the larger as close as possible to the two Pallas tanks and gave them Prismatic Blur. The Starweaver advanced forward to line shots on some of his Sagittarum and the near Pallas, while the Troupe Master hopped out behind a wall and as close as possible to make a short charge with Tanglefoot in mind. The rest of my units on the other of the board spread out to claim table quarters and objectives while lining up shots on the Telemon. This was the only time in the tournament that I considered casting Doom – I didn’t want to put my Farseer at risk but really wanted that Telemon dead or to at least force CP spend on him. Keeping him right at the 24” line, I moved the War Walkers forward to cover against any enterprising Shield Captains and dropped a Doom. The two Hornets on my side of the board began firing on the Telemon and the first managed to punch through 4 dmg before Aaron committed to turning off rerolls and minimizing damage. The second failed to do any further damage, however, my smaller squad of bikes hanging out on his center objective then decided they were going to go BIG and dropped 10 mortal wounds on his Telemon to end him – despite all his buffs. That was the biggest threat to my board half gone – the third Hornet, War Walkers, and Skyweavers were then able to bring down the two Pallas tanks. The Troupe Master charged in like a boss and completely forgot that Custodes could Swooping Dive – wups! Fortunately, he didn’t die from an incoming Shield Captain but only managed to kill a single Sagittarum before hopping back into his transport. The Skyweavers charged a second units of Sagittarum tucked all the way into the back corner and killed another guy.
Losing his vehicles meant Aaron could not reliably threaten my half of the board and now had to deal with a swarm of Harlequins in his deployment zone. He moved his third Sagittarum squad across the central board line to claim a table quarter along his deployment line and brought forth his Venatari Custodians to challenge the mid-objective and my Skyweavers. His bike captains came out to line up shots and potential charges on my War Walkers protecting the Farseer and my Troupe Master’s Starweaver, then his unengaged Sagittarum came in to support his other squad entangled with my Skyweavers. Both melta missiles failed to wound, so he opened up the Skyweaver with a wide combination of shooting including the Venatari. The assaults came next and once again my Troupe Master found himself dead on turn 1 along with his little retinue from one Shield Captain. Both bike squads came through relatively unscathed having only lost a couple of bikes each from the Sagittarum on one end and the Venatari on the other. The War Walkers however felt the full fury of the Shield Captain and went down hard – vengefully dealing two Mortal Wounds from explosions.
On my turn 2 I ran my Farseer away from the angry, mounted, golden man in front of him to the relative safety of my board half then lined him up with Yvraine to clear the Shield Captain with smites before turning to the Venatari. My Hornets and two remaining fusion boats positioned to hit the Venatari and his mid-field Sagittarum while the larger Skyweavers squad fell back but maintained a position in his deployment zone. The other squad fell back to my objective where the War Walkers had previously stood. Yvraine managed to kill off the Shield Captain by herself after landing a super Smite. The Farseer cleared 1+ Venatari with an Executioner but was out of line of sight to do anything else. The combination of Hornets and Fusion boats cleared the mid-field Sagittarum and killed off most of the remaining Venatari – leaving just 2 guys left. The Skyweavers killed off an additional, single Sagittarum in the corner but otherwise held their ground.
Moving into Aaron’s turn 2 it started to look grim. He wasn’t able to effectively challenge my board half with just 7 Custodes remaining, 5 on foot, and a deep-striking Allarus squad. It was a lot to deal with and he’d been buried in the corner too far to get to me effectively. By the time his Allarus had failed the charge at the end of the turn it was all but over. However, big shout out to Sagittarum #8 – guy absorbed basically all of my armies shots on turn 4 like it was no big deal.
Post-Game Thoughts:
This felt a lot like my game three where the first turn was so unbalanced in its outcome. I don’t think Aaron was out of it by any means after the first turn, but the game became immensely harder from that point and he’d need to catch a lot of breaks that just didn’t materialize. When we spoke afterwards I thought he might have been better able to hide one of the Pallas or the Telemon, but it’s not clear to me that it would have worked and I wouldn’t have been able to find sight lines with my bikes or fusion anyway. Ultimately I think this is a game where Aaron needed the first turn so he could space himself, claim more of the board, and give himself options without being tied back in his corner.
I honestly think I’m really fortunate to play Aaron’s list when I did; it feels like this is an army that just got WAY better with the Forge World update – damage increases, point reductions, and just all-around improvements. I really look forward to seeing whether Aaron changes the list and how it does in future events because it’s a great list.
For my part, I cannot tell if my Troupe Master is just running into a series of bad luck not hitting more on T1 before dying, whether he’s valuable as a distraction, or if I should be more careful with him. Losing him on T1 isn’t necessarily a bad thing, but he has such a capacity for carnage that it never feels great.
List Updates
As Wings mentioned in his article yesterday, the list will need a revamp before the next event due to the FW updates. Who knows when the next event will be now that LVO is looking less likely, but if I had to hit a GT soon here is the list I’d look to experiment with:
HQ Troops Fast Attack Dedicated Transports HQ Elites Fast Attack Heavy Support
The specific changes are:
- Dropping the Death Jester (+50)
- Dropping the Zephyrglaives from the Skyweavers (+25)
- Hornet FW Updates – Swapping Pulsars for Starcannons (+75)
- Dropping the Fusion Pistol on the Troupe Master (+5)
- Swapping the War Walkers for the Lynx (-25)
- Adding Shadow Spectres (-130)
- Dropping the Farseer’s Doom for Fortune
The Harlequin changes are minimal – no surprises, Harlequins are great. That said, the Zephyrglaives and Death Jester drops are done because I frankly do not find them very valuable. I do not want to spend the CP for the Death Jester’s relic and so he ultimately just kind of floats around and plinks at a few things. On a rare occasion him making a unit -2” movement is fun, but it’s never been something where I’ve thought to myself, “If this unit doesn’t move two inches slower I’m going to be in trouble.” Moreover, the no OW ability never once came into play and things I was actually worried about OW from I just attacked differently. Similarly, the Zephyrglaives didn’t feel useful to me. The way I want to use the Skyweavers doesn’t necessarily need them to do damage in combat – which is good because they didn’t. When they hit and wound, it’s great. But at 3 attacks, S4, AP-2 I just rarely managed to push through the wounds I needed without the Troupe Master babysitting – and he doesn’t want to babysit while he YOLOs himself in and out of transports ripping up whatever he looks at. So why am I wasting the points? I dropped the Troupe Master’s fusion pistol purely because I needed 5 more points and this way I can advance him without feeling bad – it’s possible with some testing I’ll reverse this decision and instead not put a Crystal Targeting Matrix on the Lynx or change the Bright Lance to a Starcannon.
So let’s move on then to the big-ticket item – the Lynx. When I saw the Forge World update I was intrigued but I ultimately agreed with Wing’s assessment that it didn’t really bring much new to the Craftworld list. But then as I thought about how to use it more, how I’d want it to play in my army, and how it compared to the War Walkers, I ultimately decided to put it into the list for two reasons:
- It’s a really fucking cool model
- With the FW update on the Hornets I didn’t want more Starcannons
The thing is, I don’t like Starcannons but I need Starcannons. The change on the Hornets Pulsar from a 3-shot S6, AP-3, D2 weapon to a 2-shot S7, AP-2, D2 weapon made the decision to move to Starcannons on them easy – I value the higher AP and D potential of the Starcannons vs the higher Strength of the Pulsar at the same price with the same number of shots. That said, I hate the variance of the Starcannons and throwing 6 more into my list for a total of 12 makes it far too swingy for my taste… So, enter the Lynx. On average dice, it will outshoot the Starcannon War Walkers against T4, T6, T7, and T8 and is far more consistent in its damage output at a flat 3D. It’s also more durable than the War Walkers. While it has two fewer wounds it is a T7 hull vs T6, has a 3+ vs a 4+ armor save, and retains the 5++ (though only against shooting). It also suffers less at each degrading step than a comparable number of wounds on the War Walkers (which will lose 4 shots every 6 wounds). The only difference is the inability to overkill on the War Walkers that may effect the Lynx negatively. Other great factors include the capability to Cloudstrike, its low overall profile (though wider base), and ability to tuck away a Farseer in a protective wrap combined with its absurd speed that allows it to keep up with a Farseer Skyrunner, zoom over to a table quarter, or run from melee threats. The Crystal Targeting Matrix means it’s still capable of firing on its +12” advance and it reduces my scorable Bring it Down from 18 to 15 – giving my opponent no lee-way in maxing it. That’s a lot of words to say “I love it”… on paper anyway.
Then there’s the Shadow Spectres. This is honestly the thing I’m most on the fence about. The FW Hornet changes gave me 75 points to work with but at a cost of 6 high-quality shots. While 75 points wasn’t enough to really replace those 6 shots with other items, dropping the Death Jester suddenly gave me 125 which is a bit more room. Looking at my options I thought about upgrading my fourth Troupe squad with pistols and adding another Starweaver – but that’s more easily scored Bring it Down points for my opponent and hurts me on Deploy Scramblers since I’ll want to use them offensively rather than hopping around or Webway striking off and on to get those Scramblers placed. Additionally, I’d like to replace the lost unit (DJ) with a new one to keep my unit numbers/scoring options up – here I think Shadow Spectres fill in real nicely. They picked up an innate ability to deep strike, gained significant range increases on both weapon profiles, and gained a flat 3D at S6, AP-3 on their high-power shot profile. At only 5 shots for 5 guys, it doesn’t quite replace the volume, but at flat 3D on the profile it’s an upgrade against any 2-wound models with FNP or 3+ wounds. Given their speed, battle focus, and range they are incredibly mobile platforms. I think they’ll take some finesse as they cannot handle incoming shots like they could in 8th, but a squad of 5 seems like a powerful replacement for those lost shots and another deep-striking, fast infantry unit on the board gives me more Engage on All Front and Deploy Scrambler options in a pinch. They’re essentially Eldar Inceptors – and people seem to love those.
Then there’s the Farseer’s Doom. Man have I always thought this was an auto-include. In my last 10 games I’ve tried casting it exactly once and it didn’t do anything for me. Expert Crafters, my low volume of shots per unit, and the distributed nature of my shooting often means that Doom’ing something is simply a waste of a CP (extra cast) or means I’m not dishing more MW damage. So why not take Fortune and then open palm rune slam that onto my Lynx every turn? Shadow Spectres may want it on occasion too!
I think it’s a fun and dynamic list and retains some of that Craftworld flavor that is so near and dear to my elf heart. My hope if you’re reading this is that it’ll inspire your own ideas on running Craftworlds locally. If you do let me know how it goes!
Have any questions or feedback? Drop us a note in the comments below or email us at contact@goonhammer.com.
