
Welcome back, Scummers! We had an enforced vacation last week (due to WordPress eating our article), but we’re back with a guide on running your own Helot Chaos Cult gang! We were going to do something different, but our editor, Rob, demanded we tell him how he can play his 40k cultists in Necromunda, and we capitulated. He also said something about pictures of someone named “Spider-Human”, but we’d have to ask a Van Saar about that…
Do you have a Chaos Space Marine army in 40k? Did you play Lost and the Damned in the late ‘90s? Do you have the Blackstone Fortress set and all of its expansions? If so, good news! You have the makings of a Helot Chaos Cult already! There’s nothing stopping you from starting up a Necromunda gang right now!
Helot Cults provide an interesting new wrinkle for Necromunda: what if Necromunda, but Chaos?! If you’re a disciple of the Dark Gods (or you have a Chaos army lying around), then what better place to spread your dark gospel than the putrescent, flabby underbelly of Necromunda’s hive cities? With Dark Rituals, Wyrd Powers, and the terrifying Chaos Spawn, the Helot Cult adds a new and bloody/disgusting/sexy/weird wrinkle to our favorite skirmish game!

Table of Contents
Strengths
- The Power of Chaos: Helot Cults have access to Wyrd Powers, Dark Rituals, and may even get granted a Chaos Spawn, which can be an unholy terror on the battlefield. While these secrets are forbidden for every other gang, the Cults of the Eight-fold Path may use them to their advantage.
- An Extra Champion: Helot Cults can take the normal two champions at start, but they also get access to the Cult Witch! The Witch is the Cult’s Psyker, and has access to psychic powers and the ever-important Savant skill-set, making them a compelling choice for any burgeoning Demagogue.
- Cheap Cultists: A Helot Cult will easily outnumber their foes as they’ll have a bunch of 45- or 50-credit gangers running around, making it easy for the Cult player to make all the moves they need to to win games.
- Excellent Skills: Helot Cult leaders and champions get access to Cunning and Ferocity skills: some of the absolute best skillsets in Necromunda. Park a Disciple with Overwatch and a Grenade Launcher in a firing lane and your opponents will be terrified to approach.
- Inured to Insanity: Do you have one of those too-smart-for-their-own-good players in their group who always brings Mindflect Grenades and Bale-flamers? Laugh in their stupid face as everyone in your gang who matters is immune to insanity! Insanity is a difference-maker in Necromunda, and the heavy hitters in Helot Cults get to straight-up ignore it. Your rank and file is more easily swayed, but we never trusted those guys to begin with.
Weaknesses
- No Stand-out Fighters: While they run cheap, a Helot Cult’s fighters won’t wow anyone with their stats. A Cult player will have to make up for this with good skill choice and plenty of Chaos-y stuff to remain competitive.
- No Stand-out Weapons: While other gangs might be replete with plasma guns and servo-claws, the Helot Cult player must be satisfied with the middle of the middle of the road when it comes to weapons. There’s a lot of Strength 3 and 4 on this list, and you’re gonna have to make it up elsewhere, especially later in a campaign.
- Chaos Spawn Are Random: In a campaign, getting a Chaos Spawn depends on failing the Dark Ritual post-battle action. This is not likely. In addition, if you do get a spawn, its stats are generated randomly, and it is completely possible, though somewhat unlikely, that they will suck.
- Witches Need Some Help: While having a 3rd champ may be a boon, Witches aren’t just there yet. We have a couple of suggestions to make them better, but Rules as Written, they’re just not that good.
- Shoehorned Into Having an Overseer Leader: While there are a ton of good skill and gear combos available to Helot Cultists, the nature of the Dark Ritual post-battle action, where cults really get to shine, means that your Cult Demagogue (leader) should be an Overseer just about every time. More on this later.
Gang Composition
Helot Chaos Cults must have one Cult Demagogue (leader), and must maintain the 50% Helot Cultist (ganger) composition throughout the cult’s existence. They may employ up to two Cult Disciples (champions) at gang creation, and up to a single Cult Witch (champion).
Cult Demagogue (Leader)
Primary Skills: Cunning + Ferocity + Leadership
Weapon Restrictions: None. (Gang List, Trading Post, Black Market all valid)
Wargear Restrictions: None. (Gang List, Trading Post, Black Market all valid)
Cult Demagogues have middling stats, but they make up for it with exceptionally good skills. As a leader, they get access to the Leadership skill set, with Overseer and all that entails. But they also have access to Cunning and Ferocity, which makes the Cult Demagogue a true force to be reckoned with. You can make the Demagogue a counter-charging menace with Nerves of Steel or Unstoppable, or give your opponent fits with Overwatch or Infiltrate. The Demagogue can just about do it all.
We hate to say it, but there is an extremely strong case for the Overseer leader in a Helot Cult. This all stems from the Dark Ritual post-battle action. The Dark Ritual has to be successfully completed at the end of each battle to gain favor with the Dark Gods to get their boons in the next game. The only fighter on your roster who can administer the Dark Ritual is your Demagogue. That means that it is imperative that your Demagogue does not go into recovery at any point during the campaign, so that the string of Dark Rituals remains unbroken.
Also, if you want a Chaos Spawn in your gang, and who wouldn’t, you’ll need to be partaking in Dark Rituals at every opportunity, as there’s no way to get one without them. While it may seem cool to have your cult leader on the front lines, sawing off heads in the name of Chaos, sadly the best option is to have them safely in the rear, shouting orders.
Recommended Equipment: The Cult Demagogue can wear a lot of hats, so you have to think about what their specialization is going to be before considering gear. If they’re going to be an Overseer, then keep them cheap as they won’t be doing much but yelling orders. If they’re going to be a counter-charger, give them a fierce melee weapon like a Chain Glaive, Chainsword, Flail, or Axe, and a Pistol to pair it with. And if they’re going to be an Overwatch Spoiler, don’t skimp and give them the Grenade Launcher that they need to truly shine in the roll.
Cult Disciple (Champion)
Primary Skills: Cunning + Ferocity
Weapon Restrictions: None. (Gang List, Trading Post, Black Market all valid)
Wargear Restrictions: None. (Gang List, Trading Post, Black Market all valid)
With their stats, it’s clear to see that Cult Disciples are meant to be shooting. With their skills, they have the tools to be extremely effective long-ranged support fighters. The obvious choice is the Overwatch Grenade Launcher build, which will swiftly remove friends from your life, but will win you games, and those two things are equal, as we all know it. If you’re hard up for cash, then the Long Rifle also makes a convincing stand-in for an Overwatch character.
Or you can make a convincing heavy, with Nerves of Steel and a Heavy Stubber. Nerves of Steel is great for an Unwieldy character, as the fighter can’t both get up and shoot in the same activation.
Recommended Equipment: Grenade Launcher, Heavy Stubber, Mesh Armor. If you go with the Heavy Stubber, grab Suspensors from the Trading Post at your earliest convenience.

Cult Witch (Champion)
Primary Skills: Savant + Chaos Cult Wyrd Powers
Weapon Restrictions: May only equip Pistols and Close Combat Weapons from the Gang List, Trading Post and Black Market.
Wargear Restrictions: None. (Gang List, Trading Post, Black Market all valid)
The Witch is… odd. They’re champions, and you can add a single one to your gang roster in addition to your normal pair of Cult Disciples when you create your gang, but they’re statted like most house juves, with 5+ Weapon and Ballistic Skill. The idea is that they’re also a Helot Cult’s access to Wyrd Powers, but they’re also not the most ideal platform to take advantage of many of them, with Dark Shield being the sole exception.
They are able to Group Activate in the same manner as other champions, so they’ll be able to bring a bit of muscle with them should they decide to venture out – just don’t expect them to deal too much damage on their own!
Witches are also the only fighter in the Cult with access to the Savant Skill-set, so savvy Helots might be inclined to use them as an investment with the Fixer skill – the Witch doesn’t need to be part of a battle’s crew to collect the bonus credits, and they’ll pay for themselves after a couple of games.
(We’re honestly having a rough time justifying the poor Cult Witch, and we have a feeling that it’s largely due to their absolutely underwhelming options for Wyrd Powers. We think we may have a few fixes, so check back in the Wyrd Powers section and we’ll get into it there!)
Recommended Equipment: Mesh Armor, Cult Icon, Giant Rats
Helot Cultist (Ganger)
Primary Skills: Cunning + Ferocity
Weapon Restrictions: May equip anything besides Heavy Weapons from the Gang List, Trading Post and Black Market. Only one Helot Cultist may be equipped with a Special Weapon when the gang is created.
Wargear Restrictions: None. (Gang List, Trading Post, Black Market all valid)
The unwashed hordes, Helot Cultists are a Chaos gang’s bread and butter. They’ve got the same basic stat-line as an average House’s ganger, while costing anywhere from 10-20 credits less! Couple that with the gang’s access to Reclaimed Autoguns and Autopistols, and you’ve got a cost-effective horde that even Cawdor would be jealous of. Grenade Launchers are your best bet when considering Special Weapons, since blast weapons somewhat mitigate the Cultists’ 4+ Ballistic Skill.
We recommend going wide with a teeming mass of Cultists before investing too heavily in gear and guns for any of them individually. Let ‘em earn their armor – they need to prove themselves worthy first!
Recommended Equipment: Reclaimed Autoguns and Autopistols, Flails, Mesh Armor, Grenade Launchers

Dark Rituals and Boons
If there wasn’t an upside to dealing with the Ruinous Powers, hardly anyone would ever be tempted! Throwing your lot in with the Chaos Gods has its benefits, but only if your offering is deemed to suffice.
Before you can gain the favor of the Dark Gods (and rack up some nifty bonuses in the process), you’re going to have to grab their attention with a little ol’ Dark Ritual. In the Post-Battle Phase, a Helot Cult will randomly pick a fighter from their gang to be the Ritual’s focus. Witches and your Demagogue are exempted – they’ve got more important things to do. Then, pick a god and roll 2d6.
There’s a laundry list of positive and negative modifiers that’ll impact your final result; if you’re holding a captive from a rival gang you can sacrifice them instead of using one of your own as the focus, for example. In the end, the magic number that you’ll be looking for is nine or more, upon which you’ll be blessed with the favors of your chosen god listed below, and the focus the ritual will gain d6 XP for doing such a swell job of leading the prayer session.
On the other hand, on a natural or modified two or less, the ritual fails spectacularly and the fighter chosen to be the focus is deleted from your gang roster and replaced permanently with a Chaos Spawn. This isn’t the worst fate to befall a 50 credit Helot Cultist, but it can really sting when it happens to your fully decked-out Cult Disciple.
That said, let’s get on with the positive outcomes, so here’s what a Dark Pact’ll get ya!
Khorne, the Blood God
- Re-roll a single failed Wound Roll each round.
- Chaos Spawn gain +1 Strength.
- Demagogue gains +1 base Attack.
Khorne’s Boons are going to be generally useful to most Helot Cults, most of the time. We’re not the math guys, but we know that having even a single reroll at a key time can make all the difference, and Khorne helps you cheat in that critical bit of damage once every single round. Extra offense on your Demagogue and Chaos Spawn isn’t too bad, either!
Slaanesh, the Dark Prince
- Once per round, can activate two fighters instead of one, regardless of Group Activation ability and distance apart.
- Chaos Spawn rolls two d6 for determining Movement, and chooses the highest.
- Demagogue gains +2” Movement.
Slaanesh’s weird Group Activation-esque ability seems like it’s bound to have some off-kilter “Ace in the Hole” sort of usage, but we haven’t been able to figure out what that would be just yet. More reliable Chaos Spawn Movement is an improvement, but not as much so as some of the other Gods’ offerings. Same as the bonus to Demagogue Movement. It’ll improve their ability to position, but they’re still not going to want to range too far ahead of their Helot Cultist followers.
Nurgle, the Plague Lord
- Re-roll a single Recovery roll each End Phase.
- Chaos Spawn gain +1 Toughness.
- Demagogue gains +1 Wound.
Chaos Spawn start off pretty tough, but with Nurgle’s blessing they’ll be tougher than even those pesky Ogryn that’ve been running around recently! Leaders gain a third Wound, allowing them to weather all sorts of injuries before having to worry about rolling the dice. Note that the Recovery re-roll does require you to take the second result, even if it’s worse than before. You’re more than welcome to try to re-roll a Serious Injury into a Flesh Wound, but you’ll only have yourself to blame when it flops over to Out of Action!
Tzeentch, the Architect of Fate
- Once per round, a fighter may ignore all negative modifiers when shooting.
- Chaos Spawn gains a 4+ Armor Save.
- Demagogue gains a random Wyrd Power.
Tzeentch’s ability to ignore all cover and cameleoline and any manner of negative hit modifiers is crucial for landing that one critical shot each round, especially if you’re depending on a Demagogue or Disciple with a long-range precision weapon. The Chaos Spawn’s upgrade, a boatload of armor, will keep it alive and ticking even longer than Nurgle’s Toughness buff. Shockingly, Psychic powers are where Tzeentch lets us down here, as a random Wyrd Power is pretty statistically likely to be utter garbage on your Demagogue. The other two buffs are good enough to make up for it, though!
Your Creepy Friends
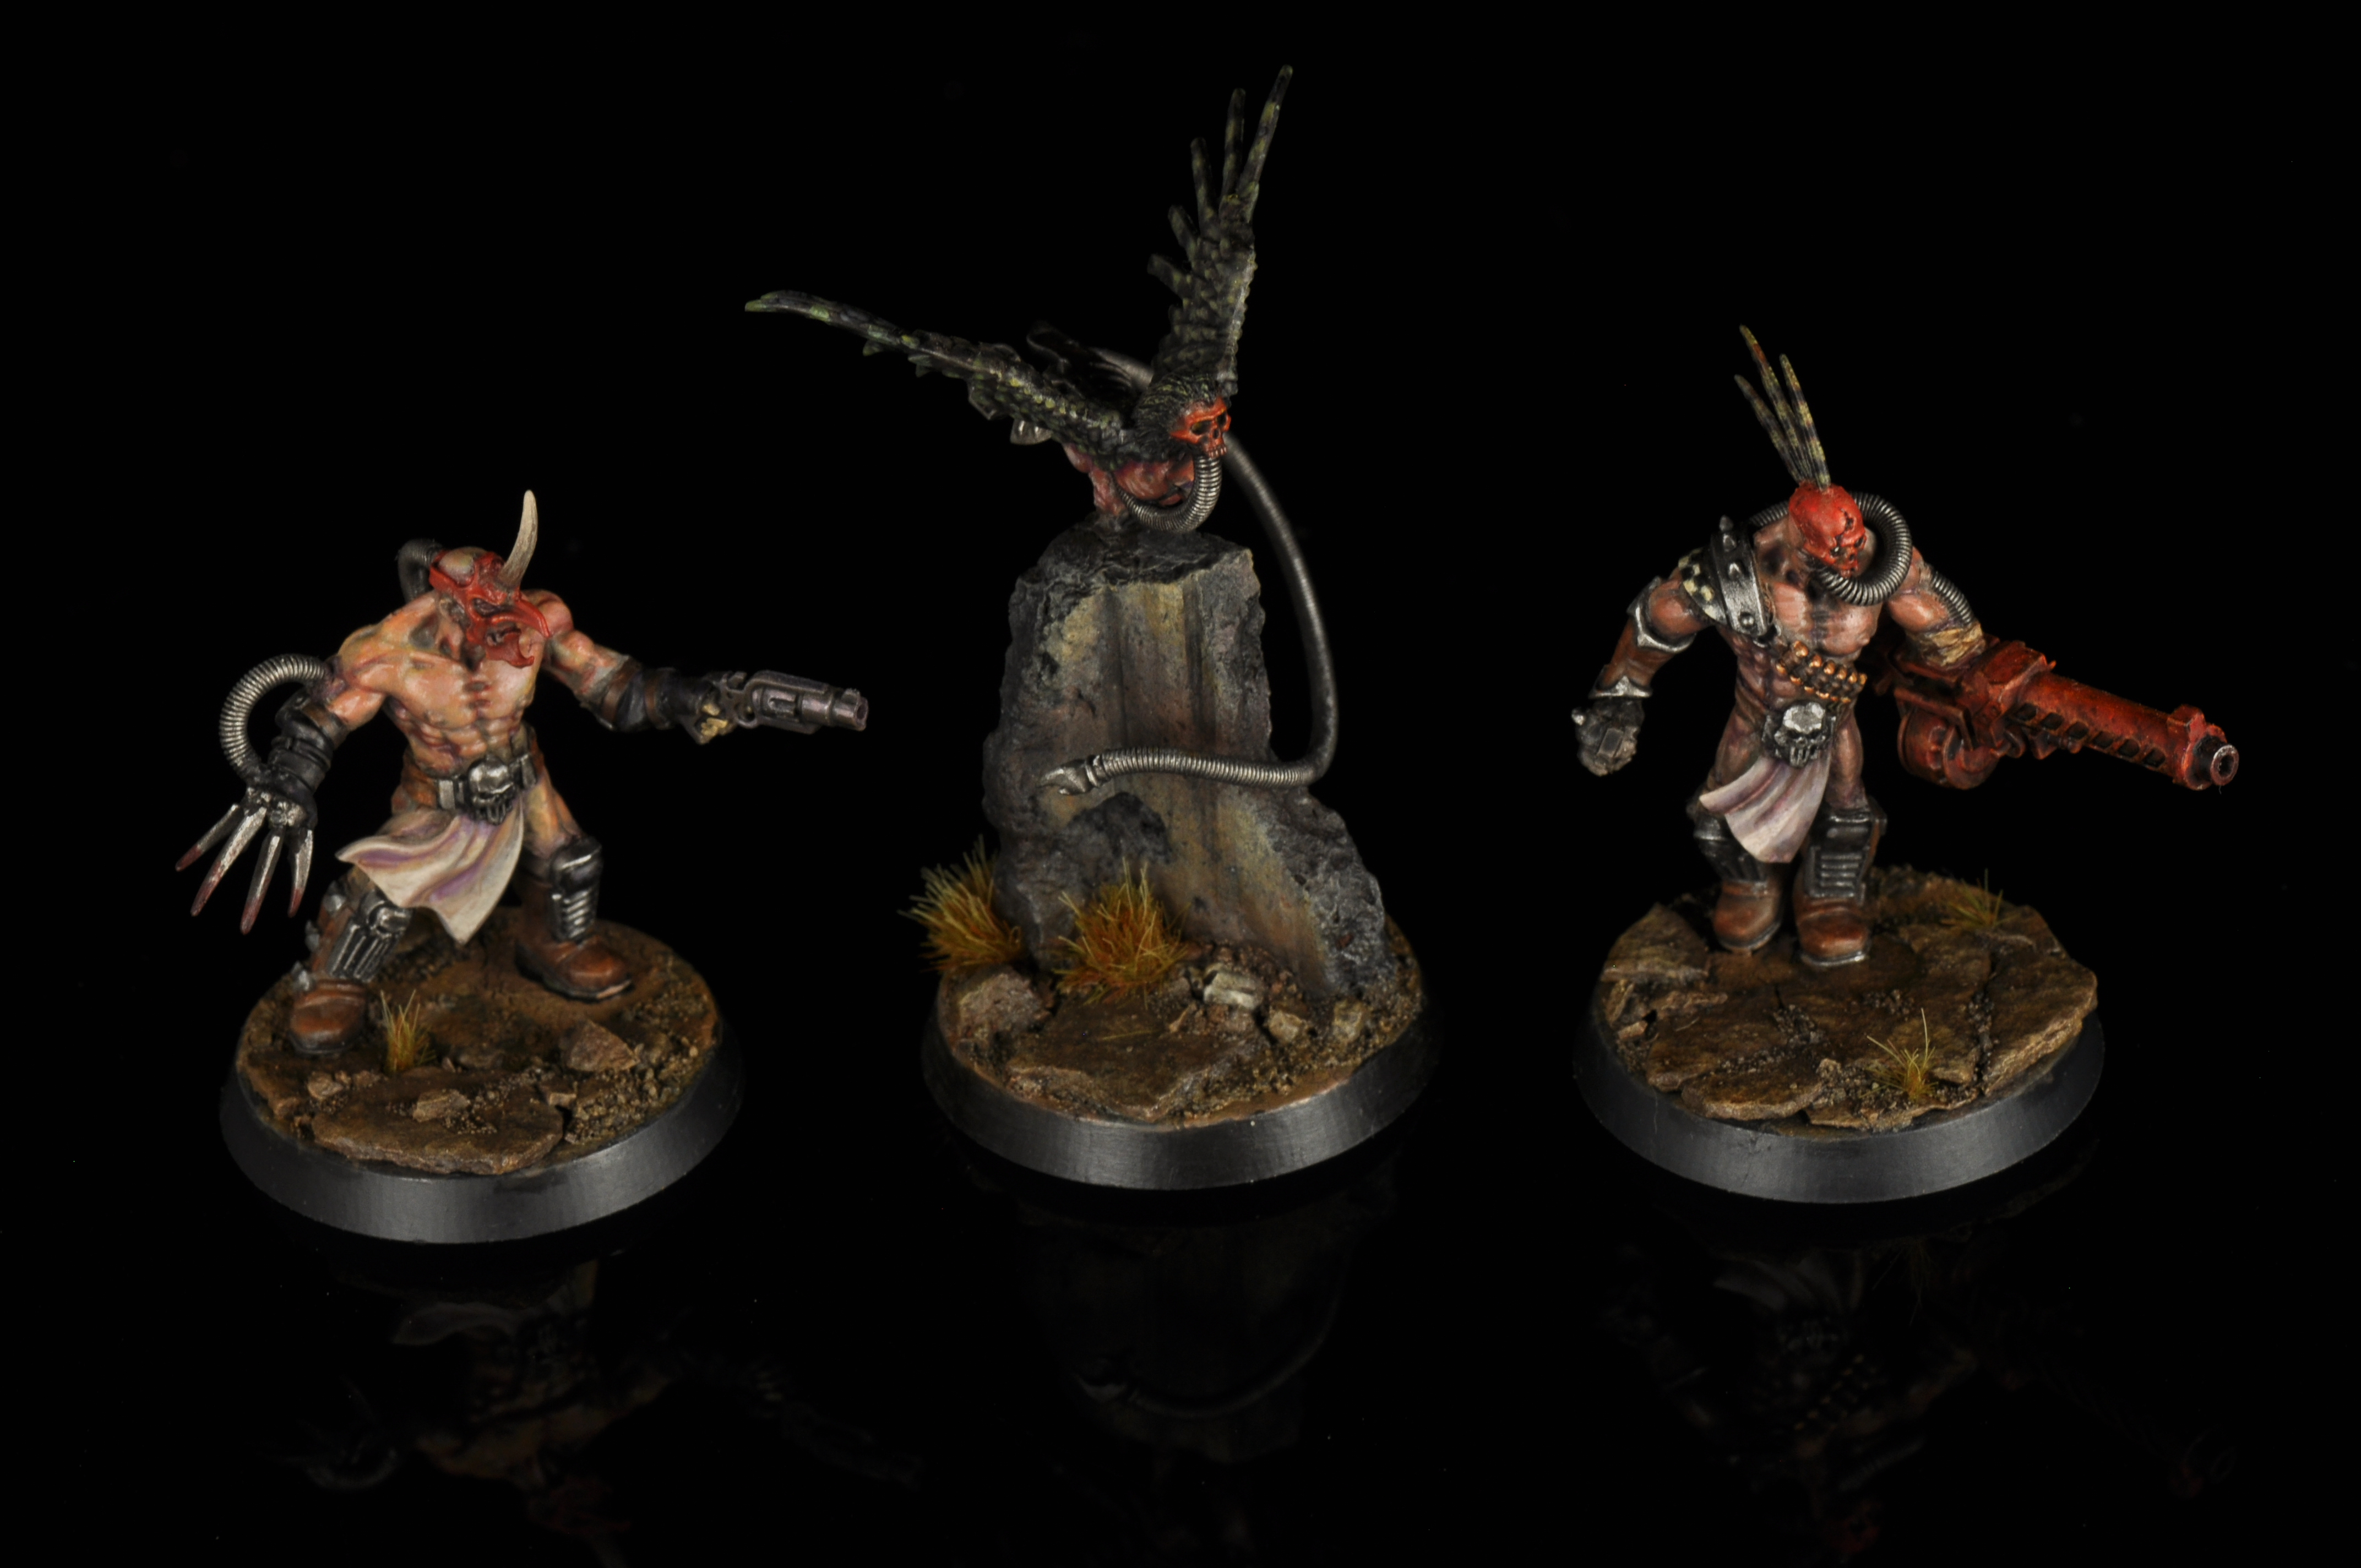
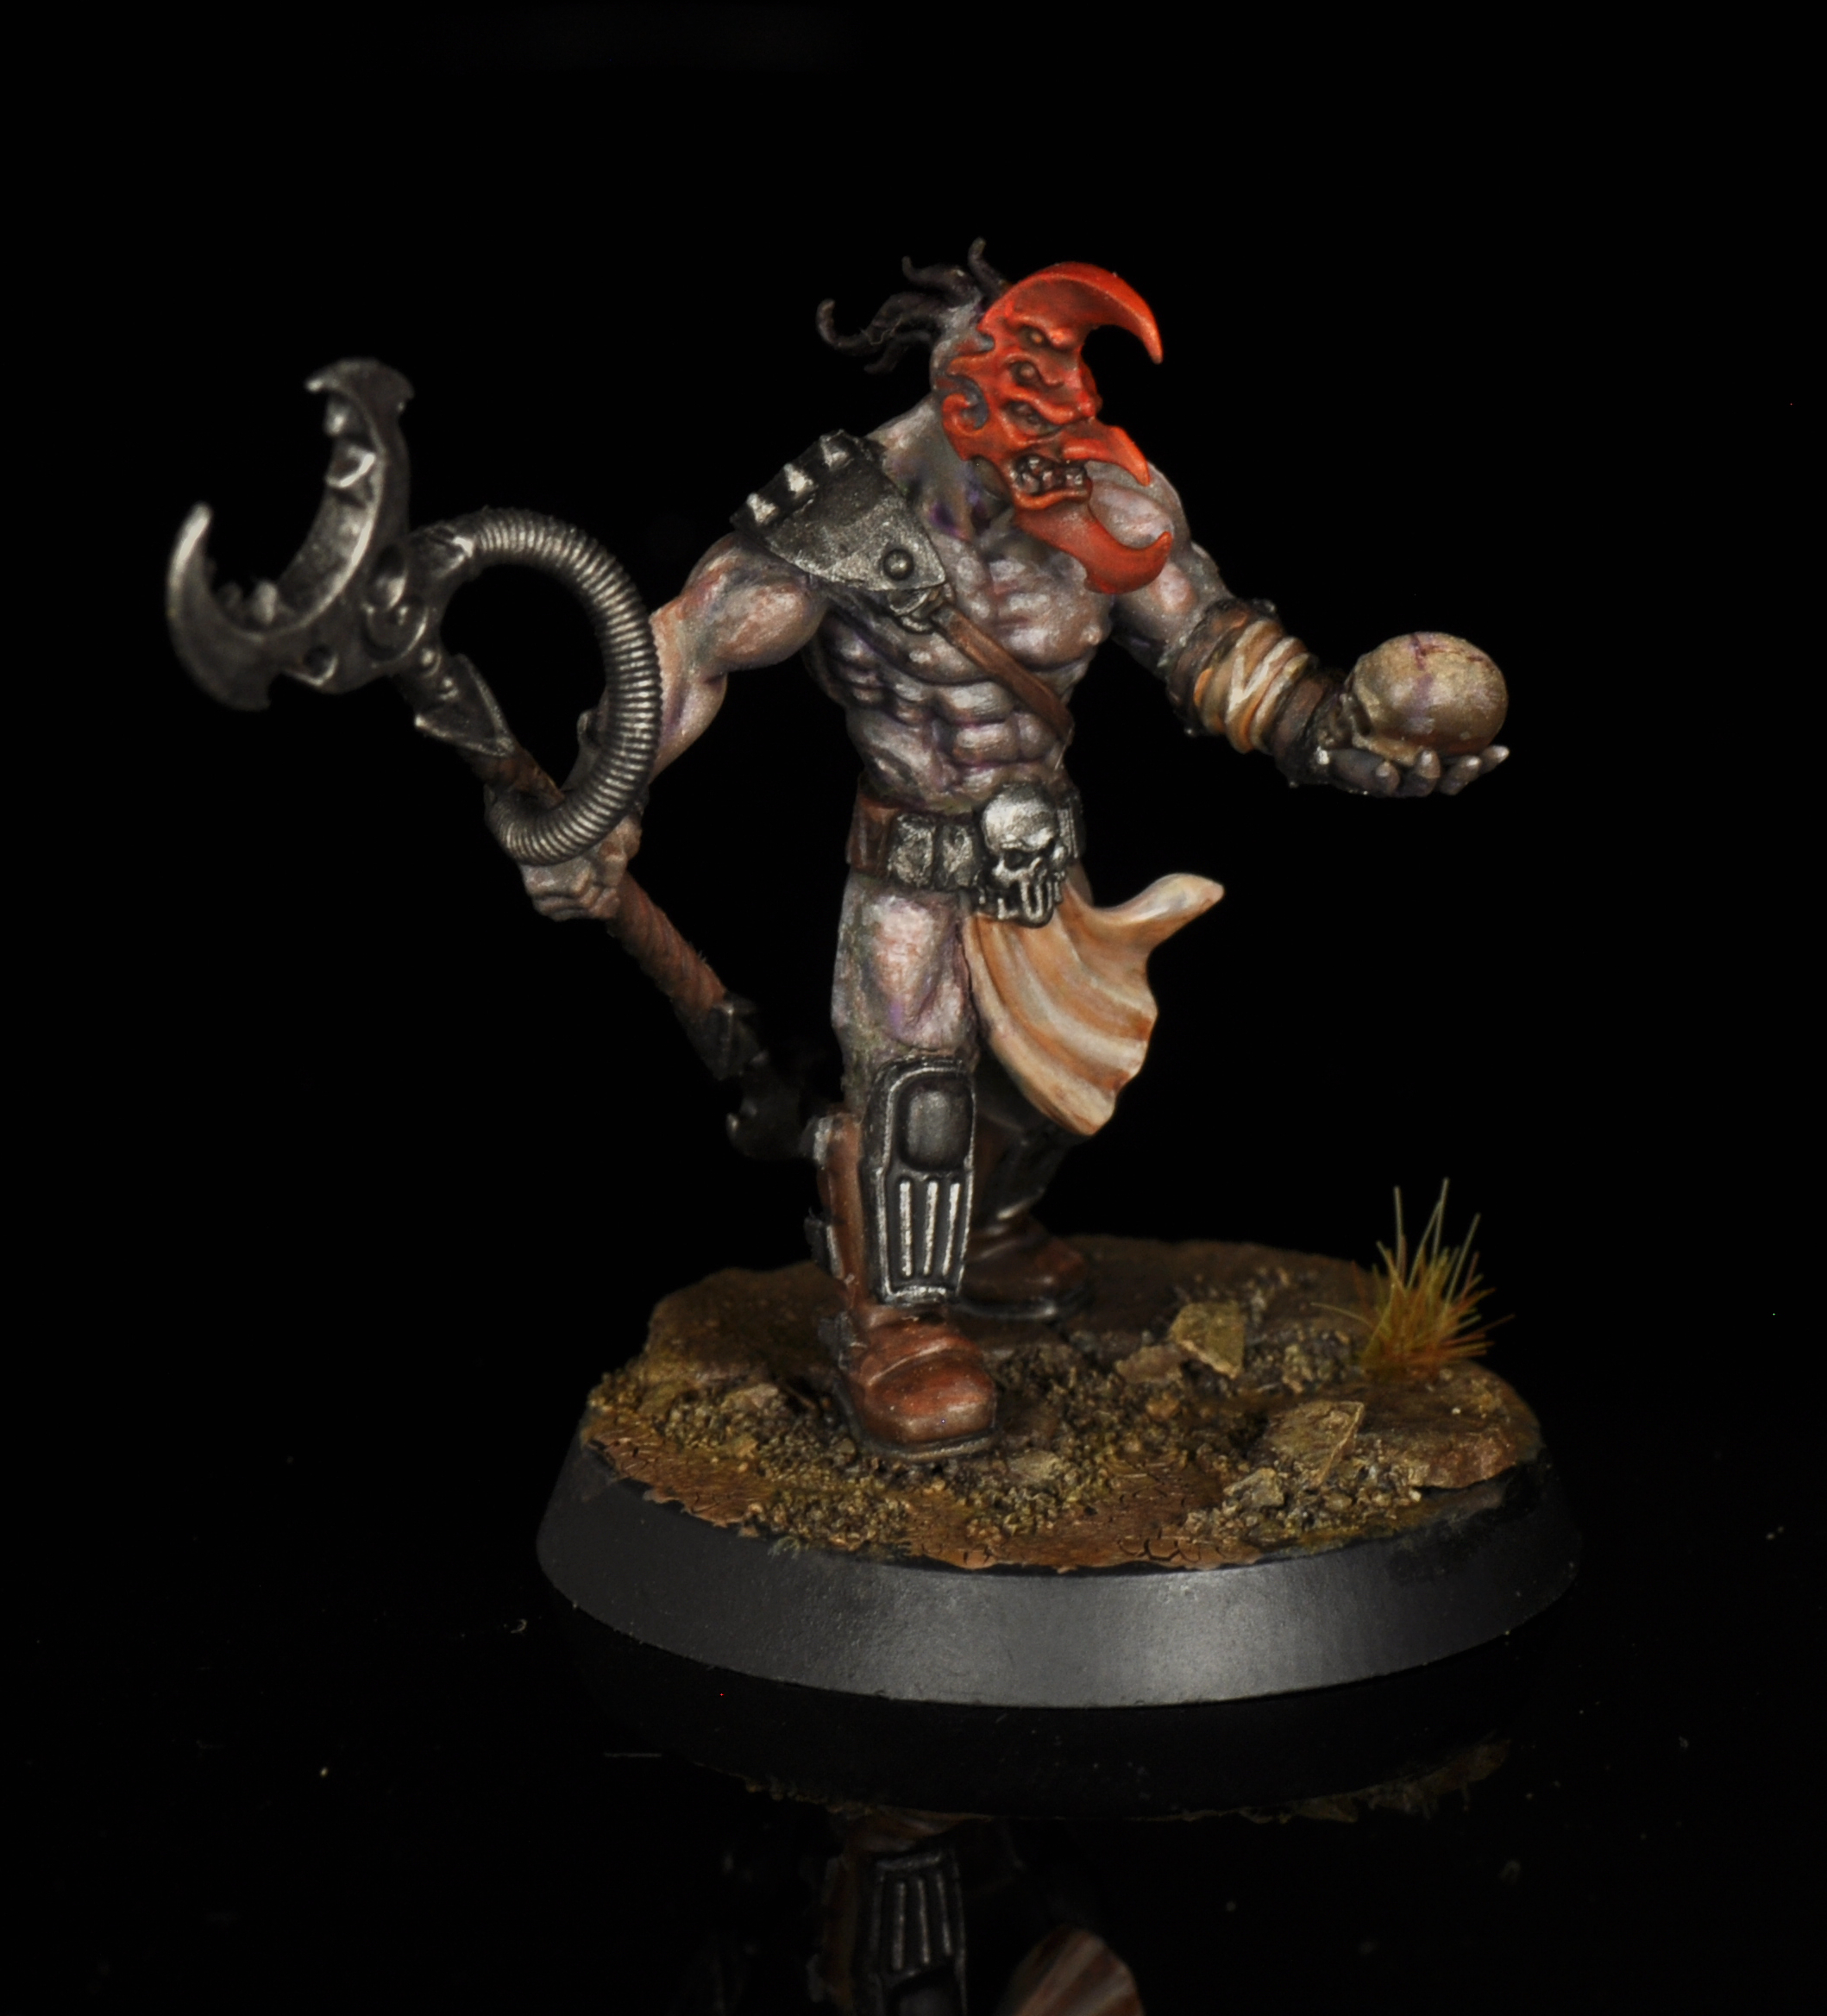
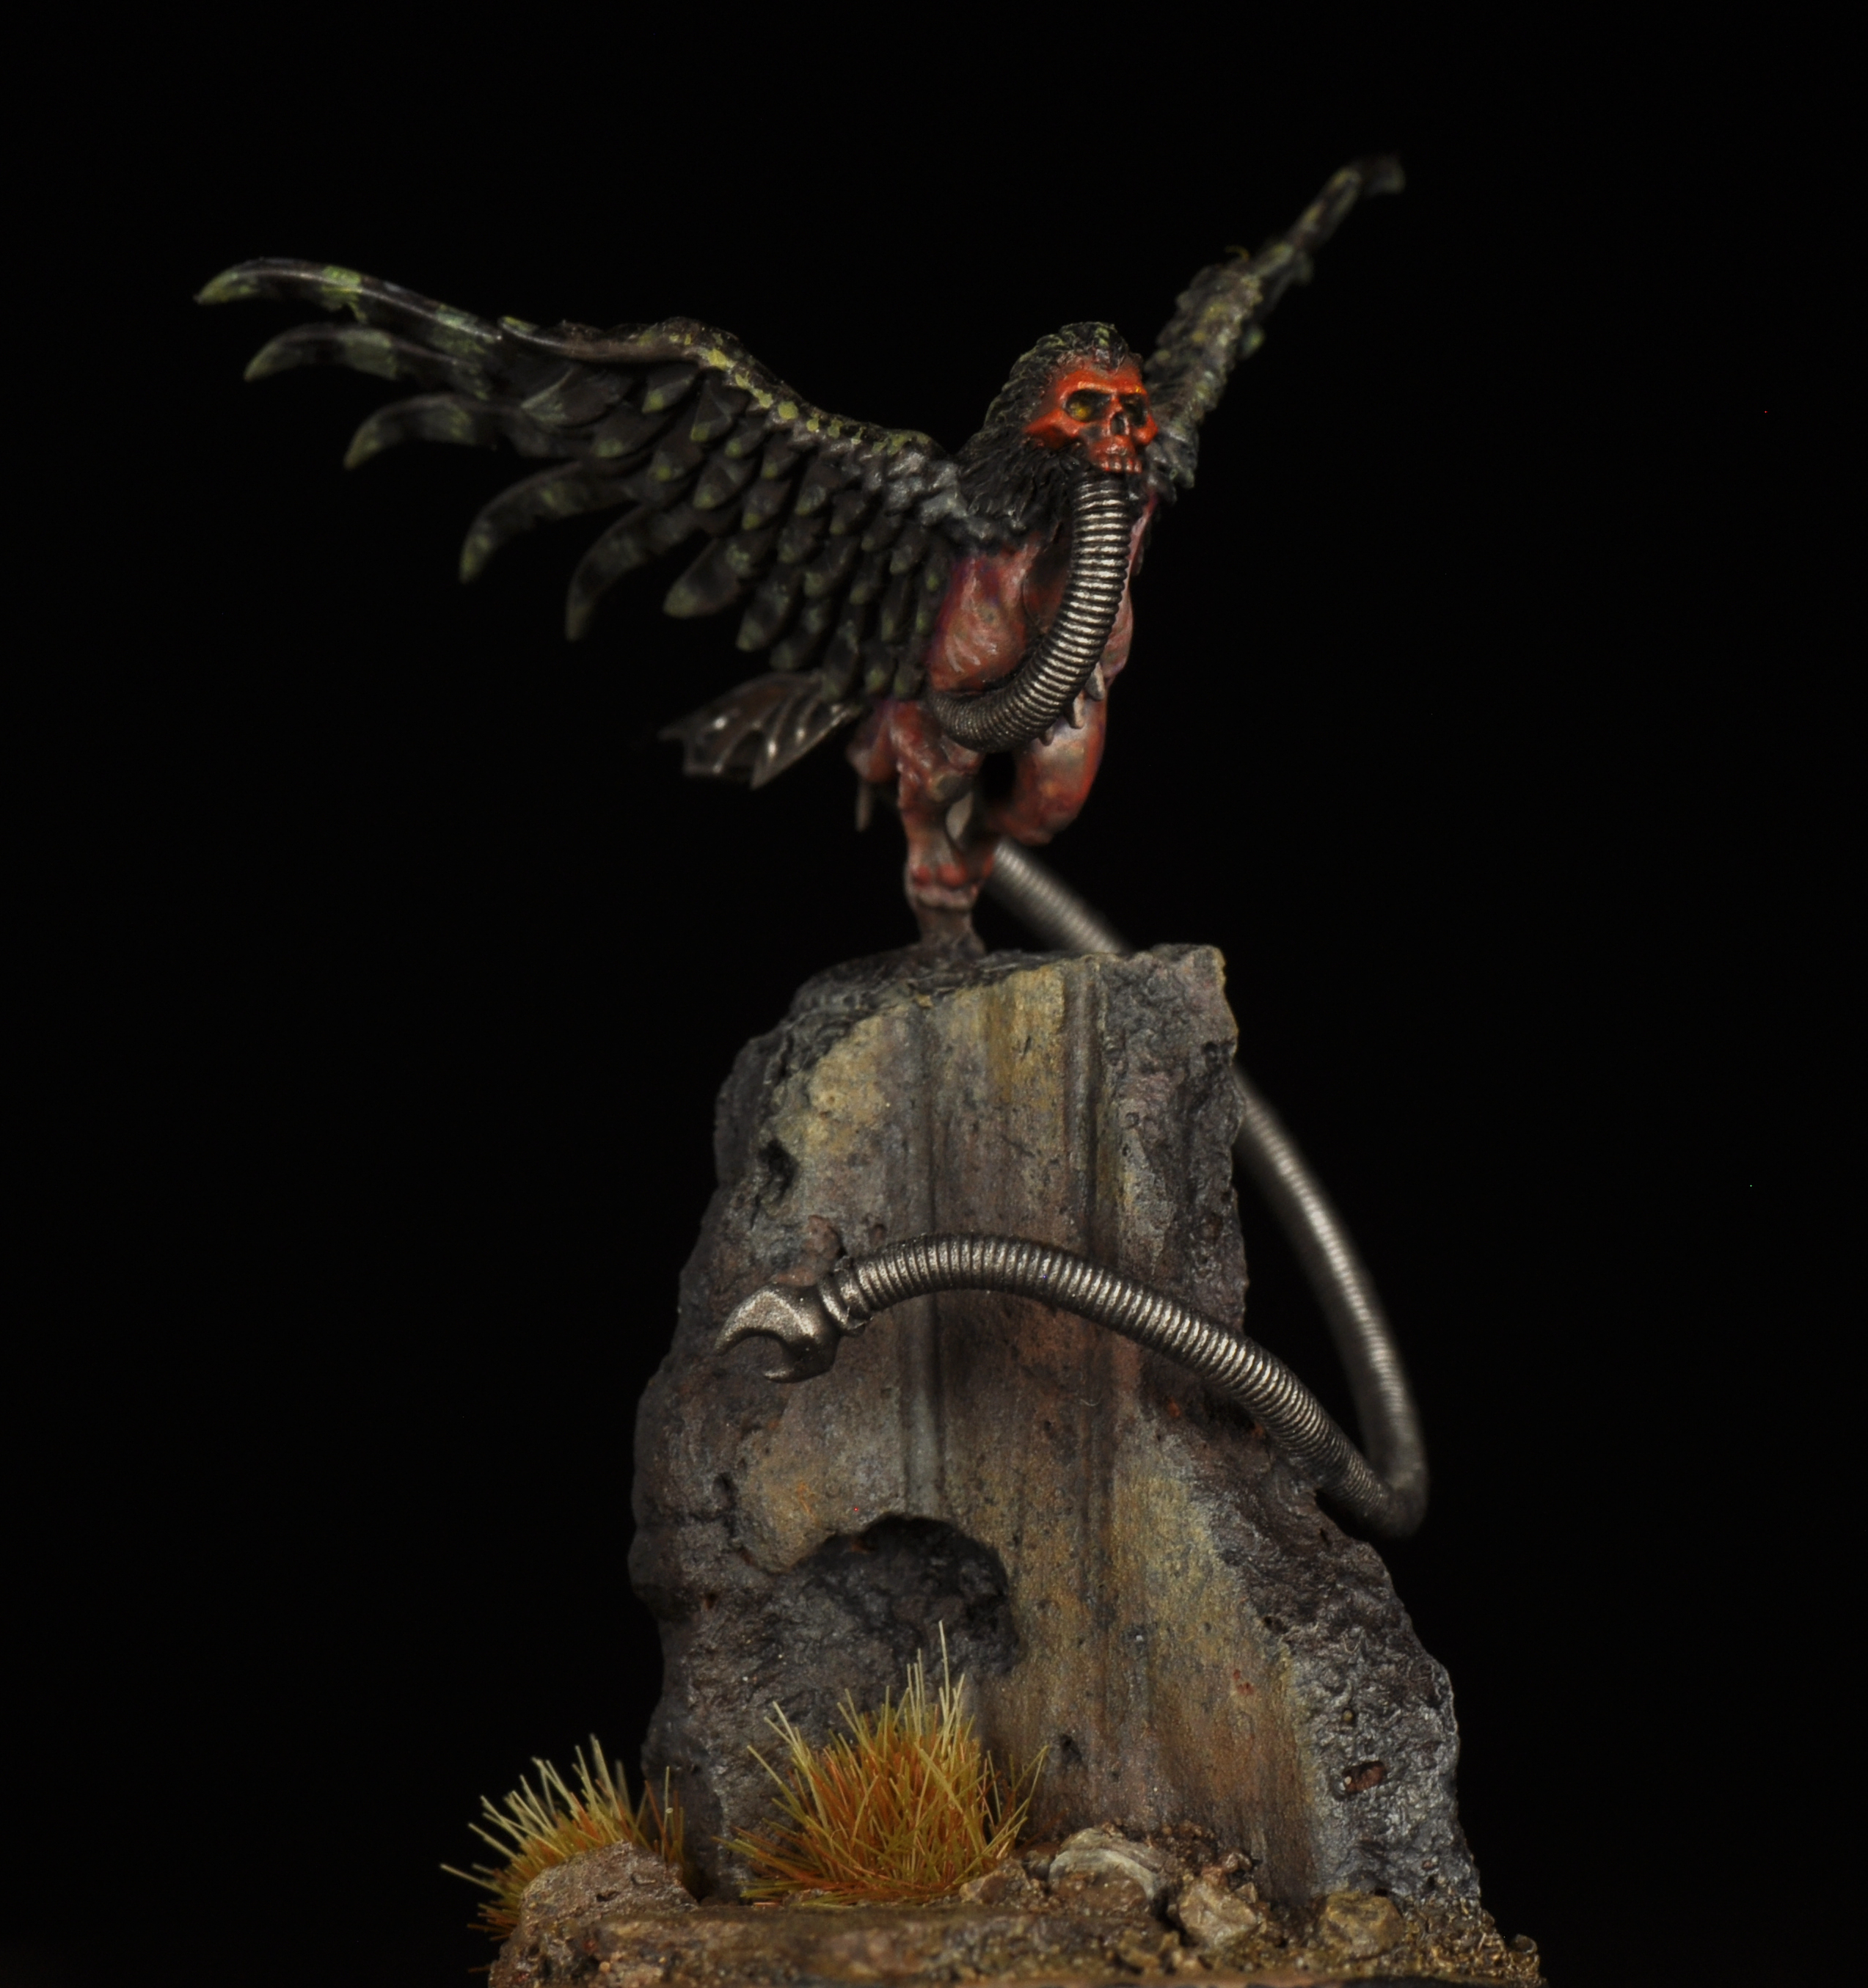
Helot Cultists get access to a couple of cool Chaos gribblies, because of course they do!
Chaos Spawn (Punishment/Reward)
Despite its regrettable randomness, the Chaos Spawn is still an extremely fearsome monster. It’s completely immune to pinning, and will wreak havoc during a Necromunda battle. The good thing about a Chaos Spawn is that they’re completely free during a campaign! The bad thing is that your gang will have to completely fail a Dark Ritual roll, and sacrifice a randomly determined fighter to get one. If that sacrificed fighter is a regular Cultist, then whatever! Cool! But if you end up sacrificing a Cult Disciple instead, this loss can really hurt, as there is a chance your brand new Spawn will simply run the hell away after a battle and never return. Having one of these monsters around is dangerous, and the Spawn might take it out on your gangers after a battle, too.
Despite all of this, there’s nothing a Cult player wants more than a Chaos Spawn, and we can hardly blame them. Spawn are big, tough, mean, and durable. They’re an immediate problem for your opponent, as it is nearly impossible to put one down. If you’re (un)lucky enough to have one, then we here at Necromunday are officially happy for you.
A Note: We’ve said it before, and we’ll say it again – Make an agreement with your opponent that the Spawn shouldn’t be pinnable under any circumstances, even Seismic. The poor thing doesn’t know how to stand up.

Chaos Familiar (Exotic Beast)
The Chaos Familiar works in the exact same manner as the Genestealer Psychic Familiar. The familiar’s boss can pass a Willpower roll to ignore 1 hit per turn. This little fella is absolutely necessary for any fighter you wish to keep alive. We suggest that any Disciples with a nice weapon get one, and if your leader isn’t chillin’ in the back shouting orders, then they’ll need one as well. At 25 credits per, they’re not overpriced in any way, so go hog wild!
Another Note: It sounds silly to the uninitiated, but confirm with your Arbitrator and opponent how they want to play the whole “Round versus Turn” definition. Some groups adjust the Familiar’s Omen of Fortune ability to trigger once per round, others allow it essentially every single activation.
Chaos Cult Wyrd Powers
Should you choose to seek out the services of a Cult Witch, you’ll find they can pick Wyrd Powers as Primary Skills, and cast them at a fairly reliable Willpower 6+. Your Witch is a fragile creature, however, so not all Wyrd Powers are particularly suited to their limitations.
- Scouring: If this power cast a flame template on its own, like other versions of the Scouring power do, it would be viable. Unfortunately, this version merely allows your Witch to be armed with a notional flamethrower upon a successful cast, meaning they’d have to use their second action if they actually intend to fire it. We’ve house-ruled this power to also Shoot on a successful cast, as we can’t see anyone ever wanting to waste their valuable skill slots on it elsewise.
- Levitation: Hover mode, engaged! This maintainable power increases a Witch’s Movement by 3” (which admittedly is an overall slowdown of 2” since you’ll be using an action to cast/maintain), but also allows them to freely change vertical heights, ignore falling damage and terrain, and become unpinnable. A situational power, but useful to reach tucked-away objectives in scenarios that don’t depend solely on a kill-count.
- Warp Strength: Increases Strength and Damage of close combat attacks while maintained. Folks, the Witch has a Weapon Skill of 5+. Furthermore, if you were to cast this in anticipation of combat, you wouldn’t even be able to charge that turn. Even if the Witch was a combat monster this would be a tricky power to use effectively, so skip it.
- Dark Shield: Add +1 to Save Rolls to all friendly models within 3” of the Witch for the rest of the round. If you’re running a Witch, this should be one of your first picks for Wyrd Powers. Shield provides a much-needed boost in survivability to anyone nearby, as even the humble Helot Cultist suddenly starts looking a lot scarier when he’s pretty much decked out in Light Carapace. Make sure to deal with any enemy Grenade Launchers before bunching up too heavily, though!
- Maddening Visions: Enemies become insane on a failed Willpower check, provided they end their activation within 3” of the Witch. As near as we can tell, this isn’t retroactive for enemies who have already activated, meaning once a Witch has cast Visions, an enemy would have to activate and choose to move into the danger zone willingly. This could theoretically be used as a form of area denial, but most of the time any enemy willing to get that close would be doing so to charge the Witch, and the power ceases to function once the Witch is dead.
- Assail: Pushes an enemy fighter within 12” a distance of d3”, causing minor damage if they come in contact with another fighter or terrain. Requires a ranged hit roll, so it’ll rarely connect in the first place. The damage if they’re pushed into something is only at Strength 3, so really between the range restriction, Ballistic Skill requirement, and best-case damage potential, this is a Wyrd Power that has slightly less punch than a 5 credit Reclaimed Autopistol. Don’t take this one, ever.


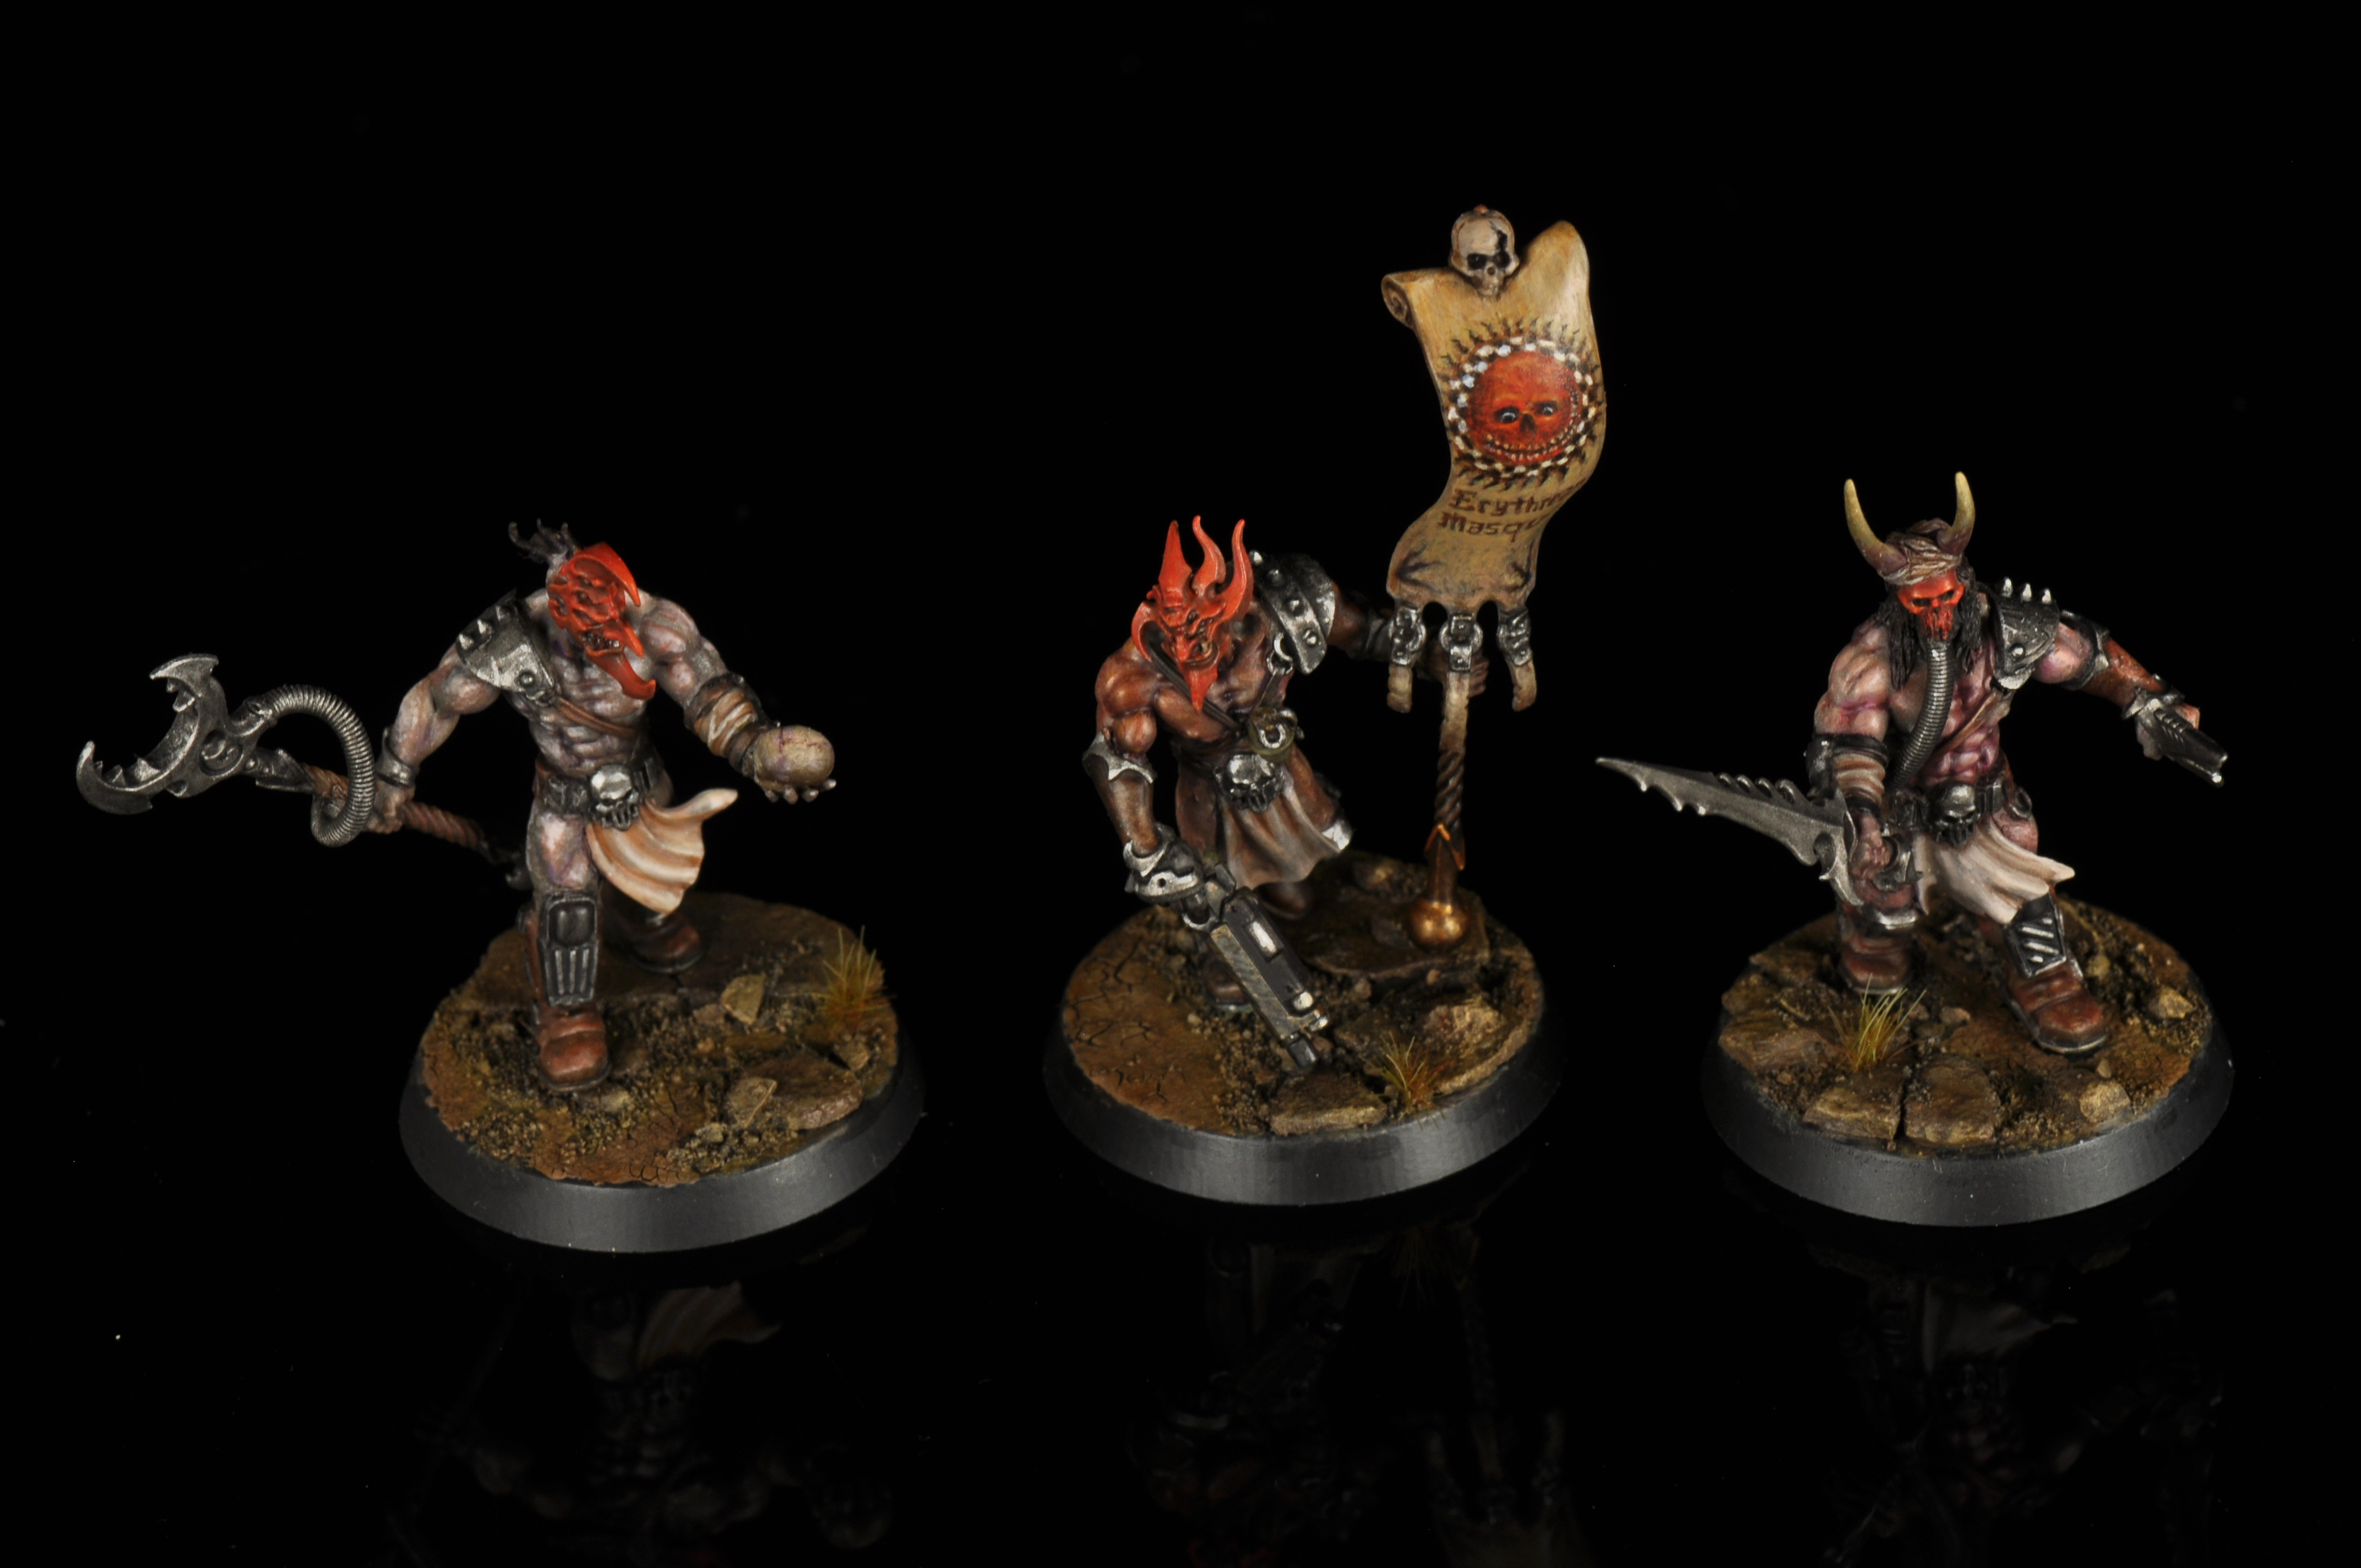
The mind boggles. (Insta: @warhanser)
Alternative Chaos Wyrd Powers
That tears it, we’re mixing it up! The Cult Witch deserves to be a bad-ass spell-slinger, and it’s not fair to them that we’re damning them to Fixer hell just because pretty much all of their Wyrd powers are straight ass. This is how we’re going to be playing these powers from now on, so chat it out with your Arbitrator and see if any of these make sense for your group as well.
First off, Scouring absolutely shouldn’t require a second action, especially when there’s a perfectly good version of it also in the Book of Ruin, under the rules for Possessed Hivers.
- Scouring (Basic): Immediately make a ranged attack with the following weapon:
- Scouring: Template / Strength 2 / AP -2 / Damage 1 / Blaze
We want to see Levitation and Warp Strength as viable options, but the Witch is frail and anyone casting these powers on themselves are going to be down an action when they try to use them. So, we’re opening them up to allow them to be cast on nearby friendly fighters as well. Since we don’t want floating Warp-crazed Cult Disciples to be too oppressive, we’re removing the Unpinnable clause from Levitation.
- Levitation (Basic): Choose a friendly fighter within 3” and Line of Sight of the caster. This fighter gains +3” to their Movement for the remainder of this round. In addition, the fighter ignores all terrain, may move freely between levels without restriction, and can never fall. They may not, however, ignore impassable terrain or walls and may not end their movement with their base overlapping an obstacle or another fighter’s base.
- Warp Strength (Simple): Choose a friendly fighter within 3” and Line of Sight of the caster. For the remainder of this round, that fighter gains +2 to their Strength and the Damage of any close-combat attacks they make is increased by 1.
Maddening Visions is so close to being fun and good, but it suffers from some poorly written timing – it doesn’t feel right to have the proper response to a gibbering Witch waltzing into your midst be “just walk away and ignore them!” We’re not gonna go crazy with this one (ha), we’re mostly just changing when the trigger occurs.
- Maddening Visions (Basic): For the remainder of this round, enemy fighters activating within 3” of the caster immediately make a Willpower check. If failed, the fighter gains the Insanity condition and their activation ends.
We’re gonna leave the final two alone for now; Dark Shield is already in a good place, and Assail is so, so, so bad that we can’t even fathom what we’d need to do to it beyond fully scrap the power and replace it with something else. If you’ve got any ideas for that clunker, let us know!

Stand-Out Skills
Cunning and Ferocity are the skill-sets that Helot Cults draw from primarily, lending them an air of sneakiness mixed with undeniable tenacity. Cult Witches are the exception, focusing instead on Savant and their own special Wyrd Powers.
- Overwatch (Cunning): Provided your fighter still has a Ready Marker, they can trade it in for a reaction shot directed towards any enemy who’s got the gall to activate within their Line of Sight. Oftentimes, the threat of a looming Overwatcher can cause more stress to an opponent than the actual damage the shot would do, once fired and spent. You’ll want to make sure that you’ve got a weapon with the range to take full advantage of firing lanes with this skill, like a Grenade Launcher or a Long Rifle. (Or a Heavy Bolter later on, who are we to judge?
- Infiltrate (Cunning): Though flanking maneuvers and ambush Hand-Flamers are powerful tools, we’d caution against leaning too heavily into Infiltration shenanigans early on. Deploying a Cult Disciple too deep into enemy territory is just begging for them to be mobbed and taken down immediately, regardless of how much damage they’re able to do to the opponent first. It’s a great second skill pick for an Overwatcher, though, since they can use it to set up in a nigh-inaccessible sniper nest. We’d also recommend Infiltrate for Helot Cultists once they become Specialists.
- Nerves of Steel (Ferocity): A priority pick for any fighter who intends on shooting at close range or getting into melee combat, being (mostly) unpinnable is as vital to a Helot Cultist as it is for a Goliath. Your Demagogue and Disciples’ Cool isn’t quite as nice as the average Forge Tyrant, but it’ll keep you standing more often than not.
- Overseer (Leadership): As the most seasoned fighter and the deadliest shot, many choose to utilize their Demagogue in a more active role in their gang. However, if your Cult’s priorities lie more towards keeping the Dark Rituals flowing, Overseer allows your leader a modicum of safety as they instead bark out orders from behind cover. The typical uses for Overseer apply here, more than ever, ordering a Cultist or Disciple to:
- Move three times and then firing a Template weapon or similar close-range firearm
- Move twice and then Charge
- Activate and Aim+Shoot, without losing their Ready Marker for Overwatch
- Mentor (Leadership): On the other hand, if your Demagogue is made of sterner stuff and prefers to be out in the thick of things, why not help the rest of the team learn and grow? Cultivate some Cultists that are actually worth a damn by doubling their XP gain every time on a successful Leadership check, whenever they make themselves useful nearby.

Tactics Cards
Aside from the single one in the Warhammer Community Tactics Card PDF, Helot Cults are generally going to be using universal cards. We’ve chosen a few that mostly focus on keeping your heavy hitters safe and allowing them a bit of extra momentum, but be sure to check out your other options in our own Tactics Cards article!
- Dark Blessings: Your Demagogue is replaced with a Chaos Spawn when taken Out of Action, on a successful Willpower Check.
This is the only Helot-exclusive Tactic in the game right now, and it’s a fun one! It’s going to be a lot more effective if you’ve chosen to kit your Demagogue out for close combat rather than long range, naturally. For most gangs, killing an enemy leader is usually enough to have the victim considering a quick voluntary bottle, but this card changes that entirely. Most opponents won’t consider the possibility of a lumbering hell-spawn rising out of a corpse as a reason to leave your Demagogue alone and unharmed, but the Spawn will certainly be ready to avenge him when it happens. - Bait and Switch: One of your fighters loses their Ready Marker; it is given to a fighter who has already activated this Round.
Cultists are cheap, and your Disciples are most likely kitted to the teeth. Skip out on one final volley of Autogun fire and give a second activation to someone who can really do something with it. Note that the Ready Marker transfer does skip your activation for that turn, so try to use this card only after your opponent has activated all of their models first! - Veiled Threat: A chosen fighter cannot be targeted by a ranged attack this round unless they are the only target visible to the shooter.
Allows your Demagogue and Disciples to blend into the rabble of Cultists, kind of like a targeted Falsehood that can be activated beyond the second round and after the first shot. - Unnerving Whispers: An enemy fighter must pass a Willpower check at -2 or become Insane.
This is a great Tactic for almost any gang, but we’re including it here specifically because it is incredibly On-Brand for Helot Cultists. Not only does this card not require Line of Sight or have any range restriction, if successful the victim rolls for the first time on the Insanity table immediately, instead of only upon their activation. This Tactic also skips your activation, but it may be worth it to use it early on in a round if you can potentially deal with a particular enemy threat.
Founding Gangs
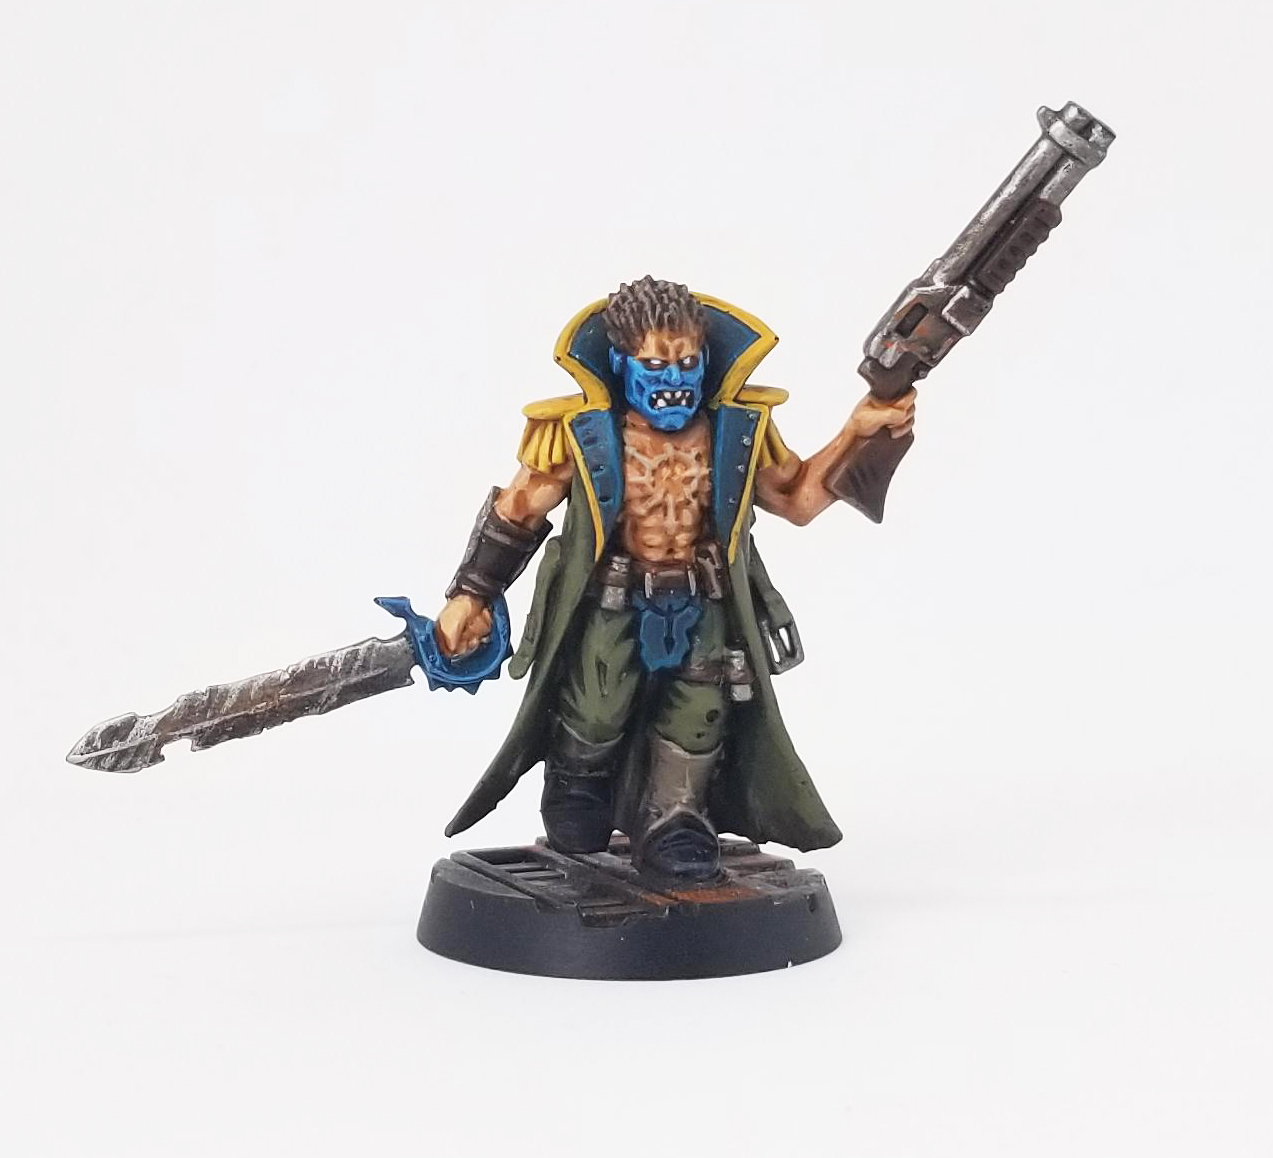
Much like Genestealer Cultists, the Helots don’t have a Necromunda box dedicated specifically for them! A lot of folks already have a fistful of Cultist models from 40k, and those folks are already in a great place since they’ve got plenty of rank-and-file Autogun dudes, and can build their Demagogue and Disciples from there.
For everybody else (especially folks who aren’t keen to shell out on eBay for the long out-of-production Dark Vengeance cultists), there’s a modern option in the Blackstone Fortress Cultists of the Abyss box. It’s not the fanciest gang loadout, but it’ll get you on the table! The Chaos Cultist booster box is also a cheap way to grab some more basic models.

Cultists of the Abyss Box
We’re just looking at a reasonable approximation here. WYSIWYG in Necromunda is in the eye of the beholder, but we’ve found that most of the time folks are fine as long as a model has the correct-ish main weapon. Feel free to drop the Grenades, beef up the armor, or tag in some other models with different weapons. We typically don’t recommend a full Flamer anywhere, but thaaaaaat’s what he’s got!
- Cult Demagogue (Mentor): Flamer, Reclaimed Autopistol, Mesh Armor [250]
- Cult Disciple (Nerves of Steel): Chainsword, Reclaimed Autopistol, Mesh Armor [105]
- Cult Disciple (Overwatch): Heavy Stubber, Mesh Armor [205]
- Helot Cultist: Grenade Launcher (Frag+Krak), Flak Armor [100]
- Helot Cultist: Reclaimed Autogun, Frag Grenade, Flak Armor [85]
- Helot Cultist: Reclaimed Autogun, Frag Grenade, Flak Armor [85]
- Helot Cultist: Reclaimed Autogun, Frag Grenade, Flak Armor [85]
- Helot Cultist: Reclaimed Autogun, Frag Grenade, Flak Armor [85]
[Total: 1000 Credits]
Dan’s Boring but Playable Starter Cult
This Cult ain’t flashy, but they’ll get the job done. Sure, there’s more bodies here than the maximum allowed in most scenarios, but let’s be real – half of these chumps are going to be in recovery by game two!
- Cult Demagogue (Overseer): Reclaimed Autopistol, Axe, Chaos Familiar, Mesh Armor [155]
- Cult Disciple (Overwatch): Grenade Launcher, Reclaimed Autopistol, Chaos Familiar, Mesh Armor [160]
- Cult Disciple (Nerves of Steel): Heavy Stubber, Chaos Familiar, Mesh Armor [230]
- Cult Witch (Dark Shield): Reclaimed Autogun, Mesh Armor [95]
- Helot Cultist: Reclaimed Autogun [45]
- Helot Cultist: Reclaimed Autogun [45]
- Helot Cultist: Reclaimed Autogun [45]
- Helot Cultist: Reclaimed Autogun [45]
- Helot Cultist: Reclaimed Autogun [45]
- Helot Cultist: Reclaimed Autogun [45]
- Helot Cultist: Reclaimed Autogun [45]
- Helot Cultist: Reclaimed Autogun [45]
[Total: 1000 Credits]
Conclusion
Helot Cults are great, as a stepping stone for folks who already have fistfuls of Warhammer 40k models and want to test the waters a bit before diving fully into the Underhive. They’ve got access to all of the basics a gang needs to survive in any given scenario, with access to just enough skills and weapons to be a threat. We’re not going to sugarcoat it, a lot of the greater mechanics intended to make Helots function as a unique faction in Necromunda are a bit underwhelming and/or half-baked. (We’re still boggling at the gang being unable to conduct a Dark Ritual if the Demagogue is in Recovery!)
That said, they’re still a solid entry point for a player who already has some models kicking around and wants to see what this game’s all about. Maybe try seeing if they’re interested in any of the other gangs too, though, if they really want to move forward.
Folks, that was not as much fun as it usually is! Listen, if you’re a die-hard Helot Cult player in Necromunda and we’ve gotten this whole thing wrong, shoot us a message over at necromunday@goonhammer.com and help us see the Chaos boys in a whole new light. Everyone else, send us whatever you care to at the same address, or in the comments, or on Facebook too! Next week we’ll be tackling the logistics and particulars of running a campaign as a first-time Arbitrator, so we’ll see y’all then. ‘Til next week, Scummers!
