
Scummers, it’s clear that those of us on the Necromunda beat for Goonhammer are passionate about our favorite little RPG-esque skirmish game. But not every tabletop gamer is!
In this edition of Necromunday, we are going to put forth a way to ensnare the rarest and most treasured of prey: a new Necromunda player.
Table of Contents
It Is Hard to Get Into Necromunda.
It is legitimately difficult to get into Necromunda if you don’t have context (old Necromunda) or aren’t already a miniatures gamer. There are 600+ pages of rules, a shelf full of books, and the important info is all scattered all over the place.
Most new players start playing Necromunda for the most classic of reasons: they have a friend who plays it, and they want in on the fun. Either they’re using a Necro veteran’s second gang, “piloting” the VIP or monster in a custom multiplayer scenario, or have been gifted a gang box by a friend. Most of these new players are already familiar with tabletop war-gaming, so getting into Necromunda is really just an extension of their previously extant proclivities.
Most of us Necromunda players are always on the lookout for new blood, and most of us are already engaged in some sort of hobby “apprenticeship” program to some degree. This is important: a necessary step to help grow the hobby.
But What About the Brand New player?
The player who doesn’t have an existing scene to slot into? The player who’s never played a tabletop game before? To even get into this game, there are a ton of questions to answer. Questions like, “what books do I buy?”, “how should I build my gang?”, and “what kind of terrain do I need?” None of these questions have straightforward answers.
In the beginning, there was the Necromunda: Underhive boxed set, but nowadays it’s both out-of-print and packed with obsolete rules. The Dark Uprising box is certainly a great set, but for a new player it might be extremely daunting. It’s enormously thicc, very expensive, and comes with two of the more difficult-to-master gangs available. We’re not going to claim that it isn’t a great value, but it’s a hard pill to swallow for two people who’ve never touched the game before!
Clearly, Necromunda has an accessibility problem. So, we thought that it would be a good idea to come up with an easy way for new players to get a taste of Necromunda with minimal buy-in, in a manner that would allow two brand new players to get into the game entirely on their own. There’s no easy solution, and it’s unlikely that we’ll ever see a new simplified starter box in the same vein of the Underhive box from Games Workshop.
So, being as the three of us have nothing better to do as we continue to wait for House of Blades, we’ve taken it upon ourselves to embark on a project that imagines what a Necromunda Introduction ruleset would look like. Here’s what we came up with!
Presenting: Mini-Munda
The concept for this project is twofold:
- Allow two or more brand new players to give ol’ Necromunda a solid test drive, in a manner that costs them the least amount of cash.
- Give them a good idea of what the game is all about, without the typical requirement of an experienced player to show them the ropes.
With that, all you need to play Mini-Munda is:
- A friend
- Some six-sided dice
- A tape measure
- One sprue per player, from any of the house gangs
- The Necromunda Rulebook
- Gangs of the Underhive
We realize that the two books are what is going to drive up the price here, but there’s no way around that! You’ll be referencing the Rulebook for most of the mechanics in play for Mini-Munda, and Gangs of the Underhive is packing all of your weapon traits. It’s true that the second book is very gradually being phased out as the House Of books replace each gang entry, but it’ll be over a year from now before that comes to full fruition. In the meantime, it’s a necessary purchase both for right now and for when players graduate to the full game!
Houses of the Underhive
Each of the crews you’ll be fighting with have been designed to be internally balanced against each other, with a general power rating of roughly 450 credits worth of bodies and weaponry. Our intent is to have every gang be buildable from a single sprue and to avoid recommending any bogus equipment that might make sense here but’ll end up being a liability in a future full game. We’re aware that the Escher Chem-Thrower looks totally sweet, but you’ll have plenty of time to decide whether it’s worth building one for your own gang later on.
We’ve also included secondary stats (Leadership, Cool, Willpower, Intelligence) on full, even though most of them won’t come heavily into play in these initial games. For now, keep in mind that these four are rolled on a 2d6 whenever their tests come up.
On to the gangs!
Cawdor – The Oathkept
The unwashed masses of The Oathkept are hell-bent on spreading the Emperor’s love the only way they know how – by overwhelming the unbelievers with overwhelming numbers armed with their signature salvaged (and mostly-working) reclaimed weapons!
(Fighter Cards and Crew Roster on Yaktribe Here)
Gang Roster - Click to Expand Caul the Keeper (Champion)
M
WS
BS
S
T
W
I
A
Ld
Cl
Wil
Int
5”
4+
3+
3
3
2
4+
2
5+
6+
7+
6+
Weapon
S
L
S
L
Str
Dam
AP
Ammo
Traits
(Frag) Heavy Crossbow
15”
30”
–
-1
4
1
–
4+
Blast (5”), Knockback, Unwieldy
(Krak) Heavy Crossbow
15”
30”
–
-1
6
2
-2
6+
Unwieldy
Reclaimed Autopistol
4”
12”
+1
–
3
1
–
5+
Sidearm, Rapid Fire (1)
Baldrum (Ganger #1)
M
WS
BS
S
T
W
I
A
Ld
Cl
Wil
Int
5”
4+
4+
3
3
1
4+
1
7+
7+
7+
7+
Weapon
S
L
S
L
Str
Dam
AP
Ammo
Traits
Polearm
E
2”
-1
–
S+1
1
–
–
Melee, Unwieldy, Versatile
(Grapeshot) Blunderbuss
–
T
–
–
2
1
–
6+
Plentiful, Scattershot, Template
(Purgation) Blunderbuss
–
T
–
–
3
1
–
6+
Blaze, Scarce, Template
Cottle (Ganger #2)
M
WS
BS
S
T
W
I
A
Ld
Cl
Wil
Int
5”
4+
4+
3
3
1
4+
1
7+
7+
7+
7+
Weapon
S
L
S
L
Str
Dam
AP
Ammo
Traits
Polearm
E
2”
-1
–
S+1
1
–
–
Melee, Unwieldy, Versatile
(Autogun) Polearm
8”
24”
+1
–
3
1
–
5+
Rapid Fire (1)
Tippet (Ganger #3)
M
WS
BS
S
T
W
I
A
Ld
Cl
Wil
Int
5”
4+
4+
3
3
1
4+
1
7+
7+
7+
7+
Weapon
S
L
S
L
Str
Dam
AP
Ammo
Traits
Reclaimed Autogun
8”
24”
+1
–
3
1
–
5+
Rapid Fire (1)
Axe
–
E
–
–
S+1
1
–
–
Melee, Disarm
Delaque – Coven of Lies
The Coven, like all Delaque, thrive on misdirection and subterfuge. They use smoke to mask their movements and to shield their snipers from counterfire, as they creep ever closer to drown their foes in a hail of Autogun bullets. Their leader is shrouded in even more intrigue, and rumors claim that she’s already been briefly glimpsed, skulking well behind her enemy’s lines.
(Fighter Cards and Crew Roster on Yaktribe Here)
Gang Roster - Click to Expand Mithra the Sibilant (Champion)
M
WS
BS
S
T
W
I
A
Ld
Cl
Wil
Int
5”
3+
3+
3
3
2
4+
2
7+
6+
6+
6+
Weapon
S
L
S
L
Str
Dam
AP
Ammo
Traits
Web Gauntlet
–
E
–
+1
3
–
–
–
Backstab, Melee, Web
(Fleshbane) Flechette Pistol
4”
12”
–
–
–
–
–
6+
Rapid Fire (1), Sidearm, Silent, Toxin
(Solid Shot) Flechette Pistol
4”
12”
+1
–
3
1
–
4+
Rapid Fire (1), Sidearm, Silent
Ephemis (Ganger #1)
M
WS
BS
S
T
W
I
A
Ld
Cl
Wil
Int
5”
4+
4+
3
3
1
4+
1
7+
6+
7+
7+
Weapon
S
L
S
L
Str
Dam
AP
Ammo
Traits
Long Rifle
24”
48”
–
+1
4
1
-1
4+
Knockback
Ulzcha (Ganger #2)
M
WS
BS
S
T
W
I
A
Ld
Cl
Wil
Int
5”
4+
4+
3
3
1
4+
1
7+
6+
7+
7+
Weapon
S
L
S
L
Str
Dam
AP
Ammo
Traits
Autogun
8”
24”
+1
–
3
1
–
4+
Rapid Fire (1)
Smoke Grenade
–
Sx3
–
–
–
–
–
4+
Grenade, Smoke, Blast
Horath (Ganger #3)
M
WS
BS
S
T
W
I
A
Ld
Cl
Wil
Int
5”
4+
4+
3
3
1
4+
1
7+
6+
7+
7+
Weapon
S
L
S
L
Str
Dam
AP
Ammo
Traits
2x Autopistols
4”
12”
+1
–
3
1
–
4+
Sidearm, Rapid Fire (1)
Smoke Grenade
–
Sx3
–
–
–
–
–
4+
Grenade, Smoke, Blast
Escher – Black Orchid
Members of the Black Orchid are deadly at any range, no matter whether they’re plinking away at distant enemies with their Lasguns or dropping champions to the ground with a single slice from their poisoned blades. They may not be the toughest or the most resolute gang around, but if they can strike first, they’ll make it count!
(Fighter Cards and Crew Roster on Yaktribe Here)
Gang Roster - Click to Expand Jerra the Stalker (Champion)
M
WS
BS
S
T
W
I
A
Ld
Cl
Wil
Int
5”
3+
3+
3
3
2
2+
2
6+
7+
6+
6+
Weapon
S
L
S
L
Str
Dam
AP
Ammo
Traits
Shock Whip
E
3”
-1
-1
S+1
1
–
4+
Melee, Shock, Versatile
(Low Power) Plasma Pistol
6”
12”
+2
–
5
2
-1
5+
Sidearm, Scarce
(Max Power) Plasma Pistol
6”
12”
+1
–
7
3
-2
5+
Sidearm, Scarce, Unstable
Jett (Ganger #1)
M
WS
BS
S
T
W
I
A
Ld
Cl
Wil
Int
5”
4+
4+
3
3
1
3+
1
7+
8+
7+
7+
Weapon
S
L
S
L
Str
Dam
AP
Ammo
Traits
Stiletto Knife
–
E
–
–
–
–
–
–
Melee, Toxin
Lasgun
18”
24”
+1
–
3
1
–
2+
Plentiful
Smoke Grenade
–
Sx3
–
–
–
–
–
4+
Grenade, Smoke, Blast
Dinah (Ganger #2)
M
WS
BS
S
T
W
I
A
Ld
Cl
Wil
Int
5”
4+
4+
3
3
1
3+
1
7+
8+
7+
7+
Weapon
S
L
S
L
Str
Dam
AP
Ammo
Traits
Stiletto Knife
–
E
–
–
–
–
–
–
Melee, Toxin
Lasgun
18”
24”
+1
–
3
1
–
2+
Plentiful
Smoke Grenade
–
Sx3
–
–
–
–
–
4+
Grenade, Smoke, Blast
Zanne (Ganger #3)
M
WS
BS
S
T
W
I
A
Ld
Cl
Wil
Int
5”
4+
4+
3
3
1
3+
1
7+
8+
7+
7+
Weapon
S
L
S
L
Str
Dam
AP
Ammo
Traits
2x Laspistol
8”
12”
+1
–
3
1
–
2+
Sidearm, Plentiful
Photon Flash Grenade
–
Sx3
–
–
–
–
–
5+
Grenade, Blast, Flash
Goliath – Bone Crushers
No one’s tougher than Goliaths, and the Bone Crushers are here to prove that they’re no exception to the rule. Bone Crushers want to get close so they can unleash the awful power of the Renderizer, the single greatest weapon name in history. This gang is all about big muscles, big axes, and big bullets. When they get close, they’ll turn their enemies into nothing more than stains on their weapons.
(Fighter Cards and Crew Roster on Yaktribe Here)
Gang Roster - Click to Expand Turok (Champion)
M
WS
BS
S
T
W
I
A
Ld
Cl
Wil
Int
4”
3+
4+
4
4
2
4+
2
6+
5+
8+
8+
Weapon
S
L
S
L
Str
Dam
AP
Ammo
Traits
Renderizer Axe
–
E
–
–
S+2
1
-1
–
Melee, Pulverize, Unwieldy
Stub Gun
6”
12”
+2
–
3
1
–
4+
Sidearm, Plentiful
Sledge (Ganger #1)
M
WS
BS
S
T
W
I
A
Ld
Cl
Wil
Int
4”
4+
4+
4
4
1
4+
1
8+
5+
9+
8+
Weapon
S
L
S
L
Str
Dam
AP
Ammo
Traits
(Salvo) Combat Shotgun
4”
12”
+1
–
4
2
–
4+
Knockback, Rapid Fire (1)
(Shredder) Combat Shotgun
–
T
–
–
2
1
–
4+
Scattershot, Template
Mongo (Ganger #2)
M
WS
BS
S
T
W
I
A
Ld
Cl
Wil
Int
4”
4+
4+
4
4
1
4+
1
8+
5+
9+
8+
Weapon
S
L
S
L
Str
Dam
AP
Ammo
Traits
Spud-Jacker
–
E
–
–
S+1
1
–
–
Melee, Knockback
Brute Cleaver
–
E
–
+1
S
1
-1
–
Melee, Disarm
Jok (Ganger #3)
M
WS
BS
S
T
W
I
A
Ld
Cl
Wil
Int
4”
4+
4+
4
4
1
4+
1
8+
5+
9+
8+
Weapon
S
L
S
L
Str
Dam
AP
Ammo
Traits
Stub Cannon
9”
18”
–
–
5
1
–
3+
Knockback
Orlock – The Sump Dogs
The Sump Dogs are the masters of the close-range firefight. Their weapons are loud, their harpoons are sharp, and their moustaches are waxed, much like their enemies. The Combat Shotgun and Harpoon Launcher can take out multiple enemies in one shot, and their big guns are backed up by reliable and dependable solid slug throwers. Once they get close, the Sump Dogs will prove that they’re all bite.
(Fighter Cards and Crew Roster on Yaktribe Here)
Gang Roster - Click to Expand Handsome Drak (Champion)
M
WS
BS
S
T
W
I
A
Ld
Cl
Wil
Int
5”
4+
3+
3
3
2
4+
2
5+
6+
7+
6+
Weapon
S
L
S
L
Str
Dam
AP
Ammo
Traits
Harpoon Launcher
6”
18”
+2
–
5
1
-3
5+
Drag, Impale, Scarce
Old Jon (Ganger #1)
M
WS
BS
S
T
W
I
A
Ld
Cl
Wil
Int
5”
4+
4+
3
3
1
4+
1
6+
7+
7+
7+
Weapon
S
L
S
L
Str
Dam
AP
Ammo
Traits
(Salvo) Combat Shotgun
4”
12”
+1
–
4
2
–
4+
Knockback, Rapid Fire (1)
(Shredder) Combat Shotgun
–
T
–
–
2
1
–
4+
Scattershot, Template
Grimm (Ganger #2)
M
WS
BS
S
T
W
I
A
Ld
Cl
Wil
Int
5”
4+
4+
3
3
1
4+
1
6+
7+
7+
7+
Weapon
S
L
S
L
Str
Dam
AP
Ammo
Traits
Autogun
8”
24”
+1
–
3
1
–
4+
Rapid Fire (1)
Hackjaw (Ganger #3)
M
WS
BS
S
T
W
I
A
Ld
Cl
Wil
Int
5”
4+
4+
3
3
1
4+
1
6+
7+
7+
7+
Weapon
S
L
S
L
Str
Dam
AP
Ammo
Traits
Stub Gun
6”
12”
+2
–
3
1
–
4+
Sidearm, Plentiful
Autopistol
4”
12”
+1
–
3
1
–
4+
Sidearm, Rapid Fire (1)
Van Saar – Coldfire Cabal
House Van Saar makes the best equipment available in the Underhive. Unsurprisingly, their gangs are festooned with Plasma, Las, and high-tech Bodysuits. The Coldfire Cabal wants to make a splash with their fancy weapons, and are clearly the leaders in the clubhouse when it comes to mowing down their foes at range. They may not have the numbers, but they’ve certainly got the tech!
(Fighter Cards and Crew Roster on Yaktribe Here)
Gang Roster - Click to Expand Hannak (Champion)
M
WS
BS
S
T
W
I
A
Ld
Cl
Wil
Int
4”
4+
2+
3
3
2
4+
1
5+
6+
6+
5+
Weapon
S
L
S
L
Str
Dam
AP
Ammo
Traits
(Laser) Combi-Weapon
18”
24”
+1
–
3
1
–
2+
Combi, Plentiful
(Plasma) Combi-Weapon
12”
24”
+2
–
5
2
-1
5+
Combi, Rapid Fire (1), Scarce
Shock Stave
E
2”
–
–
S+1
1
–
–
Melee, Shock, Versatile
Skorgen (Ganger #1)
M
WS
BS
S
T
W
I
A
Ld
Cl
Wil
Int
4”
4+
3+
3
3
1
5+
1
6+
7+
7+
6+
Weapon
S
L
S
L
Str
Dam
AP
Ammo
Traits
Laspistol
8”
12”
+1
–
3
1
–
2+
Sidearm, Plentiful
(Low Power) Plasma Pistol
6”
12”
+2
–
5
2
-1
5+
Sidearm, Scarce
(Max Power) Plasma Pistol
6”
12”
+1
–
7
3
-2
5+
Sidearm, Scarce, Unstable
Fisyer (Ganger #2)
M
WS
BS
S
T
W
I
A
Ld
Cl
Wil
Int
4”
4+
3+
3
3
1
5+
1
6+
7+
7+
6+
Weapon
S
L
S
L
Str
Dam
AP
Ammo
Traits
Las Carbine
10”
24”
+1
–
3
1
–
4+
Plentiful, Rapid Fire (1)
The Battlefield
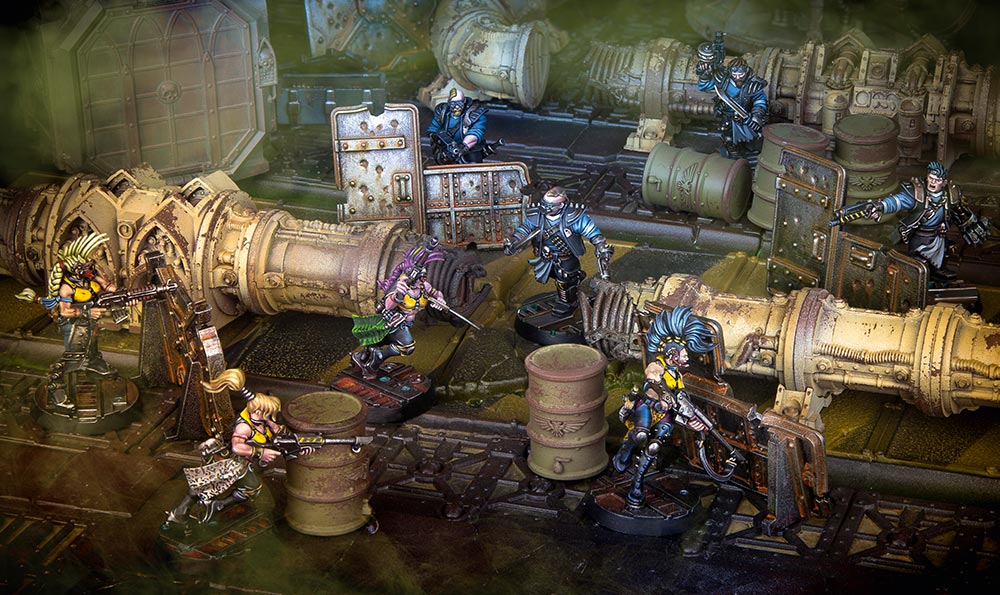
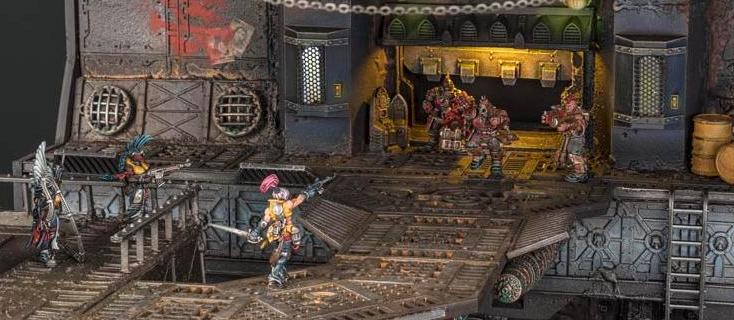
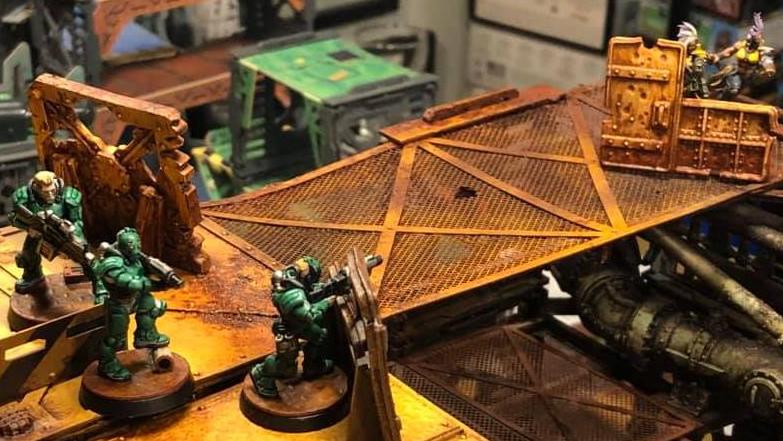
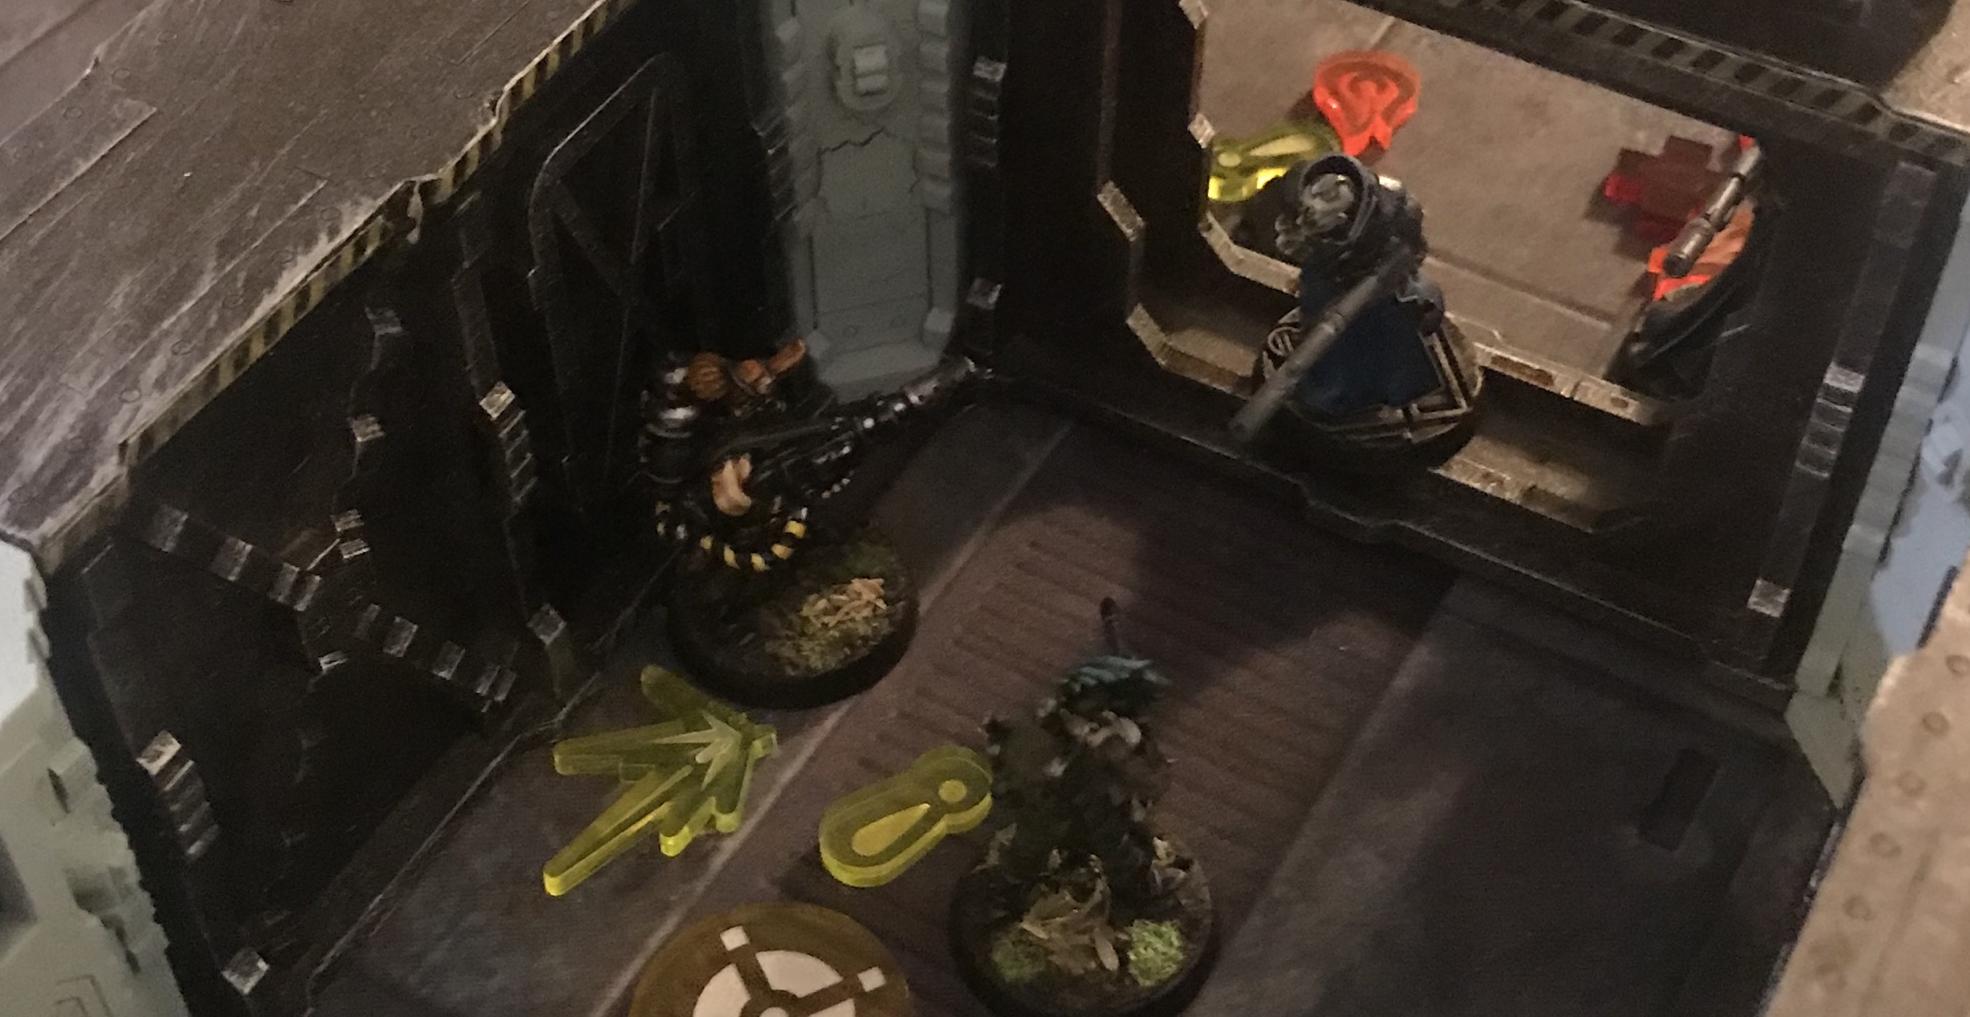
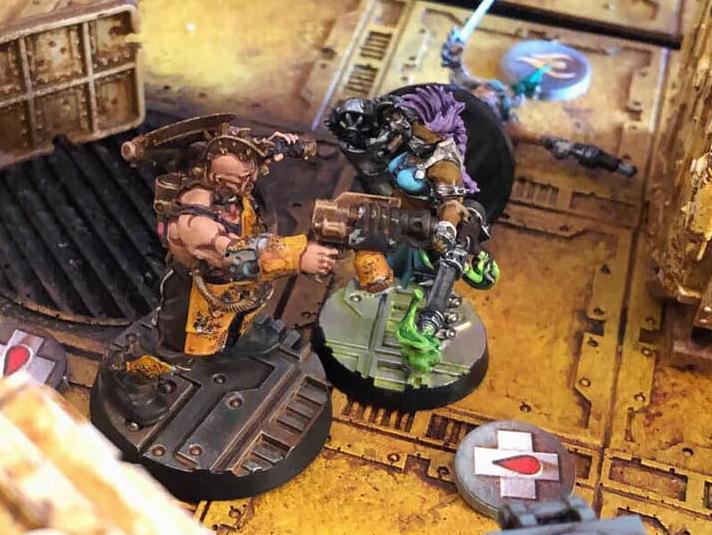
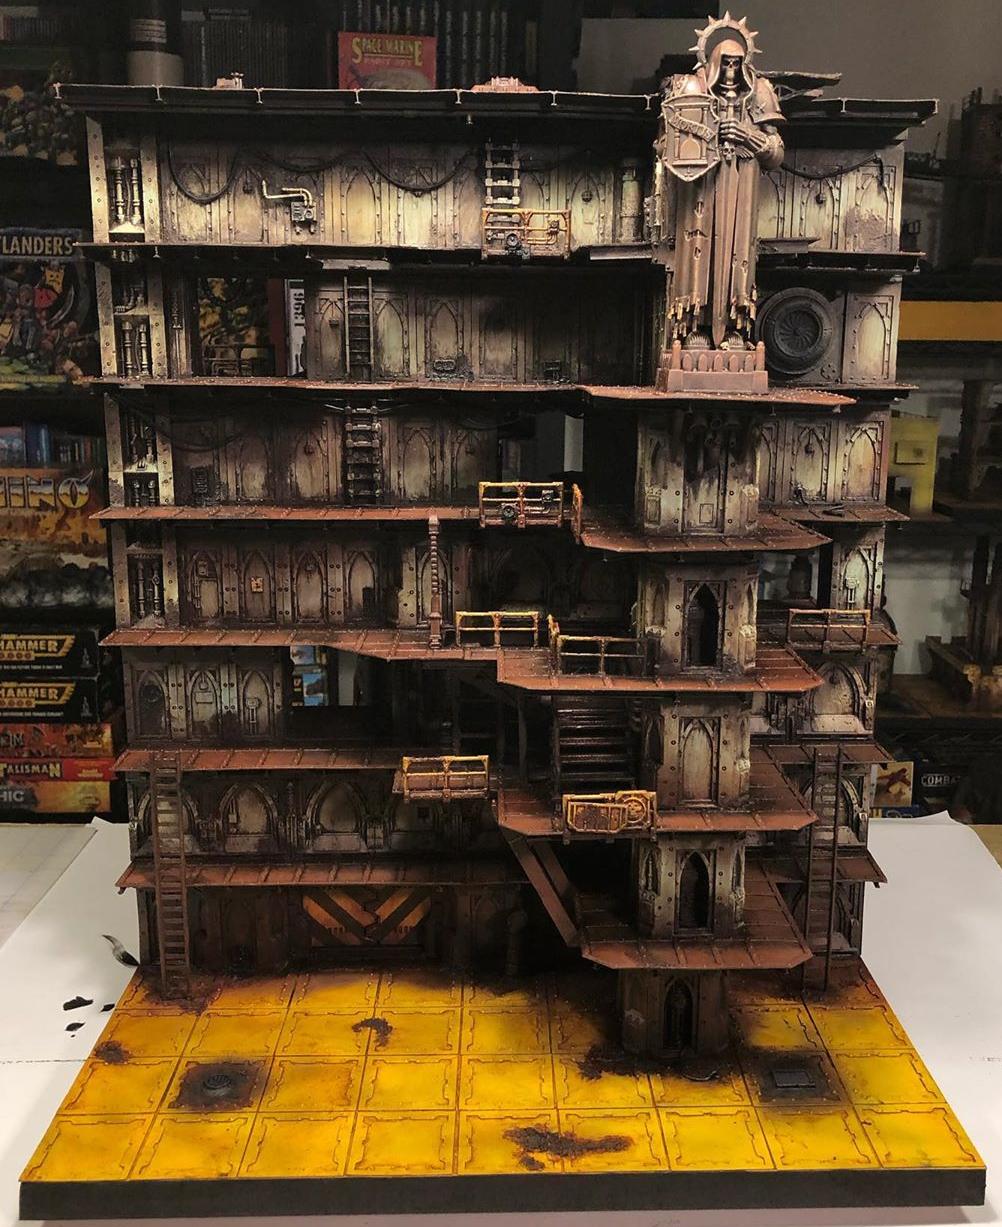
Terrain in Necromunda can be as involved or as simple as you want it to be. Battlefields can be anything from labyrinthine Hive Cities custom-built for the game, to repurposed Warhammer 40k terrain pushed together for a denser feel, to a kitchen table festooned with books and soda cans.
Ultimately, as long as you can provide enough larger pieces of something to break up lines of sight across the board, you’ll be in good shape for most scenarios. Just remember to toss down plenty of whatever you’re using for the smaller scatter terrain, too. Every fighter loves Cover Saves!
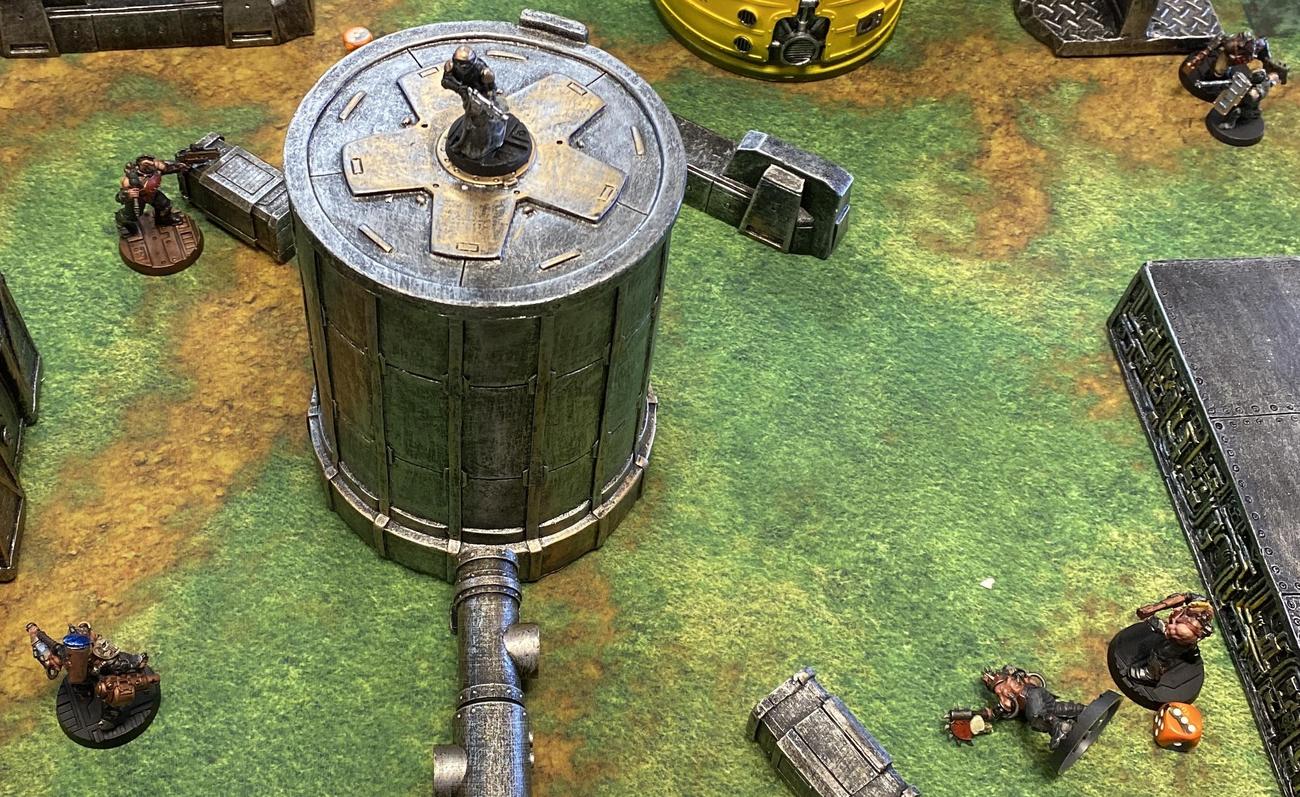
For the Scenarios we’ll be playing in Mini-Munda, the default battlefield size will be a maximum of 2’x2’. That’s not just because it happens to be the size of a pack of Zone Mortalis Tiles (if you’re lucky enough to have a set of those on hand), but because with smaller crews anything larger only leads to unnecessary superfluous turns full of gangers Move-Moving ad nauseum.
For scenarios that specify a specific size or shape based on Tiles, these battlefields can be easily approximated by assuming that a single Tile is 12”x12”.
Scenarios
The Rulebook starts us off with a selection of twelve scenarios, and they’re not too shabby with a little adjustment to account for our smaller crews. For right now, we’ll be skipping over the sections on Tactics Cards and Rewards – those’ll come into play in the future once we begin tracking advancements and victories.
All Crew size requirements stated in these scenarios will be replaced instead with the gangs listed here. Any scenarios that offer Reinforcements will instead use this rule:
- Reinforcements: If a gang has had any fighters go Out of Action in a scenario that allows them to place Reinforcements, those removed fighters may be returned to play. At the start of each End Phase, that player may redeploy a single fighter who had previously gone Out of Action into their Deployment Zone.
Additionally, because Mini-Munda gang sizes are so small, Bottle Tests don’t really work as intended. Instead, add the following rule to the scenario you’re playing:
- Bottle Tests: Whenever a player is required to take a Bottle Test during the End Phase of a battle round, instead of using starting crew size as the metric they roll against, use the highest Leadership value on the board for their gang to determine if the gang has bottled out.
We’ve written about all of the Scenarios in the game in the past, and all of the missions in the Rulebook in particular are covered right here. Keep in mind that some factors may change based on the adjustments here, but you’ll be able to get an idea of what’s in store. Tunnel Skirmish and Stand-Off are the most straightforward scenarios to get your feet wet, but we recommend graduating to Border Dispute once you’ve for the hang of things!
Game Accessories
Necromunda makes liberal use of special dice for Firepower, Scatter, and Injury rolls, as well as templates for certain weapons like Grenade Launchers and Flamethrowers. Counters are used to keep track of Flesh Wounds and various status effects that fighters may be under the influence of, namely Blaze. (…and Insanity, but we don’t need to worry about that just yet!)
Dice and templates pop up pretty regularly on auction sites, and are cheap and plentiful enough that that’s really going to be our recommended path. Still, for folks on a budget or for anyone too impatient to wait on shipping, there’s plenty of options in the meantime!
Substituting in a normal d6…

For templates, Blasts are just circles 3” or 5” wide, and flame templates are a narrow teardrop just over 8” in total length. If you can’t find any online, we’ve got Printable Templates right here. Probably glue ‘em to something a bit stiffer than paper, though.
Counters are even easier since you can pretty much use anything, so just grab some tokens you’ve got laying around from other games, or just use scraps of paper!
What’s Next?
After you’ve given Mini-Munda a shot and gotten a good handle on the gameplay, the next step is to add in progression! When we say progression, we mean experience, skills, and new equipment. The best part of Necromunda is watching your gang grow (or shrink, in some cases) over a campaign.
Try playing a few games where you keep track of experience and credit rewards, and then level-up your characters and take a trip to the Trading Post! It might seem like a lot of bookkeeping, but trust us when we say it’s a good time.
After that, try adding in some narrative elements to the game: custom scenarios, grudge matches, maybe even a Rescue Mission! Necromunda is best when heavily tinkered to narrative ends, so go hog wild!
A Mini-Munda Campaign?
Thanks to some reader requests, we wound up spending the next week writing a self-contained campaign system for Mini-Munda. Check it out here!
New players are always a welcome addition to our favorite game, and we hope that Mini-Munda helps people get into our wonderful hobby! If you have any feedback or have given our system a shot, please feel free to reach out to us at necromunday@goonhammer.com. We’d love to further the conversation there with you! Thanks for reading, and remember to join us next week for another exciting edition of Necromunday!
