
Games Workshop was kind enough to provide us with these models for review.
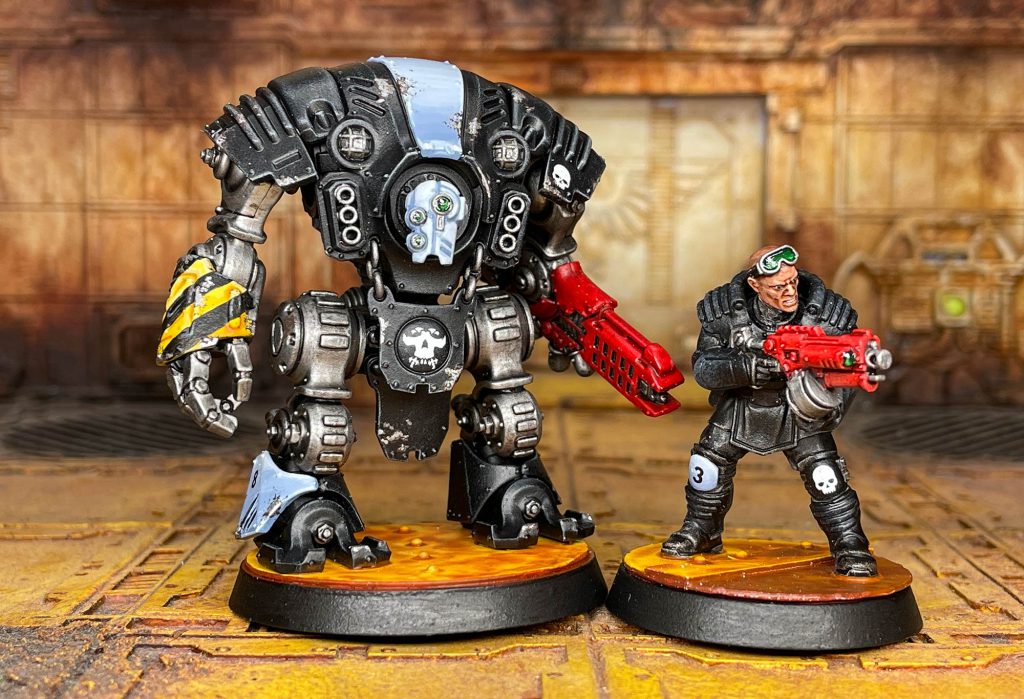
The official bad guys of the Underhive are getting a large metal friend as back up. Because Necromunda, this thing is controlled by an actual human brain, seemingly a reward for fanatically supporting the ruling class. Bully for them, I say – being entombed in a hunchbacked robot to make the already grim lives of the Underhive citizens grimmer seems like a pretty dire existence to me.
Details

Like the Ambot kit, this box contains two sprues each containing a single mini. On each sprue you get leg options to enable different poses and a selection of weapons to fit into the left arm. The right arm is designed to be the large claw, though with a little work, you could probably change it out for one of the other weapons.
Fowler: If you want a bit of loadout flexibility, I have a couple of options for you! In my testing, the weapons were surprisingly good at friction fitting, save for the mancatcher. As there are some convenient holes on the joints, you could use 2x2mm magnets if you wanted something a bit more solid than a humble friction fit.
Assembly
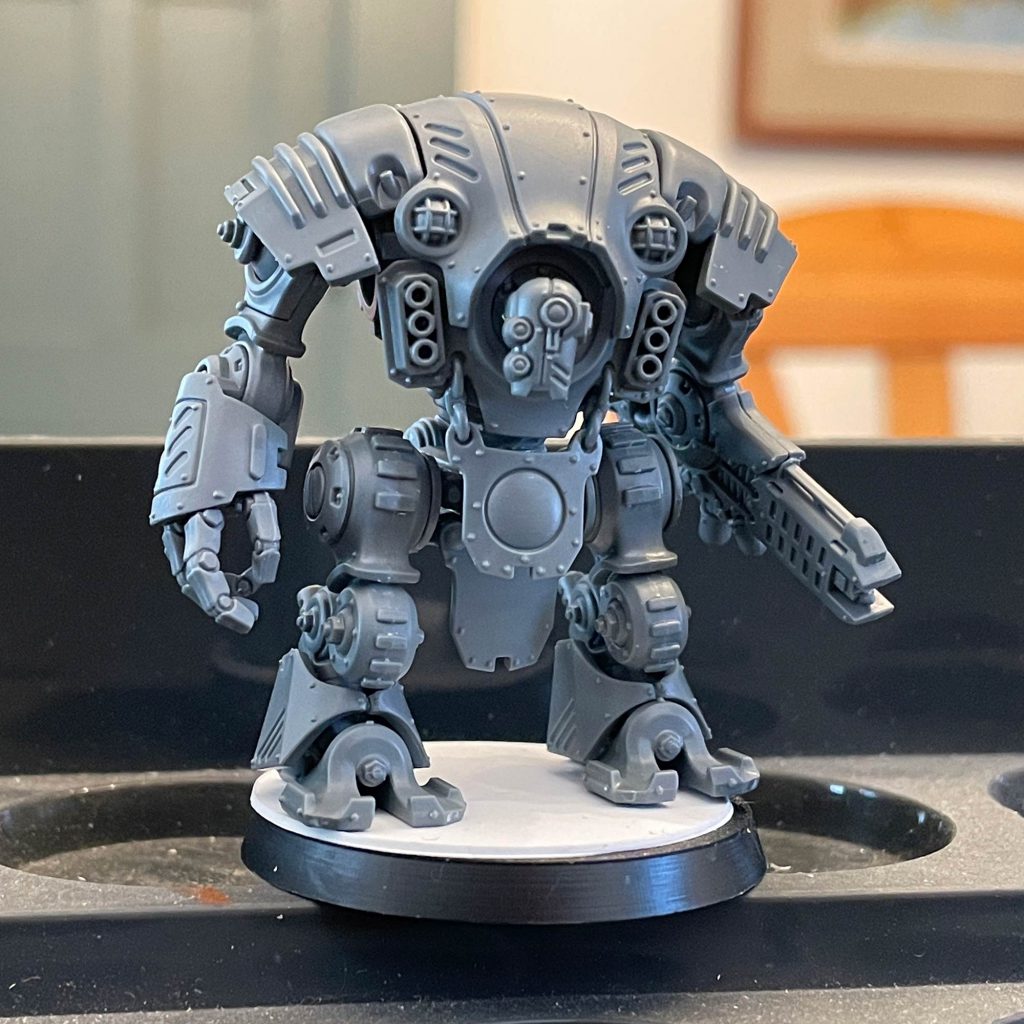
Dylan: The Automata is largely fine to get together, though there are a few spots to take care. The torso assembles like a box, but I would recommend gluing the side assembles to the torso plate first, before adding the back plate. I didn’t and had to adjust things after they were all stuck together. It was fine. The top of the carapace has these wedge-like locators that slide into the gaps left in the torso assembly. It’s not the most confidence inspiring series of instructions, but it does go together and become a very stout chunk of the mini.
The legs were another point I wanted to call out. I followed the instructions and ended up with both of the Automata’s feet on the ground. I’m ok with this, but there are two alternate legs to give it a walking pose, and by the time I realized that, the legs were all glued together. The instructions don’t call out the alternate legs with part numbers which is what tripped me up, so take your time here and dry fit stuff to see how the legs go together.
The other note on the legs are the greaves. They’re two parts and attach at the front with about a millimeter square contact patch. They slot into the legs with a very curious pronged pin, that allows a lot of adjustability, but takes some care to actually align. I recommend dry fitting these to figure out where they’ll sit and then, working quickly, glue one in and then the next, centering the joint on the front. Thankfully, the front joint does have a very good connector, so getting that together isn’t bad.
The shoulders for the arms have a ball that allows a wide range of movement, with the arm almost clipping on to the joint. The arms are articulated so you can adjust the pose of the fist and weapon arm to get it just right.
The head has a pretty limited range of movement, so it’ll mostly be looking ahead. I think I posed mine looking about as far right as I could.
Painting
As I hadn’t yet painted any of my Enforcers, I started with a test model. I got far enough in to figure out what the general color scheme was going to be (black and red, surprise, I know) and got the Automata primed.
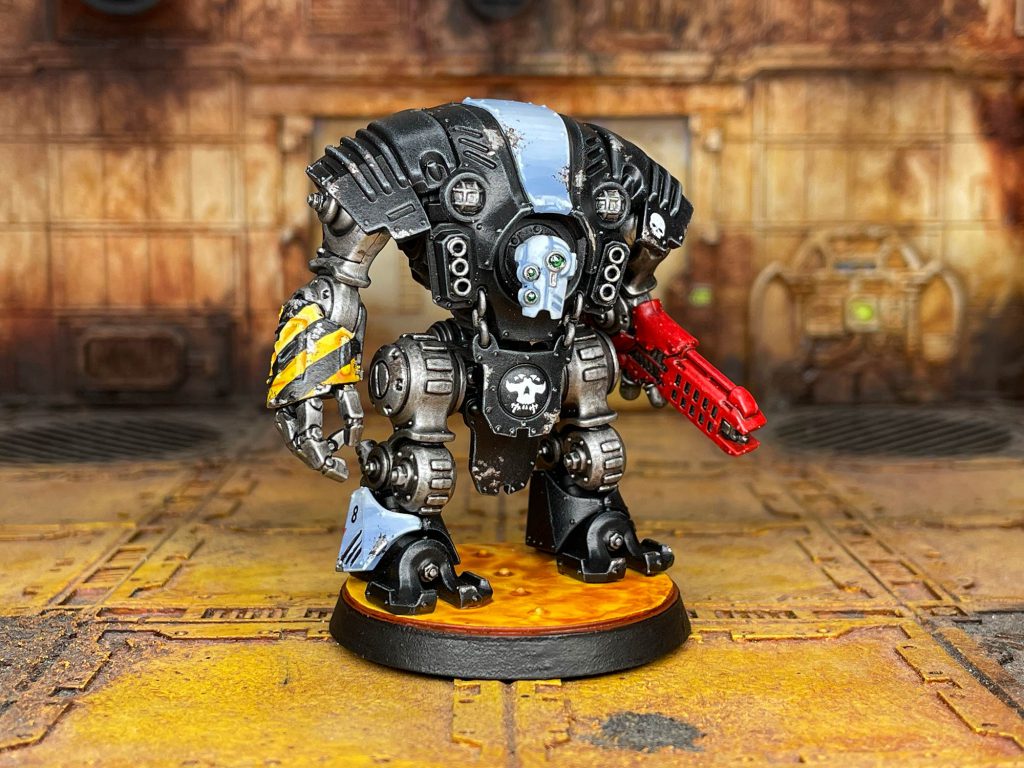
I started with a black undercoat and highlighted the armor with 2 drybrushes of a medium and lighter grey. Next up was the grey panels, starting with a coat of Coat d’Arms Shadow Grey which I wet blended up to Coat d’Arms Lupin Grey and then to White.
The fist was based with the old Citadel Foundation Iyanden Yellow (Averland Sunset is the modern equivalent) and then painted up with Flash Gitz Yellow, which I highlighted to nearly white. I recess shaded with Iyanden Yellow Contrast and finished it with hazard stripes. The Concussion Cannon was based with Mephiston Red, then Evil Suns Scarlet and highlighted with some white. I glazed it all over with Blood Angels Red Contrast.
I painted the metals and then added many decals using our dear friends Micro Sol and Micro Set. Once they were on and dry I added some sponge chipping with Dryad Bark and stippled some AP Plate Metal over that.
The lenses were painted black before I highlight them using the usual gem method to white, before I glazed them with Warp Lightning Contrast and added a dot of white. ‘Ard Coat finished them off.

Final Thoughts, Parting Shots, and What Have You
The Automata is quite the round lad who just barely fits on his 40mm base. I like his doofy little head. The mini has a good amount of blank areas so it a painter can have fun with details or freehand where they want.
Thanks for reading, scummers! If you have any questions for us, want to suggest a future article, or just want to show us pictures of your kickass gangs, drop us a line over at Necromunday@Goonhammer.com.
