
This article was prepared using review copies of Kill Team Octarius and the Kill Team Compendium.
I’ve been looking forward to the new Kill Team immensely – skirmish-scale miniatures games are where I cut my teeth on competitive wargaming, but despite really wanting to like Kill Team 2018 it never quite did it for me. Everything I’d seen about the new version had me pretty excited, and after a few read-throughs of the rules and Compendium I was itching to give it a go to really get a feel for how it plays out on the table. I was also very keen to give my barely-used Dark Angels Reivers a go on the tabletop – I painted these up for KT2018, but because of the way list building worked in that I pretty much only ever used the Sergeant. The new Fire Team-based list construction means that this time around the whole unit gets to play, and should be on pretty even ground with other Marine flavours. So it was time for the skull bois to prove their worth as infiltrators and terror troops.
They would, of course, need some opposition. Step forward the Thousand Sons of one of my local buddies, who happily had the exact right configuration for a Rubric Kill Team ready to go. Would the flexible Reivers or the inexorably marching Rubrics win the day? Let’s find out.
The Forces
As this was our first game we played without using the equipment rules, wanting to get a feel for how things played just with our base stats. I think I’d recommend that to others trying the game out for the first time – you want to get a feel for what matters on the table to help you pick things. Alternatively, I’d maybe suggest having each player just pick one item for the first game rather than spending 10EP.
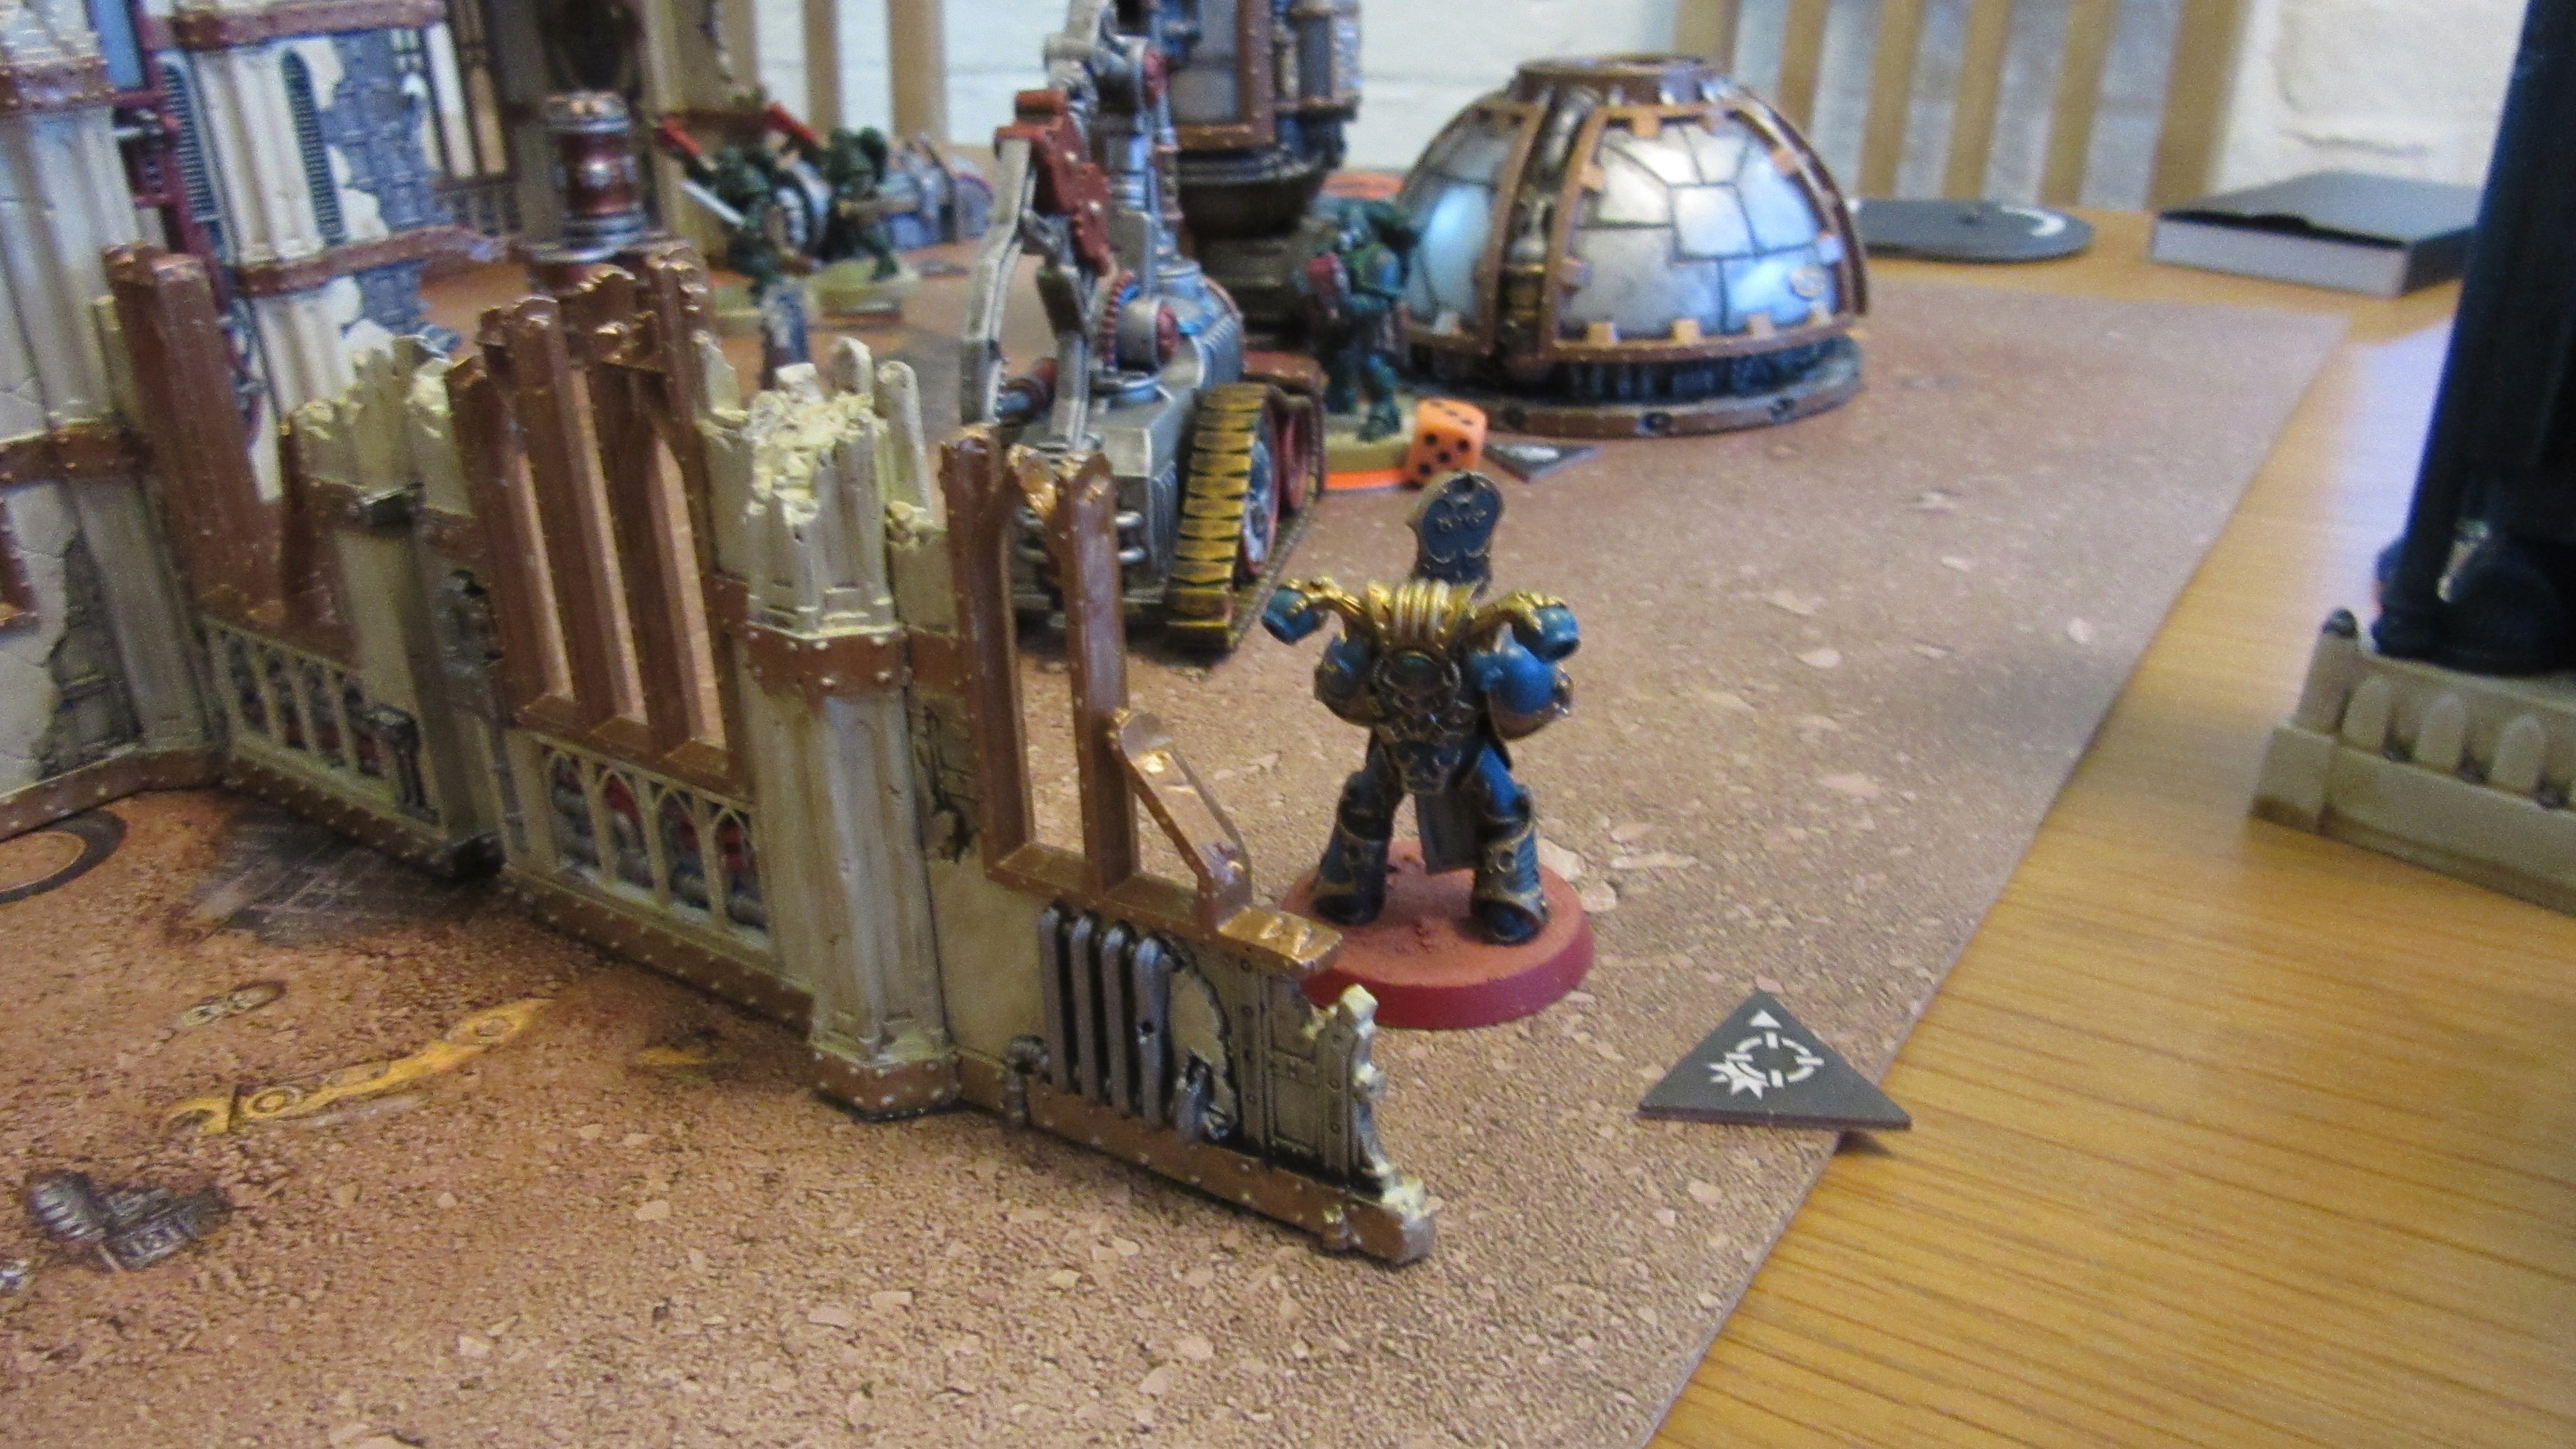
Space Marine Reivers
Space Marine Kill Teams always contain a single Fire Team, which will either be 5 baseline Primaris models, slightly more firstborn or slightly fewer Heavy Intercessors.
- Fire Team 1
- (leader) Reiver Sergeant with bolt carbine and combat knife.
- 2x Reiver with combat knife and special issue bolt pistol.
- 2x Reiver with bolt carbine.
For anyone who, like me, has been staring sadly at a unit of Reivers for the 3+ years since they released, great news – Reivers rule in Kill Team. Just at baseline, being able to mix up some longer-ranged models and close up bruisers in the same squad is great, and the sergeant is a fantastic all-rounder. In addition, their unique Tactical Ploy (Terror Troops) is very potent, allowing you to make scoring objectives much harder for the opponent in a pinch, and once you add in the equipment list they’ve got a broad range of fantastic choices. Finally, their special issue bolt pistols are nicely deadly up close, and here are compatible with the Bolter Discipline strategic ploy, meaning that unsuspecting opponents are going to find themselves getting taken out by a sudden double tap at a crucial moment.
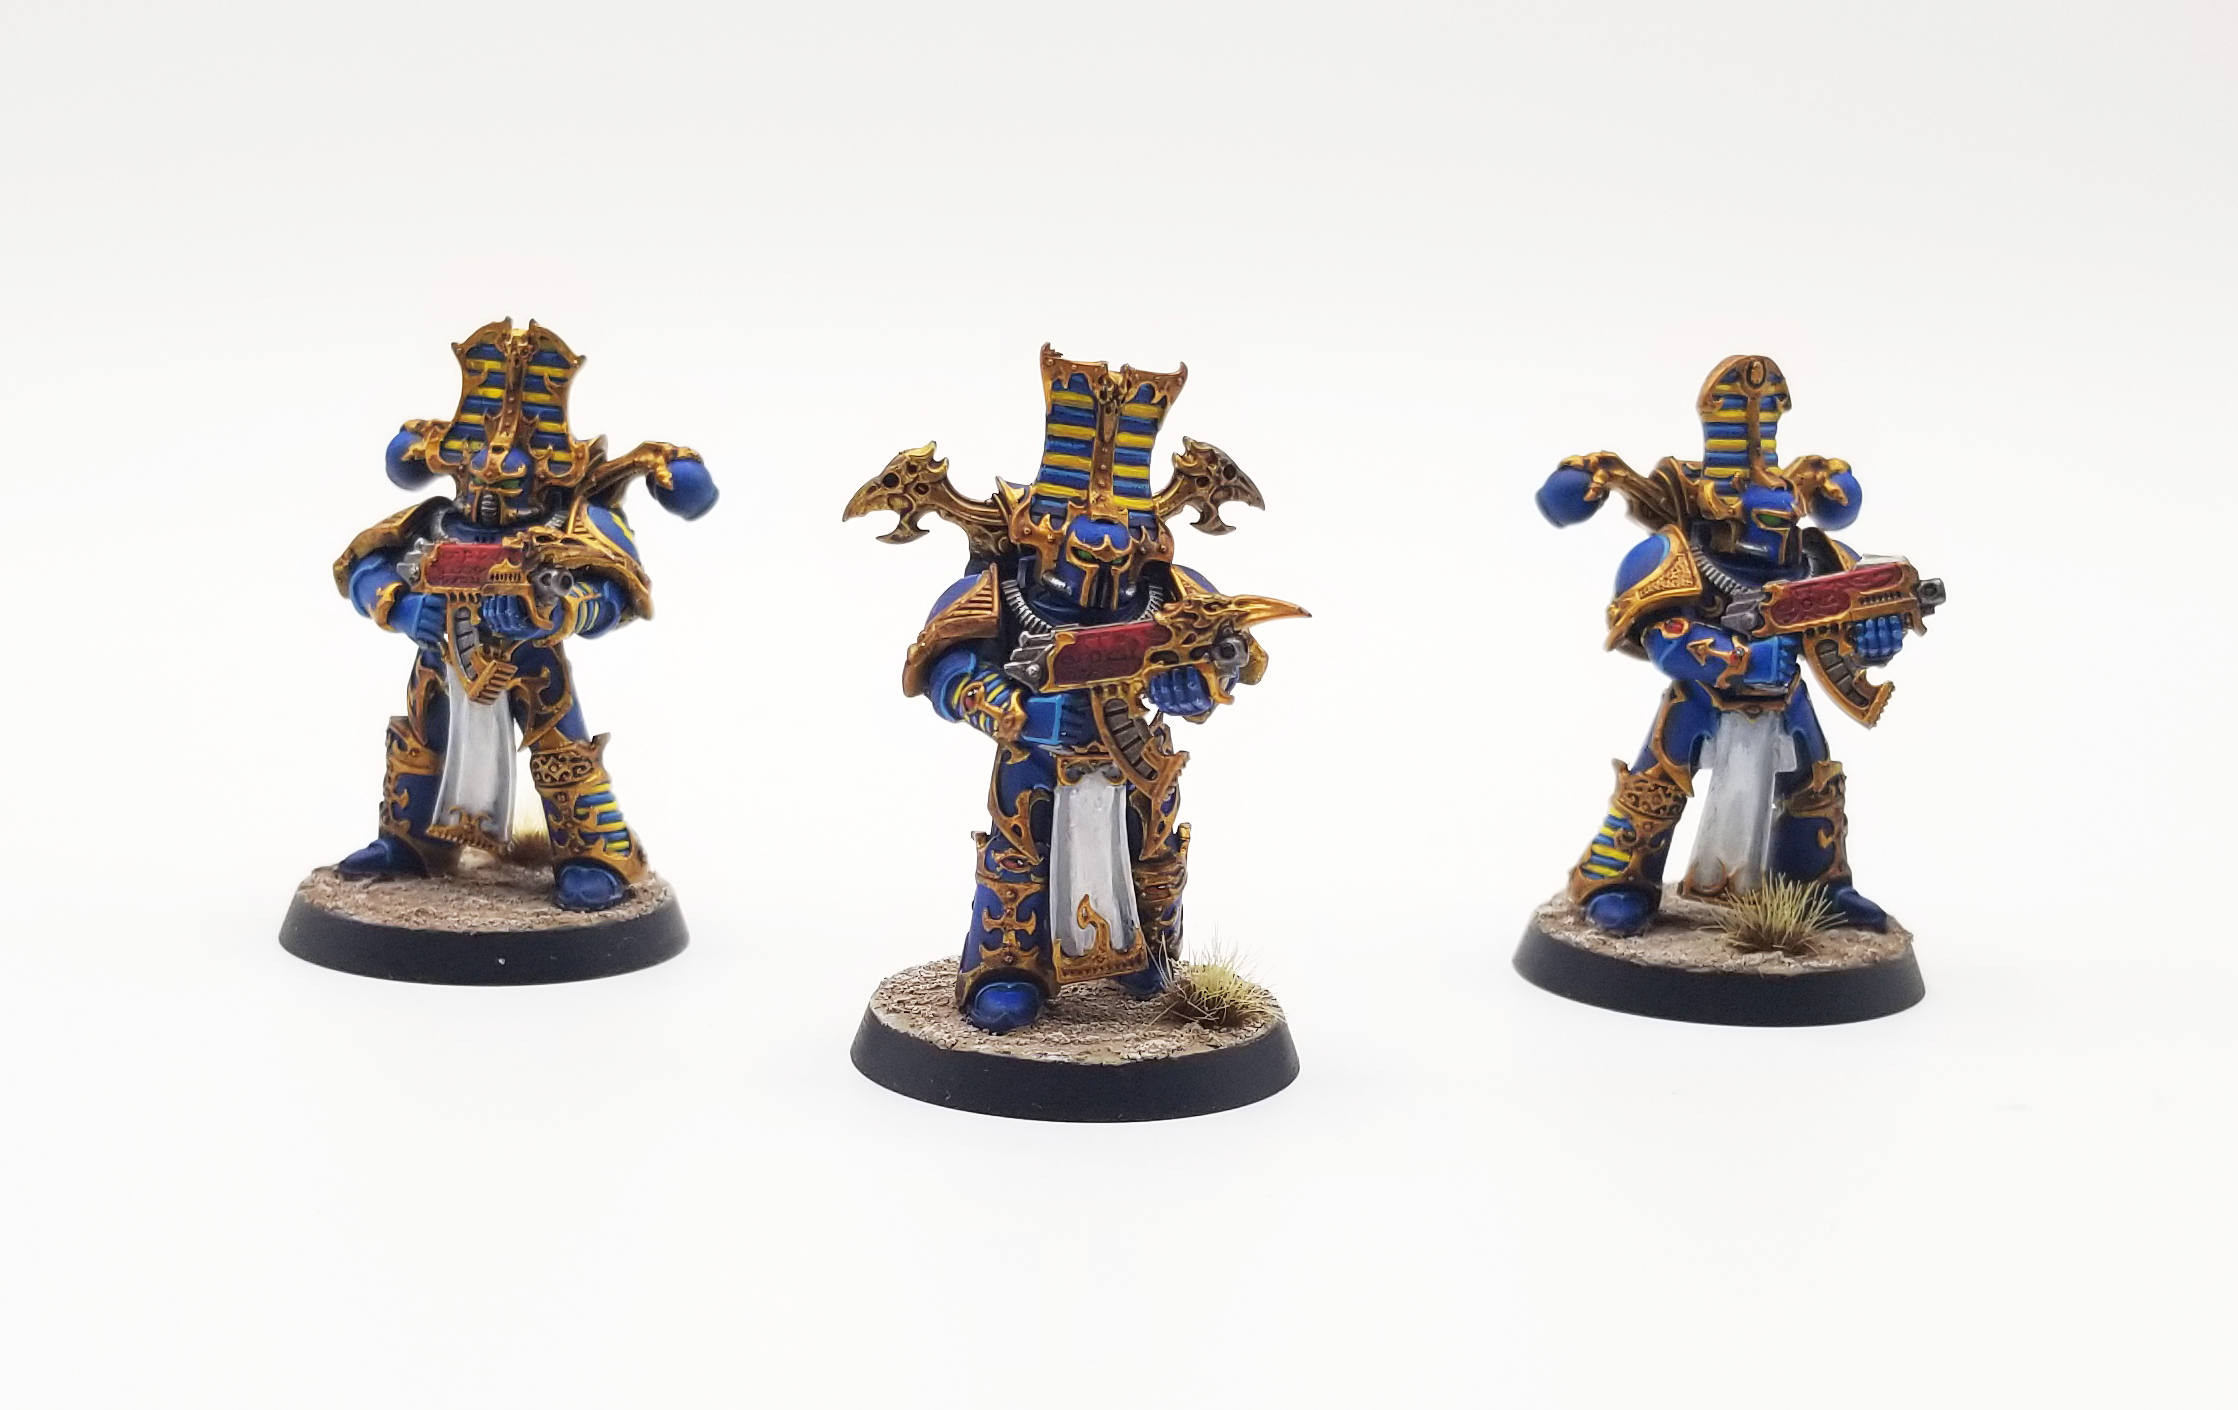
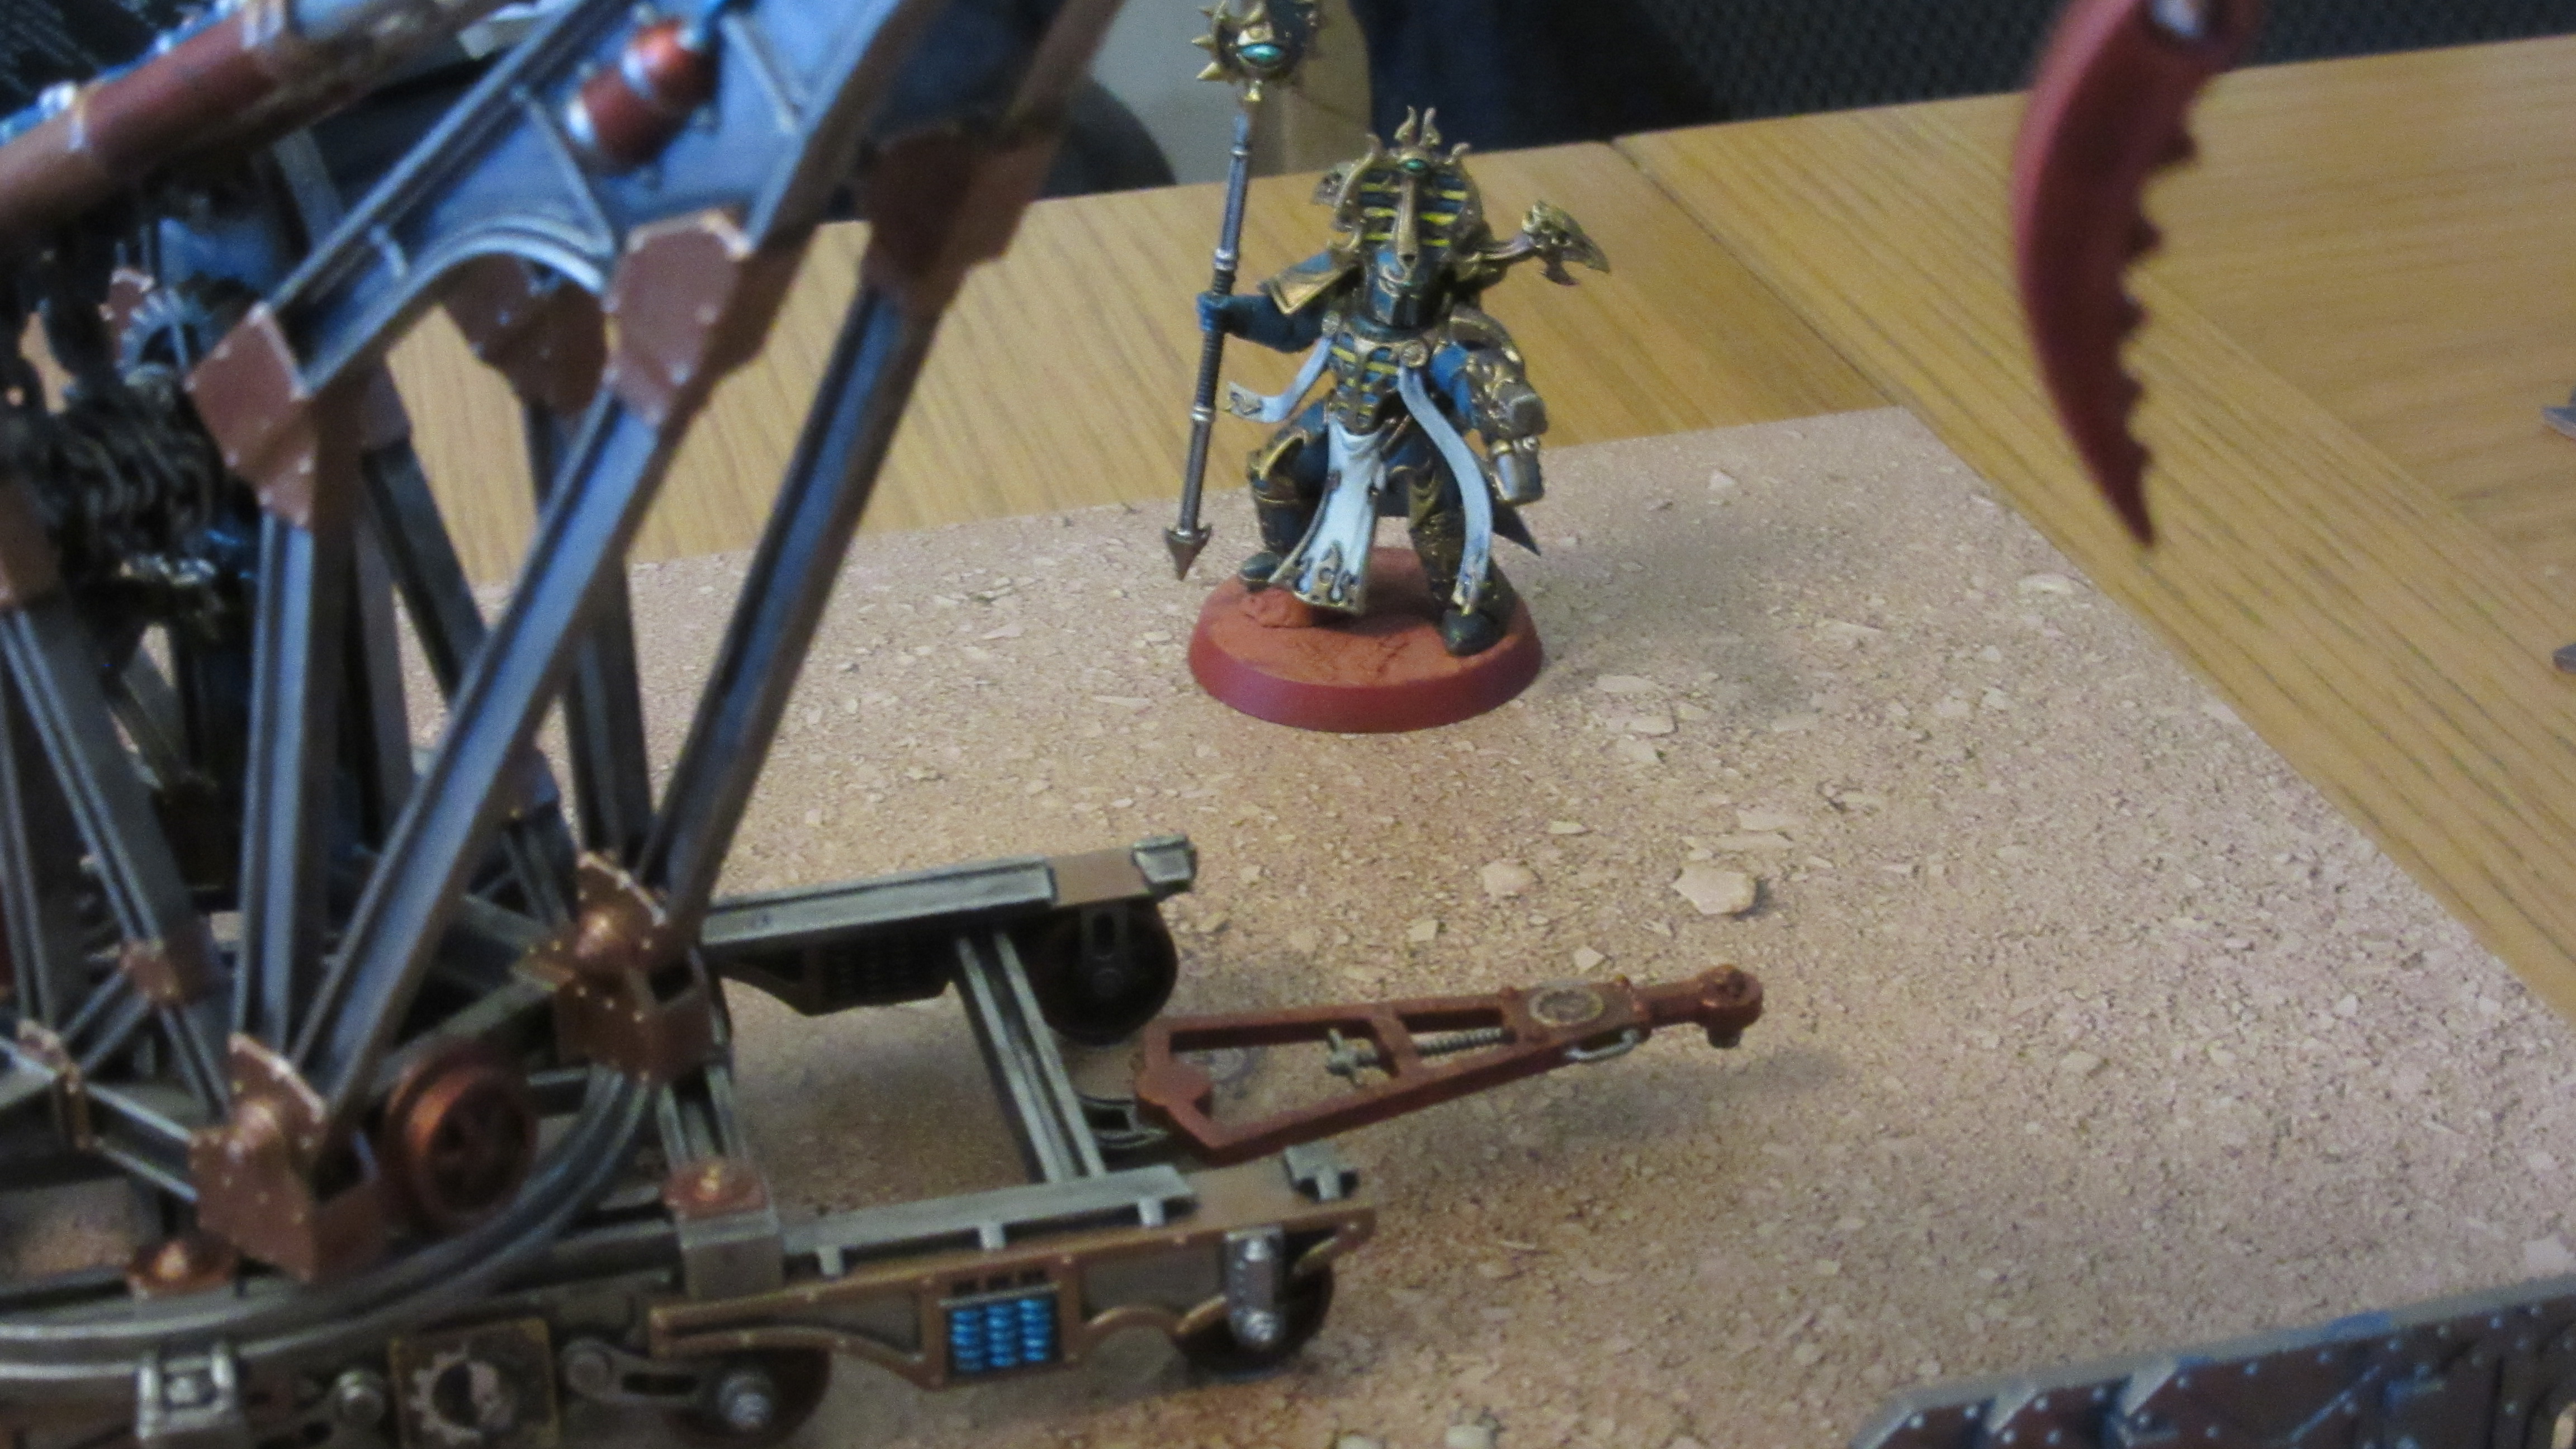
Thousand Sons Rubricae
Thousand Sons and Death Guard have slightly unusual Kill team structures in order to let them mix in their minions if you want to. They get two Fire Teams, each containing 2 Rubrics or Plague Marines or substantially more Tzaangors/Poxwalkers, then to account for the fact that four would be slightly too few models compared to other factions they get to take an Aspiring Sorcerer/Plague Marine Sergeant as an additional model in a Fire Team of the appropriate type.
- Fire Team 1
- (leader) Aspiring Sorcerer with warpflame pistol
- Rubric Marine
- Rubric Marine Gunner with soulreaper cannon
- Fire Team 2
- Rubric Marine
- Rubric Marine Gunner with warpflamer
Rubricae are (unsurprisingly) one of the more unique Marine types in the game. Their baseline Action Point Limit (APL) is only 2 rather than 3, but they’re highly resilient to chip damage from shooting thanks to All is Dust (meaning they’re aiming for 2+ on their defence rolls against the majority of guns), and their weapons are nasty – AP1 on their base inferno boltguns is extremely real, and their specials are both good. On top of all that, they get an Aspiring Sorcerer, who has a whole bunch of cool stuff going on. First up, he can throw psychic powers around, with a mixture of nasty offensive choices and some decent buffs. You can resolve one automatically for an Action point, and perform a second at a risk fo taking Mortal Wounds. Second, he can empower the rest of the team – the Sorcerous Automata Tactical Ploy lets him boost the APL of Rubricae who activate nearby for a turn, putting them on parity with other Marines. You can also enhance him further by bringing an Icon of Flame on one of the regular Rubricae, which removes the chance of taking Mortals on the second cast, but we were playing things as modelled with our teams and that part was attached to the Warpflamer dude in my friend’s team (who can’t take one). Happily, you can also get the same effect with the Sorcerous Focus Tactical Ploy when you really need it.
Pre-Game
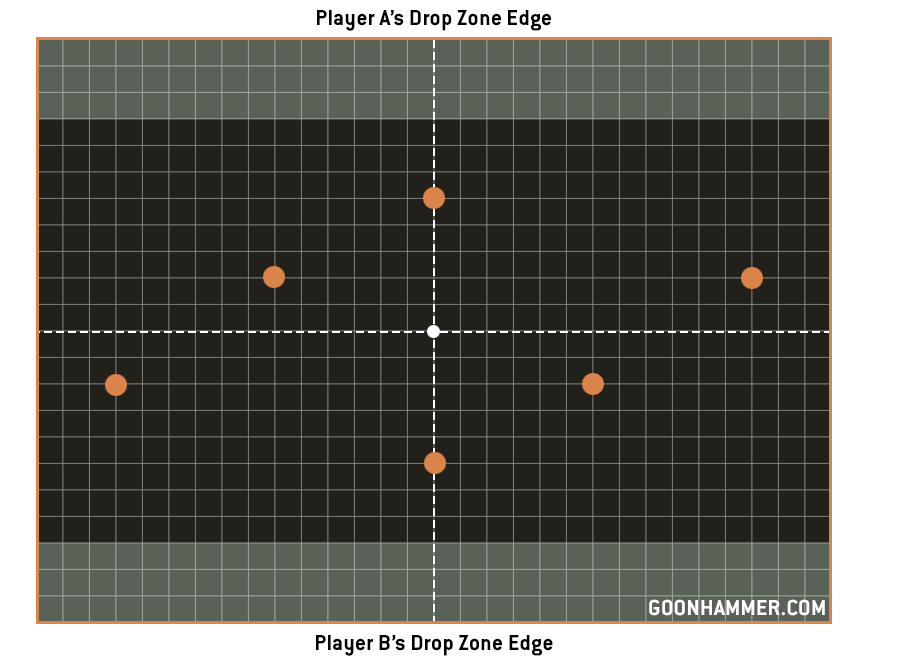
The Mission: Loot and Salvage
Nothing too fancy here – it was our first game of the new Kill Team so we just grabbed the first Matched Play-suitable mission Loot and Salvage. This puts six Objective Markers on the board, which can be looted for an Action Point by a player that controls them. Each can be looted once per turn and a maximum of three times per game, and you can score a maximum of 4VP from them each turn.
The Battlefield
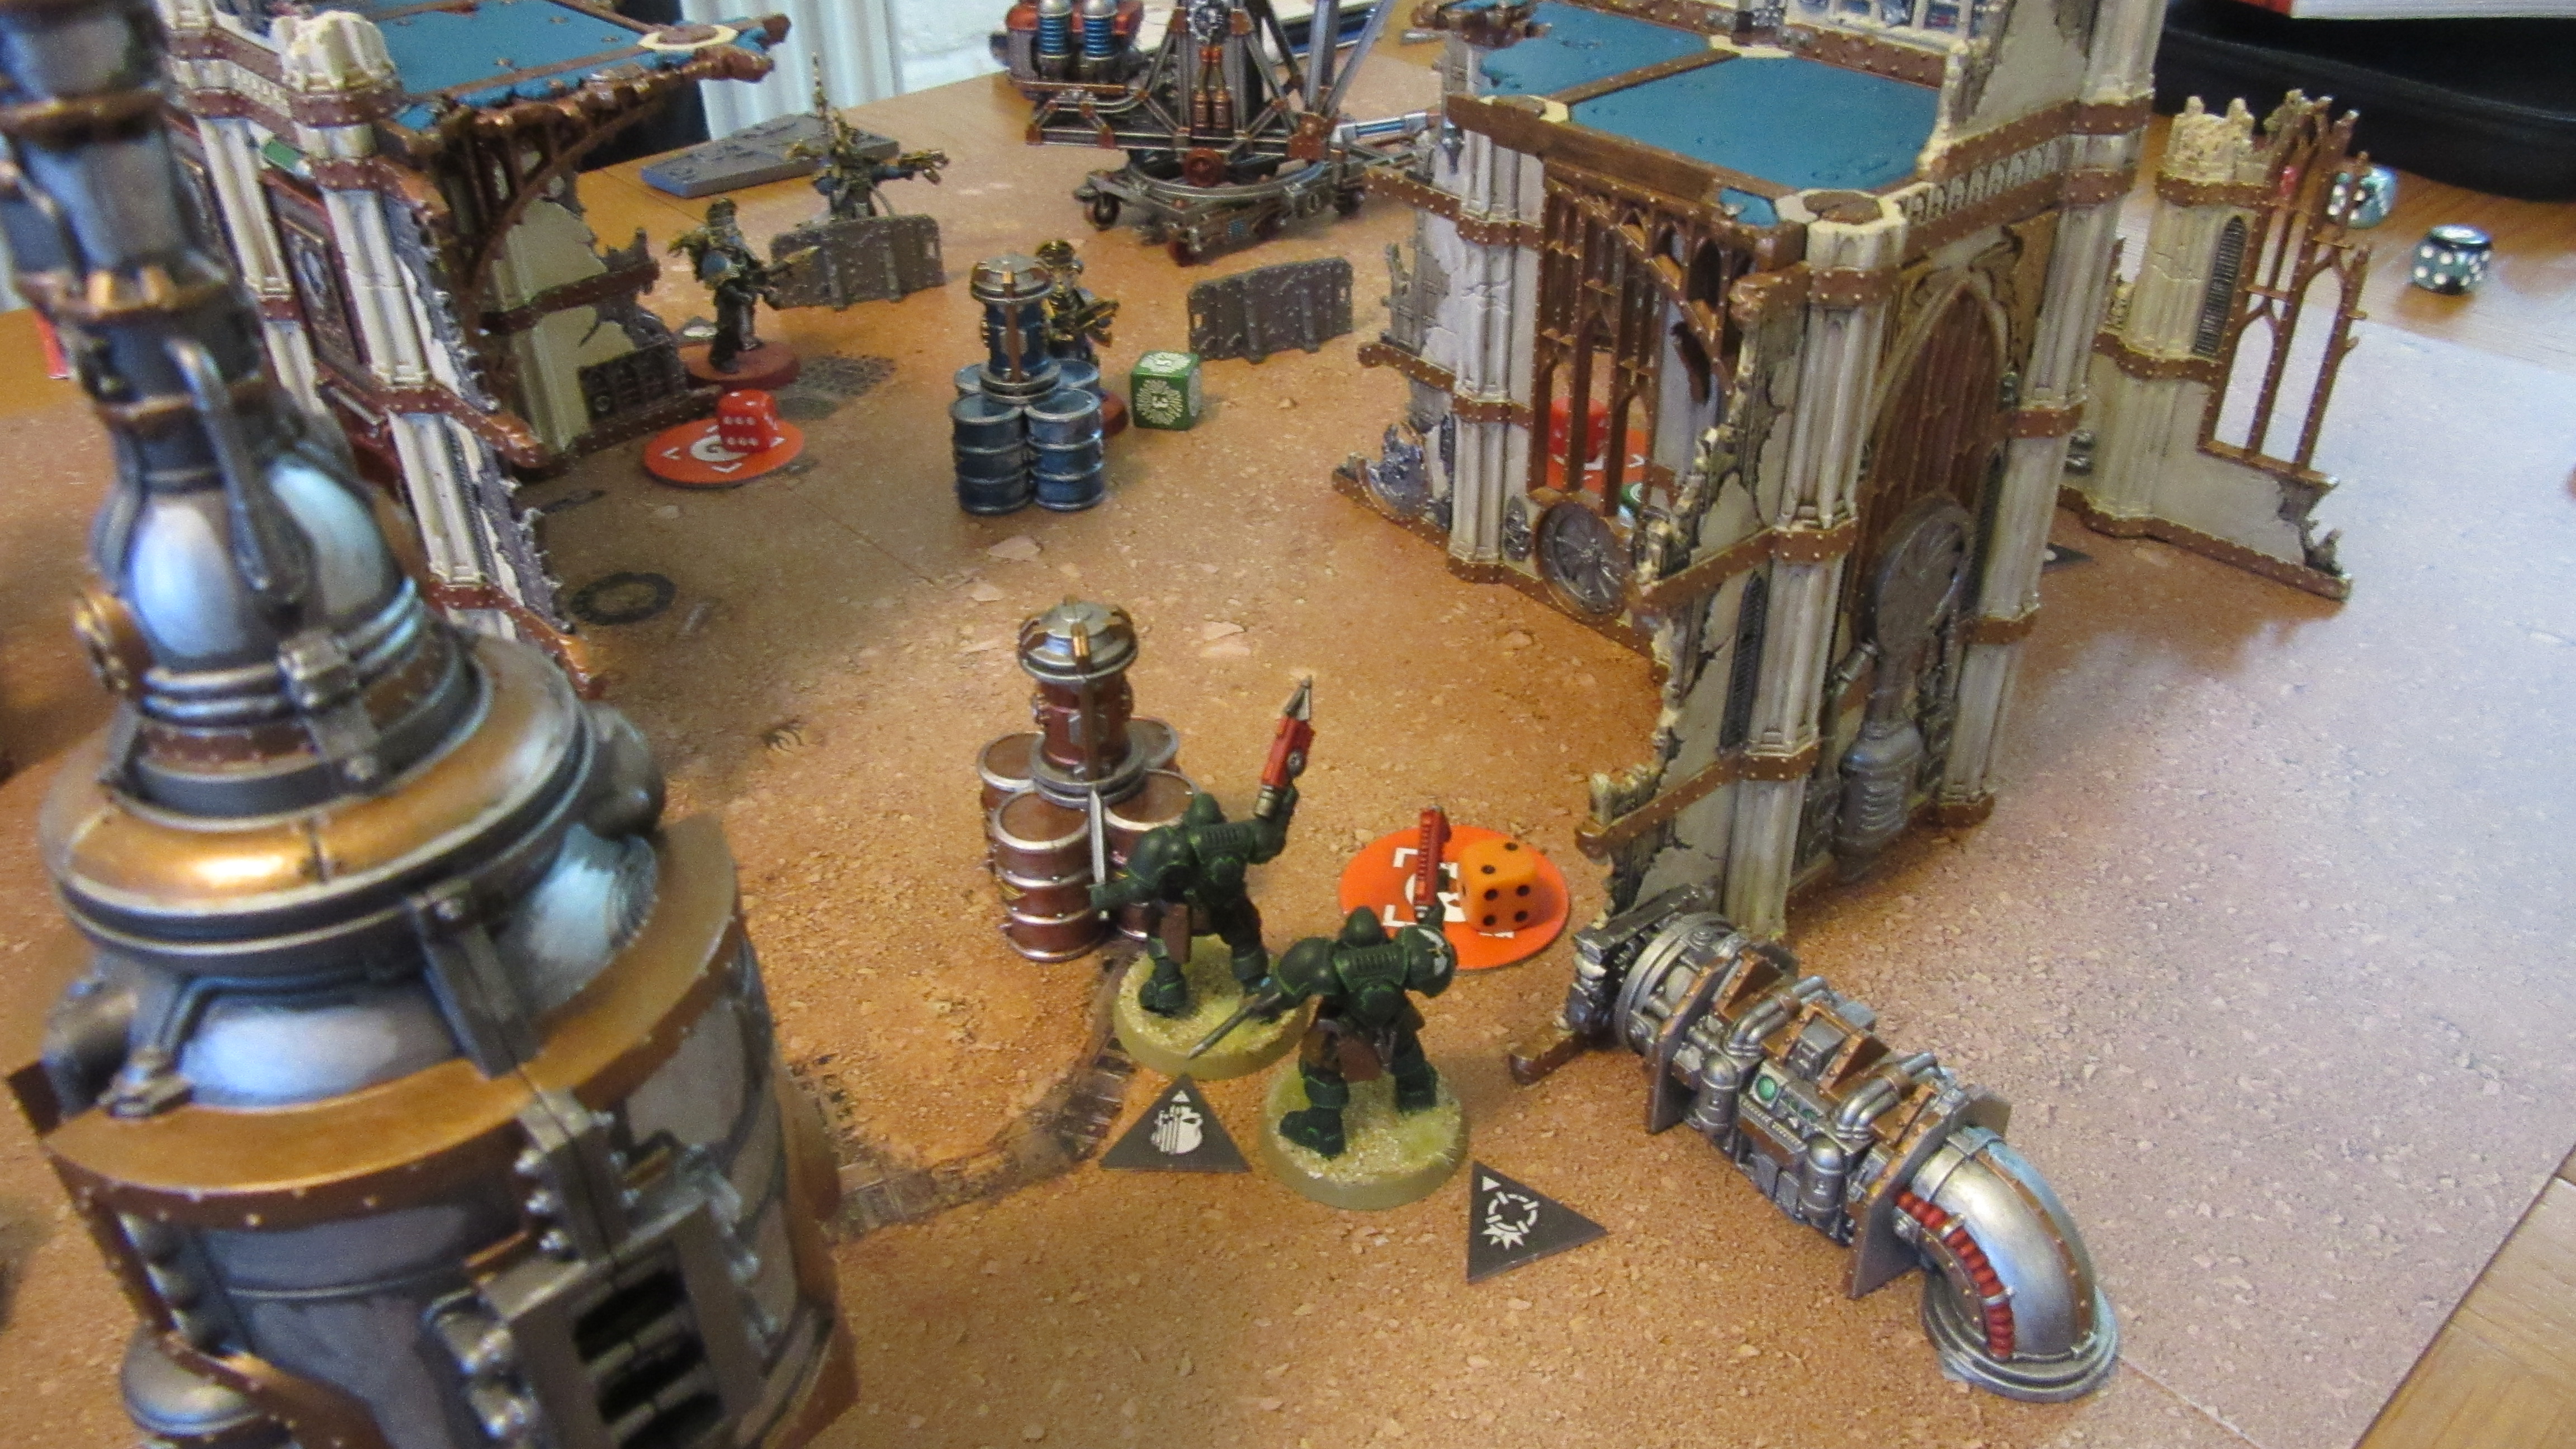
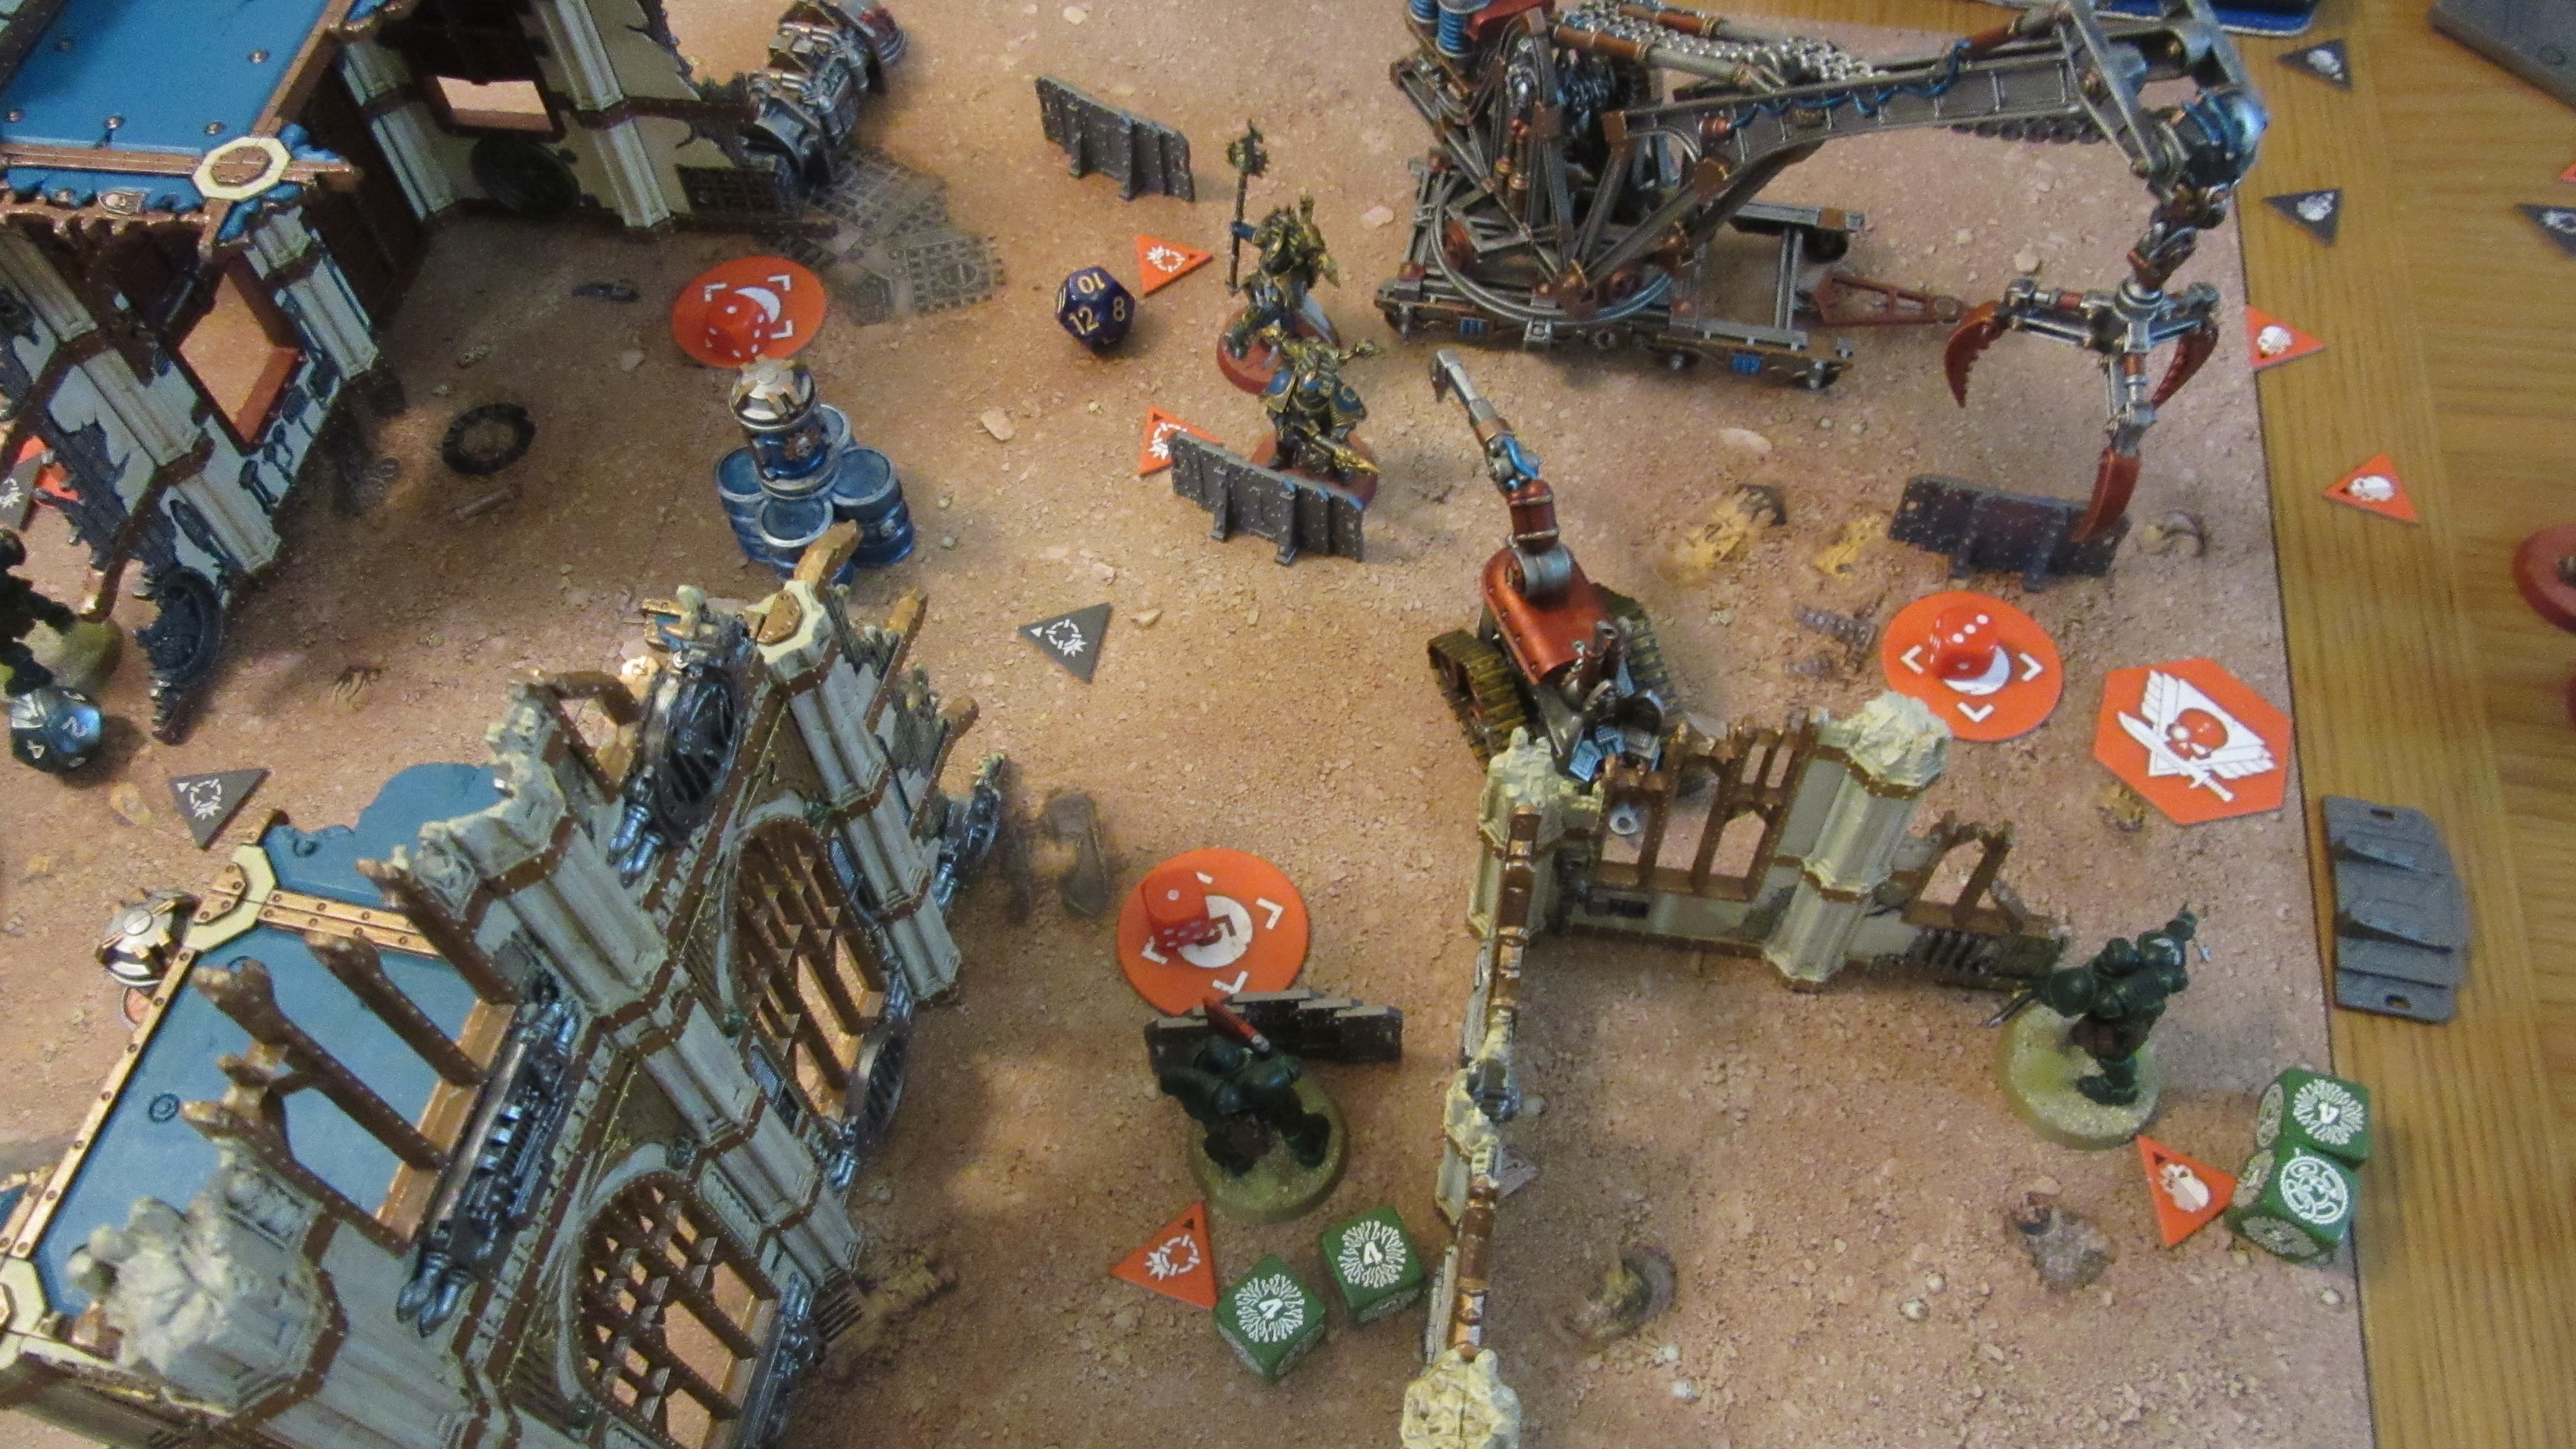
Because I am a very smart professional 40K journalist, oh yes, I carefully set up the table, took pictures, and then decided I wanted to change it and forgot to take more afterwards. Happily, I packed the terrain used into a designated “Kill Team Table” box afterwards, so have re-created the battlefield we fought over for posterity.

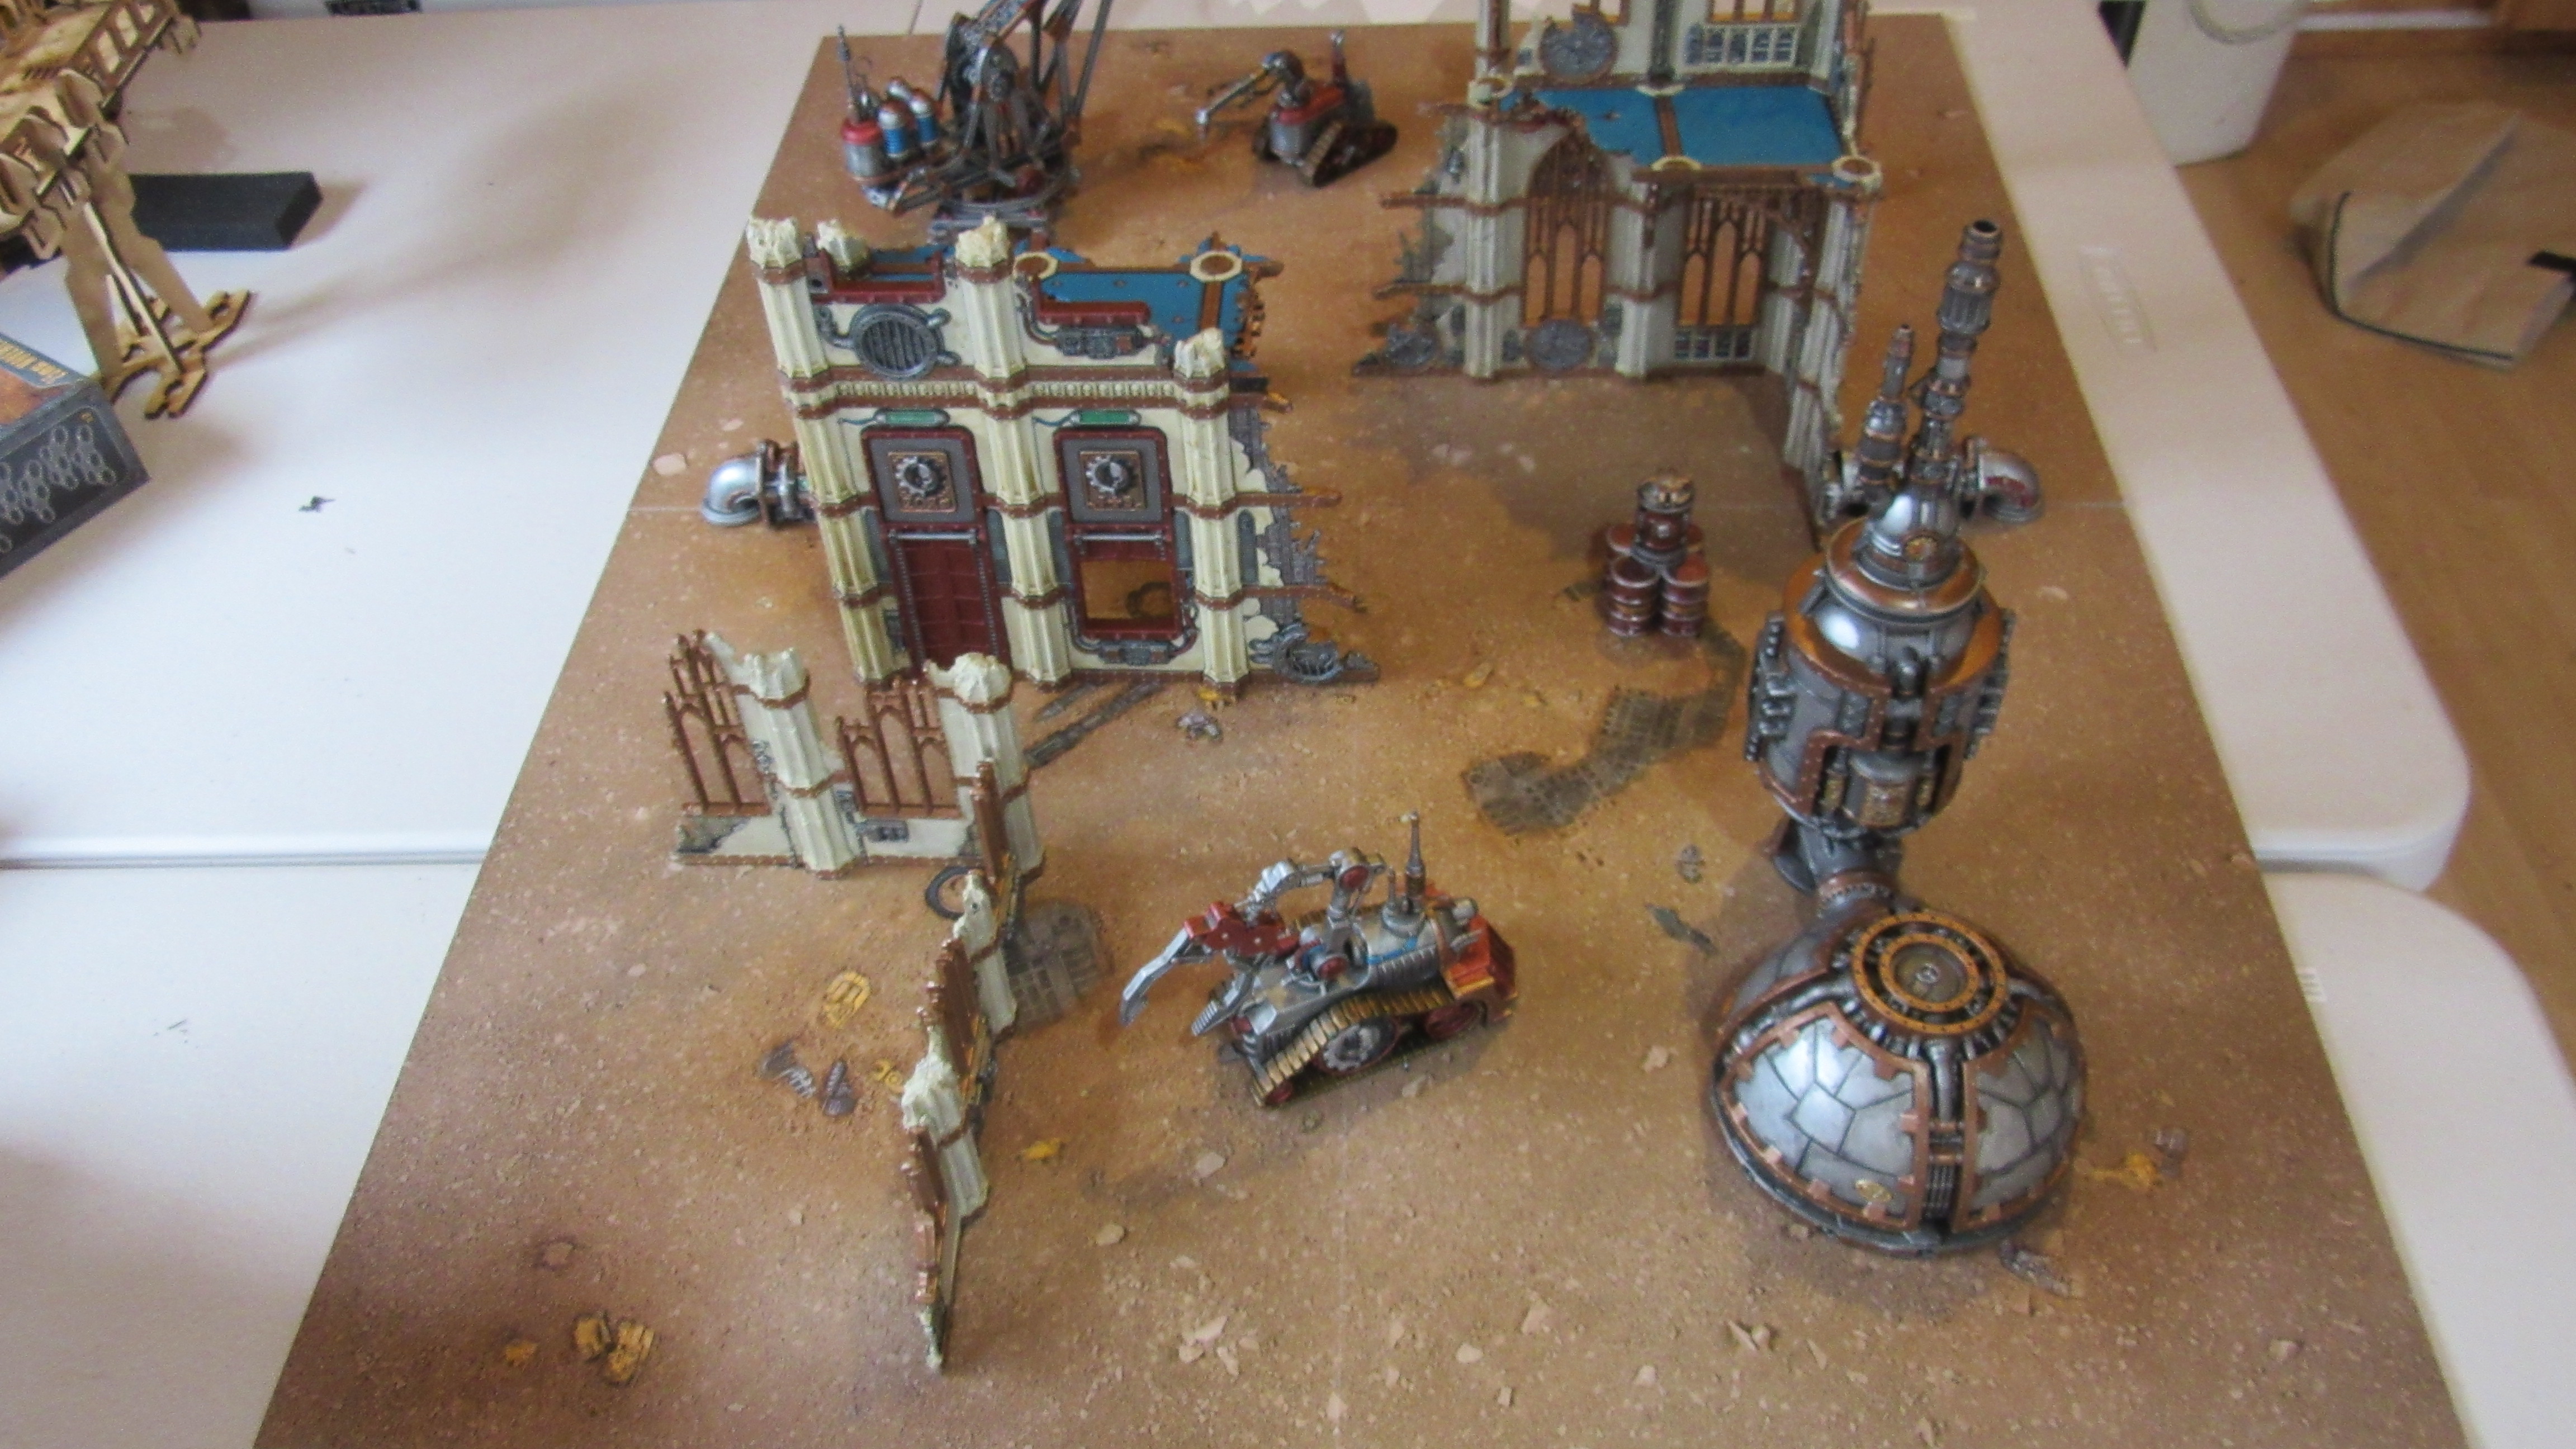 As per the terrain guidelines in the book, we ran the large Mechanicus items in the corners and ruins as Heavy terrain (which can Obscure you) and the smaller servohaulers, pipes and barrels as Light, which only provides cover.
In addition to this, during setup each player gets to place two Barricades within ⬟ (6″) of their drop zone. For this mission, the Drop Zones are ■ (3″) on from the long edges, and you’ll see where our Barricades ended up in later pictures – we both aimed to use them to create logical places to advance to, and protect operatives trying to score objectives.
Tac Ops
Similar to Matched Play in 40K, in addition to the Primary Objective in each mission each player gets some Secondary Objectives they can score points for, here called Tac Ops. These are generated using cards at the start of the mission, from a deck of six each player assembles based on their team. There are four “generic” Tac Ops categories, each with six objectives, and each Fire Team unlocks one or more of these as an option for you. You pick one of the categories that you have access to, and the six objectives from that category go into your deck. If you are playing a special Kill Team such as the Krieg Veterans or Kommandos in the box, you can then swap out up to three of these for Faction-specific objectives (smartly, the decks provided have three cards generic cards labelled for “faction objective” one through three so you won’t need to acquire additional decks to use the faction choices). Because we were both using Compendium factions, we each stuck with the six from the categories we’d chosen.
Once you have your deck, you shuffle it then deal yourself two objectives secretly, pick one to keep then discard the other, then repeat twice more. This means you have some control over what you get, but you’ll sometimes have to stretch yourself to achieve a more out there goal. Tactical Objectives have to be revealed to be scored, with some having to be revealed in the Target Reveal step at the start of the Turning Point, and some being able to be flipped over at the point you meet the scoring condition.
Each Tac Op can be scored for a maximum of 2VP per game, and the mission primary is capped at 12, giving you a total score of 18VP to aim for, plus 2VP for a battle ready bonus at the end (which we both got a big tick on).
Space Marines – Tac Ops
Reivers get to pick from either the Seek and Destroy, Infiltration and Recon options. Because of how nasty the Thousand Sons weaponry can be, I didn’t fancy options that relied on me pushing through the teeth of it, so I opted for Seek and Destroy. After shuffling and picking, my choices were:
- Rout – score a VP if you take out an opposing operative using one ofyour own within ⬟ of their drop zone. Score another if you manage this again on a future turn. Knife Reivers were going to need to do some work.
- Headhunter – score a VP if you take out the enemy Leader, and a second if you managed this on turn 1 or 2. This was going to be a tall order to maximise, but given how vital the Aspiring Sorcerer is I was definitely hoping to pick up at least 1VP.
- Rob and Ransack – score a VP if one of your operatives takes out an enemy in melee when they’re more than ■ from other enemies, then score another VP if your operative survives to the end of the game. Hostage taking, basically. Once again, combat knives were going to need to to some work here.
Thousand Sons – Tac Ops
Rubricae get a choice of the Seek and Destroy or Security options (mixing in a Tzaangor Fire Team also unlocks Recon). My opponent was pretty set on the plan of grinding away any Reivers who dared approach his half of the table, and picked Security, ending up with:
- Hold the Line – revealable in any turn after the first, score a VP if no enemies are within ⬟ of your drop zone at the end of the turn.
- Protect Assets – score 1VP if two enemies in the same turn are incapacitated within ◯ of an Objective (or while carrying it). Score another if you do it again in a later turn.
- Damage Limitation – revealable in any turn after the first, score a VP if no friendly operatives are incapacitated, and score another if you do it again in a later turn.
All together, just the sort of game the Rubricae want to be playing!
The Game
Deployment
After rolling off, I ended up as the Defender, meaning that after selecting deployment zones, I had to set up all my models. I went with a cautious setup – all my operatives other than theSergeant were in Conceal, with the Sergeant taking advantage of a fully LoS blocking wall to set up in Engage.
With very little to fear from my ranged firepower, my opponent was a bit more aggressive, with his models all starting in Engage ready to mow me down if I broke cover. The Sorcerer, lacking All is Dust, was a bit more cautious, hiding far enough back from the Heavy terrain in the top right to be Obscured.

The Scouting Phase
The Scouting Phase is one of the most improved aspects of the new version of Kill Team, now being simple to resolve and having a meaningful impact. You each secretly pick one of three options, and then reveal them. Each option gives you a benefit that you always get to resolve, and then comparing the options selected determines who has the Initiative in the first Turning Point in a rock, paper, scissors fashion, falling back to a roll-off if both players select the same.
I picked the Infiltrate option, which lets you change the Order of one of your operatives one time during the first Turning Point (normally in the first turn you’re stuck in the order you choose when you deploy). My opponent picked the Fortify option, letting them set up one additional barricade. Fortify beats Infiltrate, so they got Initiative for turn 1, and away we went.
Turning Point 1
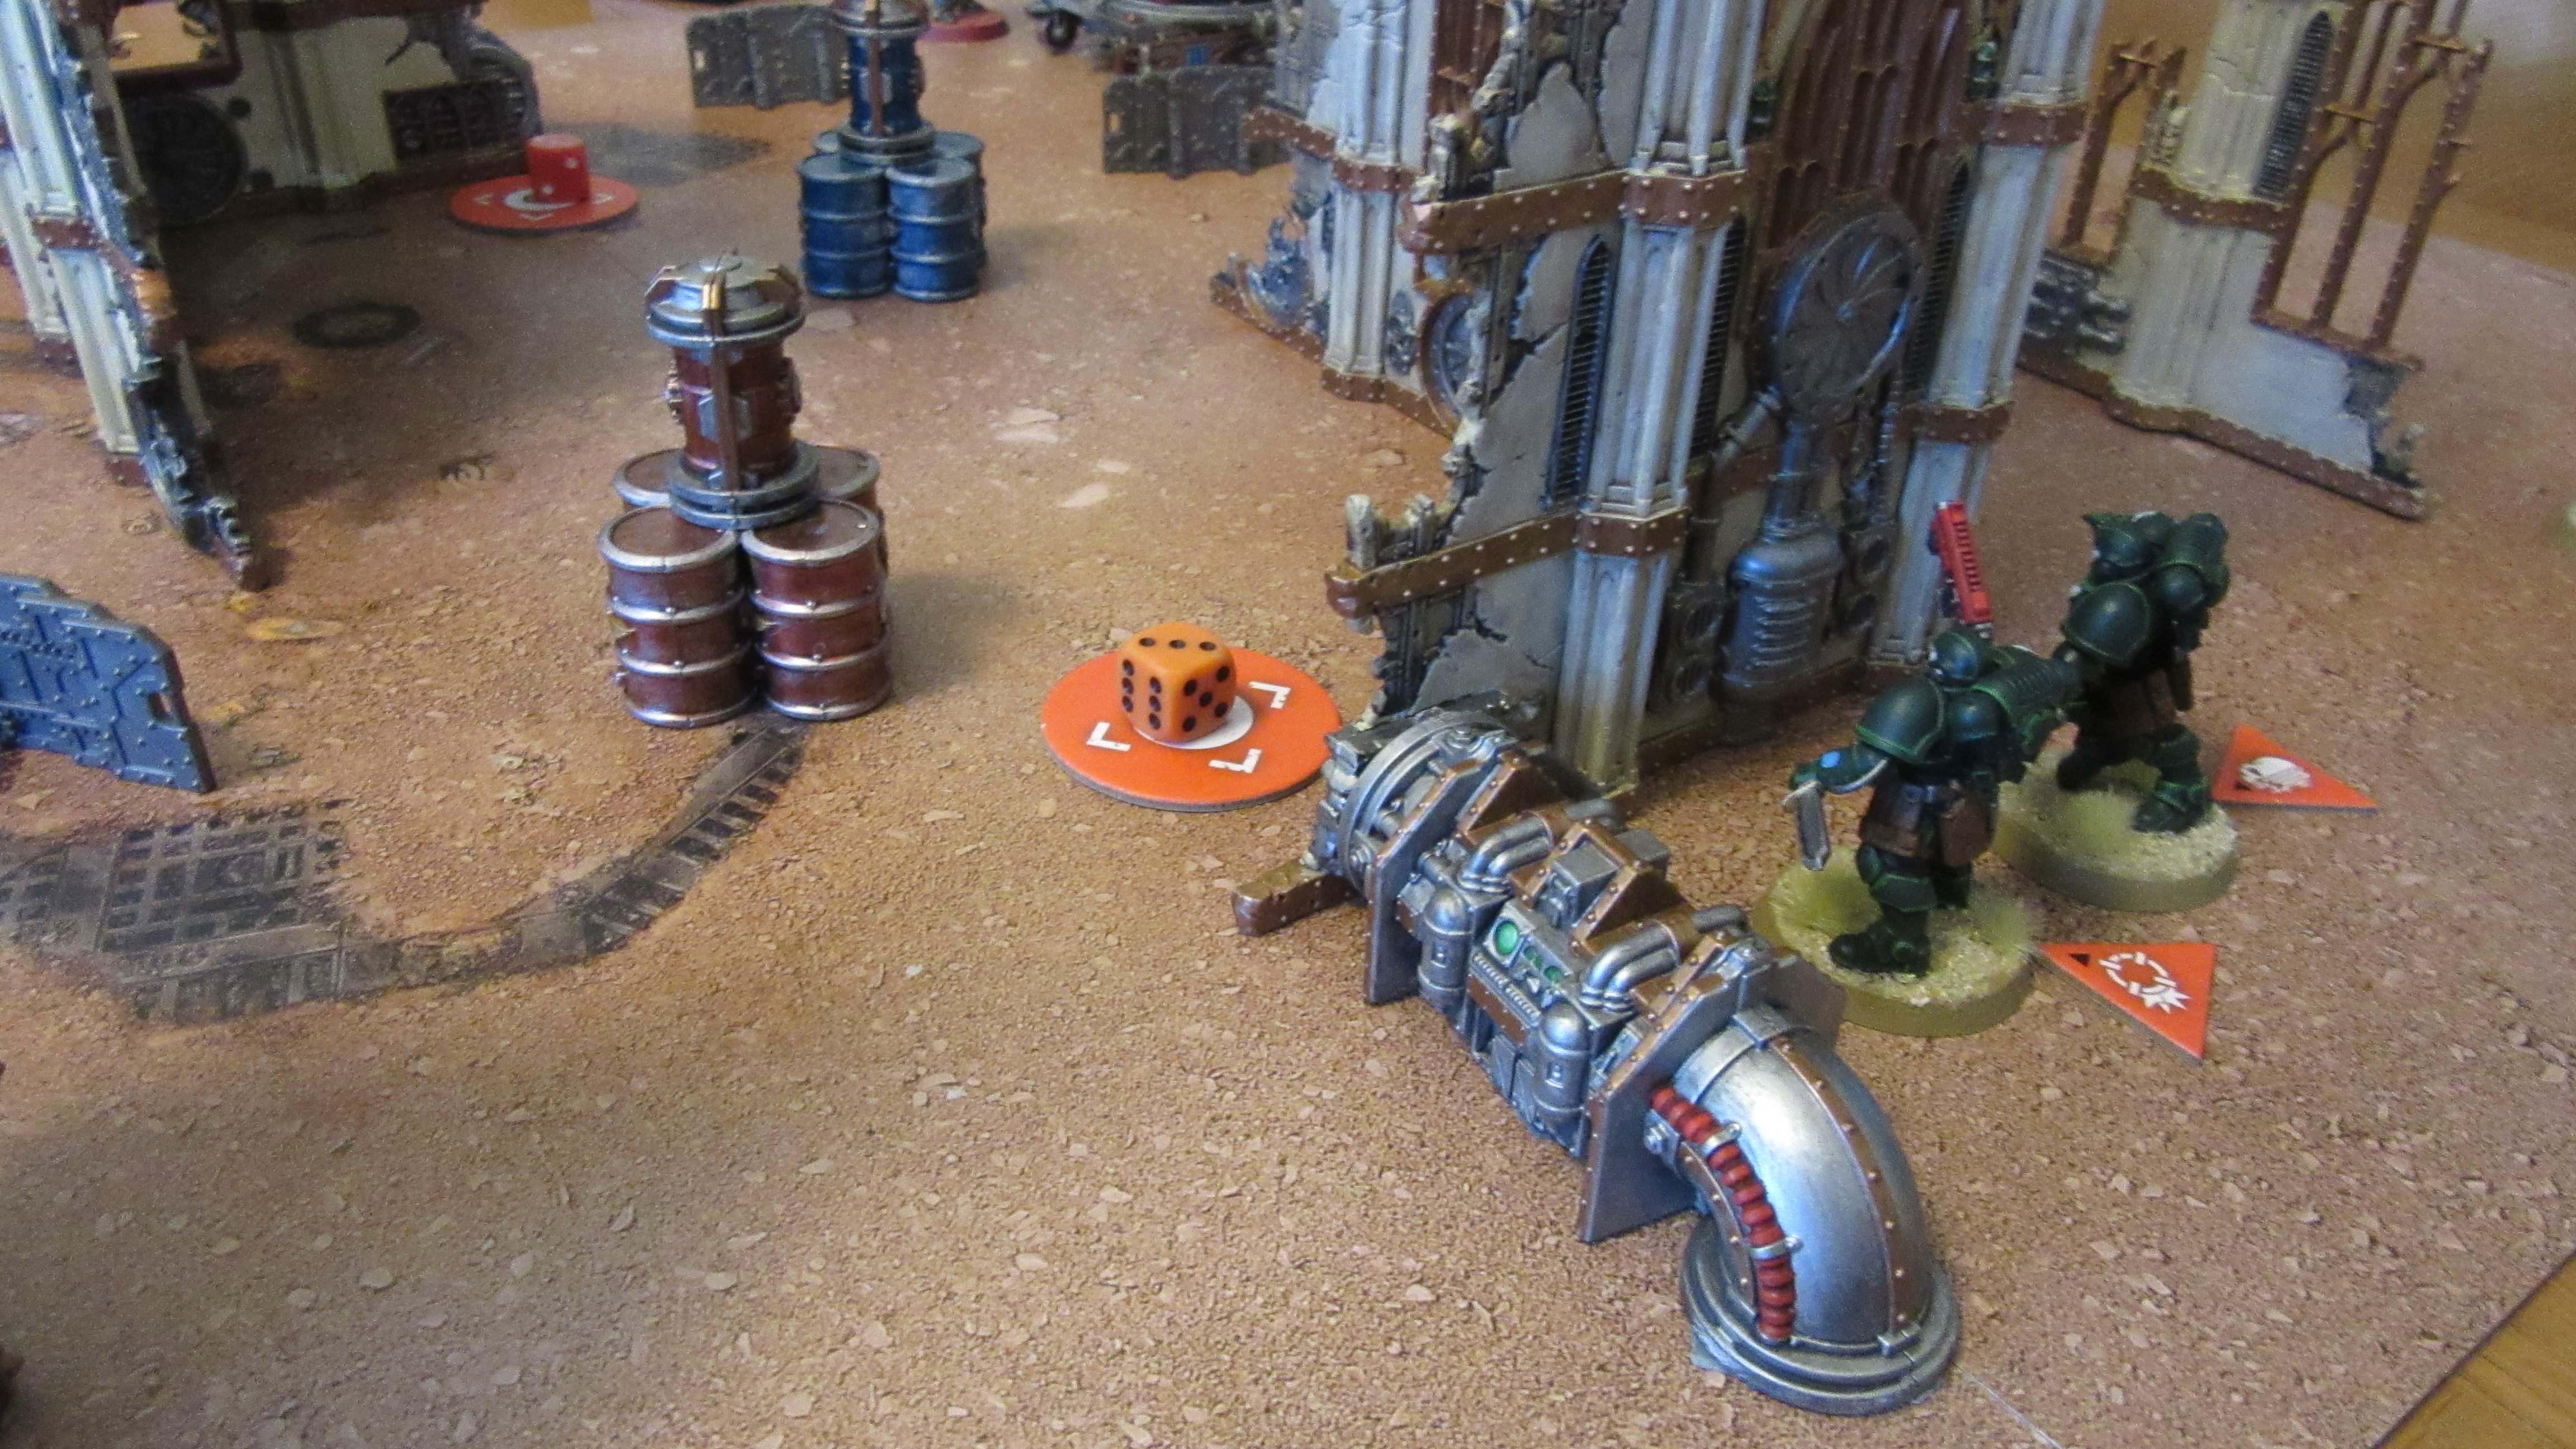
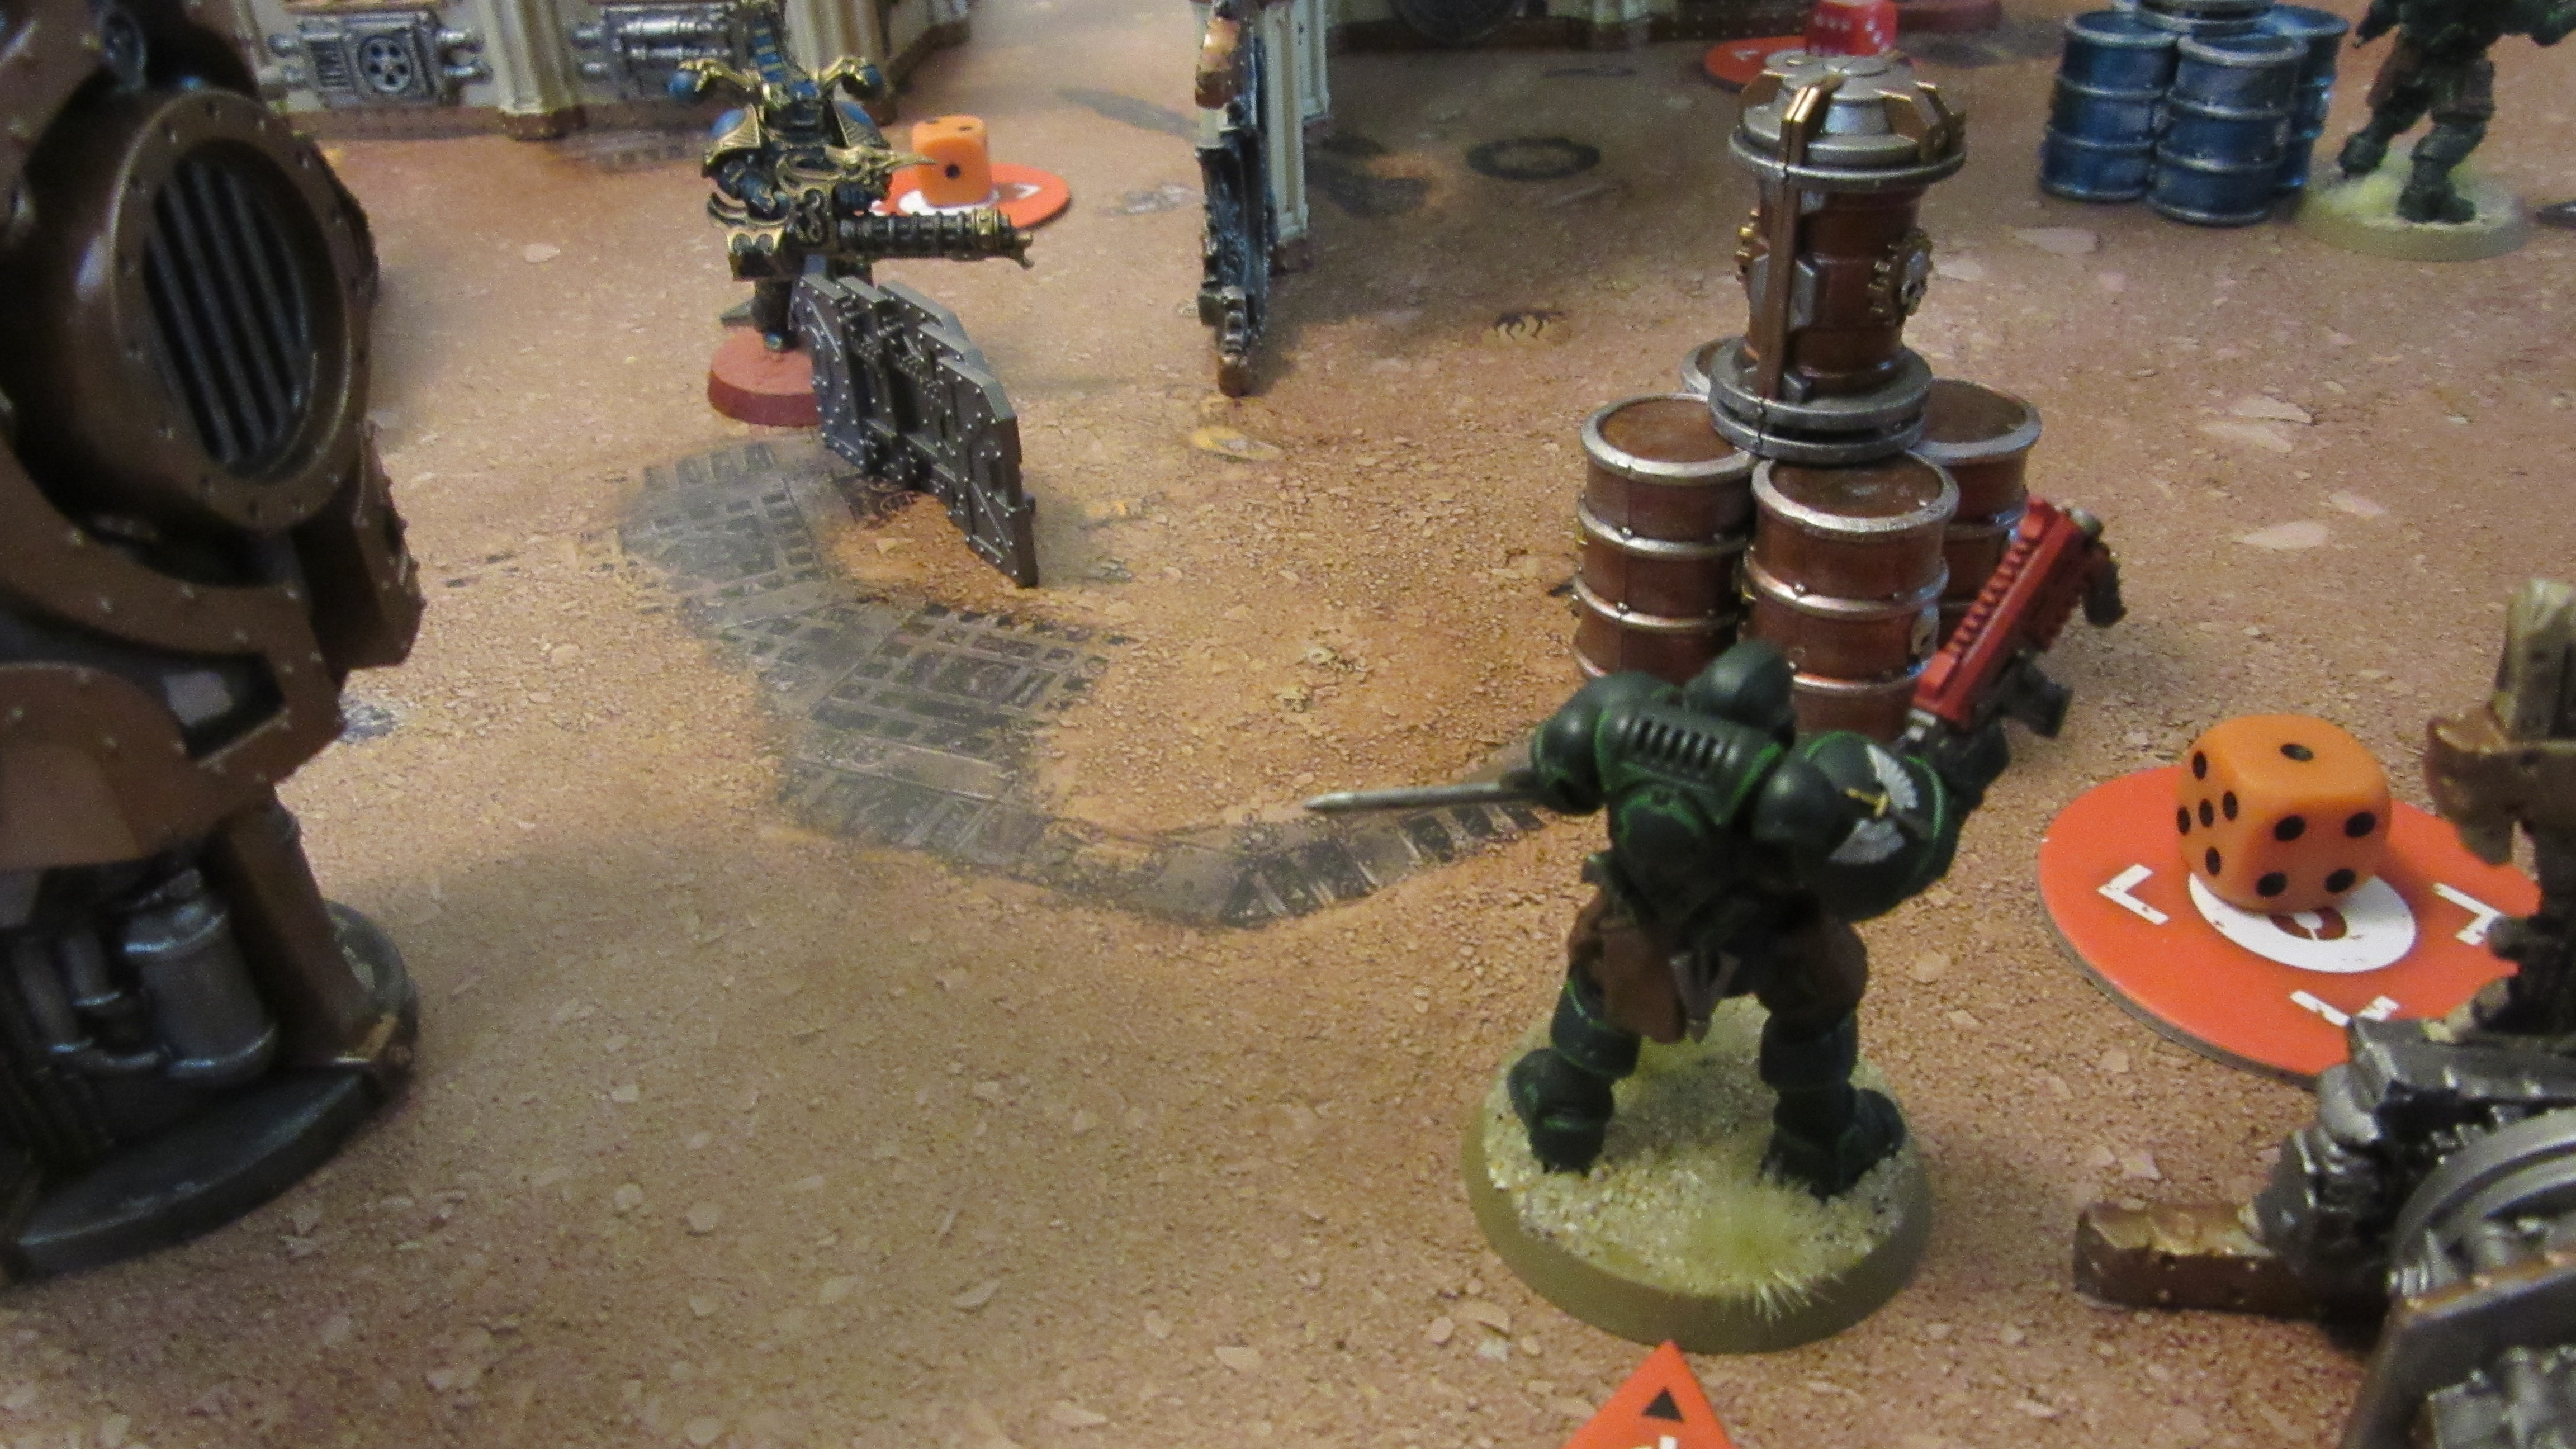
The game started out pretty cagily, and with neither player going for any Strategic Ploys. The Rubricae lumbered forward one by one with limited target options, some picking up a few objective points. On my left flank one of my carbine Reivers pushed up to pick up the objective, hoping to move it to safety before the Rubrics could reach it, while on the right my cunningly placed barricade was used to protect an operative while he scored, and was joined by a comrade.
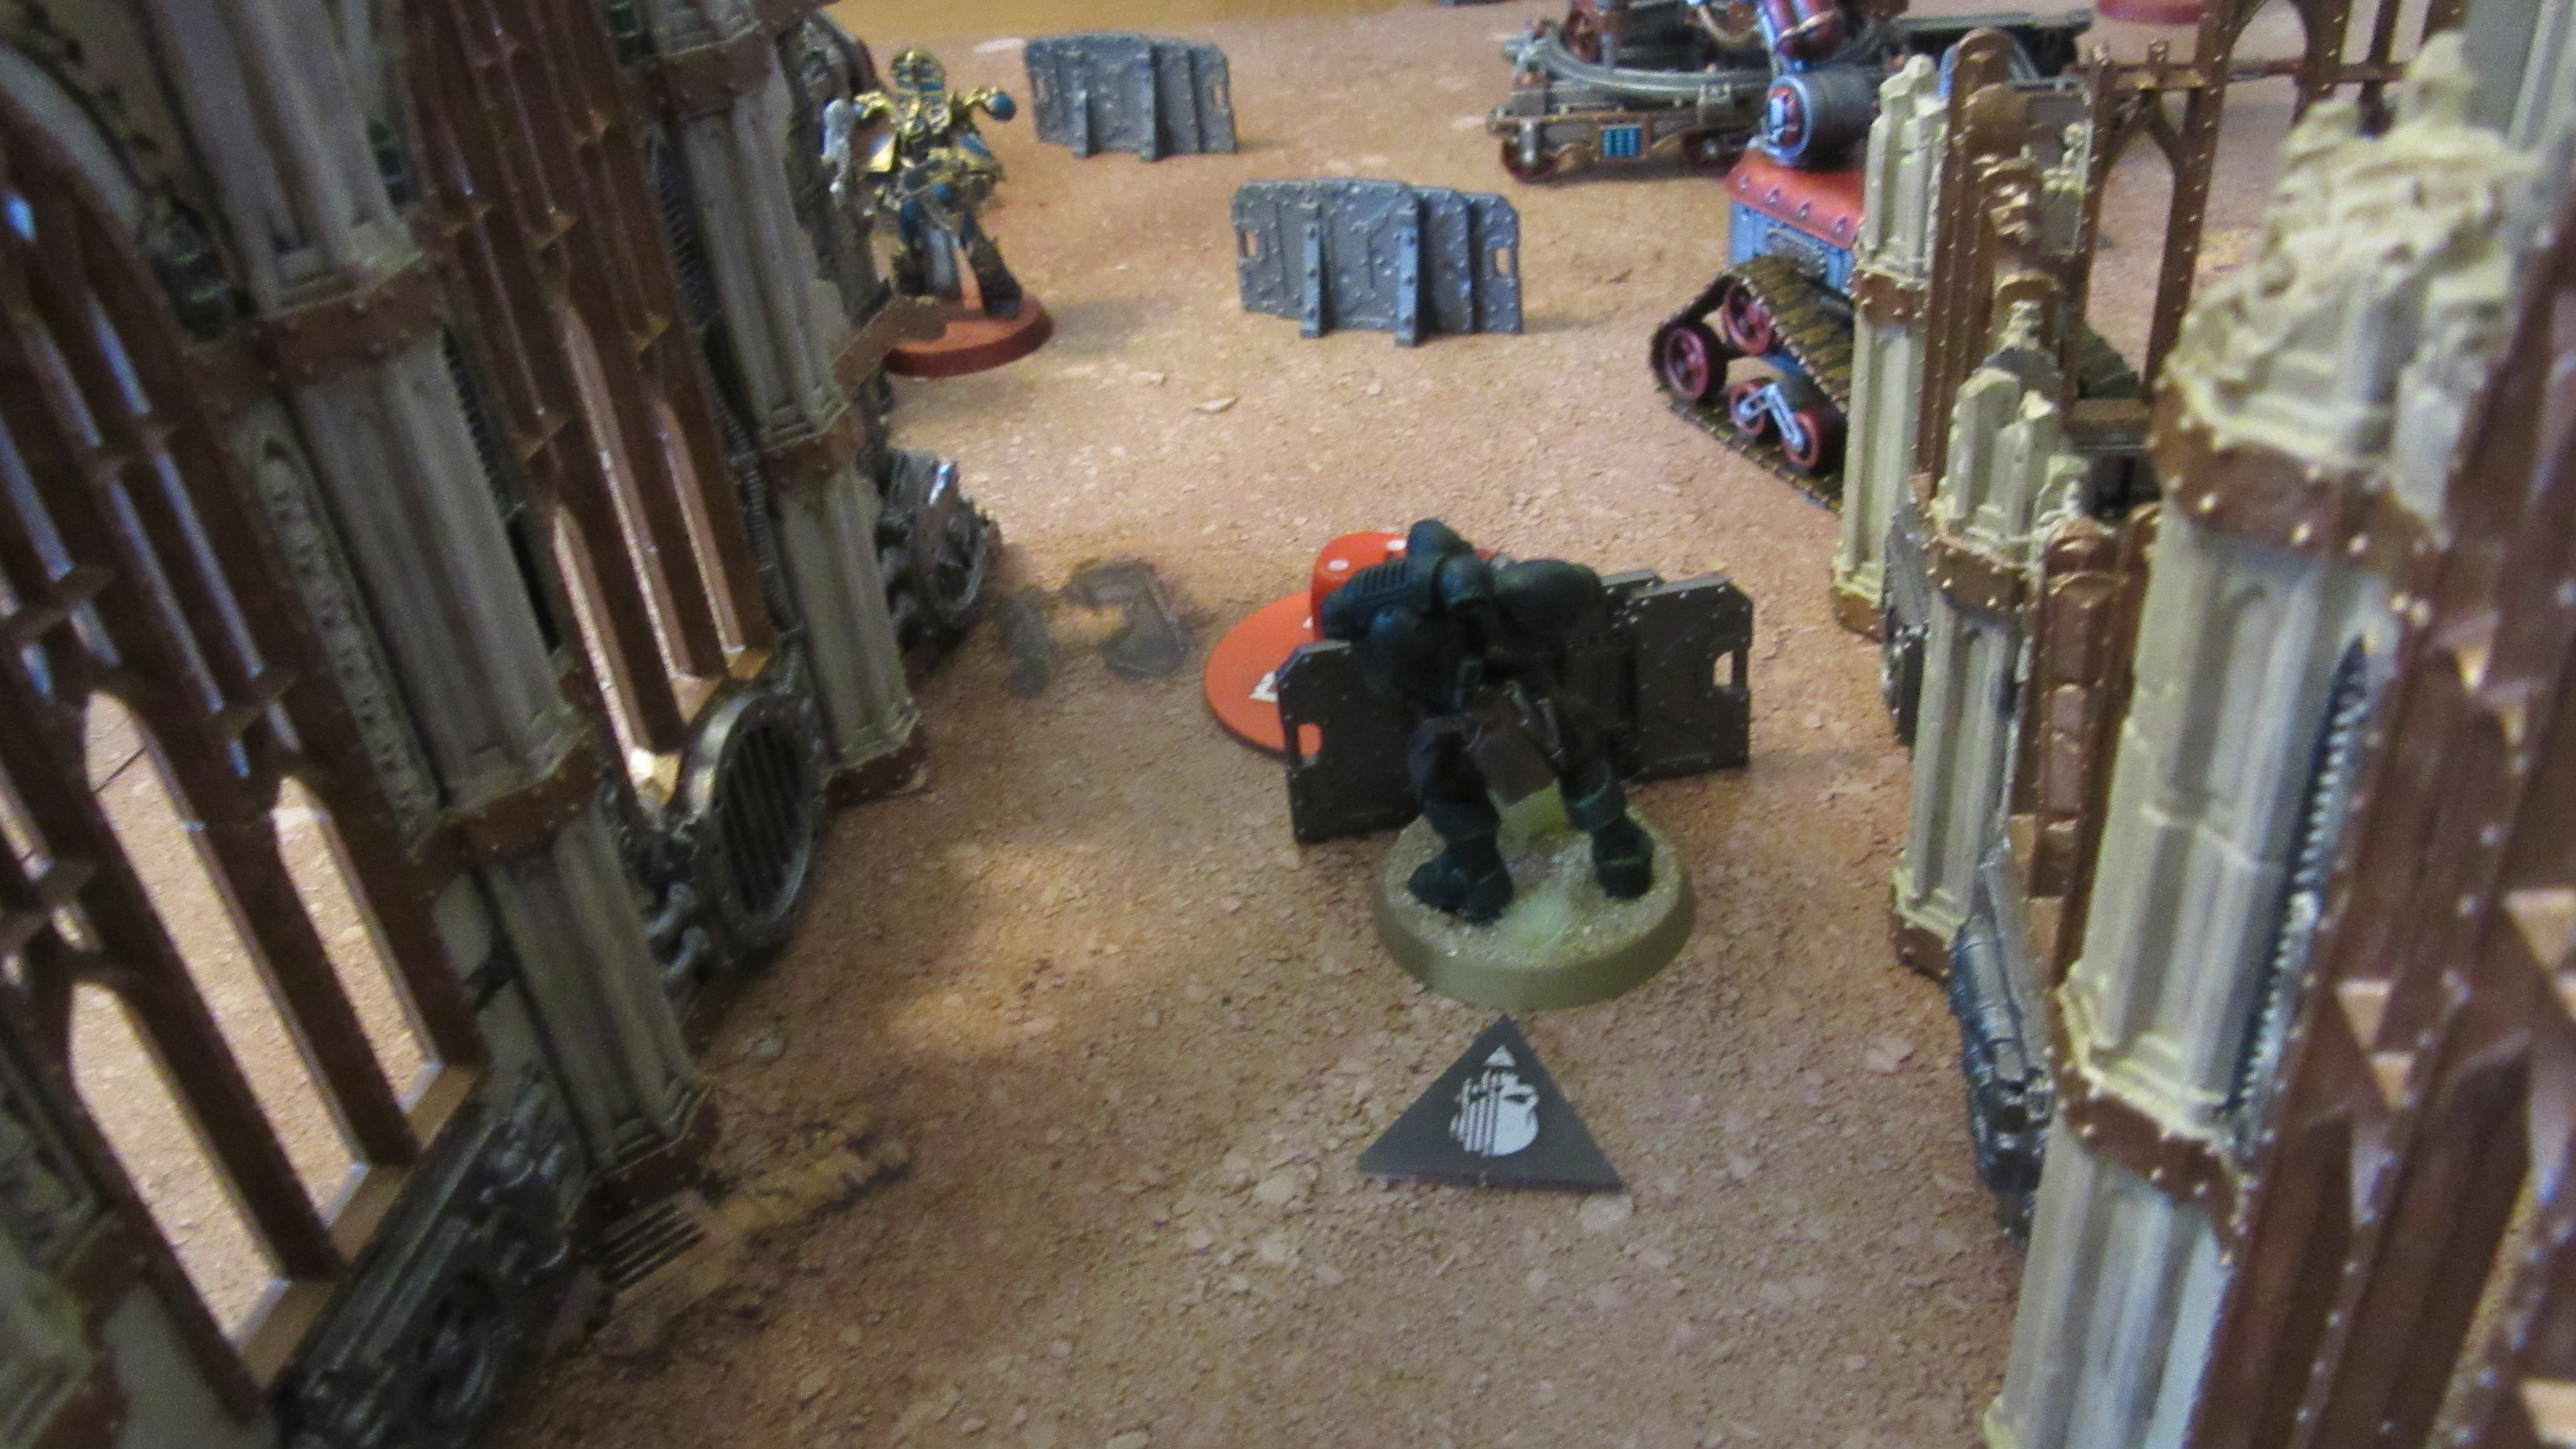 While the turn started quietly, it didn’t end that way, with both leaders holding their activations till last and kicking off some bloodshed. First up, the Aspiring Sorcerer used their activation to unleash Tzeentch’s Firestorm. This psychic power gives you a free shooting activation with a special weapon profile, and that profile includes the Indirect rule. This means that when choosing valid targets, cover is ignored – so even though my operatives on the right flank were in Conceal, they could still be selected. In addition, it has the Blast special rule – meaning it got to attack both the models huddled together! Thankfully for me, power armour shrugged off most of the eldritch fire, but each of the two Reivers hit suffered 2W, taking them down to ten apiece.

Not to be outdone, my Reiver sergeant took the opportunity to burst from his hiding spot and take a pot shot at the Rubric hiding behind the pile of barrels. A great roll saw two critical hits punch through, leaving the target on a meagre 4W remaining.
Turning Point 2
After the first round, you roll off for Initiative, with the person who went second getting it in the event of a tie. I won, and with battle now joined the Strategy Phase was more eventful, with both players revealing some Objectives, and both of us activating our version of Bolter Discipline to allow for double shooting.
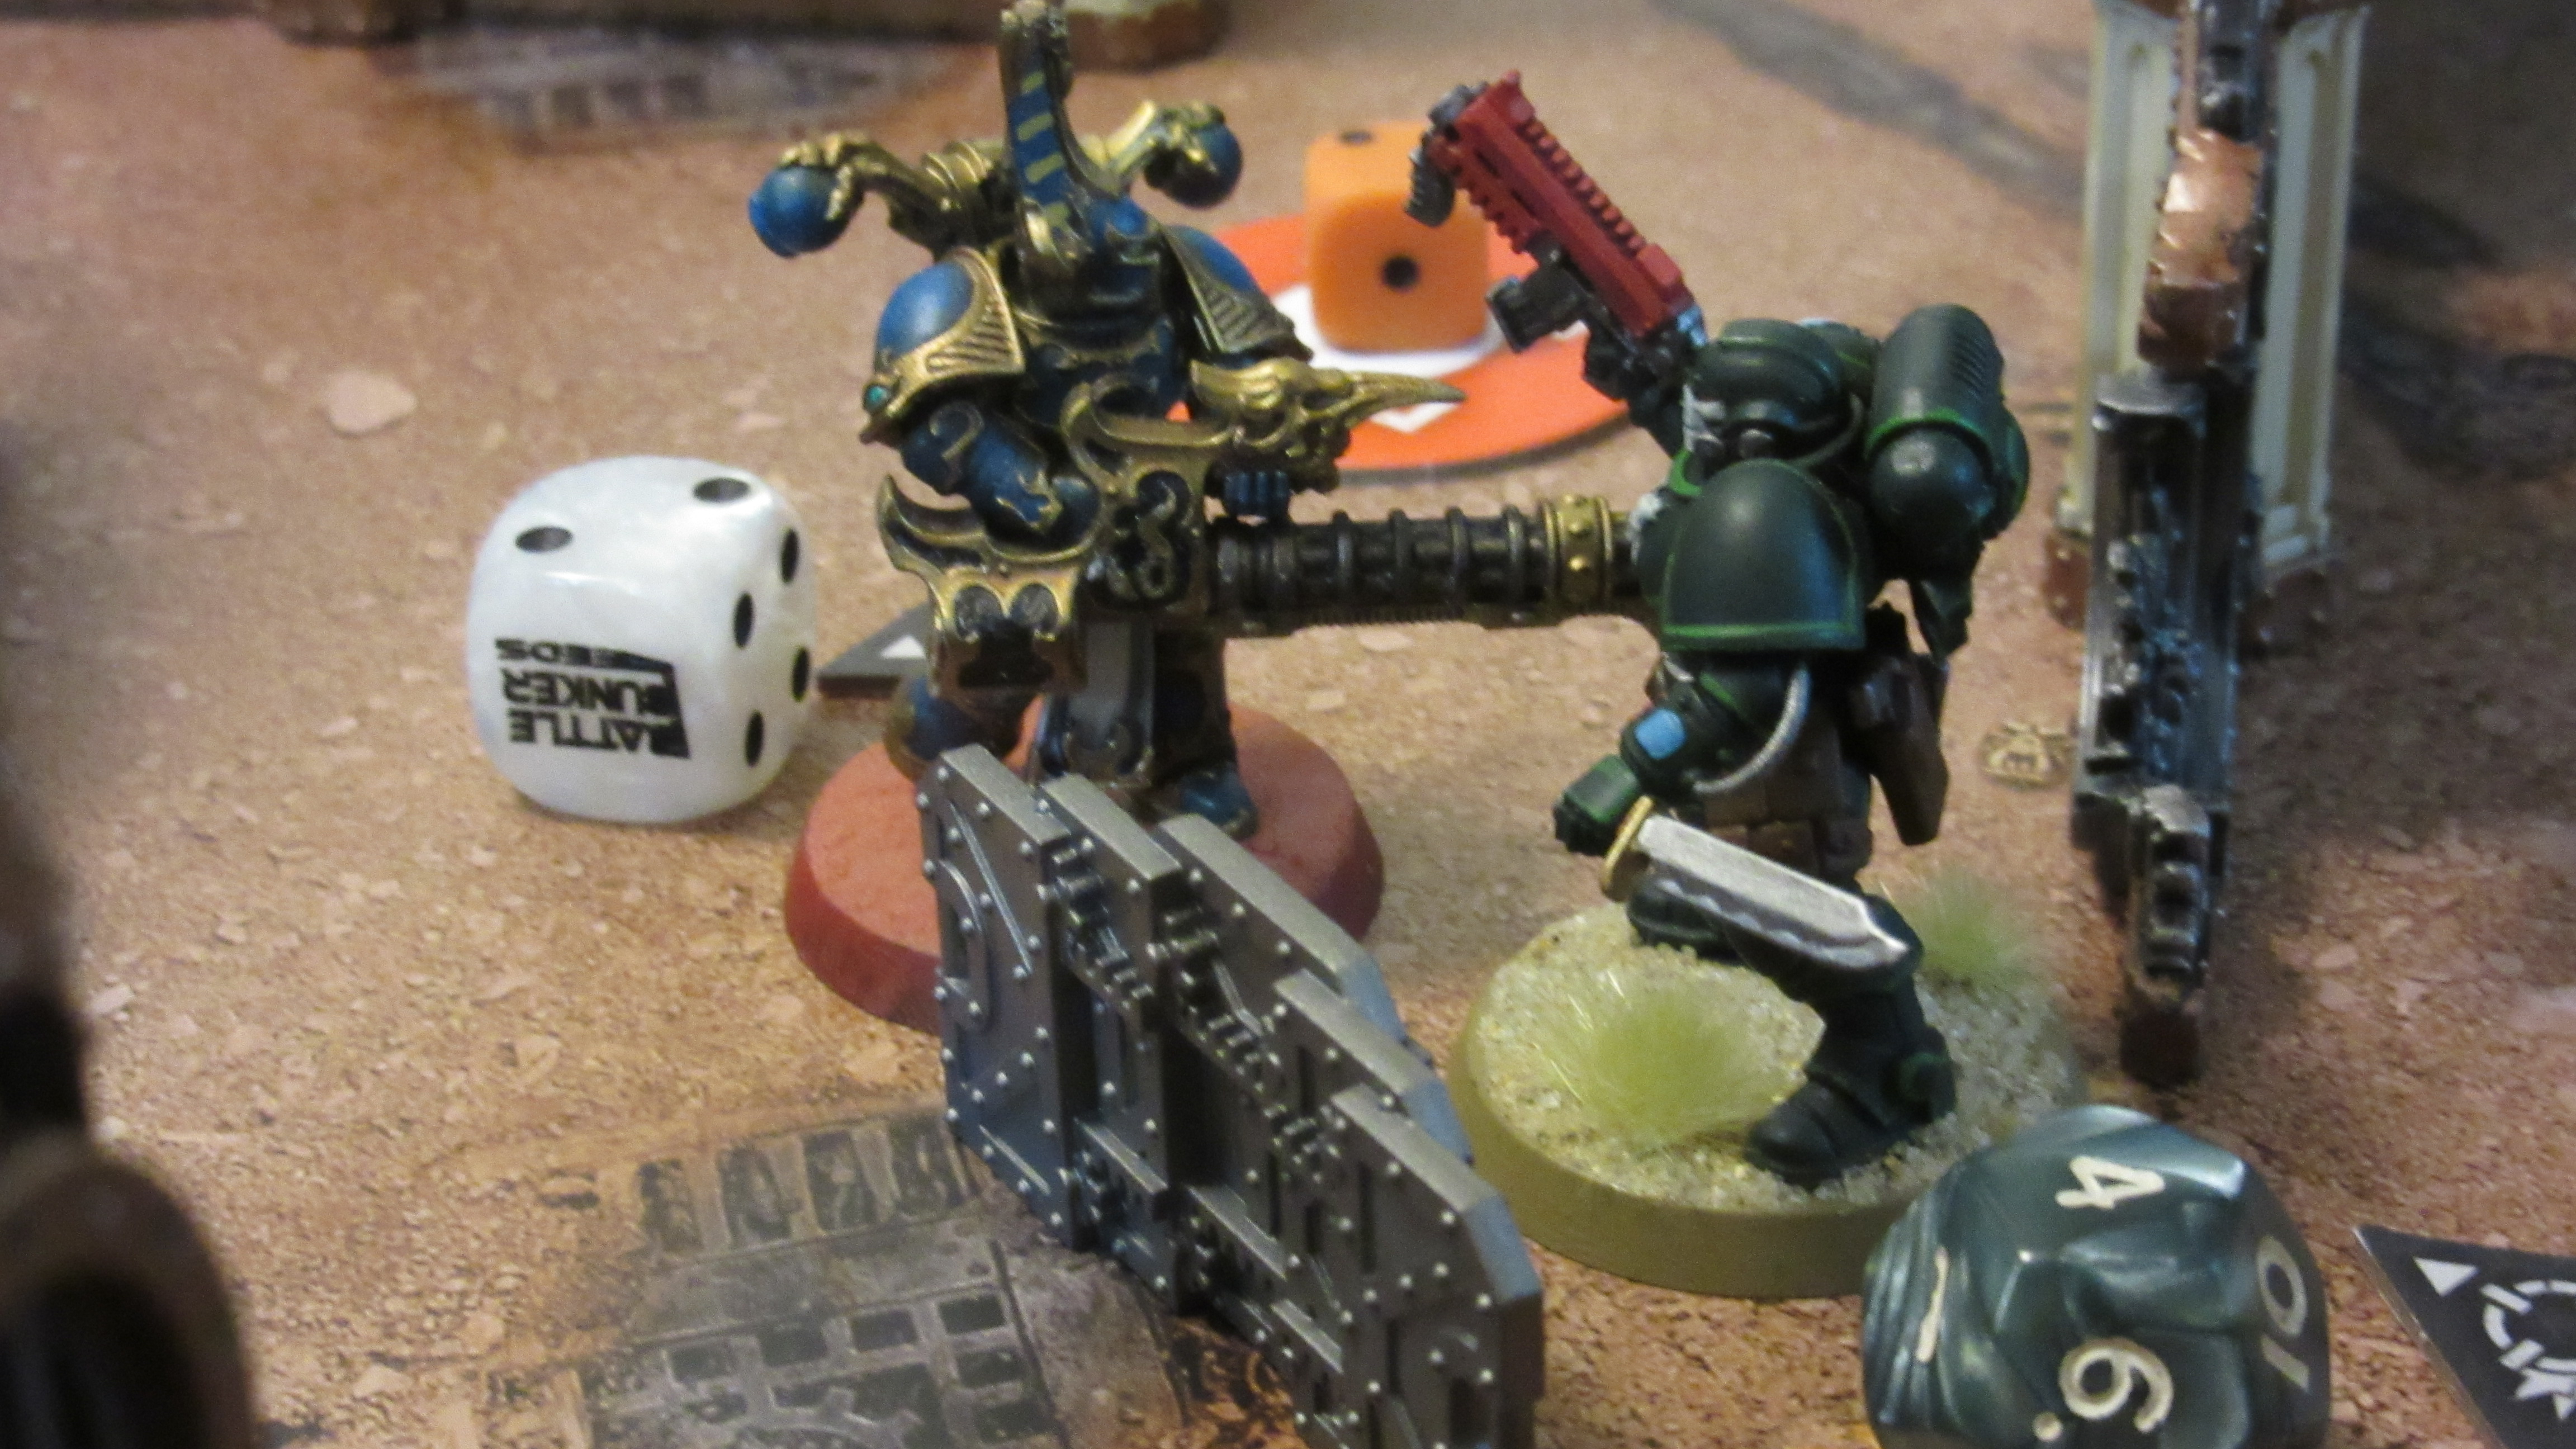
For me there was only one option to kick things off – I’d revealed Rout, and the Rubric softened up by my sergeant was perfectly positioned for his wingman to charge and take down in range to score a point. Off he zoomed, and his combat knife did its wicked work, finishing the Rubric off and scoring me a point on my Tac Op. Combat knives are particularly good at finishing off weakened targets, as you roll a lot of dice so you’re almost certain to do some damage, which is what I needed here.

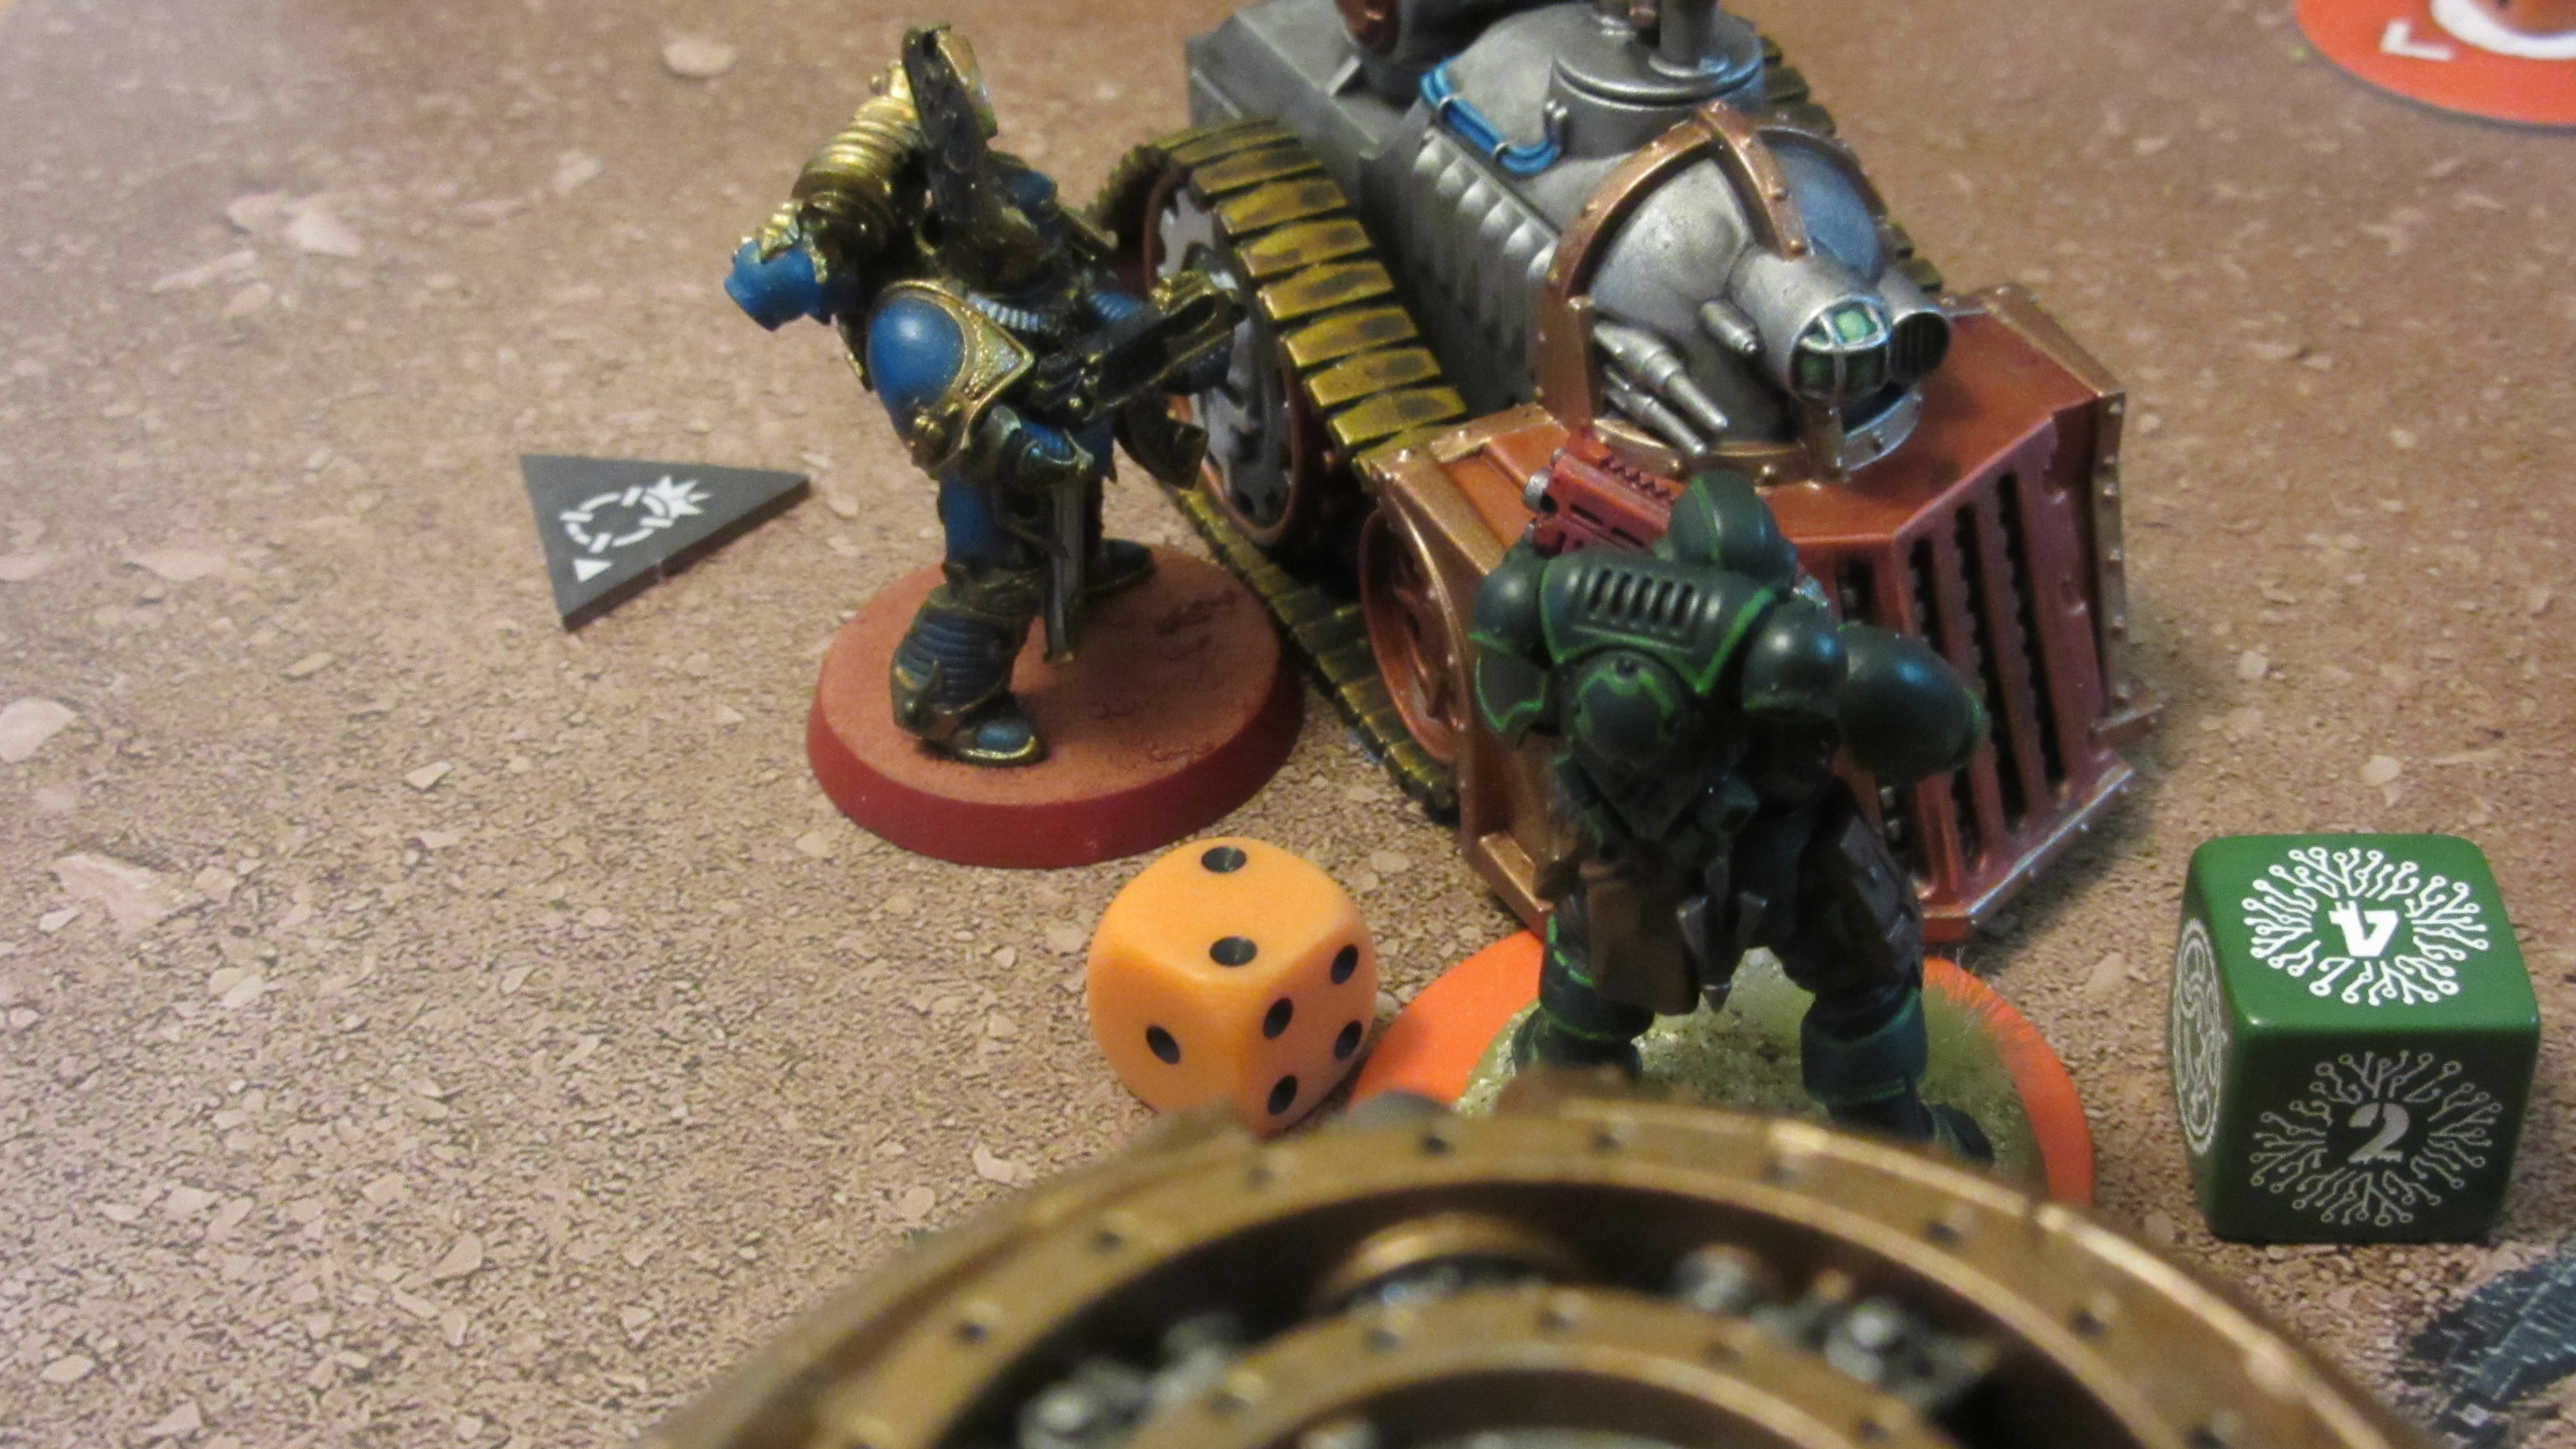
That did, however, have the mild side effect of leaving my Sergeant exposed, and the soulreaper cannon Rubric marched forward to try and capitalise, unleashing a terrible burst of fire that left my operative badly bruised.
Figuring that attack was the best form of defence, and crossing my fingers that I could overcome the relatively weak melee of the Rubric my sergeant charged down the gunner in response and this paid off, with him being able to parry away the Rubric’s strikes then land some fairly grievous blows, leaving both models badly wounded.
So far this turn had been good for the Marines, but that was about to change. On the far left, my carbine Marine holding the objective continued racking up points, but came off badly the worse from the close-range firefight with his counterpart from the Sons – turns out All is Dust and inferno boltguns are serious trump cards in this situation!
My bolter fire was also pretty ineffective on the right, with cover mostly mitigating the shots the carbine Reiver was popping off from behind his barricade, though at least he was still scoring and largely safe. The knife Reiver who had been sitting with him vaulted the wall to the right to head for another objective, as I was starting to feel like I wasn’t going to come off the best from the damage race here!
That feeling was confirmed by the fate of the brave Reiver who had charged forward to score me Rout. First off, the Warpflamer unloaded on him, which was surprisingly benign thanks to some poor rolls. However, then it was the turn of the Aspiring Sorcerer, who cackled madly and unleashed Doombolt, blasting my Reiver for an eye-popping 10 damage, easily enough to finish what the flamer had started. That ensured that my opponent scored their point for Hold the Line at the end of the turn.

Turning Point 3
Casualties had been inflicted on both sides, and several more models were on their last legs. My opponent got the initiative, and I activated Bolter Discipline again in the strategy phase, not expecting a massive amount from it but only having a limited number of things to spend my stash of CP on. Aiming to cut off my scoring, my opponent started with the Rubric on the left, aiming to finish off the Reiver holding the objective. His first shots failed, but he used the Infernal Fusilade Tactical Ploy to have another go, this time achieving massive overkill. I had a Tactical Ploy of my own up my sleeve though, Only in Death Does Duty End. This lets a Ready Marine who is incapacitated hang on till the end of the next activation – which I used to spitefully walk the objective he was carrying as far away from the Rubric as possible, and suck one more VP out of it before my model finally expired.
Using this here wasn’t without risk though, you can only use each Tactical Ploy once per Turning Point, and my Sergeant was also in some peril. Turns out that in Kill Team you can Fall Back and still shoot, so the soulreaper Rubric backed out of combat and opened up on him. Though injured (and thus at -1 to BS) the Rubric still scored two criticals and a normal hit to my three normal saves, which would normally push one critical through (as you can stop a critical with two normal saves), exactly enough to finish me off. Marines’ other really good Tactical Ploy came to my rescue here – Transhuman Physiology lets you upgrade a normal save to a critical save, which allowed me to knock out both the critical hits and leave only the normal hit. Three damage took me down to 1W remaining, but that was all the Reiver needed to push forward and finish the job, and I chose to score Rob and Ransack, as while I wasn’t expecting the Sergeant to survive turn 4, I also wasn’t certain of another window to score it at all.
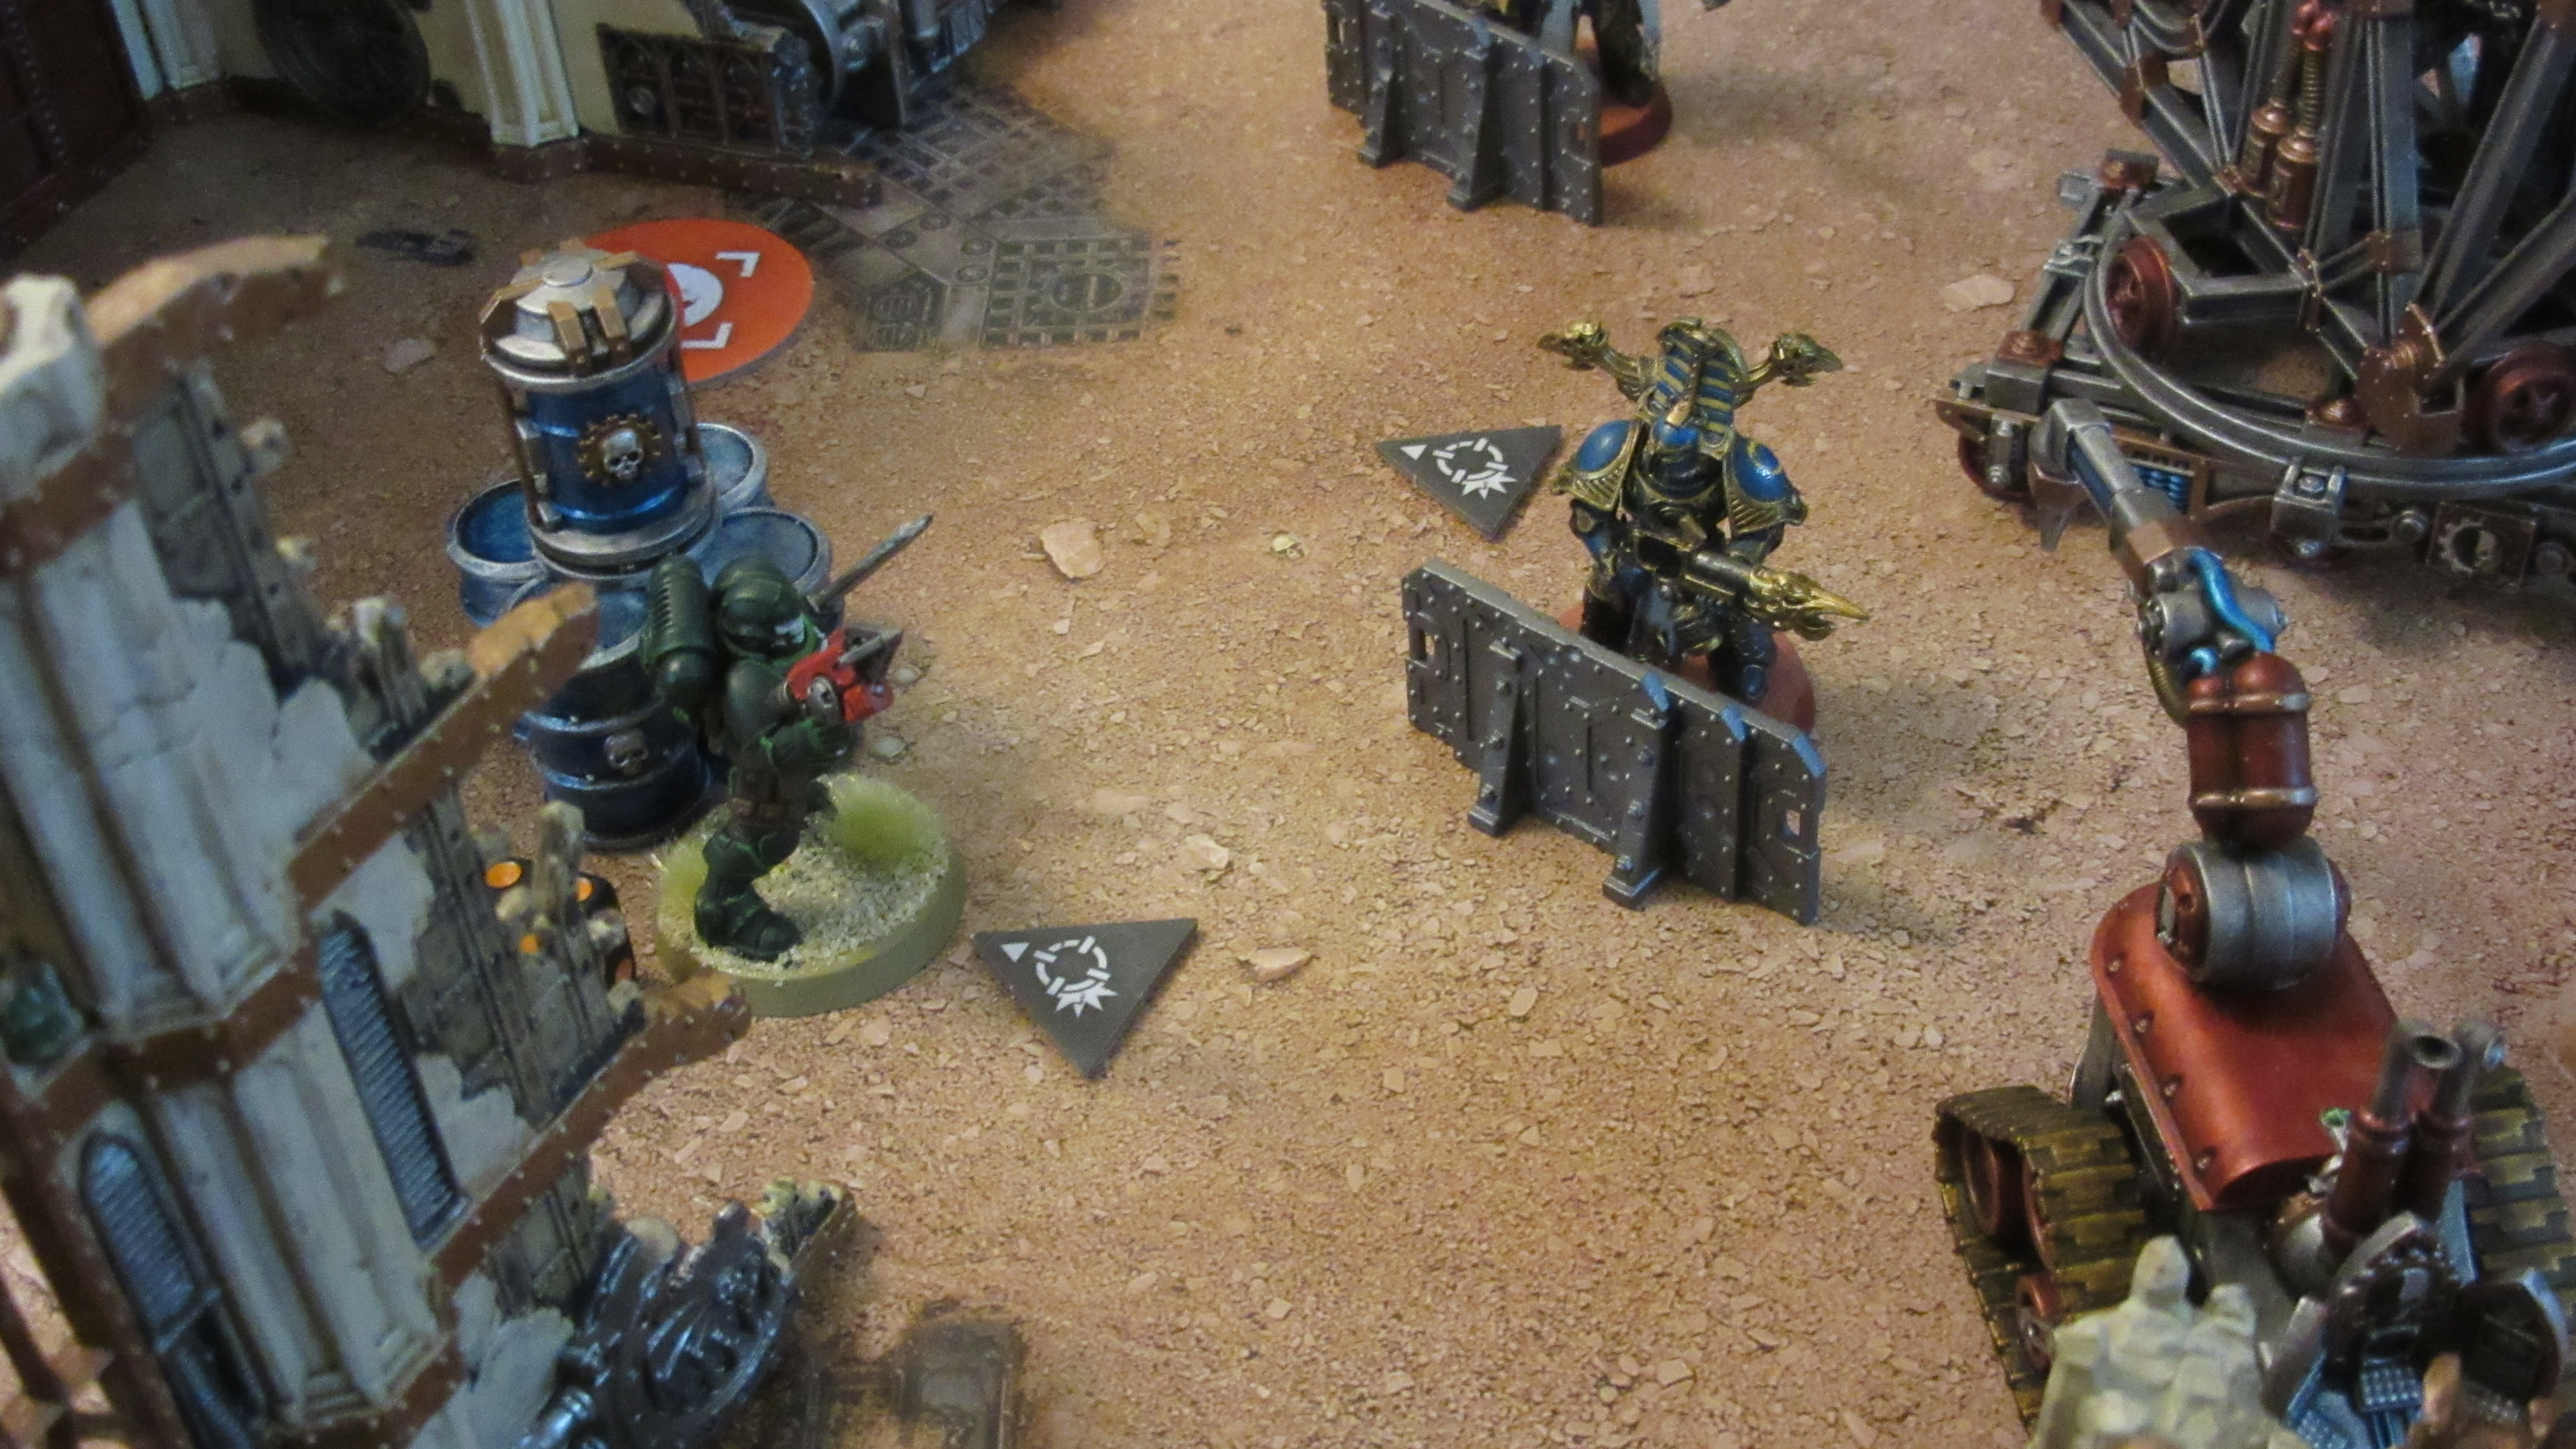
With the plan to cut off my scoring on the left not fully successful, the Aspiring Sorcerer had to go for a big play to turn things around, and stop my Marine behind the barricade grabbing any more points.
He went full supervillain, unleashing a Doombolt to ping off some wounds (though less dramatic this time thanks to a lack of critical hits), then charged in and successfully finished off the Reiver with a swing of his staff.

That scored Protect Assets, but the Sorcerer could not exult in his victory for long – with Bolter Discipline up, my Reiver in the ruins to the right calmly walked up to near point-blank range and put two special issue bolt pistol rounds through the side of his helmet, scoring me Headhunter. Having successfully pushed me back, my opponent picked up a second point for Hold the Line at the end of the Turning Point.
Turning Point 4
With both teams down to a couple of models this was pretty fast. My opponent had the initiative again, and used it to finish off my Sergeant, whose luck had finally run out – except not quite, as I once again used Only In Death to keep him up long enough to hoover up one more objective point. His other Rubric moved to an objective and scored a point, as did my final Reiver, leaving him to score Damage Limitation as the game came to a close.
Final Score
- Space Marines:
- 9VP Primary
- 3VP Tac Ops
- 2VP Battle Ready
- Thousand Sons
- 5VP Primary
- 4VP Tac Ops
- 2VP Battle Ready
Space Marines Win 14VP-11VP
Thoughts
This game rules. I’ve seen a reasonable number of complaints online about there being less customisation in new KT compared to KT2018, and what I think that misses is how vastly bigger the number of meaningful and interesting things that happen during the actual game is. Starting right at the Orders you choose in deployment and the Scouting Phase, every decision you make feels like it has a real impact on your chances of victory, and the back and forth during each turn feels very dynamic. I’m also itching to get some games under my belt with the equipment rules in play (and some of the newer terrain built for a bit more verticality), as that injects some customisation without the game descending into a competition to squeeze the most sergeants and injury roll-busting weaponry into your team. My overwhelming feeling at the end of this game was that I wanted to play more games as soon as possible, not something I can honestly ever say about KT2018, for all that it occasionally threw up some fun moments.
Both teams also felt like they had some interesting things going on, though in this mission having access to more APL did help me quite a bit (and when we re-rack my buddy is likely to bring a Sorcerer, two Rubrics and some Tzaaangors). I’ll be interested to try some games with more of a model count mismatch, and find out how things hold up there, but with what we used the game felt very clean. The attack/defences systems also work pretty seamlessly as soon as you’ve played a few turns, and I’d expect play time between people who know what they’re doing to stay under an hour, a big asset.
Also – Reivers are actually, genuinely, not-even-making-it-up good in a 40k game system. Who could have predicted that?
Wrap Up
As you might have picked up on by now we’re big fans of the new Kill Team, so stay tuned for plenty more coverage in future articles and faction focus articles coming soon. In the meantime, if you have any feedback or questions, drop us a note in the comments below or hit us up at contact@goonhammer.com.
