
It’s always a good sign when you walk away from a game wanting to play more of it, and that’s just what happened when me and one of my local buddies played our first game of Kill Team a few weeks back. We’ve been itching for a rematch since, and one of the great things about the new version of Kill Team is that you are pretty much guaranteed to have a viable team for any faction you play in 40K, so we both had some options to mix up our selection. This time around my opponent wanted to go hard on a melee horde, bringing their Tyranids to the table, while I decided to give the unliving phalanx of the Necrons a go. How differently would things play out compared to the highly elite Space Marine and Thousand Sons teams we used last time? Let’s find out!
The Battlefield
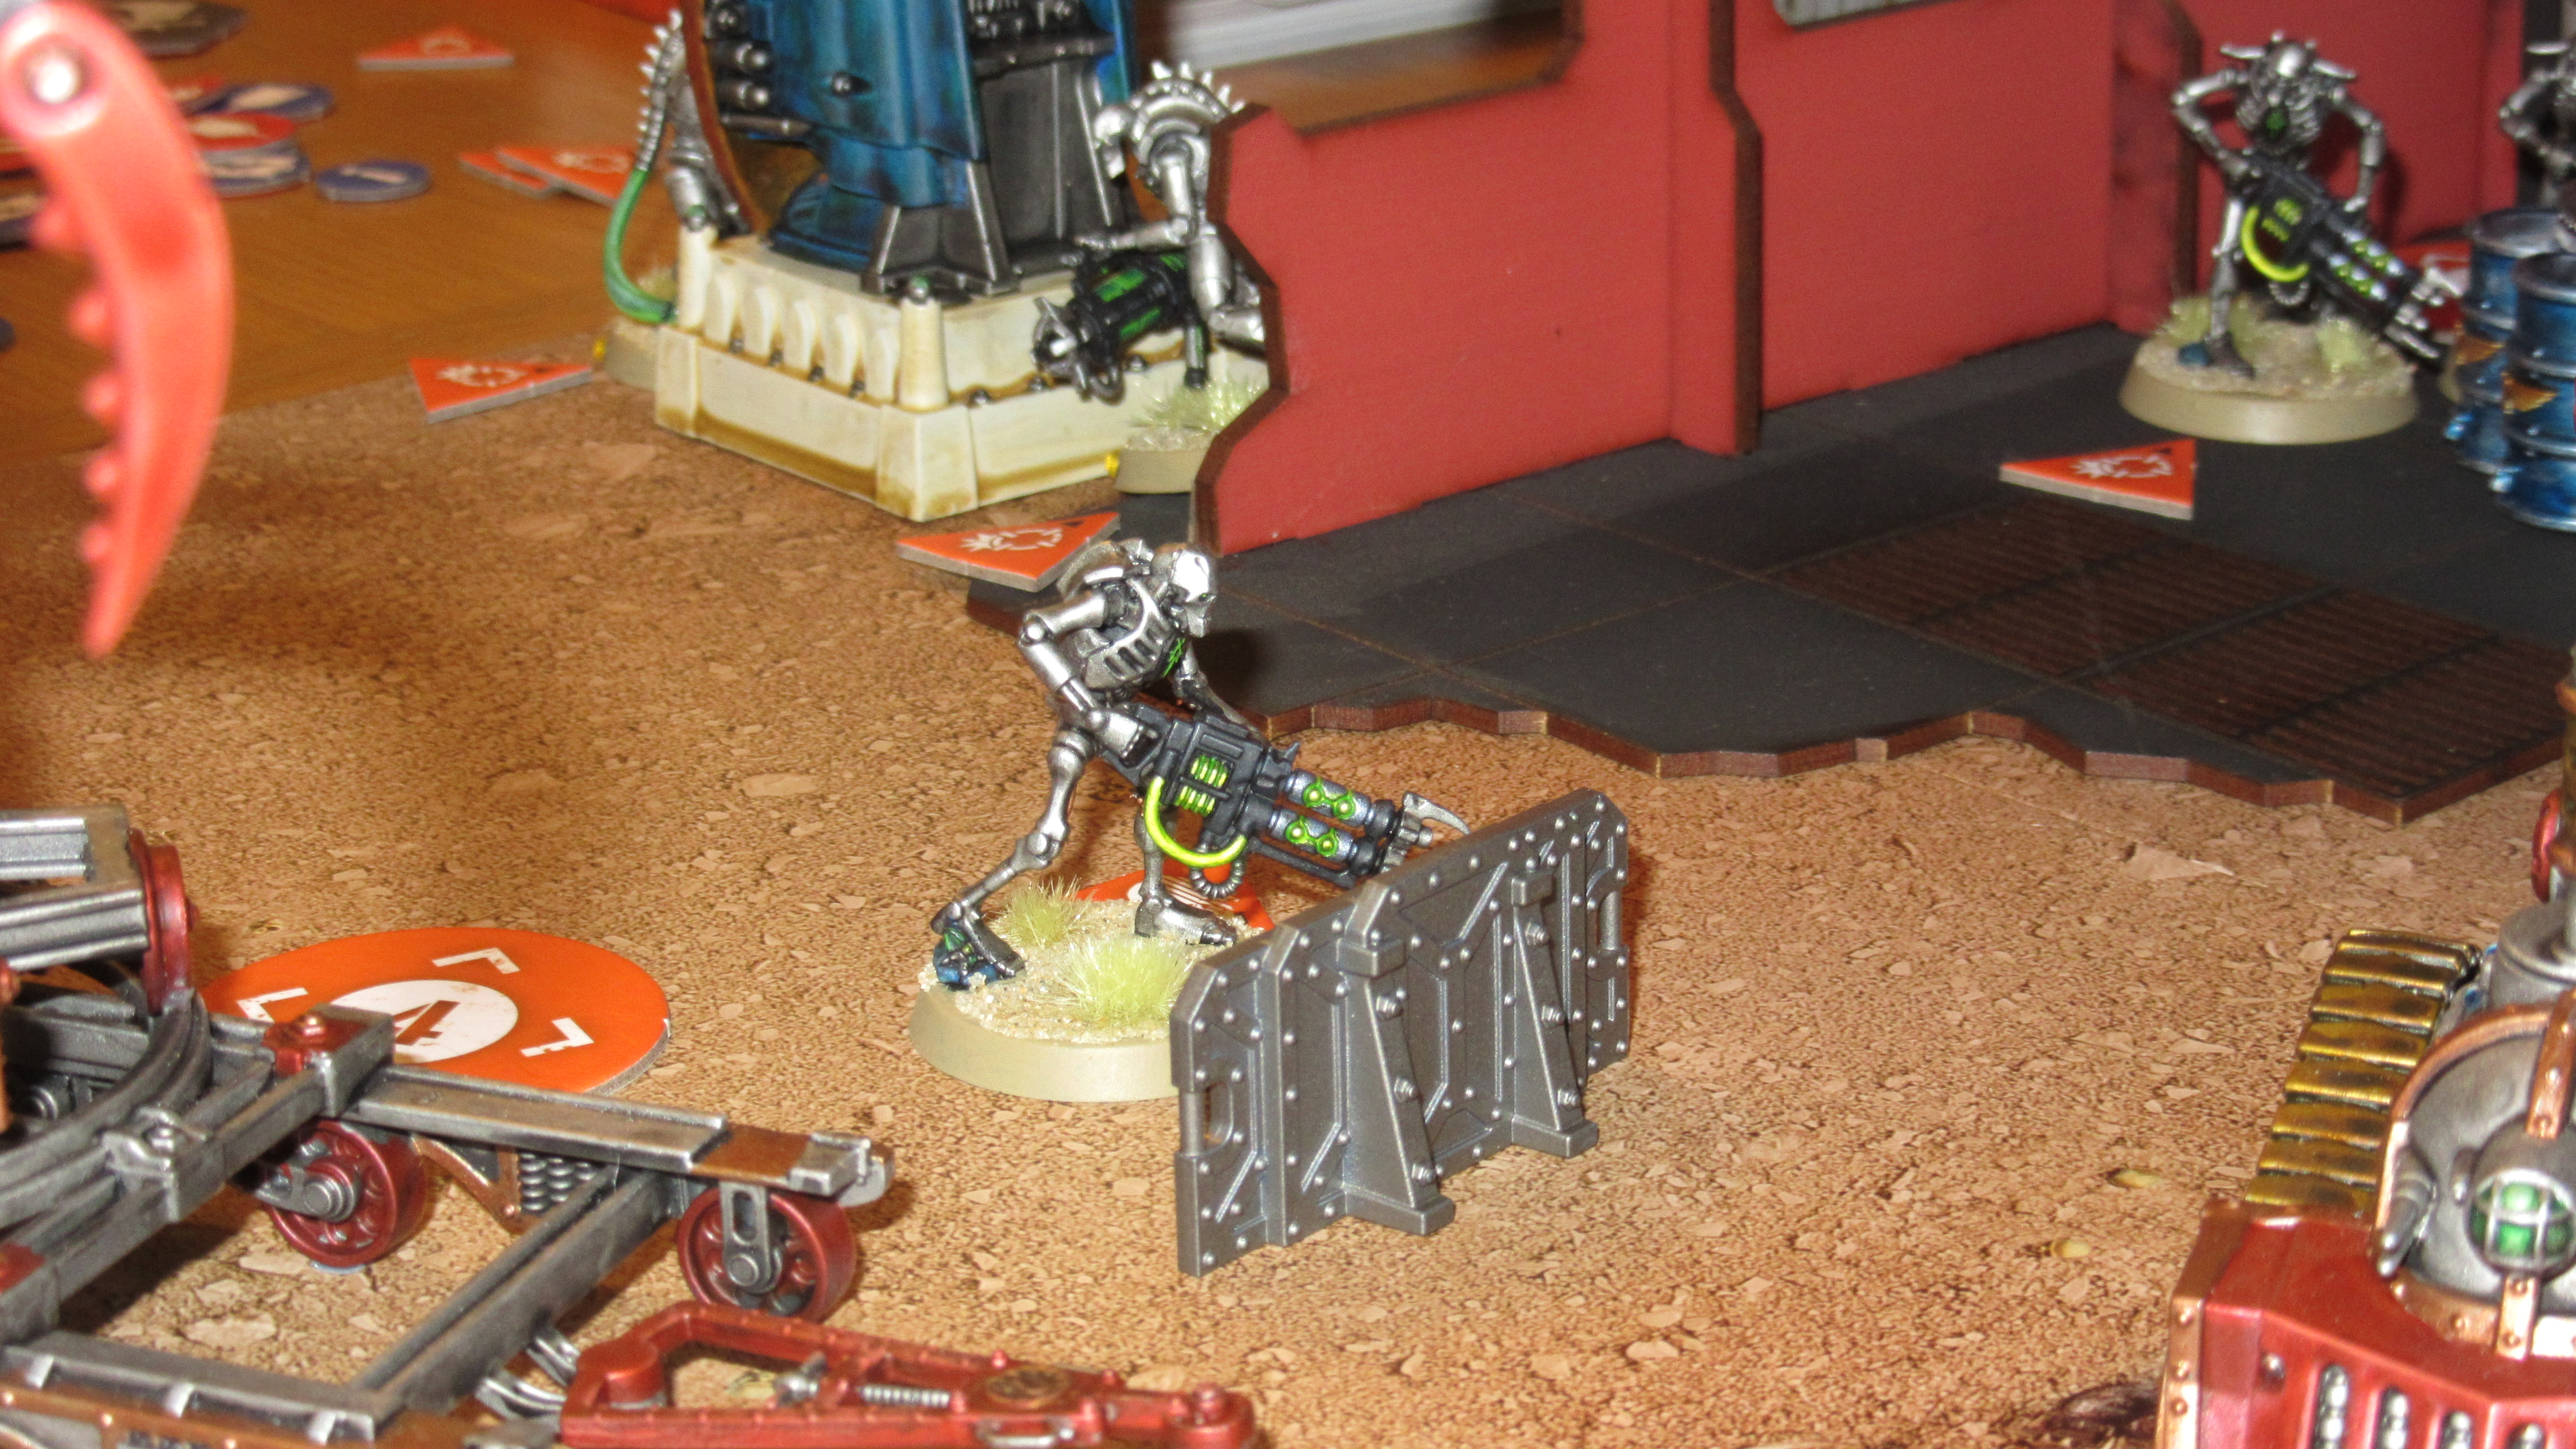
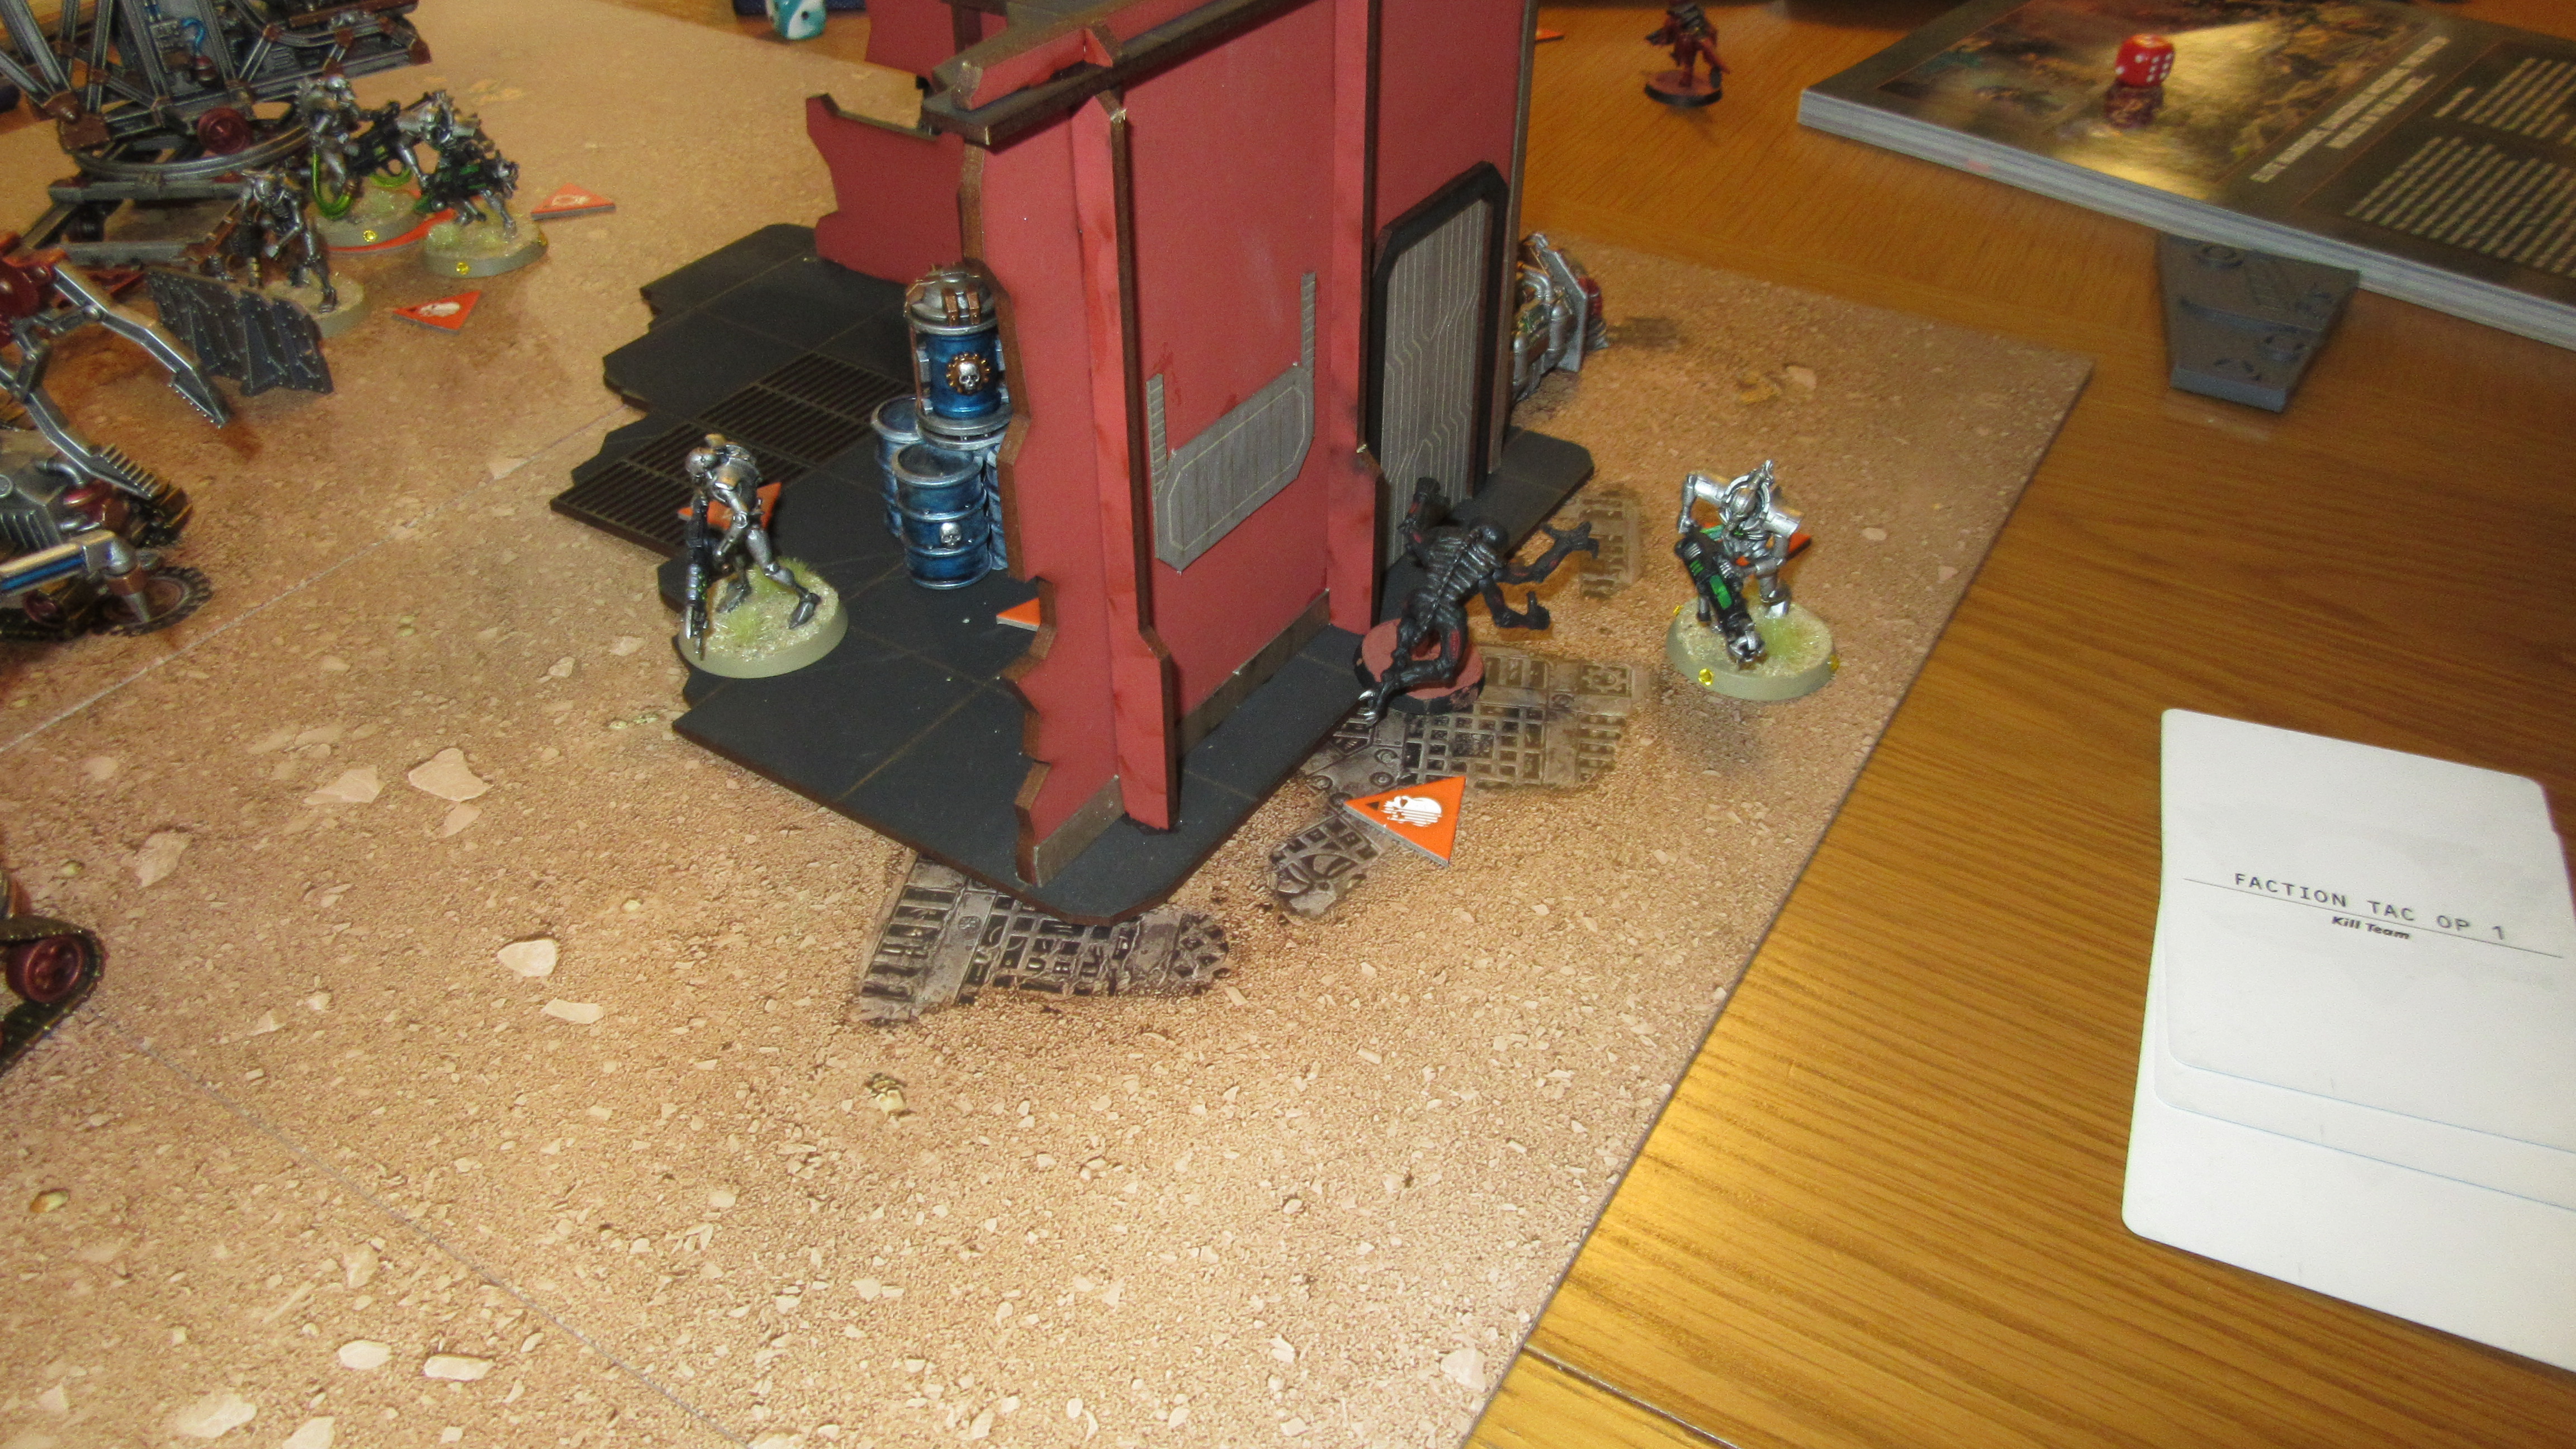
 Having spent the entirety of last weekend building 4Ground/FactoruM terrain for the Goonhammer Open UK I thought it would be nice to put some pieces on the table (just to feel something, anything), and the L-shaped buildings here are a good fit for a Kill Team table, joined by some other bits from my collection. We played the ruins, large corner mechanicum pieces and statues as Heavy, with the roofs of the buildings also being a Vantage, and the servohaulers, barrel piles and pipes as Light. Finally, each ruin had a door on it, and we played that models could move through these freely.
The Mission
 We rolled up mission 23, which is Domination. This is a pretty spicy one – there are five objectives, and you can perform a 1AP action to claim an objective you control. Scoring is entirely based on claimed objectives – at the end of each Turning Point you get:
- 1VP for having 2 claimed objectives.
- 1VP for having more claimed objectives than the opponent.
- 1VP for each claimed objective you control in your opponent’s drop zone.
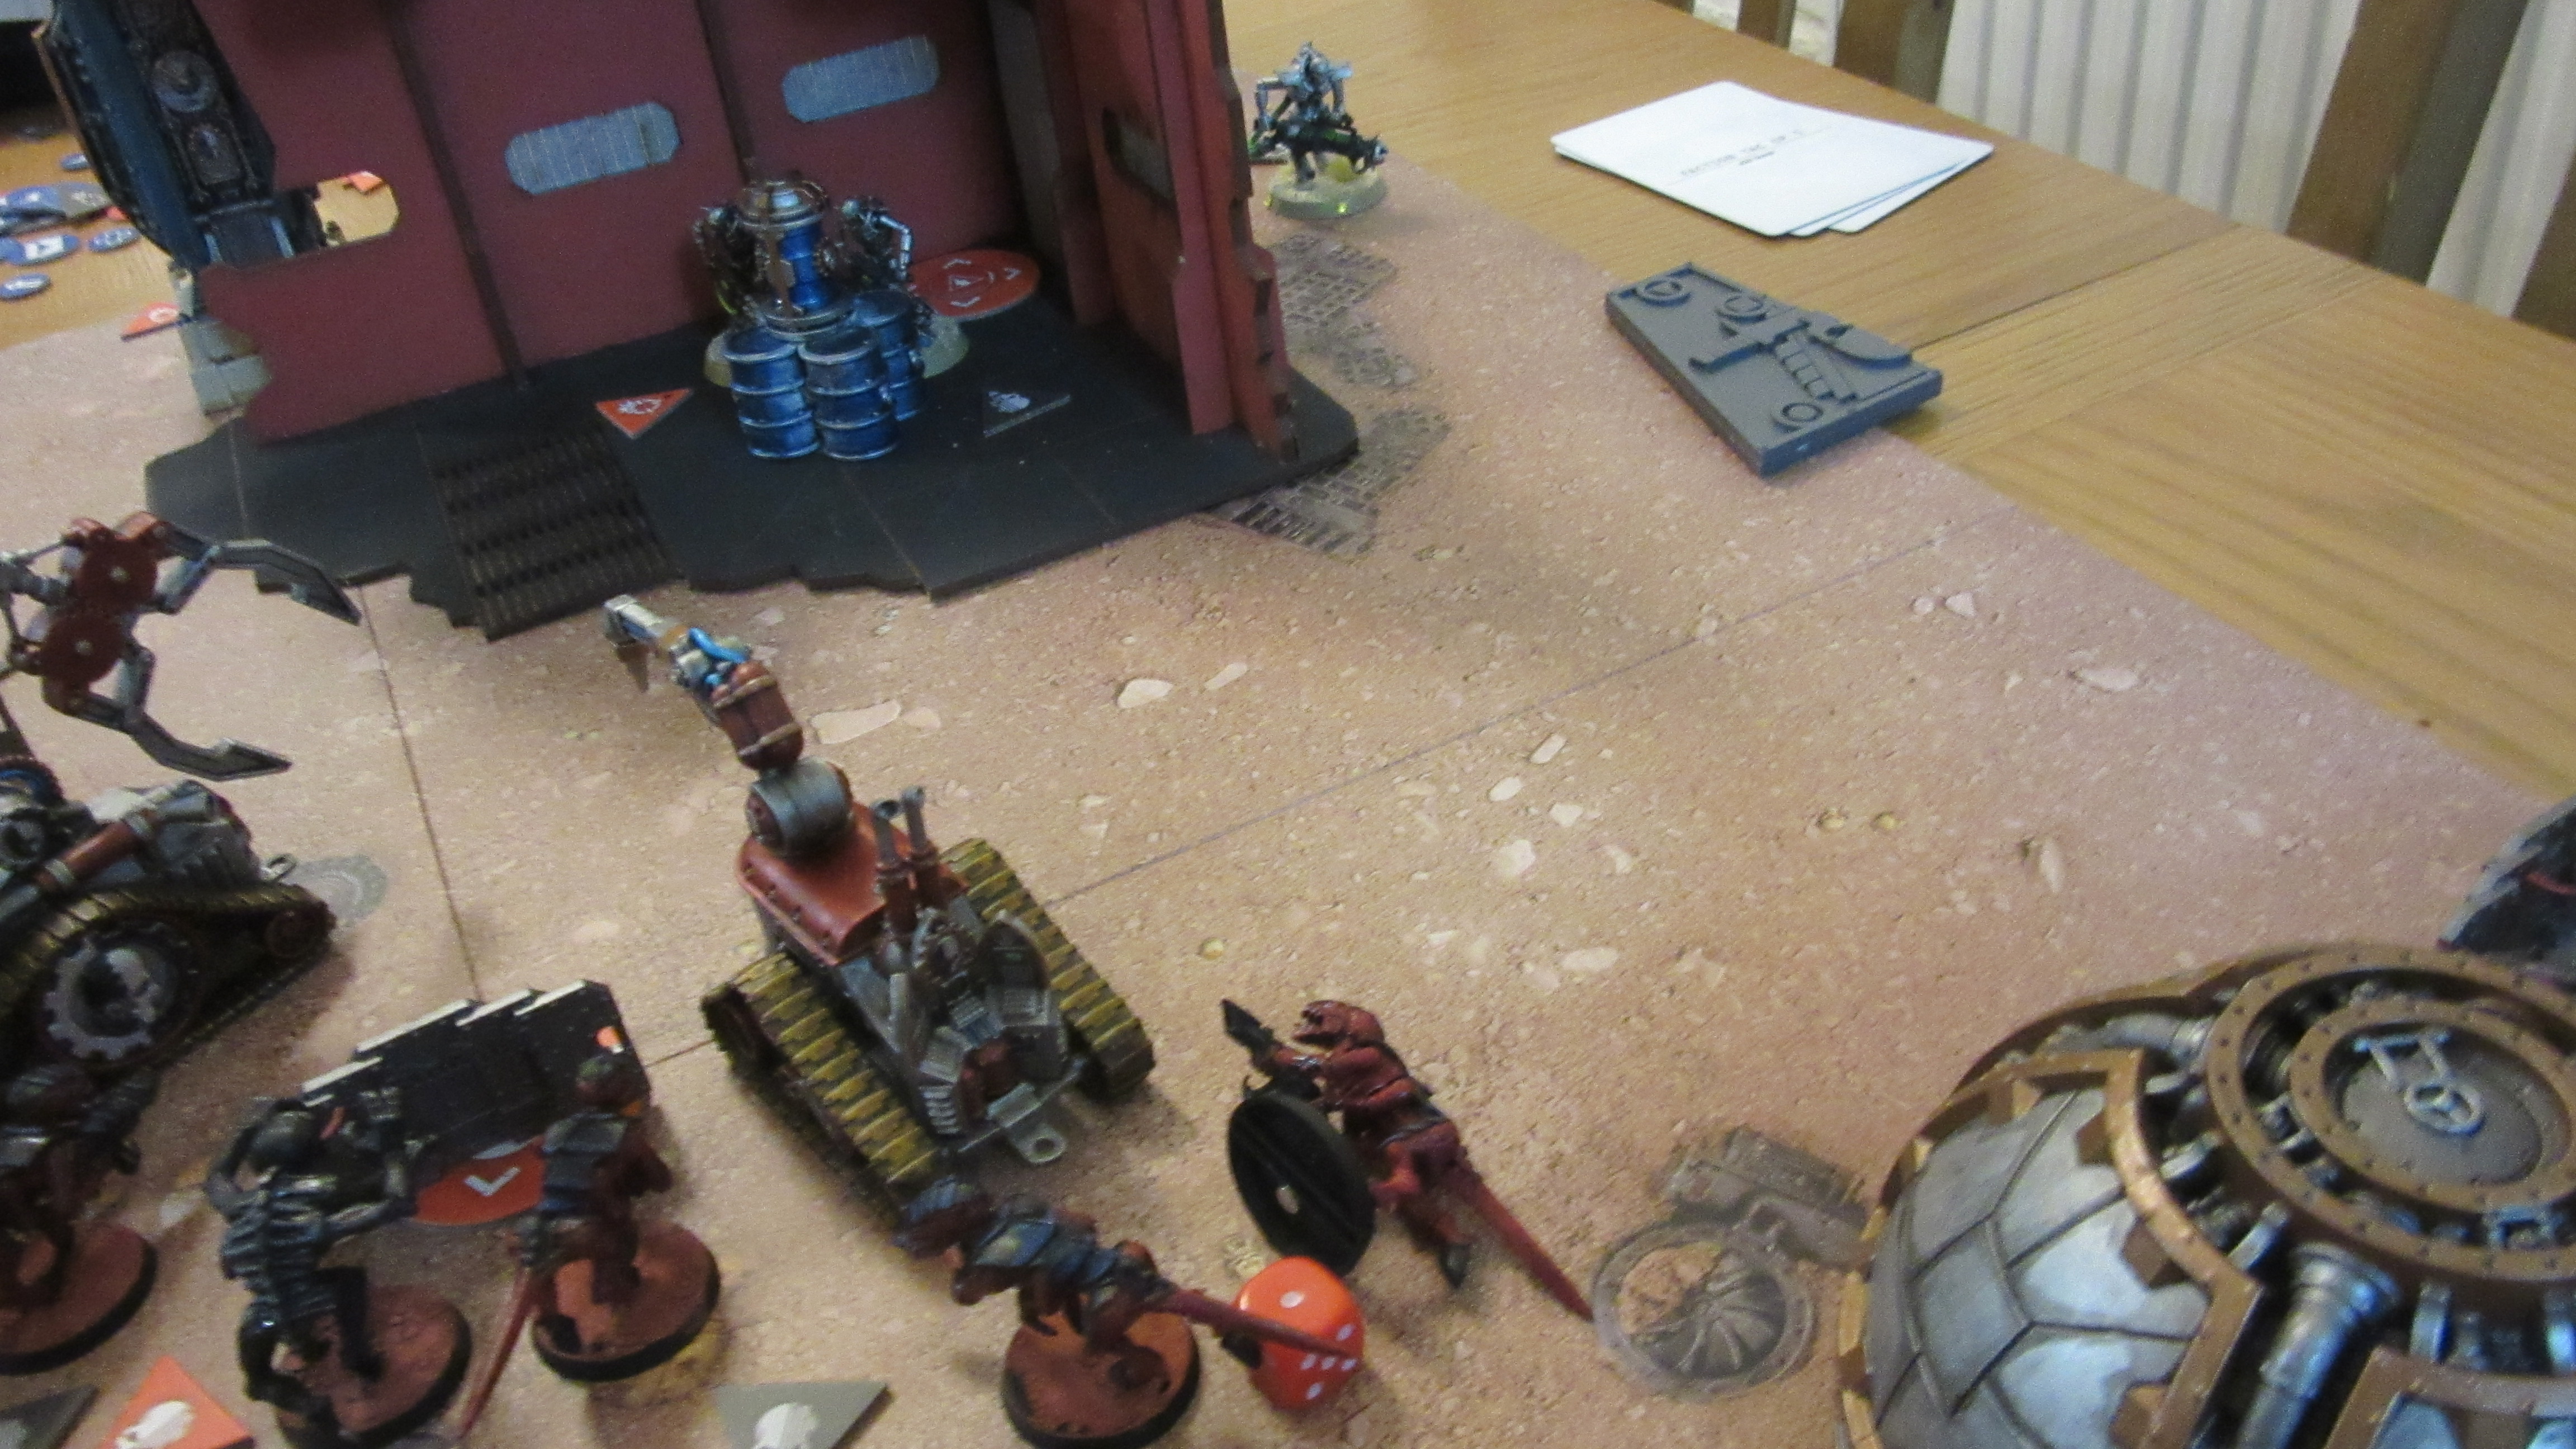
You’ll see the top-right terrain piece has moved slightly – that was us making sure that you had a roughly equivalent change of hiding while holding the objective at each end.
Something we got wrong last time is that, tragically, you can’t always pick up objectives, only if the mission specifies it. I’d not been 100% sure on a read of the rules for this, so had read the first four or five missions to check if any referred to it and they didn’t, so I assumed it was just always possible, but it turns out it’s only used as a mechanic in the last few. That means that our teams are going to be wrestling for control of the table as it lies – so let’s meet them.
The Teams
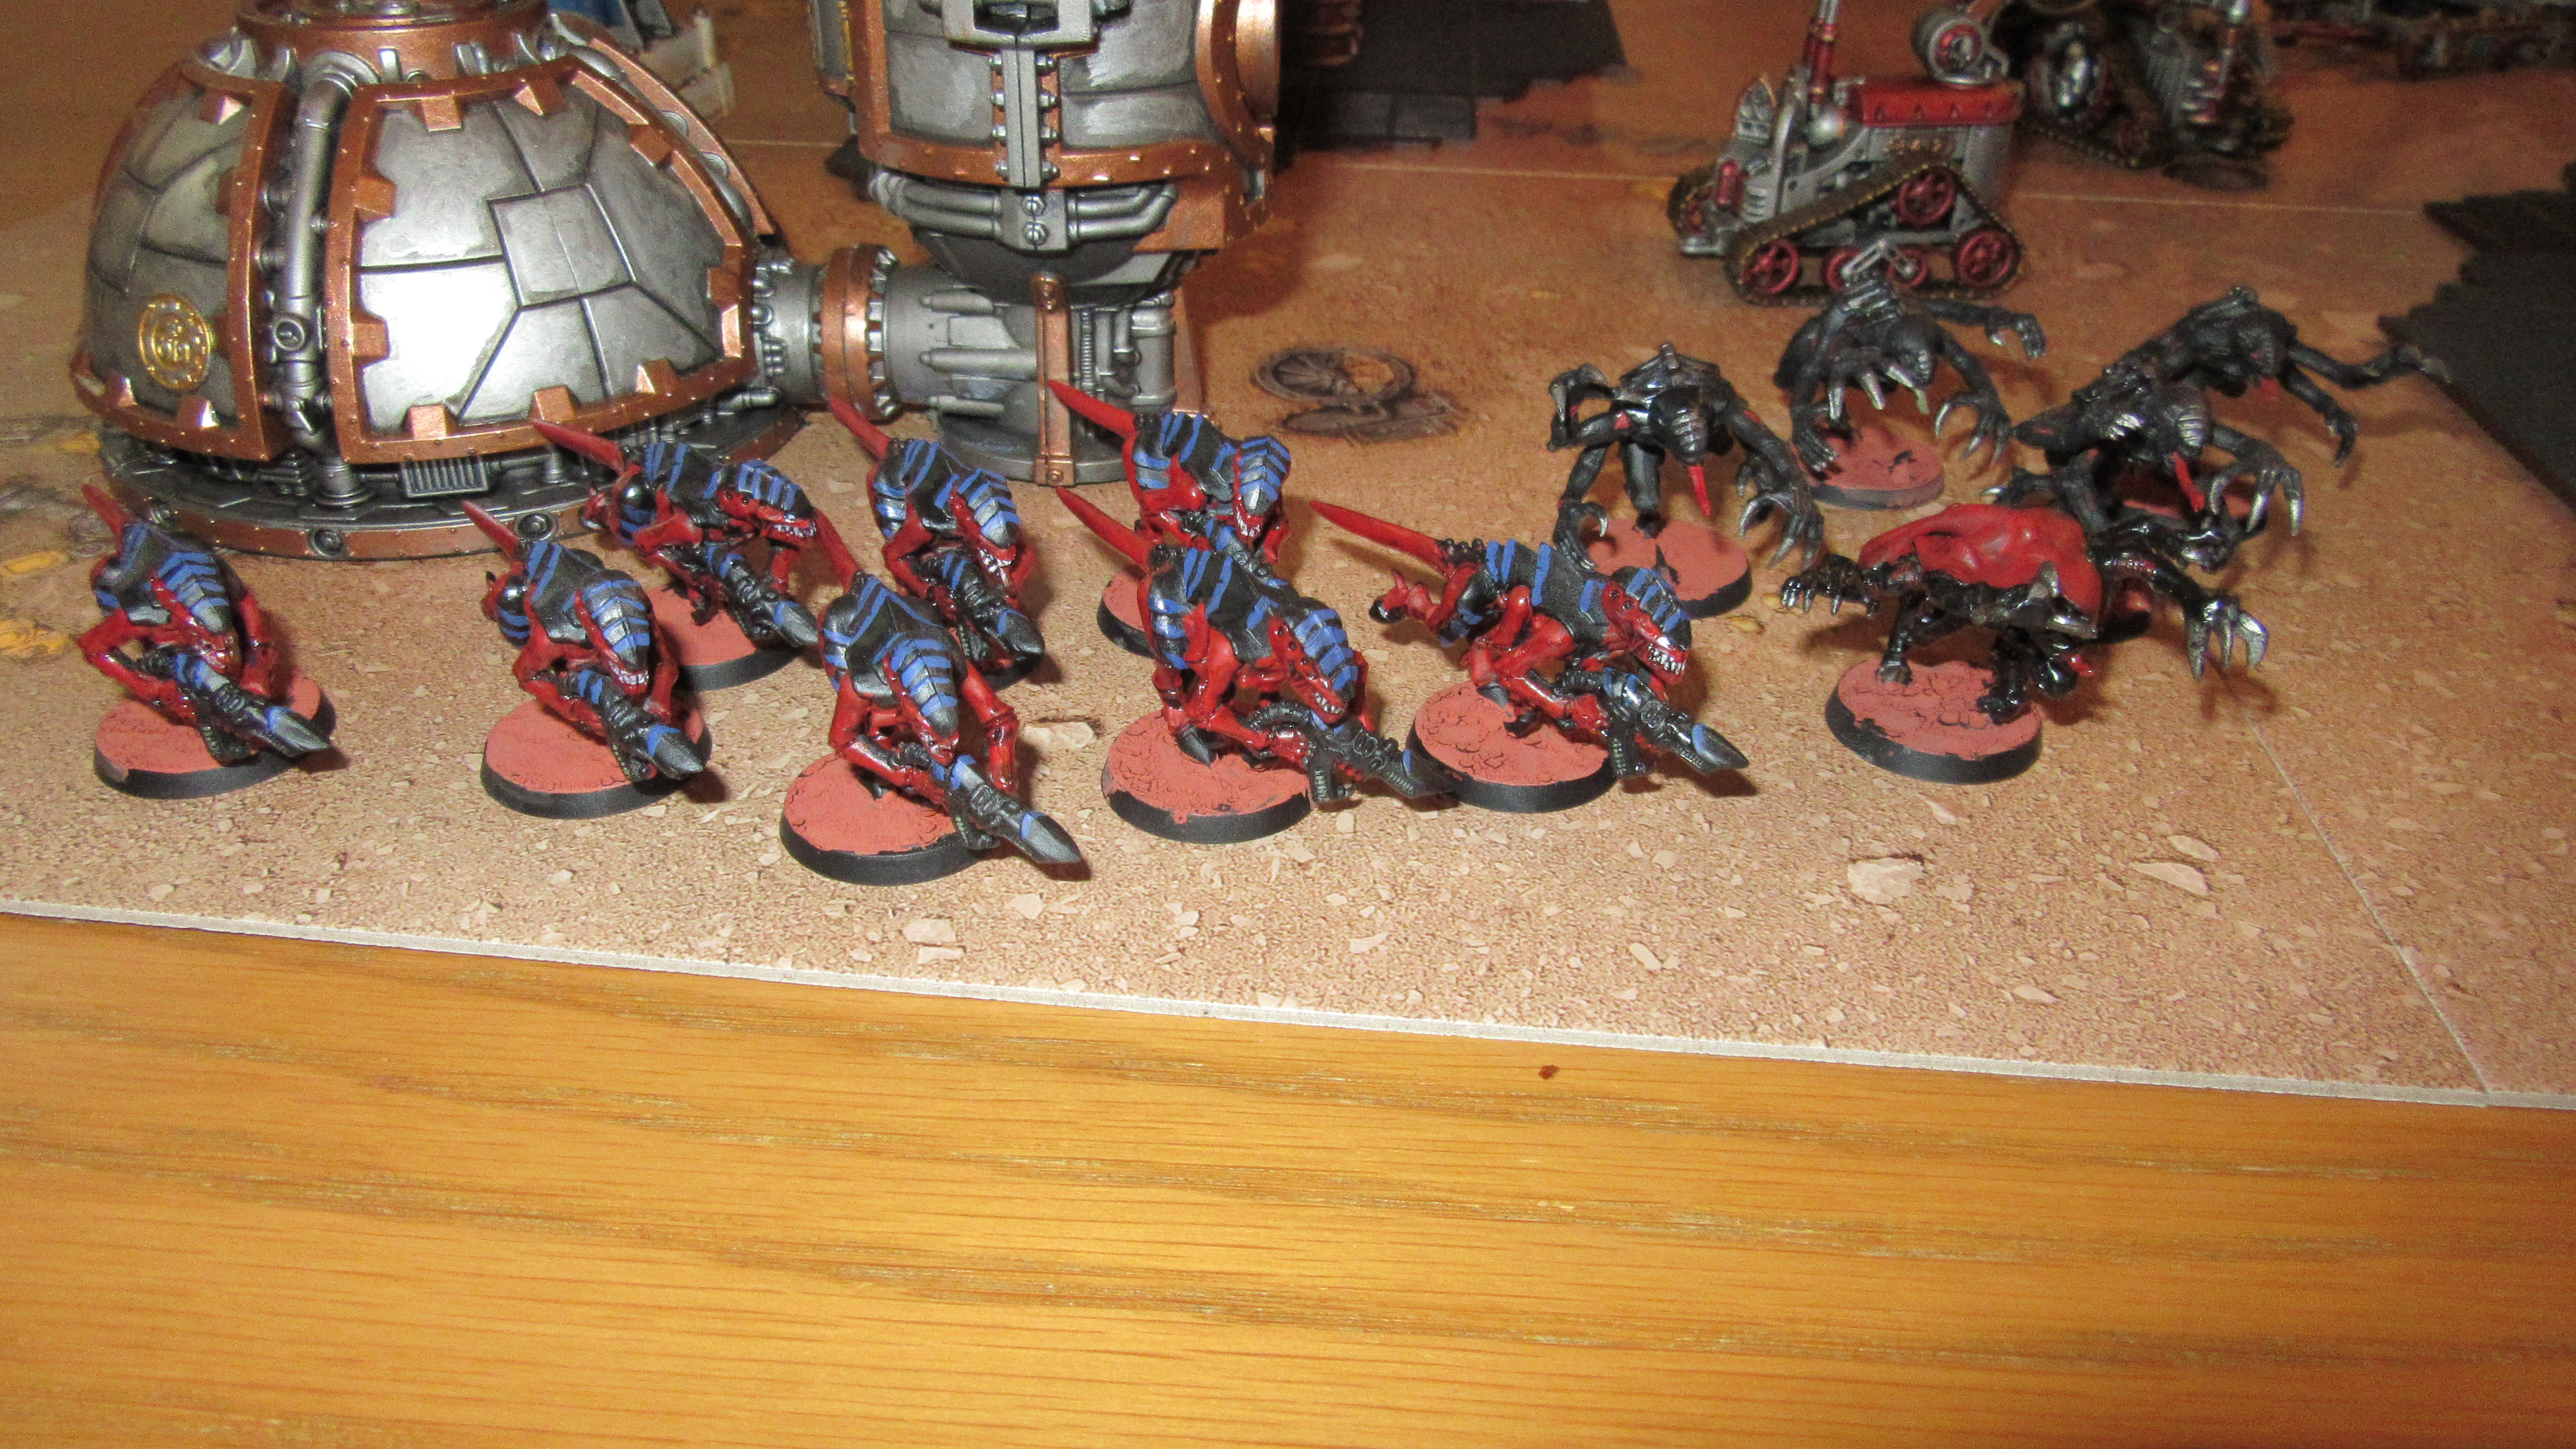
Necrons

- Fire Team 1 – Immortals
- Immortal Leader with Gauss Blaster
- 3x Immortal Warriors with Tesla Carbine
- Equipment: 3x Hyperphase Blade (6EP)
- Fire Team 2 – Necron Warriors
- 3x Warriors with Gauss Reaper
- 2x Warriors with Gauss Flayer
- Equipment: 2x Starfire Core (4EP)
My thinking here was that I wanted a mix of models who could play dedicated fire support from the flanks, and some that could push straight up the middle and get stuck in. The gun and equipment setup here enables that – Hyperphase Blades aren’t normally enough to turn Immortals into a real melee unit, but in this matchup they’re very valuable, because against Gaunts a critical hit plus a normal hit is enough to get the kill. Because of that, making the 3/4 melee profile Lethal 5+ is a much bigger deal than it normally would be. Similar thinking underpinned taking Starfire Cores – these make it so that if you get a critical hit with the weapon you can also upgrade a miss to a regular hit. With that setup and shooting at the pathetic 6+ saves of the Gaunts, any critical should pretty reliably get a kill, and there was a reasonable chance it would do so even against a model in cover.
Tyranids
- Fire Team 1 – Genestealers
- Cloaky the Wonder Genestealer (Genestealer Leader with double Rending Claws)
- Equipment: Adrenal Glands (2EP)
- 4x Genestealer with double Rending Claws
- Equipment: 4x Adrenal Glands (8EP)
- Cloaky the Wonder Genestealer (Genestealer Leader with double Rending Claws)
- Fire Team 2 – Tyranid Swarm
- 8x Termagant with Fleshborer
This list is all about going fast and overrunning the opponent, taking out key targets with Genestealers while the Gaunts rack up objective points and bog down opponents trying to do the same. It’s very melee-focused, and that’s something I was very keen to see play out on the table. It’s also terrifyingly fast – thanks to the Adrenal Glands the Genestealers here have a charge range of 4◯ + ▲ (or 9″ if shapes aren’t your thing), which is terrifying by itself, and they can also use the Stalk Strategic Ploy to make a normal move in the Strategy Phase as long as they have a Conceal order. That means that from turning point 2 (when they can flip their Conceal order to an Engage order on their activation) pretty much nowhere on the battlefield is safe.
Tac Ops
Necrons
My Fire Teams gave me the choice of the Seek and Destroy or Security to pick from, and given my main plan was going to be butchering bugs as fast as possible, I went for the killing-focused Seek and Destroy. After drawing and picking, I had the following:
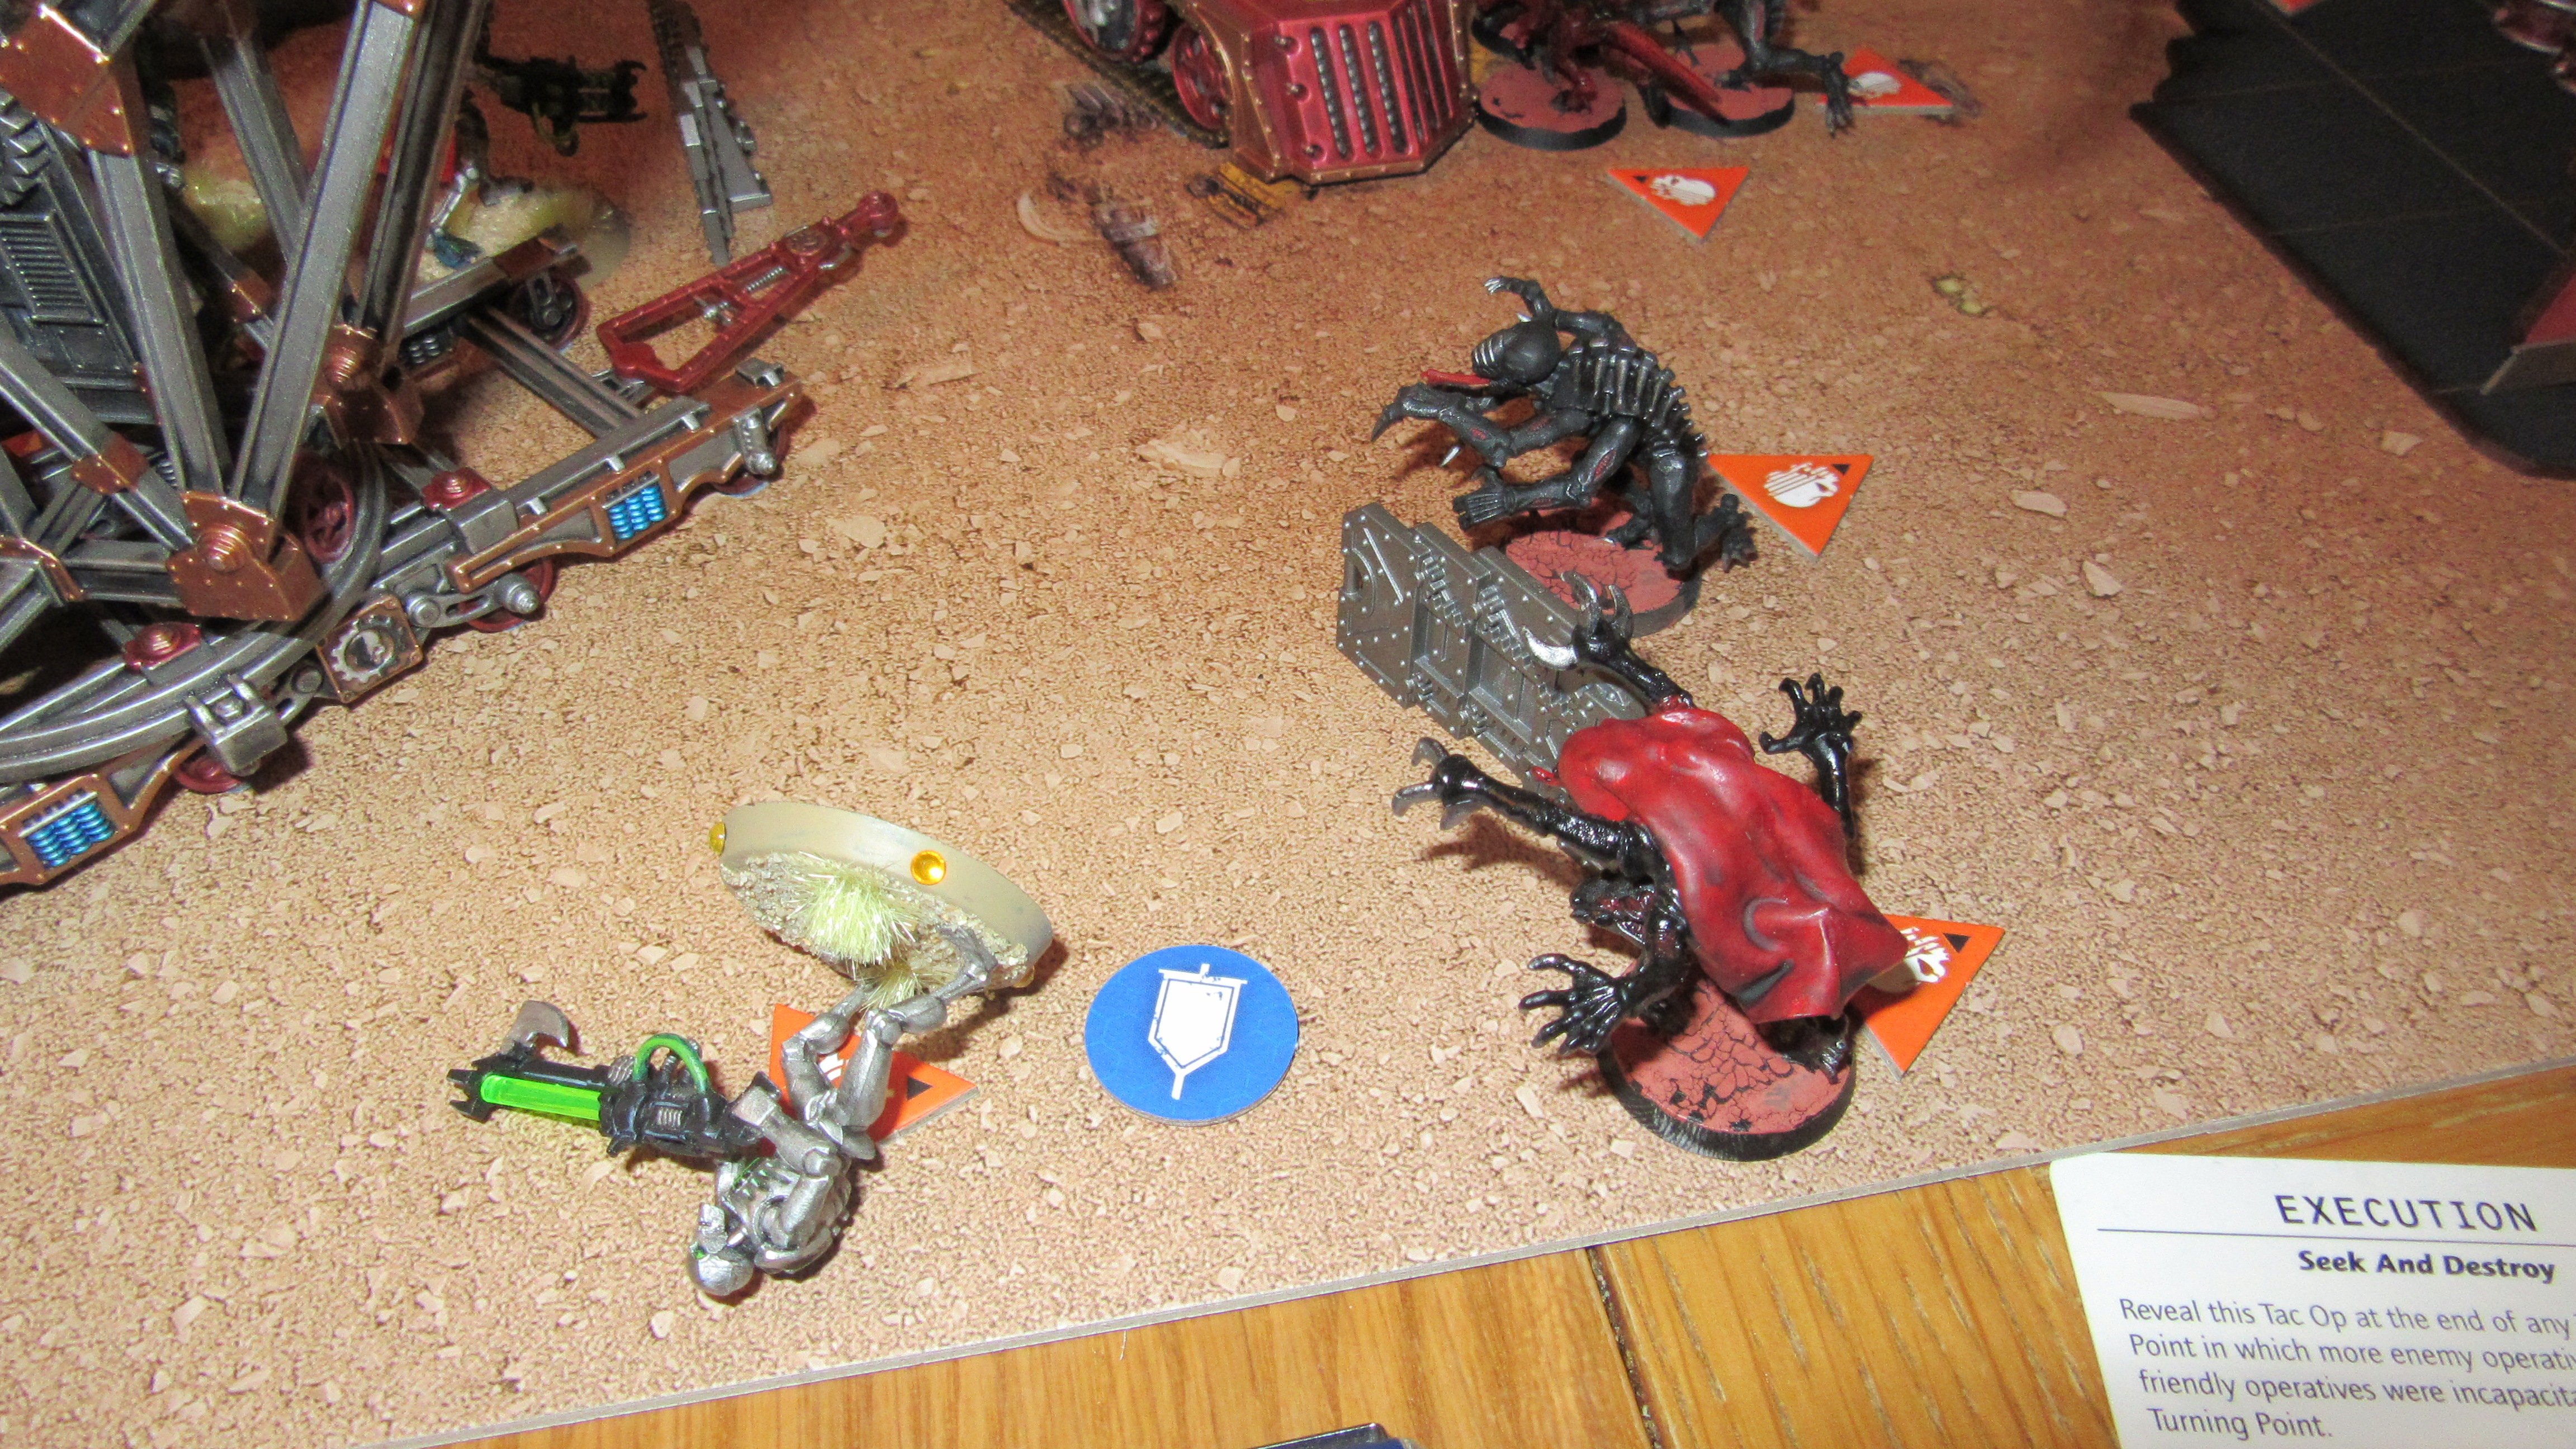
- Execution: Kill more enemy operatives in a Turning Point than they kill of mine, twice for 1VP and three times for 2VP. Yes please.
- Deadly Marksman: Secretly pick a Marksman (I chose my leader) and get 1VP if they take out two enemies with shooting attacks from within ■ of your drop zone, and an additional 1VP if they survive the battle. Seemed like a plausible thing to max here.
- Headhunter: Kill the enemy leader, 2VP if you pull it off in the first two Turning Points, 1VP if you manage it later. I felt this was definitely doable for 1VP, less sure about 2, as Genestealers are a pain to pin down.
Tyranids
Genestealers and a Swarm allowed my opponent to freely pick from all four categories. They chose Infiltration, and ended up with:
- Implant: When you hit the enemy in combat, you can Implant them instead of infiicting damage with one of your strikes. You get 1VP for implanting one target, and 2VP for implanting three. Pretty much a lock, right here.
- Interloper: Secretly choose one operative. They can leave via the opponent’s board edge with an Action, and score 2VP. One of the Genestealers was selected for this, as their speed would make them ideal.
- Behind Enemy Lines: Reveal this during the target reveal step. If, at the time you reveal it, you have any operatives in the opponent’s deployment zone and more than ■ from any enemies you score 1VP, then score a second VP if you pull off the same condition at the end of any subsequent turning points. This one’s a bit trickier, as stuff that gets in the face of the Necrons has a high chance of rapidly dying.
A very aggressive set of options here, which definitely aligns to what the Tyranids need to do in this game – which is to get in the Necrons’ faces and tie them up while pulling ahead on points
Deployment

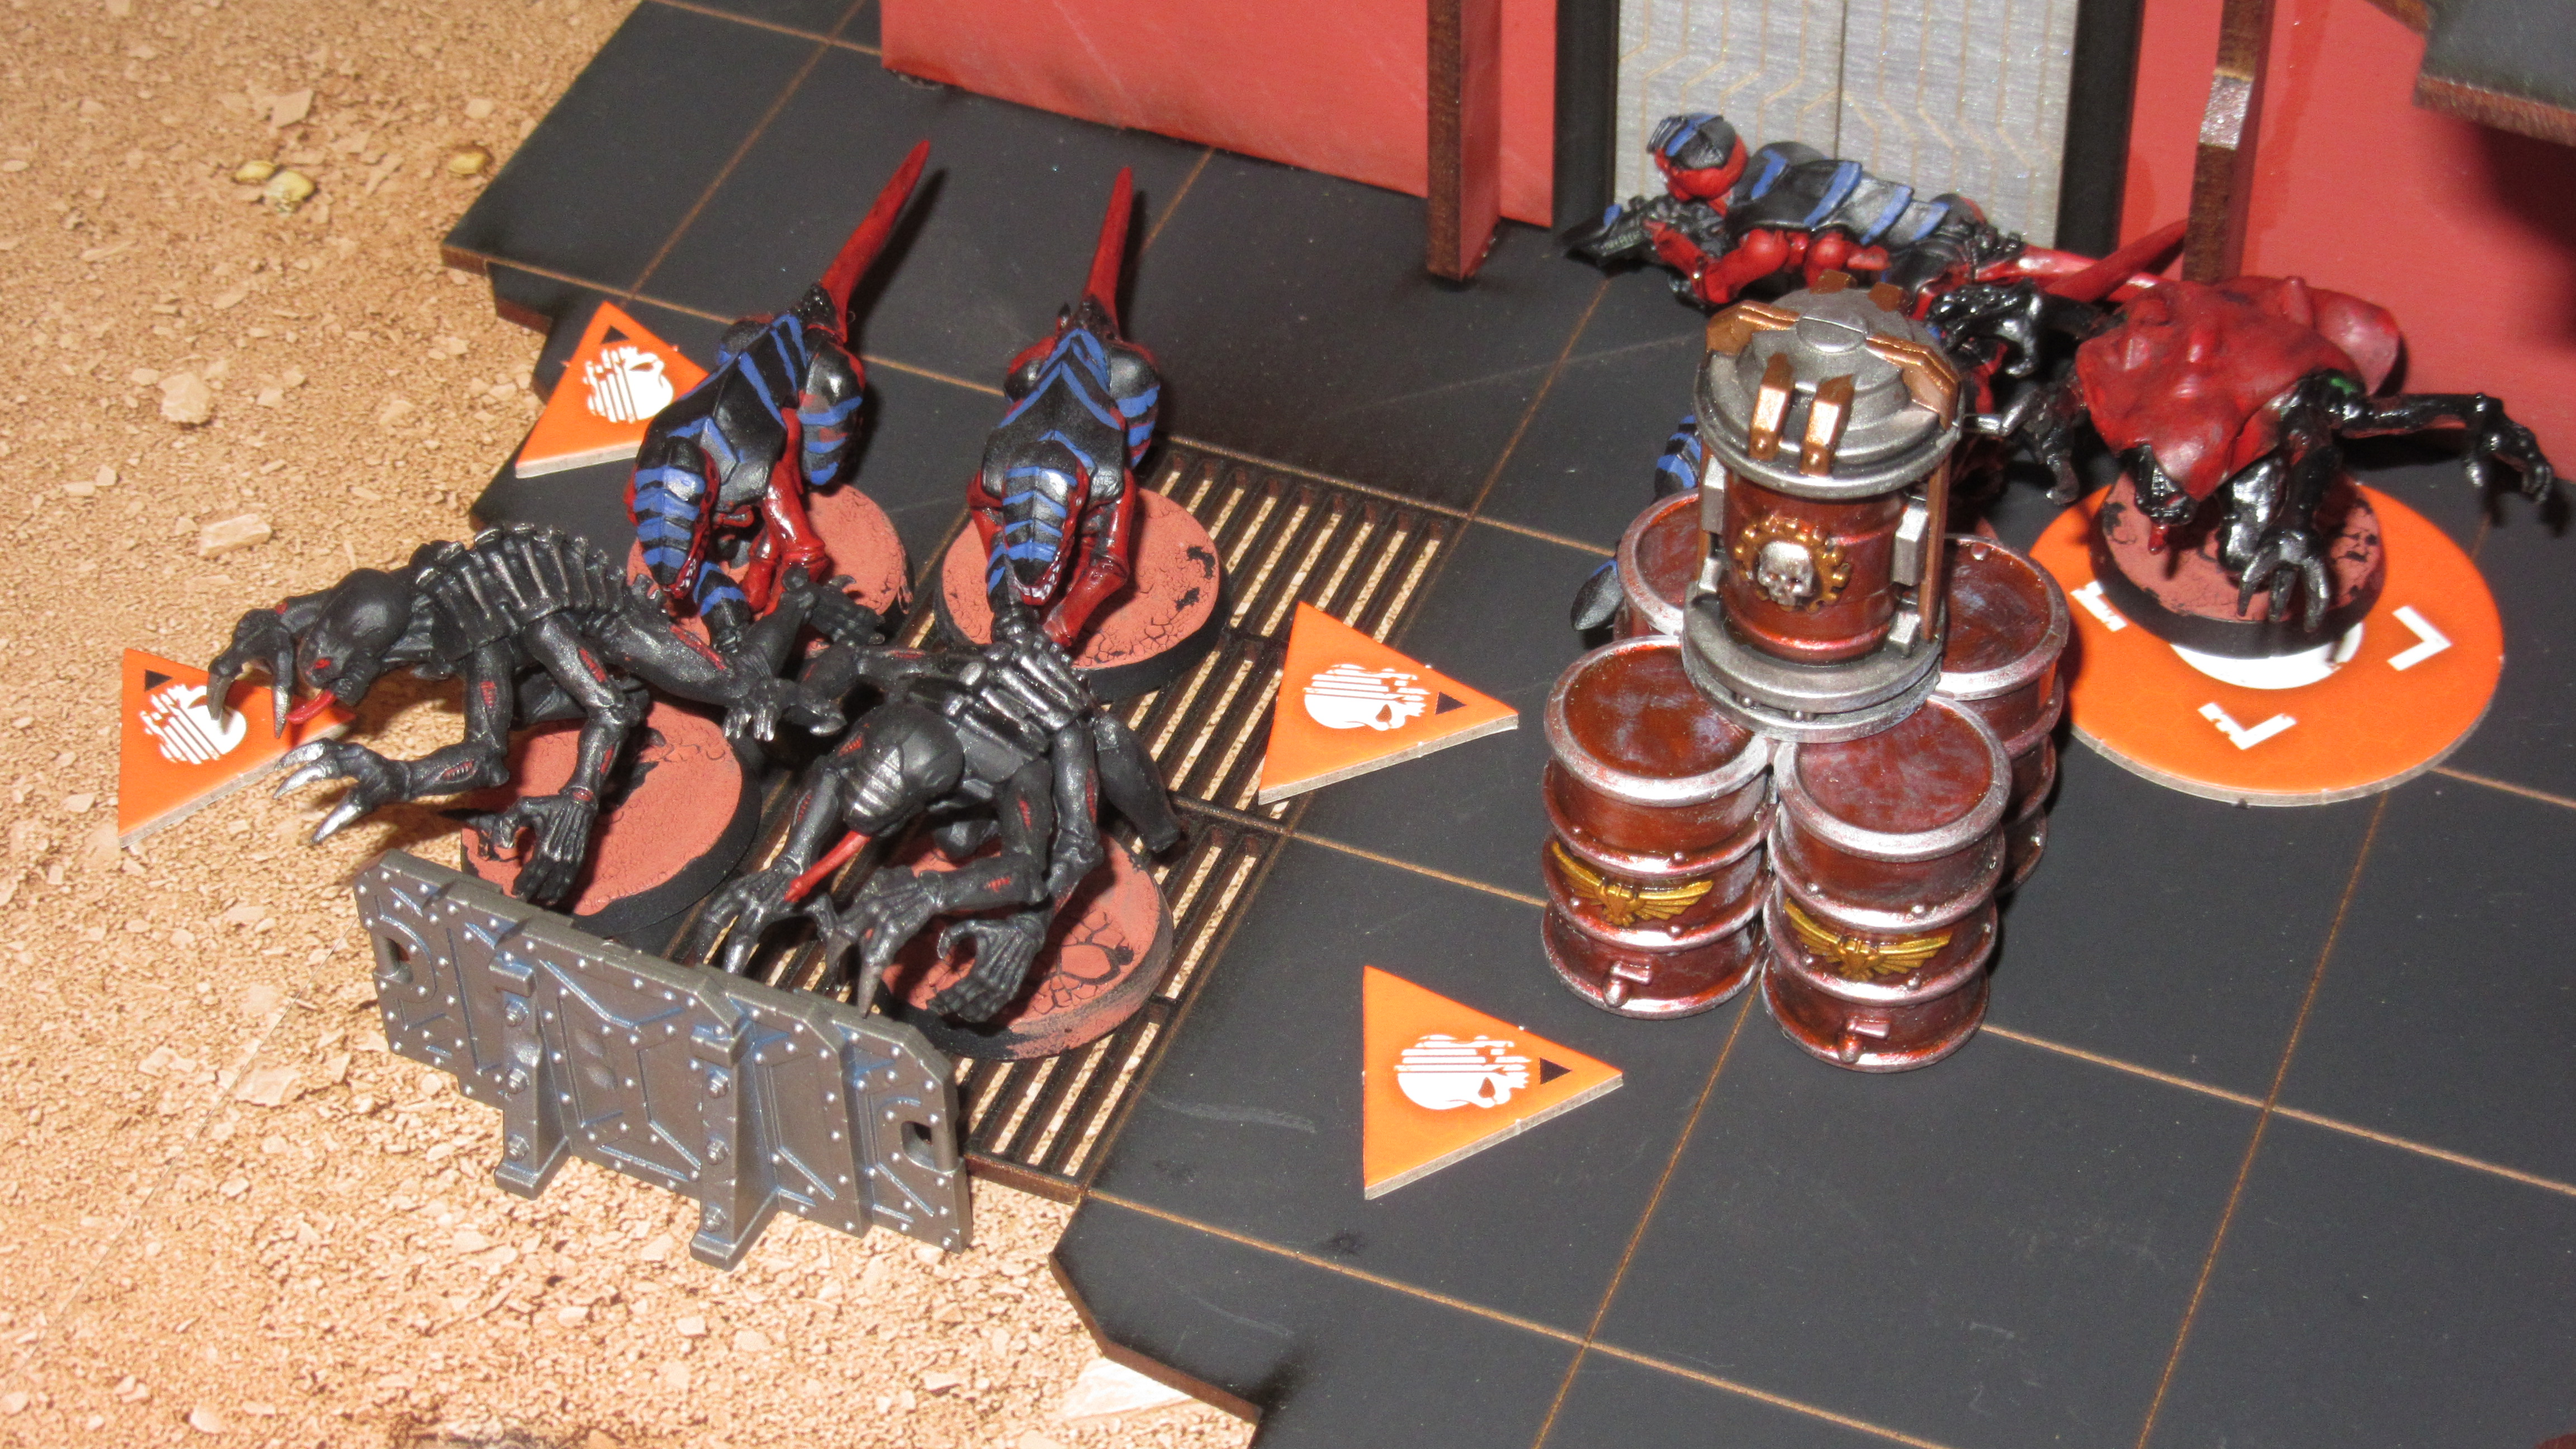
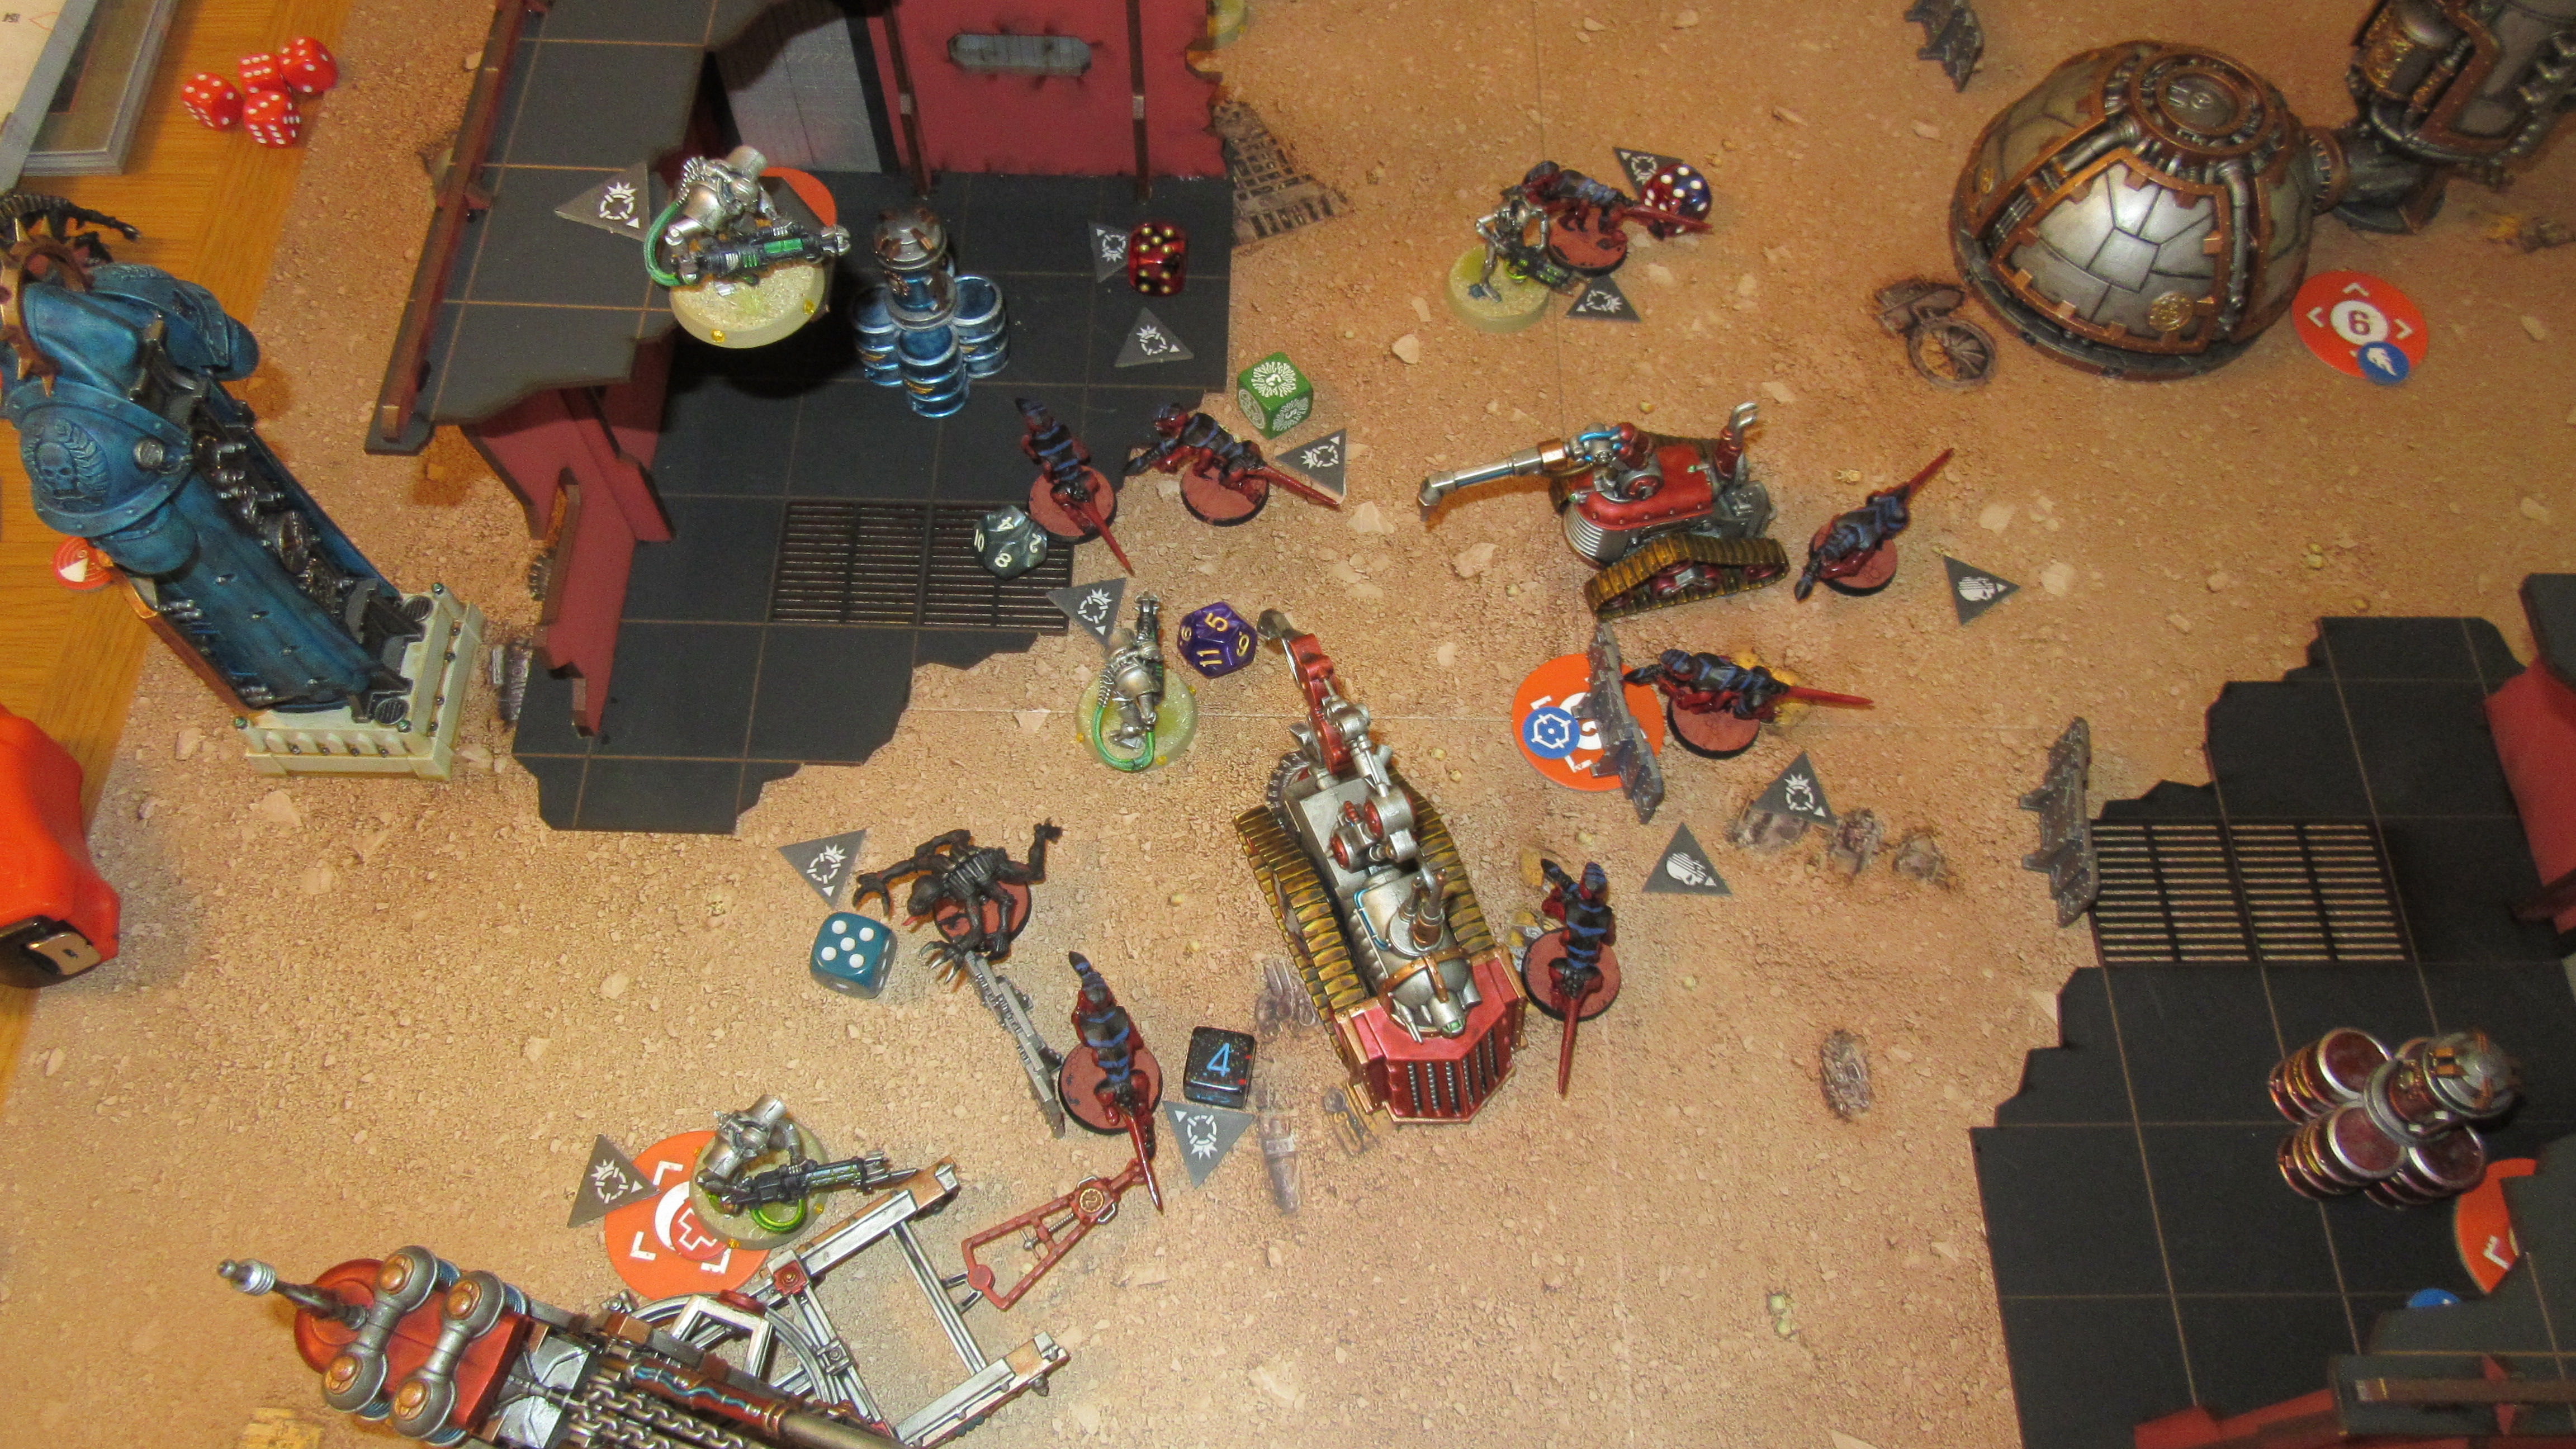
I rolled up being the Defender and deployed moderately cautiously. I didn’t think I had much to fear from the shooting of the Termagants, so more of my operatives were in Engage orders than normal, but I still hung back far enough to make sure I could try and control the battle a bit. In retrospect this was probably a mistake – I think a very aggressive deployment would have been better as although the Genestealers are fast, only one would be able to charge me in my deployment zone (and would pay for it if it did). I used my Barricades to create a firing position on the bottom flank and set myself up with a model as a forward deterrent in the mid-board. That model and one reaper Warrior on objective duty were the only ones I set up in Conceal.
The Tyranids, meanwhile, went for a full Conceal setup, with a clear plan of moving forward in relative safety turn 1, then overwhelming me from turn 2.
Scouting Phase
I selected Infiltrate for my option, which would allow the forward Warrior behind the barricade (pictured above) to swap to Engage and start blasting if the Tyranids overcommitted. The swarm, meanwhile, went for Fortify, placing an extra Barricade covering the centre objective and really maximising their ability to push forward in safety. Fortify beats Infiltrate, so the Tyranids had initiative for the first Turning Point.
Turning Point 1
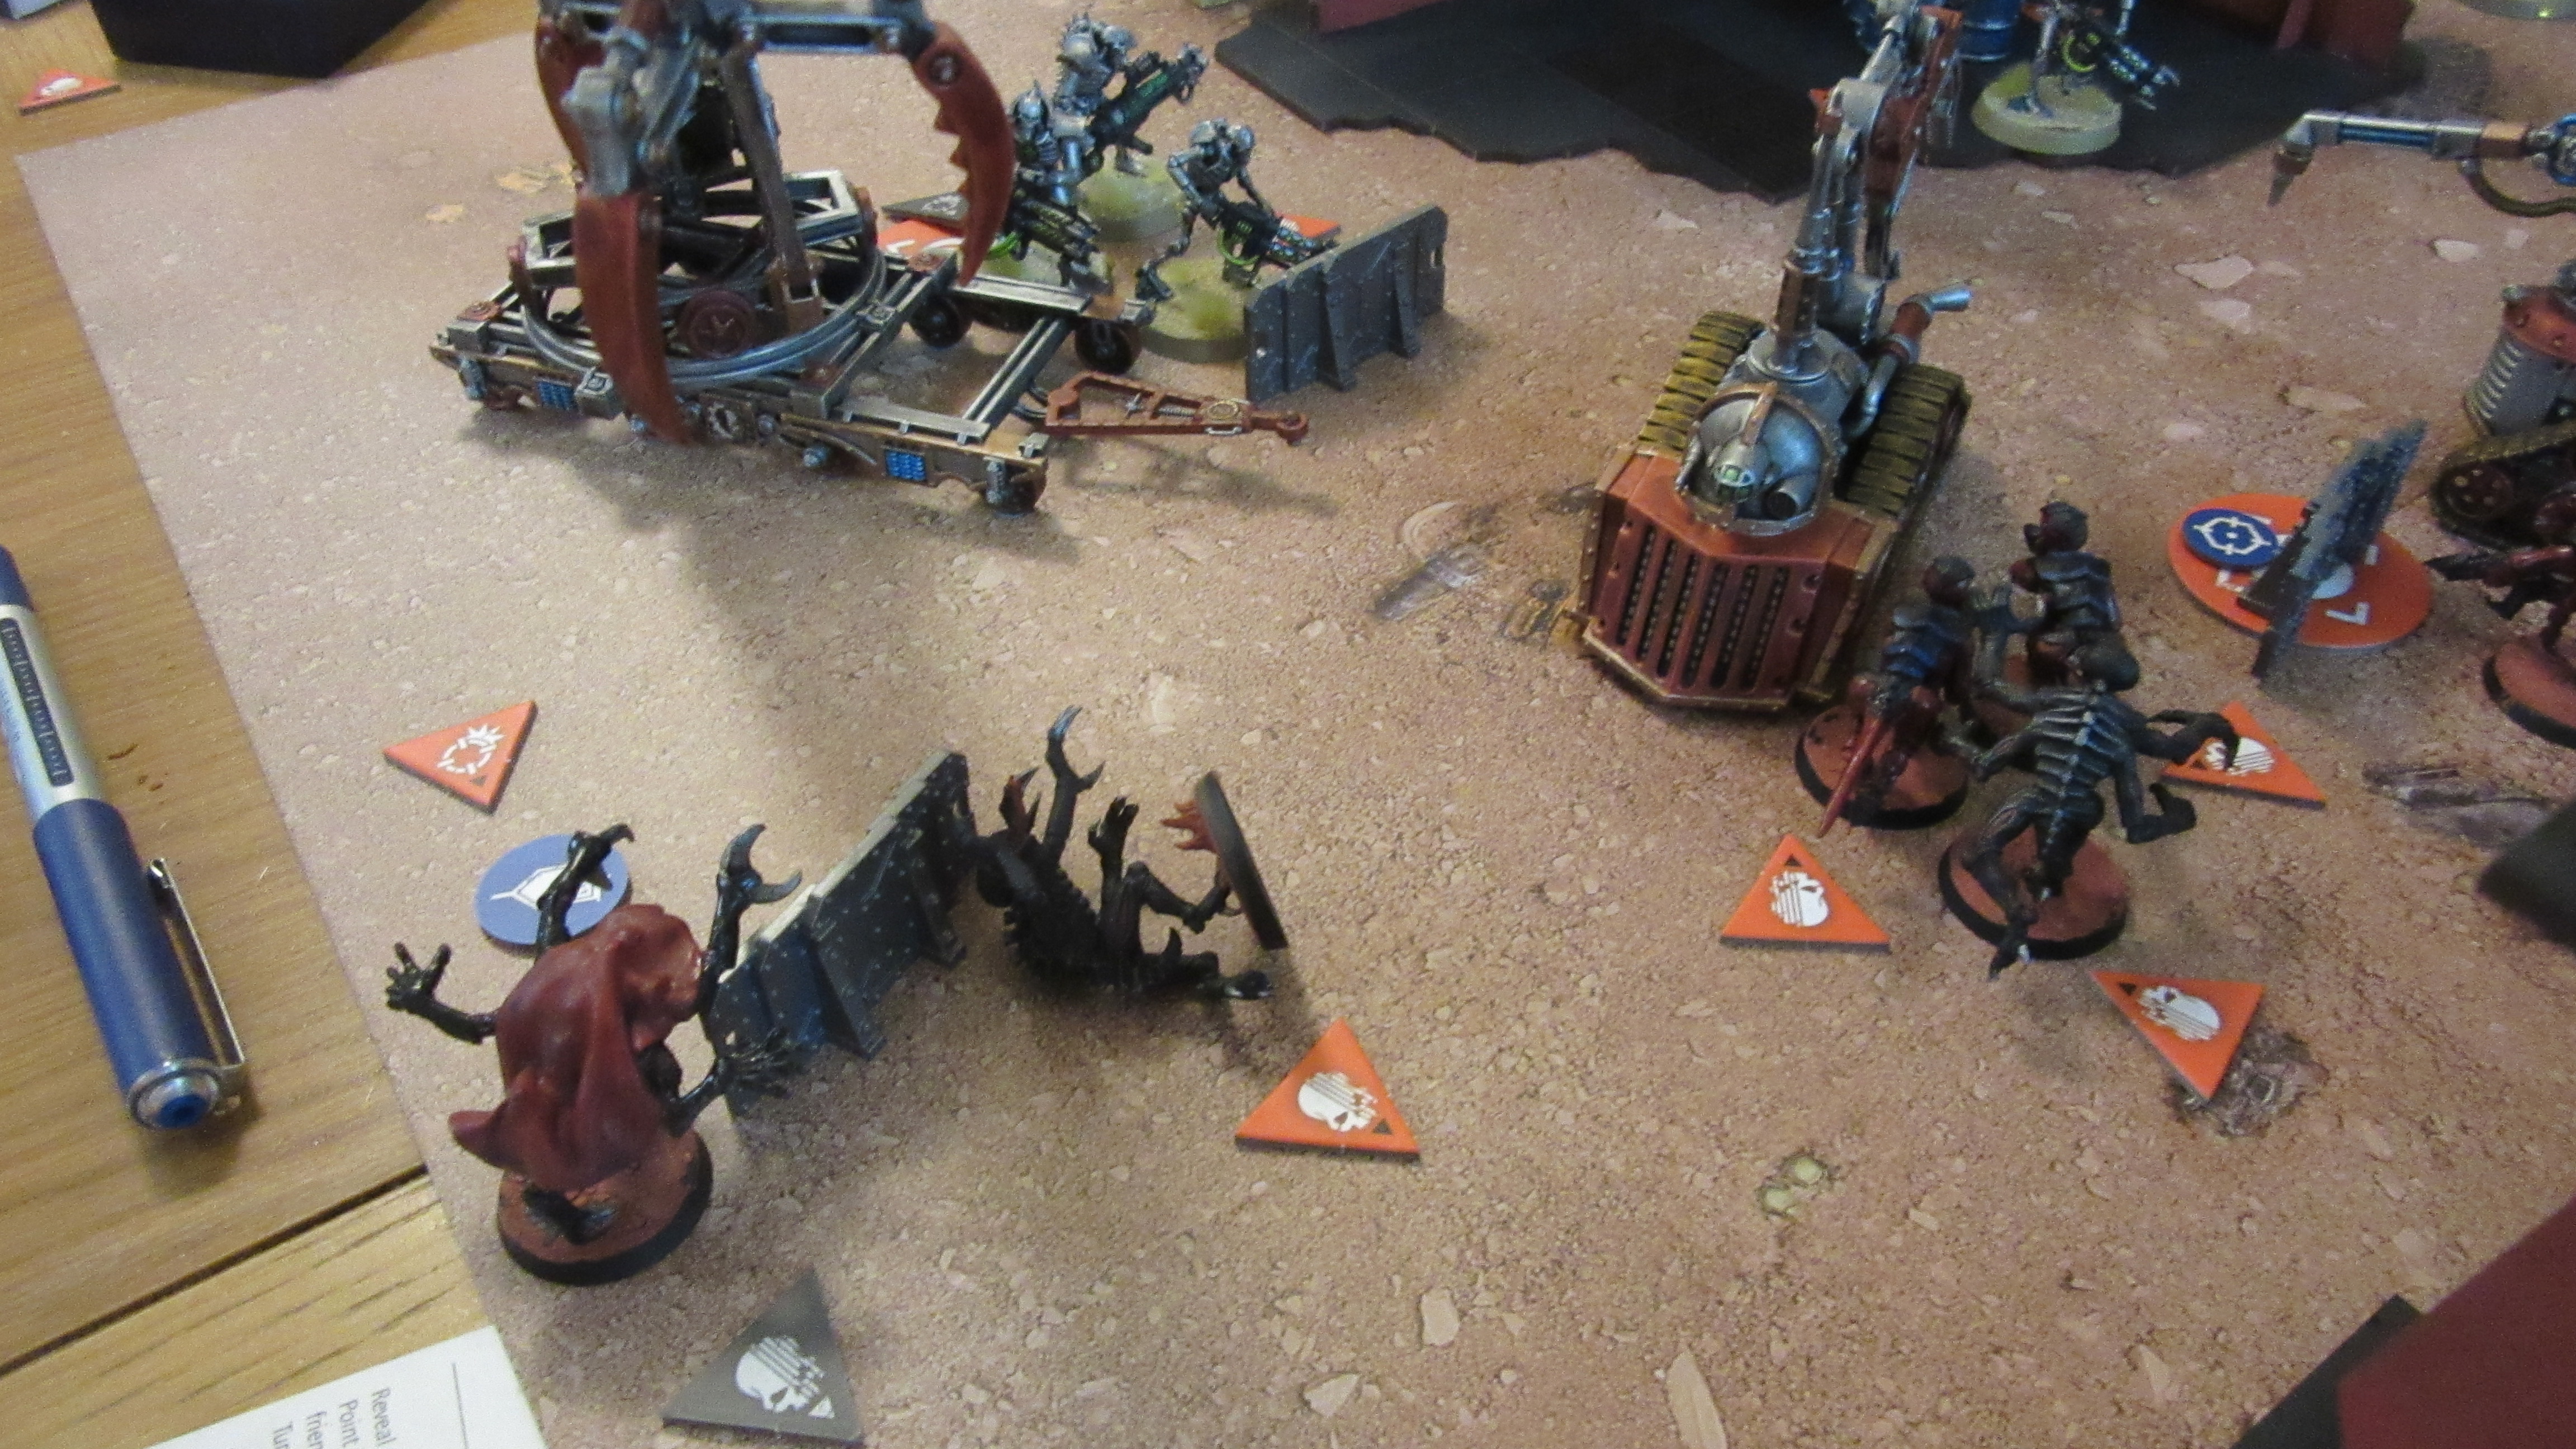
Here the nefarious Tyranid plan became rapidly apparent – keep me under pressure while not getting shot. The Stalk strategic ploy was activated to immediately move a Genestealer up to lurk on the central objective, protected from my firepower by dint of being in cover, but nixing any designs I might have had on the objective and setting up for a huge threat range next turn. In general, the Tyranid forces spent this turn pushing hard towards the centre of the table, Securing both their home objectives and the middle one, but stayed in cover and Concealed so I couldn’t do too much about it.

They weren’t able to do this perfectly – there were simply too many bugs and I’d set up too many different firing angles for them all to stay protected, and one Immortal was able to line up a short from the top flank and blast a Termagant to bits.
Once that Immortal had gone, however, the way was open for a Genestealer on that side of the board to make a massive rush towards them, largely getting out of sight of the rest of my models and threatening to eviscerate the Necron turn 2. In general I was starting to worry that I wasn’t going to be able to cut through the horde fast enough if they all stayed concealed, so with a couple of models who’d deployed up against the wall I used a Dash and a Normal Move to get on top of the building, ready to use Vantage to start blasting Gaunts turn 2 (though the Genestealers would still be protected by Hidden Horror).
At the end of Turning Point 1, I scored 1 point on the primary and revealed Execution, as blasting the Gaunt had given me one on my tally towards that. Meanwhile, my opponent scored 2 points on the primary, as they had claimed three objectives to my two.
Turning Point 2
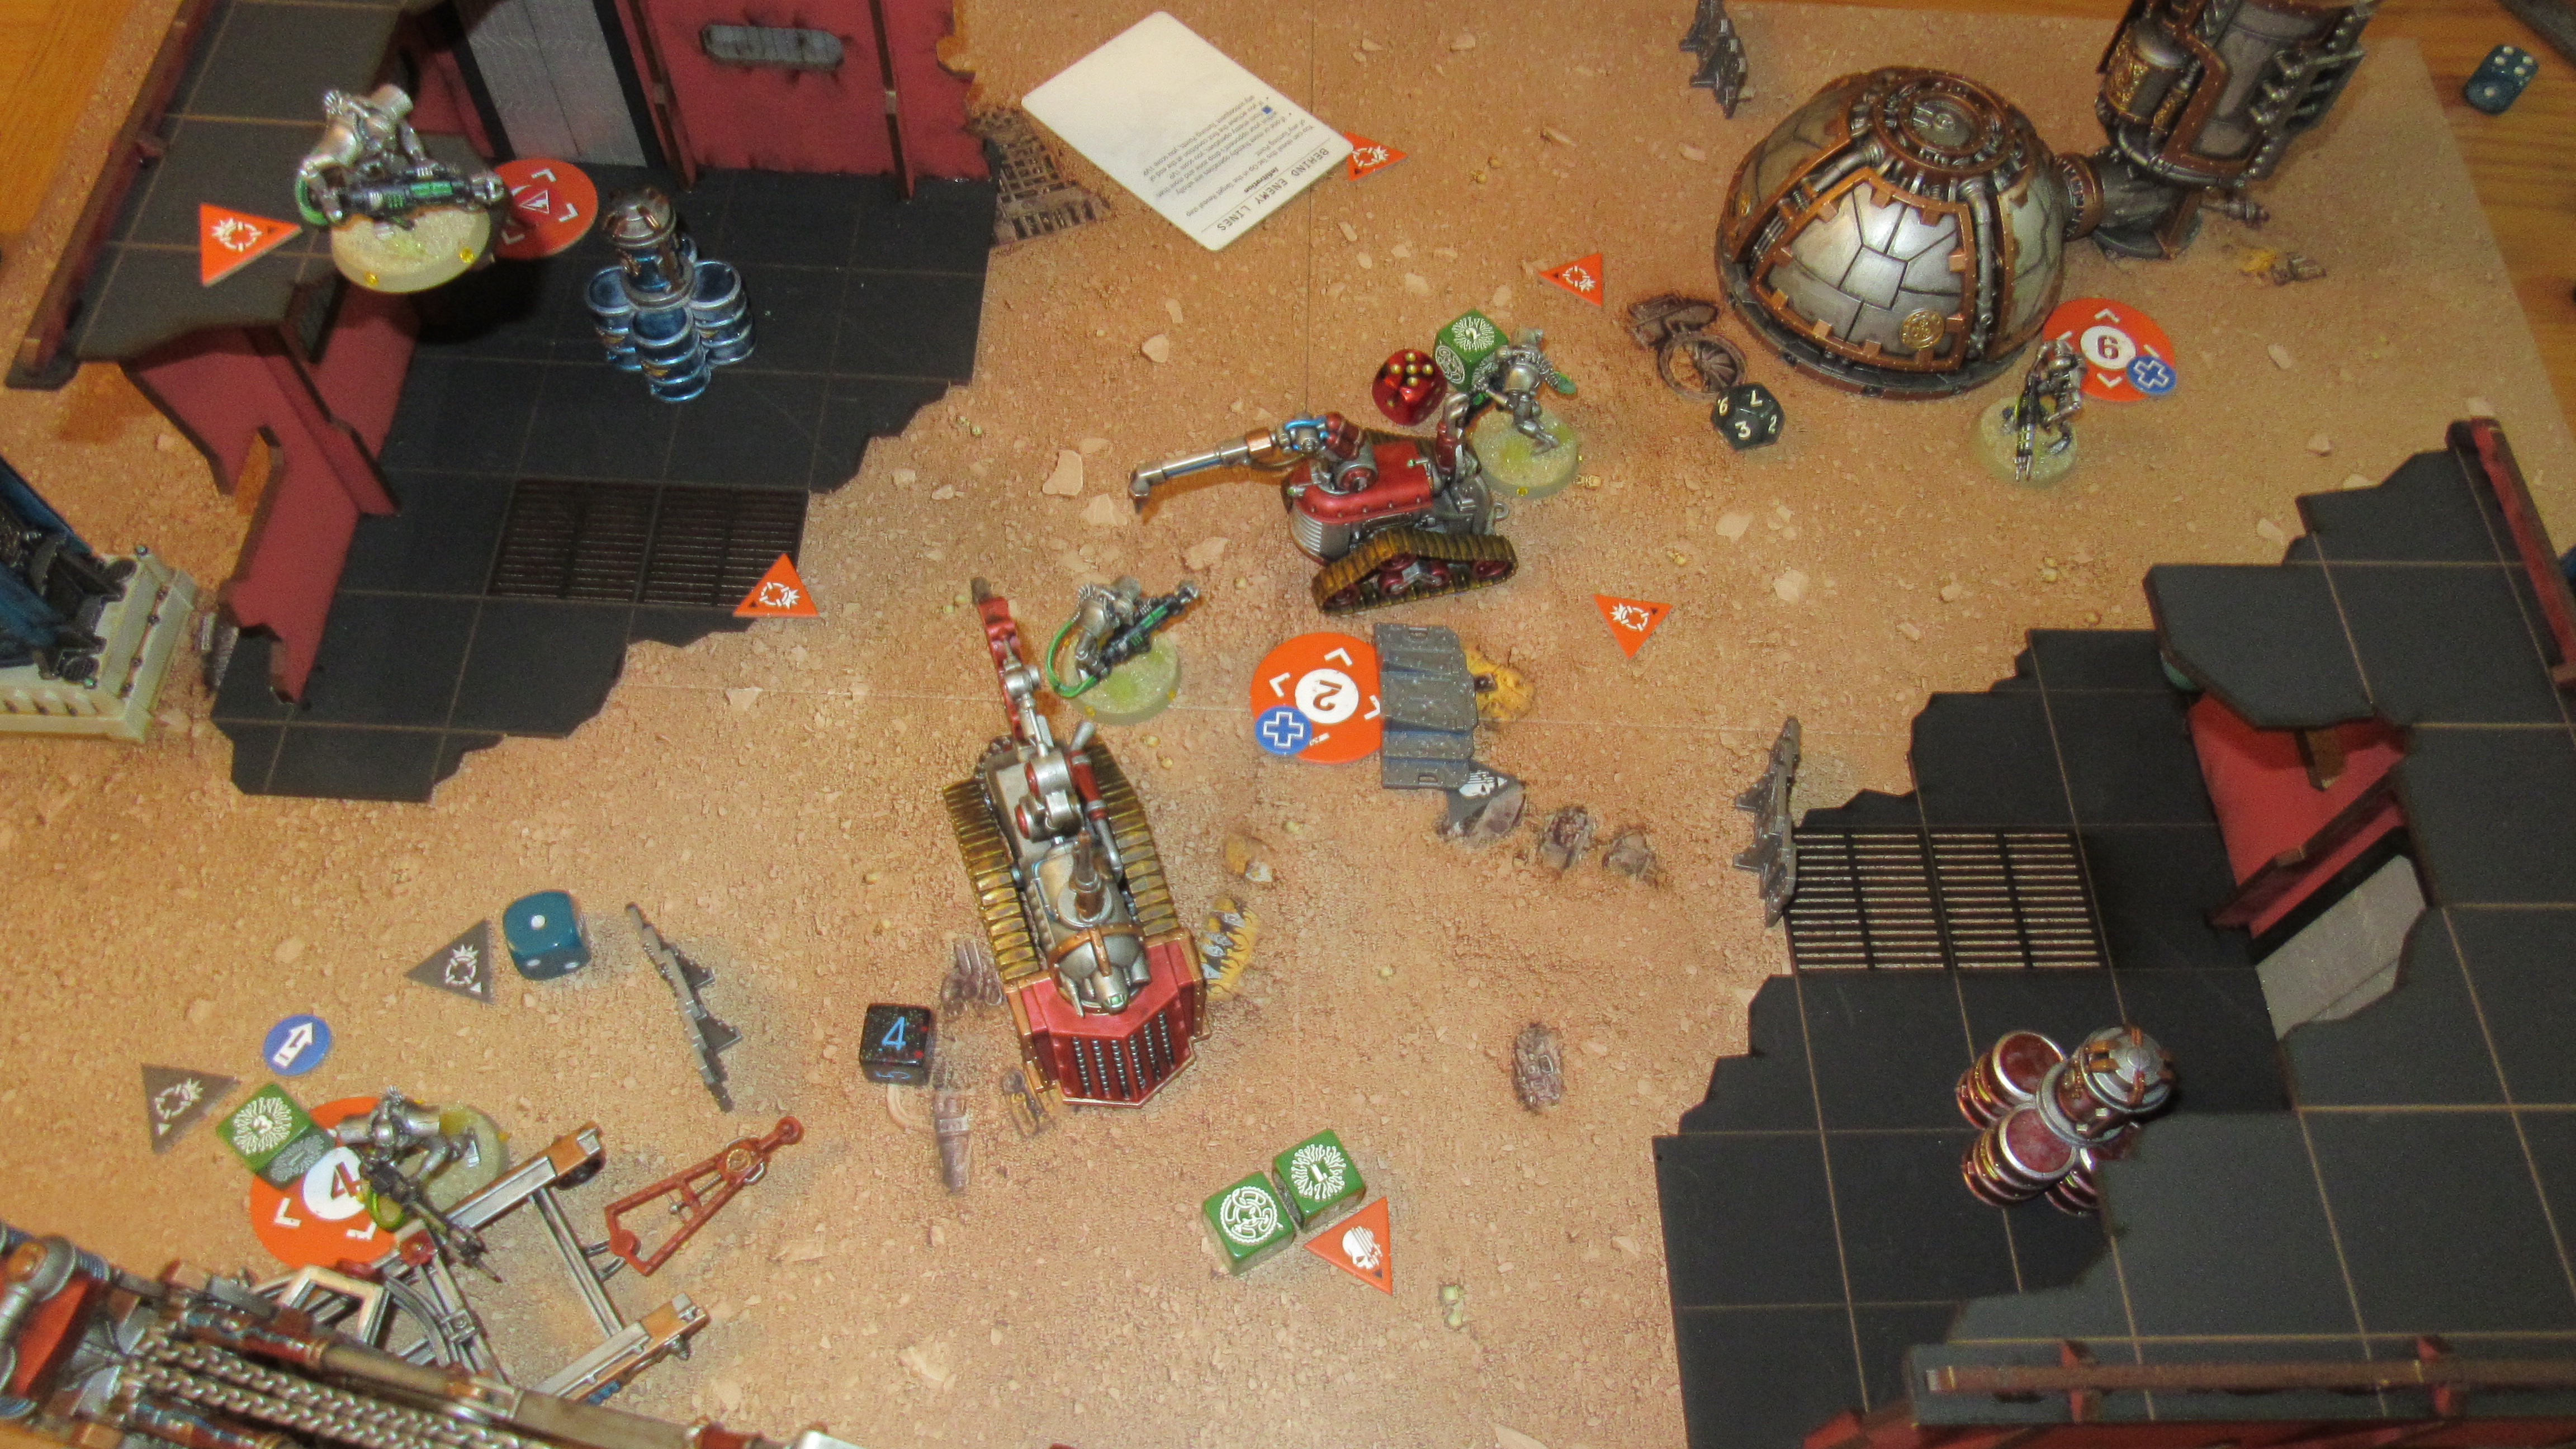
I won the initiative roll, and expecting this to be a turn where I started blasting I activated Relentless Onslaught for some shooting re-rolls. Meanwhile, my opponent made the smart call to activate Lurk, letting their models retain an extra automatic save from cover as long as they hadn’t activated yet, or were Concealed. This would help mitigate me moving models up to a Vantage, as although I’d be able to shoot at Concealed Gaunts in cover, getting two automatic retained saves would give them a far better chance of tanking the shot than they’d normally have. They also used Stalk again, moving the Genestealer on the top flank so they were fully out of sight of anything except the Immortal right in their face.

With my first activation I had two realistic options for what to do – on both flanks Genestealers had pushed hard, and I had models that could take a swing either at Cloaky the Wonder Genestealer, temptingly within reach to move one of my flayers up to point blank and thus bypass cover, or deal with the Genestealer up top. While the Headhunter TacOp made going for Cloaky very tempting, after a reasonable amount of prevarication I decided I had to prioritise the top flank, as if that Immortal got mulched I wasn’t sure I’d have anything else to clear it out.
That turned out to be an extremely good decision, as the Genestealer got smoked and turned out to have been the Interloper – the plan hadn’t been to mulch my Immortal, instead to run past while flipping him off with all four claws and score 2VP.
Denying that was obviously good news, but there were lots of other Tyranids dangerously close to me and they went for it hard. First up, Cloaky took immediate vengeance for being ignored by mulching my Warrior on that flank, overkilling him so thoroughly that a strike could be spared to Implant the Necron on the way down. I activated Reanimation Protocols, hoping they’d be able to re-join the fight on a future turn so that the flank wasn’t entirely squandered.
My leader also managed to pick off Cloaky’s buddy, getting his first tick on Marksman.
On the swarm’s turn, a Gaunt charged a Warrior, aiming to Implant him. You know how melee can be super lethal to both sides in Kill Team? Yeah not with dice like these:
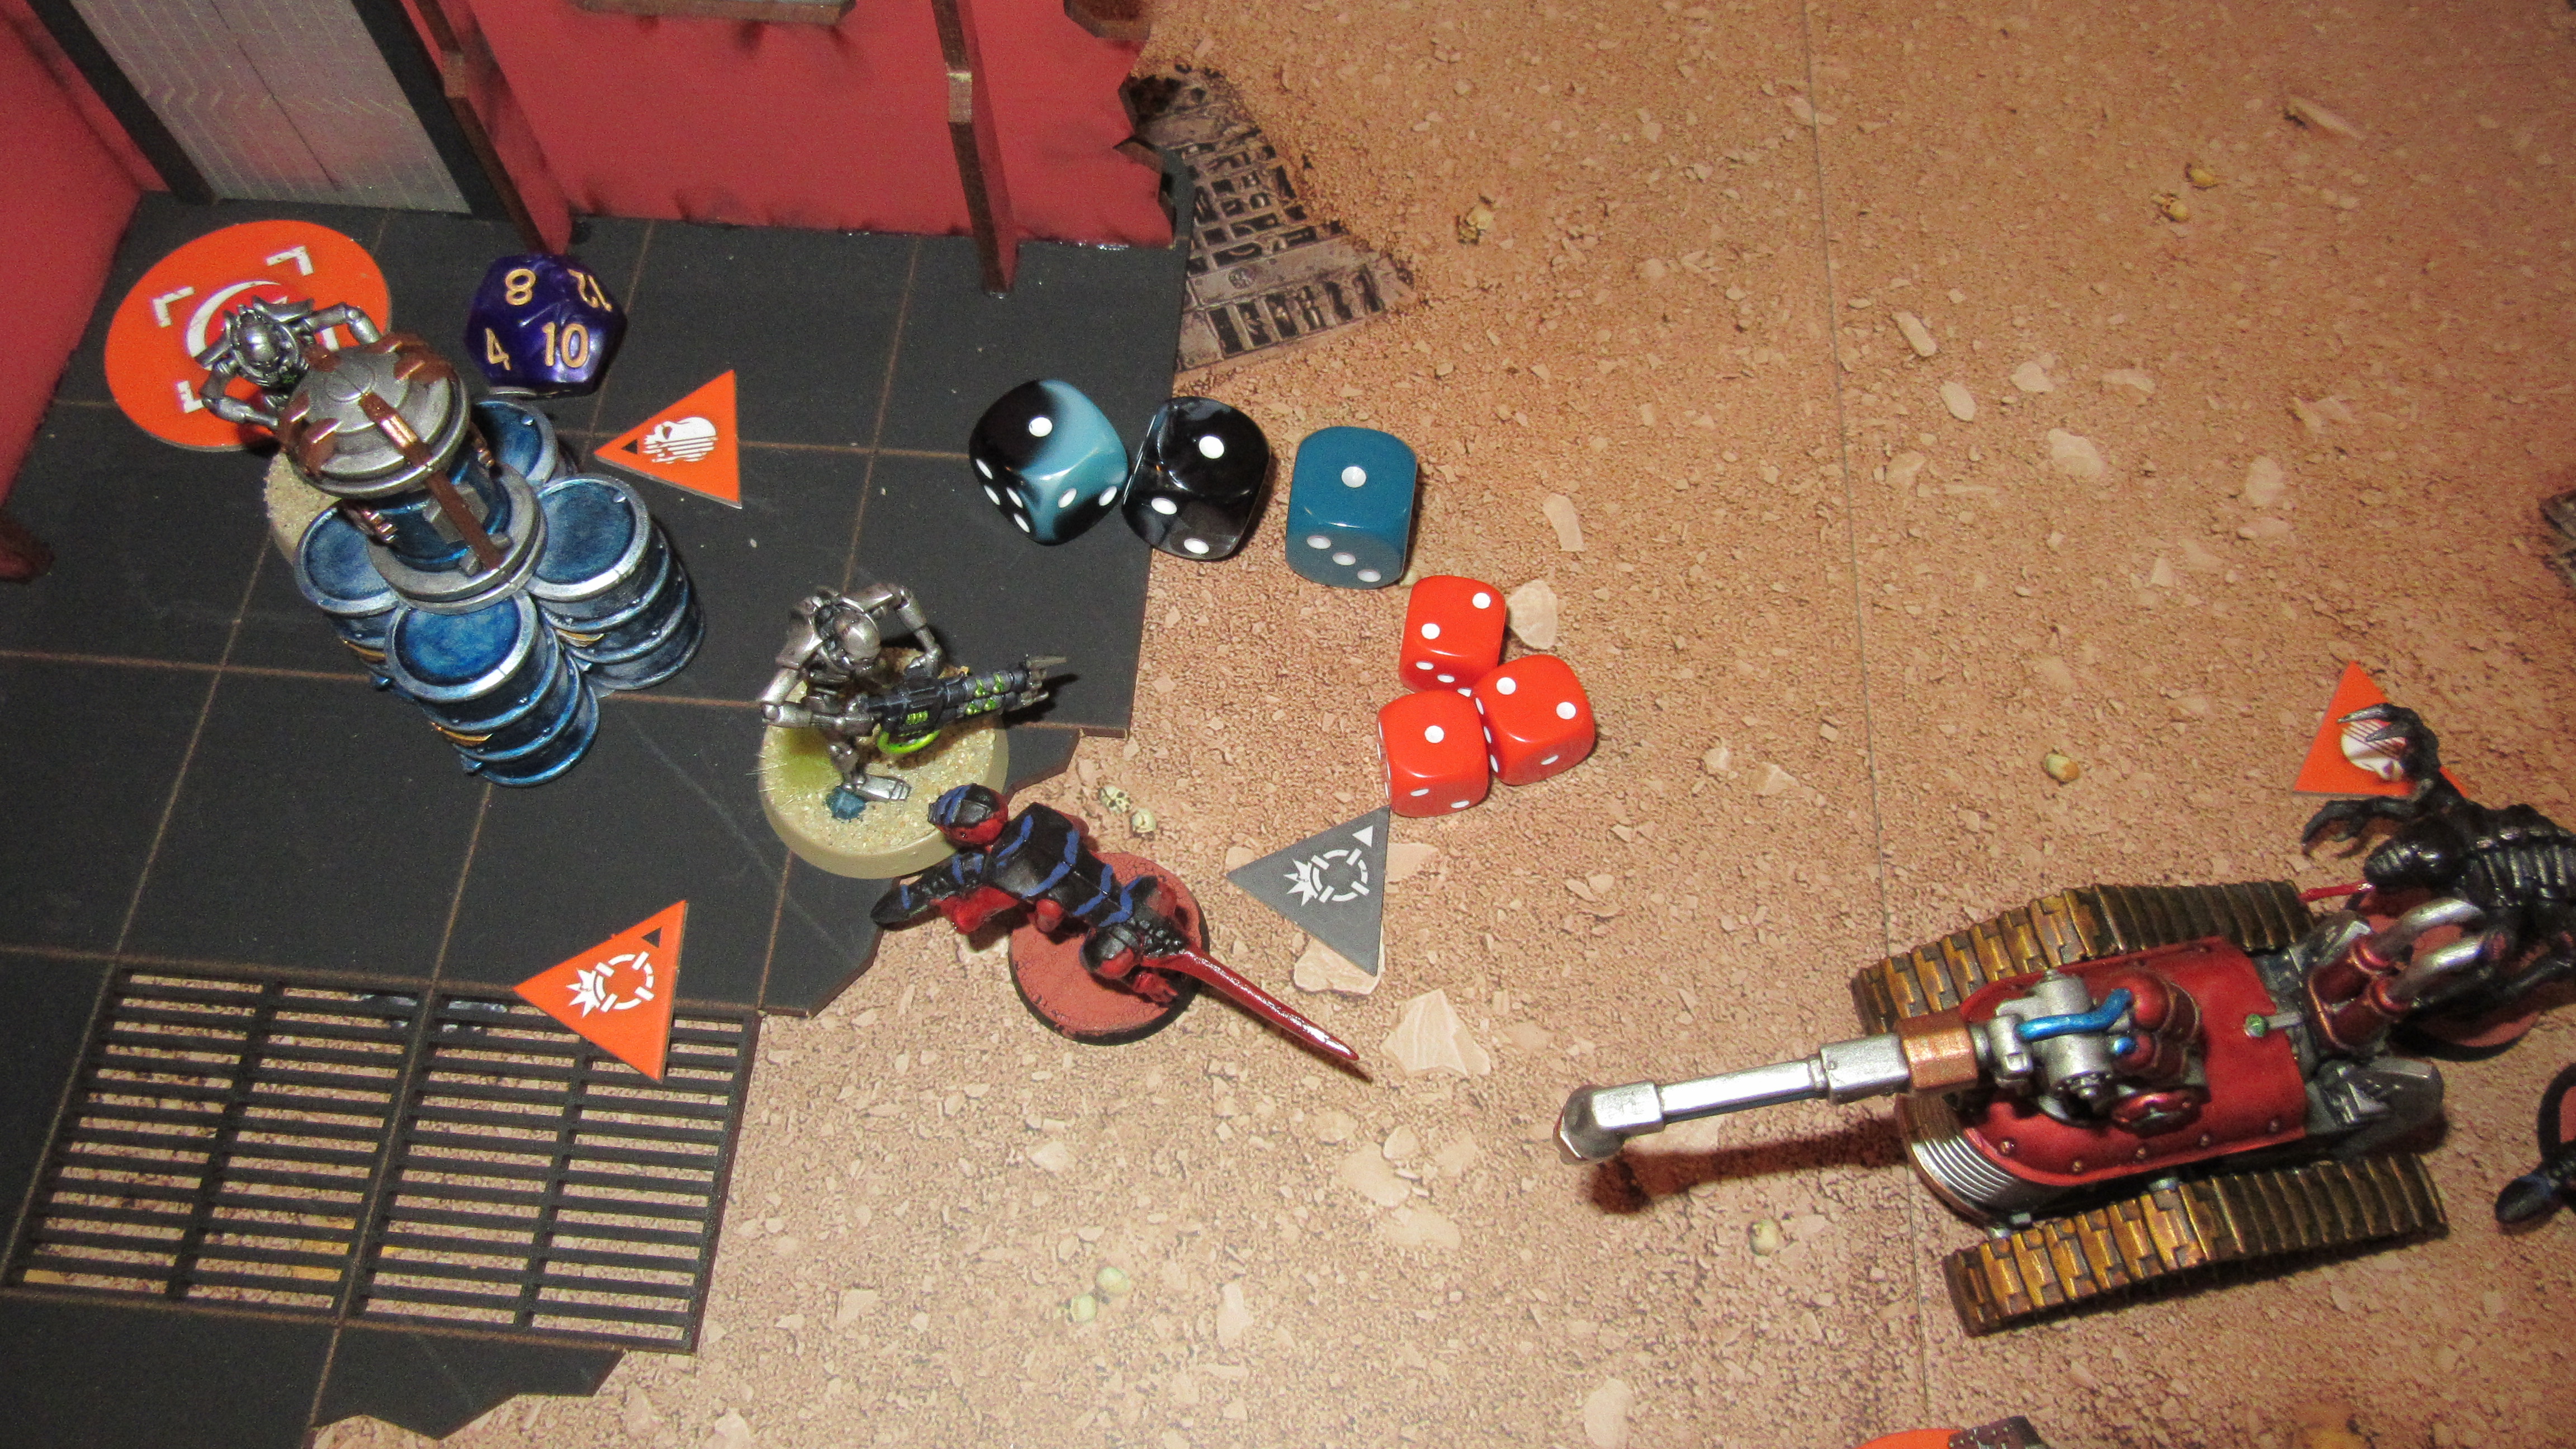
Luckily, however, Gaunts have Group Activation 2, meaning that another Gaunt could get in on the action straight away, and this one managed to land the blow, leaving only a single tick of Implant required, and also ensuring there wasn’t much productive the warrior could do, as it would cost both their AP to Fall Back. As my shooting bounced relatively ineffectually off the bugs thanks to a mixture of Lurk and poor dice, the final implantation occurred as a Genestealer burst forward to eviscerate my Warrior who had been sitting on an objective, leaving it dangerously exposed to being Claimed on turn 3. To try and mitigate that threat I went for a big play – the Genestealer and two Gaunts on four or fewer wounds were all neatly clustered up, a perfect target for Living Lightning (which amps up the splash damage of a Tesla Carbine). Roll a couple of 6s and all three models would evaporate into a fine mist. I did not roll any.
That failure left things looking pretty dire at the end of turning point 2 – a lot of bugs were still in my face, and two of my home objectives were under imminent threat. Worse, three models had died on each side, so I hadn’t even managed Execution this turn. The Tyranids picked up another 2VP on the primary, while I got 1VP.
Turning Point 3
The initiative flipped back to the bugs, and that was extremely bad news (although my Warrior did at least get back up via Reanimation). My leader (and Marksman) was in range of a Genestealer charge, and pro tip – anything a Genestealer touches dies.

I activated Reanimation Protocols once again in the hope that they might return next turn and finish their TacOp, but for now that left my bottom objective free pickings for Gaunts, who duly claimed it later in the turn. My top objective was badly under threat too, and in order to prevent the Termagants seizing it I had to start charging in with my models, as with only APL 2 they wouldn’t be able to both fall back and perform the claim action. One of the Immortals’ Hyperphase Blades came in handy here, letting them slice down their target with extra efficiency, and in general (helped by the return of the Warrior at the bottom) I started getting more control over the board this turn, with one of my Warriors even getting far enough up the table to threaten a home objective on the next turn.
However, my opponent made a very good move with Cloaky to minimise the advantage from this, returning them to a Conceal order and moving them to sit on the central objective. That removed any chance I had of getting control of the central objective back this turn, and also set them up to potentially mulch the flanking Warrior if the initiative roll went their way.
While the Tyranids were looking very thin on the ground, the turn ended with them scoring 3VP on the primary to my 0 (though I did go up to two ticks on Execution, getting my first VP), creating a commanding lead. Did I have any chance of pulling it back?
Turning Point 4
The answer was “not quite”. My Marksman reanimated, but they needed to spend 1AP on re-claiming the objective they were on, so couldn’t afford to move and shoot. That meant there would be no chance for them to get a shot on Cloaky in their new position, and if Cloaky got a turn they would take out my Warrior who was pushing for the home objective. That meant I was forced to use my first activation on a model who could draw a line on the nefarious Genestealer and try and take it out, which I duly did. Elsewhere, an extreme high roll on both sides (triple six for me, double six for a Termagant) narrowly resulted in the bug exploding thanks to the mortals from Splash 1, and that let me quickly wrap up the process of clearing up the table, and take multiple objectives including the home one I’d been threatening.
That gave me a big 3VP-0VP turn in revenge, plus completing Execution and scoring a point for Headhunter – but Marksman had been a total failure and that meant…
The Score
- Necrons
- 5VP Primary
- 3VP TacOps
- 2VP Battle Ready
- Tyranids
- 7VP Primary
- 2VP TacOps
- 2VP Battle Ready
Tyranids Win 11VP-10VP
Thoughts
Defeat! That makes me and my opponent one all, so we’re going to have to fight a decider in the near future (probably Drukhari vs. Genestealer Cults) – check back for that.
In general, I was pretty impressed here by how well an extremely melee-focused Kill Team held up against a relatively durable list with guns. Using Conceal orders to get up the table then constant pressure from charges did seem to be a genuinely viable strategy, to the point where my opponent felt they would just take Hormugants in their Swarm fire team in the future, as the extra melee threat would have been way better than the option of shooting. Genestealers being truly nightmarish blenders definitely helps too, as they can pretty reliably take something out then demand to be dealt with. I’d wonder a bit about whether they’d do as well into targets that consistently had 11+ wounds (at which point they’re almost always going to take chip damage on the way down), but equally in that situation they’re going to vastly outnumber their opponents, giving them an alternative angle of attack. Four turning points just isn’t that long, and my opponent’s extremely correct plan to focus on bogging my team down for enough of the game to run away with the scoring paid off.
In terms of the rules, I enjoyed both the addition of equipment and the interplay of some of the Strategic Ploys we had access to – Lurk being a strong answer to me taking time to occupy a Vantage was a particular high point on that front. Strategic Ploys in general felt very interesting here, and in hindsight I wonder if judicious use of Implacable March in turning point 2 might have helped pull me out of the hole I was in. The only thing I liked a bit less about this game is that with the larger teams things did take quite a bit longer to play out. I suspect the fact that we were both having to be very careful with positioning to avoid blowouts didn’t help, but whereas the Space Marines vs. Thousand Sons game felt like something we could have re-racked, this one took an evening of gaming all to itself. That didn’t detract from the fun, mind you – this game still rules, and we both once again left having had a blast and extremely keen to get round three in.
Wrap Up
That’s it for today’s battle report – thanks once more to my opponent for aiding and abetting this exciting content, and we’ll see you soon for more. Comments, questions and suggestions to contact@goonhammer.com.
