
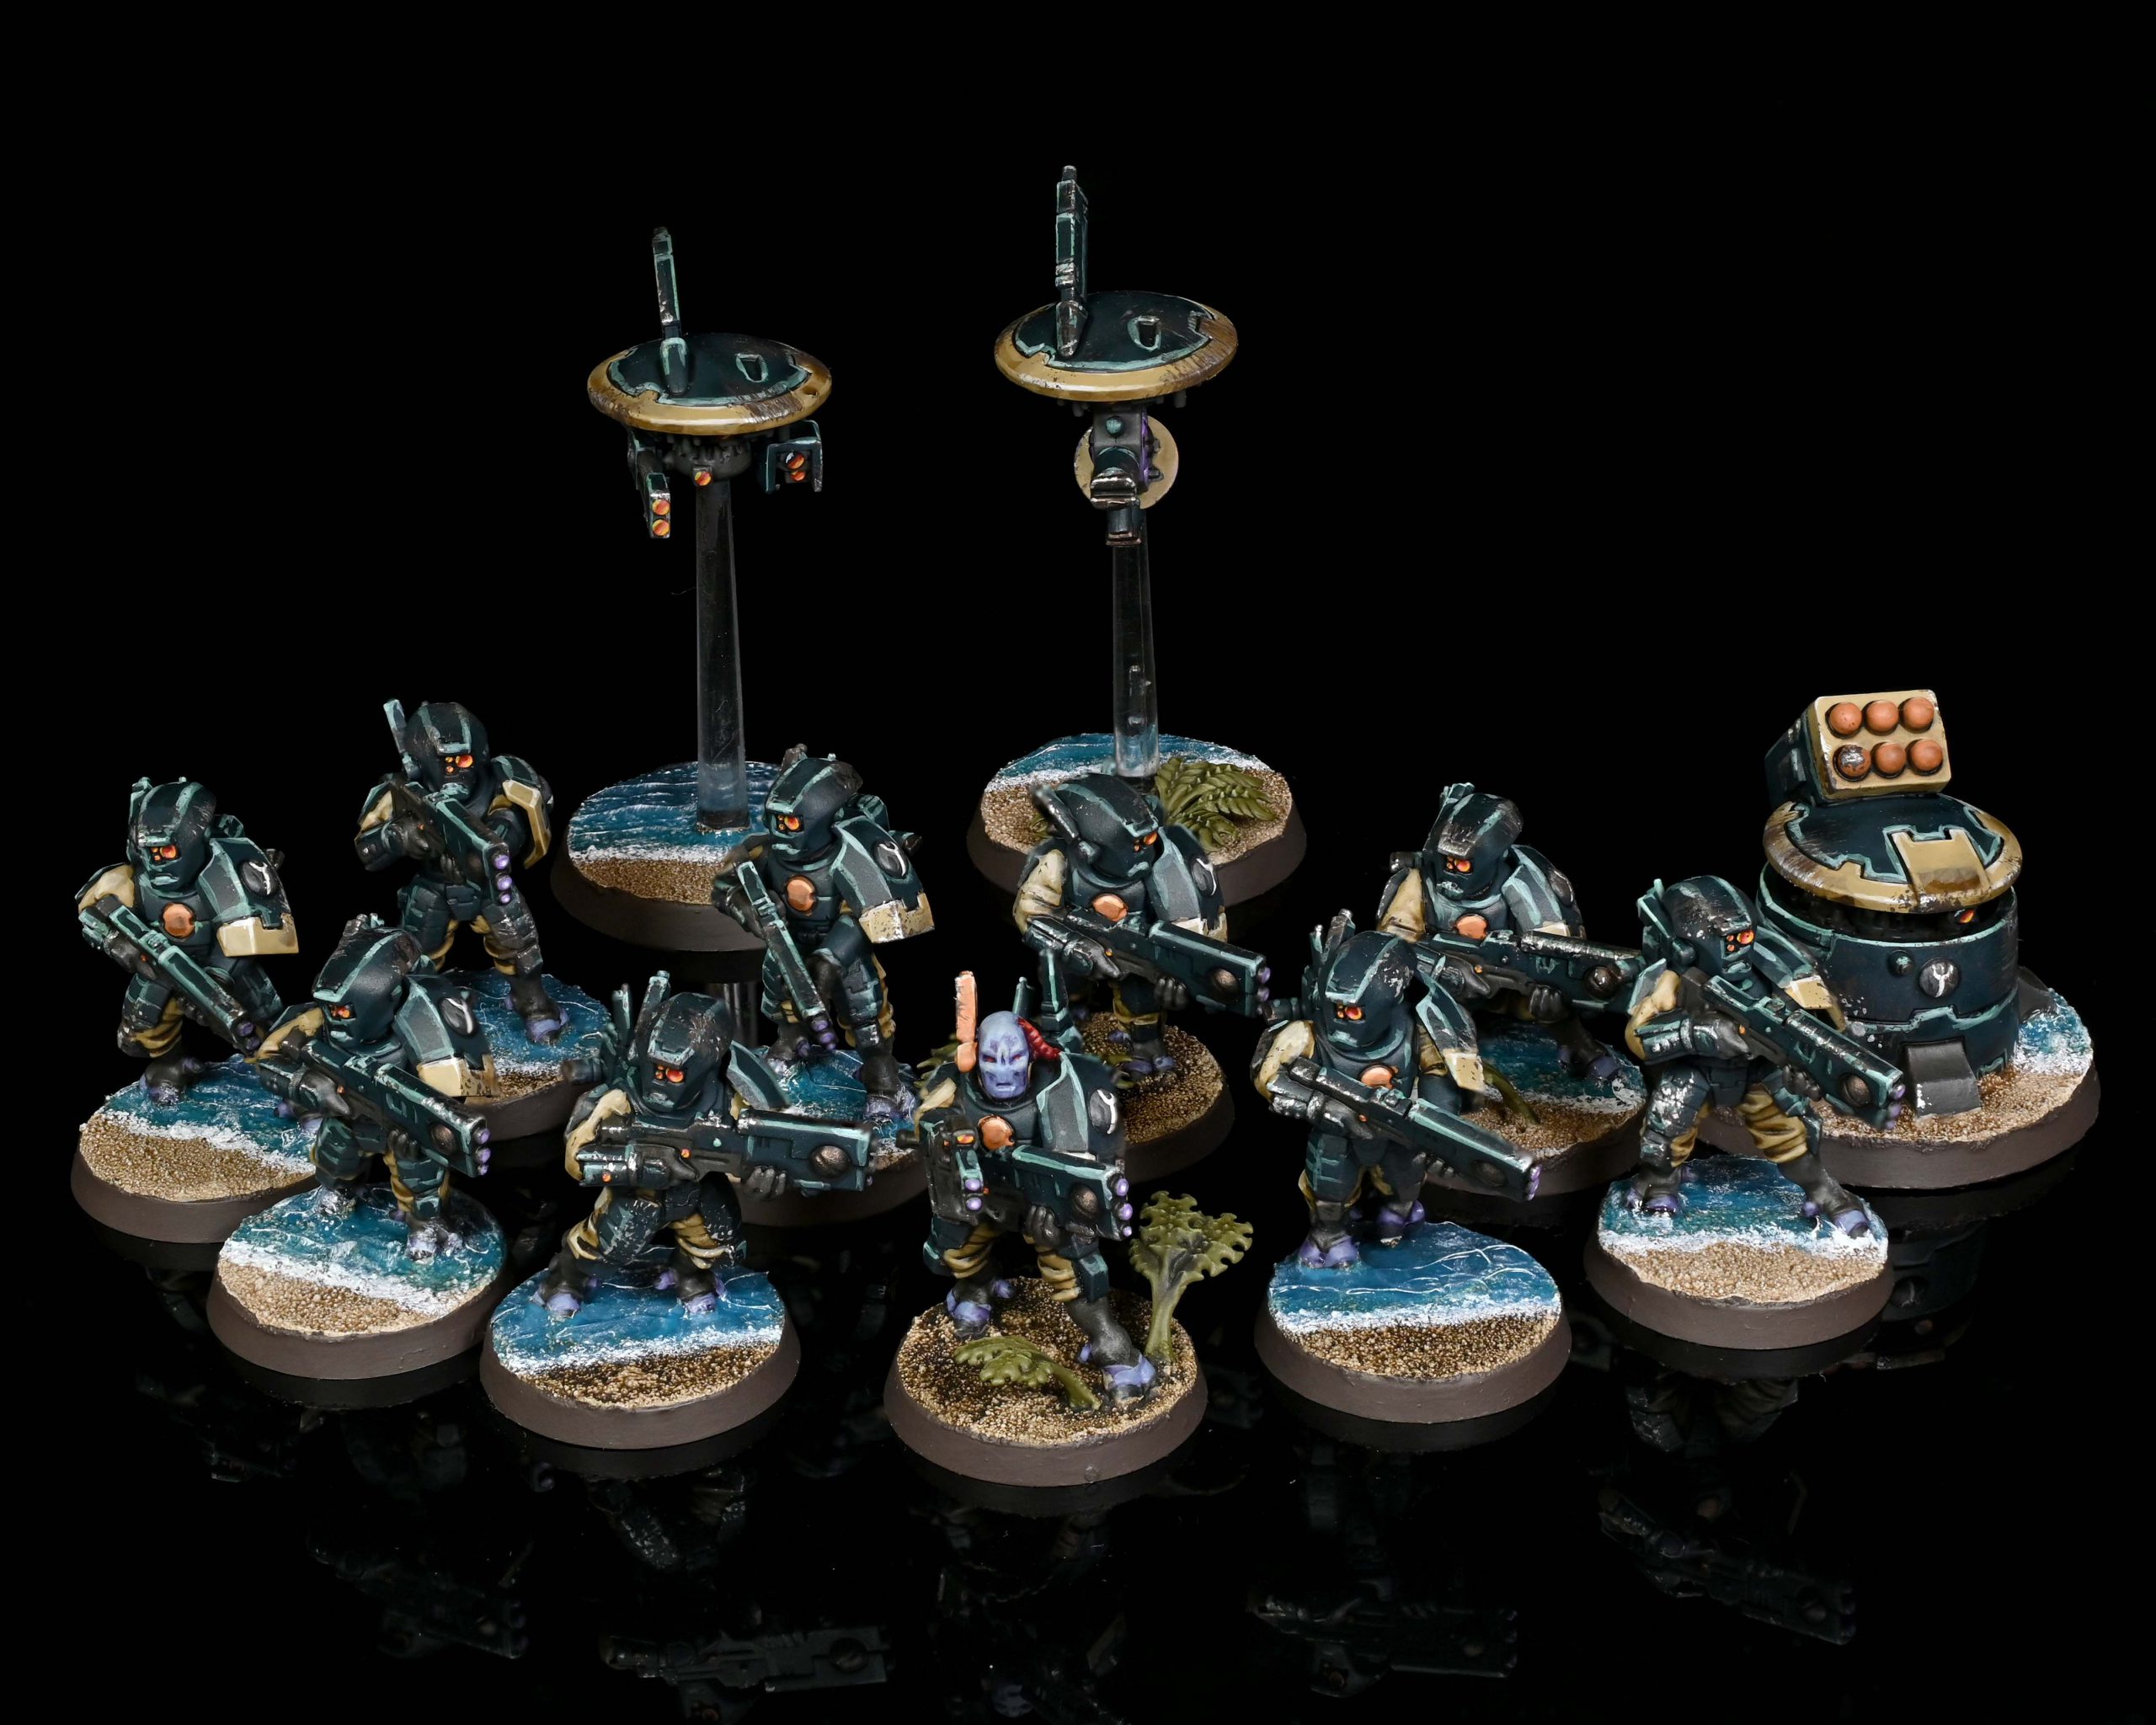
One year in we’ve seen several kill teams from the Compendium be replaced by teams in White Dwarf and other releases, though some Compendium teams are still out there and active. Among these are the Huntre Cadre, the T’au empire kill team from the Compendium. While another T’au kill team released in Chalnath last year – the Pathfinder kill team, the Huntre Cadre has some key differences in that it allows a greater variety of units, giving access to fire warriors and stealth suits.
Hunter Cadre Kill Teams
Following the release of Pathfinder Kill Teams in Chalnath, Hunter Cadre teams have now become the team option for players who want to bring more than just pathfinders to their teams. Which makes sense, as breachers and stealth suits kick ass and provide a completely different feel to what Pathfinder teams bring to the table. That said, because Pathfinder teams exist and largely offer the best possible implementation of that team, we’ll be focusing more here on the fire warrior and stealth suit options – if you want to play a team that’s heavy on Pathfinders, we recommend just running Pathfinders, who are already a strong option.
Team Structure
Hunter Cadre kill teams consist of two fire teams, picked from the following list:
- Fire Warrior
- Pathfinder
- Stealth Battlesuit
Fire Warrior and Pathfinder teams each give you six bodies, while Stealth Battlesuit teams give you three bodies, and the Fire Warrior and Stealth suit teams let you upgrade an operative to a Leader, while the Pathfinder teams let you add one. Fire Warrior and Stealth battlesuit teams are relatively lean on options, though one Stealth battlesuit per fire team can take a fusion blaster instead of a burst cannon.
Fire Warriors grant the team access to Security Tac Ops, while Stealth Suits fittingly come with Infiltration and Recon. While not as limiting as say, Necron teams, this does mean you drastically cut off your objective options by creating a pure team of either operative type. It is also worth pointing out that Hunter Cadres can’t access Seek and Destroy Tac Ops, which is a pretty big hit given how deadly their firepower can be.
This structure does grant Hunter Cadres the option of being either a horde team, an elite team, or a mix of both. Unfortunately, this flexibility doesn’t provide as many interesting tactical choices as you might hope for, particularly if you’re not taking Pathfinders on your team or trying to avoid them.
Drones
Hunter Cadre teams have access to drones. You can also replace one operative on a Fire Warrior or Pathfinder fire team with one drone operative, or replace a Stealth battlesuit with two drones, chosen from the list below:
- MV1 Gun Drone
- MV4 Shield Drone
- MV7 Marker Drone
- MB3 Recon Drone (counts as two selections)
- MV31 Pulse Accelerator Drone
- MV33 Grav-Inhibitor Drone
- MV36 Guardian Drone
- DS8 Tactical Support Turret
You can’t have more drones than non-drone operatives in a given fire team. Eagle-eyed readers here will note that Hunter Cadre teams get access to two options which Pathfinder teams do not: Namely, Guardian Drones and Tactical Support turrets.
Strengths
- Ranged Firepower – T’au shooting, as it turns out, is pretty good. The accuracy could be better – most T’au shooting hits on a 4+ – but even the pulse weapons all give you a 4/5 damage option, which is pretty good for base weapons. Teams can further improve this by using Markerlights to improve accuracy against a single target to get attack dice re-rolls.
- Mobility – Between drones and Stealth battlesuits, Hunter Cadre kill teams have access to a large number of operatives with FLY, letting them move around boards pretty easily.
- Versatility – Hunter Cadre Kill Teams are one of the most complex teams in the Compendium, with many options for different operatives, the ability to put markerlights on enemy units, and the flexibility to run as either a horde or an elite team. You’ve got options when you run this team and you won’t be able to cover them all with a single 20-operative roster.
Weaknesses
- Melee – Tau are famously bad at melee combat. If the enemy does get in close with your Fire Warriors and Pathfinders, they’re gonna die. Your operatives hit on a 5+ and only do 2/3 damage with their fists, so you want to avoid being in melee combat. The good news is your team has plenty of mobility to help avoid melee.
- Tac Ops – None of your fireteam options give you access to Seek & Destroy, which really stinks given how deadly your ranged firepower can be.
Abilities
While most Compendium kill teams are pretty straightforward, Hunter Cadre Kill Teams actually get some special rules and abilities to work with. Namely, drones and markerlights.
Markerlights
Some operatives on Hunter Cadre Kill Teams have the Markerlight unique action. For 1 AP they can select one Visible enemy operative and give them a Markerlight token until the end of the turning point. You can’t do this while you’re within Engagement range of an enemy, and if you also perform a Shoot action, you have to pick the same target with the Shoot and Markerlight action. Any time a shooting attack is made against an enemy unit with one or more Markerlight tokens, you can re-roll one of your attack dice.
…And that’s it. Unlike with Pathfinder teams, you don’t get better benefits by having more markerlight tokens on an enemy unit. On the other hand, you also don’t remove tokens after shooting a markerlit target, so there’s no need to put more than one per round on a target.
Markerlights are primarily a Pathfinder ability, though you can also get them without Pathfinders by taking MV7 Marker Drones or the Markerlight Equipment for 2 EP. Generally speaking, Markerlights are a great way to focus fire down a target and ensure accuracy with some of the team’s powerful weapons that otherwise only hit on a 4+. That said, giving up a shot for a markerlight is less valuable, so unless you’re getting the bonus on 2+ firing models or using it to push through fusion blaster attacks, you’ll typically be better off just shooting with another model over using a markerlight.
Drones
Hunter Cadres come with the ability to swap operatives out for drones that are specific to that type of operative. Each drone has different datasheet abilities, but all come with Artificial Intelligence and Savior Protocols. The former is a set of limits on what drones can do compared to standard operatives, and the latter is an ability for drones to take hits in place of standard operatives when targeted by shooting attacks.
Artificial Intelligence
Drones are AI controlled, and so can’t perform mission actions or do the Pick Up action. They also count as APL 1 less when determining objective control, can’t benefit from Cover while in Engage, and can’t have equipment. Basically, drones are more helpful tools than they are full-fledged operatives in your team, but they’re very useful tools and in some cases, pretty durable.
Saviour Protocols
Each time a friendly Hunter Cadre operative within 2″ of a Drone operative is picked as the target of a shooting attack, you can have a drone opt to protect it until the end of the Turning point. The drone can’t be in engagement range of an enemy, has to be visible to the targeted operative, and can only protect one operative at a time. While protecting an operative, ranged attacks are made against the drone instead (the drone can’t retain dice for cover). Note that, per the FAQ, this won’t help you against subsequent attacks from Blast/Torrent weapons and can’t be used to stop shooting attacks that hit every operative within a certain point, e.g. grenades. Otherwise, it’s a helpful way to protect some of your higher-value operatives, though it requires staying within 2″ of them, which may require some careful planning.
Operatives
Credit: Charlie A.
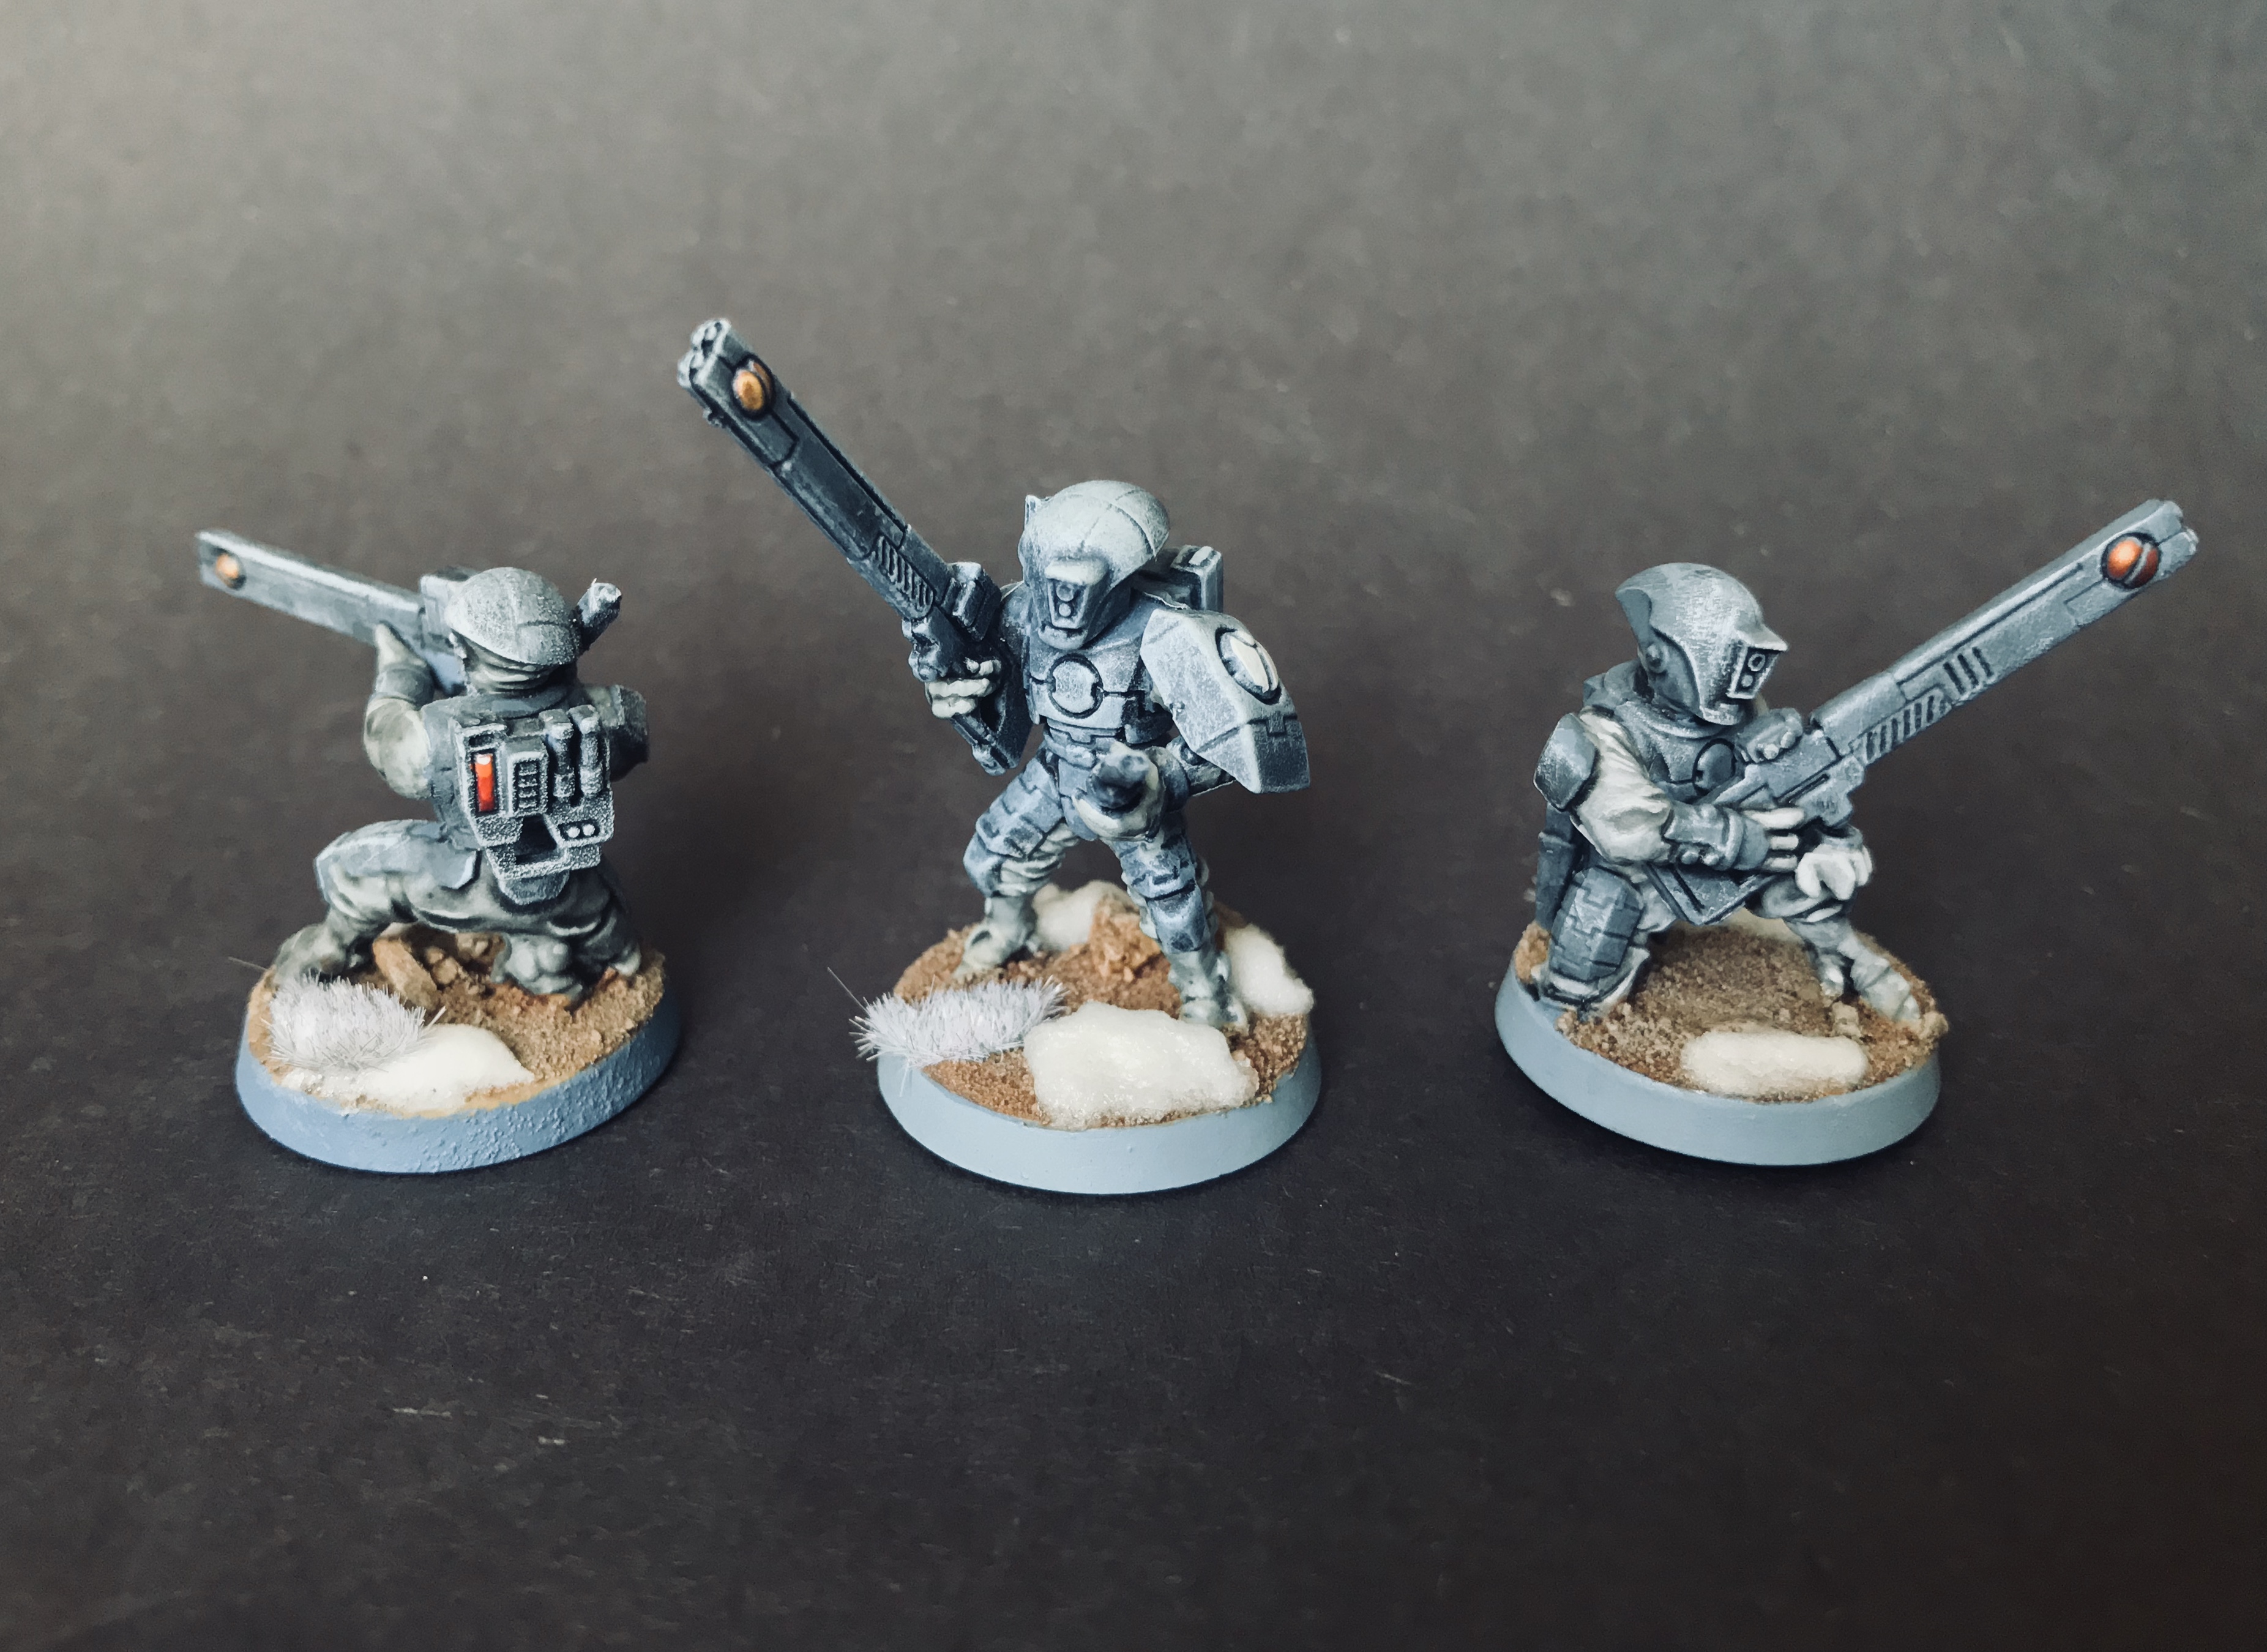
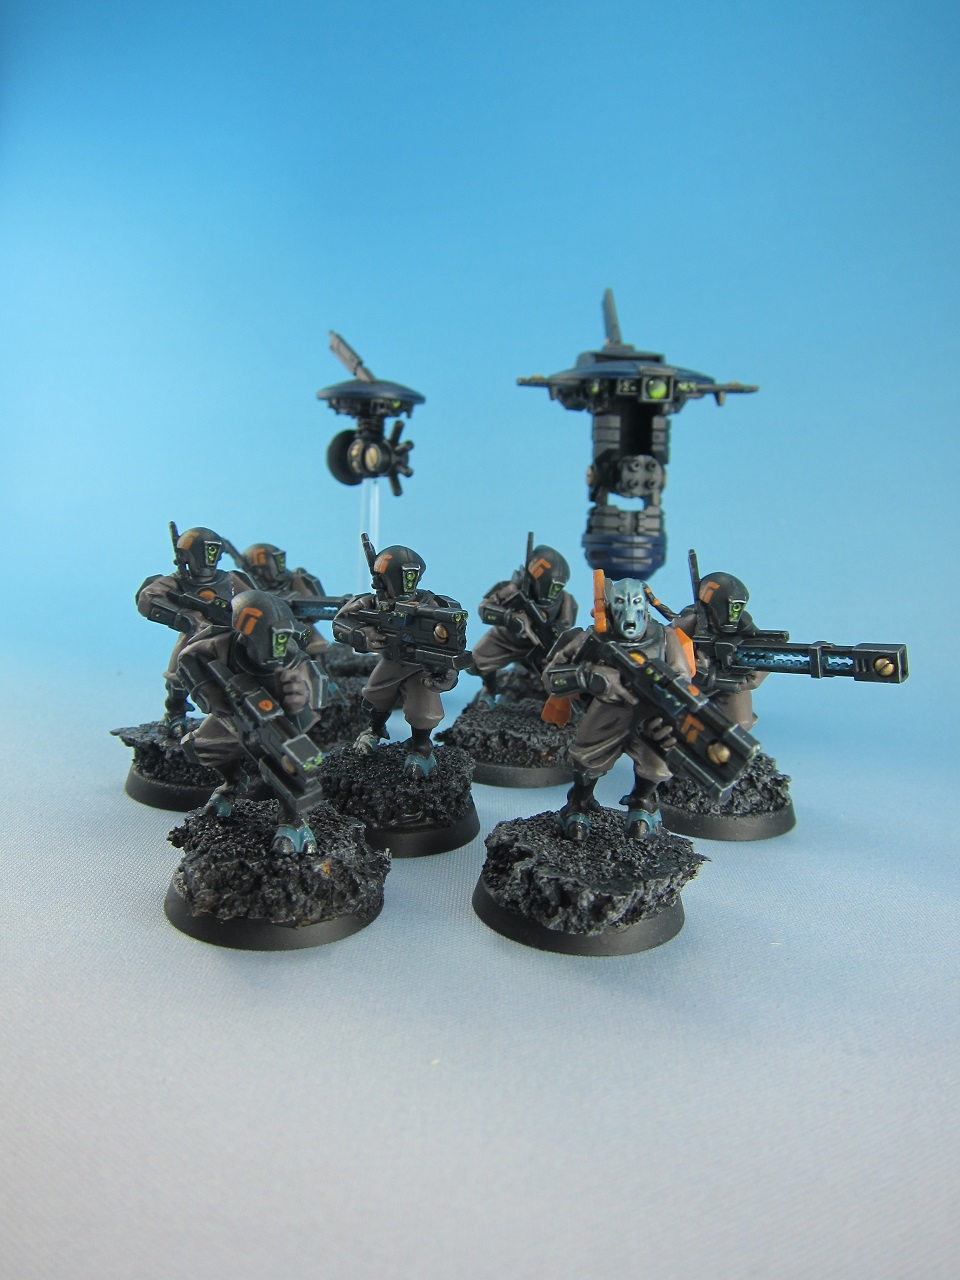
Fire Warriors
Fire Warriors are ostensibly the bread and butter of Hunter Cadre Kill Teams. Compared to Pathfinders they come with a 4+ save and a few more weapon options, though Pulse Rifles are mechanically identical to the Pulse Carbines that Pathfinders get. Fire Warriors do have access to Pulse Blasters however, which offer two modes of fire. The long-range mode is a standard boltgun 4-shot, 3/4 damage profile while the Close range profile jumps to 4/5 damage with 6″ Range and AP1. That’s neat, but also requires you to get a lot closer than you might otherwise want to do with a team that can’t do much in melee.
Pathfinders
Pathfinders still have some value in Hunter Cadre teams despite being significantly better in Pathfinder kill teams. They come with the Markerlight unique action built-in and Pulse Carbines, but the tradeoff from fire warriors is that they have worse saves, dropping to 5+. A Pathfinder fire team can include a single heavy gunner, who doesn’t have the markerlight action but has the option to take either an Ion Rifle or Rail Rifle.
- The Ion Rifle gives you two profiles to choose from, both of which get 5 shots – standard does 4/5 damage with AP1 on crits, while overcharge does 5/6 damage at AP1 and the Hot rule.
- The Rail Rifle instead does 4 shots with 4 flat damage, AP1, Lethal 5+ and does 2 mortal wounds on a crit, making it a nasty way to push through damage (and a good target for markerlights).
Overall the rail rifle seems like the better option here from a damage out standpoint, giving you good odds to push through mortal wounds while not having a chance of hurting your operatives. It also gives you the second best markerlight target on the team (next to fusion stealth suits).
Drones
T’au teams have a large number of drone options to choose from. Drones generally have 6″ movement, a 4+ save, and 7 wounds.
- Gun Drones are the basic drone in the group, just a flying pod with guns. They come with a Twin pulse carbine that looks the same as a regular pulse carbine but it has the Relentless rule, making them as durable as a Fire Warrior and more accurate.
- Shield Drones have no ranged attacks, but instead has a 4+ invulnerable save and the ability to ignore incoming wounds (excepting mortals) on a 5+, making them primarily tools for tanking damage via Saviour Protocols.
- MV36 Guardian Drones are more like general area shield drones. They have a 5+ invulnerable save and come with a unique action – Guardian Field (1 AP) gives friendly operatives within 3″ a 5+ invulnerable save, potentially protecting multiple models at once.
- MV31 Pulse Accelerator Drones are firepower support. They have a passive aura that gives operatives firing pulse weapons within 3″ the ability to retain one attack as a successful normal hit without rolling. Mathematically this is much better than a markerlight, but worse than having an operative that can shoot and markerlight something.
- MV33 Grav-Inhibitor Drones have a bit more going on than your average drone but are primarily used to stop your guys from getting charge. Their passive Grav-inhibitor aura reduces the added distance added to enemy charges and dashes by 1″ – if they’d move within 6″ of the drone, then they only add 1″ to their charge instead of 2″, and their dashes are only 2″ instead of 3″. They also have a unique action – Grav-Wave (1 AP), which lets them put a token within 6″ that makes Fall Back actions free (0 AP) for friendly operatives, helping them escape from combat. This isn’t as good as not getting into combat in the first place, but it’s still decent as a consolation.
- MV7 Marker Drones are drones that can markerlight. That’s it. This is not the best use of an operative spot in your team.
- MB3 Recon Drones count as two drones, and that’s partly because they come with 12 wounds but also because they’re packing more heat. Each one has a Burst Cannon, a 6-shot, 4+ 3/4 damage gun with Heavy, Ceaseless, and Fusillade. On top of that they have the Analyse (1 AP) action, which lets you pick a visible enemy operative and then immediately activate another friendly operative. During that operative’s activation it can re-roll any or all of your attack dice against that enemy operative. This is a pretty powerful boost, and that it comes on a drone that also has a decent gun makes it a compelling pick, even at the cost of two other operatives. The only downside is that only Pathfinder teams can take one.
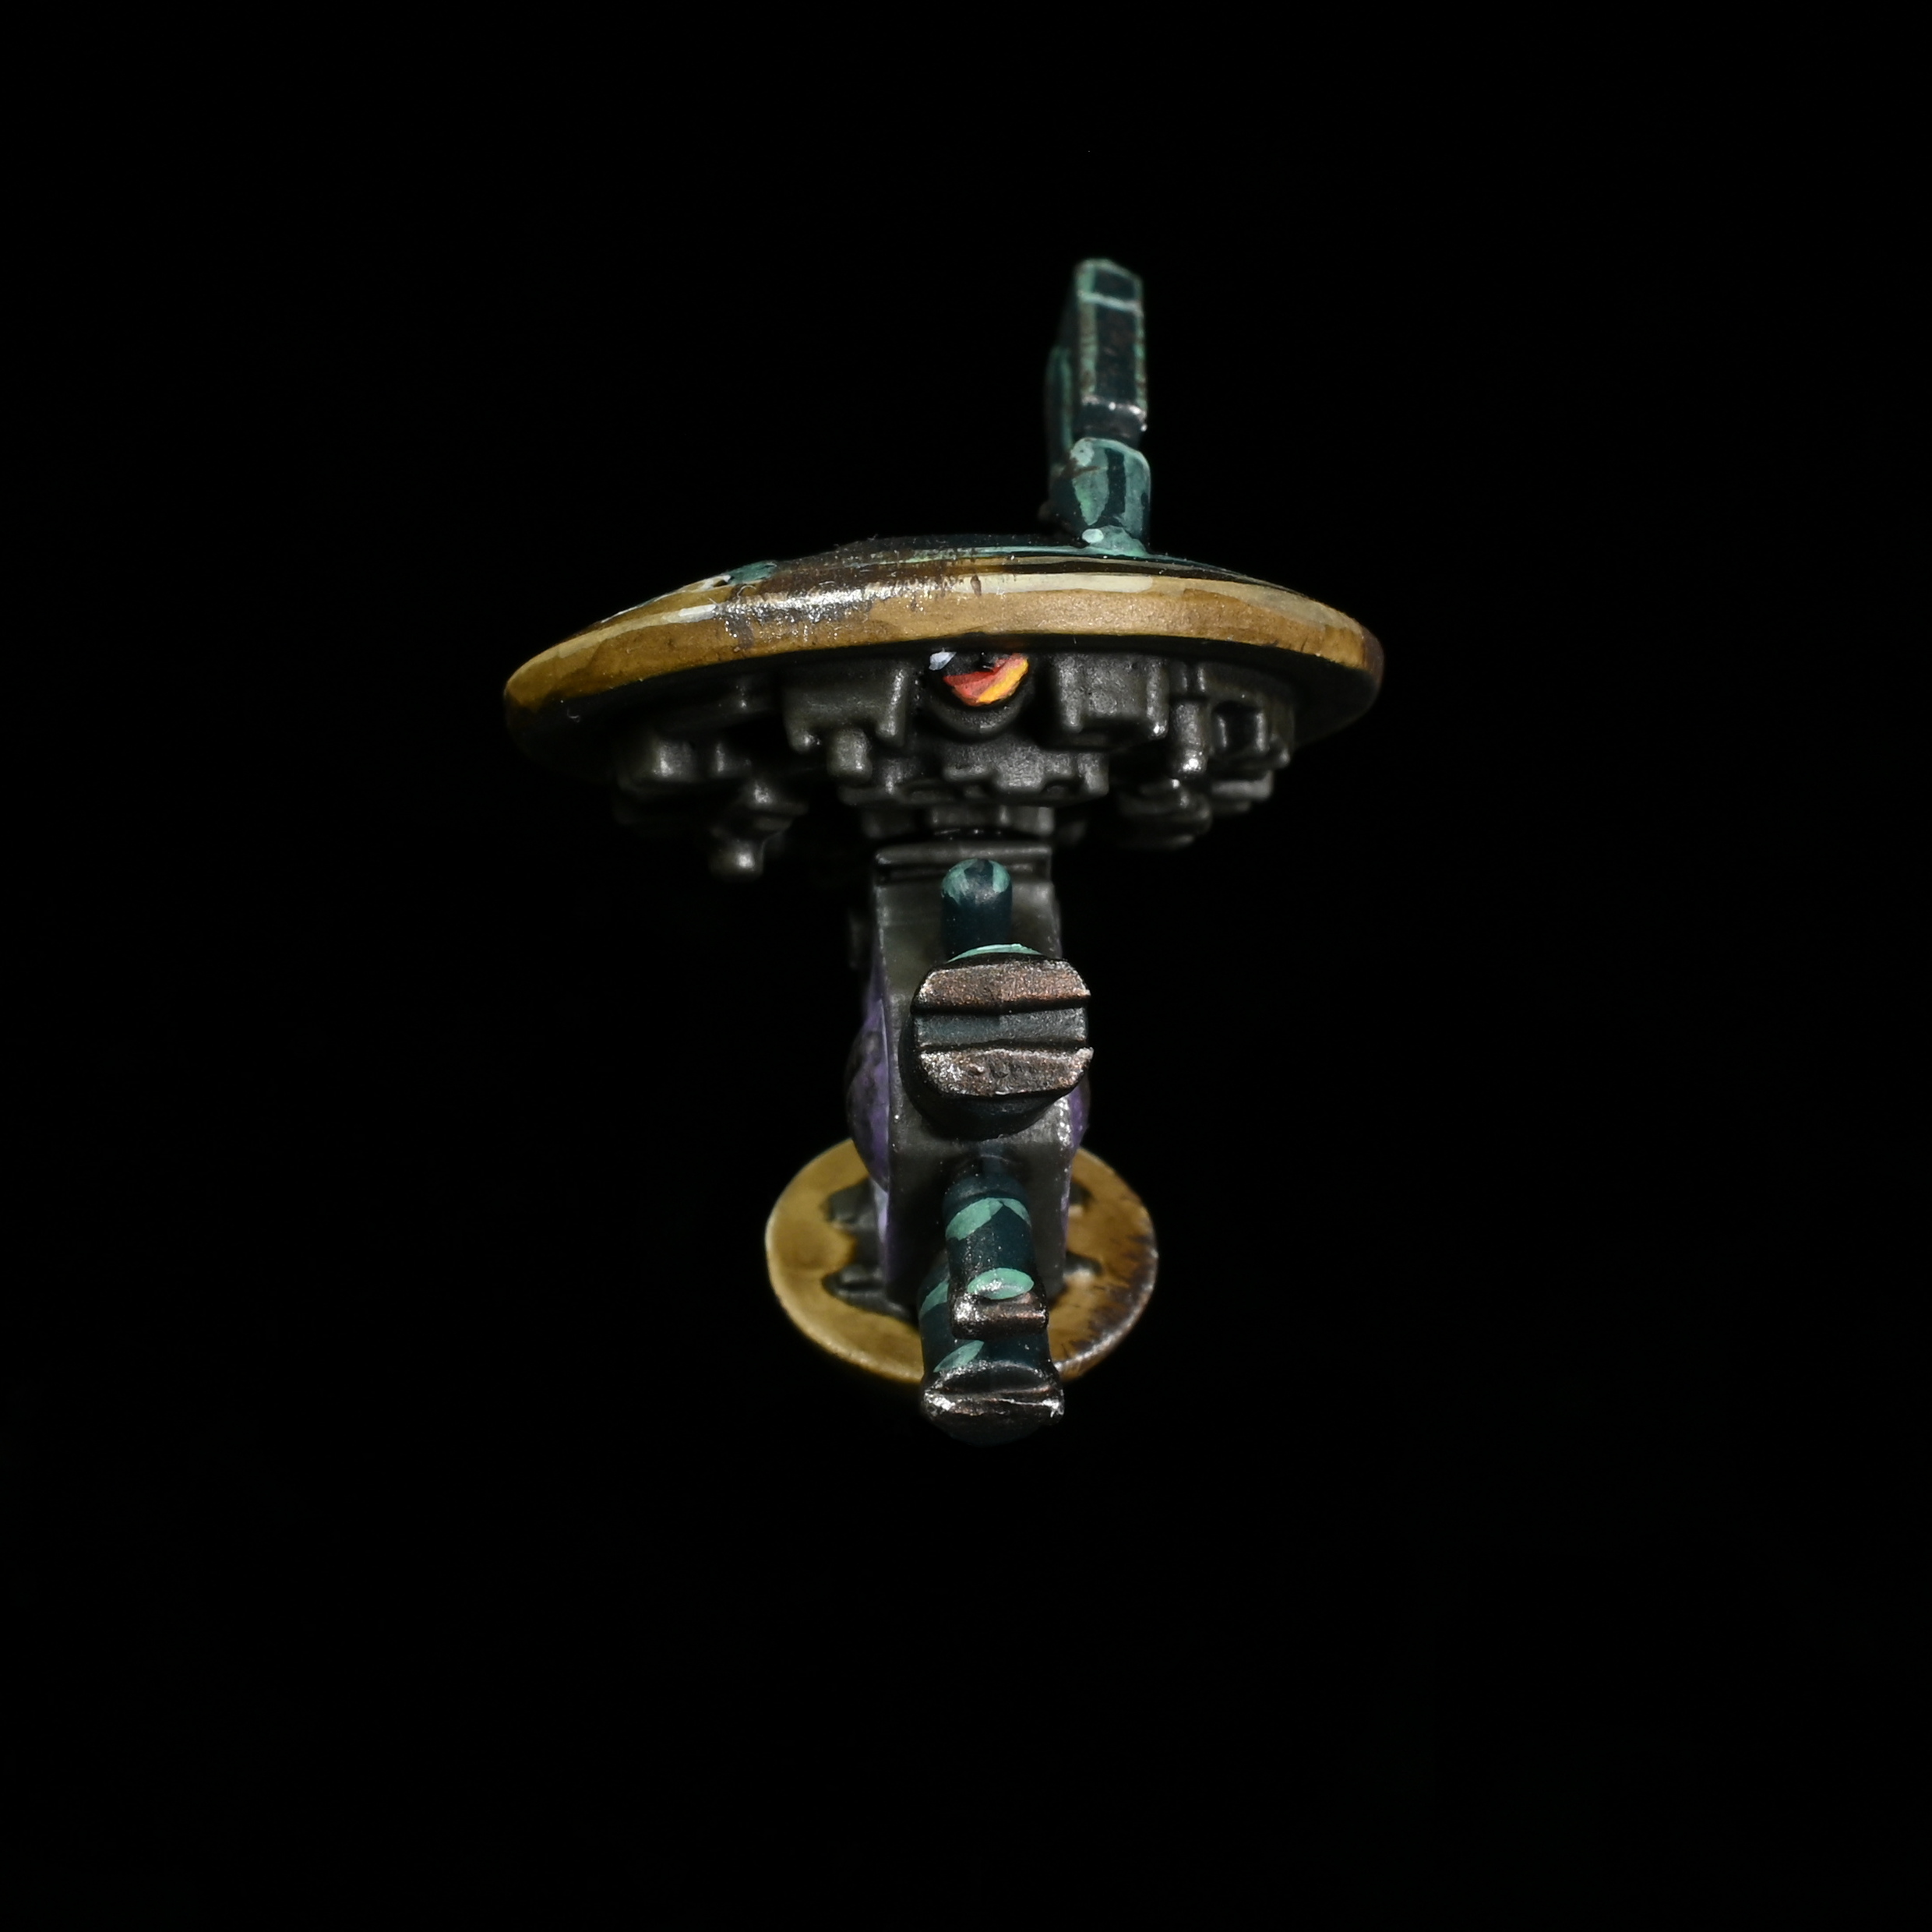
- DS8 Tactical Support Turret isn’t really a drone like the others; it can’t move and can’t have a Conceal order or fight in melee, plus it can only perform shoot and overwatch actions. It comes with a missile pod and a Smart missile system, the former of which is a 4-shot D5/7 Heavy weapon, and the latter of which is 6 shots, 3/4 damage and has the Smart Targeting rule, which allows it to ignore line of sight and Cover but only score normal hits on 6.
Ultimately whether you use drones depends on your team; it’s a hard sell to say that you’d want one or two drones – even the better ones – over a stealth suit, but replacing one or two of your fire warriors may be a solid option, since you can’t get heavy weapon options in a fire warrior team outside of the support turret. The only potential exception here would have been the Recon Drone, which comes with enough firepower to adequately replace a stealth suit on its own and gives you the benefit of doing the powerful double activation, but unfortunately you can only take those in a Pathfinder team, so *whomp whomp*.

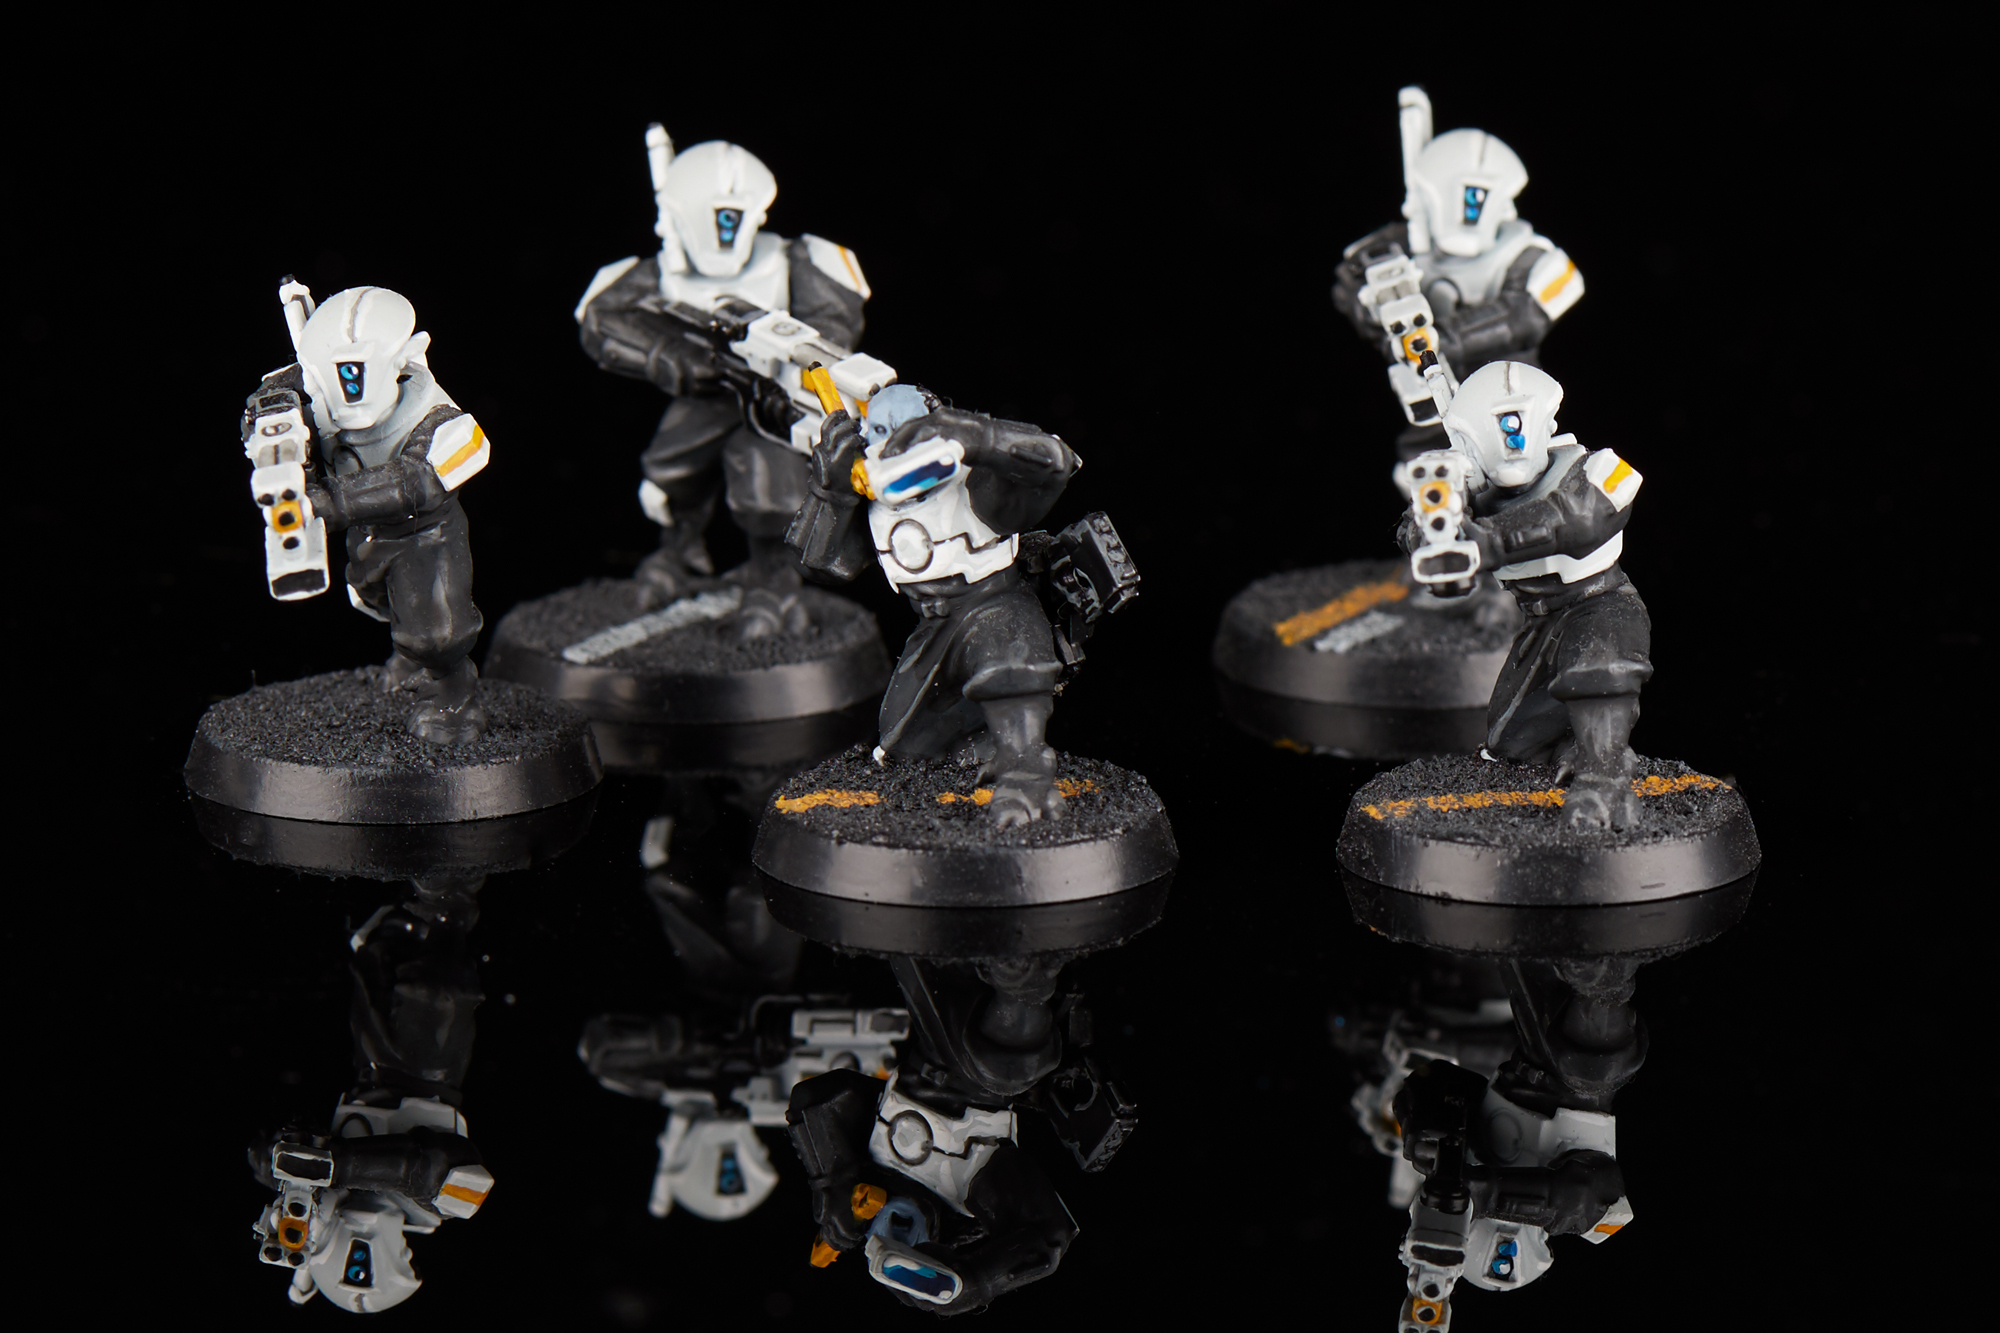
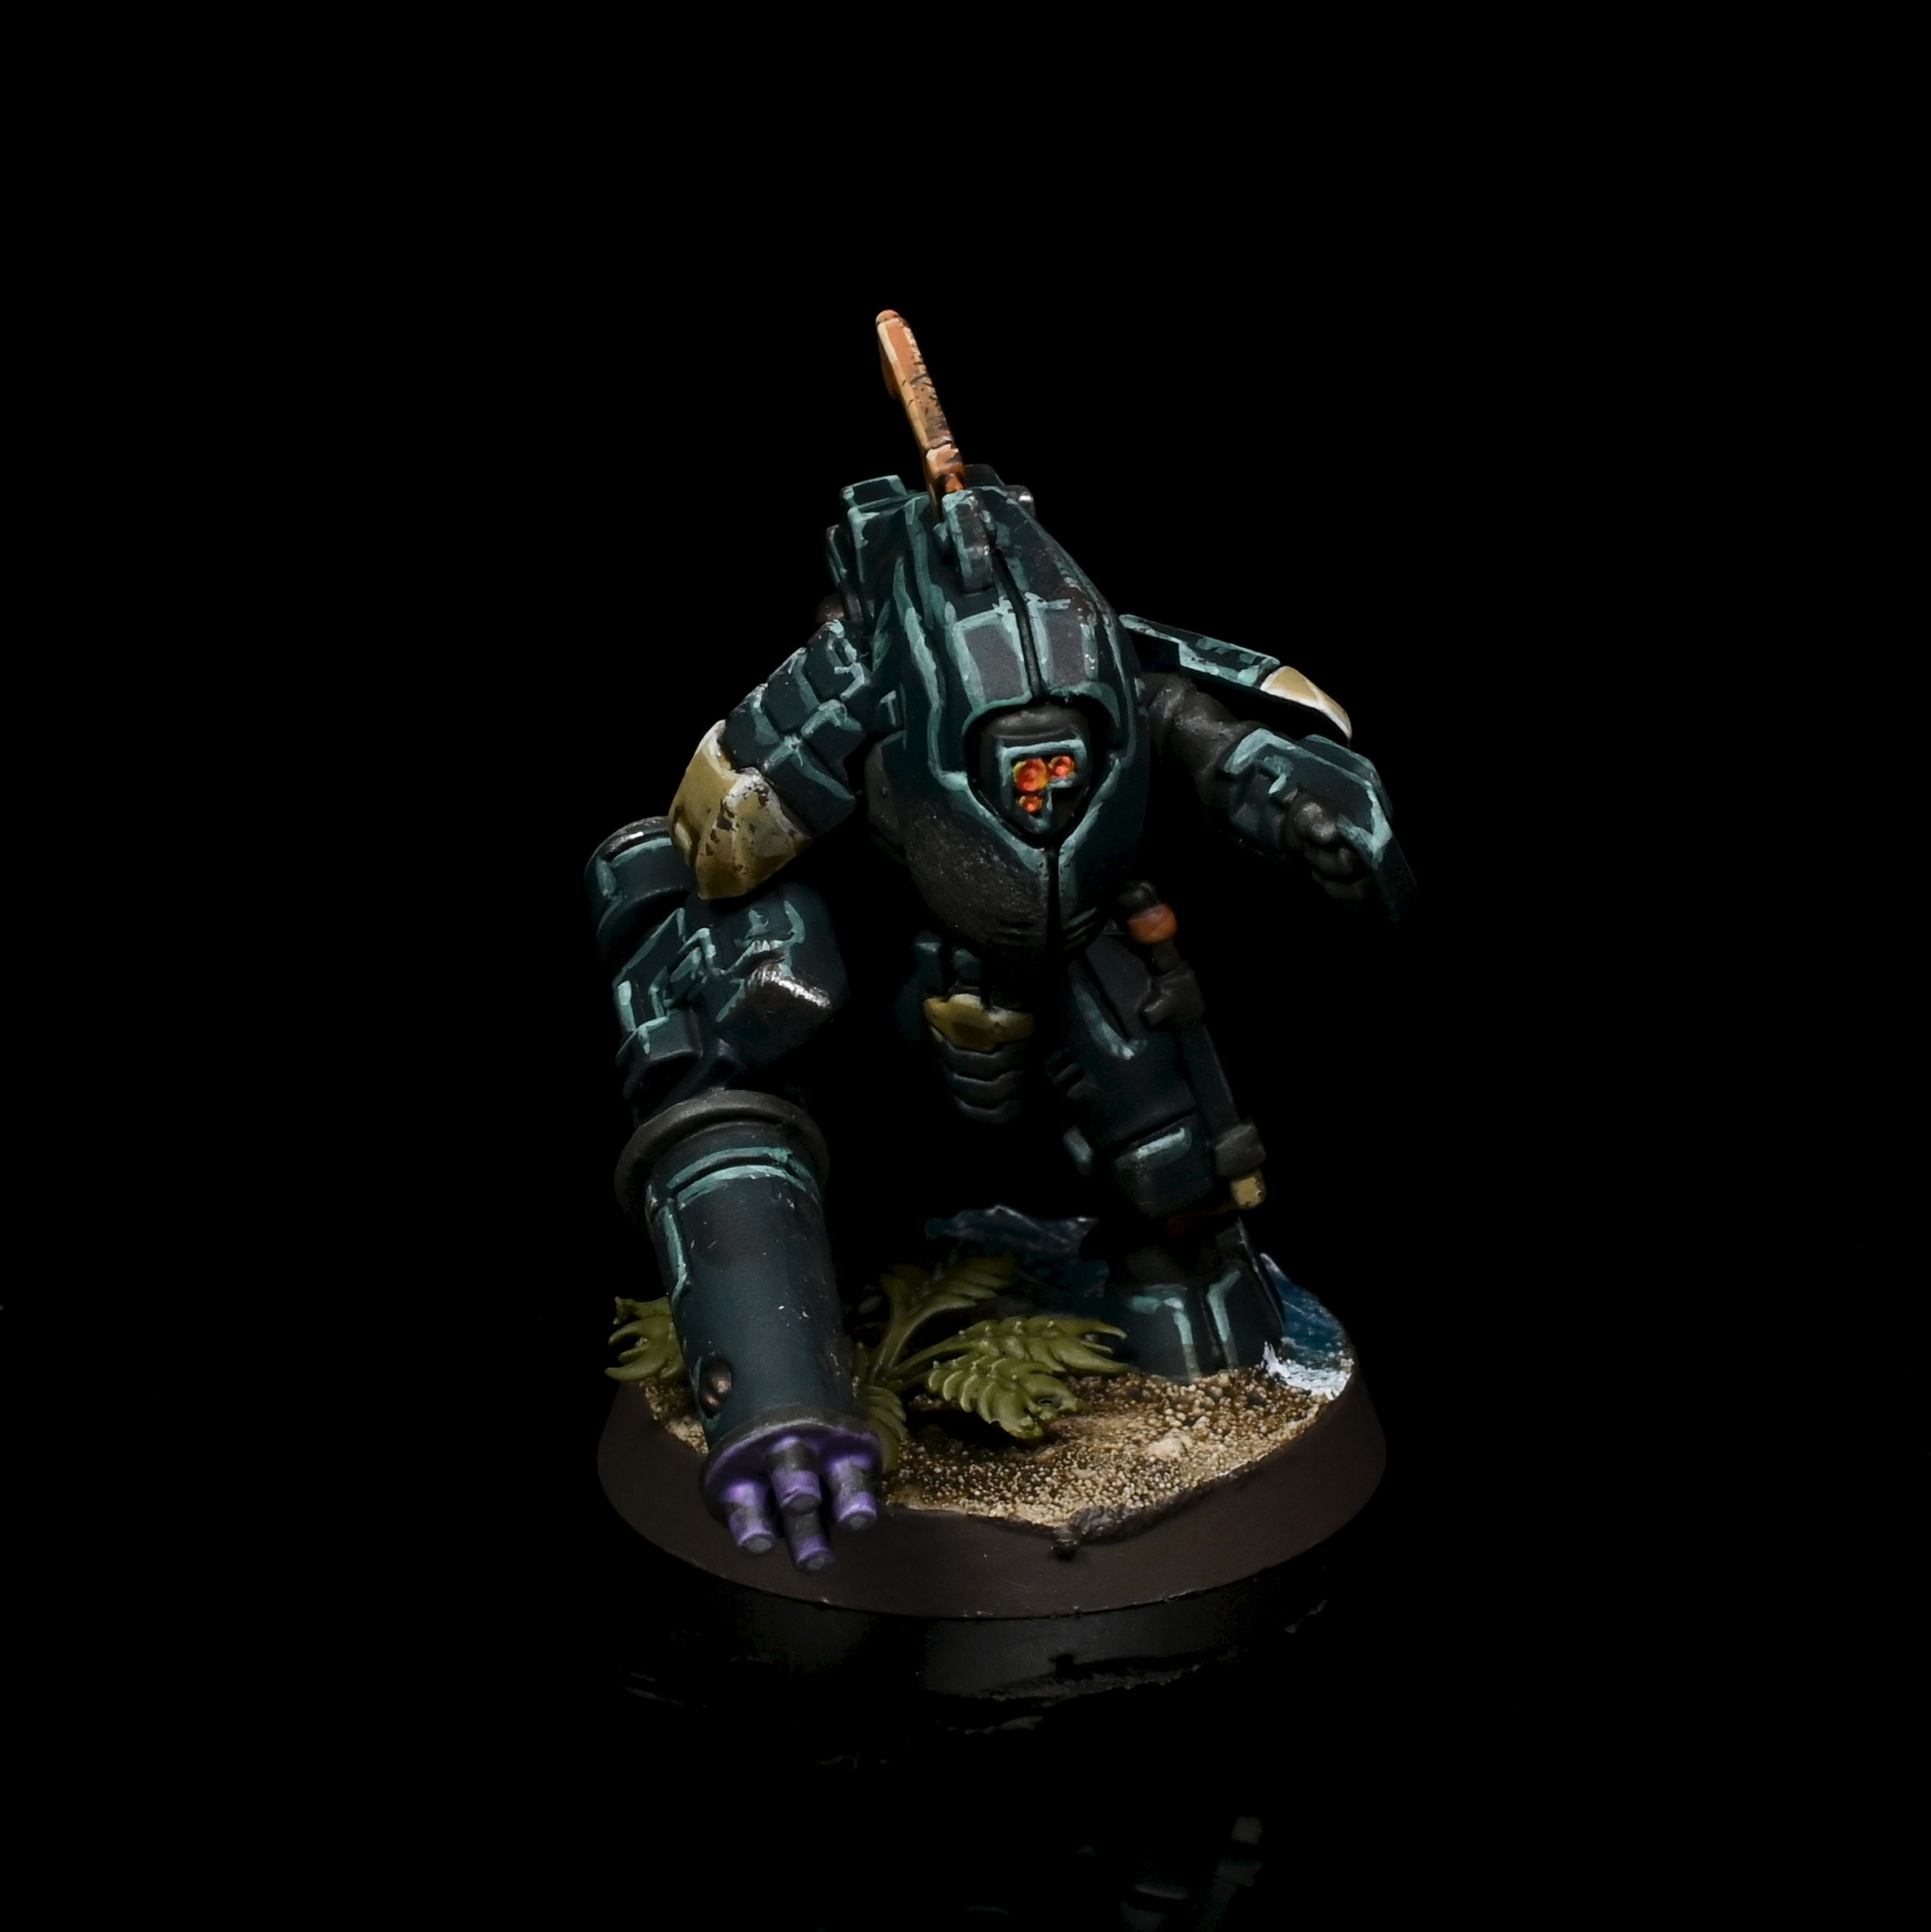
XV25 Stealth Battlesuit
This is what you’re really here for. Stealth Battlesuits come with a 3+ save, 10 wounds, FLY, and the Camouflage Field, a unique ability that lets them always be treated as in cover as long as the attacker is more than 2″ away (this also doesn’t protect against subsequent blast weapon attacks). Additionally, these operatives are always treated as being in Conceal while under a Conceal order, even if you have something like a Vantage point that might take it away. They’re not Custodes level tough but they’re reasonable durable and they come with burst cannons, 6-shot 3/4 damage guns with Ceaseless and Fusillade that lets them really put out some hurt. One operative per fire team can take a fusion blaster, which is basically a meltagun, dropping them to 6″ range but doing 6/3 damage with AP2 and 4 mortal wounds on a crit. Because the Leader operative gets +1 to hit, you want them to be a Stealth Suit 100% of the time to maximize the damage output you’ll get as a result, and having a Fusion Shas’vre on your roster is a no-brainer.
Ploys
Hunter Cadres are unfortunately in a bad spot with regard to ploys – 4 out of the 6 available ploys are restricted to specific operatives, and even then most of them aren’t particularly good, even if we consider Compendium Pathfinders as a viable option here.
Strategic Ploys
Aimed Pulse Volley (1 CP)
Until the end of the Turning Point, Fire Warriors can re-roll a single shoot die when they perform a Shoot Action with a pulse rifle if they did not move during the activation. Right off the bat this a stinker being in essence an inferior version of the Necrons’ Relentless Onslaught as it is restricted to a type of operative and weapon and requires the operative to not move. This later requirement is especially painful in a game where movement is extremely powerful. D
Breach and Clear (1 CP)
For the Turning Point, Fire Warriors armed with the pulse blaster ignore cover and may re-roll a single shooting attack against targets within 3 inches. This is pretty damn pointless since if you’re fulfilling the range requirements of this ploy then odds are high that you would be ignoring cover anyway. The re-roll is rather nice for a team that runs at a 4+ to hit/wound, but unfortunately we are talking about a team that doesn’t really want to be in melee or getting that close to begin with. D
Camouflage Field Engagement (1 CP)
For the Turning Point, Stealth Suits gain the Camouflage Field Engagement (1 AP) action, which allows them to change their order. Identical to the ploy given to Deathmarks, and much like that ploy, this should just be on the operative’s data-sheet. I rank it slightly more useful for the simple fact that you may actually wish to take Stealth Suits if you’re playing a Hunter Cadre. This is best used on Stealth Suits who find themselves already on a vantage point at the beginning of a Turning Point. C+
Recon Sweep (1 CP)
Allows Pathfinders to perform a free Dash Action as long as they’re within 6 inches of a kill zone edge, and they must end that action within 6 inches of a kill zone edge. Anything that provides extra actions or movement is good, but unfortunately it is Pathfinders only, and was migrated to the Pathfinder Kill Team. Once again, if you’re playing with Pathfinders you shouldn’t be using the Hunter Cadre rules. D
Tactical Ploys
Supporting Fire (1 CP)
Use in the Firefight phase when you shoot with an operative. You must pick as your target an enemy operative within 6″ that is also within engagement range of a friendly operative and not in Cover. So basically lets you shoot at an operative fighting one of your operatives.
Stand and Fire (1 CP)
Use when a non-drone operative is selected as the target for combat. You can use a ranged weapon to fight with and treat your BS as the WS, but you lose any special rules for the weapon.
Equipment
Hunter Cadres have a number of equipment options, and they range from mediocre to near worthless.
Markerlight [2 EP]
This piece of equipment is so bad that Games Workshop just decided to give it to the entire Pathfinder team for free! The difference between how Markerlights work for Hunter Cadres vs Pathfinders is night and day. F
Photon Grenade [2 EP]
Grants the Photon Grenade (1 AP) action in which an operative may target a visible enemy, and on a 2+ that enemy gains a photon token until the end of its next activation. An enemy with a photon token has its movement reduced by two inches, and can’t perform a Dash Action. The roll to place the photon token on an enemy operative is reduced by 1 if it is not within line of sight or six inches of the operative performing the action. The ability to reduce enemy movement can be very powerful in Kill Team, especially when used on melee specialists. That being said, requiring a roll to ensure it happens really limits its usefulness. D
Target Lock [3 EP]
A stealth suit equipped with this item treats any target of a shooting attack as having a Markerlight. Finally, a straightforward buff, and basically a requirement if you plan on taking stealth suits. When you couple this equipment with the Ceaseless weapon trait the efficiency of Burst Cannons increases drastically. C
Holographic Readout [2 EP] Leader Only
Once per game an operative within 3 inches of your leader may perform mission actions at one less AP until the end of its activation. As I have mentioned in earlier articles, anything that modifies AP is very powerful. Unfortunately this item is possibly one of the weakest examples of this. It is single use and has a range limitation, but take note that there is nothing that prevents the Leader from using it on himself. C simply because…there isn’t much else here.
Stimulant Injector [3 EP] One per Kill Team
Once per battle when the operative equipped with this item is either activated or receives damage it may activate the injector to: ignore injuries, ignore APL modifiers, AND ignore wounds on a 5+. This is alright, considering Cadres don’t have much else in the way of survival abilities. Unfortunately at 3 EP this is in stiff competition with Target Lock if you’re running Stealth Suits. D
Tac Ops
As mentioned before, Fire Warriors only have access to Security Tac Ops, while Stealth Suits have Recon and Infiltration. The absence of Seek and Destroy is a pretty big blow to a Kill Team that sports some of the nastier shooting capabilities in the game. Especially rough on Stealth Suits is that half of the Recon and Infiltration Tac Ops have mission action requirements without the 3 APL common to other elite teams.
What to Take?
Tau Hunter Cadres come with a LOT of options, which can be a bit intimidating when you’re deciding on what to take. Fortunately or unfortunately, depending on your perspective, most of those options are pretty bad, so that really narrows down on what you take. First off, never take two Fire Teams of Fire Warriors; this utterly limits your options, and is ultimately just an inferior version of the Pathfinders team. That being said, if all you own are Fire Warriors your options are pretty straight forward and I would recommend at least half your operatives take Pulse Blasters with the Holo-Readout and Injector on your Leader with a Photon Grenade and Markerlight on two of your Pulse Rifle equipped Operatives. Lastly, if you have access to Drone models the Recon and Gun Drones are the only ones I would recommend taking, and it’s worth swapping out Pulse Rifle Operatives for gun drones (again, you only get Recon in Pathfinder teams, but it’s worth it to swap them out there if you’re going that cursed route). The logic here is that Kill Team quickly becomes a close range battle, and you will definitely be making use of the Blaster’s AP1 on Turning Point 2 and later.
Ok, now let’s get serious. If you are looking to take Hunter Cadres, the most interesting way to play them is to take two Fire Teams of Stealth Suits. Against hordes you will want to stick with Burst Cannons, switching in Fusion Blasters when up against anything with Power Armor. At least two operatives should be given Target Lock with the remaining EP either going to the Holo-Readout or the Stim Injector depending on the mission or the match up. If neither of these feels useful, just take another Target Lock. As I mentioned before the big problem for this team is it has an exceedingly low AP total of 12 with no way to increase the APL of any operative, but this is the most unique option that Hunter Cadres have available, and if nothing else has the ability to simply shoot your opponent off the board and then score objectives at its leisure.
Painting and Collecting T’au
Unfortunately, you’re ultimately going to need to draw models from several different boxes to make a fully viable team. The Stealth Suits box is a good place to start, but once you have six of those, look at a box of Breachers and a box of Fire Warriors. If you’ve already got a T’au army you should have plenty of drones but you’ll also get some in each box.
We have an article on how to paint T’au here.
Final Thoughts
Crisis Suit Hunter Cadre teams can pack a real punch; just don’t let your opponent get into melee range and you might stand a chance. As always, if you have any questions or feedback, drop us a note in the comments below or email us at contact@goonhammer.com.
