
Attention, company! Welcome back to our weekly Kill Team coverage. Today we’re covering one of the most basic aspects of the game: How to set up a good terrain layout. Whether you’re a casual dicechucker or a competitive die-hard, you will want to set up tables that are fair, balanced, and which allow both teams to compete, letting players enjoy the game to its fullest.
In this article we’re going to talk about how to build good terrain layouts for kill team, providing advice for both players and tournament organizers looking to do layouts for events. Additionally, note that we’re going to be focusing mostly on classic Kill Team games and layouts – while much of this will also apply to Gallowdark/Into the Dark play, there are some specifics around that we’ll cover in future articles.
“But Ace,” you ask, “Can’t I just place random elements and that’s it? Isn’t it enough to place elements that block sight, as we did in the past editions, and make sure both players have them?” I’m afraid this is not the old kill team or warhammer 40k – there’s much more to it than just blocking line of sight. Visibility and terrain characteristics play a big role here, and so does the mission – where players set up and where they have to go are important things we need to consider when building a table.
Build the Table for the Mission
Before we jump into how to place terrain though, we have to talk about building with a purpose. In Kill Team – especially if you’re setting up tables at competitive events – you want to build layouts for a particular mission. The process here is:
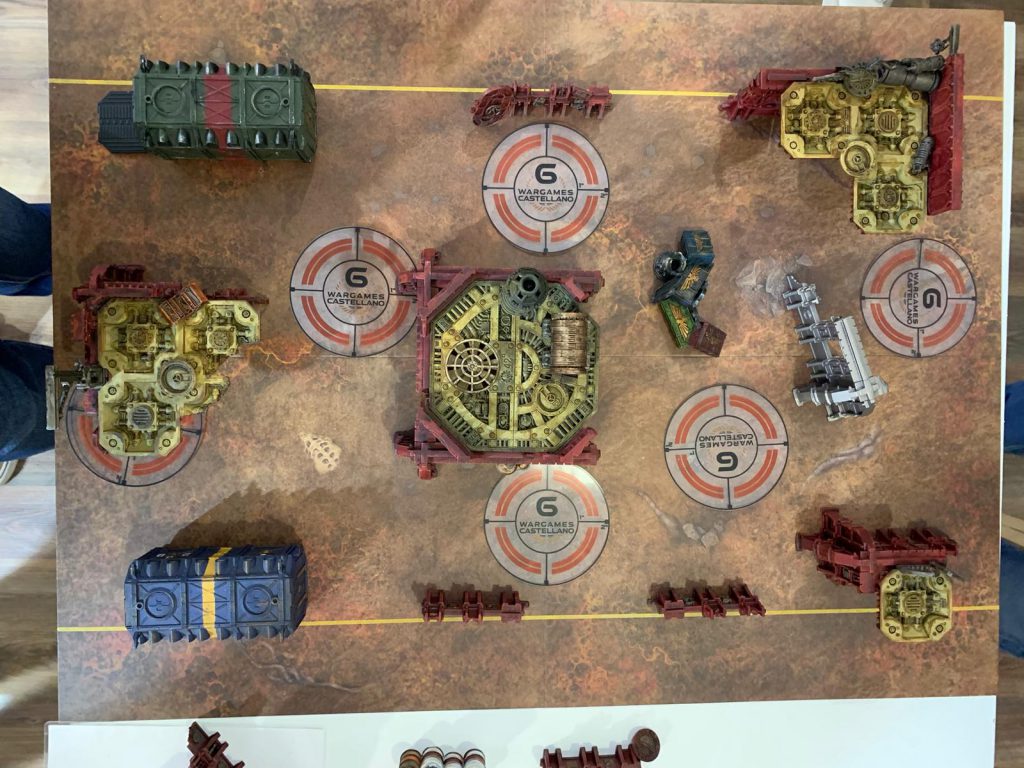
- Place objective markers
- Mark off Drop Zones
- Set up the Killzone (place terrain)
This ensures we get a terrain layout that is built with a specific set of drop zones and objective markers in mind, and can build toward something that’s balanced for the mission, which is much easier to do than trying to build something generic for every possible layout. Next we’ll talk about how to place terrain well when we’re setting up a Killzone, but first we need to address some of the consequences this has for events.
TO Corner: Changing Missions and Scoring
Note that if you’re a tournament organizer, this should be the end of the process for that table – do not alter the table composition in terms of objectives and deployment zones. If you’ve created a fantastic table for a specific mission then changing the mission and moving game elements – changing the position of objective markers or drop zones – can quickly mess things up and create bad play experiences. This creates a dilemma for an event organizer: Do you change every table between rounds, marking out new drop zones and changing terrain? This can get very time consuming, particularly at larger events.
Instead what we’d recommend is building a number of tables specific to each mission, and having players rotate between them each round. The mission players play is determined by the table layout they’re assigned to, rather than having a single mission everybody plays each round. This creates a different problem, though: If you don’t change the tables at all, then using victory points as a tiebreaker is unfair, as some teams may thrive on different terrain/mission combinations and it’s likely that players may not have a chance to play on every table/mission during an event. As such, you’ll want to use other tiebreaker criteria besides VP, such as Strength of Schedule, which measures how tough a path a player had through the event.
Additionally, you may find some players may be assigned to repeat missions. While generally it’s better to play the same mission twice on good terrain than to play a new mission on bad terrain, this can be adjusted by having repeat players swap tables and by having 2-3 extra tables set up in case you need to move players.
Building the Battlefield
There is no magic trick to making perfect tables, but there are some good guidelines you can follow that will help you build better tables that are fun to play on.
Place Objective Markers and Mark Drop Zones Before Building the Table
Seriously, as we said before this is fundamental for making good tables. You should also also mark the drop zones before building the table, if possible. Not only will this help you better understand how players will use the terrain, it’s helpful and saves time for players. Masking tape is ideal for this.
Keeping Tac Ops in Mind
As you build your table, remember that there are Tac Ops like Seize Ground or Vantage that players may take. It should be possible to maximize both of these on your table, but it shouldn’t necessarily be easy – if you can, set up terrain so it’s easy to get one point but difficult to maximize without effort and expertise from the player, with the new Tac-Op changes bare in mind that there are other tac-ops (Like plant transponder) that needs to be doable so don’t overcharge certain places of the table.
Which Terrain to Use
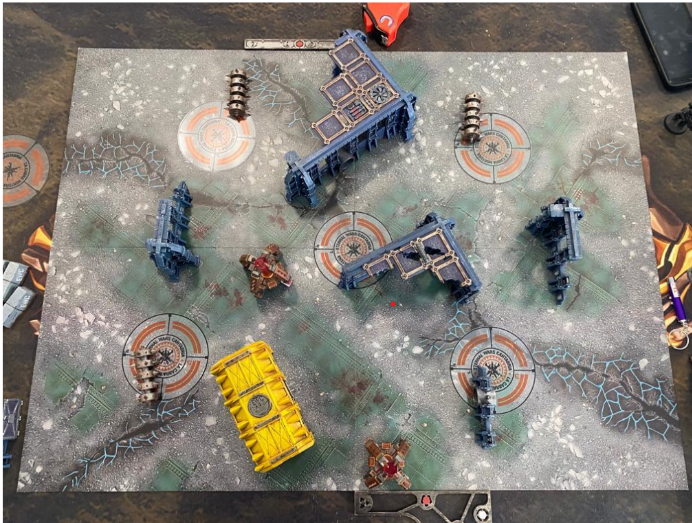
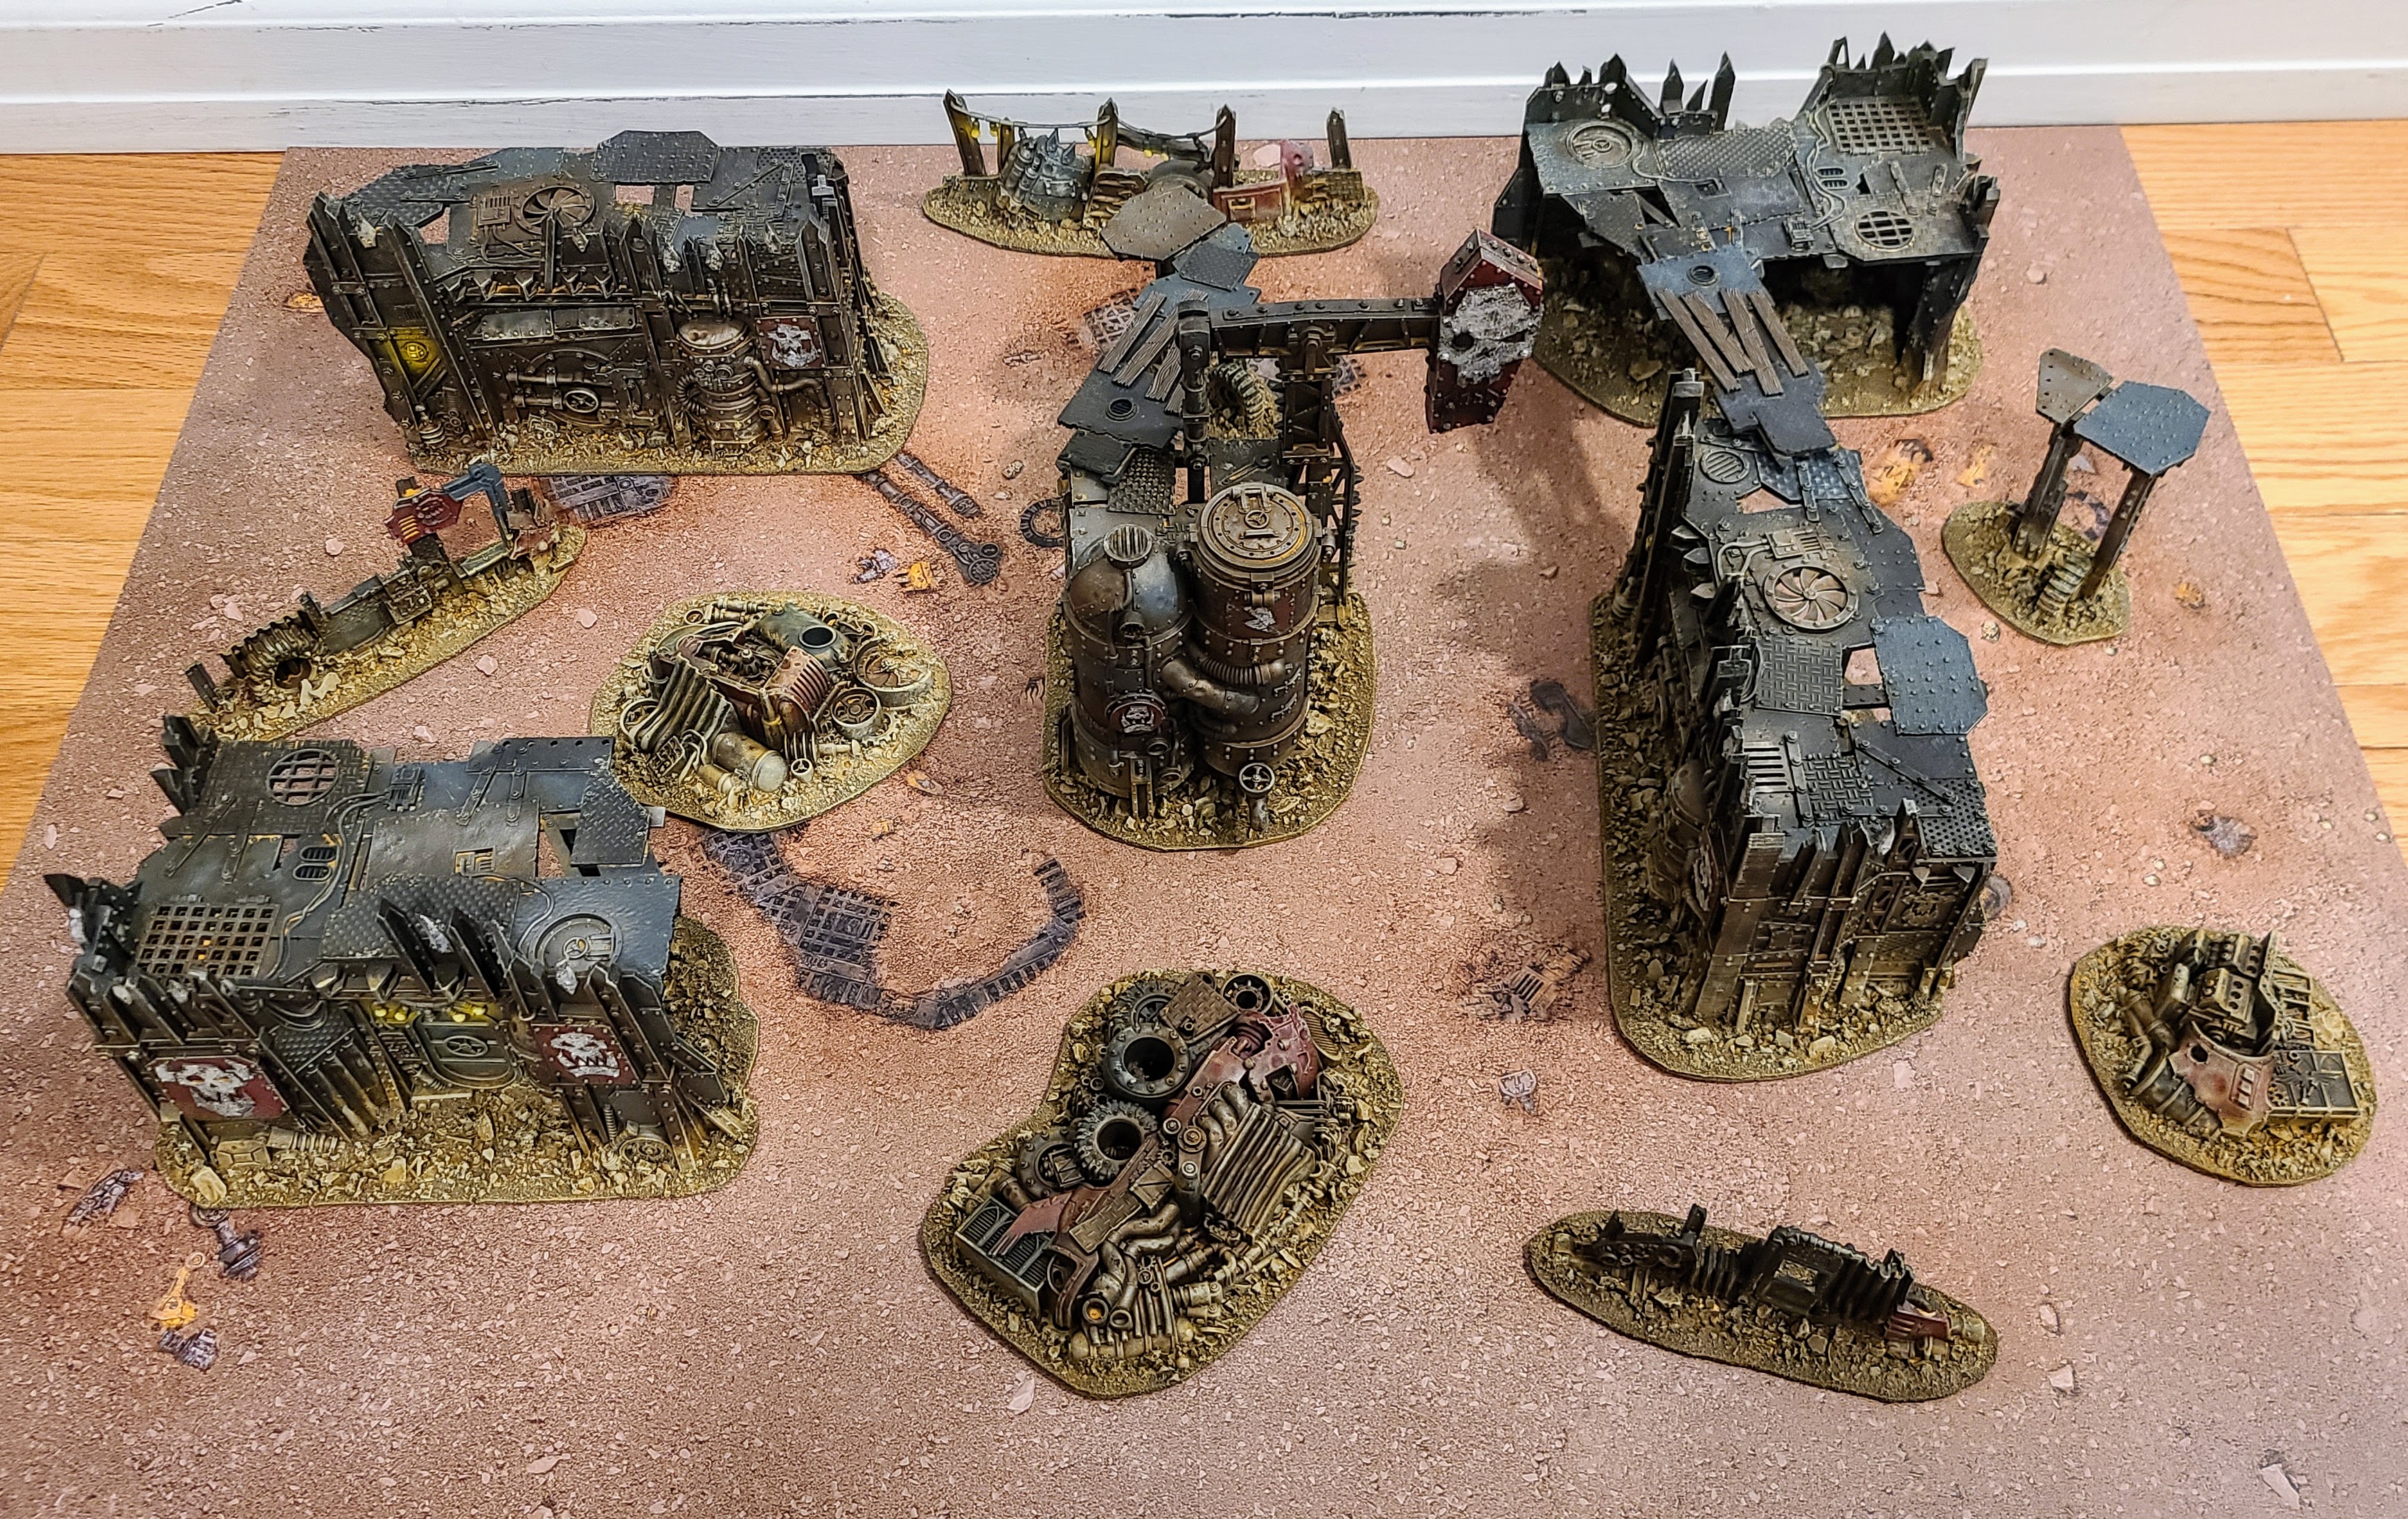
When it comes to building the table, it’s not just about layouts – there’s also a question of the terrain itself. While you’ve got several options, the Ork terrain from Kill Team: Octarius is the perfect set to build around – it had a great mix of different features, was designed more with Kill Team in mind, and it just looks great. If you’re looking for a good set of terrain to start with, Octarius is going to give you one of the best experiences, and is great for players trying things out for their first games.
Also, if you can help it do not put bases on your terrain. They may look great and while they’re necessary for good terrain in 40k, they just aren’t a good experience in Kill Team, which requires you to get very close to walls and terrain features. Try to avoid them if you can.
Use Between 5-6 Heavy Elements and 4-5 Light Elements
When it comes to how much of each to use, you want 5-6 elements with the Heavy trait, i.e. provides Cover and is Obscuring, and 4-5 elements with the Light trait, which provides Cover unless otherwise specified. This will give you a good mix of features to work with and give operatives the ability to cross the table while not making it safe to do so. Again, Octarius is a great example here (see above), as it provides you with 4 large heavy ruin sections plus the derrick and another six pieces of light terrain made from piles of junk and makeshift walls.
As you place terrain, put some heavy elements in the center of the table. You want to break up lines of sight so it’s difficult or impossible to see from one end of the table to the other. Important in any wargame with shooting, and important here.
Make the terrain dangerous as you advance on the table
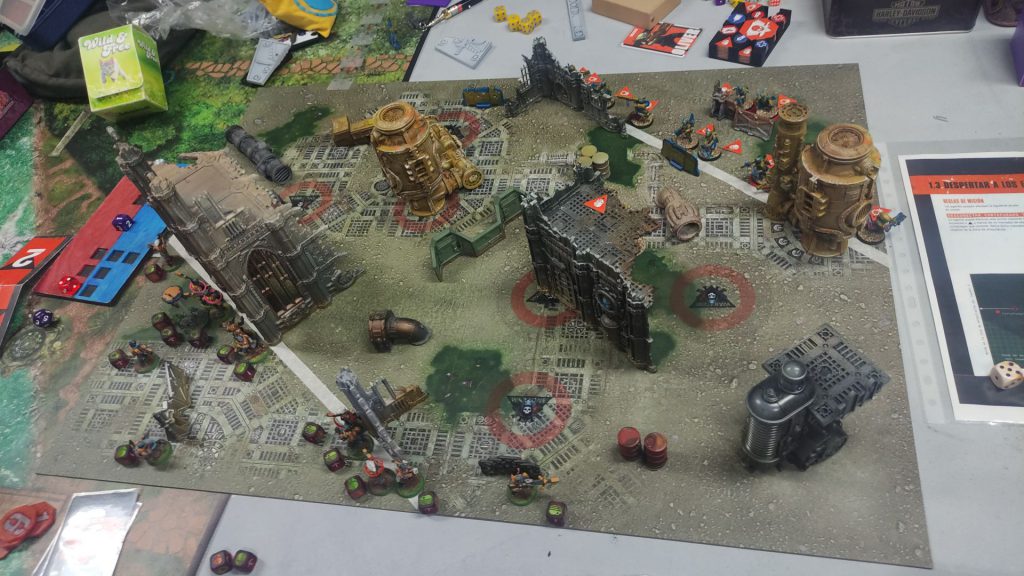
It’s good that some objective markers be “safe” (behind heavy cover, for example), but you also want to generate interesting interactions. As players advance toward the central objectives, these should have fewer Heavy terrain elements around them, making them more dangerous to hold an easier to challenge.
Put Cover around the objectives
As players get closer to the center they should have less cover to work with, but objectives shouldn’t necessarily be death traps, either. Put less heavy terrain around them and more light terrain to encourage combat and force opponents to climb to a vantage point to try getting a better angle. You can even have some objectives with no cover at all and let the players place up some barricades or leave it empty to spice things up! And about that…
Barricades
Don’t forget the barricades! Between them players place four barricades on the table before the mission begins for extra protection. Think about how they will use them and act accordingly. This also applies for objective markers – if an objective marker is within 6″ of a Drop Zone players will be able to place barricades near or on it, so you’ll have to worry less about giving players light terrain on that point.
Vantage Points
Don’t put vantage in the Drop Zones. Many factions can get a lot of profit from having a vantage in their drop zone, and you want to avoid creating positions that are so safe an opponent doesn’t have to leave and interact with their opponent. The best thing to do is to avoid these if possible. Instead, put your vantage points in more central areas on the table.
Vantage points with cover make factions with access to Silent Weapons too powerful, so you want to make access to those points very limited. One way to do this is to rotate vantage points so they aren’t likely to give cover (Thank, you Peter!). This gives you more flexibility and can help differentiate Drop Zones. You can also put terrain on top of a vantage point and just label it as unusable.
Finally, make vantage points relevant. Yeah, they can be a problem but don’t forget that vantage points are an important mechanical part of the game. If the players see them more as a nuisance or something to avoid rather than something important, we’ve messed up building the layout.
Doors and Hatches
A lot of terrain features have doors and hatches to work with, and Chalnath introduced rules for using these that have been a great addition to the game and create interesting interactions. Generally you should plan on using these when setting up terrain. I’d recommend that if something looks like a door, give it door rules. The same goes for hatches, even if they aren’t featured on the Octarius terrain.
Balance vs. Symmetry
Generally, you want your tables to have balanced layouts, where there’s a good mix of features on either side for players to work with, and broadly similar features – both players have equal access to similar terrain features, though the specifics may vary. And note that balanced doesn’t necessarily mean symmetrical – we’ve shown several examples today of balanced tables which are not symmetrical.
In fact, we’d recommend you build slightly asymmetrical tables – doing so gives the Defender agency, where their choice of table side matters and isn’t a formality. You don’t want the decision to be so impactful that choosing correctly will win them the game, but you do want to make the choice of table side interesting and meaningful enough that players will honestly have to think about whether they’d be attacker or defender.
The Drop Zones
Your Drop Zones must be safe. And I am not referring to just the drop zone, but to the whole deployment. The last thing you want is for the player who goes second to lose the game when an errant blast kills off half their team. Making the drop zones safe makes the game more competitive and viable for more teams. Placing heavy terrain near the drop zone (or in the drop zone if it has no vantage points to offer) is a good start. And be sure to get coverage for the entire Drop Zone – give players some light terrain to work with as well.
how many times have we felt bad because a blast has killed half the team? It also makes the games more competitive and viable for all teams, using heavy cover near the Dropzone (or in it if it has no vantage) its really good to make the table more enjoyable
Some Other Things to Consider
Those are the major beats to cover, but there are a few other quick things to note about building good tables:
- Scatter terrain is really fun: And it can lead to some amazing interactions. I love to have it on my tables.
- You are more than welcome to experiment with scenery rules. While it is true that there are several widely used and accepted rules (Doors, hatches, scatter terrain, etc.), feel free to try if any other rules work in your community.
- Don’t discard terrain because it is not “official!” You don’t have to use Games Workshop terrain – almost all terrain of similar size is adaptable, though it may require more effort on the part of the players or tournament organizer to make it clear what traits something gets and how it works in game. Avoid using huge terrain blocks, however.
TO Corner: Testing and Feedback
- Test the tables: If you have the opportunity, test the configuration of the tables before the event. Your local players will be glad to help and can provide important notes about what works and what doesn’t.
- Ask your players for feedback. At the end of the tournament ask your players what they liked, what they didn’t like, how this or another table worked, etc. The feedback will make you a better TO and gives the players a sense of ownership over the event.
In conclusion
Making good and balanced tables is complicated, but the more you practice the better they will be. As players it is our duty to give feedback to the organizer about what to improve at the tables, or how we have felt at the tables. The important thing is to be patient and improve little by little and see what works and what doesn’t work for you.
Have any questions or feedback? Drop us a note in the comments below or email us at contact@goonhammer.com.
