The Warhammer 40,000 universe is a massive place, and the “Narrative Forge” hobby articles encourage thinking outside the box (literally) when putting models together. They aim to make hobbyists comfortable growing beyond imitating the models they see in their Codexes, and serve as a source of inspiration for anyone wanting to make an army that’s uniquely their own. If you’ve been following our Necromunday series, you may well have gotten inspired to venture into the Underhive, a place full of dense, heavily-themed terrain. This week, Crab Stuffed Mushrooms is here to talk about getting that that hive-world feel onto your table.
I needed quick solutions for my Necromunda campaign and wanted to share the following. No airbrushes were used in the making of this terrain!

You will need:
- Craft Paints: Dark Brown, Orange Brown, Orange, Grey (optional)
- Spray paints
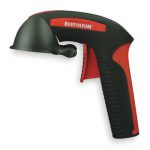
- Spray Can Grip (to avoid nerve damage)
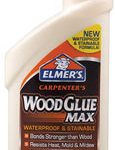
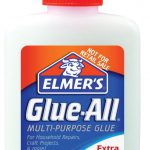
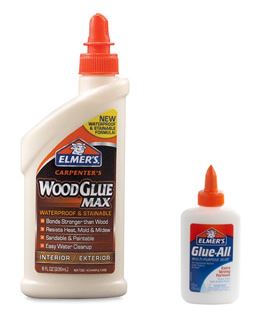
- Elmer’s Glue / Wood Glue: The Wood Glue nozzle is sloppy for this kind of work, so I swapped it with a precision nozzle from Elmer’s multi-purpose glue (you’ll thank me later).
- Gorilla Glue (to attach terrain to the base)
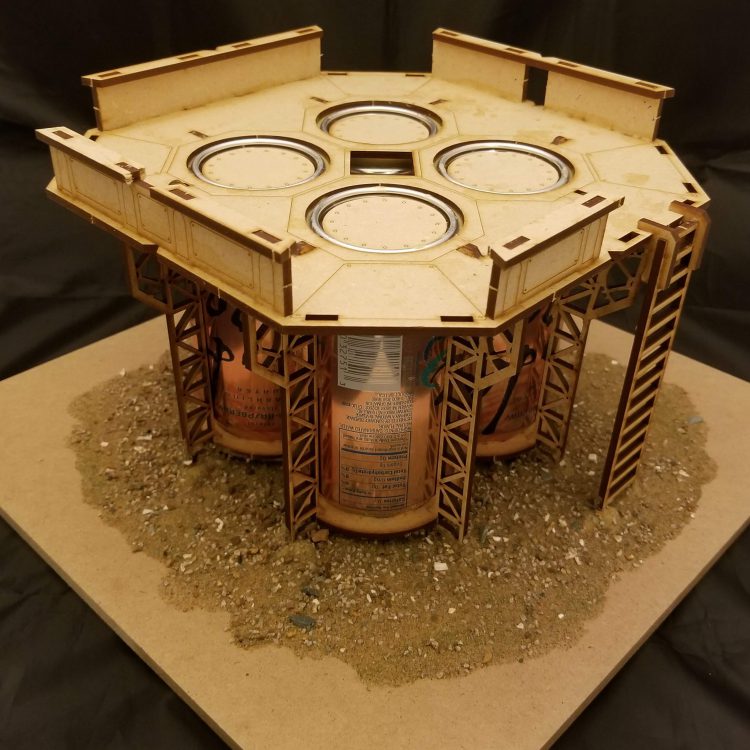
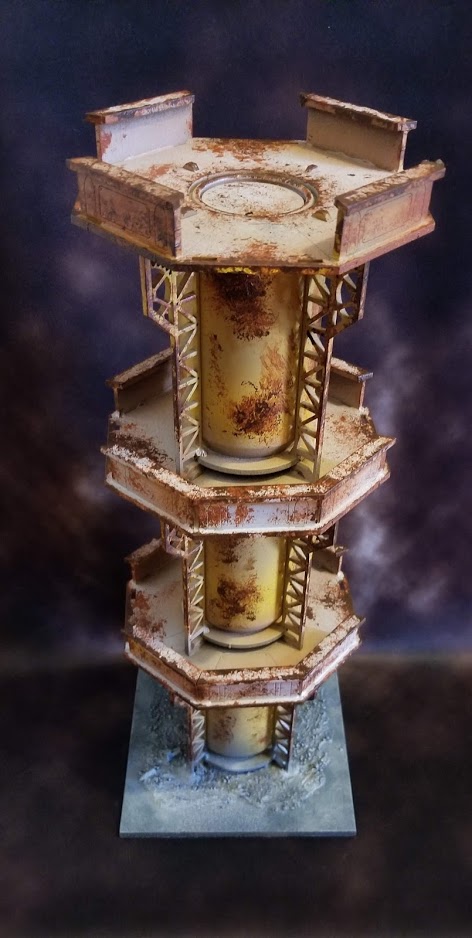
- 12oz Soda Cans (for Promethium Forge terrain)
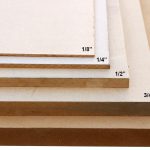
- MDF Boards 1/8″ or 1/4″ thickness for basing. Some hardware stores will cut these to size for you.
Step 0: Drink some sodas!
I went for LaCroix. Their cans are the right size and they’re the cheapest thing I could buy in bulk. Do not feel like you actually have to drink all this!
Step 1: The Terrain Kit
The MDF terrain featured in this article was purchased from Mechanical Warhorse, Multiverse Gaming and Promethium Forge. I’ll focus on the soda terrain from Promethium Forge because it was quick and quenchable!
Step 2: Assemble Terrain
Terrain assembly takes 10-15 minutes depending on the complexity of the terrain. Promethium Forge has quick tutorials on YouTube, which I recommend unless you like to break stuff:
Tips:
- Per the video, you should assemble the terrain upside down. Pay attention to the orientation of the cans when the terrain is righted:
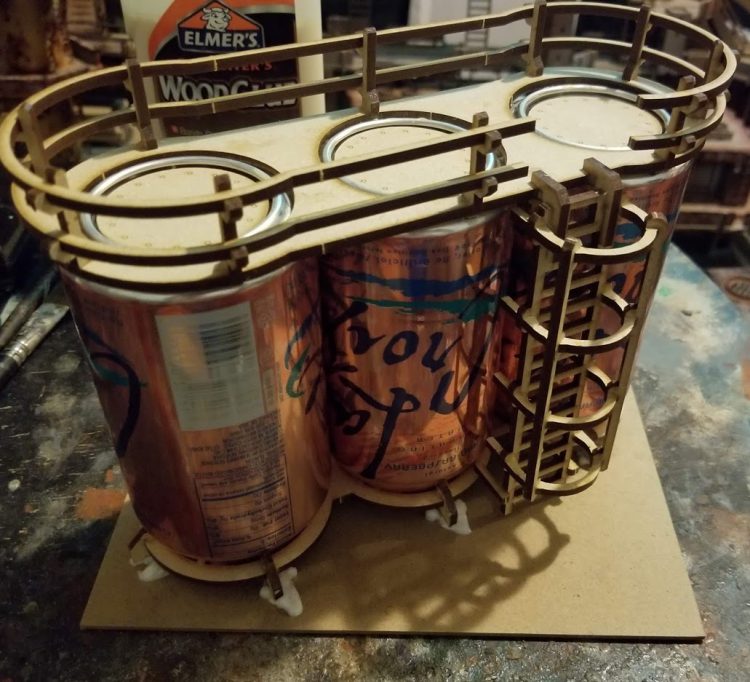
- Elmer’s Wood Glue was perfect for assembly – but the nozzle was too wide for application. I swapped it with the nozzle from a normal glue bottle:
Step 3: Base your terrain!
MDF terrain is fragile. Most manufacturers use 2mm thickness for laser cut terrain. Using a base provides stability as well as making it easier for fellow gamers to handle. I used ¼” thick MDF for my bases. It’s tough and less prone to warping. You could probably get away with less. If you don’t have access to a saw or workshop, don’t panic! Some supplies store will cut the wood for you.
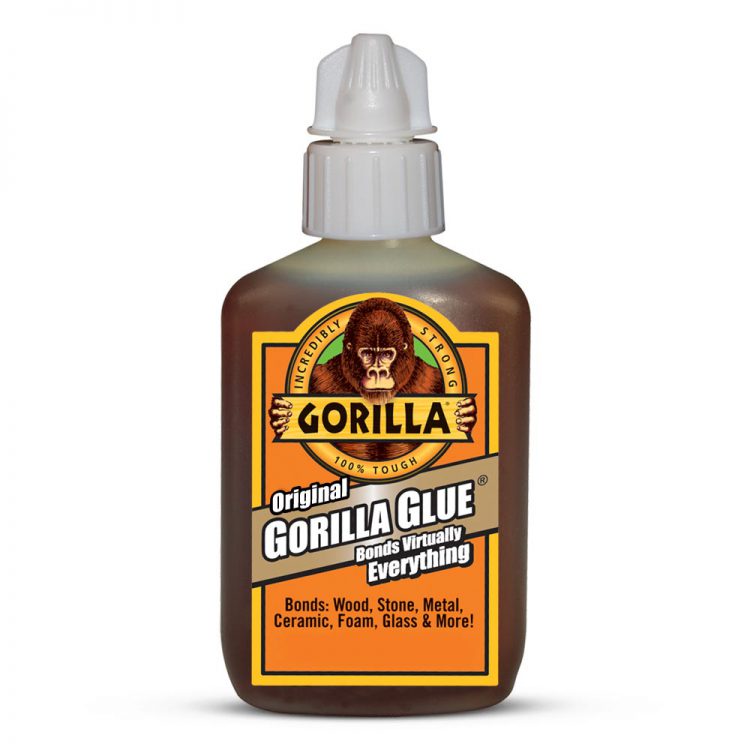
I used Gorilla Glue to attach the terrain to my base. This may have been overkill, but I wanted things to stick! Caution: Gorilla Glue expands over time – give it 24 hours to dry before covering with sand or anything. Consider weighing the terrain down with a heavy object to ensure it dries level with the board.
Optional: Flock the base of your terrain. You can use a combination of sand, gravel, kitty litter, bird litter or even the contents of a teabag! Since we’re going for an urban feel, we don’t need to flock the entire base. I flocked around the terrain and left the edges of the board alone. This is also a good time to add some extra bits to your bases to add character.

Step 4: (Spray) Paint Your Terrain!
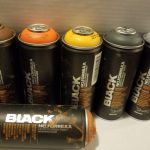
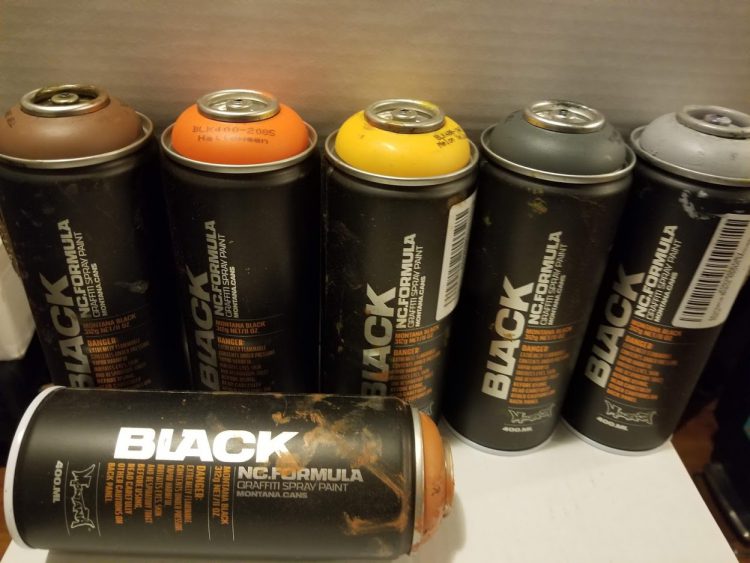
I didn’t want to waste time painting terrain with a tiny brush, so I decided to do this with just spray cans. These are some of the colors I used, but feel free to experiment.
WARNING: Pressing down on a spray can for a long time with your finger may cause nerve damage! It took me weeks to feel my finger again. Don’t be me. Buy a spray can grip. They’re cheap and you can swap cans as needed:

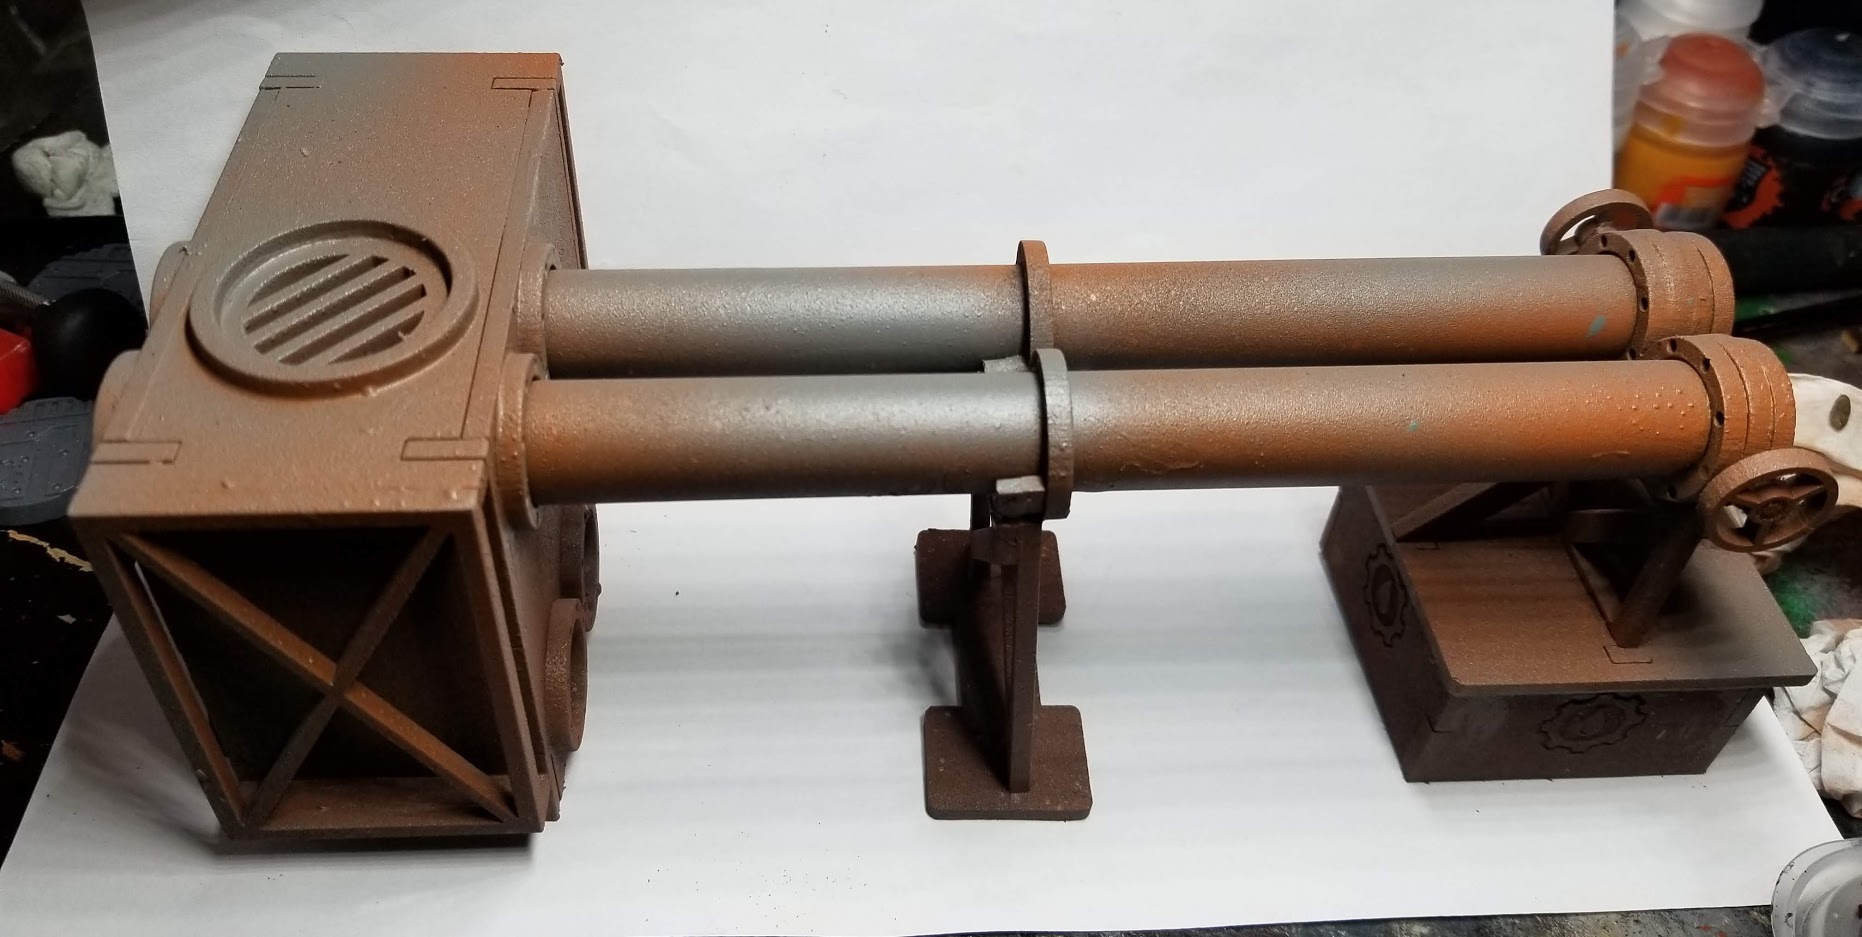
I basecoated everything with black primer and let this dry. MDF tends to ‘eat’ paint so you want a solid coat. Once dry, I started spraying colors from different angles. Try to spray each color a little less than the last. You can do this by spraying from further away or spraying ‘down’ on the terrain from various angles (70 degrees, 45 degree angles, etc.). You can also try “dusting” the terrain with light taps of the trigger.
There was no science to this, but I tried to spray in this order: Black basecoat, followed by Maroon, then either Orange, Yellow, or Grey. I don’t recommend metallic spray paints, they look weird at this scale. You could stop here and call it a day!

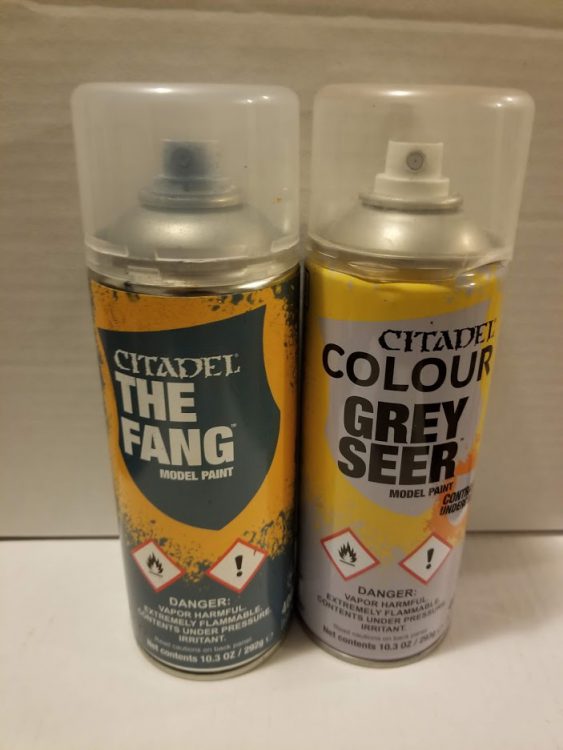
The urban bases were done with a mix of brown, blueish grey, and a light dusting of regular grey (I sprayed this last layer at a 90 degree angle – almost parallel to the board). I used GW paints out of desperation, but you can find similar colors from Montana Black:
Step 5: Weathering!
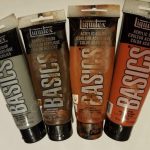
You can use miniature paints for this, but you’ll go through pots quickly. I bought some cheap craft paints from my local art store:
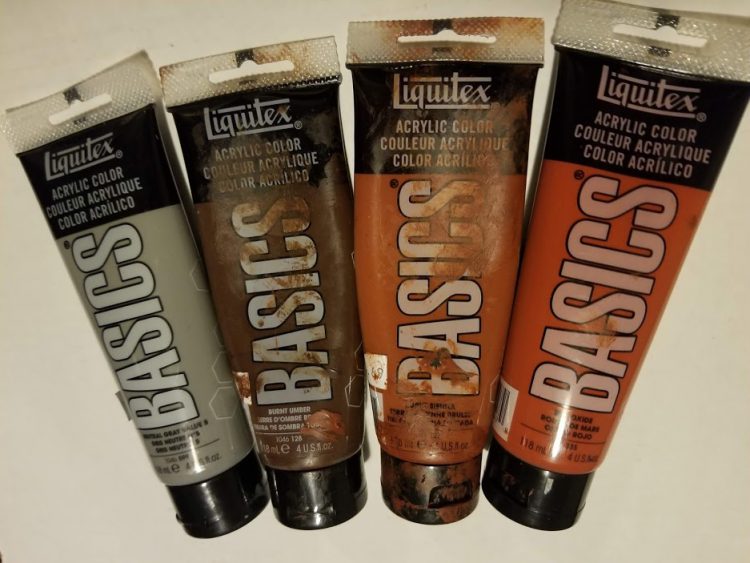
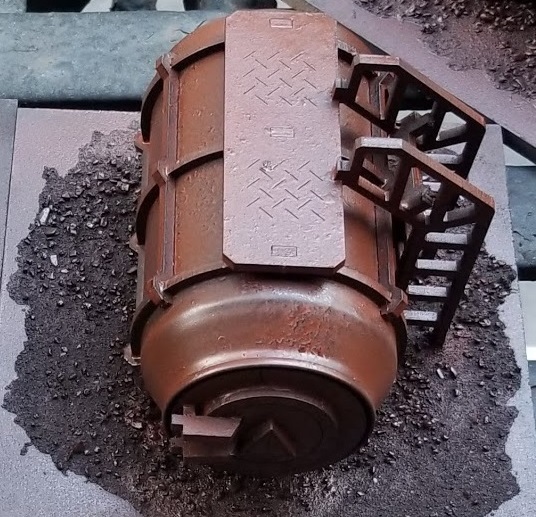
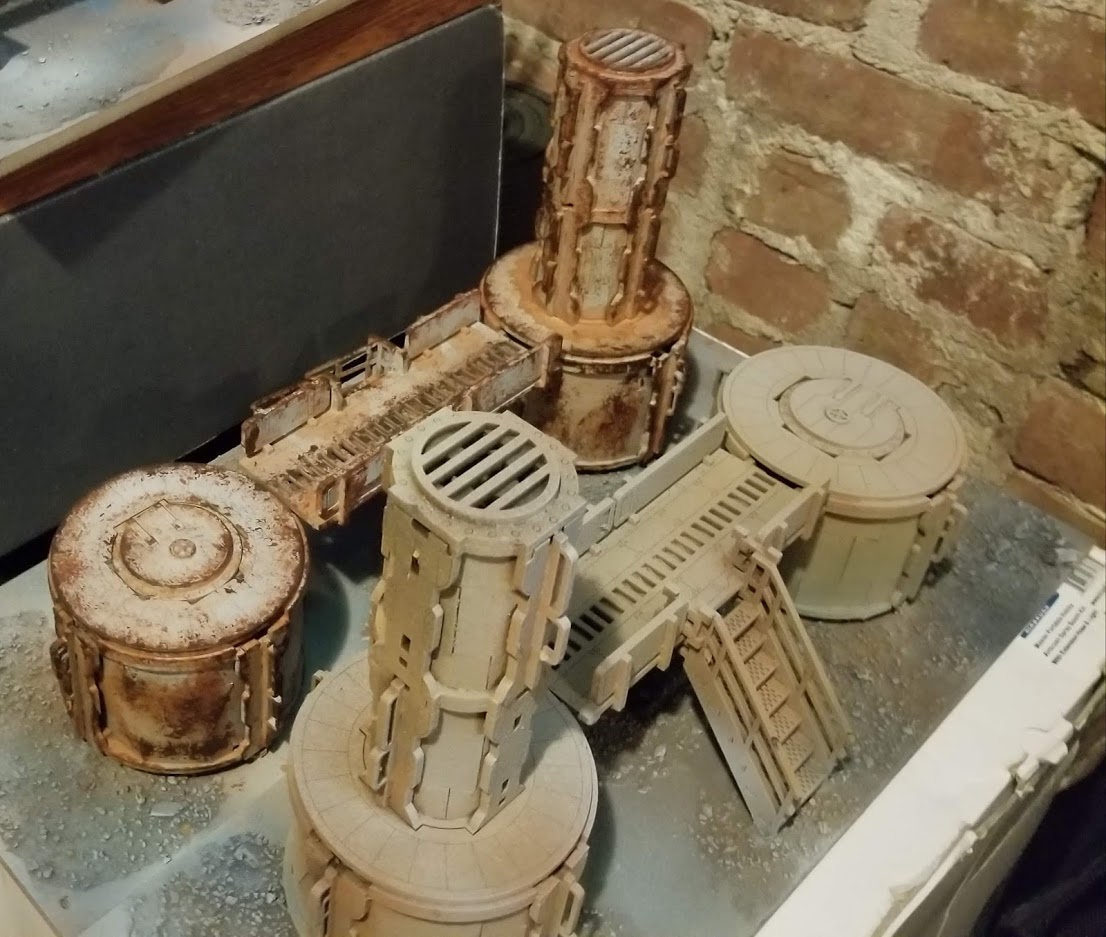
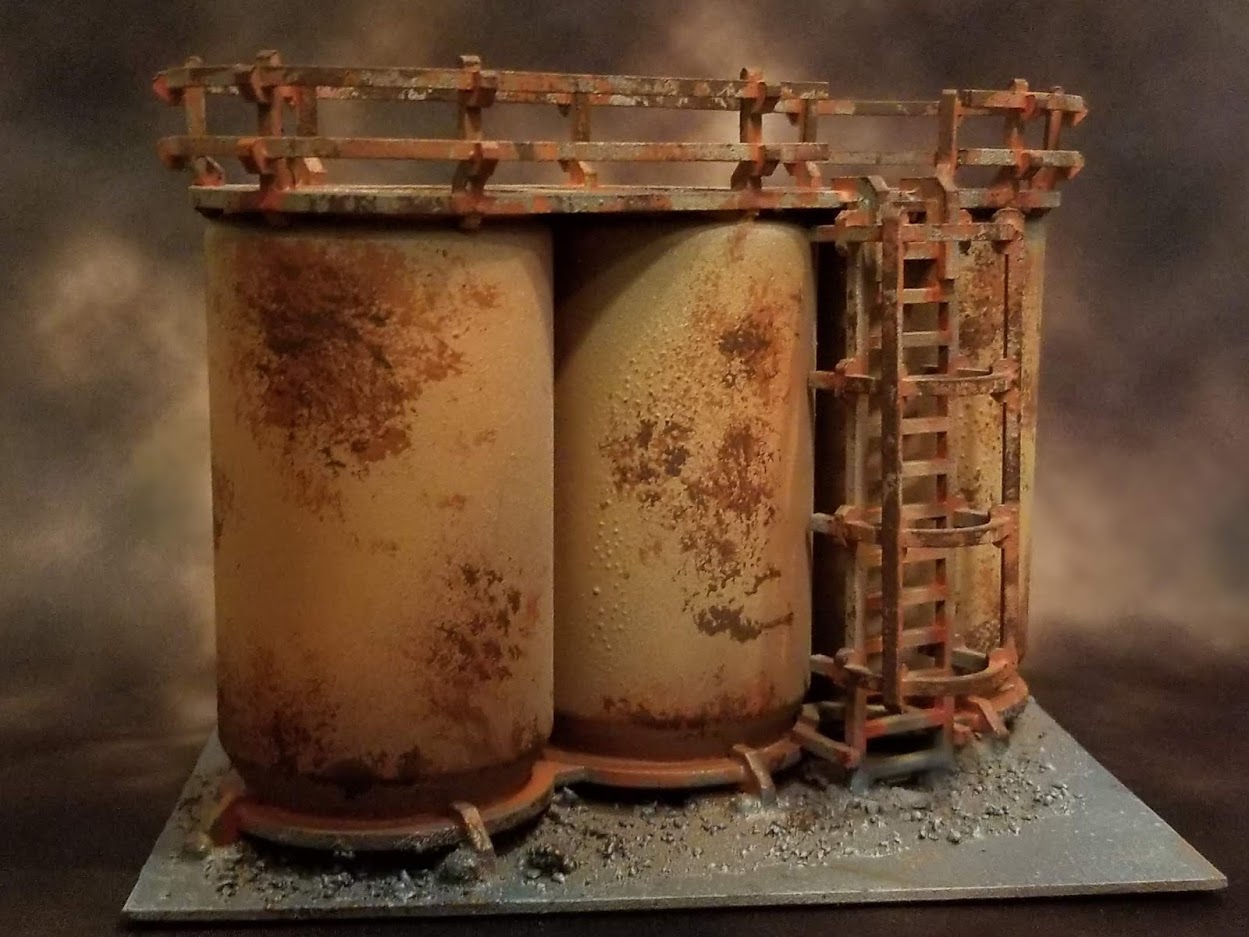
Apply Corrosion: Using watered down orange paint (at least 4:1 water-to-paint ratio), I applied orange to the recesses of the model. This is optional and was the most time-consuming, but worth it. Try to apply the paint where you’d expect rainwater to fall. Corners, ladder rungs, the bottom of entrances, etc. See the orange bits of this photo as an example:
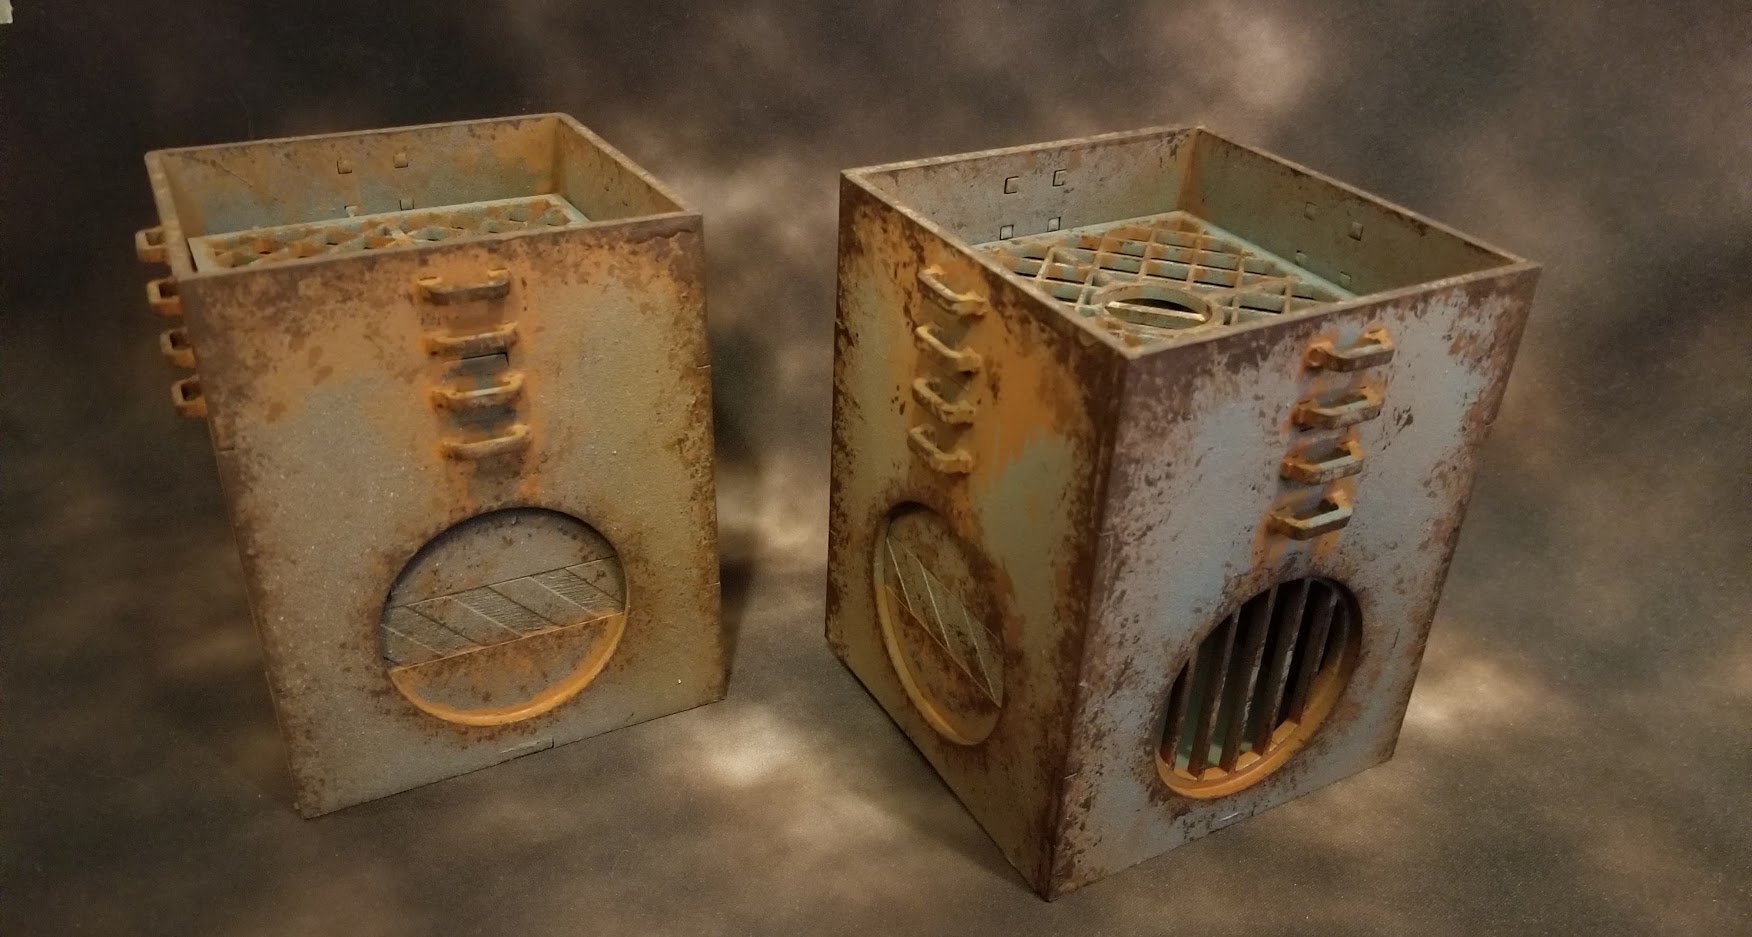
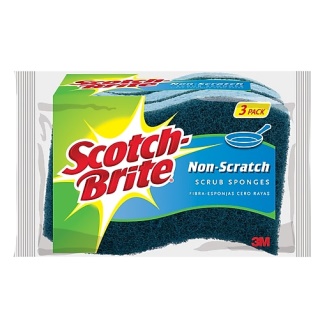
Sponge Weathering: This was the fun part and sells the model. To do this, I tore-up a heavy duty sponge:
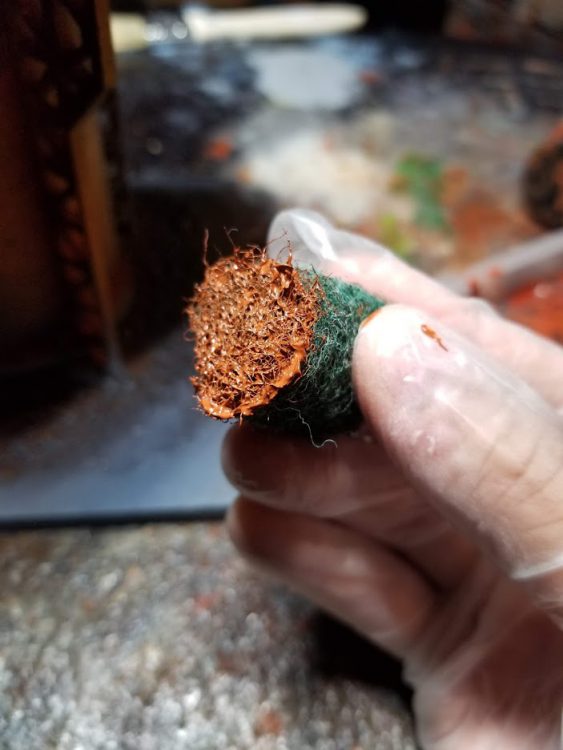
I then ‘dabbed’ the sponge with orange/brown craft paint (similar to GW’s Mournfang Brown) on various parts of the model. You can do this randomly or aim for the edges / corners to sell the effect.
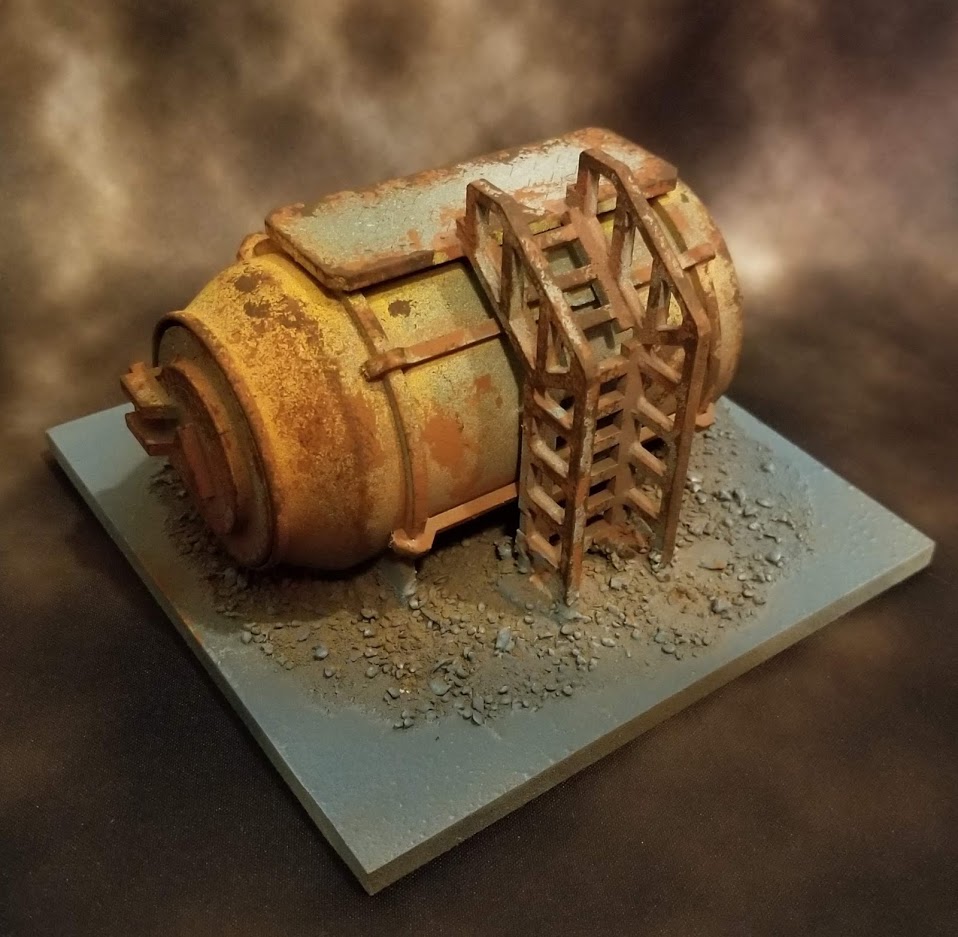
Once complete, I switched to a darker brown (similar to GW’s Rhinox Hide): Aim for areas where you applied the previous layer of brown, but apply less dabs in a smaller area (so the previous brown shows through). This is the opposite of highlighting miniatures, since you’re going from a light to a darker color:

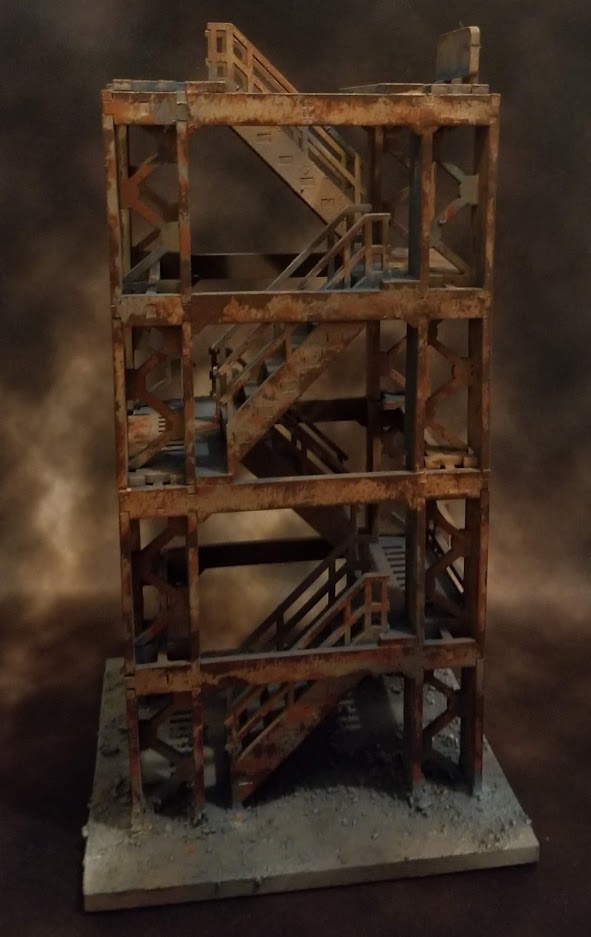
At this stage, you’re pretty much done. Now just to turn out a bunch more, and paint some models, and then get playing!
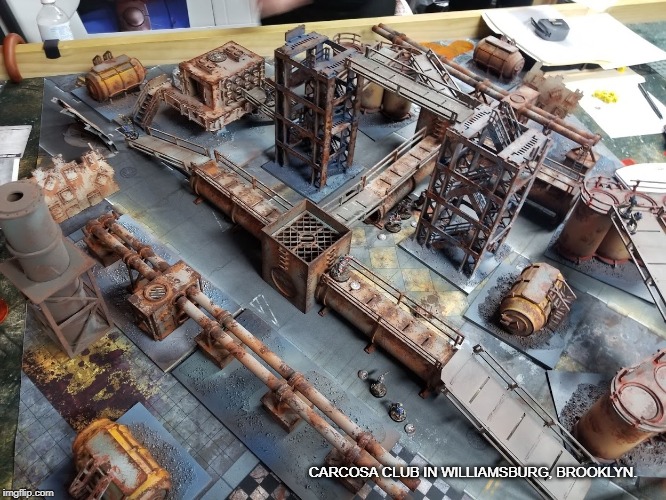
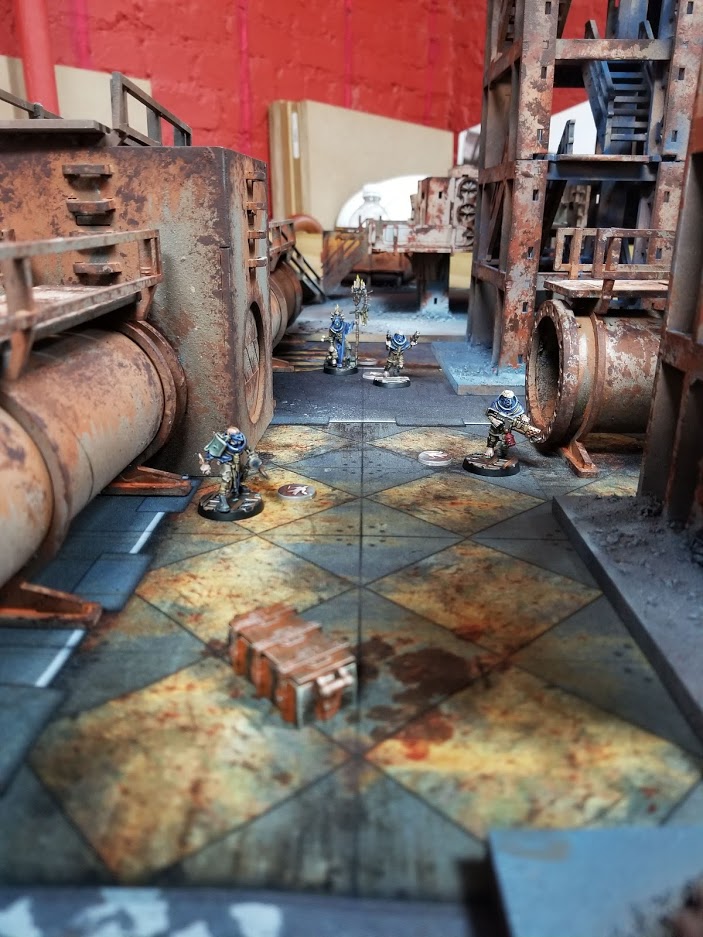
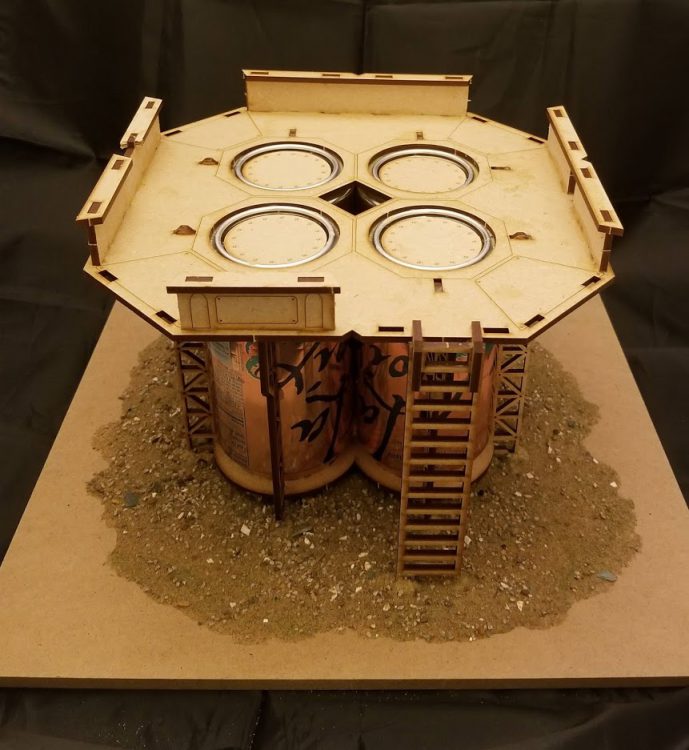
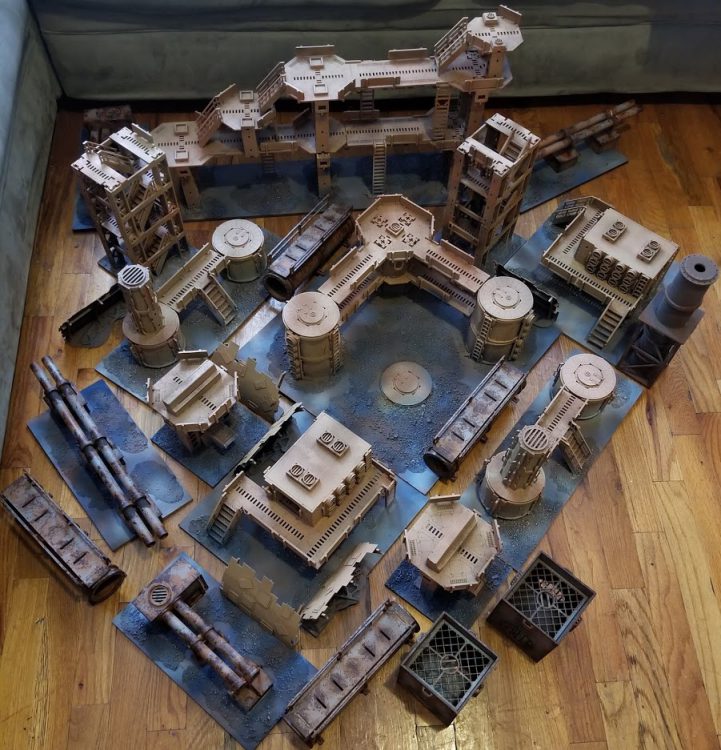
Finished Examples:


And here’s a whole table decked out with the terrain, courtesy of the Carcosa Club!