
Welcome back, Dear Reader, to my ongoing quest to achieve some level of competitive respectability in Warhammer 40,000. Last week I talked about padding out my ITC resume by playing a practice event at the Empire Central RTT down in League City. That was pretty solid prep for this past weekend, where I and about 195 other 40k players showed up to the Fairmont Hotel in Austin to play 8 rounds of tournament 40k. On the whole, it was equal parts fun, challenging, rewarding, frustrating, and more than a bit draining. In the end I was both more and less successful than New Orleans. There’s a lot to cover.
Day 0
It’s about a three-hour drive from Houston to Austin, depending on where from Houston you leave. Houston is pretty big, so that can add an extra hour+, but it won’t be the case for me. This time around my wife is tagging along. She hasn’t been to Austin in a while and wanted to hang out a bit so we convince my mom to take the boy for the weekend and set out Thursday night after dinner. It’s a long drive but it’s not particularly difficult – it’s mostly one big, long, stretch of mostly straight highway with a 75 mph speed limit until you hit the last half hour or so, then you have to contend with some lights and, in our case, stopping to wait for a train to pass. We make it to the hotel around 10pm and check in, then hang out for a bit before I meet up with fellow Houstonian Klobasnek to survey the venue and check out the TO reception.

The big thing I’m interested in on the floor is the new terrain layout. The GW crew have added another table option, this time using the terrain from Kill Team: Chalnath. There are pros and cons to this:
- Pro: There’s a lot more line-of-sight blocking cover on the sides of the ruins, making the layout much better for the day 1, round 2 game – Retrieval Mission – which doesn’t rotate the ruins. This means that there’s more true line of sight blocking when you’re deploying hammer-and-anvil style.
- Con: The terrain is much shorter, and doesn’t actually hit 5″ in height. This is a problem when you’re trying to hide in it with something like a Foetid Bloat-Drone.
This isn’t a huge deal, but it’s worth noting. I shoot a photo and send it to James “Boon” Kelling, who tells me that he loves the layout and “wants to play every game on that terrain.” Somewhere, the finger on a monkey’s paw curls.
The TO get together is a small gathering in a side room with some free booze. It’s pretty great. We drink there for about an hour and chat and then I head back to the room. I end up sleeping pretty well that night, despite the hotel pillows being too soft, like they always are.
Day 1
Game time. The missus and I do room service breakfast as a treat, then I clean up, put my army on a tray and head down to check in. Speaking of which, let’s go back over the old girl one more time:
My List
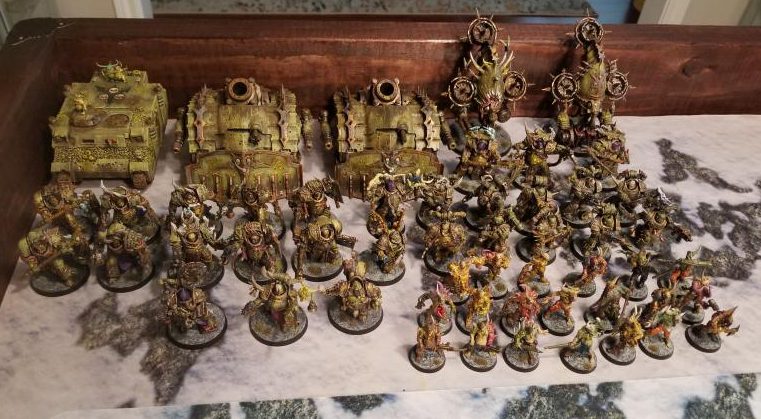
This is the same list I took to the Empire Central RTT. The big changes from New Orleans are splitting up the plague marines into two units of five and going back to Miasma of Pestilence from Gift of Contagion. Gift is good, but Miasma is more important to have.
My Death Guard - Click to Expand +++ Death Guard Battalion Detachment (-3 CP, 2,000 points) +++ Plague Company: The Inexorable HQ: Death Guard Chaos Lord w/Power Sword, Bolt Pistol, WARLORD: Ferric Blight, RELIC: Plaguebringer TP: Plague marines x5: Flail, Champion: Bolter and Plague Knife EL: Blightlord Terminators x10: 2x flail, 2x reaper autocannon + Combi-bolter, 5x axe + combi-bolter, Champion: Combi-bolter + Bubotic Axe, Plague Skull of Glothila (-1 CP) HS: PBC w/2x entropy cannon FA: Foetid Bloat-Drone w/Fleshmower DT: Chaos Rhino +++ 2,000 points, 9 CP +++
Extra Relic (-1 CP)
Extra WL Trait (-1 CP)
HQ: Malignant plaguecaster, POWERS: Miasma of Pestilence, Curse of the Leper
TP: Plague marines x5: Flail, Champion: Bolter and Plague Knife
TP: Poxwalkers x10
TP: Poxwalkers x10
EL: Deathshroud Terminators x3
EL: Foul Blightspawn: Relic: Revolting stench-vats, Plaguechosen: Arch-Contaminator
EL: Biologus Putrifier
EL: Tallyman, Relic: Tollkeeper
HS: PBC w/2x entropy cannon
FA: Foetid Bloat-Drone w/Heavy Blight Launcher
The plan here is generally to use the blightlords as a kind of death star with character support, using them to hold the middle of the table or secure one side and make opponents regret engaging with them. I split the other half out as needed, and they’re more than capable of spreading out or doing nasty things. Generally the army splits between the death star and everything else, with one unit of poxwalkers on each side supporting them. At this point I’ve been “locked in” to the list – I like where it’s at, and I really want to focus on getting better at playing over trying to make tweaks.
It’s got some clear deficiencies, though: It struggles to deal with heavy armor and knights, where it mostly has to take them down in melee – something that just doesn’t work well against Magaeras. It also is still pretty slow and it just doesn’t have a lot of ways to score. Something I’ve slowly realized over my last two events is that I’m handicapping myself coming into games with a plan to score 80-85 points in a win, and that’s just not competitively viable at higher tables. We’ll revisit this later, though – for now, let’s get to the games.
Game 1: vs. Jesse Gray’s Salamanders
Jesse's List - Click to expand ++ Battalion Detachment 0CP (Imperium – Adeptus Astartes – Salamanders) [100 PL, 9CP, 1,996pts] ++ **Chapter Selector**: Salamanders + HQ + Primaris Chaplain on Bike [7 PL, -1CP, 140pts]: 3. Exhortation of Rage, 6. Canticle of Hate (Aura), Benediction of Fury, Chapter Command: Master of Sanctity, Forge Master, Litany of Hate, Stratagem: Exemplar of the Promethean Creed, Warlord, Wise Orator Primaris Chapter Master [7 PL, -1CP, 145pts]: Chapter Command: Chapter Master, Rites of War, Stratagem: Hero of the Chapter, Vulkan’s Sigil + Troops + Assault Intercessor Squad [5 PL, 95pts] Assault Intercessor Squad [5 PL, 95pts] Infiltrator Squad [6 PL, 120pts] + Elites + Aggressor Squad [12 PL, 200pts]: 2x Flamestorm Gauntlets, 4x Aggressor, Aggressor Sergeant Bladeguard Veteran Squad [10 PL, 175pts] Redemptor Dreadnought [9 PL, 180pts]: 2x Fragstorm Grenade Launchers, Heavy flamer, Icarus Rocket Pod, Macro Plasma Incinerator Redemptor Dreadnought [9 PL, 185pts]: 2x Fragstorm Grenade Launchers, Icarus Rocket Pod, Macro Plasma Incinerator, Onslaught Gatling Cannon Vanguard Veteran Squad [7 PL, 171pts]: Jump Pack + Fast Attack + Attack Bike Squad [2 PL, 60pts] Attack Bike Squad [2 PL, 60pts] Suppressor Squad [5 PL, 100pts] + Heavy Support + Eradicator Squad [7 PL, 135pts]: Melta rifle Eradicator Squad [7 PL, 135pts]: Melta rifle ++ Total: [100 PL, 9CP, 1,996pts] ++
Strategem: Relics of the Chapter [-1CP]: Number of Extra Relics
. Heavy bolt pistol, Master-crafted power sword and Relic shield: Master-crafted power sword, Relic Shield
. 4x Assault Intercessor: 4x Astartes Chainsword, 4x Frag & Krak grenades, 4x Heavy Bolt Pistol
. Assault Intercessor Sgt: Astartes Chainsword, Heavy Bolt Pistol
. 4x Assault Intercessor: 4x Astartes Chainsword, 4x Frag & Krak grenades, 4x Heavy Bolt Pistol
. Assault Intercessor Sgt: Astartes Chainsword, Heavy Bolt Pistol
. 4x Infiltrator: 4x Bolt pistol, 4x Frag & Krak grenades, 4x Marksman bolt carbine
. Infiltrator Sergeant
. 4x Bladeguard Veteran: 4x Frag & Krak grenades, 4x Heavy Bolt Pistol, 4x Master-crafted power sword, 4x Storm Shield
. Bladeguard Veteran Sergeant: Heavy Bolt Pistol
. Vanguard Veteran: Storm shield, Thunder hammer
. Vanguard Veteran: Storm shield, Thunder hammer
. Vanguard Veteran: Astartes Chainsword, Storm shield
. Vanguard Veteran: Astartes Chainsword, Storm shield
. Vanguard Veteran Sergeant: Storm shield, Thunder hammer
. Attack Bike: Multi-melta
. Attack Bike: Multi-melta
. 2x Suppressor: 2x Accelerator autocannon, 2x Bolt pistol, 2x Frag & Krak grenades
. Suppressor Sergeant
. 2x Eradicator: 2x Bolt pistol
. Eradicator Sgt
. 2x Eradicator: 2x Bolt pistol
. Eradicator Sgt
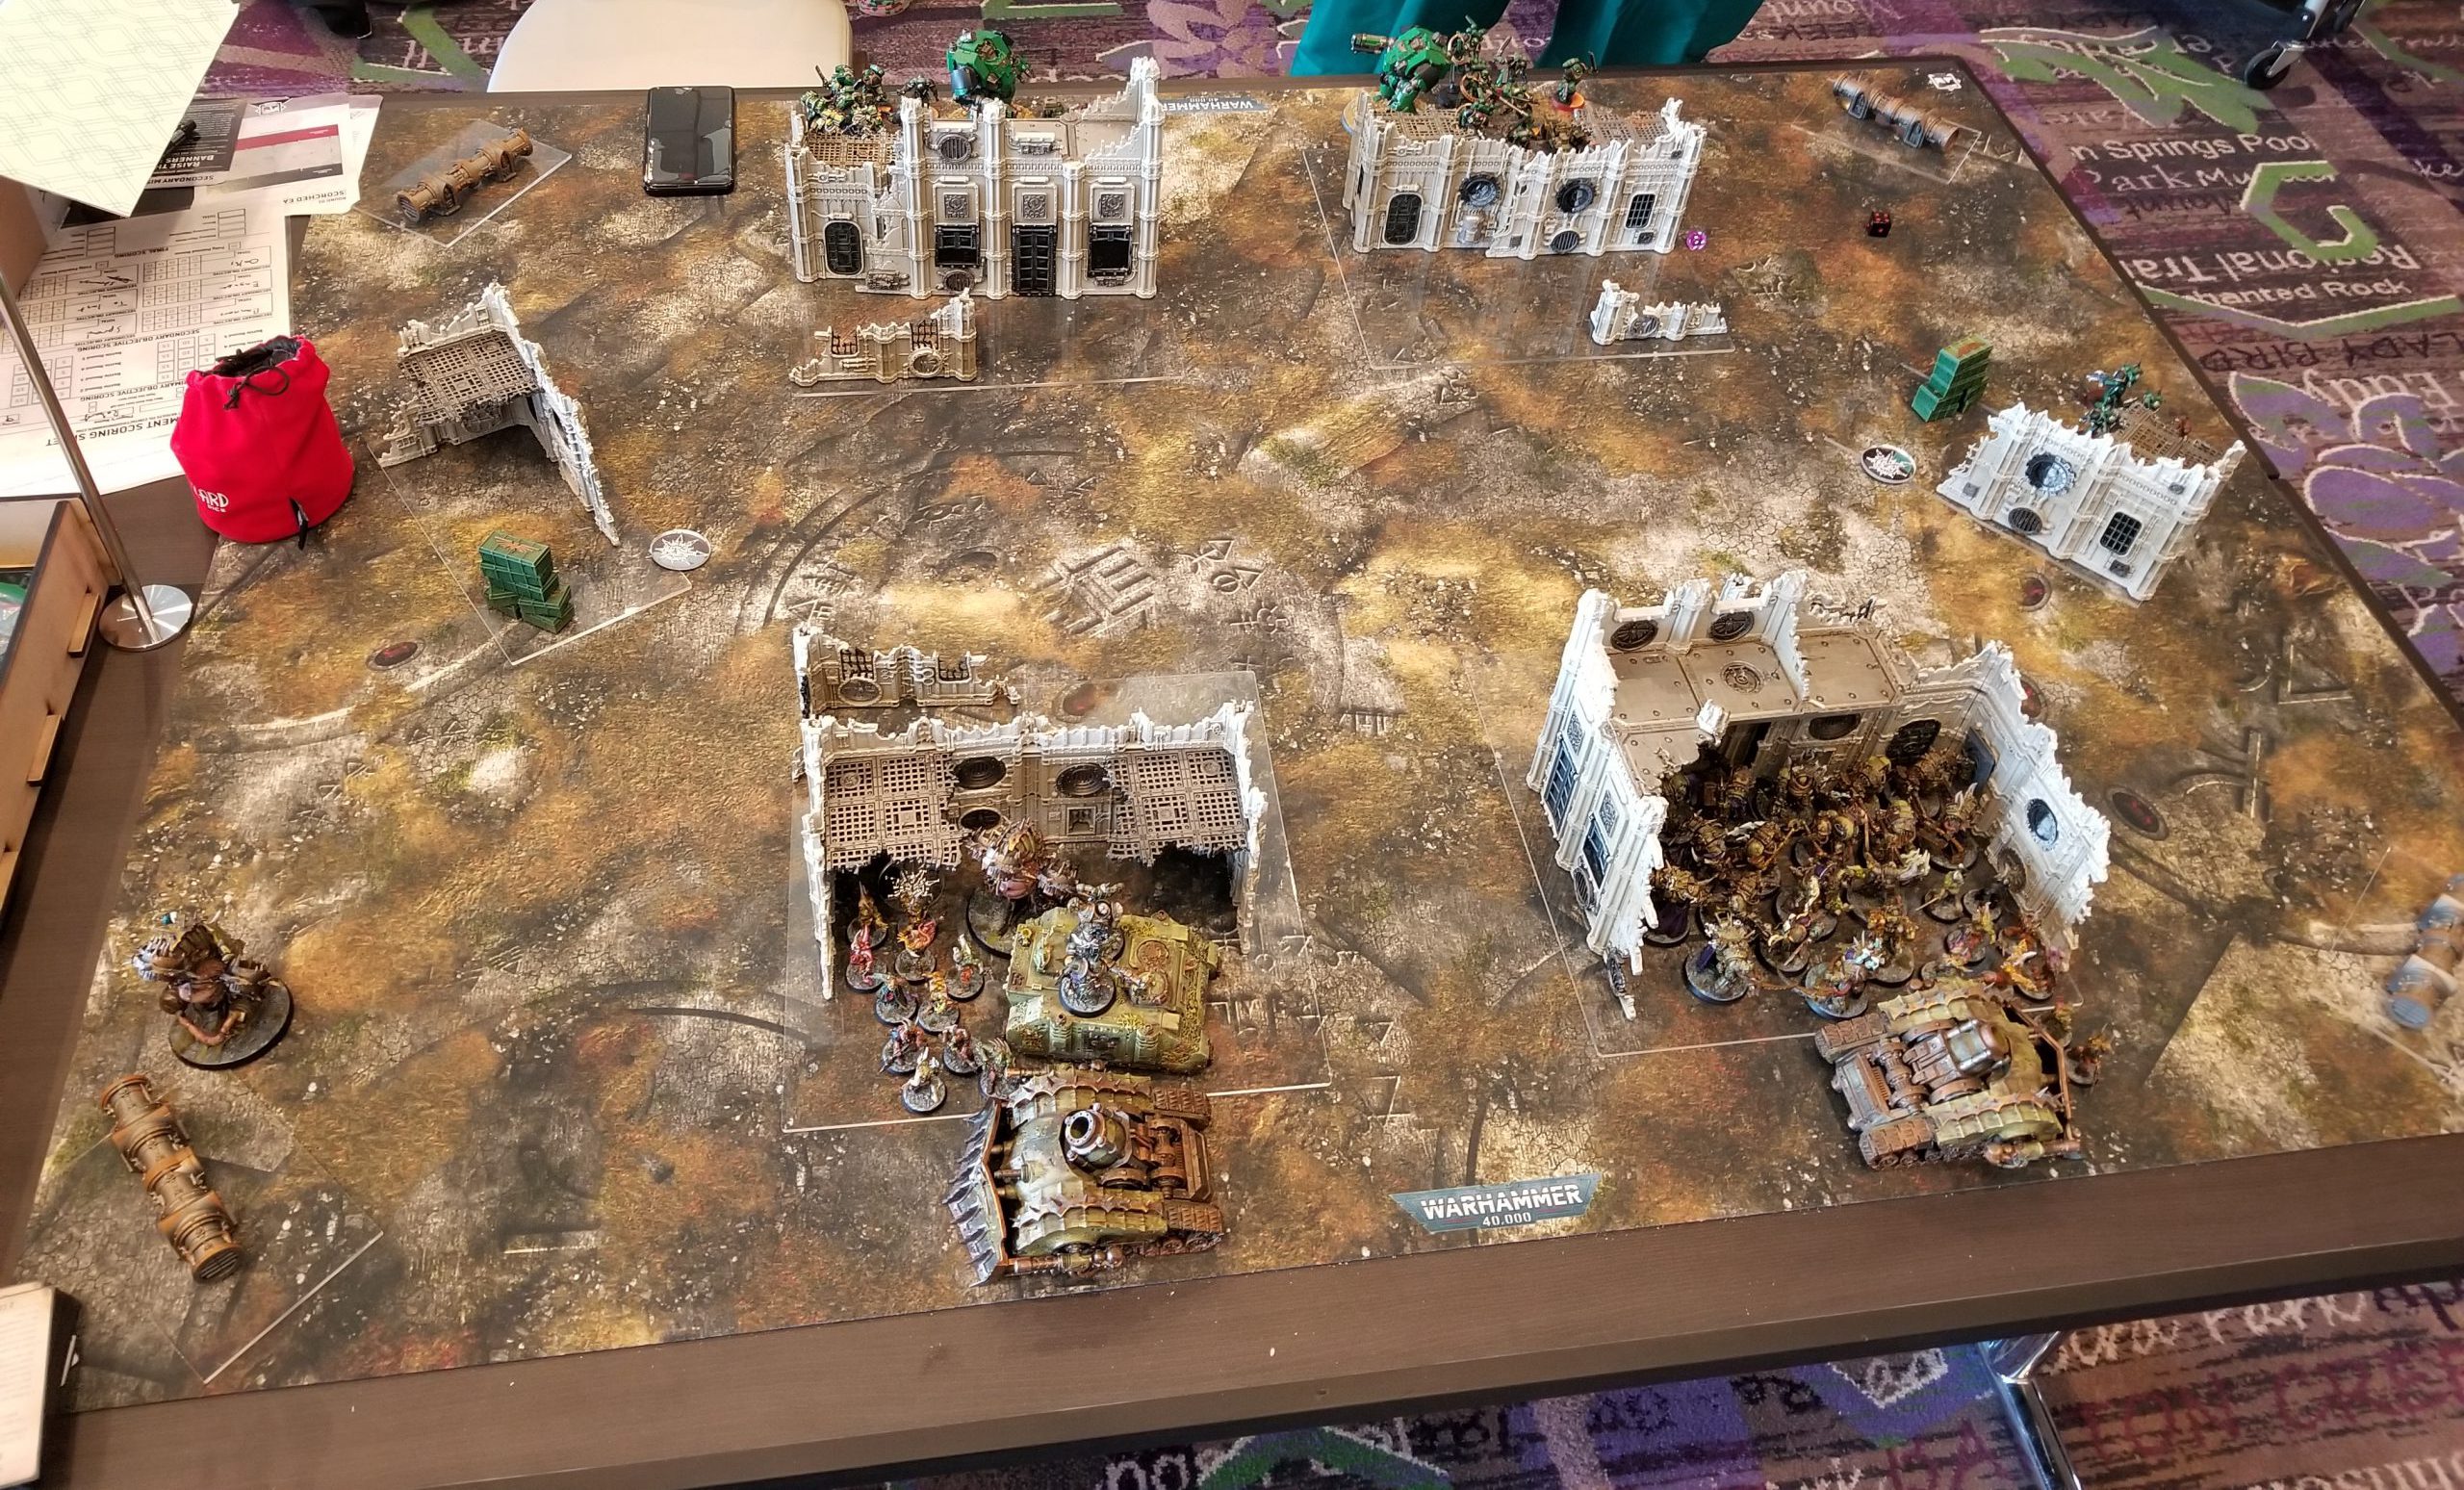
Jesse’s running a Salamanders list not too dissimilar from the one I played a month ago against Rob Rettew in a practice game. He’s got a lot of melta file with his Eradicators and Attack bikes, plus some Suppressors for support and two Redemptors to act as heavy muscle. He also has a lot of ways to give units ObSec. Generally speaking, that much melta with the ability to put it into strategic reserves and zip around the table makes me nervous about taking To the Last, but unlike Rob’s list, Jesse only has 2 Multi-melta attack bikes. He’ll realistically need both to get to half range to shoot one of my PBCs off the board turn 1 and the terrain will make that difficult to do unless he wants to go all-in on getting the first turn.
My Secondaries:
- To the Last – PBC / PBC / Blightlords
- Spread the Sickness
- Stranglehold
Jesse’s Secondaries:
- Oaths of Moment
- Raise the Banners
- Engage on All Fronts
Spread the Sickness on this mission isn’t too bad, since my plan is usually to run the blightlords up the right side of the table and snag 2 more objectives, netting me 12 on Spread during the game. It’ll go hand-in-hand with Stranglehold, and the combination of Stranglehold + To the Last should hopefully force my opponent to actually meet my blightlords in the field and bounce off them. Oaths is a wonderful trap for my opponents since it puts enemy units right in front of my Blightlords every turn, and helps me whittle down enemy armies and score Grind (in the games where I take it, anyways).
I’m Going Second.
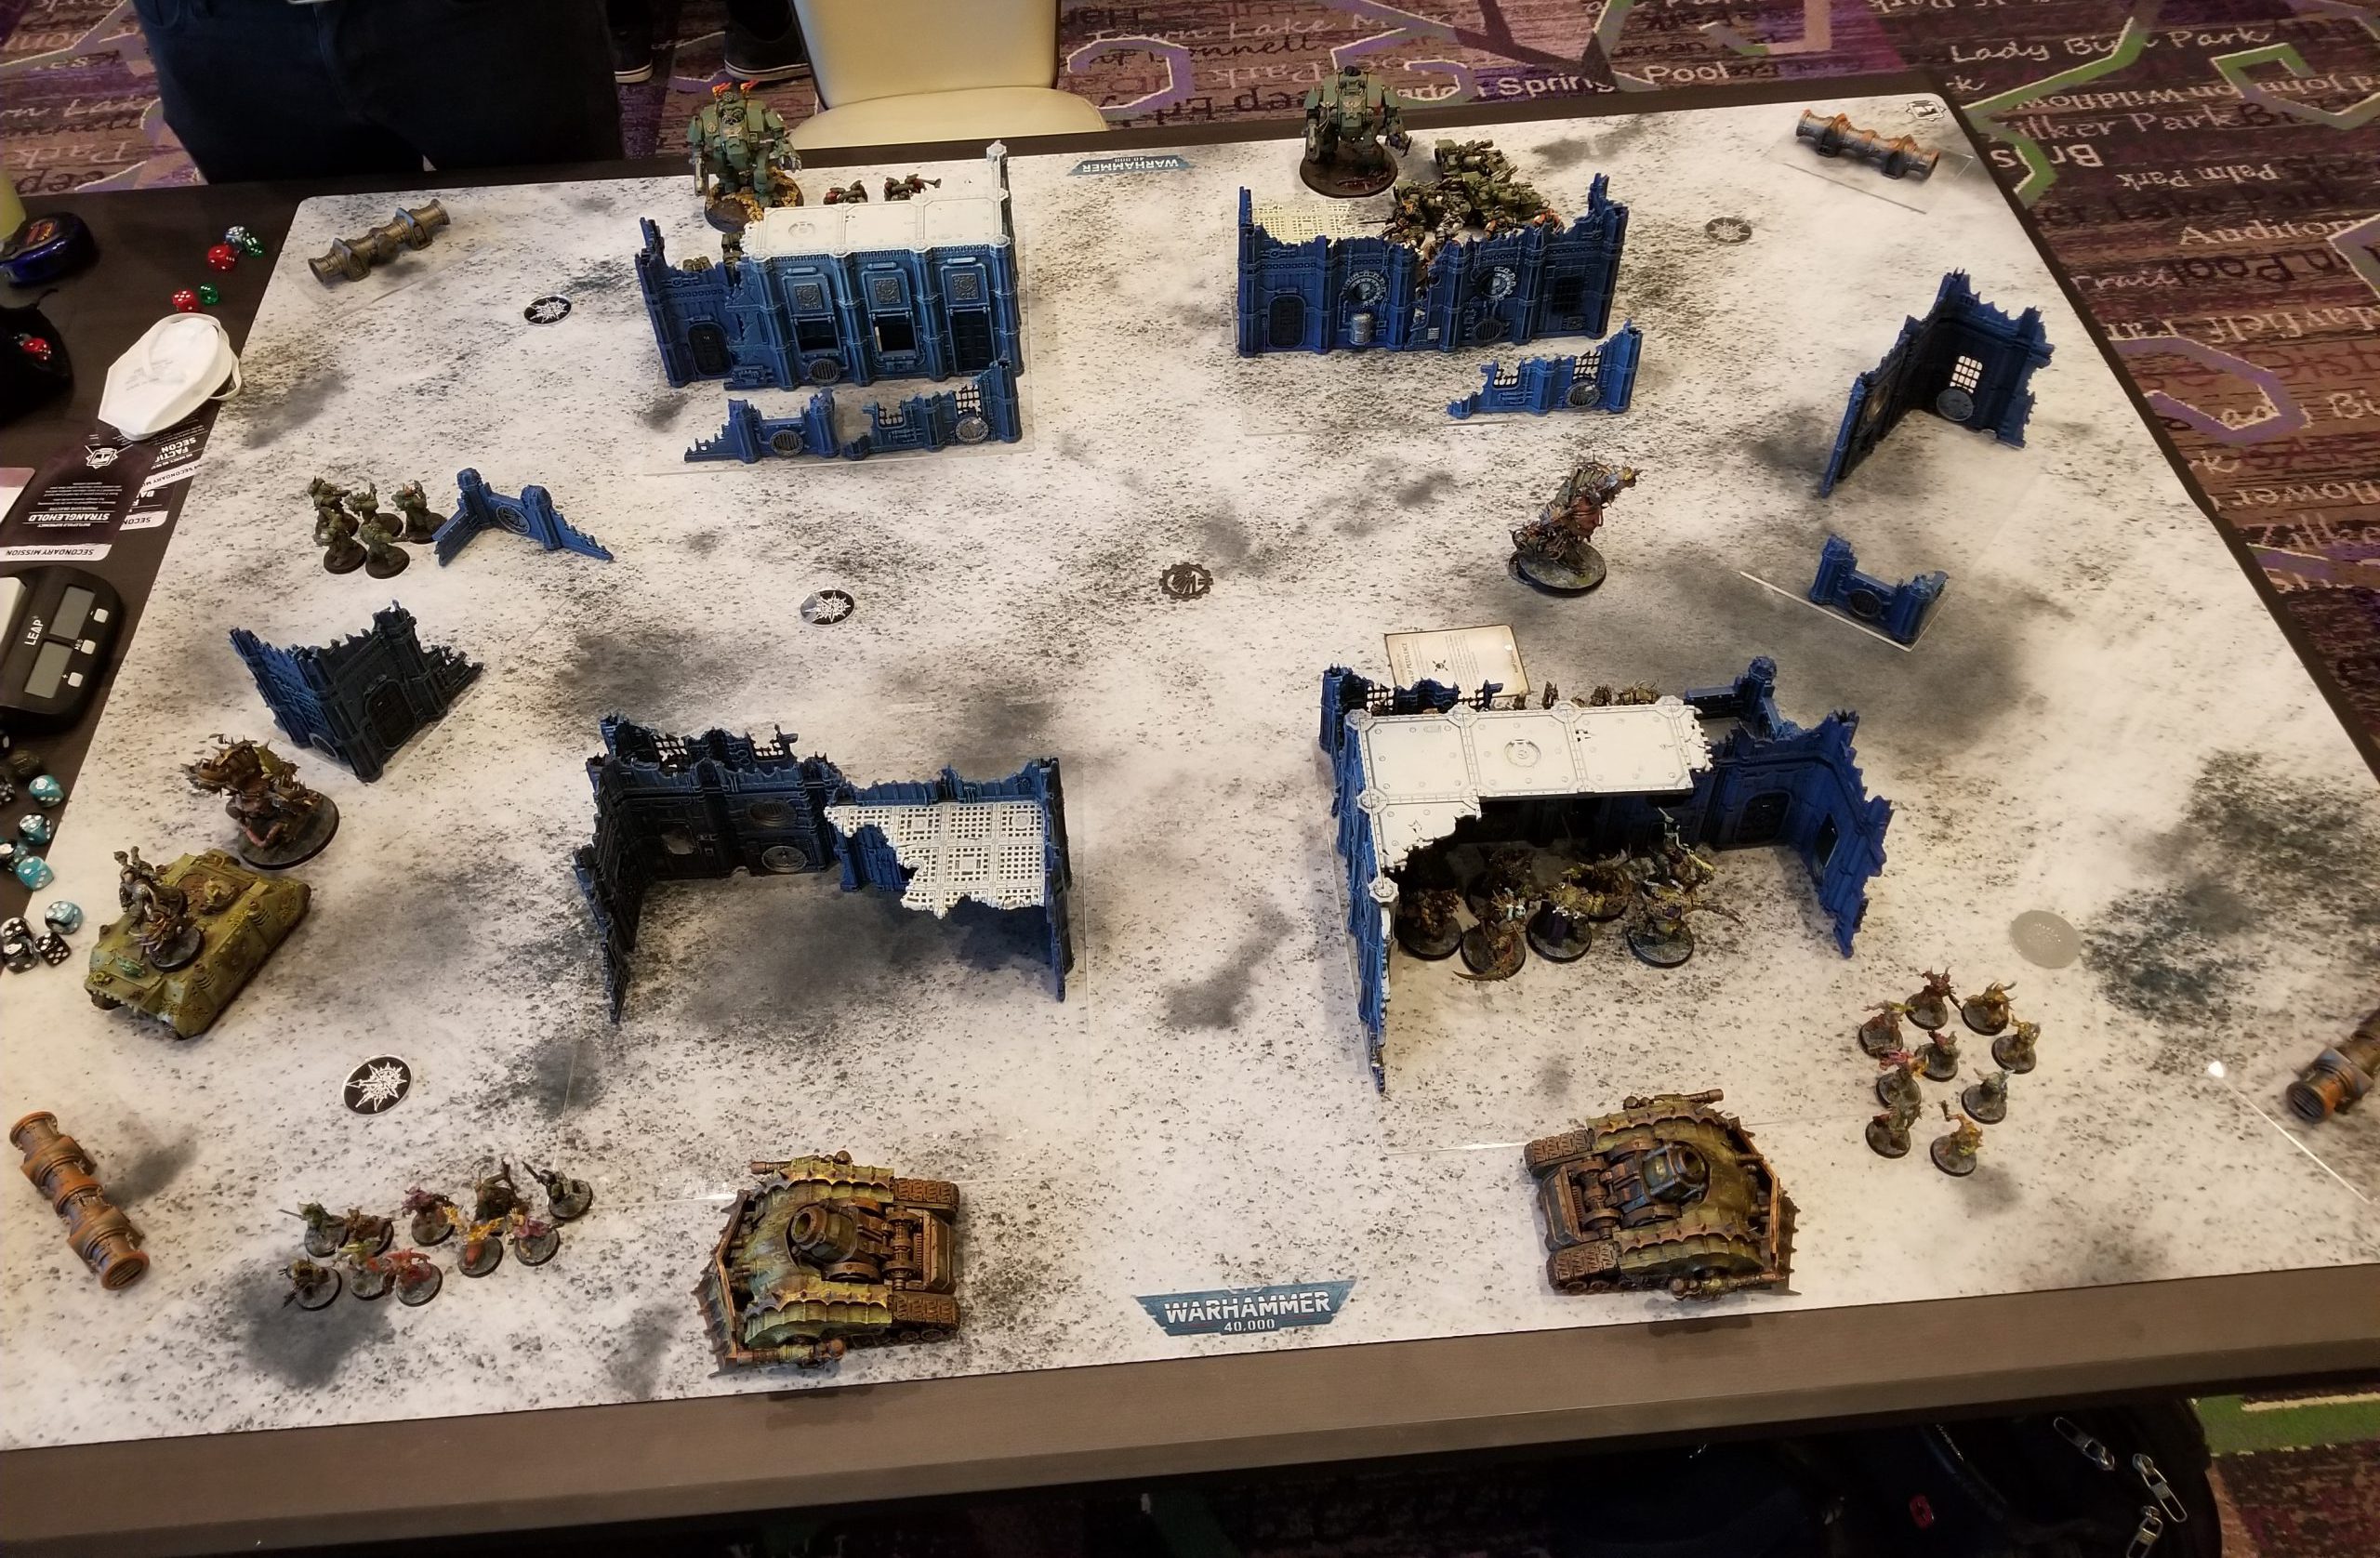
Jesse wants to go second since he’s on Oaths but he wins the roll-off and is forced to make the first move. I learned the hard way in my game against Rob that getting too aggressive and leaving visible units against Salamanders on T1 is a mistake, and so this time the only option available is a single Fleshmower positioned on dense terrain in the lower left corner. I think I can get away with this as a bait piece because he’s split his Attack Bikes out to the other side, and it’s unlikely a single redemptor can kill it on turn 1.

Jesse wants to go second since he’s on Oaths but he wins the roll-off and is forced to take the first move, which is good enough to deny me Stranglehold turn 1 but not much else. He gets some shots off on my Fleshmower but that’s about it. I proceed with my usual gameplan of moving my Blightlords up the right side of the table and eventually sweep him off while clearing his Aggressors and Eradicators off the middle of the table. Late game he’s able to finally take down one of my PBCs but it’s too little, too late. He drops 3 banners on turn 1 but I flip the right objective back immediately and eventually take off another. The other big mistake he makes is taking Oaths and Engage – he doesn’t have the unit numbers to both send someone to die at midtable every round to score Oaths and put two units in my territory to score for those table quarters.
I make a couple of mistakes – At one point I just forget to do anything with the Fleshmower for a turn – but this was such an easy game that never even came close to biting me in the ass. As usual, the best possible way to improve is to just play against an opponent. Having gone up against Rob’s Salamanders, I was ready for how this matchup would play out and what I could do to win it.
Final Result: 89-67, Win
A good game 1 result immediately sets me at ease. I’m not immediately out of contention, which is always nice. One of the good things about these massive events is that it’s relatively easy to dodge hard matchups and good players compared to a 50-person GT that’s stacked with talent. I grab lunch with my Houston crew and prep for game 2.
Game 2: vs. Thomas Cavender’s T’au Empire
Thomas does have a list submitted in BCP, so I’m going to guess as best I can here.
Thomas' Tau - Click to Expand T’au Empire Battalion Detachment (11 CP) Custom Sept: Up-gunned and Hardened Warheads HQ: Ethereal on Hover drone + 2 drones, Relic: Puretide Engram Neurochip Troops: Breacher Team +2 Drones EL: Ghostkeel w/Fusion, Stealth Drones FA: Piranhas x2 w/Burst Cannon HS: Broadsides x3 with Magna Rail Rifle, SMS, 3x Seeker Missiles, Velocity Tracker, drones DT: Devilfish, SMS
Stratagem: Emergency Dispensation (-1 CP)
HQ: Crisis Suit Commander, WARLORD: Through Unity, Devastation, 2 drones
Troops: Breacher Team +2 Drones
Troops: Breacher Team +2 Drones
EL: Crisis Suits x5, Iridium armor, 3x Burst Cannons, Velocity Tracker, drones
EL: Stealth Suits x3 w/Burst Cannons, Shas’O w/Fusion, 2x Drones
EL: Stealth Suits x3 w/Burst Cannons, 2x Drones
FA: Drones
HS: Broadsides x3 with High-yield missile pods, SMS, Velocity Tracker, drones
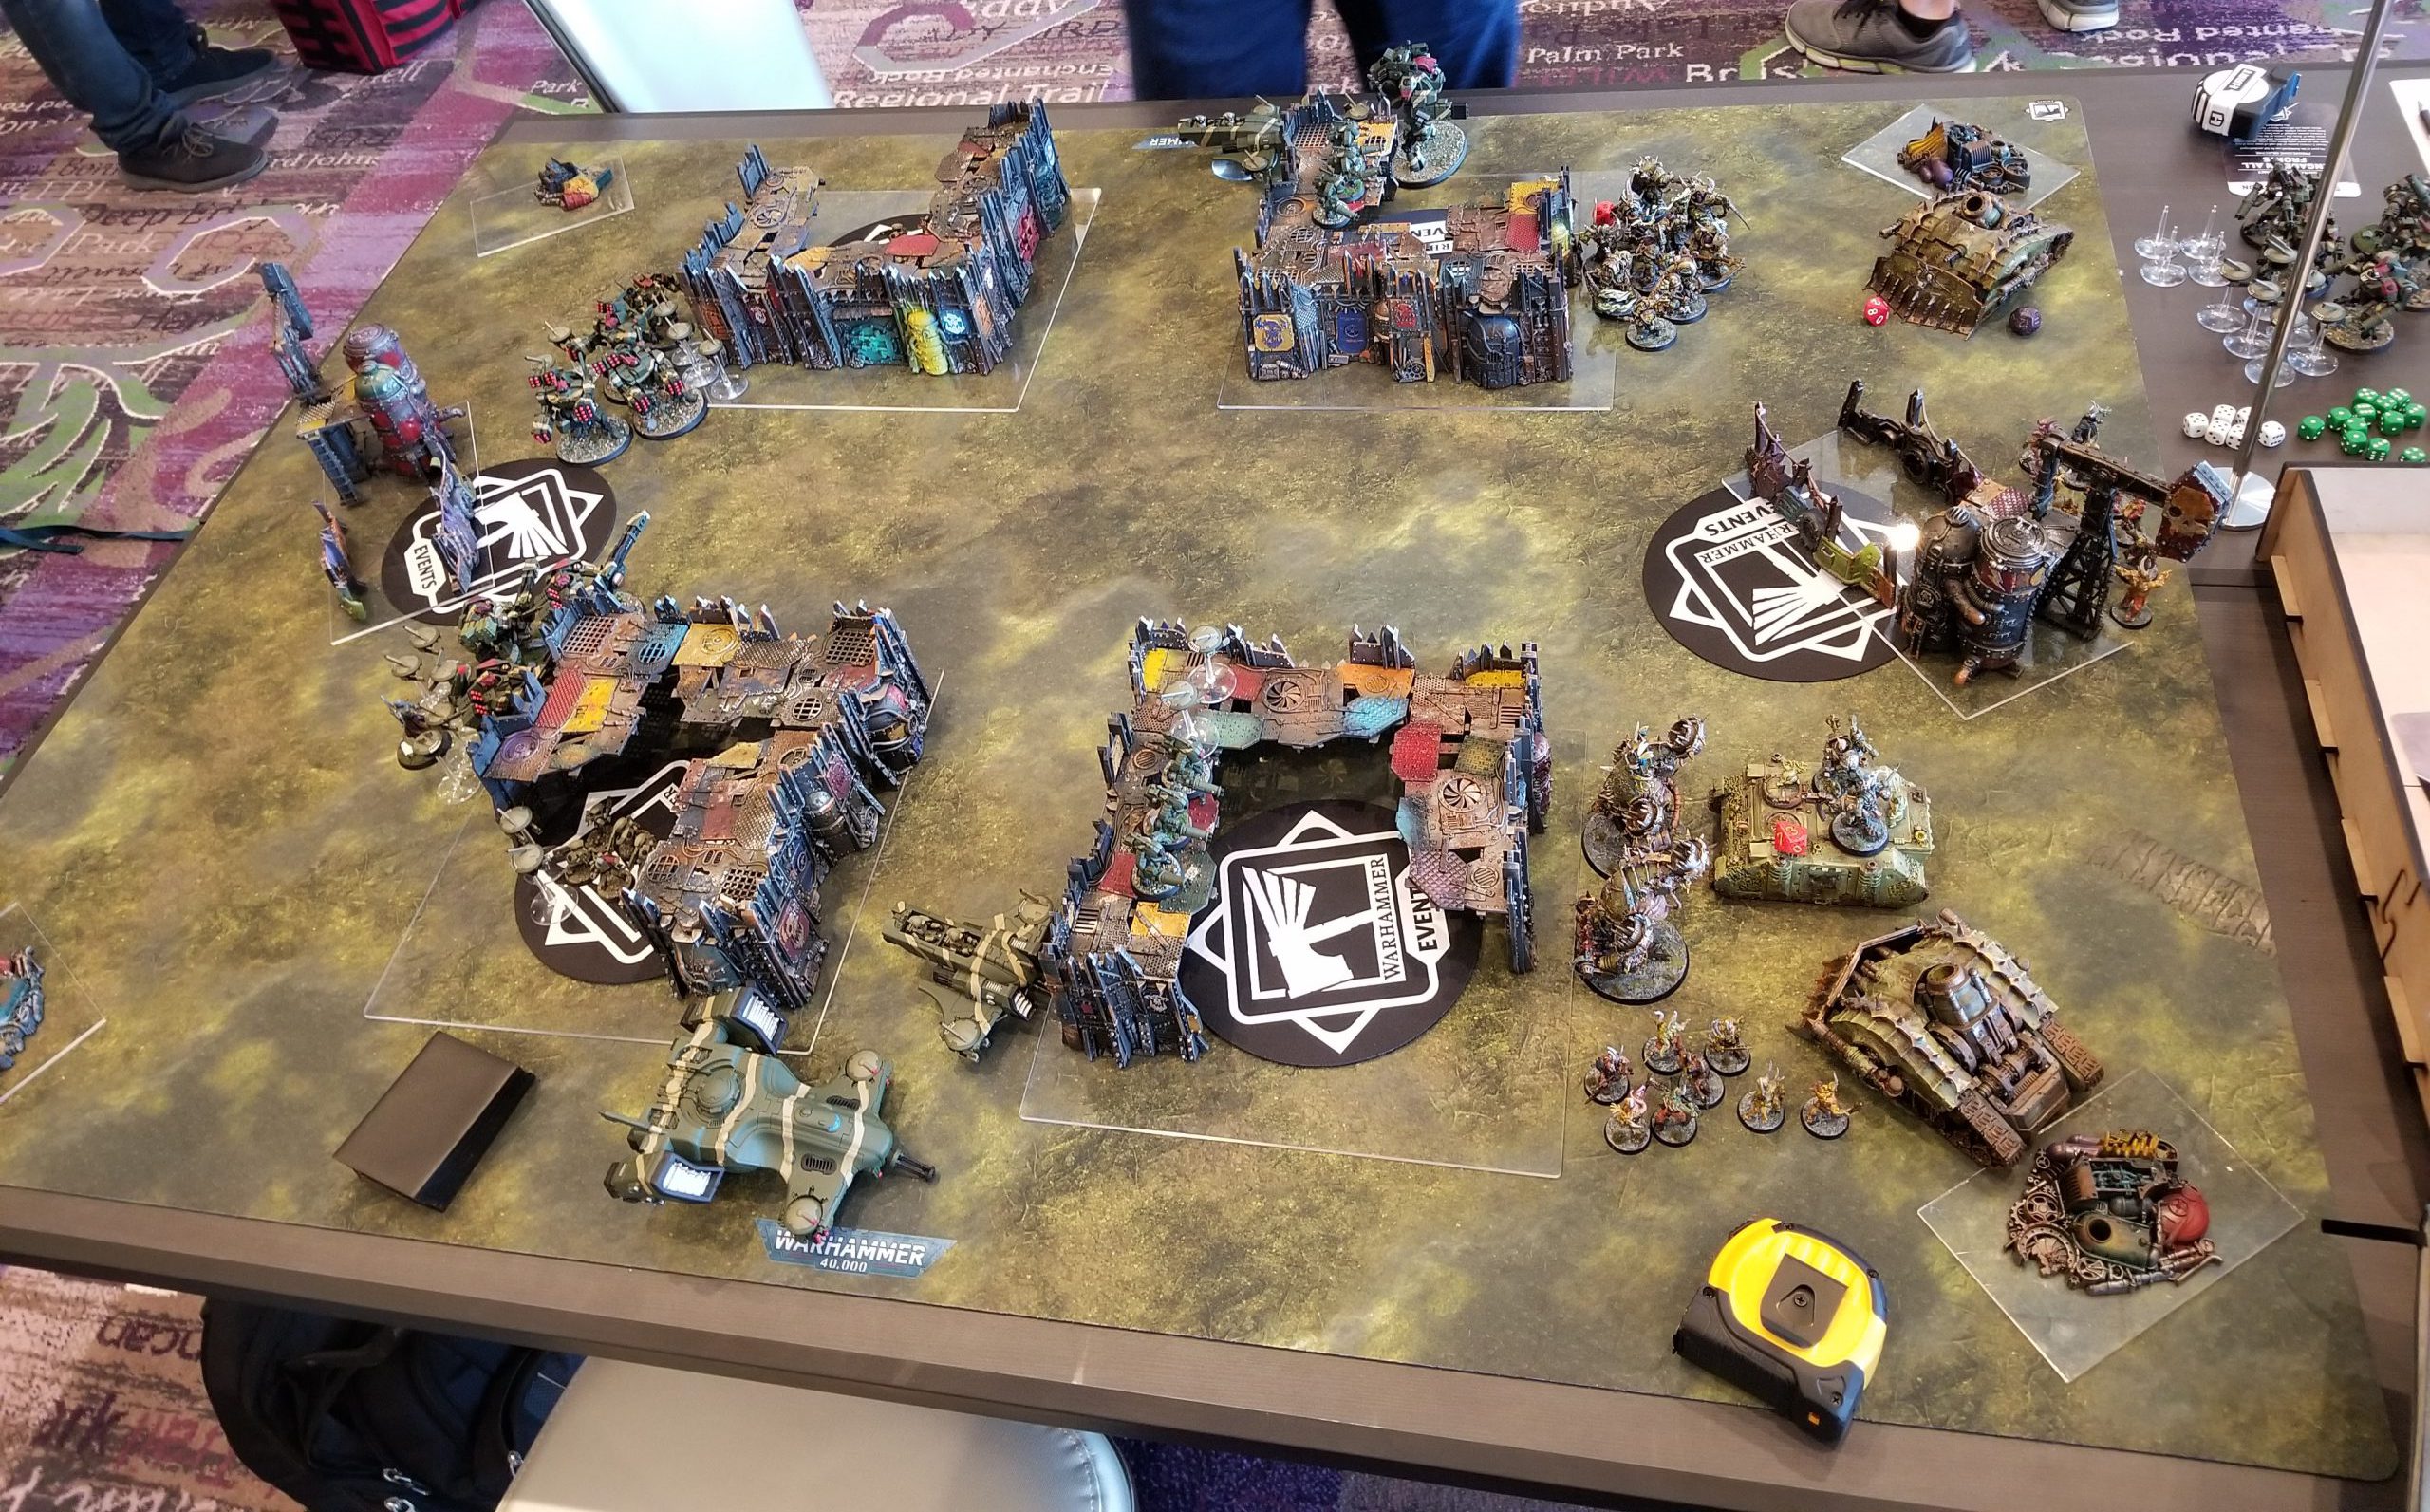
There are almost certainly upgrades I’m missing but as far as I can tell form my photos and what I killed, that’s the list. It leans heavy on improved AP missiles and burst cannons, and the former are pretty nasty against my Blightlords, since they ignore cover and put me on my 4+ invulnerable save. This is a terrible map for me to take on T’au, because hammer and anvil deployment gives me a very long way to walk against broadsides unloading missiles that ignore line of sight.
My Secondaries:
- Grind Them Down
- Spread the Sickness
- Engage on All Fronts
Thomas’ Secondaries:
- Retrieve Octarius Data
- Engage on All Fronts
- Assassination
Grind is a no-brainer against T’au; all those drone units become 2- and 4-model targets that will get thrown into the wood chipper as I shoot more important targets. I can whittle them down by shooting bigger targets, then kill them directly with longer-ranged firepower as needed. Grind turns drones into a liability. Spread the Sickness is fine as well here since I think I can get 3+ spreads out of it. And as long as I’m running across the table to an opponent who won’t engage with me then Engage on All Fronts isn’t a bad pick since my Blightlords should be able to pick up 8-10 on it by themselves. On Thomas’ side of things, Assassination is probably a mistake. He can fire without line of sight but he’ll have to grind through a lot of terminators to get to my characters.
I’m going Second.
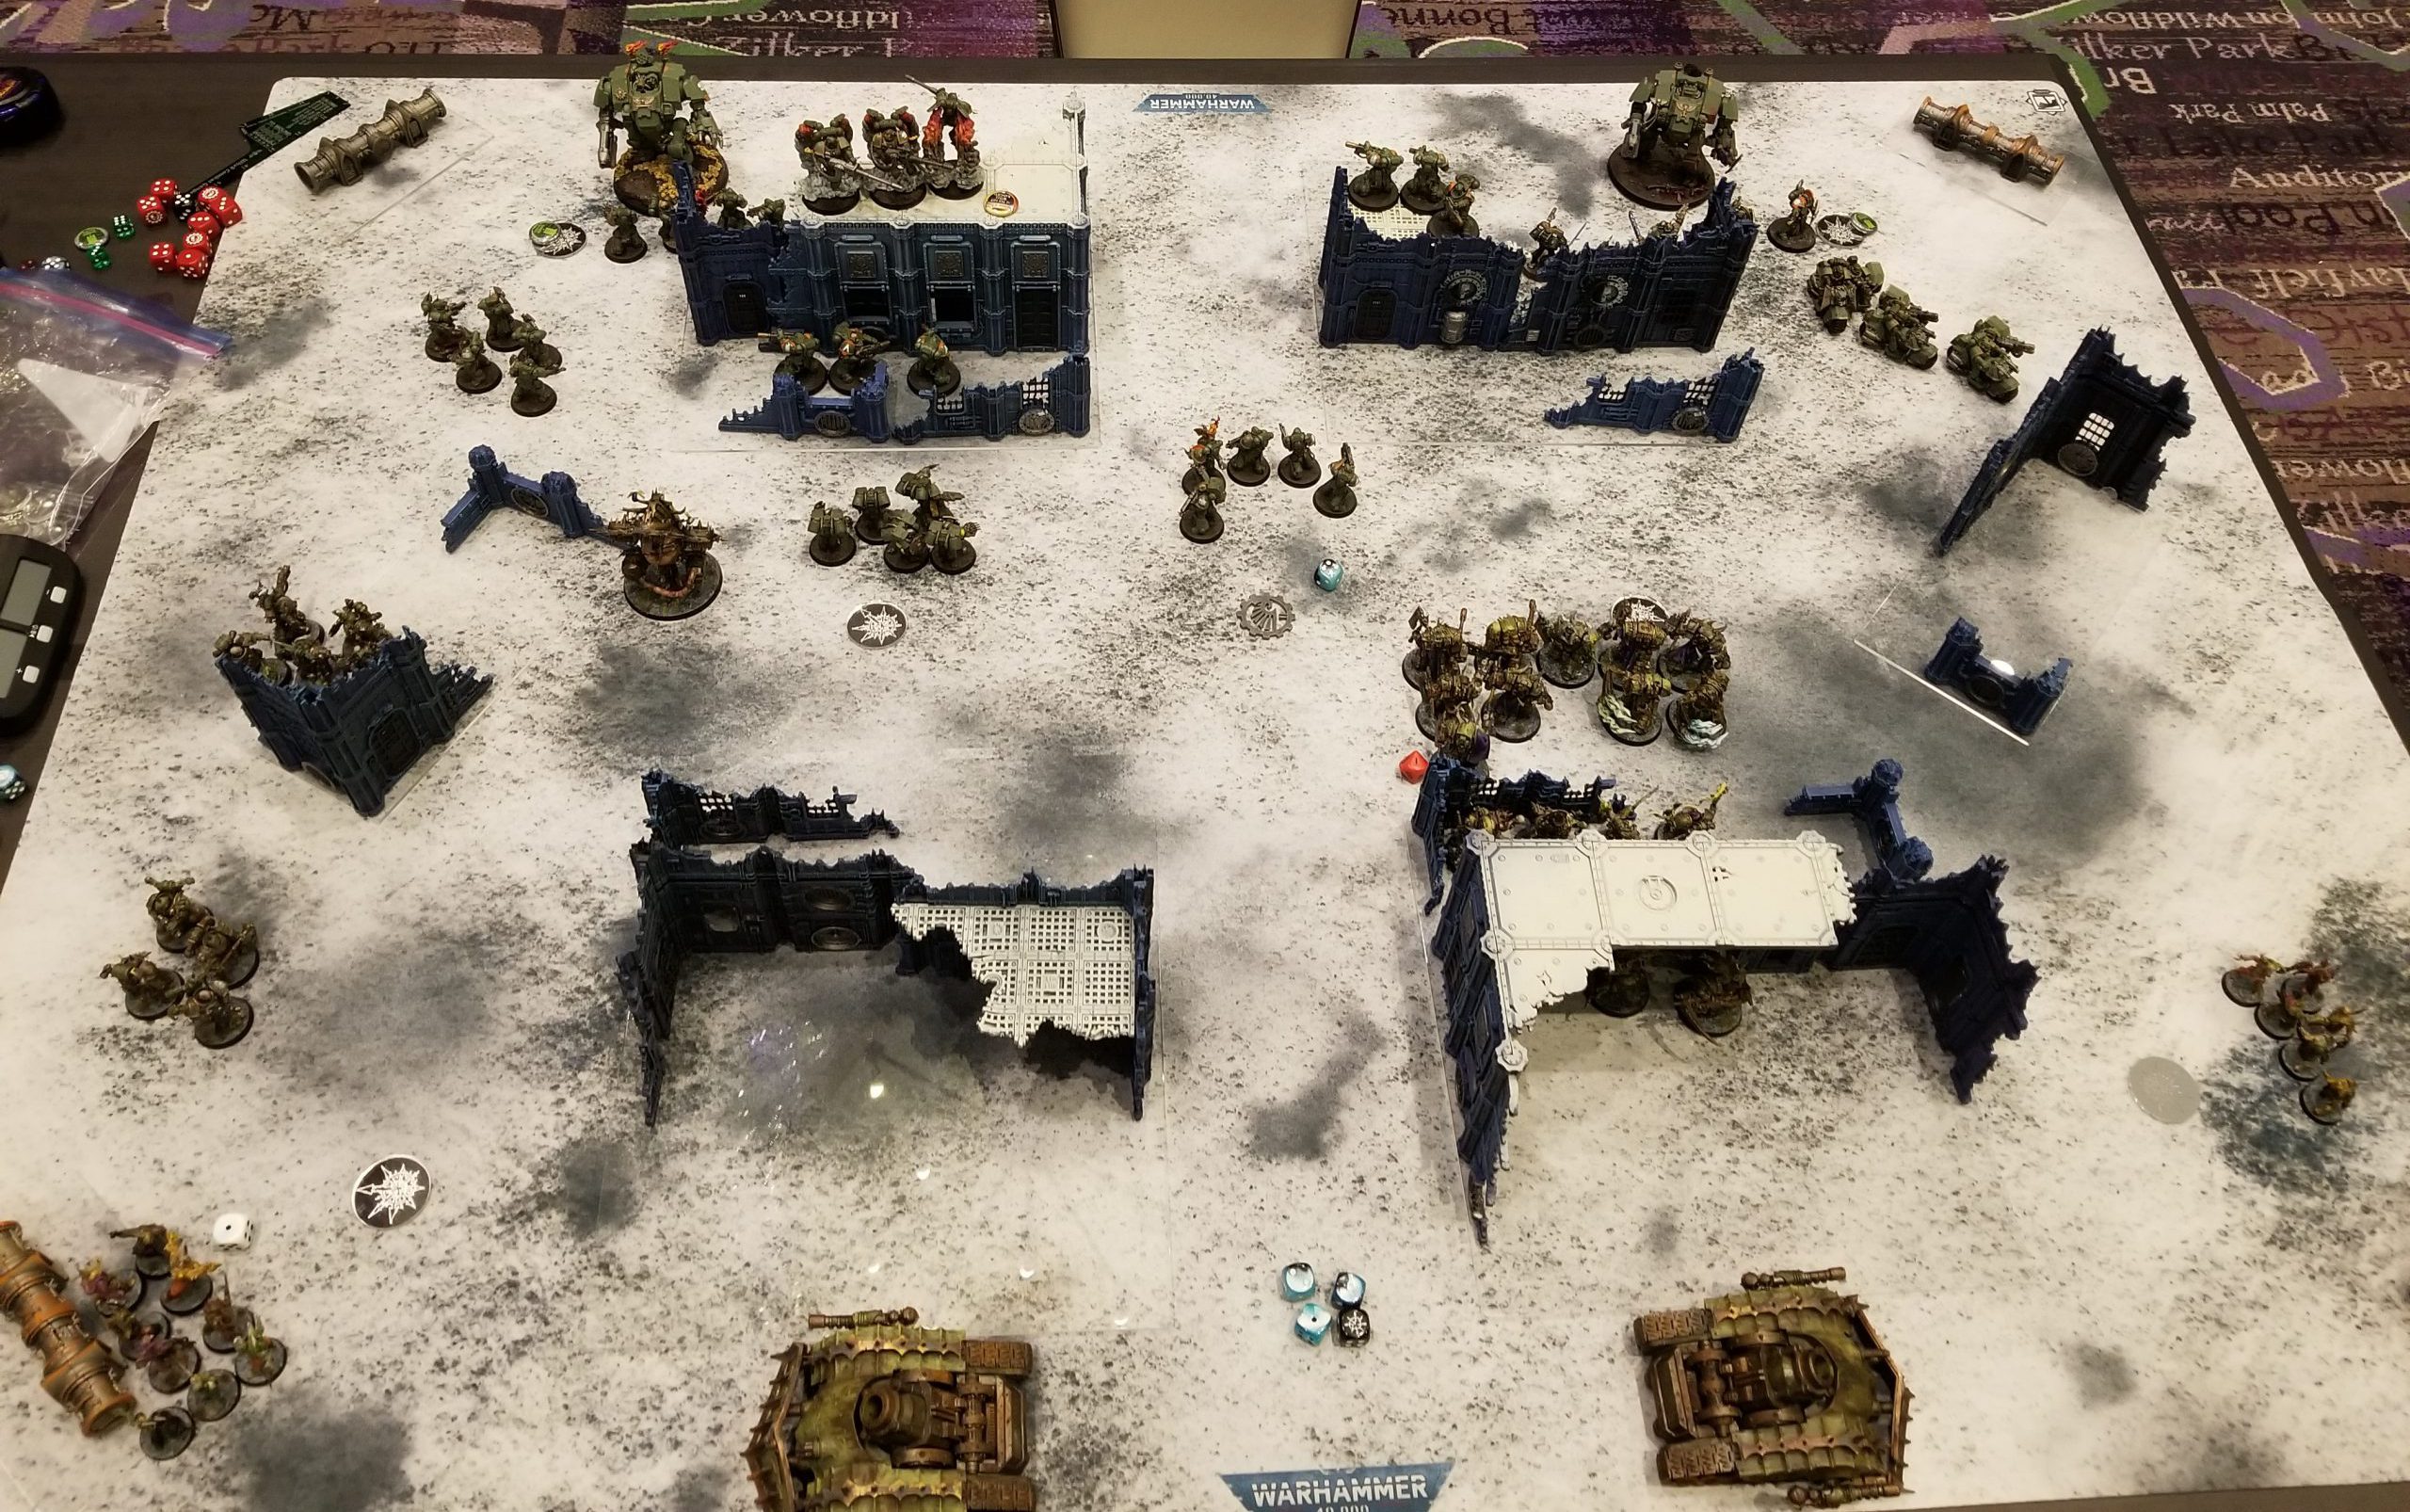
That’s not ideal. This gives Thomas a turn to try and shoot me off the table and set up his positioning. And while the layout is bad for me, we’re playing on the new Octarius table layout, which is much better for me overall. Then the first turn happens and I realize the game is already over. You may have noticed some T’au units that are positioned veeeery far forward in the image above. That’s because Thomas spent turn 1 rushing forward with both piranhas, the Ghostkeel, both squads of Stealth Suits, and the Devilfish, plus some drones.
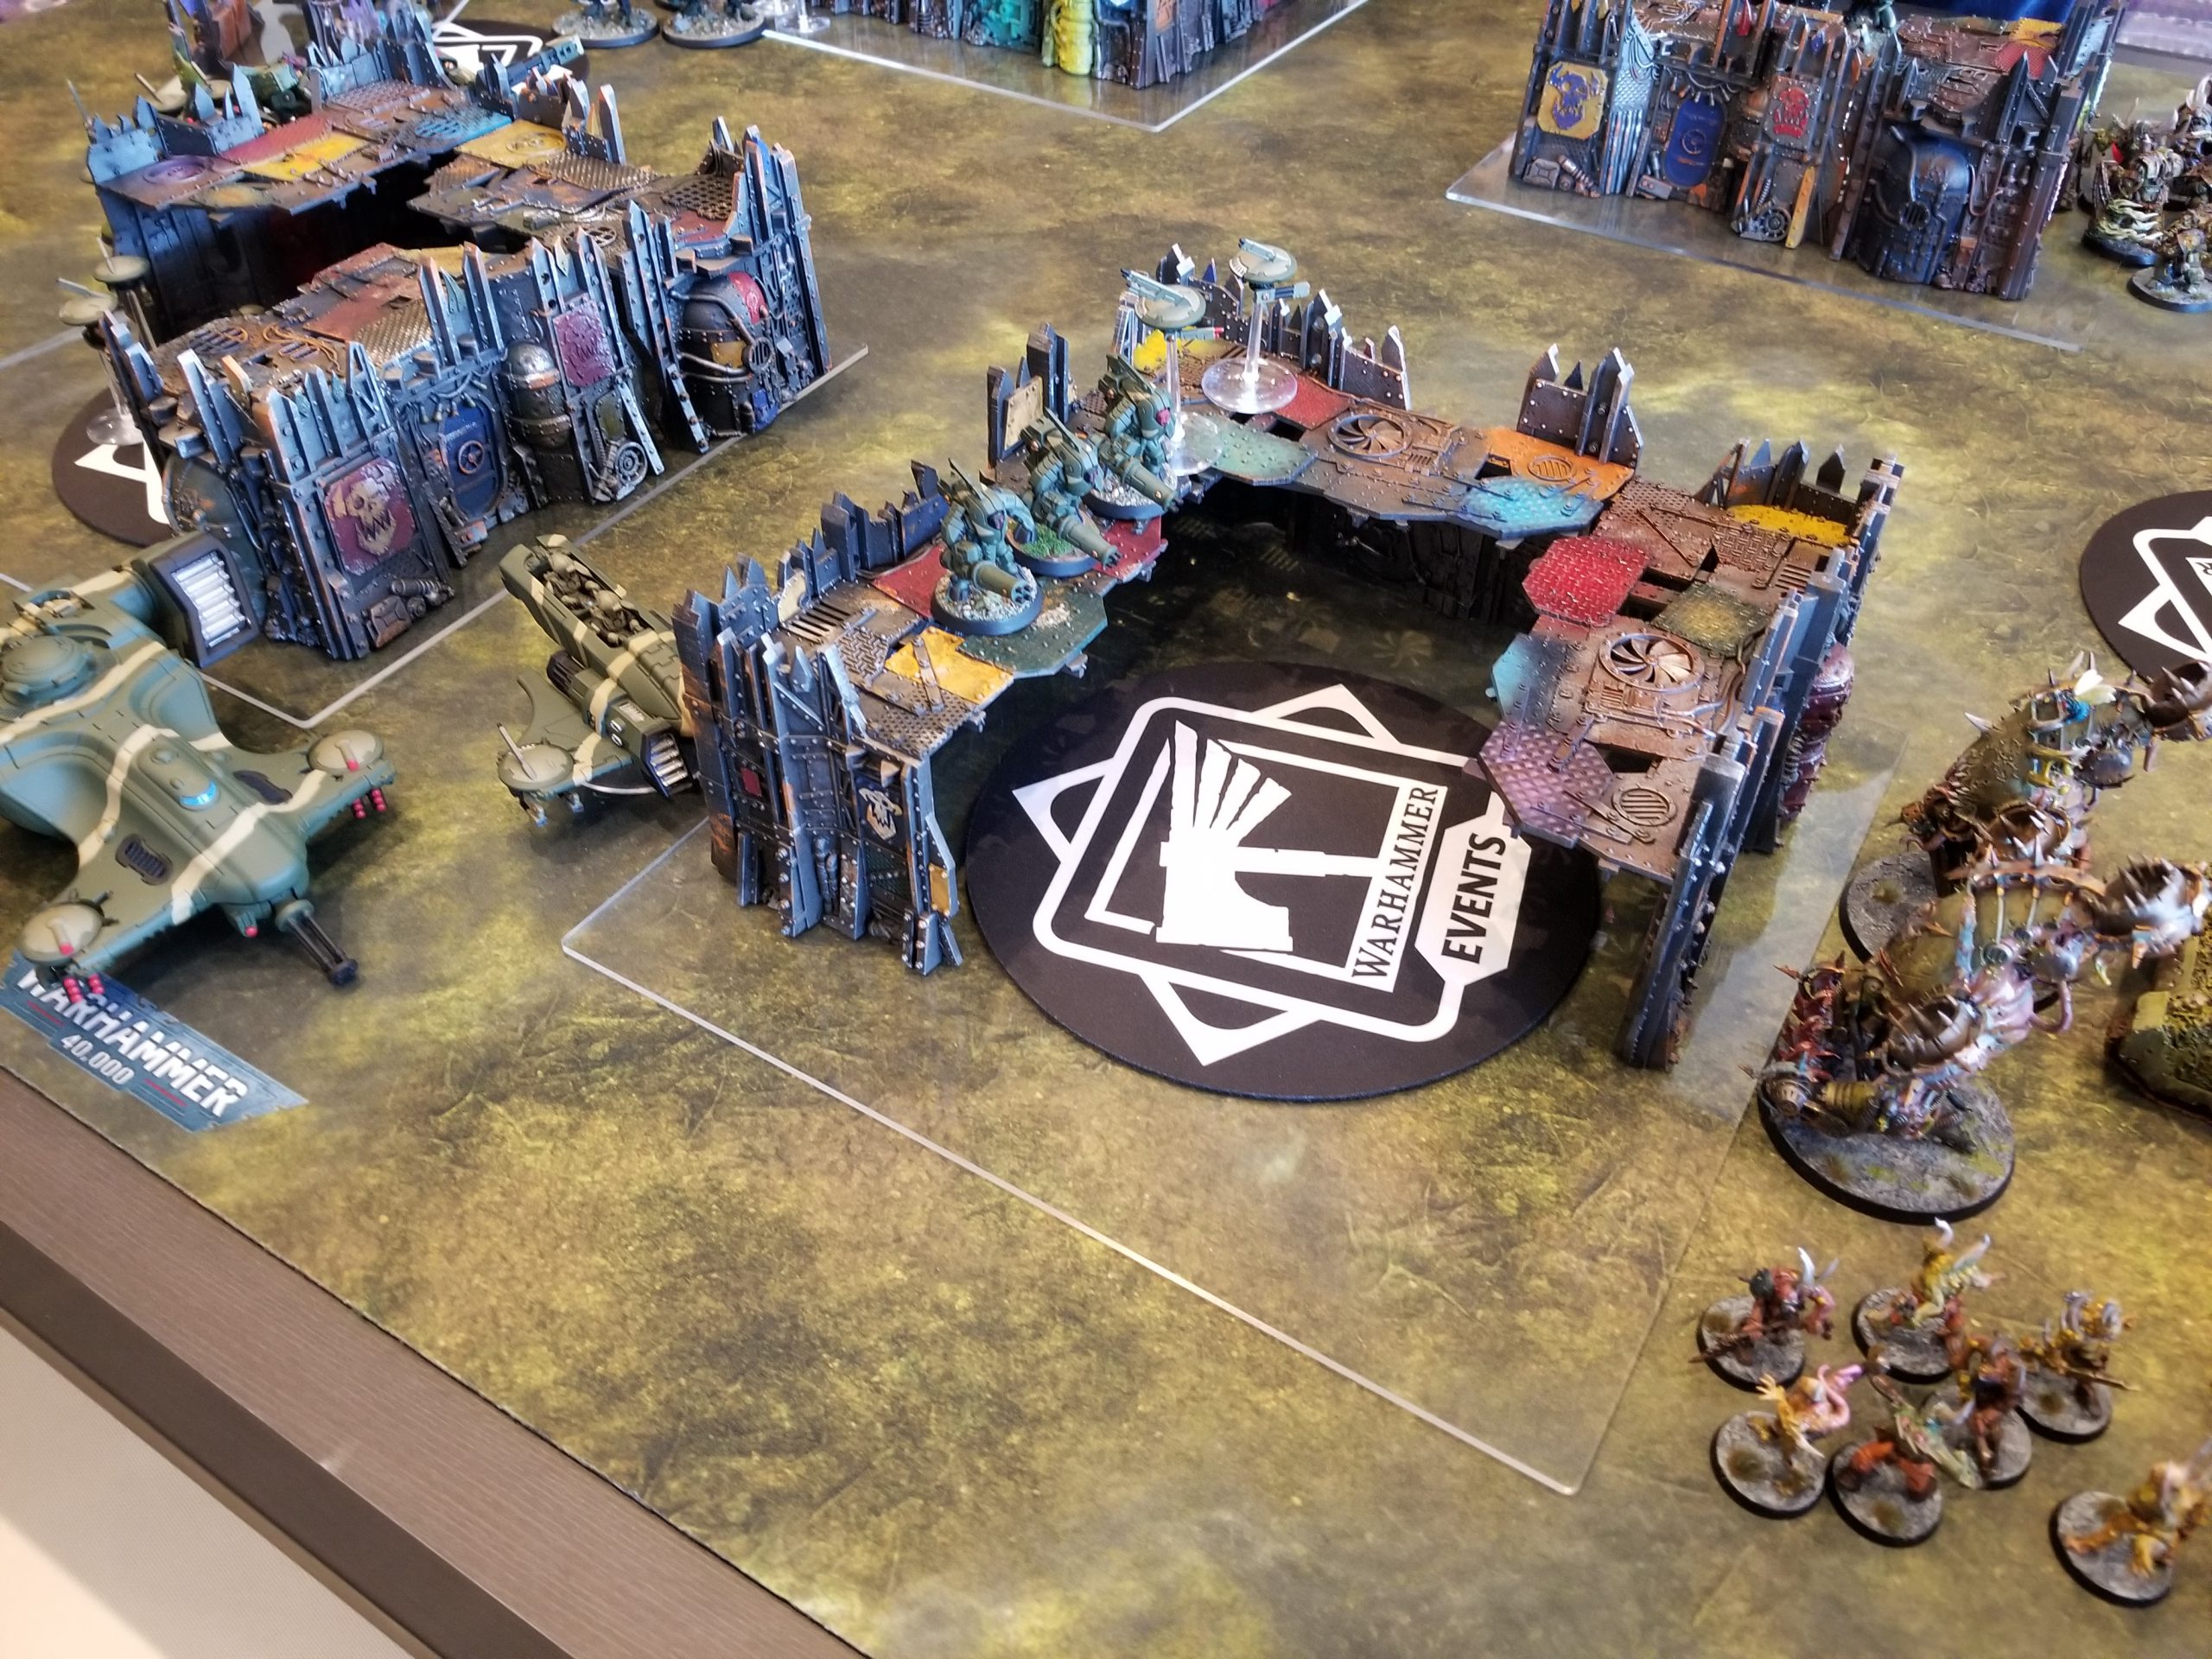
I immediately look at what he’s done and tell him “this is uh, this is very aggressive. Are you sure?” And he assures me that he is. At this point I think he’s pranking me in some way, that the T’au can shoot then move away after. But he also tells me that’s not going to happen either. So he opens up on my Blightlords with the Ghostkeel and stealth suits and does… 2 damage to one model. And on the other side shoots off a few poxwalkers, knocking them down to 7 models.
The most charitable read is that he thought he’d do more damage and slow me down with speed bumps as his broadsides put in more work. As-is, he doesn’t get much in the way of results and I just blow through a thousand points of his army on my turn 1, using his units to get free movement toward his deployment zone. He still has lots of shooting but the game is over at this point. I keep him to 5 on primary in turns 4 and 5, snag 12 each on Engage and Spread, and the only reason I don’t get more on Grind is because I killed too many units on turns 1 and 2. I’ll take it.
Result: 88-53, Win
Game 2 was another relatively easy match-up, helped along by my opponent dramatically overestimating what he’d be capable of doing during the game. As far as I’m concerned I’m already ahead of my NOLA showing, since a 2-0 start is worth more ITC points. It’s a quick turnaround for game 3, and I’m up against a familiar face.
Game 3: vs. Robert Rettew’s Salamanders
Robert's list - Click to expand ++ Battalion Detachment 0CP (Imperium – Adeptus Astartes – Salamanders) [97 PL, 2,000pts, 8CP] ++ **Chapter Selector**: Salamanders + HQ + Captain [6 PL, 125pts, -1CP]: Combi-melta, Jump Pack, Relic blade, Rites of War, Stratagem: Hero of the Chapter, Vulkan’s Sigil Primaris Chaplain on Bike [7 PL, 140pts, -1CP]: 5. Recitation of Focus, 6. Canticle of Hate (Aura), Chapter Command: Master of Sanctity, Litany of Hate, Never Give Up, Obsidian Aquila, Stratagem: Exemplar of the Promethean Creed, Warlord, Wise Orator + Troops + Infiltrator Squad [6 PL, 120pts] Intercessor Squad [5 PL, 105pts]: Astartes Grenade Launcher, Auto Bolt Rifle Intercessor Squad [5 PL, 105pts]: Astartes Grenade Launcher, Auto Bolt Rifle + Elites + Bladeguard Veteran Squad [10 PL, 140pts] Primaris Apothecary [4 PL, 80pts]: The Vox Espiritum Redemptor Dreadnought [9 PL, 185pts]: 2x Storm Bolters, Icarus Rocket Pod, Macro Plasma Incinerator, Onslaught Gatling Cannon Redemptor Dreadnought [9 PL, 185pts]: 2x Fragstorm Grenade Launchers, Icarus Rocket Pod, Macro Plasma Incinerator, Onslaught Gatling Cannon Vanguard Veteran Squad [7 PL, 145pts]: Jump Pack + Fast Attack + Attack Bike Squad [6 PL, 180pts] Attack Bike Squad [4 PL, 120pts] Suppressor Squad [5 PL, 100pts] + Heavy Support + Eradicator Squad [7 PL, 135pts]: Melta rifle Eradicator Squad [7 PL, 135pts]: Melta rifle ++ Total: [97 PL, 8CP, 2,000pts] ++
Stratagem: Relics of the Chapter [-2CP]: 2x Number of Extra Relics
. 4x Infiltrator: 4x Bolt pistol, 4x Frag & Krak grenades, 4x Marksman bolt carbine
. Infiltrator Sergeant
. 4x Intercessor: 4x Bolt pistol, 4x Frag & Krak grenades
. Intercessor Sergeant: Astartes Chainsword
. 4x Intercessor: 4x Bolt pistol, 4x Frag & Krak grenades
. Intercessor Sergeant: Astartes Chainsword
. 3x Bladeguard Veteran: 3x Frag & Krak grenades, 3x Heavy Bolt Pistol, 3x Master-crafted power sword, 3x Storm Shield
. Bladeguard Veteran Sergeant: Heavy Bolt Pistol
. Vanguard Veteran: Lightning Claw, Storm shield
. Vanguard Veteran: Lightning Claw, Storm shield
. Vanguard Veteran: Lightning Claw, Storm shield
. Vanguard Veteran: Lightning Claw, Storm shield
. Vanguard Veteran Sergeant: Bolt pistol, Lightning Claw
. Attack Bike: Multi-melta
. Attack Bike: Multi-melta
. Attack Bike: Multi-melta
. Attack Bike: Multi-melta
. Attack Bike: Multi-melta
. 2x Suppressor: 2x Accelerator autocannon, 2x Bolt pistol, 2x Frag & Krak grenades
. Suppressor Sergeant
. 2x Eradicator: 2x Bolt pistol
. Eradicator Sgt
. 2x Eradicator: 2x Bolt pistol
. Eradicator Sgt
Those of you who have been following along for the last couple of months may recognize Rob’s list, if not his name – I played a practice game against Rob back in October in Part 11 of my series, shortly after I’d built the GW terrain layout. Rob is a great guy and a very good player – he finished in the Top 8 at Warzone Houston and thoroughly bodied me in our first game. This time around he’s traded out a unit of Suppressors and a unit of Intercessors for more Attack Bikes, giving him a lot of extra speed and more than enough melta to make me think twice about taking To The Last.
My Secondaries:
- Grind Them Down
- Spread the Sickness
- Stranglehold
Rob’s Secondaries:
- Stranglehold
- Raise the Banners High
- Oaths of Moment
I don’t love To the Last with this much melta so I opt for Grind Them Down instead. The risk here is that Rob may not have enough units but the upside is solid. Spread is also a fine pick for me and as long as I’m trying to hold the middle and watching someone go for Oaths Stranglehold is a fine pick as well. The challenge will be continually contesting the left-middle objective to keep on Stranglehold scoring.
I’m going first.
Going first isn’t as ideal in this matchup, since it means I need to make the first move and can’t count on Rob to give me free charge movement as he tries to take out my PBCs, but it does mean I can shoot my PBCs first and get early, easy Stranglehold points.
The big difference between our last game and this one is that I learned a lot from that loss – I was waaaaay too aggressive last time around, giving him an early shot on my Rhino. It’s one thing to do that after it moves; it’s another to give him free shooting before it helps anyone get anywhere. This time I make the most of my first turn by moving up but not being too aggressive – I keep the Blightlords in the ruin out of line of sight and advance the fleshmower and Rhino around the left side. Rob’s still able to destroy the Rhino turn 1, but it takes some work, and losing the Fleshmower after it scores me 3 VP is a much better tradeoff than losing it before it does anything.
There’s a lot of back-and-forth in this game but it starts to go my when when I tag Rob’s Eradicators in consecutive turns to keep them from shooting. The PBCs take out the Attack Bikes, and the Blightlords sweep up the right side, wiping out Rob’s Vanguard Veterans, Chapter Master, and Bladeguard Veterans. By my turn 5, all Rob has left on the table are a wounded Redemptor, his Chaplain, and a squad of Intercessors, all sitting in the upper left corner. I only pull 6 on Grind since I had two turns that were bloody enough to make scoring it again impossible, but i snag 12 on Spread and 9 on Grind. The final score ends up relatively close, in part because it’s very hard to stop Oaths scoring when the Oaths player is going second.
Rob’s a solid player and I look forward to playing him again.
Result: 82-70, Win
I have officially started the GW Austin event 3-0 and at that point I am elated. I’m already guaranteed to make the 3-1 bracket, and if I can get one more good matchup I can go 4-0 and make the top 16, where I’ll be dumpstered in four straight games but at least I’ll have some solid glory to my name. As-is, I’m already guaranteed to have a higher finish than I had at New Orleans so I’m playing with house money.
We hit up Rainey Street for dinner with the rest of the Houston Crew – who are playing under the wonderful team name Astros Militarum – and end up grabbing food at an Asian Fusion restaurant that’s got some pretty decent food. We hang out for a while and James “Boon” Kelling swings by with his friend Bill Stineman, one of James’ teammates on the Frozen North team. Bill’s playing Orks and he’s also a great guy. Lots of fun to talk to. James had a much tougher first day than I did, getting paired into Jack Harpster in round 3 and losing in a close game. He can still make the top 16 with a strong enough game 4 and a bit of help, though.
We end up drinking more back at the hotel and then call it a night.
Next Time: Day 2
I’m splitting this into three parts to make it easier to write. I’ll be back again on Friday with part 2, covering my day 2 games and my tragic fall from the highs of day 1. Until then, if you have any questions or feedback, drop us note in the comments below or email us at contact@goonhammer.com.
