
Welcome back, Dear Reader, to my ongoing progress series that follows along with my journey to attend a slate of competitive events through the end of the 2021 season and get to a 3-digit spot on the ITC leaderboards. Last time around I finished painting a single Blightlord and talked about playing two practice games against Sisters and Drukhari – you can find that episode here. This week I’m back on more practice games as I get ready for the Goonhammer Open next weekend. Folks, I’m hype AS FUCK for the GHO. I cannot tell you how glad I am that we’ll have something to at least partially replace the void left by NOVA this year, and the smaller scale and our increased vaccination and mask requirements make it much less daunting to attend than NoVA might have been – I’m not sure I’d have been nearly as cool with being at a thousand-person convention right now.
So anyways during the week one of the guys on the local Discord I’m on asks about getting in a tournament practice game. After my last game I made a couple of small tweaks to my list for the GHO and I was eager to try those out, plus I want to play games against more armies and opponents. So on Saturday I prepped the gaming table and two friends came over to play games, one after the other, at 11am and 3pm. That’s a lot of game time but the wife was cool with it so I was able to get some extra reps in.
Generally speaking, the focus of tournament practice games can vary based on where you’re at in terms of competitive play and your army. For people who are just starting competitive play, a major focus of practice games should just be getting comfortable with playing a game in 2.5 hours – know your rules, know what you can and can’t take back, and solidify the things you need to do every turn. In my experience, really getting this down for an army can take a dozen or more games – learning the process of making rolls for my Tallyman, having him Tally for a unit, and activating Stratagems like Flash Outbreak took some time, and even now there are some things I occasionally forget going into games. Once you’re comfortable with playing quickly, the next step becomes really internalizing your army, which is the step I’m still at, realistically. This can take some time, and making changes to your army can really set you back if you’re not prepared for it. The goal here is to become comfortable with your army, how it plays, what it can and can’t do, which secondaries you want and when, and understand how to adapt with it. Along the way you may also look at playing the list against a wide variety of armies and testing it on terrain layouts that you’ll expect to see.
For all of the games I’ve been playing recently, I’ve been playing on a layout that simulates the GW event terrain. That may be a mistake going into the Goonhammer Open, which uses the excellent 4Ground Vanguard Tactics terrain kits, but I’m planning to go to two GW events in the next three months and the terrain still puts decent amounts of terrain on the board.
After my practice games last time, I made a couple of key adjustments to the list. I’ll likely look at more drastic changes after the GHO but at this point I just wanted to keep a list I was comfortable with, and minimal changes were a part of that. Let’s review the army.
My Army
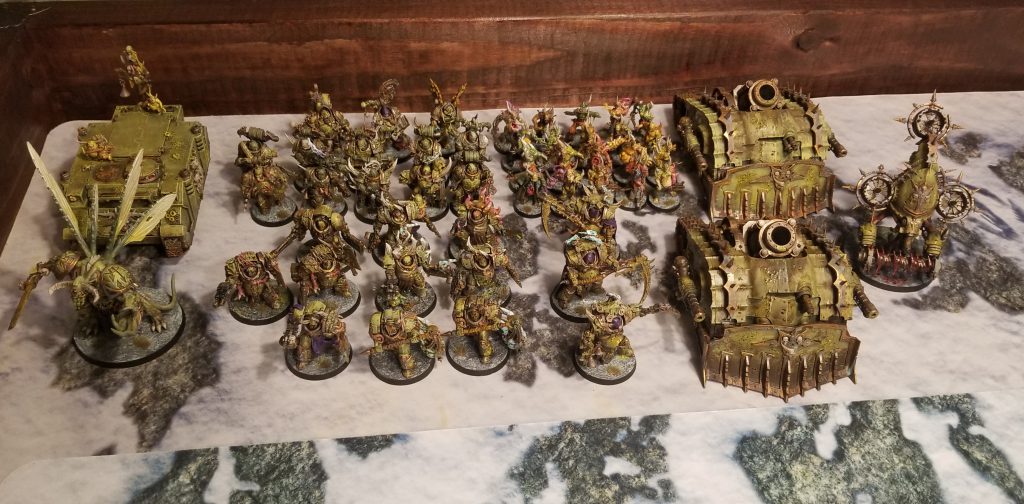
The big change here is I’ve swapped out the Supparating Plate relic and Rotten Constitution Warlord Trait on my Daemon Prince for the Warp Insect Hive Relic and Gloaming Bloat Contagion from Mortarion’s Anvil. This makes him a bit less durable, but much more reliable in combat, and opens up the possibility of using Flash Outbreak on the Bloat-Drone or the Deathshrouds to pull of some nasty effects when I need to turn off enemy re-rolls. It probably means I should avoid taking the To The Last secondary now, as having the DP be one of those options was already iffy and now that he’s more combat-geared I’d rather not be relying on him surviving. Otherwise the list is the same as before; it plays at its best when it can occupy the middle of the board and sit on an objective and roll around in a big ball of blightlord goodness backed by the Blightspawn and the Putrifier.
My Death Guard - click to expand +++ Death Guard Battalion Detachment (-3 CP, 2,000 points) +++ Plague Company: Mortarion’s Anvil HQ: Daemon Prince: w/wings, sword, talon, WARLORD: Gloaming Bloat, RELIC: Warp Insect Hive, POWERS: Miasma of Pestilence TP: Plague marines x10: 2x flail, sigil, Champion: power fist EL: Blightlord Terminators x10: 2x flail, 2x reaper autocannon + Combi-bolter, 5x axe + combi-bolter, Champion: Combi-bolter + Bubotic Axe, Plague Skull of Glothila (-1 CP) HS: PBC w/2x entropy cannon FA: Foetid Bloat-Drone w/Fleshmower DT: Chaos Rhino +++ 2,000 points, 9 CP +++
Extra Relic (-1 CP)
Extra WL Trait (-1 CP)
HQ: Malignant plaguecaster, POWERS: Miasma of Pestilence, Curse of the Leper
TP: Poxwalkers x10
TP: Poxwalkers x10
EL: Deathshroud Terminators x3: Champion w/chimes
EL: Foul Blightspawn: Relic: Revolting stench-vats, Plaguechosen: arch-contaminator, viscous death
EL: Biologus Putrifier
EL: Tallyman
HS: PBC w/2x entropy cannon
Game 1: Vs. Greg “Klobasnek” Narro’s Craftworlds Eldar
Greg was back over after a couple of weeks to test his Asuryani against my Death Guard. His CWE aren’t quite as good as his Sororitas, but they’re fully painted and available for play. Plus he’s got enough of the good units – including the Forge World stuff – to put together a convincing facsimile of what I might see at a tournament.

Klobasnek's List - Click to expand ++ Battalion Detachment 0CP (Aeldari – Craftworlds) [106 PL, 12CP, 2,000pts] ++ Custom Craftworld: Expert Crafters, Masterful Shots + HQ + Asurmen [8 PL, 160pts] Farseer Skyrunner [7 PL, 140pts]: 0. Smite, 2. Doom, 4. Executioner, Shuriken Pistol, Singing Spear Warlock [3 PL, 50pts]: 3. Ghostwalk, 4. Protect/Jinx, 6: Seer of the Shifting Vector, Shuriken Pistol, Warlord, Witchblade . Faolchu’s Wing + Troops + Dire Avengers [5 PL, 110pts] . 9x Dire Avenger: 9x Avenger Shuriken Catapult, 9x Plasma Grenades Dire Avengers [5 PL, 110pts] . 9x Dire Avenger: 9x Avenger Shuriken Catapult, 9x Plasma Grenades Guardian Defenders [9 PL, 150pts] . 16x Guardian Defender: 16x Plasma Grenades, 16x Shuriken Catapult + Elites + Shadow Spectres [5 PL, 130pts] . 5x Shadow Spectre: 5x Plasma Grenades, 5x Prism Rifle + Fast Attack + Shining Spears [10 PL, 145pts] . 3x Shining Spear: 3x Laser Lance, 3x Twin Shuriken Catapult Shining Spears [10 PL, 145pts] . 3x Shining Spear: 3x Laser Lance, 3x Twin Shuriken Catapult Vypers [6 PL, 120pts] . Vyper: Aeldari Missile Launcher, Twin Shuriken Catapult . Vyper: Aeldari Missile Launcher, Twin Shuriken Catapult + Heavy Support + Support Weapons [12 PL, 210pts] Wraithseer [8 PL, 170pts]: 2. Witch Strike, 5. Quicken/Restrain, D-cannon + Dedicated Transport + Wave Serpent [9 PL, 180pts]: Spirit Stones, Twin Aeldari Missile Launcher, Twin Shuriken Catapult Wave Serpent [9 PL, 180pts]: Spirit Stones, Twin Aeldari Missile Launcher, Twin Shuriken Catapult ++ Total: [106 PL, 12CP, 2,000pts] ++
. Dire Avenger Exarch: Two Avenger Shuriken Catapults
. . Exarch Power: Avenging Strikes
. Dire Avenger Exarch: Two Avenger Shuriken Catapults
. . Exarch Power: Avenging Strikes
. Guardian Heavy Weapons Platform: Shuriken Cannon
. Shining Spear Exarch: Star Lance
. . Exarch Power: Skilled Rider
. Shining Spear Exarch: Star Lance
. . Exarch Power: Skilled Rider
. Support Weapon: D-cannon
. Support Weapon: D-cannon
. Support Weapon: D-cannon
Greg: I recently finished painting my Shining Spears for the Goonhammer Open, so I decided to take a swing at making a competitive Asuryani list this time. The codex is showing its age badly, but I’ve got a large collection of Craftworlds and should be able to squeeze what little juice there is to be squeezed out of it. With the proliferation of -1 damage, between dreadnoughts, Death Guard, and Ork vehicles, I wanted to give Expert Crafters d-cannons a spin. The smaller table sizes ought to make them more viable than they used to be in 8th. I’m also bringing Asurmen and 20 Dire Avengers in the hope that his 4++ aura lets them stick around on objectives just a little bit longer.
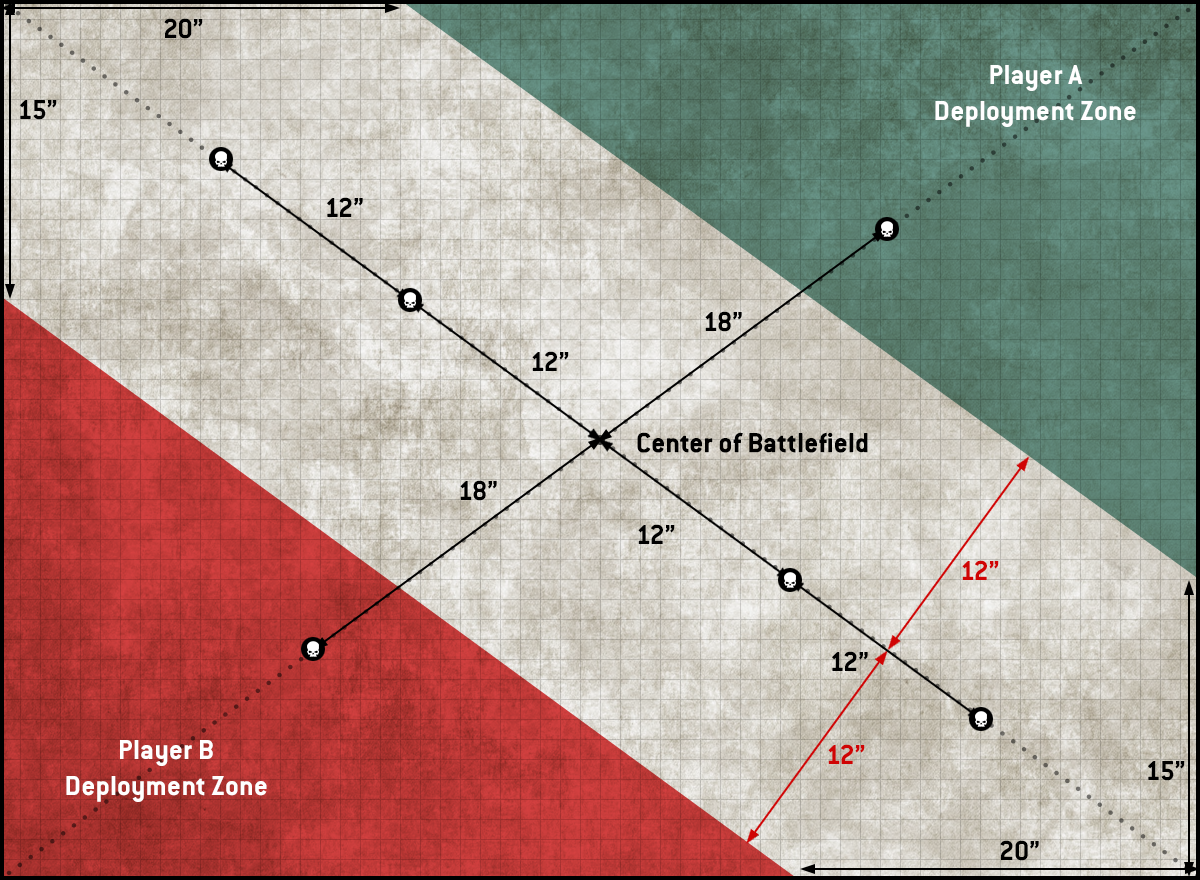
The Mission: Sweep and Clear
![]()
![]()
My Secondaries: Grind Them Down, Direct Assault, Raise the Banners High
Grind Them Down is my go-to in games against pointy-eared armies, as I know they’re capable of killing key targets but not necessarily capable of out-killing my army on a given turn. Sweep and Clear is the perfect mission for my army and Direct Assault is basically tailor-made for what I want to do, which is quickly move to the middle of the table and hold the center objective for the bulk of the game. Neither Assassination nor Bring It Down is a good pick against Klobasnek’s army, and I don’t like Spread the Sickness on this map since there are only five objectives and they’re all pretty far apart, so that leaves psychic secondaries I’m not really equipped to handle and will likely be denied, or action secondaries I’m not super well-equipped to score. In these cases however Raise the Banners High is an adequate tertiary option – it can be performed by characters, and so the Tallyman and Putrifier are perfect models for doing this – the former doesn’t have much to do after the Command Phase and the latter can still safely use his infusion ability while performing an action.
Klobasnek’s Secondaries: Psychic Interrogation, Retrieve Octarius Data, Engage on All Fronts
Greg’s more than equipped to score Engage on All Fronts and Retrieve Octarius Data – and the deep-striking Guardians will help him accomplish both as well if he loses some headcount early. The riskier pick here is Psychic Interrogation – he’s not super familiar with the GT 2021 Secondaries yet and I don’t think he realized this one requires Line of Sight on the target. Additionally he kind of wants to be casting with all his Psyker Characters every turn so this is a misplay on his part, I think. Assassination might have been the play here but he’s going to struggle to kill more of my characters than just the Daemon Prince (though that one’s at least worth four points), particularly since he can’t really afford to fight most of my army in melee.
First Turn: I lose the roll-off, so Greg has the first turn.
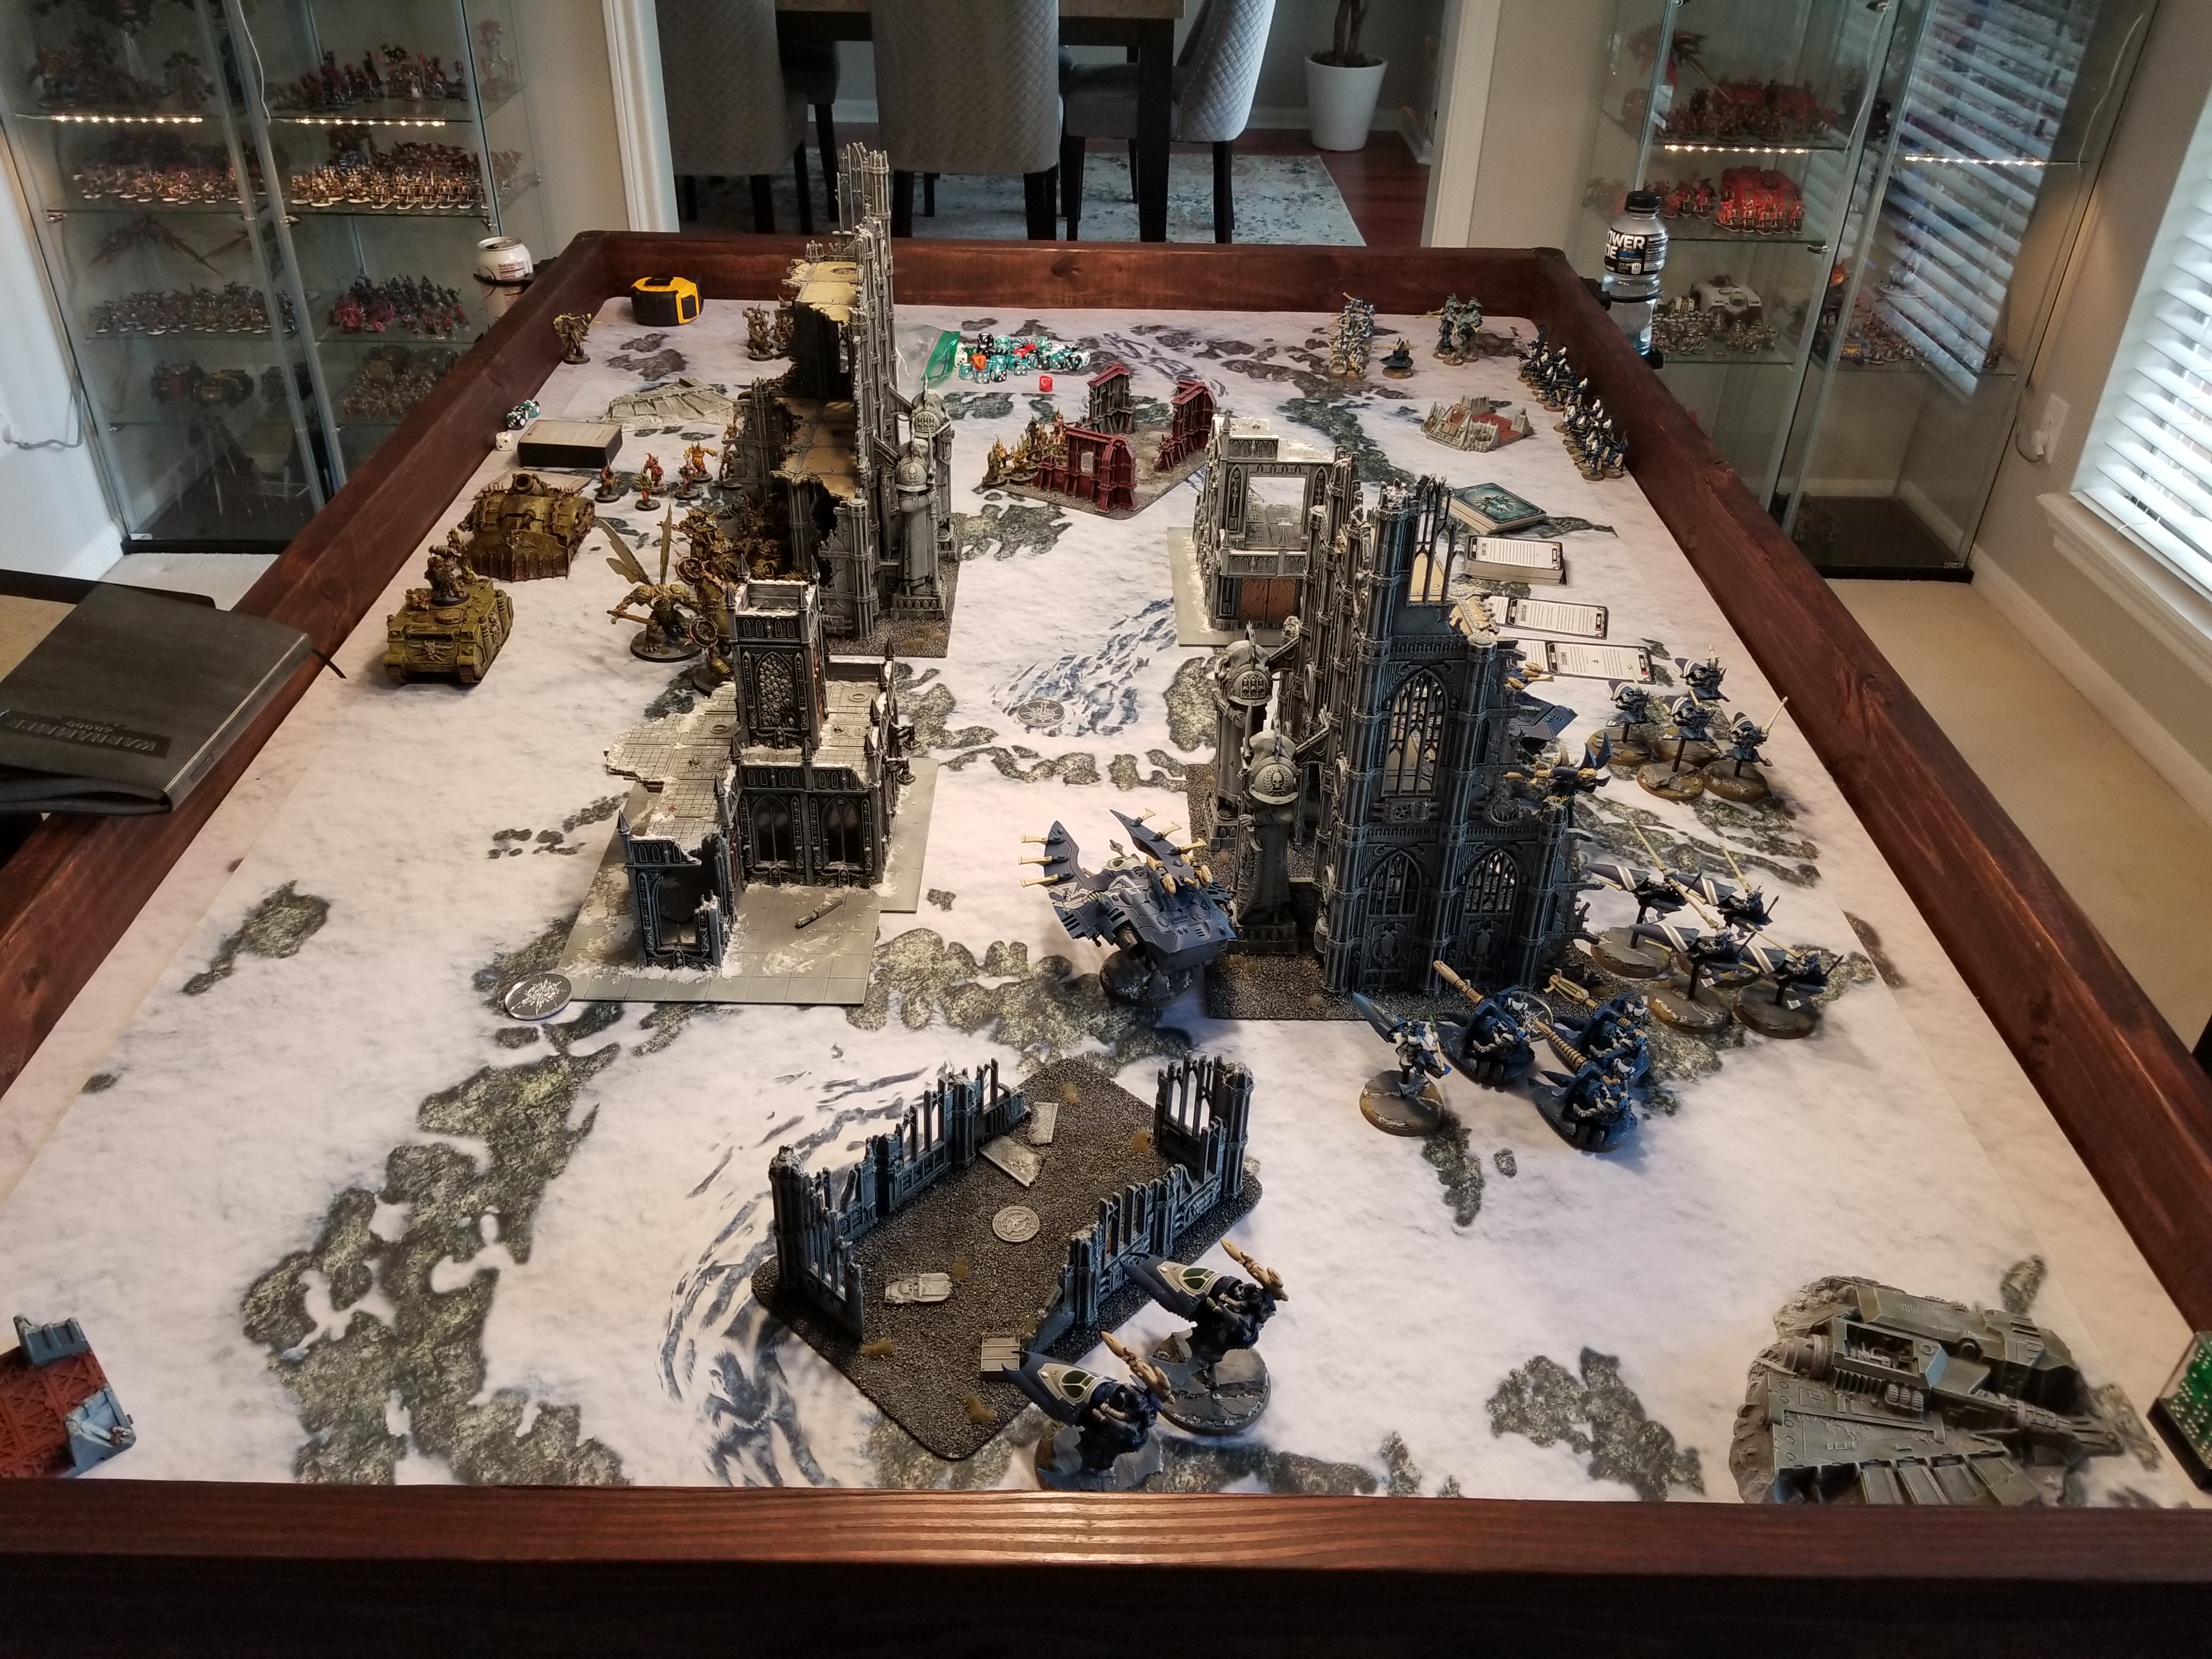
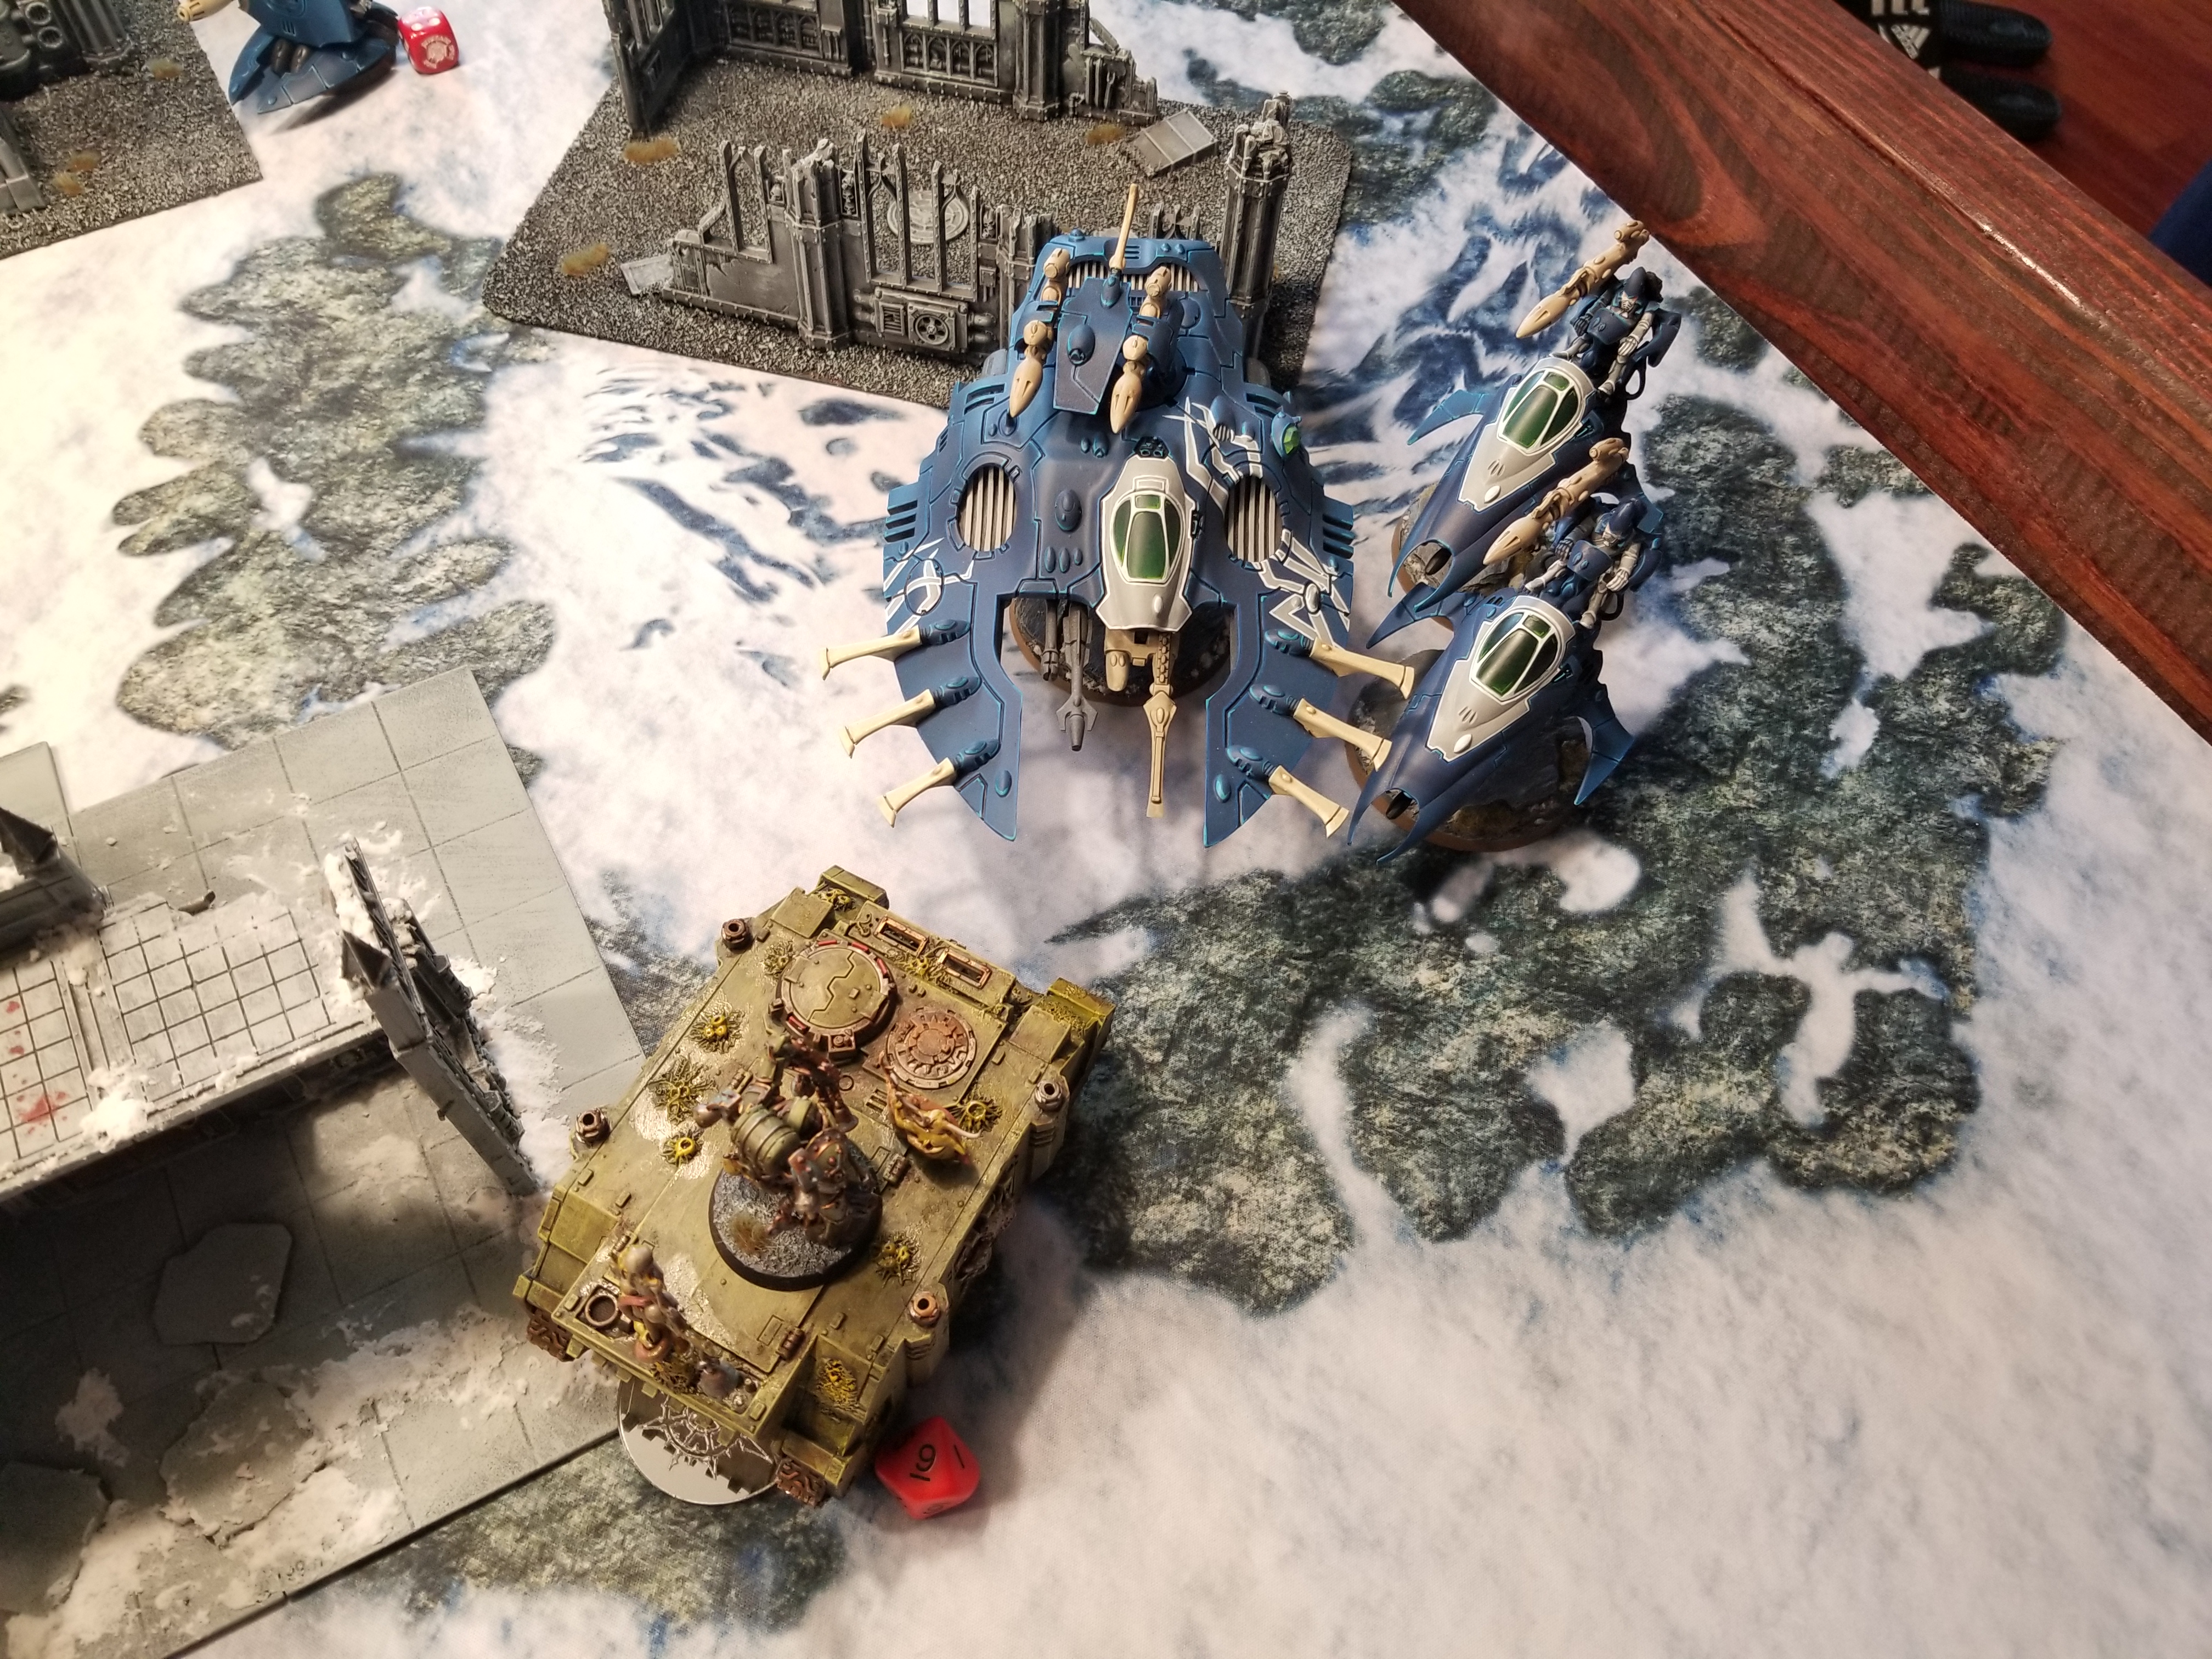
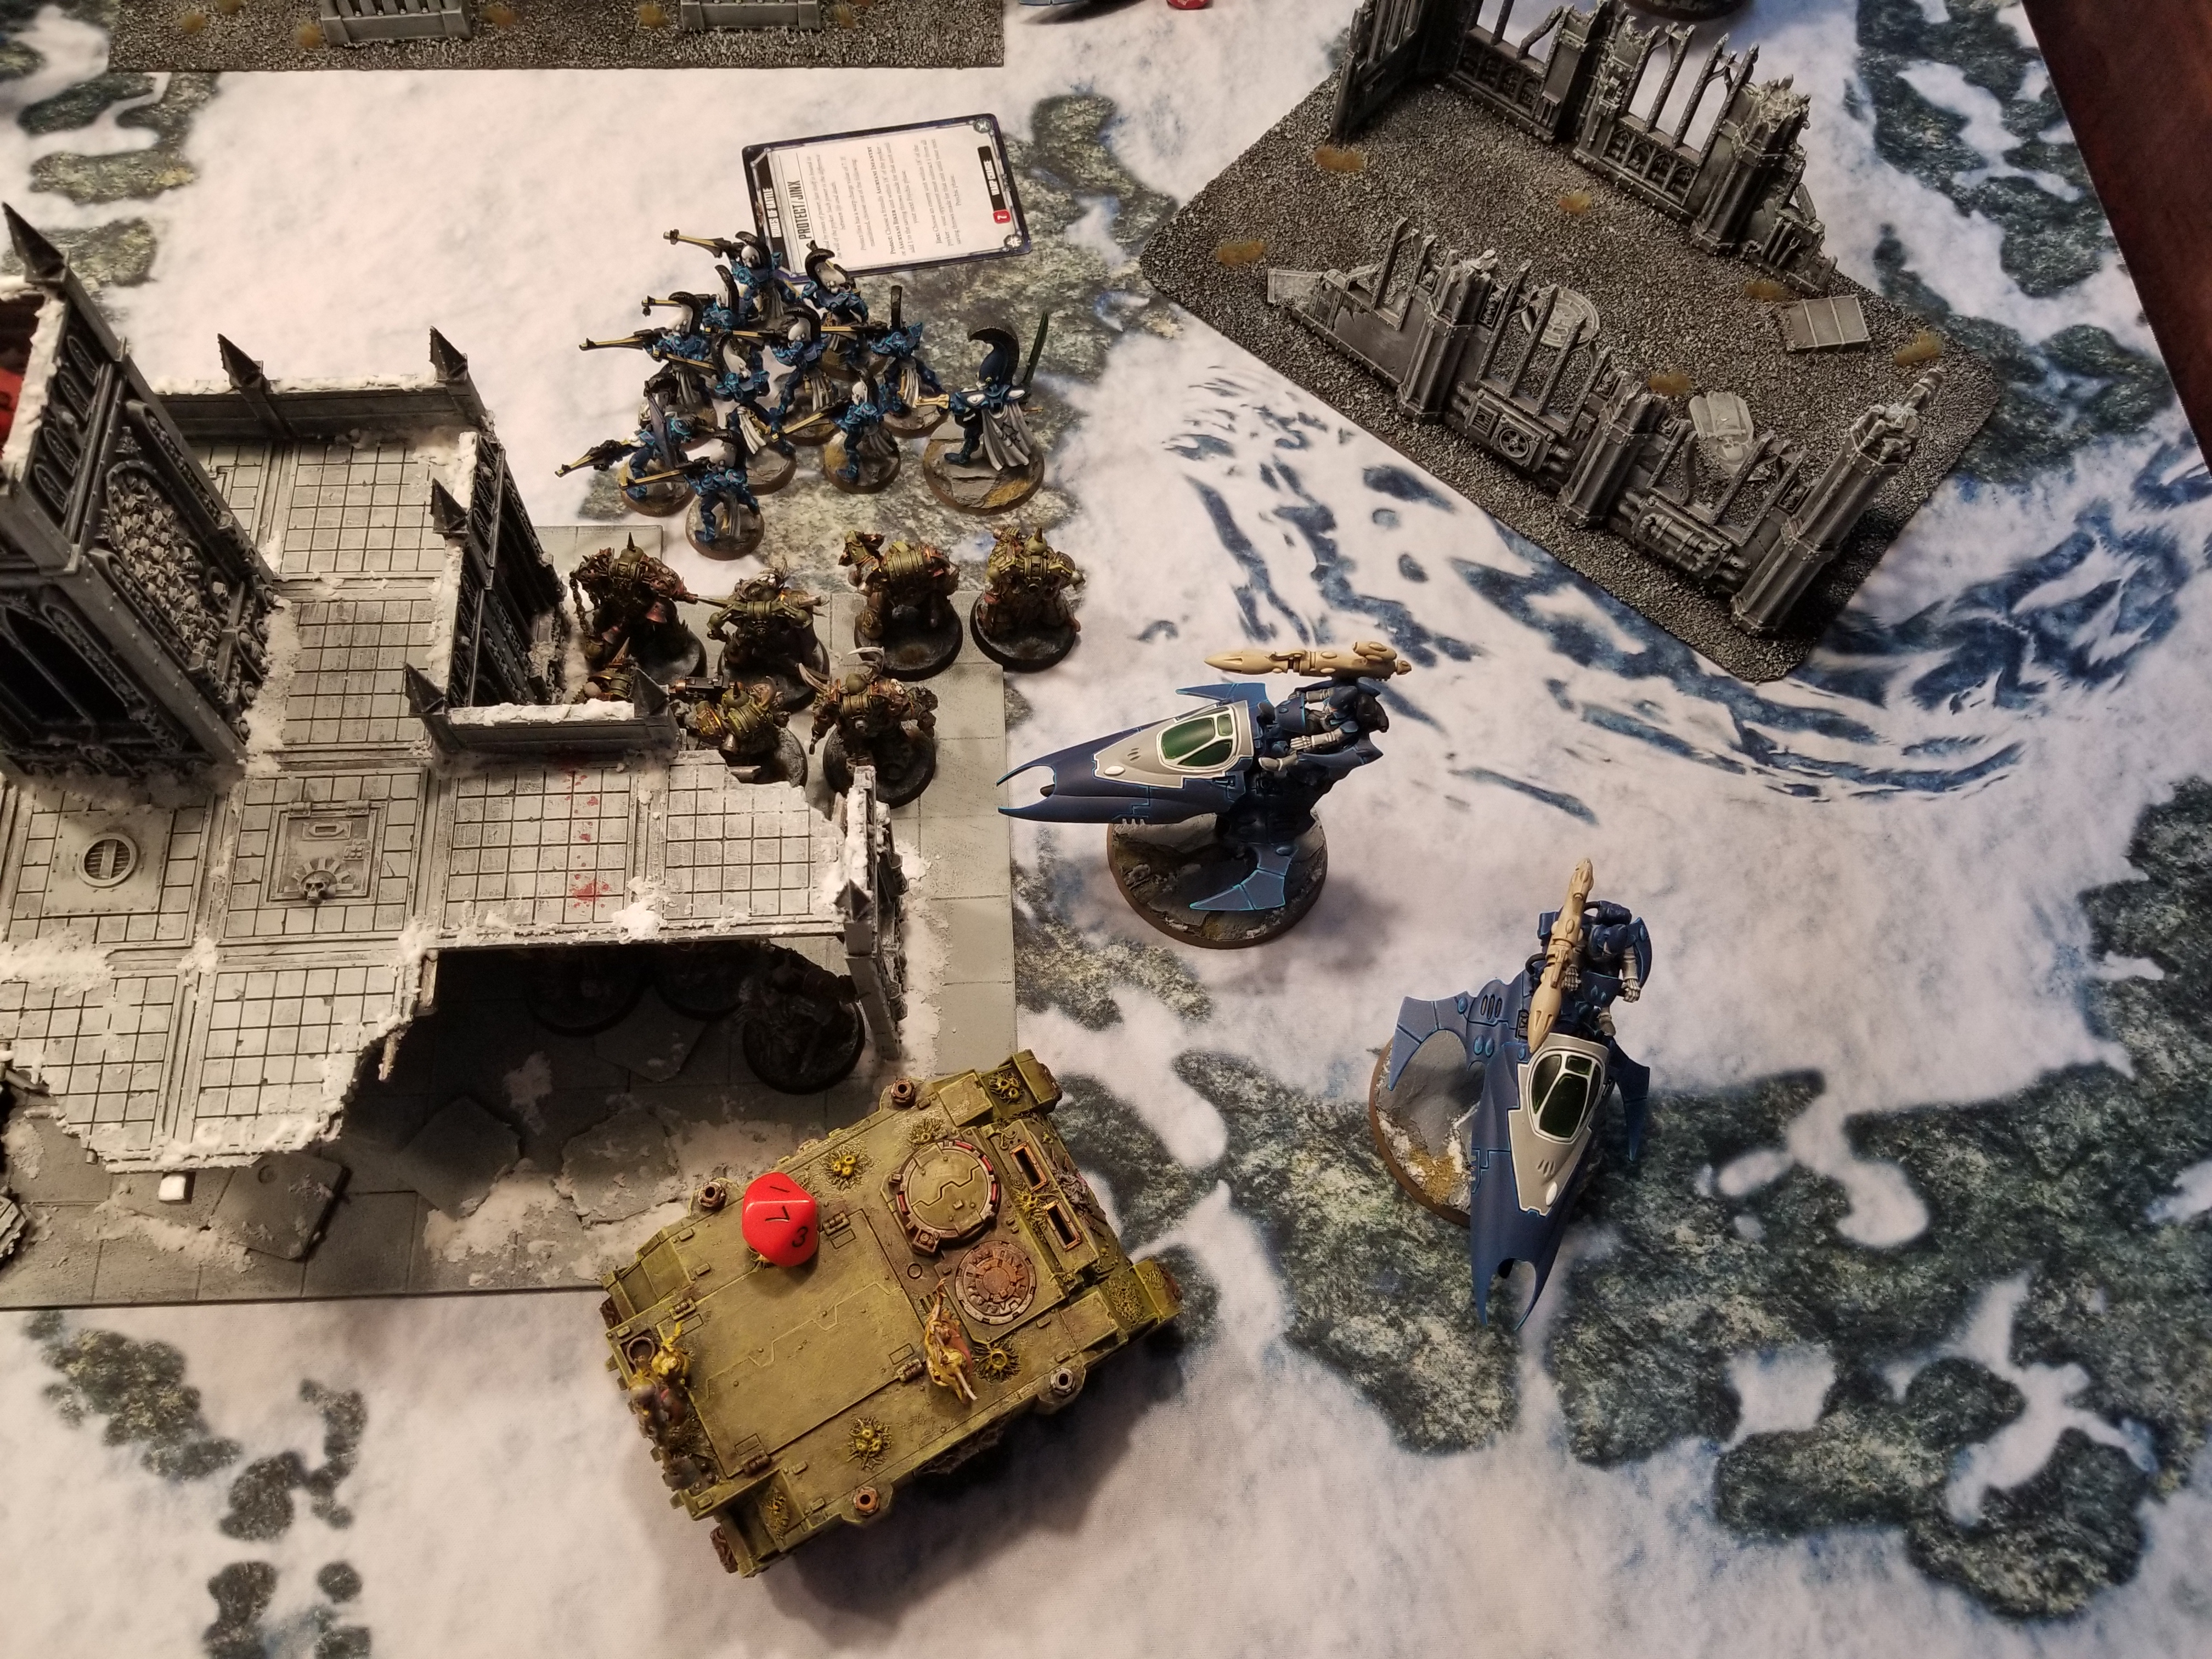
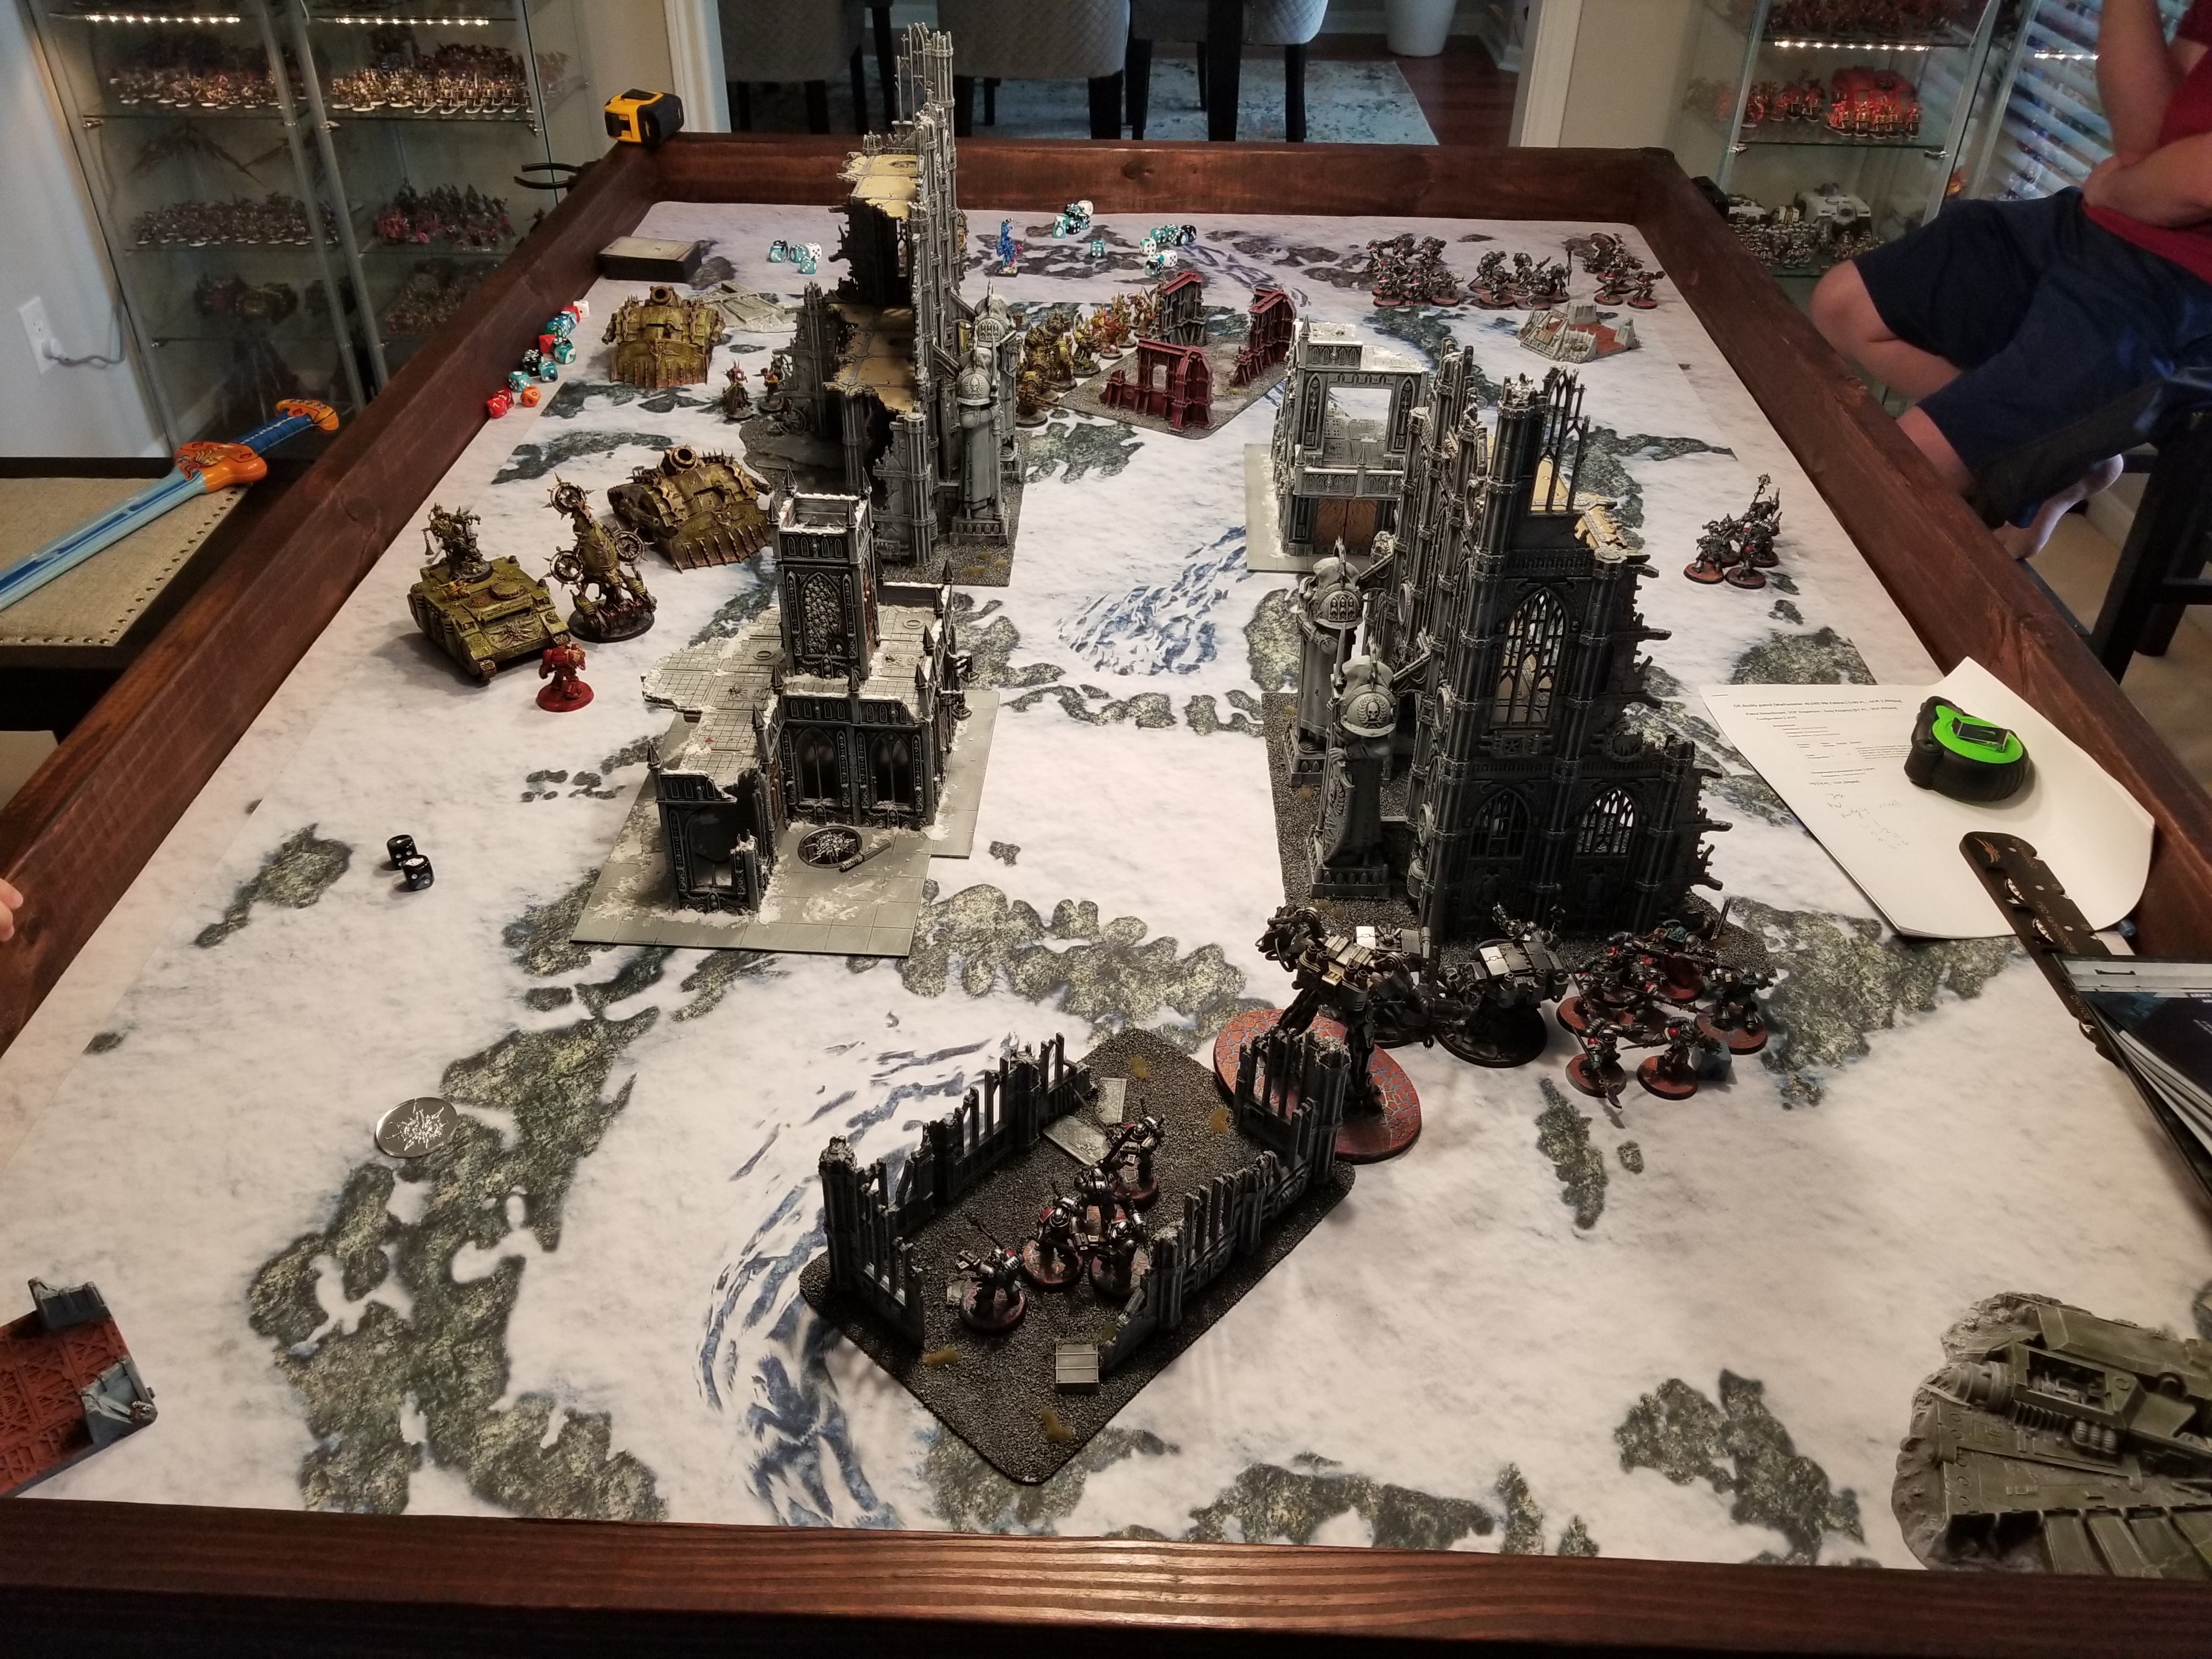
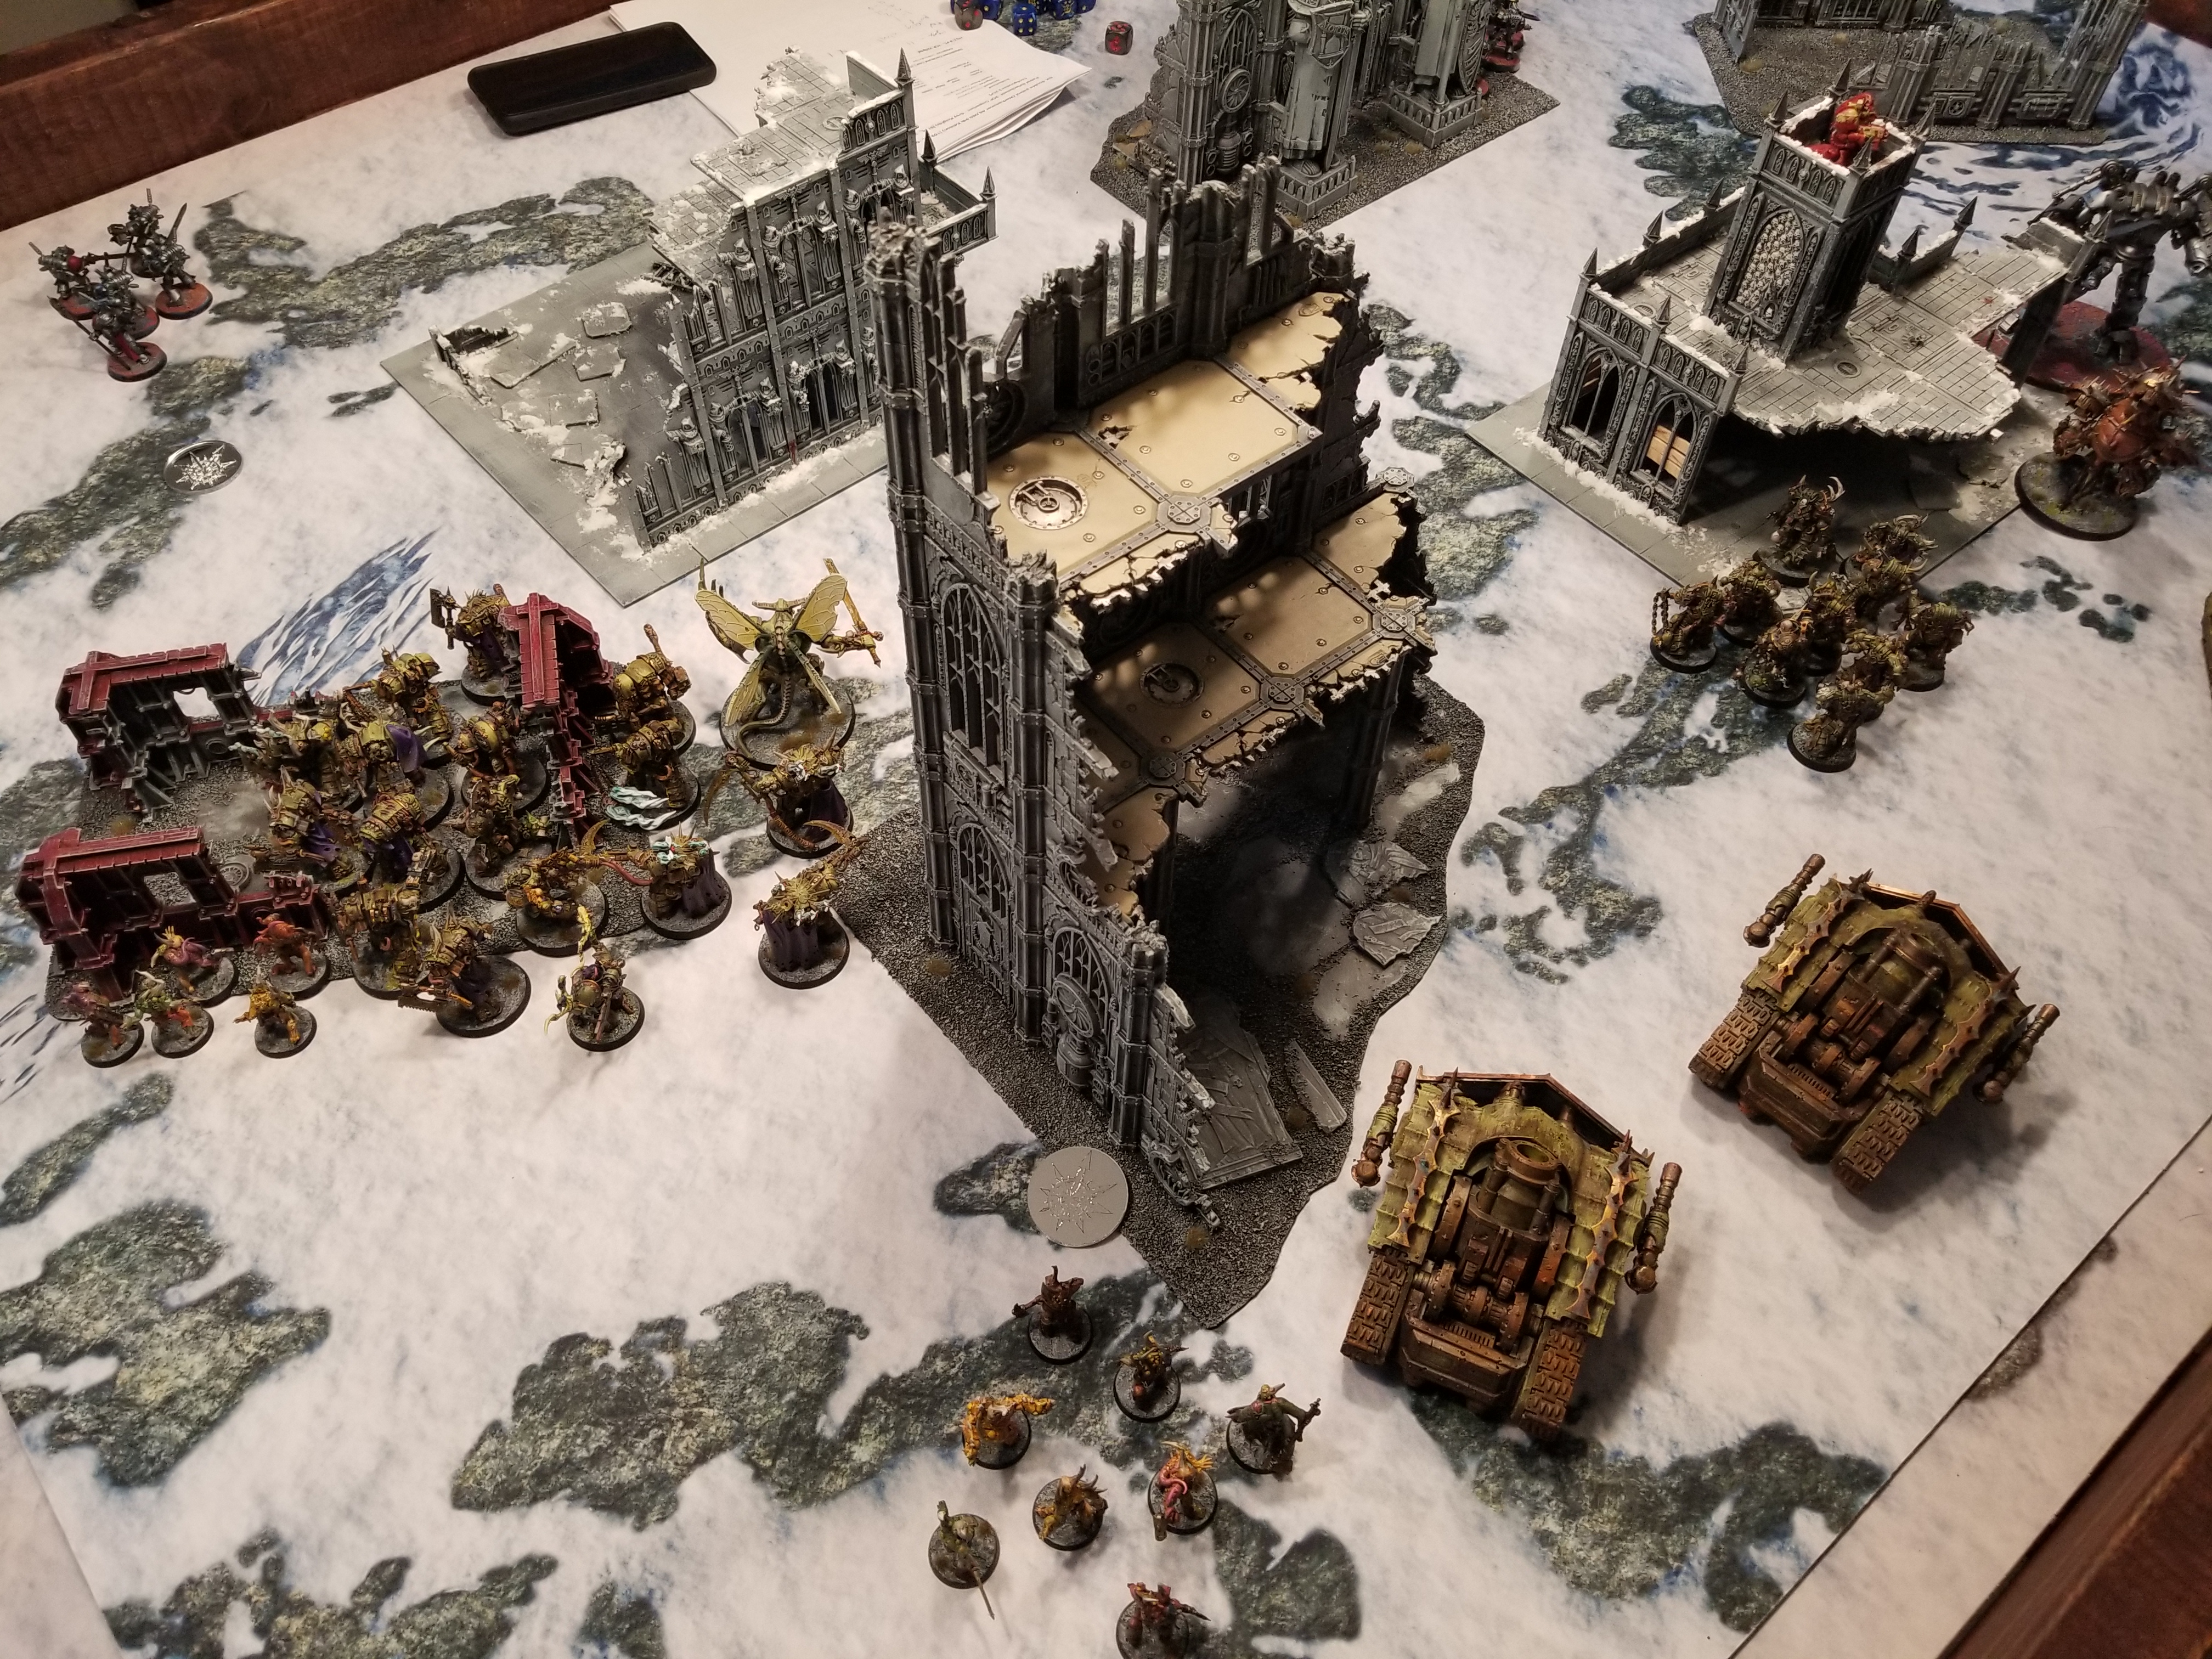
We’re emulating the GW road show terrain layouts as best we can for these – the four corner pieces of terrain are dense while the ruins are all Obscuring, Defensible, Breachable, and Light Cover. We’re also treating them as completely opaque for the purposes of LOS and treating the full bases as having Obscuring for LOS purposes, so keep that in mind when you see photos here – it’s a huge part of how I’m able to avoid getting shot to pieces by Eldar shooting. Greg gets the first turn and moves up with some of his units, hoping to get good positioning on both of the no-man’s land objectives. He botches his positioning a bit and isn’t able to Retrieve Octarius Data on turn 1 with his dire avengers, but he can still get into a good position to take the objective there next turn. He has his Shining Spears shoot up my poxwalkers, downing 7 of them after double moving. There’s a ton of LOS-blocking terrain in this mission the D-Cannons on those grav-platforms can just happily ignore it all, and they open up taking shots at my Rhino – but aren’t able to take it out after it pops its smoke launchers. He is however able to kill the Bloat-Drone on turn 1, forcing me to take out two units if I want to score Grind Them Down on T1.

On my turn one I’ve got two goals: Try and take out as much distance shooting as possible, and get to the middle of the table to set up Direct Assault. I choose the Coward’s Path here and decide to not advance my Blightlords – this is a mistake and I should have just committed, but they do manage to take out two shining spears and chip some damage off the Wraithseer with their shooting. I can use the Daemon Prince here – and I do – to get Direct Assault on the turn, but if anything moves into range of the objective I’m going to give up control on turn 2. In a real game I think the play is to go for the middle with the Blightlords rather than getting this chip damage, but if he really wanted to block me, he could have done it with the ObSec Dire Avengers. During my Command phase I opt to use The Dead Walk Again on my ‘walkers and get back 3 on an abysmal roll, so now I have 6. This lets me move a little further toward Greg’s Shining Spears. My Tallyman Raises a banner after blessing my Blightlords, but it’ll be another two turns before a second banner goes up. My PBCs take out a single D-cannon platform, but it’s not enough to get me Grind Them Down.
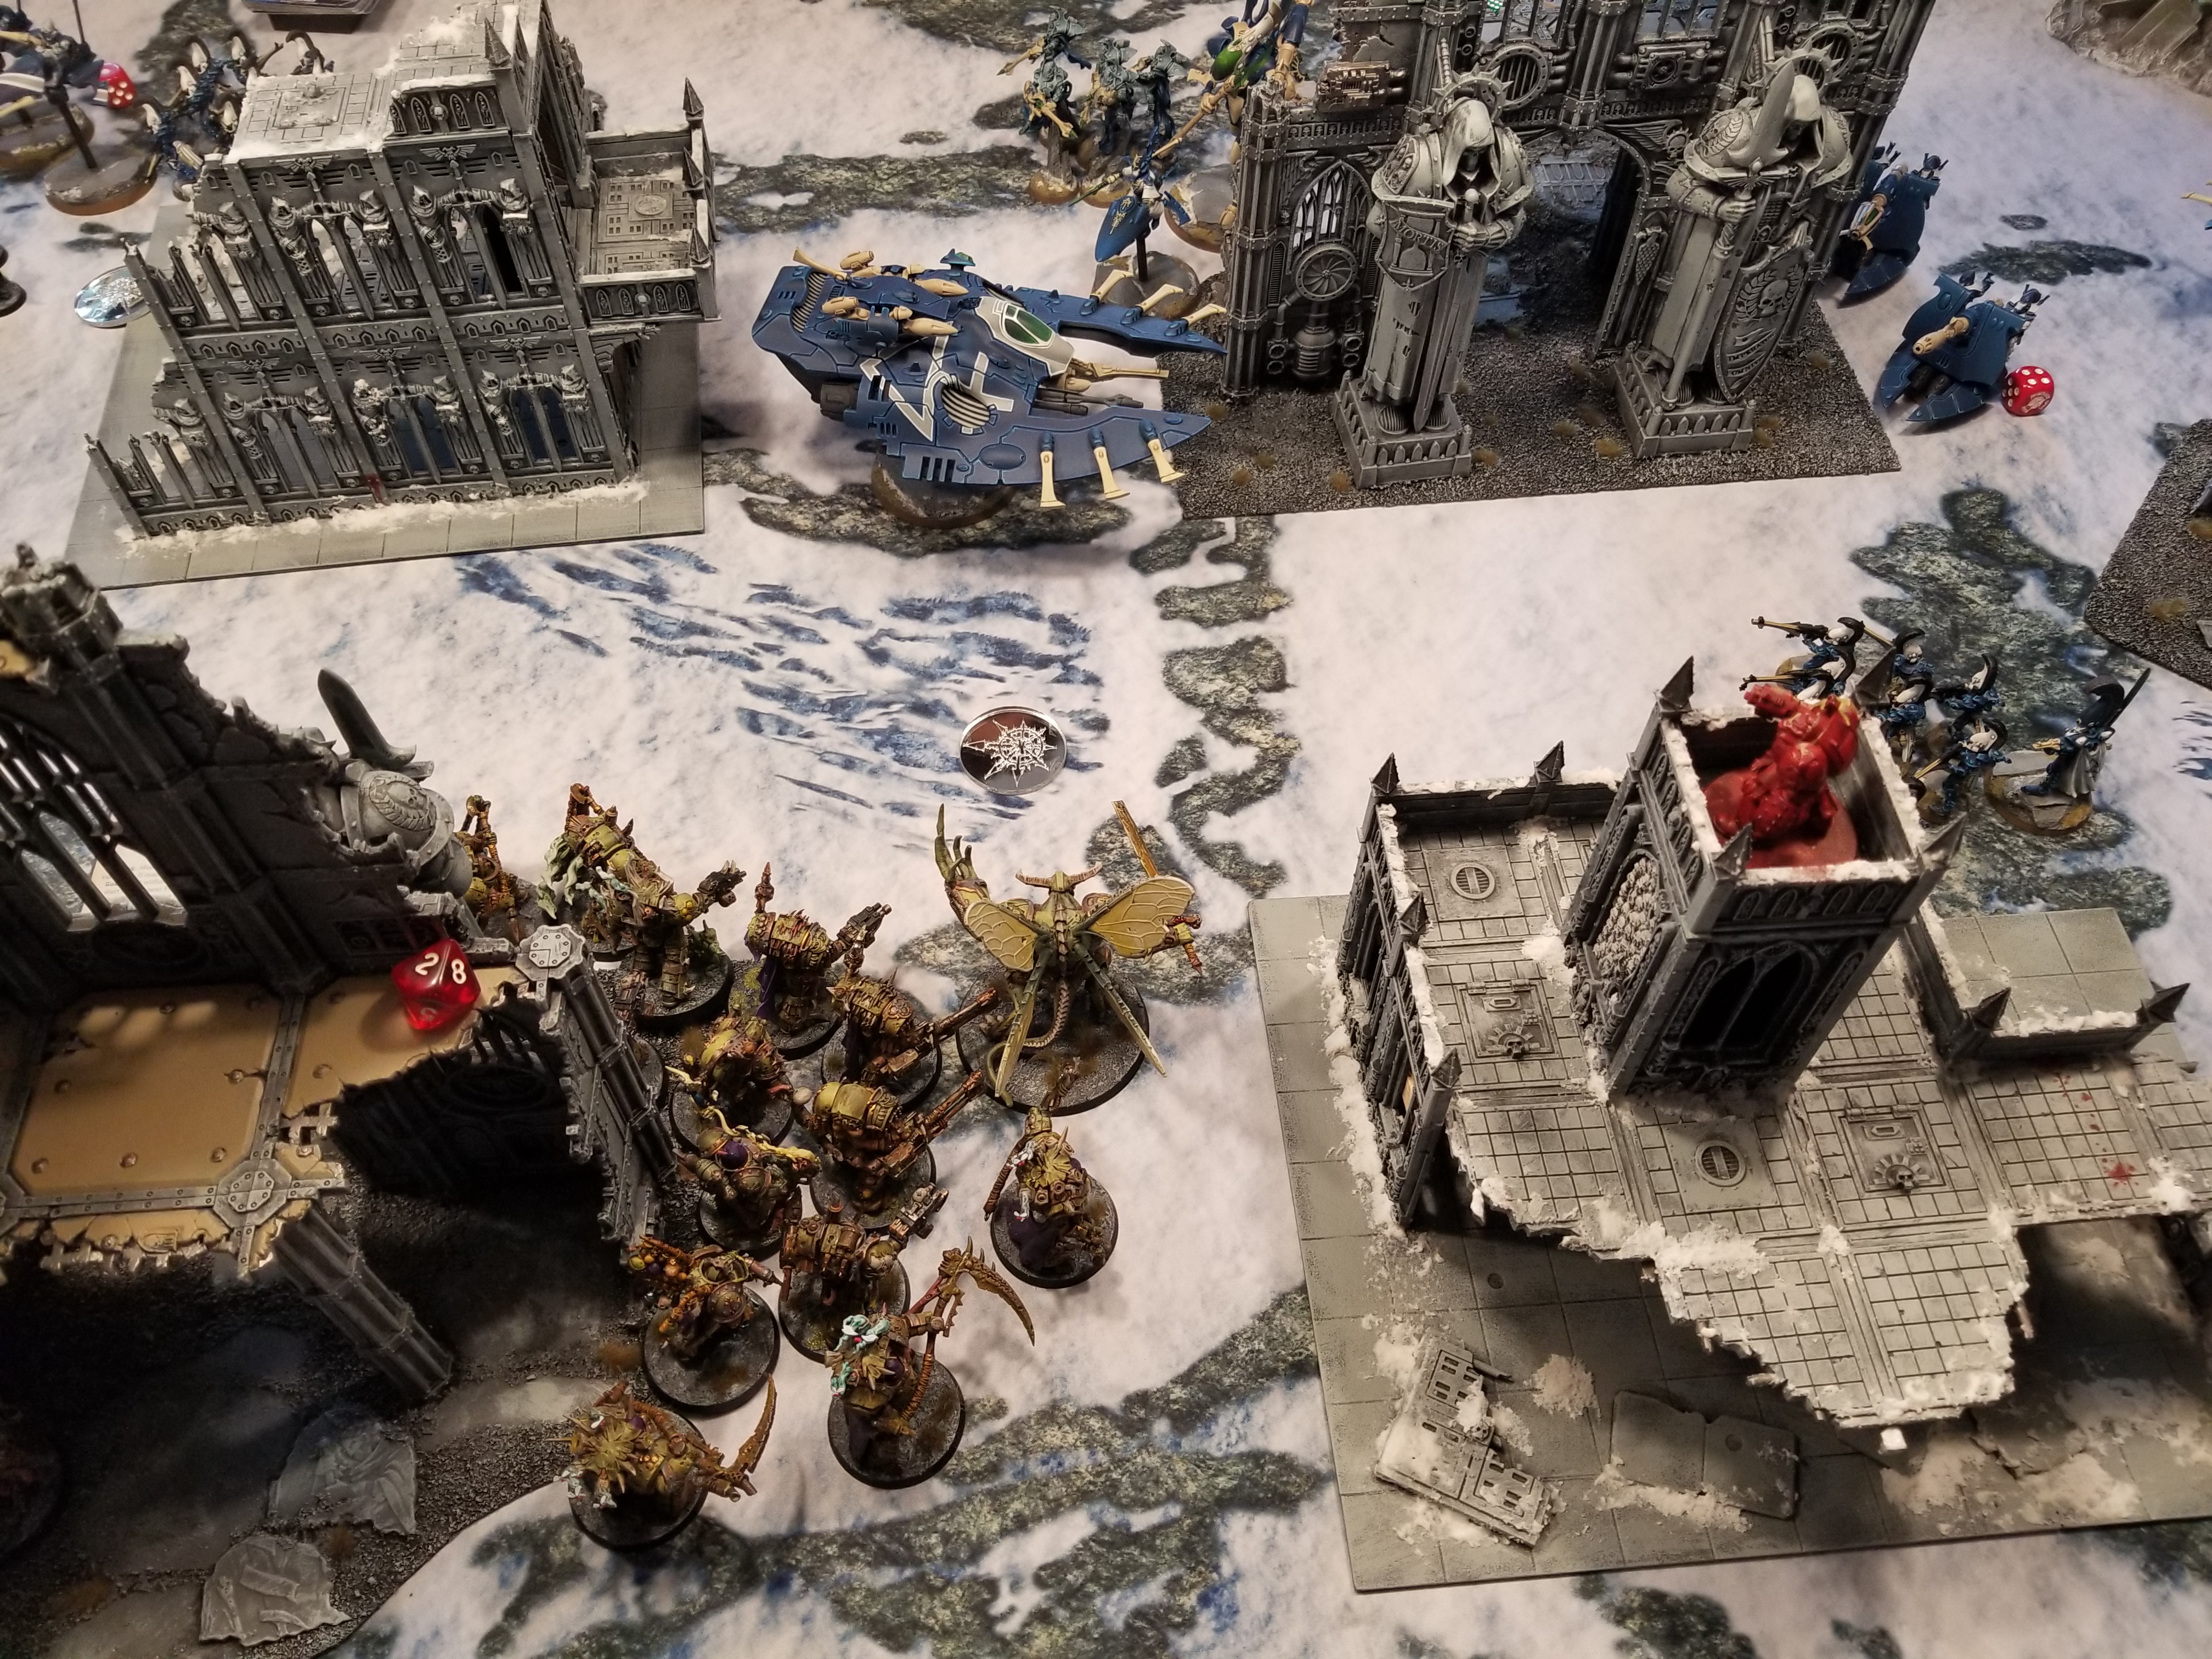
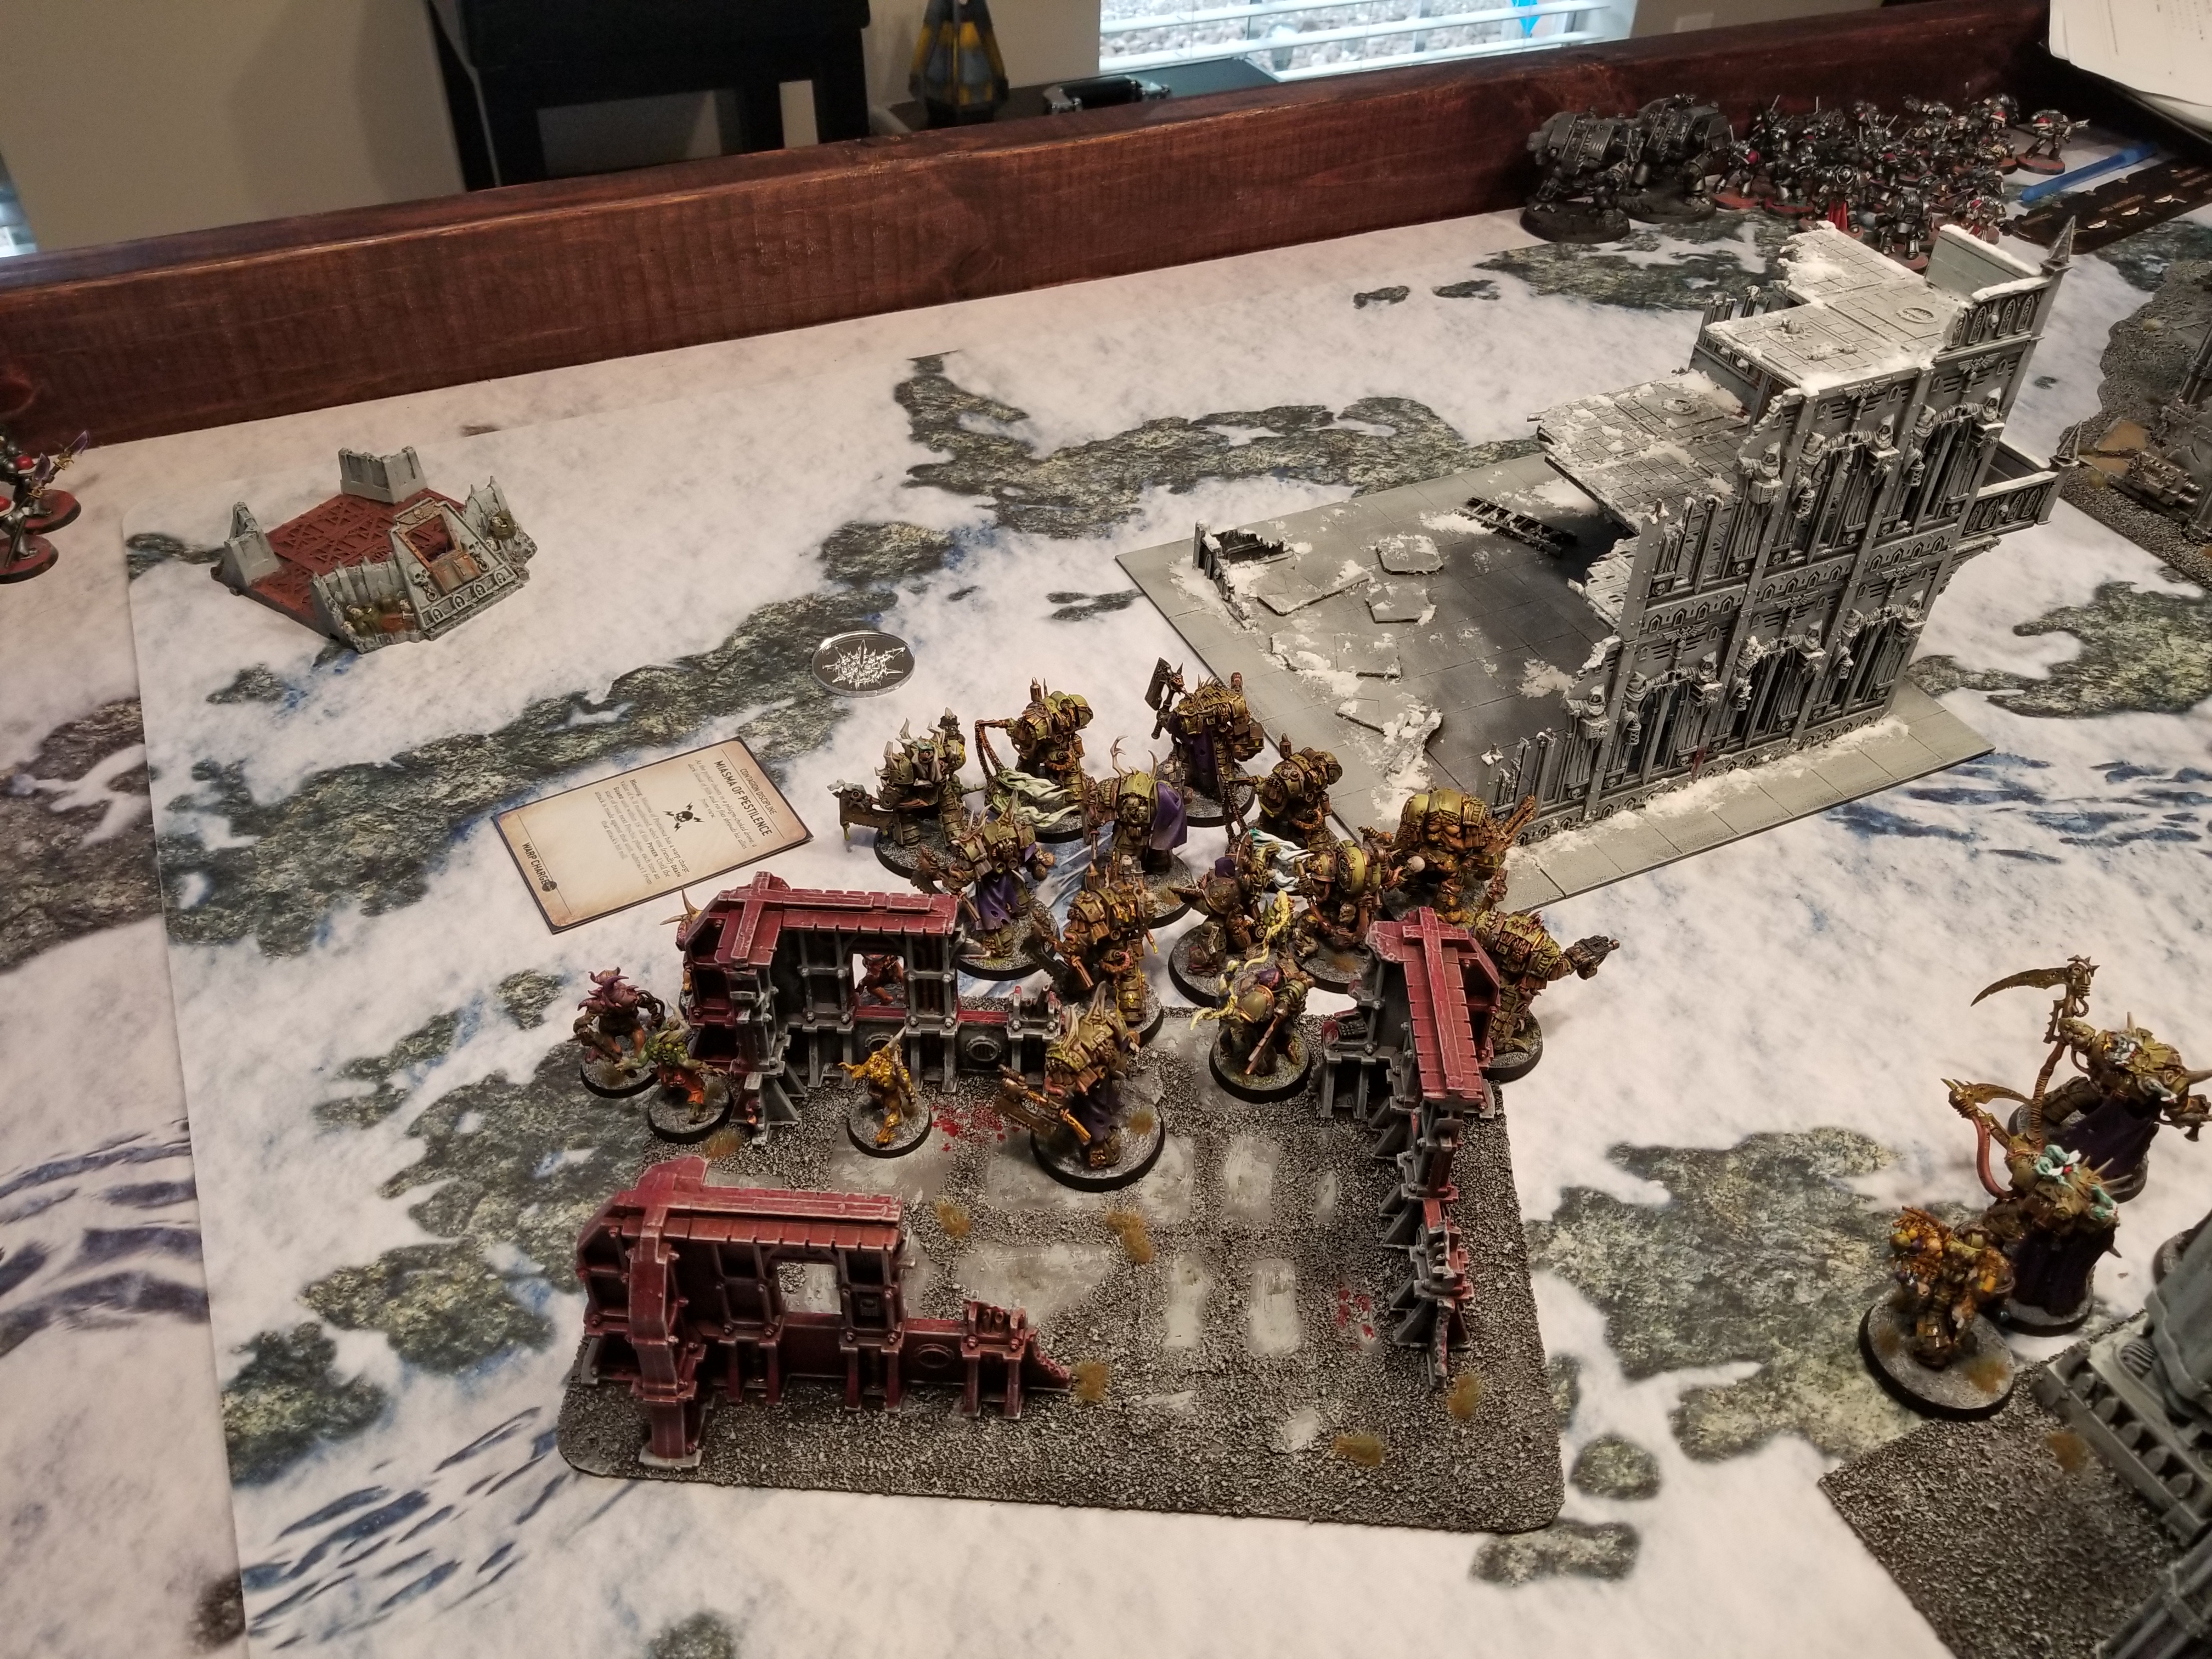
Key Moment: The Poxwalker Charge

The Poxwalkers shamble forward 4″ and get into position for a 6″ charge on the Shining Spears. Weathering Overwatch with no casualties, they rush in and use Mutant Strain to hopefully throw out some mortal wounds. There are 6 poxwalkers, who have 2 attacks each. I roll 12 dice and get… six 6s and four 1s, failing every FNP roll. The extra regular damage is just enough to kill the Shining Spears, wiping them out and giving them back four models. This is better than I could have hoped for, and also leaves me models to consolidate into the objective with, ensuring he’ll have to do something about them next turn. This probably didn’t win me the game or anything, but it was hilarious.
I opt to keep my Plague Marines in their rhino and charge Greg’s Wave Serpent in order to force him to spend his CP if he wants to keep shooting with it. He does, and spends the next turn repositioning in order to get to shooting in earnest after it unloads its cargo of a unit of Dire Avengers and Asurmen. His Shadow Spectres drop in just behind his Wraithseer, but I’ve done a good job screening out his Guardians so far so they hold back another turn.
At mid-table Greg pulls up with the Wraithseer and drives his other Wave Serpent to mid table, using it to bock my advance and using it to prevent me from scoring the mid-table objective on my turn. This means I’m not going to have hold more, and after he shoots my poxwalkers to death, I’m only holding two. He completes the trifecta by charging his Vypers into my Rhino after they shoot, putting both within 3″ of the objective and putting me on only holding 1 when my turns rolls around. The Blightlords endure a rough round of shooting from the Spectres and D-cannon platforms, and end up losing 5 models in the process. I’ll spend 2 CP on my turn to ensure they don’t have to worry about fleeing. Greg opens the turn with 5 points on primary and he’s scored 2 on each of turns 1 and 2 with Engage on All Fronts so now he’s up 10-3.
Ok now it’s my turn. I pull the plague marines out of the rhino, fall back with it, then prep everything to charge the Dire Avengers and Asurmen. I chip away 4 Avengers with bolter fire in the Shooting phase. At mid table, my sustained fire from the PBCs pays off – they wipe out the Wraithseer and the Wave Serpent, while the Blightlords manage to take out the now-exposed Farseer on jetbike.
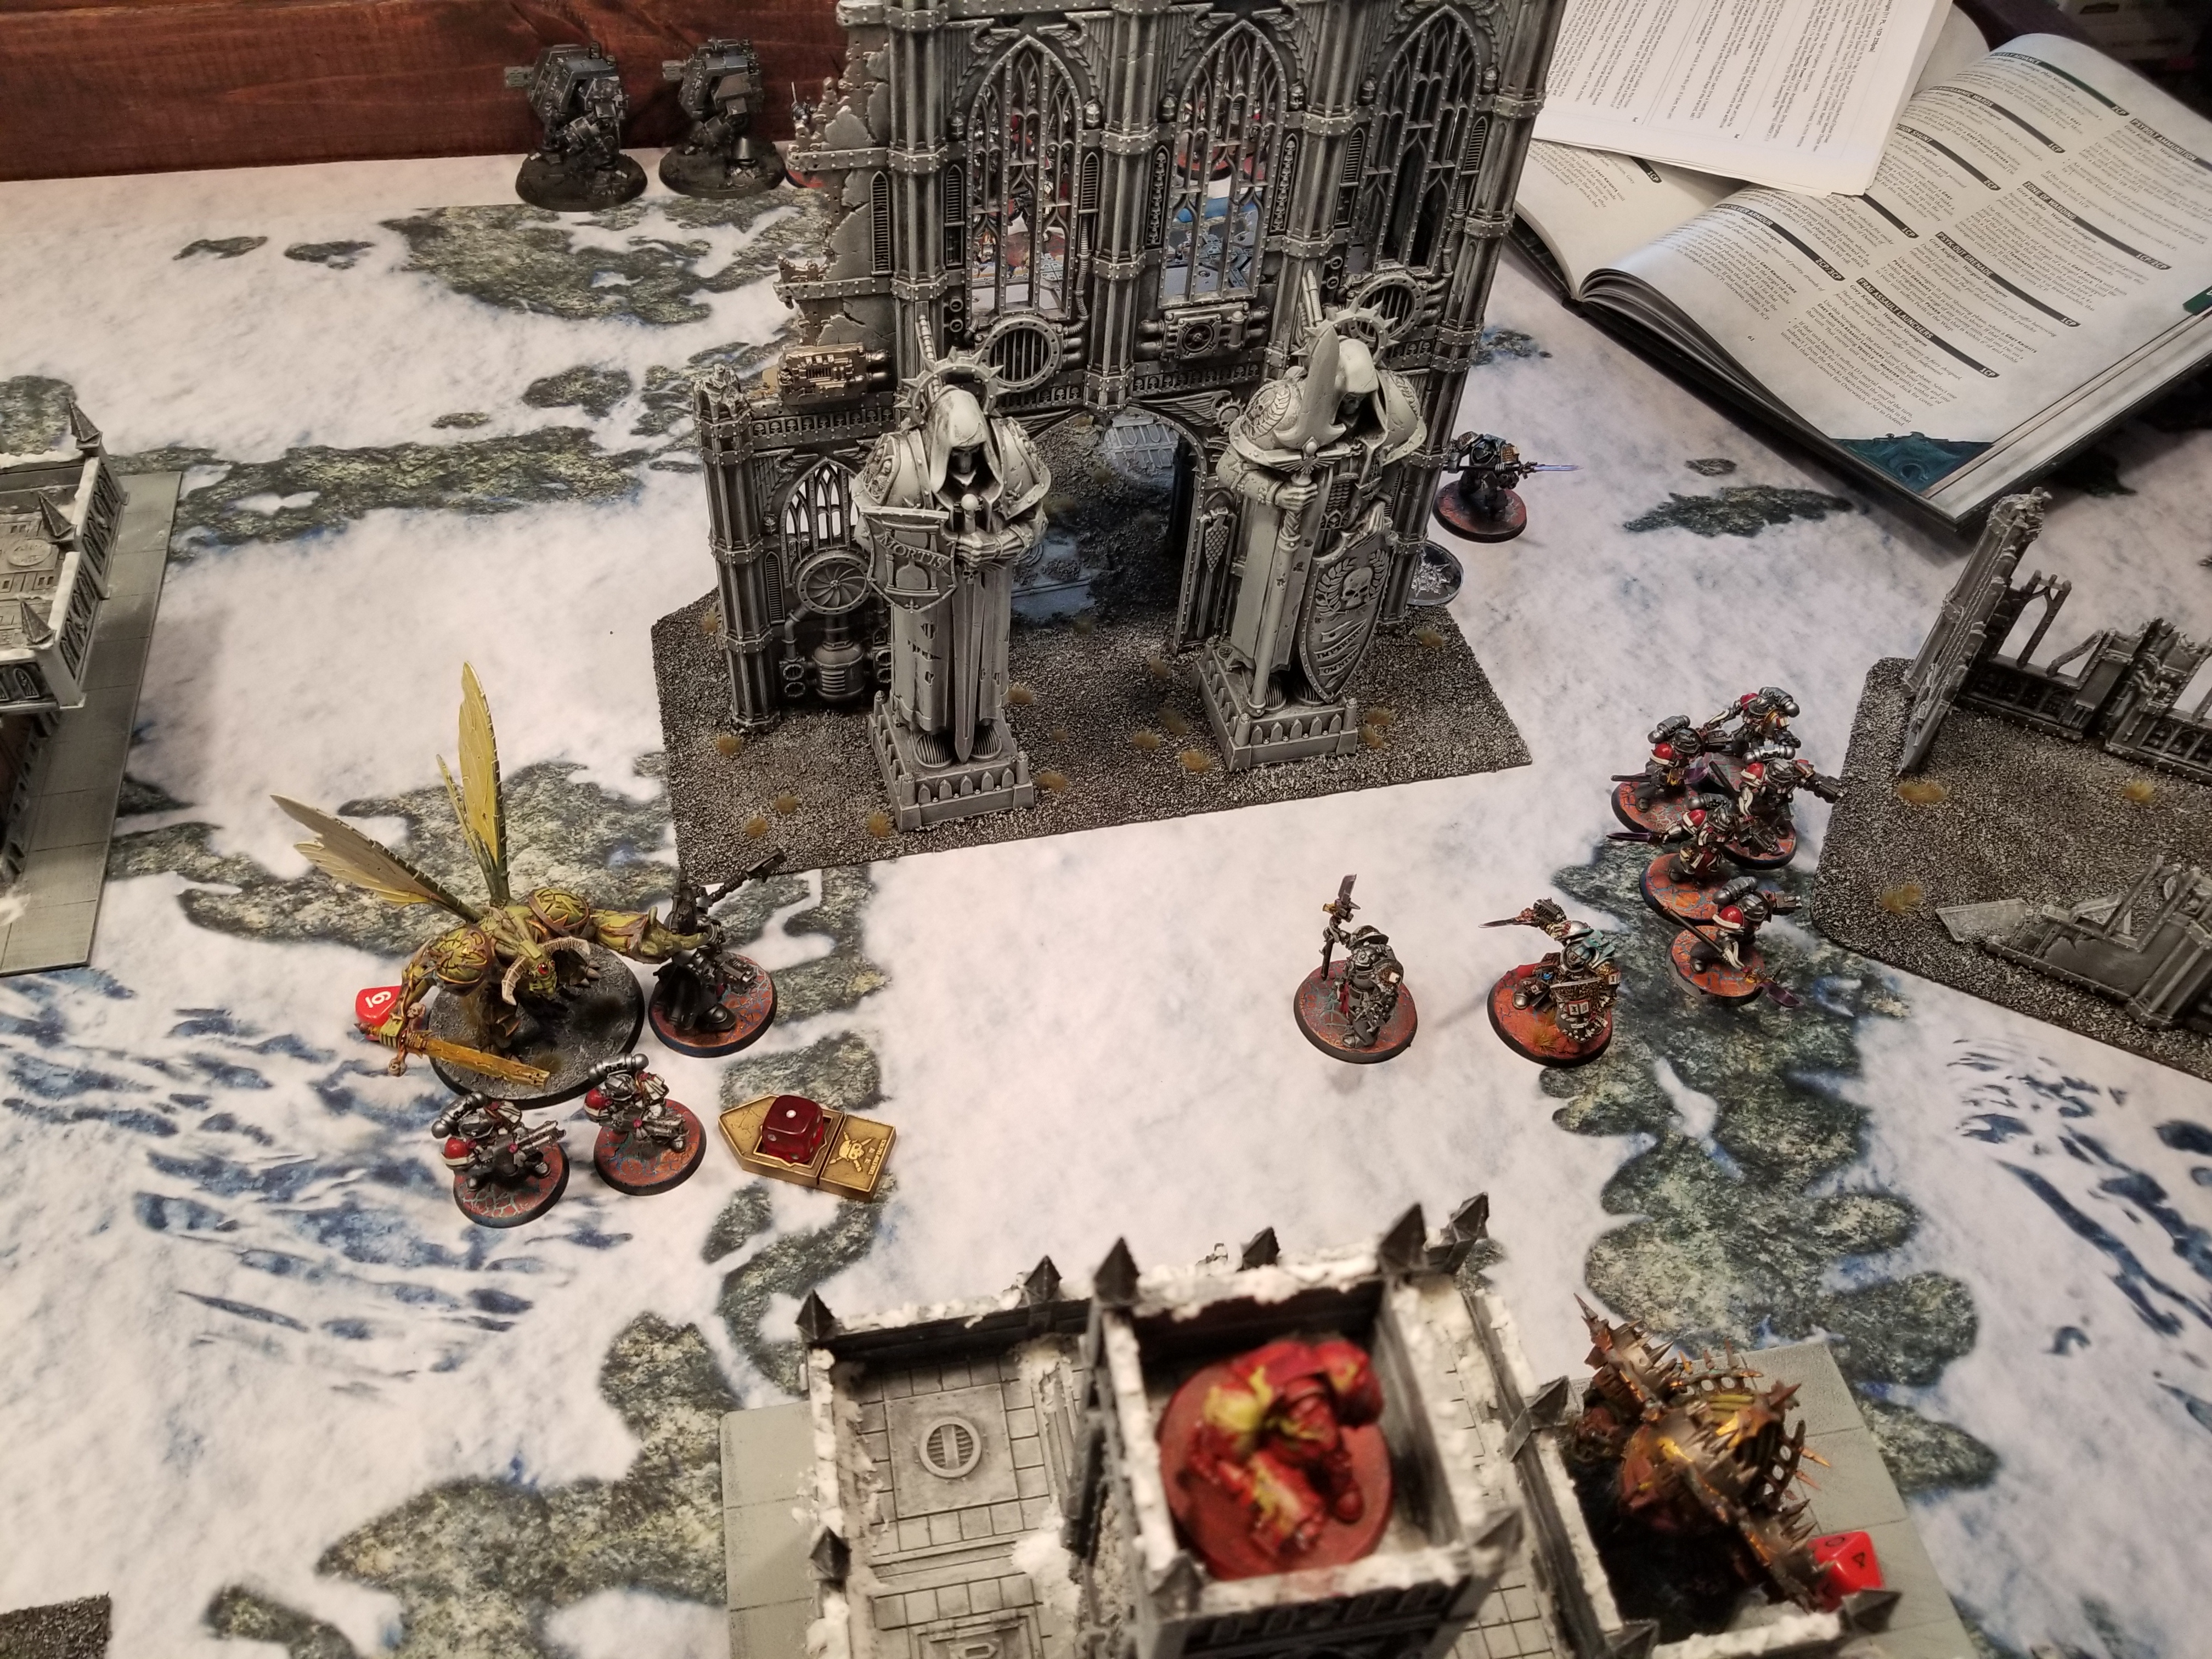
Key Moment: Asurmen the Tank

After taking out four of the Dire Avengers, I charge in. The Plague Marines go first, dropping every one of their attacks onto Asurmen and using Trench Fighters to get some extra attack power. I end up dropping 16 wounds on Asurmen, who saves every single one of them. Then the Daemon Prince drops another 6 on the Dire Avengers, and they save every single one of them. I have nothing to show for the whole combat, and the Dire Avengers drop the Prince to 3 wounds while Asurmen takes out 5 of the Plague Marines.
Oof. Not my favorite turn. I’ll eventually kill all of those and raise a banner on the midfield objective, but not before Greg drops his Guardians into my deployment zone, retrieves data, and then spends 2 turns attempting to harass me off the objective. Fortunately I’m able to keep some poxwalkers alive there until the last two Shining Spears show up and when they do I use the Blightspawn’s sewer hose to kill them.

The PBCs eventually kill the remaining shadow spectres and the d-cannon platforms, and the blightlords and Deathshrouds are able to wipe out Asurmen and the Dire Avengers, but not before they finish off the Daemon Prince. As we head into turn 4 Greg’s got precious little left on the table and he’s managed to do the Psychic Interrogation action 0 times. We quickly run through the last two turns, where I’m able to control more of the board and kill his remaining Vypers. I won’t get all of his Guardians, and I’m only going ot score 7 on Raise the Banners, but I’ll max out Direct Assault and score 12 on Grind Them Down, leaving me with 74 points before painting scores factor in as I pull 40 on primary objectives (5-10-10-15).
Final Score: 84-51, Victory
Lessons Learned: I probably need a better plan for Raising Banners if I’m going to take it – this wasn’t a great mission for it, and I probably would have been better of just taking Engage on All Fronts, as this is one of the few missions that makes scoring it fairly easy for me. It’s just not something I’m used to taking so that’s something I need to be mindful of in the future. Otherwise, the plan worked well – stay out of line of sight where possible, occupy the middle of the table, play aggressively with the Daemon Prince and use Gloaming Bloat to turn off re-rolls. The PBCs had poor rolls to start but put in work later on down the line, and getting that insane charge off with the Poxwalkers early set the tone for a lot of the game. It was a great practice game and Greg’s Craftworld Eldar look great.
Greg: Man, Asurmen, what a legend. Every once in a while wild stuff happens in a dice game, and that was well worth the price of admission. That said, in retrospect: This list should never take psychic secondaries. It can’t spare the psyker to do it. Splitting one of the squads of Dire Avengers into two 5-man squads would have given me better options for doing actions. The support platforms can do work, but they cannot take a punch. I needed a better plan for getting my Vypers or Shining Spears into combat with Rob’s Plagueburst Crawlers. Don’t charge Poxwalkers unless you’re positive you’re gonna wipe them out. I think I’m going to stick with this list or something similar to it for the time being while I shake off the rust from a pandemic with very little gaming. The codex isn’t great, but it’s simple, and that lets me focus on playing the mission and picking secondaries, which I need the practice at.
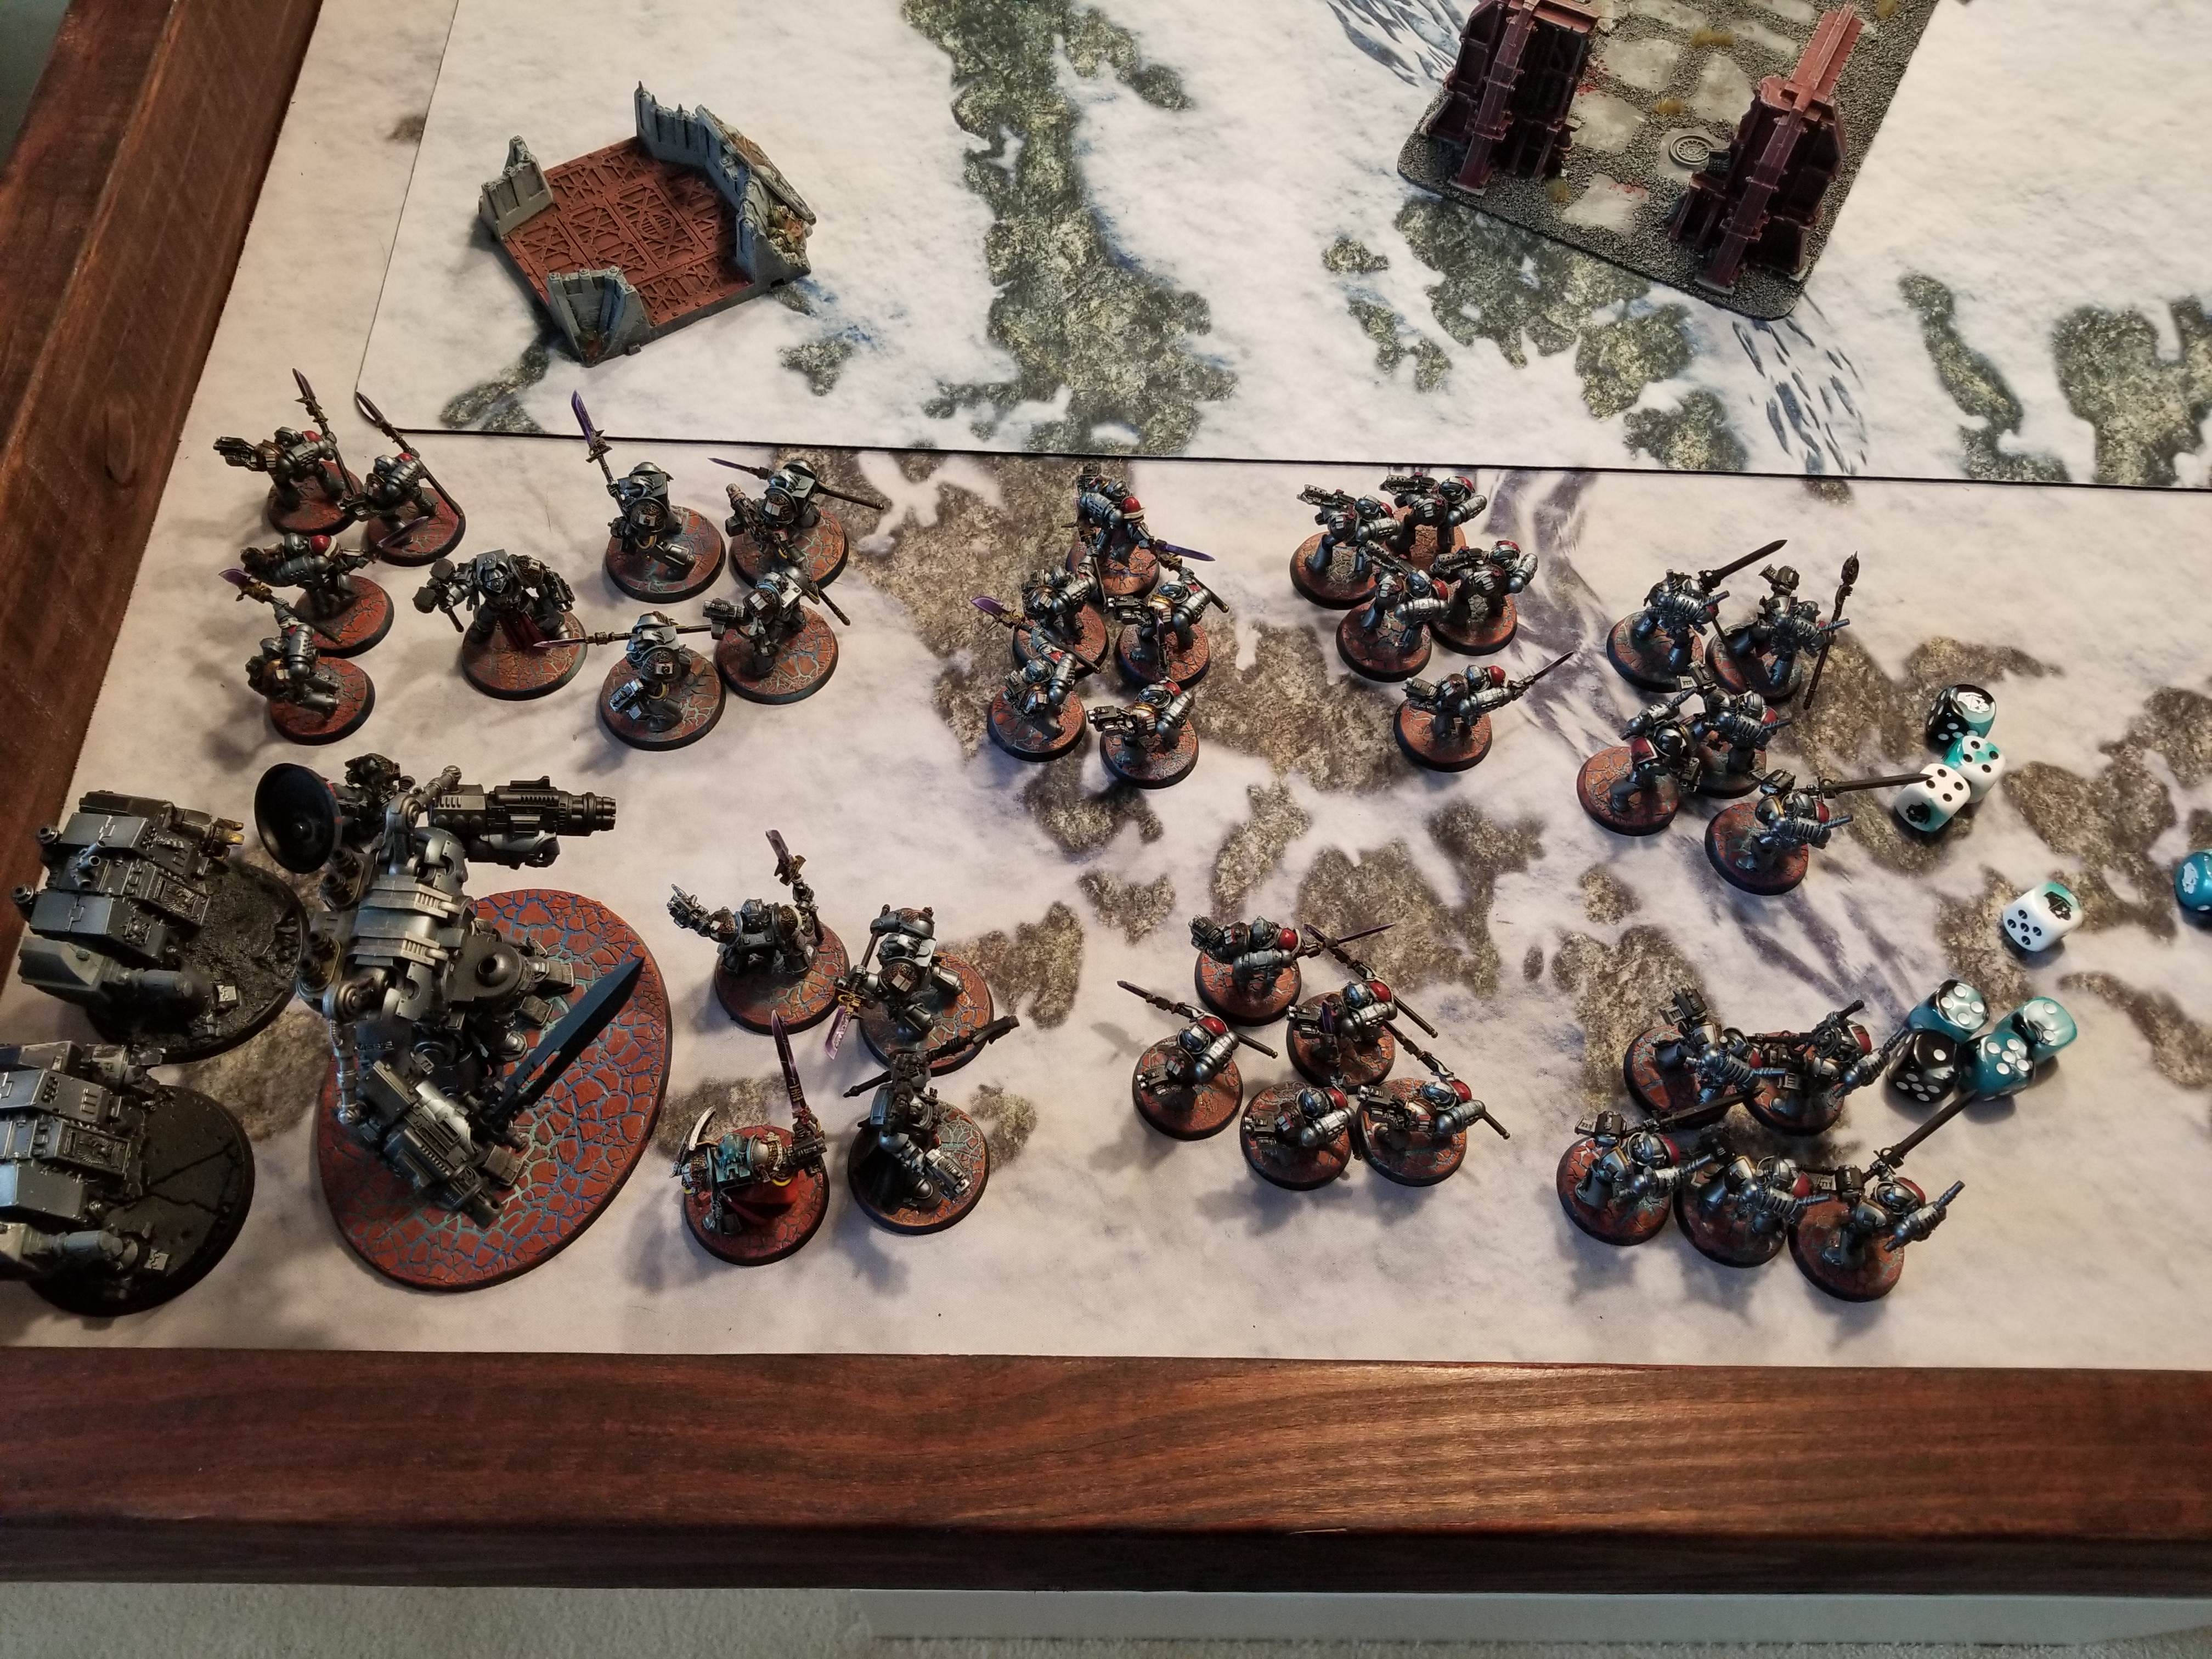
Game 2: Vs. Garrett’s Grey Knights
Leading into this game I wasn’t sure if I’d be going up against Space Wolves or Grey Knights but I was kind of hoping for the latter; I hadn’t played against Grey Knights yet and was eager to see what the new army played like on the table. Garrett hasn’t played much with the army, but this is his second game with the new codex, and that’s kind of as much as you can ask for given when the book released. That means more time looking up rules than usual, but it’ll give me a good handle on what they can do.
Garrett's List - Click to Expand My Secondaries: Assassination, Spread the Sickness, To the Last Spread the Sickness is an easy pick on most 6-objective missions and this is no exception – I can lazily wheel around the table and pick up 3 objectives as I need, and I suspect I can make four happen with a bit of gumption. Assassination is the best of my kill options here, since Greg’s got five characters to max it out on, and if I only manage to kill four but get the warlord I’ll still score 13. The only objective I struggle with here is the third one – I’m torn between To the Last and Stranglehold. I don’t like the idea of keeping the DP alive all game given he’s a Daemon, but I also worry about my abillty to stop Garrett’s list from holding 3 objectives for Stranglehold. I ask Greg his thoughts and he says “Stranglehold” so I go with To the Last, mostly to be a dick. It’s pretty funny in the moment but the correct answer was that once again, I should have just taken Engage on All Fronts. Garrett’s Secondaries: Engage on All Fronts, Retrieve Octarius Data, Purifying Ritual Engage and Octarius Data make perfect sense here – Garrett has the tools to zip around the board, and Purifying Ritual can be worth a ton of points. The only question is whether ROD and Purifying Ritual together are too much – he doesn’t have *that* many units and he can’t do both in the same turn with a unit, so he may have to choose between them, especially late in the game. First Turn: I lose the roll-off, so Garrett has the first turn. My general movement plan is to head north with my death star blob and wheel around, spreading the sickness as I go to ensure I get 9-12 points for it. As I push forward I keep my units spaced to screen out deep strikers – the Paladins have been held in reserve and I need to watch for them. I activate Flash Outbreak on my bloat drone in the command phase – this gives it Gloaming Bloat for a turn and ups its contagion range by a battle round, so now enemy units fighting it don’t get re-rolls to hit or wound. That will be important soon. Primarily through weight of fire, my Blightlords are able to wipe the strike squad off the northwestern objective, while the PBCs take out one of the two dreadnoughts and a couple more marines. The Fleshmower charges the Dreadknight, drops it to 3 wounds, and takes several back, but thanks to that no re-rolls rider, it’s able to survive with 4 remaining. On Garrett’s second turn he starts by scoring 15 on primary then drops the Paladins and Purifiers at mid-table, then brings out his Librarian to toss out mortal wounds. He mis-judges his position however and so ends up throwing most of the wounds at the Plague Marines, who then later eat shit from the Purgation squad and end up with only a single model, who I’ll keep around with Insane Bravery and will retreat into the nearest ruin to hide. He falls back with the Dreadknight and uses Fight on the Move to let it shoot and charge this turn, which it will do in order to touch one of my two Plagueburst Crawlers. The Dreadknight can also teleport away when targeted, and at the moment I’m fine watching it flail around in its lowest profile instead of mixing it up with my more delicate units. This however leaves the Bloat-Drone completely open. Also, it’s worth pointing out that Garrett had a truly abysmal psychic phase here, failing 3 Purify tests to end up scoring 0 for the secondary objective for the turn. As I slowly wheel around, I’m able to chip more wounds off using the blightlords – yeah, most of the targets I’m shooting have 2+ saves but when you’re AP 0 you kind of expect that anyways. The reaper autocannons continue to put in real work, and when they’re hitting on a 2+ and re-rolling 1s they are just incredibly efficient at chipping wounds off bigger targets. I use my other PBC to kill the second Dreadnought, fall back with my engaged one (which managed to avoid any damage), and press forward with my Daemon Prince and Deathshrouds. My goal here is to use the DP and Deathshrouds to kill off the Purgation Squad and Paladins. I have the DP charge the Paladins, after which he’ll be in range to turn off Overwatch for the Purgation squad with Gloaming Bloat. Alas, they fail their 8″ charge on both attempts, leaving the DP out to dry a bit. He manages to kill the remaining Paladins (Warp-Insect Hive does real work here), but he’ll be left in the open next turn to be smote to death. And that’s exactly what happened. Garrett changed up the tide to get extra damage on his Nemesis force weapons, then proceeded to murder my poor bloat-drone and dropped half a dozen mortal wounds on the Daemon Prince to kill it. Draigo started to wheel around here, and made an earnest attempt at killing my Deathshrouds, while using Gate to toss another strike squad to my northwest corner. The Blightlords killed that one too, with a little help from the Plaguecaster, who managed to fire off 3 mortal wounds at them with Curse of the Leper. On the Dreadknight side of things, his Dreadknight charged both of my Crawlers, taking them out of the game for a turn and dropping one to 5 wounds. The biggest issue with the Dreadknight was that it could teleport away at any moment and I kind of wanted it over here near my PBCs if it wasn’t going to be dead. So I played it a bit coy and fired the bracketed PBC at it, knocking off 0 wounds. Then I opted to shoot the full health one at it, and it zapped itself away, planting next to the Apothecary. I proceeded to have the PBC fire its mortar at the Dreadknight anyways, killing it off as I used the remaining guns to wipe out the remaining models in the Purgation Squad. At this point Garrett didn’t have many units left. Draigo made a valiant – but doomed attempt to kill my Deathshrouds, but two survived and murdered him. The PBCs took out the Apothecary and the Librarian, when the latter teleported to my table corner to retrieve octarius data and score engage points, and while I didn’t completely table Garrett, I came close enough. I’d end up scoring 15 points only once during the game, at the bottom of turn 5. I was playing catch-up all game on this one as Garrett started with 25 combined points across turns 1 and 2 (6 for purify, 4 for Engage, 15 for primary), but managed to claw my way back, spreading the sickness to four objectives (12 points), killing all his characters (15), and keeping the blightlords alive (5 points). I scored 30 on primary (0-5-10-15), while Garrett also scored 30 (15-0-10-5) and ended up with 4 on Retrieve Octarius Data, 12 on Purify, and 8 on Engage. Lessons Learned: All that hemming and hawing and I should have again just taken Engage on All Fronts instead of Stranglehold or To the Last. It would likely have been 8 points here compared to only 5 for To the Last. Otherwise, the the other two picks were fine. if I messed anything up here it was possibly that wheeling around with the Blightlords was too slow – it allowed Garrett to basically ignore them all game and choose targets on the edges – but at the same time I had built up enough passive scoring that he was forced to come to me or just lose on points, which is kind of what happened. Otherwise, it was a super fun game, though it’s near impossible to get off psychic powers against Grey Knights and they can hit like a truck if you aren’t careful. I’m eager to give the matchup another go when Garrett’s had more time to play the army. What a great pair of games. As much as I hate going second – I do not buy into the idea that it’s an advantage to go second, since most of the arguments for going second tend to assume the opponent will make some mistake you can capitalize on, and as such do not work when your opponent is not making said mistakes – it’s good to get some games in where I am on the back foot, since it helps me understand what I stand to lose, how I should deploy, and how I can counter-punch when it happens. In terms of broader lessons learned, here are my key takeaways: I know I said that last time but this time I mean it. Next update I’ll be writing about my experiences at the upcoming Goonhammer Open. I’m personally hoping for 4-2 but I’ll settle for 3-3 as always. My biggest concern is running into James “Boon” Kelling in like round 2 and getting dumpstered by his stupid Drukhari. I’d also settle for 3-3 if it means beating Scott Horras “Heresy” again, though. Winning would be pretty dope, however – Goonhammer staff can’t win any of the prizes, but we can win that championship belt, and that’s the only prize I want anyways. As always, if you have any questions or feedback, drop me a note in the comments below or email us at contact@goonhammer.com. And if you’re going to be at the GHO, I’ll see you there.The Mission: Vital Intelligence
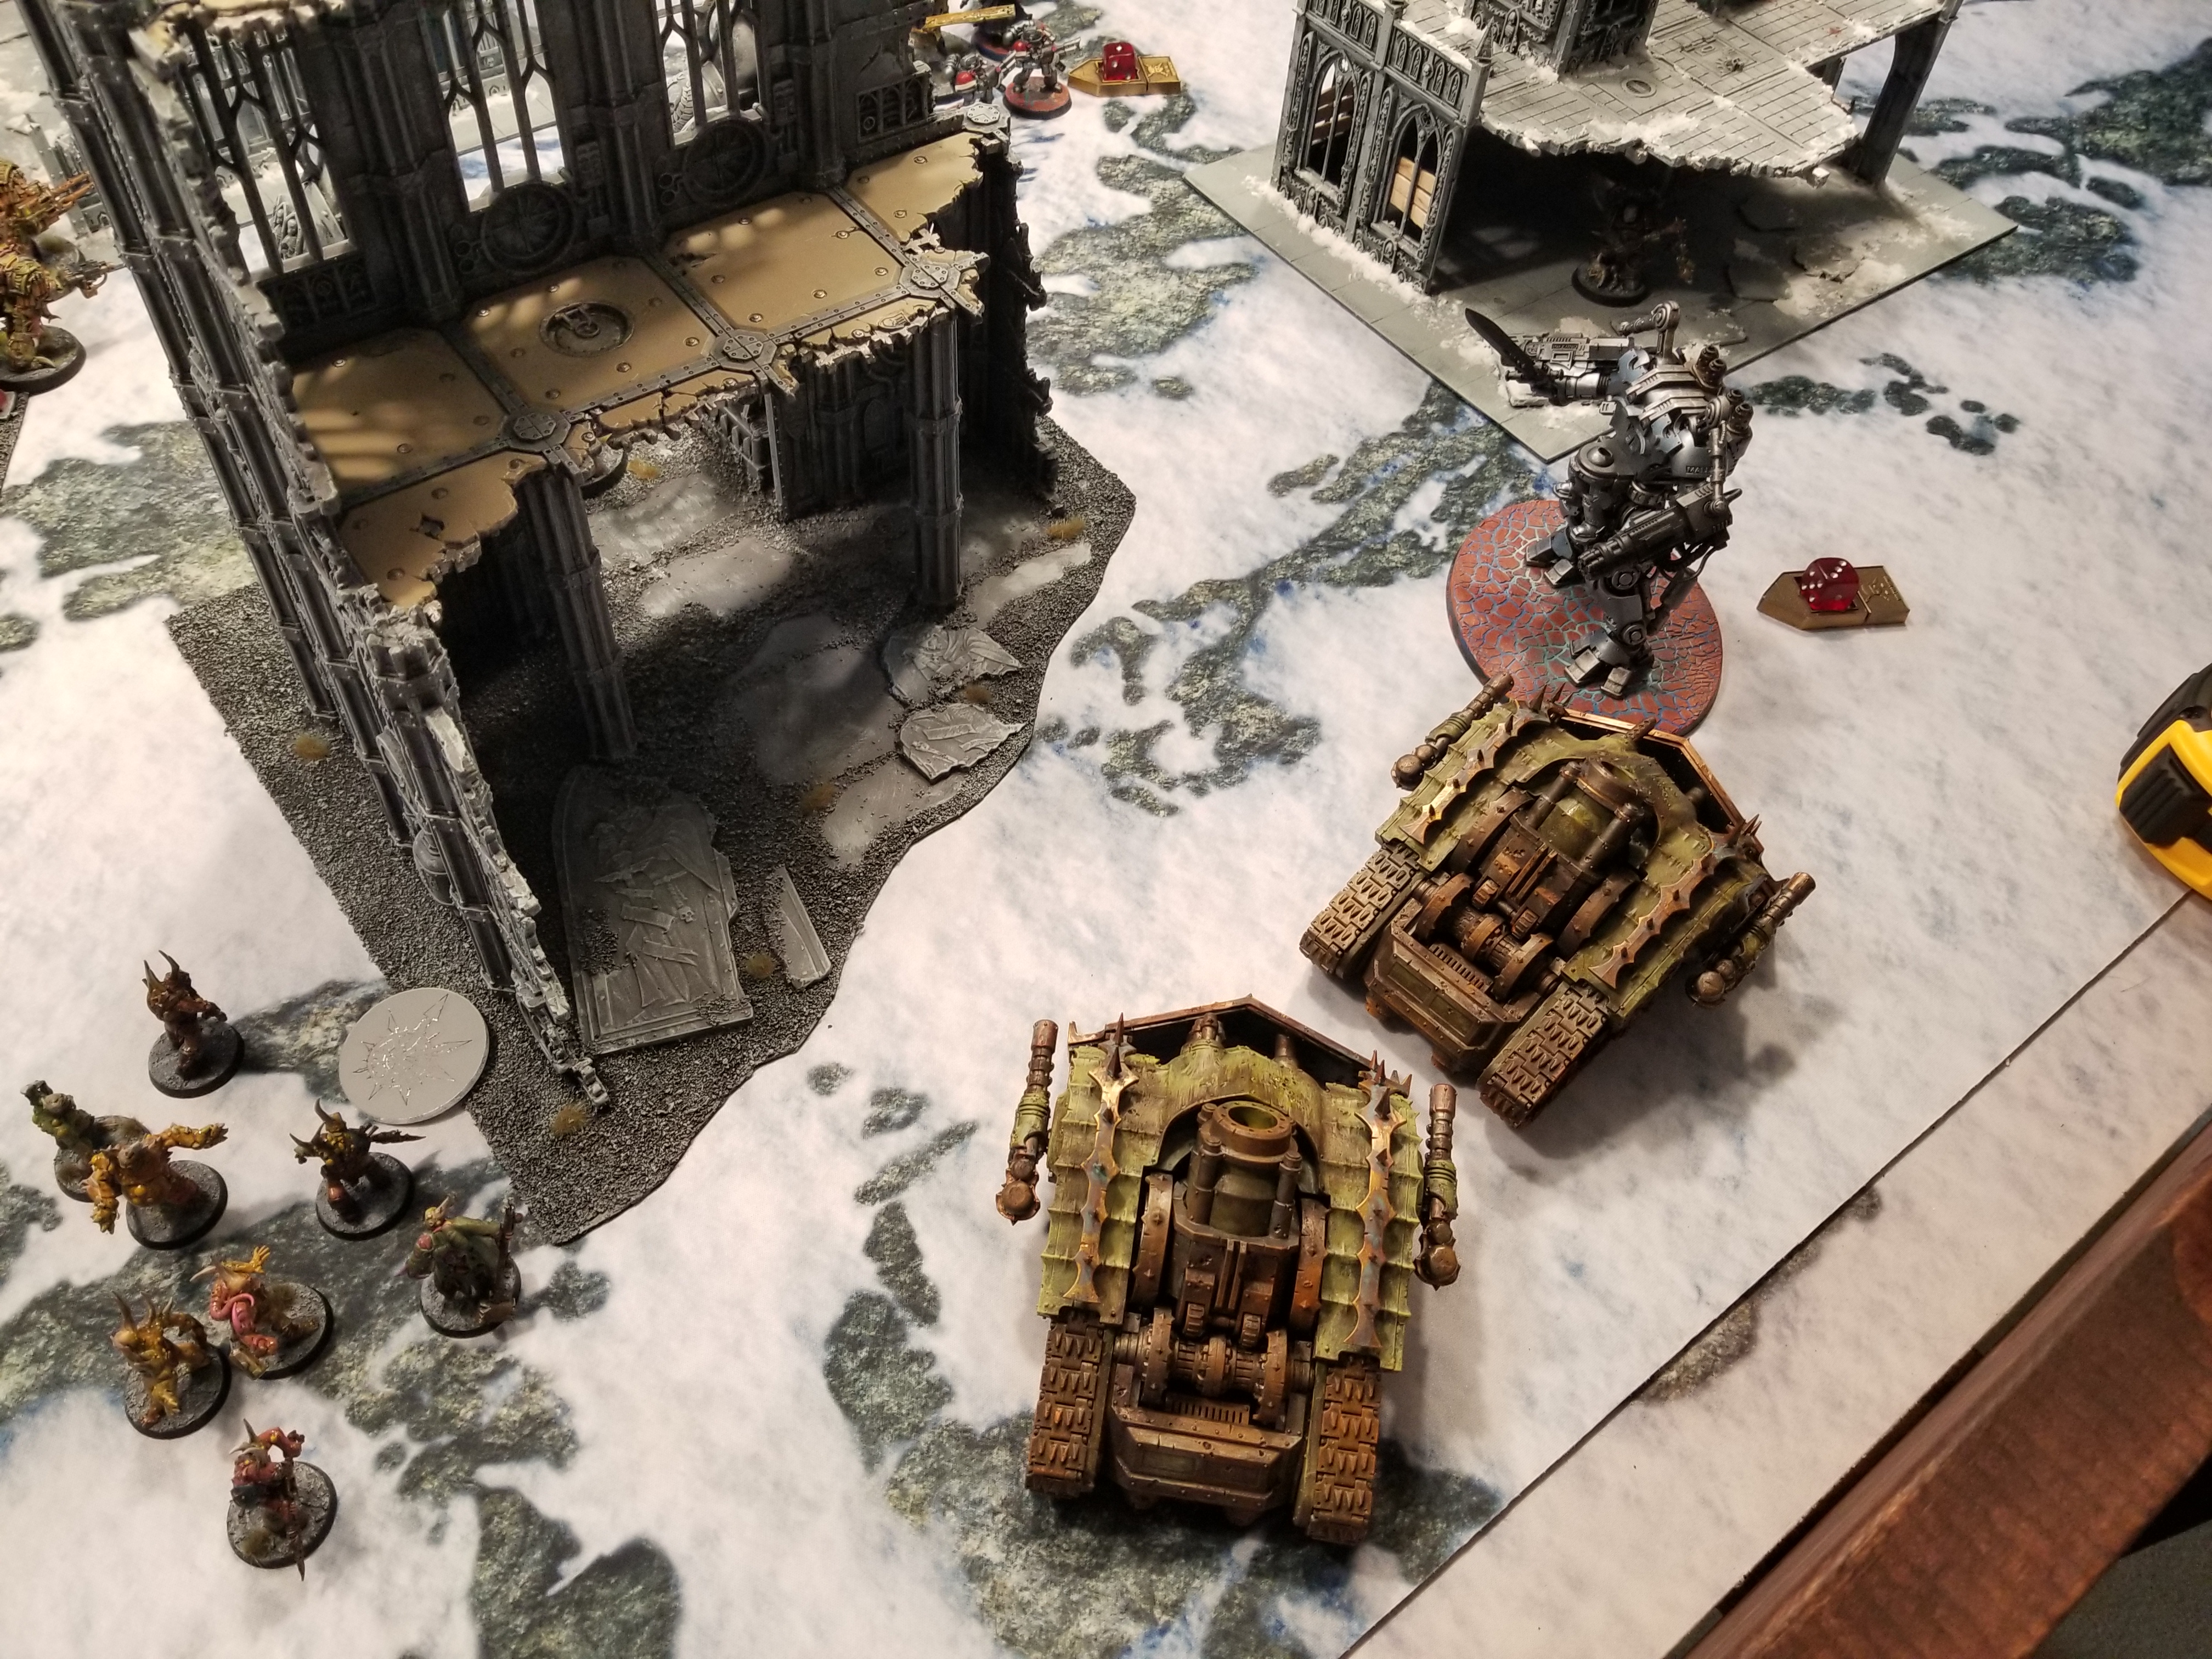
Key Moment: The Bloat Drone Feasts!

Final Score: 72-63, Victory
Lessons Learned
Next Time: The Goonhammer Open
