
Welcome back, Dear Reader, to my ongoing (mis)adventures in competitive 40k. While Adepticon moves forward in Chicago this weekend, I remain behind, typing up this recap from the previous weekend on a plane. So let’s talk about the previous week, how that prep went and what it all amounted to. If you missed my last update – full of some hobby progress and practice games – you can find that here.
Hobby: Shoring Things Up For Asgard
There’s really no better motivator than a tournament. The forced deadline of having to complete an army to battle ready standard in order to field it some Saturday will have you painting every night right up to the last minute to get things done. There’s just no better motivator than submitting a list knowing that you have to get it painted if you want to show up and play it. If you’ve been looking for the appropriate motivation to just hobby, consider signing up for an event.
How to Magnetize a Forgefiend
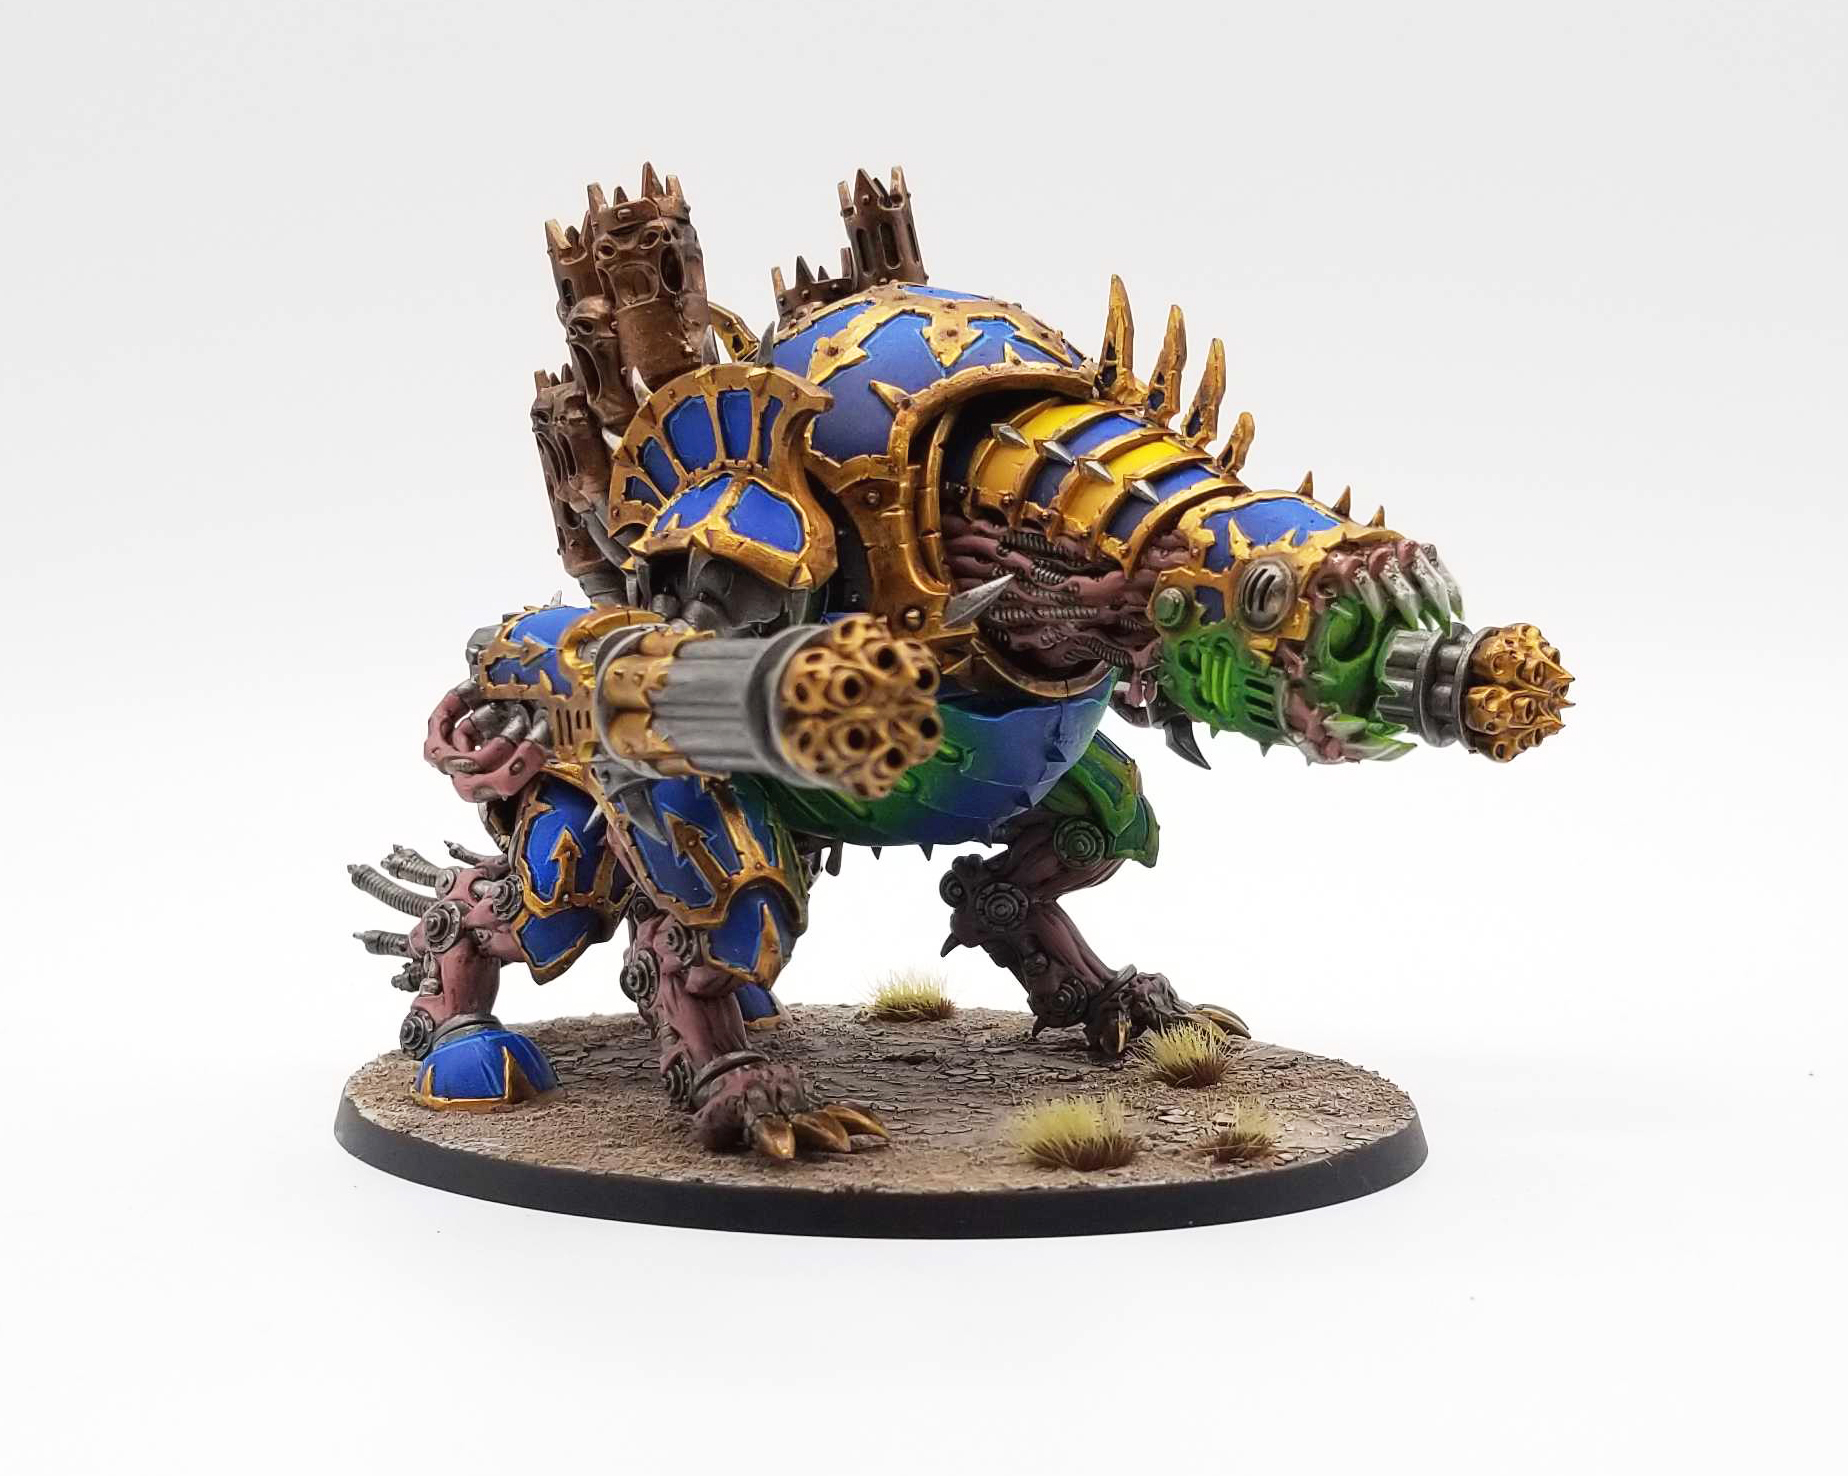
The big thing I wanted to get done for this event were my Forgefiends. I have a pair that I’ve wanted to paint up for my Thousand Sons since I saw them in a solid list last month, but I’m worried that I may want them to be Maulerfiends at some point. Which means I need to magnetize them. Now, this is not as easy a process as it sounds – in order to magnetize a Forgefiend/Maulerfiend, you need to magnetize the head and both the forlegs and midlegs, and the guns, and the magma cutters/tendrils, and you need a second set of foreleg shoulder pads. There’s a lot that goes into it. Still, I had all that and the gumption to do it, so I went ahead and magnetized up both of them. One of the tricks here is that you just paint/magnetize the options you need first, then you paint/set up new alternatives as you need them. So I started with a pair of autocannon/mouth plasma forgefiends.

Magnetizing a forgefiend is relatively simple; you just need to magnetize the guns and the head. If you want to have the option to switch to a maulerfiend however, you’re going to need the middle legs and the arms as well, so you can swap all of those out. This means you need a total of 18 magnets per model to hit all the options.
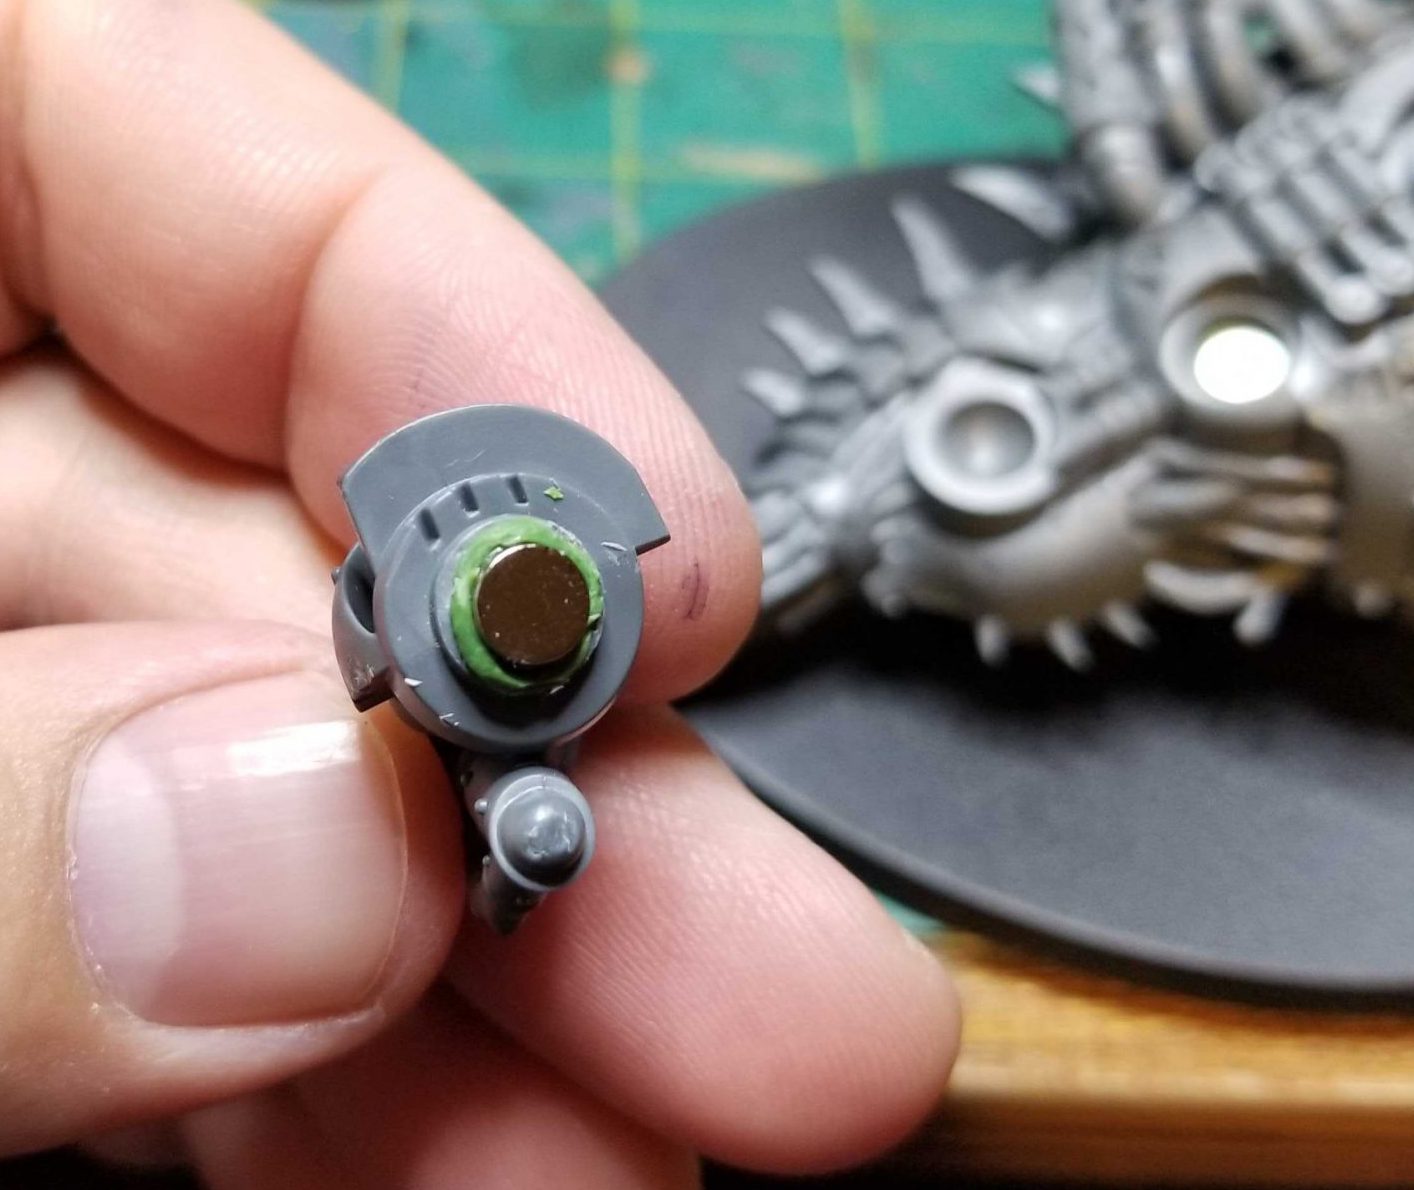
Once you have all the magnets in place however, painting it is pretty much the same, only easier because you can do it in parts.


The final product is one that I’m very happy with – the OSL looks great, and he’s a great addition to the army. Now I just have to paint another one. Unfortunately, I finished this bad boy the Thursday before the event, leaving me only a day or so to paint up two more marines I needed to get the army into something resembling the form I wanted.
While this was good progress, it mostly just meant that I could replace the Defiler I took last time with something a bit more useful. Still, it puts me in a good place with regard to my Thousand Sons Army progress:
This kind of misses how much work I have left to do (basically double the non-unique stuff up there), but I’m in a pretty good place and making great progress!
The March Asgard RTT
Ok so I got some progress done but not enough. That meant going into this next RTT I’d also have to run with what I had painted, and so once again I decided to take Magnus. He has surprisingly good play into Custodes and some other armies, just by virtue of having -1 damage, so as long as I don’t run into T’au I like my odds of using him to create some value. Here’s the list I ended up running with:
++ Battalion Detachment -3CP (Chaos – Thousand Sons) [77 PL, 8CP, 12 Cabal Points, 1,546pts] ++
Cults of the Legion: Cult of Time
- HQ [17 PL, -1CP, 7 Cabal Points, 315pts] +
Ahriman [9 PL, 3 Cabal Points, 180pts]: 11. Tzeentch’s Firestorm, 13. Doombolt, 22. Weaver of Fates, Disc of Tzeentch [1 PL, 20pts]
Exalted Sorcerer [8 PL, -1CP, 4 Cabal Points, 135pts]: 12. Glamour of Tzeentch, 2. Seeker After Shadows [1 Cabal Points], 23. Temporal Surge, Dilettante [2 PL, 35pts], Egleighen’s Orrery, High Acolytes [-1CP], Inferno Bolt Pistol, Umbralefic Crystal
- Troops [22 PL, 4 Cabal Points, 420pts] +
Rubric Marines [6 PL, 2 Cabal Points, 115pts]: Icon of Flame [1 Cabal Points, 10pts]
. Aspiring Sorcerer [1 Cabal Points, 21pts]: 13. Doombolt, Inferno Bolt Pistol
. 4x Rubric Marine w/ inferno boltgun [84pts]: 4x Inferno boltgun
Rubric Marines [12 PL, 2 Cabal Points, 230pts]: Icon of Flame [1 Cabal Points, 10pts]
. Aspiring Sorcerer [1 Cabal Points, 21pts]: 23. Temporal Surge, Inferno Bolt Pistol
. 8x Rubric Marine w/ inferno boltgun [168pts]: 8x Inferno boltgun
. Rubric Marine w/ soulreaper cannon [31pts]: Soulreaper cannon [10pts]
Tzaangors [4 PL, 75pts]: Herd banner [5pts]
. Twistbray [7pts]: Tzaangor blades
. 9x Tzaangor w/ Tzaangor blades [63pts]: 9x Tzaangor blades
- Elites [21 PL, 1 Cabal Points, 445pts] +
Scarab Occult Terminators [21 PL, 1 Cabal Points, 445pts]: 2x Hellfyre missile rack [20pts]
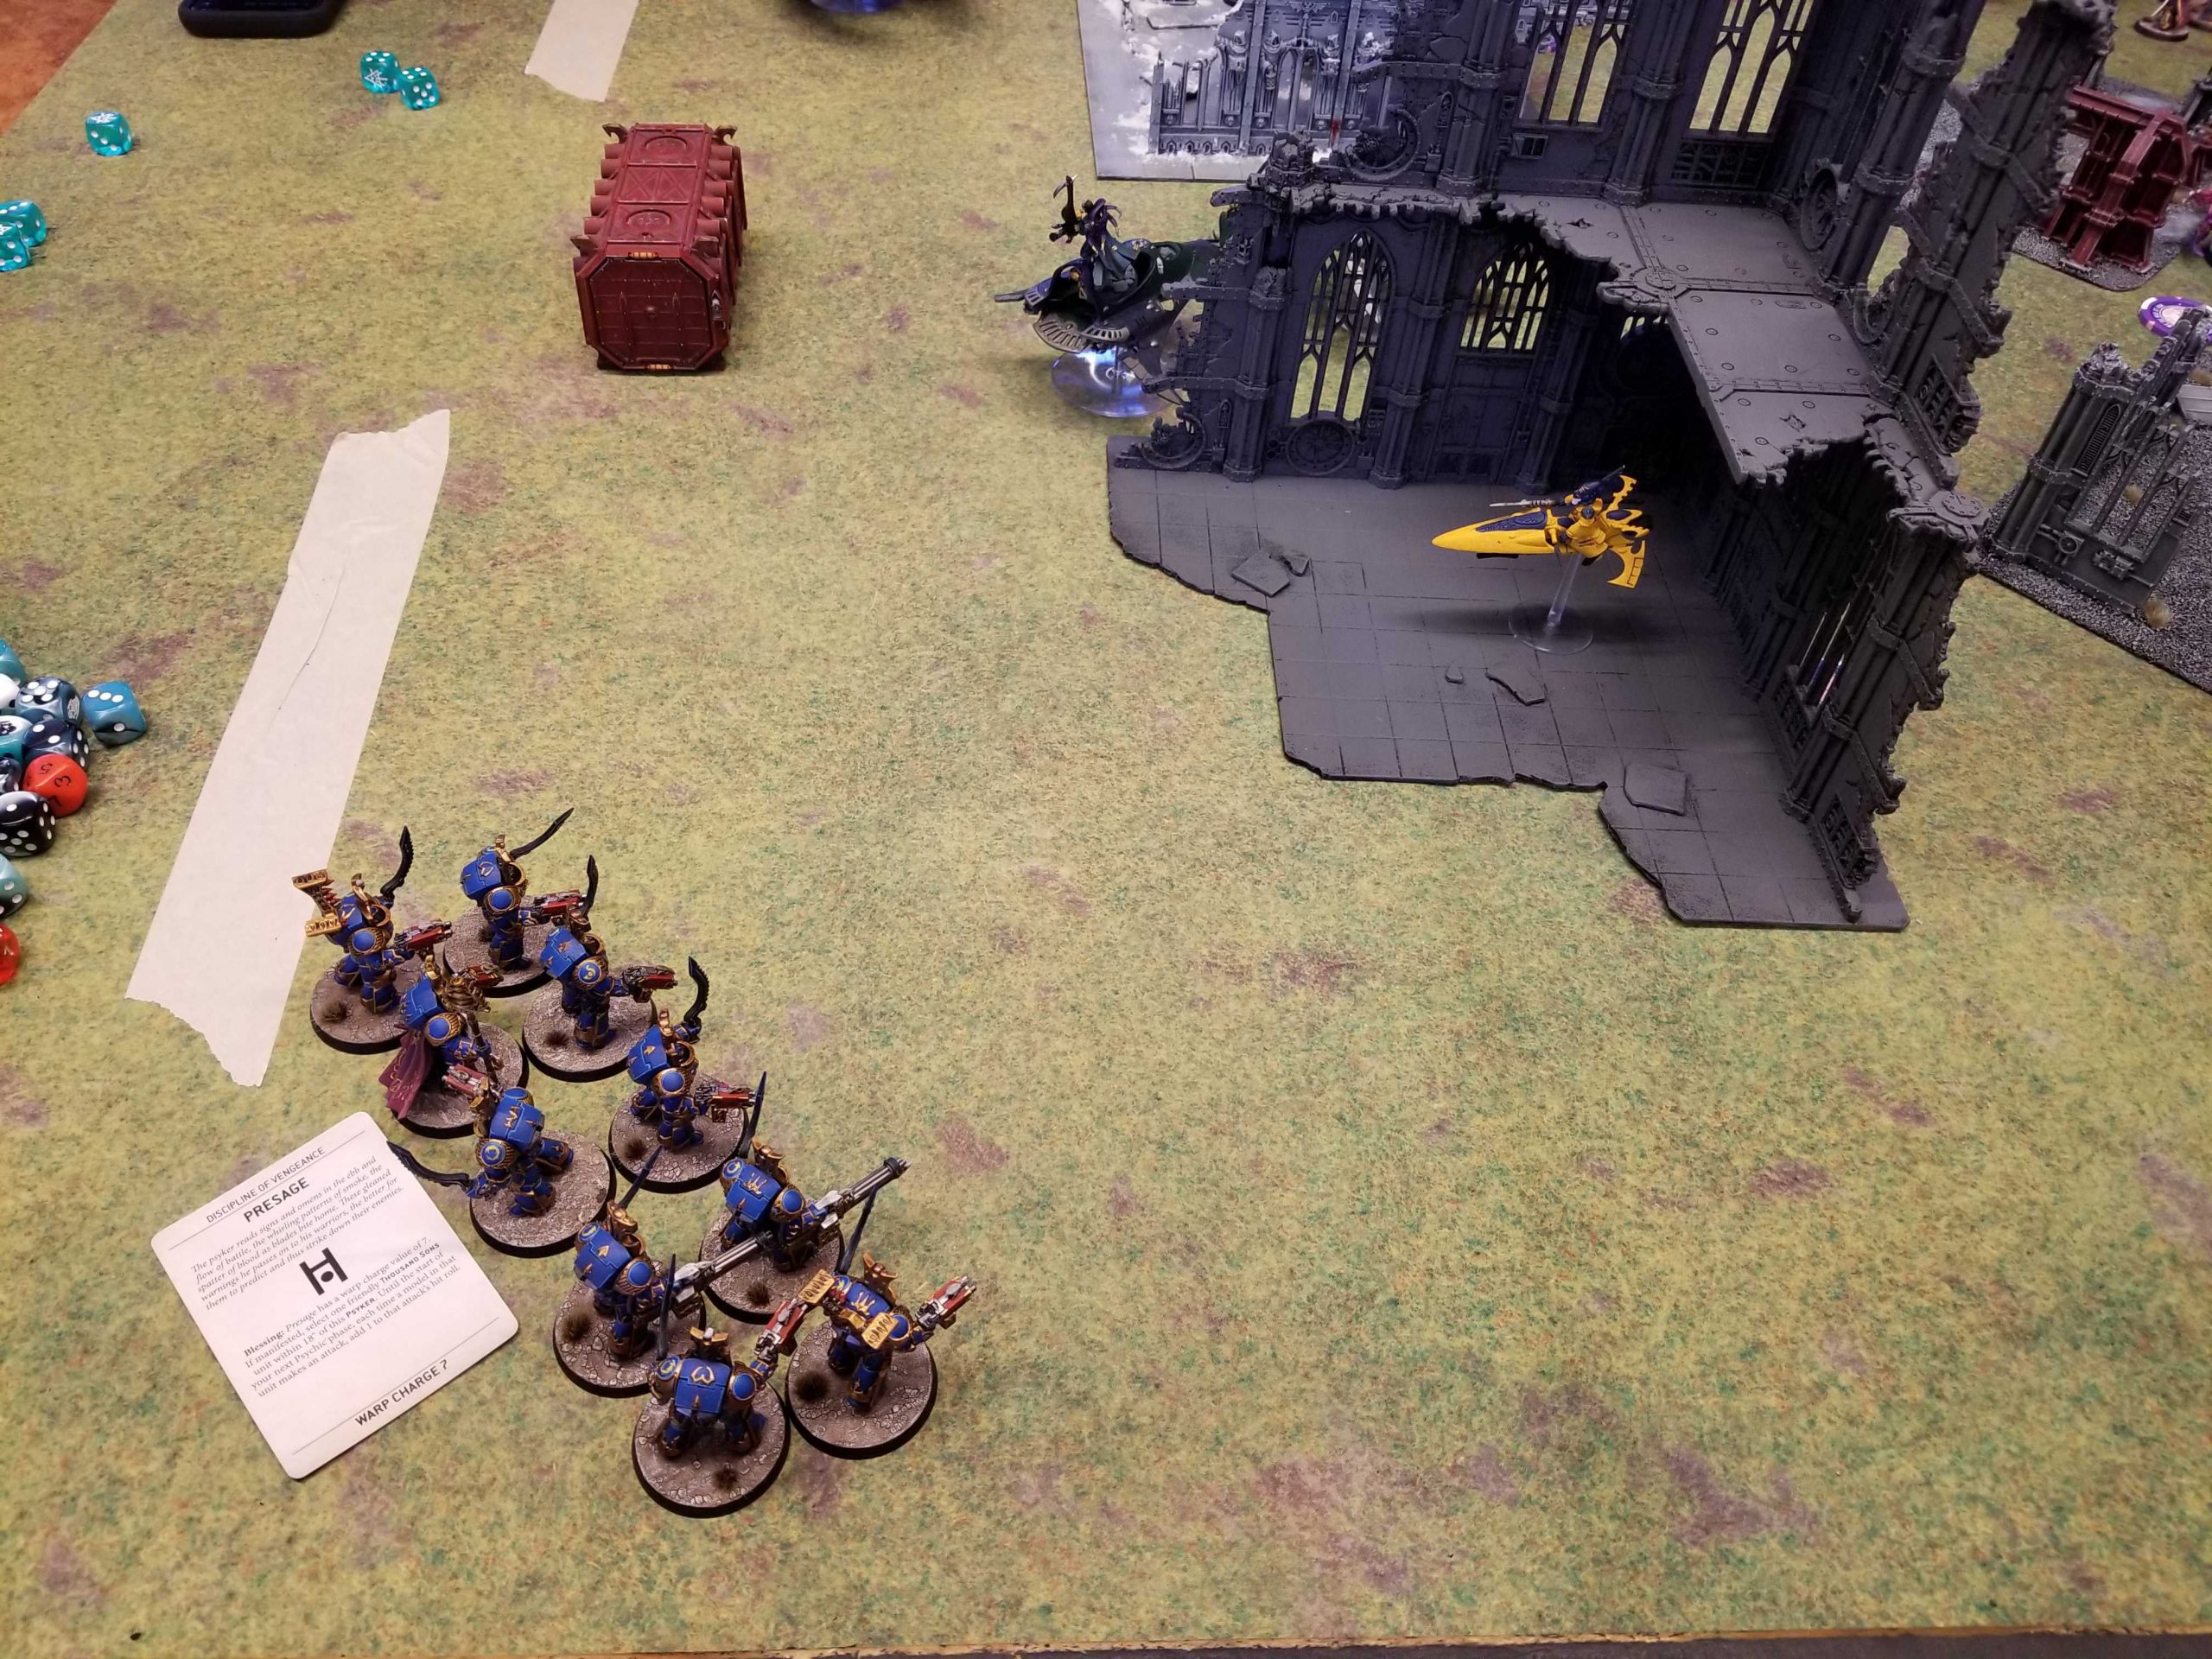
. Scarab Occult Sorcerer [1 PL, 1 Cabal Points, 55pts]: 21. Presage, Inferno combi-bolter, Rites of Coalescence [1 PL, 15pts]
. 7x Terminator [280pts]: 7x Inferno combi-bolter, 7x Prosperine khopesh
. Terminator w/ Heavy Weapon [45pts]: Soulreaper cannon [5pts]
. Terminator w/ Heavy Weapon [45pts]: Soulreaper cannon [5pts]
- Fast Attack [2 PL, 46pts] +
Chaos Spawn [2 PL, 46pts]
. 2x Chaos Spawn [2 PL, 46pts]: 2x Hideous mutations
- Heavy Support [15 PL, 320pts] +
Forgefiend [8 PL, 175pts]: 2x Heavy Hades autocannons [50pts], Ectoplasma cannon [15pts]
Mutalith Vortex Beast [7 PL, 145pts]
++ Supreme Command Detachment +3CP (Chaos – Thousand Sons) [23 PL, 3CP, 4 Cabal Points, 450pts] ++
- Primarch | Daemon Primarch | Supreme Commander [23 PL, 4 Cabal Points, 450pts] +
Magnus the Red [23 PL, 4 Cabal Points, 450pts]: 1. Arrogance of Aeons, 3. Undying Form, 4. Lord of Forbidden Lore, Warlord
+++
This time I ended up running with the Cult of Time instead of Duplicity, hoping to do the healing Scarabs trick. This was a mistake – with Magnus on the table the Scarabs often didn’t take damage until Magnus came off, and losing the redeploy from Master Misinformator and the ability to teleport around the table after dropping buffs was a huge loss. In the future I’ll likely stick to Duplicity.
Otherwise, the list mostly returns from the last outing, albeit with a Forgefiend this time instead of a Defiler.
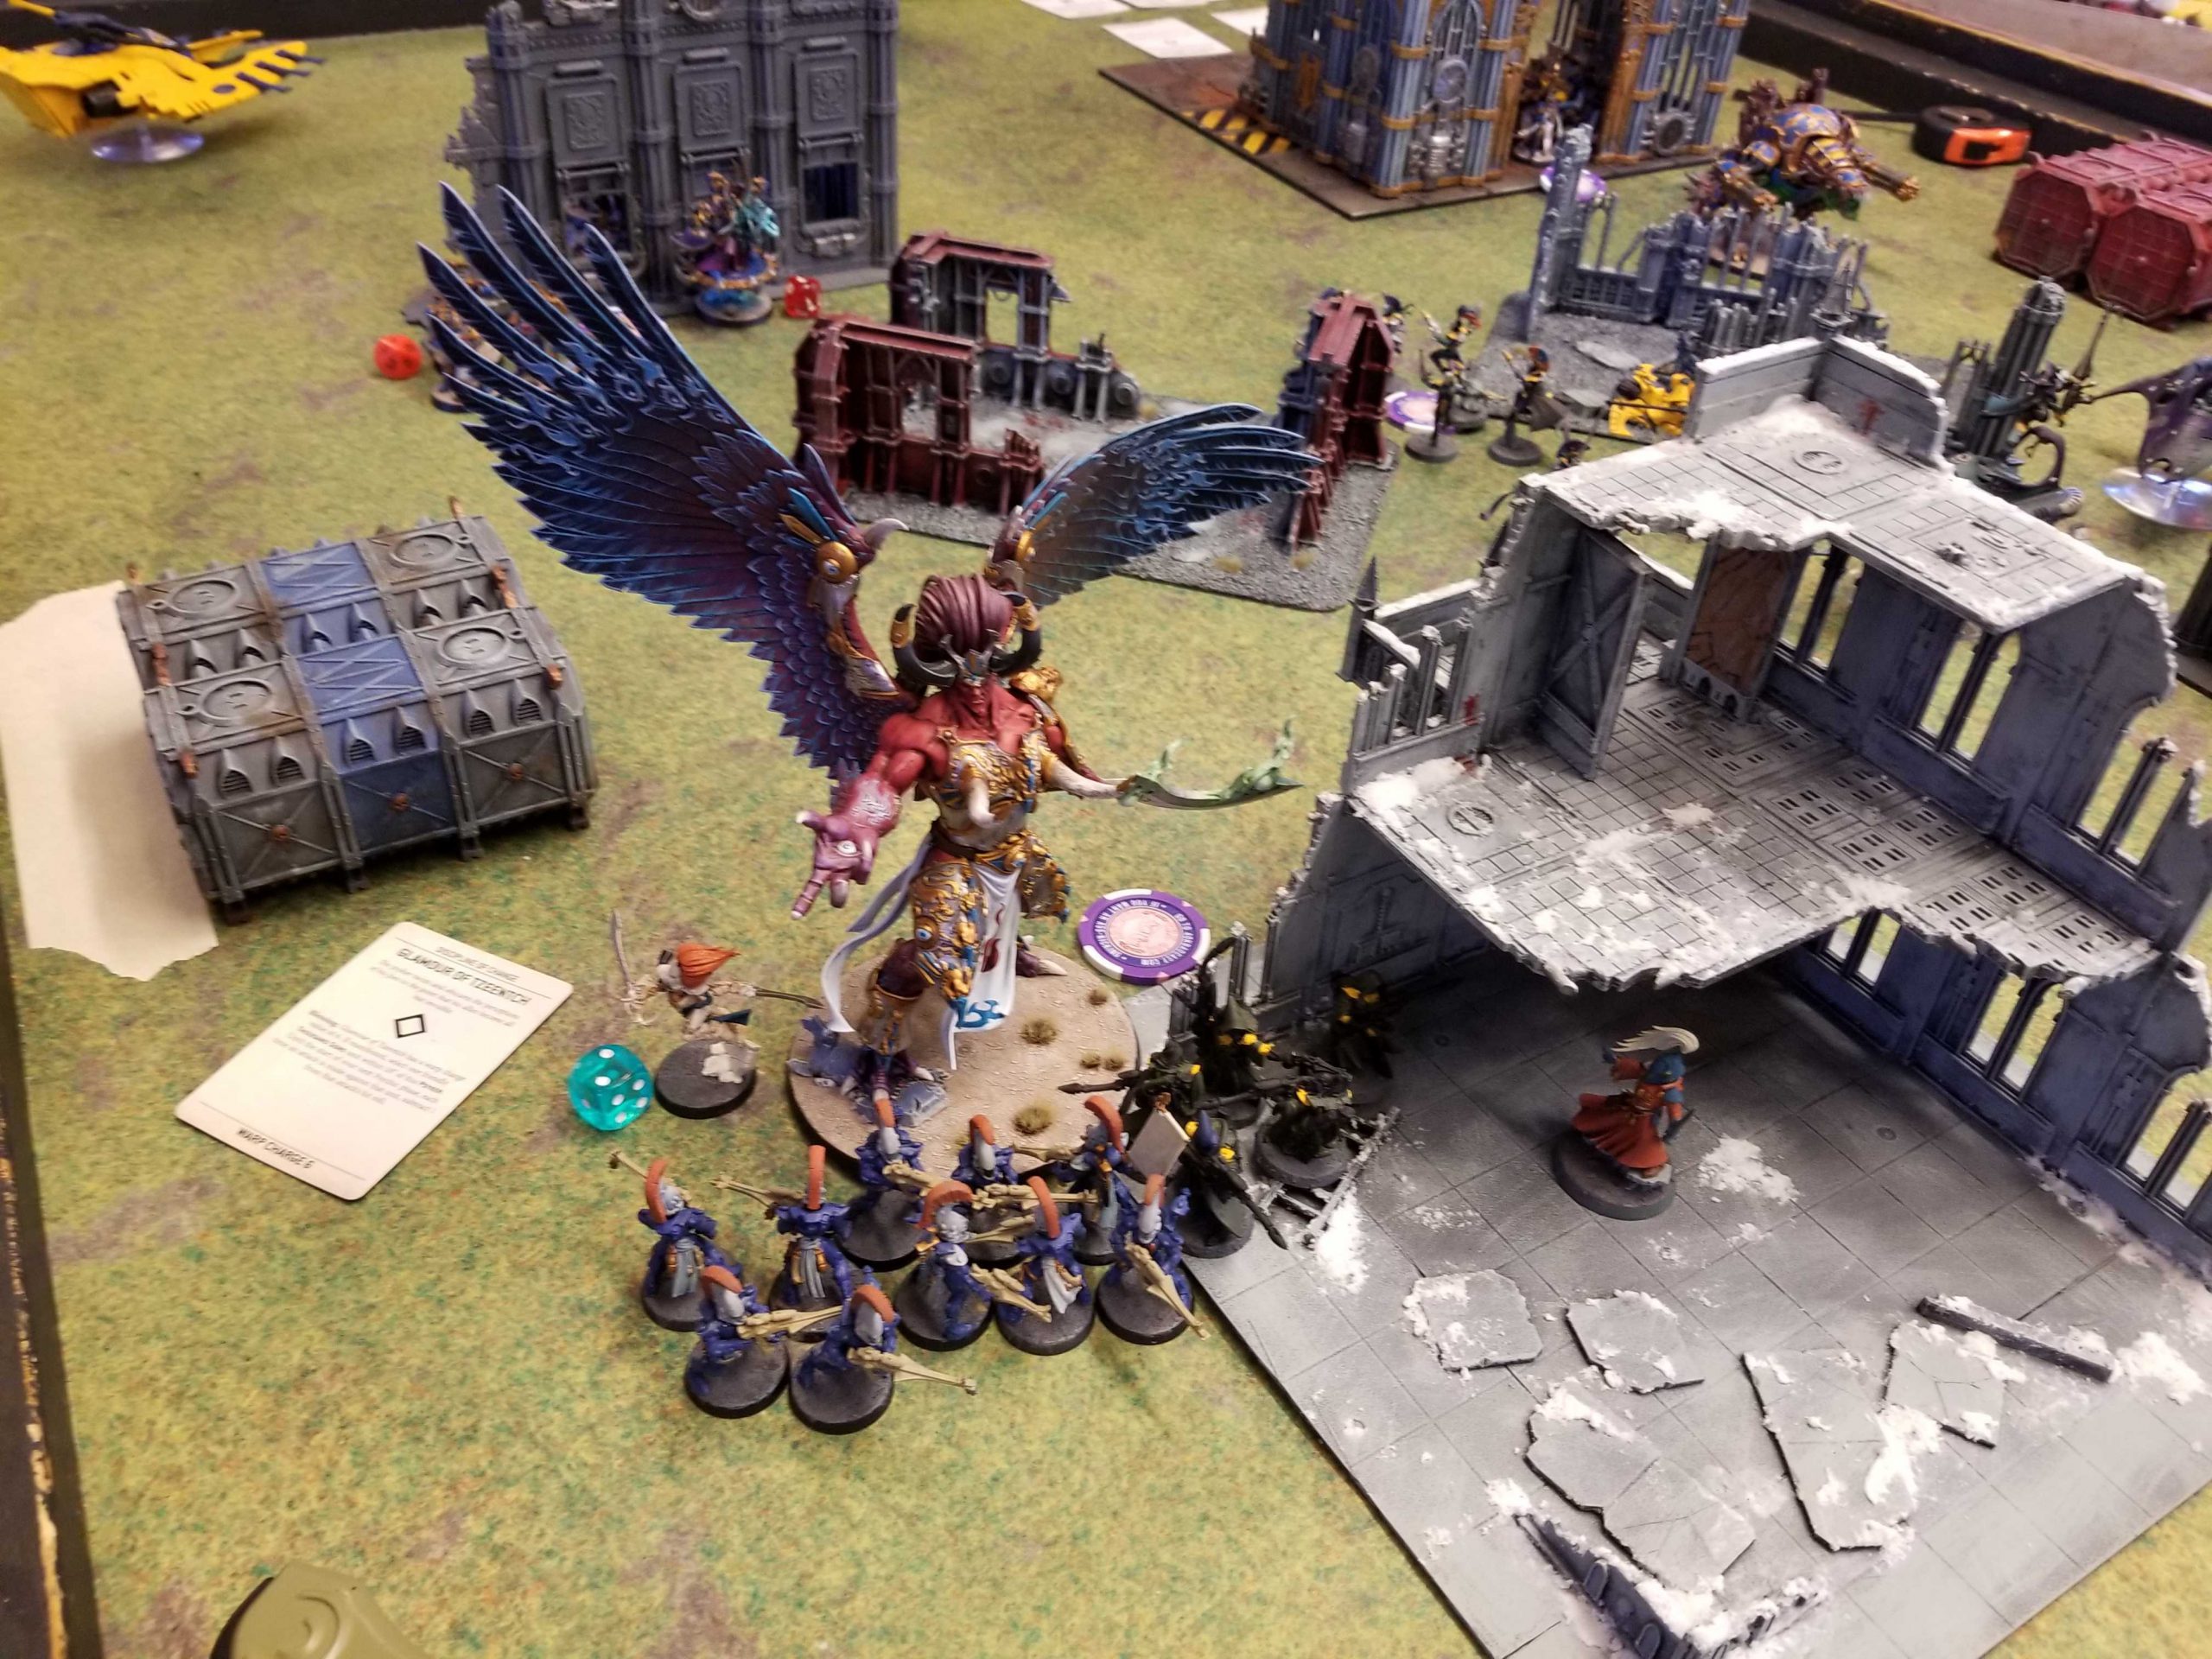
Game 1: vs. Joel’s Aeldari
Joel’s running a mix of Ulthwe and Harlequins, and he’s recently returned to 9th edition 40k. That’s a boon to me because this list can cause some problems for me otherwise.
Joel's List - Click to Expand ++ Patrol Detachment -2CP (Aeldari – Craftworlds) [72 PL, 1,345pts, -3CP] ++ Craftworld Selection: Ulthwe: Foresight of the Damned + No Force Org Slot + Seer Council (Unit) [2 PL, 40pts] + HQ + Autarch Skyrunner [5 PL, 100pts]: Laser Lance Farseer Skyrunner [6 PL, 125pts, -1CP]: 2. Doom, 5. Will of Asuryan, 6: Seer of the Shifting Vector, Shuriken Pistol, Singing Spear, Stratagem: Champion of the Aeldari + Troops + Rangers [4 PL, 65pts] + Elites + Dire Avengers [7 PL, 145pts] Howling Banshees [5 PL, 105pts] + Fast Attack + Shining Spears [10 PL, 175pts] Windriders [8 PL, 120pts] + Heavy Support + Falcon [9 PL, 160pts]: Bright Lance, Twin Shuriken Catapult + Dedicated Transport + Wave Serpent [8 PL, 170pts]: Shuriken Cannon, Twin Bright Lance ++ Patrol Detachment 0CP (Aeldari – Harlequins) [28 PL, 653pts, 10CP] ++ Saedath Characterisation: Light: Blaze of Light + HQ + Shadowseer [5 PL, 125pts]: 2. Fog of Dreams (Blessing), 3. Mirror of Minds (Witchfire), Mirror Architect, Shuriken Pistol Troupe Master [4 PL, 85pts, -1CP]: 2: Fractal Storm, 3: A Foot in the Future, Aeldari Power Sword, Fusion Pistol, Stratagem: Favoured of the Laughing God, Warlord + Troops + Troupe [4 PL, 118pts] Troupe [4 PL, 95pts] + Elites + Death Jester [3 PL, 70pts, -1CP]: 1: Favour of Cegorach, Harvester of Torment, Stratagem: Champion of the Aeldari + Dedicated Transport + Starweaver [4 PL, 80pts] ++ Total: [100 PL, 7CP, 1,998pts] ++
. Warlocks: 4. Protect/Jinx
. . Warlock: Witchblade
. 5x Ranger: 5x Ranger Long Rifle, 5x Shuriken Pistol
. 9x Dire Avenger: 9x Avenger Shuriken Catapult, 9x Plasma Grenades
. Dire Avenger Exarch: Avenger Shuriken Catapult, Shredding Fire
. 4x Howling Banshee: 4x Banshee Blade, 4x Shuriken Pistol
. Howling Banshee Exarch: Mirrorswords, Piercing Strikes
. 4x Shining Spear: 4x Laser Lance, 4x Twin Shuriken Catapult
. Shining Spear Exarch: Laser Lance, Twin Shuriken Catapult
. 4x Windrider – Shuriken Cannon: 4x Shuriken Cannon
Night Spinner [8 PL, 140pts]: Twin Shuriken Catapult
. The Storied Sword
. Lead Player: Fusion Pistol, Harlequin’s Kiss
. Player: Fusion Pistol, Harlequin’s Kiss
. Player: Harlequin’s Caress, Shuriken Pistol
. Player: Harlequin’s Embrace, Shuriken Pistol
. Player: Harlequin’s Kiss, Shuriken Pistol
. Player: Harlequin’s Kiss, Shuriken Pistol
. Lead Player: Fusion Pistol, Harlequin’s Embrace
. Player: Harlequin’s Kiss, Shuriken Pistol
. Player: Harlequin’s Caress, Shuriken Pistol
. Player: Harlequin’s Kiss, Shuriken Pistol
. Player: Harlequin’s Kiss, Shuriken Pistol
Starweaver [4 PL, 80pts]
Joel’s list has a ton of mobility and the Night Spinner can cause me a lot of problems if I’m not careful. At the very least, it can reliably cost me a ton of CP by forcing me to drop the Damage -1 stratagem over and over on the Scarabs if Joel wants to keep targeting them. Otherwise, I’ve played against Eldar a couple of times now so I at least have a good idea what I’m doing.
The Mission: The Scouring
My Secondaries:
- Wrath of Magnus
- Assassination
- Stranglehold
Joel’s Secondaries:
- Scry Futures
- Raise the Banners High
- Engage on All Fronts
Wrath is a solid pick against Craftworlds, who have psykers but little appetite for using them to do mortal wounds. This is extra good if I’m going second because it makes it even harder for them to justify and means I can fine tune how many models I need to kill per turn. On Joel’s end he needs to stay on my side of the table for Engage which means splitting up his forces a bit – I can handle that, and that may open up his backfield for me to drop something in with the Umbralefic Crystal.
I’m going second.
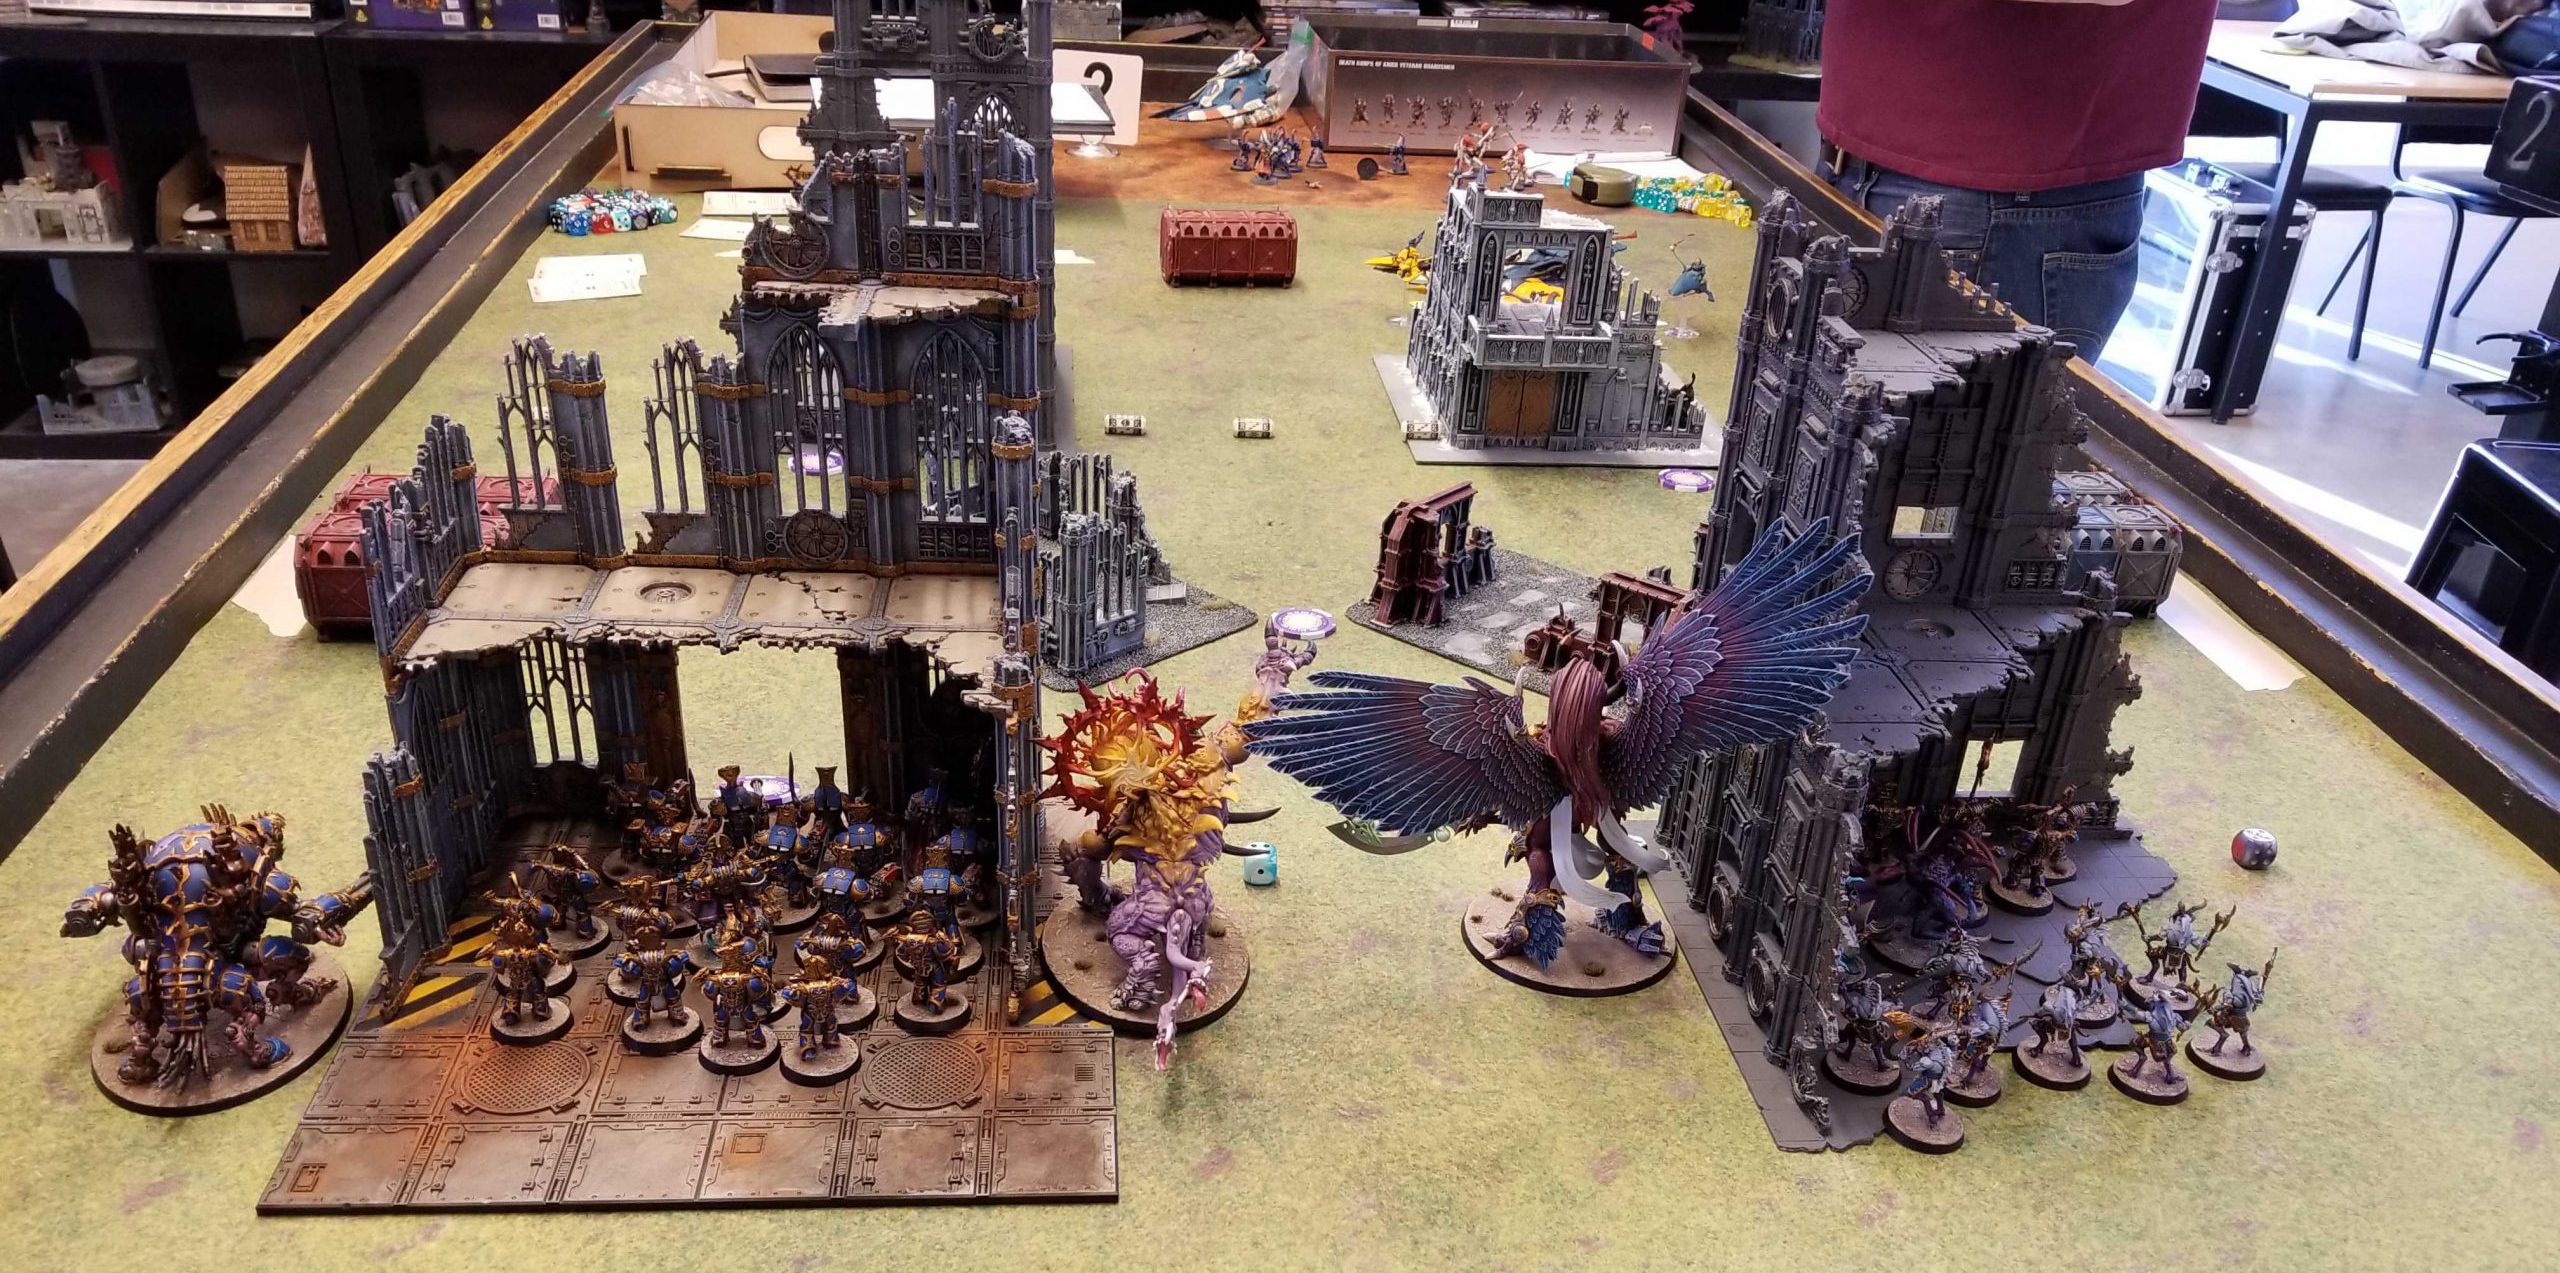
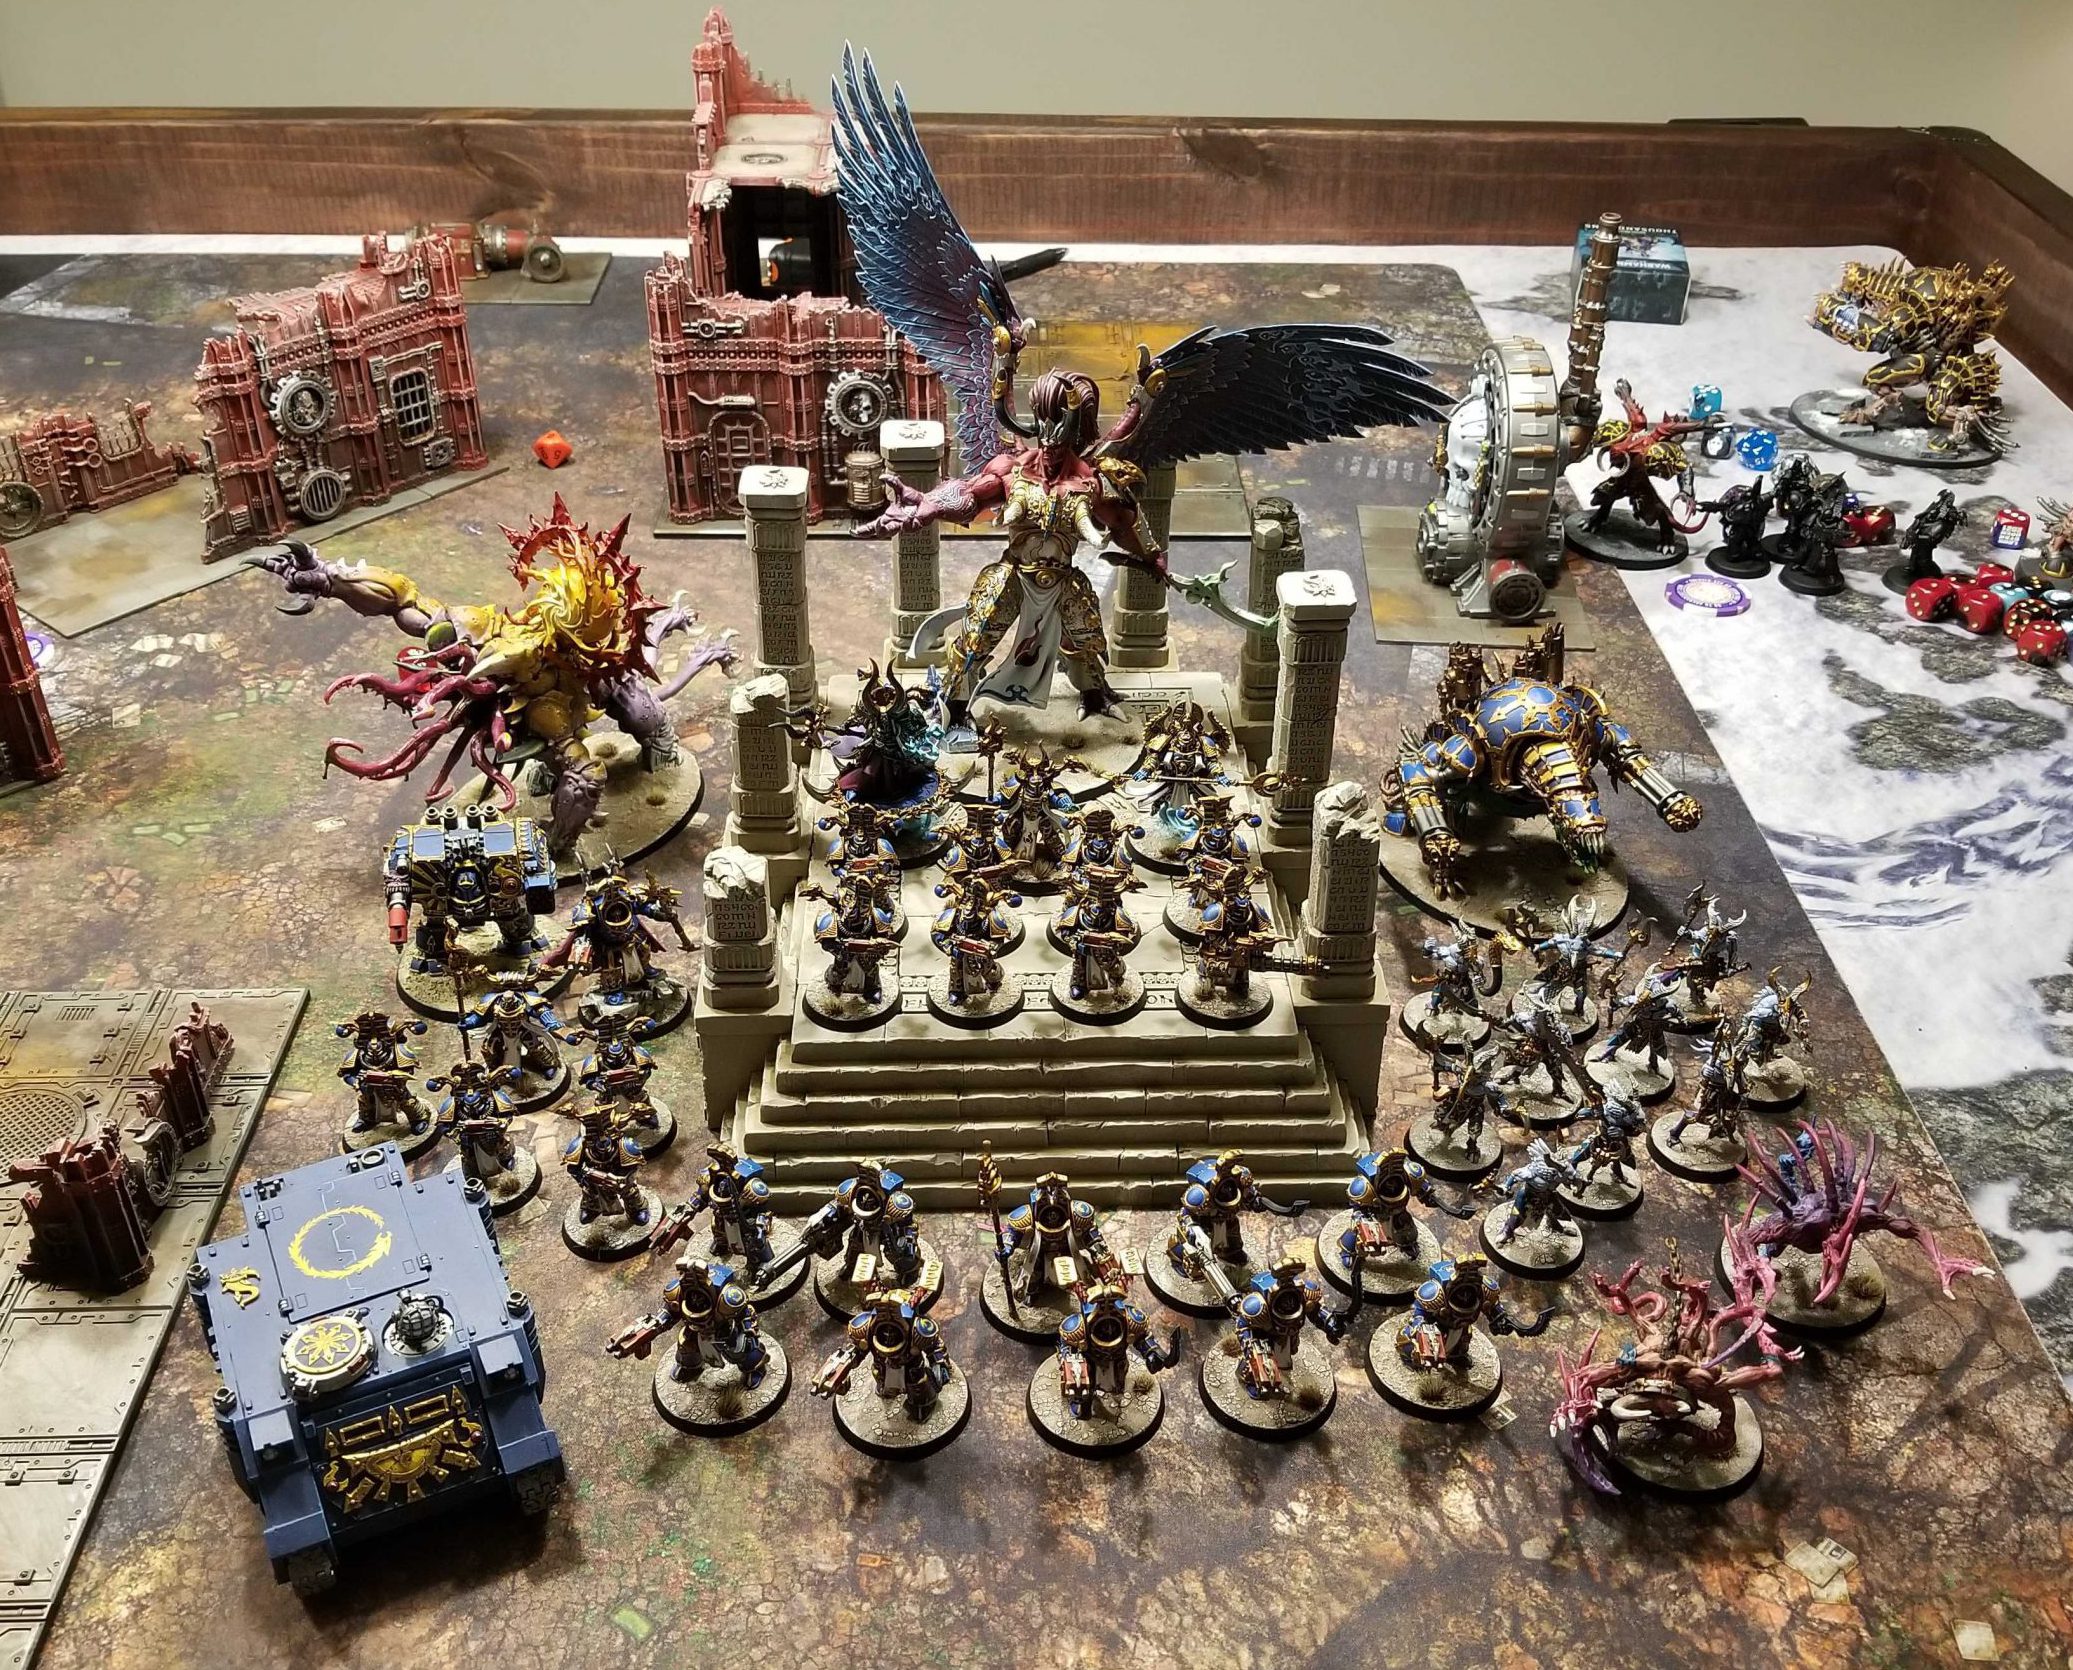
That’s just fine by me. Easier to score Wrath of Magnus. I need to screen out the Falcon full of Banshees but that’s basically my biggest concern. Joel spends T1 with most ineffectual voidweaver shooting that only kills a single Rubric marine, then we’re off. I dart Magnus across the table to the south and use him to wipe out a unit of Shining Spears.
Magnus will spend most of his game over there, fighting off and killing Banshees, Rangers, a Warlock, and a unit of Dire Avengers before he finally gets dropped by a Falcon. Mostly this happened because Joel kept undercommiting to killing Magnus, trying to split fire and save shots for other units. Magnus kept surviving on 1-2 wounds, then healing back up to 4-5 with Temporal Manipulation or Warped Regeneration, depending on which I needed. By the time he was finally brought down I’d successfully held off a third of Joel’s army for most of the game.
On the other side of the table I took advantage of Joel pushing forward with his Harlequins to drop in behind him with a unit of Scarabs, who promptly shot a unit of Skyweaver Jetbikes to death and proceeded to sweep forward and take the objective in that corner. Caught between them, a forgefiend, and advancing Ahriman and Rubrics, Joel’s Troups in the center didn’t last long, though part of this was that Ahriman got lucky and tanked a bunch of Death Jester Shots to survive on 2 wounds.
Result: 85-69, Win
I’m able to near max Stranglehold and Wrath of Magnus and while I only score 6 on Assassination, coupling that with max primary gets me the win. If Joel had overcommitted to killing Magnus he might have been able to turn this one earlier, but as it was he left me too much power to deny his casts and fire back with insane numbers of mortal wounds.
Game 2: vs. Sean’s Crusher Stampede
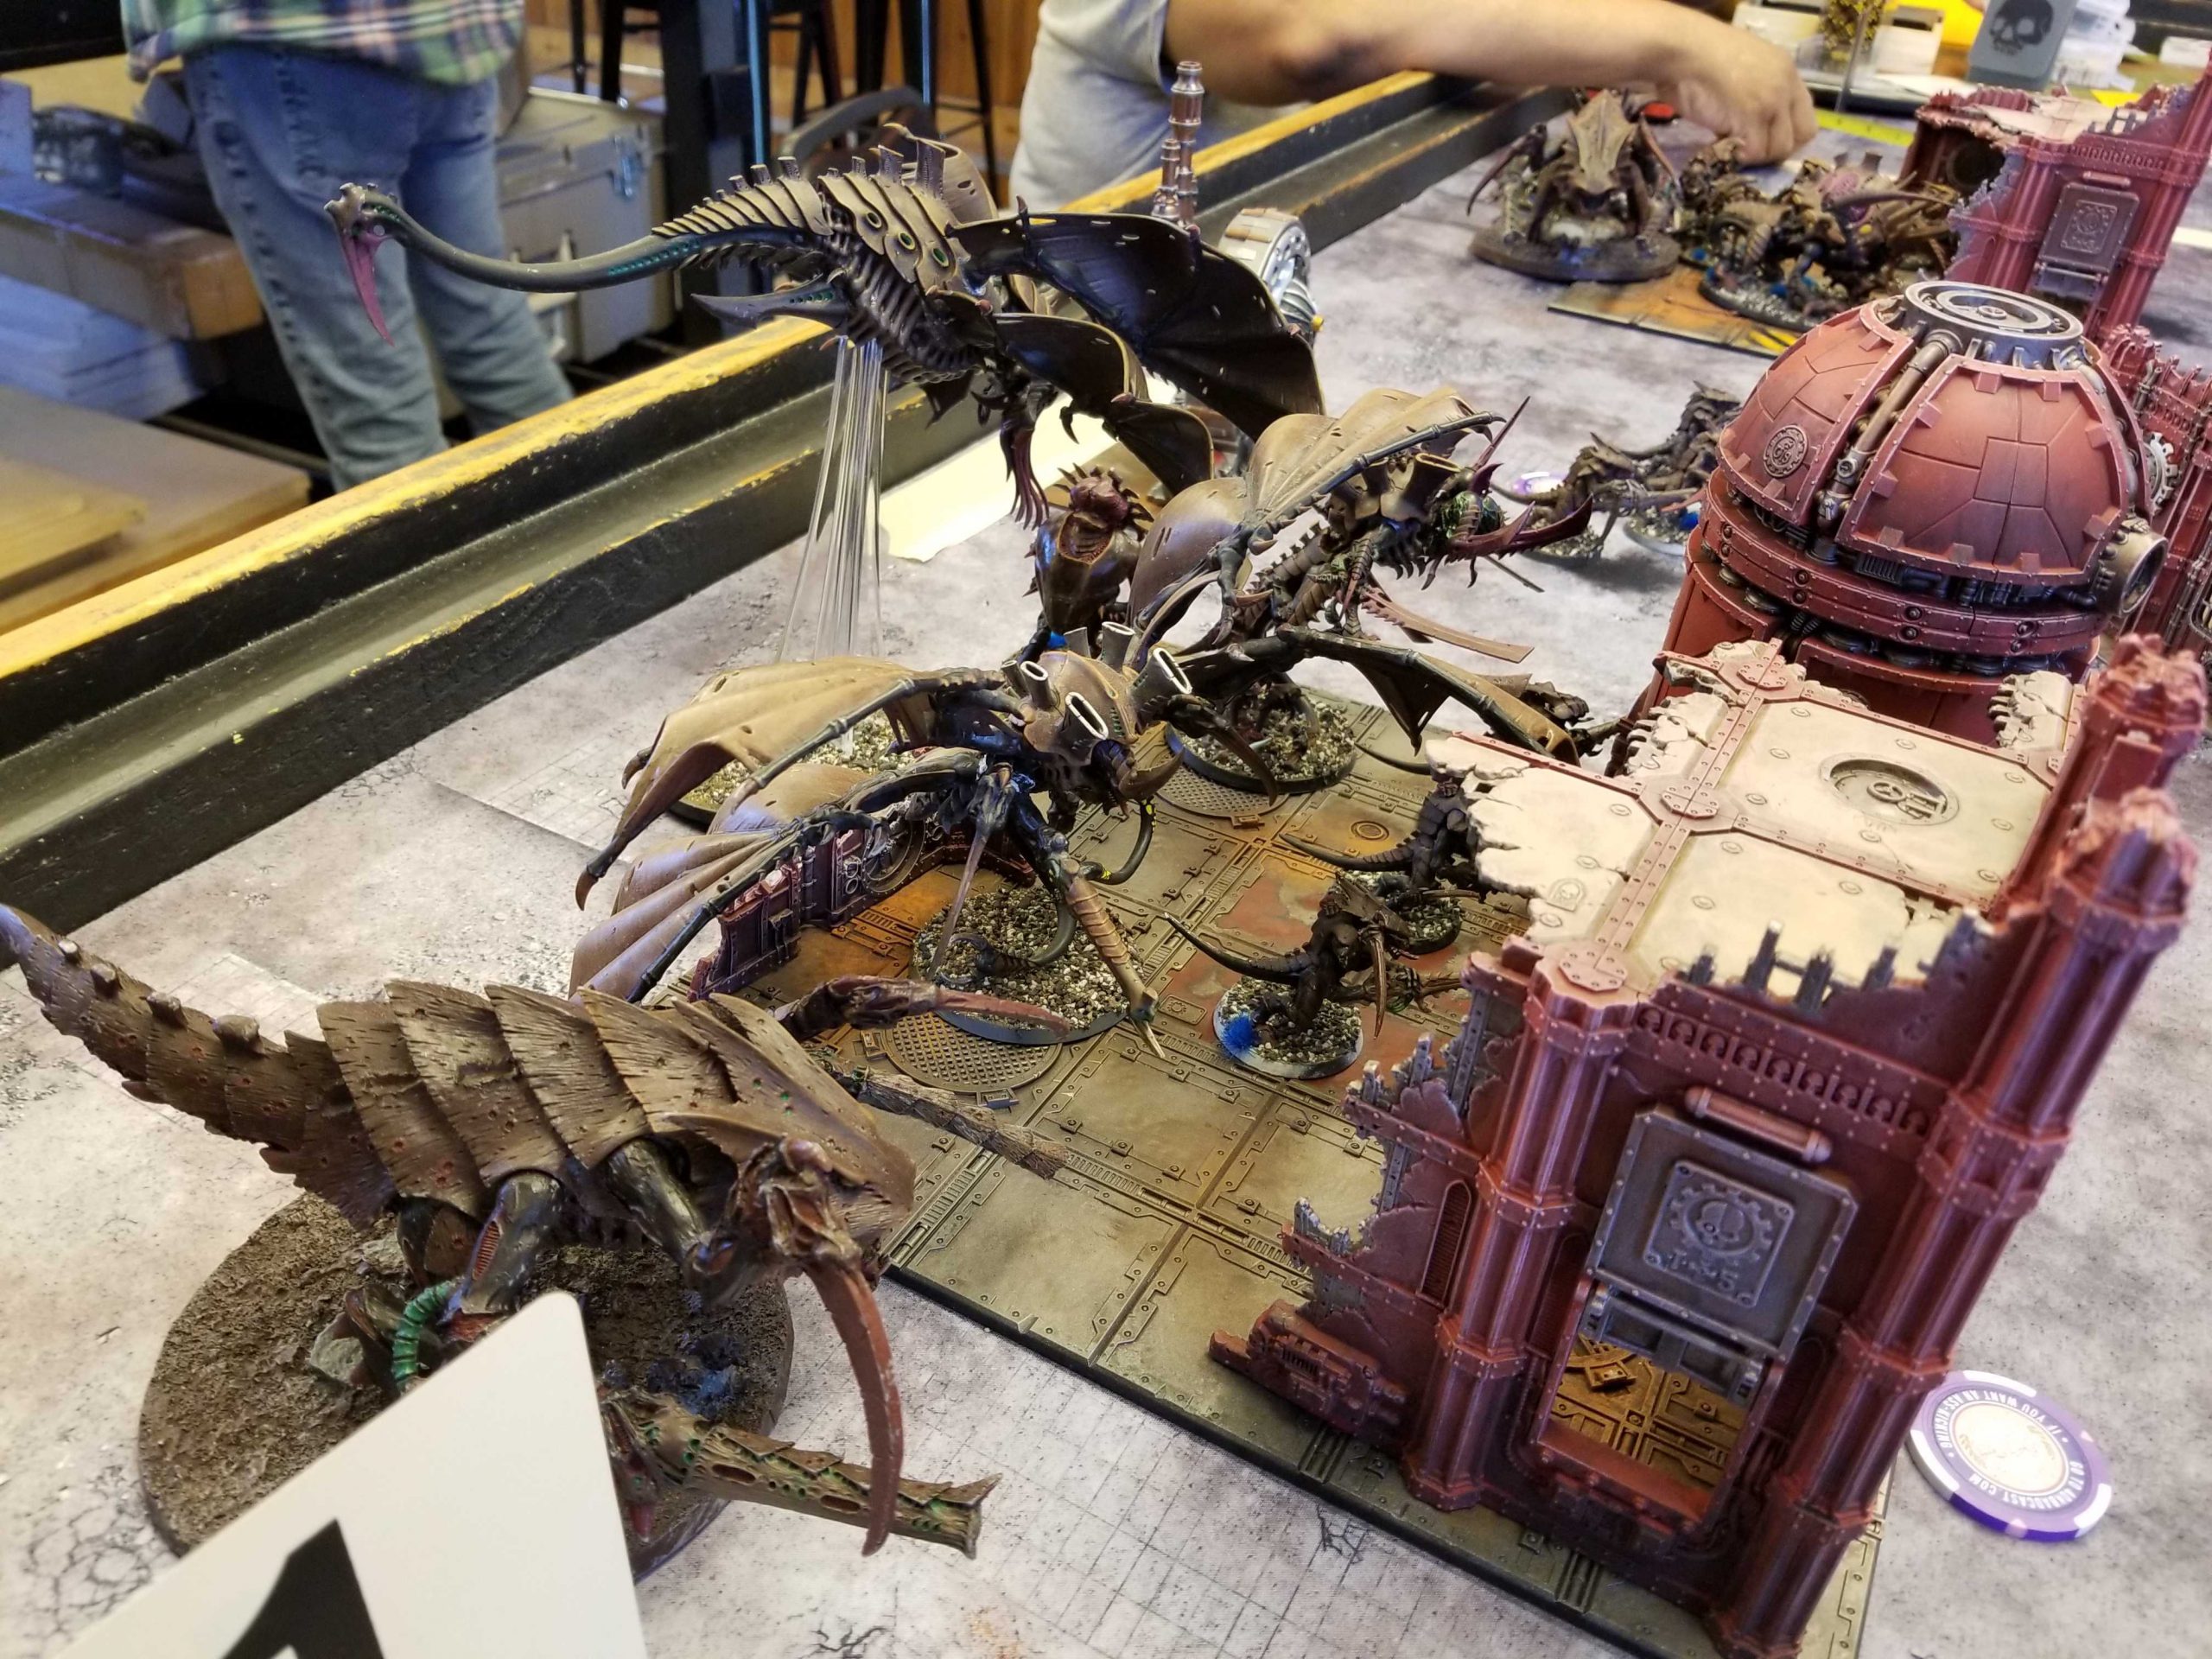
This is my first game against Crusher Stampede and I’m nervous about it. I don’t have a lot of great options here, though theoretically I can toss out lots of mortal wounds and focus down bigger targets… but 18 mortal wounds is a really big ask. On top of that, I’m going to get shot by Hive guard all game. I hate those things.
Sean's List - Click to expand ++ Battalion Detachment 0CP (Tyranids) [103 PL, 9CP, 1,998pts] ++ [Reference] Discipline: Hive Mind: Smite + Stratagems + + HQ + Hive Tyrant [11 PL, 215pts]: Adrenal Glands, Monstrous Boneswords, Monstrous Rending Claws, Power: Aggressive Surge, Power: Smite, Power: Synaptic Barrier, Relic: Synaptic Hive Blades, Toxin Sacs, Wings Neurothrope [5 PL, -1CP, 95pts]: Power: Catalyst, Power: Onslaught, Power: Smite, Relic: The Void Crown, Stratagem: Alpha Leader-Beast, Warlord, Warlord Trait: Swarm Leader The Swarmlord [12 PL, 240pts]: Power: Paroxysm, Power: Smite, Power: The Horror + Troops + Tyranid Warriors [5 PL, 87pts]: Adrenal Glands, Synaptic Link: Bioweapon Bond Tyranid Warriors [5 PL, 87pts]: Adrenal Glands, Synaptic Link: Bioweapon Bond Tyranid Warriors [5 PL, 84pts]: Synaptic Link: Bioweapon Bond + Elites + Hive Guard [14 PL, 300pts] Maleceptor [10 PL, 185pts]: Power: Aggressive Surge, Power: Smite, Synaptic Link: Focal Essence + Heavy Support + Barbed Hierodule [14 PL, 275pts] Barbed Hierodule [14 PL, 275pts] + Flyer + Harpy [8 PL, 155pts]: 2x Stranglethorn Cannon, Show Spore Mine Rules ++ Total: [103 PL, 9CP, 1,998pts] ++
[Reference] Extensions of the Hive Mind
Army of Renown – Crusher Stampede
Hive Fleet: Leviathan
Bounty of the Hive Fleet [-1CP]: 1 Extra Bio-artefact
Progeny of the Hive [-1CP]
. Adaptive Physiology: Accelerated Digestion
. Tyranid Warrior: Deathspitter, Scything Talons
. Tyranid Warrior: Deathspitter, Scything Talons
. Tyranid Warrior: Deathspitter, Scything Talons
. Tyranid Warrior: Deathspitter, Scything Talons
. Tyranid Warrior: Deathspitter, Scything Talons
. Tyranid Warrior: Deathspitter, Scything Talons
. Tyranid Warrior: Deathspitter, Scything Talons
. Tyranid Warrior: Deathspitter, Scything Talons
. Tyranid Warrior: Deathspitter, Scything Talons
. 6x Hive Guard (Impaler): 6x Impaler Cannon
. Adaptive Physiology: Dermic Symbiosis
Those Heirodules are nasty, and each has 18 wounds. Sean is also relatively new to the list however, and that’s going to help me in what is absolutely going to be an uphill battle against a much superior list. There’s also some psychic power here, and shadow in the warp is a real pain in the ass when I need to get off big casts.
The Mission: Tide of Conviction

This is the one where you only generate battleforged CP if you control the objective in your deployment zone. That’s a little out in the open here but I’m going to see what I can do.
My Secondaries:
- Wrath of Magnus
- Bring it Down
- Psychic Interrogation
Sean’s Secondaries
- Psychic Interrogation
- To the Last – Both Heirodules and the Hive Guard
- Stranglehold
Bring it Down is a no-brainer for me here, I still like Wrath of Magnus more than Stranglehold though in retrospect it was a huge mistake, and Psychic Interrogation seems doable if I can power out some Interrogations. We’ll see how it goes.
I’m going First.
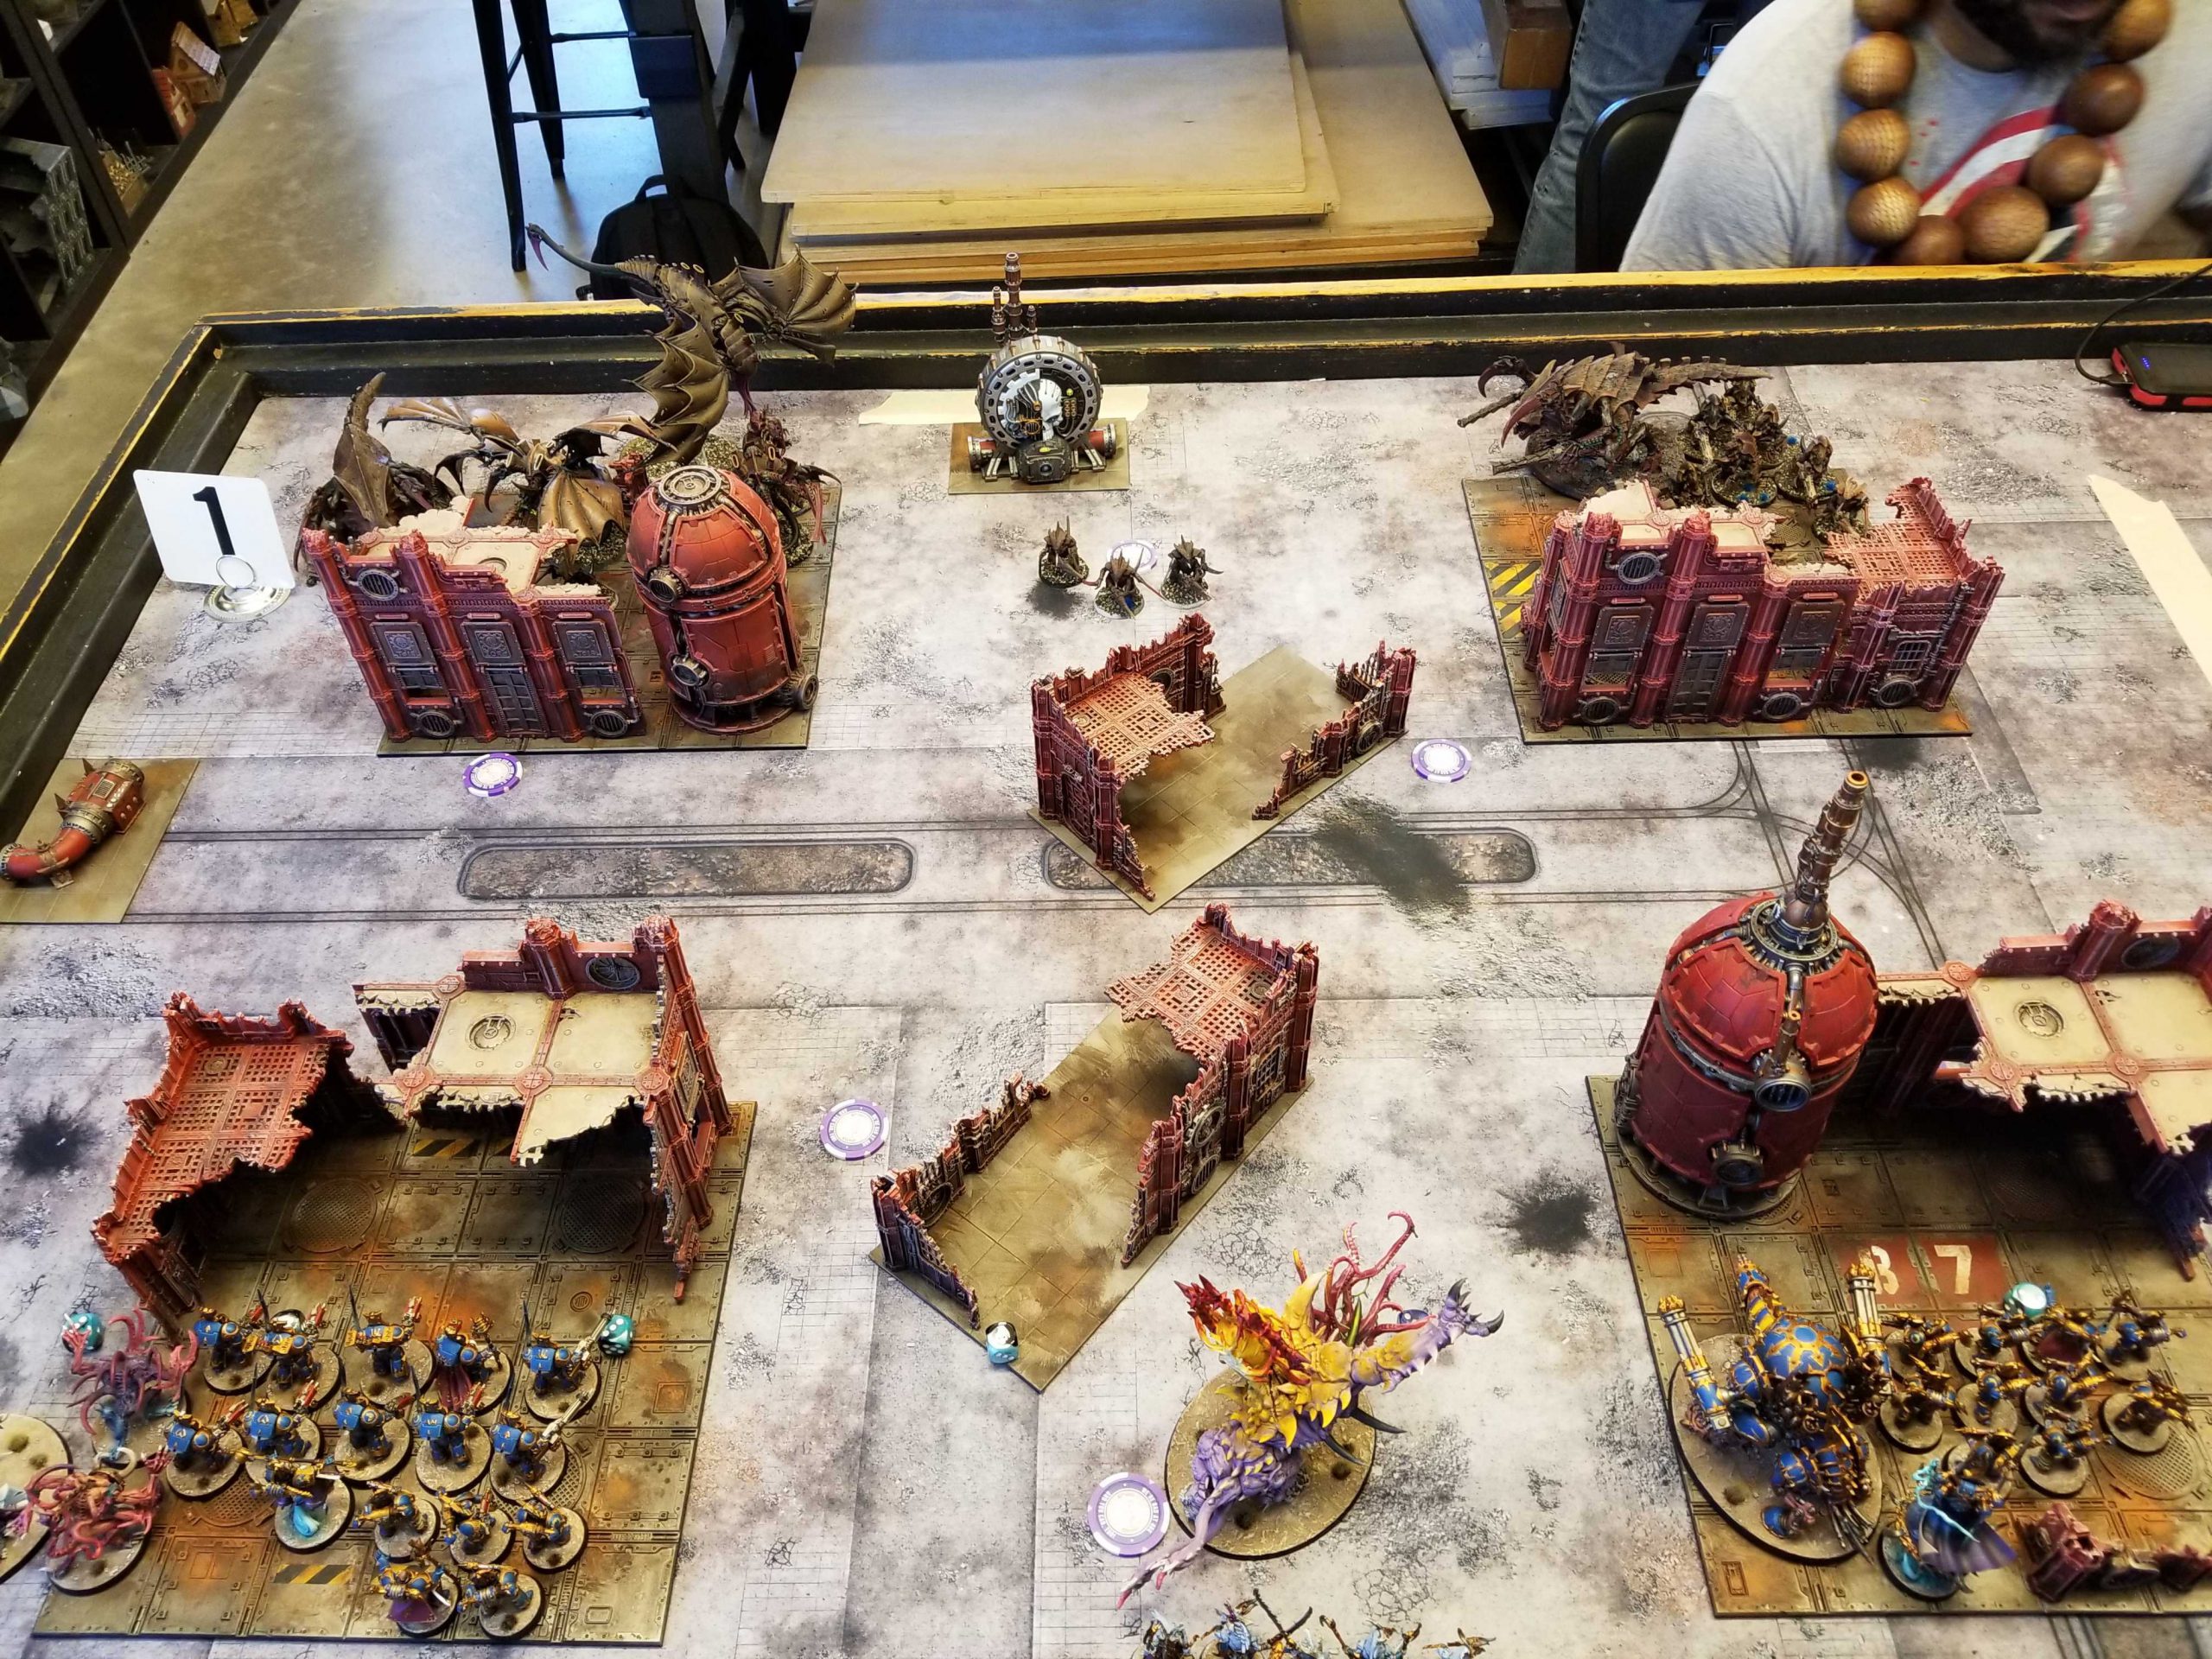
That’s good, because I have a daring plan here. I fly across to the mid-table with Magnus and use him to wipe out the Tyranid Warriors on Sean’s home objective, depriving him of CP on turn 1 and forcing him to move something to it in order to get CP for the rest of the game. That should be huge, right? Right??
Dear Reader, it did not, in fact, matter. Sean never even moved to hold that objective the rest of the game, starting on 9 CP and never getting any more. This meant his Hive Guard could only shoot twice. He could have moved the Heirodule over there but instead just ignored it, losing out on VP – only holding 1-2 objectives most of the game. Magnus manages to survive longer than I expect, but is also just mostly ineffective at actually hurting things and while I manage to kill the Harpy, Maleceptor, and Swarmlord, that’s all I manage to bring down, only scoring 6 on Bring it Down as the final Heirodule manages to tank several final attacks to survive on 2 wounds.

I manage to hold 3 objectives and more for a good chunk of the game but I only score Wrath of Magnus twice and Sean absolutely spikes his denial rolls on my Psychic Interrogation, blanking me for 3 consecutive turns on my attempts. As a result I only score 12 points on secondary objectives, and end up losing when Sean tables me at the bottom of round 4, with the final 16 points he scores putting him over the top at 68-54 after I have a terrible run on some of my saves to get wiped.
That’s bad timing for some rough rolls but this also just highlights how it was never really a game to begin with. Had Sean been a more experienced player he would have dominated my bullshit from the jump and spent all game double-shooting me with hive guard as his big monsters cleaned up. This shouldn’t have been close and I was never really in it.
Result: 54-68, Loss
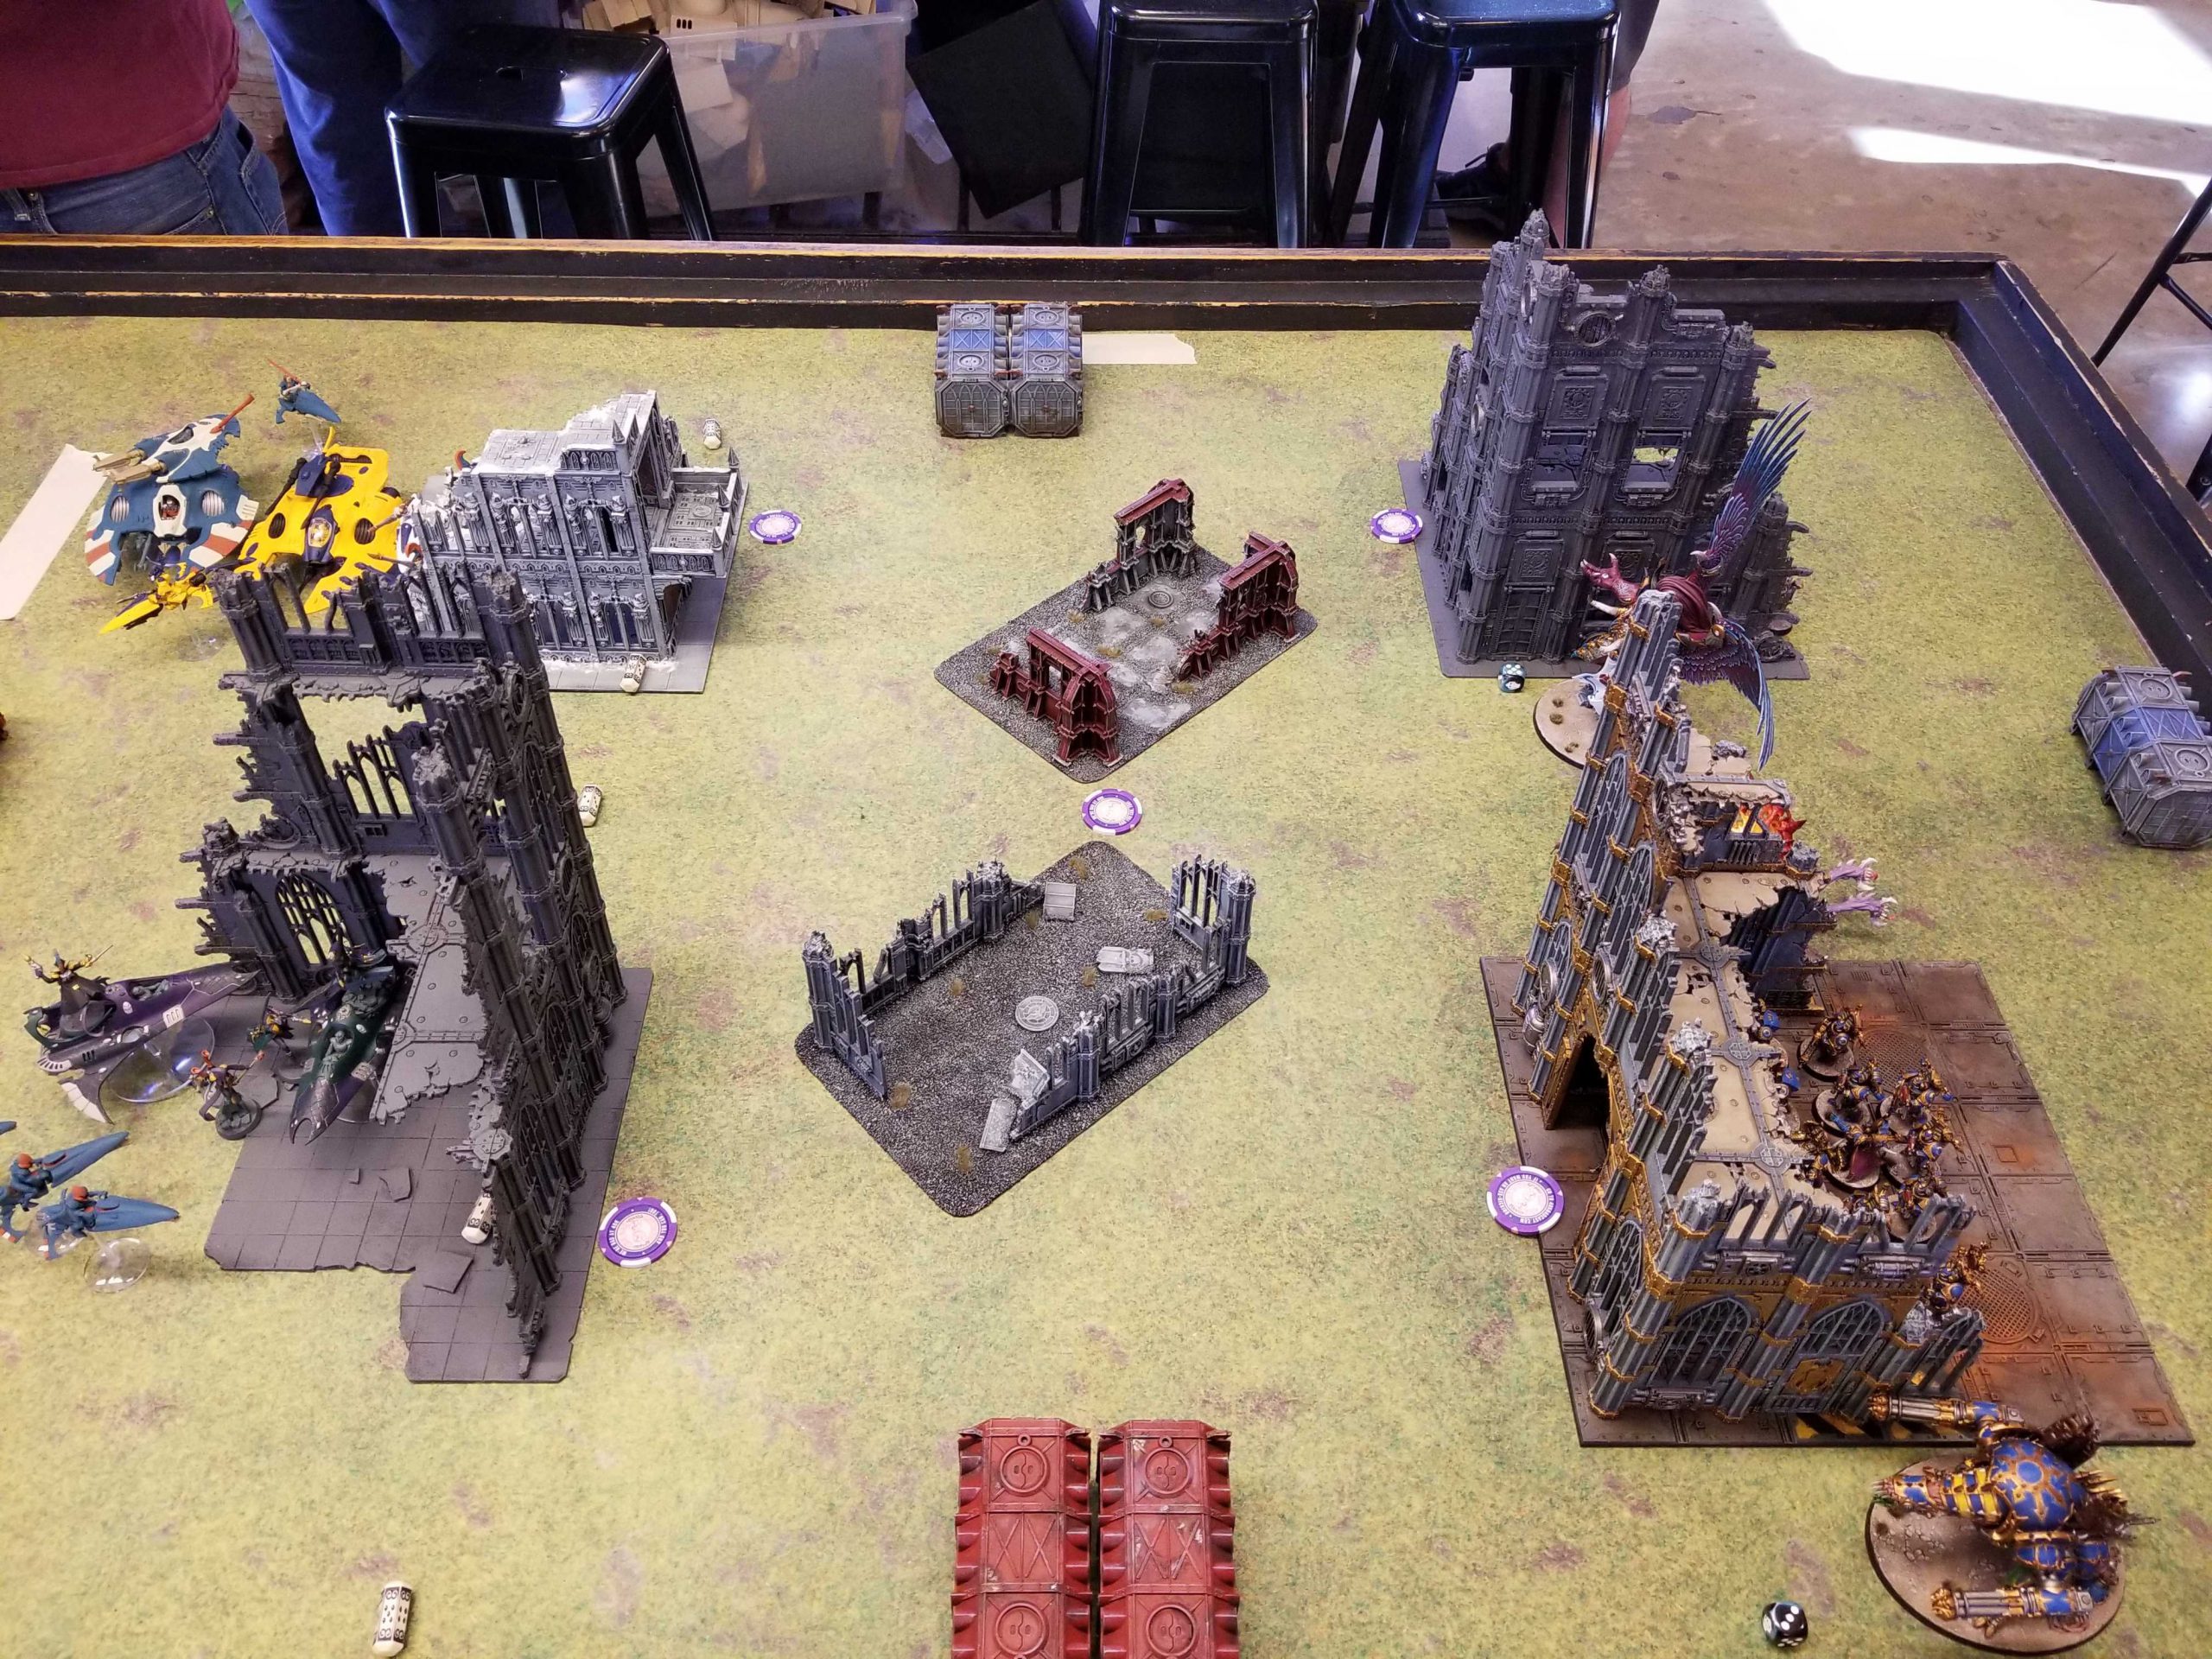
Game 3: vs. Ryan’s Adepta Sororitas
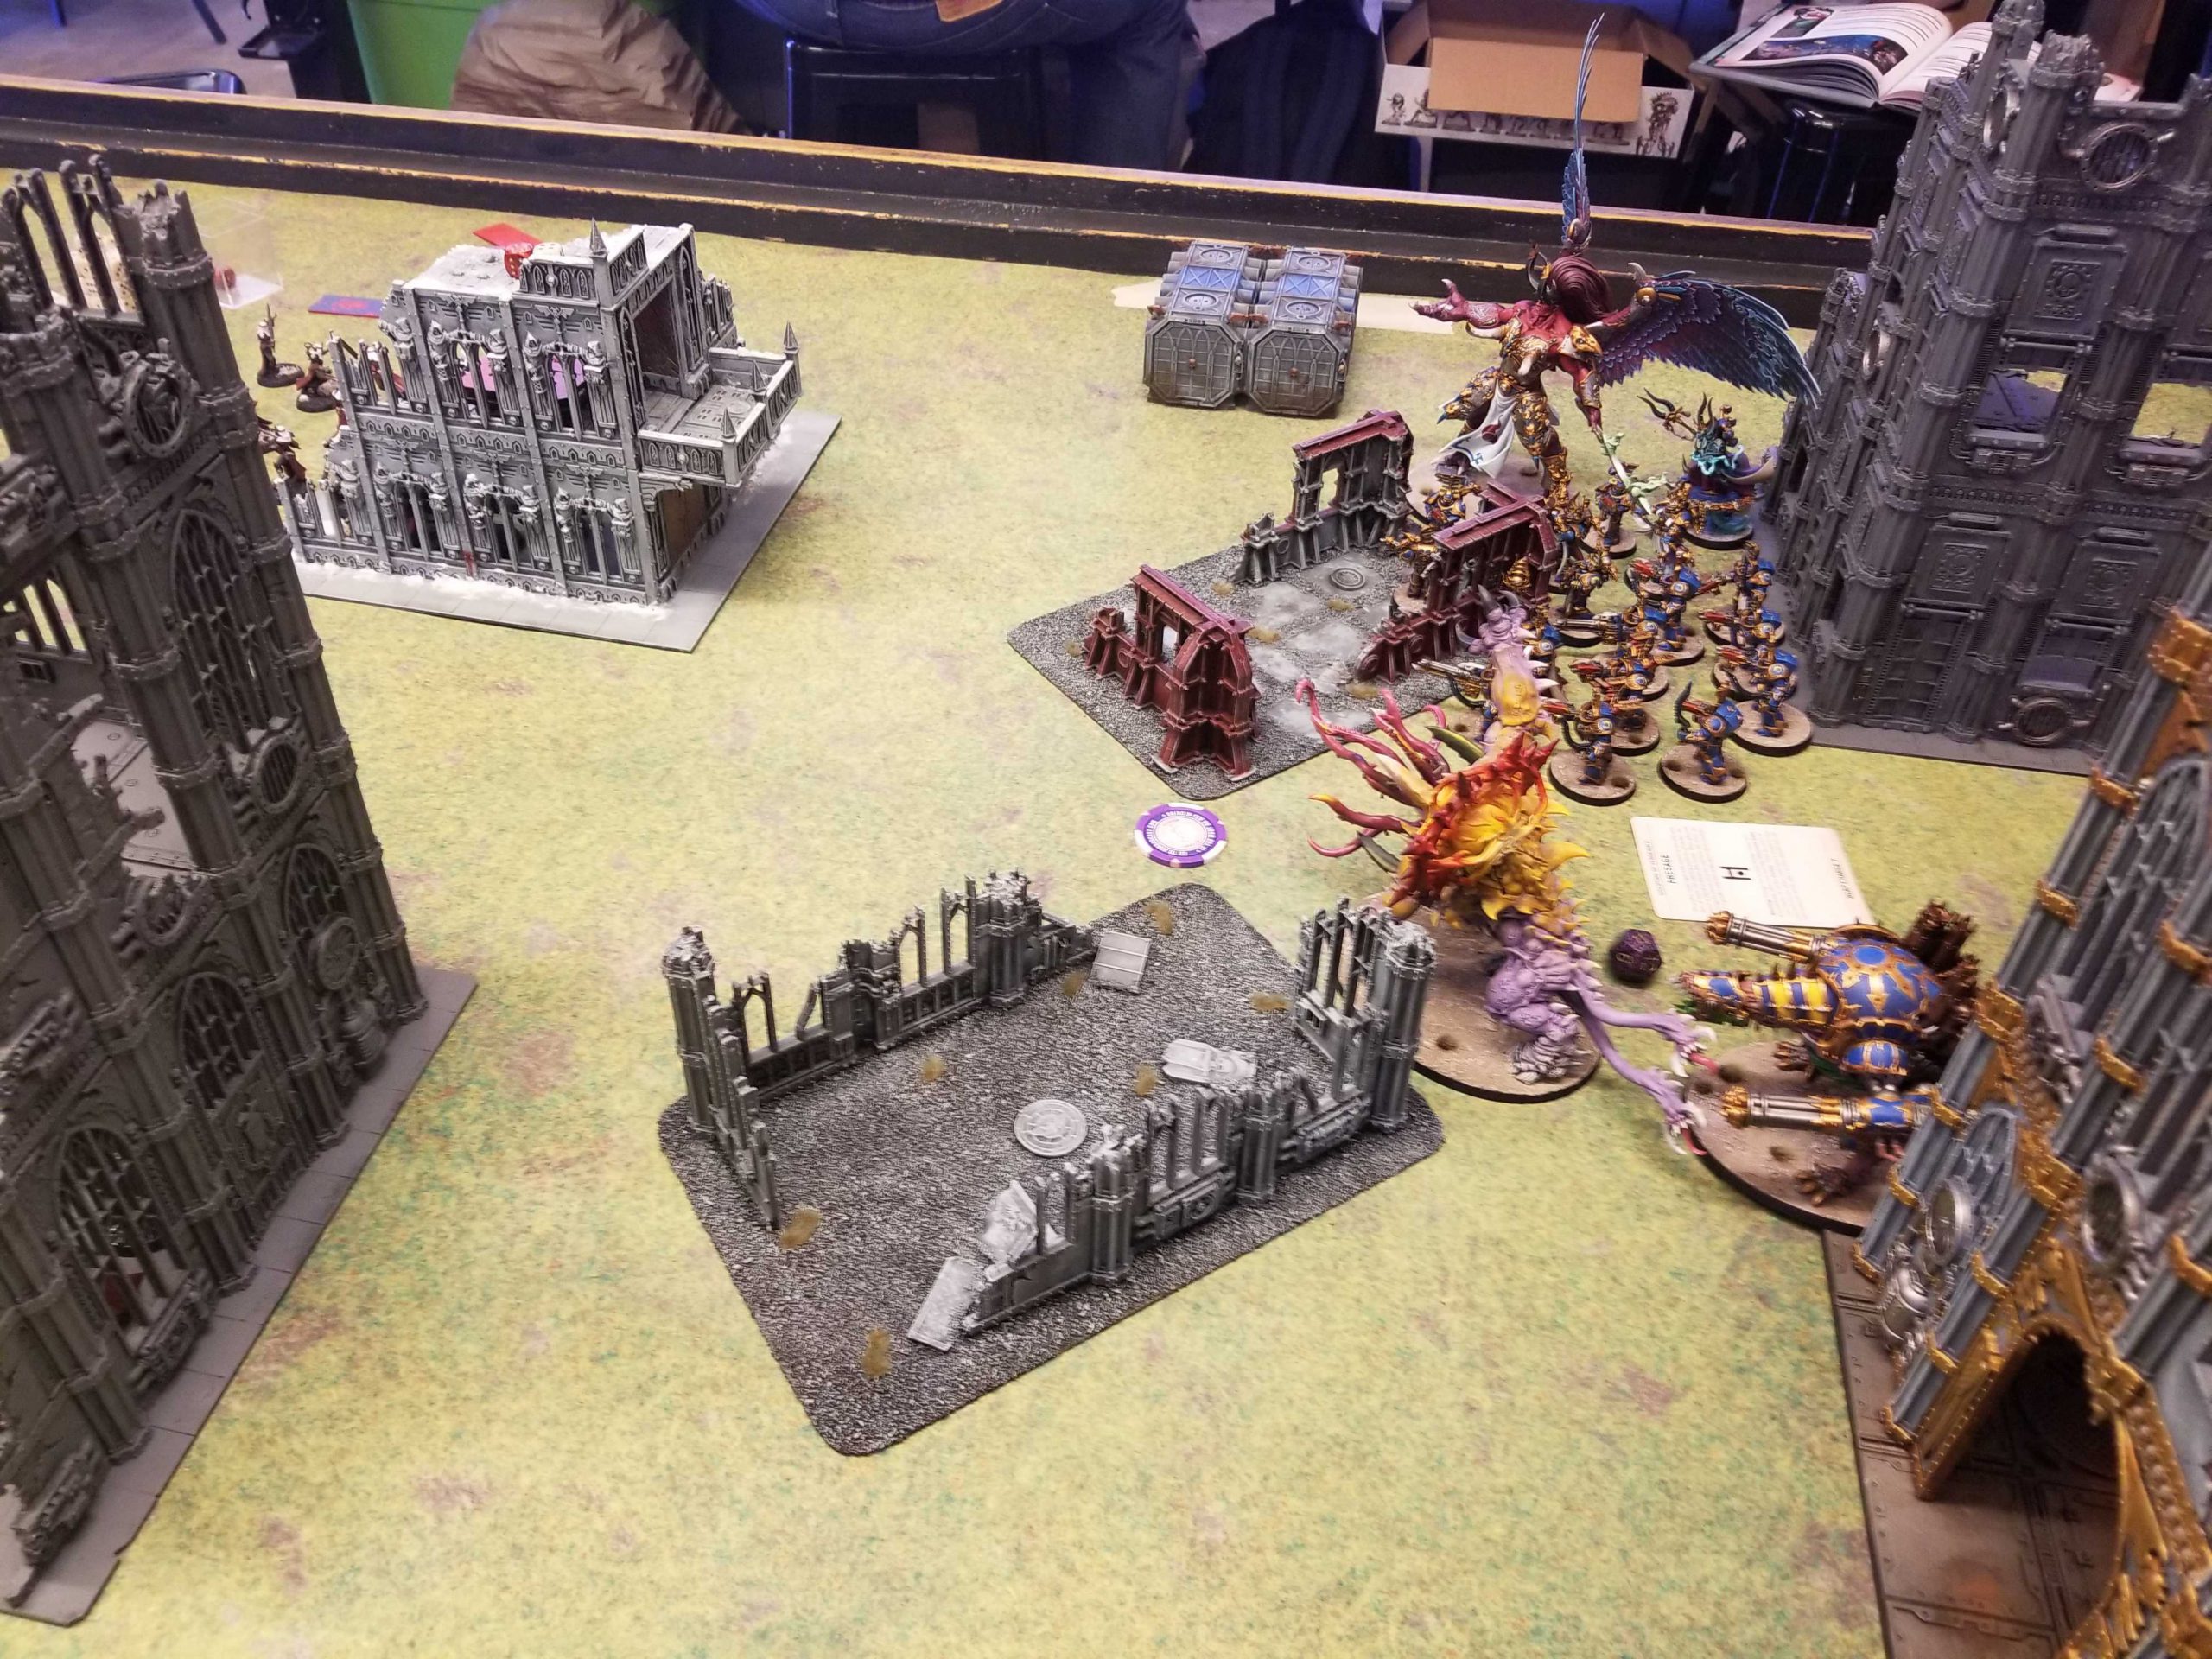
At 1-1 my final game is going up against the Sororitas, who are reliably a pain in the ass thanks to their ability to just casually deny one third of spells. The good news is that Ryan’s list is only running a single unit of Retributors, which means I don’t have a ton to fear as it relates to multi-melta shots.
Ryan's List - Click to Expand ++ Battalion Detachment 0CP (Imperium – Adepta Sororitas) [101 PL, 1,999pts, 9CP] ++ Order Convictions: Order: Bloody Rose + Stratagems + + HQ + Morvenn Vahl [14 PL, 280pts]: Warlord + Troops + Battle Sister Squad [3 PL, 65pts] Battle Sister Squad [3 PL, 65pts] Sisters Novitiate Squad [4 PL, 75pts] + Elites + Celestian Sacresants [8 PL, 165pts] Celestian Sacresants [8 PL, 165pts] Celestian Sacresants [8 PL, 165pts] Dogmata [4 PL, 65pts]: 4. Litany of Enduring Faith, 5. Verse of Holy Piety, Relic: The Sigil Ecclesiasticus Hospitaller [3 PL, 50pts, -1CP]: Relic: Litanies of Faith, Stratagem: Saint in the Making, Warlord Trait: 5. Indomitable Belief (Aura) + Fast Attack + Seraphim Squad [8 PL, 104pts] Zephyrim Squad [8 PL, 175pts, -1CP] + Heavy Support + Penitent Engines [9 PL, 165pts] Retributor Squad [6 PL, 160pts]: Armourium Cherub + Dedicated Transport + Sororitas Rhino [4 PL, 80pts] ++ Total: [101 PL, 9CP, 1,999pts] ++
Stratagem: Open the Reliquaries [-1CP]: Additional Relics of the Ecclesiarchy
Triumph of Saint Katherine [11 PL, 220pts]
. 3x Battle Sister: 3x Bolt pistol, 3x Boltgun, 3x Frag & Krak grenades
. Battle Sister w/ Special or Heavy Weapon: Ministorum Heavy Flamer
. Sister Superior
. . Bolt Pistol & Boltgun
. 3x Battle Sister: 3x Bolt pistol, 3x Boltgun, 3x Frag & Krak grenades
. Battle Sister w/ Special or Heavy Weapon: Ministorum Heavy Flamer
. Sister Superior
. . Bolt Pistol & Boltgun
. Novitiate Superior
. . Bolt Pistol and Boltgun
. 9x Sister Novitiate (Melee Weapon): 9x Auto Pistol, 9x Frag & Krak grenades, 9x Novitiate Melee Weapons
. 9x Celestian Sacresant (Anointed Halberd): 9x Anointed Halberd, 9x Bolt pistol, 9x Frag & Krak grenades
. Sacresant Superior: Bolt pistol, Spear of the Faithful
. 9x Celestian Sacresant (Anointed Halberd): 9x Anointed Halberd, 9x Bolt pistol, 9x Frag & Krak grenades
. Sacresant Superior: Bolt pistol, Spear of the Faithful
. 9x Celestian Sacresant (Anointed Halberd): 9x Anointed Halberd, 9x Bolt pistol, 9x Frag & Krak grenades
. Sacresant Superior: Bolt pistol, Spear of the Faithful
. 3x Seraphim: 6x Bolt pistol, 3x Frag & Krak grenades
. Seraphim Superior: Bolt pistol, Bolt pistol
. Seraphim w/ Special Weapons: 2x Ministorum Hand Flamers
. Seraphim w/ Special Weapons: 2x Ministorum Hand Flamers
. 9x Zephyrim: 9x Bolt pistol, 9x Frag & Krak grenades, 9x Power sword
. Zephyrim Superior: Bolt pistol, Relic: Blessings of Sebastian Thor, Stratagem: A Sacred Burden, Zephyrim Pennant
. Penitent Engine: 2x Penitent buzz-blades
. Penitent Engine: 2x Penitent buzz-blades
. Penitent Engine: 2x Penitent buzz-blades
. Retributor Superior: Chainsword
. . Bolt Pistol & Ministorum Combi-flamer: Ministorum Combi-flamer
. Retributor w/ Heavy Weapon: Multi-melta
. Retributor w/ Heavy Weapon: Multi-melta
. Retributor w/ Heavy Weapon: Multi-melta
. Retributor w/ Heavy Weapon: Multi-melta
The lack of more multi-meltas means I can play pretty aggressively with Magnus, and use him to help push Ryan back into his deployment zone.
The Mission: Tear Down Their Icons

This is the one where you have to plant bombs.
My Secondaries:
- Psychic Interrogation
- Engage on All Fronts
- To the Last – Magnus, Scarabs, Rubrics
Ryan’s Secondaries:
- Leap of Faith
- Abhor the Witch
- Retrieve Nachmund Data
With no enemy psykers, wrath is out, so Psychic Interrogation is in. I don’t like Mutate Landscape here so I’m going with Engage and To the Last since the kill secondaries don’t excite me.
I’m Going Second.
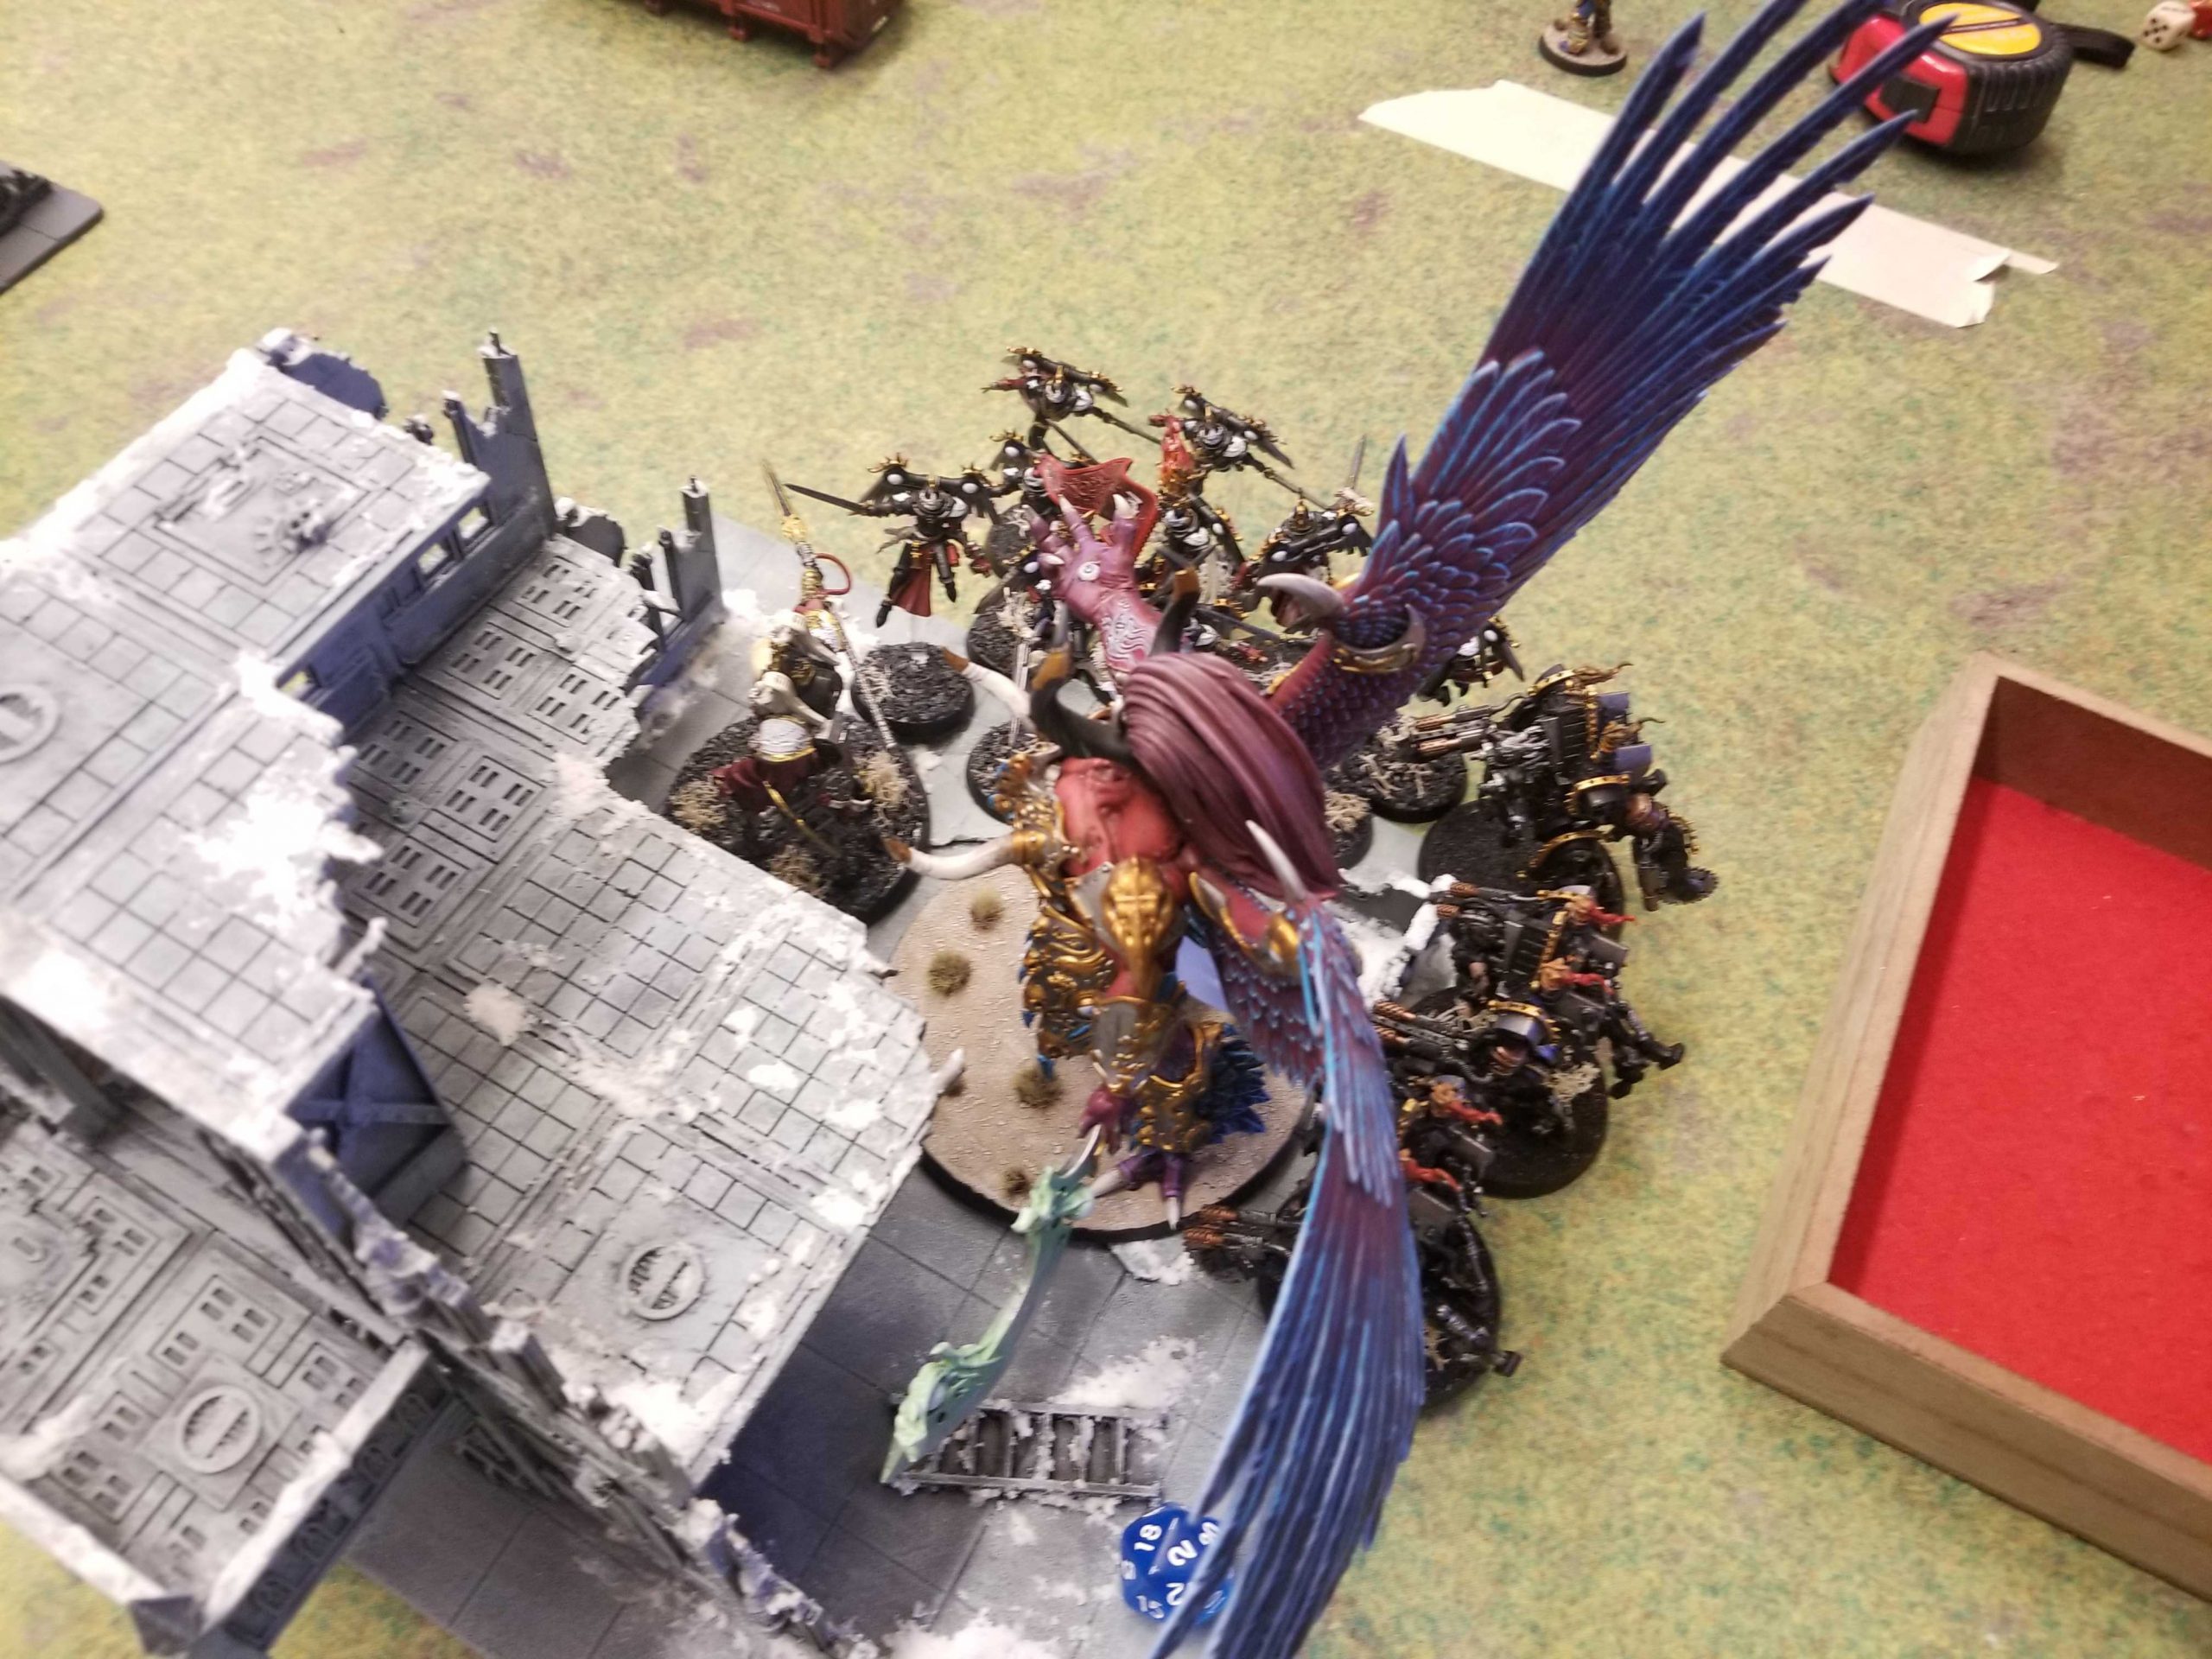
Not as bad as it could be. Ryan spends turn 1 advance moving and pushing a unit of Sacresants into my Risen Rubricae unit at mid-table, but uses his Rhino to eat overwatch and that prevents the Sacresants from being able to fight with more than a few models thanks to the terrain. In the following turn the Rubrics fall back, heal up, and I mortal wound the Sacresants into oblivion. Meanwhile Magnus rushes to the bottom right corner and spends most of the game clearing out units over there, including a unit of sacresants, novitates, battle sisters, penitent engines, Vahl, and some Seraphim, mostly by spiking saves and healing every turn, then pooping out 3D3 mortal wounds with an un-deniable Smite. Good stuff.
All of this early aggression basically traps Ryan in his deployment zone and he isn’t sure how to respond. He spends a good chunk of time trying to move into position to retake his bottom objective and I spend all game holding the middle objective. By turn 3 it’s over. Ryan really underestimated how much damage the Sacresants would do with 1 damage weapons and how easily I could pick them up with mortal wounds, and while he snags Nachmund and scores 9 on Leap, I beat him 45-28 on primary.
Result: 81 – 62, win
Another good event and while 2-1 feels fine that middle game against Crusher Stampede is going to stick with me for a while. I’m absolutely not going to run Cult of Time again – I’m going back to Duplicity – and I need to get a Daemon Prince and Infernal Master painted up asap so I can stop running Magnus every event.
Next Time: Crusade Weekend
My next event is an RTT at Ettin Games in Houston but before that I’m having a bunch of the Administratum devs over for a weekend of Crusade games where we’ll be testing the software. It’s good stuff and I’m excited to see what they do. Of course, by the time this publishes it will have already happened, so stay tuned for that writeup on Thursday, before I go to the next event.
Have any questions or feedback? Drop us a note in the comments below or email us at contact@goonhammer.com.
