
When Kill Team 2.0 was initially announced I was incredibly excited for it. I had been a big fan of 1.0 and was eagerly looking forward to an improved version of it. Unfortunately this eagerness turned to disappointment as I bought the Compendium and played my initial matches. While I had many complaints a lot of it boiled down to hoping for a game closer to Necromunda than what we got. Of these complaints, my biggest was just how generic the Compendium Teams felt. Nearly a year has passed since this rough start, and Kill Team has become one of my favorite games, however over half the available teams still haven’t received an update. With this in mind I figured it would be good to revisit these teams, and do a deeper dive on what they bring to the table, and give advice on how to best employ them in a competitive environment.
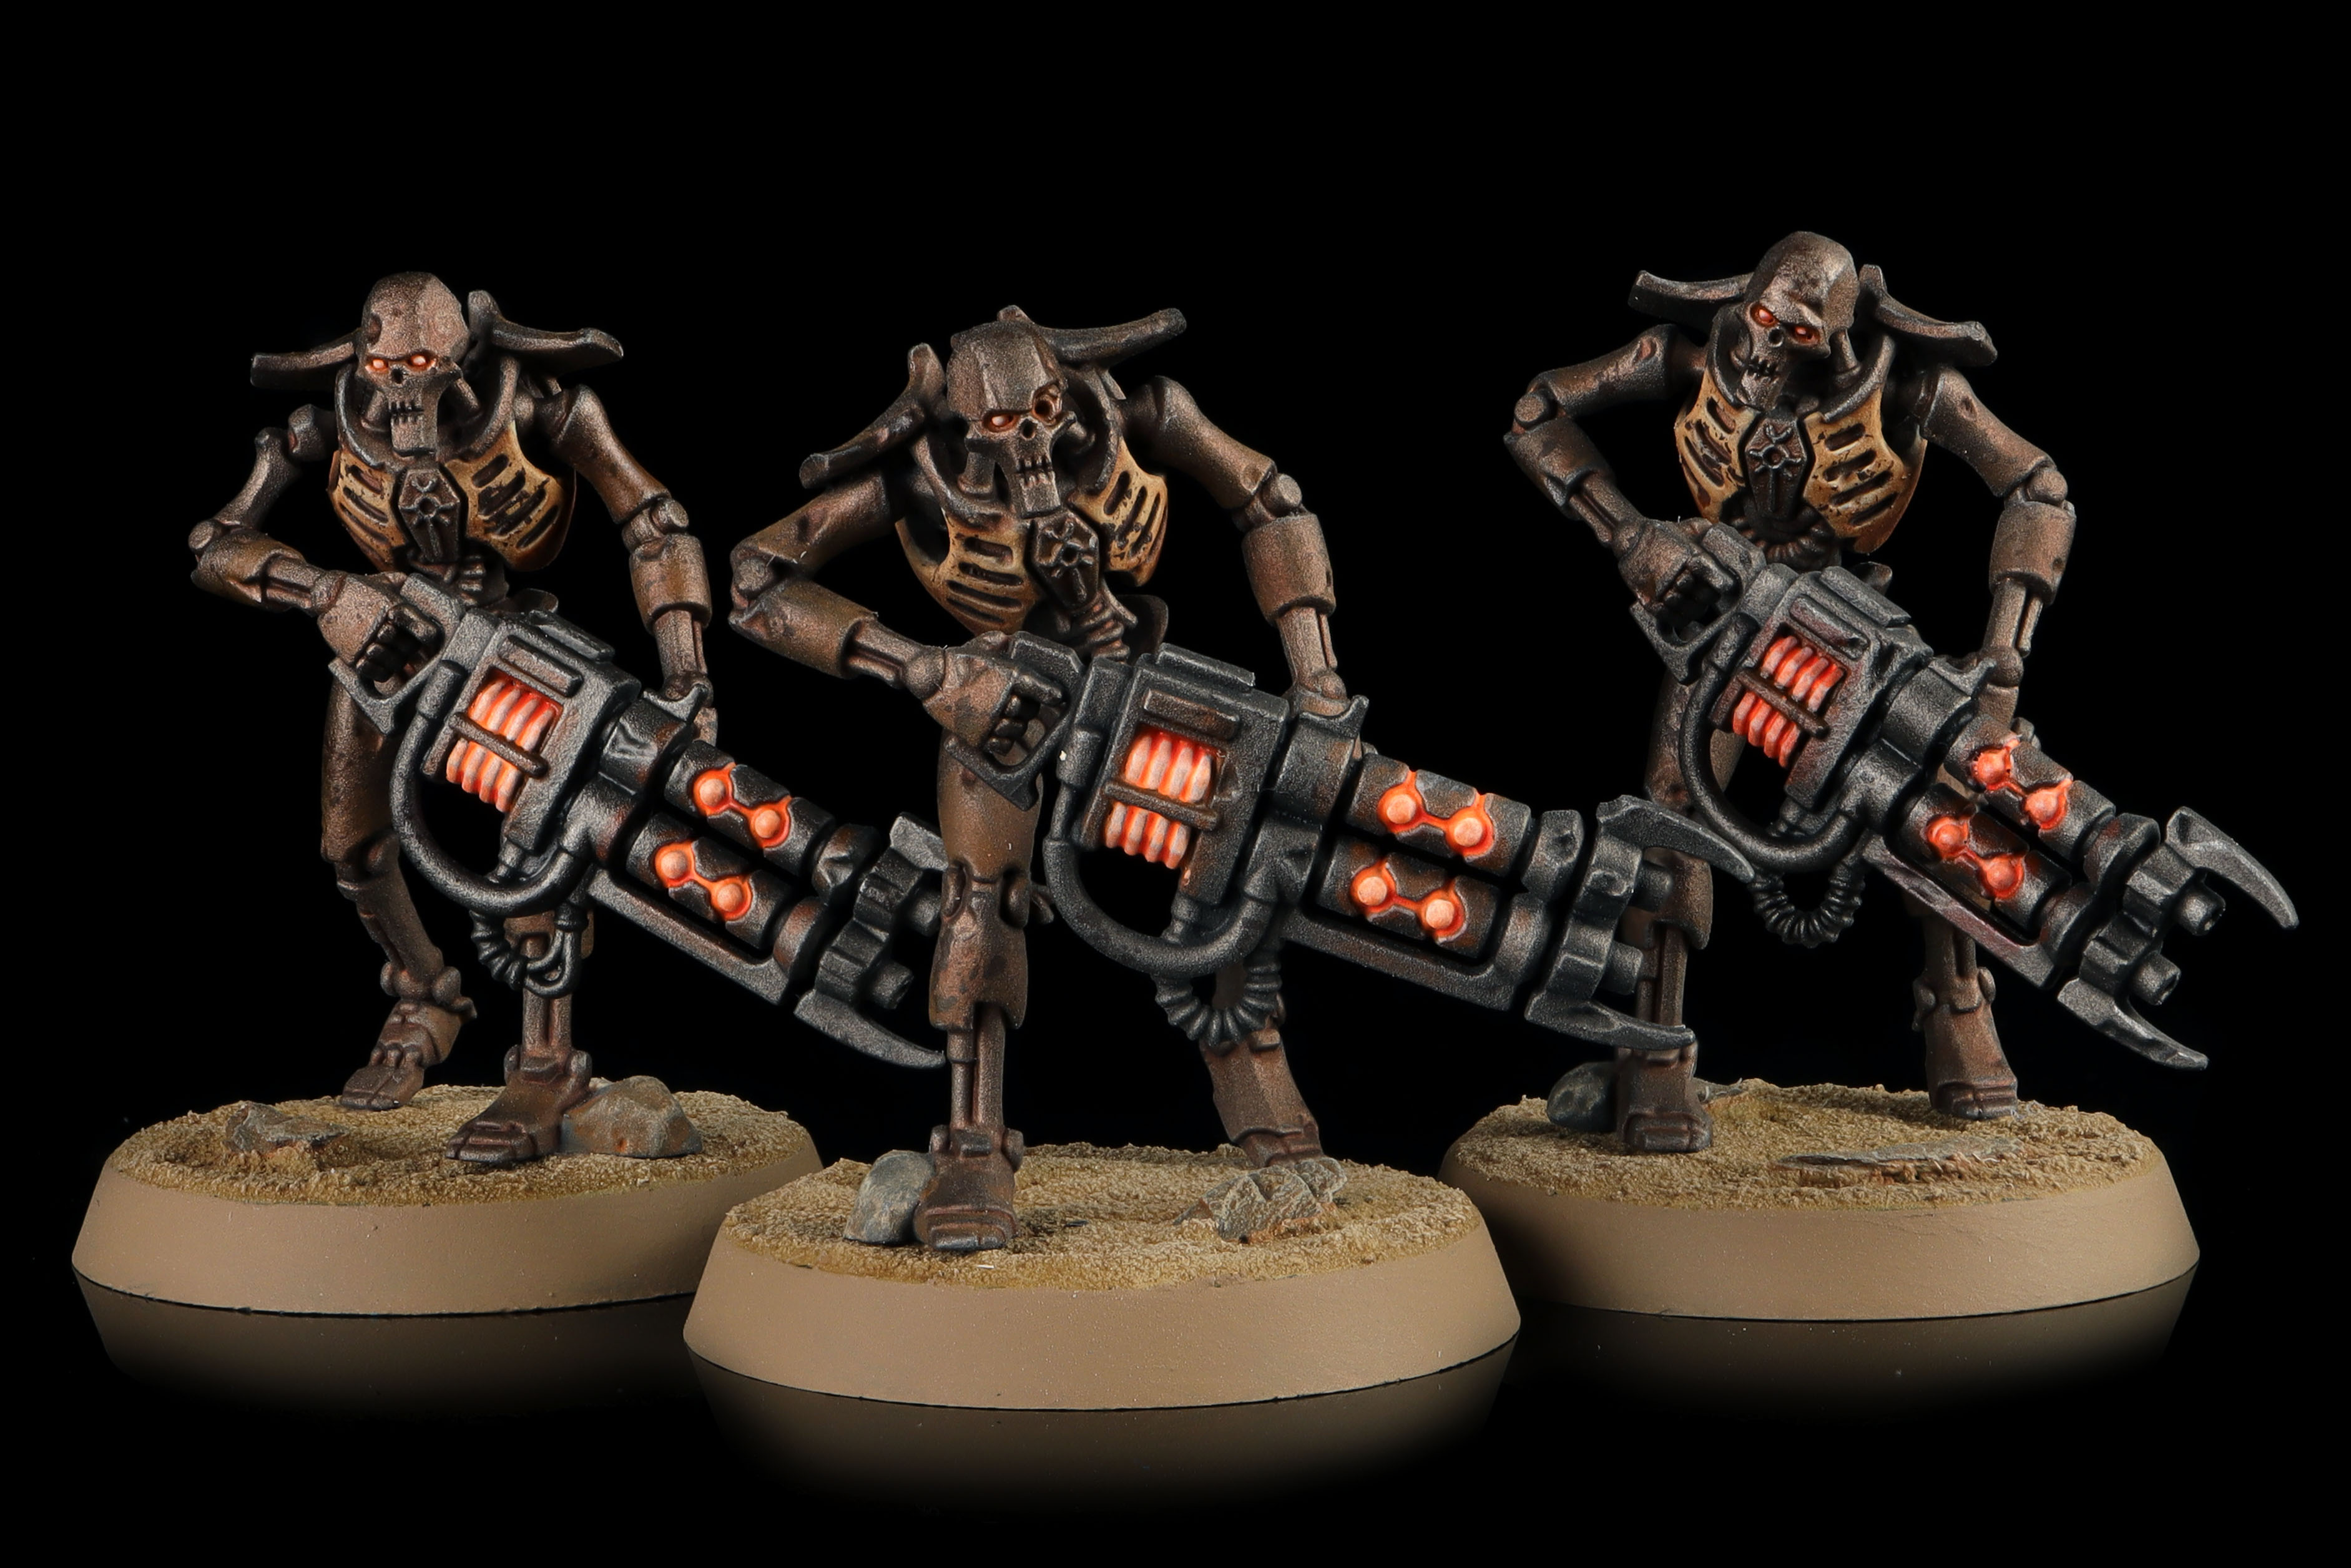
Necrons got perhaps the rawest possible deal at the end of Kill Team 1.0, getting a final release of new Flayed Ones alongside an incredibly lopsided box that was ostensibly designed to sell a new version of Arena but in reality just pushed an overpriced box of Heavy Intercessors. They got an overhaul in Kill Team 2.0 with the Compendium, giving them a bit more varied team specializing in durabilty.
Table of Contents
Tomb World Kill Teams
The Kill Team 2.0 Compendium gives us rules for Tomb World Kill Teams as the generic option. Necrons occupy the middle ground of Kill Team strength with 8-10 models on the table, not quite elite, not quite horde much in the same way Harlequins do. They specialize in being durable; their basic warriors have 9 wounds, and every operative on the team has the Living Metal ability to allow them to regain lost wounds every Turning Point, making it likely that your opponent will regret it if they leave one alive.
Team Structure
A Tomb World Kill Team consists of two fire teams from the following list:
- Necron Warrior (max one per team)
- Immortal
- Flayed One
- Deathmark
The Necron fire teams are unfortunately the first major drawback against them. Immortals, Flayed Ones, Deathmarks, and Warriors combined could hypothetically create a very balanced force, however team structure only allows you to bring two fire teams in each kill team(a trend common to the compendium), each of which is made entirely of a single type of operative. This is a huge blow right out the gate as it hinders team versatility. 1 or 2 Deathmarks as snipers would be great, but 4 of them? Same goes for Flayed Ones.
Warrior and Flayed one teams consist of five operatives each, while Immortal and Deathmark teams contain four operatives. You can swap out one Immortal, Deathmark, or Flayed One for a relevant Leader operative. Warrior and Immortal operatives have two weapon options.
Strengths
- Durable. Necron operatives all have at least 9 wounds, and they gain 2 back per turn, while Immortals and Deathmarks have a 3+ save on top. And Reanimation Protocols lets you bring back downed operatives.
- Shooting. Necron shooting can be pretty scary, especially when combined with Relentless Onslaught and the Starfire Core.
- Versatile. Immortals in particular do several things well and are hard to kill.
Weaknesses
- Slow. Necron kill operatives are slow, with only 4″ movement and 2 APL to work with.
- Variety. There are four operative options for Tomb World Kill Teams but you can only take two of them and they lock you into taking too many of the operatives you’d really only want 1-2 of. As a result you’ll typically end up with teams of 8 Immortals.
- Weapon Abilities. Necron guns aren’t bad but they don’t have a lot of bells and whistles to help you power through tougher targets.

Abilities
While Compendium teams tend to lack team-wide abilities like Blooded or Cult Ambush, their data-sheets often share traits and special abilities. In the case of Necrons, all your operatives sport a 3+ or better BS/WS, 9-11 wounds, 2 APL, 4+ or better save, and a 4″ movement. This last stat is particularly problematic as it means getting onto objectives during the first Turning Point can be a problem.
Living Metal
At the Ready Operatives step of the Turning Point your operatives each regain 2 wounds. This is a great ability that all Necron operatives have that combined with Reanimation Protocols can make them very hard to take off the table.
Operatives
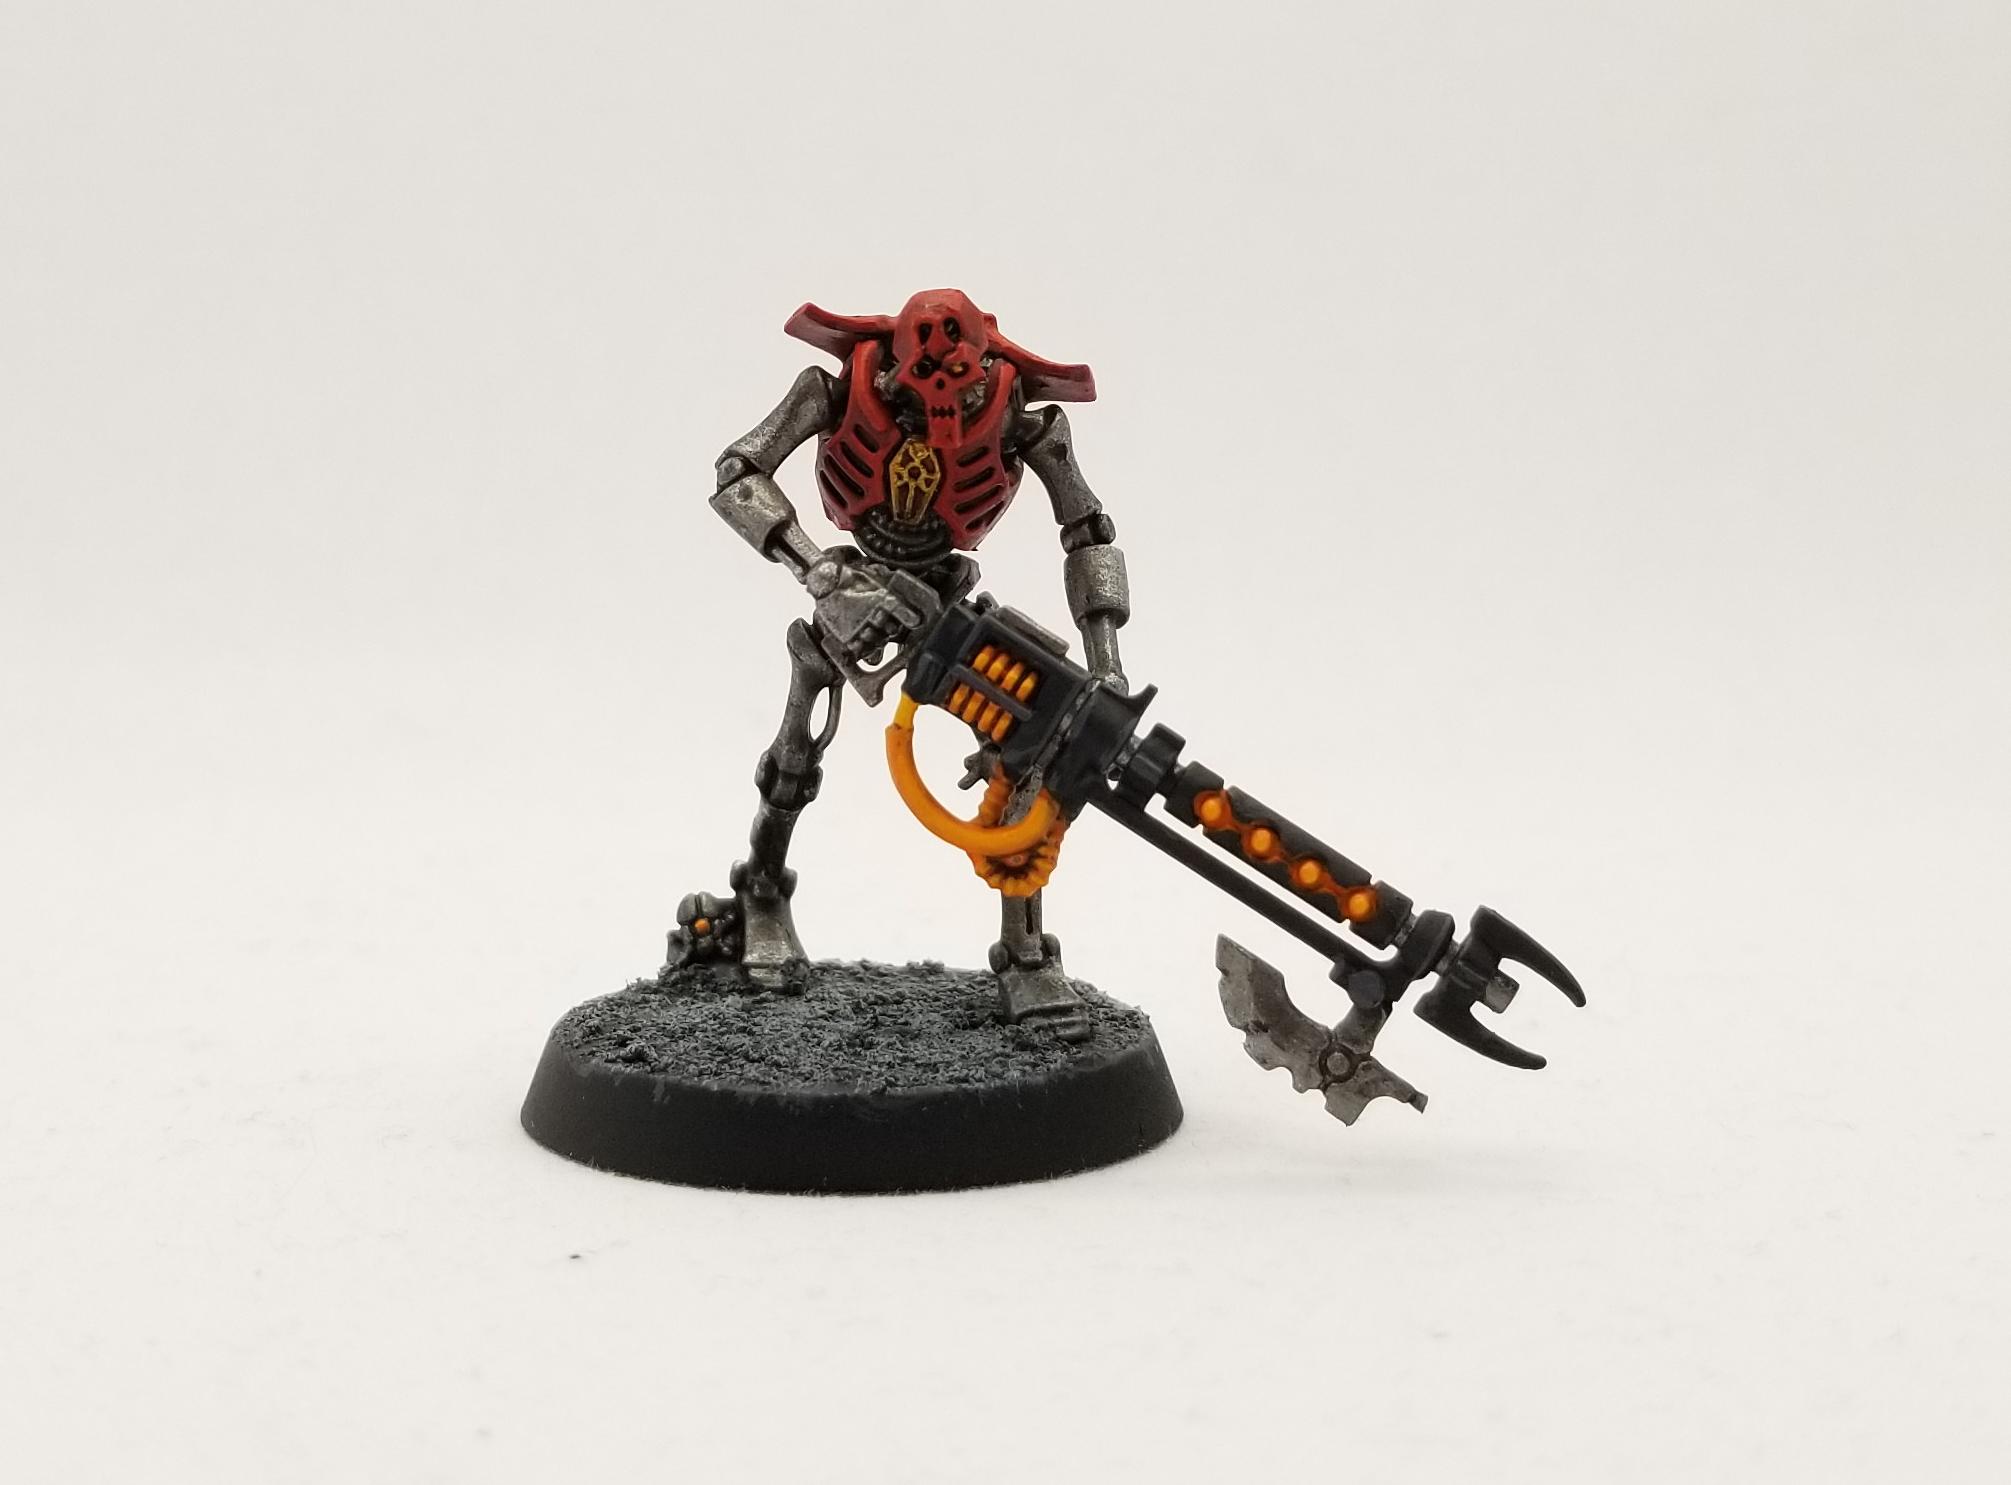
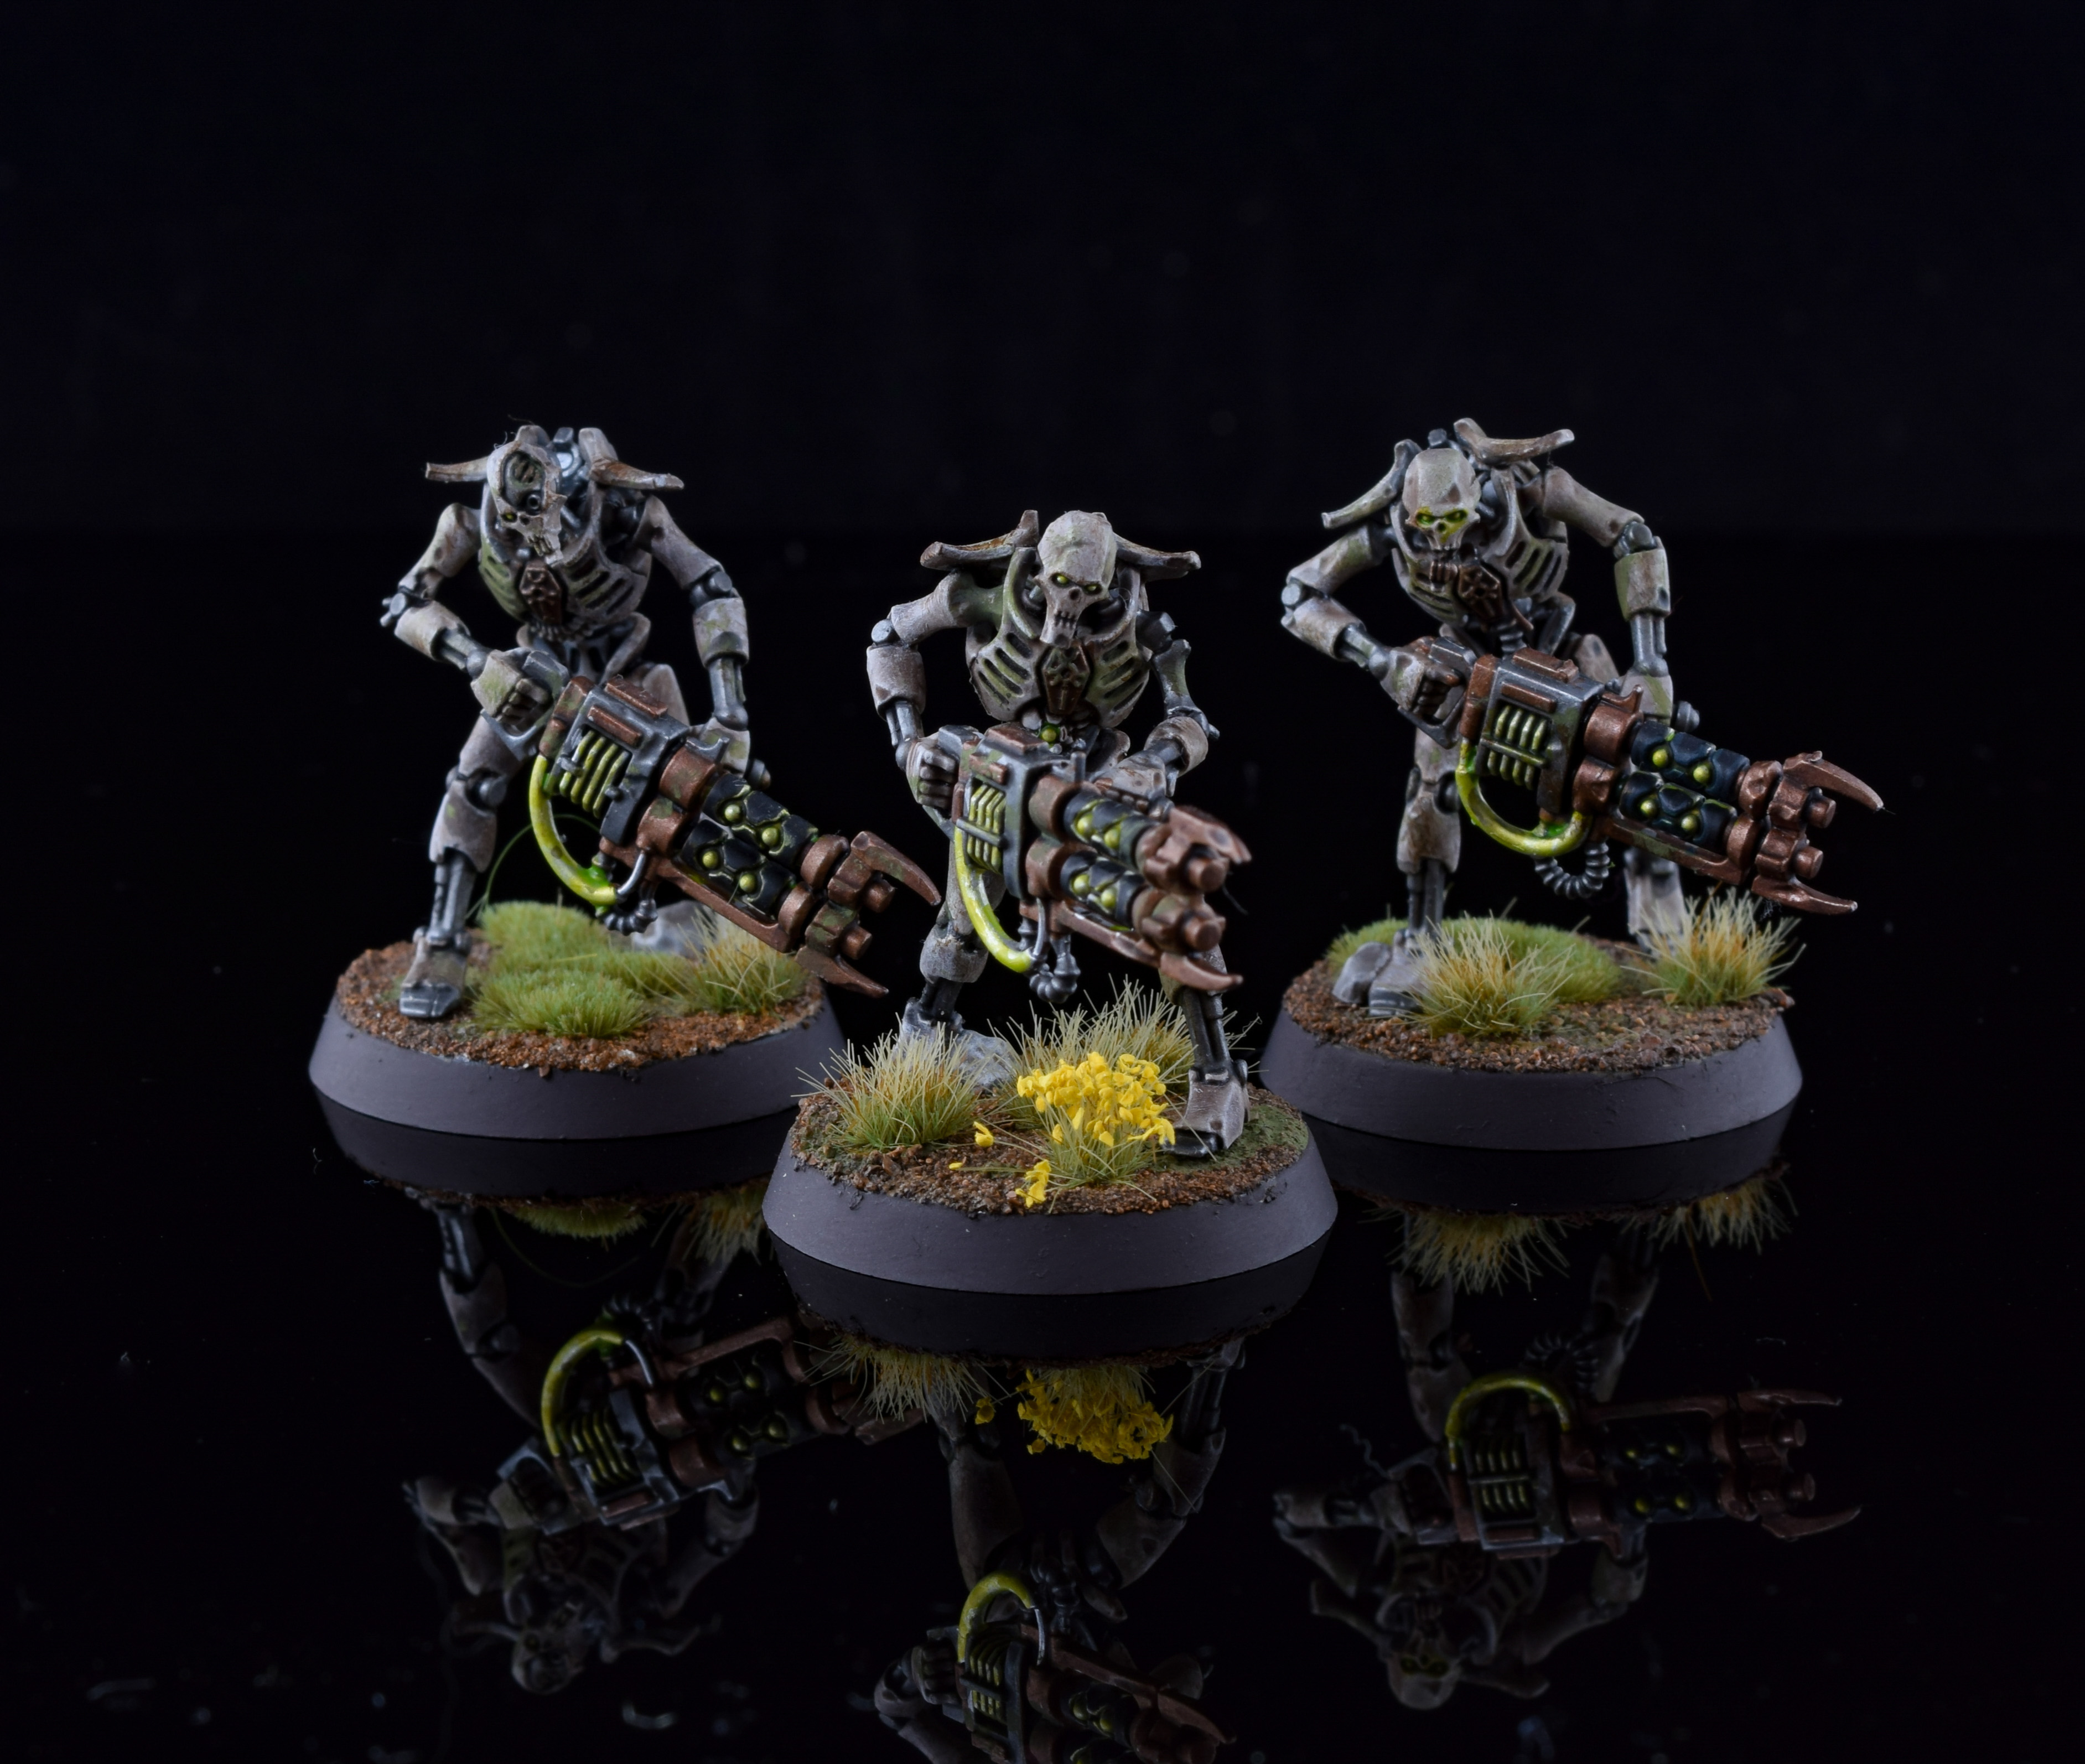
Necron Warriors
Coming in fire teams of 5, you get 9 wounds, a 4+ save, and basically a boltgun in the form of the Gauss Flayer. This can be switched out for a 4/5 damage Gauss Reaper that has a 6 inch range and P1. It is hard to say which of these is better. I personally feel short range with added lethality to be the superior option, however Necrons might be the exception to this trend given their reduced movement. Hopefully you can spare yourself this decision when we look at our next operative.
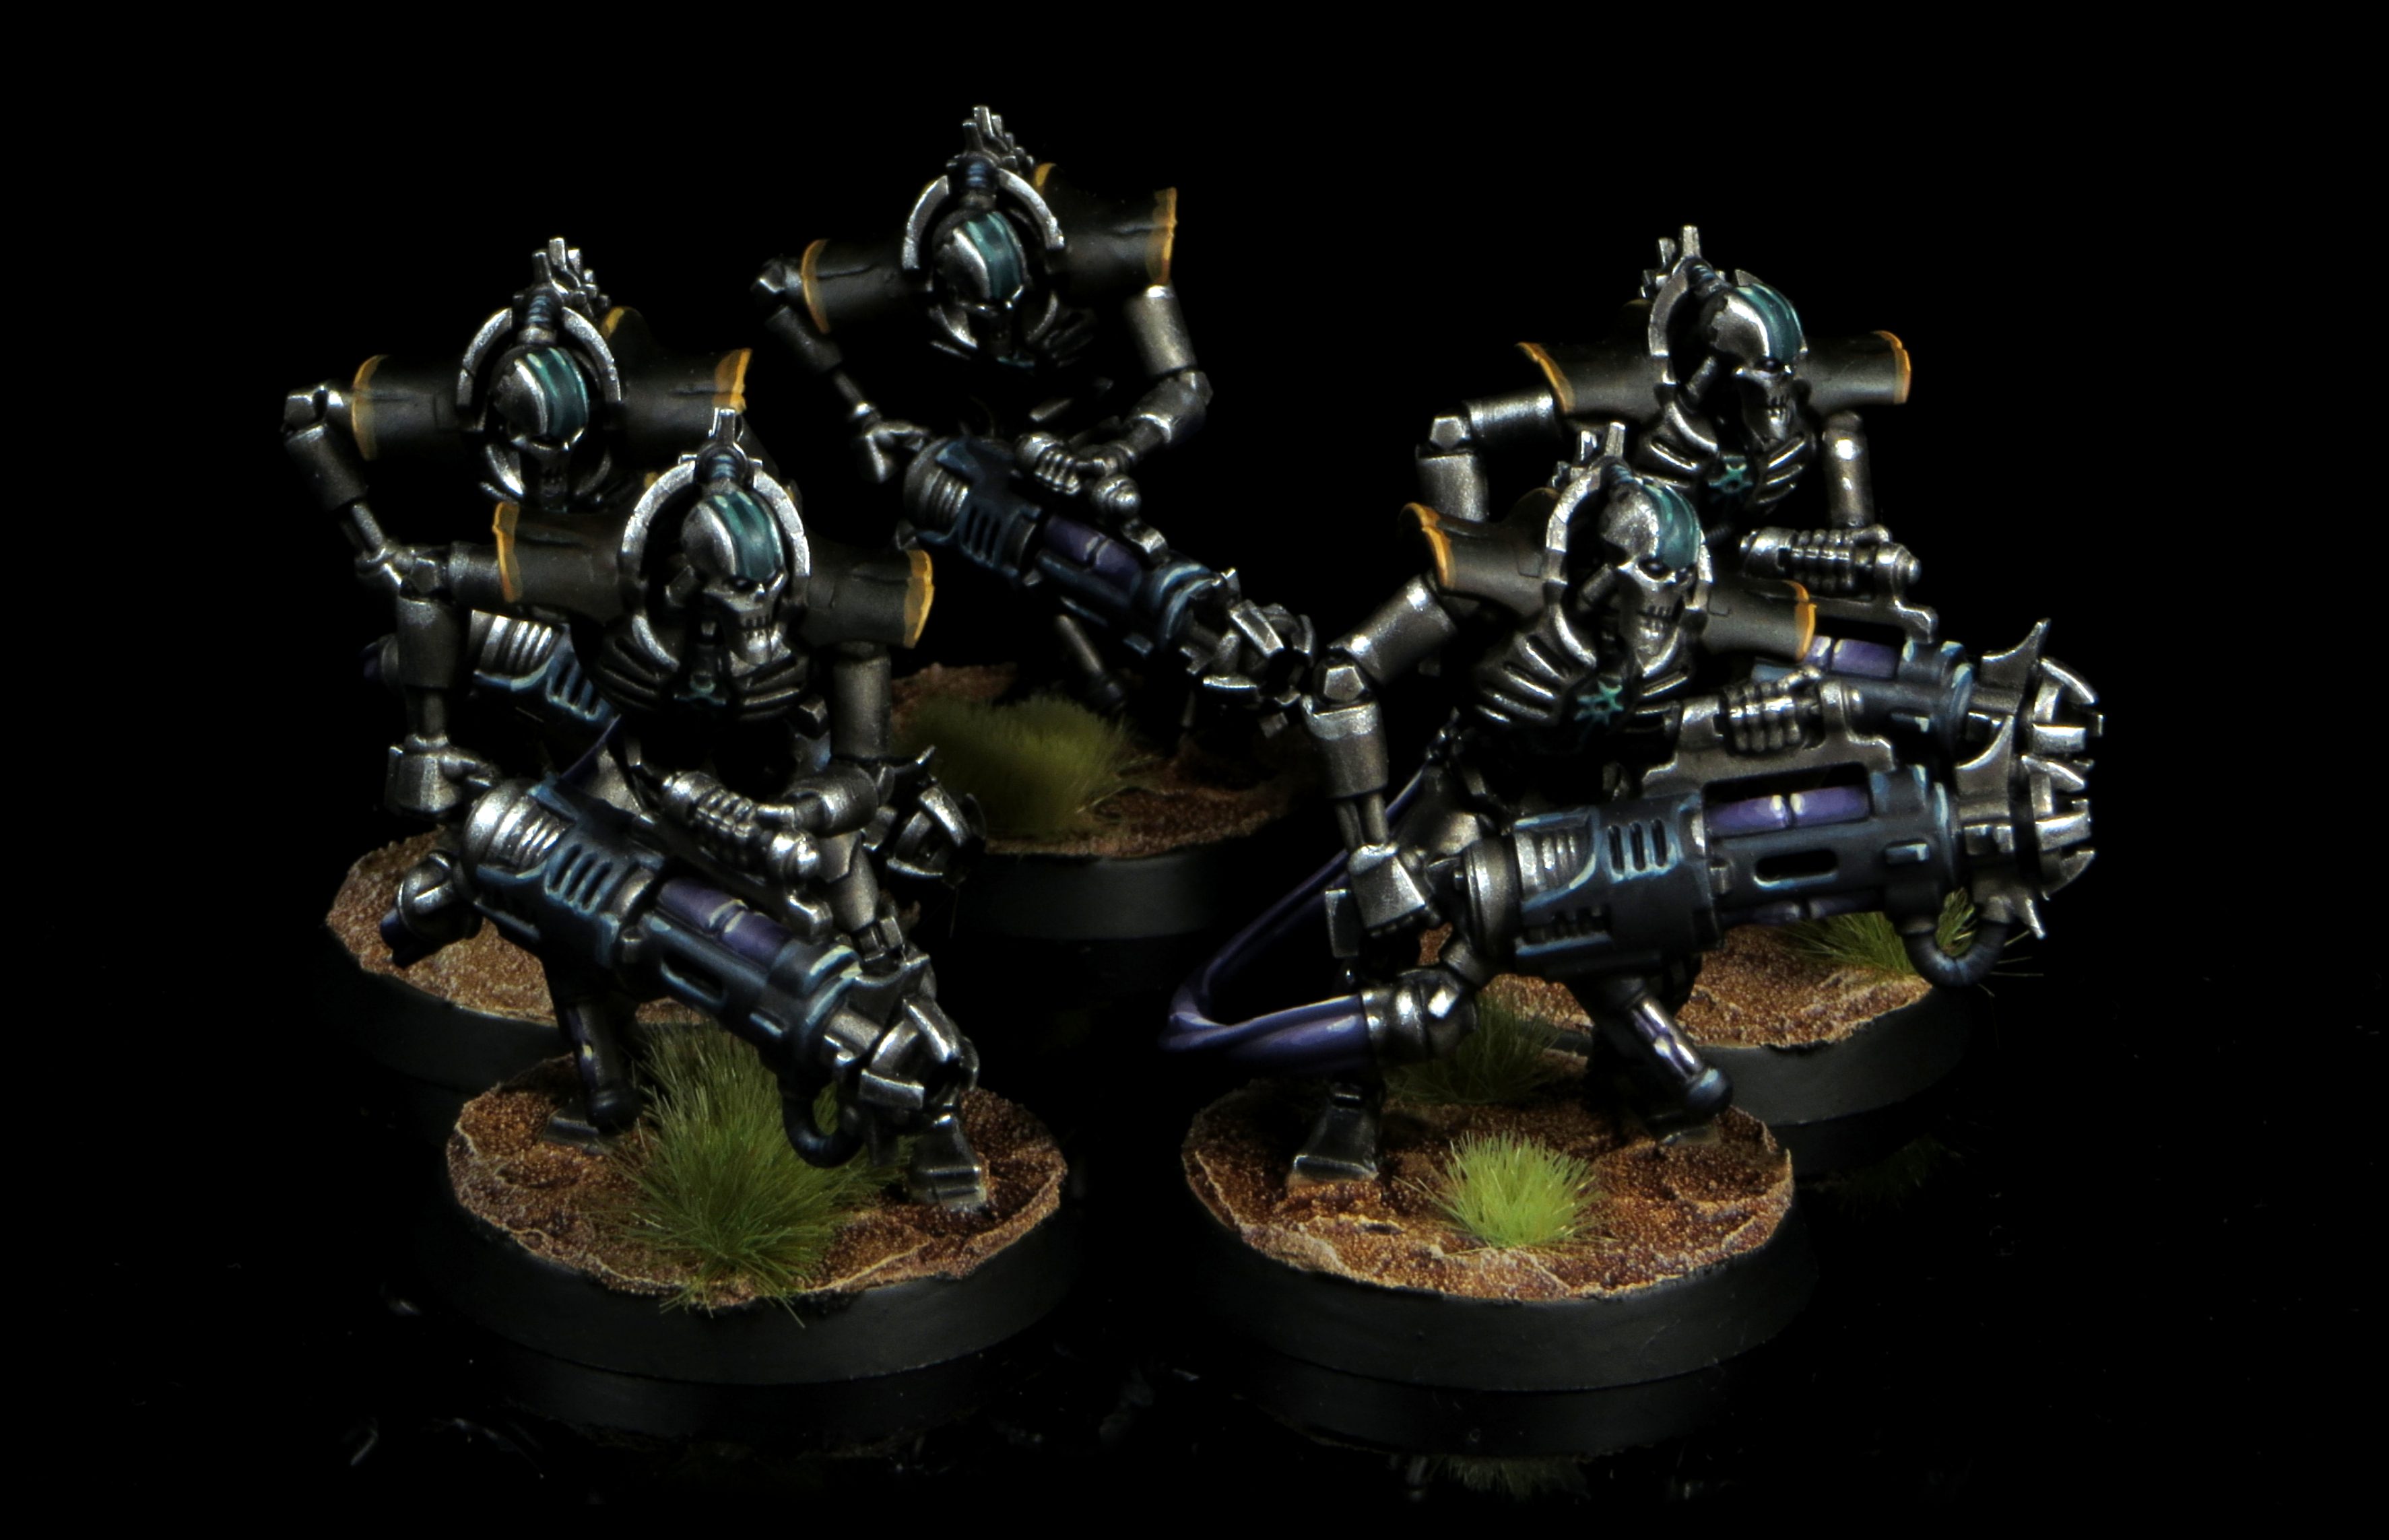
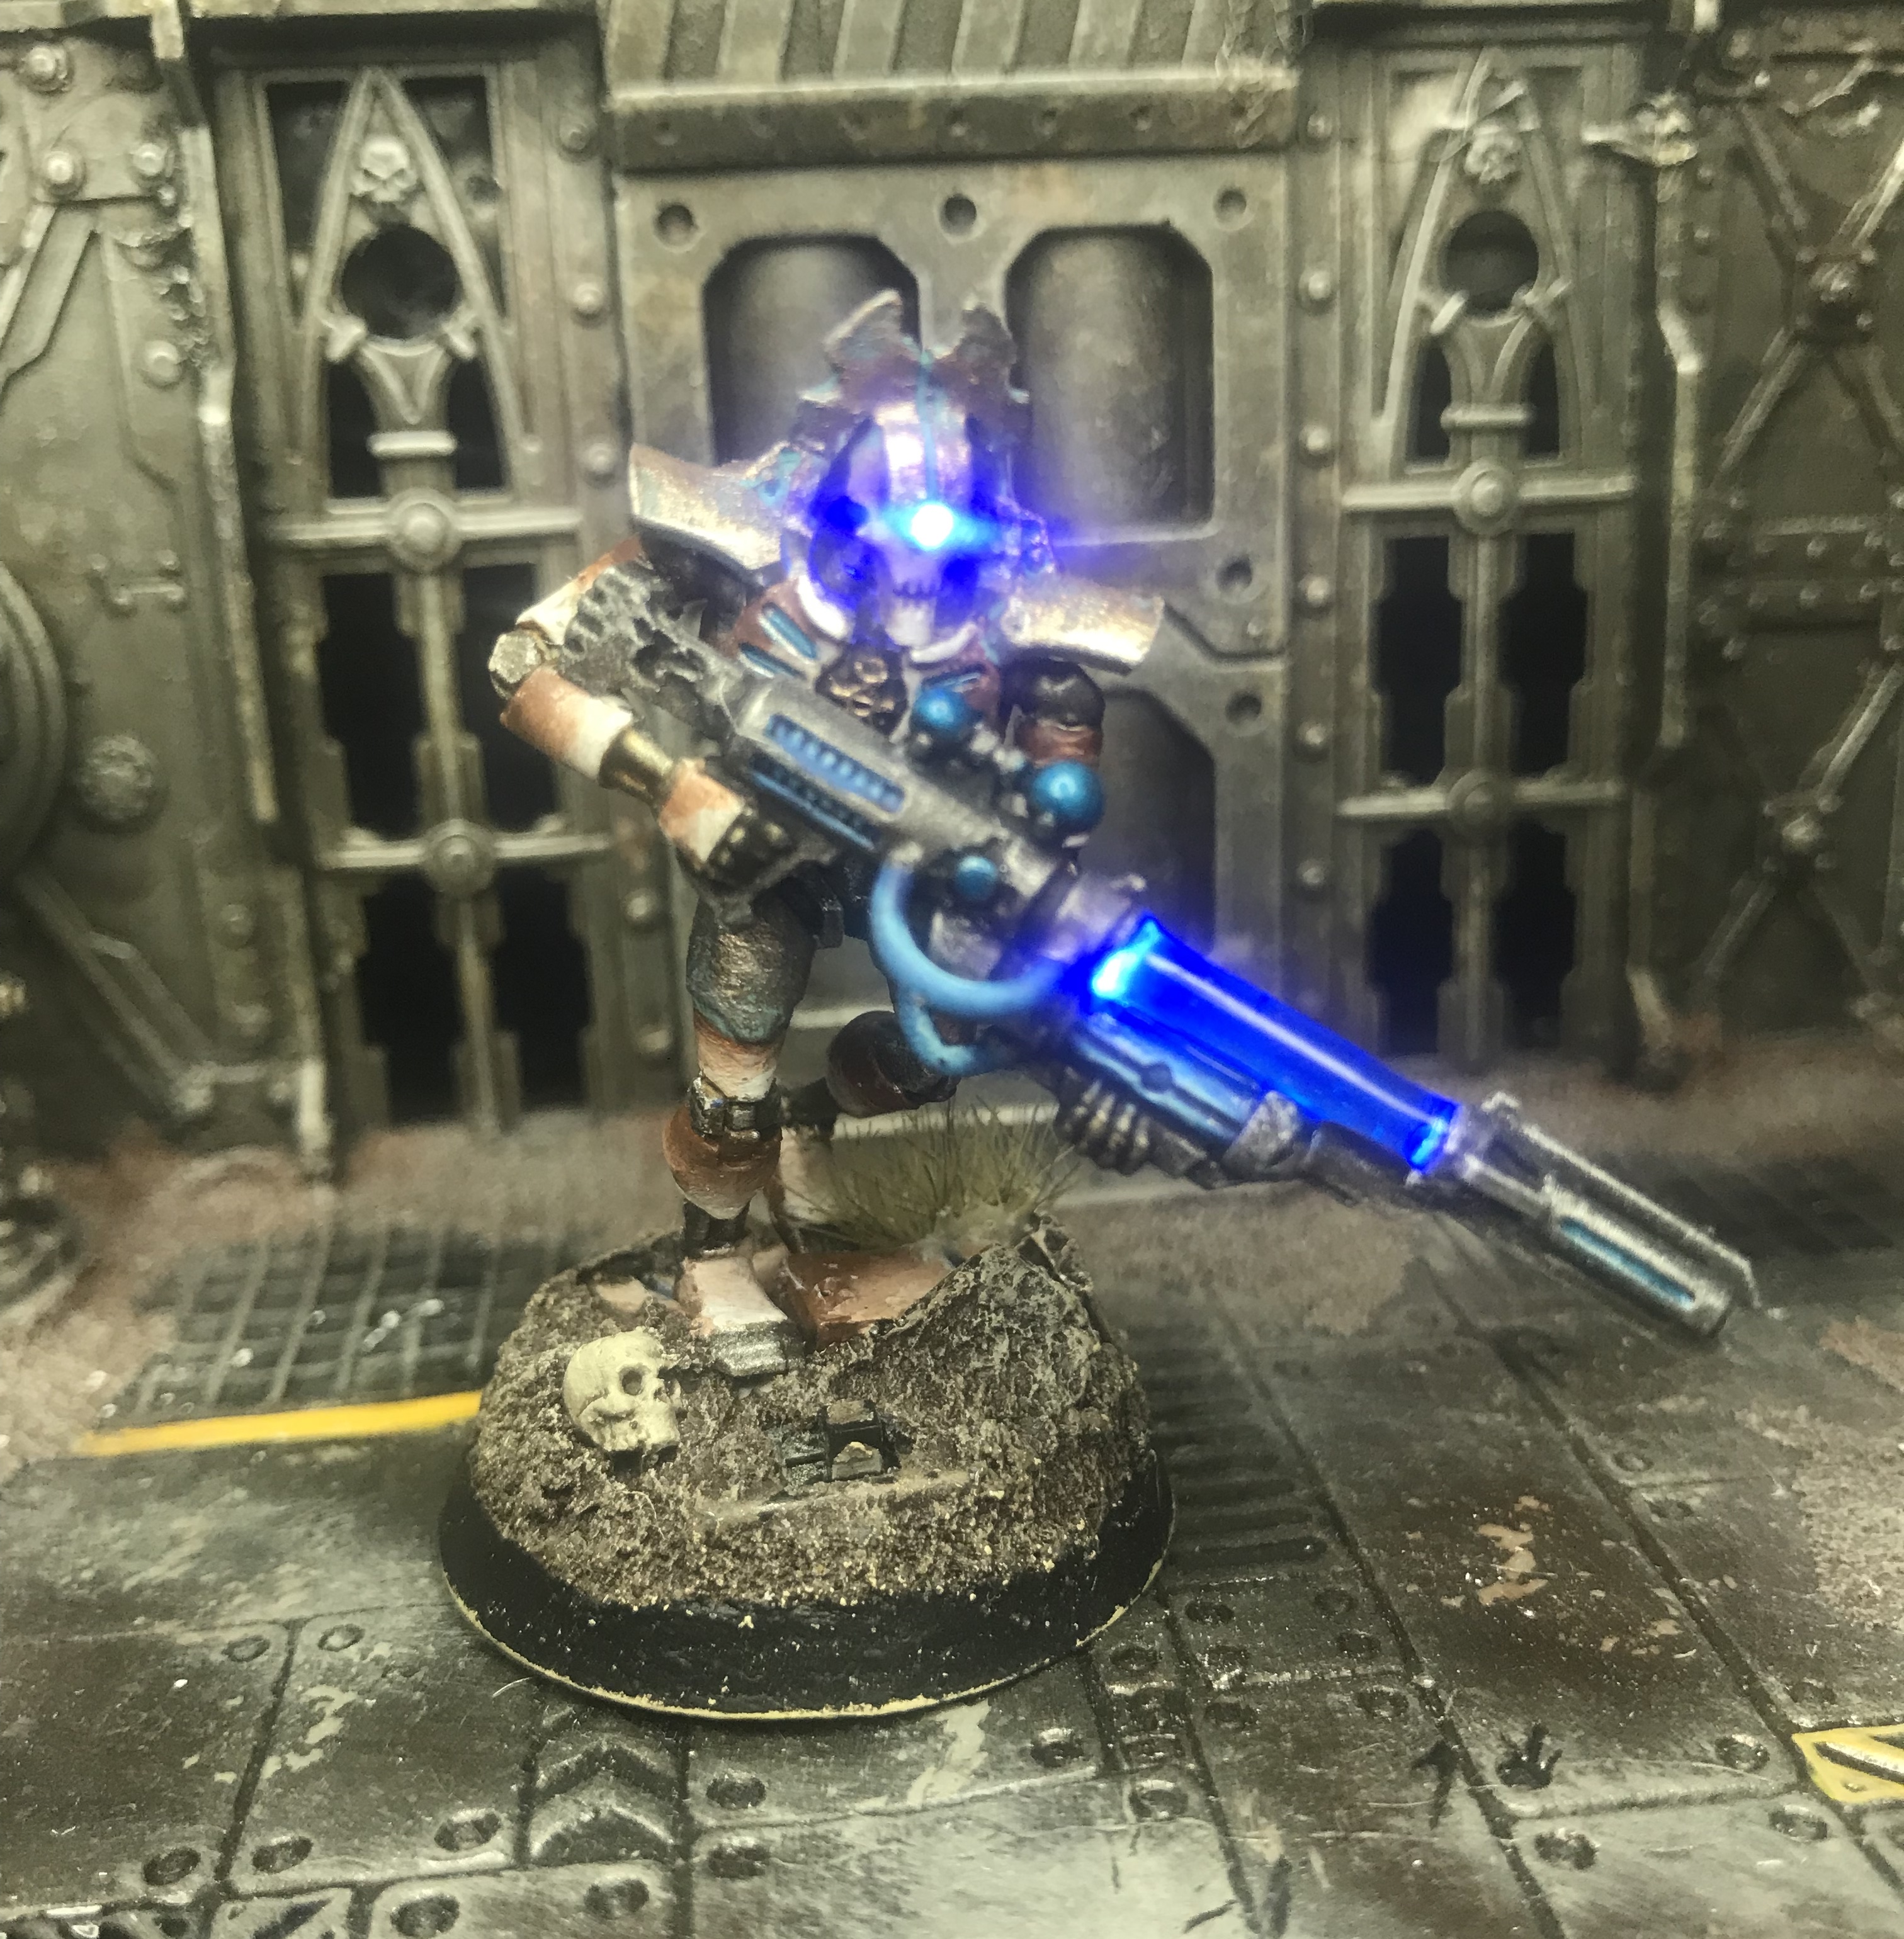
Necron Immortals
These guys come in teams of 4, but what you receive in return for one less body is very significant. Not only are Immortals beefier than warriors with an extra wound and a 3+ save, but also their weapon choices come at the critical 4/5 damage profile. This is a pretty big deal as this is the ideal profile for killing most standard operatives in two hits. This is only compounded by the Gauss Blaster having AP1, and as one final bit of icing on the cake they have an additional attack on their melee profile. In short, these guys are just better than Necron Warriors. Whatever benefits there are to having the extra body are completely offset by how incredibly lethal Immortal shooting can be. I am tempted to end the review for Tomb Worlds here and just say “take 8 Immortals”; such is their superiority to the other operatives.
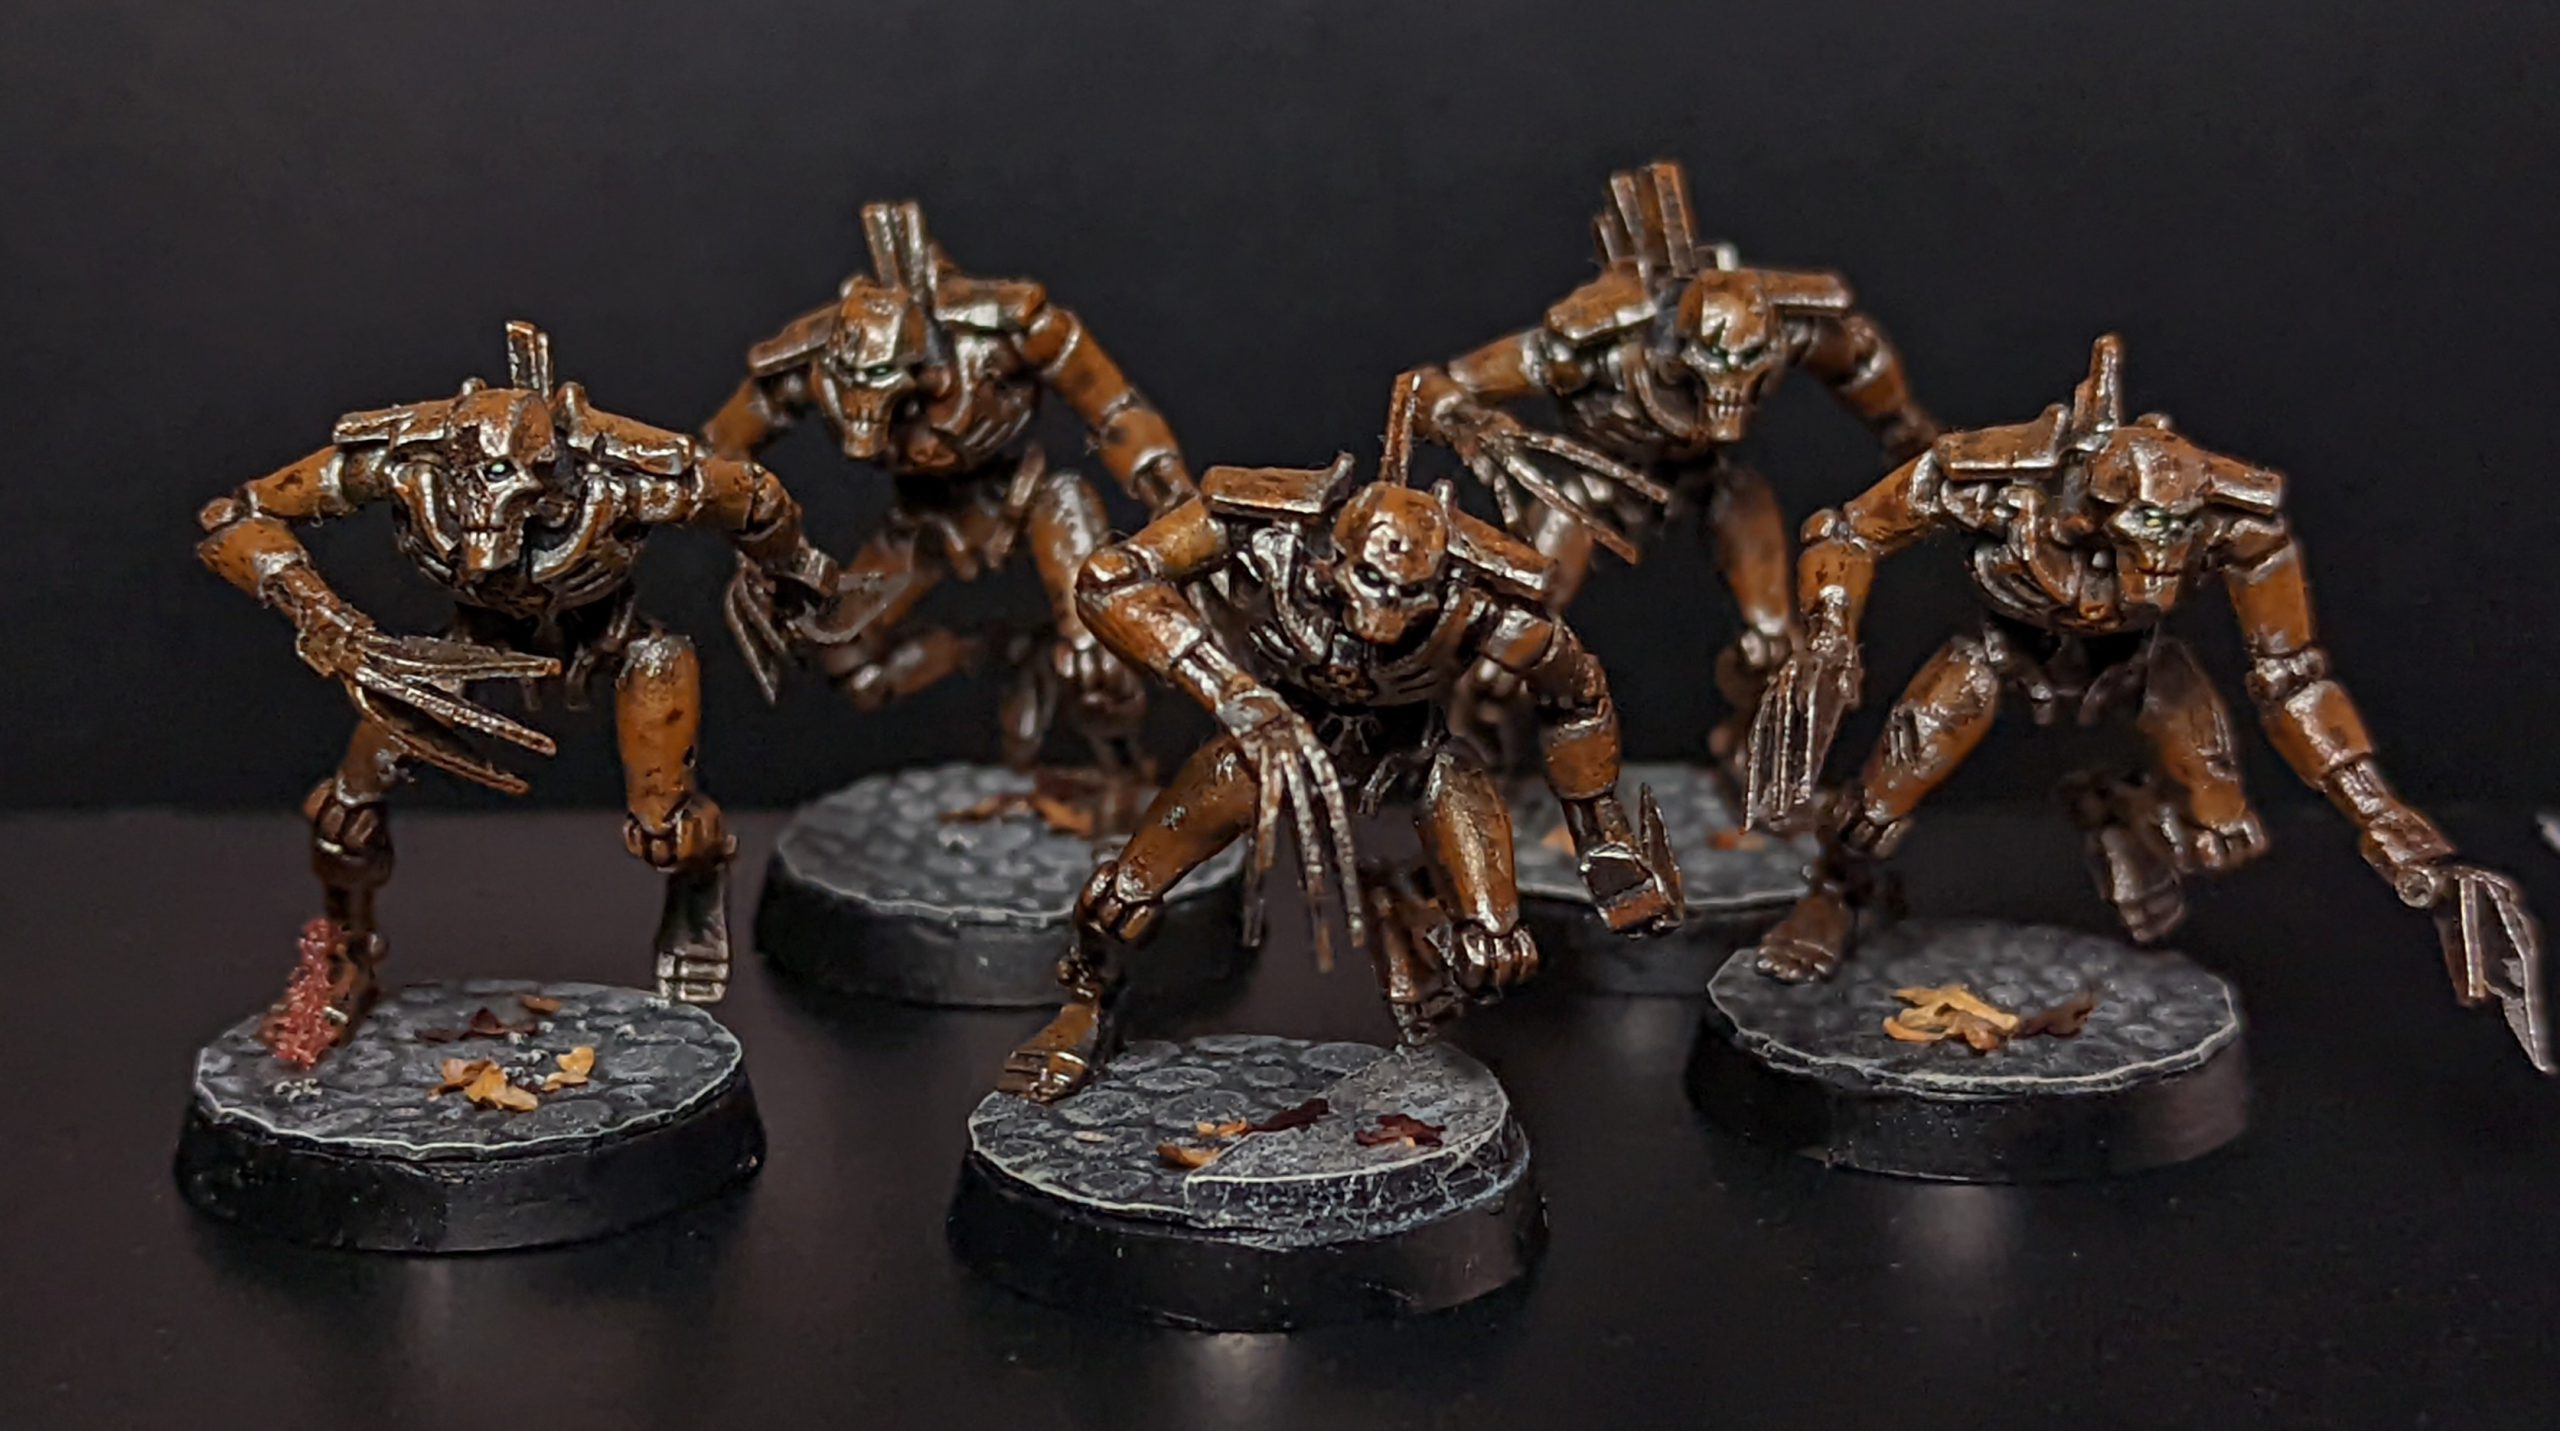
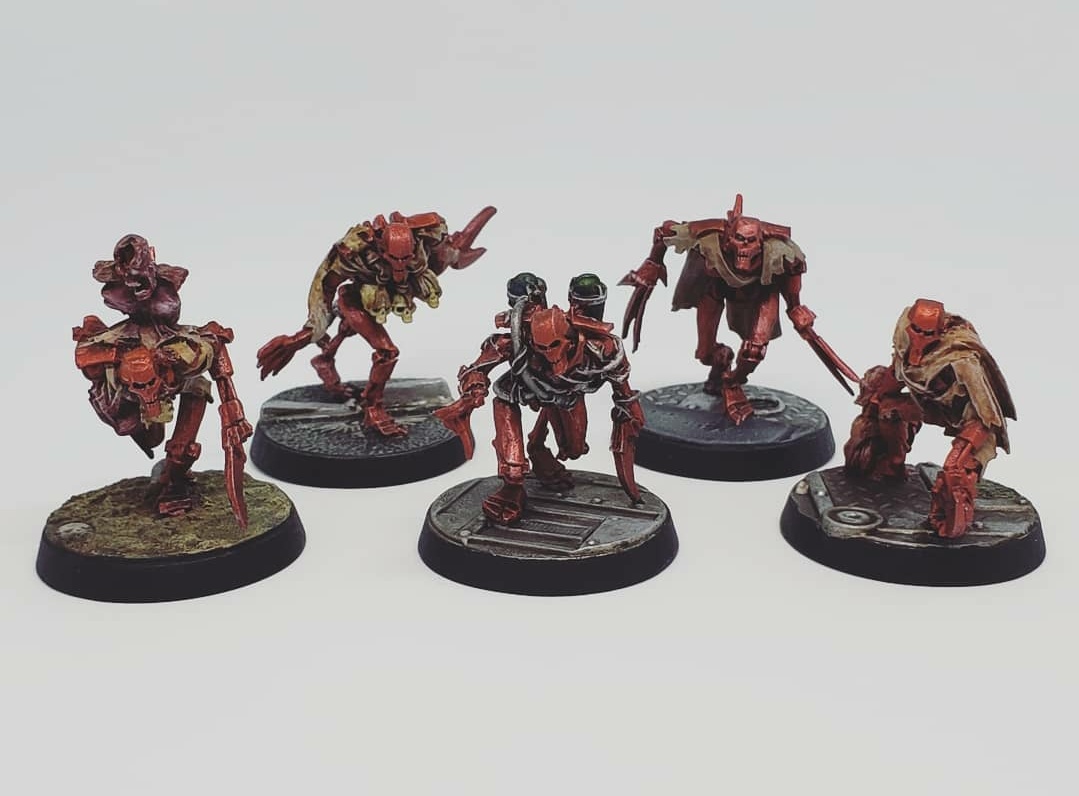
Necron Flayed Ones
The single Tomb World melee option these guys have identical stats to a Warrior, but boast a somewhat impressive melee profile with 5 atks, +3 hit/wound, 4/5 damage, and Rending. This being said we are talking about a melee specialist that only moves 4 inches, AND requires significant command point investment to be employed effectively. If there was an option to just take 1-2 then I would absolutely recommend them, but otherwise devoting half your Kill Team to a MELEE-only operative that is inferior to other specialists like Genestealers or Bloodletters is a big risk. The moment your opponent hits them with Stun weapons these guys might as well not be present.
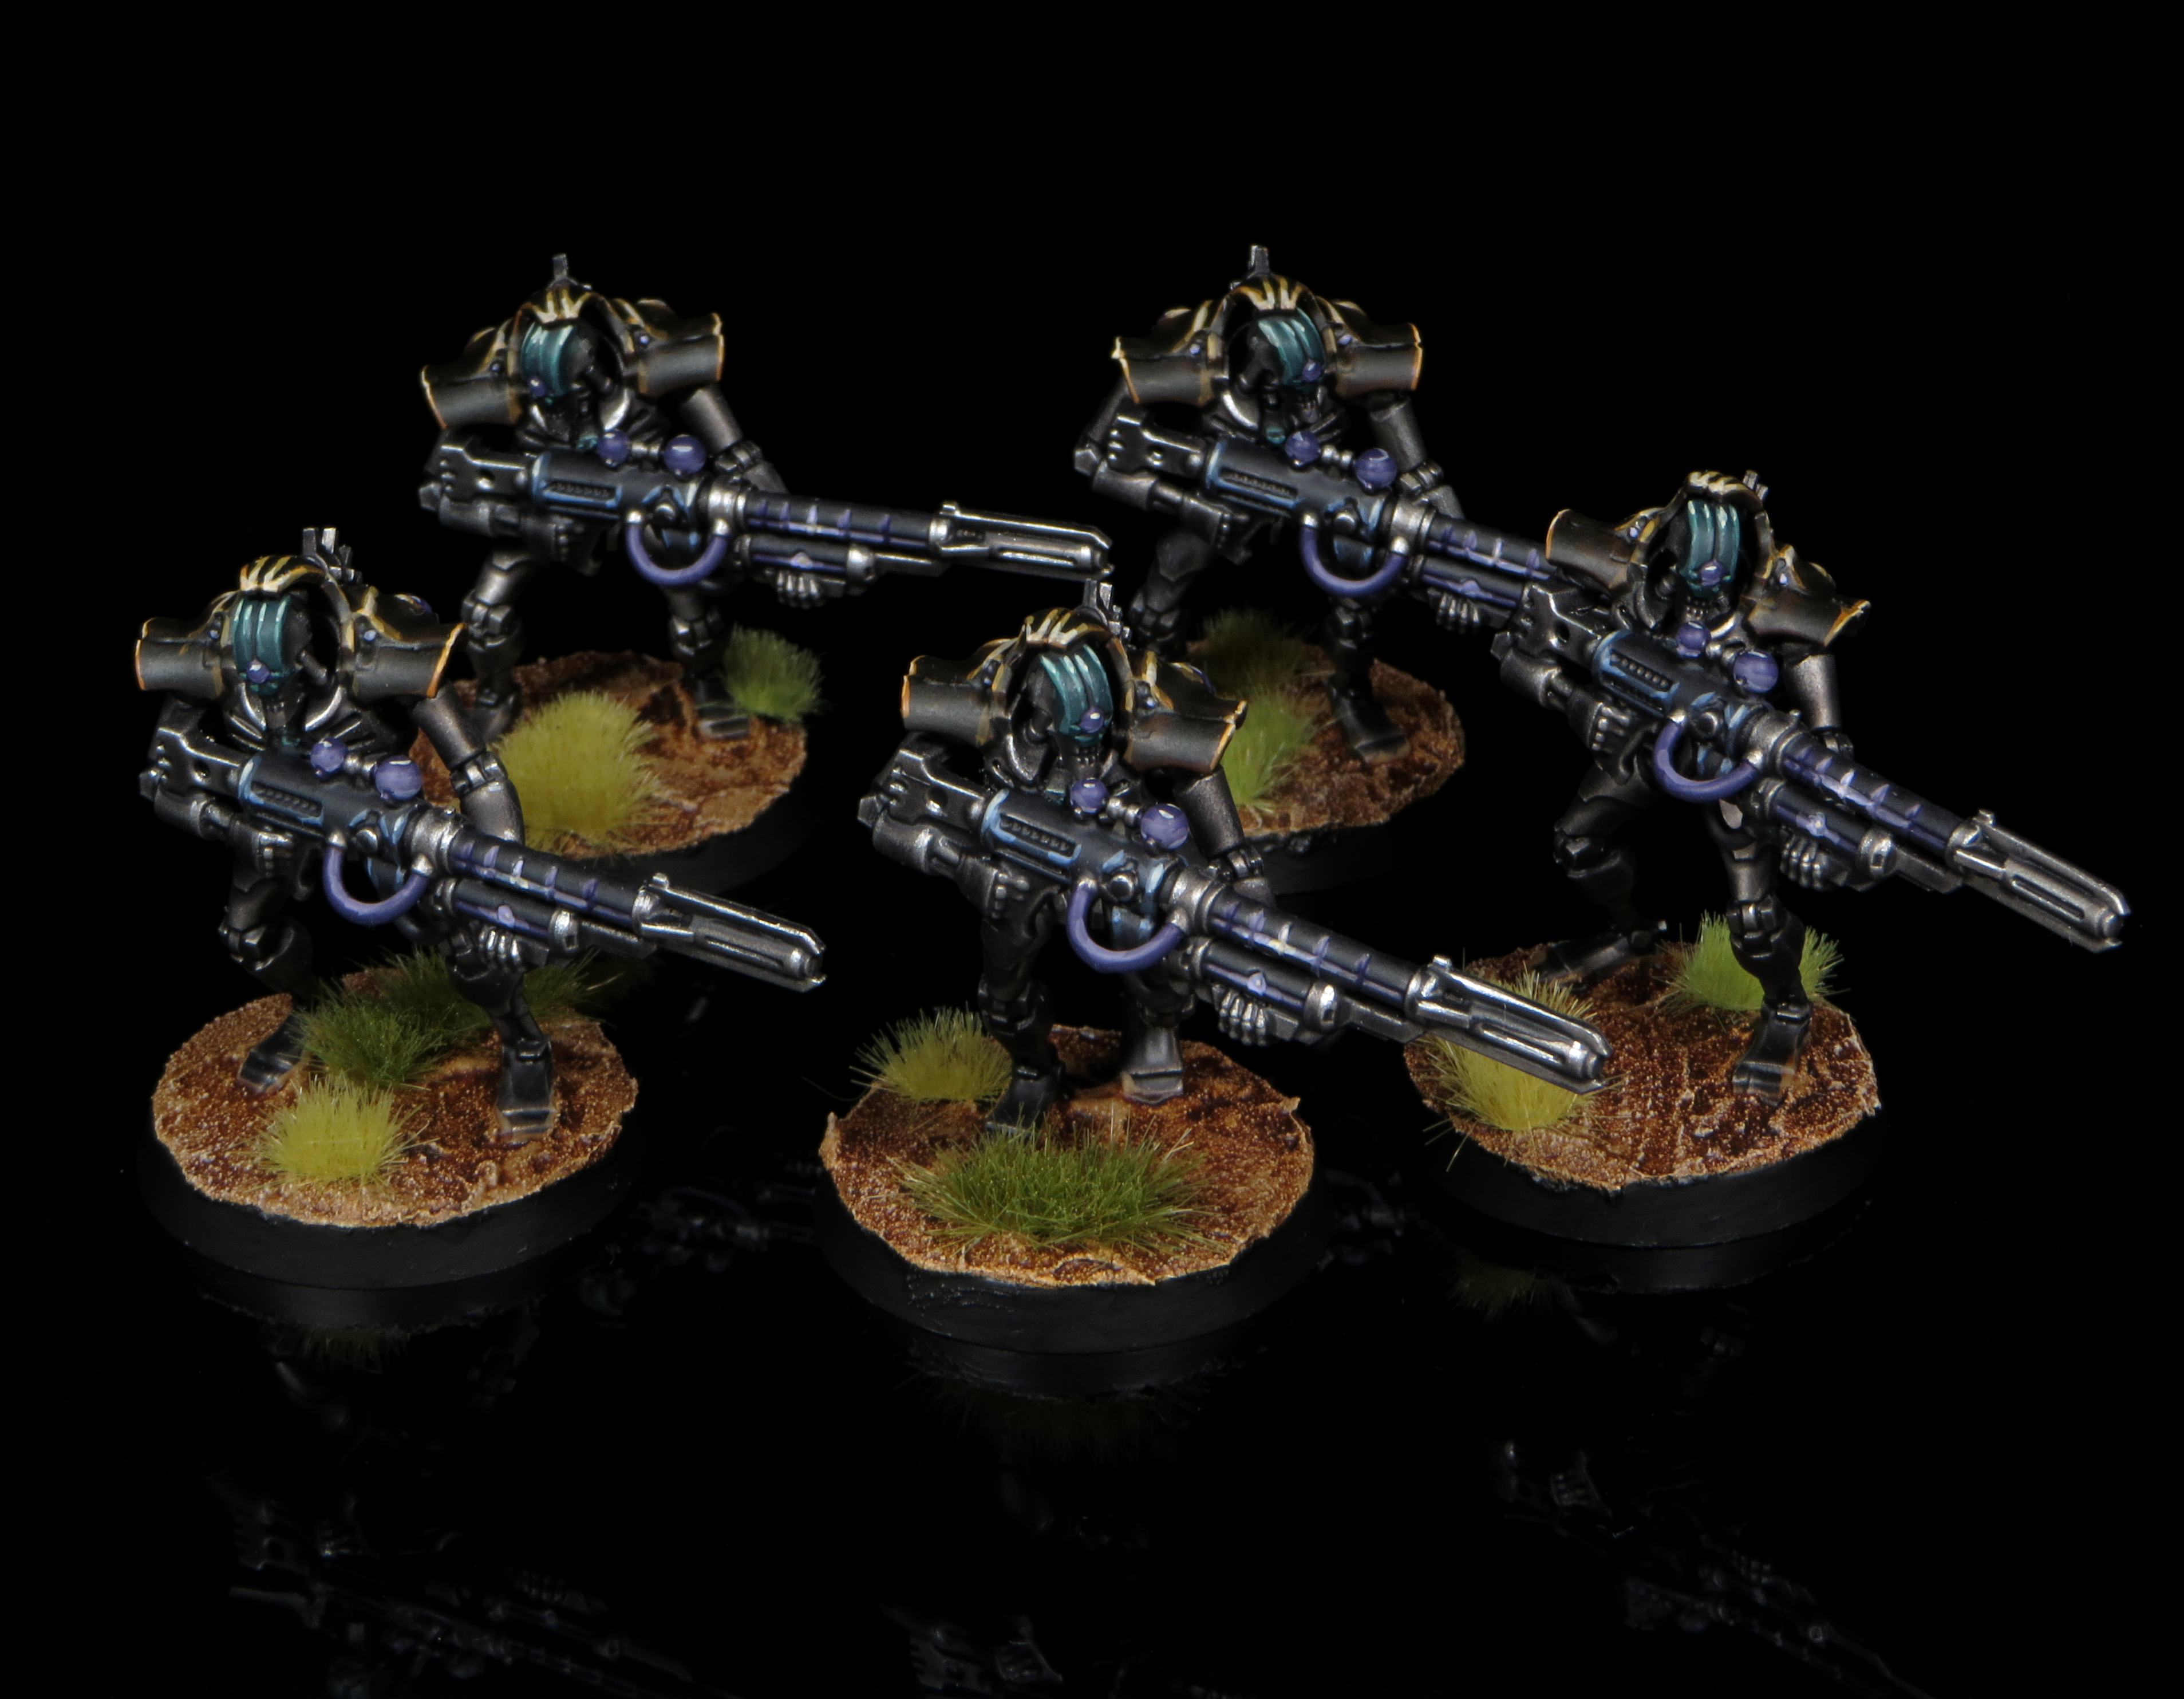
Necron Deathmarks
Basically Immortals if they were slower but more accurate. The damage difference between the Synaptic Disintegrator and the Gauss Blaster is rather negligible, however the big difference is that having Heavy will prevent Deathmarks from benefiting from Implacable March and Synaptic Disintegrators are not valid options for a Starfire Core. Once again, if you didn’t have to sacrifice half your Kill Team to take these guys one of them as your Deadly Marksman using Dimensional Concealment could make that particular ploy useful. However, that isn’t the case, so you might as well stick with Immortals.
Ploys
On their face the Necron ploys aren’t terrible, BUT when you factor in the limitations of team selection, and that three of the six ploys are restricted to SEPARATE operatives, things begin to look dire. In fact, if your team consists solely of Warriors you can only use half of the available ploys. From a design and competitive standpoint, this sucks. But it isn’t all doom and gloom for lovers of James Cameron inspired cybernetic organisms.
Strategic Ploys
Relentless Onslaught (1 CP)
If an operative makes a shooting attack against an enemy within six inches you may re-roll one of your attack dice. A solid ploy on a team that has powerful ranged weapons, and when combined with the Starfire Core (2 EP), itcan make Gauss Blasters absolutely brutal. B
Dimensional Concealment (1 CP)
Allows Deathmarks to change their order for 1 APL. Frankly this should just be on their datasheet. Deathmarks are already shackled by the Heavy Trait on their weapons, and being 2 APL operatives, their options to use this will be nil. F, even if you take Deathmarks
Implacable March (1 CP)
Until the end of the Turning Point, if your operatives have the Engage Order, they add 2″ to their movement characteristic, but they can only perform Normal Move, Charge, Shoot,a nd Fight actions. This is UNFORTUNATELY one of the better ploys available to Necrons, since their movement speed is such a hindrance, however the inability to perform a Dash Action in conjunction with it is a big problem. C
Skulking Killers (1 CP)
Allows Flayed Ones to make a Charge Action while under the Conceal Order. Another operative-specific ploy, this is actually pretty good IF you take the operative in question. Once combined with Implacable March this can make Flayed Ones a rather potent melee threat. Unfortunately employing both immediately becomes CP intensive, which basically kills the synergy. C, if you have Flayed Ones
Tactical Ploys
Reanimation Protocols (0 CP)
Used when one of your operatives is incapacitated. Before you take them off the table, put a reanimation token under its base and leave the order token next to it. In the Ready Operatives step of the next turning point, before resolving the Living Metal ability, roll a D6 for each of your Reanimation tokens. On a 3+ (or a 2+ if that operative is a Necron Warrior Operative), set that model back up as close as possible to where its token was and not within Engagement Range of enemy operatives with D3 wounds remaining (Then it will gain 2 more from Living Metal, meaning it will stand back up with 3-5 wounds).
A ploy that highlights the fact that many of the ploys available to Necrons just need to be built into their rules, confirmed by the fact that Games Workshop decided to make it cost zero CP in a balance dataslate. There isn’t much to say about this one; there is some element of strategy when using it since you want to ensure you bring back the correct operatives, so choose wisely when you expect to lose more than a single operative. A+ because it’s free!
Living Lightning (1 CP)
Used in the Roll Attack Dice step of a shooting attack, when one or more crits is retained for a shooting attack made with a tesla carbine. You can opt to either have that attack’s Splash 1 crit rule go to Splash 2 or treat the distance requirement of the critical hit rule as 3″ instead of 2″.
This may be the worst of the ploys. As a Necron player there is a good chance you will be using your CP for better things. This ups the blast radius and Splash damage of your Tesla Carbines, but if we are being real the Gauss Blaster is the superior choice. This isn’t to say that Splash doesn’t have its uses, but AP1 is almost always useful. F
Equipment
Much like their ploys, Necrons have a few gems sandwiched between some absolute trash choices.
Devourer Nanoscarabs [3 EP]
A big weakness that I have yet to mention is Necrons don’t get a lot of access to Weapon Traits. The Nanoscarabs are the only source of Indirect available, making them a strong choice right off the bat. The damage on these is decent, and they have the Lethal special rule to boot. If your opponent is smart they’re likely to rely on your poor movement speed to remain concealed as long as possible instead of risking a gun duel against Gauss Blasters. The Nanoscarabs are a good choice to help force your opponent into a fight. While they lack the blast trait, Nanoscarabs are still one of the better grenade options around. B
Sempiternal Weave [3 EP] One per Kill Team
Upgrades your Deathmark Leader or Immortal Leader to a 2+ save. A straight defensive upgrade, pretty self explanatory, and a decent choice. C+
Starfire Core [2 EP]
Apply to an operative’s Gauss weapon to grant a Rending-like ability where if you retain a Critical Hit you can turn a miss into a hit. This can combine really well with Relentless Onslaught but is still a strong choice on its own, and has the added bonus being 2 EP, so you can equip a majority of your team with it if you want. You could do worse than just taking five of these. B
Tesla Weave [2 EP]
Each time an enemy operative makes a Charge Action within engagement range of the operative roll 3D6; each 5+ deals a mortal wound to that enemy operative. Basically, the enemy might hurt himself a little, if you mess up enough to let them charge you. Terrible. F
Mindshackle Scarabs [3 EP]*
Grants the operative the Mindshackle (1 AP) action, which can be used against an enemy operative within 3 inches. Roll a D6; if the result is higher than the enemy’s APL they lose 1 APL, if the result is double their APL you get to perform a free SHOOT or FIGHT action with that operative. On a 2 APL operative this is already pretty bad and on top of that you have to roll to see if it succeeds, AND you can only do it once per game, meaning it doubly sucks. This should just be free on your leader… again, what were they thinking? F for Fart, because that’s the sound this makes me want to make.
Hyperphase Blade [2 EP]
Gives operative’s bayonet the Lethal 5+ Trait. The obligatory melee upgrade. In its defense this is better than most melee upgrades, but it’s still not what you want to be taking. D
Tac Ops
Necrons have access to all four universal Tac Ops categories, but unfortunately they’re tied to different fire teams, meaning you can’t actually get all four with a single Kill Team. However, this is simplified by the fact that Necrons’ slow movement combined with only being 2 APL really makes the Infiltration and Recon missions a poor choice. Seek & Destroy and Security are your strongest choices, especially the former thanks to the strength of Necron shooting. Incidentally, this is also the pair of Tac Ops that align with taking two fire teams of Immortals.
Playing Necrons
Necrons do two things very well:
- survive,
- shoot things to death,
and unfortunately, not much else. With this in mind, your best bet is to double down and take 8 Immortals with Gauss Blasters. I would equip at least one with Nanoscarab Devourers and two with Starfire Cores. At this point you could either upgrade your leader with the Weave, or take another Core or Scarab grenade.
I would then take Seek and Destroy as my Tac Op choice with at least half my team beginning with the Engage Order. With only 8 operatives you can reliably expect to find yourself in a position to use Overwatch against most other teams, and thanks to Living Metal and Reanimation Protocols you can afford to risk exposing your operatives to hostile fire. It’s important to remember that while Immortals might not have weapons as powerful as Venom Cannons or a Mining Laser they have a very powerful gun on every single operative. This grants you redundancy that most of your opponents will not have, allowing your team to be deadly down to the last operative.
You’ll Be Back
That wraps up our look at Tomb World Kill Teams, which can sometimes make up for in durability and shooting what they lack in speed and versatility. If you’re looking for more on Necrons or thinking about starting your own team, check out our guide to painting them.
Have any questions or feedback? Drop us a note in the comments below or email us at contact@goonhammer.com.
