
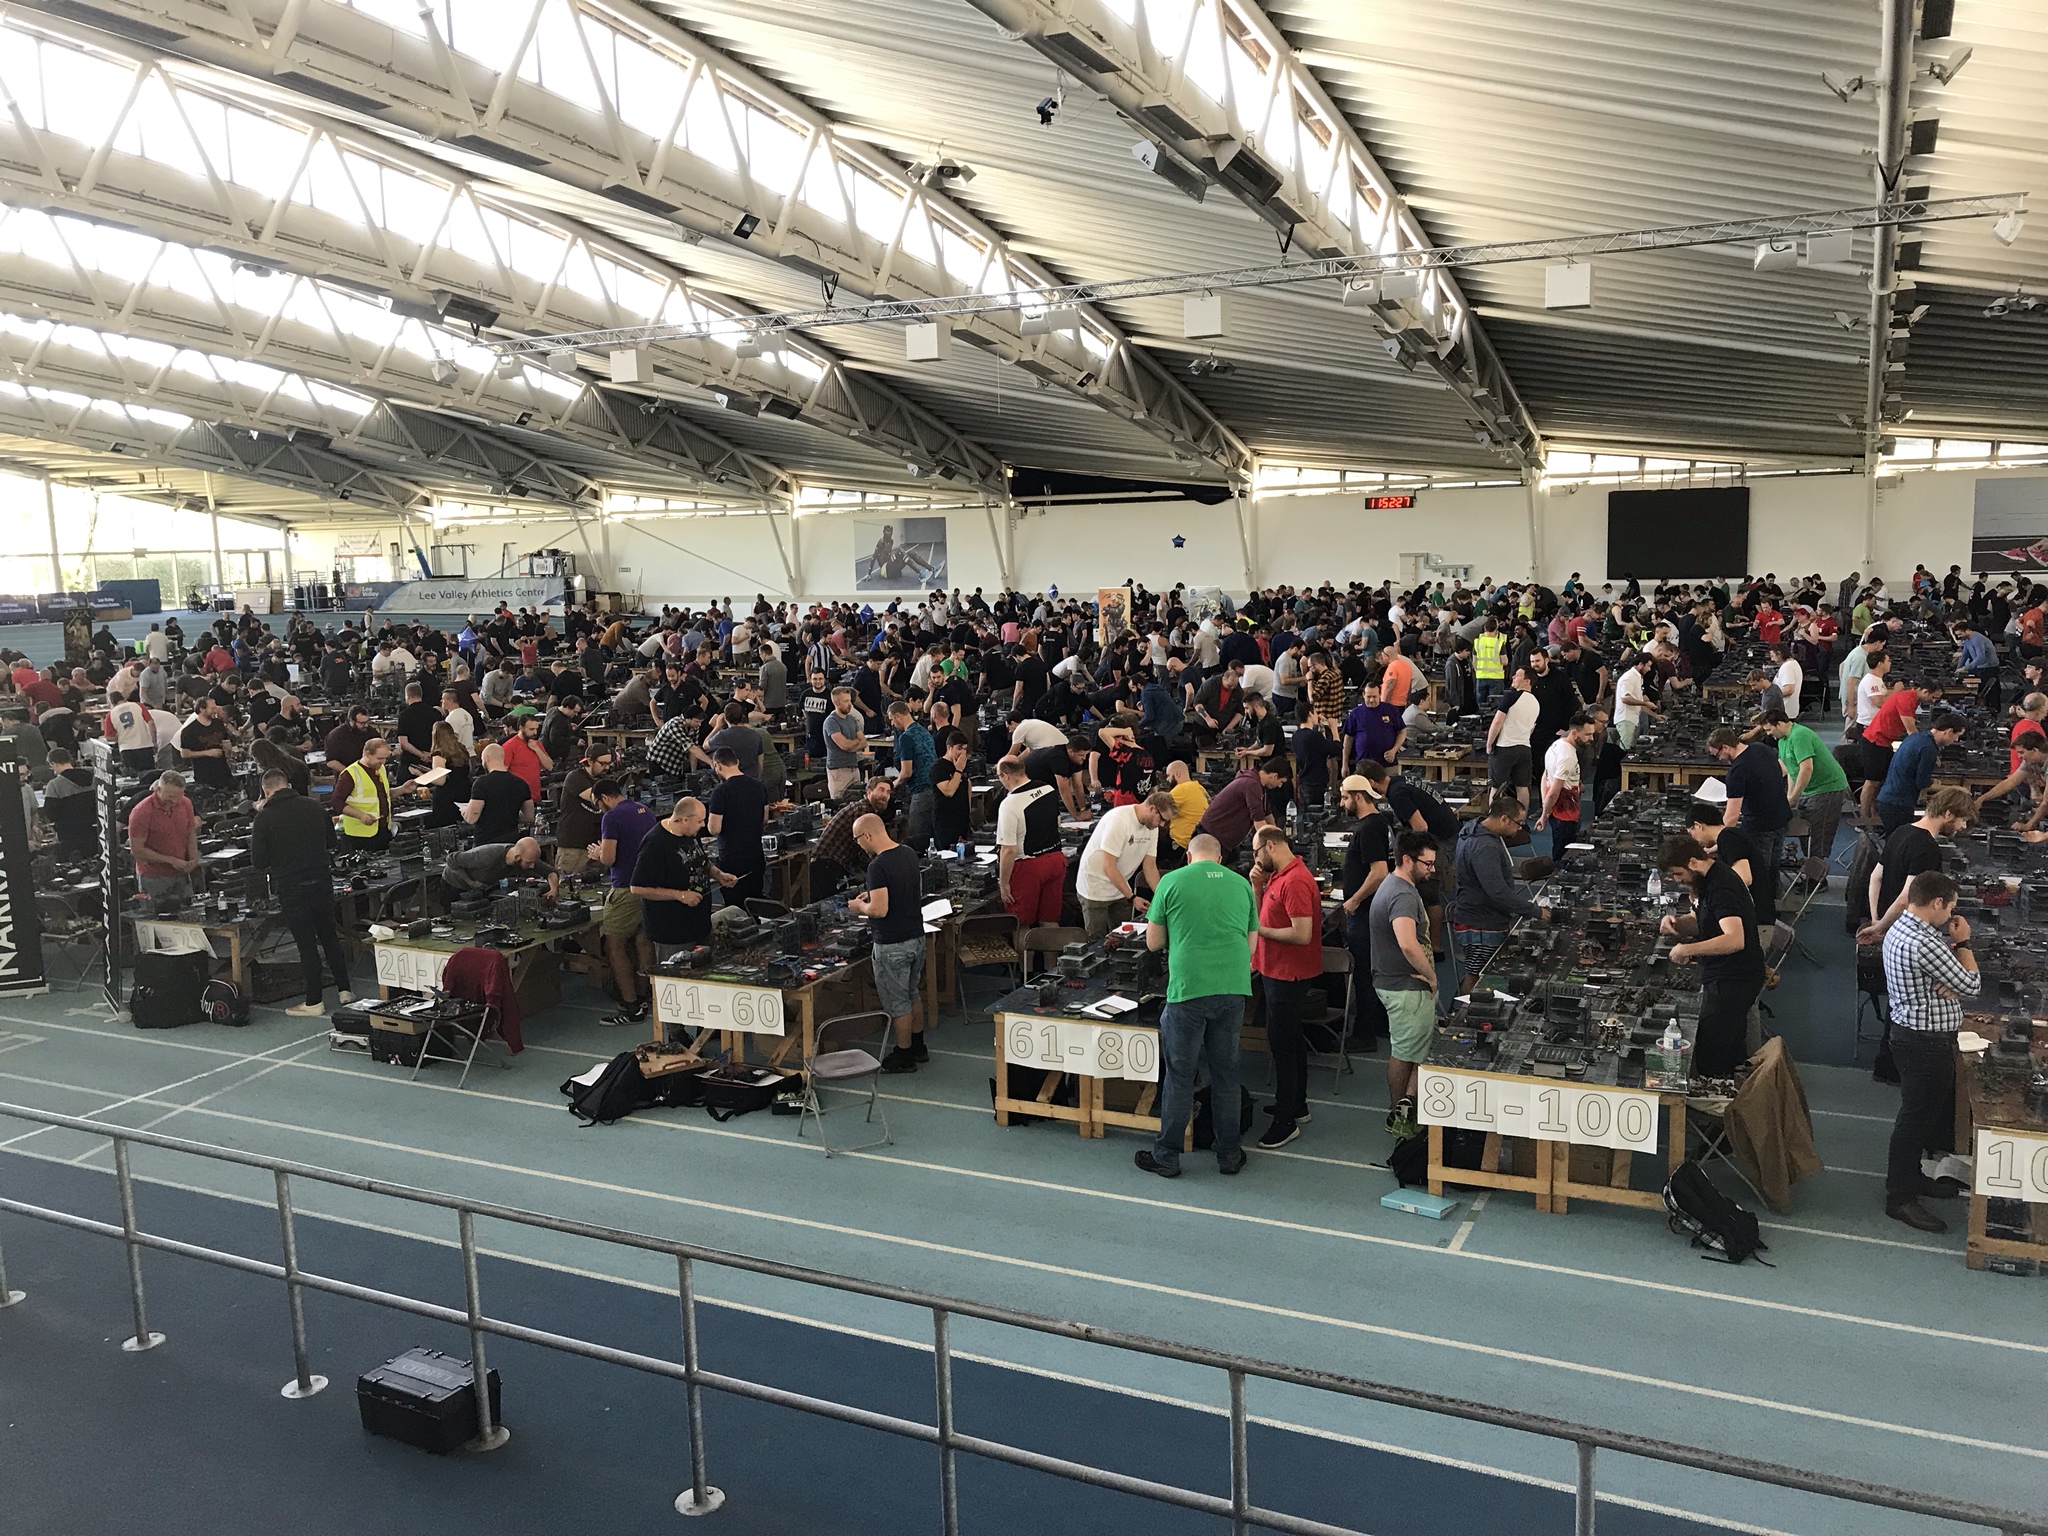
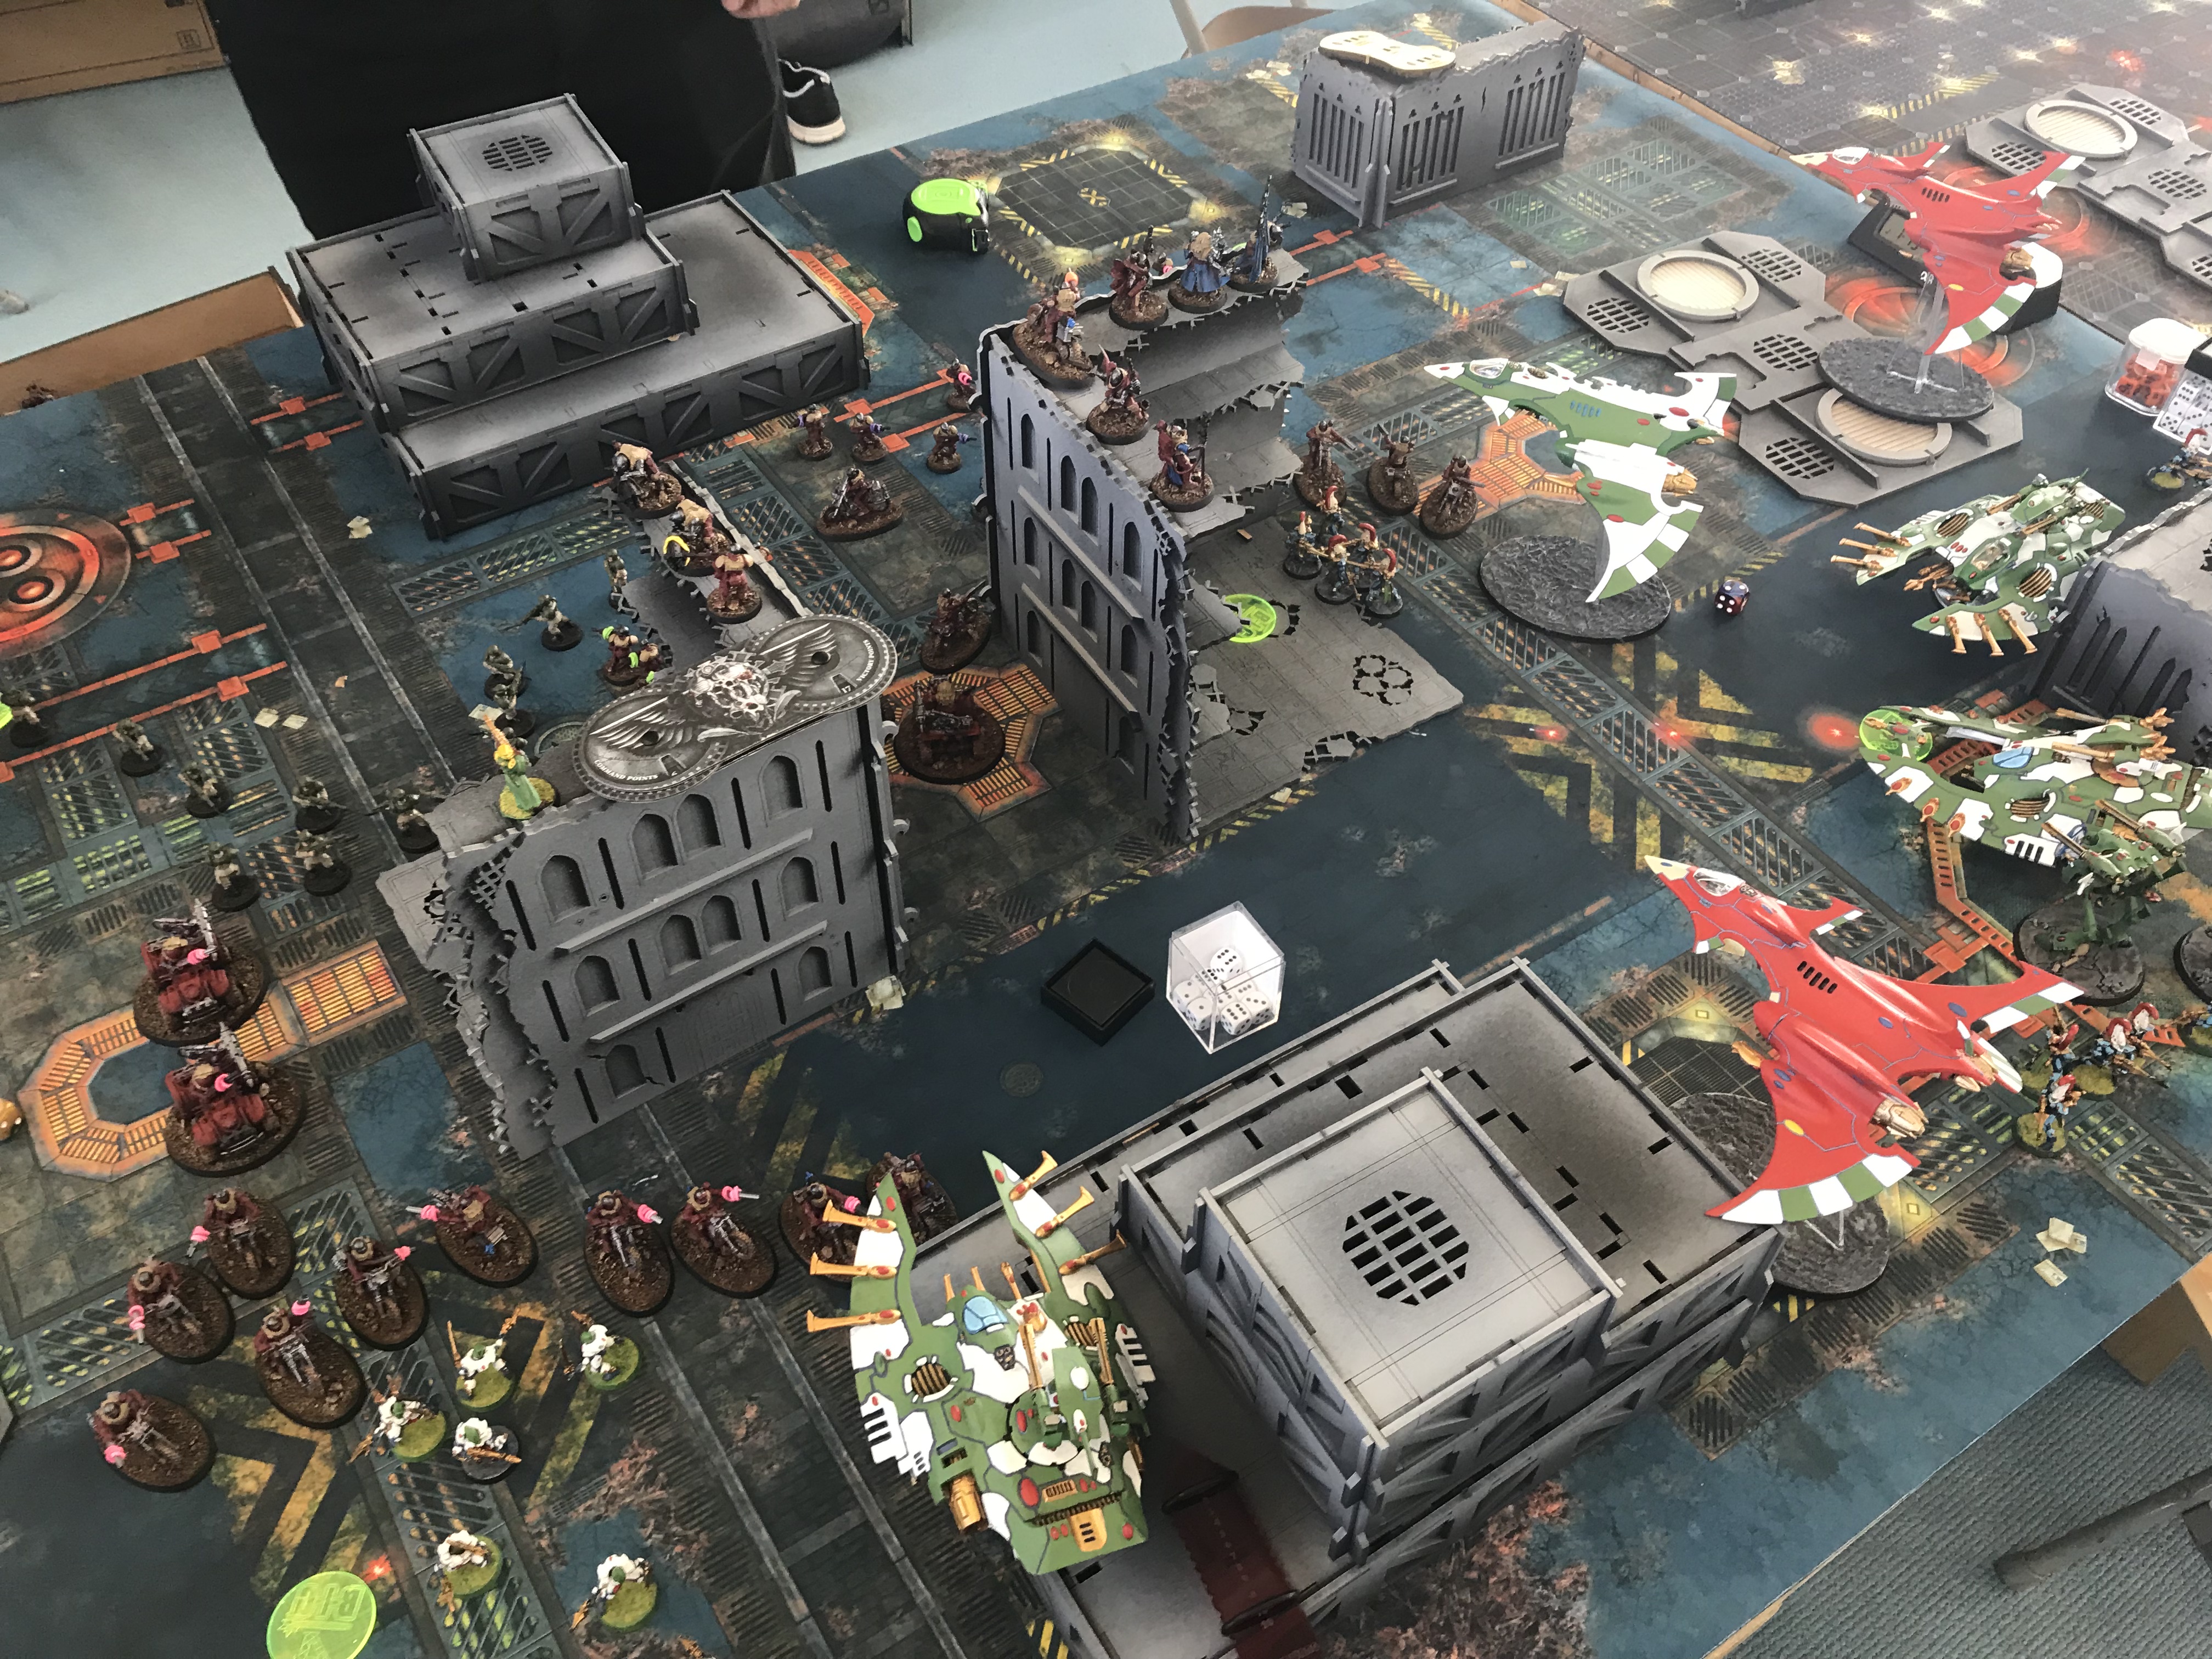
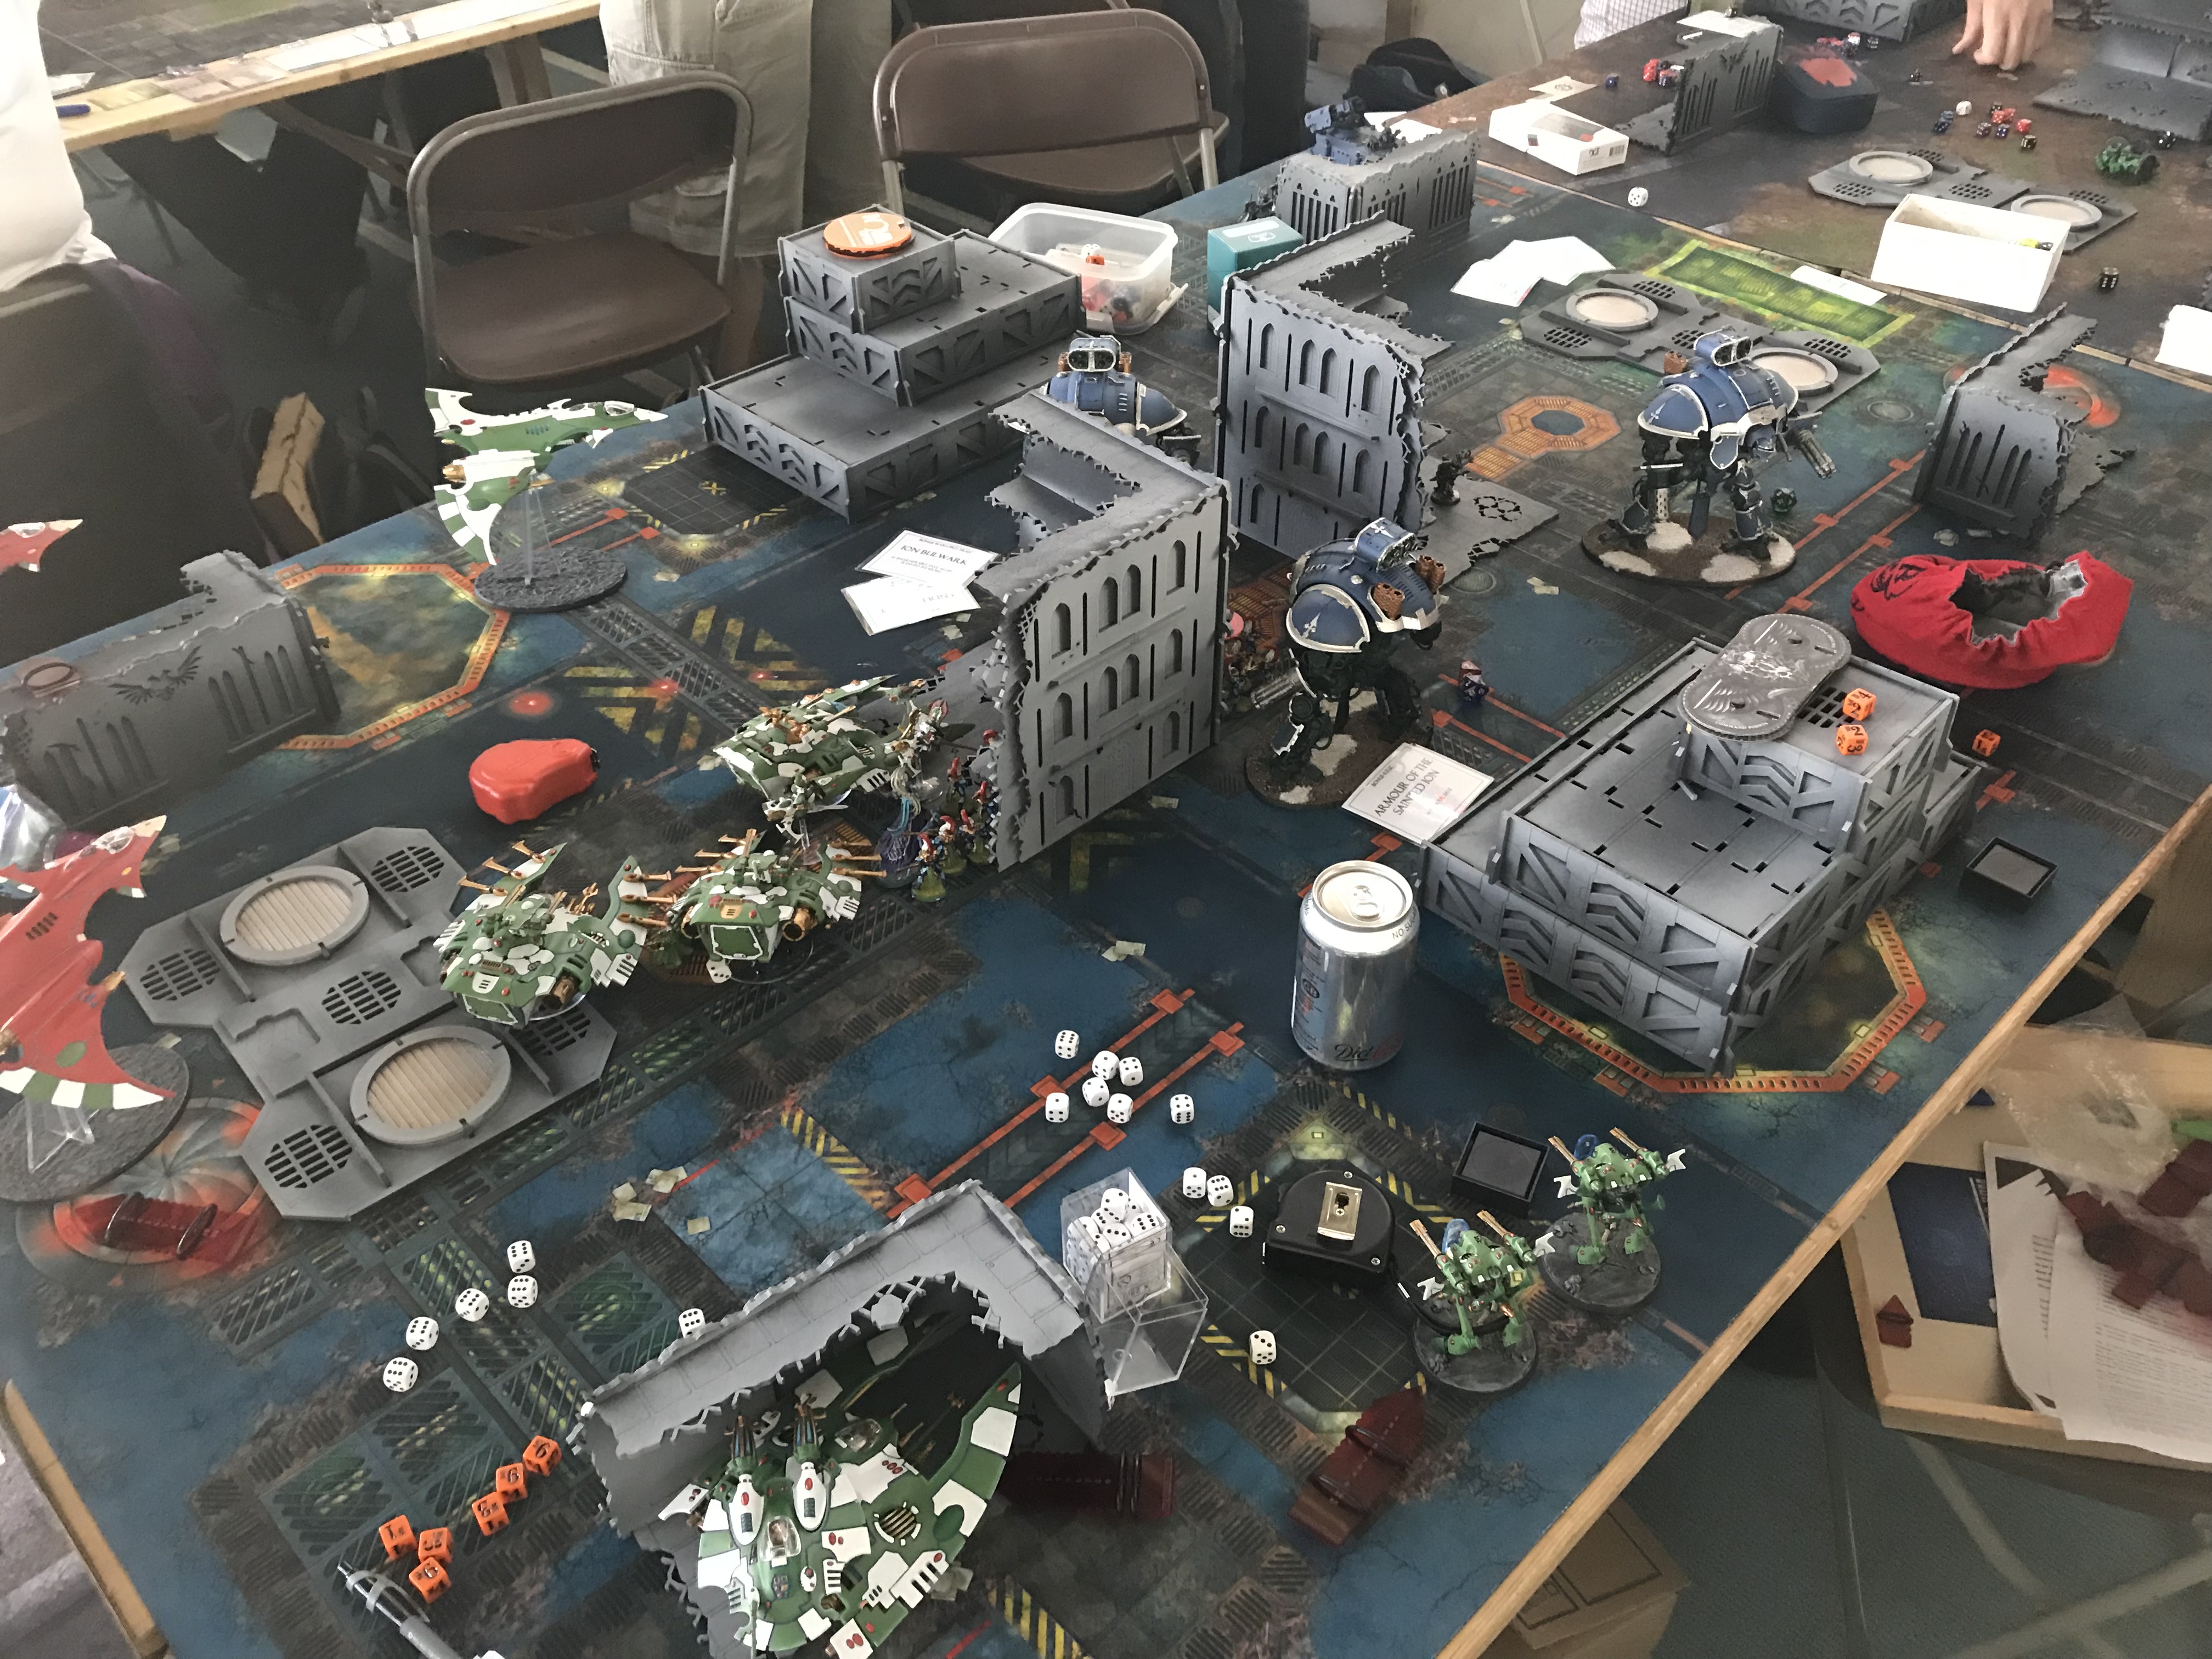
As previewed last week, this past weekend I’ve been at the LGT 2019. After a notoriously rocky event last year, the pressure was on the organisers to deliver a fantastic tournament experience, and the first bit of good news is that (with the exception of the food catering) they nailed it – just under 400 players showed up and played five rounds in good time on good quality terrain that both looked nice and worked pretty well for gaming (outside a few niggles about the rules for square hills). For those of us playing in the UK this is fantastic news, as having a local “grand slam” level event is really important for the competitive scene, and another year like the last one would quite likely have killed off the event.
I had a blast at this one. I think we can now be confident that the LGT will be back next year, which is good news for UK (and european) 40K fans.
What’s also good news for 40K fans, specifically the ones reading this, is that you now get a bumper helping of tournament report content, as not only will I be covering the main GT, today you also get the rundown of my (sadly only one, as you might have seen from the coverage) game in the invitational. Normally I cover games 1-3 in the first part of these, but today we’ll instead cover the invitational game and the first two rounds of the main event. Is that going to break the narrative flow slightly? Probably, but it’s the most obvious way to do it. I’ll guess I’ll try and win the invitational next time so it can be it’s own report!
For each round we’ll cover the following:
- The Competition – Details of my opponent’s army
- The Mission – Details of mission and deployment
- The Plan – how I aimed to play out the game and target priorities.
- The Summary – how the game played out at a high level
- The Takeaways – points of interest and things I learnt from the game
- The Score – my score after the game.
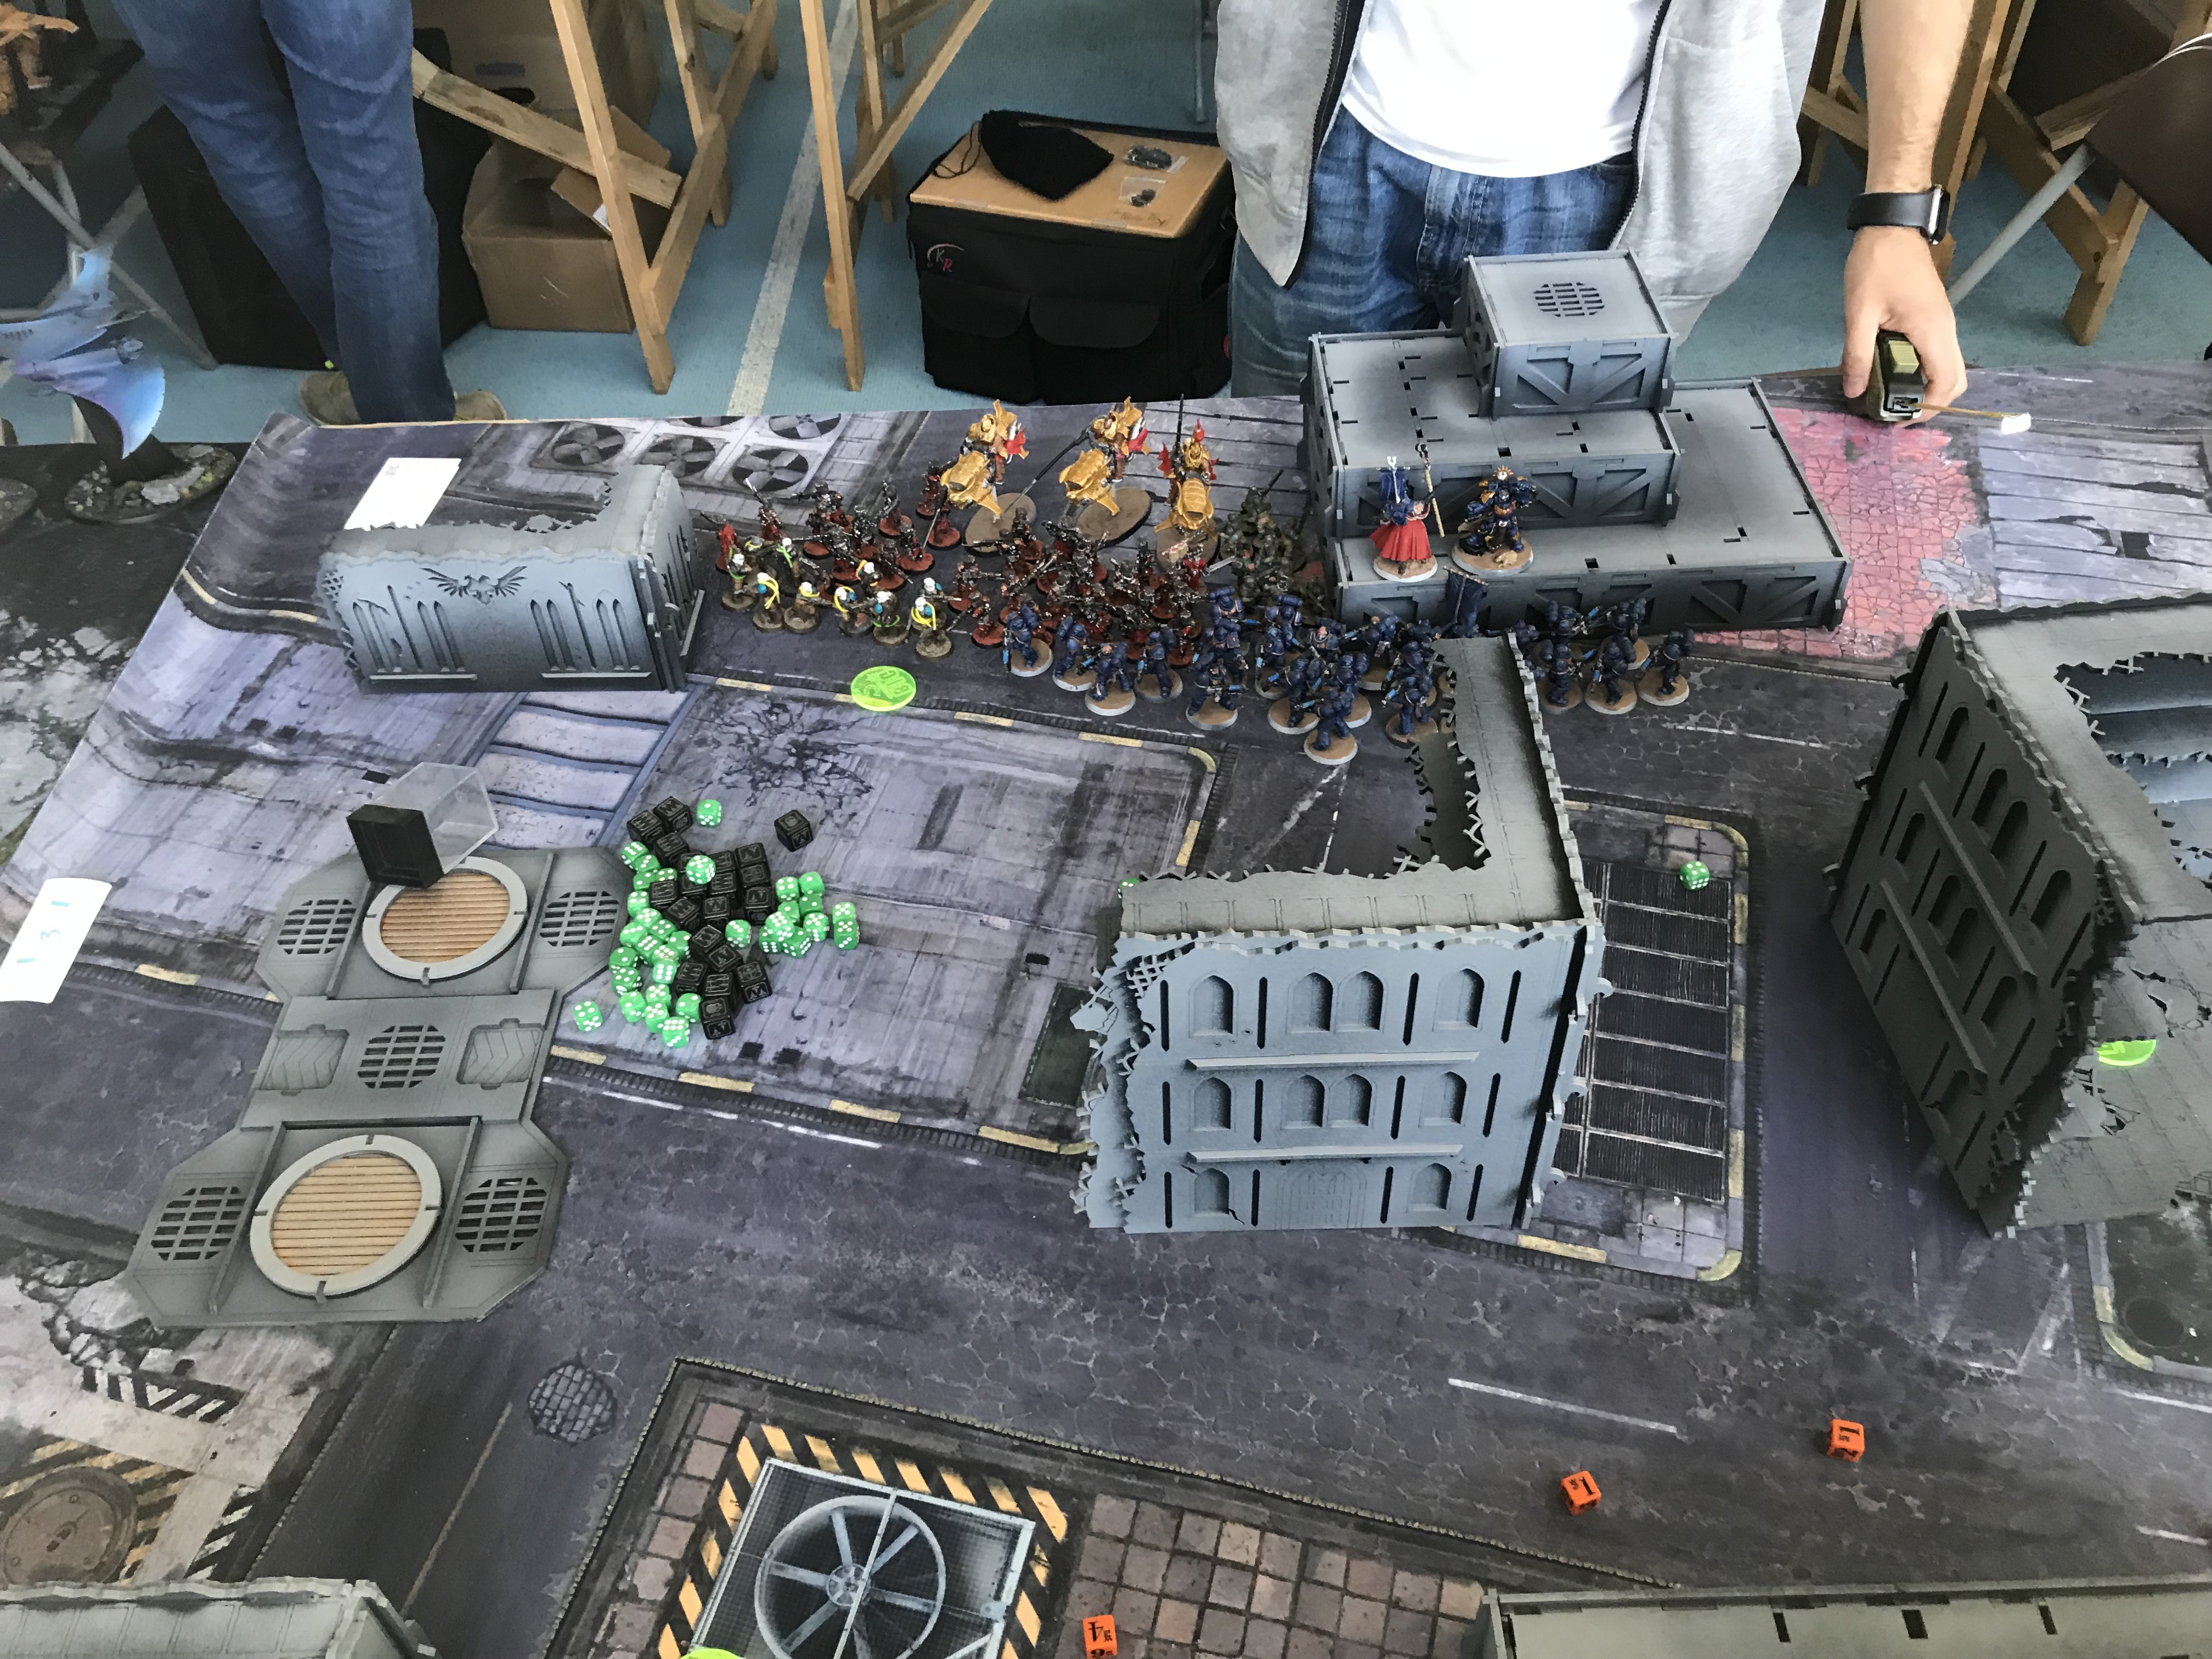
Invitational – Frankie Giampapa – Genestealer Cults
The Competition
Army List - Click to expandBattalion Detachment 5CP (Genestealer Gult) [ 63pl, 939pts ]
Rusted Claw:
+HQ+
Jackal Alphus [4pl, 70pts ] Jackal sniper rifle, autopistol, and blasting charges
Patriarch [8pl, 137pts ] Warlord, Mounstrous rending claws, 1x The Crouchling
+Troop+
Brood Brothers Infantry Squad [3pl, 40pts ] x9, Brood Brothers Leader, Las Pistol, Lasgun, Frag grenades
Brood Brothers Infantry Squad [3pl, 40pts ] x9, Brood Brothers Leader, Las Pistol, Lasgun, Frag grenades
Brood Brothers Infantry Squad [3pl, 40pts ] x9, Brood Brothers Leader, Las Pistol, Lasgun, Frag grenades
+Elite+
Kelermorph [3pl, 60pts ] Liberator autostubs, cultist knife
+Fast Attack+
Atalan Jackals [13pl, 174pts ]x12, Atalan Wolfquad x2, Mining laser x2, Shotgun, Atalan Leader, Cultist Knife
Atalan Jackals [13pl, 179pts ]x10, Atalan Wolfquad x2, Mining laser x2, Shotgun, Atalan Leader, Cultist Knife, Demolition Charge x5
Atalan Jackals [13pl, 199pts ]x12, Atalan Wolfquad x2, Mining laser x2, Shotgun, Atalan Leader, Cultist Knife, Demolition Charge x5
Battalion Detachment 5CP (Genestealer Gult) [ 20pl, 318pts ]
Rusted Claw:
+HQ+
Acolyte Iconward [3pl, 53pts ] Autopistol, rending claw, blasting charges
Patriarch [8pl, 137pts ] Mounstrous rending claws, 1x Familiar
+Troop+
Brood Brothers Infantry Squad [3pl, 40pts ] x9, Brood Brothers Leader, Las Pistol, Lasgun, Frag grenades
Brood Brothers Infantry Squad [3pl, 40pts ] x9, Brood Brothers Leader, Las Pistol, Lasgun, Frag grenades
Brood Brothers Infantry Squad [3pl, 40pts ] x11, Brood Brothers Leader, Las Pistol, Lasgun, Frag grenades
Battalion Detachment 5CP (Genestealer Gult) [ 38pl, 743pts ]
Four-Armed Emperor:
Vigilis Defiant :Deliverance Broodsurge
+HQ+
Acolyte Iconward [3pl, 53pts ] Autopistol, rending claw, blasting charges
Primus [4pl, 75pts ] Needle Pistol, bonesword, toxin injector claw, blasting charges
+Troop+
Brood Brothers Infantry Squad [3pl, 40pts ] x9, Brood Brothers Leader, Las Pistol, Lasgun, Frag grenades
Acolyte Hybrids [11pl, 230pts ] x19, Acolyte Leader, autopistol, cultist knife, rending claw, blasting charges, cult icon, heavy rock saw x8
Acolyte Hybrids [11pl, 230pts ] x19, Acolyte Leader, autopistol, cultist knife, rending claw, blasting charges, cult icon, heavy rock saw x8
+Elite+
Kelermorph [3pl, 60pts ] Liberator autostubs, cultist knife
Well I guess a “soft” first round in the invitational was always going to be a bit much to hope for. Frankie’s somewhat unique Genestealer cult list is one I absolutely love. Waaay back in our own Genestealer Cults Codex review I was much higher on Rusted Claw bikes than a lot of other people were at the time just because of how cheap they are for their level of durability, and this is something this list uses to full effect. Chewing through a bike squad is going to be the work of most of a turn for a lot of armies, and the list still has the standard threat of two waves of Acolyte Hybrids to kick an opponent while they’re scrambling to deal with the bikes. It also has a couple of Kelermorphs ready to come in and blow apart any unsuspecting buff characters that stray out of cover.
The one saving grace for me is that this version of the list doesn’t bring any summon points. The threat of a summoned Kelermorph or Sanctus on turn 1 would be a real headache for my army, and probably force me to consider taking the first turn to start mitigating it, something I (probably) don’t want to do.
The Mission
ITC Mission 1 – Seize Ground (six objectives, bonus for holding/contesting 5)
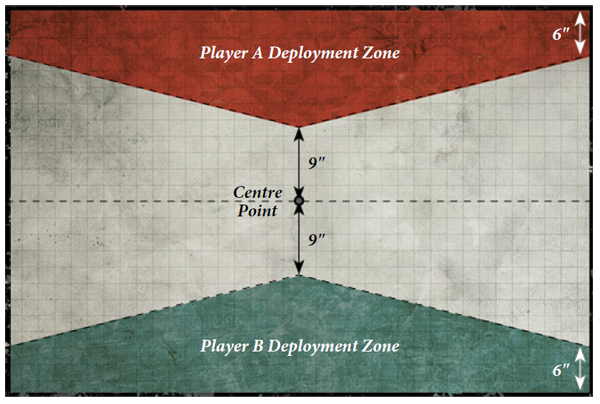
Frontline Assault deployment
The Plan
So, my army does have the tools to fight this list but Genestealers are always going to be a tough matchup, and this mission is absolutely my least favourite for the game. One of GSC’s strengths is the ability to control the board, and Seize Ground rewards that heavily. In combination with the deployment, he has the ability to control a lot of space past the first turn unless I seriously whittle down his army.
It also doesn’t really feed into my plan, which is to mostly castle up in a corner and focus on deleting his army. The LGT terrain’s corner ruin pieces are very helpful in this matchup as they give me a place I can protect all my characters from a Kelermorph using “Lying in Wait” as I can bubble out 3″ gaps behind one, and it blocks LOS from two directions.
Around my characters I want to set up the “Runes of Witnessing” bubble (a 2CP strat to give a Farseer a re-roll 1s to wound bubble for a phase). If I set up on the side of the board where the middle L-block is “open” towards me (so on the right hand side of the board) then this bubble full of scatter lasers has sight lines on 4/6 of the objectives on the board, and are going to absolutely mince many units, especially the Brood Brother squads he’ll be wanting to use to hold the backline. The War Walkers can also Forewarned a squad of Acolytes (he’ll almost certainly 4AE it, but it at least draws that out).
I won the roll off and chose to go second, so to complement this setup I put my planes over on the left, planning to fly them up and form a three point wall to stop him being able to bring in Acolytes profitably on T2. Two planes then cross over on my T2, and I push up a Wave Serpent to form the third point, meaning that on T3 he still can’t bring in Acolytes to wrap units. Also on the left I had a Wave Serpent with one squad of Storm Guardians, threatening to cap two objectives on turn 1 unless he committed something to deal with them.
One thing I missed while doing this (and credit to Frankie he did clearly vocalise this when setting this up in the game, I was just too hyped up to notice) is that the LGT didn’t adopt the NOVA ruling on “They Came from Below”, meaning that units it was used on could be held past T3. My plan is still the right one, but it does change the priorities slightly. Probably what I would have done differently with that in mind is rather than setting up the Storm Guardians in a Wave Serpent on the left flank, just have both the Storm Guardians and Rangers on foot in the left corner ruin, threatening to pop out and obsec the nearby objective on consecutive turns. That frees up an extra Serpent for castle duty.
I added the Phoenix Gem to my Autarch with a CP, as it gives him an extra way to take down a Patriarch if he charges and narrowly misses the kill.
My Secondaries
- Reaper
- Headhunter
- Kingslayer (warlord Patriarch)
Their Secondaries
- Big Game Hunter
- Recon
- Behind Enemy Lines
The Summary
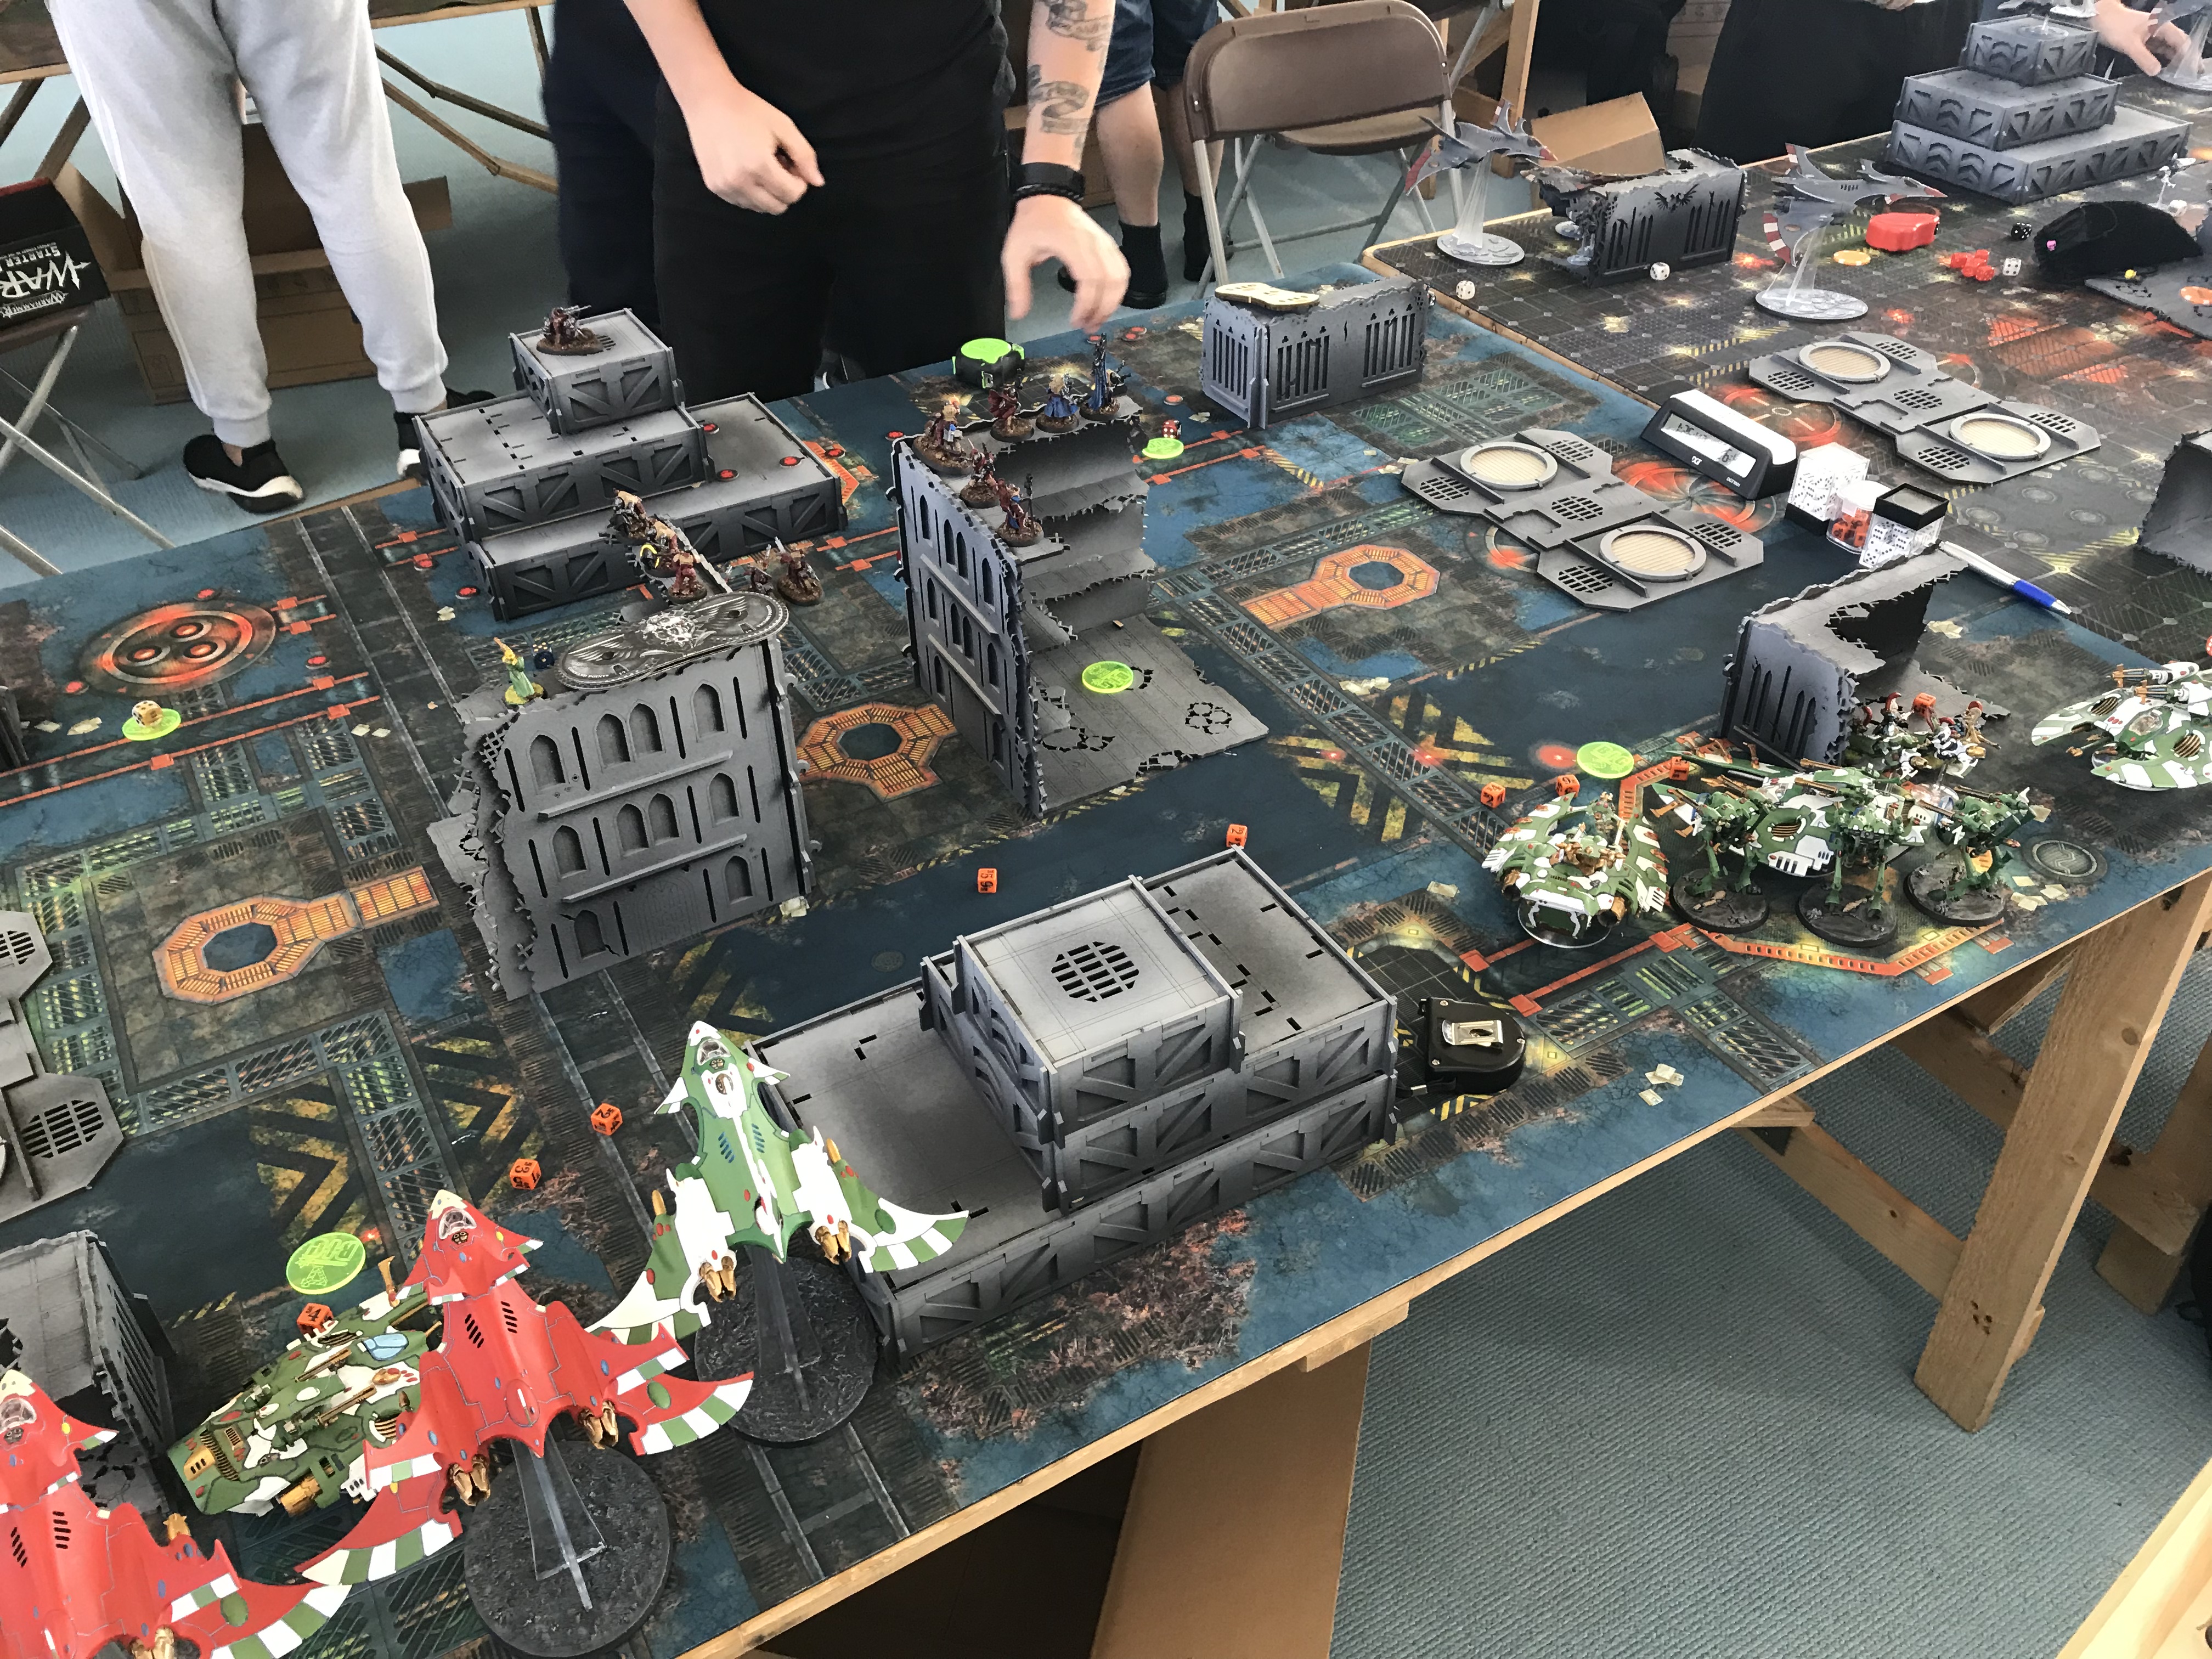
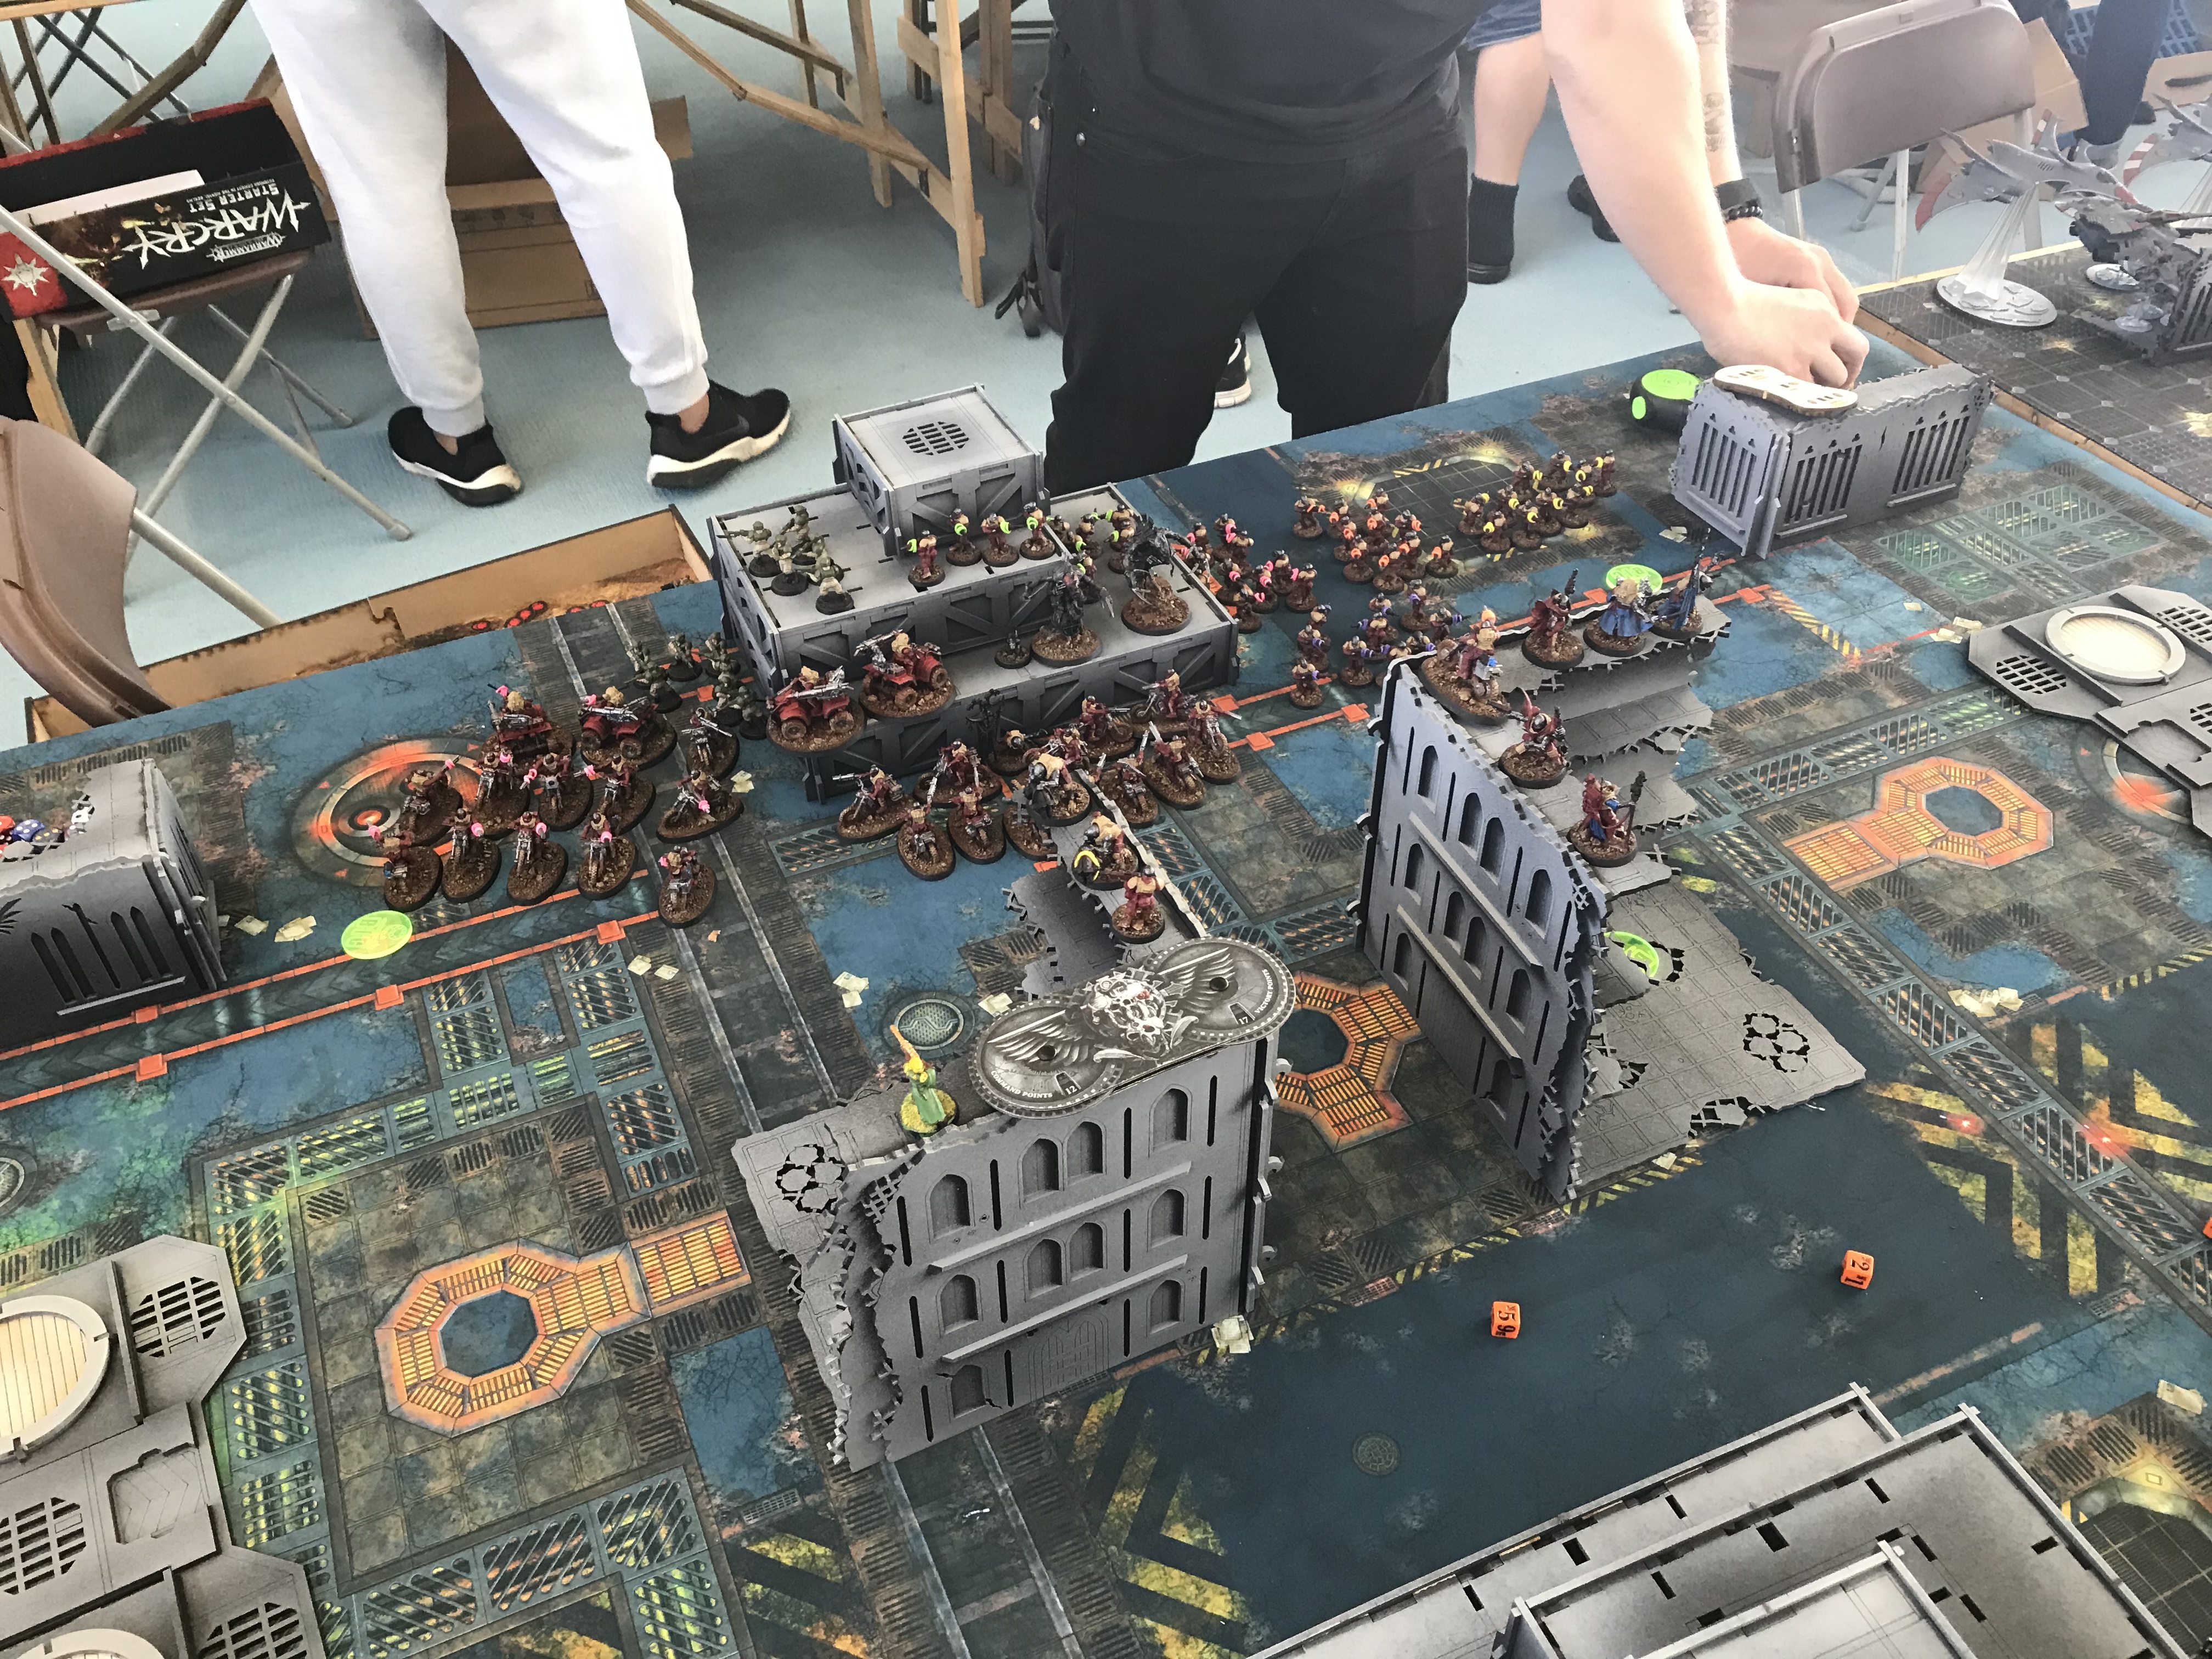
The game kicked off extremely according to plan. Having put him on first turn, his only real outs for a T1 kill were to high-roll on mining lasers, which he didn’t. Better yet, on the back objective on the right flank he’s left only two squads of Brood Brothers holding it, meaning that as long as I could delete them via judicious application of runesed-up scatter lasers (which I did) I could secure hold more on T1 by pushing a squad of Dire Avengers onto my near-middle objective, which I did. This meant I got hold and kill more for T1 (by obseccing the left objective away from the bikers with my Storm Guardians), while also deleting some bikes, about the best possible start to the game. Unfortunately I’d made one small error in positioning that was about to cost me big.
See those Dire Avengers near the Hemlock? A couple of them need to be, oh, say two inches off to the right, so that they’re within 1″ of the Hemlock’s base to stop it getting mind controlled. I knew about this trick going into the game, and if I’d gone first I’d been planning to fly two planes up with their bases within 1″, but I completely brain failed that I could and should do it with infantry as well.
He duly cast the mind control on an 11 and got the high roll to insta-kill one of my Crimson Hunters. This was a big blow, as it significantly impacted my screening ability. However, the game was far from over, especially as after that big spike his dice turned on him hard over the rest of this turn and his T3. His bikers failed to fully remove my hero Storm Guardians, and one of his Patriarchs completely face-planted an attempt to kill a Serpent. He also had to bring in a bike squad with “Lying in Wait” to try and take down my War Walkers, but only killed 1, hurting a second. This gave me a lot of tools to play with on my T2, butchering the bikes in my lines and whittling through more of his army and re-setting screens as best I could while down a plane. I also once again managed hold more.
The real problem for him came when his Acolytes that arrived on T3 completely whiffed – they rolled a one on Perfect Ambush then failed their re-rollable 6″ charge. Although his bikers did then wrap some stuff, this left a valuable Acolyte squad wide open to being slaughtered, and psychic plus melee from my Autarch also cut a swathe through the wrapping bikes and some of his characters. He had picked up the bonus a few times but I still had a good point lead at this point. The only serious blow was that some lucky shooting on consecutive turns from him downed my Hemlock.
Unfortunately for me, this is why being able to hold units till T4 is so good, because he was able to turn it round by bringing in a brutal set of running assaults from the other Acolytes from turn four, which is really where the game swung to his favour (you can always tell on an ITC scoresheet that things went bad if your opponent’s turn suddenly has all five boxes ticked). If I’d still had one or both of my dead planes up I might plausibly have been able to push back. In particular, he was reduced to holding the three objectives on the left of the board with a very strung out unit of Brood Brothers. Prior to the Hemlock getting spiked my plan had been for it, my remaining CH and the Night Spinner to focus on taking these out, leaving him forced to swing back real units to compete on holds, but without it that plan was dead. I still got some points on 4, 5 and 6, but thanks to not being able to clear that backline squad he was able to rack up enough points to overtake me and take the win.
The Takeaways
First thing to say is that this game was an absolute blast. There’s always a moment of trepidation when you’re going to play against someone internet famous that they’ll turn out to be a jerk in real life, and that’s about as far as possible from my experience here – this was a gloriously enjoyable, good humoured, fast paced and fun game throughout, and getting to meet and play against someone of Frankie’s calibre was just great all round.
In terms of strategic takeaways I really don’t think there’s much, as I think my plan was absolutely dead on. A huge amount of what went wrong here was down to two technical errors on my part:
- Not setting up to block Mind Control. Once I’d decided to grab the middle objective on that first turn (absolutely the right play, as securing early hold more is huge here), what I should have done is set up the Dire Avengers in a perfect crescent the shape of a plane’s base, and then flown it up to be directly in contact with them. That pulls double duty of stopping Mind Control and making the unit un-wrappable, as once the plane moves out there’ll be a huge space to retreat into. The Mind Control thing is well known and I should have got it right, the basing thing is a neat trick for when you want to hold an objective but don’t want to risk a wrap which I’m going to bank and remember.
- Not checking how LGT were ruling “They Came from Below” pre-game. Always check rulings that can break one of two ways pre-event kids!
In terms of units that performed, the War Walkers, Storm Guardian Serpent and smash Autarch all continued to show why they’re in the list. Even after one of them got taken out on turn 2, the War Walkers put in so much work, probably making back their points twice over through the course of the game. The Storm Guardian fun-bus continues to generally trade for a couple of turns of holding objectives plus distracting a modest portion of my opponent’s army for those turns. If they don’t commit the right forces, the Serpent can also often bug out and rejoin the rest of the army, as chaff clearers won’t kill one. Finally, the Autarch did some high octane murders before finally being torn apart by rock saws – the Phoenix Gem is also fast becoming a favourite buy on him.
The Score
Primary: 16-21
Secondary: 12-12
Total: 28-33
Not the result I wanted but also far from a shameful showing. Maybe next time!
The Rest of the Day
One of the nice things about the substantially more positive vibes coming from the whole event, and there being lots of tables of good terrain set up, was that it meant a bunch of tourney regulars started trickling in raring to play some 40k. After navigating an eldritch business-park labyrinth to drop my car off at the hotel (because while the catering on site was a bit naff the beer was cheap and good), I got a lift back to the venue and managed to squeeze in some warmup matches against UK tournament regulars Jay Middlecote and Beth Taylor. Two fun, challenging games ensued, leaving me charged up and ready to go for the next day. I also ended up as part of a late night tour round north London in search of McDonalds. After bypassing the first one we found (henceforth known as the Murder Maccies thanks to the large numbers of police cars surrounding it) we eventually succeeded in this quest, and returned to the hotel to rest up for day 1 of the main event.
LGT Round 1 – Imperium
The Competition
Army List - Click to expand++ Battalion Detachment +5CP (Imperium - Astra Militarum) [23 PL, 344pts, 7CP] ++ + No Force Org Slot +
Battle-forged CP [3CP]
Detachment CP [5CP]
Regimental Doctrine: Regiment: Catachan
Vigilus Defiant [-1CP]: Emperor's Conclave Infantry Company
+ HQ +
Colonel 'Iron Hand' Straken [4 PL, 75pts]
Company Commander [2 PL, 34pts]: Emperor's Conclave, Power sword, Shotgun + Troops +
Infantry Squad [3 PL, 40pts]: Emperor's Conclave . 9x Guardsman
. Sergeant: Laspistol
Infantry Squad [3 PL, 40pts]: Emperor's Conclave . 9x Guardsman
. Sergeant: Laspistol
Infantry Squad [3 PL, 40pts]: Emperor's Conclave . 9x Guardsman
. Sergeant: Laspistol
Infantry Squad [3 PL, 40pts]: Emperor's Conclave . 9x Guardsman
. Sergeant: Laspistol
Infantry Squad [3 PL, 40pts]: Emperor's Conclave . 9x Guardsman
. Sergeant: Laspistol
+ Elites +
Ministorum Priest [2 PL, 35pts]: Chainsword, Emperor's Conclave, Laspistol
++ Supreme Command Detachment +1CP (Imperium - Adeptus Custodes) [27 PL, 480pts, 1CP] ++ + No Force Org Slot +
Detachment CP [1CP]
+ HQ +
Shield-Captain on Dawneagle Jetbike [9 PL, 160pts]: Hurricane Bolter
Shield-Captain on Dawneagle Jetbike [9 PL, 160pts]: Hurricane Bolter
Shield-Captain on Dawneagle Jetbike [9 PL, 160pts]: Hurricane Bolter
++ Spearhead Detachment +1CP (Imperium - Space Marines) [50 PL, 1,176pts, 3CP] ++ + No Force Org Slot +
**Chapter Selection**: Ultramarines Detachment CP [1CP]
+ HQ +
Librarian [5 PL, 88pts]: Boltgun, Force stave Marneus Calgar [11 PL, 200pts, 2CP]: Warlord + Elites +
Company Ancient [4 PL, 63pts]: Boltgun + Heavy Support +
Hellblaster Squad [12 PL, 330pts]: Plasma incinerator . 9x Hellblaster
. Hellblaster Sergeant: Bolt pistol
Hellblaster Squad [12 PL, 330pts]: Plasma incinerator . 9x Hellblaster
. Hellblaster Sergeant: Bolt pistol
Hellblaster Squad [6 PL, 165pts]: Plasma incinerator . 4x Hellblaster
. Hellblaster Sergeant: Bolt pistol
He purchased the Auric Aquilis for one of his bikes and also used Blood Games on a couple.
The Mission
ITC Mission 1 – Seize Ground (six objectives, bonus for holding/contesting 5)
Frontline Assault deployment
The Plan
Imperial soup with Custodes bikes is a matchup I’ve played tonnes, and the plan is very simple:
- Delete the Infantry Squads to constrict his ability to board control.
- Draw the Custodes into slamming into some Wave Serpents on the periphery of my castle.
- Delete them with Mortal Wounds
- Mop up
This isn’t especially complicated or exciting, but my list excels in this matchup – in my overwhelming experience, no player on the other side has ever realised quite how rapidly the bikes will melt once they’re in my lines (this is exactly the sort of matchup where Yvraine helps a lot). The Hellblasters are a new extra frisson of excitement, but the fact they still die on modified hit rolls of 1 make them very weak against me, as if they overcharge into a plane I can make them die on 4s with Lightning Fast, and at that point half of them are dying even with Chapter Master active. Wave Serpents are also very resilient to them, so overall, this shouldn’t be too tough – I can basically just plan to bait and neutralise his only mobile threat and then mop him up.
I bought the Shimmerplume (-1 to hit him) for my Autarch here, as it increases his chances of getting through a round of combat with a Custodes captain unscathed, and means Hellblasters have to think twice before they overcharge into him.
My Secondaries
- Recon
- Headhunter
- Old School
Their Secondaries
- Big Game Hunter
- Butcher’s Bill
- Headhunter
The Summary
I won the roll and chose to go second. Once I’d seen where he’d put his Guard I set up the runes bomb opposite him (just far enough back to ensure no T1 charges from the Custodes). He’d not deployed much on the right flank, so I put the planes and the storm bus over there to threaten to push the objectives.
He used Ultramarine Phantasm to shift his Marines across so they could take pot shots at my planes and kicked off his first turn.
He lined up as many plasma shots as possible on the Hemlock and overcharged into it, and I naturally popped LF. He overperformed quite a bit and nearly got it (at a cost of four incinerated Hellblasters) but missed the kill.
My planes moved up, the Hemlock to trade for some Hellblasters, one CH to take Recon behind him (now that the bikes had moved up) and the other as far away from danger as possible. Meanwhile, most of my Dire Avengers disembarked to set up the Runes shooting phase. The storm bus moved to the middle objective while the rangers popped out onto the back one.
I deliberately didn’t smite with the Hemlock because it was on one or two wounds and there was a risk it would kill a Hellblaster and die if he got to shoot from the Ancient trigger, while elsewhere my casters mostly picked some MWs off one Guard squad and Doomed and Jinxed another extremely unlucky one.
In the shooting phase, I runesed up and deleted three squads of Guard, leaving his characters looking very lonely.
My Hemlock then picked off another four Hellblasters before finally being downed by their banner shooting. The CHs and Night Spinner picked up a few more. Overall, it was a very pleasing turn of shooting and left him looking pretty thin on the ground.
This left him needing the Bike Captains to spectacularly overperform for a turn to spin things around (we’re talking “kill two Wave Serpents and have both blow up in my lines” level). They picked up a few Dire Avengers in shooting and put some hurt onto some Serpents, but because my tanks have the magic T7 where their output drops off massively, didn’t really manage to do enough.
On my turn I focused on deleting them, swinging my planes back round so they could assist if needed. I prioritised pounding mortals from psychic and Serpent Shields into the one with the 3++, and loaded up Doom and Jinx onto the others, and successfully evaporated them, with some shooting spare to eliminate more Hellblasters.
That was basically game over, though on his T3 (combined with my Autarch getting into a fight with Calgar while trying to kill a Librarian on my turn) he did nick a point of kill more off me. However, I locked in the bonus from 3, and was doing stuff like making risky Autarch charges because I was in mop-up mode – the Autarch was going out in a blaze of glory after zooming up and melting the Ancient with his guns so I could pick the remaining Hellblasters off with impunity. My plan to stagger mopping up over a few turns was then thwarted, because all his remaining stuff charged into my Wave Serpent, which exploded to take out Calgar, the Librarian and the last Hellblaster, leaving only a badly wounded Company Commander on the board. I picked this up, and the game was done.
The Takeaways
Not much to see here (you’ve basically read this battle report many times before) other than acknowledging that oh boy do full re-rolls on Chapter Master make a big difference against Alaitoc planes. I much prefer the way the new re-rolls work as the old rule was super counter intuitive, but I really hope some sort of Alaitoc re-write is coming up (presumably it will shortly be the Raven Guard version), because the value of its main defensive gimmick has absolutely nose-dived with the advent of new Marines and Chaos Knights.
The Score
Primary: 25-8
Secondary: 12-6
Total: 37-14
LGT Round 2 – Imperium
The Competition
Army List - Click to expand++++++++++++++++++++++++++++++++++++++++++++++++++++++++++++++++++++
+Player: Tom Leighton
+REPORTED ARMY FACTION: Imperium
+TOTAL COMMAND POINTS: 15
+TOTAL ARMY POINTS: 1,997
+POWER LEVEL: 113
+ARMY FACTIONS USED: Space Marines, Imperial Knights, Adeptus Mechanicus +TOTAL REINFORCEMENT POINTS: 0 ++++++++++++++++++++++++++++++++++++++++++++++++++++++++++++++++++++
== Spearhead Detachment == Space Marines, Ultramarines [20PL, 428pts] 1 CP HQ: Sergeant Chronus (30): [2PL] [30pts]
HS: Thunderfire Cannon (55): Techmarine Gunner [Warlord] (26), Flamer (6), Plasma Cutter (5), 2 Servo Arms (0): [4PL] [92pts]
HS: Thunderfire Cannon (55): Techmarine Gunner (26), Flamer (6), Plasma Cutter (5), 2 Servo Arms (0): [4PL] [92pts]
HS: Thunderfire Cannon (55): Techmarine Gunner (26), Flamer (6), Plasma Cutter (5), 2 Servo Arms (0): [4PL] [92pts]
HS: Whirlwind Hyperios (90): Hyperios Launcher (30), Storm Bolter (2) : [6PL] [122pts]
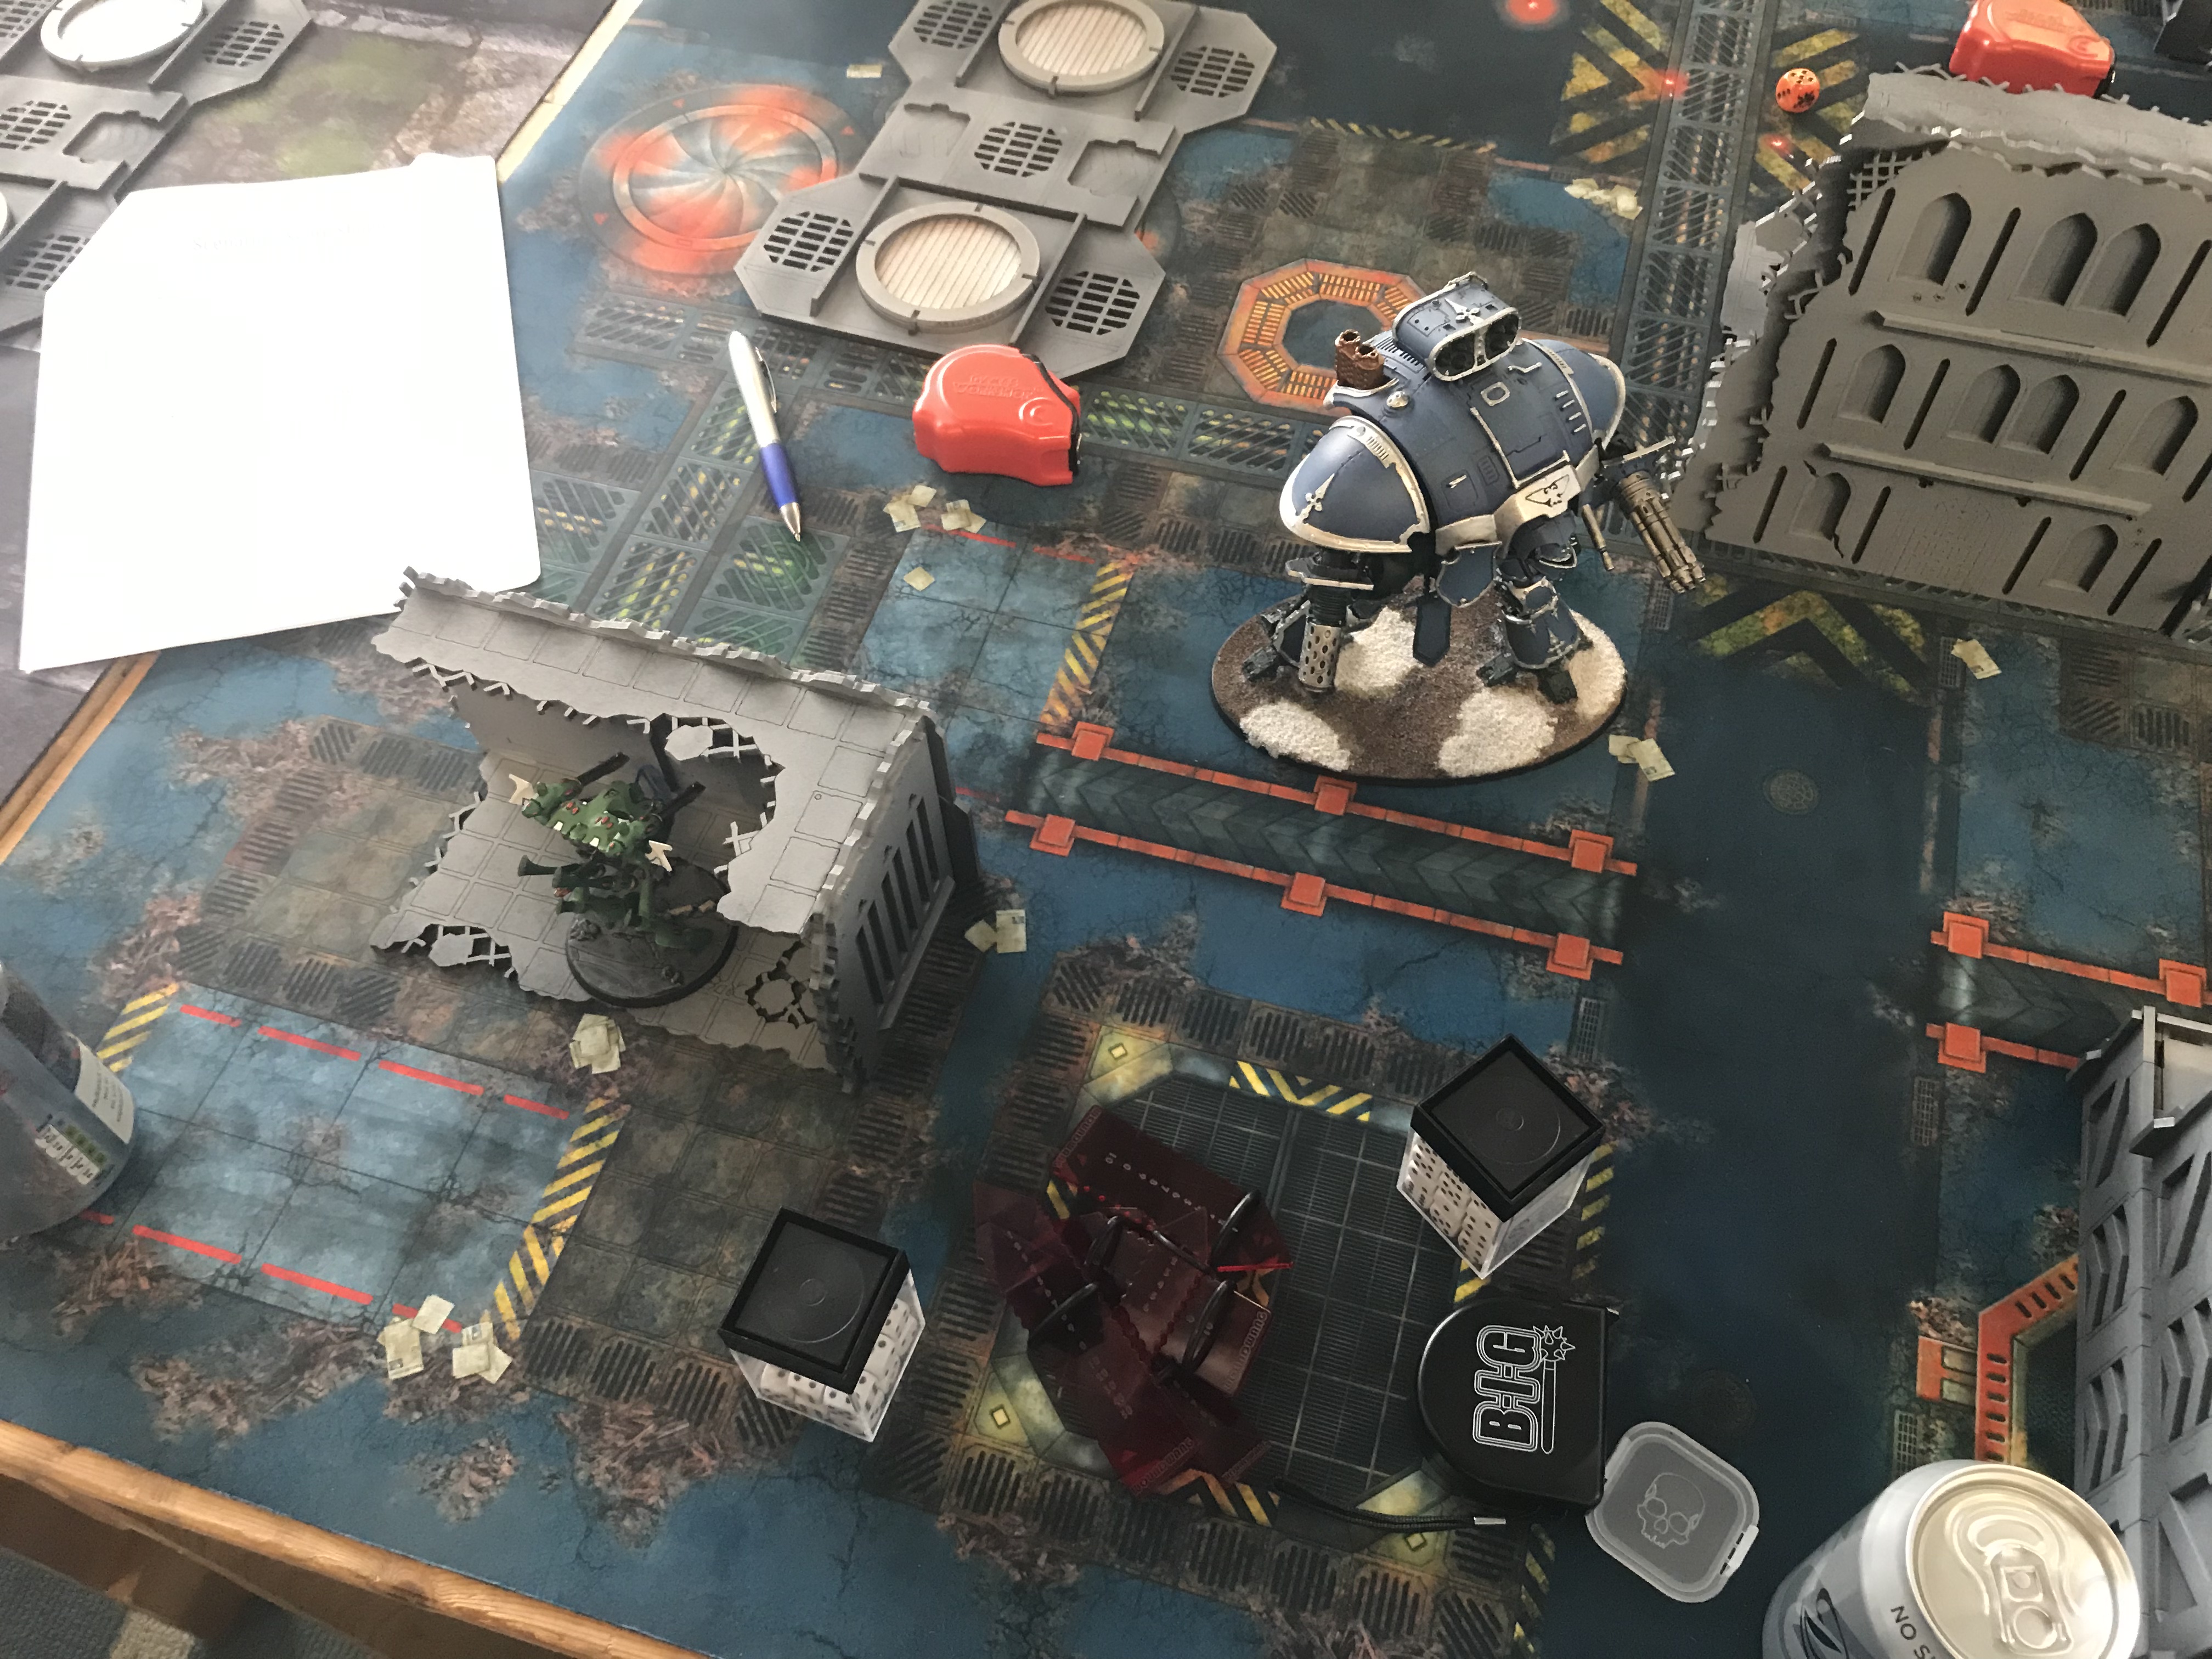
== Super Heavy Detachment == Imperial Knights, House Taranis [75PL, 1,404pts] 6 CP
LOW: Knight Crusader (285): Thermal Cannon (76), Avenger Gatling Cannon (75), Ironstorm Missile Pod (16), Heavy Flamer (14), Heavy Stubber (2): [25PL] [468pts]
LOW: Knight Crusader (285): Thermal Cannon (76), Avenger Gatling Cannon (75), Ironstorm Missile Pod (16), Heavy Flamer (14), Heavy Stubber (2): [25PL] [468pts]
LOW: Knight Crusader (285): Thermal Cannon (76), Avenger Gatling Cannon (75), Ironstorm Missile Pod (16), Heavy Flamer (14), Heavy Stubber (2): [25PL] [468pts]
== Battalion Detachment == Adeptus Mechanicus, Graia [18PL, 165pts] 5 CP
HQ: Tech-Priest Enginseer (30): Omnissian Axe (0), Laspistol (0), Servo-arm (0): [3PL] [30pts] HQ: Tech-Priest Enginseer (30): Omnissian Axe (0), Laspistol (0), Servo-arm (0): [3PL] [30pts]
TR: 5 Skitarii Rangers (35): 5 Galvanic Rifles (0): [4PL] [35pts]
TR: 5 Skitarii Rangers (35): 5 Galvanic Rifles (0): [4PL] [35pts]
TR: 5 Skitarii Rangers (35): 5 Galvanic Rifles (0): [4PL] [35pts]
ARMY REINFORCEMENT POINTS: 0
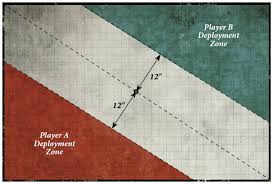
Round two saw me up against Team Wales powerhouse and Honest Wargamer stream presenter Tom Leighton. I’ve been itching to get in a game against Tom for a while, and was very excited for this. It was also a chance to see some more Ultramarines toys out on the table, this time Thunderfire Cannons (which I was very high on from my reviews) and Chronus in a Whirlwind (though at least not the stupid Scorpius).
Tom did something clever which is yet more reason to include them, which is to scatter a warlord trait and a relic among the Techmarines, picking up “Adept of the Codex” for CP farming and the Seal of Oath, meaning all of that artillery was going to be getting re-rolls against one of my units. Given my army is relatively “low to the ground” this doesn’t affect me super much, but against someone running something like a Plaguebearer horde it could be devastating.
He also gave toys to two of the Knights, one picking up the Sainted Iron, and another Ion Bulwark and Endless Fury.
The Mission
ITC Mission 2 – Cut to the Heart (3 objectives, one centre, two player placed, bonus for holding your opponent’s)
Vanguard Strike deployment
The Plan
The deployment and mission help me a lot here, especially as he won the roll off. My army performs well in Cut to the Heart, as it has sufficient depth to hold onto the home objective and lots of expendable things it doesn’t mind cycling onto the centre. While I would obviously choose to go first in this matchup if I could, it gives me a reasonable game plan going second, which is to try and focus on trading units for “hold more” early on while I (hopefully) chew through the Knights, and then clean up in the late game. This is another game where Yvraine is an all star, as extra MW output against the Knights is critical. She’s also specifically helpful against Taranis as you often need to knock a Knight back down in your next psychic phase when one gets up.
Where possible in this matchup I like to try and swing hard to one flank, and here I want to try and bait him into coming mostly round to the right of the L block and swing the other way. He’d also made the choice to entirely back-line his Skitarii to deny me access to kills, which is a solid strategy given he’s Taranis. I was excited for the game, but going second it was going to potentially be quite up hill.
My Secondaries
- Kingslayer (Endless Fury knight)
- Titanslayers
- Headhunter
Their Secondaries
- Old School
- Big Game Hunter
- Butcher’s Bill
The Summary
I got an outrageously good start here – I Prepared Positions and had set up my planes so he couldn’t fully focus fire them, and combining that with judicious use of Lightning Fast means that he missed getting a turn 1 kill. This was exceptionally good for me as it meant he missed an unsalvageable point of Old School and took the pressure off me reaching for a kill (in additional to “killing” a Knight) turn 1. I responded by swinging left and melting his Bulwark/Endless Knight. This went alarmingly well – so well it turned out I’d overcommitted, as I’d backlined my CHs to avoid being shot by other Knights next turn, but when his first Knight got blasted for 10+ wounds in the psychic phase then mostly melted by the Hemlock, that looked a bit silly. I should have put them on the top hill – the other knights would still have been unable to get within 12″, and they could then have probably wasted a Thunderfire for a couple of VP (kill and kill more).
His Knight got back up, obviously, and they stomped in. I’d slightly messed up my positioning – I’d tried to screen my Warlock and Yvraine, but in both cases with very careful charges he could get them fractionally within an inch. His shooting downed the Hemlock, and his charge squished the Warlock, although Yvraine was lucky enough to make it through alive. On my turn I finished off the first Knight in psychic, but tragically failed my Doom cast despite backing out of Graia range. That was a big old problem, as while I then managed to do a lot to the second Knight it didn’t quite die – I got it down to four wounds and sent my Autarch in to see if he could be a hero, but tragically he only landed one wound. I still had a cunning plan of course – naturally he would die on the fightback and then consume the Knight in the Phoenix Gem explosion, but inevitably the Knight low rolled and fucked it, leaving it still alive in my lines (he could have used Taranis again but that would have left him bereft of CP later on).
It then acted on full and wreaked some havoc in my lines, killing Yvraine and a few other things, but failing to take out my Autarch in shooting. That forced it to charge back in, and while the Autarch died the Phoenix Gem did its job this time, taking the Knight with him. Unfortunately it exploded, doing substantial harm to my lines, and critically taking out an entire squad of Dire Avengers, leaving me shorter on things to take the middle objective than I’d like. My next turn saw another Doom failure, although this time for the more legit reason that he stopped it with Graia. With that in mind, I calculated that pulling off a high roll kill on Chronus with the CH was my best bet for the turn, but that did very little. Despite this, with only a Knight and two Tech Priests left as roving units, I still had enough Wave Serpents to cause him issues with holding the middle, as he was normally only managing to take one a turn out. Crucially, his last Knight also wasn’t a character, so I could land a Serpent to contest the middle objective without getting heroiced.
The game got pretty intense and tactical from there, especially as on T4 his attempts to kill anything failed for a second time in the game. I changed gears and spent the turn downing the two Tech Priests after lining up shots with my planes, securing kill more and some potentially crucial secondary points. It also switched off the Graia strat. His turn 5 was better, and what the game would come down to was whether my depleted army could take out the final Knight on 5. Tragically, the “game over” point was when I failed a Doom cast for the second time in the game, leaving the Knight alive on 5W remaining once everything I had left had been poured into it. It then got all the kills it needed on six, leaving him with a narrow score lead. My Farseer tried some last minute heroics to earn me a point by taking the Knight down, but despite landing Smite, Executioner and a witchblade wound, rolled a one, one and two on the damage to leave the knight glaring angrily at my last War Walker as the only models on the board.
The Takeaways
There are some good lessons here – my overall strategy was good but some of my micro was poor and needs improving. The things I should have done differently were:
1.) Deployed slightly further to the right so that I could break harder that way, and also set up so that I could get my Autarch into charge range of the Knight turn 1 – that way if it gets back up I can kill it again, substantially increasing the chance he either explodes or fails one of the rolls, and heavily draining his CP either way
2.) Double checked my anti-charge positioning more. This is mostly a corollary of 1 – the reason it was messed up is that I hadn’t deployed where I needed to, so couldn’t use the traditional Serpent safety triangle.
3.) Remembered not to overcommit on the first Knight. This is partially a legacy of one of my warmup games, where it took my absolute entire army including every Serpent shield to confirm a T1 knight kill. Here Yvraine high rolled and the robot just melted, and if I’d landed an early kill on something else that would have given me an even bigger early lead, and reduced the volume of artillery shots coming at me all game.
Overcommitting early (especially in a way that uses too much CP) will come up again later on as a theme for this event, and it’s the big learning point I’m trying to take away from it.
Once we’d got into the body of the game my play was much better, and I think I made the absolute best of a bad hand of failing some key casts to maximise my points. Tom played a blinder as well, dealing with his own waves of misfortune in failing to kill stuff on multiple turns, and his strategy of keeping the Skitarii out of the way proved an excellent one, as an easy kill on turn 1 plus any of several others would have been enough to tip the game my way.
This game was a fantastic experience and probably vying with my game against Frankie as my favourite from the event, and I hope I get a chance to match up against Tom again in the future.
Late Edit: I realise I’m putting this in before this actually makes it through our publication pipeline, but I figure calling this out separately helps show the post-game analysis process. Having had another day to think about it after writing this, I definitely didn’t respond properly to Tom’s bad turn 1. Normally in this matchup going second you can reasonably expect to be down a plane and a Serpent, at which point it’s critical to point your whole army at their best Knight to ensure you get it down to the point where you mop it up in psychic T2 after a res. You also have almost no way of getting “kill more”, so sacrificing a kill doesn’t matter hugely.
With Tom on 0 kills, I should have boosted my Hemlock into his backline and killed a Thunderfire, which it will do reliably (it can get past with an advance so the cannon is not getting cover and at that point only an extreme roll doesn’t get a kill). With all three Serpents and both Crimsons still up, I can still all but guarantee the Knight kill (or at least getting it low enough that it dies in psychic turn 2) even if I low roll. Two early VP plus a reduction his attrition shooting would have been huge, and I shouldn’t have passed on it, but it’s such a departure from how this game is “supposed” to go that it wasn’t super obvious either at the time or on a first write-up pass.
The Score
Primary: 11-14
Secondary: 10-10 (I missed 2x Headhunter, he missed First Strike from old school and 1pt of BGH because he had to use vehicle kills on Butcher’s)
Total: 21-24
Wrap Up
Normally this is where I say “and then I went back to my hotel”, but here we’re breaking live. Join me next week when we go through my final three games and what I want to do with my army next.
