
This article is part of our series looking at Unit Roles in 9th Edition. If you’ve just arrived, you might want to go check out the Introduction, which talks through what this series is about and how it’s going to work. Otherwise, read on.
Units in 9th Edition can usually be grouped into one of six roles, four “Primary” Roles and two “Secondary” Roles. The Primary Roles are crucial building blocks from which effective strategies are constructed, while units from Secondary Roles can either amplify the capabilities of other units or broaden the scoring options available to a list.
The roles are:
- Primary Roles:
- Position Holders
- Brawlers
- Elimination
- Attrition
- Secondary Roles:
- Objective Utility
- Force Multiplier
We will be running five articles that will be diving in to one or more roles, one each for the Primary Roles, then a joint piece for the Secondary Roles at the end. For each role, we’ll talk about what it is and how it’s used, some examples of standout units from it and how to play against it in the table. For each Primary Role, we’ll also take a look at a competitive army list that uses that role as the foundation of its strategy.
This is the third of those five articles, taking a look at the Attrition role.
Primary Role – Attrition
What They Were in 8th
Ranged Threat, Tarpit, Backfield
What They Are
Attrition units aim to inflict reliable damage over time while being tough to remove from the board. They don’t tend to do such extreme spike damage as Elimination units, but the trade-off is that they can either operate from hiding or have defences that make them tough to deal with. Many units in this category will operate at mid-long range, simply because standing up to 9th’s melee threats requires substantially crunchier defences than the ranged ones, but some types of Brawler can edge towards this as well, such as Blightlord Terminators.
With these, you generally want there to be a reliable cost to your opponent for every turn they get to keep existing, but for the decision to take them out to require such a significant commitment that it often isn’t “worth” it. Nasty psykers scattering Mortal Wounds around, artillery that can fire from behind a big rock, or just a very tough backline tank that will require your opponent to expose a valuable Elimination threat to a counterpunch to deal with all fit here.
Of the four Primary roles, Attrition is probably the least common to see used as a foundation for a strategy, and you can build a pretty good understanding of the core dynamics of 9th just by considering the other three. The reason for that is that the barrier for entry to make effective use of them is pretty steep – you need the Attrition units themselves to be exceptionally durable, and strong Position Holder and/or Brawler units to fight for control of the table while they do their work. An Attrition-based gameplan is going to be very vulnerable to your opponent being able to muster up a trump card to what you’re doing, so you need to have a backup plan, and a very clear understanding of what roles your Attrition units can fall back to in an emergency. Part of the reason that Eldar planes are having such a dire time of it right now is that in theory they should be able to play as Attrition threats, but being near-completely unable to interact with the objective game means that you have absolutely no backup plan if their support gets wiped.
When buidling around these as a core strategy, you generally want to be thinking about the While We Stand, We Fight secondary, as it can be very powerful in combination with many of these units, and are likely working to a very specific shell to make things work. Outside that, you do often see a single Attrition unit slotted into other lists, often of the “tough backline tank” variety, as being able to plonk something like a Whirlwind or Plagueburst Crawler on a home objective can be very valuable. When you field a unit like this, you’ve generally got much juicier and deadlier targets that are going to draw your opponent’s attention for most of the game, so this unit can rack up primary points and a respectable number of shooting kills with impunity (and if it has access to stratagems like Suppression Fire to double dip as a Force Multiplier, all the better).
Examples
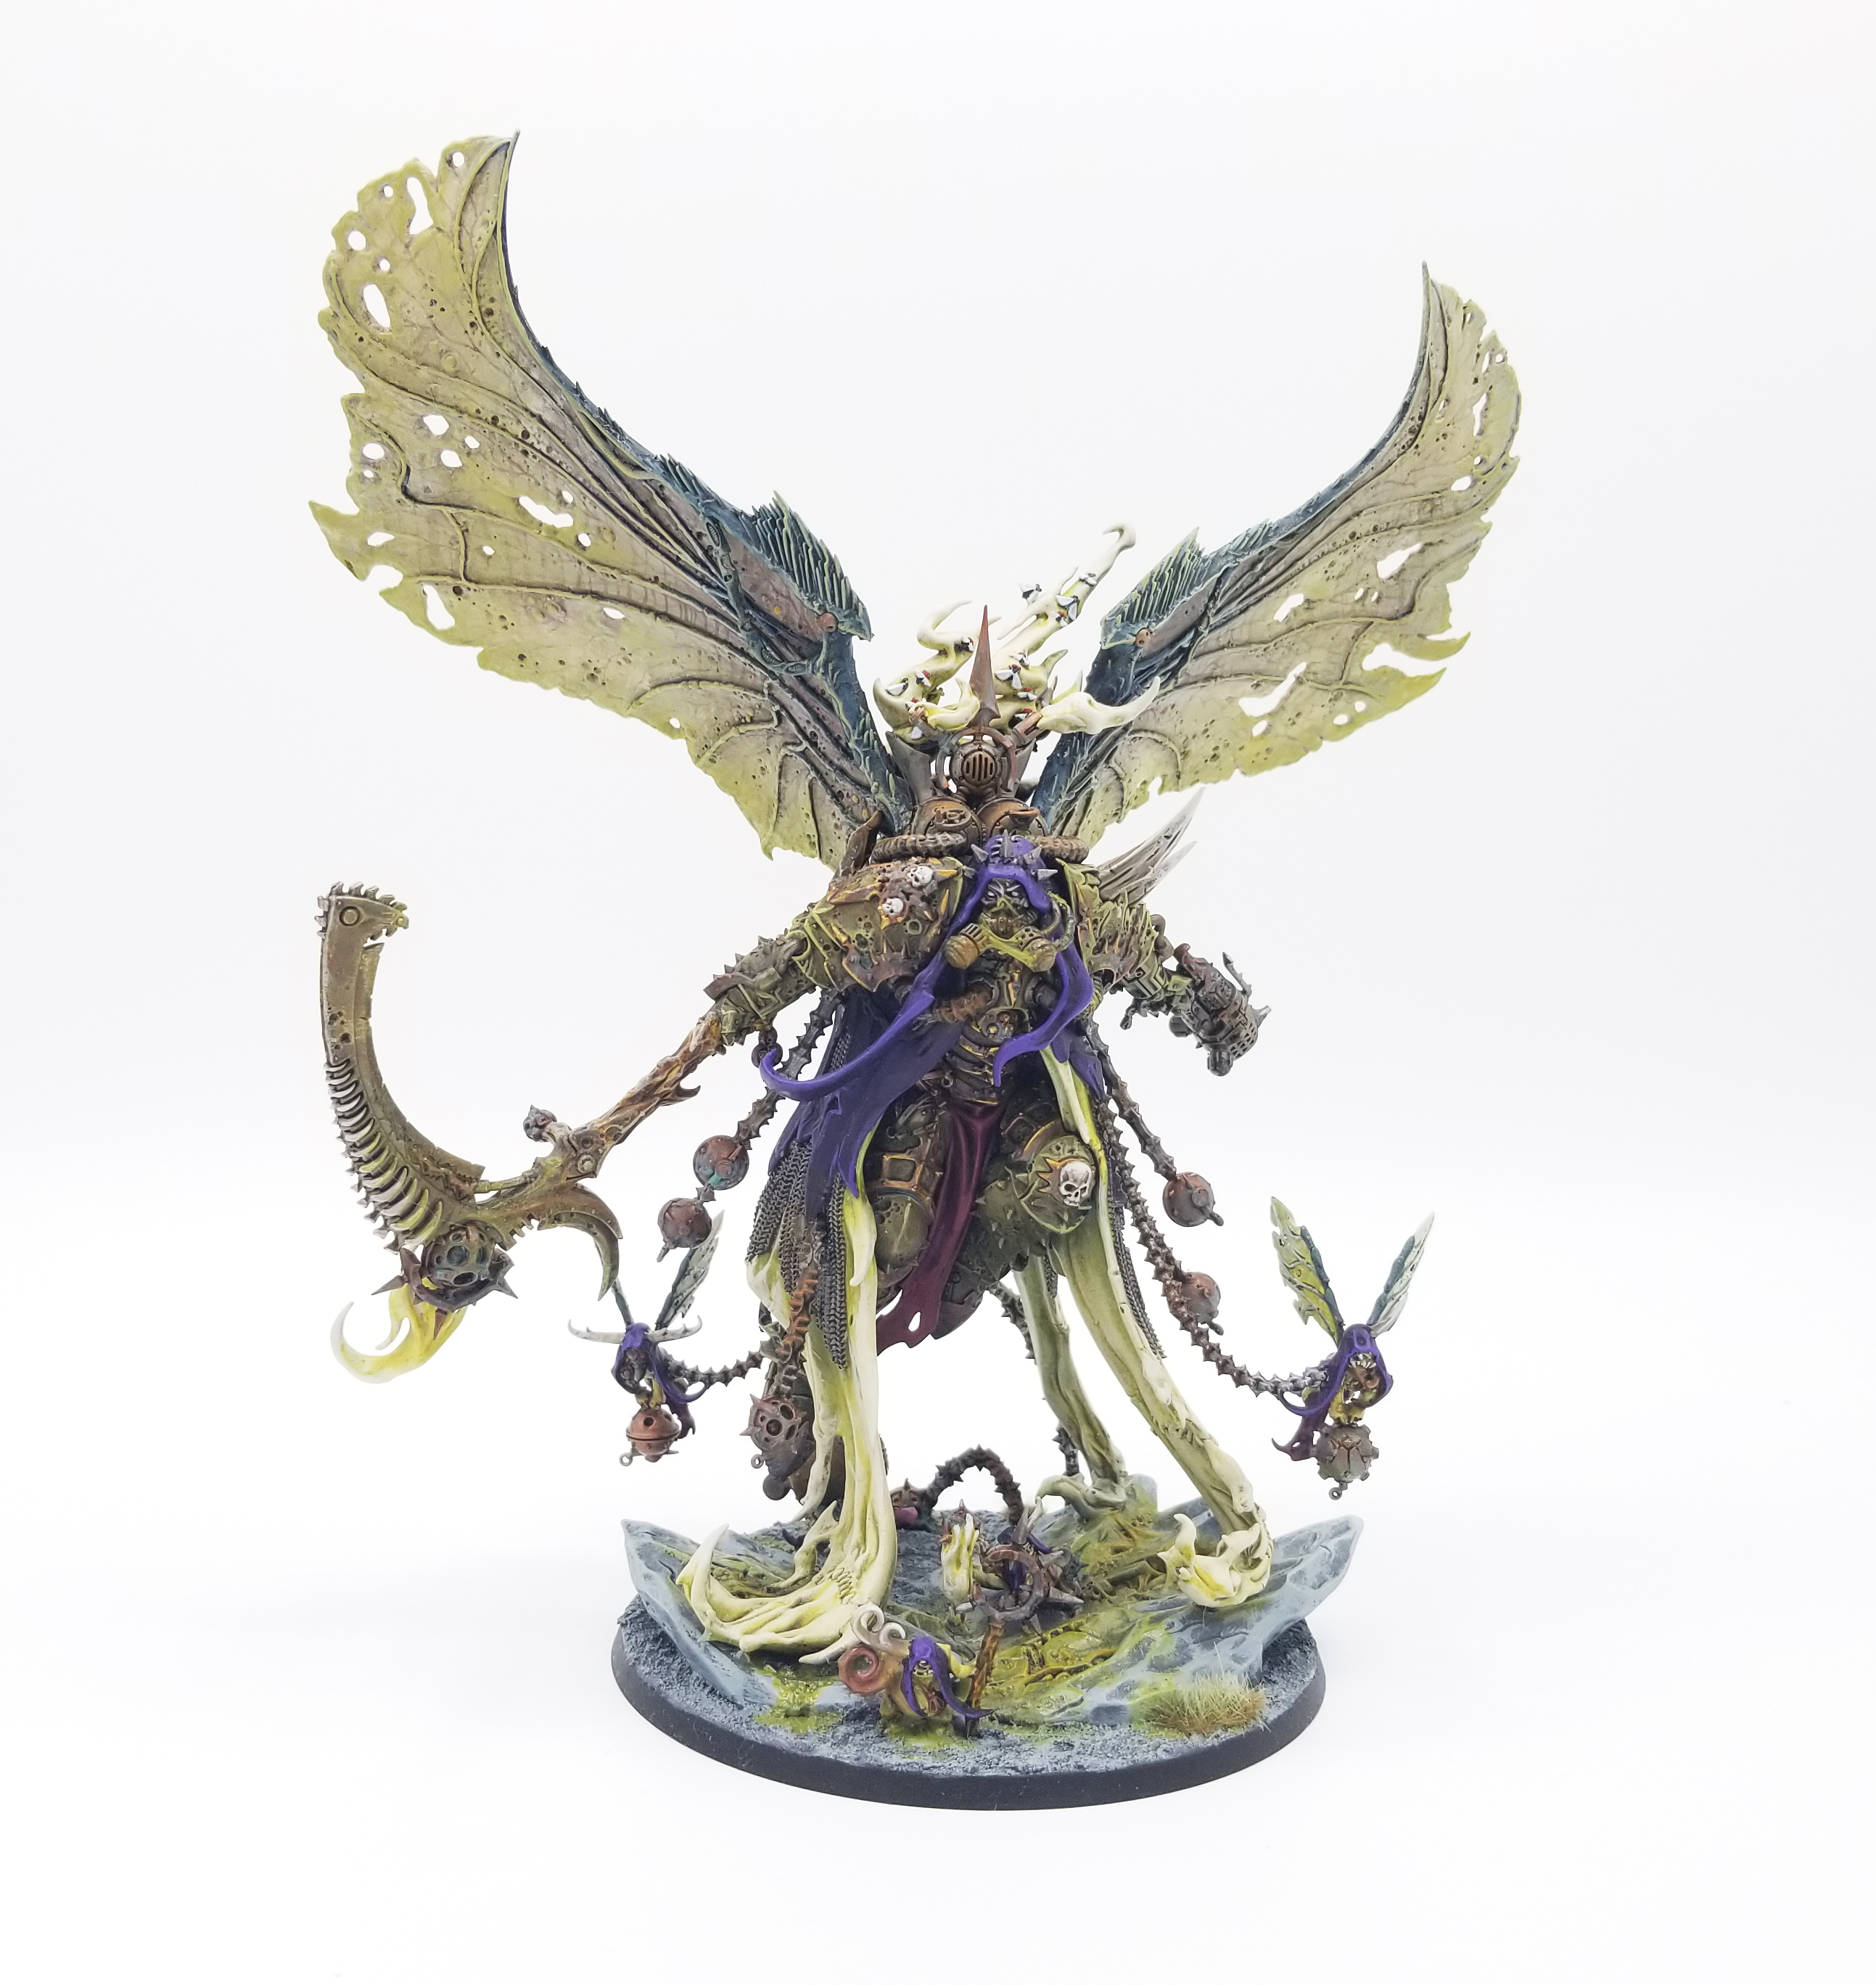
- Lord of Change: With the combination of Ephemeral Form and the Impossible Robe, a Lord of Change can be made damn near unkillable by most conventional tools, and with reliable mortal wound output from Infernal Gateway and friends they’ll gradually sandblast your opponent’s stuff out of the game.
- Transcendant C’tan: Another reliable battery of Mortal Wounds that is literally impossible to outright kill at range in the scope of a single turn.
- Tau Commander: Missile Pod Tau Commanders desperately want to be part of an Attrition strategy, but struggle with the fact that Tau have garbage options for Brawlers and Position Holder . This highlights that the barrier to entry for building around this role is pretty high.
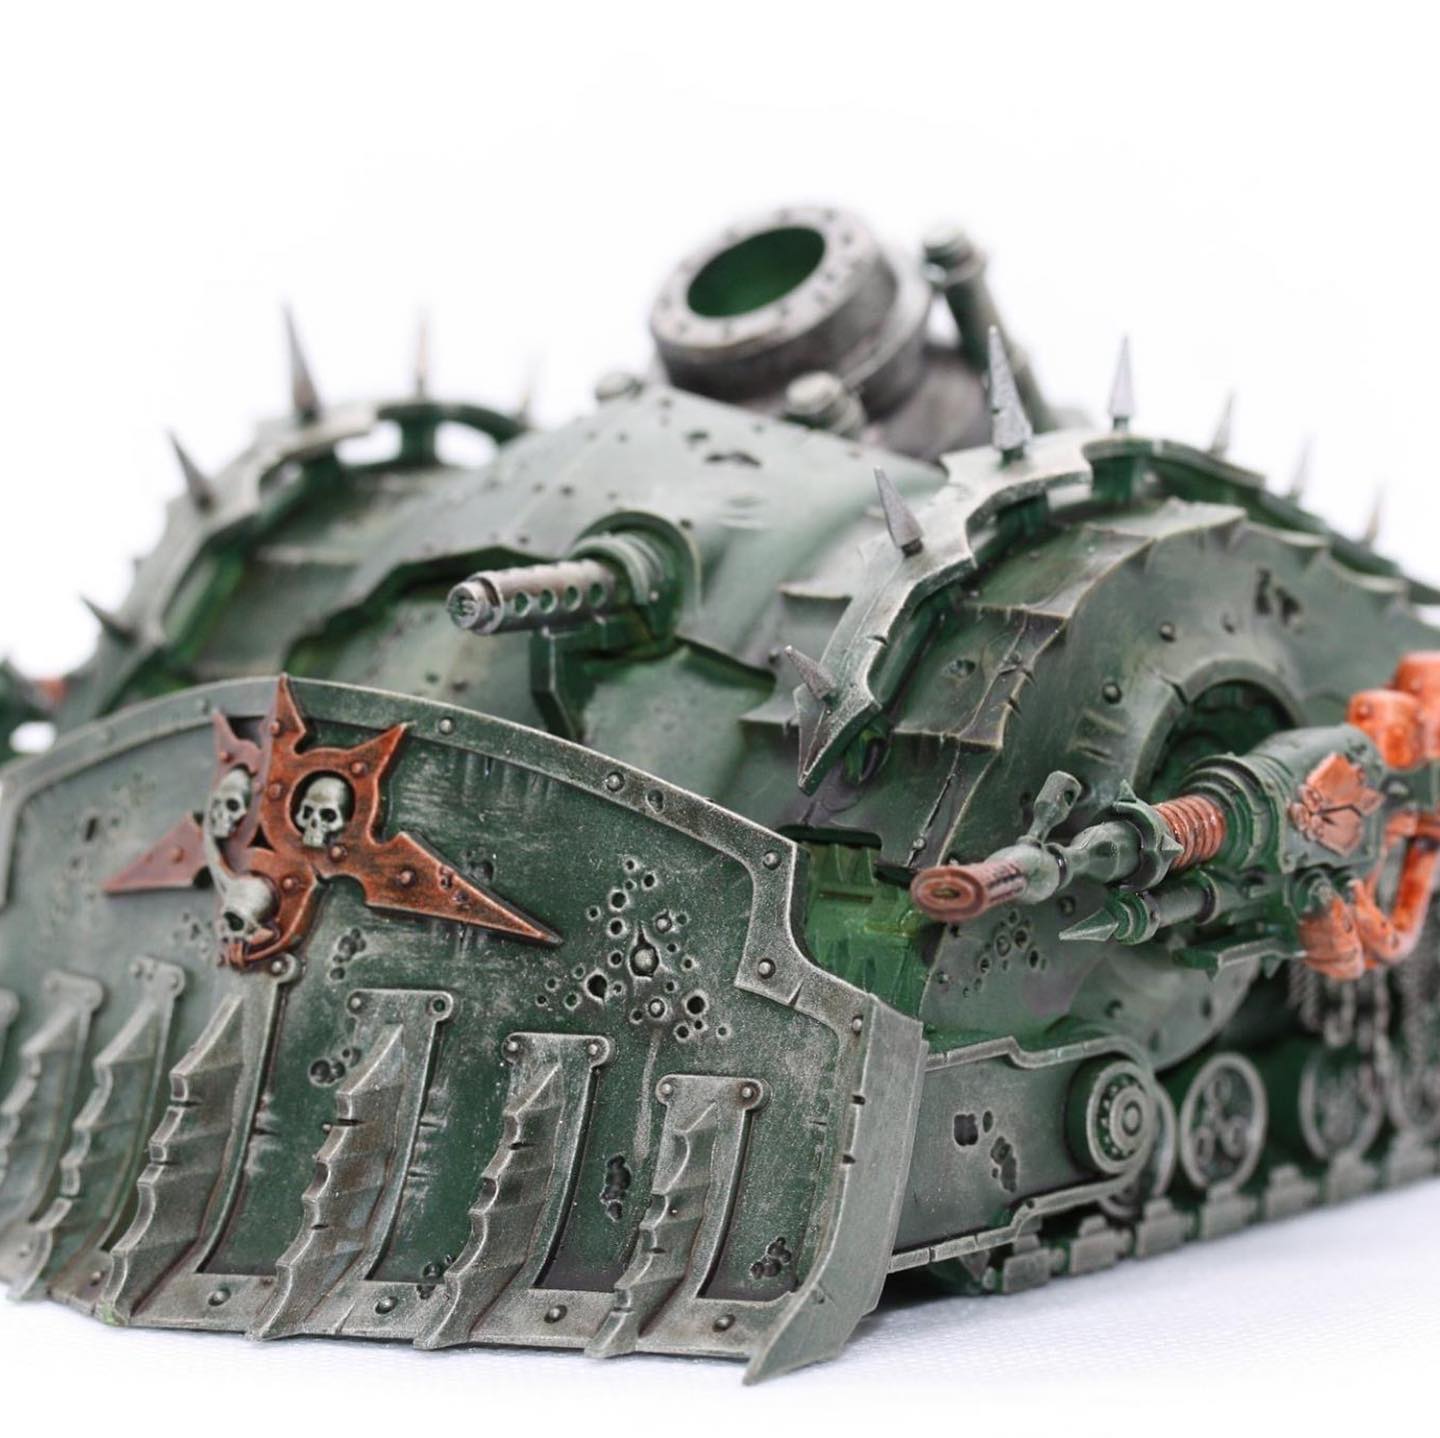
- Plagueburst Crawlers: Disgustingly tough, and packing good quality shooting for the price, some of which ignores LOS.
How to Respond
When you’re up against Attrition units, you need to make a realistic assessment of whether totally shutting them down (whether by destroying them outright or somehow disabling their abilities) is realistic or not. If it is, and you can commit to doing so safely. If it isn’t, switch gears to mitigating the impact, but crucially do not make a half-hearted attempt at doing some damage to them, because that plays into their hands. Attrition units work by dealing moderate damage over time, so trying to gradually grind them down is unlikely to be profitable for you. However, unlike Elimination threats they generally can’t so easily up their damage output on demand, so if you go after them with overwhelming force you can generally overcome them.
Naturally this won’t always be possible, and lists built around these are usually designed to make doing that hard or high risk. In that case, you may have to just switch to mitigation. Quite a few units in this category lean on psychic powers or mortal wounds, and you can use cheap Position Holder units to suck that up. Against shooting that ignores LOS you can still use Dense terrain to reduce the impact, and should aim to commit to taking objectives in larger numbers than normal, so you can tolerate the casualties they inflict. Finally, if they’ve invested in these units they’re likely to have a weaker set of tools for fighting for the mid-board early on – so do consider whether just going for overwhelming aggression to maybe force them to be a bit less cautious with the Attrition tools could be worth it.
Attrition Units in Practice
Lists using Attrition as the core of their strategy are rarer than those focused on the other Primary Roles, and it’s perfectly possible to go through whole tournaments without running into one. Partially that’s because the factions that can currently pull this plan off effectively are very limited in number because of how specific the tools required to make such a plan viable are. You need both reliable damage dealers that are hard to answer and high quality Position Holders/Brawlers to shield them while they do their job, and quite a few factions end up with one but not the other. Eldar and Tau both have access to tools that could theoretically perform the role quite effectively (e.g. Night Spinners, Commanders), but their ability to gum up the mid-board while those units do their work is abysmal, so they can’t pull together the whole of the strategy. Meanwhile, Space Marines have plenty of ability to Brawl in the mid-board for an extended period, but because of what they did in 8th Edition all of their artillery choices have caught a mixture of nerfs and point increases sufficient that there’s just not worth building around.
The list of factions that have real plans in this area are:
- Chaos Soup
- Death Guard
- Necrons
- Maaaaybe Tyranids
Chaos Soup is our marquee entrant here and we’ll look at a list showing that off in the moment. Death Guard have this strategy pretty much baked into how their units are statted – the sheer durability of Terminators/Mortarion mean that they sit on a neat Brawler/Attrition borderline, cheerfully rolling through any opponent that’s made the mistake of relying on D2 firepower as their main source of killing power. Having relatively cheap ObSec chaff in Poxwalkers, a great backline Attrition tank in the Plagueburst Crawler, and an faction secondary that rewards an Attrition plan in Despoiled Ground seals the deal.
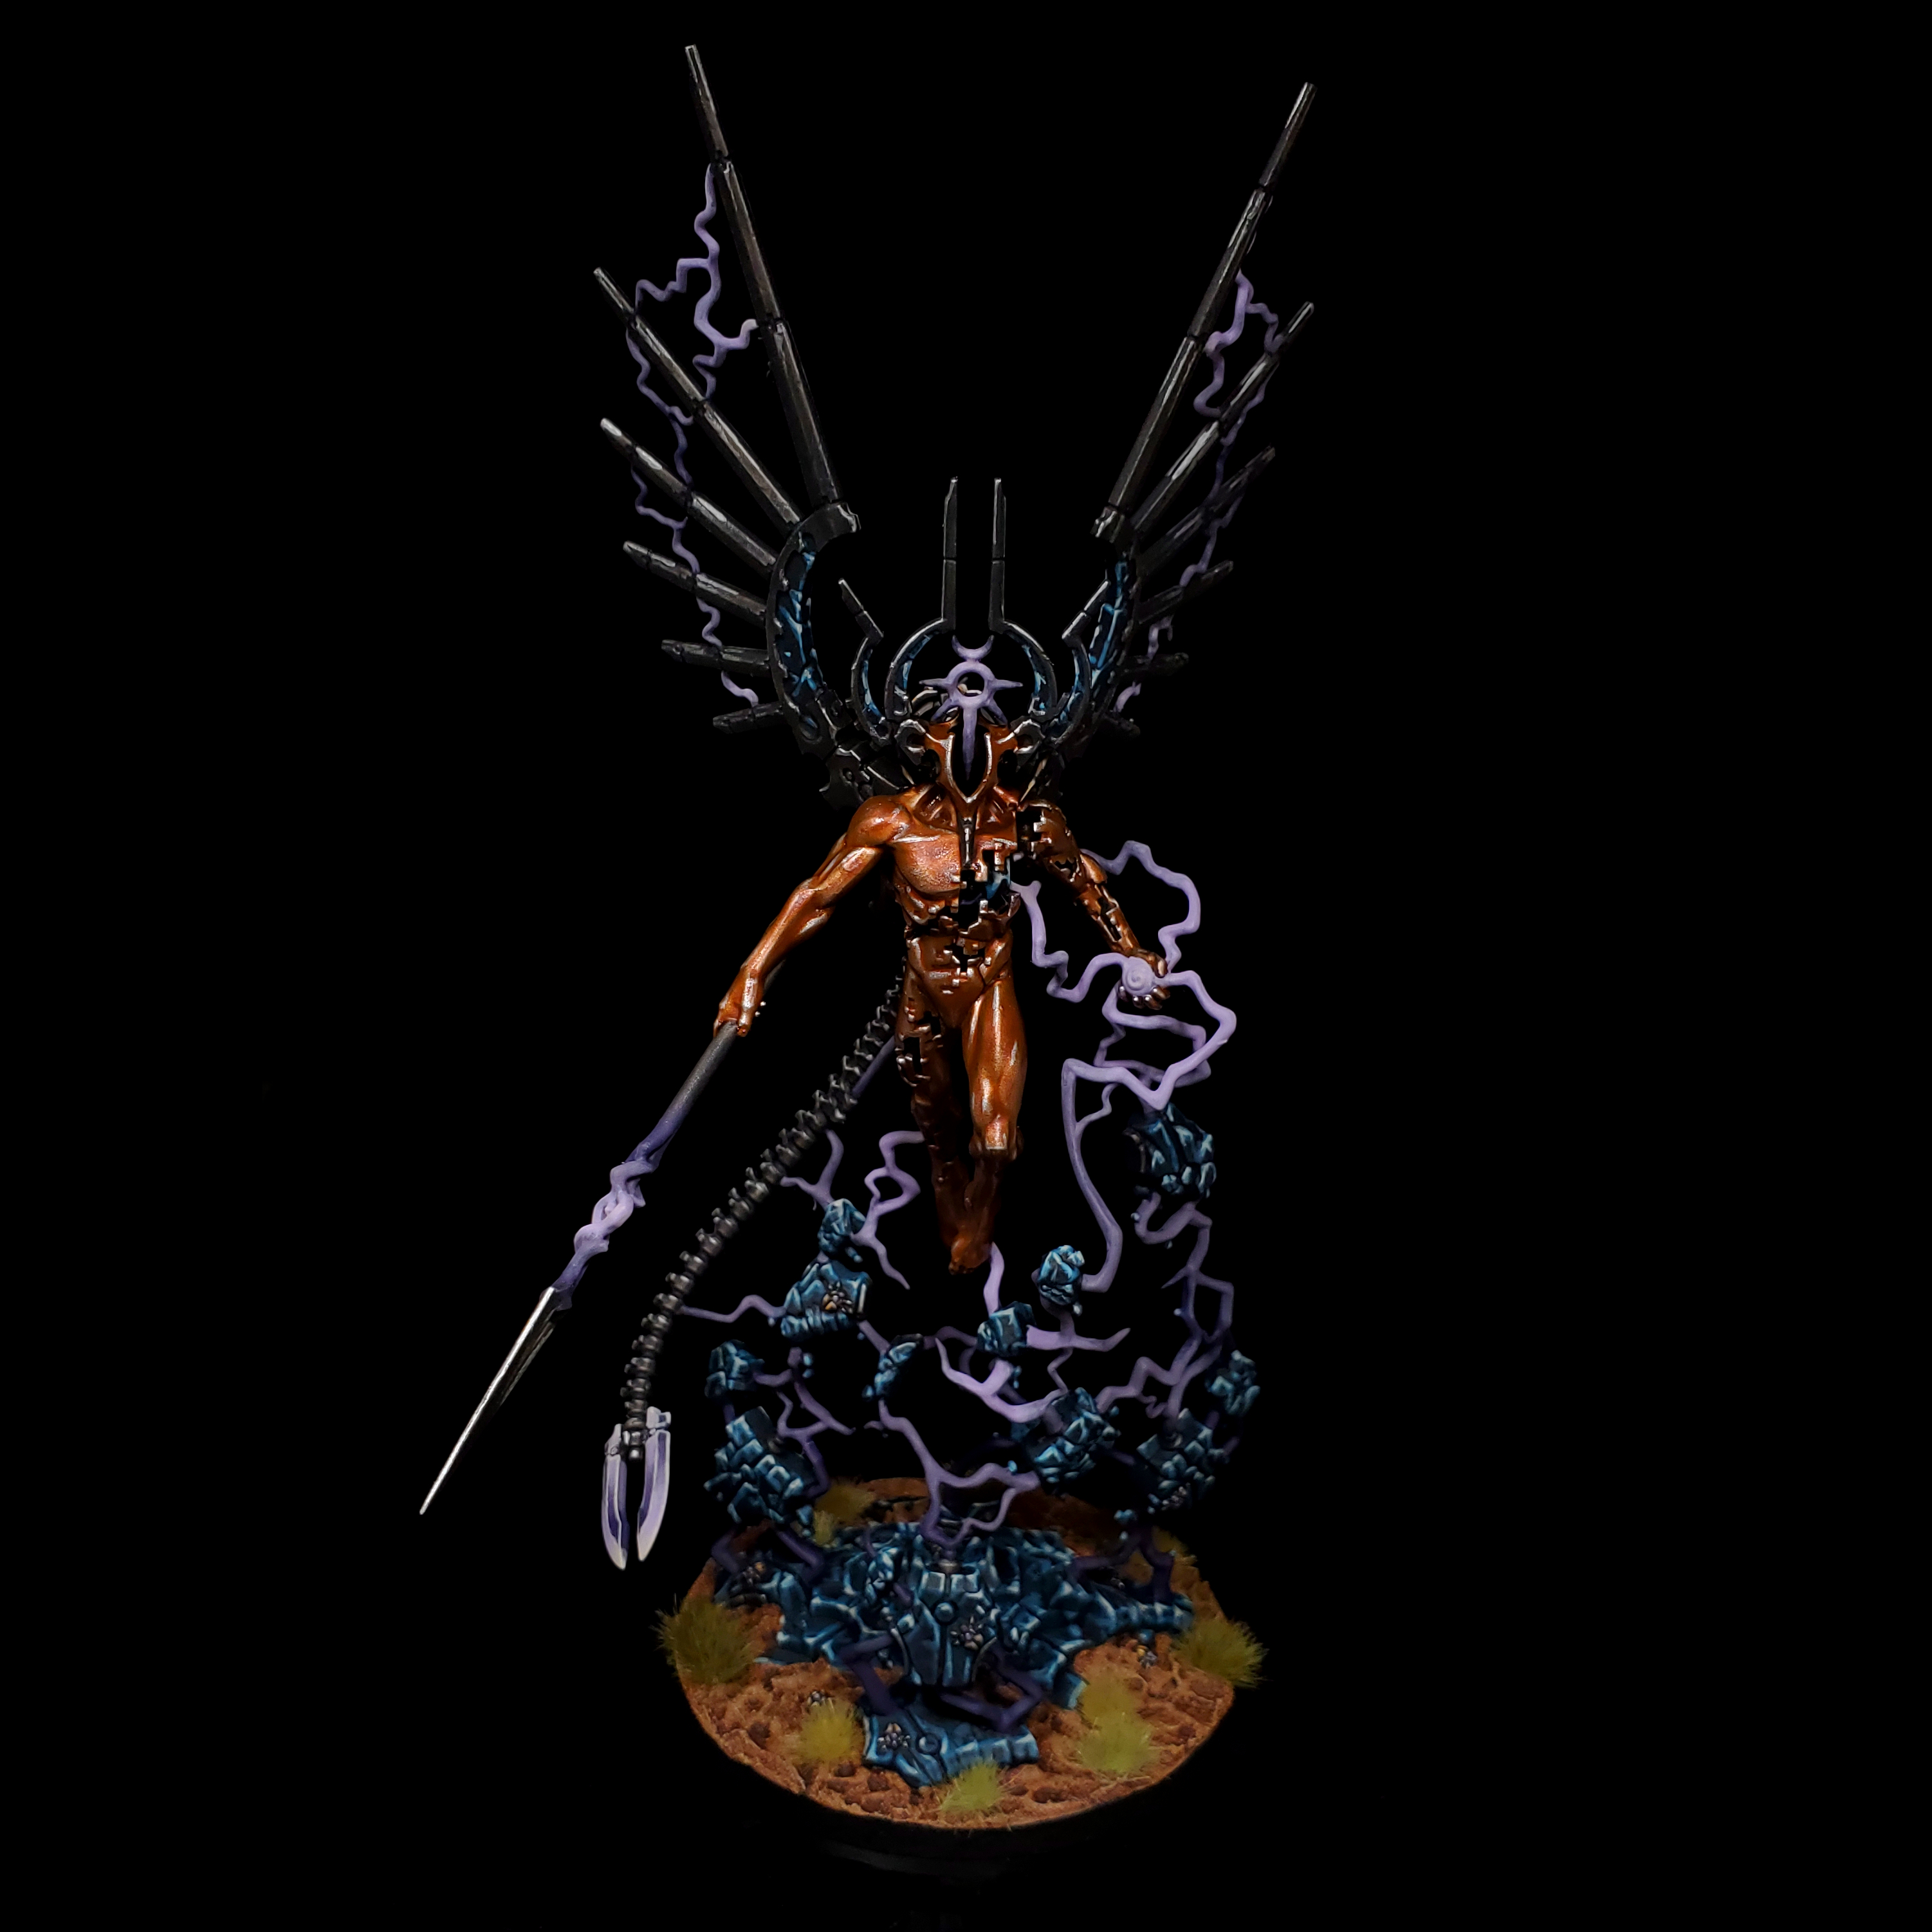
Necrons and Tyranids are a bit more out there. For Necrons, C’tan are a potentially very strong anchor for this kind of plan, since they cannot be removed efficiently at range and rack up reliable damage. The Eternal Conquerors faction trait also provides a strong accessory to this, helping contest the primary while the C’tan do their work. These lists haven’t had a breakout success in a major yet, but versions that use either lots of canoptek bodies or lots of hulls to provide the ObSec contingent are being busily experimented with, and both provide examples of this plan in action. Novokh silver tide/Silent King builds also operate somewhere in this region, relying on softening the enemy up while contesting the table with hard-to-answer blocks, then bringing the Silent King into play to close the game out once the opponent no longer has answers.
Finally, Tyranids have shot from near the bottom of the competitive ladder to a comfortable tier 2 recently thanks to an infusion of powerful toys from Forge World alongside point cuts, and some of what you can do with them feels like it’s in this ballpark. I’m mostly thinking of lists like the Ben Leeper Barbed Hierodule build, where three of these monsters (which start at T8/2+) are lumbering around with cover in the open, -1 to hit and -1 to the S of incoming shots thanks to the various Force Multipliers backing them up. That makes bursting them down a challenging prospect, and with the reliable clip of bio-cannon fire they put out (plus backup from a big Elimination counter-punch from a full unit of devourer gaunts), gradually withering the opponent out of the game then lunging for objectives once they’re suitably softened up feels like a real plan for this list.
With 9th books seemingly handing out more in the way of durability options than 8th, I wouldn’t be surprised to see more strategies in this realm pop up over time, but for now let’s take a look at one of the real flag carriers for this archectype, Chaos Soup.
TJ Lanigan’s Chaos Soup
This is the list that TJ brought for the Las Vegas Nopen.
++ Battalion Detachment -3CP (Chaos – Daemons) [46 PL, -3CP, 995pts] ++
+ Chaos Allegiance: Chaos Undivided Detachment
Command Cost [-3CP] -1 Cp Exalted Random
-1 Cp Relic Impossible Robe
+ HQ +
Exalted Lord of Change [14 PL, 270pts]: Bolt of Change, Boon of Change, Infernal Gateway, Smite, Staff of Tzeentch, Impossible Robe
Poxbringer [4 PL, 75pts]: Balesword, Smite, Virulent Blessing
The Changeling [6 PL, 105pts]: Gaze of Fate, Smite, The Trickster’s Staff
+ Troops +
Horrors [12 PL, 215pts]: Daemonic Icon, Smite . 25x Pink Horror: 25x Coruscating flames
Nurglings [2 PL, 66pts] . 3x Nurgling Swarms: 3x Diseased claws and teeth
Nurglings [2 PL, 66pts] . 3x Nurgling Swarms: 3x Diseased claws and teeth
Nurglings [2 PL, 66pts] . 3x Nurgling Swarms: 3x Diseased claws and teeth
Nurglings [2 PL, 66pts] . 3x Nurgling Swarms: 3x Diseased claws and teeth
Nurglings [2 PL, 66pts] . 3x Nurgling Swarms: 3x Diseased claws and teeth
++ Super-Heavy Auxiliary Detachment -3CP (Chaos – Death Guard) [25 PL, 490pts] ++
+ Lord of War +
Mortarion [25 PL, 490pts]:Gloaming Bloat 1. Miasma of Pestilence, 2. Gift of plagues, Attendant’s claws and teeth, Phosphex bombs, Silence, Smite, The Lantern, Warlord
++ Supreme Command Detachment 0CP (Chaos – Thousand Sons) [24 PL, 465pts] ++
+ Primarch | Daemon Primarch | Supreme Commander +
Magnus the Red [24 PL, 465pts]: Doombolt, Smite, The Blade of Magnus, Warptime, Weaver of Fates
++ Total: [95 PL, 4CP, 1,950pts] 50 points reinforcement
On some level, having seen this list in action is why I wanted Attrition in the set of roles as its own thing, because I don’t think you can explain how it functions with only the other three Primary roles in your model.
This list is built around three of the nastiest, toughest big gribblies in the game. Magnus and the Lord of Change can both sport a 3++ (via Weaver of Fates and The Impossible Robe) while Mortarion is, well, Mortarion. The two Tzeentchian creations can also rack up major damage over time with their psychic powers, allowing the enemy to be weakened up as long as they can be held in place.
To achieve that goal, the list leans on powerful Position Control options that Daemons provide. Nurglings have been a huge part of competitive play in 9th Edition, and while at their higher price they’re a bit less omnipresent, for this list they’re perfect – they can start in position to contest objectives, and as long as a single base hold on, only ObSec units can flip control. With five separate units, and the models being easy to hide, it’s going to take some time for the opponent to successfully mop them up, giving the Attrition threats time to buff up and do some damage. The Horrors provide an alternative flavour of Position Control, being numerous, sporting a 4++ and being able to have models added as the opponent chews through them using the stock of Reinforcement Points the list has. The unit is large enough to potentially span two objectives, and they also pull double duty by being able to clear out lower quality enemy units with their shooting, helping the psychic Attrition damage get through to juicier targets.
Between the Nurglings and the Horrors the list can gum up the board for a solid couple of turns, but at some point the big threats are going to have to commit. Mortarion generally wants to lead the charge here (probably Warptiming up), as his defences are broader and he relies far more on melee to deal his damage than the other two (and indeed against opponents that flat don’t have a way to kill him, he can just operate as a Brawler out of the gate). Once he gets amongst the enemy positions he also makes things safer for Magnus and Big Bird to commit, as the re-roll shutdown from Gloaming Bloat makes them even harder to kill. Come turn three or four, once the enemy has already been softened up by psychic firepower and catching a hammer blow from Mortarion, the remaining members of the trio can sweep forward into Brawler mode and start cleaning the enemy up. The change to turn 5 scoring is a big boon for this list (and Attrition plans in general) as it gives them much more leeway to delay when they have to commit if they go second in a game, and indeed as long as it can hide Magnus and the LoC in deployment, this army likely wants the second turn. It also plays While We Stand very effectively, as only the nastiest opponents are going to be able to pick off more than one of the big trio when things go right.
This list was obviously most famously seen at the LVNO, but copies or spins on it have shown up at quite a few events since, and it’s a strategy you need to be ready for, so how do you beat it? Given the army trades on its durability, the first thing to identify is whether any of your Elimination units match up especially well against any of the big targets. This came up in the LVNO, when this list ran into a Drukhari Dark Technomancers build, as massed volleys of D2 poison shooting happen to be perfect for cutting down Nurglings and the Tzeentch monsters alike, while the large number of Wracks the army had allowed it to out-ObSec this list. The other more challenging match for the threats is likely to be Sororitas – Retributors will make a mess of Mortarion more reliably than almost anything else, and the combination of being able to pop him early and (again) put up enough ObSec units to fight for the board gives them a strong plan.
Having good answers isn’t going to be a universal experience though, so what do you do when you can’t just kill a Primarch like it ain’t no thing? The thing to remember in that instance is that this list only has one “big” punish for pushing forward, which is Mortarion – Magnus and Big Bird want to hang at range, and their damage can be mitigated by thrusting a few expendable units close to them each turn. You want to force the list to commit with its tools earlier than it wants to, so you ideally want to go in hard on multiple flanks at once. This is easier on some maps than others – on Hammer and Anvil board you’re basically just going to have your work cut out, as Mortarion can threaten the whole mid-board at once, but on Search and Destroy or Dawn of War style maps this is much more feasible, and leans into the fact that this list doesn’t really have any Elimination threats, so it can’t massively accelerate its damage output if you’re threatening to overwhelm it. You’re going to get hurt when you do this, obviously, but remember that you only have to last five turns, and if you can successfuly disrupt the early Primary scoring of this army it has some diffcult choices to make.
Having a way to attack it doesn’t stop this list being extremely powerful, and expect to continue to see variants of it taken out to play around the world. Make sure you understand how it plays differently to other lists, and be ready with a plan of attack.
Wrap Up
That completes our look at the Primary Roles – tune back in on Monday as we look at the Secondary roles. Any comments, questions and suggestions to contact@goonhammer.com.
