
This article is part of our series looking at Unit Roles in 9th Edition. If you’ve just arrived, you might want to go check out the Introduction, which talks through what this series is about and how it’s going to work. Otherwise, read on.
Units in 9th Edition can usually be grouped into one of six roles, four “Primary” Roles and two “Secondary” Roles. The Primary Roles are crucial building blocks from which effective strategies are constructed, while units from Secondary Roles can either amplify the capabilities of other units or broaden the scoring options available to a list.
The roles are:
- Primary Roles:
- Position Holders
- Brawlers
- Elimination
- Attrition
- Secondary Roles:
- Objective Utility
- Force Multiplier
We will be running five articles that will be diving in to one or more roles, one each for the Primary Roles, then a joint piece for the Secondary Roles at the end. For each role, we’ll talk about what it is and how it’s used, some examples of standout units from it and how to play against it in the table. For each Primary Role, we’ll also take a look at a competitive army list that uses that role as the foundation of its strategy.
This is the third of those five articles, taking a look at the Elimination role.
Primary Role – Elimination
Elimination
What They Were in 8th
Ranged Threats, Reactive Threats
What They Are
Your most efficient killers. Elimination units are those that can drop truly appaling amounts of damage on their targets, allowing you to crack open whichever Brawler, Position Holder and Attrition units your opponent’s plan is most reliant on, or blast away their Elimination units before they can do the same.
In 8th Edition, whole armies could be built around hyper-efficient Elimination units, as bodying your opponent off the board in a few turns could, as discussed above, be your main plan. In 9th, outside of some Harlequin builds (where everything is an Elimination unit if you’re brave enough), these are usually more of a disruption piece. We talked about how the edition wants you to build a proactive strategy and execute it towards a high score, and Elimination units are the gigantic wrench to throw into your opponent’s plan. It might be deleting their best Brawler unit so that yours can rampage around the board uncontested. It might be cracking open the most durable of Tarpits. It might be reaching out and vaporising a key Attrition piece much earlier than their plan can tolerate. The goal of putting these into your lists is to ensure that whatever their plan might be, you plausibly have an answer to it – with the added bonus that if they can’t deal with them, you’re likely to deal enough damage over the course of the game to snowball a victory.
There are two main sub-categories here – broad-spectrum and efficient trade piece. The former are your generic answers, and you want these to be able to go after whatever target the situation dictates. That means you want their weapons to be able to do real damage to anything, usually via high numbers of attacks, access to good re-roll support and decent AP, all backed either by long range or high maneuvrability to let them reach whatever they need. Trade pieces are a bit less constrained, but are generally things where the combination of price, mobility and offensive output gives them a strong chance of immediately “paying for themselves” when pointed at the right target, especially opposing units in this role. The price tag of Elimination threats is generally wrapped up in their killing power, meaning that when they’re pointed at each other, whoever strikes first tends to deal massive damage.
Because of this, it’s very common to see one big broad-spectrum Elimination unit backed up by a few smaller ones. The larger unit provides the general purpose answer to the enemy plans, and the smaller units lie in wait ready to discourage the opponent from making use of their own Elimination threats, and to build up snowball value if you manage to land a knockout punch early on.
Examples
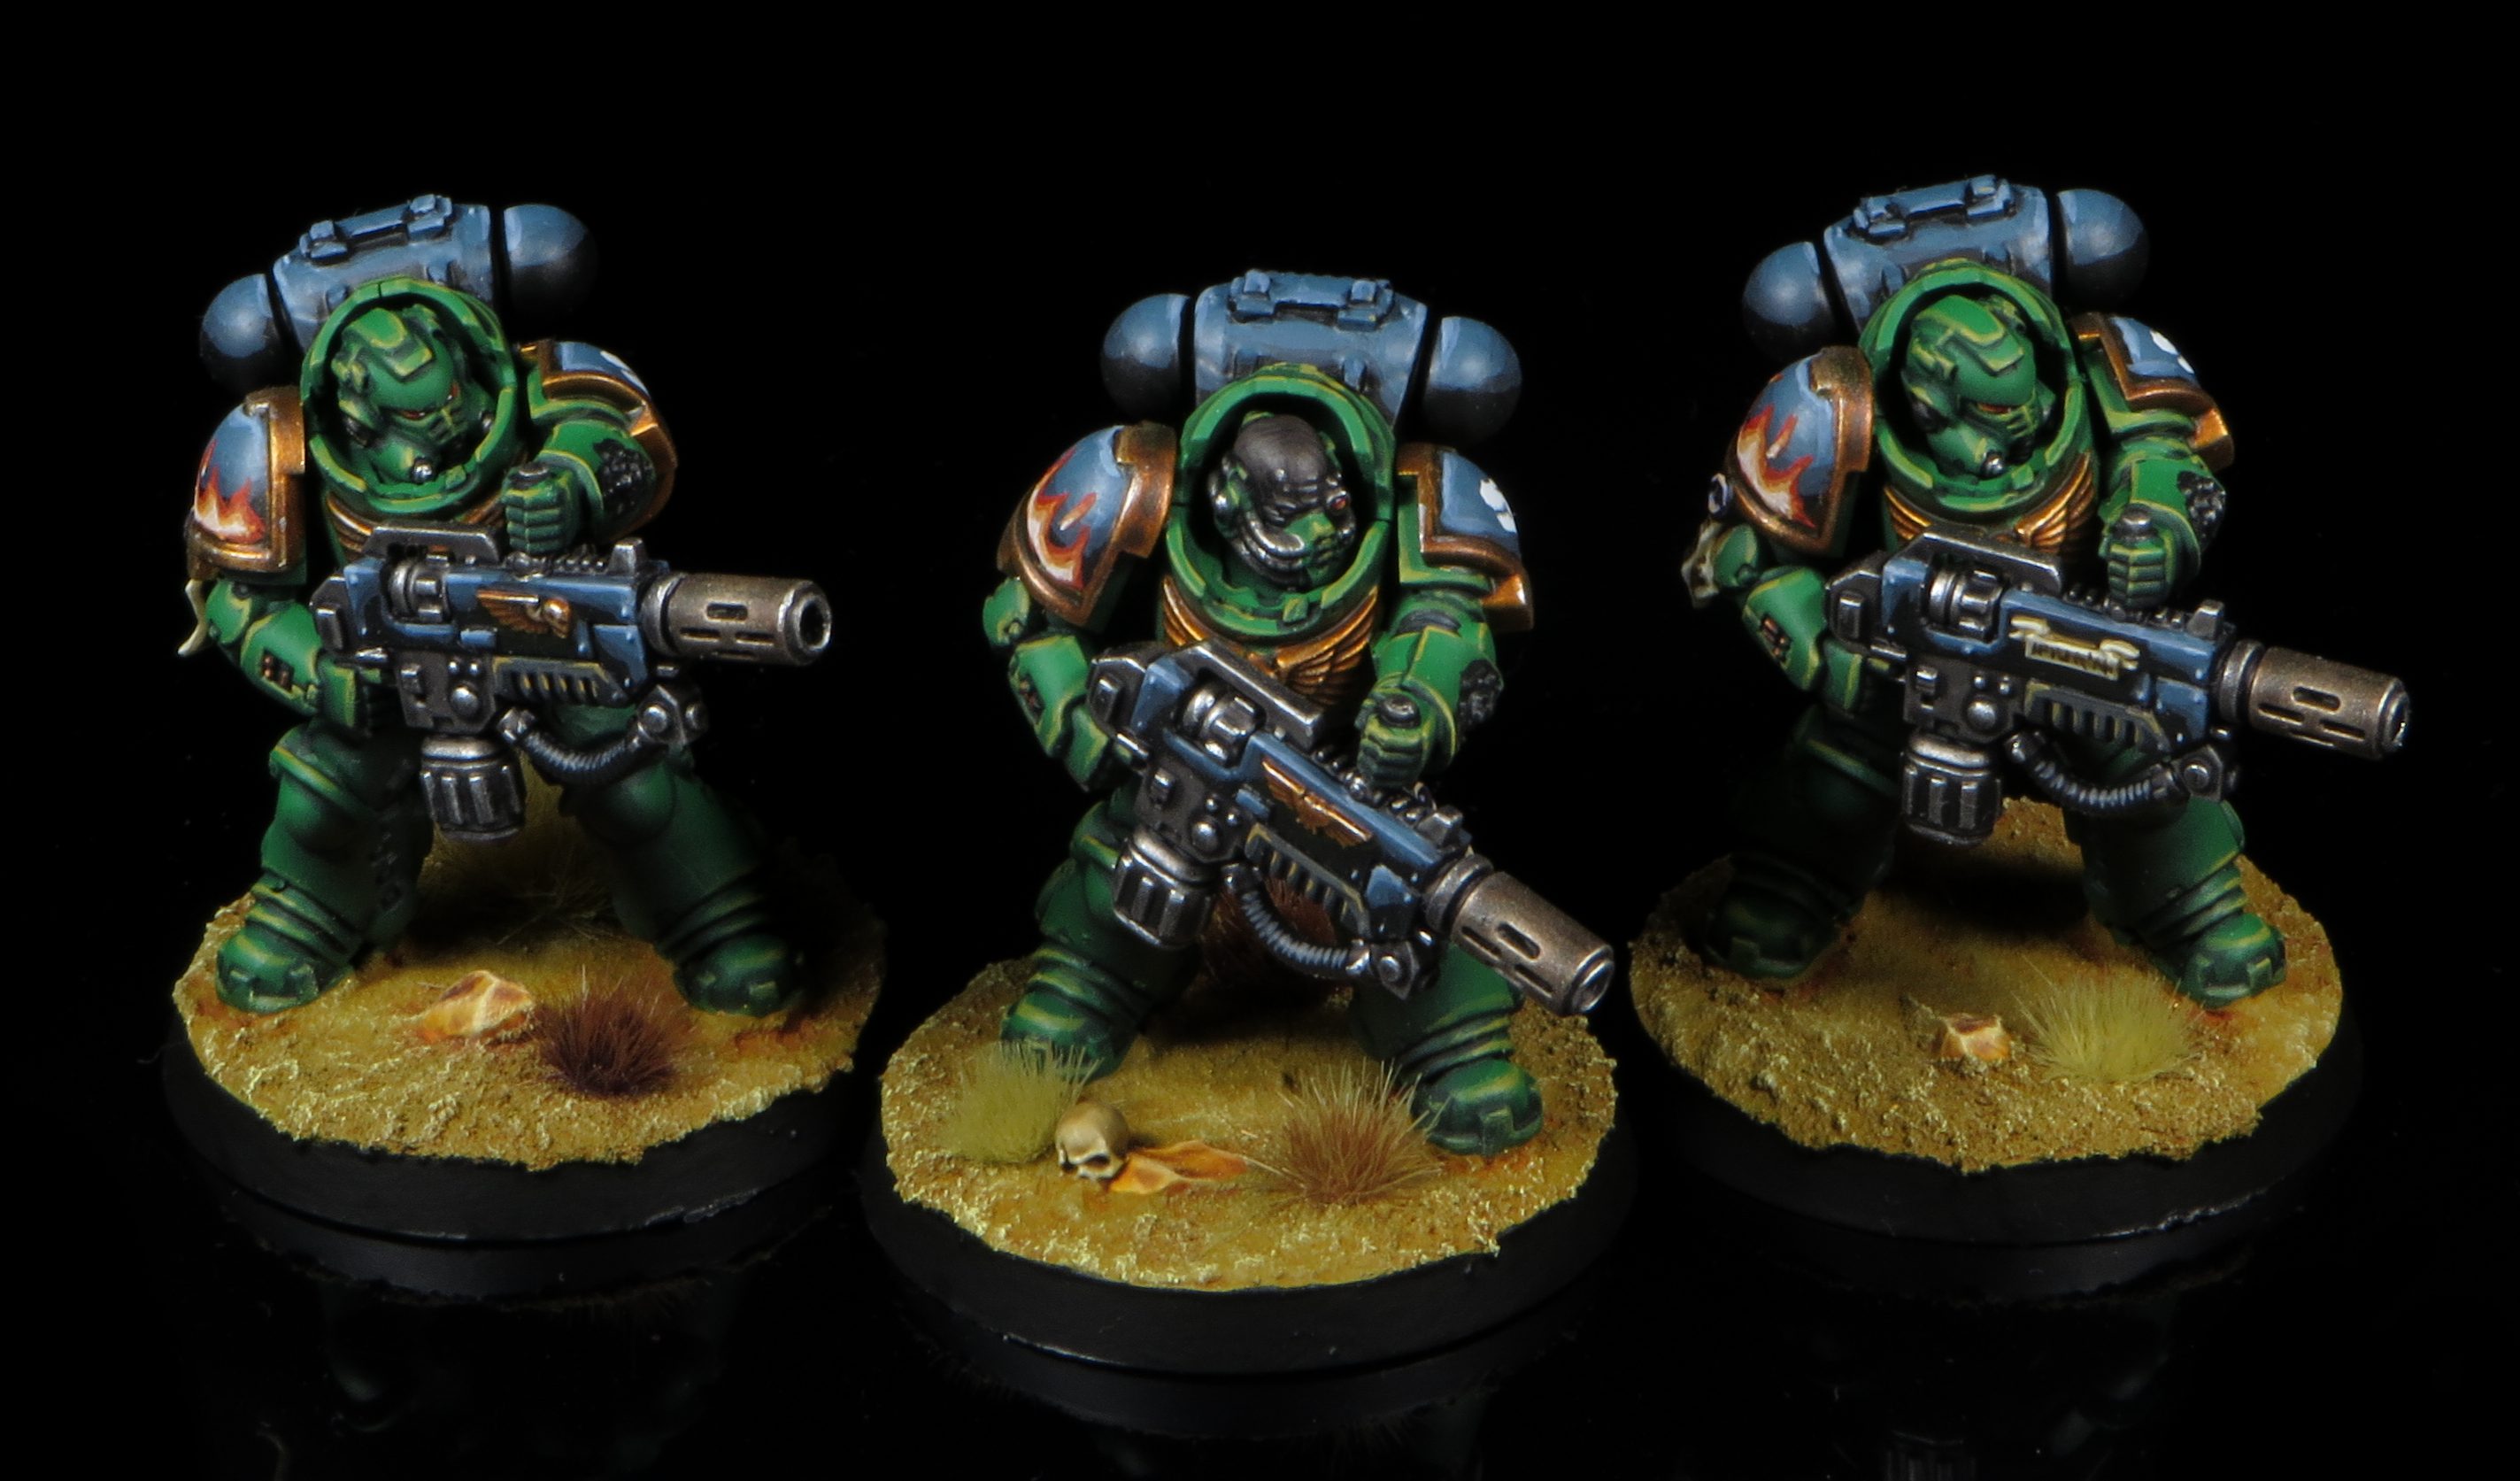
- Plasma Inceptors: The perfect broad-spectrum Elimination threat. Huge numbers of high-powered shots, high mobility, a whole bunch of reliability boosts from the Marine codex.
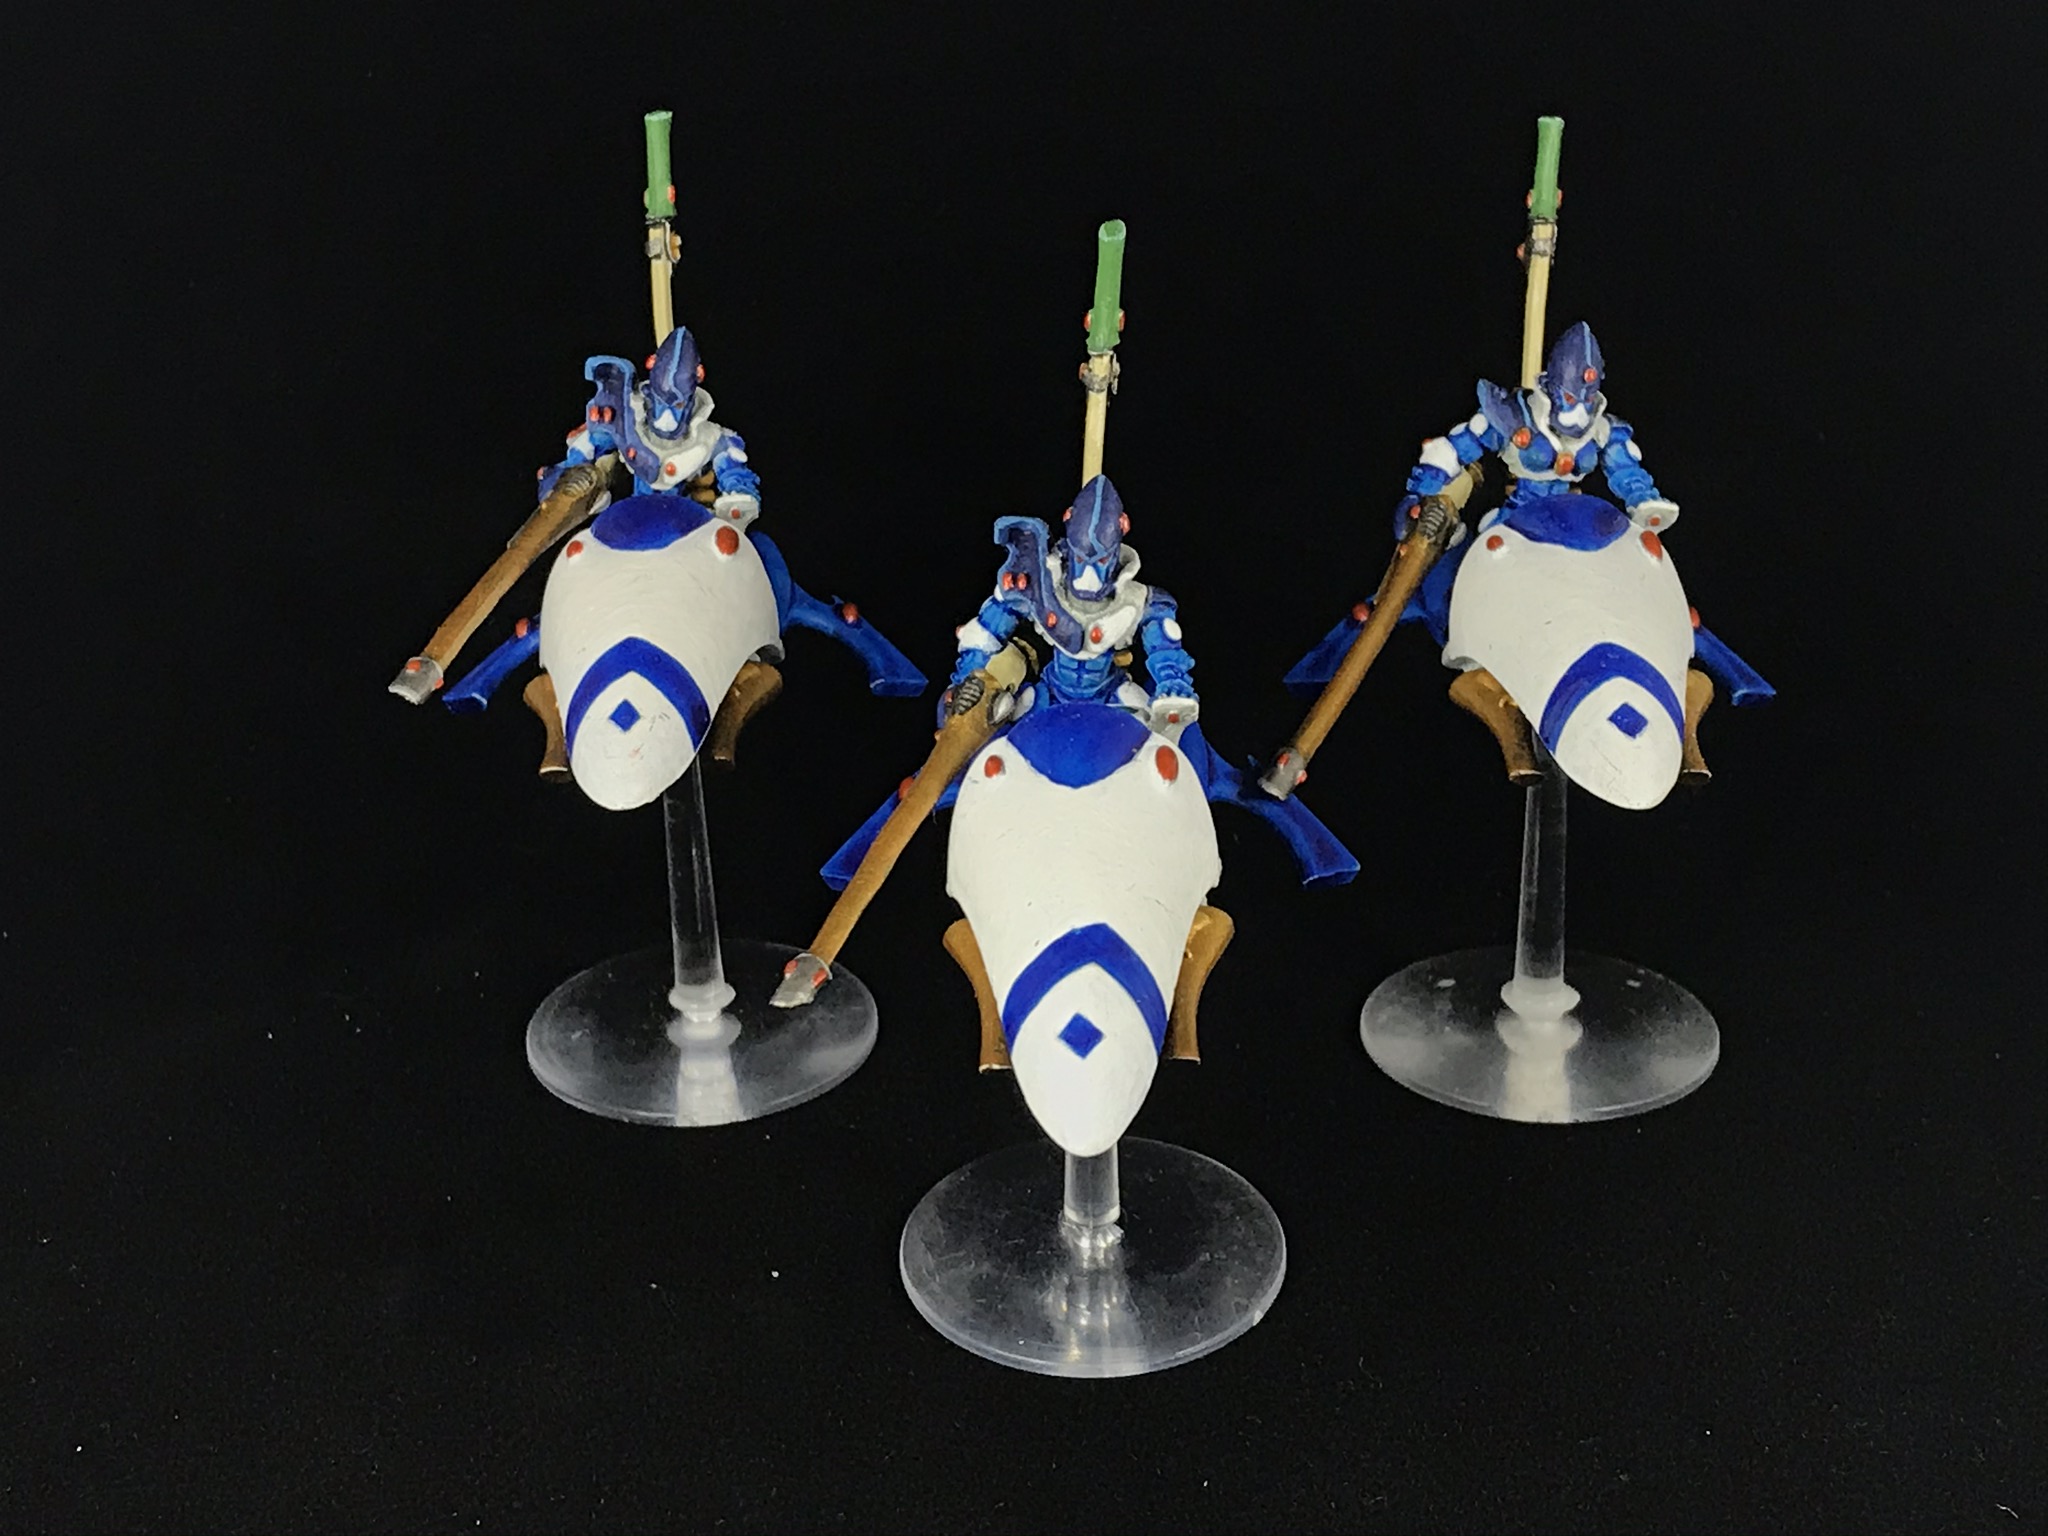
- Shining Spears: One of the few high-points in the otherwise dismal Craftworld Codex, 5-model units of shining spears are fast, deadly, and will badly maul plenty of valuable targets, especially if they’re Hunters of Ancient Relics, making them good trade pieces.
- Retributors: Terrifyingly capable of spanning the gap between both sub-categories – a first volley of 12 multi-melta shots with range and damage boosts, backed by miracle dice and re-rolls, allows these to kill pretty much anything far too efficiently.
- Devourer Gaunts: a surprising new challenger brought to us by the January points update, Single-Minded Annihilation plus the sheer shot count a full unit of these brings to the table makes them alarmingly capable of pulling this off.
How to Respond
The absolutely crucial thing to remember with Elimination threats is that if you let your opponent’s rampage uncontested, it can be game over. These units generally don’t have defences proportionate to their cost, but if you don’t have any way to reach out and engage with them that doesn’t matter, and once you’re in that situation your opponent can unleash maximum devastation with impunity, switching over to being Attrition++ units.
Taking stock of what Elimination units your opponent has at the start of the game, and working out what your answer is, is thus critical. This is where having some trade pieces is helpful – something like Attack Bikes can be perfect for holding in reserve, then popping out to punish the opposing threats when they make a move. When you’ve figured out that this dynamic is at play, it’s important to be disciplined and not be tempted into striking for lesser targets with these units – you’re playing for the long game here. Whether through counterattacking or somehow getting the jump on them, minimsing the number of turns Elimination units are able to operate will help minimise their impact.
Killing them isn’t the only way to do that, of course, and when you’re up against this kind of threat, good 40K fundamentals will mitigate their impact as well. Ask what their threat range is on turn one, and work out if you can afford to hang back out of it. Use Dense and Obscuring terrain to your advantage to shield your units. Ram their shooting unit with a Rhino. The game mechanics give you plenty of tools to shut things down – use them.
A good rule of thumb when dealing with this kind of unit is that if your opponent gets to point them at desireable targets two or more times in the game, they’ve probably overperformed, but if you can limit them to one, whether through positioning or clever counterattacks, the amount of damage they’ve done is probably manageable. Look for ways to make that so.
Elimination Units in Practice
If you look at a list your building and find that you’re short of Elimination threats, you generally need to stop and have a good think about whether you should be adding some. There are lists that can operate without them – armies like Goff horde that have a very linear, proactive plan that’s hard to disrupt can afford to skimp on them, while cunning Attrition builds can be constructed that can lean enough on the durability of the units they choose to not worry about getting trumped. If you’re planning to put a more balanced build on the table, however, leaving Elimination threats on the shelf runs the risk of you finding yourself staring down the barrel of an enemy unit that can roll up your key Brawlers or Position Holders far too efficiently, making it difficult to stay in the game long enough to rack up a good Primary score.
When that’s the case, you generally want to dip into your codex and pick out one of the broad, general purpose examples of these to incorporate, maybe backed up by a couple of trade pieces that can constrain your opponent’s ability to safely operate with their more brittle tools.
This pattern is something we’ve seen time, time and again with Space Marine lists in this edition. A huge proportion of lists pack one medium-large unit of plasma Inceptors as their primary, general purpose threat, then back them up with a couple of smaller units toting melta weaponry, either Attack Bikes or Eradicators. The Inceptors are the first strike tool, able to pick out almost any target and do some real damage to it, while the melta wielders wait until an ideal target shows itself and open fire. Having this double team backing up the extremely effective Brawlers that marines can muster has been a winning combination on many occasions. You can also substitute Devastators for the Inceptors, something that’s especially popular in Ultramarines with good support for infantry heavy weapon wielders.
What if you really like blowing stuff up though, and want more Elimination threats? What if you dream of scattering your enemy’s army asunder like it’s 8th Edition all over again? Can you go all-in on these?
Yes, but it comes with risks. By their nature, Elimination units tend to have their cost more wrapped up in killing power than durability, meaning that if the enemy gets a good swing at them, you can’t rely on them not folding. Lists that are very heavy on these end up somewhat at the mercy of the terrain too – if your opponent can get a Tarpit to the mid-board and hide behind a nice big ruin while holding an objective that can be a big problem for you, as you might not be able to safely reach out and remove it. Finally, if you invest in these, turn up to the table and find that you’re opponent has brought a unit that simply doesn’t care about any of the ones you’ve chosen you’re stuffed, because your game plan can’t really tolerate a target that can’t be removed.
These challenges can be overcome. We’ve seen Marine builds that go harder on Inceptors and melta, where because of Marine’s inherant durability they can aim to deal so much damage so rapidly that the opponent can no longer effectively reach out and deal with them after the first few volleys. Sororitas can also play an Elimination-heavy game – Retributors, Repentia and Zephyrim can all do Elimination levels of damage to a pretty broad range of targets, and are all priced such that you can aim to keep trading them up while holding ground with the faction’s cost-effective Position Holders. We’ve already looked at armies from both those factions, however, so today we’ll zoom in on another faction that can go deep on this plan – Harlequins.
Haydn Korach’s Harlequins
This list took 1st place at the Lakes of Blood GT.
++ Battalion Detachment 0CP (Aeldari – Harlequins) [87 PL, 1,534pts, 9CP] ++
+ Configuration [12CP] +
Masque Form: The Frozen Stars: Hysterical Fury
+ Stratagems [-1CP] +
Enigmas of the Black Library (1 Relic) [-1CP]
+ HQ [14 PL, 261pts, -2CP] +
Shadowseer [6 PL, 115pts, -1CP]: 6: Player of the Twilight, Domino Shroud, Hallucinogen Grenade Launcher, Miststave, Shards of Light, Shield From Harm, Shuriken Pistol, Smite, Stratagem: Pivotal Role [-1CP], Twilight Pathways, Veil of Illusion, Warlord
Troupe Master [4 PL, 70pts, -1CP]: Choreographer of War, Darkness’ Bite, Fusion Pistol [5pts], Harlequin’s Blade, Plasma Grenades, Stratagem: Pivotal Role [-1CP], The Twilight Fang
Troupe Master [4 PL, 76pts]: Choreographer of War, Fusion Pistol [5pts], Harlequin’s Kiss [6pts], Plasma Grenades
+ Troops [54 PL, 918pts] +
Troupe [10 PL, 170pts] . Player [1 PL, 19pts]: Harlequin’s Embrace [5pts], Plasma Grenades, Shuriken Pistol
. Player [1 PL, 19pts]: Harlequin’s Embrace [5pts], Plasma Grenades, Shuriken Pistol
. Player [1 PL, 19pts]: Harlequin’s Embrace [5pts], Plasma Grenades, Shuriken Pistol
. Player [1 PL, 19pts]: Harlequin’s Embrace [5pts], Plasma Grenades, Shuriken Pistol
. Player [1 PL, 19pts]: Harlequin’s Embrace [5pts], Plasma Grenades, Shuriken Pistol
. Player [1 PL, 19pts]: Harlequin’s Embrace [5pts], Plasma Grenades, Shuriken Pistol
. Player [1 PL, 14pts]: Harlequin’s Blade, Plasma Grenades, Shuriken Pistol
. Player [1 PL, 14pts]: Harlequin’s Blade, Plasma Grenades, Shuriken Pistol
. Player [1 PL, 14pts]: Harlequin’s Blade, Plasma Grenades, Shuriken Pistol
. Player [1 PL, 14pts]: Harlequin’s Blade, Plasma Grenades, Shuriken Pistol
Troupe [10 PL, 170pts] . Player [1 PL, 20pts]: Harlequin’s Caress [6pts], Plasma Grenades, Shuriken Pistol
. Player [1 PL, 20pts]: Harlequin’s Caress [6pts], Plasma Grenades, Shuriken Pistol
. Player [1 PL, 20pts]: Harlequin’s Caress [6pts], Plasma Grenades, Shuriken Pistol
. Player [1 PL, 20pts]: Harlequin’s Caress [6pts], Plasma Grenades, Shuriken Pistol
. Player [1 PL, 20pts]: Harlequin’s Caress [6pts], Plasma Grenades, Shuriken Pistol
. Player [1 PL, 14pts]: Harlequin’s Blade, Plasma Grenades, Shuriken Pistol
. Player [1 PL, 14pts]: Harlequin’s Blade, Plasma Grenades, Shuriken Pistol
. Player [1 PL, 14pts]: Harlequin’s Blade, Plasma Grenades, Shuriken Pistol
. Player [1 PL, 14pts]: Harlequin’s Blade, Plasma Grenades, Shuriken Pistol
. Player [1 PL, 14pts]: Harlequin’s Blade, Plasma Grenades, Shuriken Pistol
Troupe [9 PL, 162pts] . Player [1 PL, 20pts]: Harlequin’s Caress [6pts], Plasma Grenades, Shuriken Pistol
. Player [1 PL, 20pts]: Harlequin’s Caress [6pts], Plasma Grenades, Shuriken Pistol
. Player [1 PL, 20pts]: Harlequin’s Caress [6pts], Plasma Grenades, Shuriken Pistol
. Player [1 PL, 20pts]: Harlequin’s Caress [6pts], Plasma Grenades, Shuriken Pistol
. Player [1 PL, 20pts]: Harlequin’s Caress [6pts], Plasma Grenades, Shuriken Pistol
. Player [1 PL, 20pts]: Harlequin’s Caress [6pts], Plasma Grenades, Shuriken Pistol
. Player [1 PL, 14pts]: Harlequin’s Blade, Plasma Grenades, Shuriken Pistol
. Player [1 PL, 14pts]: Harlequin’s Blade, Plasma Grenades, Shuriken Pistol
. Player [1 PL, 14pts]: Harlequin’s Blade, Plasma Grenades, Shuriken Pistol
Troupe [10 PL, 176pts] . Player [1 PL, 20pts]: Harlequin’s Kiss [6pts], Plasma Grenades, Shuriken Pistol
. Player [1 PL, 20pts]: Harlequin’s Kiss [6pts], Plasma Grenades, Shuriken Pistol
. Player [1 PL, 20pts]: Harlequin’s Kiss [6pts], Plasma Grenades, Shuriken Pistol
. Player [1 PL, 20pts]: Harlequin’s Kiss [6pts], Plasma Grenades, Shuriken Pistol
. Player [1 PL, 20pts]: Harlequin’s Kiss [6pts], Plasma Grenades, Shuriken Pistol
. Player [1 PL, 20pts]: Harlequin’s Kiss [6pts], Plasma Grenades, Shuriken Pistol
. Player [1 PL, 14pts]: Harlequin’s Blade, Plasma Grenades, Shuriken Pistol
. Player [1 PL, 14pts]: Harlequin’s Blade, Plasma Grenades, Shuriken Pistol
. Player [1 PL, 14pts]: Harlequin’s Blade, Plasma Grenades, Shuriken Pistol
. Player [1 PL, 14pts]: Harlequin’s Blade, Plasma Grenades, Shuriken Pistol
Troupe [5 PL, 70pts] . Player [1 PL, 14pts]: Harlequin’s Blade, Plasma Grenades, Shuriken Pistol
. Player [1 PL, 14pts]: Harlequin’s Blade, Plasma Grenades, Shuriken Pistol
. Player [1 PL, 14pts]: Harlequin’s Blade, Plasma Grenades, Shuriken Pistol
. Player [1 PL, 14pts]: Harlequin’s Blade, Plasma Grenades, Shuriken Pistol
. Player [1 PL, 14pts]: Harlequin’s Blade, Plasma Grenades, Shuriken Pistol
+ Fast Attack [15 PL, 275pts] +
Skyweavers [15 PL, 275pts]
. Skyweaver [55pts]: Haywire Cannon [5pts], Zephyrglaive [5pts]
. Skyweaver [55pts]: Haywire Cannon [5pts], Zephyrglaive [5pts]
. Skyweaver [55pts]: Haywire Cannon [5pts], Zephyrglaive [5pts]
. Skyweaver [55pts]: Haywire Cannon [5pts], Zephyrglaive [5pts]
. Skyweaver [55pts]: Haywire Cannon [5pts], Zephyrglaive [5pts]
+ Dedicated Transport [4 PL, 80pts] +
Starweaver [4 PL, 80pts]: 2x Shuriken Cannon
++ Patrol Detachment -2CP (Aeldari – Harlequins) [24 PL, 465pts, -2CP] ++
+ Configuration [-2CP] +
Detachment Command Cost [-2CP]
Masque Form: The Soaring Spite: Serpent’s Blood
+ HQ [6 PL, 115pts] +
Shadowseer [6 PL, 115pts]: Hallucinogen Grenade Launcher, Miststave, Shield From Harm, Shuriken Pistol, Smite
+ Troops [10 PL, 190pts] +
Troupe [5 PL, 95pts] . Player [1 PL, 19pts]: Fusion Pistol [5pts], Harlequin’s Blade, Plasma Grenades
. Player [1 PL, 19pts]: Fusion Pistol [5pts], Harlequin’s Blade, Plasma Grenades
. Player [1 PL, 19pts]: Fusion Pistol [5pts], Harlequin’s Blade, Plasma Grenades
. Player [1 PL, 19pts]: Fusion Pistol [5pts], Harlequin’s Blade, Plasma Grenades
. Player [1 PL, 19pts]: Fusion Pistol [5pts], Harlequin’s Blade, Plasma Grenades
+ Dedicated Transport [8 PL, 160pts] +
Starweaver [4 PL, 80pts]: 2x Shuriken Cannon
Starweaver [4 PL, 80pts]: 2x Shuriken Cannon
++ Total: [111 PL, 7CP, 1,999pts] ++
Harlequins have always been an army that can drop prepostorous damage on demand, but recent Frozen Stars builds as we see here really lean in to the Elimination life with the multiple large foot Troupes. This is noticeably distinct from more conventional all bike and boat builds, as the bikes are closer to a Brawler role thanks to being able to pick up 3++ saves, and work in concert with fusion boats acting as fairly surgical Elimination threats rather than swingy general-purpose ones.
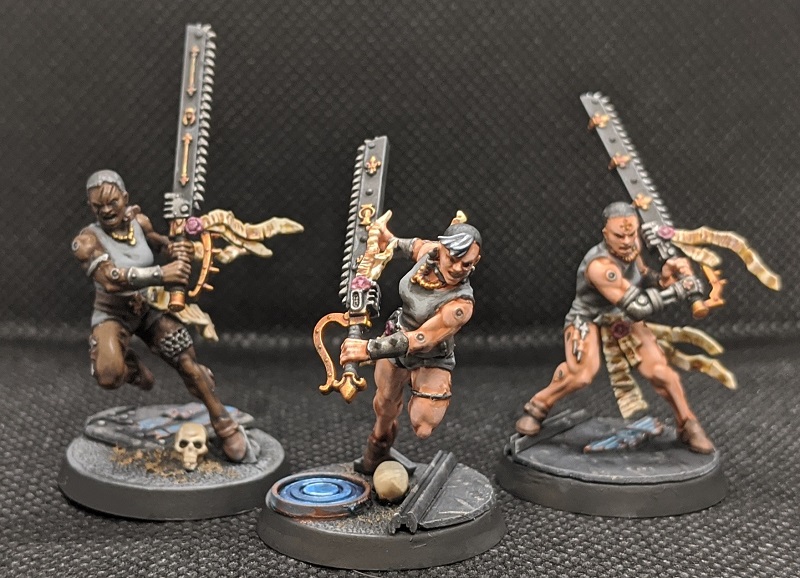
Foot Troupes, on the other hand, are perfect examples of general purpose Elimination. They’re very fragile if they come under fire, but also incredibly deadly for their price tag, able to combine a truckload of attacks with wound re-rolls (from the Troupe Master) and boosts (from the Frozen Stars stratagem) plus an optional damage boost from Murderous Entrance to dunk almost anything, all backed up by War Dancers for a second swing if all else fails. One unit set up like this has been a reasonably common add to the bike/boat lists for just that reason, but here we see a mighty five foot Troupes, and the bikes dialed back to a single squad, making it clear that Elimination is much more of a plan A for this army.
As long as you aren’t expecting to be playing on planet bowling ball, foot Troupes can play this part very effectively for a number of reasons. First up, they’re very diffcult to dodge. With built-in Advance and charge, and the ability to Charge over enemies if needed, as long as they can hustle to a mid-table ruin out of the gate then they’re a huge headache for the opponent from there on out, because it’s going to be incredibly difficult to contest objectives without opening themselves up to getting clowned on. With five of these units lying in weight they also have to seriously worry about being dealt a crippling blow if they approach the mid-board in force – the list packs two Troupe Masters (powerful Force Multipliers via their wound re-rolls), so the Troupes can engage in multiple places at once and still expect to do huge damage.
That would suggest that spacing out resources and trying to bait the clowns into committing is the answer, but that’s where the next upside of the Troupes comes in – they aren’t that expensive. 170pts isn’t nothing, but these squads are more than capable of trading for something of a similar price, meaning the only way to force multiple units to engage at once is going to be to take that risk of moving in force – damned if you do, damned if you don’t. The different weapon loadouts also mean that the army can send out whichever unit is best suited to take on a given threat, picking the right mix of AP, strength and damage for the job (and potentially chaining the blade-armed models back to auras). That leans in to what we mentioned earlier – if Elimination is a big part of your plan, you need to be confident you can swing for any target.
So – deadly enough to go for big things, cheap enough to trade when needed, anything else that favours them? Yes – tricks to avoid counterattacks. If you can squeeze multiple turns out of your Elimination threats you’re in a good spot, and Harlequins have a couple ways to pull that off. Twilit Encore can allow you to trap opposing units in combat, preventing your Troupes getting shot up, while combining the Domino Shroud with Veil of Illusion can allow you to change your opponent’s range calculations at the end of their movement phase, potentially ruining their lovingly lined up clown-killing solutions.
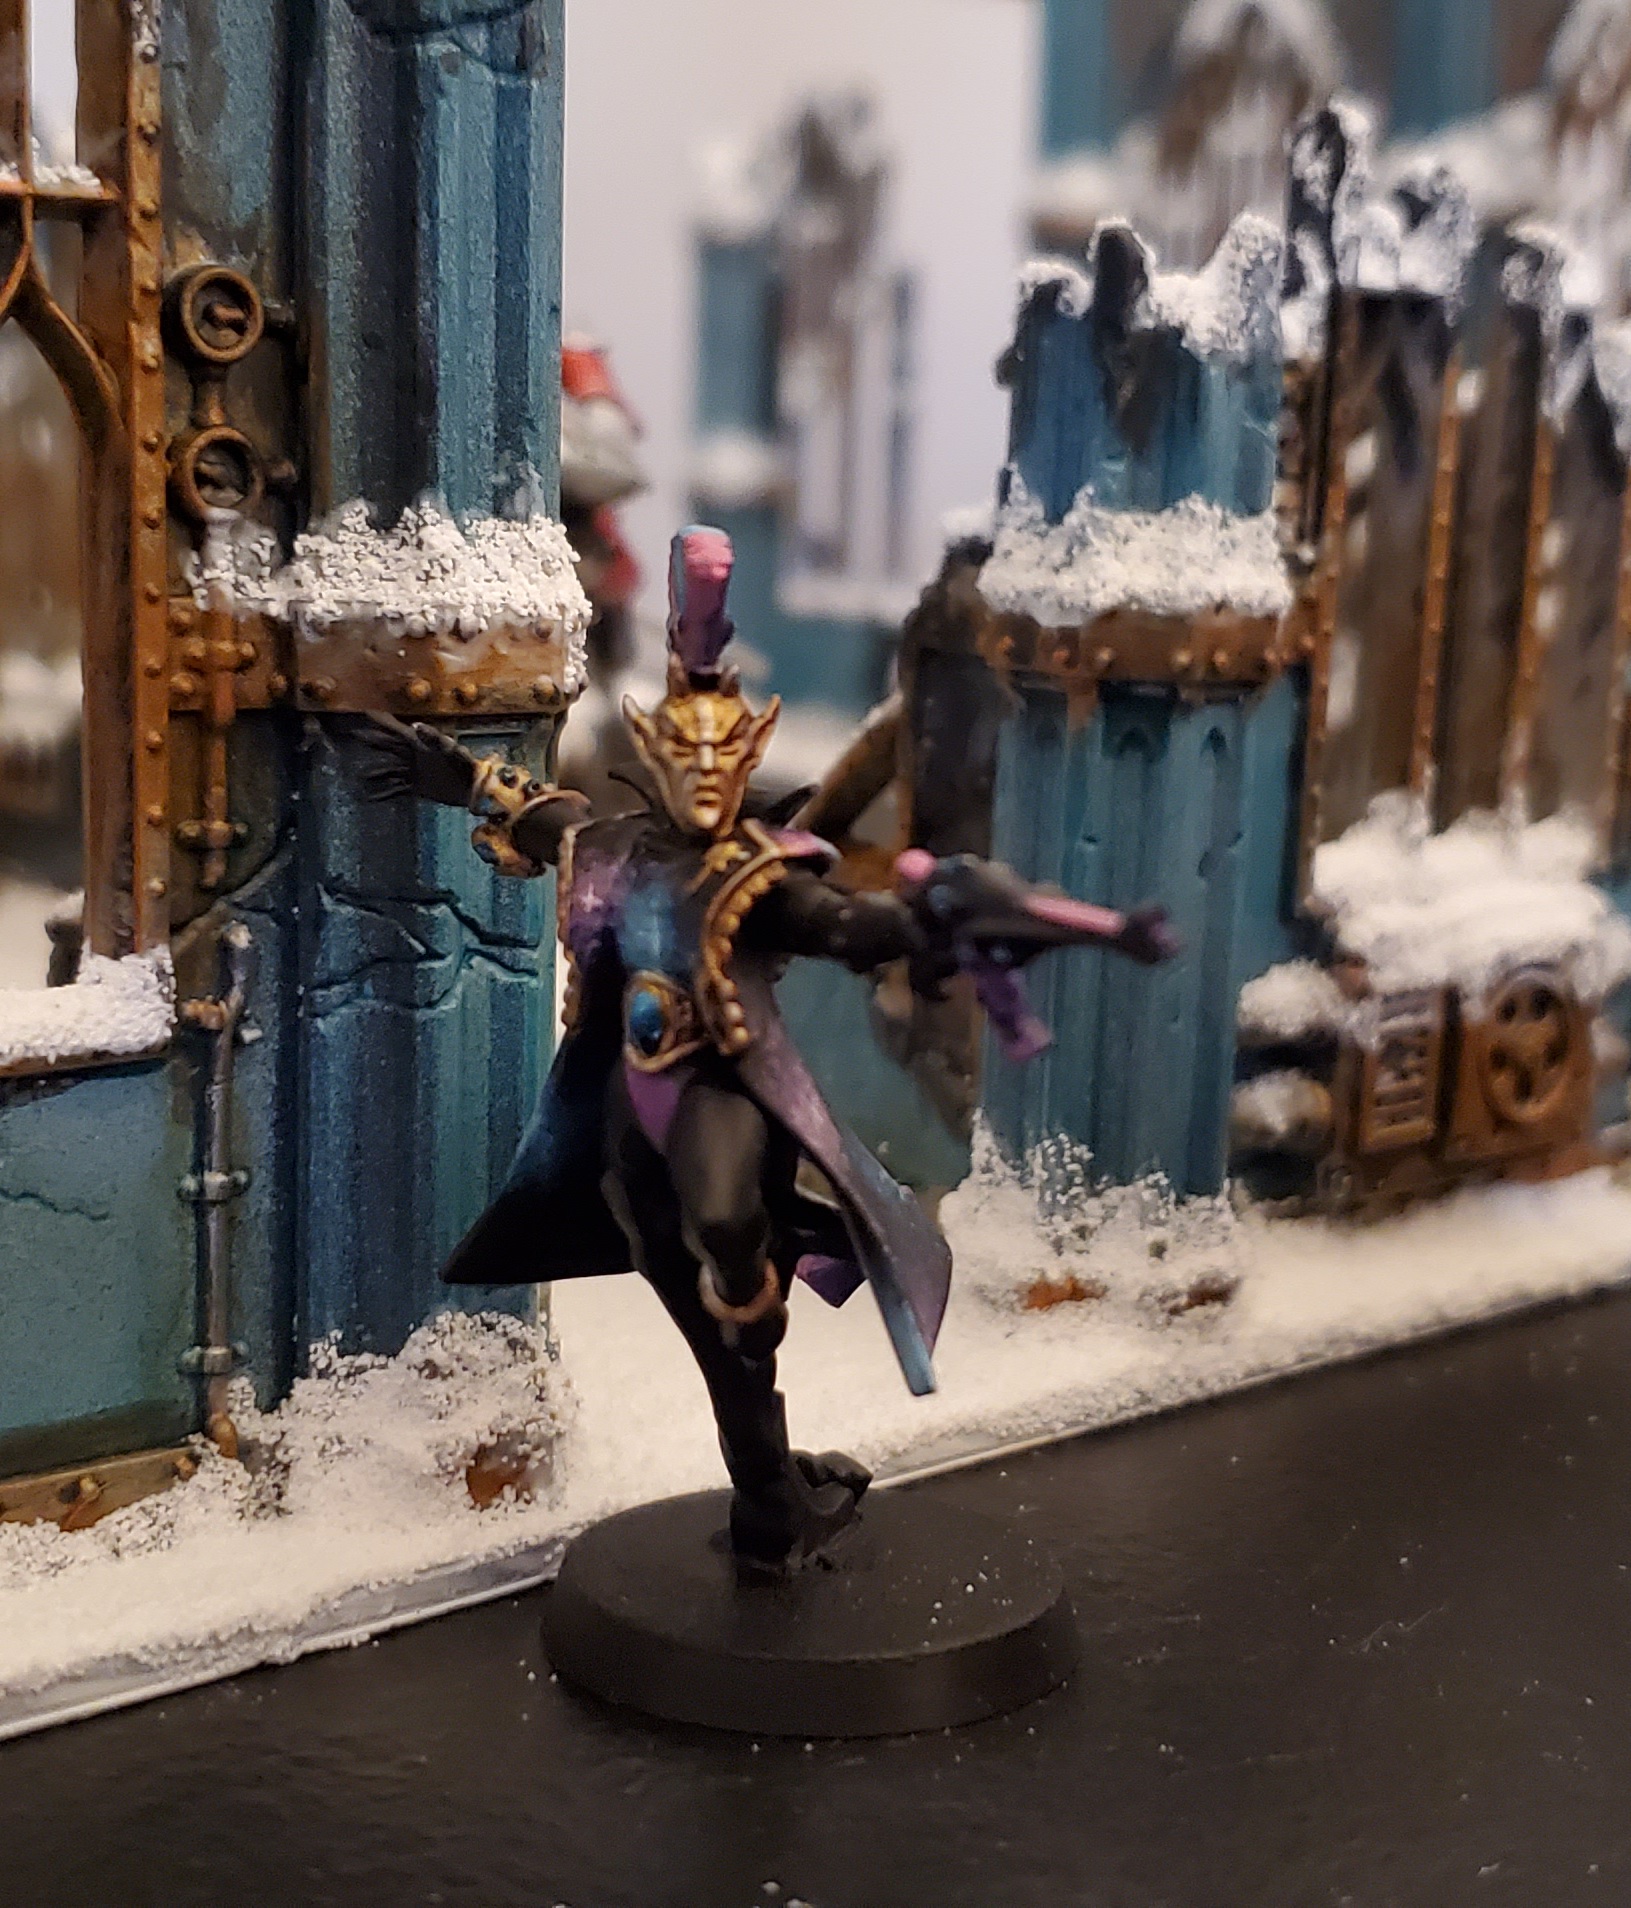
The rest of this army is well-tuned to support this core. The two Soaring Spite fusion boats can nicely flex between being Position Holders and more counterattack-oriented Elimination units, threatening to do a drive-by on opposing ones that move to take out the foot Troupes. The single Skyweaver squad can play a powerful Brawler game, as with only one unit it can be on a 3++ all the time, and with the Frozen Stars buff is reasonably dangerous in melee (though will need to find a different job against Death Guard). Finally, the lone Frozen Stars Starweaver and bare-bones troupe are a classic Pawn – they can swoop onto an objective early and dare the opponent to come into range of the nastier stuff.
By ensuring that it can engage any type of targets, force the opponent’s hand with some supporting units and switch to a cagey, trading game on demand, this list can make Elimination the focus of its plan, and is truly terrifying to play against.
So, as we’ve done for all of these, what would you try and do about this? Well, first up there are some Force Multiplier tools where if you have them, it’s very good for you. Melee-based Elimination units hate running in to Fight Last effects like the Armour of Russ, and Revolting Stench Vats does an even better job here because it switches off the bonus attack from the Frozen Stars trait. If you have the tools to set up a cautious advance with reliable cover from these, you might be able to get into range to grind this army down without exposing yourself to a deadly counterattack.
If you don’t have those tools, the next thing to identify is whether any of your Brawler units can plausibly get the jump on the Harlequins where they’re mustering. These big units won’t stand up to any sort of high-volume punishment, so if you’ve got Vanguard Veterans and other faster Brawlers, turning the tables might be a real prospect. Absent these as well you’re likely to have trouble, but you can potentially try and tilt things in your favour via careful secondary choices. One potential crack in this list’s plan is that it isn’t fantastic at reaching out and dealing with targets that are hanging back, so see if lining up While We Stand, We Fight is possible, or even just Grind them Down, focusing on taking out whichever units this army makes a play for visible objectives with. Well-played Harlequins are tough to beat (there’s a reason they’re one of the armies to beat right now), but there are some angles to approach the game on.
Wrap Up
Tune back in tomorrow for our final primary role in Attrition. Any comments, questions and suggestions to contact@goonhammer.com.
