
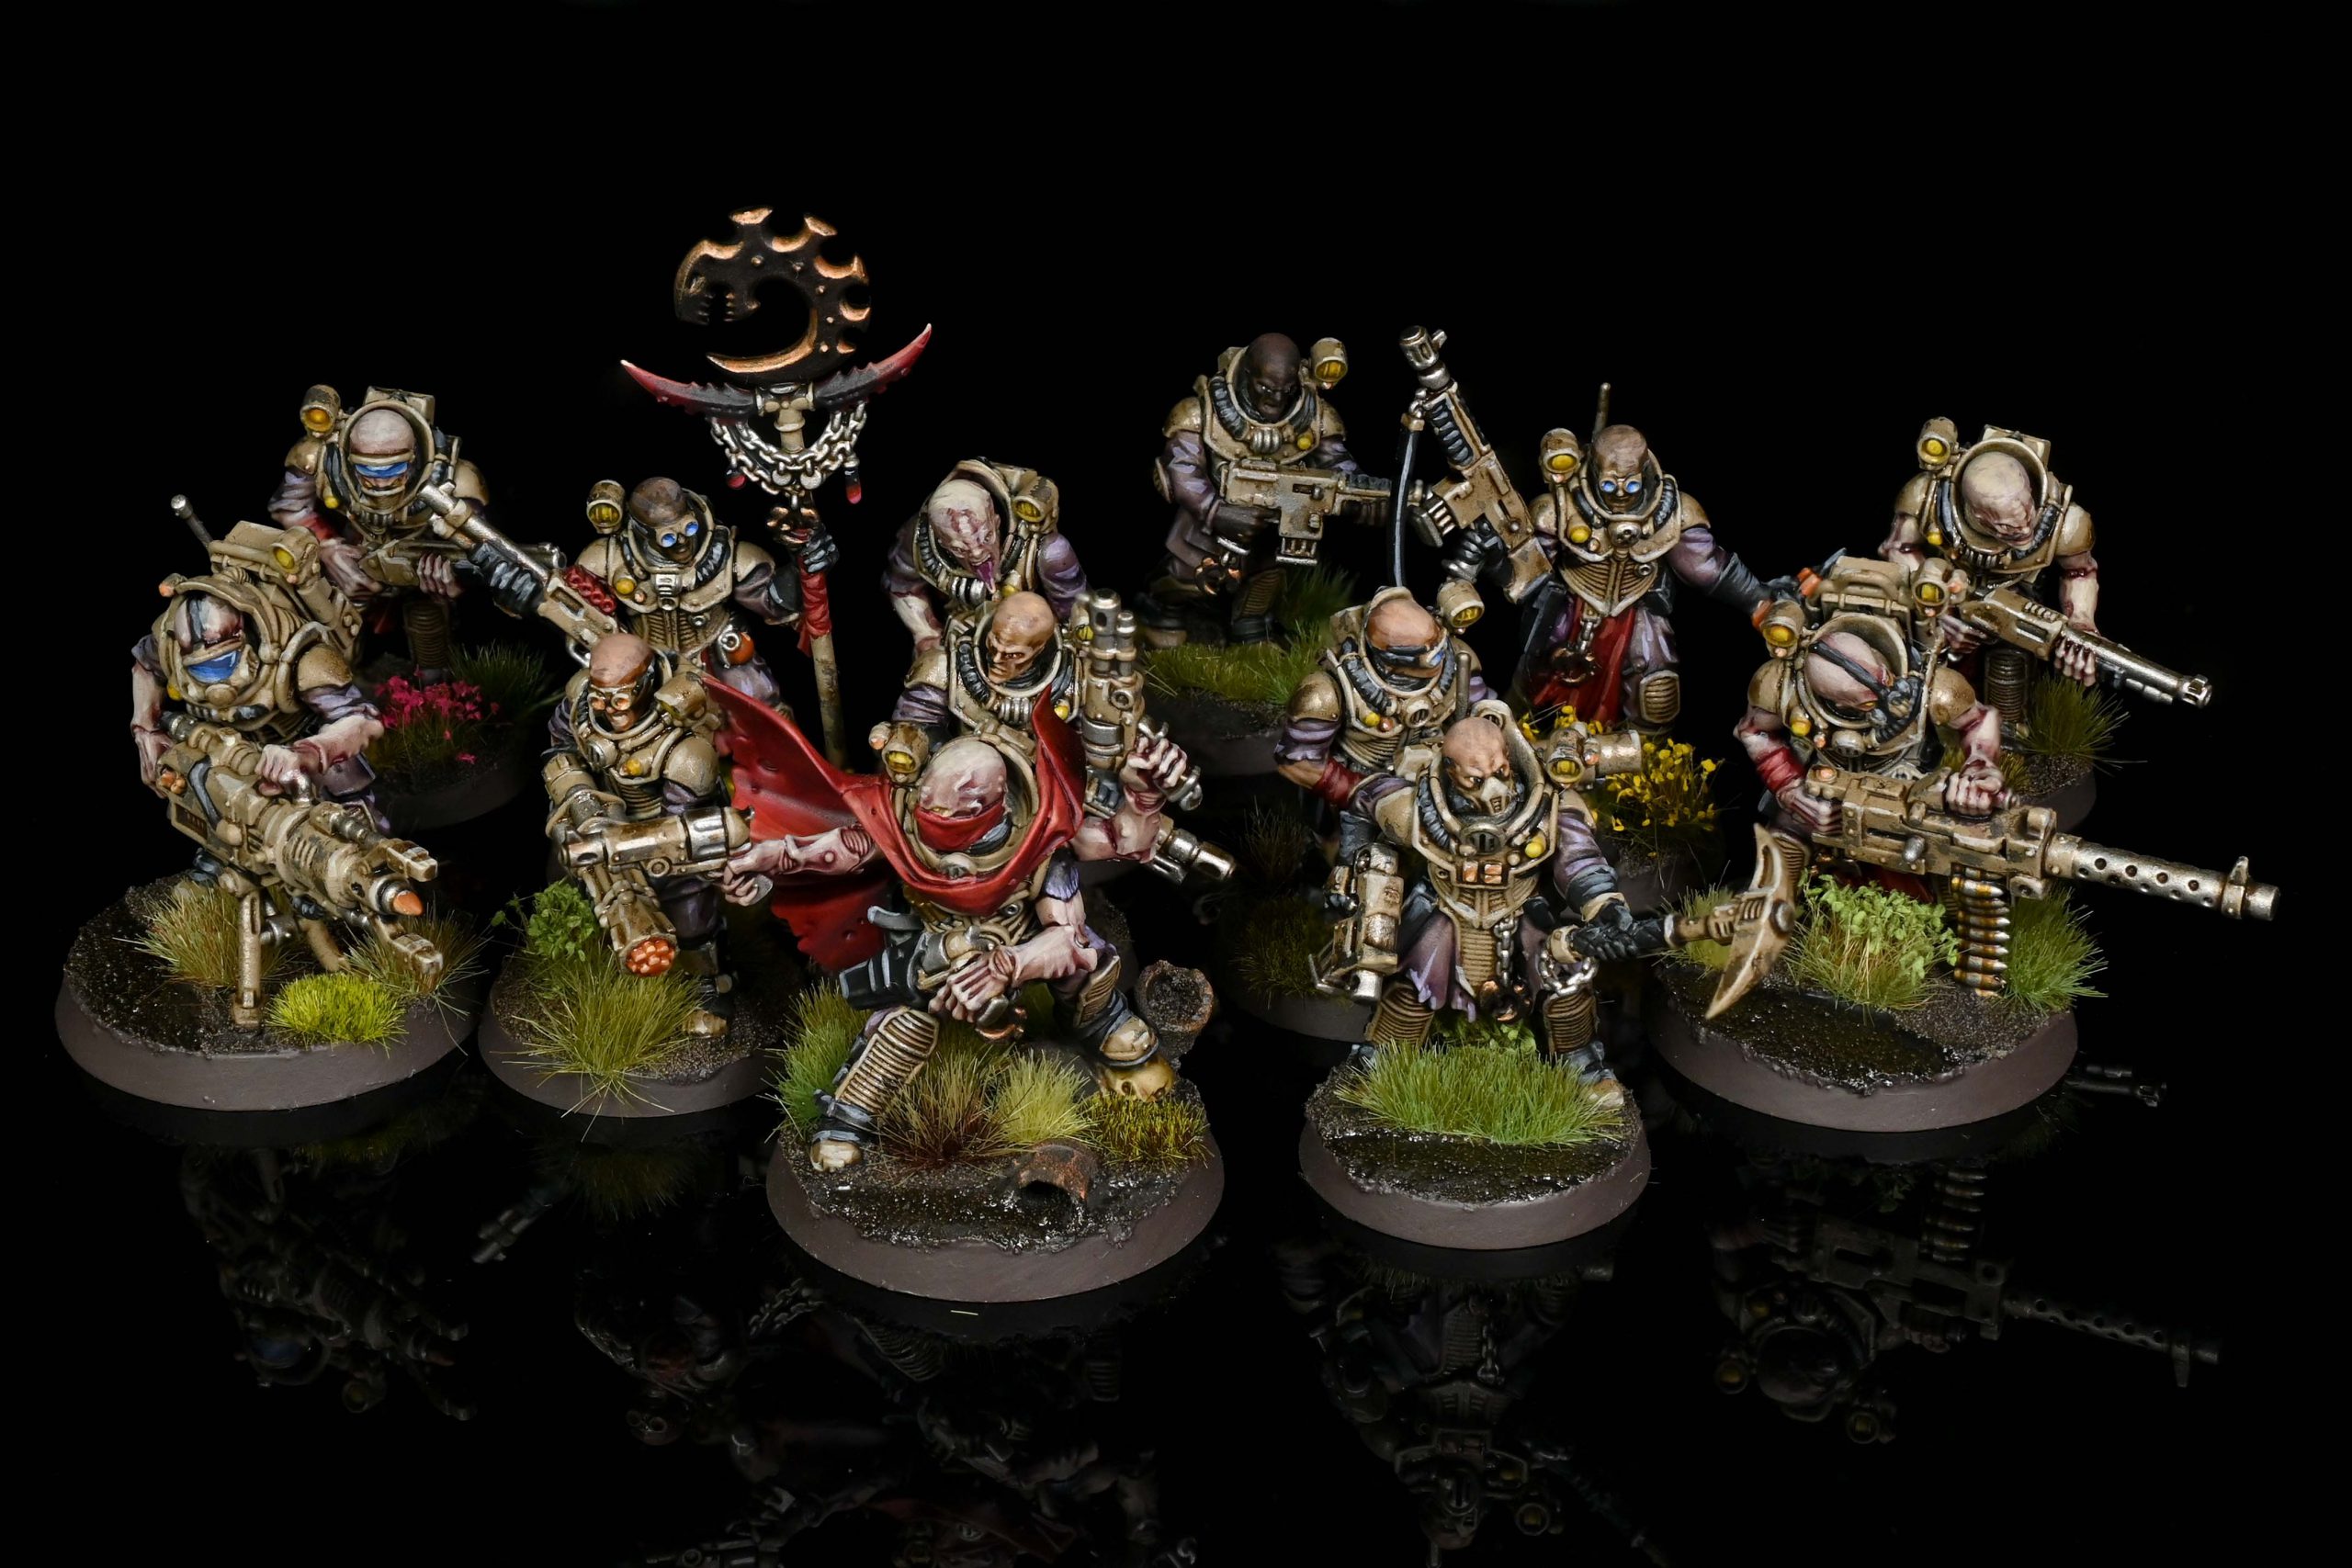
White Dwarf 472 brings us the latest in the series of White Dwarf updates to Compendium Kill Teams, giving us the Wyrmblade Kill Team, an updated set of rules for Genestealer Cult teams. While standard Genestealer Cult teams focused almost entirely on Neophytes and Acolytes, Wyrmblade teams bring back some of the great characters associated with Genestealer Cults and open up the team’s options considerably.
Strengths
- Heroes – Wyrmblades have 4 hero options (count as two operatives) and can select two for the team. These bring more durability and damage to the table, as well as higher APL. They give what’s otherwise a horde team an elite edge.
- Flexibilty – Your teams can consist of between 12 and 14 models (though you’ll rarely go to 14), and many of those will have group activations. So you’ve got the bodies to hold objectives and control area, with support from some more elite models, but you can go full horde if you need.
- Cult Ambush – Wyrmblade teams get a bonus for going from Conceal to Engage during their activation, getting a free re-roll on one of their attack dice. This rewards you for something you already wanted to do – start in Conceal mode, and Wyrmblade Teams have the ability to drop back into Conceal at the end of an activation with the Slink Into Darkness Tactical Ploy.
- Buffs – Between ploys, icons, Kelermorphs and the Neophyte Leader there are a series of buffs to give you re-rolls, effectively another rending, free ploys, or allow you to retain a dice as a hit without rolling it. These will need to be tracked, but help a faction where a lot of models hit on 3s or 4s stack up those hits and criticals.
Weaknesses
- Melee – Wyrmblade teams had to give something up from regular Genestealer Cult teams and what they gave up was mostly melee prowess, losing the ability to take metamorph hybrids. The Sanctus Talon is the best of your melee options, and you’re limited to one of those.
- Durability – Most of your operatives have a 5+ save and 7 wounds. Your heavier hitters have a 4+ invulnerable and 9 wounds. That’s not a lot, but you do have some good tools for protecting your cult agents, such as the Preternatural Assassin and Unquestioning Loyalty rules.
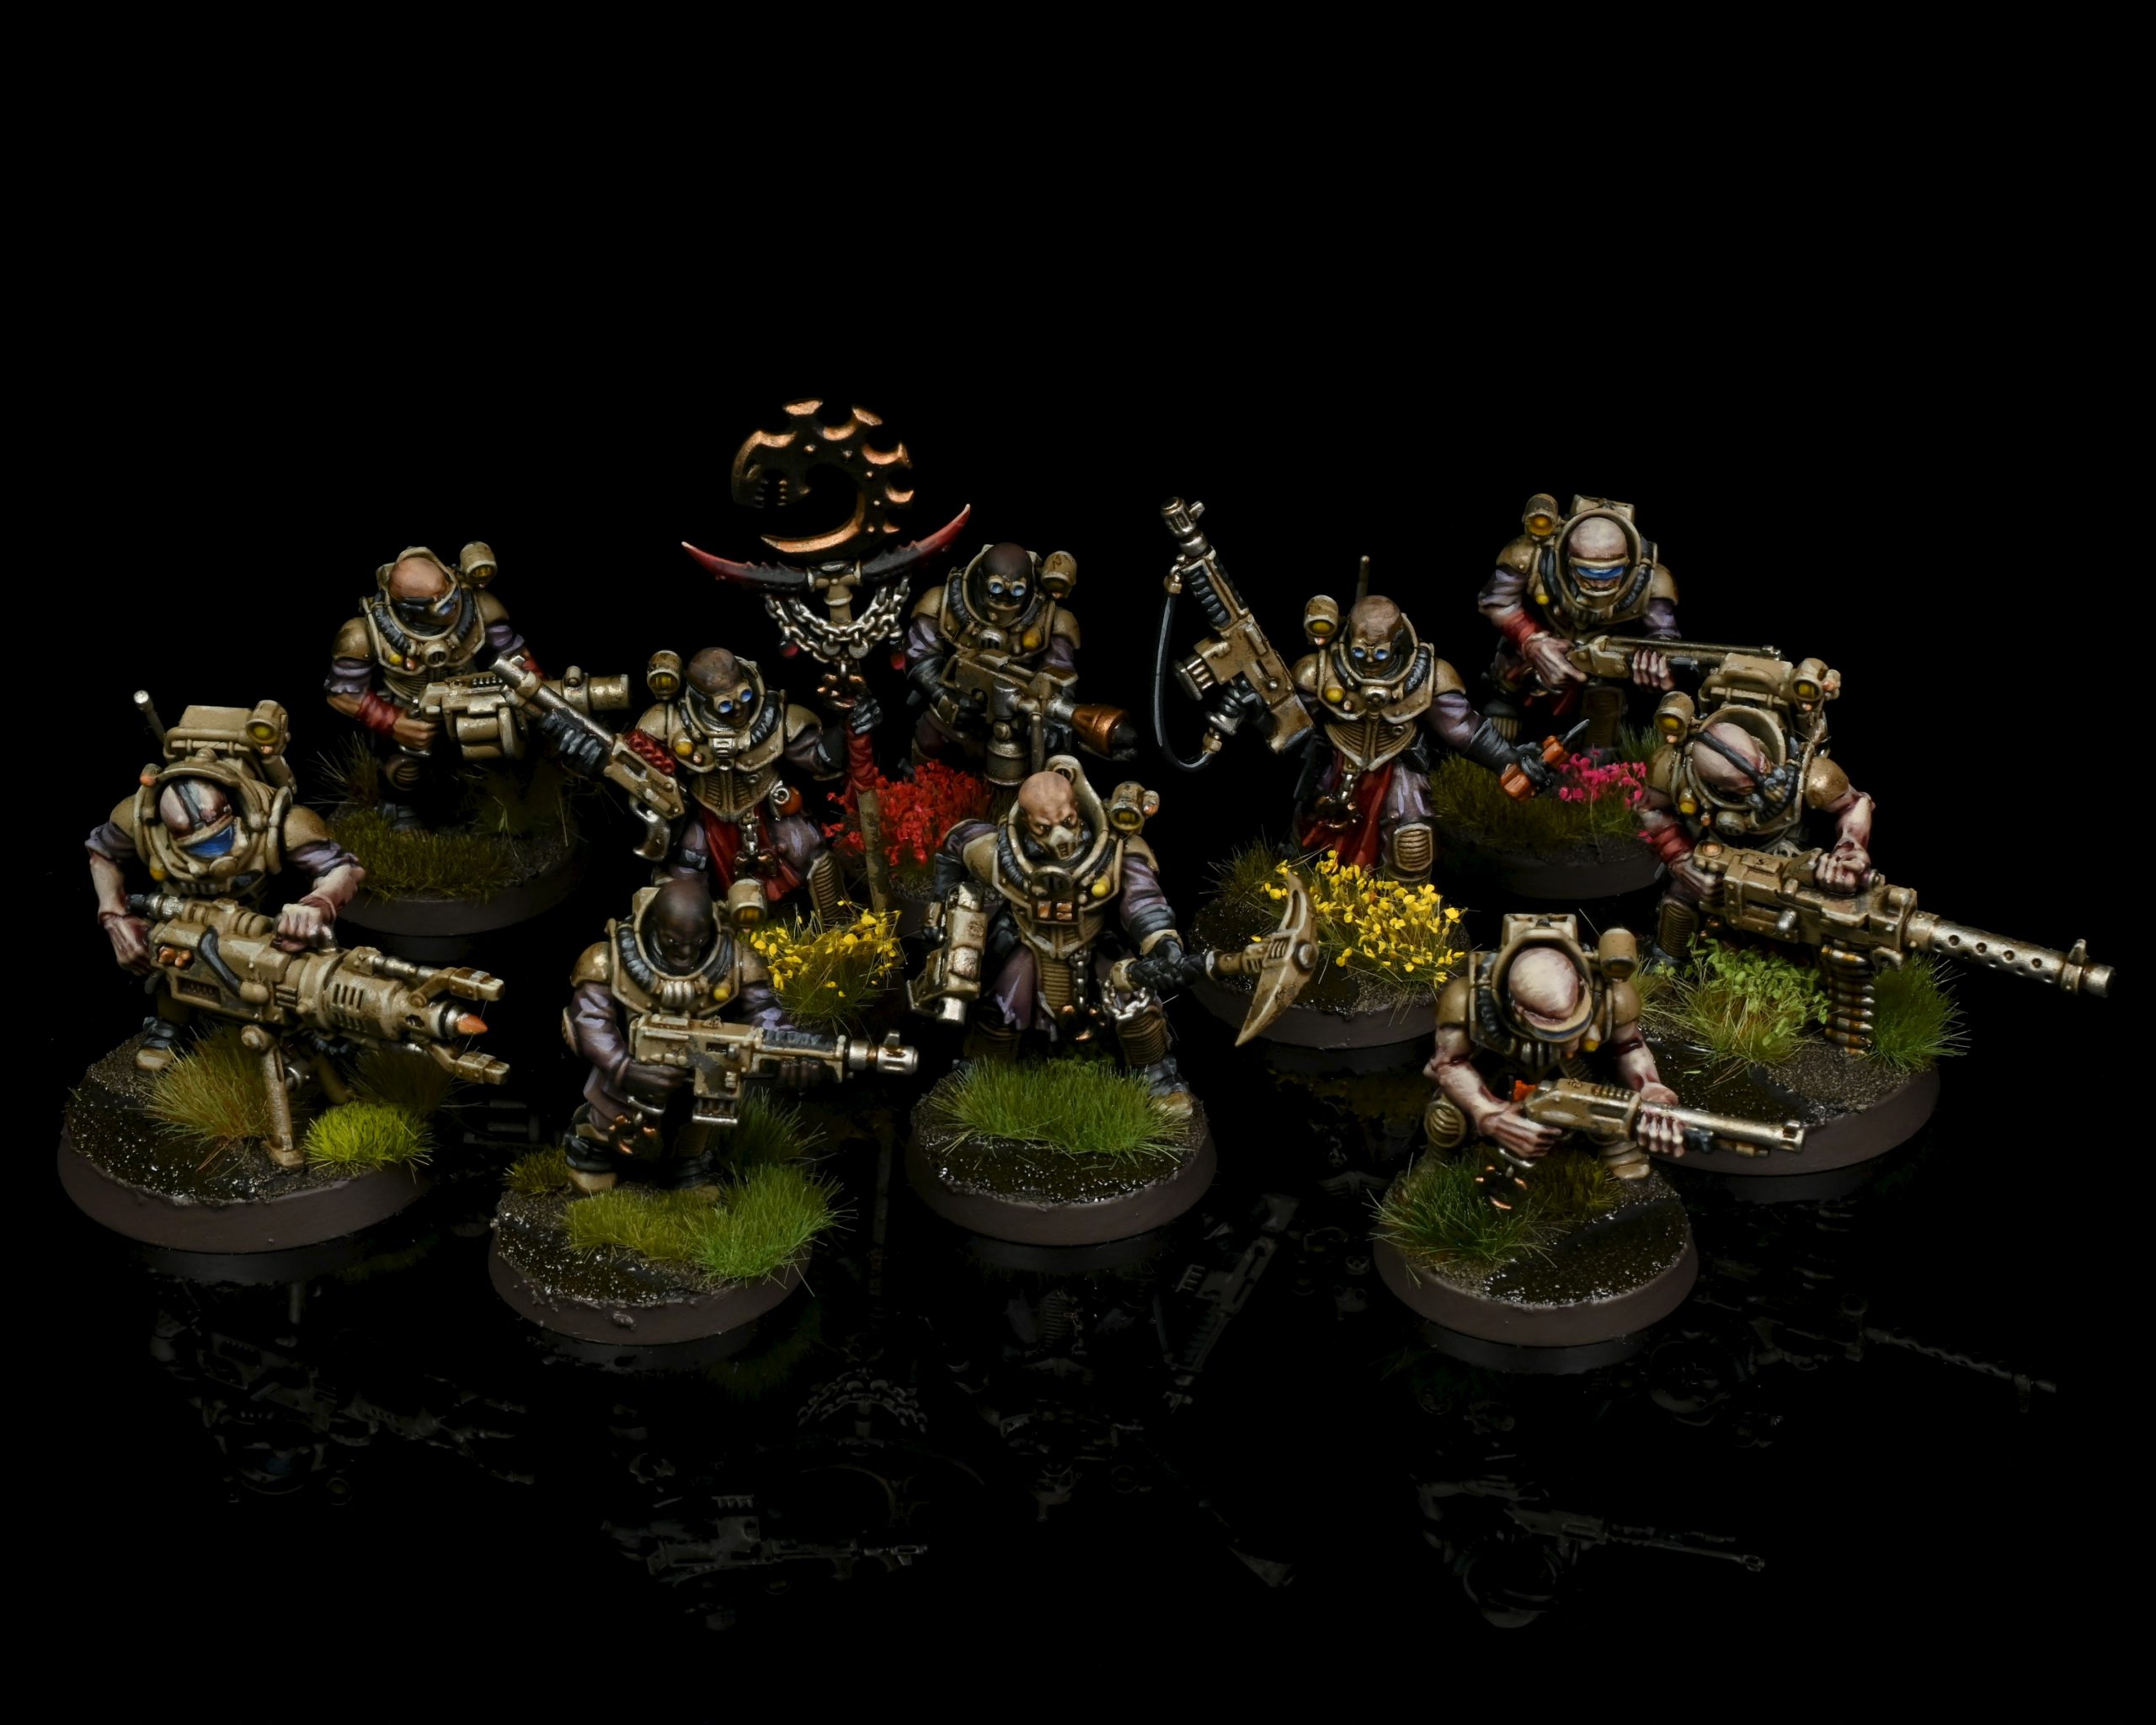
Wyrmblade Kill Teams
Wyrmblade Kill Teams consist of 1 Neophyte Leader and 13 Wyrmblade operatives chosen from a list that includes not just Neophytes but several key Genestealer Cult characters (who have the CULT AGENT keyword) – the Kelermorph, Locus, Sanctus Sniper, and Sanctus Talon. With the exception of basic Brood-Adepts, you can only include each operative once and your team can’t have more than two GUNNERs, two HEAVY GUNNERs, and two CULT AGENTs., each of which counts as two picks from your list of 13 This means you’ll have to make some choices about which characters you bring in each matchup.
Abilities
Two abilities define Wyrmblade kill teams: Cult Ambush, which every operative has, and Preternatural Assassin, which you’ll find on the CULT AGENTS.
Cult Ambush
In the first turning point you can change your order. This means you will be starting everything in Conceal because it makes sense with the second part of the rule, which is if, in your activation, you change your order from Conceal to Engage then in your first Shoot or Fight action you can reroll all dice with one result (ie you pick a dice result, say 1, and reroll all the 1s you rolled). This is the first time we’ve seen this as an idea in a mechanic, and it’s interesting. RAW you would pick the result you are rerolling after the initial roll, as that’s when rerolls happen in the sequence of play. Certainly stronger than reroll 1s or reroll a single dice, as if you are firing a shotgun and roll two 2s and 2 4s you can then reroll two dice to try and maximise your hits.
Preternatural Assassin
A baked-in 4+ invulnerable save with the ability to either retain an additional success or upgrade a normal success to a critical success in cover when rolling saves. You can’t take equipment, but this really helps you stay alive if you hug cover, which is something your Cult Agent operatives will need to do if you want to survive.
Operatives
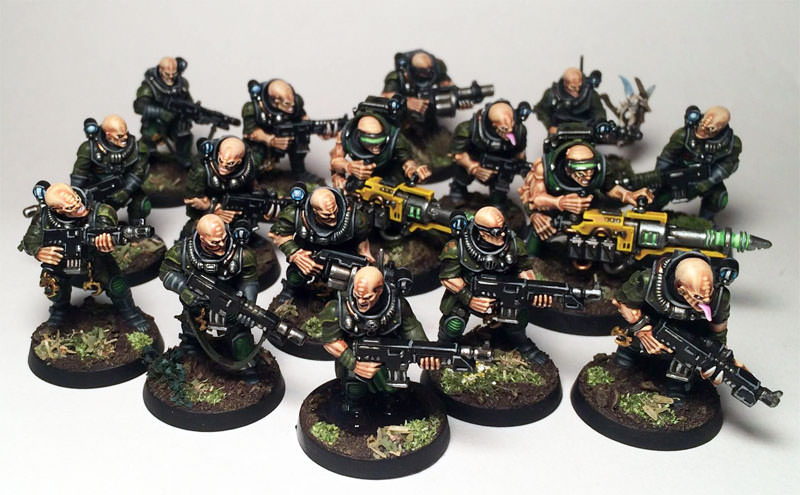
Some of the operatives here are holdovers from the Compendium Brood Coven team; Neophyte Brood-Adepts, Neophyte Gunners, and Neophyte Heavy Gunners look identical to their Neophyte Hybrid counterparts. The big difference is that in Wyrmblade teams they have the Cult Ambush rule.
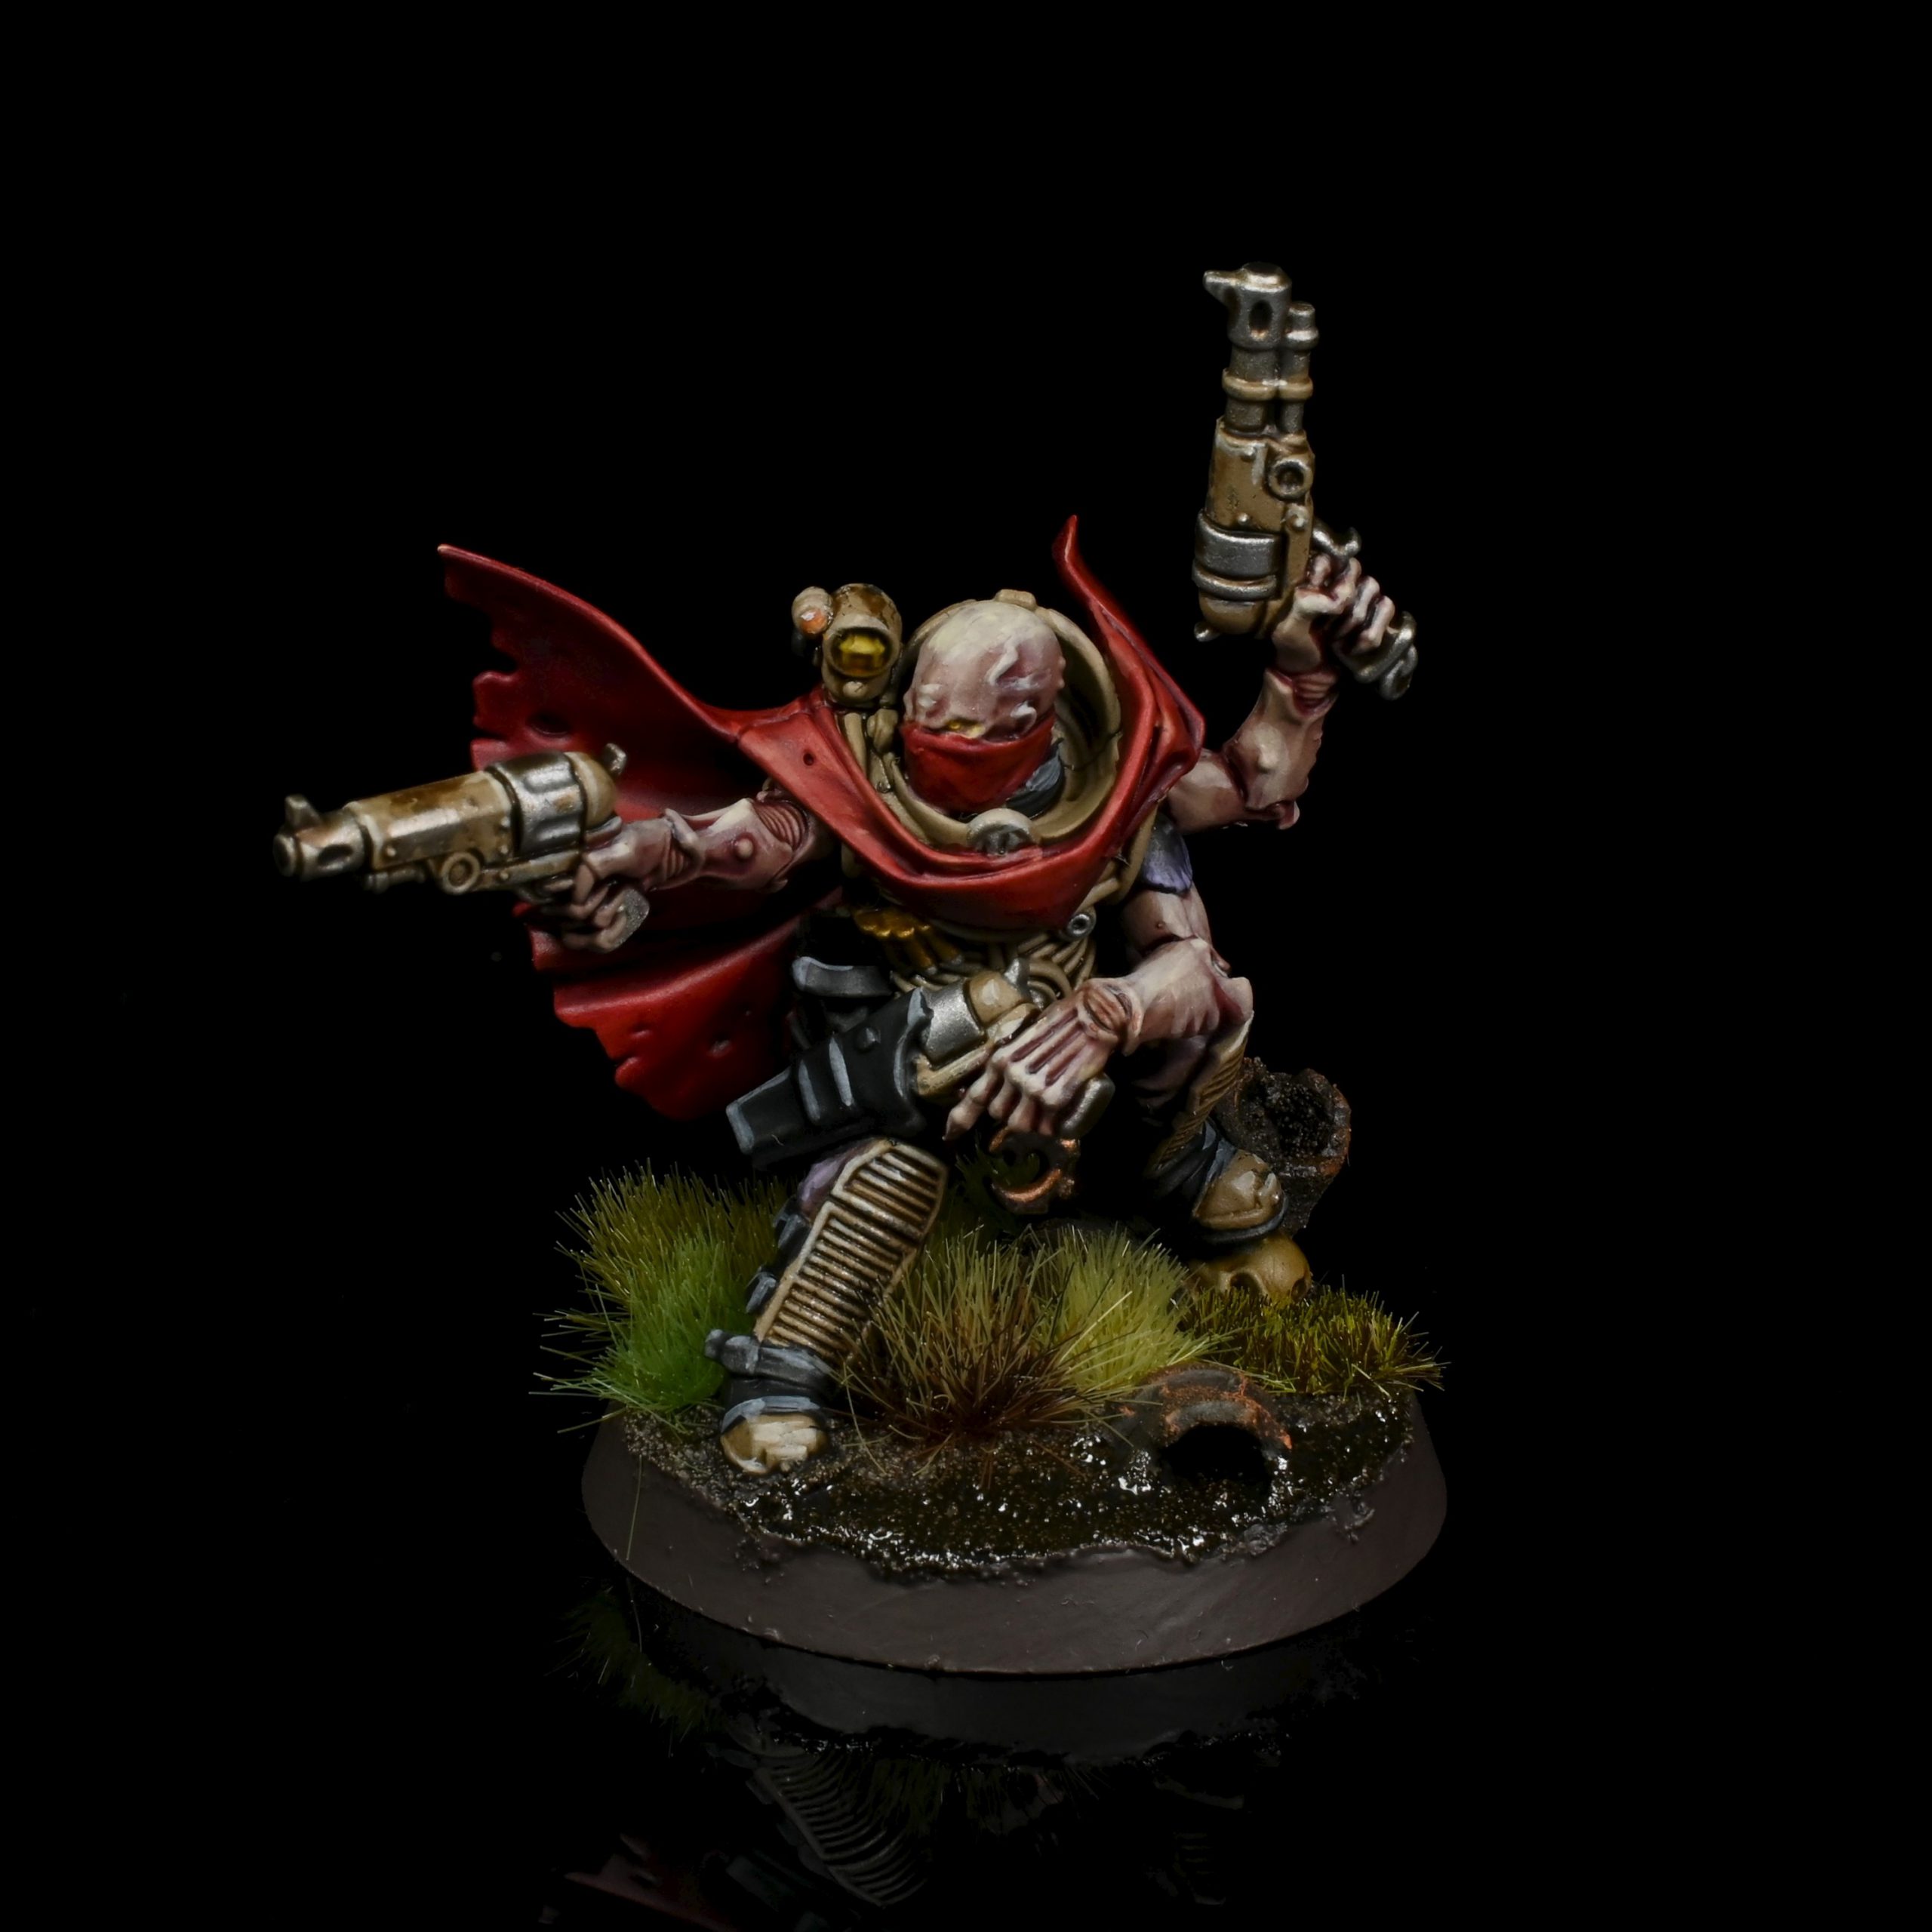
Kelermorph
The Kelermorph is one of four CULT AGENT options and the team’s sharpshooter. He’s armed with Liberator Autostubs, which give you an option of two profiles every time it shoots:
- Long range have unlimited range, do 4 shots that hit on a 4+, with 3/4 damage, P1, and Rending.
- Short range have standard pistol range (⬟), but you get 5 attacks that hit on a 2+.
There’s no downside to going to short range so that’ll be your play whenever you get close, and the Kelermorph’s Expert Gunslinger rule lets him perform two Shoot actions during each activation, so he can put out a pretty heavy amount of firepower per activation, especially if you can close that gap to get into short range. Fortunately, he has a 3 APL to help make that happen. On top of that, you can use the Hypersense action (1 AP), which gives your next Shoot action the Indirect and No Cover rules in place of P1 and Rending, letting you trade off a bit of firepower to shoot your enemies through cover.
The Kelermorph isn’t just a lone operator, however: It also has the Heroic Inspiration rule, which boosts all nearby Wyrmblade Neophyte operatives each time the Kelermorph incapacitates an enemy operative, giving visible operatives within ■ the ability to retain a single hit roll of 5+ as a critical hit whenever they shoot or fight. This pairs well with shotgun Neophytes.
This is a nice cherry on top of what’s a potentially devastating shooting character, and when they get in close they’ll absolutely tear up enemy targets. The downside is that the Kelermorph is relative fragile and needs the support of Neophytes for Unquestioning Loyalty protection, but can also boost them with its kills, so it’s a nice little symbiotic relationship. The Kelermorph is also a great target for the Slink Back Into Darkness Tactical Ploy, which lets him pop out of Conceal, wipe out an enemy target, then drop back in to avoid being shot.

Sanctus Sniper
If running up and gunning someone down with pistols isn’t your thing, the Sanctus Sniper is your long ranged shooting option. The Sanctus Sniper comes with a sniper rifle that does four shots, which hit on a 2+ for 3/3 damage with the SIlent and Heavy rules, plus it does 3 mortal wounds on a critical hit. That’s pretty solid, and lets you stay in conceal the entire game if you need. You might find it odd then that the Sanctus Sniper comes with 3 APL since it’s only going to dash and shoot most turning points, but the Sanctus Sniper also has two unique actions it can perform with that extra AP:
- Target Vulnerability (1 AP) – gives the sniper rifle the Lethal 5+ special rule until th end of the activation.
- Familiar’s Soulsight (1 AP) – Lets you pick an enemy operative, and until the end of the turn, each time the sniper shoots that enemy operative you get No Cover, ignore obscuring, and areas of smoke can’t prevent that operative from being visible.
You’ll pretty much always want to have Target Vulnerability up, since the prospect of scoring 3 mortal wounds on each 5+ is just too good to pass up, but Soulsight is also a big boost if you don’t want to move to get sight on a target. Both are solid.
Ultimately the Sanctus Sniper is going to be ideal for taking out enemy leaders and other heavier targets, and makes a nice little 1-2 punch with the Kelermorph if you need to take on something big.
Sanctus Talon
There isn’t a lot of melee prowess in the Wyrmblade Kill Team, and what you have comes either from your leader (who will likely take a power pick), the Locus, and the Sanctus Talon, who’s more an Assassin than an outright melee murder machine. This is apparent from the Creeping Shadow rule, which lets the Sanctus Talon perform a Charge action while it has a Conceal order, plus every time it fights in combat, it can perform a free Dash action after it fights, regardless of any other actions it’s performed and even if you’re still in Engagement range (you can’t use this to end up in Engagement range of another enemy operative). This means it can rush in, fight, and then dash back out of combat and hopefully into cover.
When the Talon does reach combat, its bio-dagger gives it 4 attacks that hit on a 2+ for 3/6 damage with the Lethal 4+ and Stun rules. That’s pretty nasty, since it means on average you’ll score two critical hits per combat, but you can boost that further with the Familiar’s Soulsight (1 AP) unique action, which lets you pick an enemy to get the Brutal and Balanced rules against when you fight. This is perfect for fishing for crits and making sure you can just push through 12+ damage per fight. Activate Soulsight, Charge in, do 12-16 damage fighting, then dash back out into the shadows.
Locus
The final Cult Agent is a close combat monster with a conditional out-of-sequence activation ability that I think people are going to argue different interpretations of. Quicksilver Strike (1 AP) is a unique action that you can use once per turning point when an enemy operative moves within ■ of you with a normal move or dash, which lets you perform a free Charge move to move within engagement range of that operative, switching your order to engage and ending their activation in order to perform a free Fight action of your own. This is super nasty, and has the potential to be a real rules headache.
My interpretation would be that it is treated the same as out of sequence medic activations, which are also triggered by enemy actions within ■ of you, but I can see where people will argue about this. I anticipate Designers Notes explaining exactly how this works.
The Locus comes with Barbed Tail, a 3-inch ranged bolt pistol, and locus blades, a 5 dice, 2+ to hit power sword. 5 dice with Lethal 5+ means you’ll hopefully have multiple criticals to play with. These are uncontroversial and straightforward, but the abilities and unique action are what make the Locus a monster.
- Duellist – when resolving a Fight action, you may resolve one dice before the attacker (note that you can also be the attacker) and you must use this dice to parry. This is great, especially against weaker opponents or bad rolls where the pool of attacks coming your way may be small, and gives you more leeway to just push through damage.
- Expert Swordsman lets the Locus perform two fight actions during each of its activations, which is helpful if you used a fight action to intervene already with Quicksilver Strike
The Locus is less tricky than the Sanctus Talon but potentially hits a little harder, with the ability to interrupt an opponent trying to move by and a higher potential damage output with 5 attacks and the option to fight twice.
Neophytes
Neophytes are basically the same as what you’re used to in the Compendium, only with Cult Ambush. The Heavy Gunner can opt for a Heavy Stubber, Mining Laser, or Seismic Cannon, and of those the Laser does the most damage and will be your pick in most cases thanks to being AP1. The Icon Bearer is the other major difference here, where they’ve picked up a new unique ability, Signal the Strike (1 AP). Activate this and until the end of the turn, if the icon bearer is visible to and within ■ of a friendly operative doing a Fight or Shoot action with the benefit of the Cult Ambush bonus, you can re-roll any or all of your attack dice instead of just one. This is a huge boost, particularly if you can pair it up with the Talon, Locus, Kelermorph, or Heavy Gunner and just try and get as many crits as possible.
Strategic Ploys
There are four Strategic Ploys for Wyrmblade teams:
- Meticulous Plan (1 CP) gives your operatives under the Conceal order the ability to perform a mission or Pick up action for 1 less AP, a handy way to make off with a marker while no one is looking. You can only use this once per game, so pick a turn when you’ll really benefit from it.
- One with the Shadows (1 CP) turns all light terrain into Obscuring for your operatives with the Conceal order, letting you suddenly vanish behind relatively small amounts of cover, and perfect for suddenly leaving your opponent with nothing to do until your operatives emerge to wreak havoc with Cult Ambush.
- Writhing Ingress (1 CP) lets you put an ingress token within 1” of a terrain feature up to 1” thick. Until the end of of the battle your friendly operatives can move through there, basically giving you a portable hole to jump through any piece of terrain you find particularly annoying.
- Crossfire (1 CP) gives you a bit of a facsimile of the new Crossfire rule from Codex: Genestealer Cults. Until the end of the turn whenever one of your operatives makes a shooting attack on a target without a crossfire token it gains a crossfire token. If it shoots a target with a crossfire token, then you can retain a single attack dice as a hit without rolling it. This is neat when you remember that your Kelermorph can either mark two targets by himself or create a crossfire on a single target all by his lonesome, which is pretty funny.

Tactical Ploys
Likewise, Wyrmblade teams get four Tactical Ploys.
- Slink into Darkness (1 CP) can be used only once per operative, and is a ploy you’re likely going to use every single turn. You use the ploy at the end of an operative’s activation to switch them from Engage back to Conceal. There’s so much that keys off this, and it’s going to affect how you plan your movement and actions, since being able to go from conceal to acting and back to conceal is incredibly nasty, especially because it sets you up to Cult Ambush again the following activation.
- Coiled Serpent (1 CP) is used when you activate someone and change them from Conceal to Engage, after which the first time they fight or shoot they can retain one of their hits as a crit. This is a great added bonus on top of Cult Ambush and again plays very well with the strategy of dropping in and out of conceal with Slink into Darkness.
- Unquestioning Loyalty (1 CP) is used when your leader or Cult Agent is picked as the target in melee combat. You can pick a friendly Locus or Neophyte within ■ and they can intervene, interrupting with a charge action to get into engagement range, after which they become the target for the combat. This is a great way to protect your fragile, damage-dealing characters from deadly melee combatants and is a great way to keep your Kelermorph safe as he gets close enough to kill things at short range.
- Hiding (1 CP) is used when you deploy. You can pick up to two of your Neophytes to set up in hiding, During the first turn they can show up anywhere within 6” of your drop zone and more than ■ from enemy operatives and are treated as having just made a Normal move (they lose 1 AP). This can be a clever way to hold back on deploying some key operatives, though it’s not ideal for anyone who might want to charge on the first turn. Theoretically because you have to place within 6 inches of your deployment zone but it does not talk about vertical height, you could pop models onto Vantage points or on top of buildings for 1AP and still have an AP left for shooting, and you can hold revealing them till the last two actions you take in the Turning Point, preventing your Vantage point grenade launcher from being shot at or overwatched.
Equipment
Thanks to the Preternatural Assassin rule, only your Neophytes can get equipment. There are a few options here – Climbing Equipment (1 EP) gives you free vertical movement traversing terrain. If you want some grenade options, you have those as well – Frag Grenades (2 EP) and Blasting Charges (3 EP), both give you one-use, short range Blast weapons with Indirect, and each gives you 4 attacks at BS 3+, with Frags giving you 2/3 damage and Blasting charges giving you 3/4. Spotlight is one of the more useful pieces of equipment, letting you pay 3 EP to ensure that an enemy operative visible to your operative and within ⬟ cannot be Obscured – this makes them an ideal partner to a Sanctus Sniper. ANd the Cult Talisman (2 EP) lets you retain one of your normal saves as a crit save any time you’re shot at, something you’ll likely want to put on your leader and/or heavy gunners to save them in a pinch.
If you’re looking for a little extra melee prowess, you can give any operative a Cult Knife for 1 EP, which improves their melee attack by 1 die. This is a small improvement, and probably the best way to spend leftover EP, but it’s not particularly useful.
Building a Team
Building a roster for Wyrmblade Cults is pretty straightforward. You want all the options, and you have the room to have them.
Kelermorph
Locus
Sanctus Sniper
Sanctus Talon
Neophyte Leader with Bolt Pistol and Power Pick
Neophyte Icon Bearer with Autogun
Neophyte Gunner with flamer
Neophyte Gunner with grenade launcher
Neophyte Gunner with webber
Neophyte Heavy Gunner with heavy stubber
Neophyte Heavy Gunner with mining laser
Neophyte Heavy Gunner with seismic cannon
Neophyte Brood adept with autogun
Neophyte Brood adept with autogun
Neophyte Brood adept with autogun
Neophyte Brood adept with autogun
Neophyte Brood adept with autogun
Neophyte Brood adept with shotgun
Neophyte Brood adept with shotgun
Neophyte Brood adept with shotgun
From there what you’ll actually take into your missions will depend on what you need. I really like the idea of having the Kelermorph running around up front with support from the Locus, so I tend to think about bringing the following to most games:
Neophyte Leader – Cult Talisman
Kelermorph
Locus
Gunner with Grenade Launcher
Gunner with Flamer
Icon Bearer with Autogun – Cult Talisman
Heavy Gunner with Mining Laser – Cult Talisman
Heavy gunner with Seismic Cannon – Cult Talisman
Neophyte Brood Adept with Shotgun – Frag Grenade
Neophyte Brood Adept with Autogun
Neophyte Brood Adept with Autogun
Neophyte Brood Adept with Autogun
Rob: This kill team is really more about short- and mid-ranged play, and the grenade launcher and seismic cannon play into this with profiles that can shift as the team’s operatives move in. The Locus and the Kelermorph stay relatively close together, so the Locus can interrupt enemies trying to sneak past and attack the Kelermorph. The goal is to stick to the shadows and shoot things off key objectives. I’ll be interested to test it out and see how it plays.
Have any questions or feedback? Drop us a note in the comments below or email us at contact@goonhammer.com.
