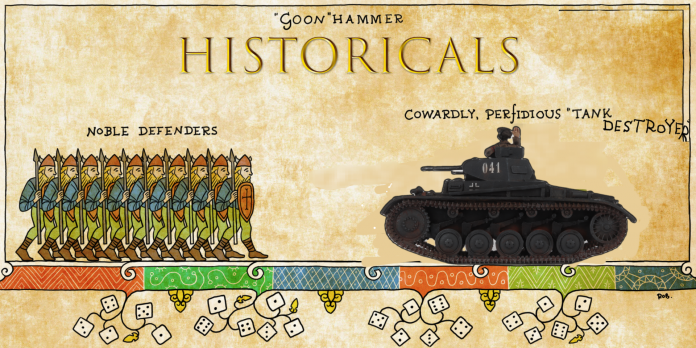
Keen eyed customers of FLGS this month might have noticed the return of some old familiar kits to the shelves. And indeed, Warlord games has rereleased quite a few of their old resin tanks for the retail market. Among them the Panzer 2. As I am currently gearing up for a small Berlin campaign, I had to get one and show you this lovely kit, giving you some insights into the building process.
What’s in the box?
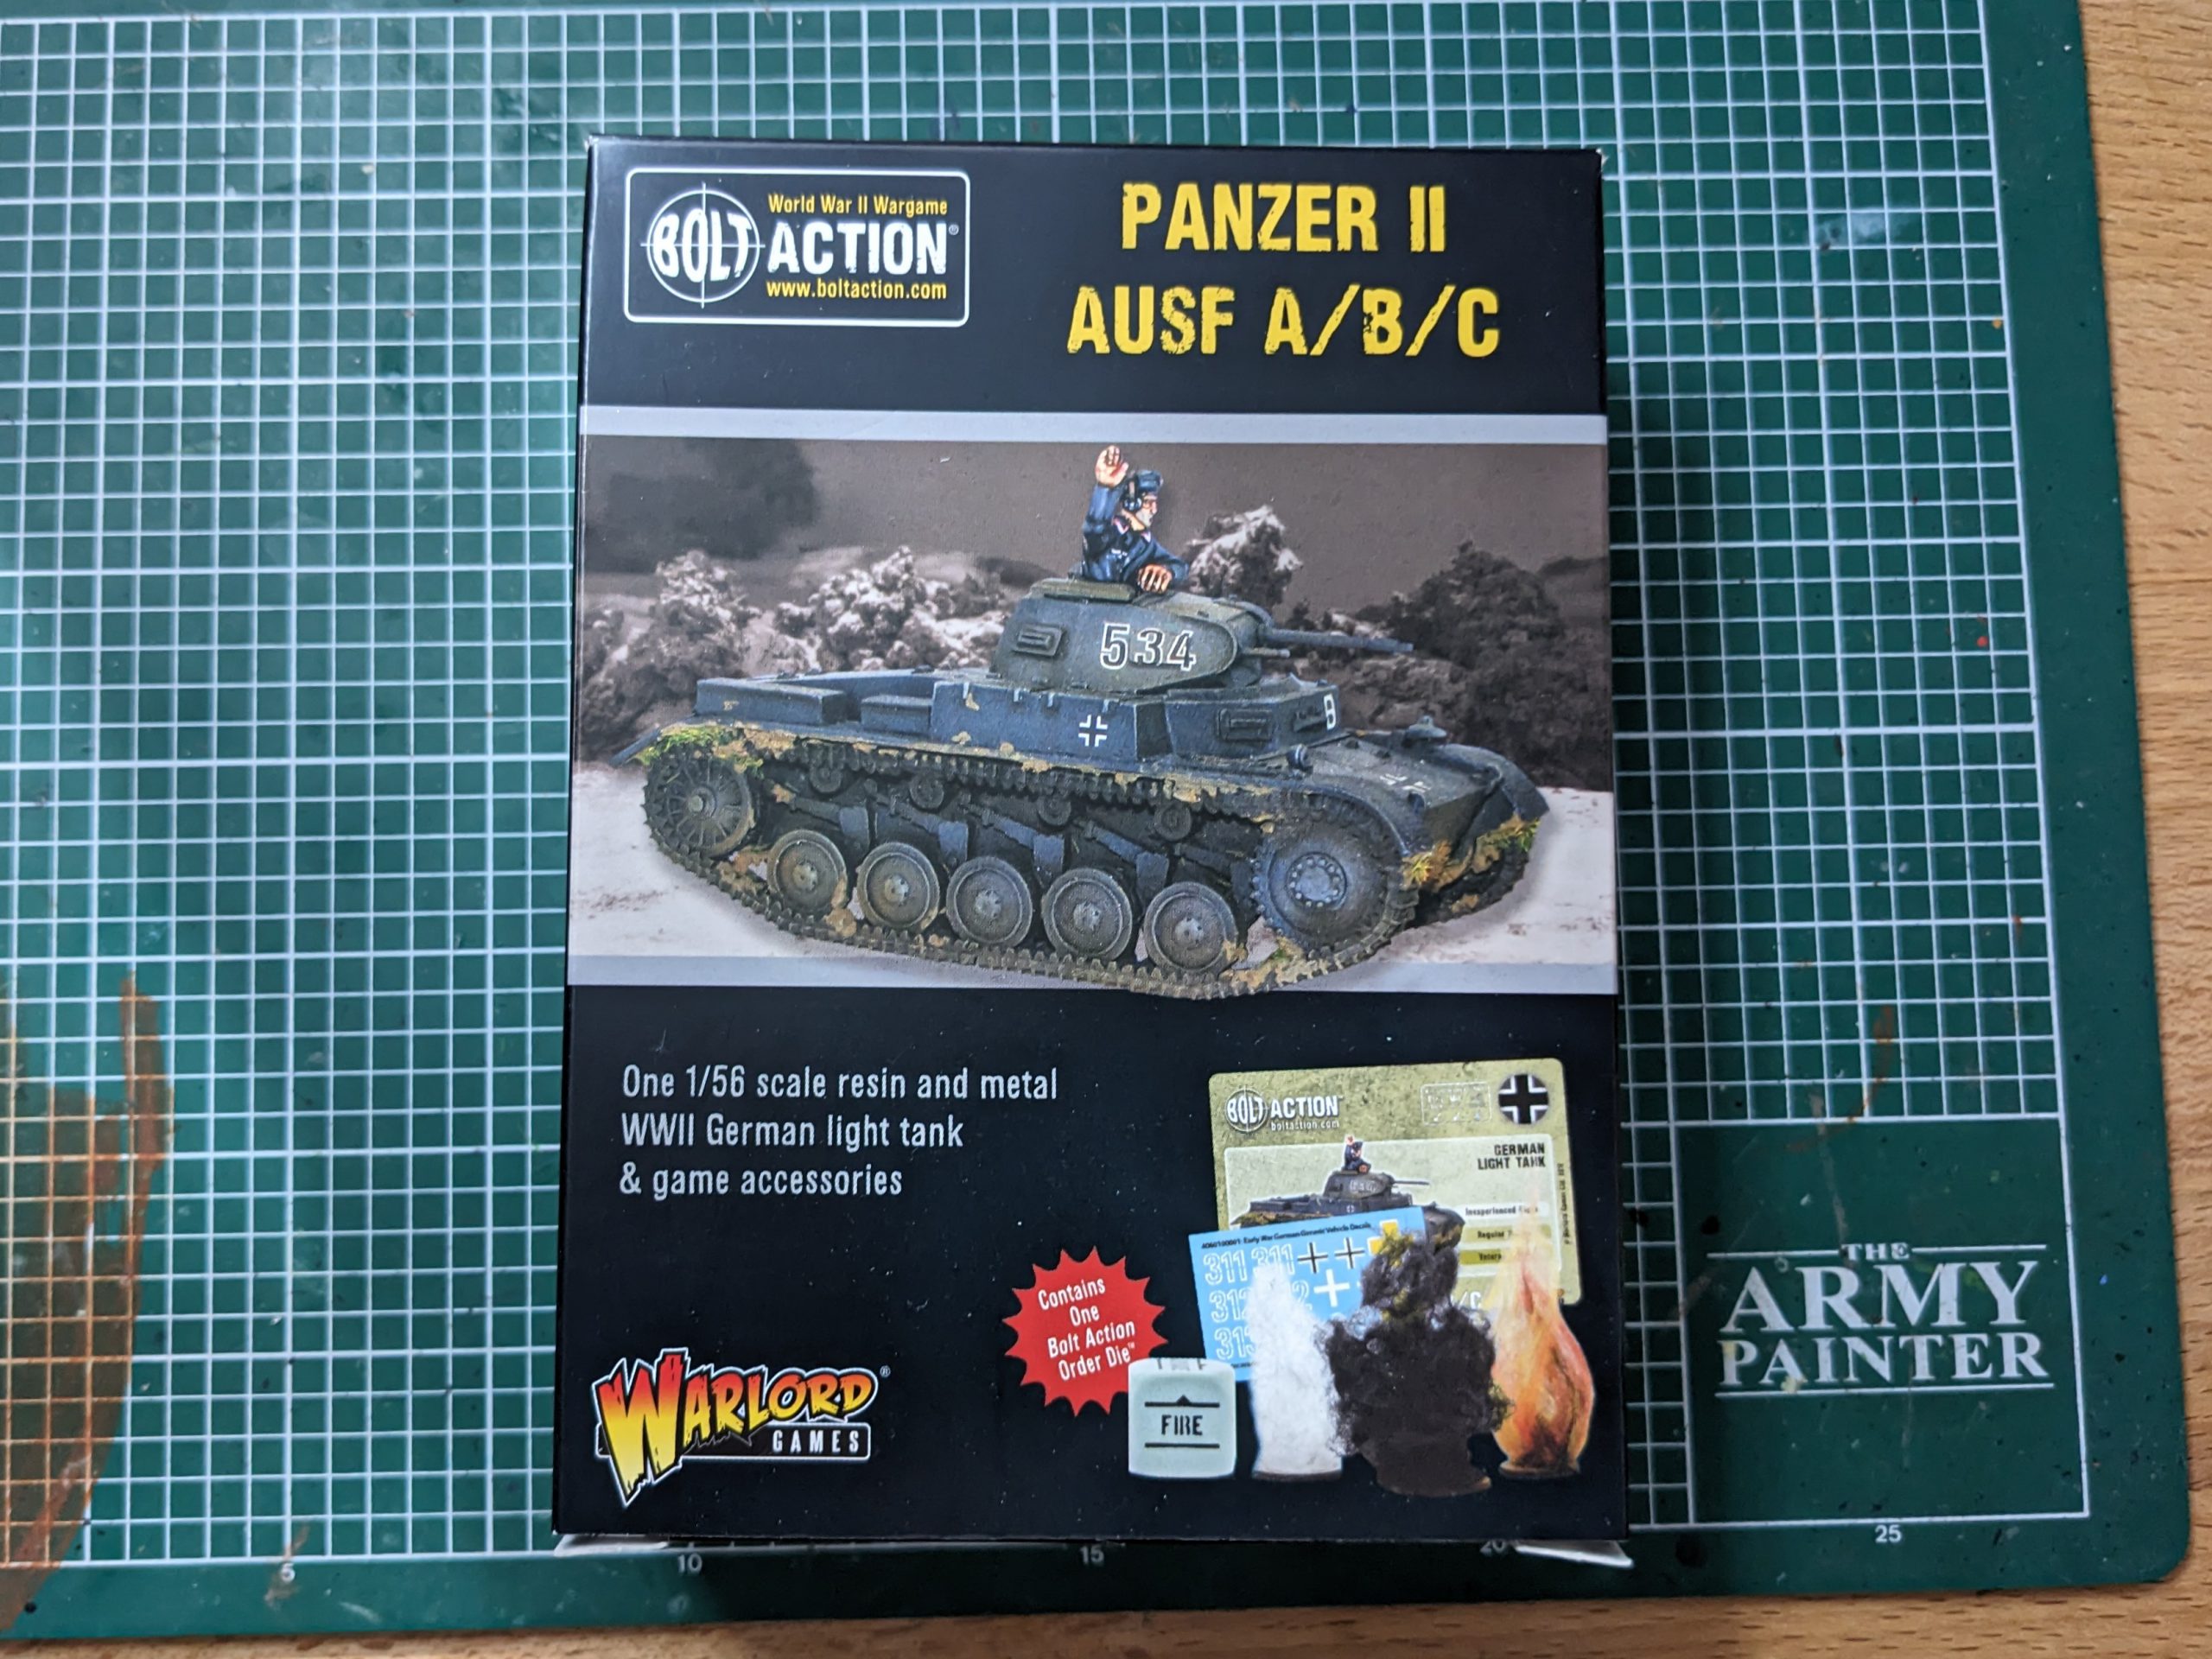
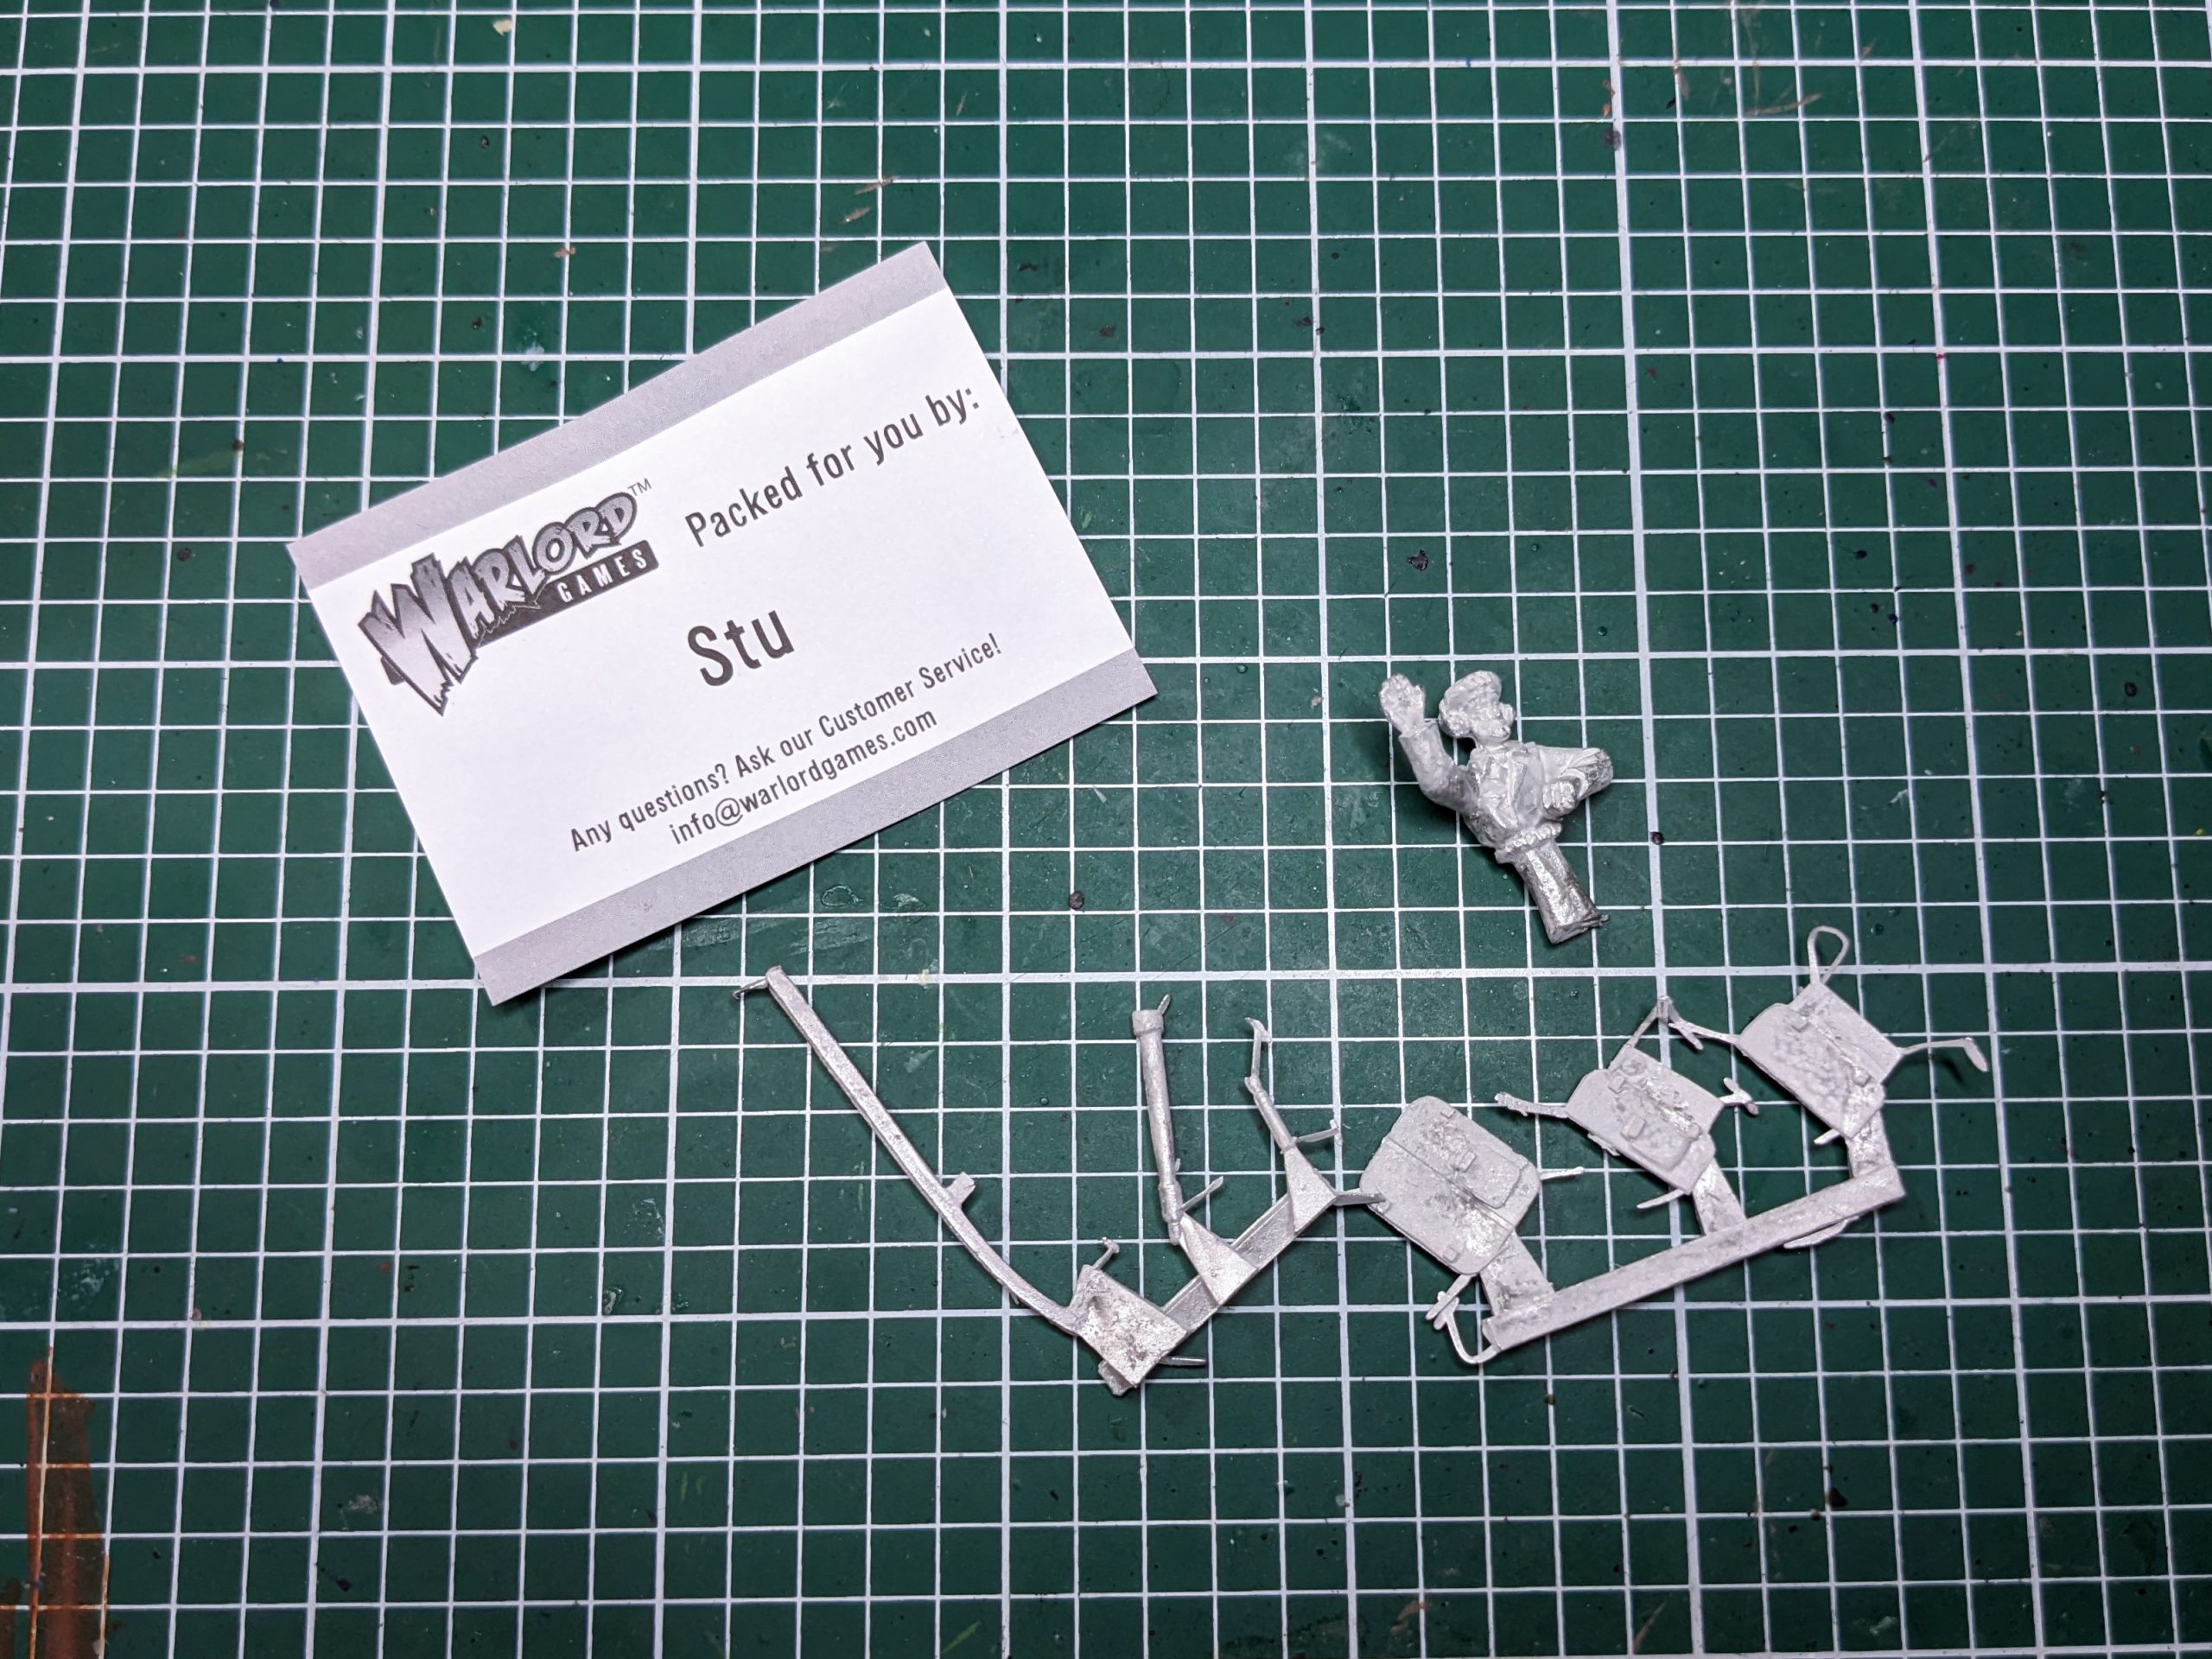
As with most of the rereleased resin tanks, the box itself is just photo of the tank itself. What’s nice to note, is the inclusion of an order dice with the tanks, something Warlord started to introduce with the resin weapon teams. Inside the box you will find a nice tightly packed package of bubble wrap and a little plastic bag with the order die. Inside the bubble wrap are the body, tracks and turret of the tank, all cast in resin. The barrels and hatches are cast in metal and found in a separate bag which also includes a tank commander from the Blitzkrieg set. At last we have two plastic bags with the damage markers and the vehicle card. My box was packaged by Stu; Hi Stu!
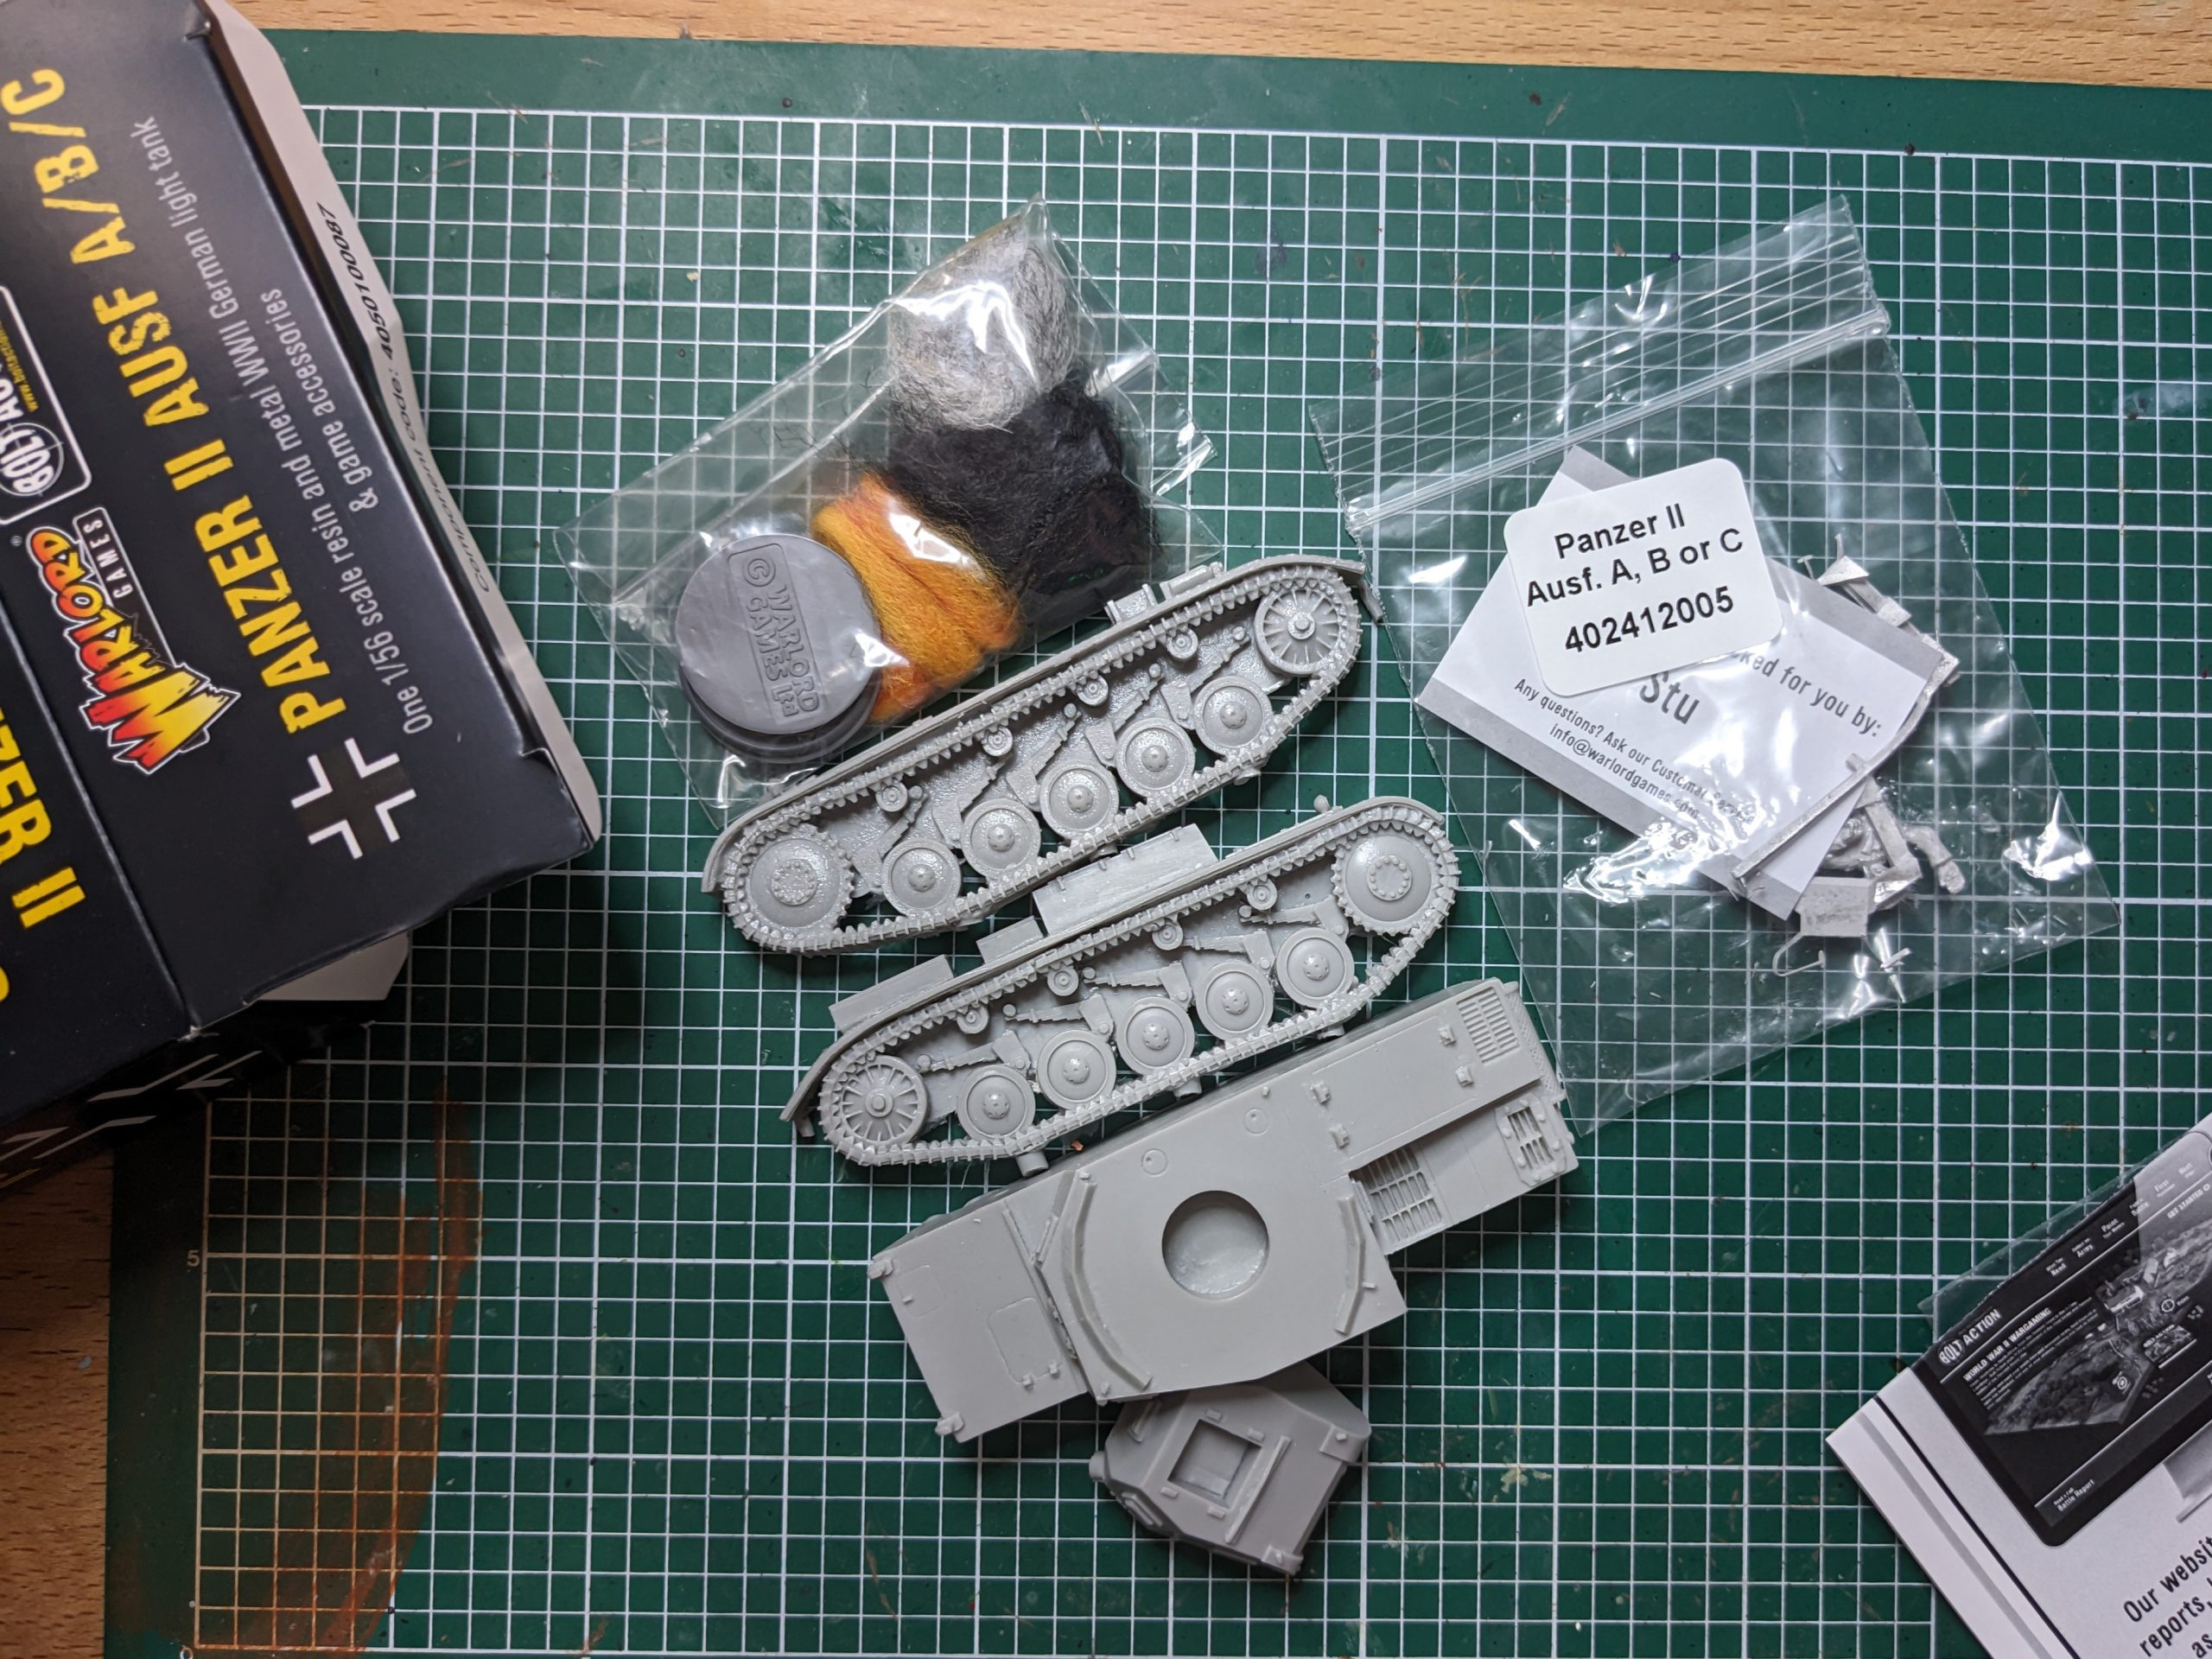
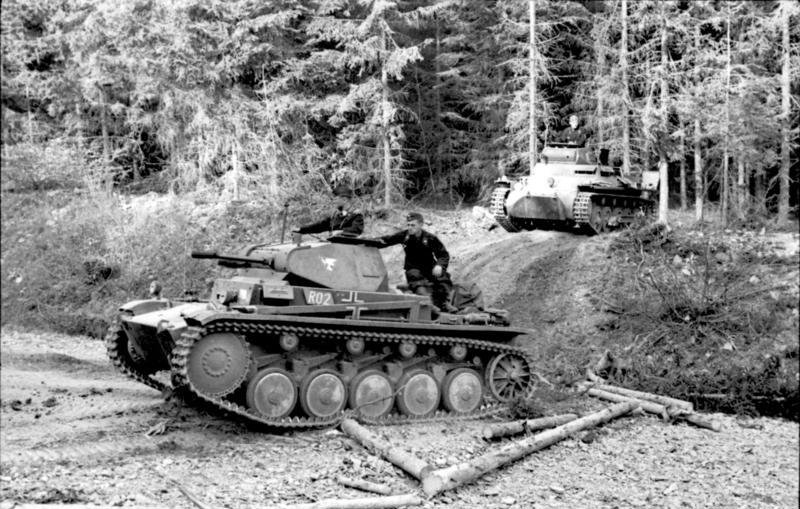
With all the pieces in the box you can build the Panzer 2 version A-C, the first German tank of the Panzer series to fill an anti-armour role. It is armed with both a 20mm KwK 30 L/55(“Kampfwagenkanone”) and a 7.92mm MG34. While being labeled Ausf. A/B/C, in real history the changes were so minimal and mainly interior. As such, the tank does not come with any extra pieces for optional weaponry or armour. The only optional parts are an open or closed hatched and the tank commander miniature.
Impressions
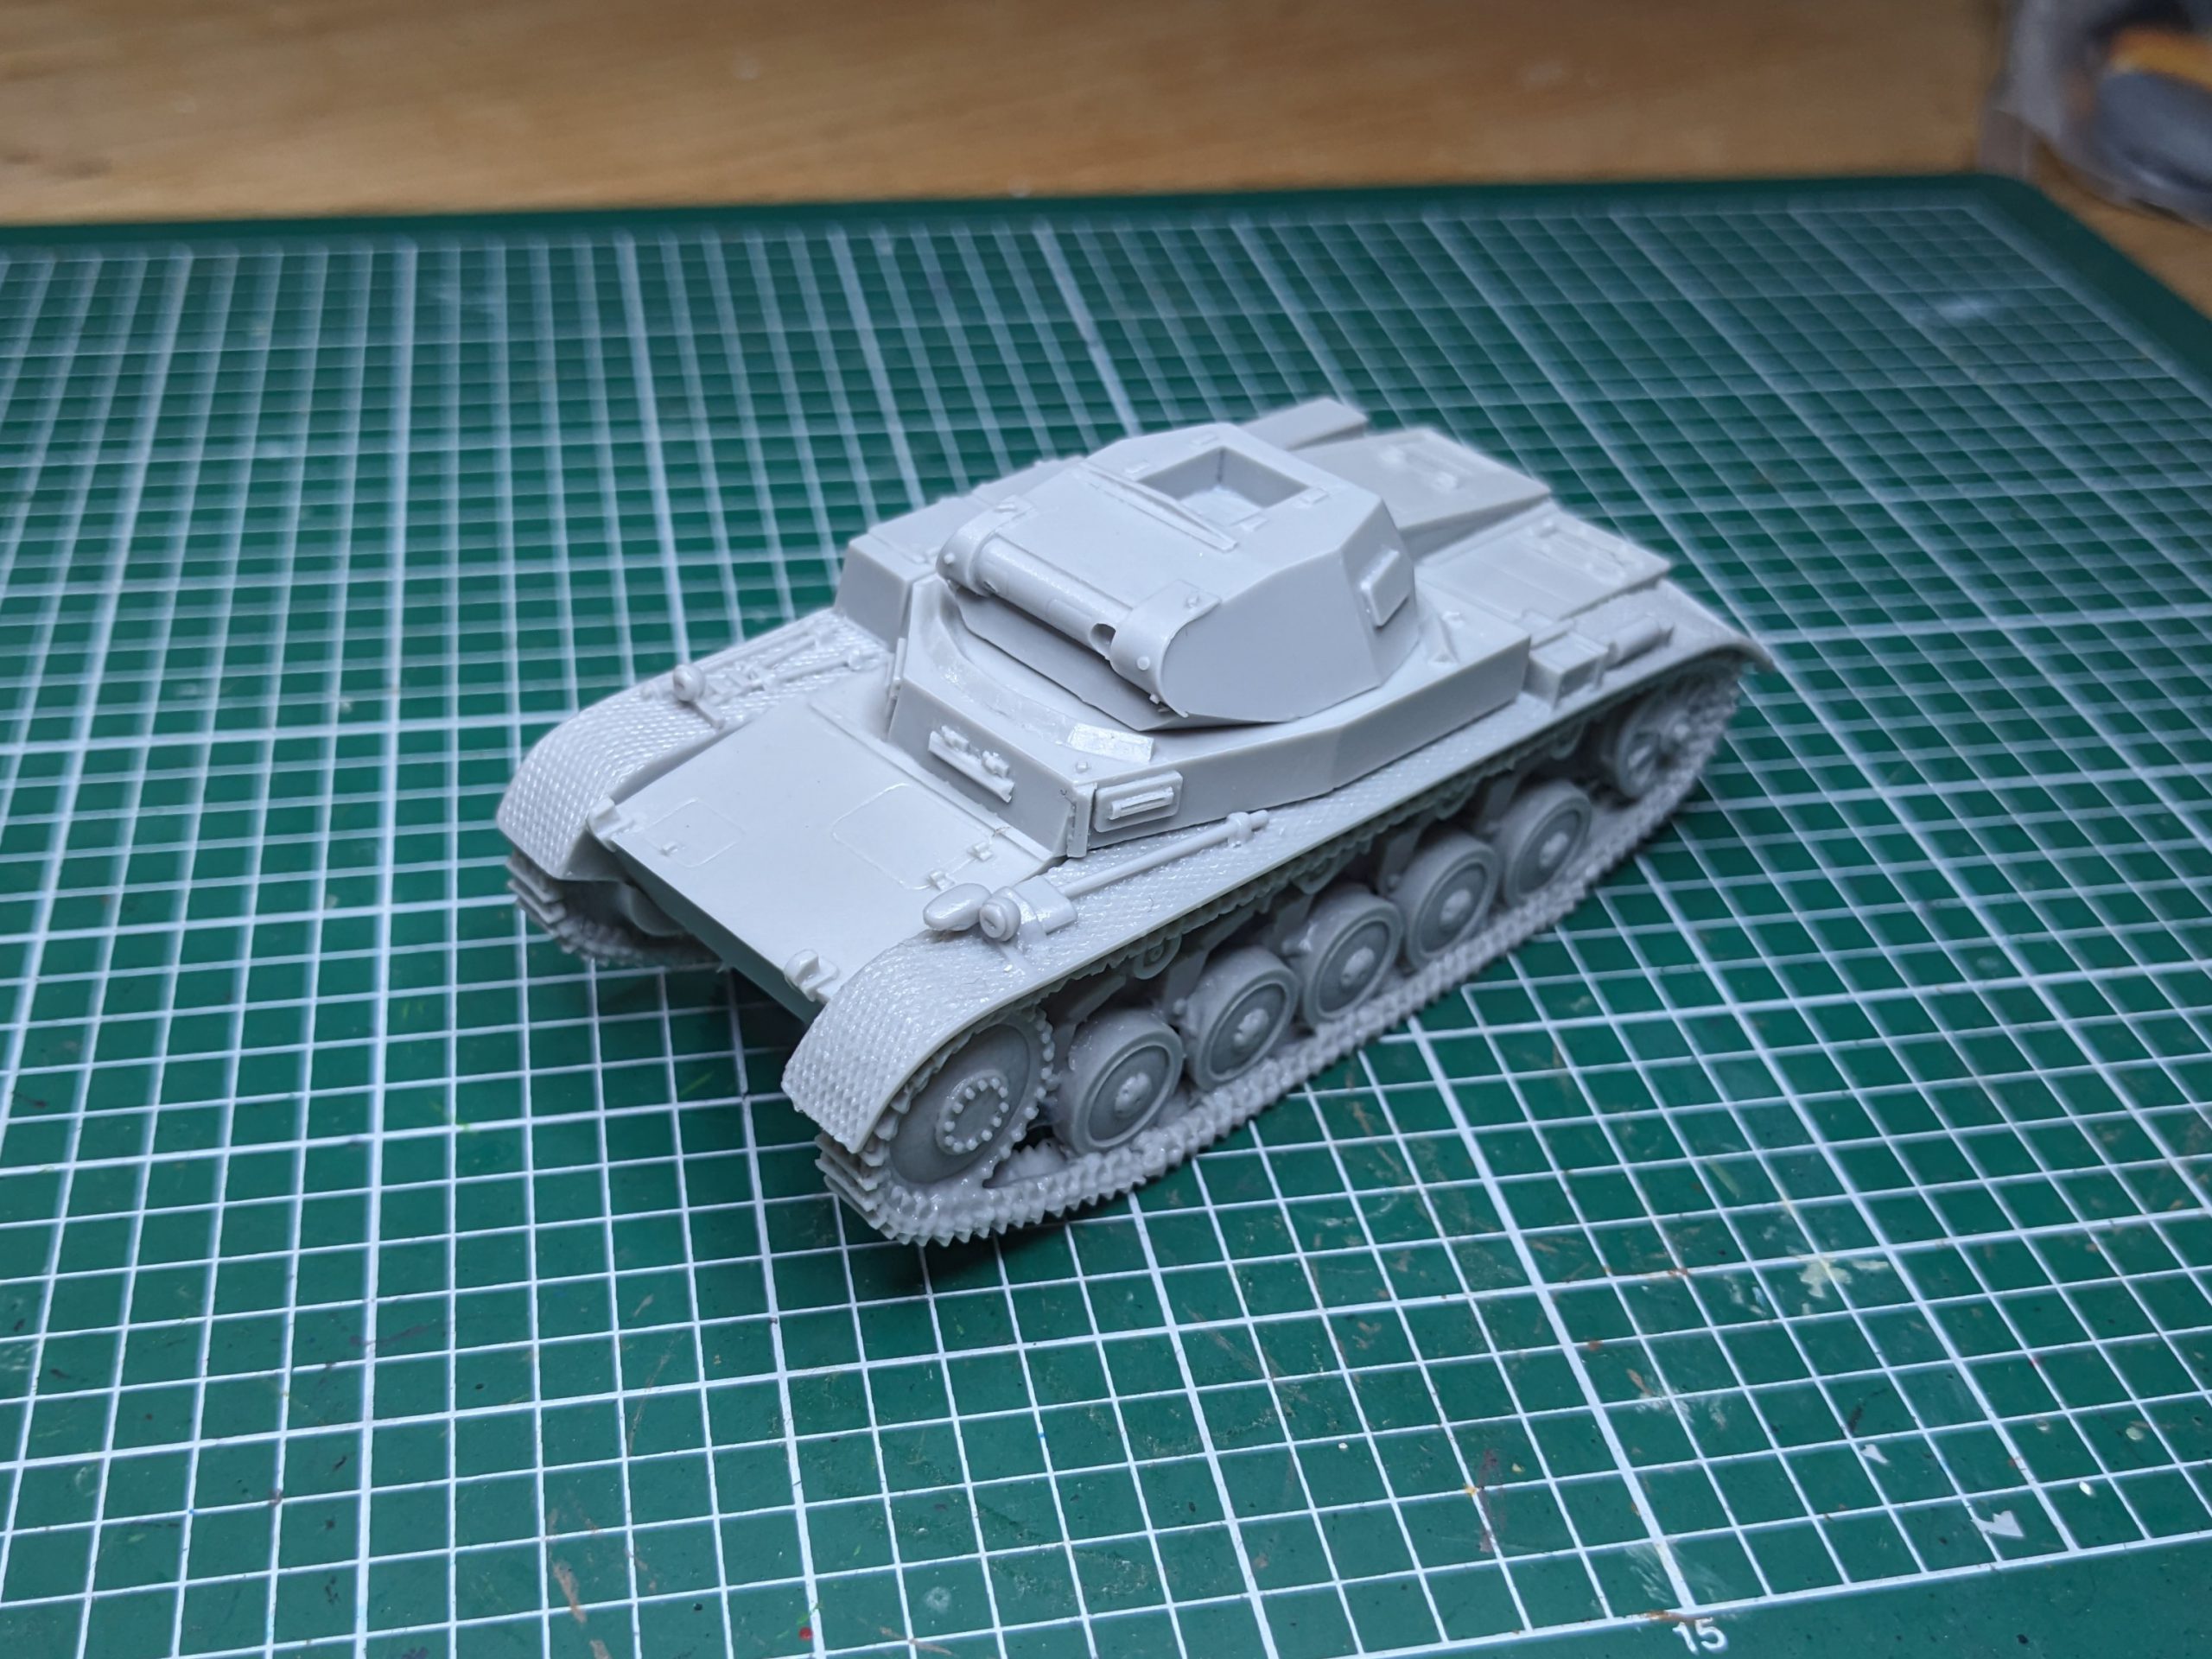
For a resin vehicle this had surprisingly no warps, the little nubs to connect tracks to body were also perfectly aligned. To anyone who has worked with resin kits before, these kinds of guiding nubs often times end up not quite aligning, so this is a pleasant surprise. There were some confusing pieces and slight hindrances. First there is a weird metal railing that you have to attach the one of the tracks. The problem is, it came rather bent to begin with, but also there are no indents on the tracks to guide you where it goes. I decided in the end, to first put together the body and tracks, and then align the railing to the overhanging piece of the body(I did later find out, that you can just leave that out, or at least i found several photos of Panzer IIs without it).
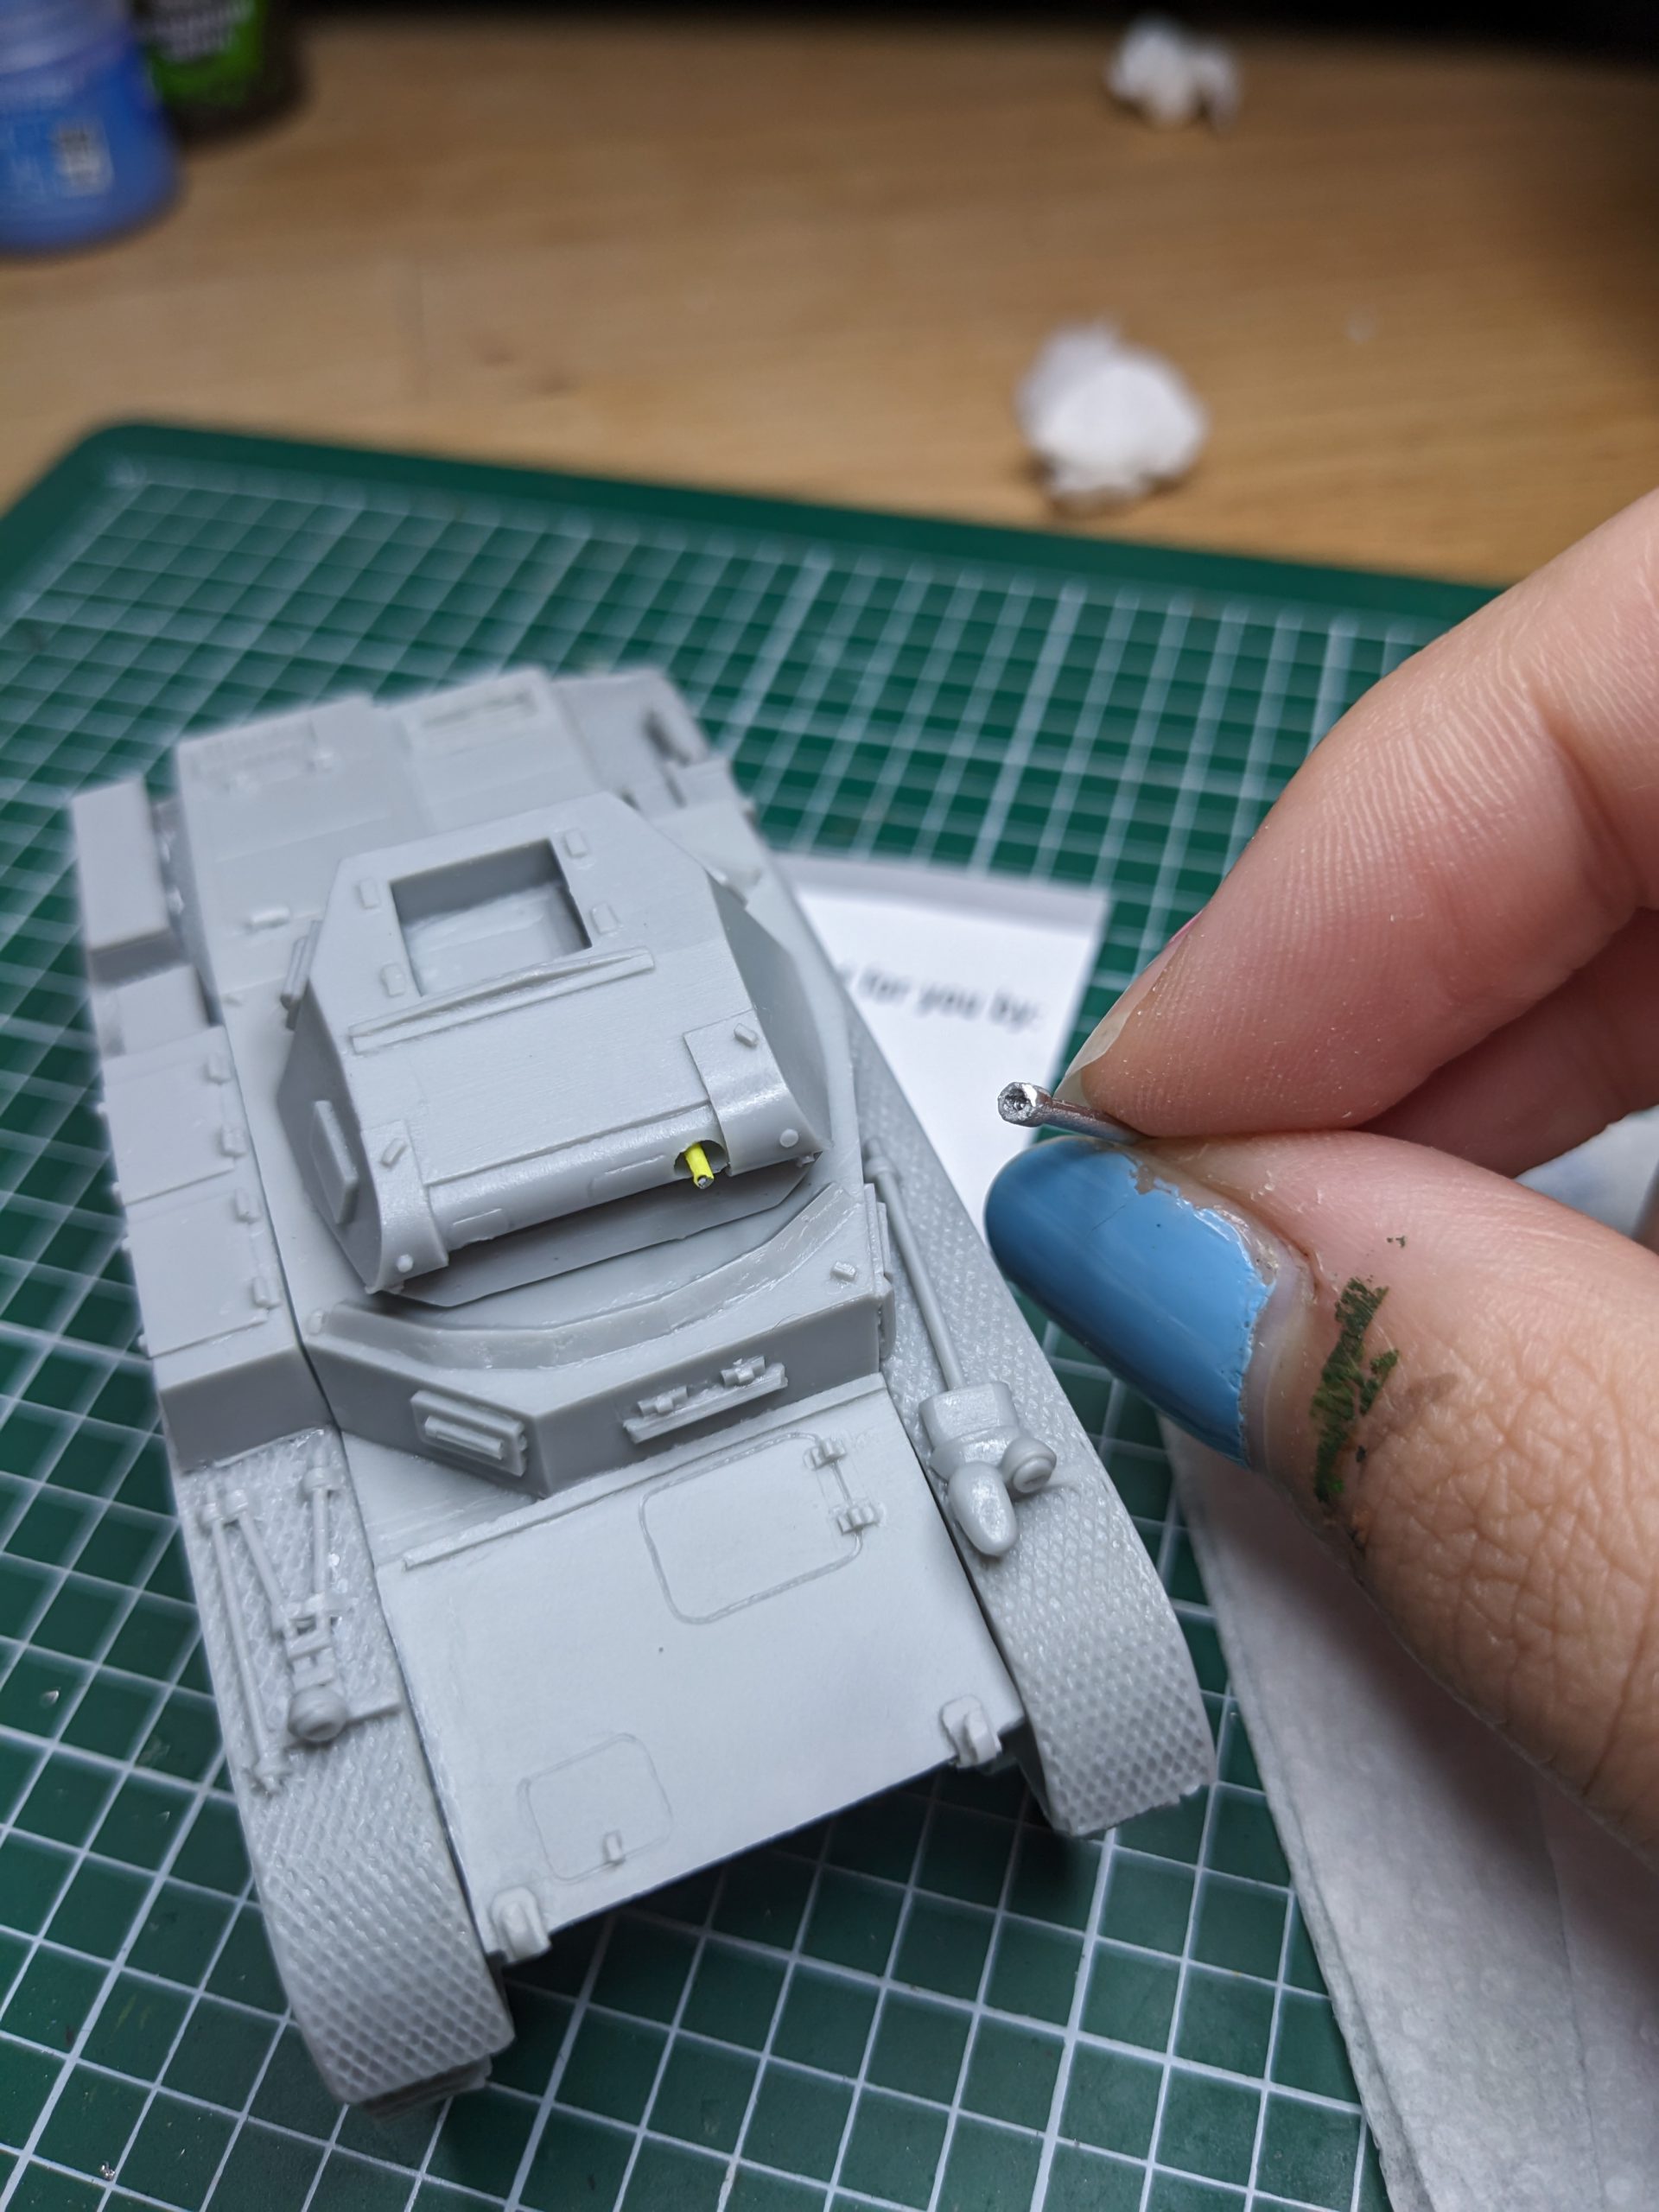
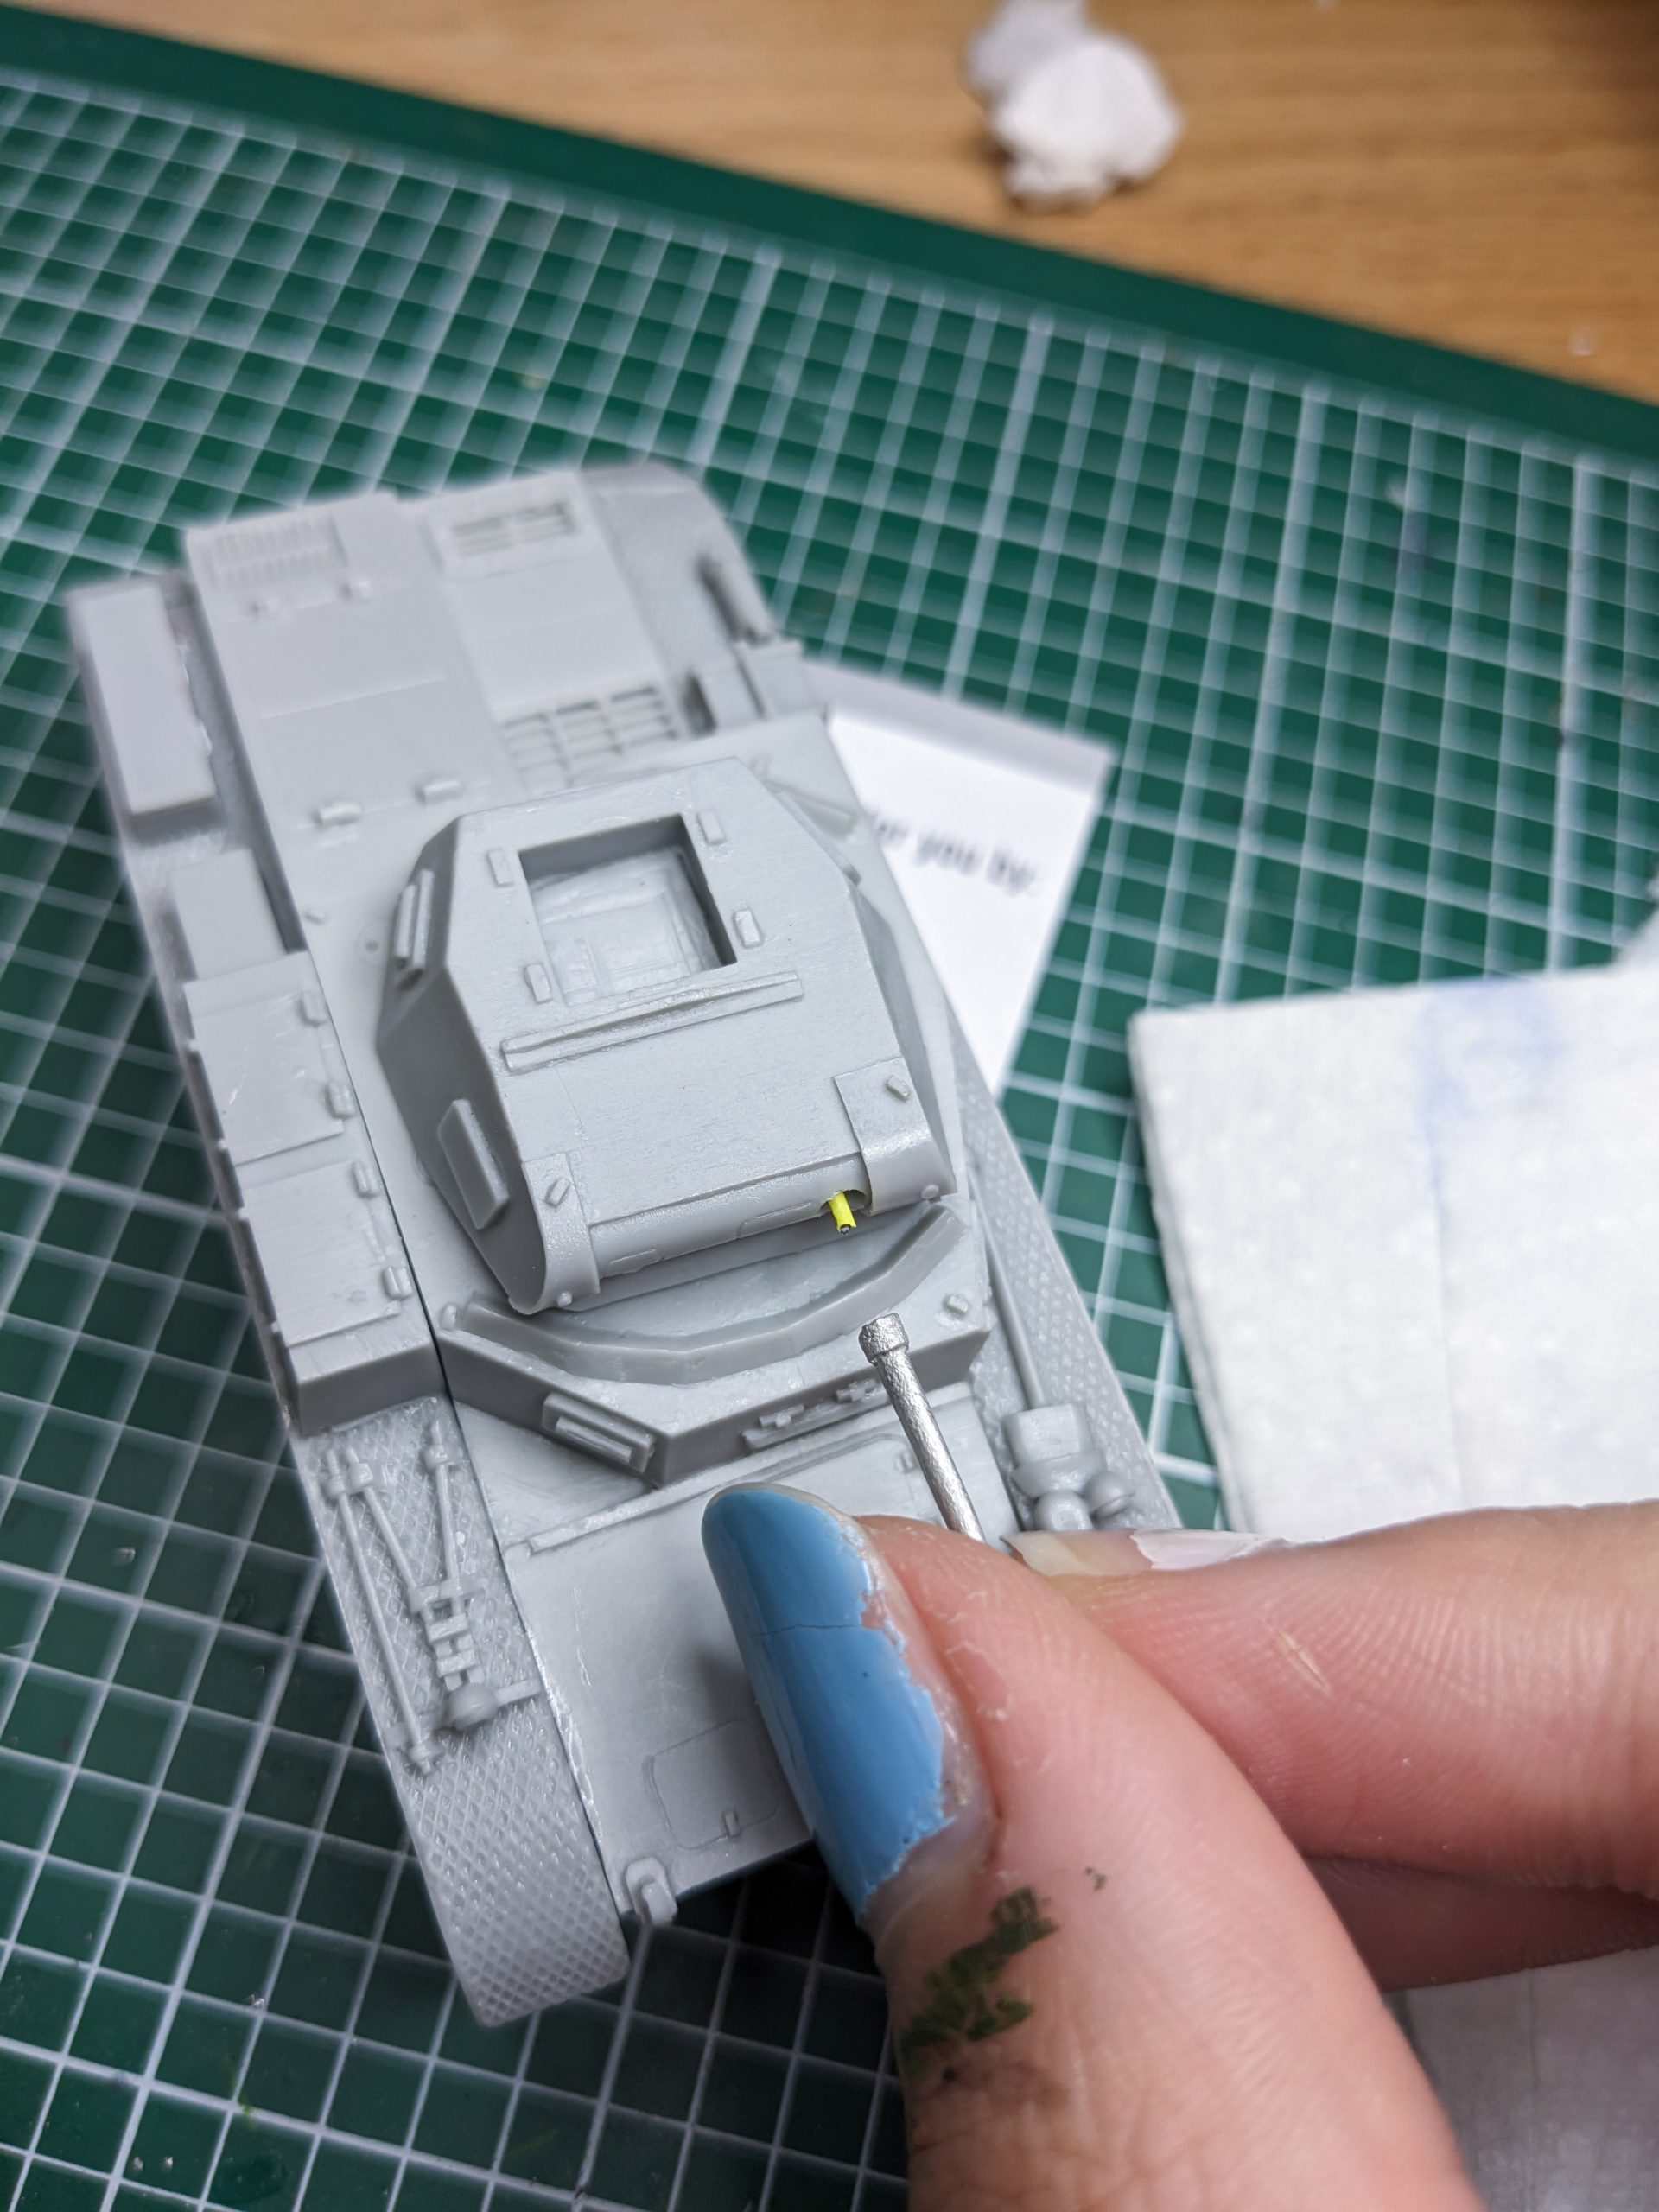
Secondly, the barrels. I’m personally not a fan of the pewter barrels on a lot of the Warlord vehicles, they often bend just by gently bumping them. But even if you are using these, I would always advice you pin them if possible. I did so for the Kamfwagenkanone. As for the tiny MG34 barrel, it’s too thin, so just pray it doesn’t break off.
The last issue is in regards to the open hatch. The pieces come with a little extension, which would have the hatches open in a 90-degree angle. If you want to add a commander however, you’ll need to adjust the angle of the hatches. Now you could just cut off the extensions, but then there’s barely any contact points left. My solution was to use some pliers and bend the extensions slightly. You will also need to file down the peg the commander is on, otherwise he’ll be sticking out of the hatch way too much.
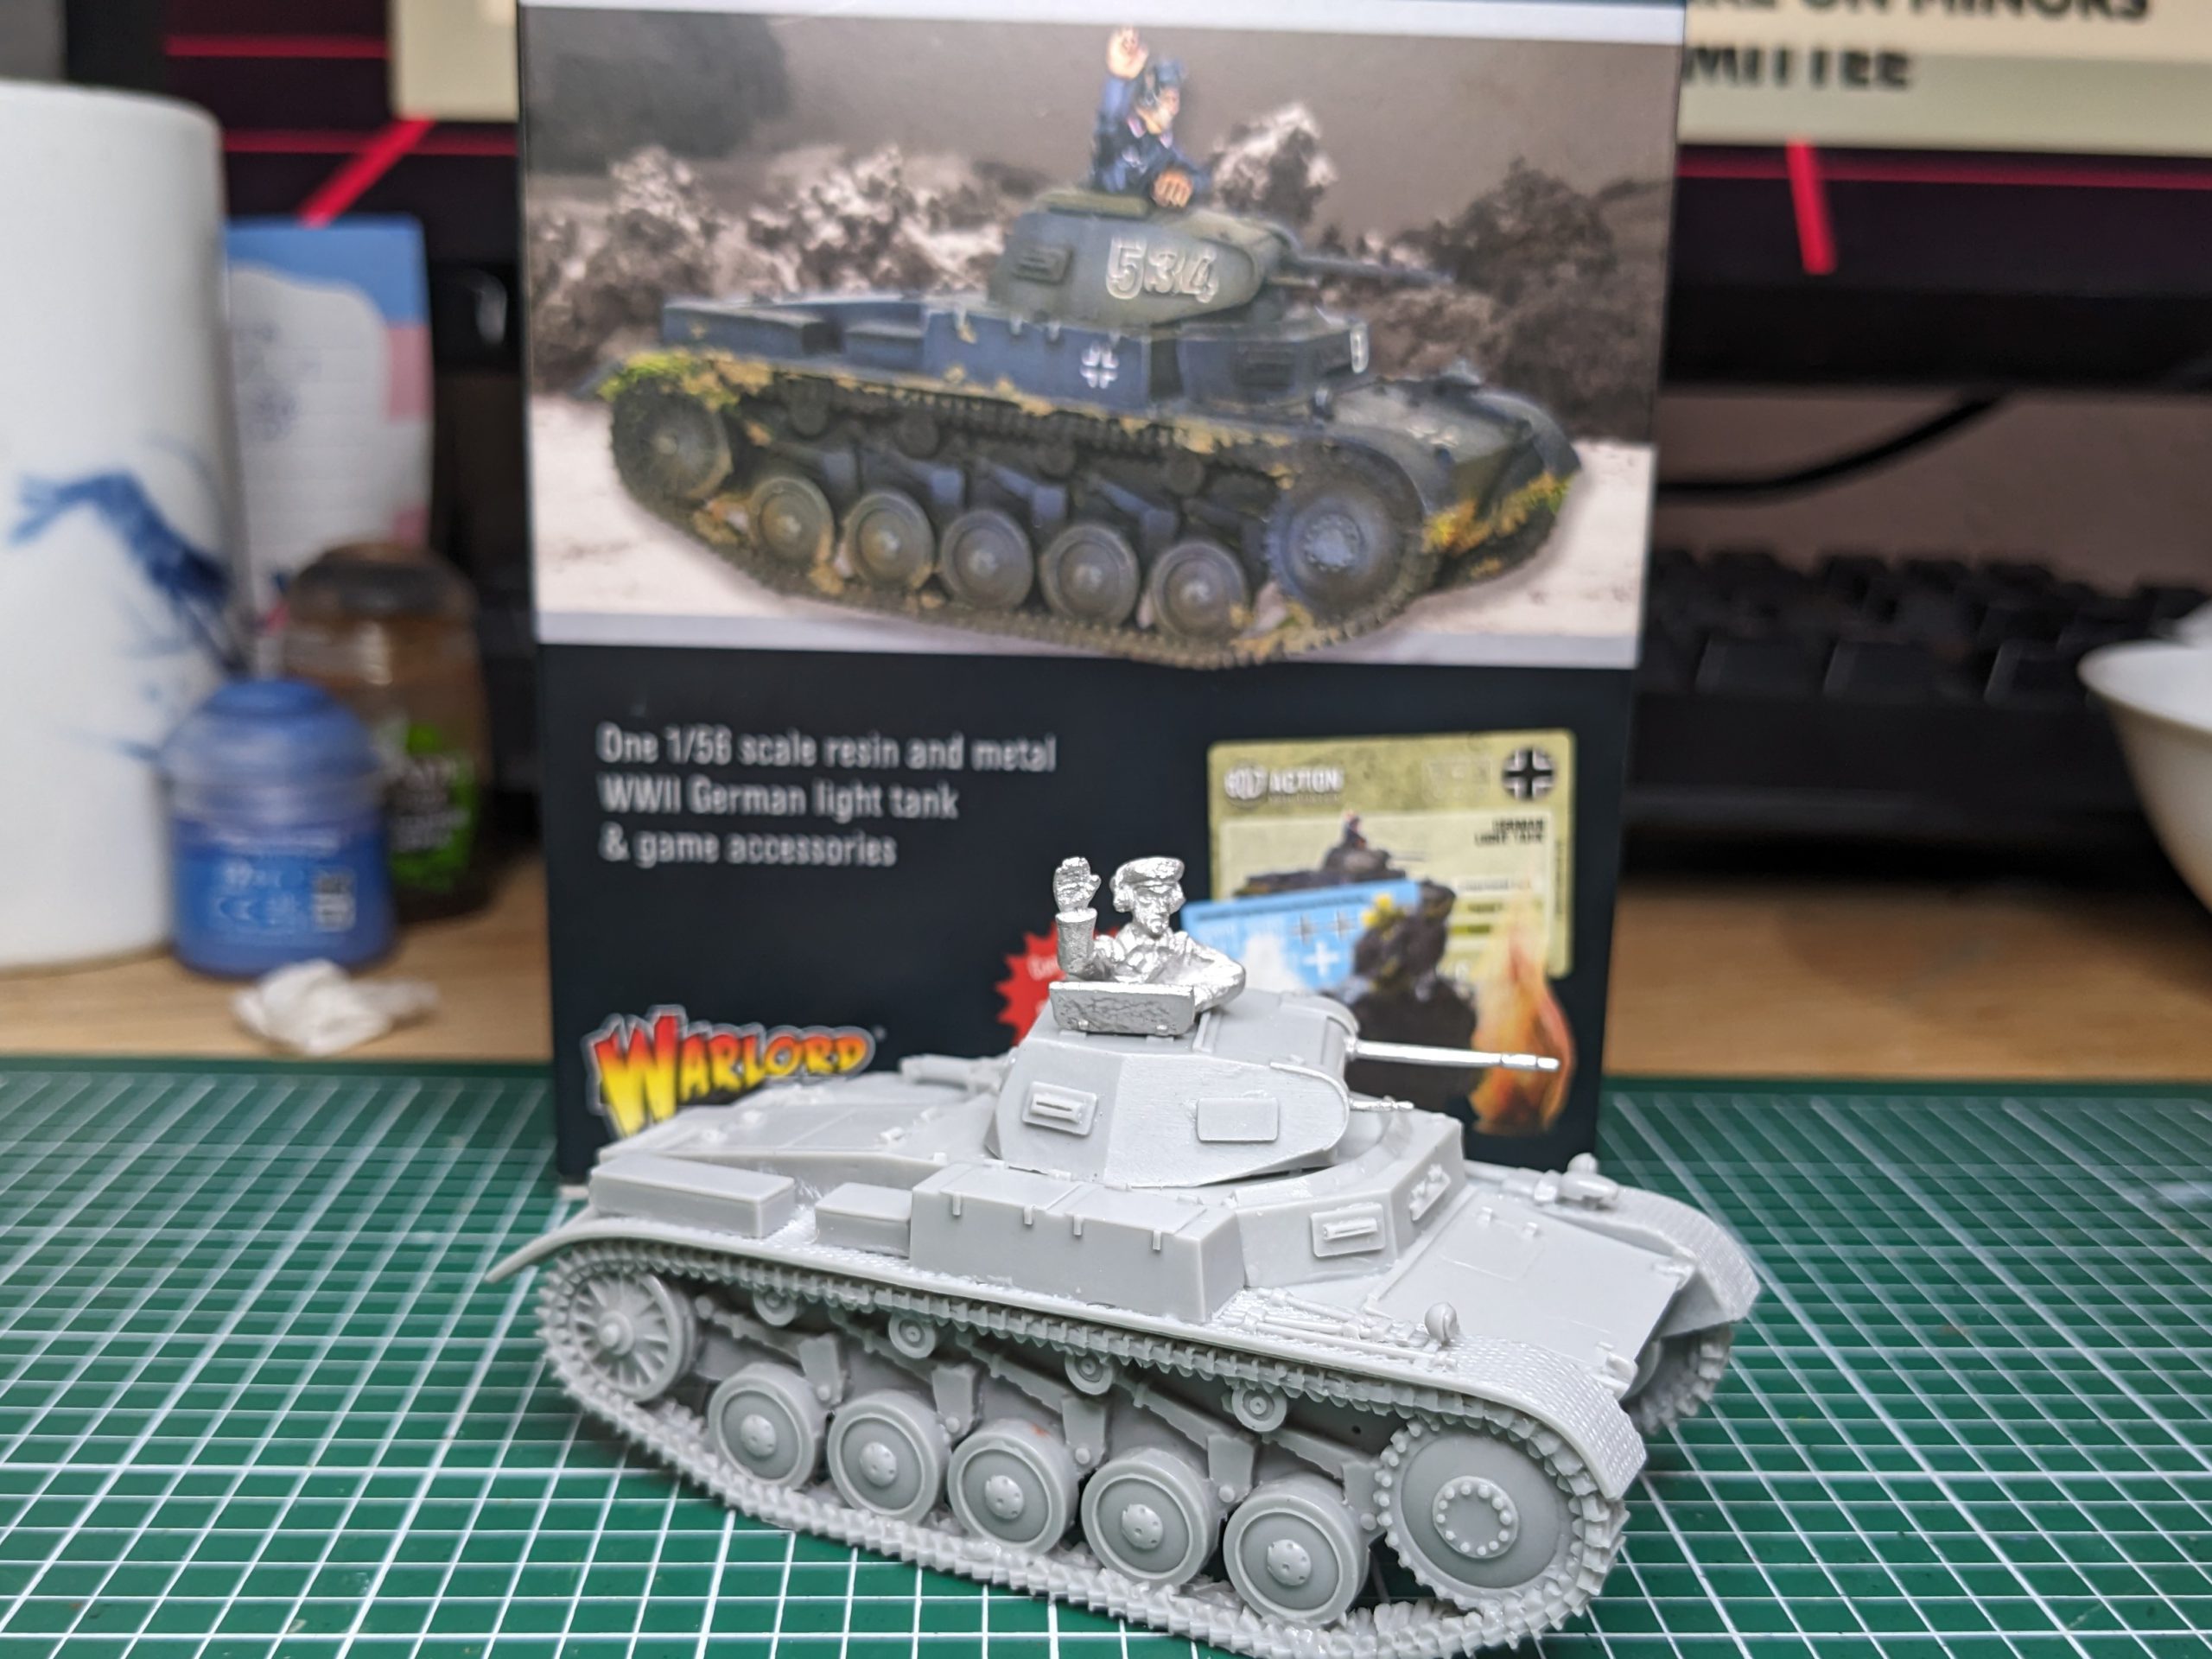
Aside from those little issues it was pretty easy, just clean away the sprue gates, clean the resin and assemble it. As for painting, be sure to have both some varnish and gloves on hand, since the tank doesn’t come with a base like the old Bolt Action vehicles, you will be handling it a lot.
Painting
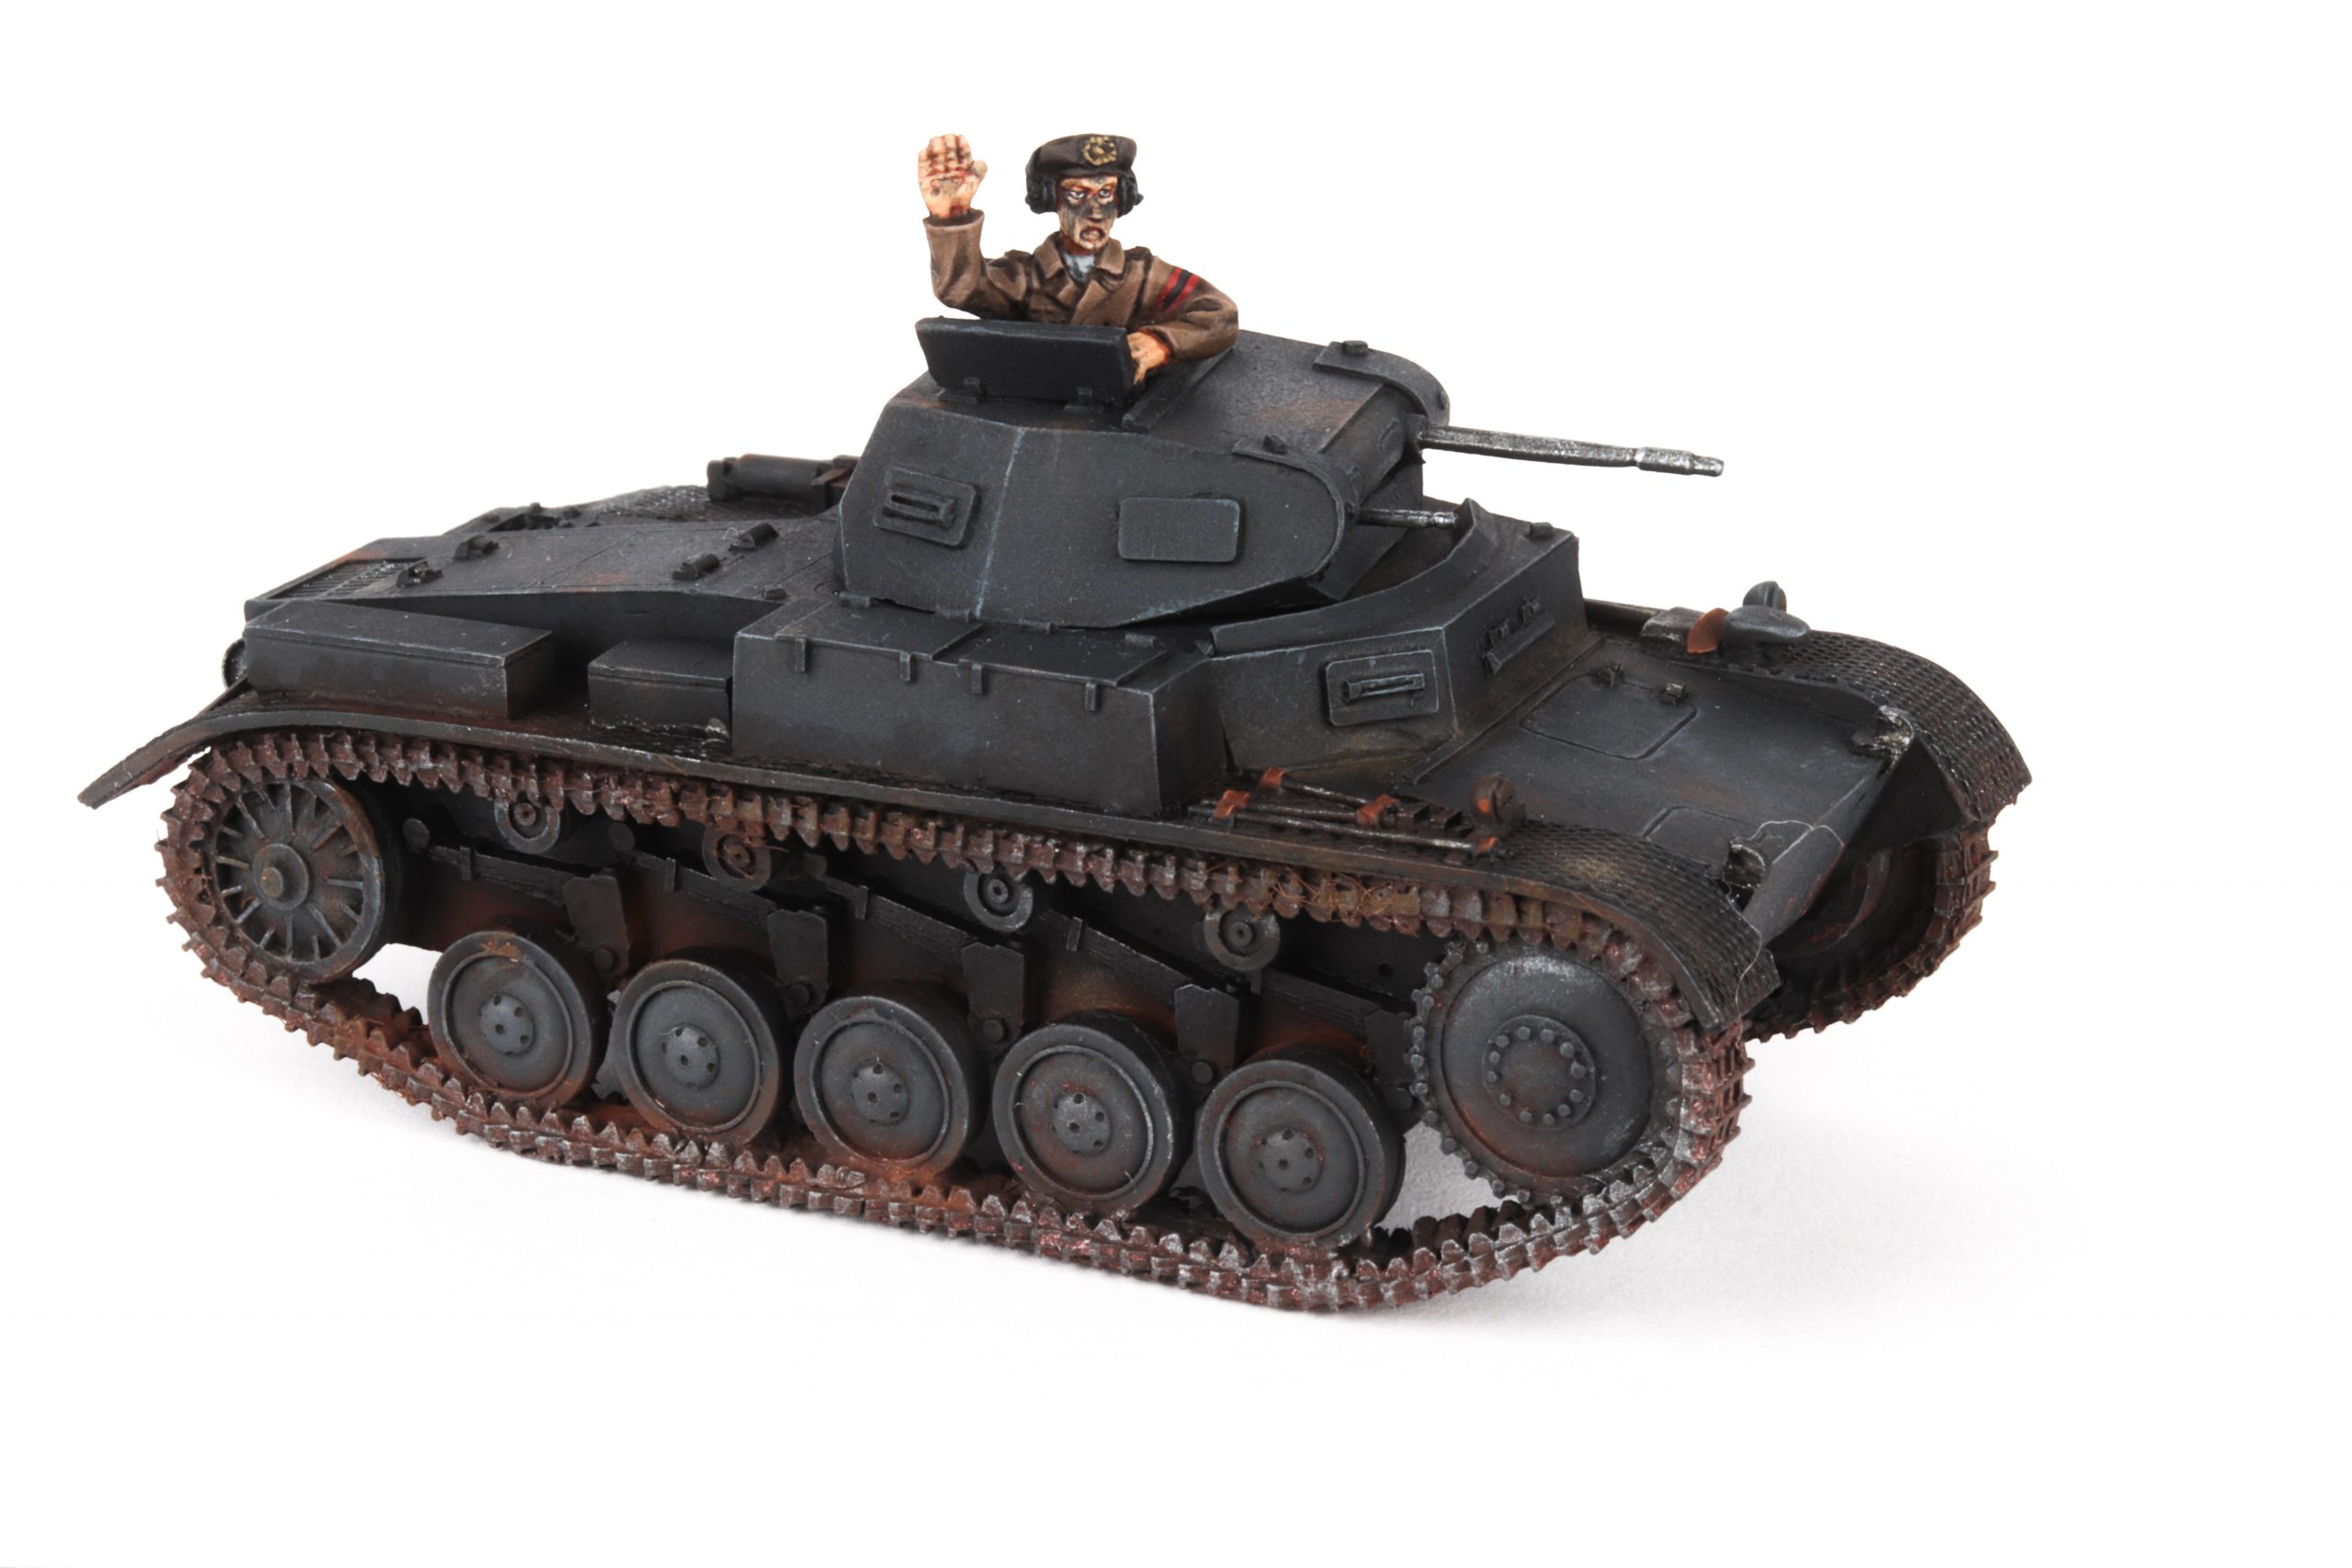
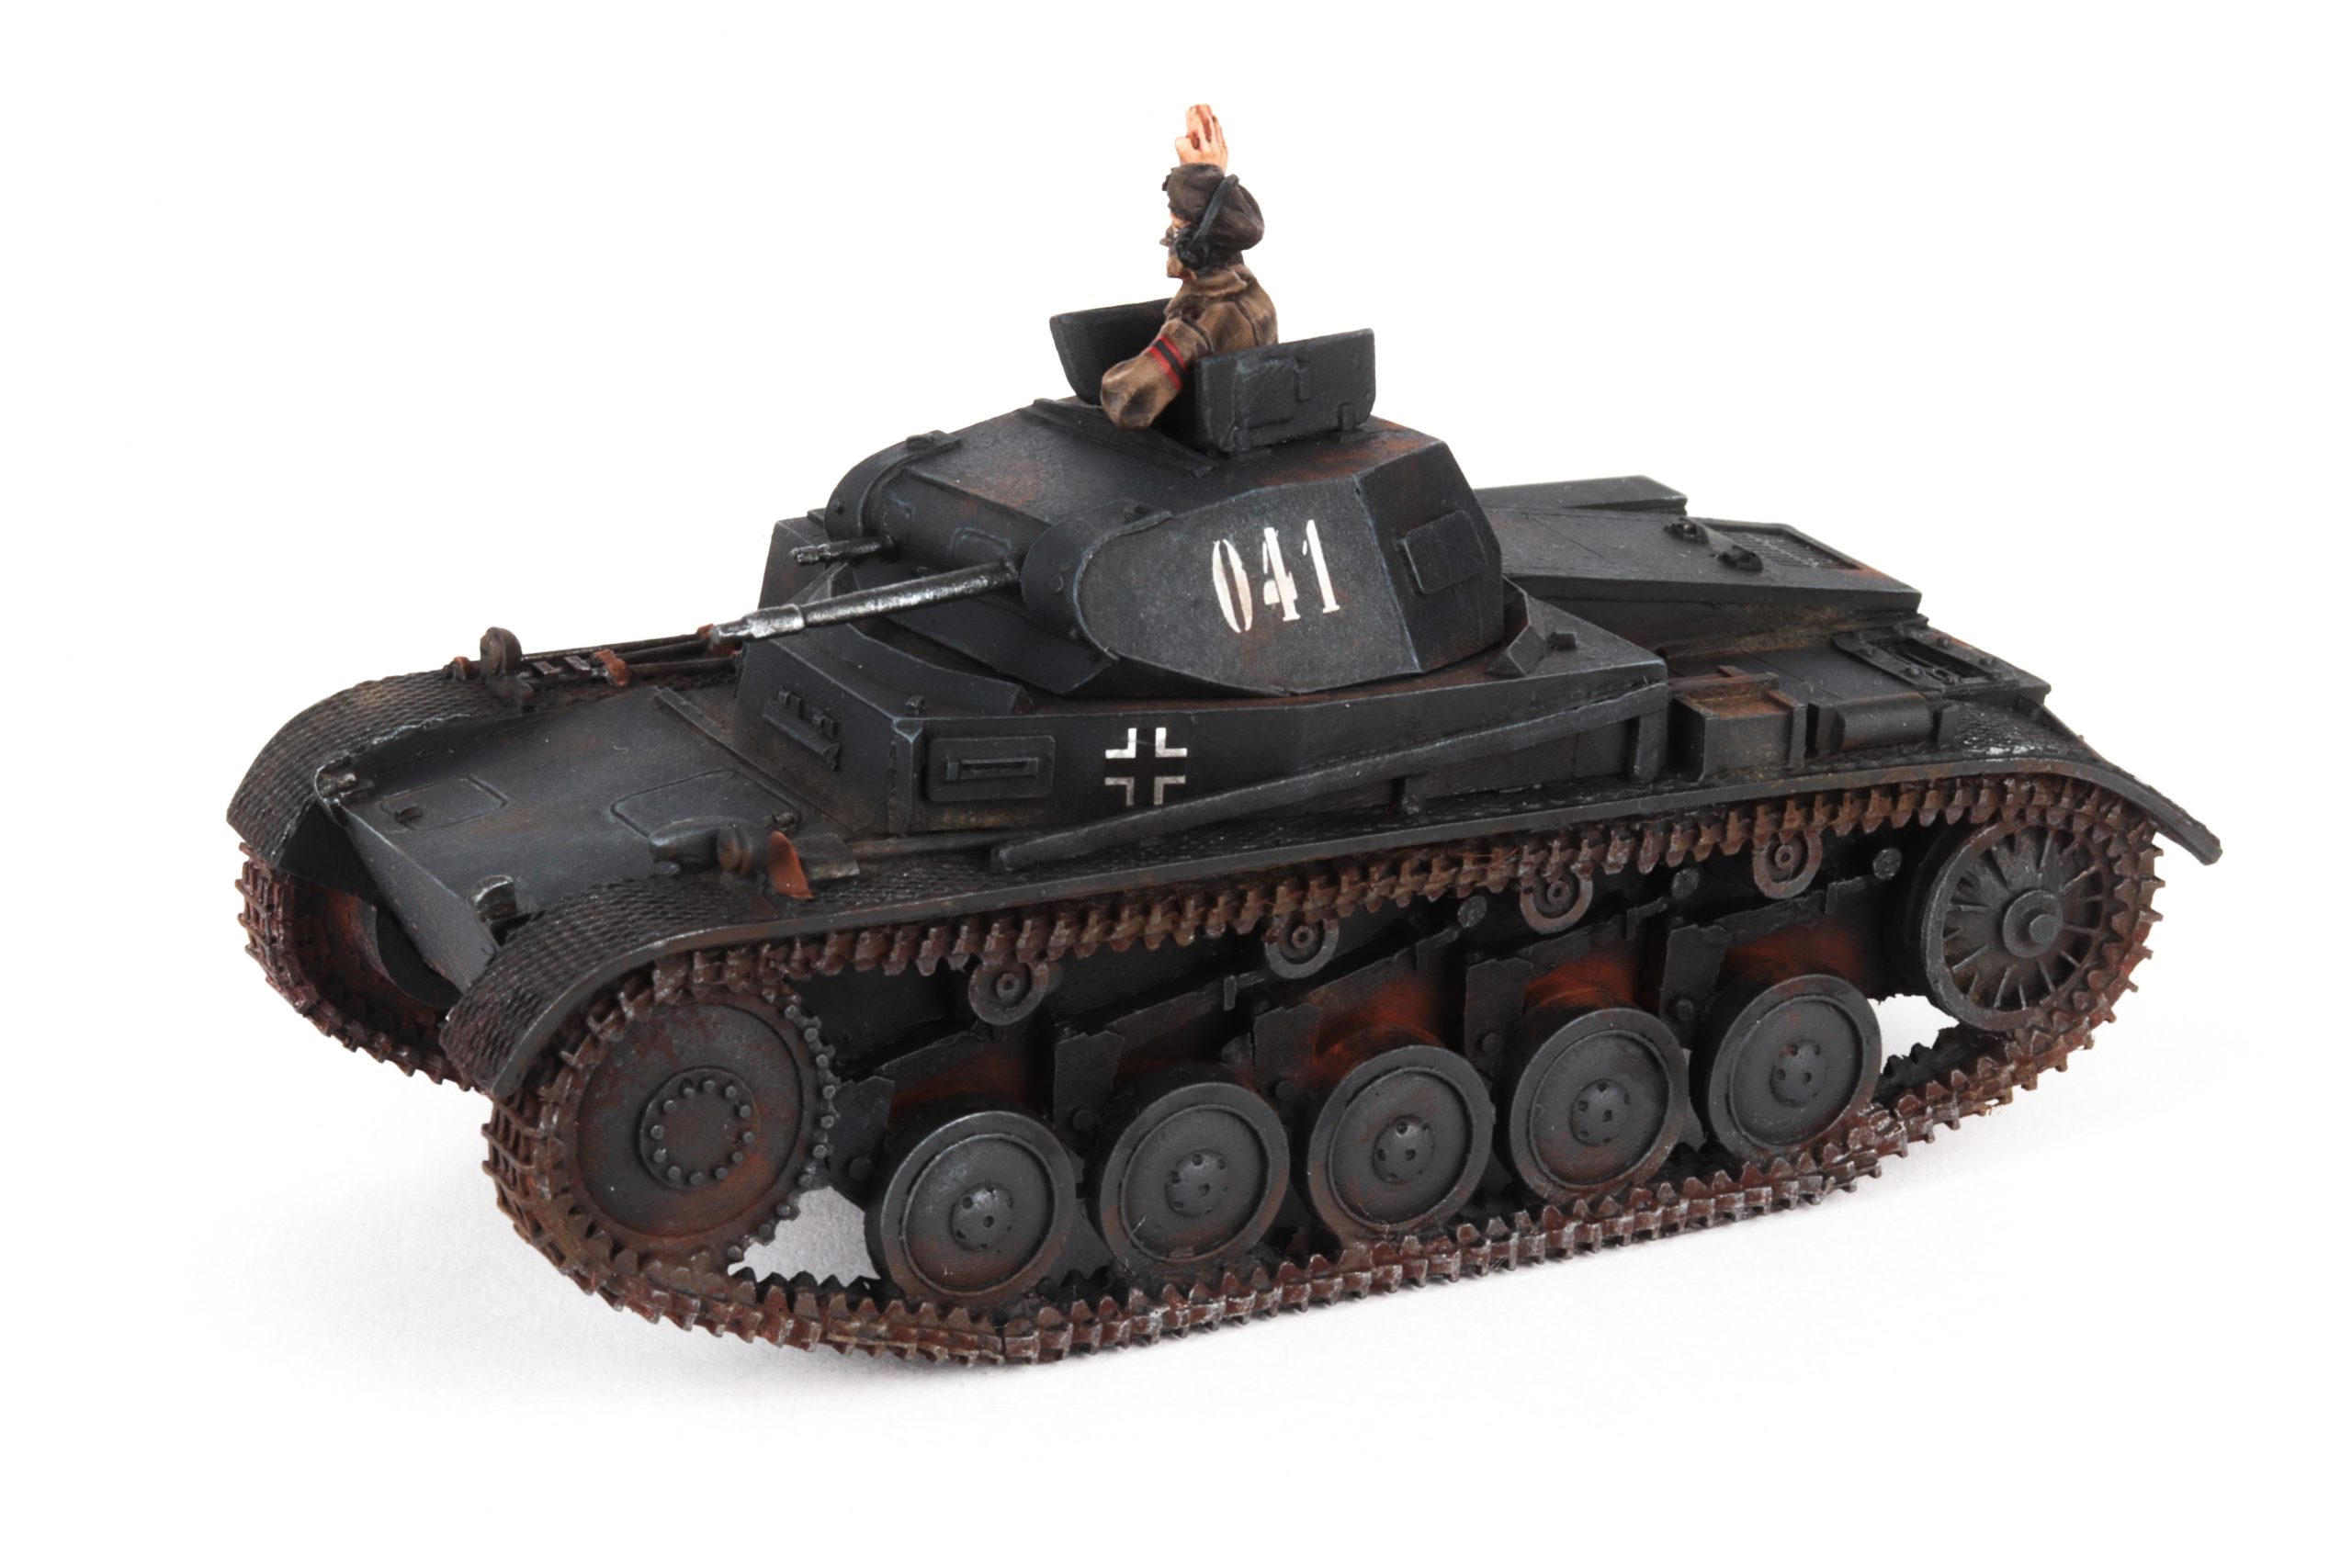
Since I didn’t just buy this kit to review it, I obviously painted it. I was curious how this one would feel to paint, given I have only ever painted plastic vehicles (and only really one tank). The slightly sharper edges of the cast made drybrushing ever so slightly less effective I feel, but it still came out pretty great. As mentioned previously I did work with varnish and wore gloves during painting to avoid chipping and rubbing off paint. I also had another chance to play with pigments, going much less wild than I did on my Panzer IV two years ago. Safe to say, for this being the second tank I have ever painted, it came out pretty great.
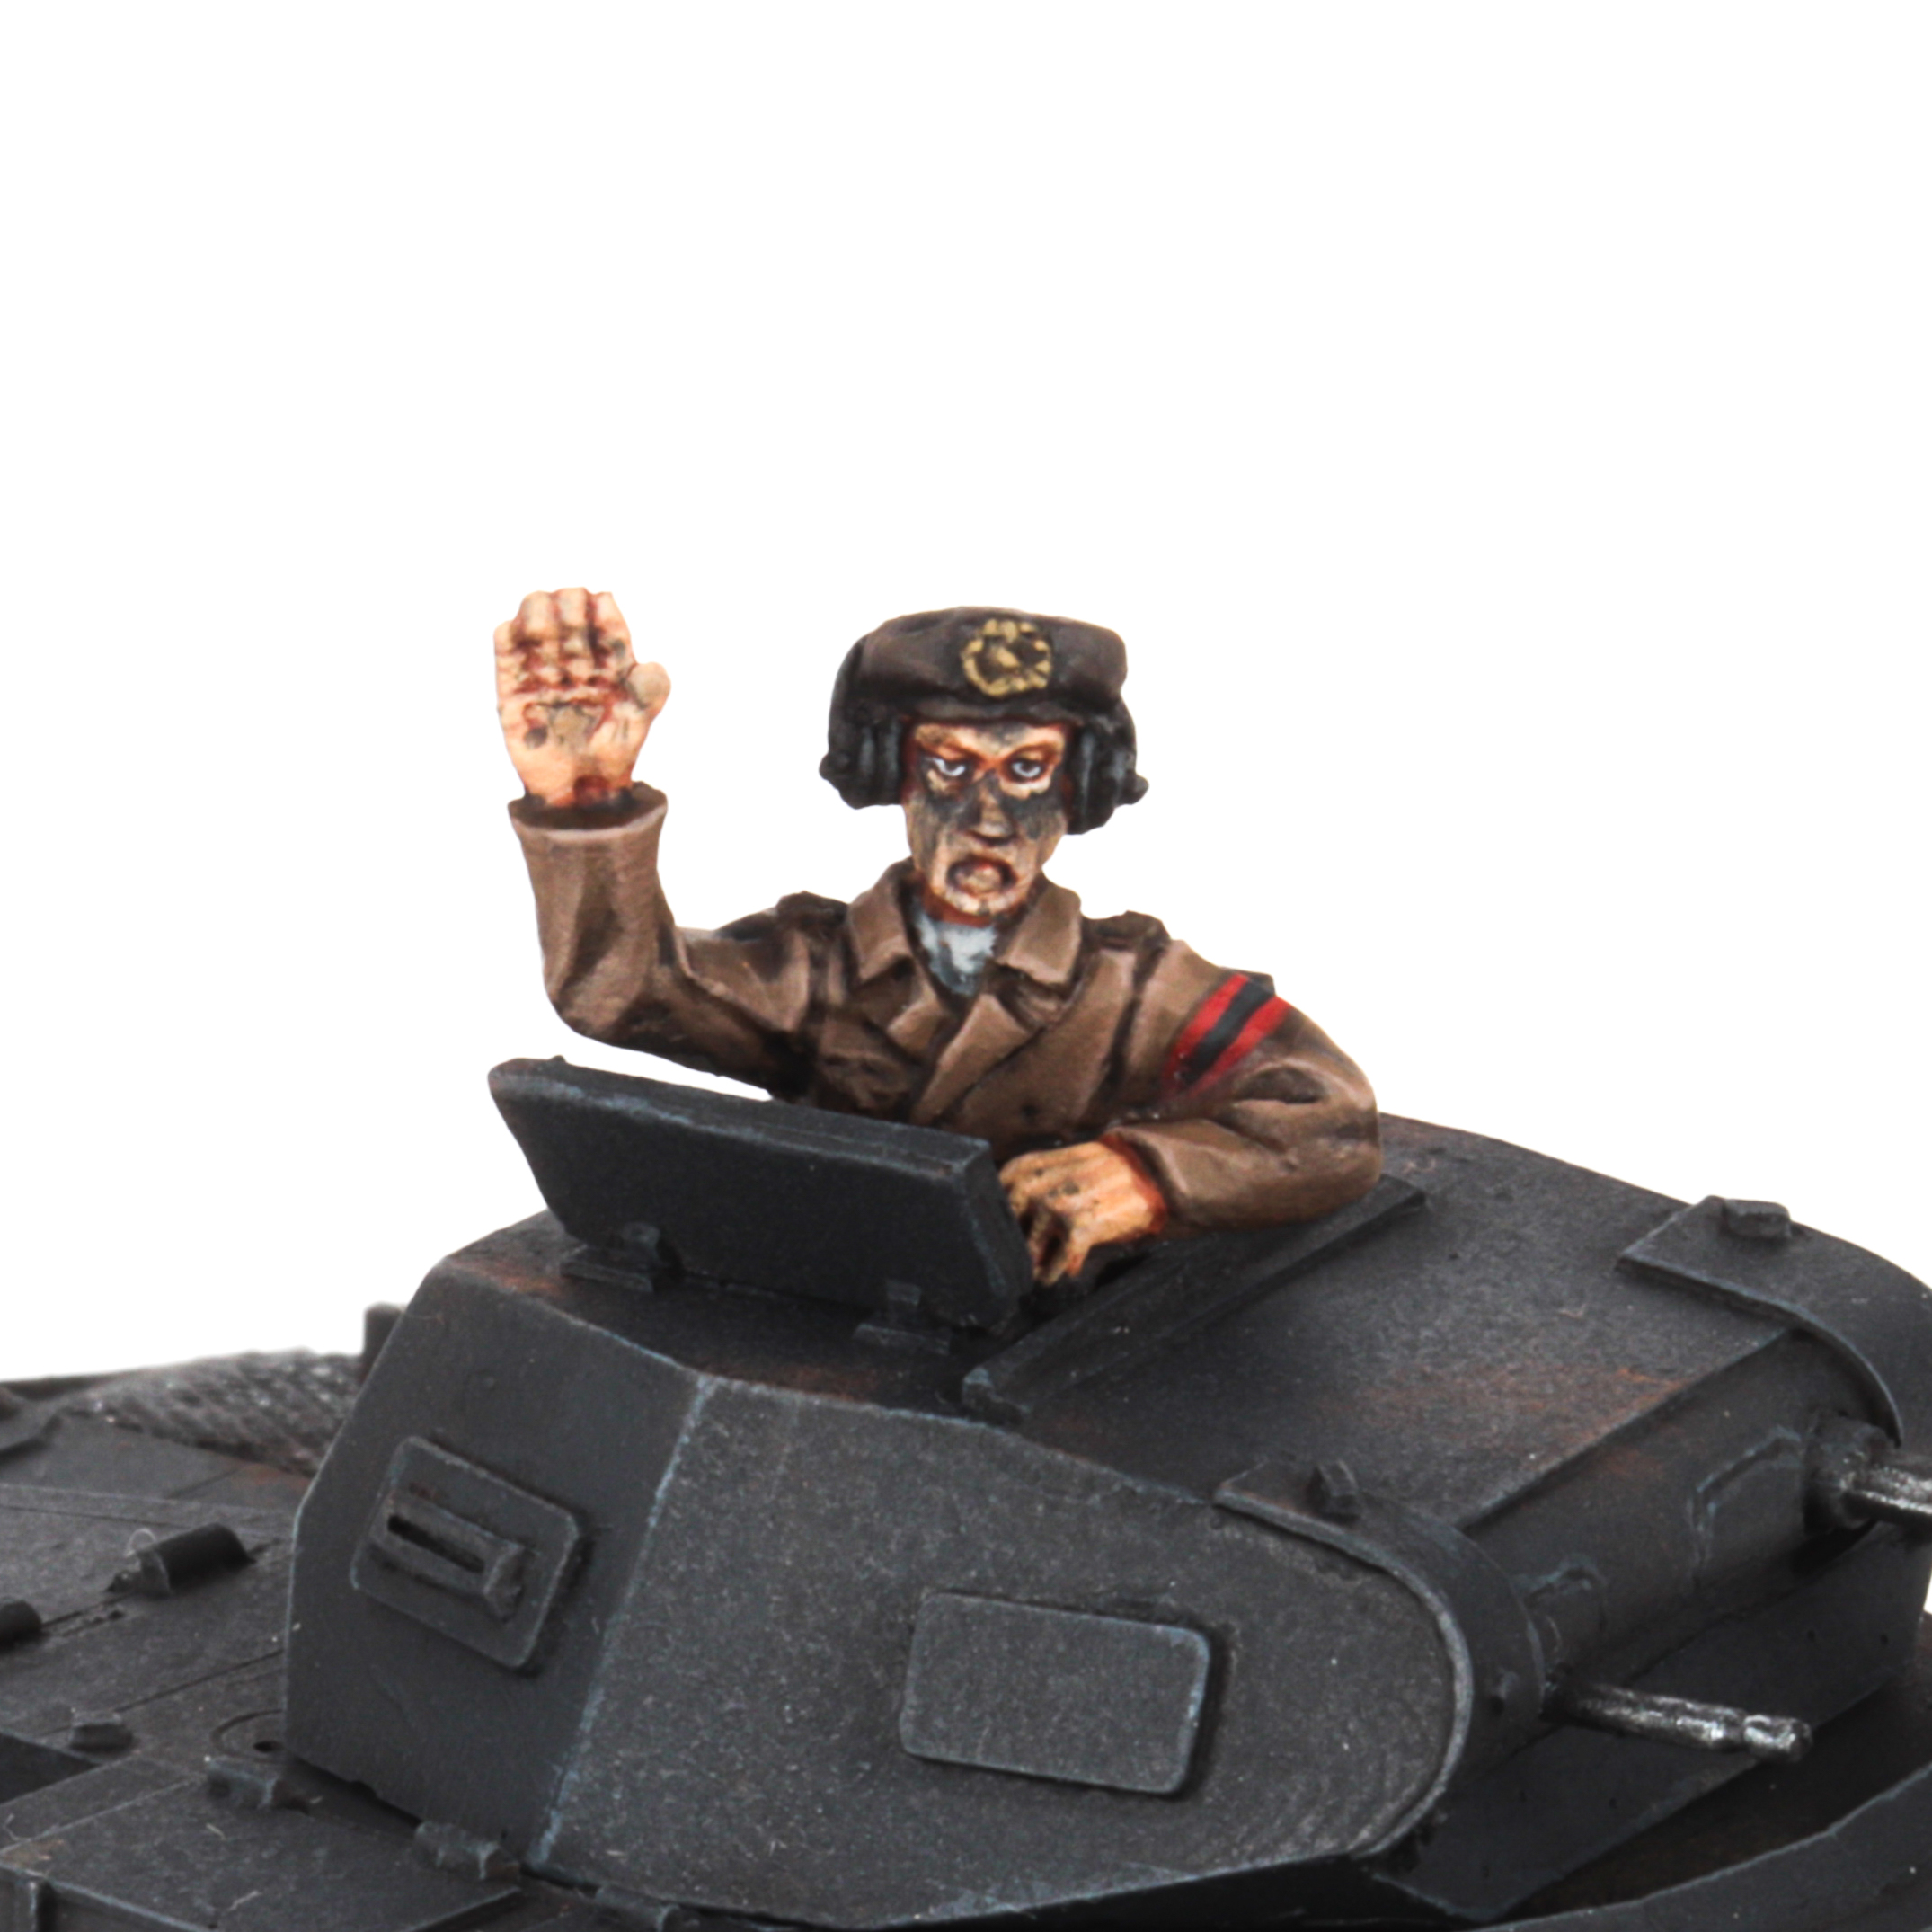
The Tank commander was also fun to paint. I tried going for a soot covered look, not sure if that quite hits [Editors note: it does! Great work -ed]. I also wanted to make it more obvious that he is part of the Volkssturm, that’s why I painted on an armband.
In conclusion, would I recommend you buy this kit? It depends: Do you want to collect all of the Panzer marks? Do you want some flavorful addition to your early war or Berlin force? Do you just like dinky little shit cans? If you answered any of these with yes, then I would absolutely recommend this kit. Given how this one has been released from Mail Order prison, you’ll probably have a much easier time getting your hand on this. Thank you for reading this, I hope you enjoyed this review!
Questions, comments, suggestions? Get in touch via contact@goonhammer.com or leave a comment below.
