This is quite possible the fastest turnaround I’ve ever had on two models. I got them for Christmas, painted Moon Knight that day, and spent 2 more nights painting Blade. These two models were a joy to paint. I do regret that I didn’t take NEARLY enough progress photos for Blade, but hopefully you can follow along with my instruction.
Moon Knight
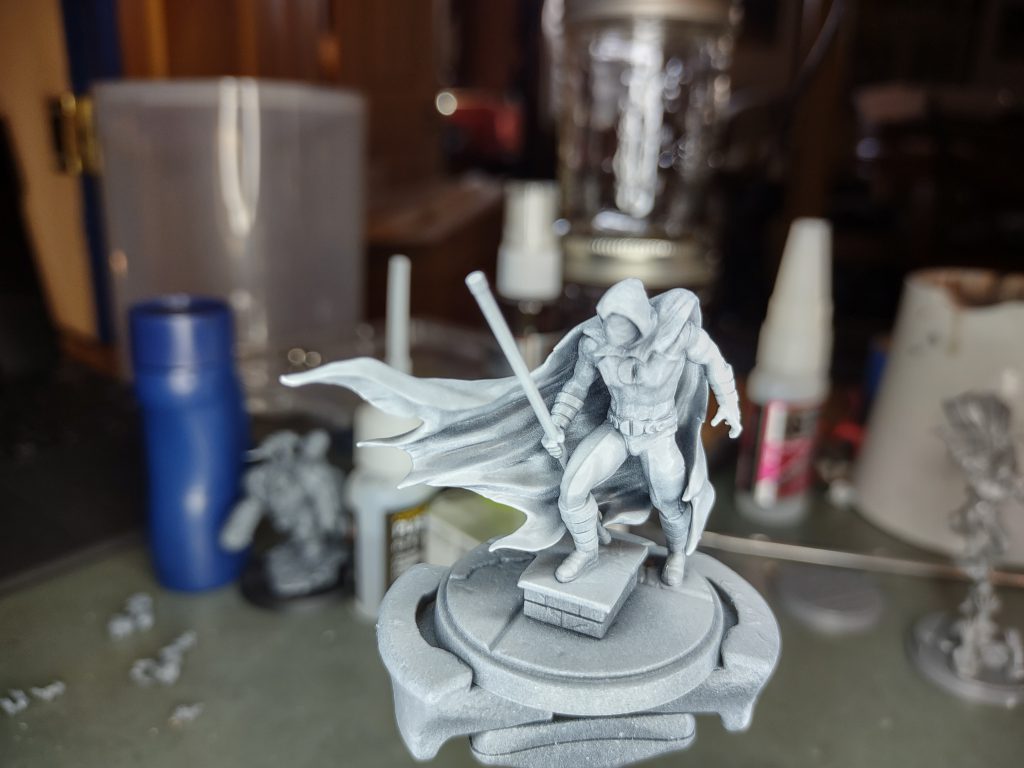
Starting with Moon Knight, the process was pretty simple. I decided to undercoat the man with a 2 steps of a zenithal highlight. I primed him with Chaos Black, and sprayed a lighter coat of Mechanicus Standard Grey from above, making sure to keep the deepest recess black for heavier shadows. Then I did a zenithal highlight with the White Scar spray heavily from behind and lighter in the front. This did 90% of the work of painting him and I was really happy with the gradient I got using those 3 colors.

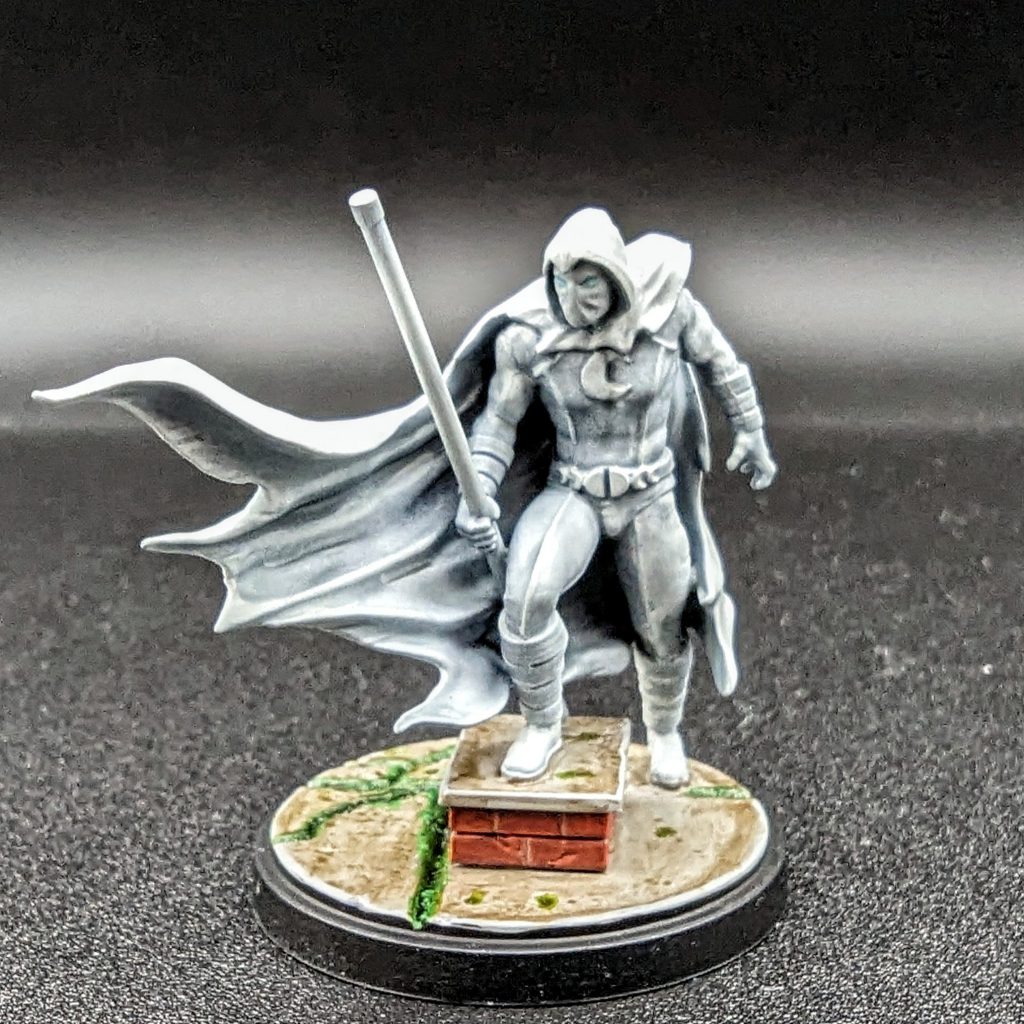
Next I just used Apothecary White contrast as an all over wash to blend the layers together. I proceeded to highlight the cape and all of the edges on his front with UIlthuan Grey. I hit the moon symbol on his chest and the little belt accoutrement with Ulthuan Grey to pick them out against his slightly less white body suit. TO finish him up I edge highlighted his cape and his face with White Scar.
His eyes were pretty simple, I just did a 1:1 mix of contrast medium and aethermatic blue to that the mixture wasn’t too bright, but still stood out as blue against the rest of his white body.
The next step was to paint his base and the top of the little chimney thing he’s standing on. I was going for a concrete look. So I based it all with Administratum Grey and shaded the whole shebang with Agrax Earthshade. I simply highlighted the edges in two steps with Administratum Grey and the Ulthuan Grey.
For the bricks, I started by basing it with Gal Vorbak Red, I then started doing science. I created a 1:1 mixture of Gal Vorbak Red and Wild Rider Red to glaze over the bricks to add some brightness to look more like a red clay. I then mixed a 2:1 mixture of Administratum Grey (2) and Tau Light Ochre (1) to paint the mortar in between the bricks. I then cleaned up the edges of the bricks and highlighted them with WIld Rider Red.
For the sludge in the cracks I needed to do science. You know how when you do transfers and you don’t let the varnish completely dry and you apply yout Micro Set and you start getting little varnish chunks? Well I did that on purpose to create a weird chunky, goopy mess on my palette. I mixed 1:1:1 Ardcoat, Warpstone Glow (to make it green), and Micro Set to get this weird, gross, toxic-sludgey, chunky stuff and slapped it in the cracks. To bring the color back down and add some dirtiness to it I washed the cracks with Agrax Earthshade and cleaned up any edges with Administratum Grey.

Blade

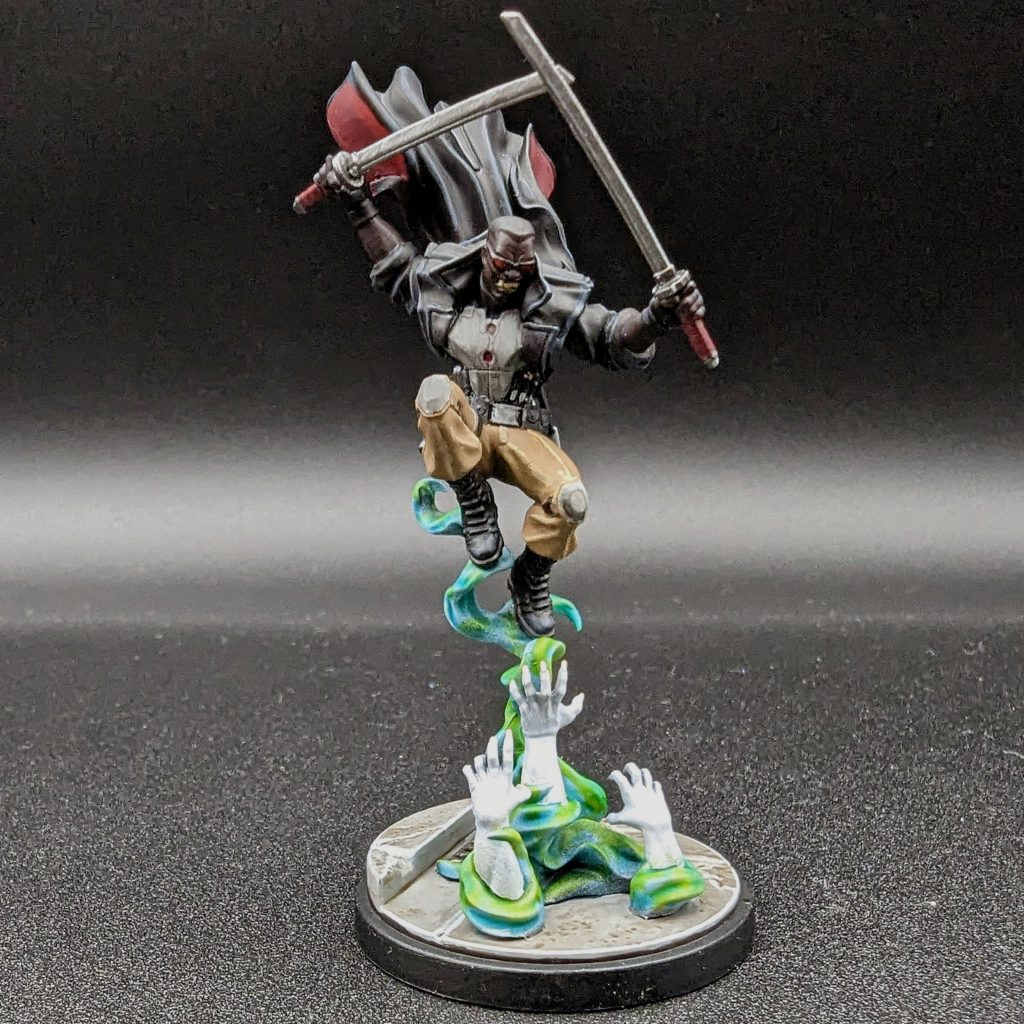
I have much less of an attachment to Blade. I like that cool line that Wesley Snipes says about ice-skating uphill, but otherwise vampires and their hunters therein aren’t my jam. One time I watched the Van Helsing movie starring Hugh Jackman and all I could think was “Damn, they really filmed this movie inside a Party City.” Blade was still fun to paint and I have yet to use him in a game, because apparently I have a hard on for the Web Warriors affiliation. Also Taskmaster is a very cool guy. I should write about my painting of that dude too I guess. Anyway, here’s the recipe for the Wesley Snipes pictured above. I started with a prime of Chaos Black Primer and a zenithal spraying of White Scar Primer.
Back of Cloak, Sheathes, Shoes, and Other Leather Accountremont:
- Base coat with a 2:1 mixture of Abbadon Black and Rhinox Hide
- Highlight 2:1:1 mix of dark reaper, abandon black, and rhinox hide
- Highlight dark reaper
Undershirt and shoelaces:
Real simple. I just painted them Corvus Black. Maybe I highted with Dark Reaper or Thunderhawk Blue. Pick your vibe.
Hair:
- Base coat with a 1:1 mixture of Rhinox Hide and Abbadon Black
- Glaze with a 2:1 mixture of Abbadon Black and Rhinox Hide
Beard:
- Base coat with a 2:1 mixture of Abbadon Black and Rhinox Hide
- Glaze with abbadon black
Skin:
I think I did fine here. I didn’t try to be fancy.
- Base coat with Rhinox hide.
- Shade druchii violet.
Sunglasses:
No highlights. Just paint the frames Abbadon black and paint the lenses with Mephiston Red or Khorne Red. Follow your bliss.
Pants:
Steel Legion Drab base and highlight with Wraithbone.
Inside of cape and katana grips:
- Base coat Gal Vorbak Red
- Highlight 1:1 gap vorbak red and wazdakka red
- Highlight wazdakka red
Blades:
Base coat with Leadbelcher and edge highlight with Stormhost Silver. Simple as.
Hilt and Pommel:
Base coat with Iron Warriors. Highlight if you desire.
Armor:
Base coat with Administratum Grey. Shade with Nuln Oil. Came out grimier than I wanted to, but didn’t feel like fixing it.
Spooky smoke:
This part was fun. I just slapped Aethermatic Blue on all of the smoke, being careful to avoid the actual arms and hands. Then mixed Mantis Warrior Green 1:1 with Contrast Medium to blend the green with the blue all over the smoke. I kept the hands clean and white from the priming, touching up the dark spots with Ulthuan Grey. I could maybe go back and add some OSL from the flames to the hands, but I’m happy as is.
Nails and Teeth:
I just slapped Screaming Skull contrast on the white base coat. Then I went back and touched up the fingers with more Ulthuan Grey.
Wrapping up:
Thanks for reading! These were my first two Marvel: Crisis Protocol miniatures I hope you found this tutorial useful in your painting journey for these two dorks or other similar dorks!


