Lightsabers and pew pew action will always make my primitive lizard brain excited. And Obi-Wan Kenobi and Darth Vader are two of my favorite Star Wars characters. So naturally, I bought the big premium set and even painted the “useless” terrain. I’m still not wild about useful, powerful models and rules locked in an expensive set, but at least it all looks real pretty? Both sculpts are great, especially Vader, and the whole thing can be finished surprisingly quickly. In the end you’ll have two very useful models to use in game, and the satisfaction of them looking great to boot. I was intimidated to paint this, Vader especially as he’s so iconic. I’m a huge self critic but will admit I am very pleased how this set came out. Here’s how I approached it.
Vader
- Start with white primer. Does it make sense to use white primer with a model like Vader? Yes, because white primer is objectively the best. End of discussion.
- Base the whole model (except lightsaber blade) with Scale 75 Eclipse Grey, or substitute a similar ‘pretty dark but not quite black’ grey shade. I am a big fan of this particular shade, though.
- Layer raised areas with a 1:1 mix of Eclipse Gray and GW Eshin Grey.
- Heavily drybrush with pure Eshin Grey. Below is a picture after this step.
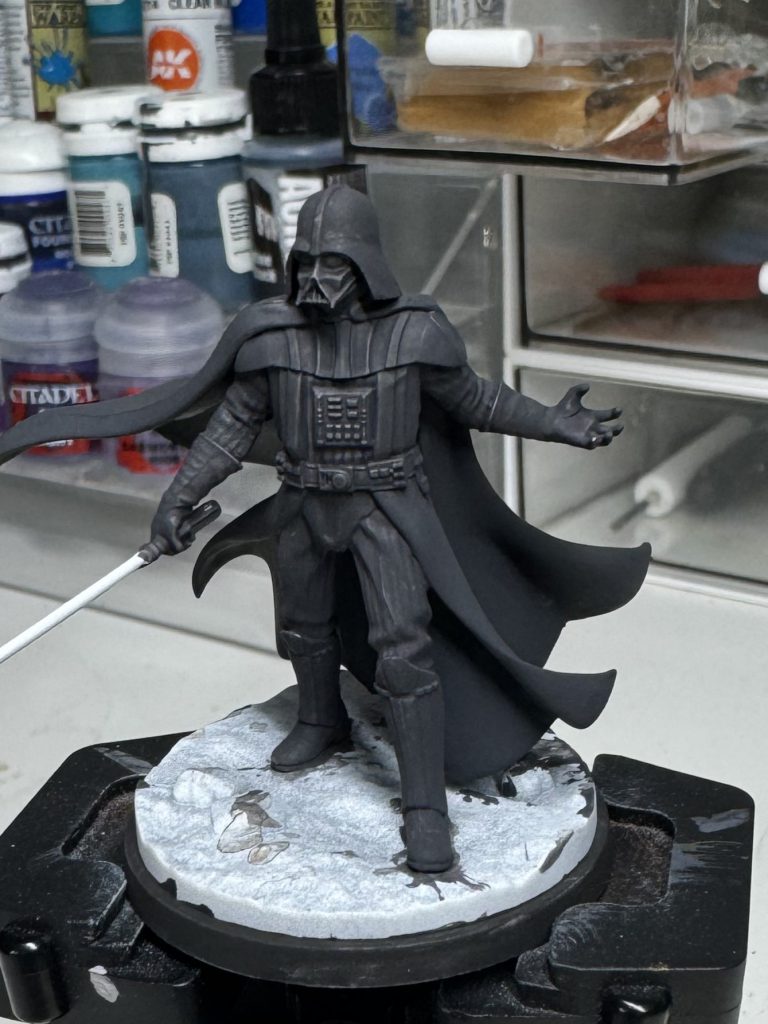
- Lighter drybrush with 2:1 mix of VMC Dark Sea Grey and Eshin Grey.
- Here I stopped and painted details such as the chest and belt boxes. There’s any number of reference images online to try and match these to the real thing.
- Wash everything with GW Nuln Oil. (Avoid spots of color on the chest.)
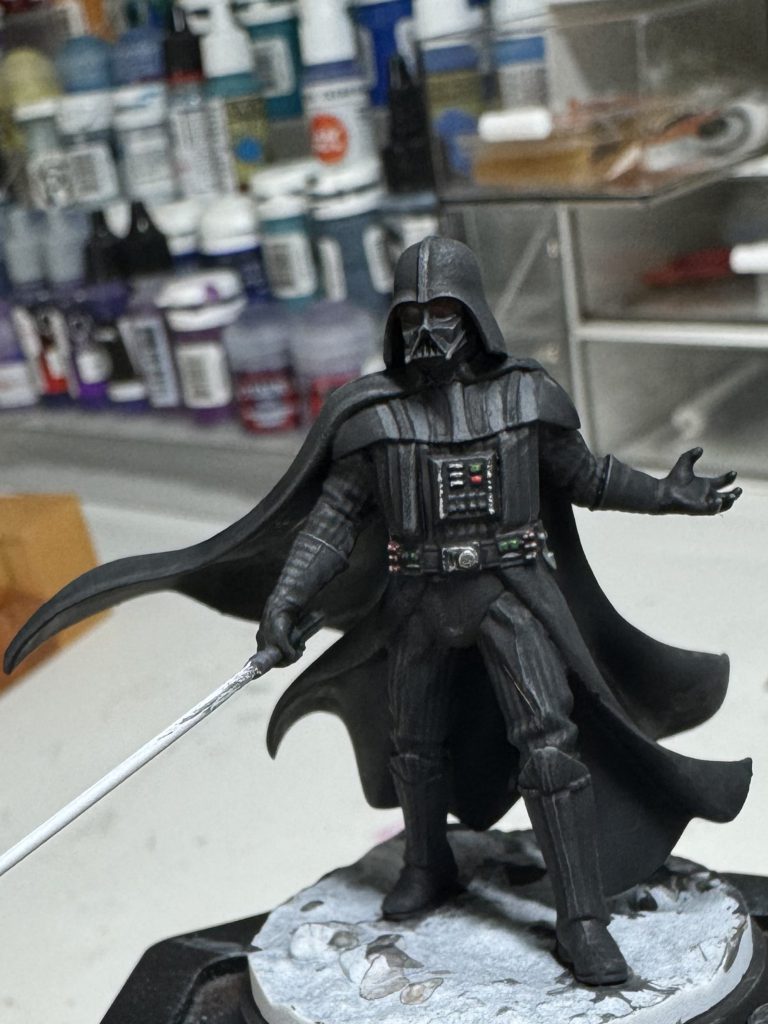
- For the grey stripes on his collar, I highlighted using the Dark Sea Grey again.
- For black areas, I highlighted using GW Mechanicus Standard Grey.
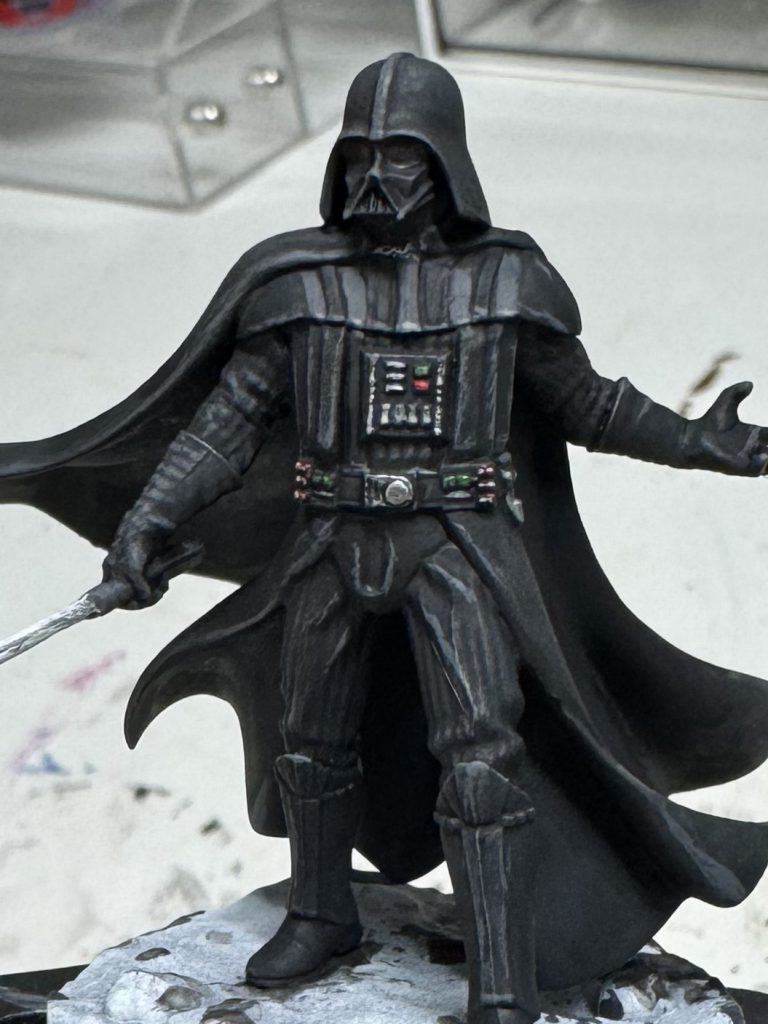
- I blacklined the model using Pro Acryl Coal Black.I do this as a last step with all my models, but for this tutorial I’ll mention it earlier.
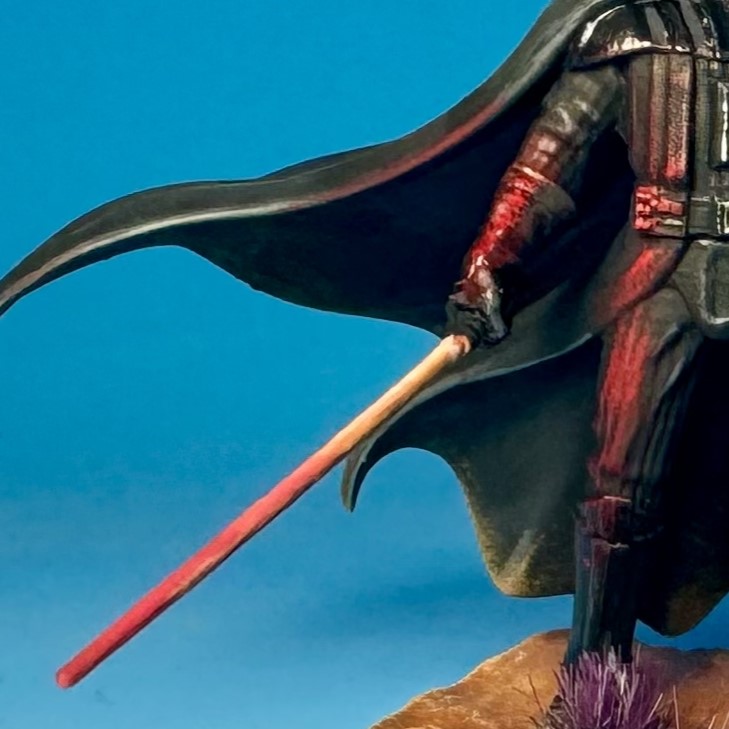
- The lightsaber started with GW Mephiston Red. I then mixed in more and more Pro Acryl Bold Pyrole Red, and finally an orange (P3 Khador highlight) and VGC Offwhite, making brighter areas smaller as I went.
- The glow effect is just drybrushing,- larger areas using Mephiston Red, then smaller and smaller areas within those with a mix of Mephiston and Pyrrole, then just a bit of pure Pyrrole. Raised areas and areas closer to the lightsaber should be brighter.
- For his helmet lenses, I based with a coat of roughly 1:1 VGC Scarlet Red and black. I layered up with just Scarlet Red, then washed them with Nuln Oil. I then did a light retouch with the Scarlet Red.
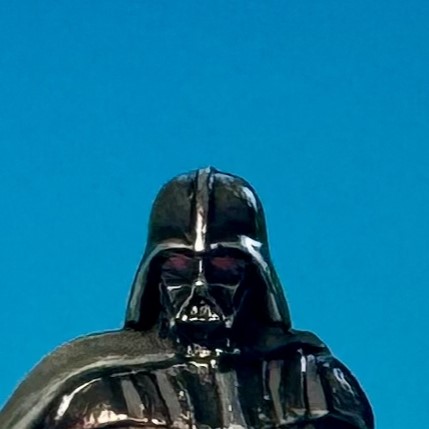
- Following painting, I used brush-on gloss (helmet area) and satin (boots, gloves) varnish to give a targeted shine to areas of the model.
Obi-Wan
Obi-Wan actually painted super quickly to my surprise. I knocked him in a couple of hours, which is shockingly fast for me.
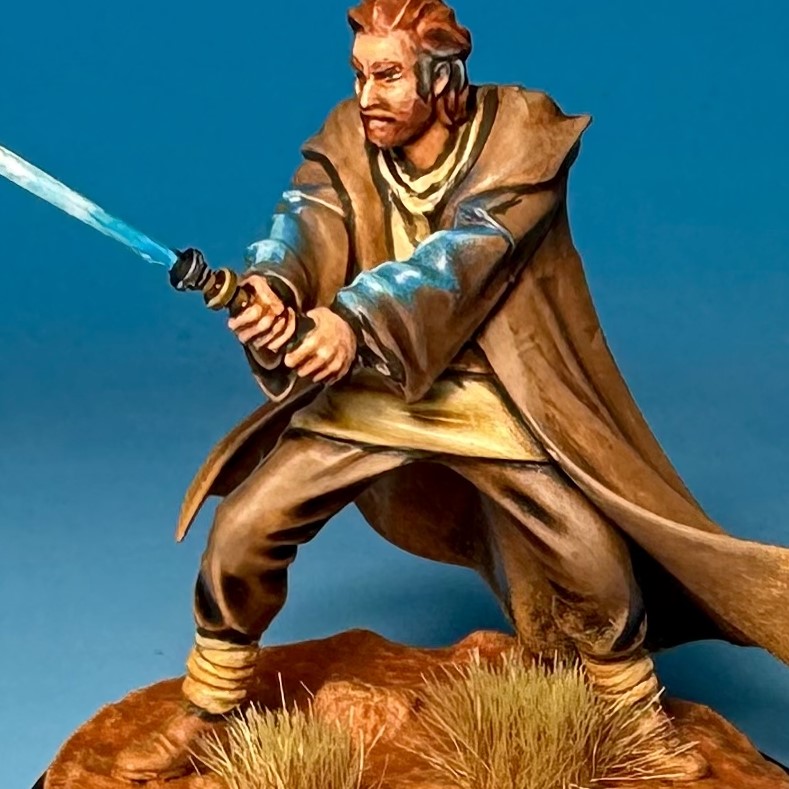
- For the robes and boots/belt , pick two different browns. I used P3 Beast Hide for the robes and P3 Bootstrap Leather for the boots and belt.
- I then washed all of those with GW Agrax Earthshade.
- After the wash, I highlighted up by mixing in some VGC Offwhite to each base color.
- The cloth shirt and wraps were based with P3 Menoth White Base, washed with GW Seraphim Sepia, then highlighted like the robes.
- Obi-Wan’s hair was based with P3 Bloodstone, then washed with GW Reikland Fleshshade. After that dried, I drybrushed with Bloodstone followed by GW Skrag Brown. I brushed on a bit of grey around his temples to age him some as well.
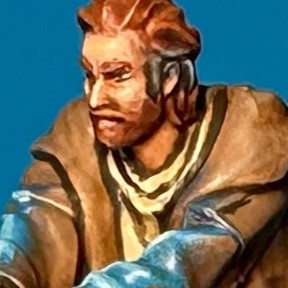
- Obi-Wan’s flesh is (probably) GW Cadian Fleshstone. (I forgot to write this down.) It was definitely washed with Reikland, then highlighted by mixing in a lighter flesh tone.
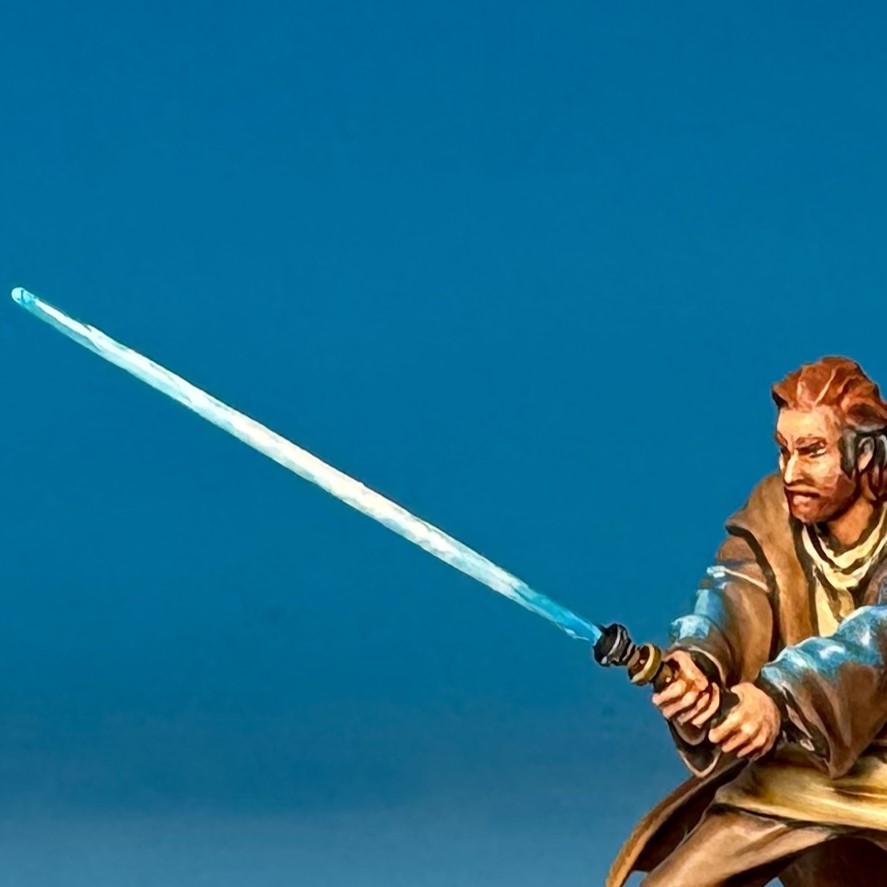
- The lightsaber was based with P3 Arcane Blue. (I use this shade all the time for glowy/magic effects. Works wonderfully for that in my opinion. Then I slowly mixed in more and P3 Menoth White Highlight and painted lighter and smaller areas, similarly to Vader’s blade. Glow effects were done in the same way as his as well.
Bases
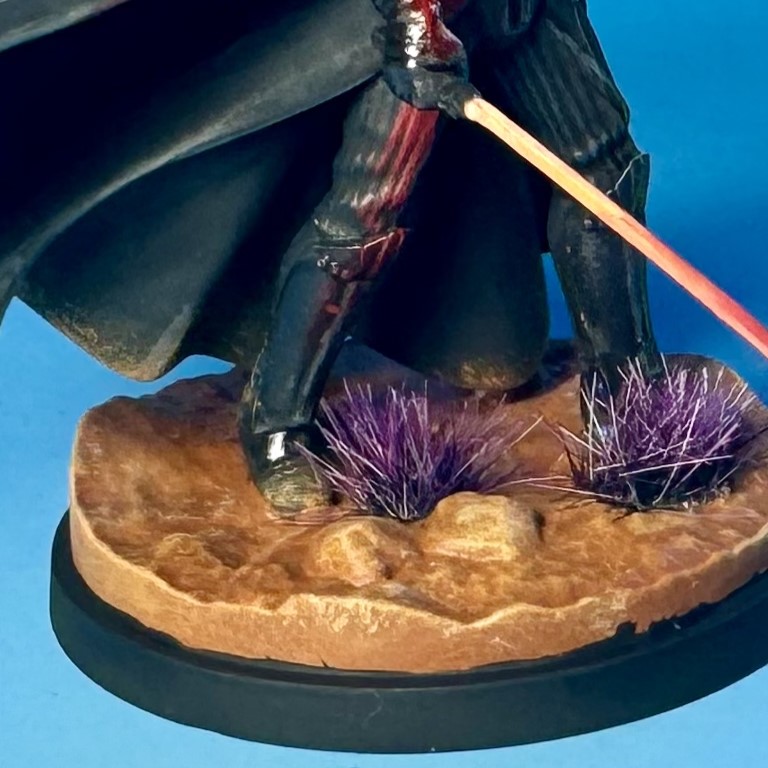
- Basecoat GW Skrag Brown.
- Drybrush GW Deathclaw Brown,then GW Tau Light Ochre, and finally P3 Menoth White base. (GW Morghast Bone works in place of the MWB.)
- Feel free to get some of the paint on the bottom of the models, particularly feet and bottoms of cloaks. This will tie the model into the base more and provide that more classic Star Wars lived-in feel.
And there you have it. Hope this is helpful if you’re tackling this set, and thanks for reading.
Have any questions or feedback? Drop us a note in the comments below or email us at contact@goonhammer.com.


You must be logged in to post a comment.