
G’day Goonhammer readers! We are back for Part 2 of our coverage of the Kings of War two-day tournament ConVic 2023 held in Melbourne, Australia. Thus far we have covered the event itself and our first three games across Day 1. Urr was at 1 win and 2 losses, while Cytoplasm was at 2 wins and 1 loss. Three games were still to be won, so read on and find out how we fared.
Urr’s Varangur
1 x Clansmen Horde – Norj-Bik, Sir Jesse’s Boots of Striding
3 x Night Raider Regiments
2 x The Fallen Hordes – Brew of Strength, Brew of Sharpness
2 x Snow Foxes Regiments
1 x Magus – Lightning Bolt, Bane Chant, Crown of the Wizard King
1 x Magnilde of the Fallen
1 x Snow Troll Prime
1 x Lord on Chimera – Staying Stone
Cytoplasm’s Undead
3 x Zombies (regiment)
1 x Skeleton Spearmen (regiment)
1 x Wraiths (troop)
2 x Soul Reaver Infantry (regiment) one with Staying Stone
1 x Wights (horde) with Blade of Slashing
2 x Revenant Cavalry (troop)
1 x Soul Reaver Cavalry (regiment) with Sir Jesse’s Boots of Striding
2 x Balefire Catapults
1 x Revenant King with Surge (5)
1 x Revenant King on Undead Horse, with Trickster’s Wand (Hex 2), Surge (5)
1 x Necromancer with Inspiring Talisman, Heal (3), Bane Chant (2)
Round 4 – Fool’s Gold
Urr’s Varangur vs Tucky’s Order of the Green Lady
2 x Naiad Heartpiercers (Regiment)
1 x Brotherhood Centaurs (Regiment)
1 x Centaur Bray Hunters (Troop)
1 x Order of the Brotherhood (Horde) with Banner of the Green Lady, Brew of Strength
1 x Order of Redemption (Regiment) with Blessing of the Gods
1 x Order of the Forsaken (Horde) with Vial of Sacred Water, Wine of Elvenkind
1 x Avatar of the Green Lady
1 x Exemplar Redeemer on Winged Unicorn with Blood of the Old King
2 x Unicorns with Lightning Bolt (5)
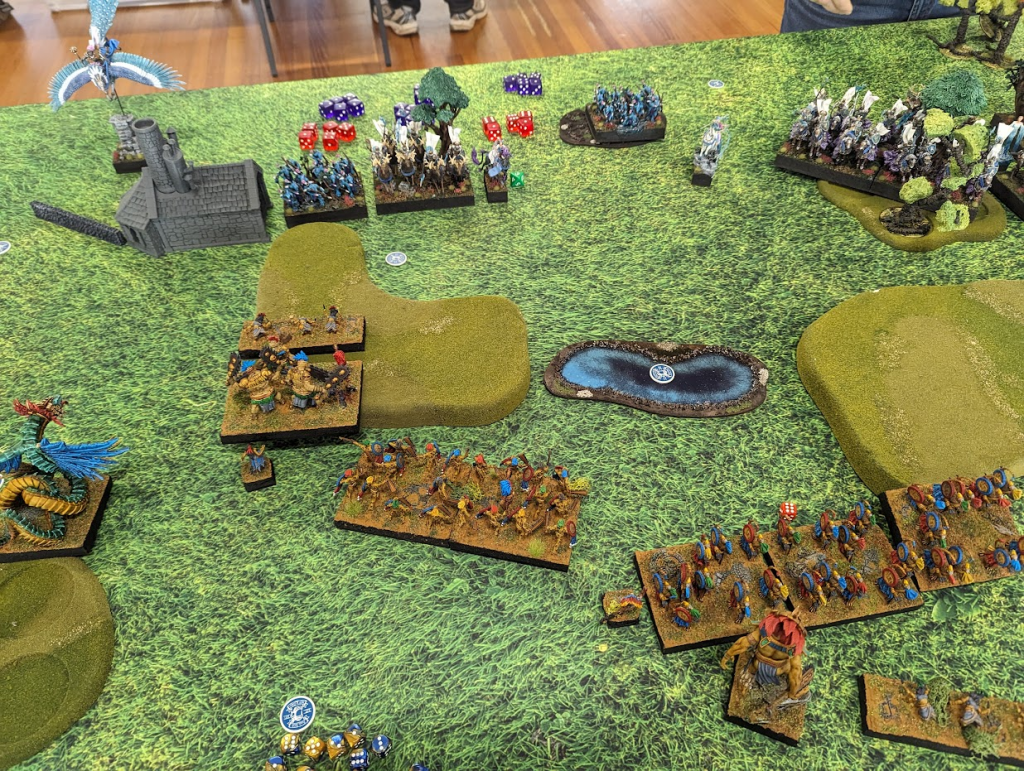
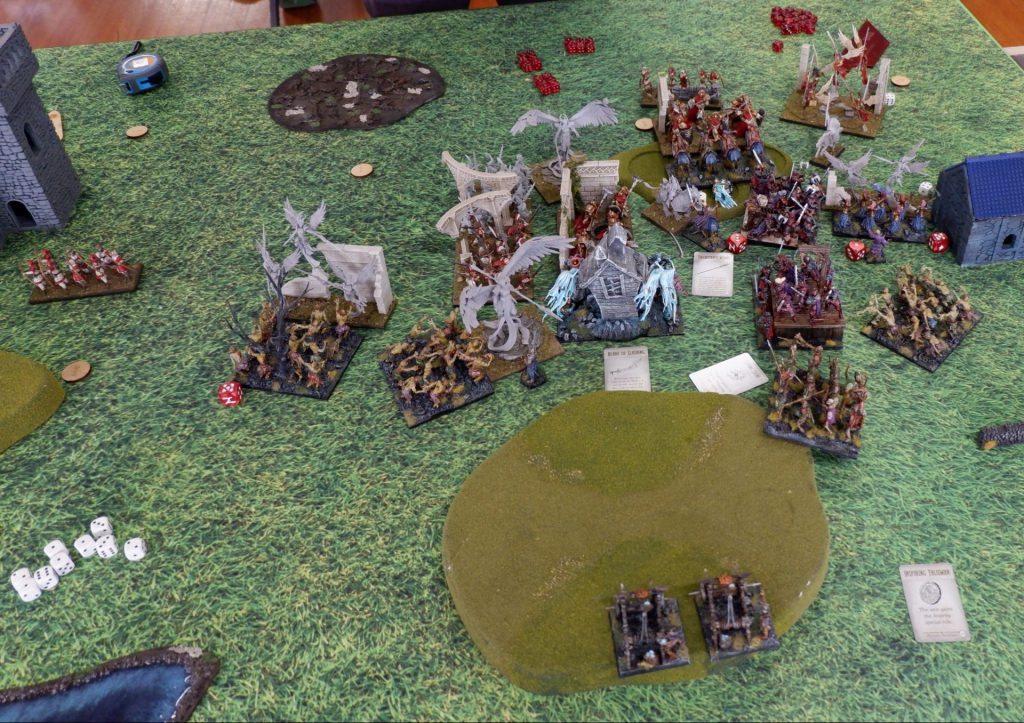
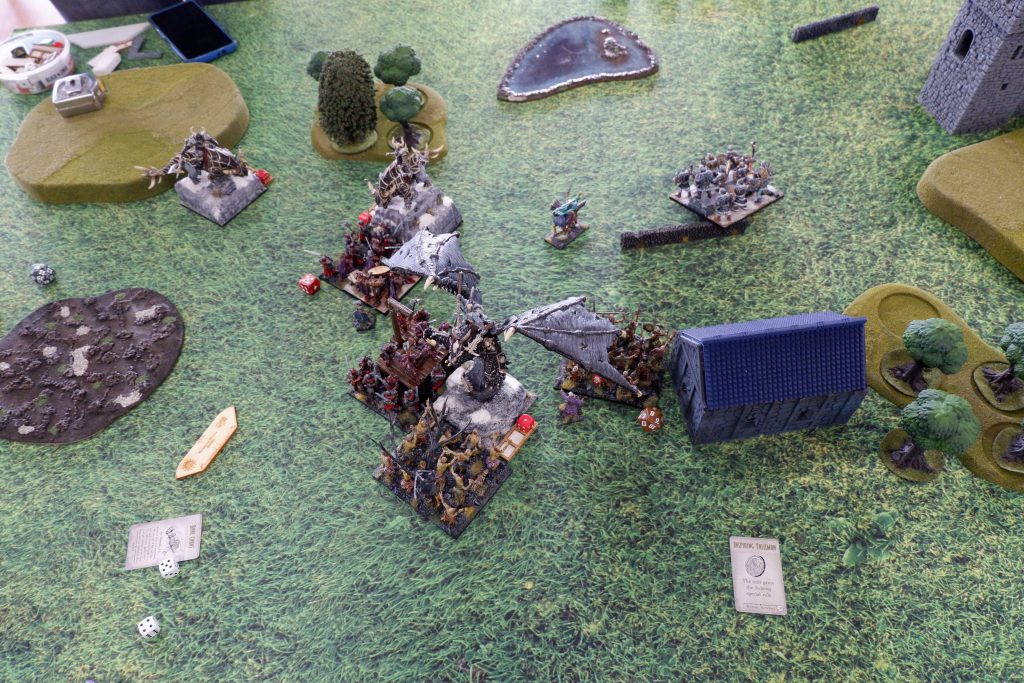
Ok, start of Day Two, and I’m up against Cytoplasm’s first round opponent, Tucky (check out that game here). He’s running a very similar list to last year’s ConVic, in which we played in game 5 (link here). In broad themes, we have very similar lists. We have our speedy hammers, some shooting to support and a big block of nerve with some Heroes about. We roughly match each other in speed and shooting, so it’ll all be about positioning and who gets the good dice.
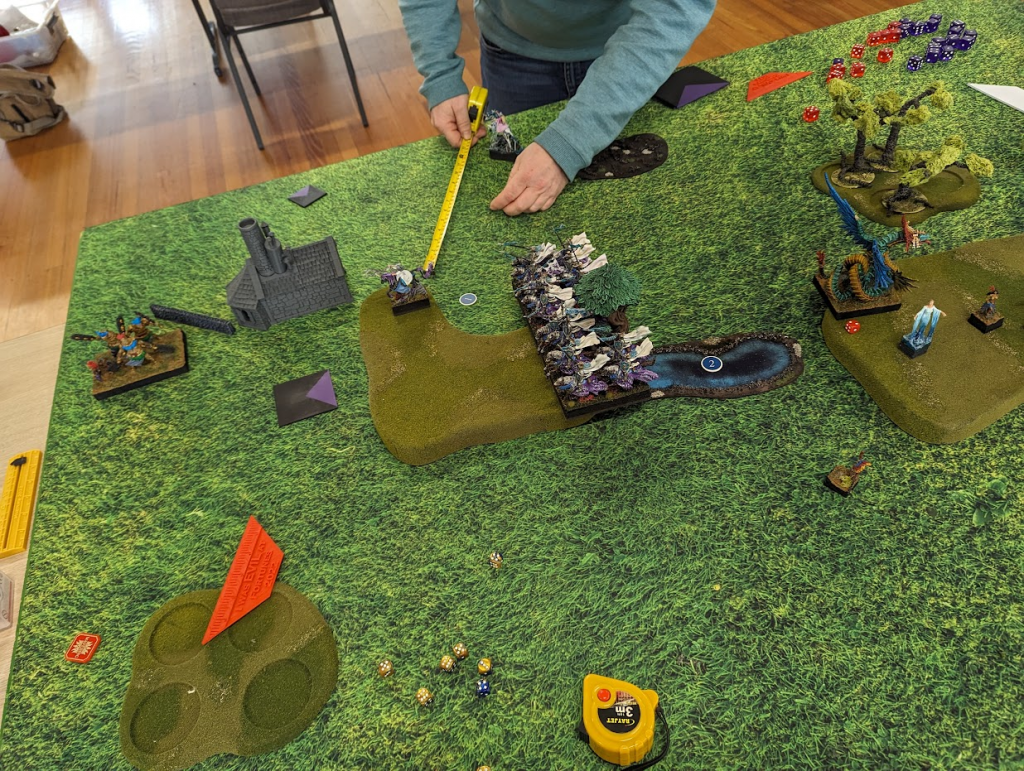
We drop our tokens in secret, and start our deployment. I know I’ve put my two point token on my far left, along with a one pointer nearby. My other one point ended up on the other side of the battlefield after all was said and done. I deploy heavily in the middle and on the left, and Tucky mirrors in the middle and on my right.
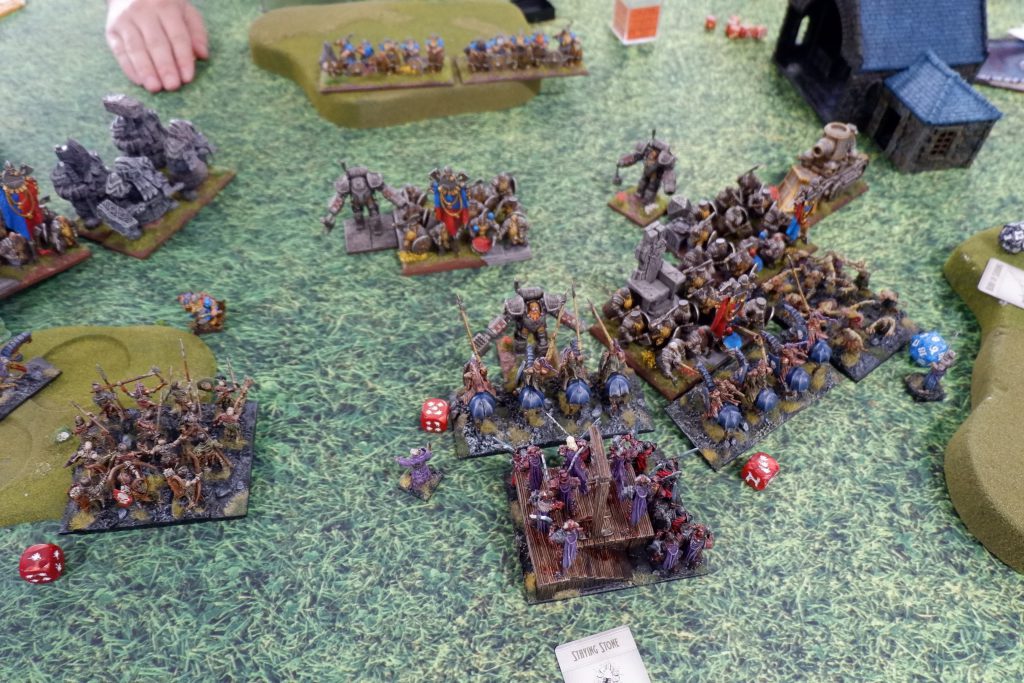
I’ve got the Night Raiders in the middle, looking down a coverless shooting lane. The Clansmen are further left, as continuing towards that flank, we have one unit of Fallen, Snow Fox, the Chimera and the other Fallen. The rest of the characters are supporting the middle, who are facing down the Cavalry heavy right flank.
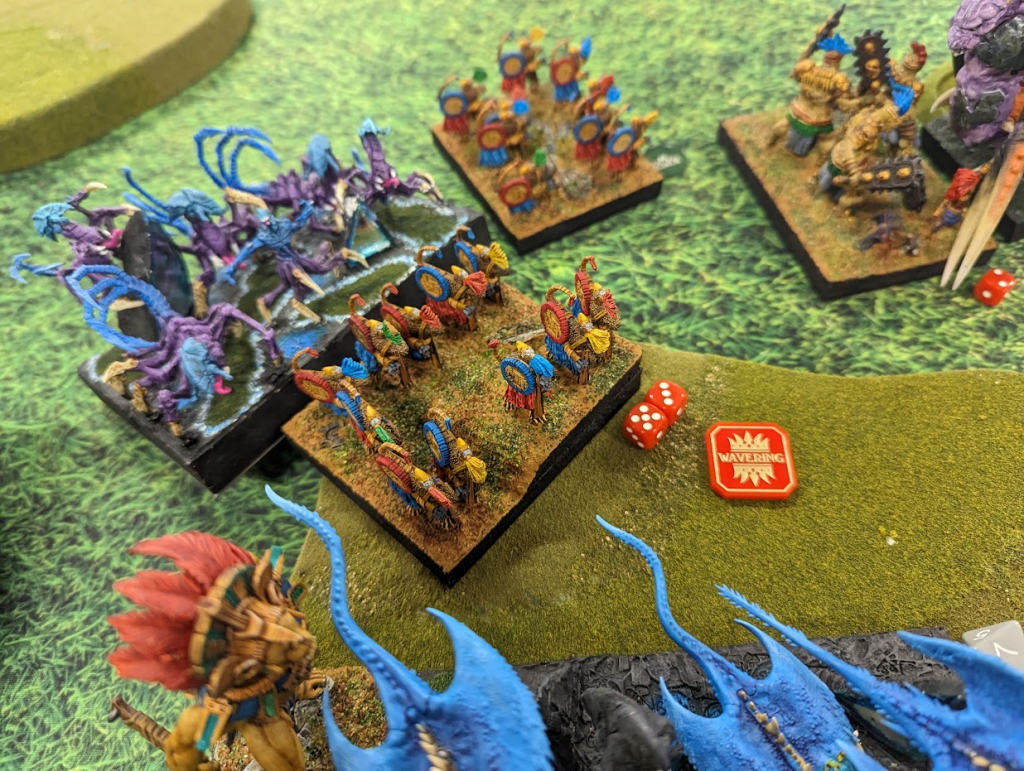
Tucky gets Turn 1 this game. This will give me the final say in jumping on objectives, so it’s not a bad spot to be in. He starts by pushing the whole right flank forward and pivoting in. The Unicorns Lightning Bolt a Night Raiders, but they’re fine. I respond by pushing my whole left flank forward and pivoting in. I take some shots back on a Unicorn, but no luck in taking it off.
Turn 2 and we’re still swirling. One Fox unit gets shot off, and the Fallen start taking some chip damage. That injured Night Raider unit is also wavering now, but that’s all fine. Though pure luck, not careful measurement, running forward with the Fallen as far as I did has kept the Order of Redemption stuck within charge range, so I decide to go in on that flank. The Fallen go off the hill, and get a Bane Chat thanks to the Crown, and the Redemption Knights get deleted. The Chimera fights the Heartpiercers and puts some wounds on them, while everyone else prepares to face the Knights storming in. I do get to charge the Order of the Brotherhood with one Night Raider unit, and keep them tied up for a turn. This will be the fate of all the Night Raiders in this game, sacrificed under the hooves of the followers of the Green Lady to slow them down.
It should come as no surprise, even without their Thunderous Charge, the Knights make short work of the Raiders. The Heartpiercers do manage to wound the Chimera, pinning it down, as the Exemplar Redeemer flies over the building to face it in the flank. More shooting goes into the Fallen, and the rest of the right flank starts to make it in. One Night Raider falls to the Order of the Forsaken, leaving one left.
I get my own licks back in. Both Fallen kill a Heartpiercer unit each, while Magnilde grounds the Redeemer. I throw a lot into the Forsaken; the Horde of Clansmen pop their Boots to get an unhindered, Bane Chanted charge, and are backed up by the Snow Troll Prime and the Snow Foxes, but the group rolls a little low and the Forsaken live, ready to be healed up by the Green Lady.
Thing start to tend towards Tucky this turn. While the Clansmen survive the hit from the Centaurs and Forsaken, the Exemplar gets a flank on a Fallen, pops the Blood of the Old King, and, with a little help from a Unicorn, kills them. The other Fallen cop one more wound for the other Unicorn’s Lightning Bolt, and Tucky gets the Boxcars to take them off. They are saved by the Chimera’s Very Inspiring, but still end up wavered. So there goes any plans for killing on my next turn.
I’m not completely cooked. The Fallen just back off. The Forsaken do go down to that same triple charge, but I am out of Night Raider to slow the Knight Horde. But I have 5 scoring units left to Tucky’s 3.
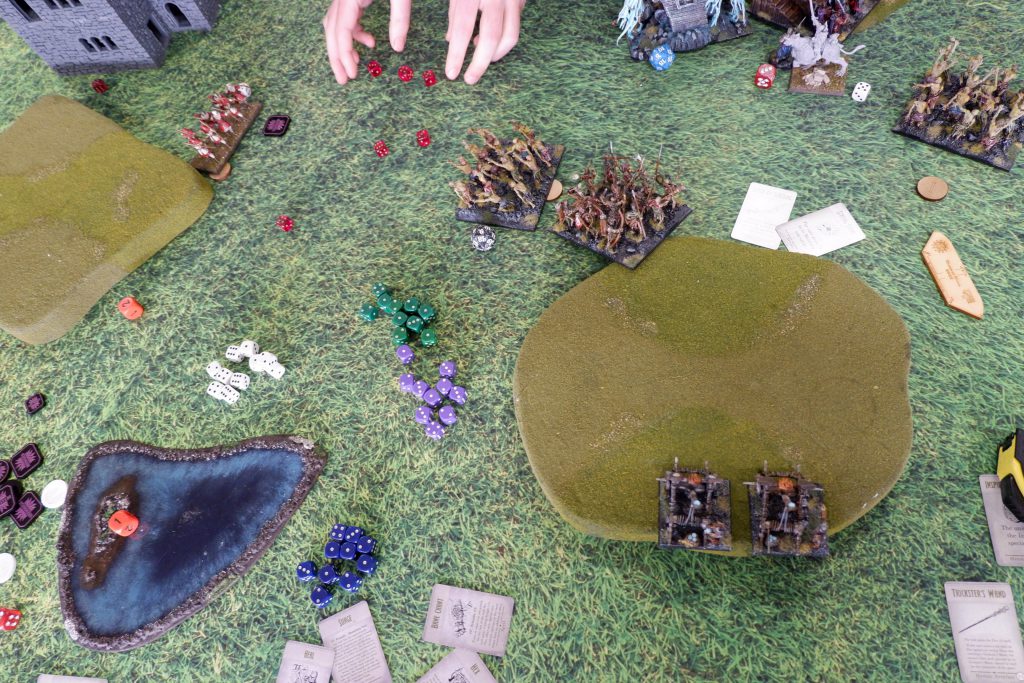
Tucky keeps whittling down that difference though, and good play is keeping me from pressing that advantage.The Centaur Hunters just keep on hanging out on a token, where they’ve been all game. The Brotherhood Centaurs take out the Clansmen, and a large overrun blocks the Troll or the Foxes from getting to a token. Unicorns keep trying to Lightning Bolt the Fallen, but they’re surviving. There’s not a whole lot for me to do. The Chimera claims a one pointer, the Fallen a two. Magnilde disorders a Unicorn, but can’t finish the job, and neither can the Troll and Foxes.
At this point the game is coming to an end, and is very close. Units and tokens are constantly being swapped, but the Knight Horde is the real power here. It is big enough to pivot and claim both a two and one point token, and I have no unit strength left to contest. So I abandon the one point there and have the Chimera and Magnilde join the combat on the right flank. She and the Troll take out the Centaurs, after they take out the Foxes. The Troll gets the overrun needed to land on a token, and Magnilde and the Chimera will almost certainly take out the Centaur Troop, and they do. Unfortunately, it is not enough. While the battle has been developing on the right side, the left is another matter. The Unicorns have just been hunting the Fallen with their Lightning Bolt. It was looking up as one failed to hit or wound completely, but the other one manages to get the wound, and with a large nerve roll, I lose my two point token, giving Tucky a 3-2 win.
Another great, close game, again coming down to the final turn. I got some luck in my accidental good positing at the start, and Tucky got the nerve rolls he needed when he needed them, so luck all evens out for a blast of a game.
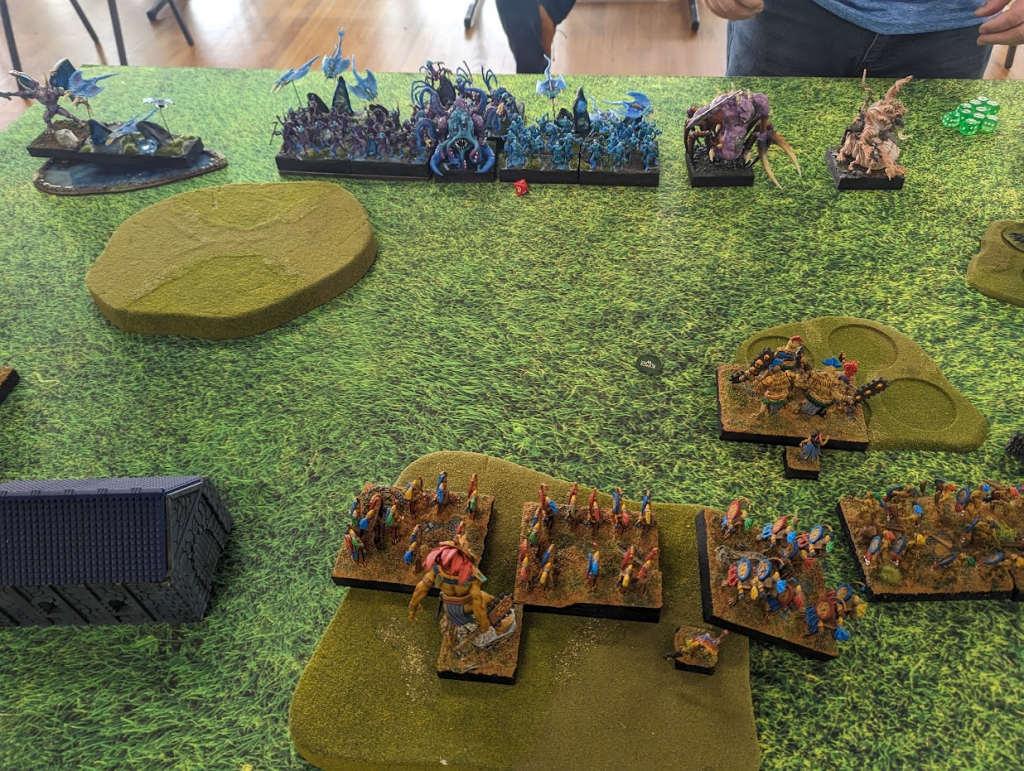
Cytoplasm’s Undead vs Viv’s Basileans
1 x Men-at-Arms Spearmen (Horde) with Hammer of Measured Force
2 x Sisterhood Scouts (Troop) with Scrying Gem
2 x Elohi (Regiment)
1 x Elohi (Horde) with Celestial Fury
2 x Ogre Palace Guard (Horde)
2 x Phoenix
1 x War Wizard on Horse with Diadem of Dragonkind
1 x Gnaeus Sallustis
Viv’s Basileans are the only Basileans I have ever fought. Last year they were much more Elohi-heavy, with all the Elohi heroes. This time around the new version of the Phoenixes are bringing the heat, along with the War Wizard. It’s a lot of shooting that’s hard to stop.
Fool’s Gold is one of the “bluff” scenarios, where the tokens go down face-down, and on Turn 3 they are revealed which are 0, 1 or 2 points. I placed all the valuable tokens along the back right, as I very much hoped to get there. I didn’t want them near the center in case we were still battling by Turn 6. The majority of his unit strength was in very tough units, so I didn’t want to chance it. Also, it’s fun when the tokens turn over and suddenly the opponent has the question “Should I stay back instead?” which may prevent them from throwing as much into the fight as they should.
The Dark and the Light Facing Off
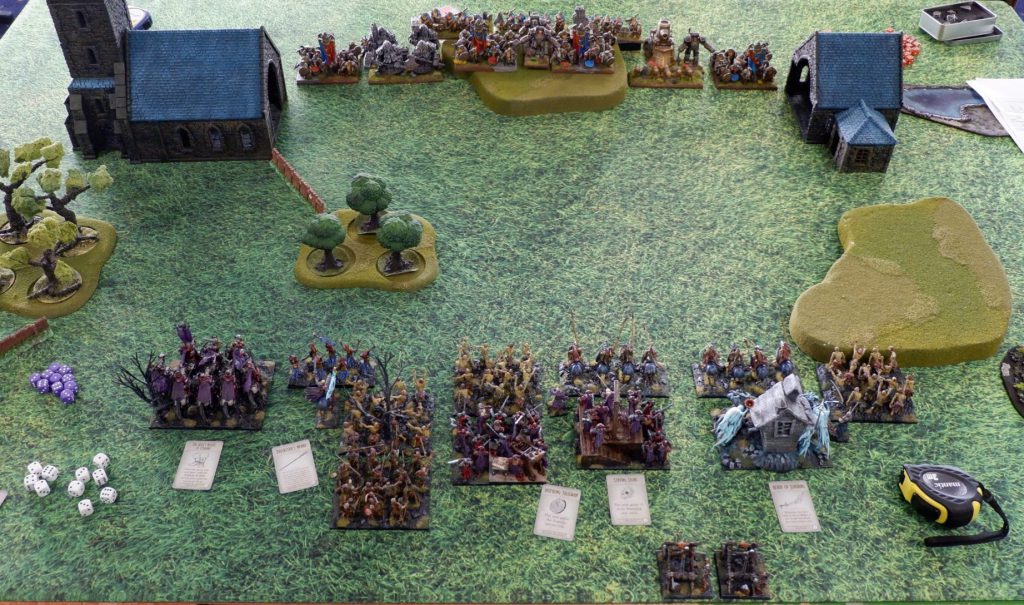
Having learnt a lesson from my war against the Ratkin in Round 3, I deployed my entire army as a solid brick of Undead. Layer 1 was chaff, Zombies, Revenant Cavalry, Wraiths and finally Skeleton Spearmen on the right. Behind this was Layer 2 composed of hammers, Wights, Soul Reaver Infantry and Soul Reaver Cavalry. More Zombies were protecting my flanks and the Balefire Catapults had the hill.
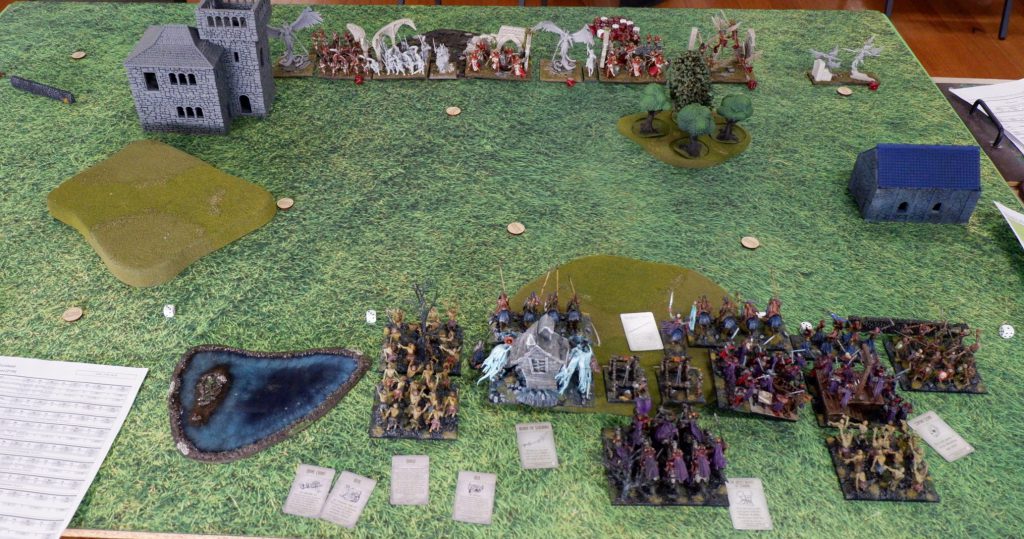
Vivien formed a battle line that spanned his deployment zone. On the left, a Phoenix sat with the Men-at-arms Spearmen horde with Sisterhood Scouts behind. A regiment of Elohi are behind the leftmost building. In the middle Gnaeus with Ogre Palace Guard horde and the other Phoenix and War Wizard. Behind the forest on the right are the other Ogre Palace Guard, the horde of Elohi, Sisterhood Scouts behind. In the far right lurk the other regiment of Elohi.
Weathering the Flames
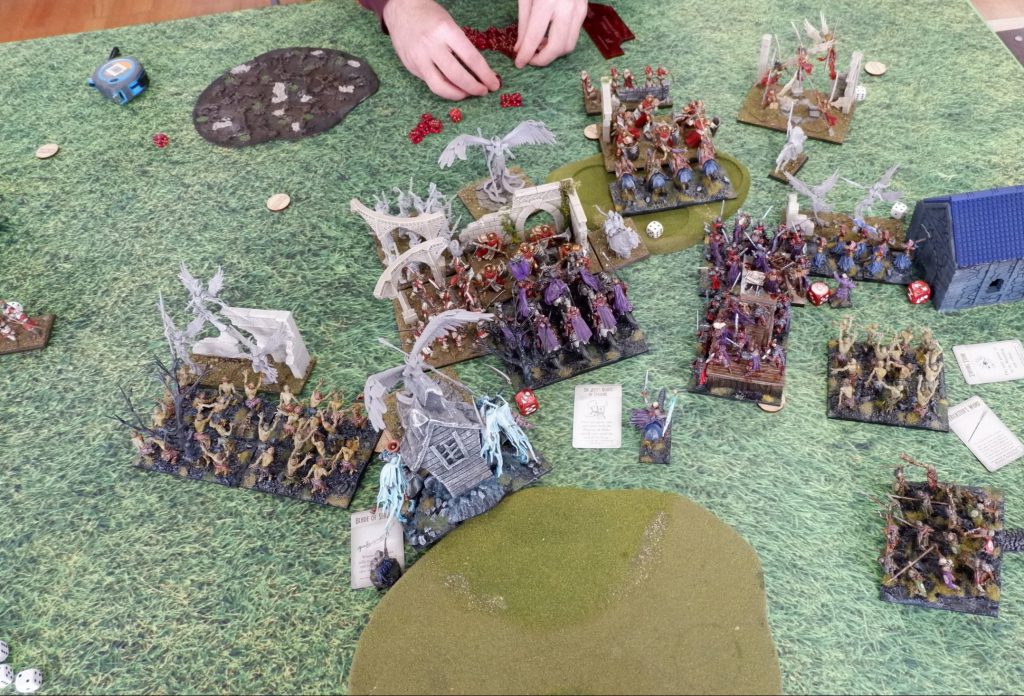
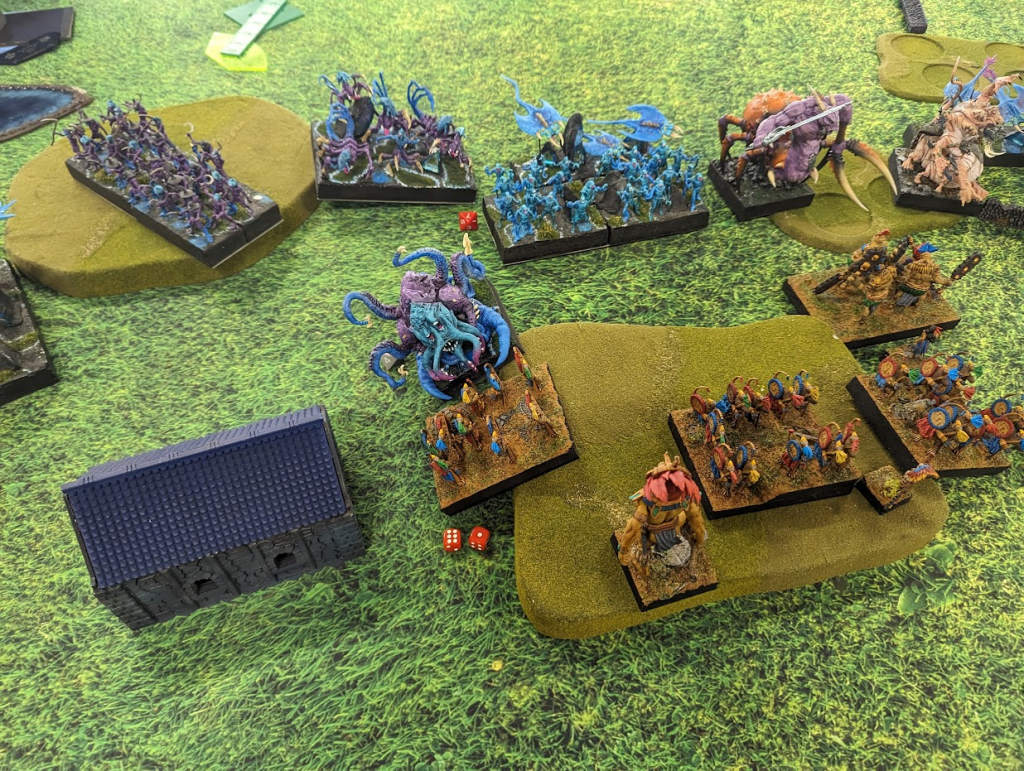
My brick of Undead move up steadily over the first two turns, shots from the Phoenixes do some damage, but thankfully the War Wizard is Hexed so nothing fried. First to attack are the Elohi regiments and Gnaeus. The Elohi took Revenant Cavalry in the flank, and victoriously turned to face my Zombies. The other Elohi got stuck into Wraiths but to no avail. Gnaeus successfully disordered the Soul Reaver Cavalry.
In response, the two regiments of Zombies manage to do one wound to the Elohi regiment on the left (typical), and somehow the Soul Reaver Infantry and Wraiths fail to do anything to the other on the right! Thankfully the Revenant Cavalry have gone forth to protect the Soul Reaver flank, but still, it’s an abysmal performance. Consequently, the Basileans pounce! Gnaeus gets out of the way, and Ogre Palace Guard and Men-at-arms Spearmen hit the Soul Reaver Cavalry, resulting in vampiric bits flying everywhere.
Then the tokens flipped. The leftmost Sisterhood Scouts have a 2 Victory Point token, the Ogre Palace Guard in the forest have the other one. Amidst my forces, I have two 1 Victory Point tokens. Not good.
Utter Carnage in the Center
The demise of the Soul Reaver Cavalry left the Ogre Palace Guard completely exposed to the Wights. The Phoenix failed to disorder them, so the Wights went into the flank of the Ogres (with a withdraw) and the Wraiths finally brought down the Elohi regiment. The Men-at-arms Spearmen attempted to punish the Wights, but with their failure went down to a combined Wight and Soul Reaver Infantry attack. The Elohi horde went into the Wraiths, but also failed against the Defense 6+. These angelic beings were brought low by the other Soul Reaver Infantry. At this point the final regiment of Elohi fell to the Zombies, as did the Phoenix to the Skeleton Spearmen.
Despite what might appear dire circumstances, Viv still controlled both the 2 Victory Point tokens, and I still had two 1 Victory Point tokens. My forces were approaching the Ogre Palace Guard holding one of these valuable tokens, but it was dug into a forest with Heal support from the Phoenix and was completely fresh. It wasn’t going down. My only hope was to shoot the Sisterhood Scouts with the Balefire Catapults. Last turn, I managed to take them off, forcing the draw!
As Viv and I both described it, it was the most combat-intense game we had both experienced. A maelstrom of charges and death. A draw fittingly reflected the state of the board.
Round 5 – Loot
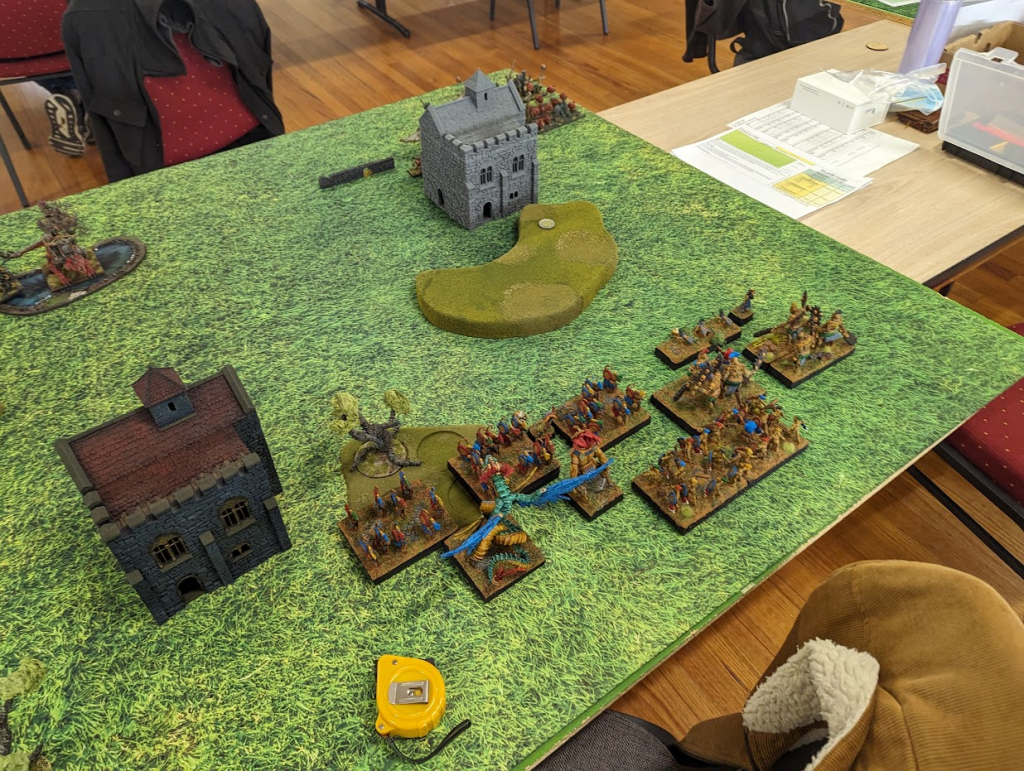
Urr’s Varangur vs Bensome’s Goblins
2 x Sharpsticks (Horde)
1 x Grogger’s Lugg Lads (Horde)
1 x Magwa’ns (Regiment)
2 x War Trombone
1 x Mawpup Launcher
2 x Goblin Blaster
1 x Winggit - Ramming Speed
1 x Goblin Slasher - Aura Rampage Beasts, War Trumpet
1 x King - Groany Snark
1 x Flaggit - Lute of Insatiable Darkness
1 x King on Chariot
**Gorp's Explodo'matic Bangstiks Formation**
2 x Fleabag Riders (Regiment)
1 x King on Fleabag
Bensome’s Boomy Boyz. This is a reasonably friendly goblin list, which is not to say it’s weak, it just doesn’t bring every shooting tool to blow you off the table. Fortunately for me, it is something I think I can handle. There’s lots of low defense, low nerve units in the list. The Formation Fleabags can be scary, but they could also end up doing massive damage to themselves if I can force them to fight the Foxes first. There’s a bit of shooting to keep you honest, but mine outclasses the Goblins.
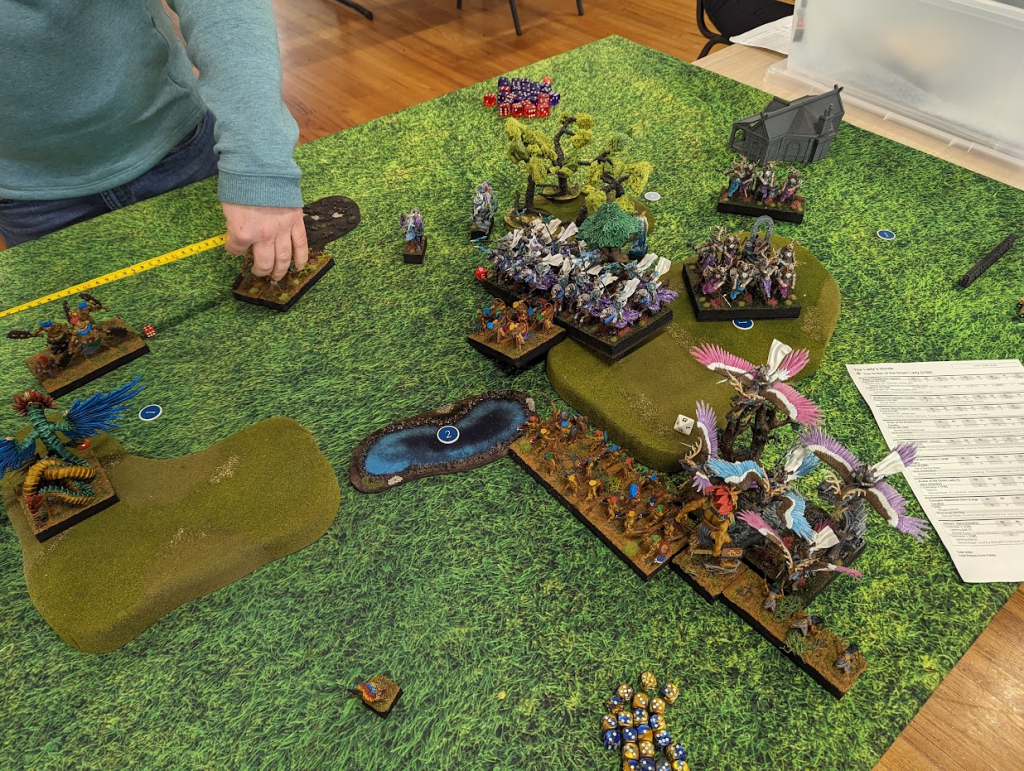
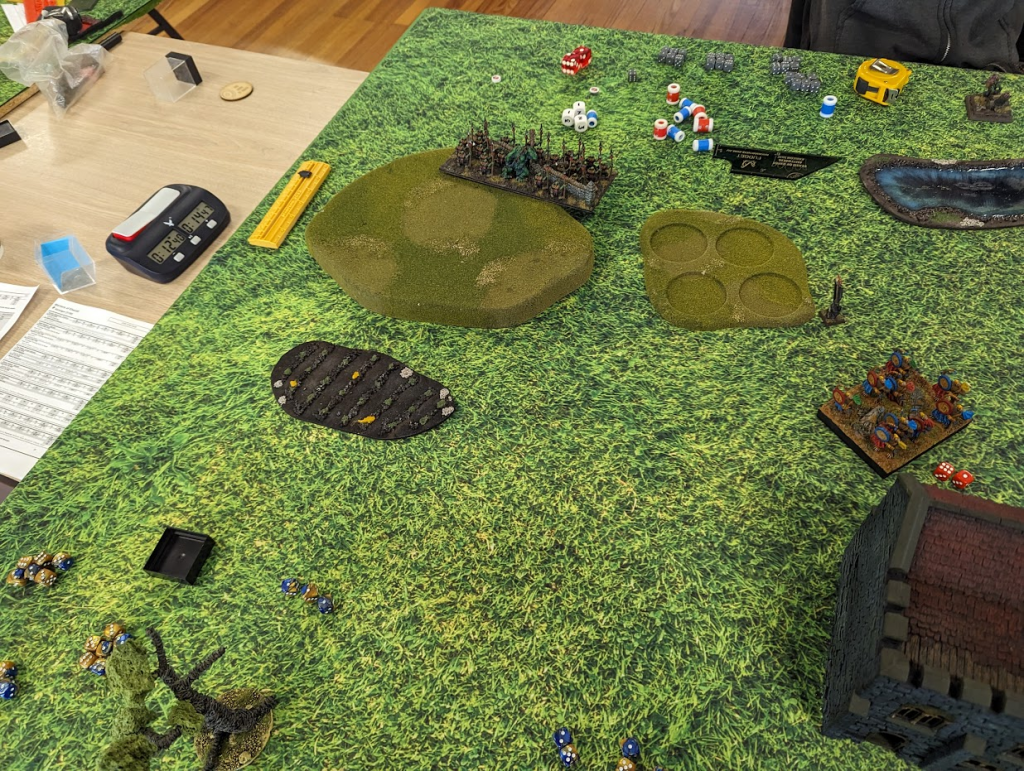
I end up with a building right in my deployment zone. Given this, I decide I am going to go for the center token and the one on my right, and fully commit to the right half of the board. I leave only a unit of Snow Foxes on the left, to slow down anything that wants to go around the building. Bensome doesn’t want to get shot through the wide open middle of the board, and deploys to go for the flank tokens. My actual deployment is not too flash, I don’t have a lot of space to fit everything, but it’ll work.
Bensome gets first turn, and pushes up, planning to swing around the building on the left side. He goes a little too aggressively on the right though. I have Magnilde fly into the Fleabags there, and my hot nerve rolls start. She gets a waver on them, and blocks in the Lugg Lads. I’m not really scared of anything else there, so it’s a good start. Everything else pushes up, but it’s a big mess of repositioning, so what little shooting there is, is ineffective.
Bensome keeps pushing up that left flank. Groany and a Fleabag unit have almost made it around the building. On the right, the Winggit pops behind my lines, prepping some real charges. The King fights the Chimera, and the Blaster fights Magnilde. Both are ineffective, the Blaster doesn’t even blow itself up.
I push back, and my hot rolls continue. While the right flank Snow Fox do fail to get the Blaster, they still block the Fleabags and the Lugg Lads, so they’re doing fine. The left side ones get a juicy flank on the Blaster on the left, and take it off. Magnilde absolutely rocks it, and pops the Winggit in one by herself, and the Chimera kills the King on Chariot as well.
I am feeling pretty good at this point. A whole bunch of units can grab the left flank token easily now, and while there’s a horde of goblins on the center token, shooting has been chipping it down all game, and Goblins aren’t known for their high nerve.
As we keep going, basically nothing is going Bensome’s way. Groany goes into some Night Raiders in the forest, and can’t even do a wound. He gets ground down by them over the next couple of turns. The Fleabags come around the building, but can’t get sight of anything, so they’re delayed a two extra turns to get arc and range on anything. They finally do, but Magnilde gets them over a few turns too.
The horde in the middle is flanked and killed by Raiders, while on the right the Lugg lads do drag down the Chimera, they can’t handle the Fallen after.
That’s not to say Bensome kills nothing. The Fallen fail to kill the Slasher in a go, and are therefore flanked and taken off by Fleabags, but that does end up being it really. Poor rolling in the middle sees all the Night Raiders survive, and the Troll as well.

In the end, my plan worked, I’ve got the middle and right token, but Bensome’s last surviving unit strength is the other Goblin Horde, and that has got the token. So it’s two tokens to one in my favour.
In the end, I did my plan and stuck to it. I was just helped by some obscene luck. I feel like this is the best I’ve ever rolled in a game of Kings, so better lucky than good. Just need to make sure I deploy better in my last game.
Cytoplasm’s Undead vs Scott’s Undead
3 x Ghouls (Regiment)
3 x Soul Reaver Infantry (Regiment) with
    Staying Stone
    Chalice of Wrath
    Dwarven Ale
1 x Zombie Trolls (Horde) with Pipes of Terror
1 x Vampire Lord with Blood Rage, Gnome-Glass Shield
1 x Revenant on Undead Great Burrowing Wyrm with Inspiring Talisman
1 x Revenant on Undead Great Burrowing Wyrm
1 x Revenant King on Undead Great Flying Wyrm with Brew of Sharpness
Scott is a regular at local tournaments, and two months prior this army was completely unpainted. It was with no small amount of amazement that I beheld his fully painted Warriors of Chaos-bedecked Undead army. The warriors represent Soul Reaver Infantry, which works perfectly, especially for vampires of cold climes. Somehow in two months he had managed to paint all the trimming on all the warriors, and it looked great. In fact, it won Player’s Choice for painting!
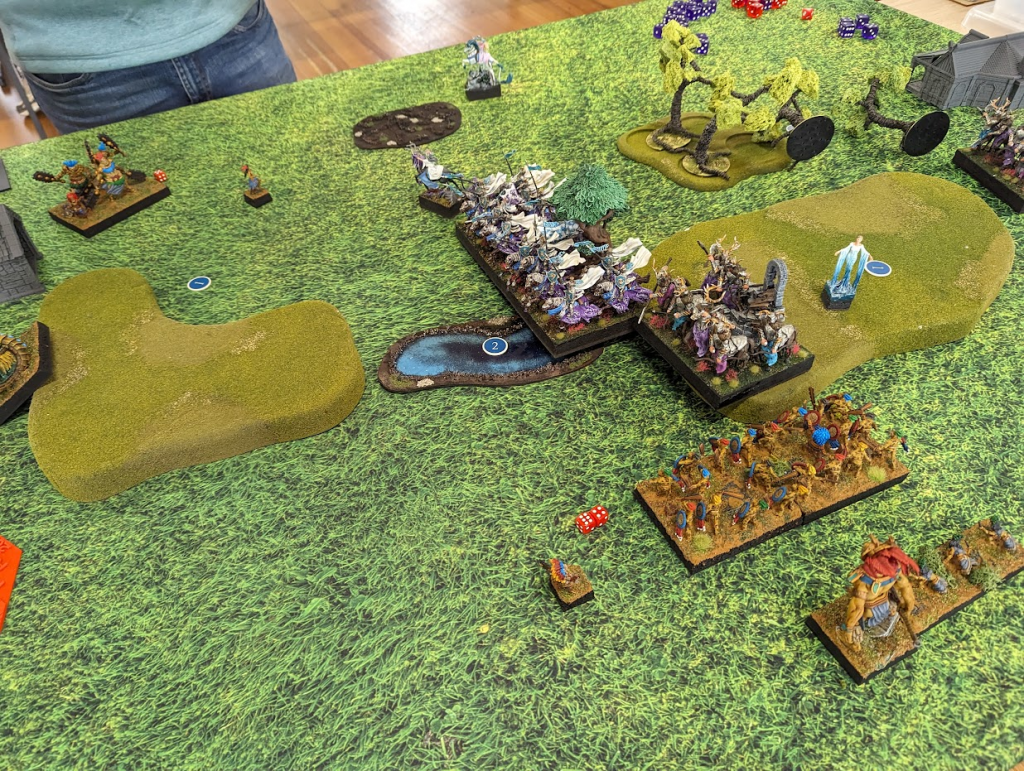
Skewed deployment with a capital ‘S’
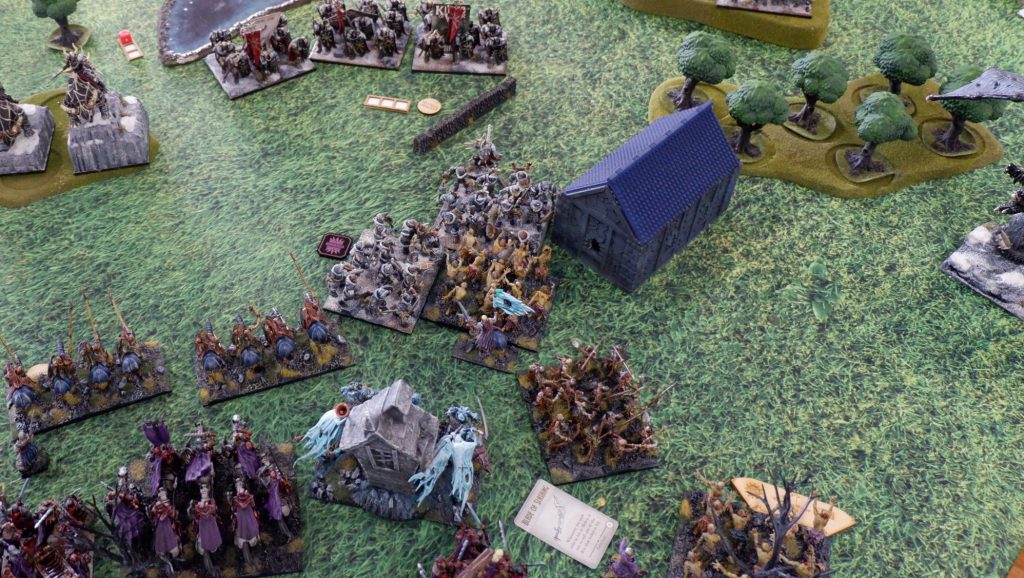
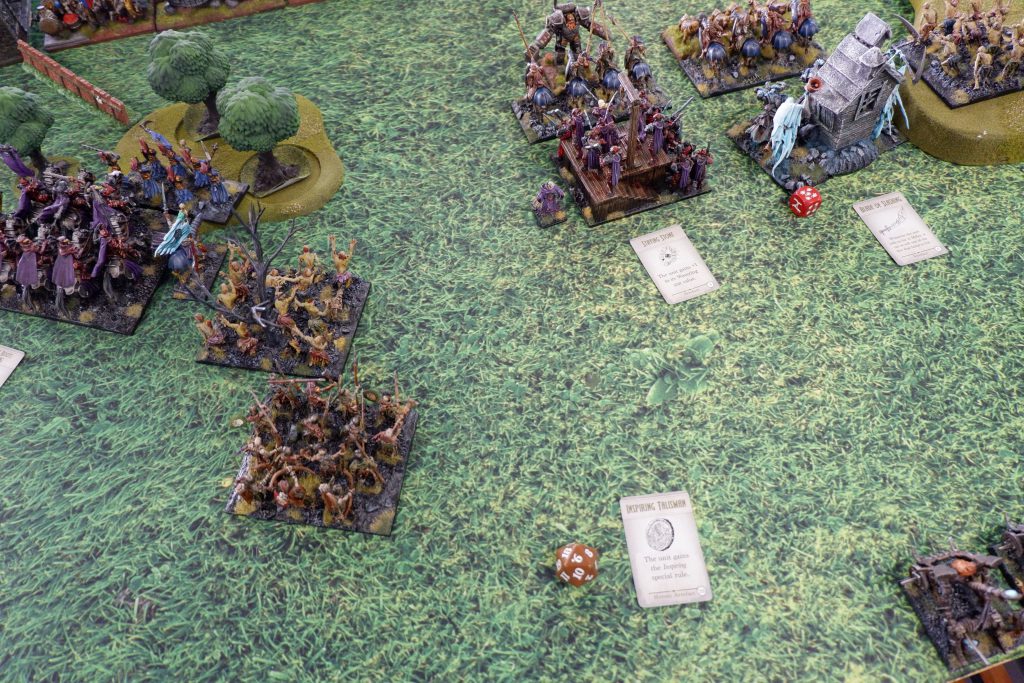
The battlefield was effectively split into one large portion on the left and small third on the right by two pieces of blocking terrain and a hill. The scenario was Loot, leaving one of the tokens on this side by itself. As deployment went along, I focused on the left, aiming to get that token in the open ground before moving inwards and getting the centre. When Scott put down the Zombie Trolls, Flying Wyrm and a regiment of Ghouls on the far right, I decided to leave that token completely unchallenged. My reckoning was, if any unit grabbed that token, they were stuck there. Speed 5 behind a hill consigns that unit to complete isolation. Fine by me.
My entire army deployed on the left half. Classic lineup of chaff units first, followed by the hammers and then the Balefire Catapults at the back. I made sure to put plenty off Zombies and the Spearmen on my right flank, knowing full well that Flying Wyrm planned to come around in a flanking maneuver.

Scott deployed the rest of his army in the very centre, aiming for that central token. All Soul Reaver Infantry and the rest of the Ghouls. On the left of this block were the pair of Burrowing Wyrms; a pair that Scott loves to run together, as combined there is very little that can withstand them. Something I experienced when last we met.
Tense Negotiations
The first two turns were without bloodshed. Scott’s centre moved up, albeit slowly due to the difficult terrain and obstacles. My army moved up, turning towards the centre, keeping Scott’s Flying Wyrm in mind as flanks were protected. Zombies and Spearmen turned to the right to face the incoming Flying Wyrm, backed up by a regiment of Soul Reaver Infantry. It might seem a waste, but the Soul Reavers were still within striking distance of the main battle line. The Zombie Trolls picked up the token Turn 2, while the leftmost token I left until I felt a little more secure.
Blood Will Flow
In Turn 3, Scott’s Ghouls pounced on Zombies, but it was merely a precursor to the Turn 4 charges. Scott’s Soul Reaver Infantry mulched my Revenant Cavalry, while the pair of Burrowing Wyrms flattened the Wraiths. Once the chaff are gone the rest of my army was unleashed, my Soul Reaver Infantry and Soul Reaver Cavalry each dispatched a regiment of Scott’s vampiric warriors each. The Wights had been grounded by the Vampire Lord on foot, and so took no time in revoking the lord of his supposed immortality and then overrunning into the remaining Ghouls, killing them, too.
What remained for Scott were the two Burrowing Wyrms and the Flying Wyrm, a regiment of Soul Reaver Infantry, some Ghouls coming from the far right flank and some lonely Zombie Trolls. Token distribution was one on my Soul Reaver Infantry, one on the Trolls, and one in the middle to which the Ghouls were intent on grabbing.
The Flying Wyrm obliterated my Soul Reaver Cavalry, while the Burrowing Wyrms split up and struggled to get anything done against Zombies and Soul Reaver Infantry (with the token). The last of Scott’s Soul Reavers attempted to bring down the Wights, but underperformed, which meant they would die. Wights are dangerous.
Hold Them Back!
The Flying Wyrm continued to perform, removing my damaged Wights in Turn 6. My Soul Reaver Infantry with the token managed to fell one Burrowing Wyrm in Turn 6, and another in Turn 7. The other Soul Reaver Infantry (which had until now done nothing) managed to bring down the Flying Wyrm.
But it all didn’t matter, the Ghouls had grabbed the token in the middle, and were trying their best to get away! So the Skeleton Spearmen moved up in Turn 6, and I poured in all my Surge from the two Revenant Kings in Turn 7, and managed to rear charge the Ghouls and wrench the token for a victory. Surge shenanigans winning the game, but it was such an enjoyable and intense game from Scott.
Round 6 – Dominate
Urr’s Varangur vs Matt’s Nightstalkers
2 x Scarecrow (Horde)
4 x Soulflayers (Regiment)
1 x Fiends (Horde) - Helm of the Drunken Ram
3 x Terror
1 x Void Lurker
Alright, final game of the weekend and against one of the boogieman lists.
This was going to be a difficult one to navigate. I was wrecked, Matt’s a great player, and I don’t have any strong enough advantages in this match up. Sure, I’ve got shooting, but just enough to keep people honest. It’s not picking up Stealthy hordes, or Soulflayers in cover, or any of the Regenerating Titans. But I give it my best shot anyway.
There will be a bit less detail in this report, as I was wrecked, and also forgot to take photos of the important bits. Blame that on too many Ciders the day before.
I get a hill in my deployment zone, so deploy all the infantry centrally, with a Fallen and Magnidle on the right flank, and the other Fallen, Chimera, and Snow Foxes on the left. The left is Matt’s fast flank, with the right is dark and full of Terrors.
It’s just Matt moving forward on Turn 1, but it kicks off hard, in turn 3. My shooting does not accomplish anything, and then it’s fighting time. From here the game turns into a piece trading game, where Matt has the massive upper hand, and I only stay in it because the Night Raiders are absolute champs and will not go down without taking their pound of flesh.
One Terror comes up the hill to get one, and fails miserably. This gets it hit in the front by the survivors and Snow Troll, and flanked by a second Night Raider unit and killed. This will be the only Terror I manage to take out this game.
The rightmost Night Raider unit helps the Fallen kill the Scarecrows there, but the Clansmen just get eaten by two Terrors. I should have held them back longer.
I should have also held back longer on the left. The Snow Foxes both get killed by Soulflayers why the Void Lurker watched and waited, and when I went in, both the Chimera and Sharpness Fallen both failed to kill their respective targets. The Chimera gets killed for this, and the Fallen make it one more turn, and almost survive a get a big old triple charge, including a Horde of Scarecrows off a hill in the flank, but just don’t make it.
Back in the middle, the hero Night Raiders fall to the Fiends. Maggie gets eaten by a Terror. The remaining Fallen gets stuck in a fight against the other Terror for the rest of the game. It does enough wounds to devastate it, but it just keeps regenerating back to health.
It’s time for the next Night Raider to step up, and take a charge from the Fiends and survive. This leads to a flank kill from the other Night Raiders.
One final time, they get hit by Soulflayers and Matt rolls snake eyes. I take another glorious flank, and though I get the kill, it is not enough. One falls to the Scarecrows, and one to the Void Lurker. The Fallen and Snow Troll survive as my scoring units, and even though the Fallen count as one extra Unit Strength from the tournament special rule (sitting on the exact center of the board gives +1 Unit Strength), it’s not quite enough. I have 5 Unit Strength to Matt’s 6.
Another agonizingly close loss. But really, I’m happy it wasn’t a blow out. By all rights it should have been, but those Night Raiders kept on surviving. Those Terrors are scary too, it was surprising to see a player as good as Matt with a list this rough too be down in the 2-3 bracket, but that just speaks to the quality of the players at the event.
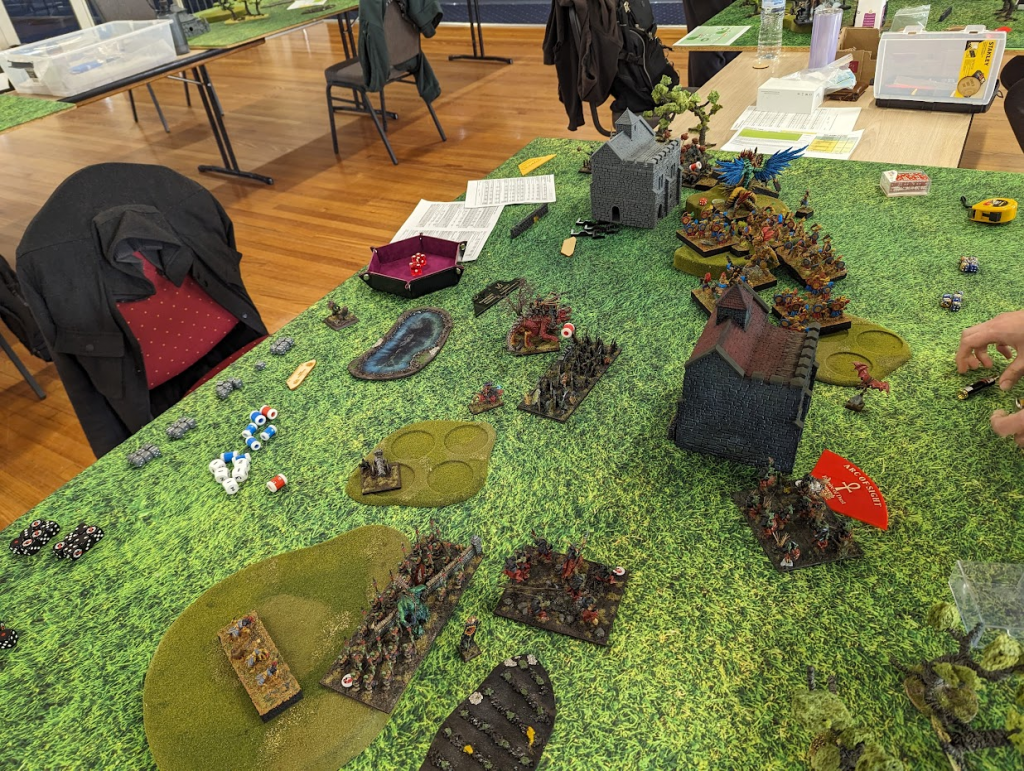
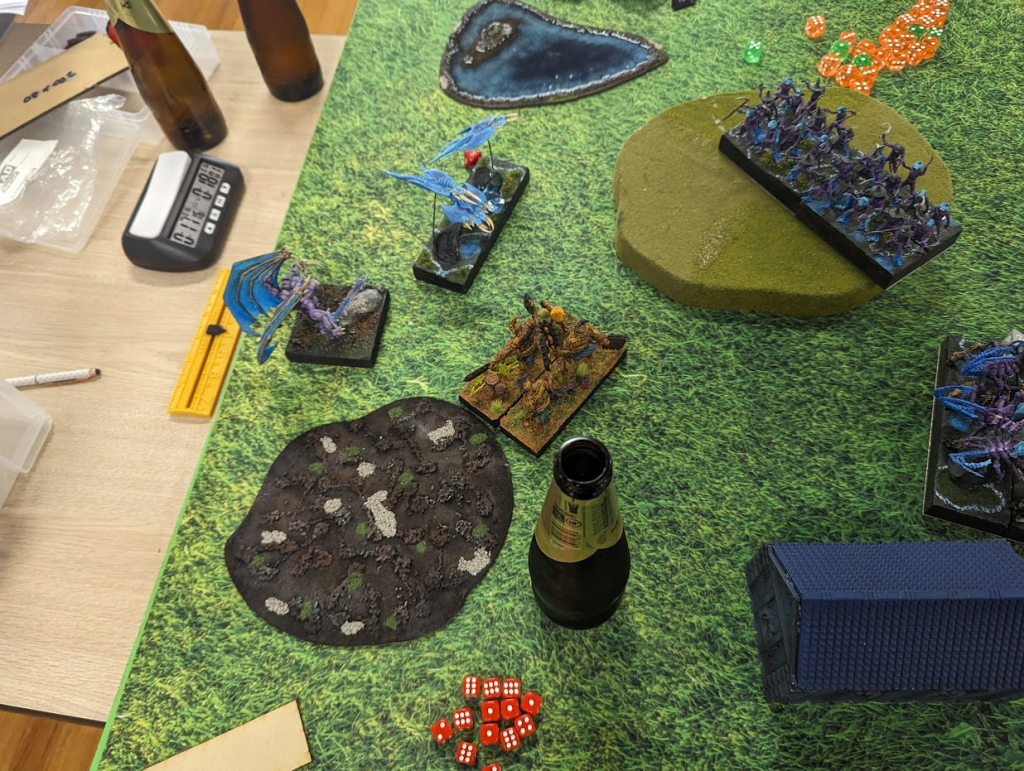
Cytoplasm’s Undead vs Rex’s Dwarfs
3 x Ironguard (Regiment) with Throwing Mastiffs
1 x Ironguard (Regiment)
3 x Sharpshooters (Troop)
1 x Earth Elementals (Horde)
1 x Mastiff Hunting Pack (Regiment)
1 x Steel Behemoth - Golloch’s Fury
1 x Garrek Heavyhand
2 x Steel Juggernauts
1 x Faber Ironheart
Rex’s Dwarfs are a wall of Defense 6+ with enough shooting in it to warrant some caution. The Ironguard aren’t particularly dangerous, but the rest of the list is designed to pick up the slack, particularly the Juggernauts and heroes. My Undead are pretty good at killing, but this will be the real test.
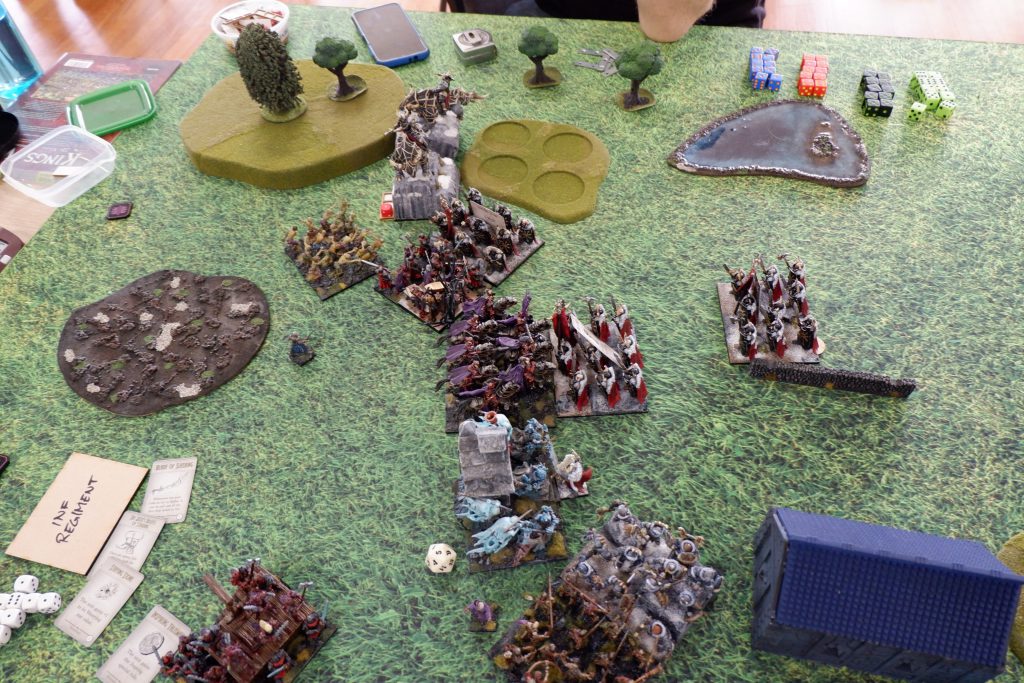
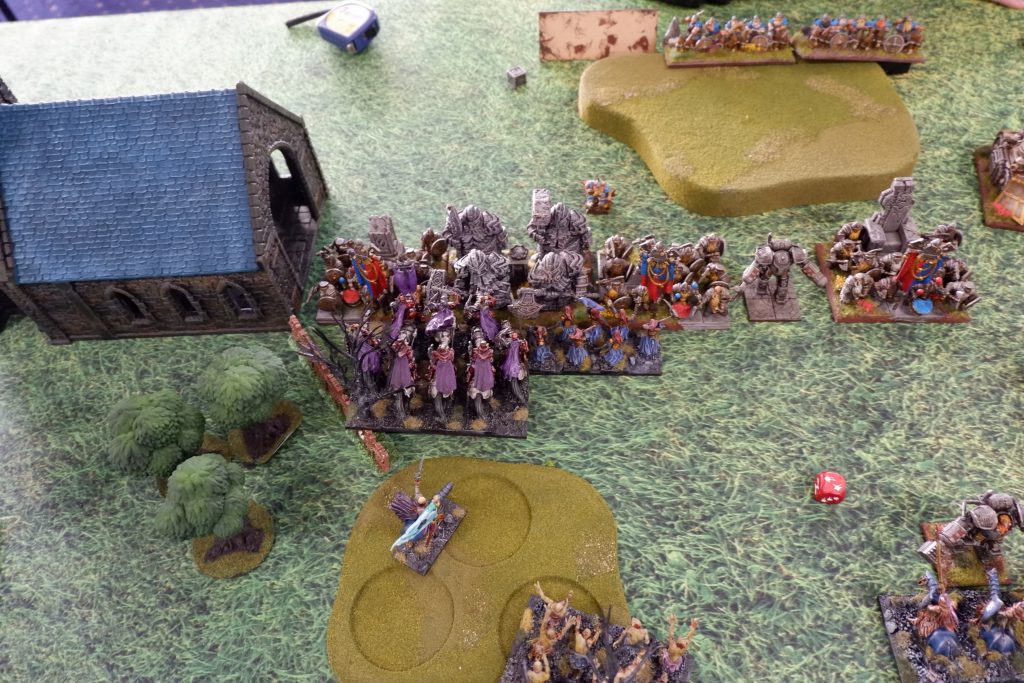
Winning the roll off for the funky terrain movement, Rex moved a hill into a deployment zone, then won the roll off to choose that very side. Before I knew it, it was a whole unbreakable line of Dwarfs between two blocking terrain aiming right for the Dominate circle. Sharpshooters arrayed perfectly on the hill (it was nice of the hill to be long enough for three troops!).
After my intense game with Scott, I couldn’t think of a good plan for this match. The two pieces of blocking terrain and the surrounding difficult terrain made it difficult to think of a plan to flank the Dwarfs. Unfortunately, flanking Dwarfs was exactly what I needed to be doing. I arrayed my entire army in the centre, and grimly prepared to press on.
Fire, Fire, Fire!
The Dwarfs moved a bit, but the Sharpshooters poured 7 damage into my Soul Reaver Infantry and wavered them. The elevated position of these shooters was already hurting. My army had to push forward without them, but it didn’t feel good. Turn 2 and that Soul Reaver Infantry regiment was destroyed, vampiric corpses riddled with bullets. The Wights were hit for 5 damage by the shorter range shooting, and my Revenant Cavalry chaff was engaged with the Steel Juggernauts and the Hunting Pack.
Something had to be done. I needed to break through the lines and cause havoc! Stupidly, I had positioned my units behind the Revenant Cavalry (the Wights and remaining Soul Reaver Infantry) in such a way they couldn’t see the combat. This is not smart. Thankfully, on the left my Soul Reaver Cavalry and Wraiths had range on the Earth Elementals, that was my opening!
The Soul Reaver Cavalry charged in, using Sir Jesse’s Boots of Striding to get Strider and the Wraiths had Strider, too. The Necromancer chucked on a Bane Chant for +1 Crushing Strength. Surely it would be enough?
No, it would not. 9 damage on the Earth Elementals meant my cavalry were stuck. The walls were going to close in. I could feel it.
Rocks and Hard Places
The Wraiths crumpled to a flanking Faber Ironheart, but the Soul Reaver Cavalry would live until Turn 4. Unfortunately they did not manage to finish of the Earth Elementals, and soon this whole side was free to walk towards the centre.
On the right, I continued to struggle to engage with my hammers thanks to the spacing of my chaff. My Wights finally managed to take out some Ironguard, but Golloch’s Fury and a Juggernaut steamrolled the Wights, who were already damaged significantly by the ranged attacks.
My Balefire Catapults finally managed to destroy a troop of Sharpshooters, but it was too late. The grind was well and truly underway, and the Undead can’t compete with Defense 6+ Dwarfs. As predicted, the Ironguard alone were useless, but each time a Juggernaut came in, a unit would die.
The only thing that could withstand it all were the original Revenant Cavalry. They tied up a Juggernaut for the entire game. From that Turn 2 charge until the end of Turn 6. Unfortunately it was just these cavalry and my heroes that survived. I had managed to destroy two Ironguard Regiments, the Earth Elementals and one of the Sharpshooters, but that was it.
Rex piloted the army very well, and I just didn’t have a good plan to deal with it. Should I have skewed to the left and right and wait for the Dwarfs to come out of their protection between the buildings? Did they need to come out to win the scenario? These are the things I ponder still. But it was still a great game, because it made me think. It was just a shame my brain wasn’t up for thinking much anymore.
The Conquerors of ConVic 2023
ConVic 2023, for only having 22 players, was no easy event. Some of the best in Australia showed, and it was no surprise that these players placed highly. That said, some lists that were considered a foregone conclusion did not perform as well. The new Terrors in the Nightstalkers 2023 army list were not broken, and not a single Greater Air Elemental was in sight.
At the podium we had:
- Jeffrey Traish, 6 wins using Dwarfs.
- Andrew Whitehead, 5 wins 1 loss using Noble Undead.
- Rex Gibson, 4 wins 2 losses using Dwarfs.
With regards to your humble authors, Urr ended up with 2 wins and 4 losses, placing 15th out of 22. Cytoplasm managed to scrape together 3 wins, 1 draw and 2 losses, placing 9th.
What’s Next?
Urr
So despite Varangur getting a partial update from being a Northern Alliance theme list, and being very fun models to paint, I am going off them for a while. It’s been almost two years of building and painting them, and while I’ve had a blast, I’m ready for something new. Luckily for me, we’ve just seen the release teaser for Mantic’s new Twilight Kin range. Along with the Dungeon Saga releases (which we had a look at here), I am going to go all in on this range, and finally going to do a full Mantic army with them.
So, in the meantime, my old Nightstalkers are going in the Simple Green, ready to come out and be buddies with their creepy kin.
Cytoplasm
The pre-owned Undead army completely repainted has been finished, and while there’s plenty more Zombies and Skeletons to paint, I am happy enough for now. Instead the Riftforged Orcs call once more, an army of a completely different look. I have pledged to complete these guys for various slow-grow campaigns around the world, including for Kings of War Australia (Facebook group), Countercharge (podcast Facebook group) and BlackJack Legacy (Youtube channel Facebook group). This will last me until the end of the year, at which point… who knows?
Have any questions or feedback? Drop us a note in the comments below or email us at contact@goonhammer.com.

You must be logged in to post a comment.