
In this article I’m going to talk about the process of designing a battleplan from start to finish. Oftentimes in these articles we talk about advanced concepts like they’re common knowledge; here I want to break it down into the fundamentals of not just building a list but in planning how to pilot it. In Conquest in particular I’ve started writing lists not in terms of force composition but in terms of deployment patterns; what kind of table space a unit fills and when to deploy it is increasingly more important than the specifics of the list itself.
We’re going to be looking at the Spires here, but I’m going to try to keep the principles as general as possible. Conquest is also a new game with a young and evolving metagame – what’s best simply isn’t settled and is highly variable based on your local meta, the types of terrain present in your game store and which units have been released. Rather than explaining what is good, this article is the process by which you can form a hypothesis and test your theory as to what is good.
Part 1: The List
=== The Last Argument of Kings ===
The Shade [2000/2000]
The Spires
The Directorate
== Lineage Highborne [120]:
* Avatara (3) [165]:
* Avatara (3) [165]:
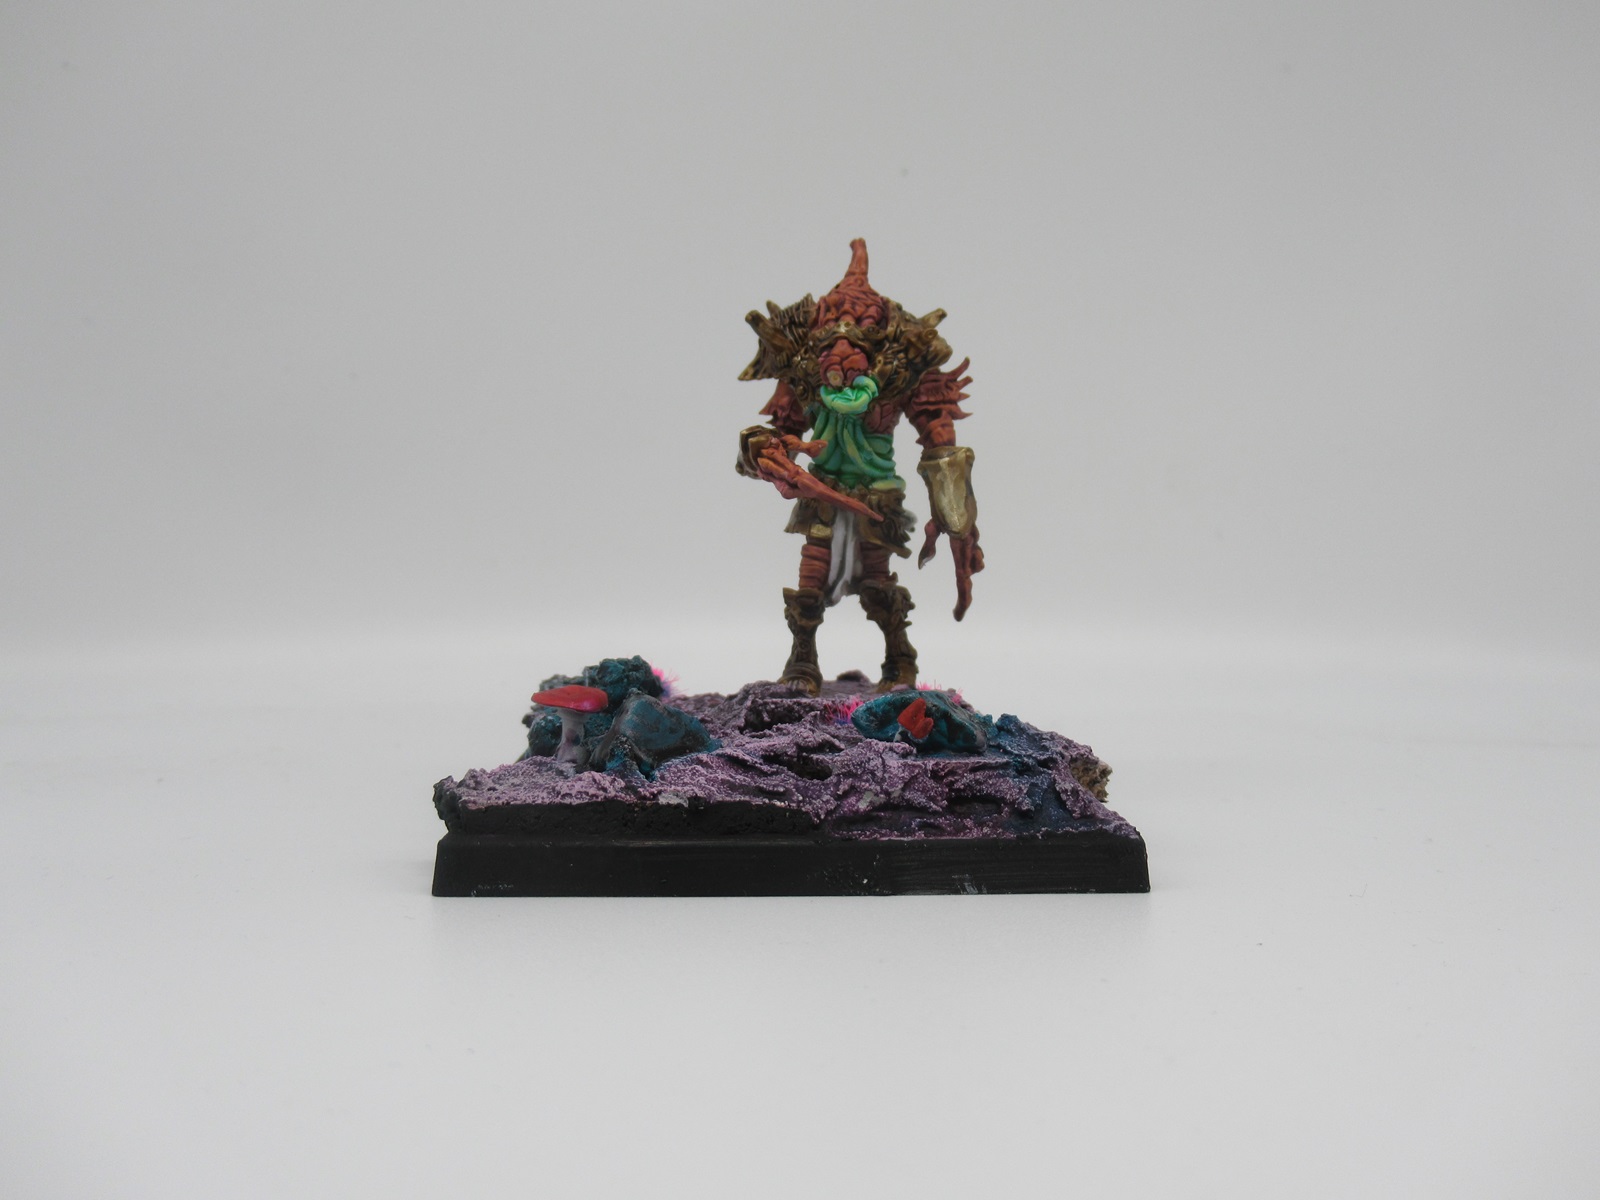
* Centaur Avatara (3) [190]:
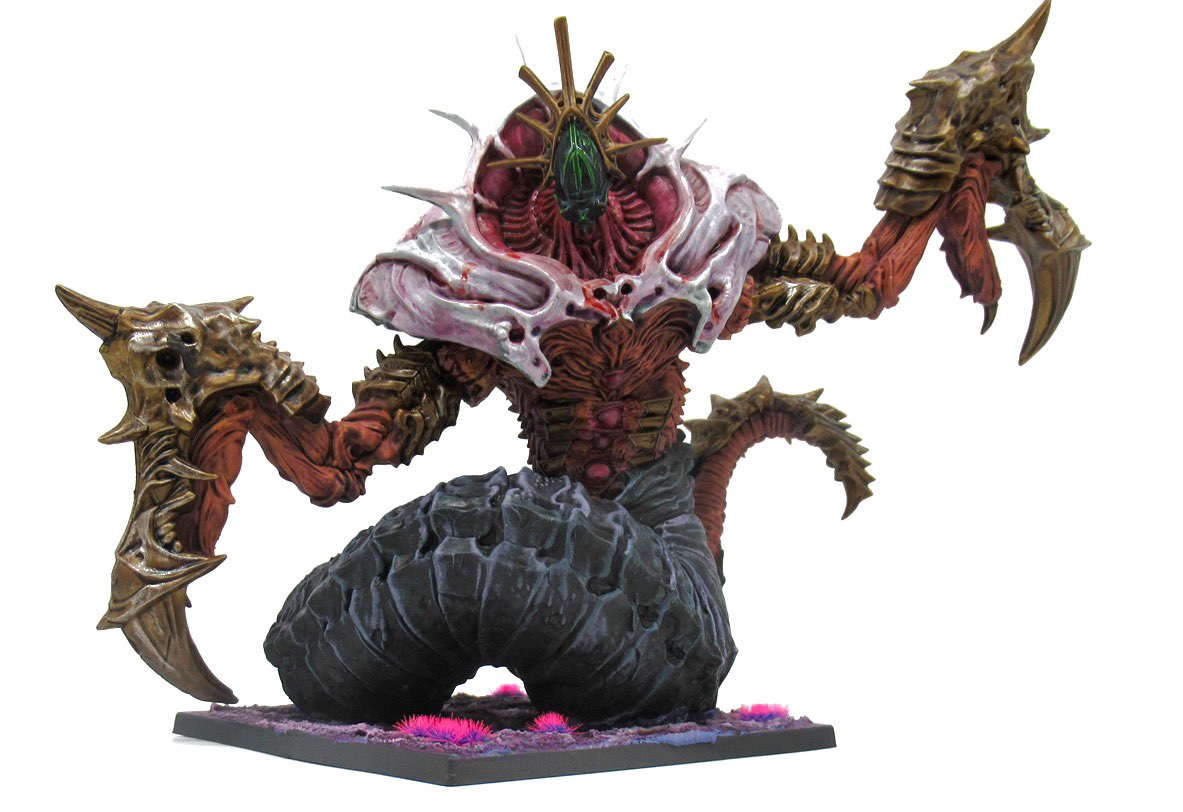
* Siegebreaker Behemoth (1) [180]:
== Biomancer [220]: Cascading Degeneration, Fleshcarver, Mastery of Flesh 1, Mastery of Flesh 2, Mastery of Flesh 3
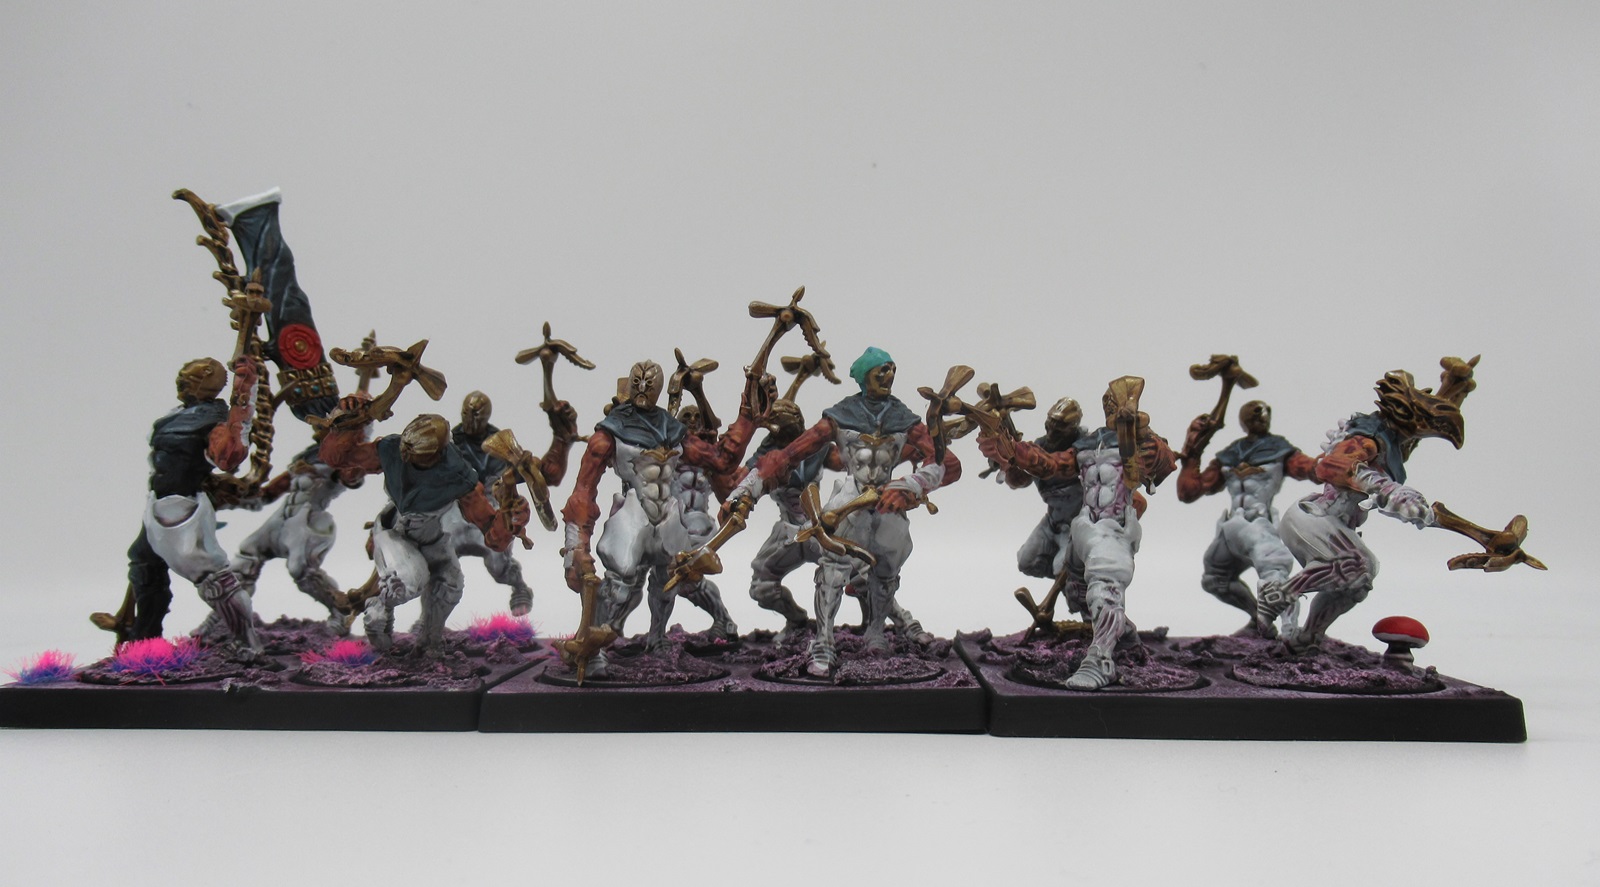
* Bound Clones (8) [345]: Ward Preceptor
* Incarnate Sentinels (3) [210]:
== (Warlord) High Clone Executor [115]: Infiltrator Variant, Disperse
* Vanguard Clone Infiltrators (3) [170]:
* Bound Clones (3) [120]:
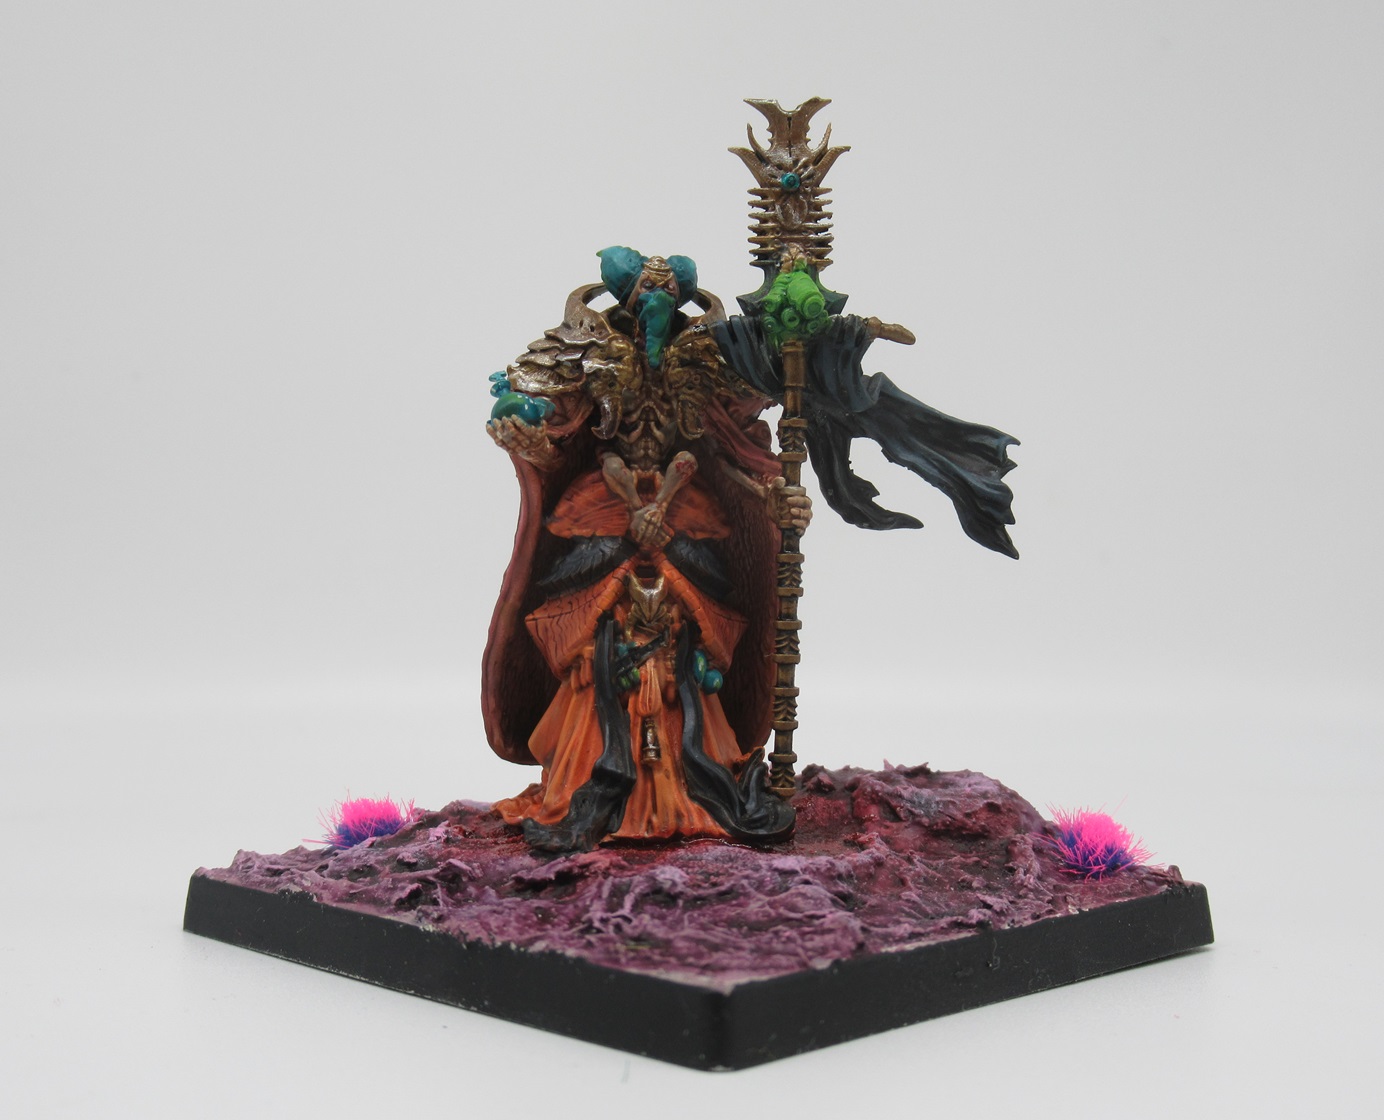
This is the simple text readout you might see in any Discord channel or forum, but unless you’re deep in the sauce it’s hard to parse exactly what’s happening here. So here’s the actual intellectual starting point: I want to write a Biomancer list.
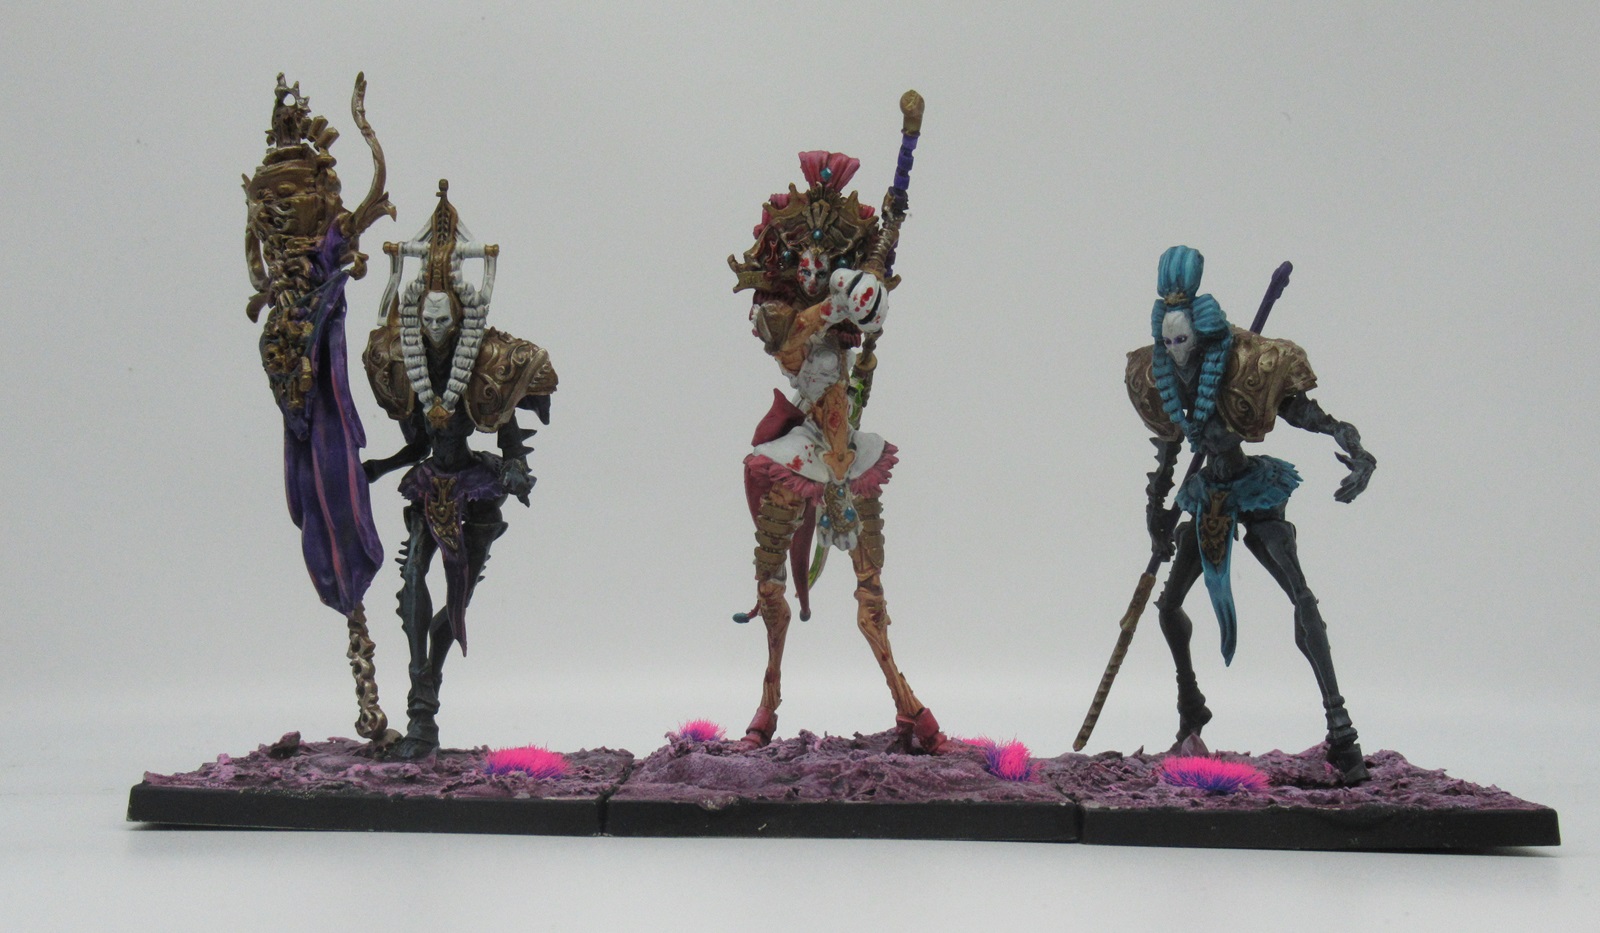
Underspires is great, but I love the Directorate side of the Spires more, and the Biomancer character especially. I love the massive strength and weakness of the character, how her presence on the table turns the game into a riddle for my opponent – can you solve for all of this healing? I love how she hard counters chip damage, and I love how she can turn a momentary break in the fighting into a decisive advantage. She’s my favourite piece and I want to use her all the time.
I also want to use her upgrades. At 220 points the Biomancer is the second most expensive element in the entire list, only behind the 345 point bunker that carries her around. The big Bound Clone unit is me working backwards from the Biomancer – other Biomancers might hang out behind the lines, in units of Marksman Clones, or in Incarnate Sentinel units and so on. This Biomancer is a front line character and I want to squeeze every drop of value out of Biotic Renewal I can. This means she needs to go in a unit that is very hard to kill, and even though Bound Clones are kind of bad they’re the tankiest thing that Spires has that an infantry Biomancer can go into. The vulnerability for this kind of unit is getting broken, which shuts off all the Biomancer’s healing, so I’ve raised the size to 8 and added a Ward Preceptor. This guarantees that I’ll get my healing in any situation where I don’t lose 20 wounds before the Biomancer gets to act.

This little module is the core of my army and it was chosen for love. I’ve spent over 25% of my army’s points on this passion project and at this point it’s time to build the rest of the list to support it. The next question that should immediately be asked is, how do I get through the early game? The early game is generally marked by skirmishing and light ranged firepower, chip damage that adds up and forces one player into an advance. If you don’t have any sort of ranged pressure then you generally have to act first and that’s a very uncomfortable position to be in. Fortunately the Biomancer is at least some of the answer, allowing me to recover from chip damage, which means this doesn’t need to be a big investment.
There are a few stances to take in the early game, and which one you take is in large part dependent on what your faction has access to. The Spires has an excellent spread of answers, but they boil down to Vanguard Clone Infiltrators, Marksman Clones, and Stryx. Stryx are fast-moving harassment pieces, excellent at shutting down enemy archers – I discount them here because they’re strongest in the Underspire and I have already committed too hard to the Biomancer to make that an elegant synergy. So the choice is between VCI and Marksman Clones: what these represent is counter-skirmishers and an artillery park respectively. Marksman Clones tend to reward a bigger investment – a unit of five or even six can present a table-warping threat – but I already have a table-warping threat and I want to efficiently support the Biomancer unit rather than spread myself too thin on support elements.
So I choose the VCI. This comes with a High Clone Executor and a minimum sized unit of Bound Clones. These Bound Clones are secretly essential – they’re a cheap Medium unit that can hold a backfield objective and I think that not taking a unit like that is a mistake. I have often seen 400 point hoplite bricks rendered immobile because they’re stuck on an objective that isn’t being contested. But the VCI connect well to the Biomancer’s playstyle; they can advance aggressively, score early points, get in a ranged duel, and if it goes badly for them then the Biomancer can deploy directly behind them and heal them.
From this an element of my early game formation has clicked into place: VCI deploy aggressively ahead of where I expect to deploy my Biomancer. The small unit of Bound Clones deploy indecisively between two objectives, or onto a flank that my opponent is refusing, so that they can hold an objective and free up combat units.
After that is done I need to bulk out my list, and again I consider what works well with the Biomancer. Here I’m naturally drawn to the Lineage Highborn’s warband – the Biomancer is throwing around a lot of healing, and healing is much more effective on extremely tough units like Incarnate Sentinels than on fragile units like Force Grown Drones. There are many ways that I could structure that warband but my concern at this point is that my force is too concentrated; my plan involves deploying my Biomancer to support the VCI and that’s now gone from 600 points deployed in one area to nearly 900. I need to spread my forces out, and so I make the decision to choose multiple small units of powerful monsters.
Avatara represent adaptive threats; I have to take them but I’m not sad I have to take them, they win 1v1 fights with most things in their points bracket. I then choose Centaur Avatara as my first restricted choice because they’re fast – I need something responsive that can monster out to long distances and they’re a pile of good stats on top of that. The Siegebreaker Behemoth is my second choice, and I think it’s highly defensible here. It represents a massive anti-elite unit, and as most of my damage is currently coming from Deadly Shot on Vanguard Clone Infiltrators or Aura of Death on the Biomancer, I’m distinctly lacking reliable Cleave – and at Defense 4 Resolve 5 it’s a great target for healing. I also take advantage of the Biomancer’s available Restricted slot to put in a unit of Incarnate Sentinels who are also just good all round lategame units.
These fit into my formation plans too. Avatara deploy to bully small or isolated enemy units holding points. The Lineage Highborn’s unit targets units with characters, hoping for duels. The Siegebreaker counterdeploys the enemy’s heaviest units. The Centaur Avatara are for rapid response, deployed where I need to close the distance, particularly to hunt spellcasters or ranged units. The Incarnate Sentinels deploy as required, but usually on the flank away from the Biomancer because I need a threat on the far table edge.
Finally, comes the choice of Warlord. The Lineage Highborn is tempting, but I decide against it – I’d need to invest in a bigger bodyguard unit to get the most out of that, and I’ve already spent those points on the Biomancer. Superior Creations would be expensive and tangle the role I’m expecting these units to play, and more importantly, the Directorate offers something unique here. Burnout gives one unit a turn +1 clash and, much more importantly, +2 inches of move. That’s huge – that turns 50/50 charges into failing 16% of the time, and that’s really important because I don’t have the points for banners and I’ve got two incredibly high-impact Impact Attacks from the Centaurs and the Siegebreaker.
This can be done with the High Clone or the Biomancer. Now unfortunately, the Biomancer’s Supremacy is bad. It looks good! It’s very funny! But it’s not optional. When you trigger it it’s inflicting Decay all turn long even if your Bound Clonese are finishing off a tattered unit of Milita, paying 7 wounds for the privilege. Even though it’d probably be amazing on the Siegebreaker I sigh and turn towards the High Clone Executor because this supremacy offers something unique.
Coordinated Assault lets me draw and activate three command cards simultaneously. This is very good for this list for a variety of reasons but once again it comes back to the Biomancer. The Biomancer has a lot of buffs to hand out but having to hand out buffs means ceding the initiative rhythm. With this I can have the Biomancer activate her healing and buffs and immediately follow it up with some sickening mobility. Even having the Bound Clones activate, get their draw event, unbreak themselves, and immediately follow up with the Biomancer activating and turning on her own healing guards against a situation where I’ve started the round broken. This kind of alpha strike, potentially sending the Clones, Siegebreaker and Centaur all into a massive enemy unit, or countering three smaller threats, represents more than some extra damage – it’s a capability shift in how the whole army operates. And that sets up the core of my battleplan around that supremacy turn.
Part 2: The Grand Battleplan
VCI deploy aggressively ahead of where I expect to deploy my Biomancer. Their role is to prevent the enemy from building an early scoring lead and harass ranged units.
The Biomancer’s biggest priority is to not deploy facing a powerful combat character who can duel her out. How decisive she can be depends on if your opponent has such a character, otherwise consider deploying her equidistantly between two objectives and wheeling towards the one not contested by the character.
If the opponent counterdeploys a combat character against the Biomancer, then have her Seek New Escort into the small unit of Bound Clones, accepting the loss of Aura of Death/Biotic Renewal as the price of keeping the expensive character alive.
The small unit of Bound Clones also deploy indecisively between two objectives, or onto a flank that my opponent is refusing, so that they can hold an objective and free up combat units.
Avatara deploy to bully small or isolated enemy units holding points. The Lineage Highborn’s unit targets units with characters, hoping for duels. The Siegebreaker counterdeploys the enemy’s heaviest units. The Centaur Avatara are for rapid response, deployed where I need to close the distance, particularly to hunt spellcasters or ranged units. The Incarnate Sentinels deploy as required, but usually on the flank away from the Biomancer.
Refusing a flank entirely is possible. This list concentrates a lot of force in one place in a short period of time and is mobile enough to turn.
On the turn when the lines are nearing engagement, or just after the battle has started, use the High Clone’s Supremacy ability to shatter the core of the enemy’s army. Add extra threat range onto a key asset with Burnout. Use the space created to consolidate and heal damaged units, locking in an advantage.
After winning on one flank, use the small Bound Clones/Avatara remnants to hold objectives. Heal the main force elements and then commit them against the enemy’s remaining flank.
Win in the lategame after destroying the core of the enemy force.
Notably as part of this battleplan we have also identified our failure conditions. Those are:
- The Biomancer dies, either because her unit is shattered or because she is duelled out. This prevents us from using our healing and force multiplication, meaning that we are a collection of less efficient than normal units.
- The High Clone Executor dies before the Supremacy turn.
- Too many small units are destroyed, leaving us unable to hold backfield objectives while also claiming enemy objectives.
- It takes us too long to clear the enemy off objectives.
We are not really concerned with being defeated in attritional combat. The Biomancer represents superiority in any drawn out slugfest; if your opponent can’t outpace her healing into extremely high defense units then they’ll rapidly fall behind. We’re confident in our ability to win a direct fight, but our units are by and large slow and Heavy so we’re giving up a lot of early table position. Once stuff deploys we may not be able to wait for all our reinforcements and dress the line properly, we may need to commit hard to stop the enemy from building up a scoring edge.
Despite the Spires-specific decision making and terminology, the core logic here is straightforwards. I chose a unit type I was highly invested in. I applied enough synergistic resources to maximize its potential. Then I rounded out with necessities and a range of adaptive threats that fill a number of different roles.
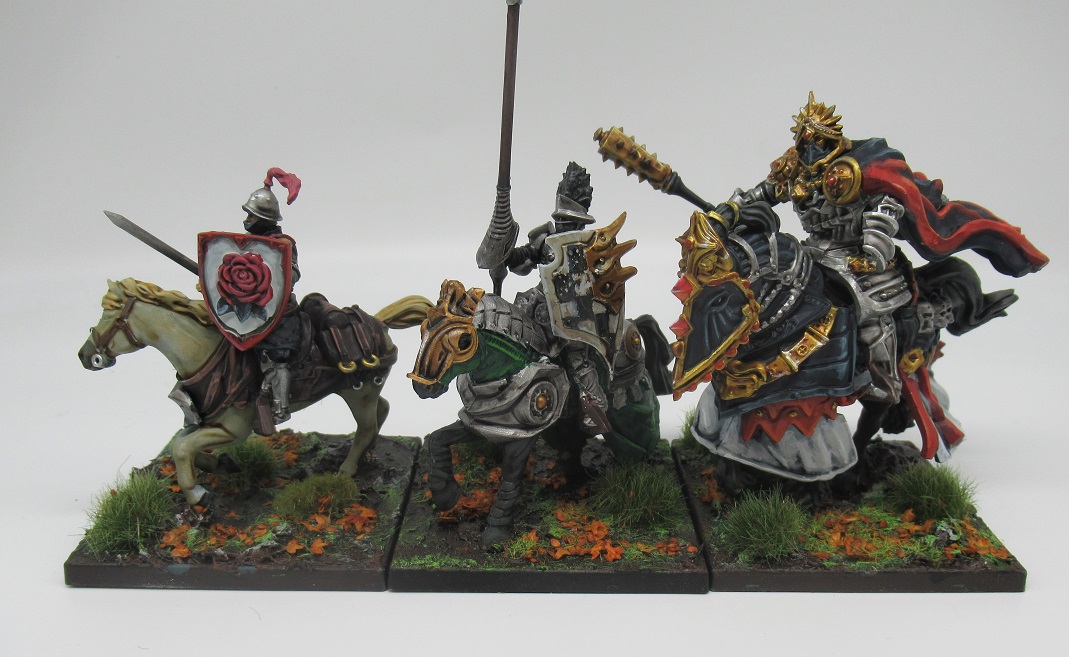
If your passion unit is, say, the Household Knights of the Hundred Kingdoms then your logic chain starts there. How do I get the charge? How do I make sure the charge is decisive? You lavish points on your core Knightly formation, and then you invest in support for the Knights. Two units of Longbowmen to pressure the enemy into approaching the threat range of the Knights, multiple small screening units to prevent an enemy surprise March-Charging the Knights. Or with Nords, where you’re starting from a position of wanting to have a huge Volva and Valkyrie block then you’re doing something similar to the Biomancer, but the synergies you are guided towards will be different. The Volva’s Supremacy can move Werewargs to Evasion 2, which means that your early game is defined by an aggressive pack of werewargs.
As always, if you want to get 10% off and support Goonhammer you can make your Conquest purchase by clicking here for US/Canada or here for EU/rest of world. You’ll also need to enter code “goonhammer” at checkout.
Have any questions or feedback? Drop us a note in the comments below or email us at contact@goonhammer.com. And if you want regular updates in your inbox, subscribe to our newsletter.
