Over the years the Goonhammer crew have put together a vast and expansive library of painting guides. Appropriately titled “How to Paint Everything” we’ve got schemes and recipes for 100s of models. They all, however, assume you know the difference between wet blending and glazing or what the hell “zenithal” means. Welcome to Hobby 101. This series will lay the groundwork to teach you the fundamentals and best practices to make your models shine.
The Hobby 101 series is sponsored by The Army Painter.
Ok so you’ve recently put down some cash on a few decent brushes. Maybe you got those fancy expensive Goonhammer x Artis Opus brushes, or other fancy artist brushes. Even if you haven’t invested in brushes running $15+ each, you may have bought some Citadel brushes or other options at the game store. Now you’ve got them at home and are paralyzed at the idea of using them. “Not on this project”, you say, “it isn’t good enough for the nice ones. I’ll save those.” We’ve all been there.
Some of you out there, god bless you, paint with hobby store brushes that come 10 for a dollar. There’s nothing wrong with that; that brush will paint. While it is critical that those of you with fancy expensive brushes clean them well to protect that investment, all brushes will benefit from a little TLC.
Cleaning and conditioning your brushes not only helps them keep the fine point you shelled out all that cash for, it will also make them last longer. I have fancy, expensive, Kolinsky Sable brushes that are 6- years old and that touched every mini I painted for those 6-7 years. A properly cared-for brush will last years, and when it finally finally gives up the ghost it won’t be catastrophic. It becomes a basing brush or an airbrush mixer. In other words, properly caring for your tools make even the most expensive ones worth it.
Step 0
Hopefully this isn’t new to you, but just in case: brush care starts when you start painting.
The bristles on your brush (the pointy part) are held to the handle by the ferrule (the metal thing). It’s important to keep this part clean by doing your best to keep paint out of it. This means only dipping your brush into paint up to the halfway point or so on the bristles, and rinsing it regularly. If you do slip and get paint all over it, don’t panic. Just rinse your brush gently and well in your paint pot. If wet paint in the ferrule is bad, dry paint is awful.
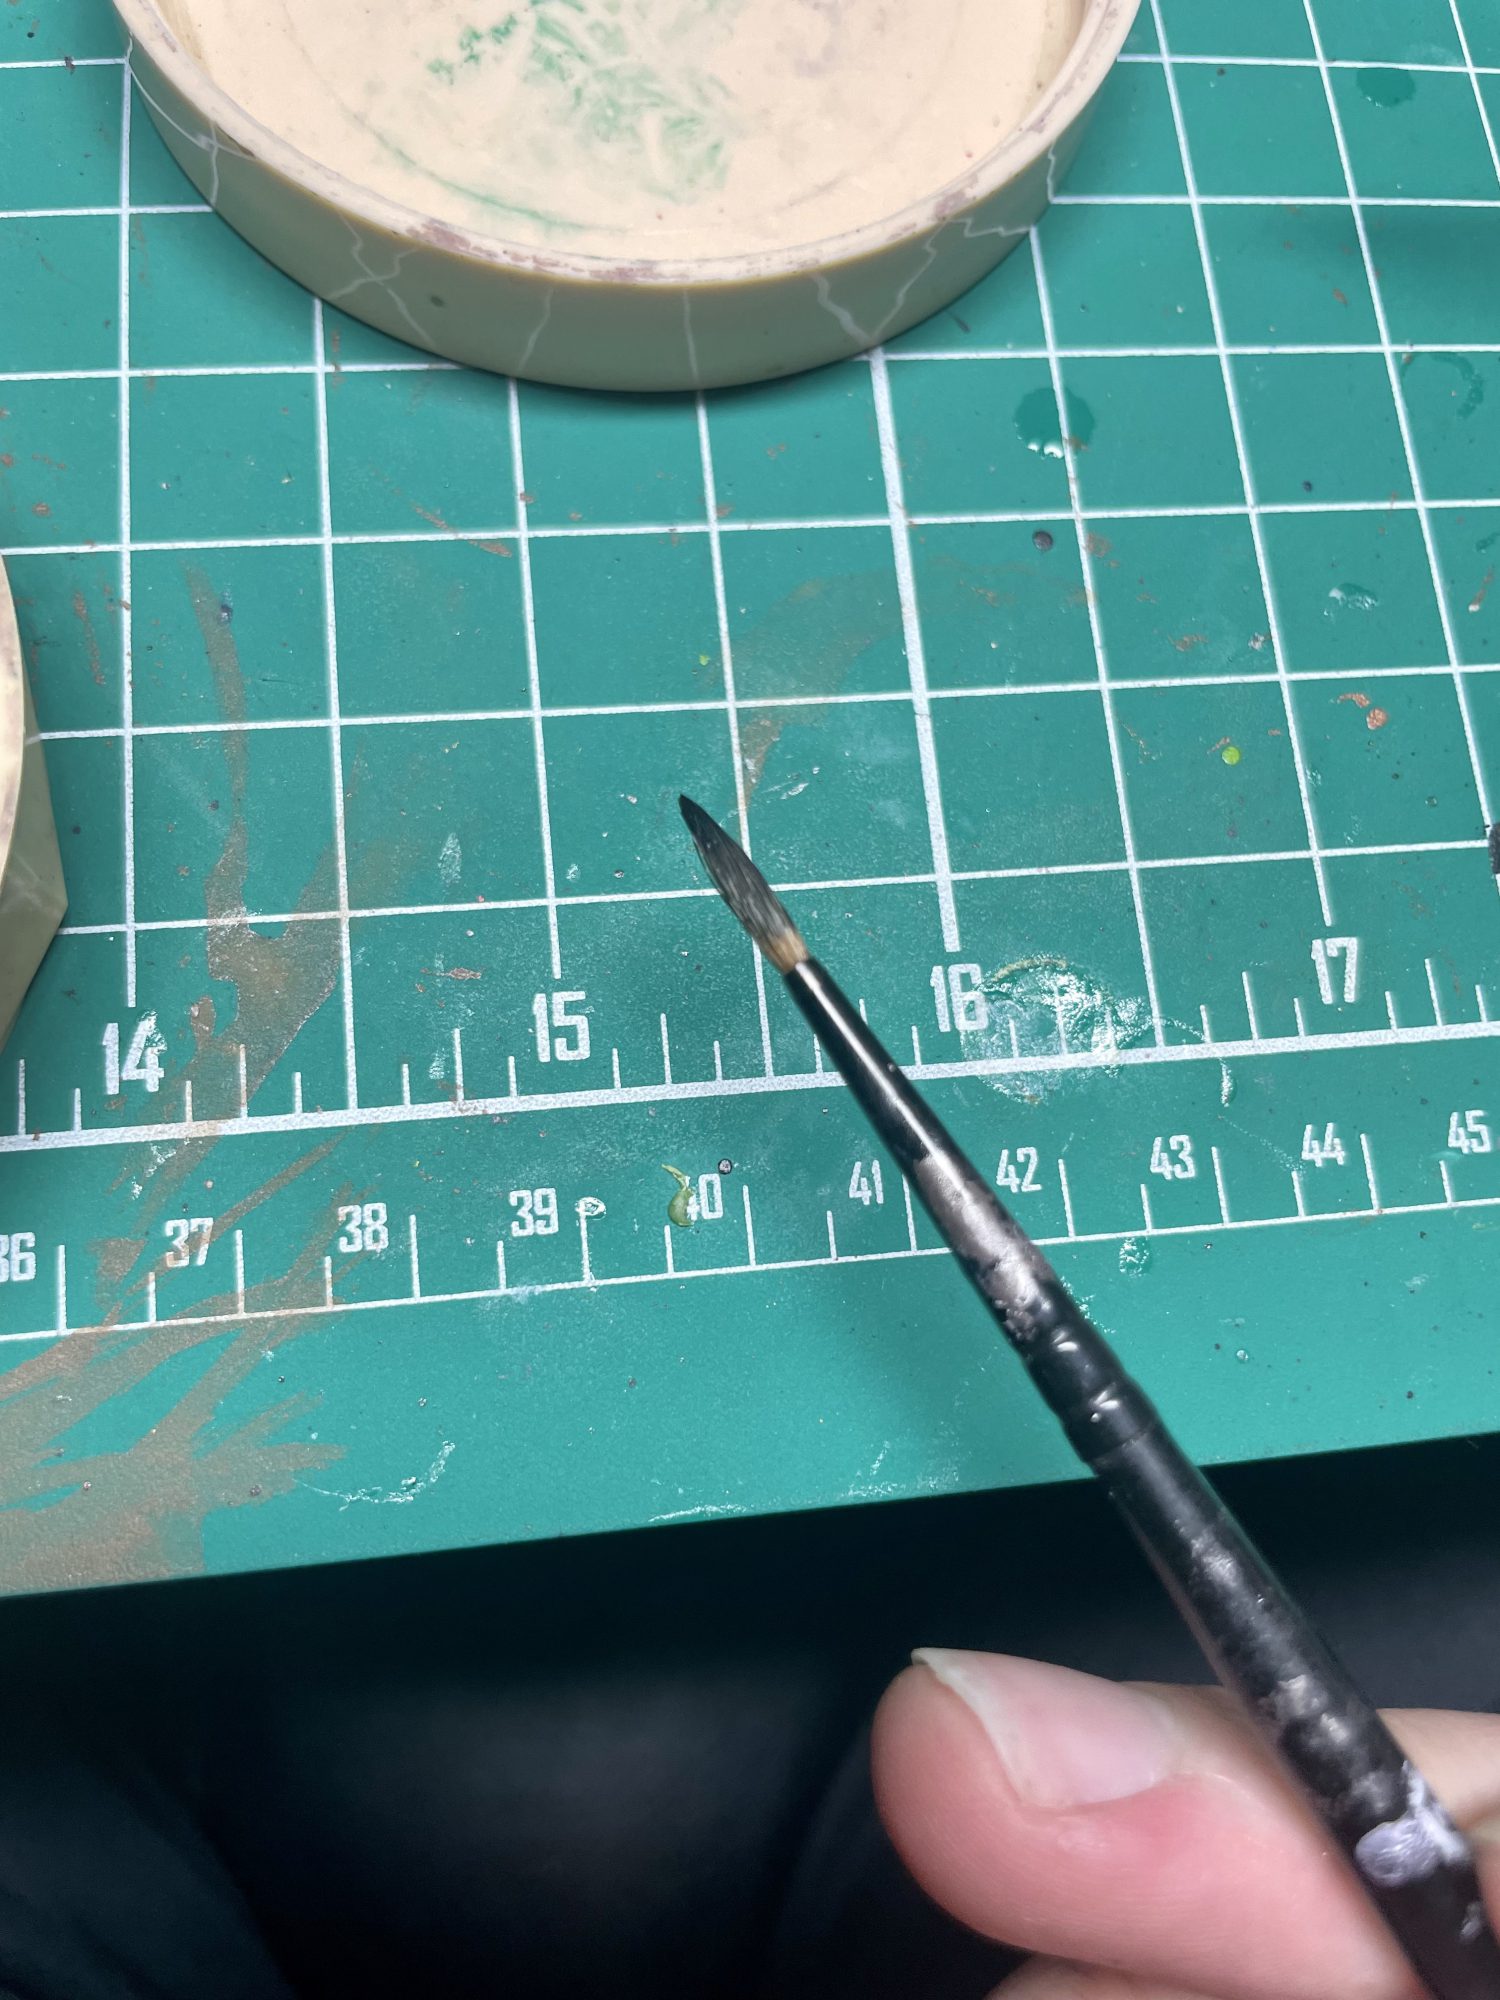
Thanks to the explosive popularity of Speed Paint/Contrast paints, getting paint into your ferrule is inevitable. These paints will wick right up and you can’t stop it. This just means that while you’re painting with these paints you’ll want to make it a habit to rinse your brush a little more often than normal.
The other thing to avoid while painting is jamming your brush against your model or the base of your paint cup. Be gentle! If you feel like you need to cram your brush into the nooks and crannies of a model either go down a size or two until you can gently feed the point where it needs to go, or get a drybrush you animal. Paint cups with soft silicone nubs are also nice, but not strictly necessary. I’ve got a ceramic mug, a hard plastic paint pot with ridges, and a soft silicone paint cup on my desk and they’re all fine. Again, just don’t jam your brush into it.
Cleaning
“Ok Raf, I’m not a neanderthal I’m just not sure how to clean the fancy brushes.” I hear you, luckily the rest of this is not any harder than being careful it just requires attention.
There are two goals to cleaning your brushes, and various products to help you accomplish this. The first is the obvious one: cleaning. As you paint tiny flecks of pigment and medium will work their way up and into your bristles and ferrule. Over the course of a long session, many of these little flecks will dry and stick to the bristles. There really isn’t anything you can do about this and even repeated and regular rinsing will leave you so. That’s where brush soap comes in.
You don’t have to be a soap engineer to understand cleaning, but I actually was a soap engineer for a while so you have to indulge me. Soap is made up of surfactants and it works by breaking down the surface tension of the water (it makes water wetter) and by bonding to dirts, oils, impurities, and those little paint flecks stuck to your bristles. This combined effect helps wash away more pigment than just water.

The second goal of cleaning your brushes, the part that’s critical to protecting your investment, is conditioning. The same surfactant properties that help clean your brush also cause the soap product to bind to the bristles of your brush on a molecular level. This helps keep each individual strand smooth, can repair light damage from painting, and keeps the bristles supple and smooth vs dry and frizzy.
Supplies
There are a lot of brush soaps out there. You can, in theory, use any soaps (and even hair conditioner) on your brushes and get decent effects but I do prefer to use purpose designed products. The soap you use to clean your dishes is stronger, more acidic, and has additional chemicals in it designed to clean different things than brush soap. Same goes for hair conditioner.
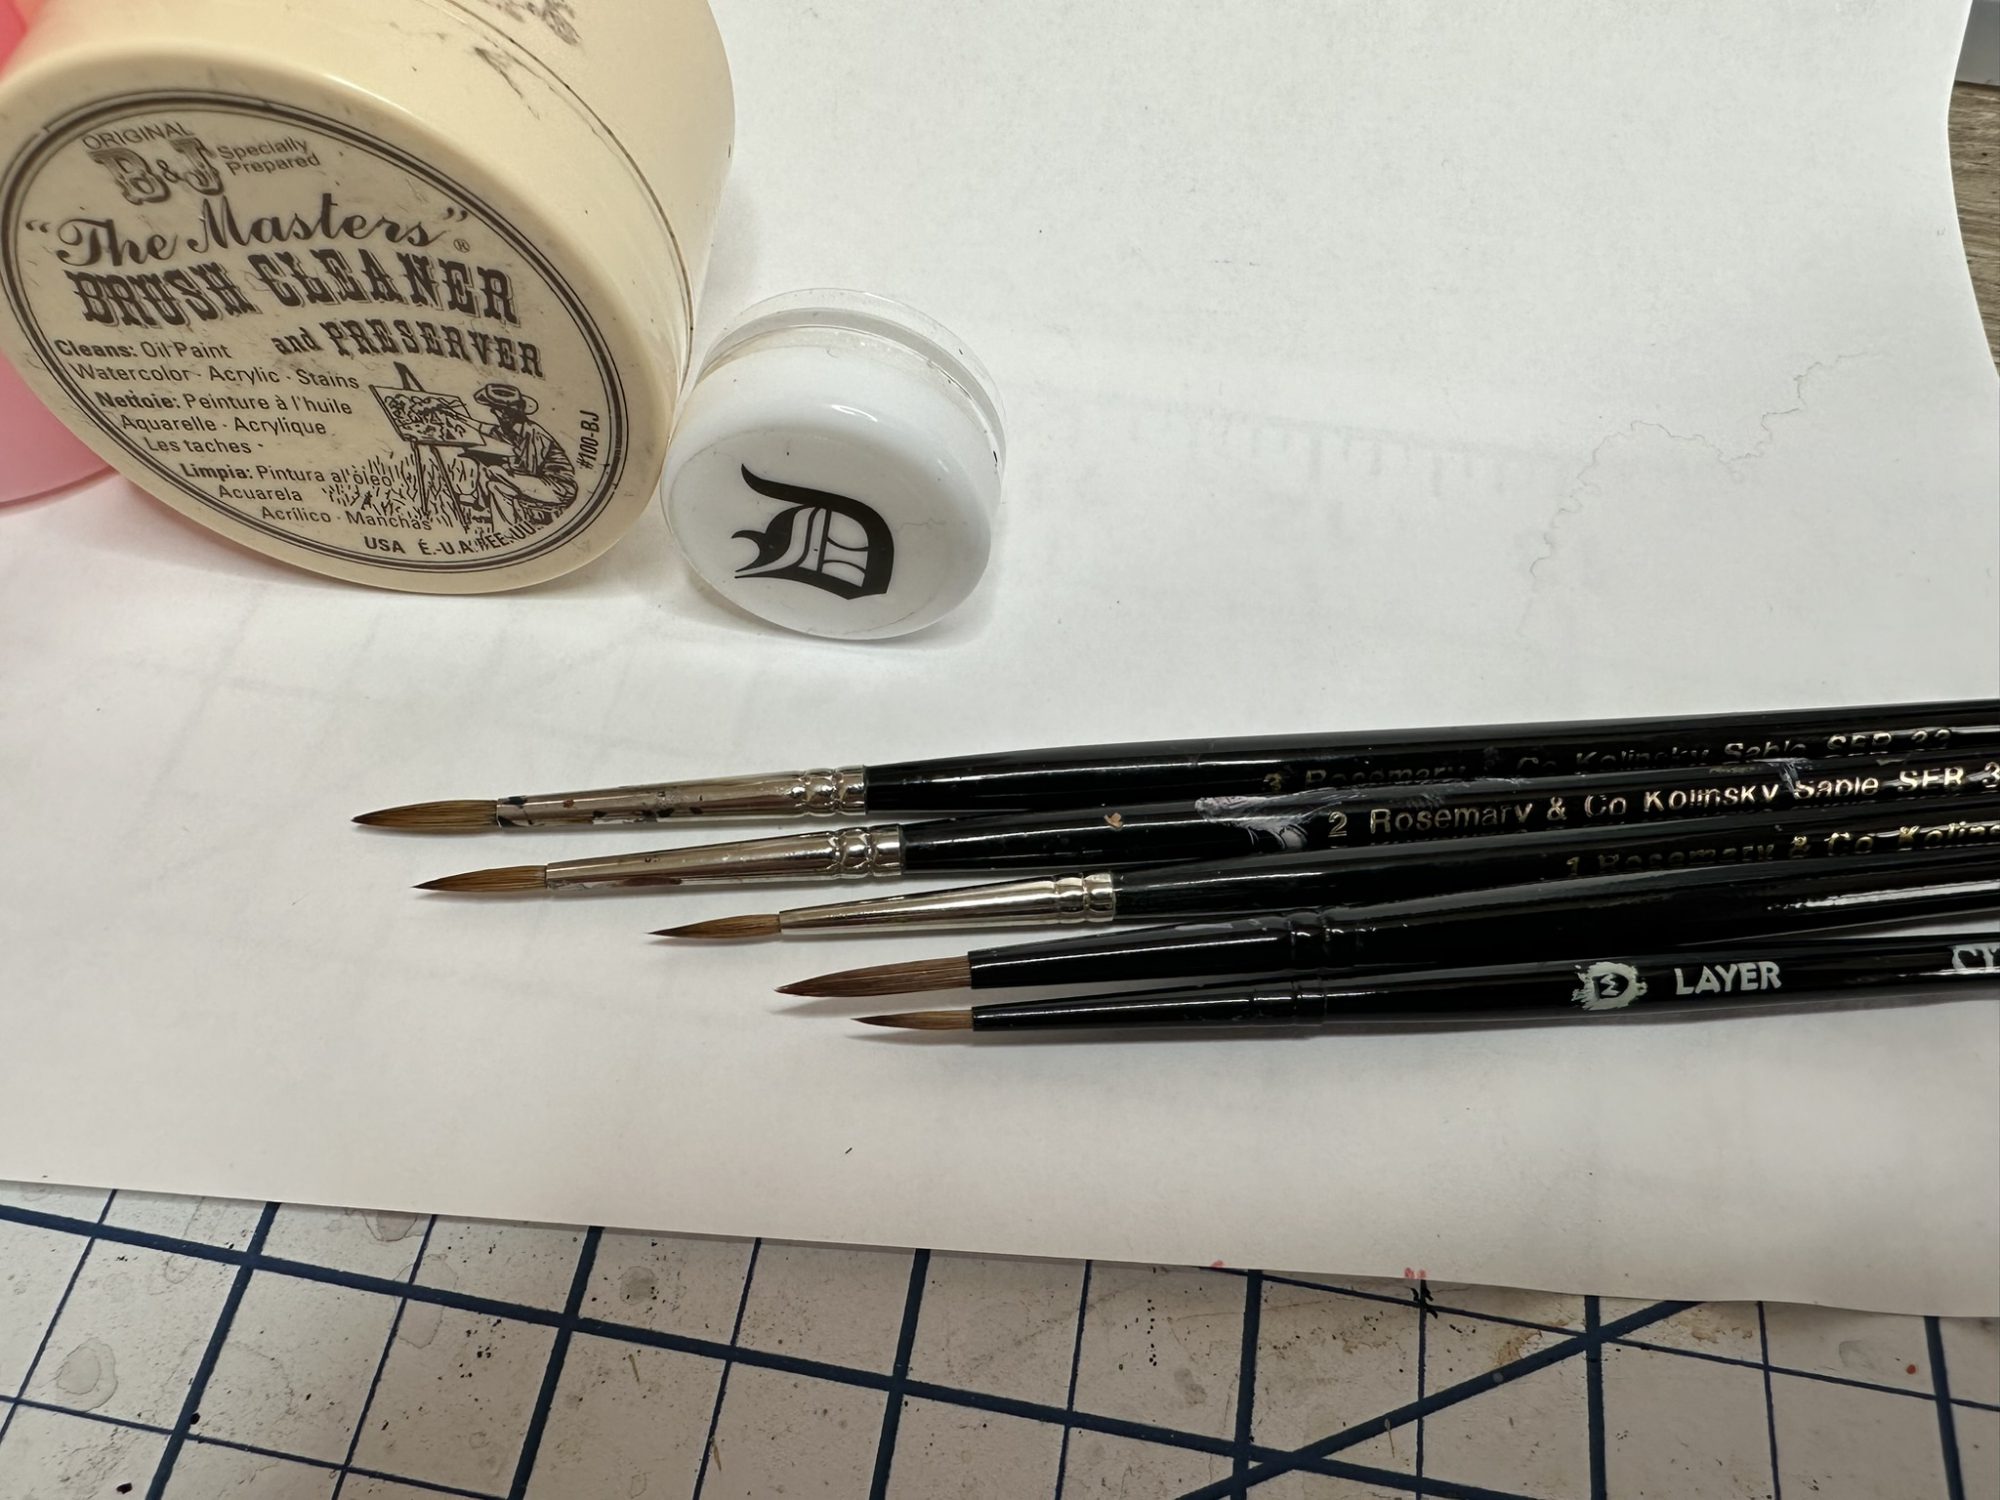
The three products I have are Mona Lisa Pink Soap (available everywhere), Masters Brush Soap & Conditioner (a little more specialty but still broadly available), and the Artis Opus conditioner that comes with every box set of Artis Opus brushes. All of them work, and I use various combinations of these products on different brushes. The pros will recommend the hard pucks, and I will as well, but for what it’s worth those 6-7 year old Kolinsky Sable brushes were cleaned with Pink Soap for most of their lives.
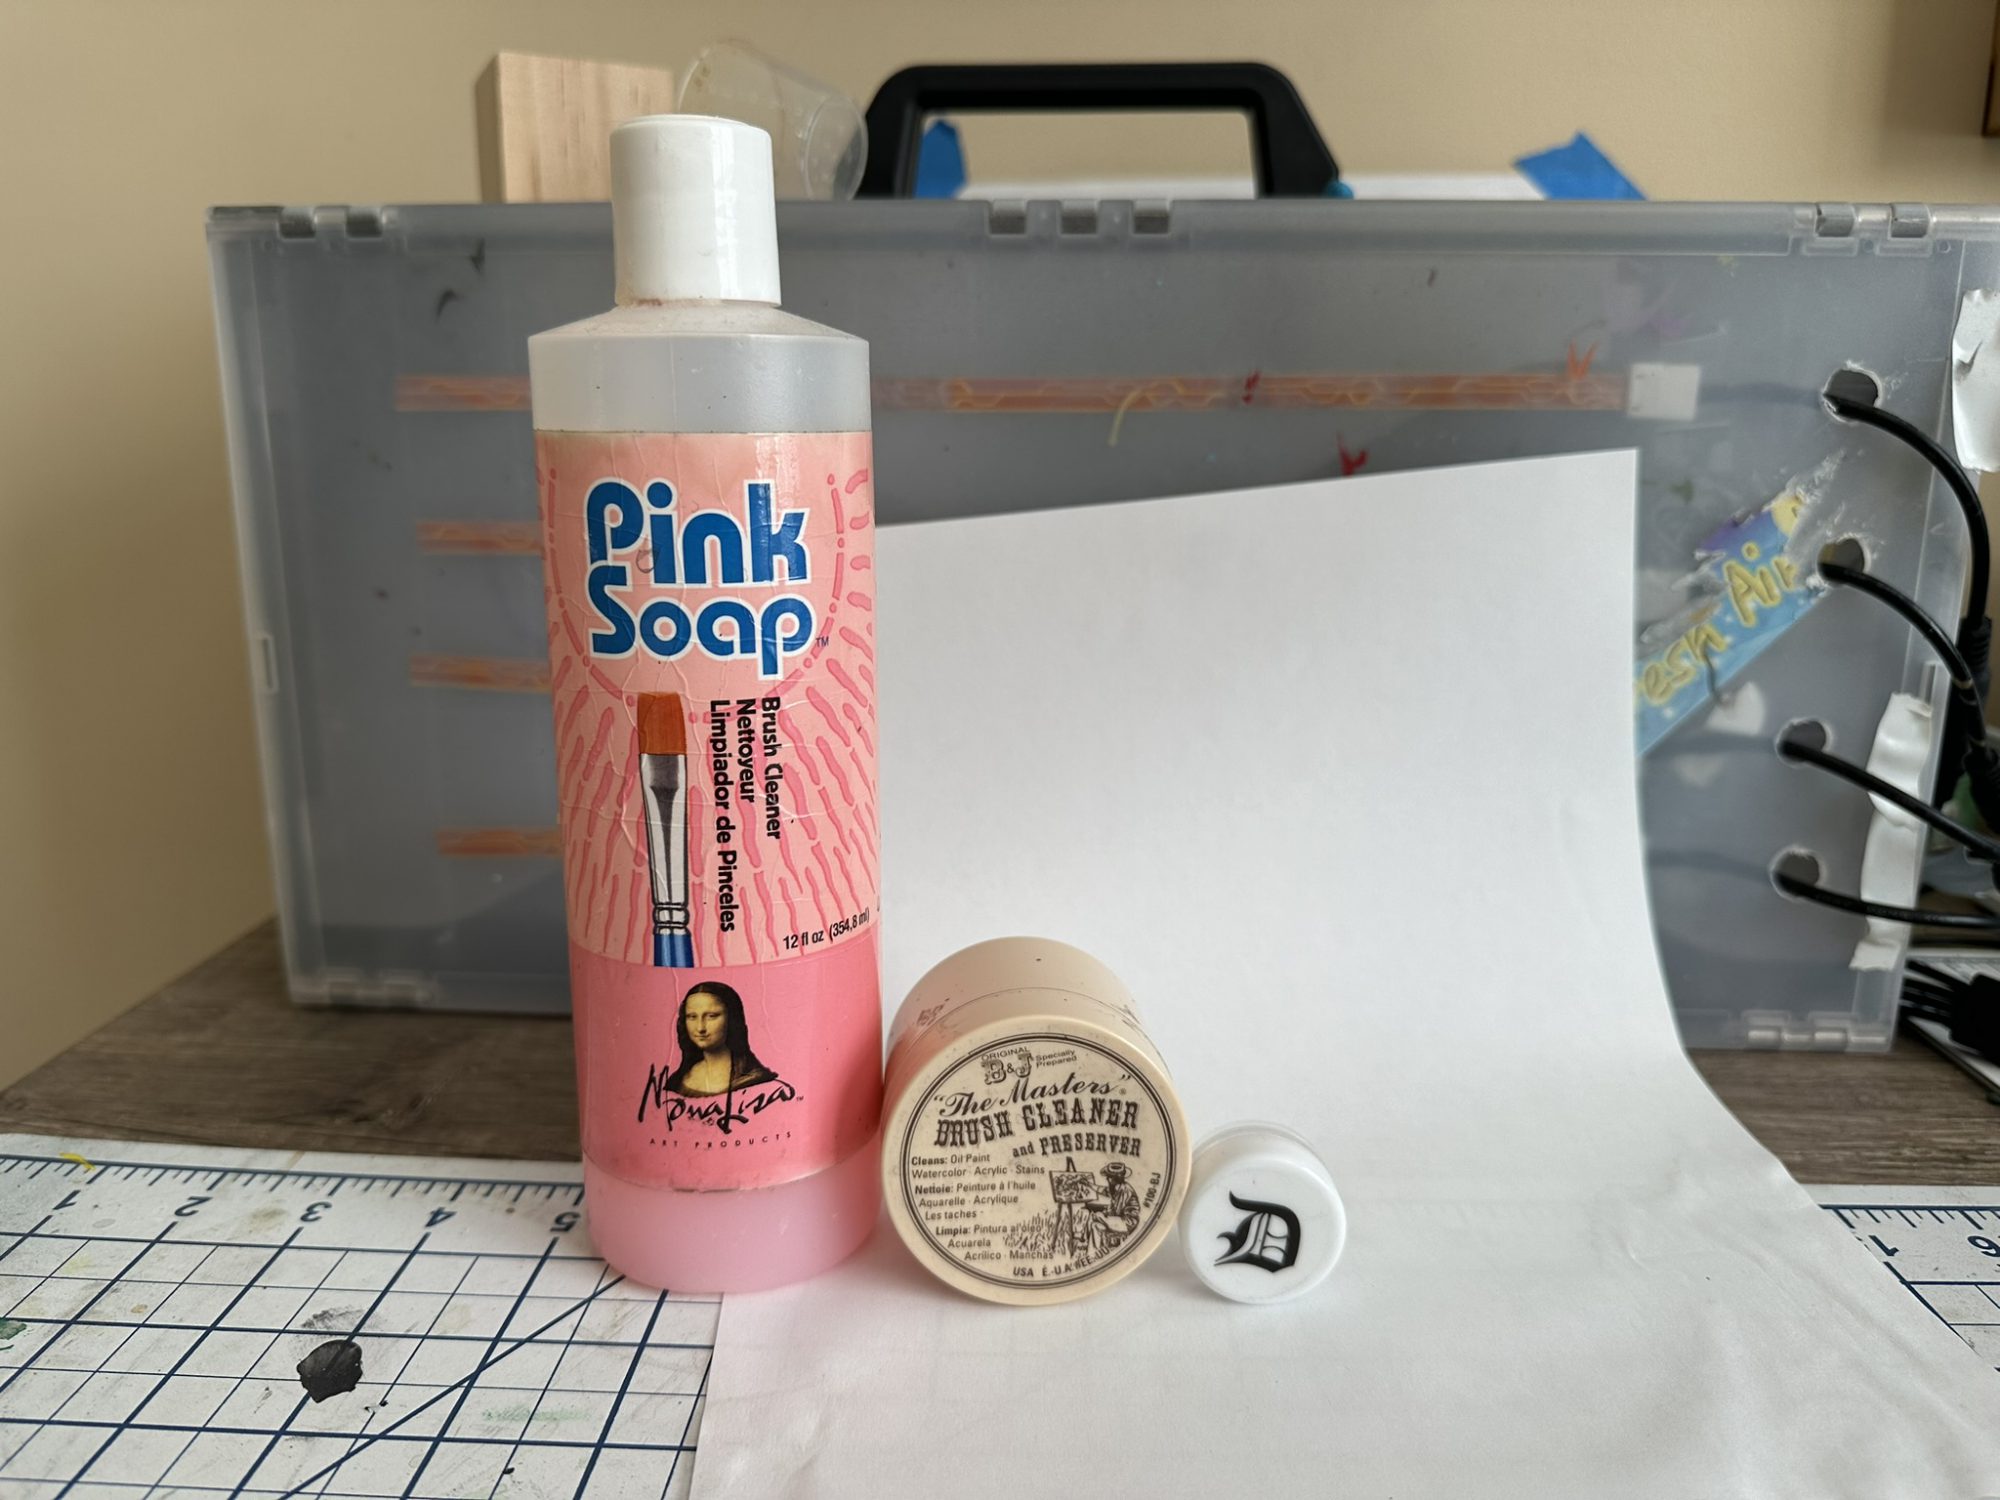
You’ll also want a cup or stand to dry your brushes vertically when you’re done.
Step 1: Cleaning
First, give your brushes a good rinse. Your paint cup will get rid of most of the bulk paint and that’s a great start. No point using your soap, especially the puck format soaps, on this part.
Now grab your soaps and head over to the sink. I use warm but not hot water, unless I’ve got really stubborn paint. This is most common with drybrushes given their nature, and hot water makes the soap work better. It’s also more damaging so just be careful.
To use the Pink Soap put a little drop of soap in the palm of your hand and wet your brush with clean water. Start working the bristles of your brush into the soap; unlike painting it’s totally fine and good to work this all the way up into the ferrule. Move your brush side to side and backwards, but it is important that you don’t push the tip of your bristles into your palm. Just keep sliding the brush in a direction away from the point over and over, spinning the brush as you go.
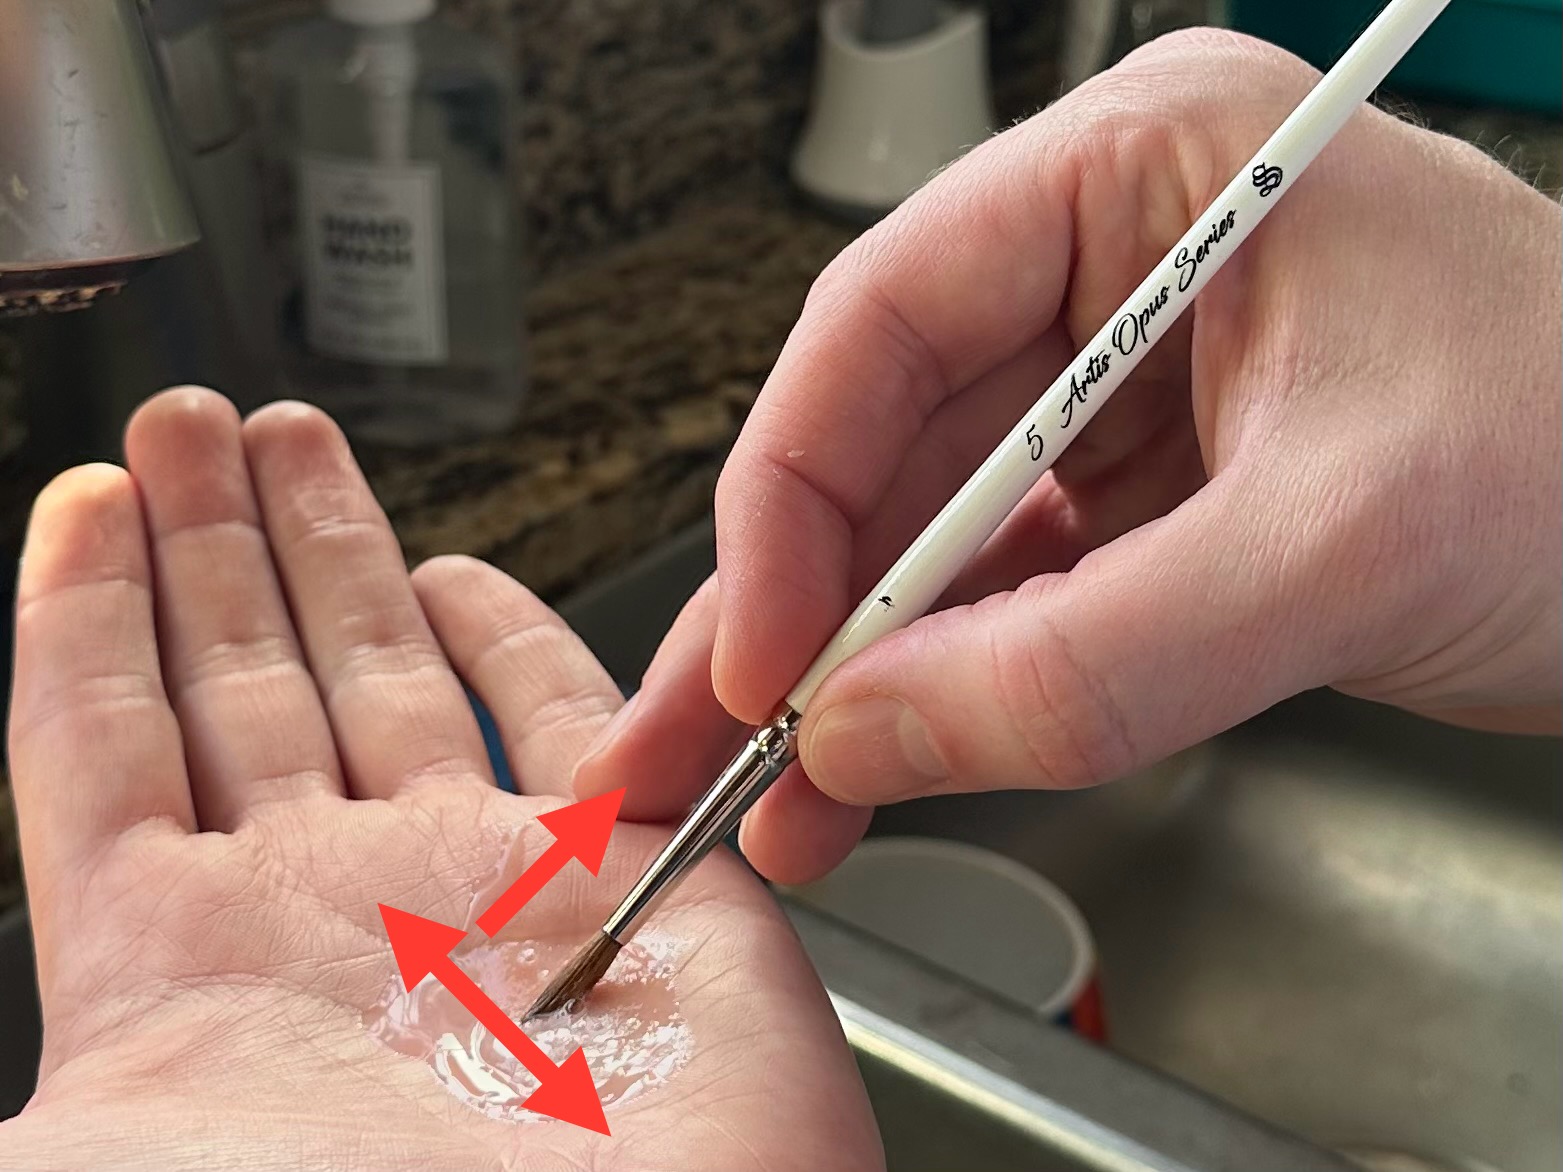
This will probably turn your soap the color of your recent paint session, and that’s a good sign. Just rinse it off your palm, put another small drop on, and go again. You want to keep going until the lather is white and shows no remnants of paint. Once you’re there, give the brush a good rinse and tap it against the edge of your sink to get off most of the water.
Using the Masters Brush Soap or the Artis Opus pucks is similar. You’ll still want a wet brush and you’ll still work the brush side to side, back and away, while rolling it, but this time you’ll be doing this right on the surface of the puck. This makes it a lot easier to see when your lather is white but also means you’ll have dirty soap on the puck if you aren’t doing the Pink Soap as a first step. This is fine. It is soap and it is still mostly clean, but it does mean there are paint particles on the surface. I tend to give my puck quick rinse and wipe away dirty lather. It makes me feel better, and it isn’t overly wasteful. I’ve had my soaps for 6+ years and have never replaced them.
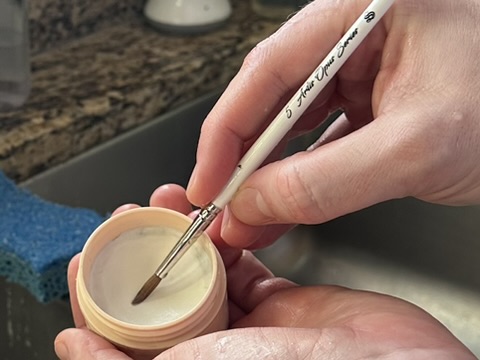
Again, keep at it until the lather is totally white, rinse your brush, and tap them dry. On my nicest brushes I will do the Pink Soap AND the Masters AND the Artis Opus soap. My cup runneth over. This is probably unnecessary, but I like the ritual and it makes me feel better about my expensive brushes.
Step 2: Conditioning
Step 1 is something you should do with all your brushes, even if all you’ve got is dish soap. Please, wash your brushes and at least reform the bristles into a point. Even cheap brushes will last if you do that. Step 2, however, is where it’s at for your fancy brushes. Luckily, it’s even easier.
To condition you’re going to resaturate the bristles with the soap product, form the bristles into a sharp point with your fingers, and leave the soap in while the brushes dry. For Pink Soap I used to take the cap off the container and dip the bristles right into the bottle. Any excess is wiped off when I form the point and then I’m good to go.
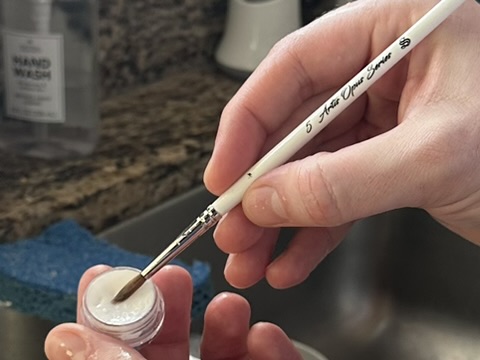
On the pucks, do the same as above only this time you want to focus on rolling the brush while dragging it backwards. When you’ve got the hang of it this will form your point for you, but you can always fall back on using your fingers.
The instructions that come with Artis Opus brushes say you should come back 30 minutes later to rinse the conditioner out before letting the brush dry. If you promise not to tell anyone I will admit that I am far too lazy to do that and usually am trying to crawl into bed at midnight 30 minutes after cleaning. Again, I’ve had brushes last 6 years dunking them in pink soap and leaving them to dry and I’m good with that.
It is worth noting that this step is where you get your money’s worth out of the nice products. The active ingredients in Pink Soap are a little harsher than Masters or Artis Opus, and don’t condition quite as well. This is also why I go for purpose built products. Brush Conditioner is designed to condition brushes, not human hair, and is the best product for this. The below brushes are older than two of my children and still work great!
Additional Notes
Conditioning your brushes can be used to rehabilitate old dried out brushes and give them new life. Clean, condition, let dry, rinse and repeat. It make take a few sessions but you can often bring an old brush back to life.
Life happens and sometimes you let paint dry on your brush. Sometimes you might even use technical paints that are sticky, or even PVA glue, in your painting and get it on your brushes. Try not to use your fancy brushes for this, but on the chance you do, stronger soaps like Dawn Dish Detergent can get stubborn messes out of your brush. It’s even more important to use a good conditioner if you do, however.
Finally, your break-glass-in-case-of-emergency option for cleaning brushes is isopropyl alcohol. That will clean up anything that can be cleaned up, but it will also dry out your bristles very quickly. If you do this you want to give the brush a really good rinse before being extra dutiful about conditioning.
Wrap Up
And that’s it! Caring for your brushes is really easy and something you should do every time you paint, with any brush you use. When done properly cleaning and conditioning will extend the useful life of your brushes for years and keep them working at a high level. Now go on, don’t let the fear of ruining your brushes stop you from using them!
Interested in a fancy brush set of your own? Check out Goonhammer’s collaboration with Artis Opus!
