Intro
Over the years the Goonhammer crew have put together a vast and expansive library of painting guides. Appropriately titled “How to Paint Everything” we’ve got schemes and recipes for 100s of models. They all, however, assume you know the difference between wet blending and glazing or what the hell “zenithal” means. Welcome to Hobby 101. This series will lay the groundwork to teach you the fundamentals and best practices to make your models shine.
The Hobby 101 series is sponsored by The Army Painter.
When first getting into the hobby, you’ll no doubt hear of “contrast paints”, “speed paints”, or “one-coat paints”. For the uninitiated, these are all the same concept; A transparent paint that has substantial color change as it gets thinner. What this means is (often) you just need to put one coat down and you’ll get a based, shaded, and highlighted model. Because you (often) don’t need to thin them and they (often) get the color down in one coat, these paints will speed up your paint time significantly. There are also some neat tricks you can do with these which make them a very good tool to use even when you want to spend plenty of time on a mini.
At this point nearly every major company has released their own version of these, all with different characteristics. The first on the market was Citadel’s “Contrast Paints” and this is often how people refer to this family of paints. Army Painter has “Speed Paints” in 1.0 and 2.0 formulations, both with their own strengths and quirks. Vallejo has Game Express, and so on.
Quirks
Ok you may have noticed the liberal use of “(often)” in the above section. This is because not all one-coat paints behave the same. Somewhat frustratingly, you can’t even predict how they’ll behave within a brand. Some are what people describe as a “strong wash” meaning they mostly shade the recesses of the model but won’t really highlight which also often means they need a different color underneath in order to get the effect they’re ostensibly for.
Others work in the opposite direction, providing an incredibly strong but flat color in one coat (Citadel’s Imperial Fists Yellow or Magmadroth Flame). At the end of the day, you’ll need to do some experimenting to find what one-coat type paints work in what situation. Luckily you can find examples of these paints being used across the internet so you can find some visual examples of it being used before you buy.
Set Up
First things first, preparing the model. If you plan to one-coat a model, make sure you clean any seams, mold lines, or sprue tags because those will pop out hard when you use these paints. Once that’s done you’re gonna want to prime the miniature white. For details on how to prime, refer to our hobby 101 article on the topic.
The reason you want to prime white is because of the transparent nature of these paints. In the picture below I have a mini that’s been primed both white and Death Guard Green and went over it with The Army Painter’s Peachy Flesh. You’ll see that you get the “true” color over white and over the green, the undercoat shows right through.
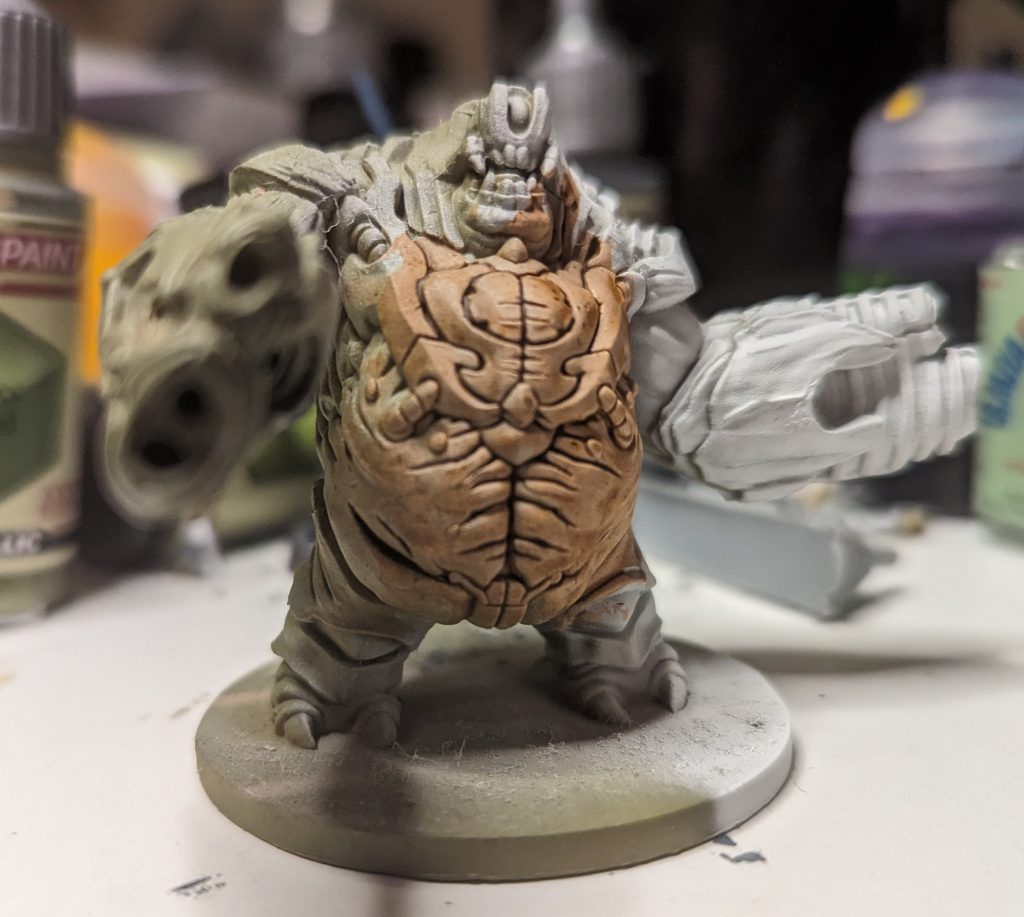
Hobby 102 Advanced Note: Some of you may have realized that this could be a way to get some really interesting effects. For example, if you put a paint like Citadel’s Flesh Tearers Red over a gold metallic base, you’ll get a really nice candied red which can work well for gems, lenses, or just red metal.
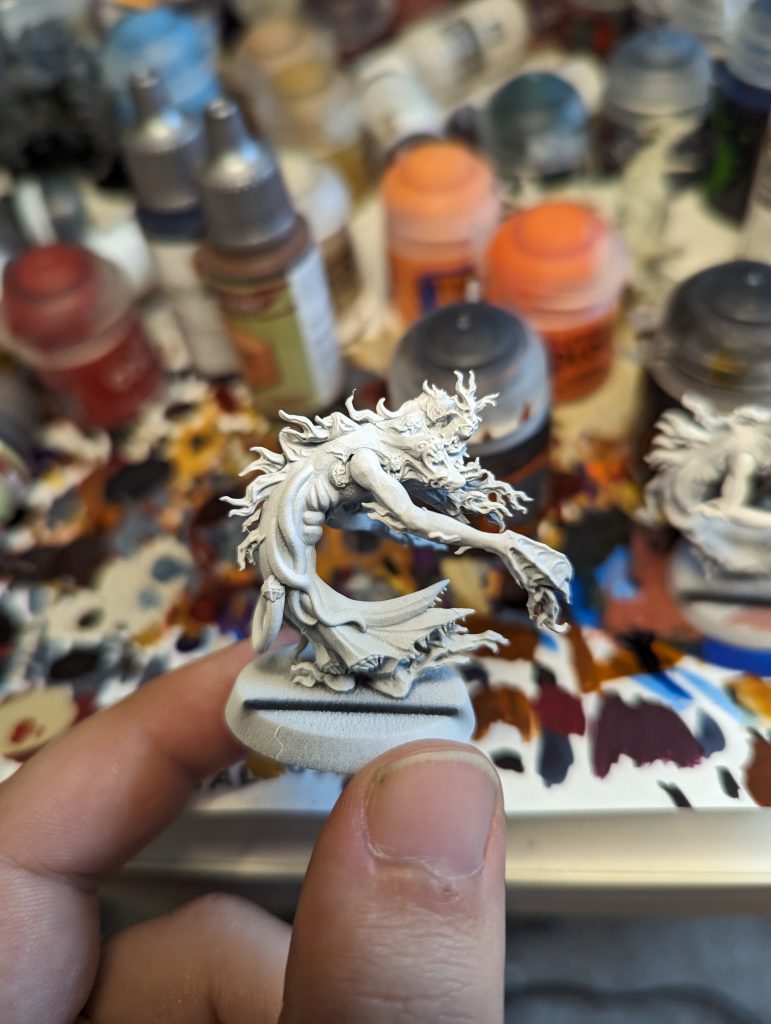
As we mentioned in the priming article, Army Painter makes great miniature primers and their Matt White Primer works fantastic for Speed Paints or any other brands. Citadel also has 2 primers that are recommended for working with contrast paints (and these work great for the other brands as well), Wraithbone and Grey Seer. Wraithbone is great if you expect to use warmer colors (skin tones, organic materials, etc) Grey Seer gives you the opposite as its a bit darker, good for if you’re doing cooler colors (blues, purples,etc). I generally default to plain white but play around and see what works! You can see an example of a one-coat ready model in the picture below, my example Flamer of Tzeentch
Hobby 102 Advanced Note: Ok time to address the elephant in the room. You may have arrived here because you’ve heard of using underpainting with one-coat paints. This is sometimes referred to as “Slapchop” and can be accomplished a number of ways. The core idea around the technique is to first prime black, then get some white on the raised edged of the model. This is generally accomplished through drybrushing (something that will be addressed in an upcoming article) or doing what’s called a “zenithal highlight”.
This is when you spray a white paint down from above to replicate light hitting the model from an overhead source. This will help push the vibrancy of the model while keeping the parts of the model that would be dark naturally dark. Now this is a lot and way beyond the scope of this article. If you’re feeling daring you can get a black primer spray can and a white one and try to zenithal by priming black, then once its cured, prime white but only from the top of the model at about a 45 degree angle and see how the contrasts behave. It is important to note YOU DO NOT NEED TO DO THIS TO GET RAD AS HELL RESULTS WITH CONTRASTS. It’s just one method of many.
Painting
Finally we can crack open these paints and start putting them on the model. But where to start? With one-coats you generally want to start with your brightest colors first. This is the opposite of what you want with normal acrylics, but we do this because if you make a mistake its easier for a darker color to cover brighter colors which means it’ll cover up your mistakes easier.
If you find yourself in a situation where you got a dark color on a brighter one or the coverage isn’t hiding it well enough, don’t worry. Just take some grey white (bright whites often have worse coverage so it’ll take more coats) and cover the mistake, then just reapply your color. Because of this you generally want some idea of what colors you’re gonna use. For this flamer I’ll be using Peachy Flesh for the skin from the army painter range, before moving into yellow, orange, red, and pink in that order.
I’m gonna start with Peachy Flesh for a skin basecoat. Now you may be grabbing your monitor right now shaking it and screaming “You said to start with the brightest color??? Wouldn’t that be yellow???”. Normally you’d be right but Imperial Fists yellow is one of the oddball Contrast paints I mentioned above. It doesn’t highlight itself very well or really shade even, but it is a very strong paint and can cover a variety of surfaces.
When painting with contrasts you want to paint with lots of paint on the brush. This is another thing that differs from how you paint with acrylics, where you want to apply multiple thin coats. Instead you want to put a bunch of contrast on the model and start moving it around. Generally my rule of thumb is it should be saturated but it shouldn’t be dripping off the brush and I should still see the bristles. If you’re painting and it’s looking streaky, don’t panic, get more paint on the brush and start reapplying.
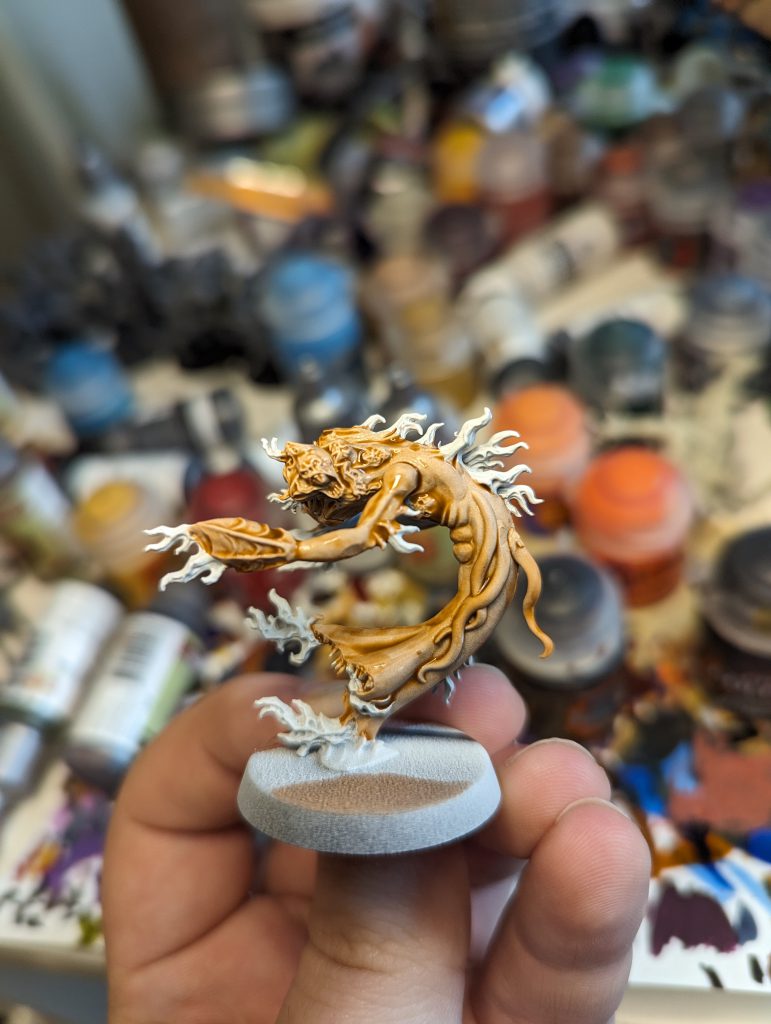
Great! We’ve put down our first color and its looking pretty well defined already. You can see how the paint is darker towards where it pools and brighter on the raised edges. Next up we’re gonna tackle the fire that’s all over the mini. We’re gonna break out our Imperial Fists yellow and hit all the fire since that’s the brightest color of the 3 we’re gonna be using for that.
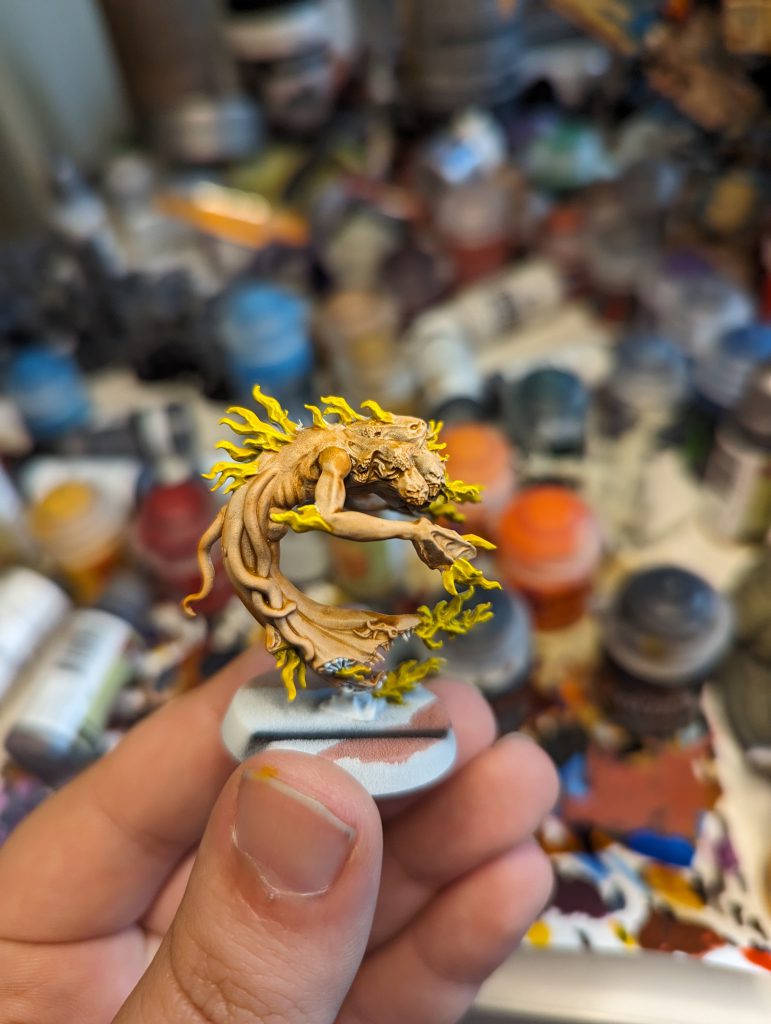
With the yellow down, I’m gonna pick a random part of the flame and paint over the yellow from that point down with a bright orange. You’ll notice that I’m painting the fire backwards from how it would look in real life. This is because I’m very silly and forgetful and often make mistakes.
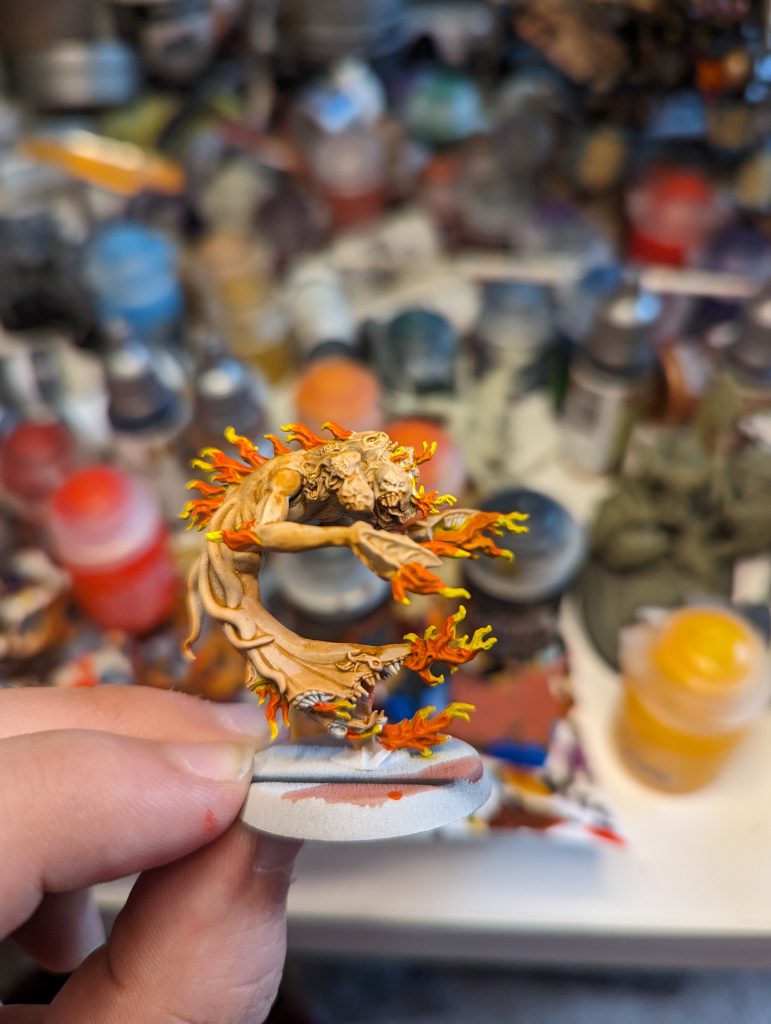
Last up we’ve got the red. You’ll notice we’re getting really solid colors here that don’t behave like the Peachy Flesh. These paints are all designed for one solid color which I like personally when painting flames. You could thin them down with some water or medium if you want a more natural blend but, I didn’t do that because I realized too late.
I also missed a step (see? often) with my pictures and and did the Volupus Pink on the tentacles and the webbing between the fingers. You’ll notice the coverage here is good even though we’re going over a section we already painted. This is because we did those bright spots first!
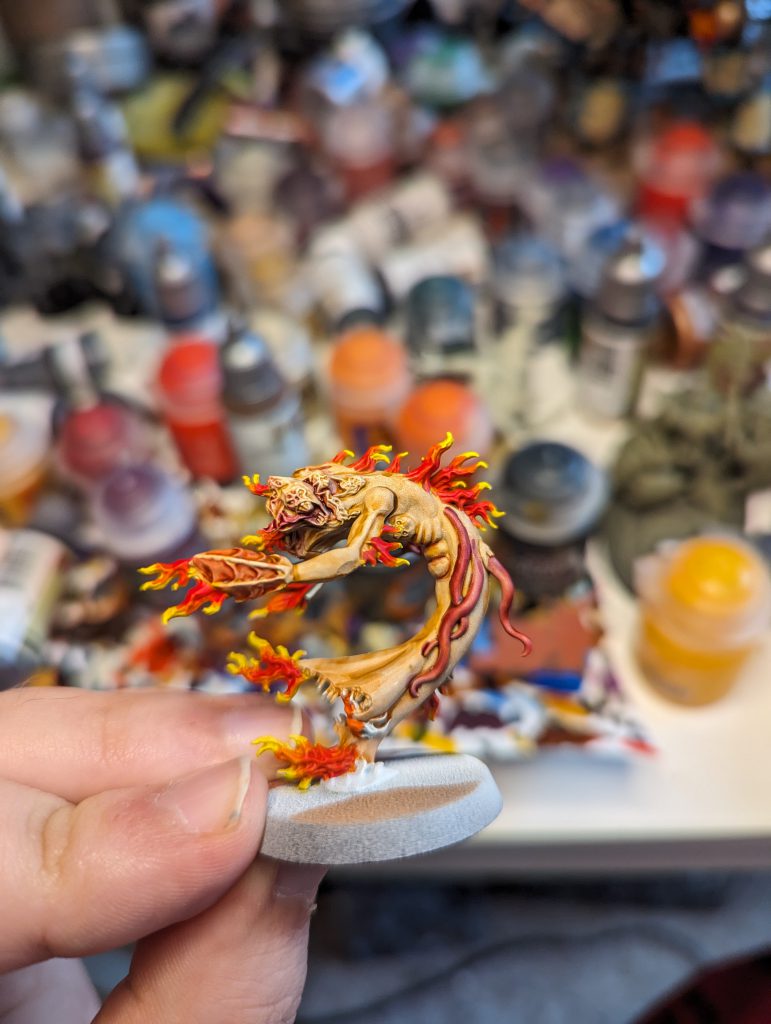
At this point the model’s almost done but I’m not quite happy with the definition on it mostly on the faces. So I decided to push the definition farther with a wash. That’s right you can wash down contrasts if you want to. You can brighten them up with layering and highlights too if you want to. No one can or will stop you. I use dark red wash like Army Painter Red Tone or Berserker Bloodshade, focusing on the crevices and creases on the face but also hitting the main body a bit.
At the same time I notice there’s a bunch of teeth on this model, and picking those out will go a long way in making this model look more finished. I went ahead and hit all those with a pale paint (like Drake Tooth or Ushabiti Bone) to get a nice bright base coat on the model before I try and get the brown down. This is because I usually use Brownish Decay from Army Painter for this, and I find it wants a bone adjacent tone to start with because it acts more as a strong wash.
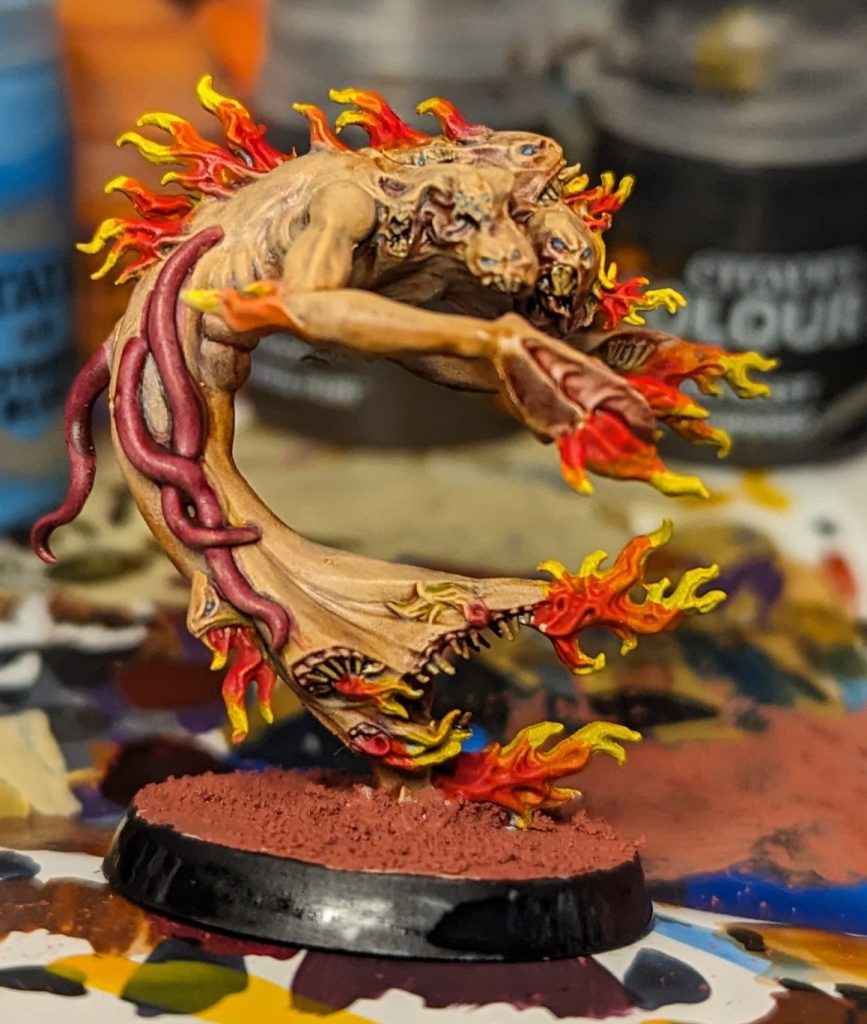
After hitting all those areas with Brownish Decay the model is ready for basing and from there ready for the table! I took some time to highlight a bit with a fleshy ivory because I felt I had darkened things down too much when I did my wash, but honestly I probably would’ve been fine.
And that’s it! With just a couple paints we have a freaky looking weirdo ready to slam on the table. Before we wrap up though there are a couple of points I want retread
- Start with a bright basecoat, usually a shade of white
- When using one-coat paints, start with the brightest colors and work your way towards the darker ones
- Make sure you are putting a lot of paint on the model and then pushing that paint around. You don’t really want to be brushing all that much!
- Not all of these paints behave the same, even within the same range.
- Don’t be afraid to combine techniques you’ve learned over time to get the model right where you want it.
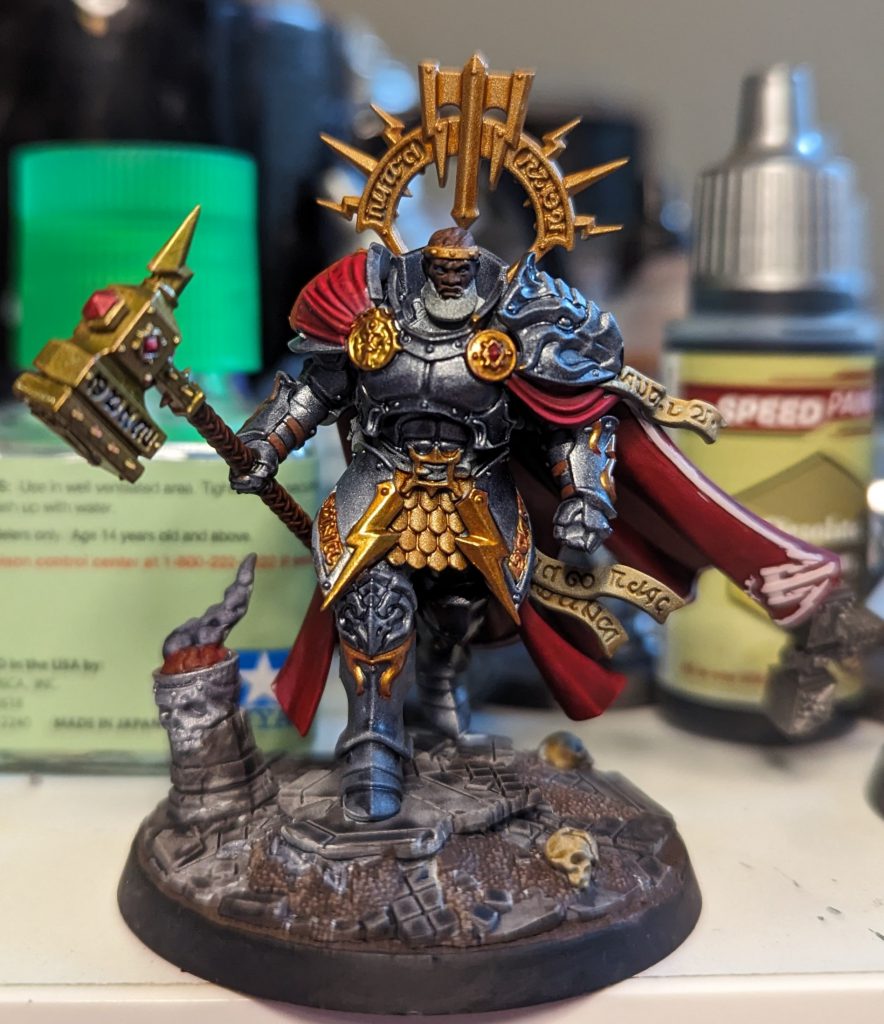
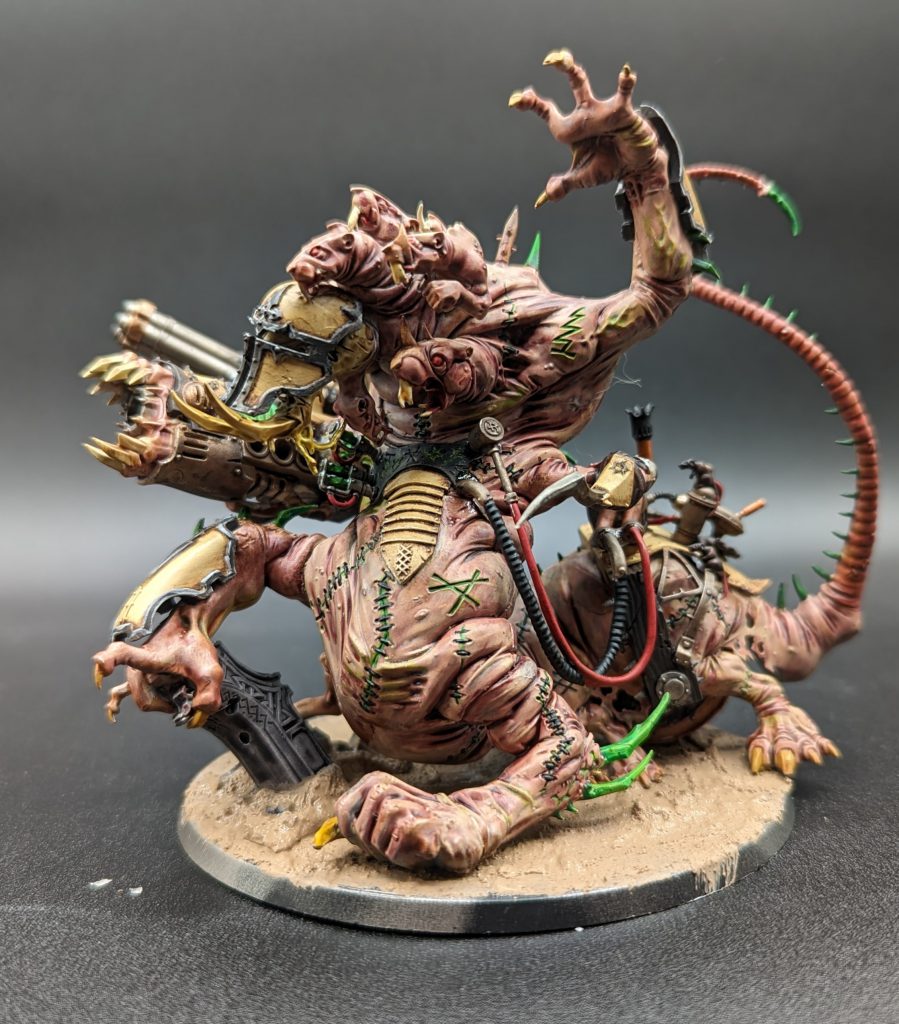
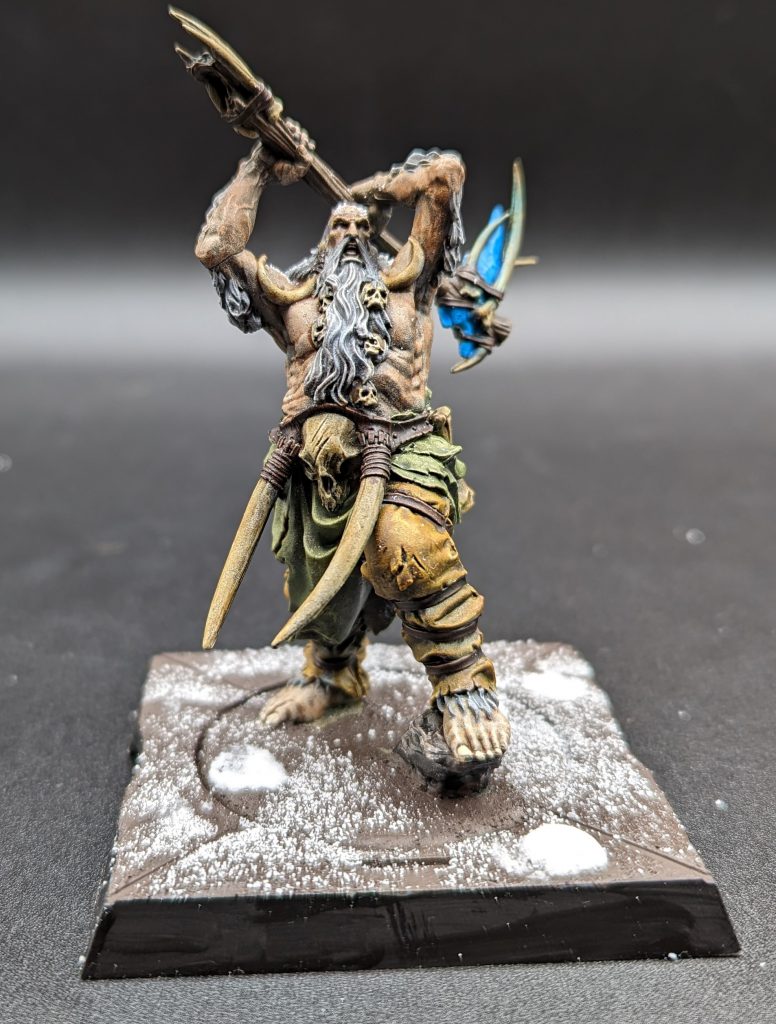
I’ll leave you all with some other models I’ve done below that feature Speed Paints as my main tool. These use some advanced techniques, but as you practice you’ll get there in no time.
