Over the years the Goonhammer crew have put together a vast and expansive library of painting guides. Appropriately titled “How to Paint Everything” we’ve got schemes and recipes for 100s of models. They all, however, assume you know the difference between wet blending and glazing or what the hell “zenithal” means. Welcome to Hobby 101. This series will lay the groundwork to teach you the fundamentals and best practices to make your models shine.
The Hobby 101 series is sponsored by The Army Painter.
Oftentimes, when a new person in my life sees my painted miniatures in person for the first time, even if they have not a single cell in their body that cares about space marines, space elves, or anything in between, the interaction plays out the same way. They examine my models, turn to me impressed, and ask “Oh wow, you painted all this? Those tiny details?”
I say “yes,” of course; humility is for the birds.
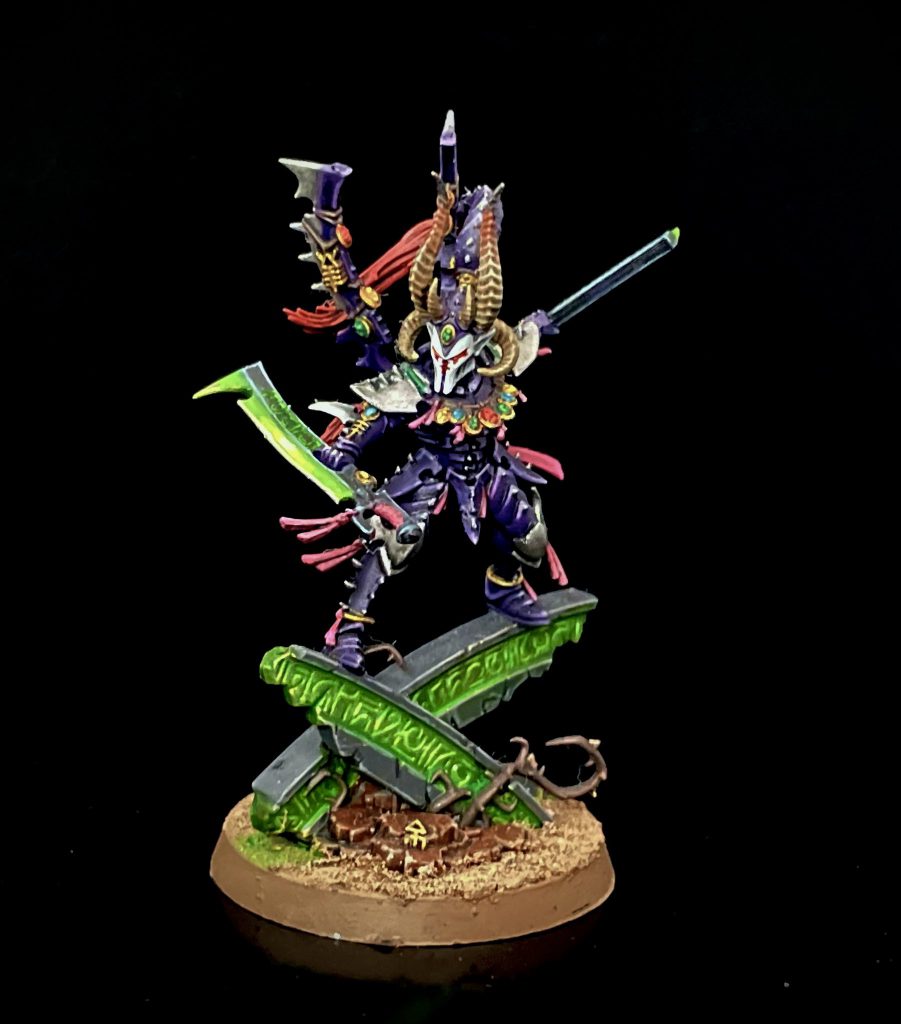
To an outsider, the level of impressive attention to detail and patience that goes into miniature painting is the most intimidating part of starting out in the miniature gaming hobby. I understand why, too. You see all the little detailed parts of the cool special dudes you just bought and assembled, and folks get worried they’ll mess the miniature up in some undoable, embarrassing way. It’s very daunting to start learning any new skill, especially one where your mistakes could be on display for hours at a time during a game on an expensive model.
Here in this edition of Hobby 101, I want to let you in one of several secrets I’ll share in this article: It’s really not that hard to paint a good looking miniature.
Now don’t get me wrong, painting models is a skill and with practice comes mastery, and with mastery comes painting some jaw-dropping models that do take a ton of work and are very difficult. That can’t be taught in just one article. But the basics of painting that can make a model look good? Yeah, that’s doable.
So let’s take a look at the basics of traditional miniature painting, and the very basic painting steps of Base-Wash-Highlight.
What do I need?
If you’re just starting out, wondering what you need for your desk before you start painting, here’s a very basic list. We’ve also got a guide on starter sets to make this easy!
Brushes- When you’re just getting started, don’t worry too much about making sure you get “the perfect brush”. Because miniature painting is often a lot of detail work, I’ve met a few people (including myself!) whose first instinct when buying the “perfect” brush was to get exclusively small detail brushes. Detail brushes aren’t bad, but they’re good for painting exactly what they say they are good at: painting details. They don’t hold as much paint, and that means you’ll be doing more work painting your model than you have to.
For just starting out, I recommend getting two brushes. The first is a bigger sized brush, which will be your workhorse. Something with plenty of brush to get paint on the model. I recommend the Army Painter: Regiment Brush or the Citadel Medium Shade Brush, though most size 2 paint brushes will do well.

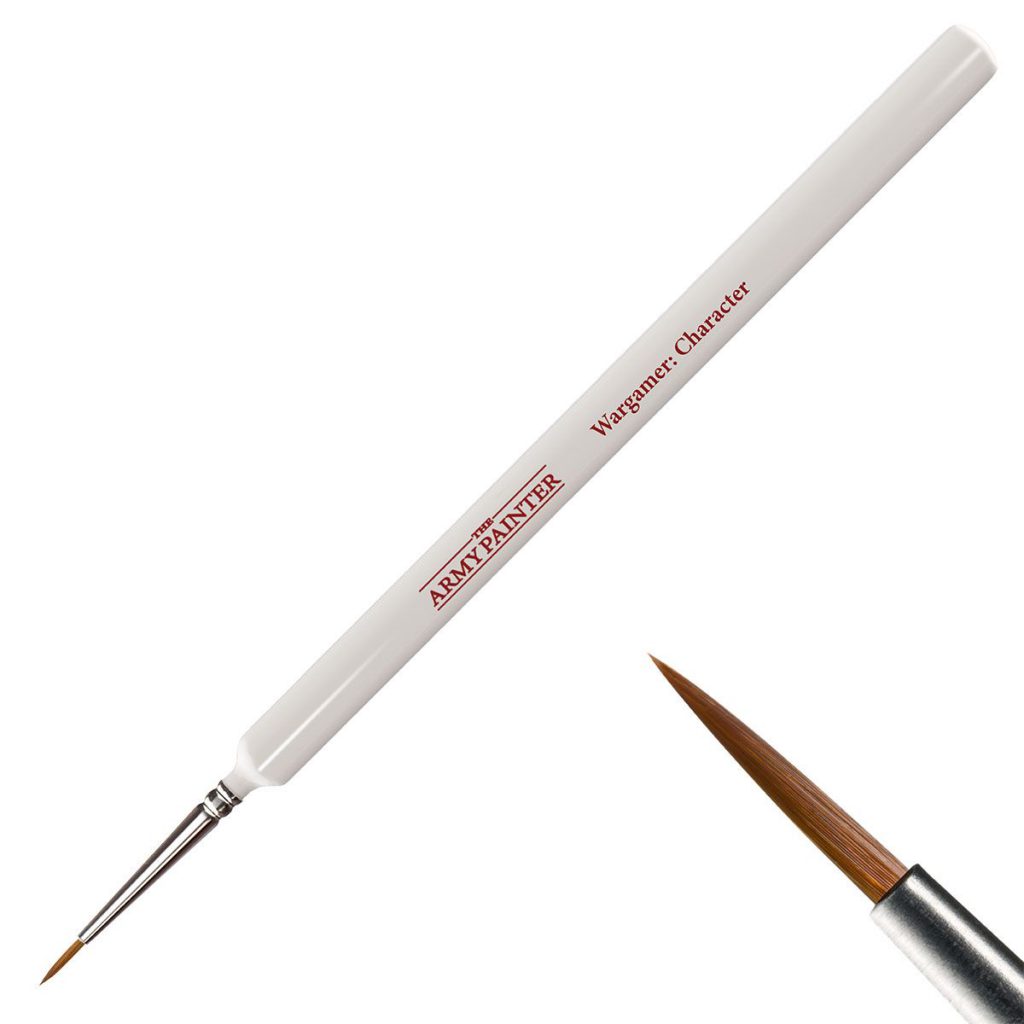
The second brush can be for small detail stuff. Don’t go too crazy using these, just keep it handy for when it’s time to highlight. An Army Painter: Character brush, Citadel Medium Layer brush, or most size 1 brushes will be perfect for this job.
Paints- There’s a ton of brands out there to pick from. Generally you should pick a paint line and stick with it at first; all paints behave a little differently and consistency in your brand goes a long way. We like the Army Painter Warpaint line, which comes in various handy box sets to build out a collection simply and on a budget. Alternatively the Citadel paint line is another good one for starting. This is mostly because Games workshop did a very good job labeling their paints as to what their function is.
Starting out, I would brainstorm the colors you’re wanting for the models that you’re painting and pick out a base paint, a shade, and a layer paint. With a metallic paint, you can probably get away with base paint plus shade, but layers for those can still produce great highlights!
Pallet- You’ll need something to put your paints on while you are painting! A pallet from a local hobby store, specialty pallet paper, or an old ceramic plate or tile (very cheap at hardware stores) is a perfect start.
Clean Water Cup- This will be for cleaning the brushes, as well as helping us thin our paints down to the consistency we want them. Coffee mugs are great for the vibe, but any old cup you’re okay with not drinking out of will do. Just be sure to empty the water if it gets too dirty, so your brushes actually stay clean.
Paper Towels- Again, for helping us clean excess paint from the brush, take moisture out from the brush if it’s too wet, and make sure we keep our brushes in good working order.
Painting Handle- Something to hold the model while you paint, so you don’t smudge the paint with your fingers. Citadel sells a great painting handle, but a cork with some sticky tack is an excellent DIY solution.
Bonus: A Lamp- It doesn’t need to be a fancy lamp, but even just having a reading lamp you can shine on your work station while painting will make it easier to pick out details and see what you’re doing while reducing eye strain.
Time to Paint!
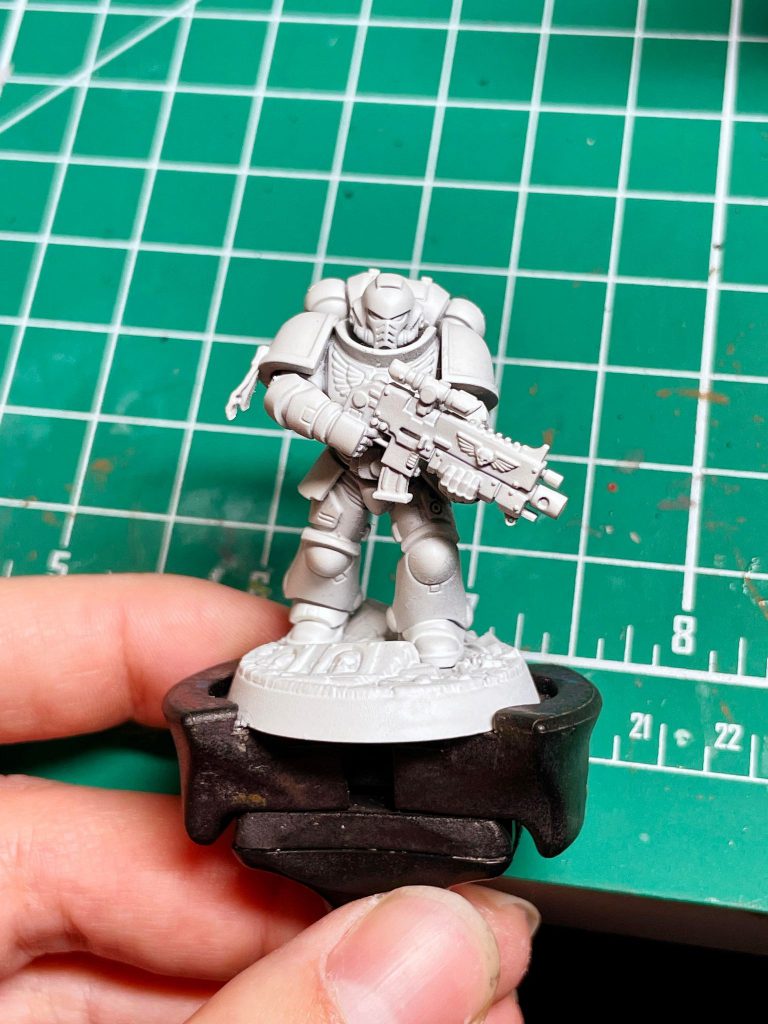
Now that we have our tools all set, let’s get into the basics of miniature painting! For this tutorial, I’m going to paint a Blood Angels Intercessor using the three most basic steps of miniature painting: base, wash, and highlight.
Base Painting
Base painting is about, well, applying the base colors to a model. Since we are painting a Blood Angel, think about a color gradient for the color red, where on one end is a very dark, almost brown red and on the far right is something very bright, like an orange or a pink. The color we select for the base paint will let us move up the color gradient when we apply highlights, and move down the gradient when we apply a wash. Both highlights and shades on our base color will help make details pop out and look great.
We are getting a little ahead of ourselves with that though. Right now, I need to get my base red paint applied to this armor. We’re looking for a strong, relatively bright, pure Red. The Army Painter color here is Dragon Red, with Vampire Red as another good choice. For Citadel go with Mephiston Red.
I’m going to use the larger brush, since I want a bigger brush here to apply color all over the model, and I’ll apply some paint to my pallet and thin it down with water.
Why not just put paint right from the pot onto the model? Usually, the consistency of paint in the pot is a little too thick for that. If we try applying paint right from the pot, the result would create some clumps and streaking effects that are pretty ugly and the paint itself would be much harder to control coming off the brush. When we add some water to thin it down, the coat of paint is much smoother and the paint flows easily off the brush.
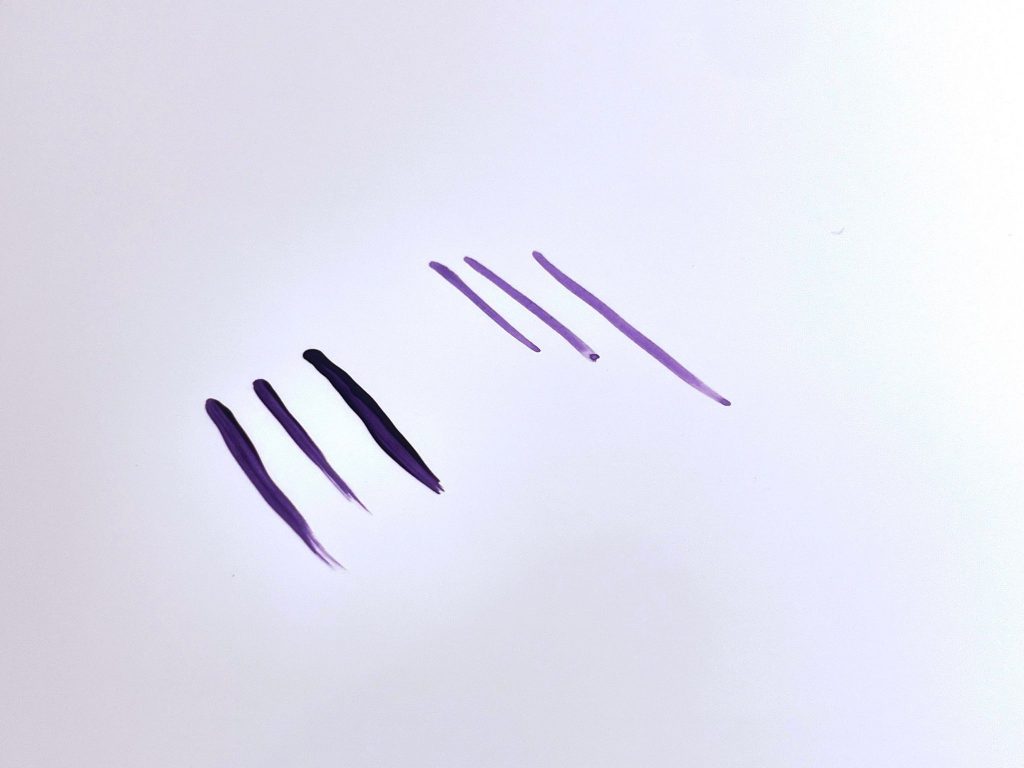
How much do you thin paint by? I’ve mostly heard thinning it down to the consistency of milk is appropriate, but if you’re like me you probably can’t just eyeball the consistency of milk. When I thin my paints, I like to check with a few brush strokes on my pallet or nail to see if the paint is the consistency I’m looking for, and if the paint comes smoothly off the brush. If it’s too thin and runny, I add a little more paint to the pallet. If it’s too thick, I add more water. Practice makes perfect here, and once you get the hang of thinning paints it’s a pretty automatic process.
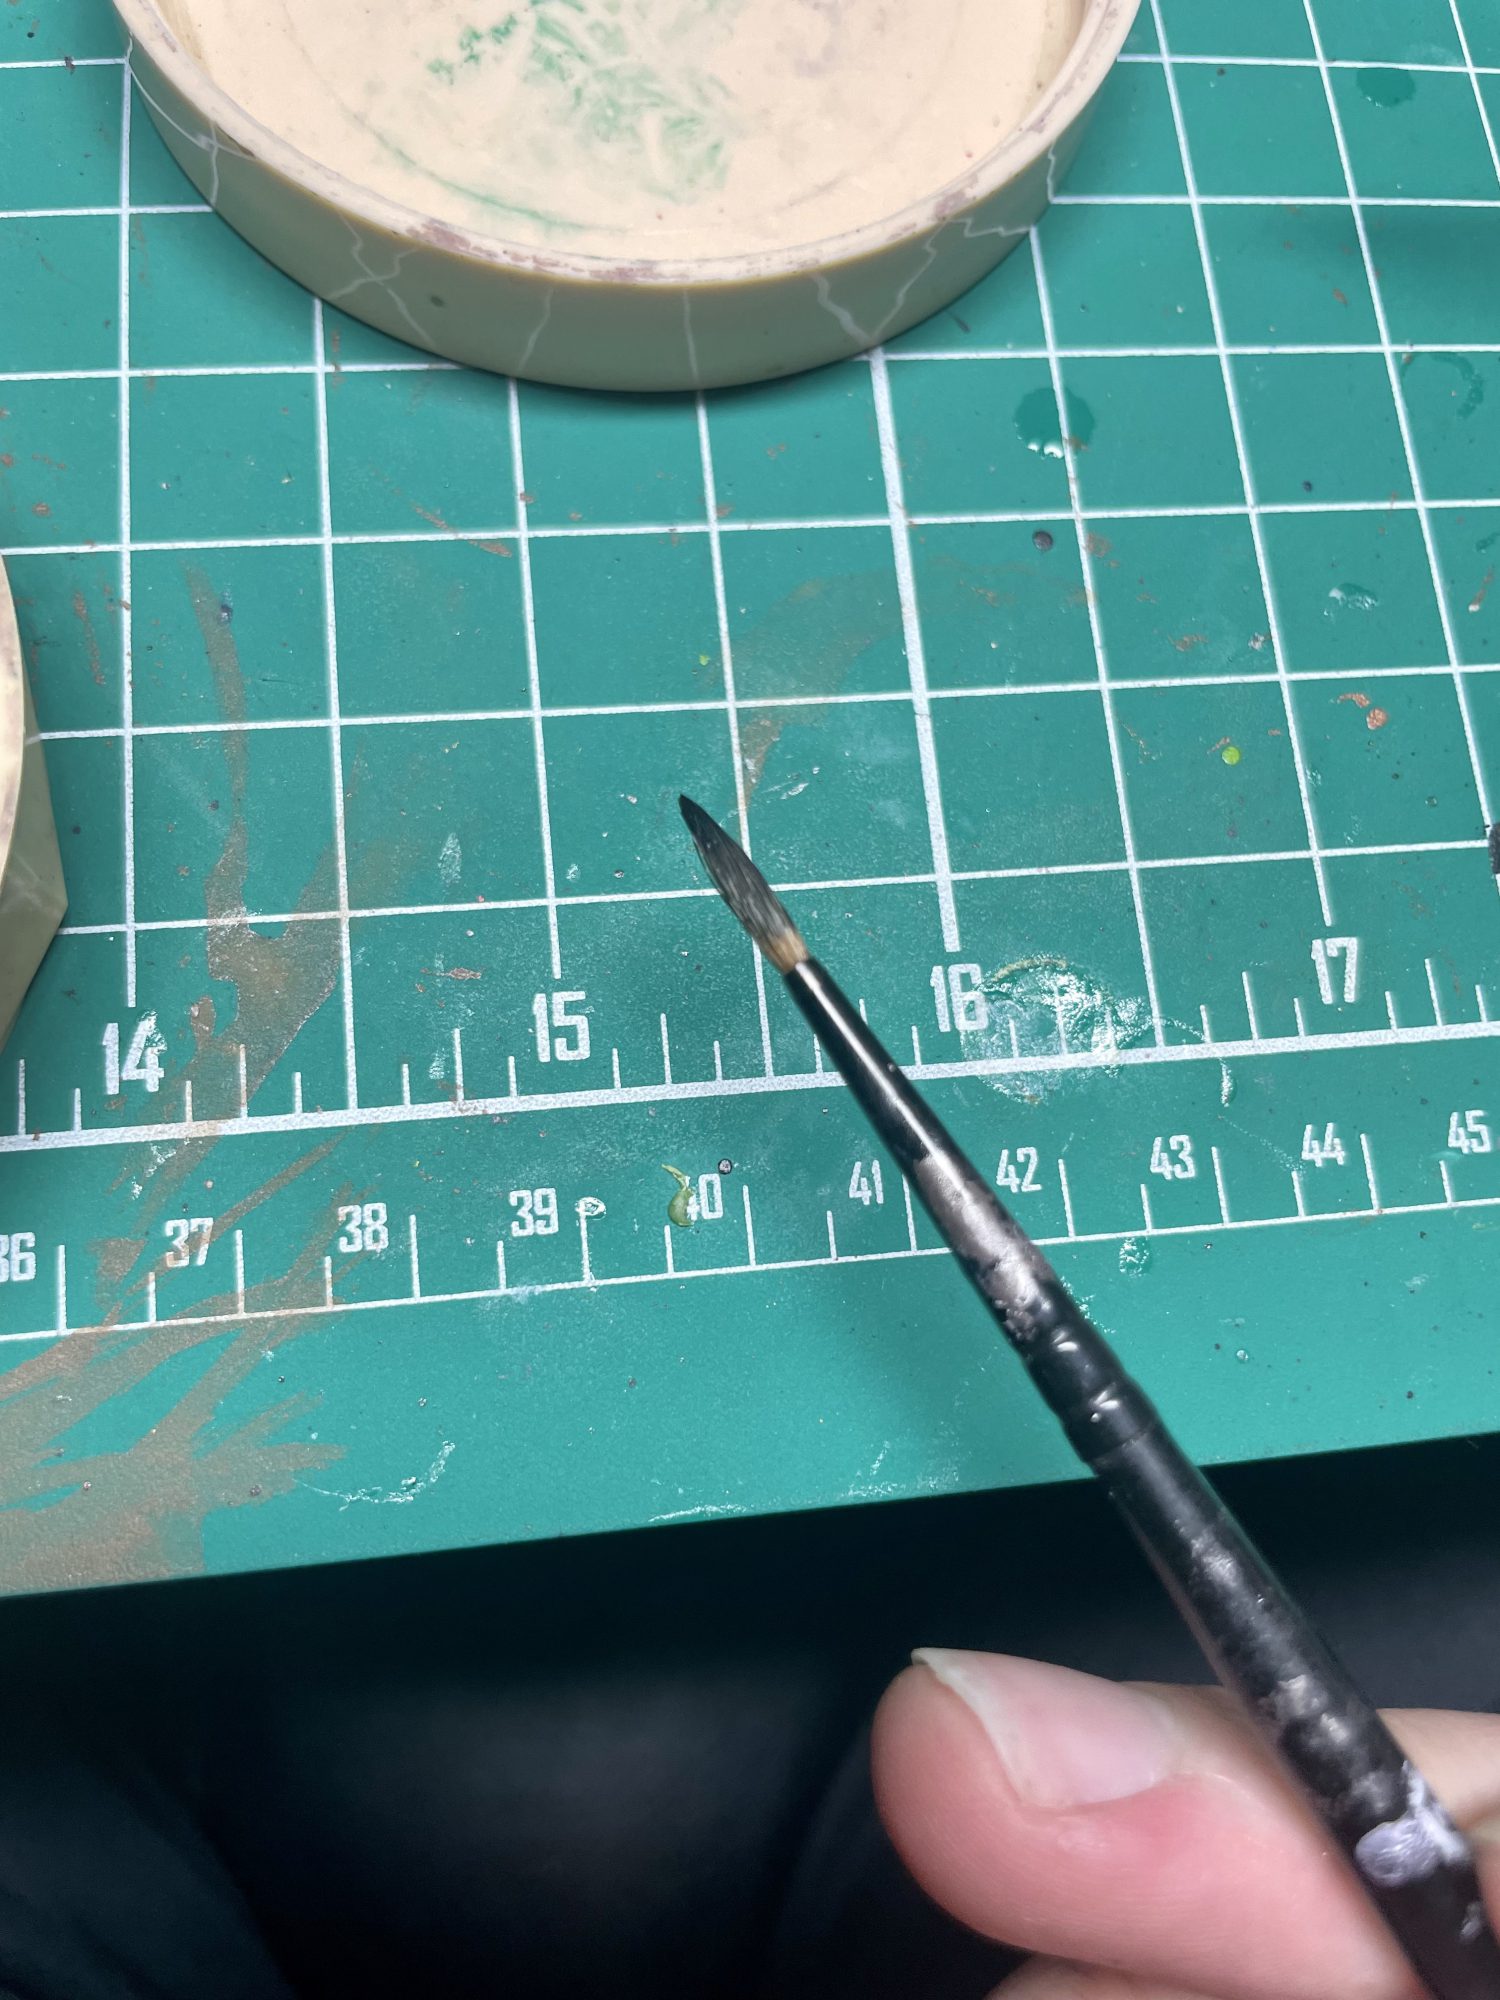
Now to apply the paint. I clean my brush with water and place some paint on the brush, then dab excess water off carefully with the paper towel. I’m careful that I really only want to use the upper part of the brush. If the paint gets too close to the base of my brush, it can seep into the area underneath the handle and damage the condition of the brush. As seen in this picture here, it’s best to work with the top half of your brush to keep it in good condition.
Finally, let’s get paint on this model. Don’t press to hard while you paint, you should be able to make gentle strokes towards yourself and paint will go easily onto the model. Doing this, I apply a coat of paint over almost the entire model, not worrying too much if I make a mess.
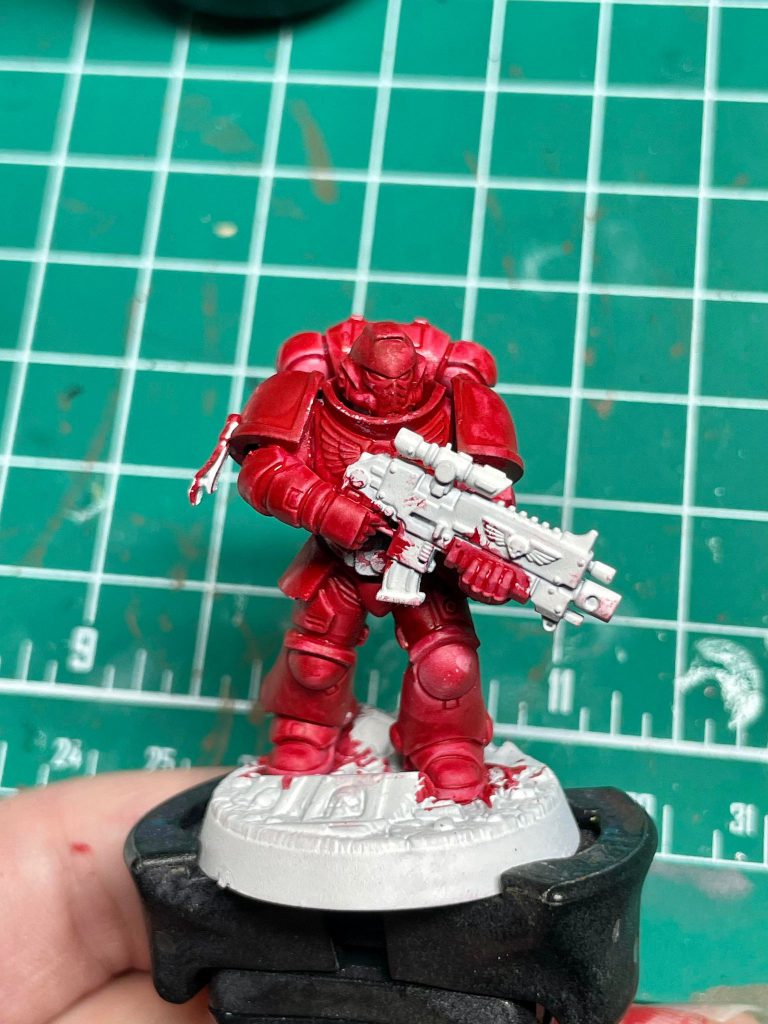
This first coat is a bit splotchy, and that’s because we thinned our paint earlier. The more we thin a paint with water, the more translucent it becomes. The solution here is simple, and a common mantra among mini painters everywhere: apply two thin coats. Exactly two thin coats isn’t a hard number, some colors like white may require more thin coats to get even coverage, but two is a good rule of thumb. Be careful to make sure the paint is dry before applying a second coat, if we rush and try to paint a second coat over paint that’s still drying we will make splotches on the model that make it much harder to get an even coat. Apply one coat, wait patiently, and then apply another coat and repeat until you have smooth color coverage.
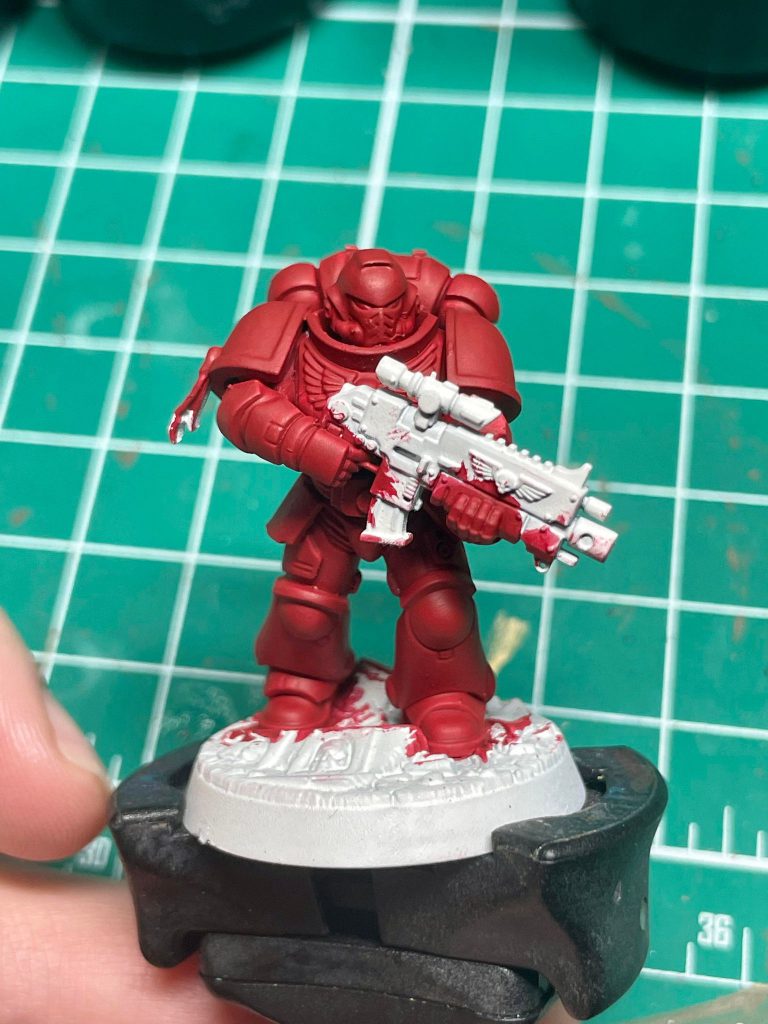
Perfect, that’s a nice even coat of red. Now I’ll apply some black like Army Painter Matte Black (Citadel Abaddon Black) and Army Painter Gun Metal (Citadel Leadbelcher), as well as some other colors for minor details like green on the eyes or the gold insignia on the Bolt Rifle.
At this stage, I’m going to let you in on the big secret to painting success when you’re starting out. The secret to make your painting life much easier is that mistakes aren’t the end of the world, just paint over them. As long as we are applying thin coats to cover up mistakes, you have quite a bit of room for error before you have to even think about things like losing detail on models.
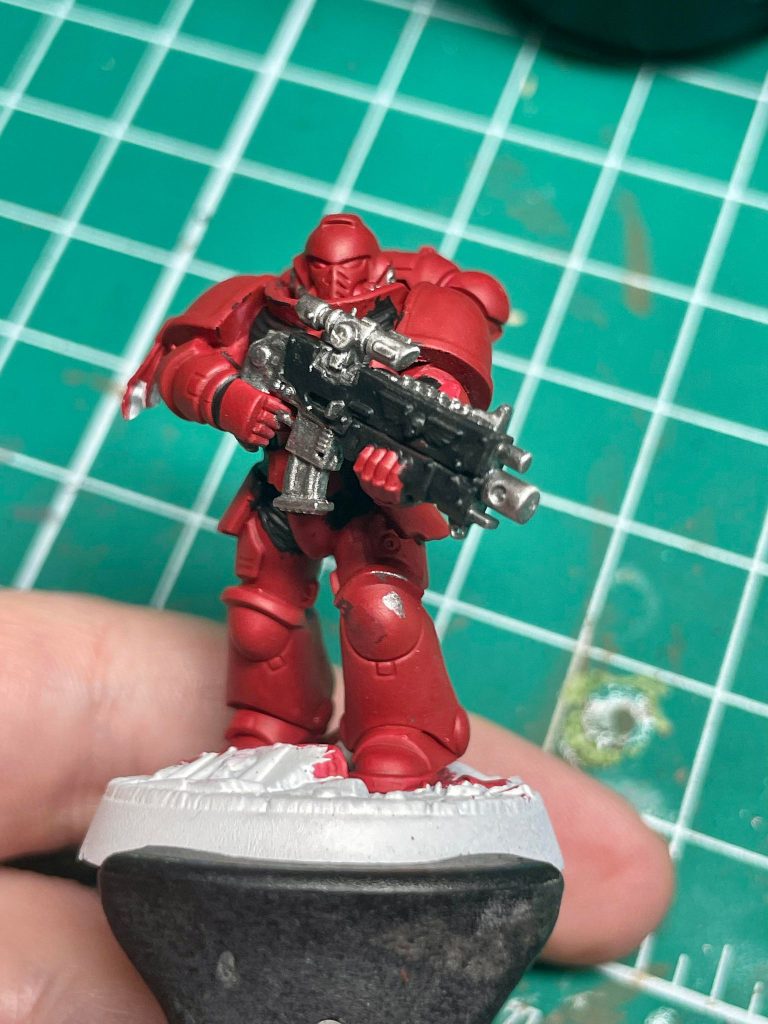
Especially while basecoating, don’t worry too much about mistakes. I usually make tons of mistakes in the base painting stage, and then cover up my mistakes before heading to shading.
With our base coats done, it’s time to move onto applying a wash.
Washes/Shading
A wash, or shade, is a very thin paint designed to go into the recesses of the model and sometimes darken the hue of the coat it’s covering as well. Unlike Base paints, they can usually be applied straight from the pot. For many painters starting their journey, learning how to do washes well can feel like hobby magic, since shading the model makes recesses and details pop with a very simple step.
Here, I’m going to apply a dark brown wash (e.g. Army Painter Strong Tone), all over the red armor. A red wash really won’t make the recessed details pop as much as a brown would here, thinking back to the gradient analogy we used earlier my wash is going to represent the very bottom of that color gradient to make the middle and highlights more distinct. This often means you’ll want to use brown and black washes, but sometimes the brighter colors will need washes that aren’t quite as dark as those two colors, but for now this brown shade is perfect.
One of the things to watch out for with washes, especially with flat surfaces like this power armor, is that it doesn’t always perfectly find the recessed areas of the model and can leave a bunch of splotches on the model, like it did here after applying a wash all over.
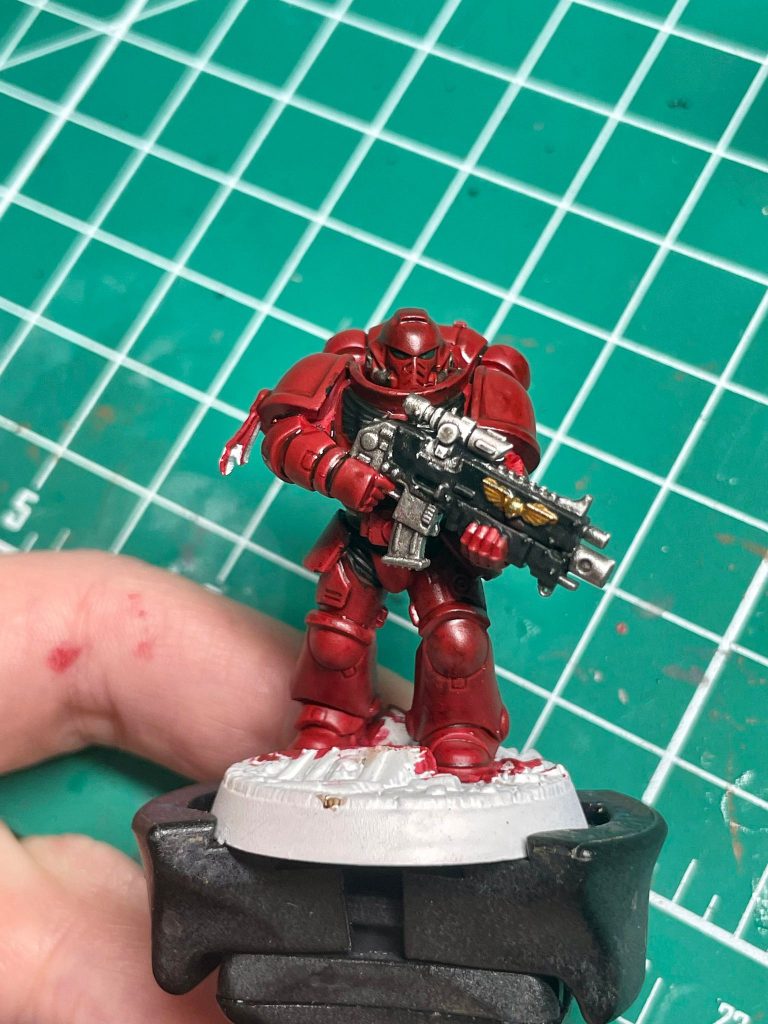
Good news is, we already know what to do with mistakes! I carefully go back over this with some thinned down red and the wash looks great, bringing out the details on the recessed bits of this Space Marine nicely.
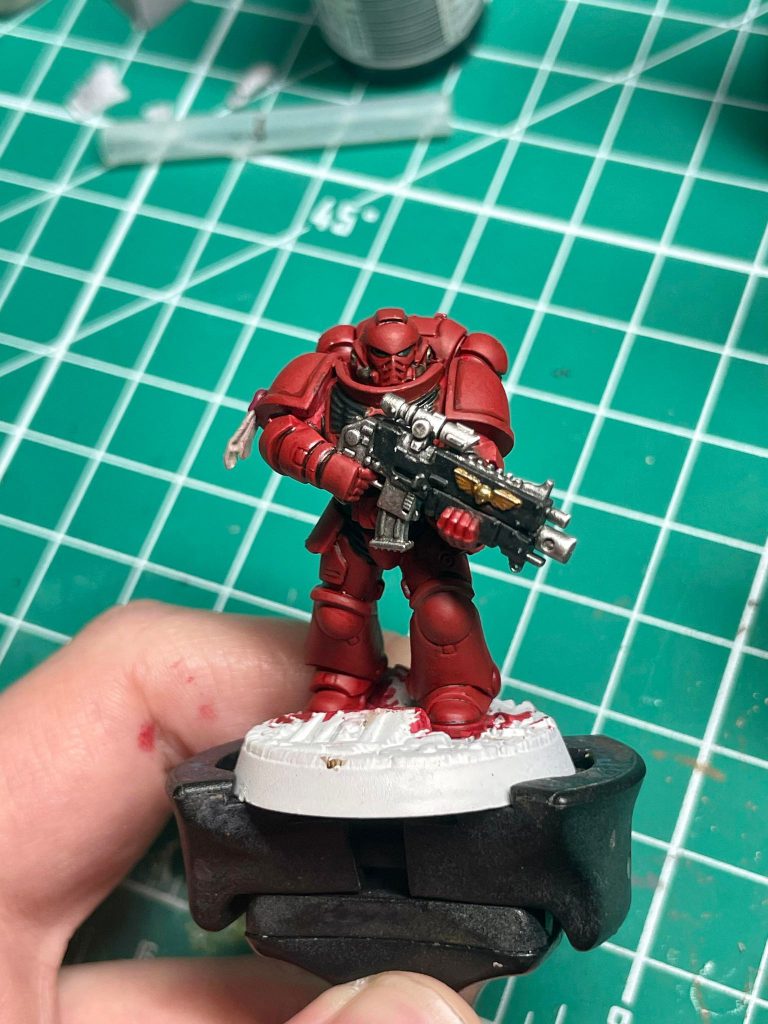
After I do the rest of my washes and pick out the icky looking patches of wash, we have a model that’s looking pretty good! In fact, a base coat plus a wash is what most Games Workshop events consider Battle Ready Standard, the painting standard for most large Warhammer events. So, if your satisfied with this, you can have a model ready to go!
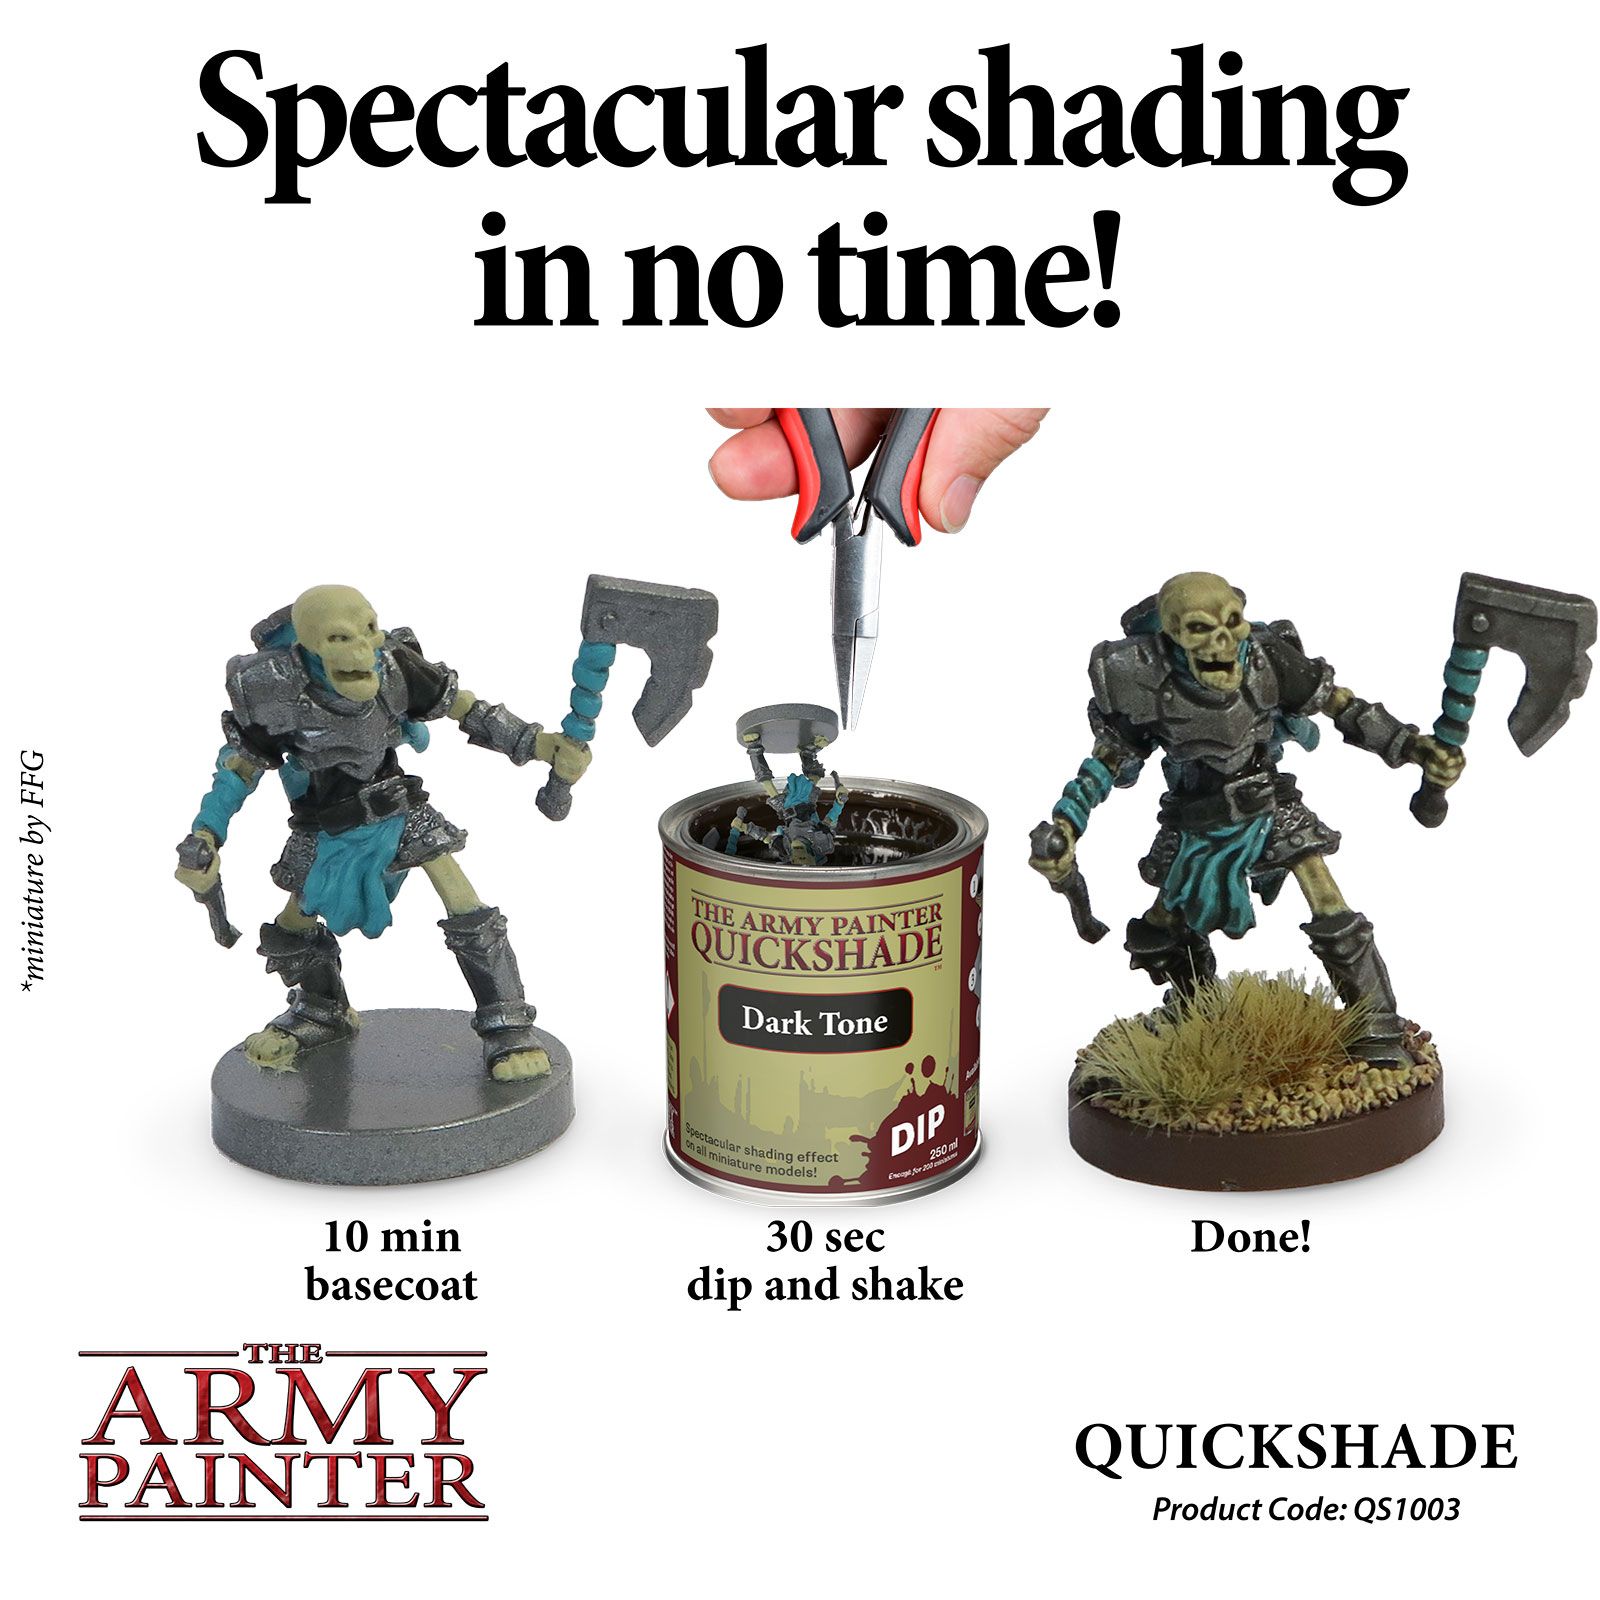
One of The Army Painter’s more famous products is their line of Quickshade Dips. These are large cans with a wide mouth that you literally dip your model into headfirst, shake off, and leave to try. This provides a similar effect to using a brush wash, but hits your model all at once. Because it is a single tone all over the model, it’s best for batch painting large blocks of models all the time. It’s a technique you’re likely to outgrow for detailed painting fairly quickly, but you can’t beat it for speed when you’re staring at 60 Grots or 40+ guardsmen!
We have one more step to cover here today though: highlights.
Highlighting
Here’s the real painting deal, folks. The stuff that pushes the hobby envelope, and the various techniques for highlighting a model is where the bulk of practice and mastery comes into play to some outstanding pieces of miniature art. This is for sure the most intimidating part of painting for most hobbyists just starting out.
We don’t need to master all the different types of blending or feathering or any of that stuff today on our Blood Angel though. Let’s use a very easy technique to make this little guy pop: edge highlighting.
Edge highlighting is an easier highlighting technique because it’s very straightforward. We apply a thin line highlight of paint on the raised edges and hard edges of the model to make those edges stand out. It seems very intimidating because new hobbyists look at those thin lines and wonder how they’ll ever paint a line that thin or perfect, and never try it.
We don’t have to worry about that though, we have our secret. If we make a mistake here, we can just paint over it. Easy.
I break out my detail brush and apply a brighter red. If you’re following along from above, go with The Army Painter Pure Red (Citadel Wild Rider Red). Fortunately, I rarely need to go back and apply a second coat to an edge highlight unless it’s just way too thin, since the area the paint is covering is much smaller and the slight translucence helps it blend. When I can, I also edge highlight with the side of my brush instead of the very tip, as it’s easier to control the brush that way. If you have a good chair with armrests, I also suggest planting your elbows on the armrest to make your hand a bit more steady here. Essentially you’re dragging the side of the brush against the edge at an angle, rather than trying to draw a straight line with the tip.
So, we pick out the edges of the model, clean up any mistakes, practice some patience, and take a look at that Blood Angel!
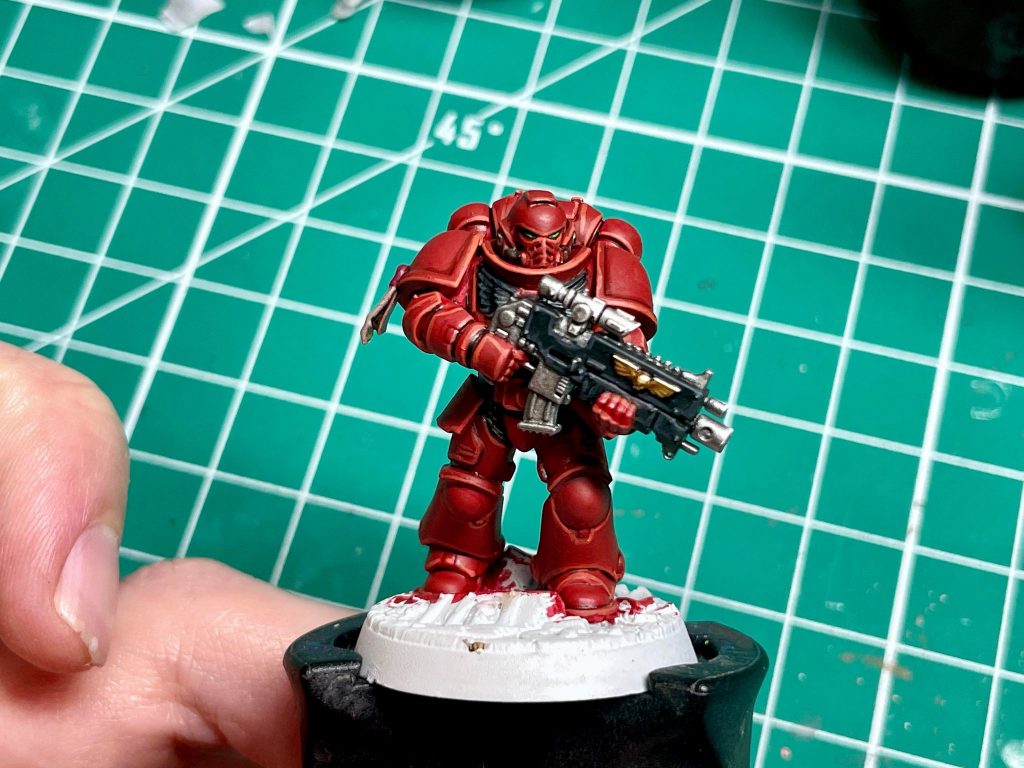
With some very basic stuff, this Intercessor looks really great. Don’t forget as well, most of the time people won’t see your models as close as I do in these photos, they’ll see them from a few feet away. If we zoom out and take another photo, the model looks even better!
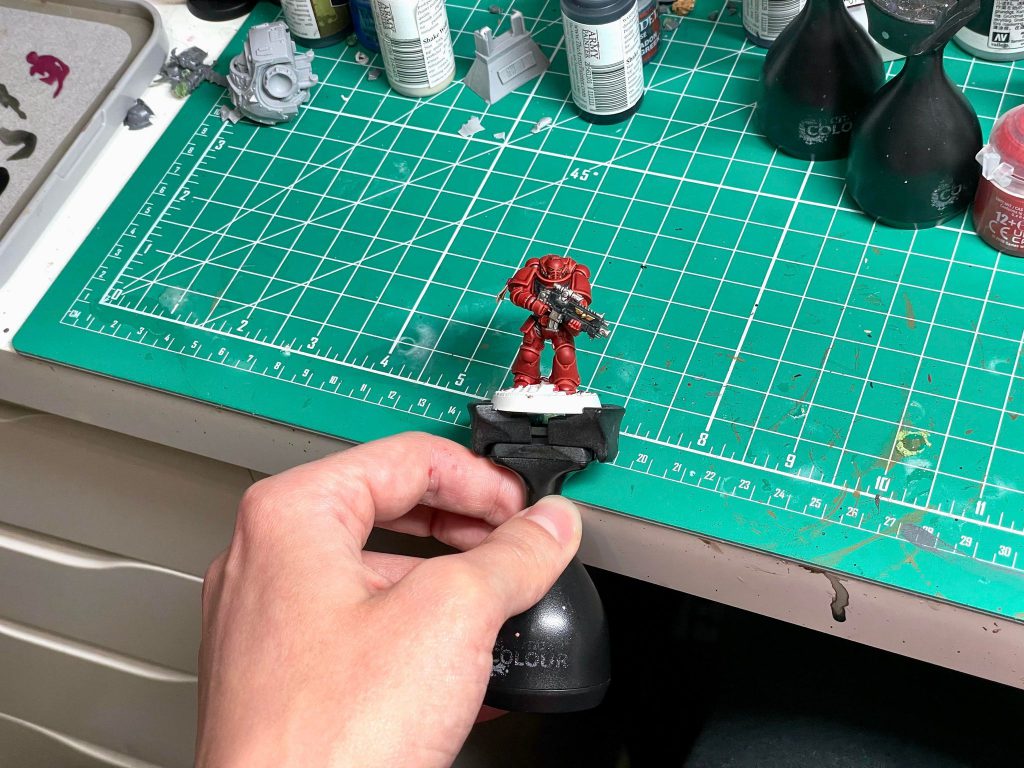
And there you have it folks! I hope this guide was helpful, and has made some newer painters a little less nervous about getting into painting miniatures. This has been a great joy in my life, and I hope this article can help some new folks can find a great joy in painting miniatures as well.
Remember the three most important lessons: be patient with yourself, thin your paints, and you can always paint over mistakes!
The Hobby 101 series will include tutorials and recommendations for all these products as well, so check back every Monday for more hobby 101 content. And if you have any questions or feedback, or just want some advice, drop us a note in the comments below or email us at contact@goonhammer.com.
